


Old Collingwood
-
Posts
12,106 -
Joined
-
Last visited
Content Type
Profiles
Forums
Gallery
Events
Posts posted by Old Collingwood
-
-
Thats a great save mate, I wouldn't have thought of that I would have been fiddling with the planks.
OC.
- Kevin and popeye the sailor
-
 2
2
-
After my little challenge with the canopy (whats it with me and canopies - remember my mossie?????) so I decided to have a gentle go at decaling....no troubles from decals (yeah right famous last words) I started with the wing roundals top and bottom, no real issue here as I was using a trial version where they were between the older pattern large Blue/Red ones - moving over to the smaller versions, as this is a trials Seafire I went with the later decals.
Next was to fit the side roundals, the first one went on ok without any issues but - on the other side "boy was it deciding to give me grief" it decided to split - thankfully I was able to push the two halves together - then a small piece towards the top broke away, I did not have a spare so I decided to just put a service decal over it as there is supposed to be one in that rough area.
So that brought to an end my relaxing couple of hours at the table.
OC.
- G.L., mtaylor, Roger Pellett and 7 others
-
10
-
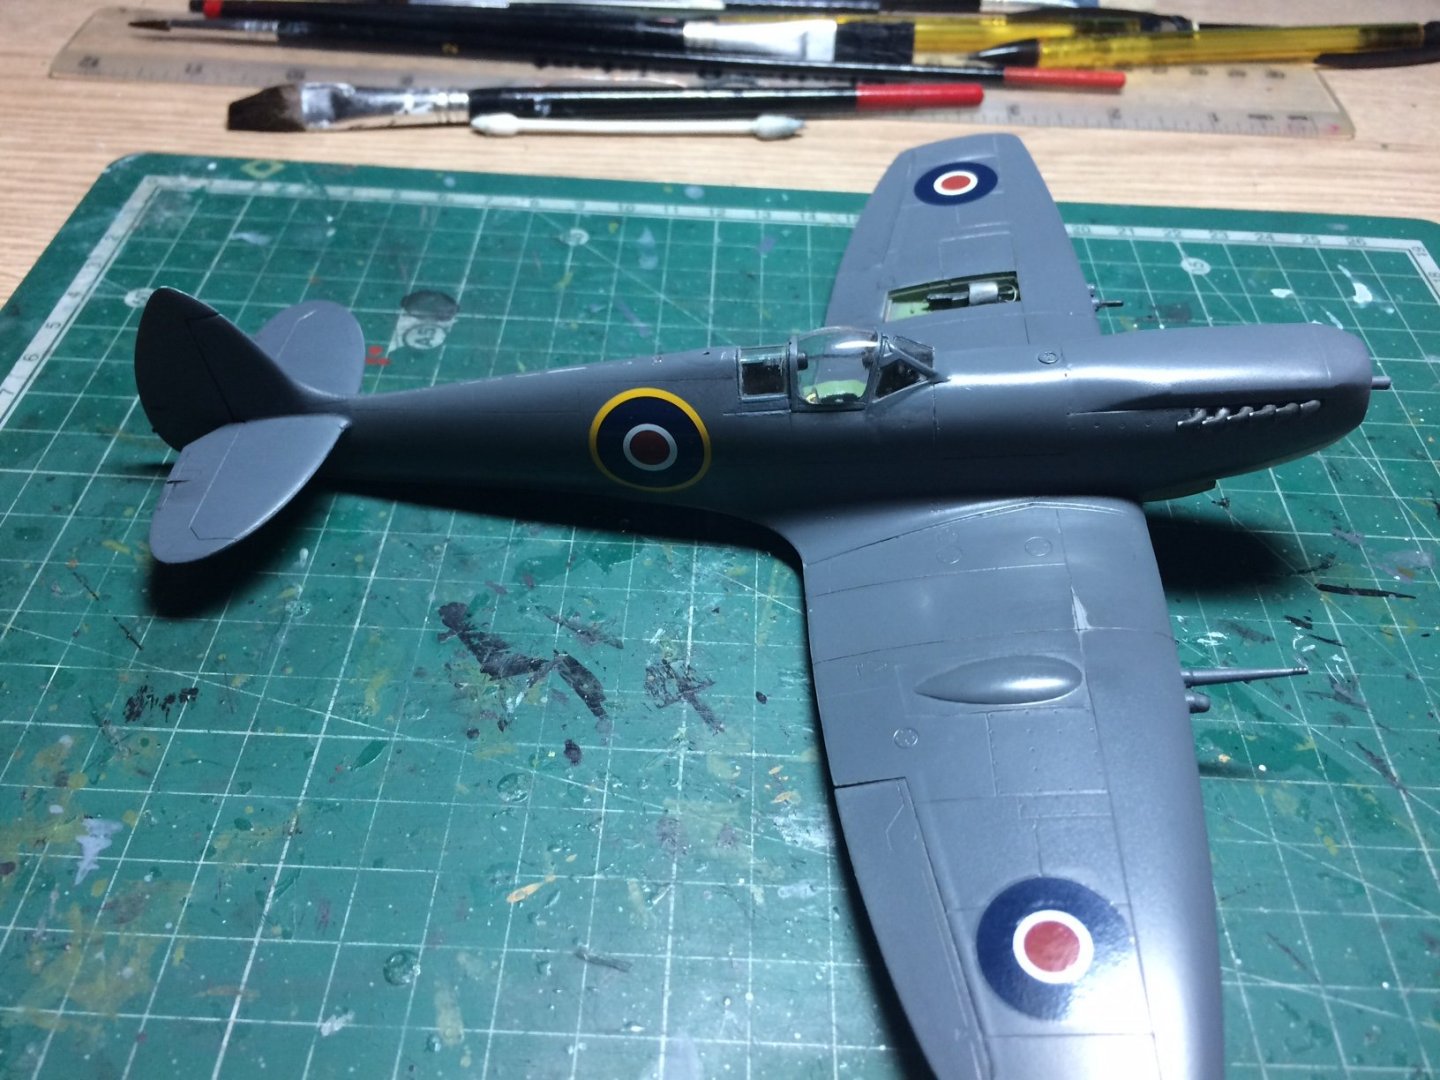
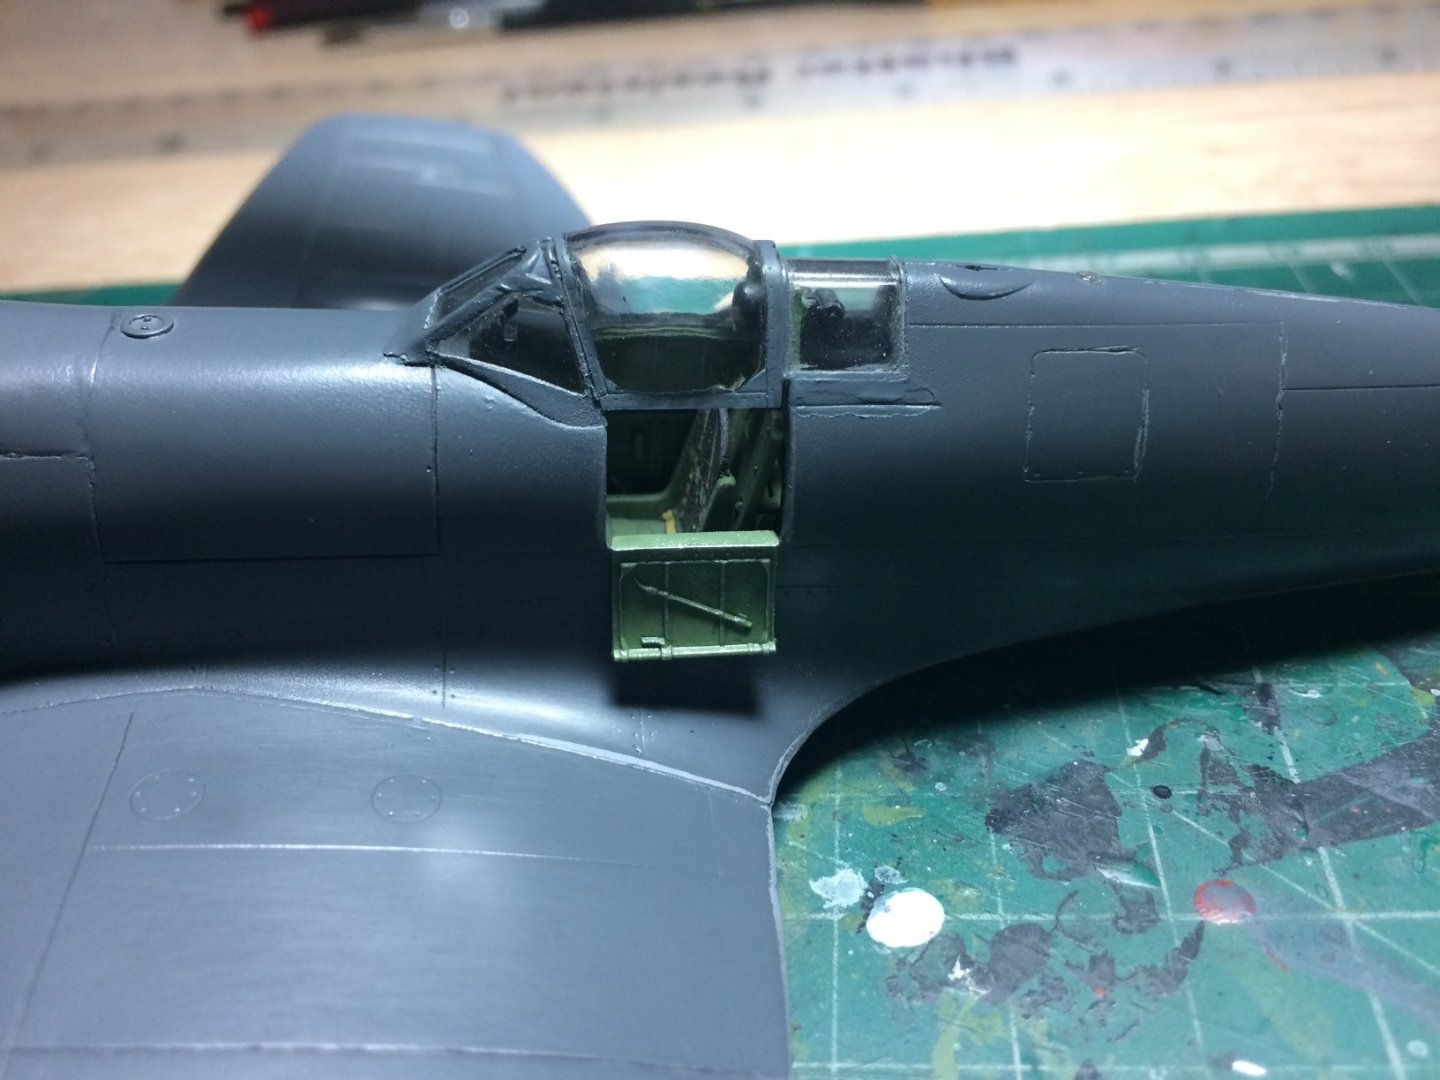
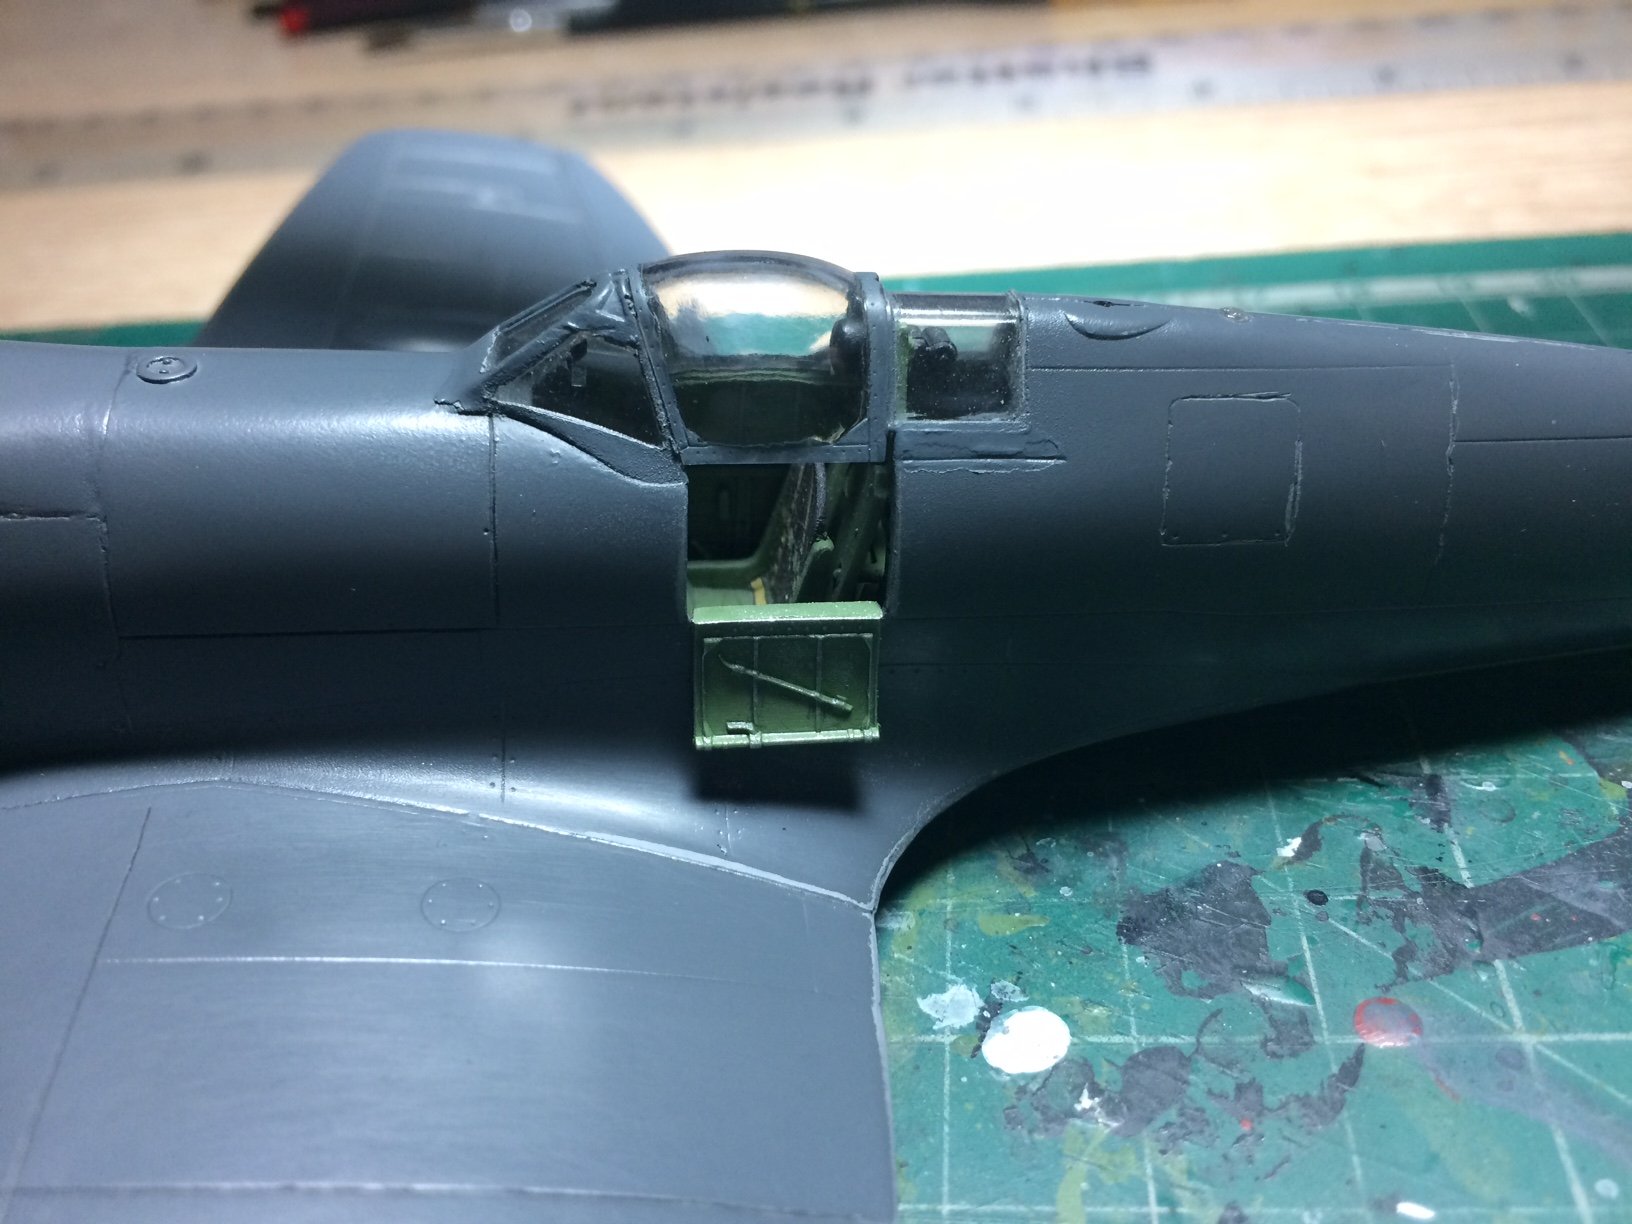
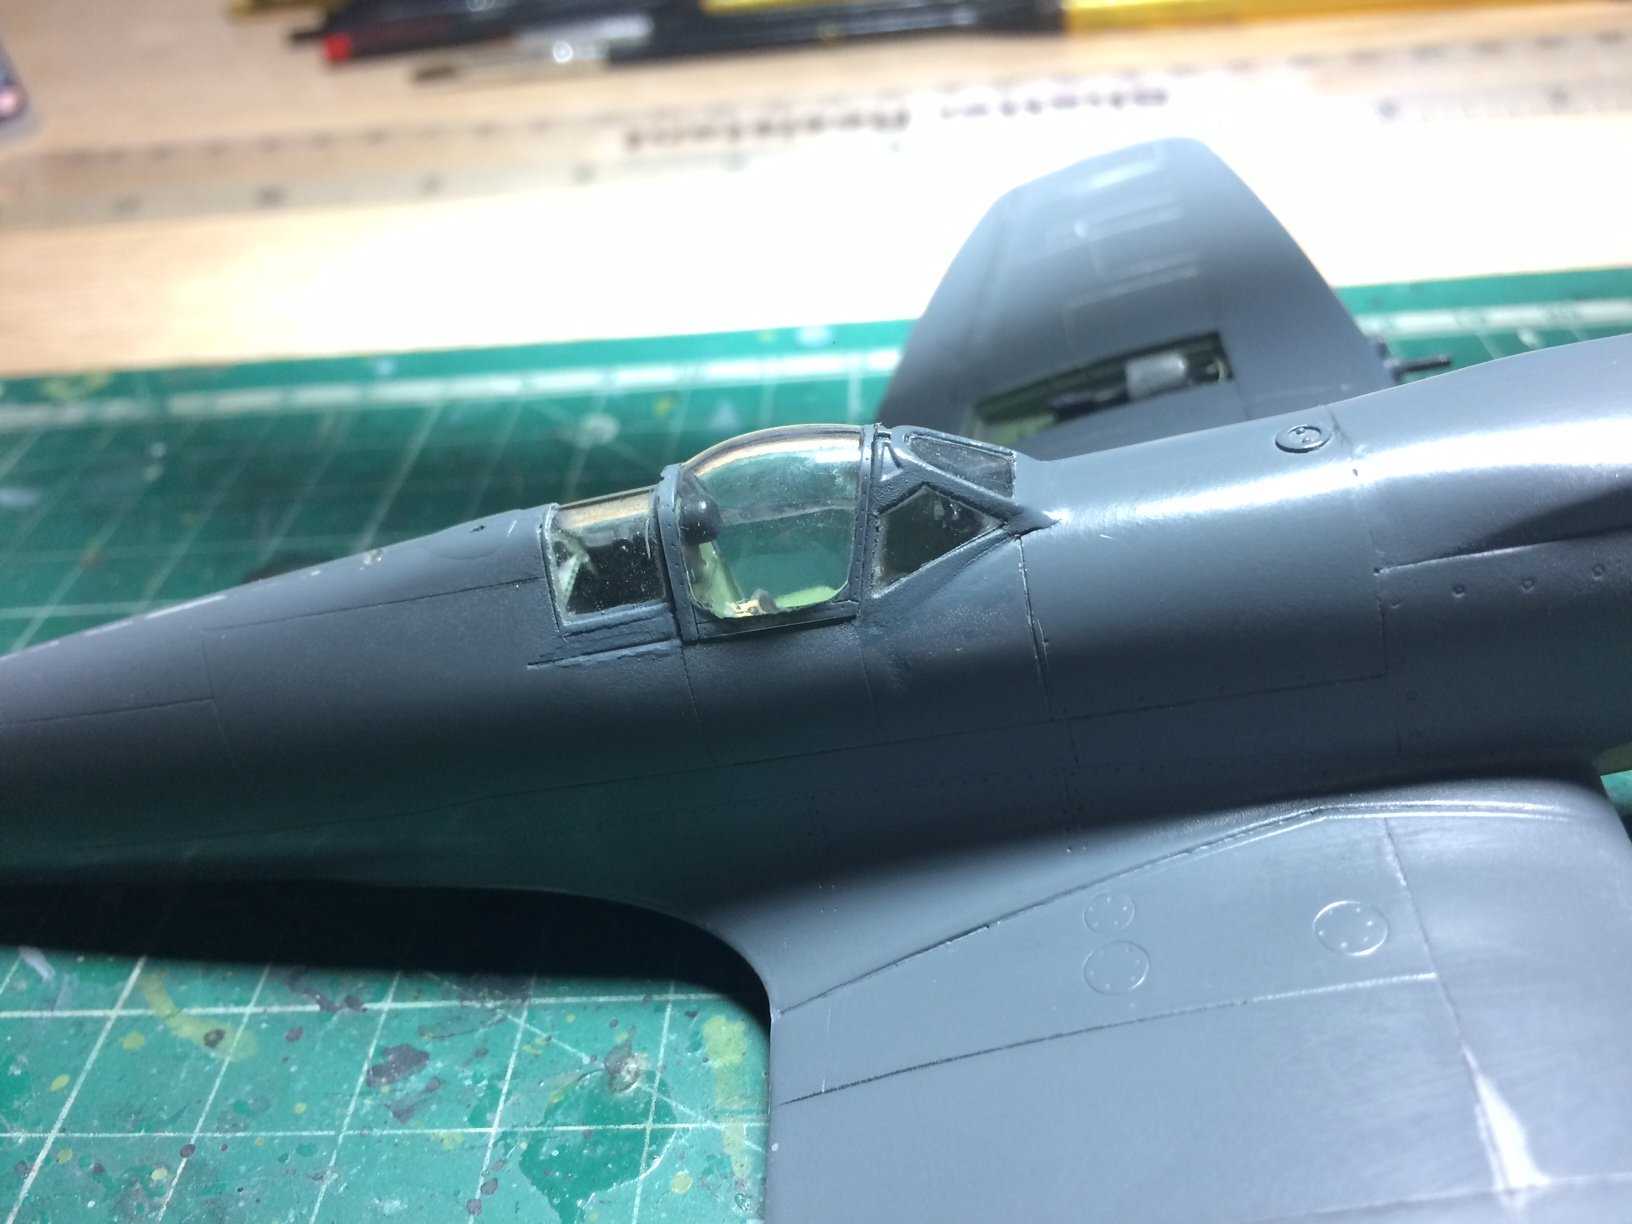
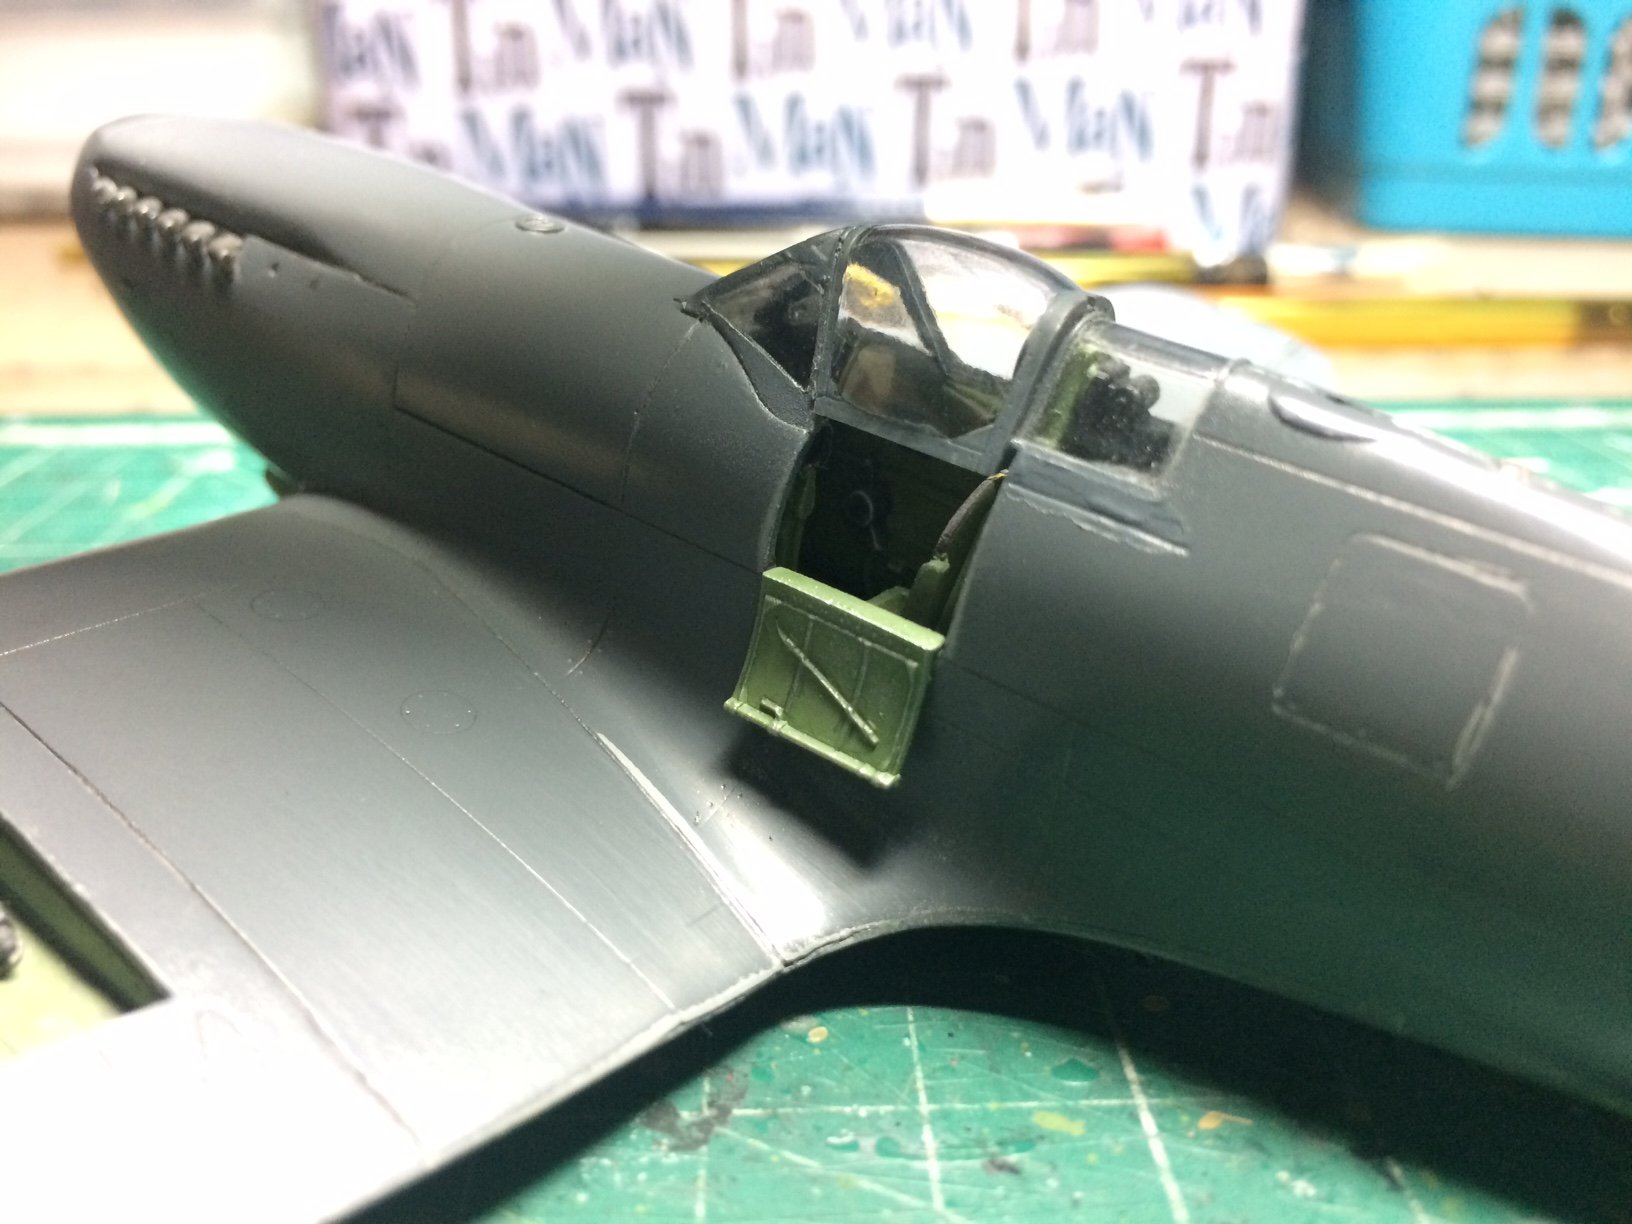
Evening all, firstly thanks to all the followers and likes - really appreciate it, right some more progress - I fitted the Right side MG cover and smaller one, and after gave them a quick paint over and light high lighting, then I decided to have a go at the cockpit door - this was to be in the open position and show the inside, simple attachment them paint folowed by shading/highlighting, and it was done.
Then it was time to fit the sliding part of the canopy, firstly it needed painting - this was a straight forward operation and didn't need masking, I used a stick and tack to hold it from inside , then I just followed the frame around with a fine brush.
I then offered it in place and checked it "all seems fine" so I glued it in place, to speed up the drying/setting process I decided to hit it with the hairdryer - (upssss.........bad idea)😞😞The dryer had made the end of the canopy melt and curl upwards.
So it was time to look for a substitute - in the kit as well as the other Spit kit there is also the enclosed one piece canopy, so I decided to try to trim off the smaller window unit part - "Issue number two" it cracked, so third time lucky - try the one remaining completed canopy part, but this time sand the small window unit away - ten minutes later and sucess job done, next was to paint it the same way I had done the original.
When dry I put it in place - idea was to have it open, but it was two small and would not sit over the rear window, only option to fit it in the closed position, so I pushed it in place then spot glued it with some CA and touched up where any residue glue was, it hasn't turned out too bad I think and you can still see part of the inside.
OC.


-
Great work Kevin, loving that nibbling.
OC.
-
Very nice work - she is really coming together.
OC.
- VTHokiEE and Edwardkenway
-
2
-
Welcome to our "Winged Club" great subject also looking forward to more updates.
OC.
- Egilman, Canute, popeye the sailor and 2 others
-
5
-
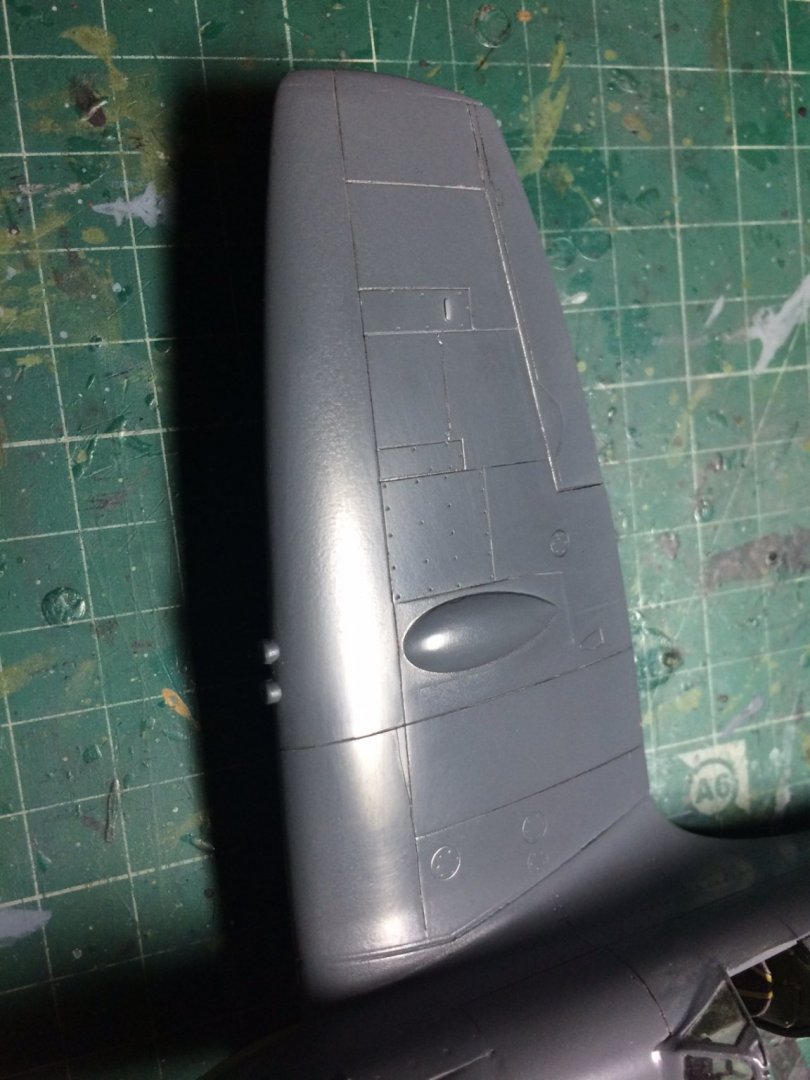
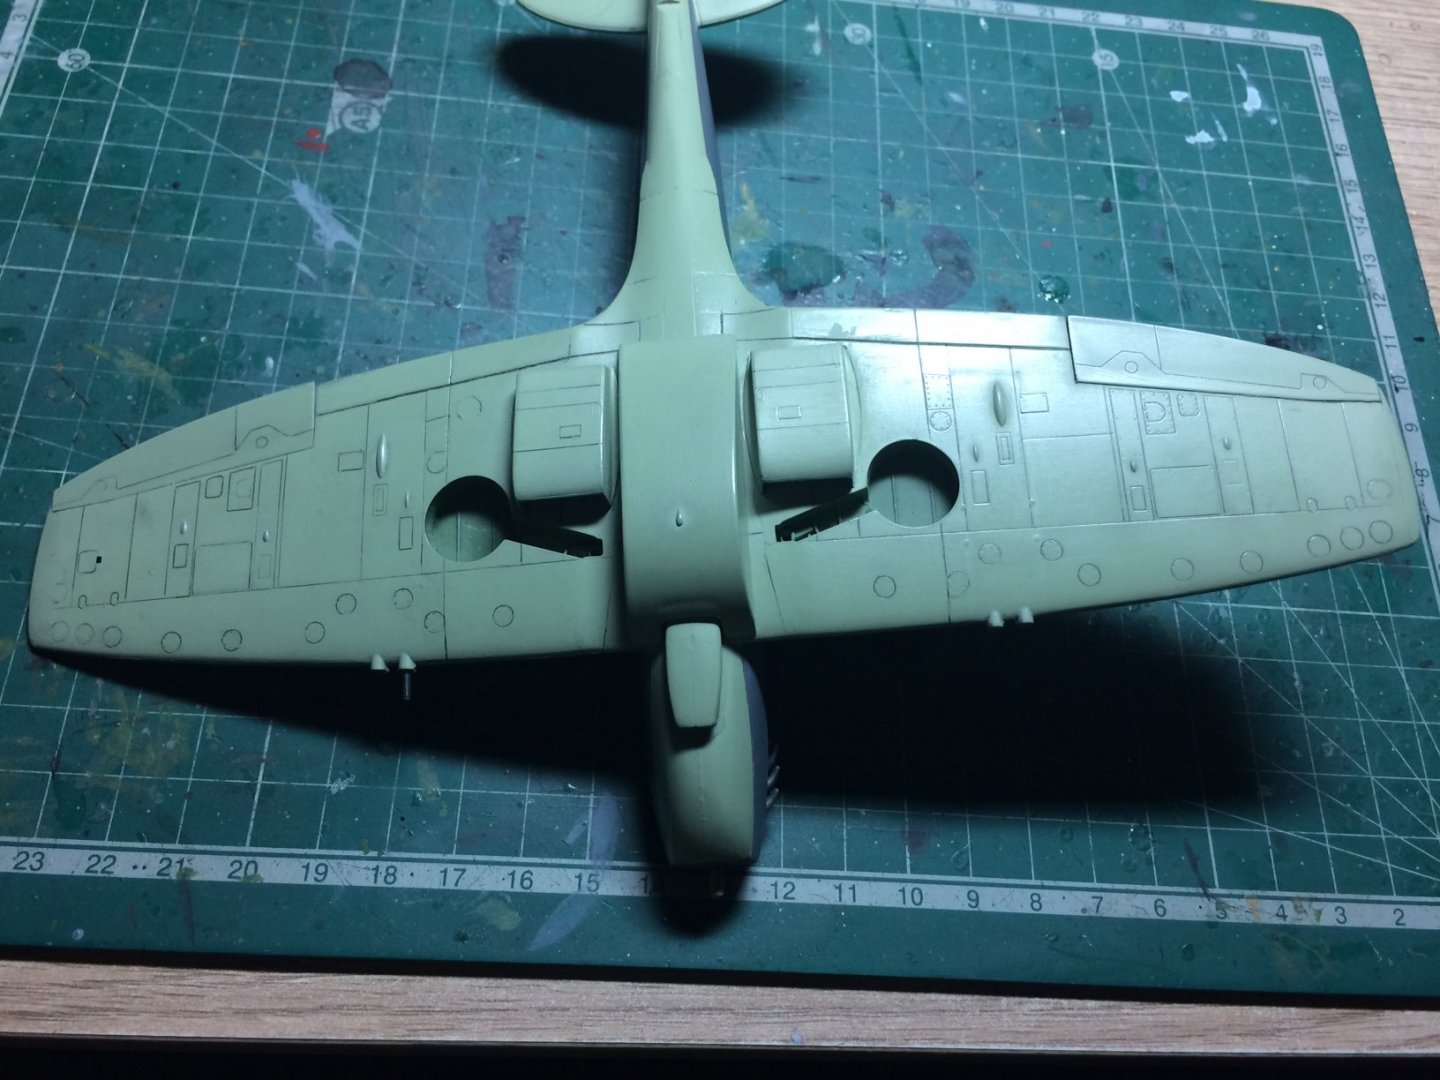
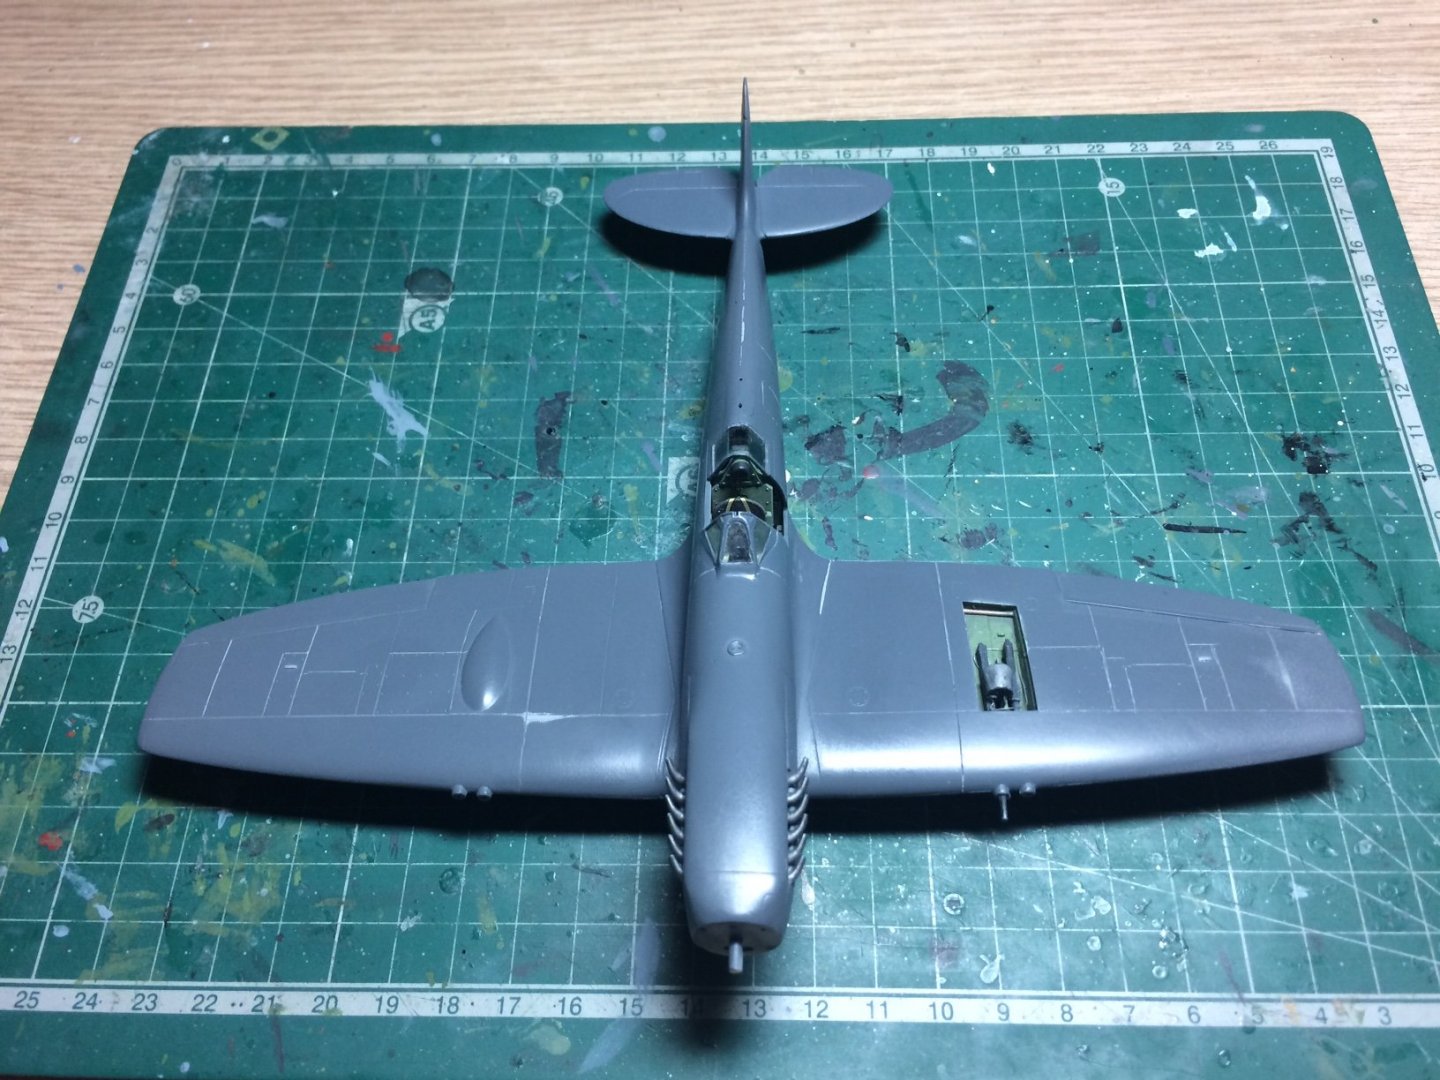
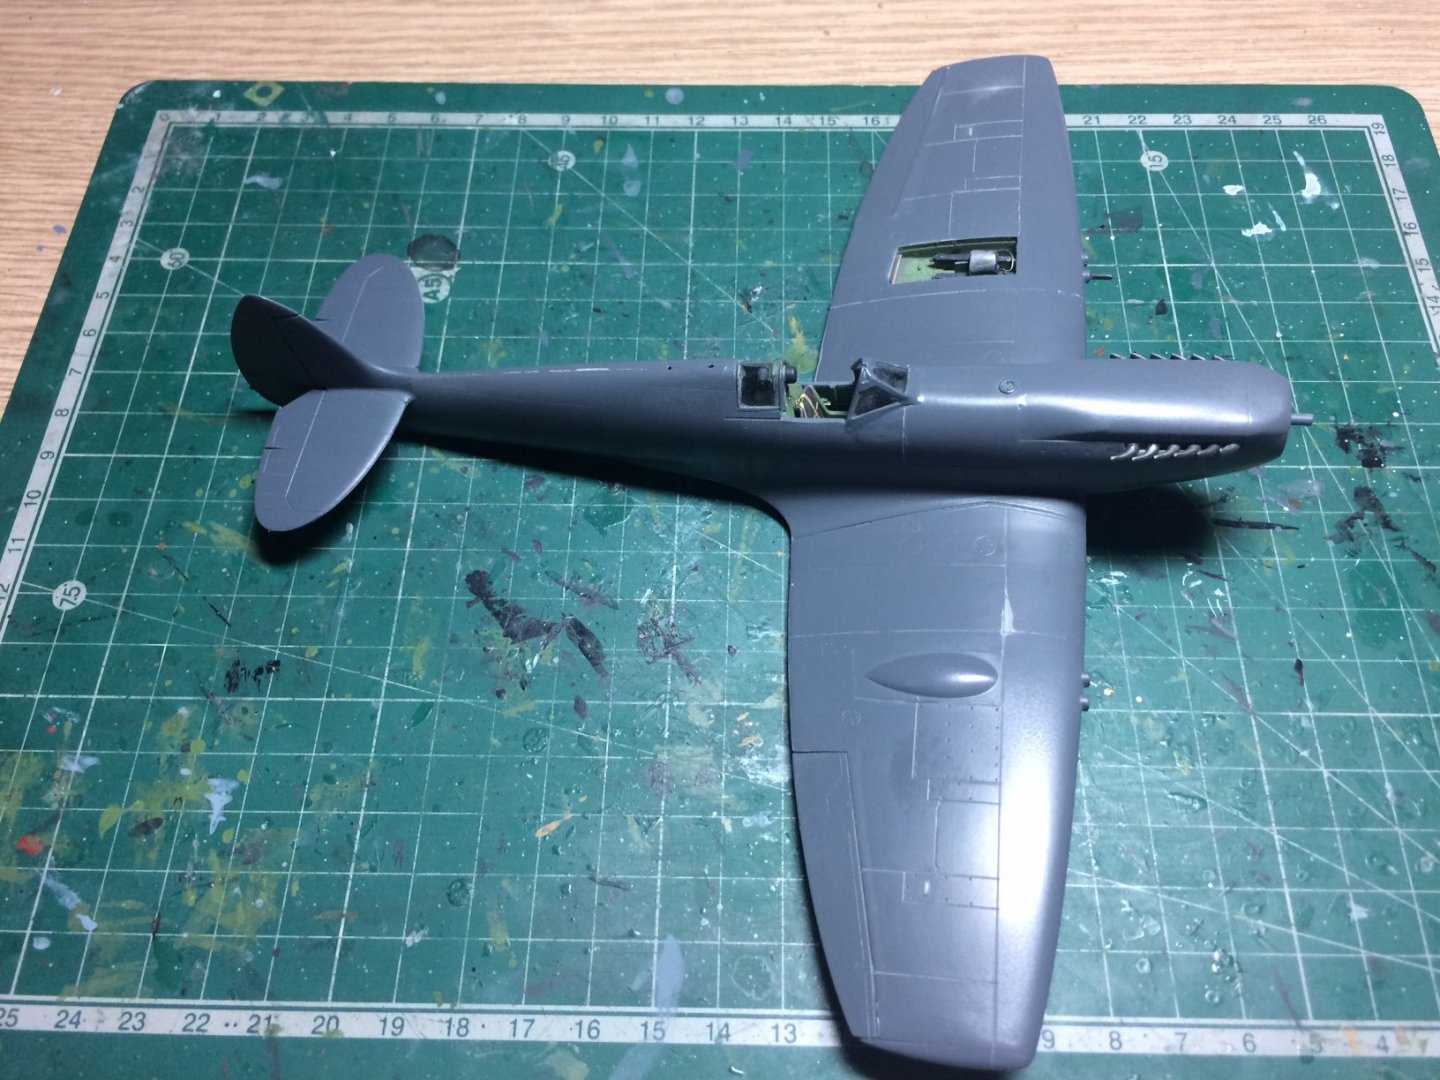
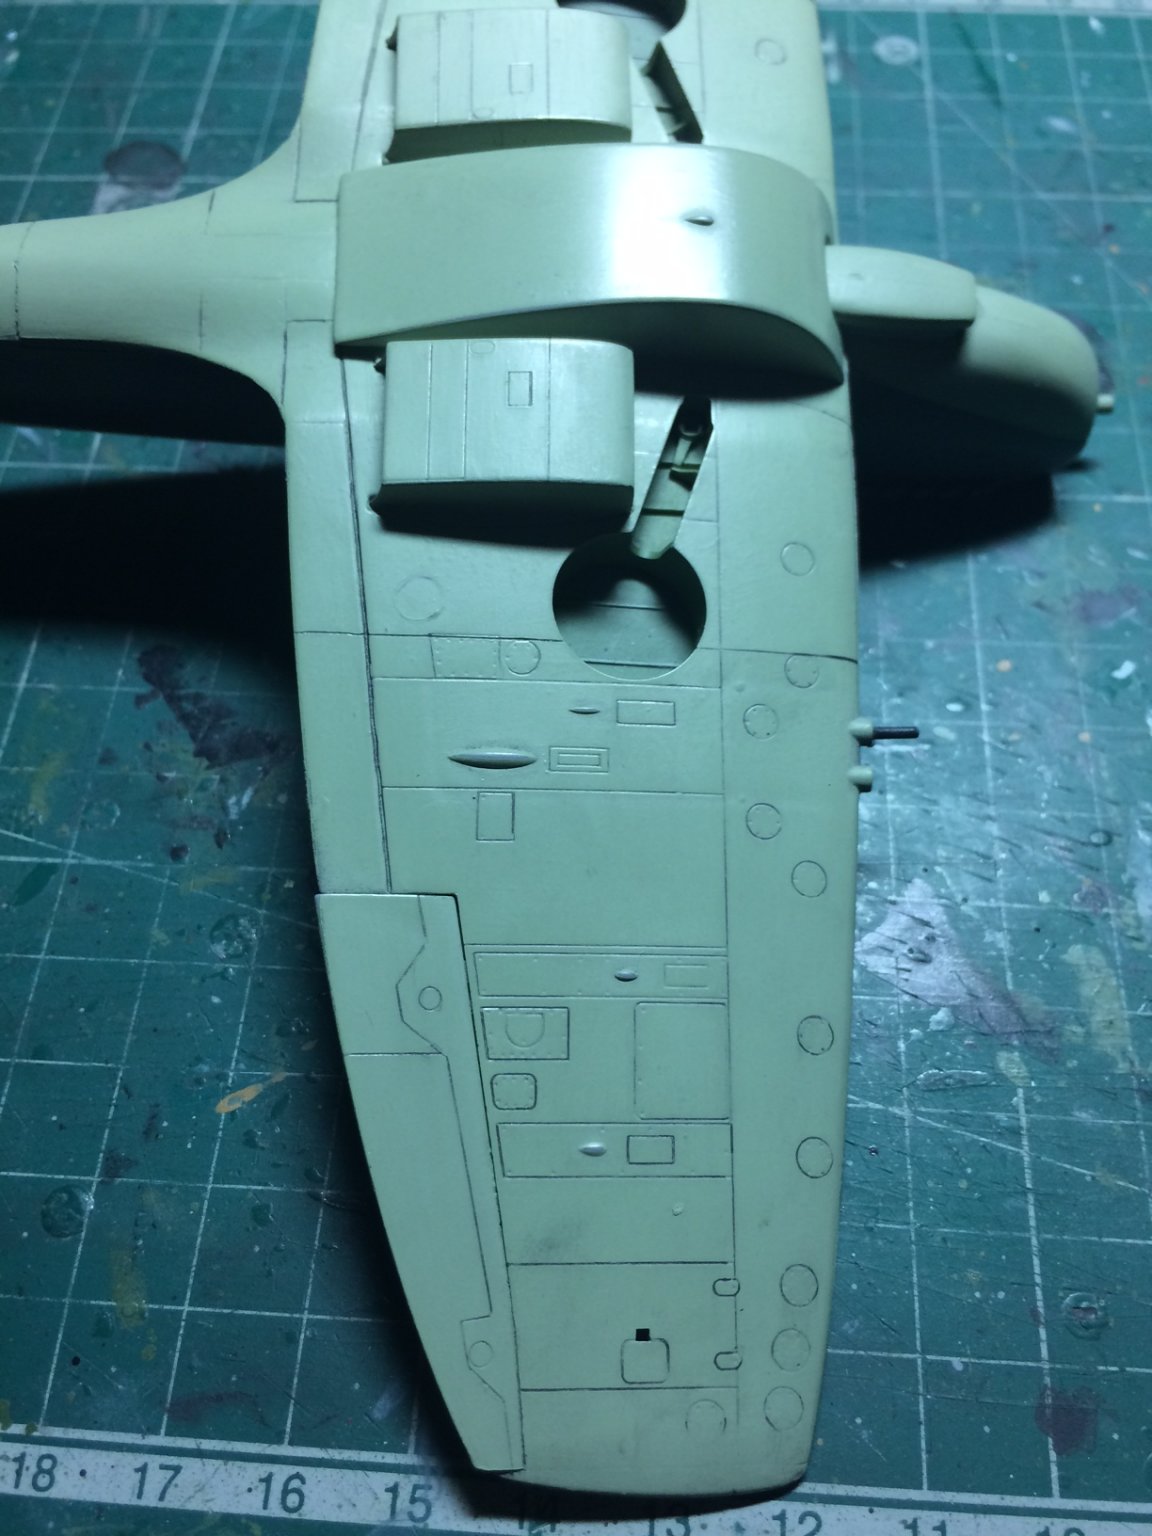
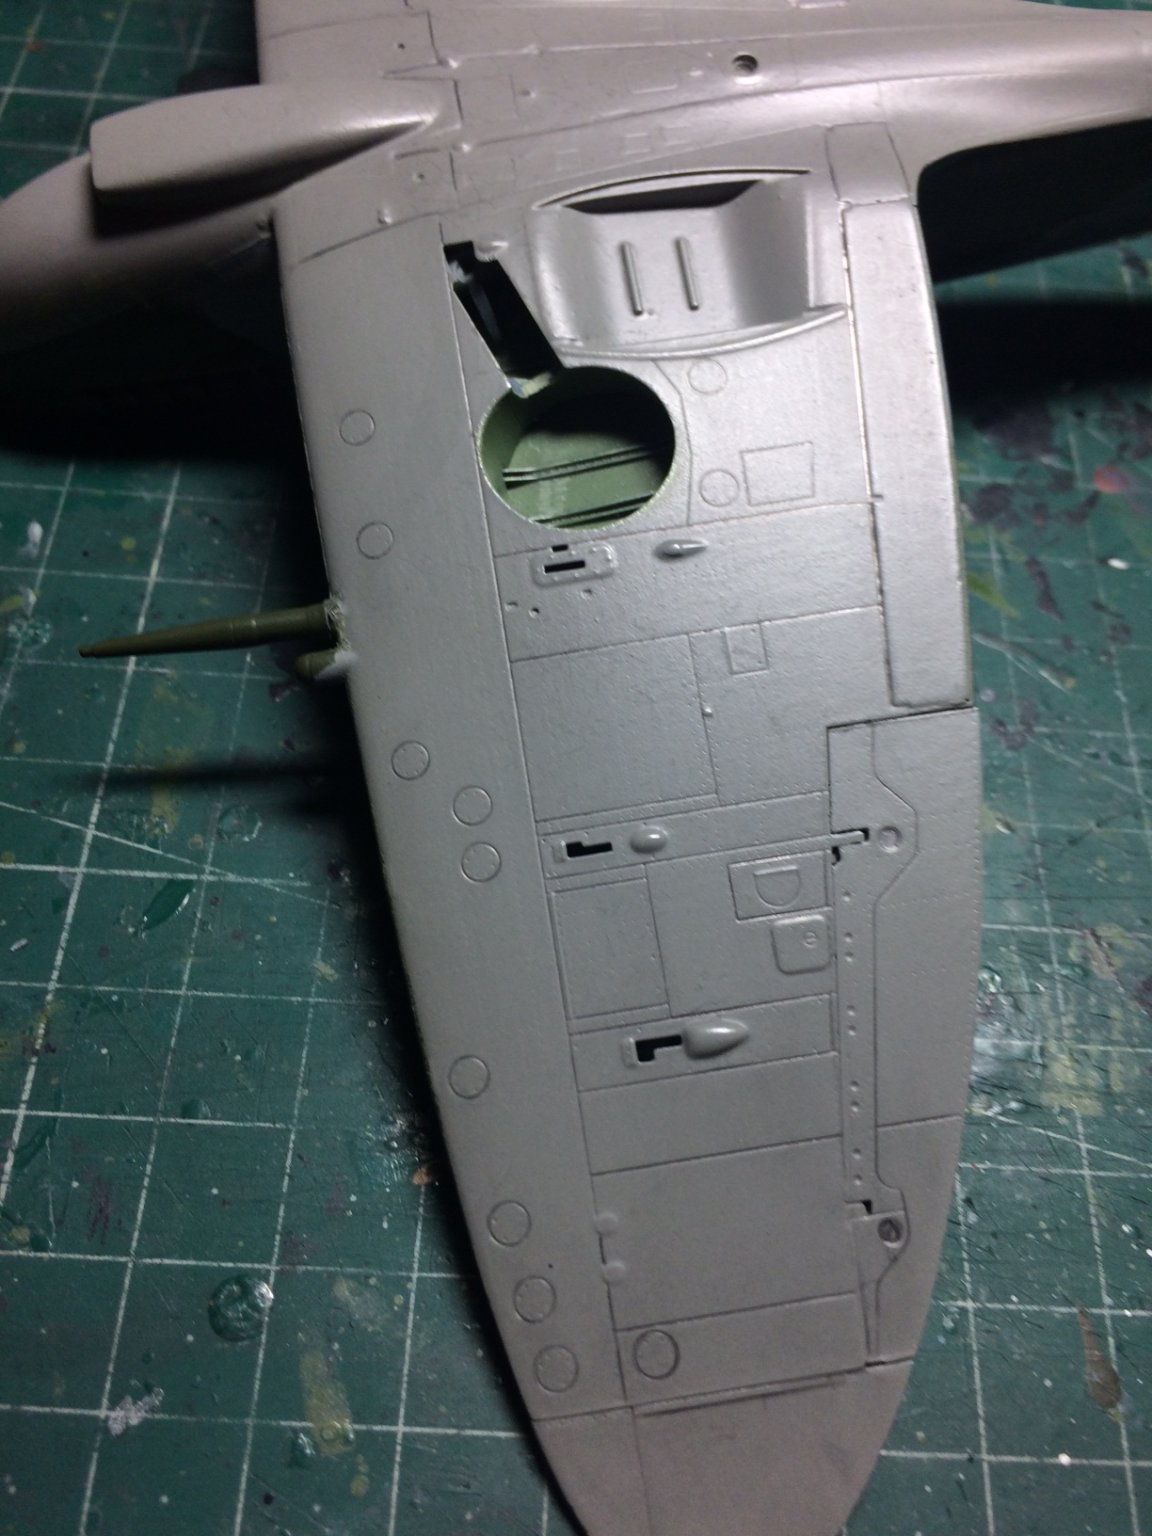
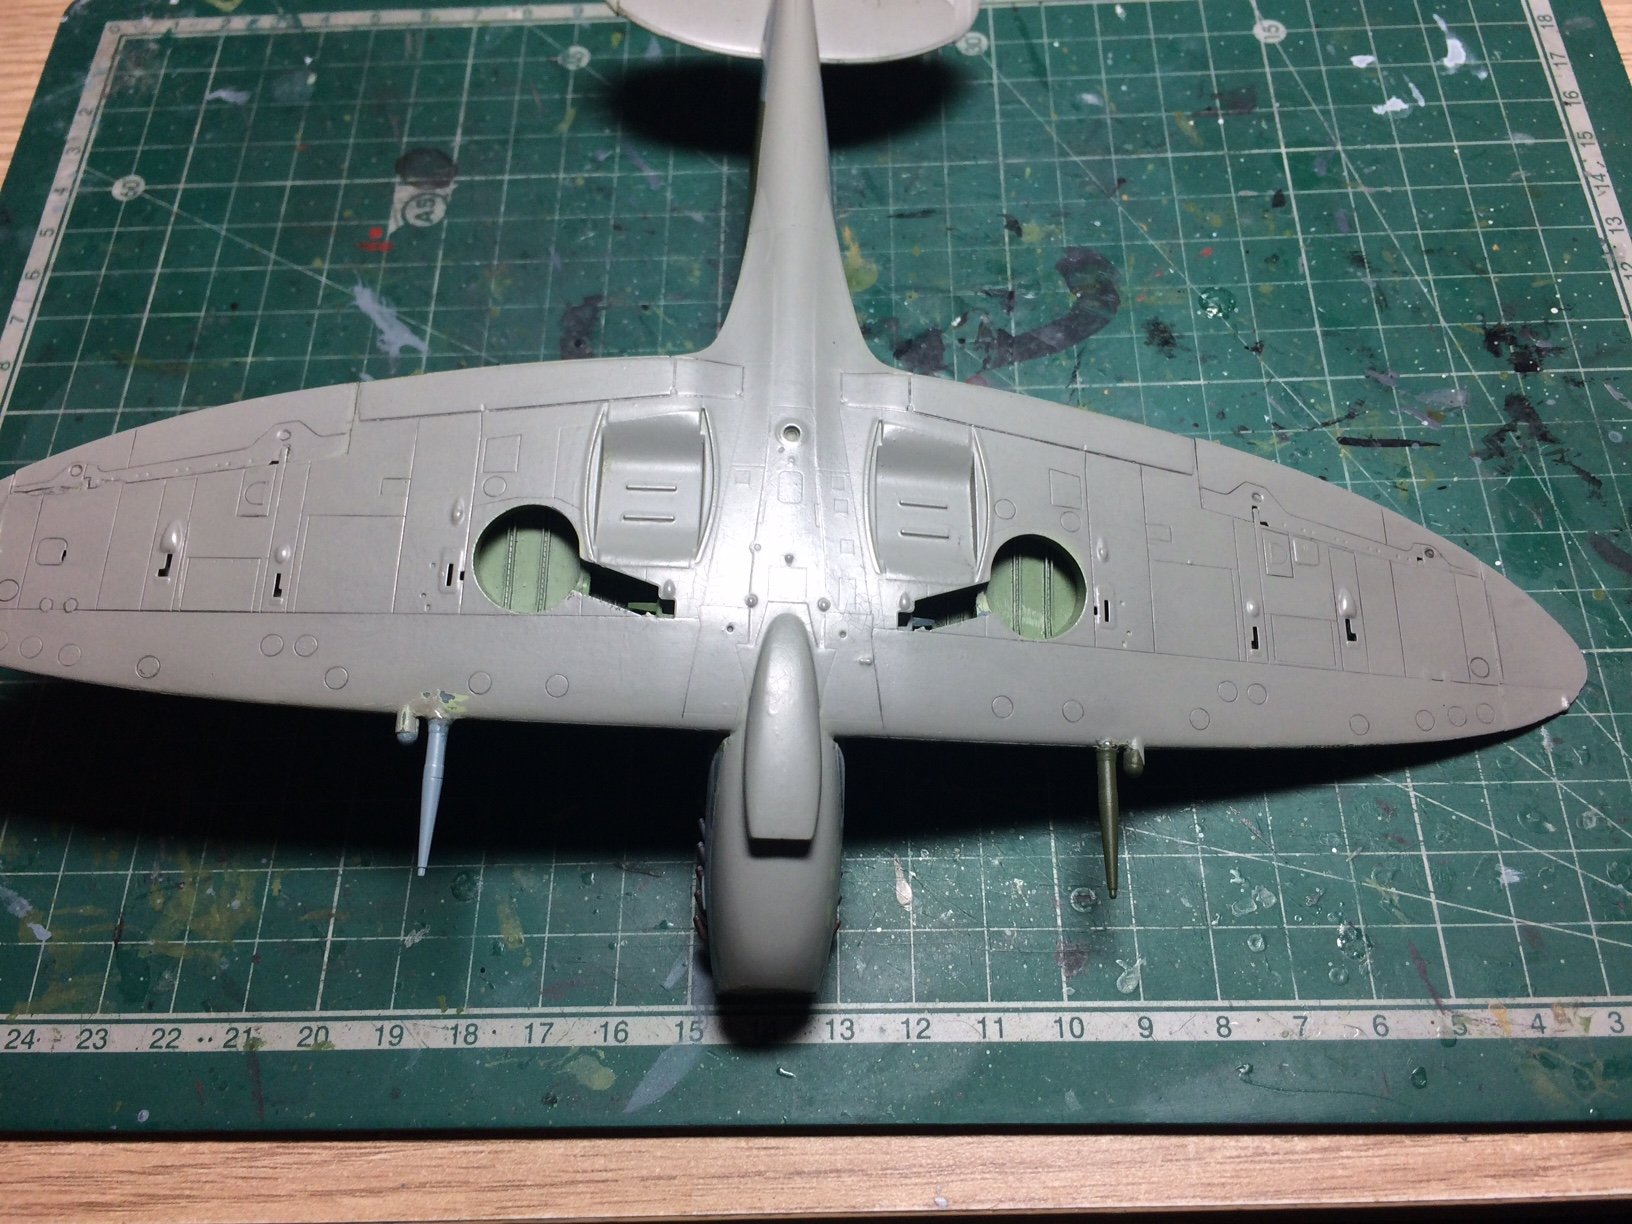
Evening all, more multi tasking tonight - It was panel line time on both my seafire and spit, same system fro both using a pencil with a very fine point, I also worked on the extra addional fuel tank, after painting it was fitted under the belly.
OC.

- Landlubber Mike, lmagna, Canute and 6 others
-
9
-
Hi all, some more progress on this tonight - not a lot of content but time consuming, I have been panel marking using my adjustable draftsmans pencil (the type with the led you push out when the end breaks) anyway the system was to run the pencil then using a wet finger and a cloth clean as I go - seems to work quite well and is a tidy way of doing it.
OC.


-
Really nice build denis and the paint finish looks really good.
OC.
-
8 hours ago, cog said:
He wouldn't be deprived of fog living in Britain ... whole ilses seem to vanish there ... (Avalon) A foggy garden won't be a probablem it seems to me ...
Another good music lover - Avalon - Roxy Music.......
OC.
- cog, Egilman, Edwardkenway and 3 others
-
6
-
1 minute ago, Edwardkenway said:
Another really nice bit of painting OC
Thank you Edward.
OC.
-
2 hours ago, Landlubber Mike said:
That came our really well OC. Excellent job!
Thank you mike.
OC.
- Canute, Edwardkenway, Egilman and 2 others
-
5
-
I get you bro, some flaps have actuation hinges also - that in itself could be a headache as they would be different from the in flight flush versions.
OC.
- Egilman, Canute, popeye the sailor and 3 others
-
6
-
Looking forward to more update Denis - keep em coming mate.
OC.
- Egilman, Edwardkenway, Jack12477 and 2 others
-
5
-
6 hours ago, popeye the sailor said:
your off to a very nice start OC
") cockpit looks really nice! I do agree........quite a few planes listed for this kit.....the decal sheet must be huge!!!
cockpit looks really nice! I do agree........quite a few planes listed for this kit.....the decal sheet must be huge!!!
Yep, can build possibly every SHAR from the decal sheet.
OC.
- Edwardkenway, Canute, Egilman and 2 others
-
5
-
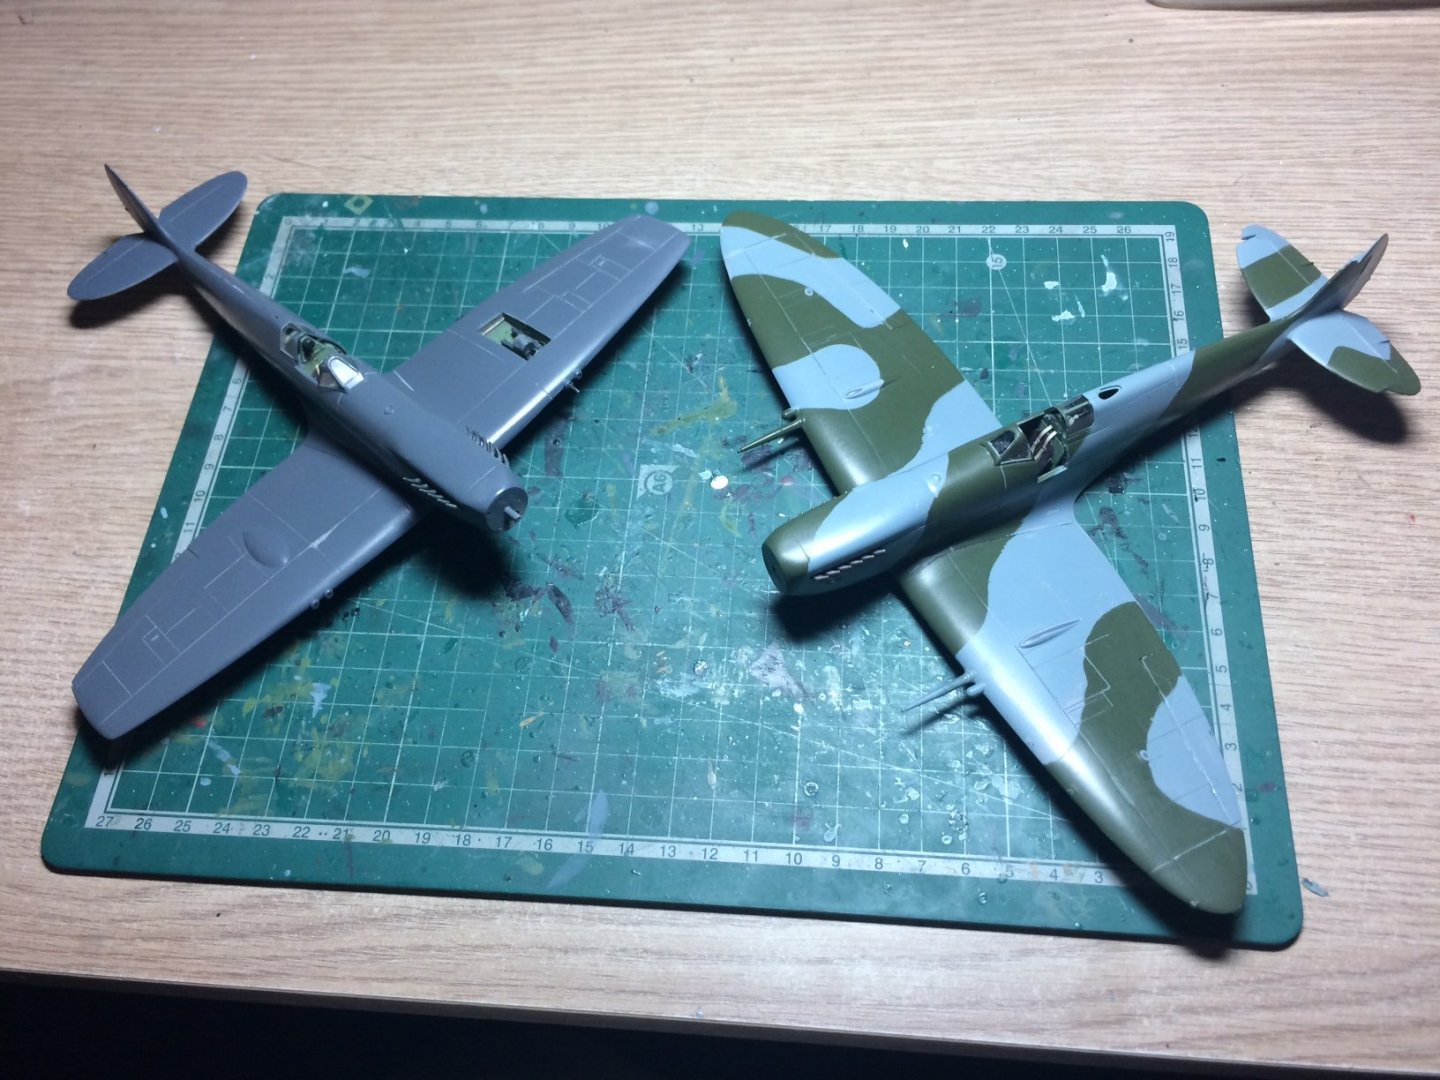
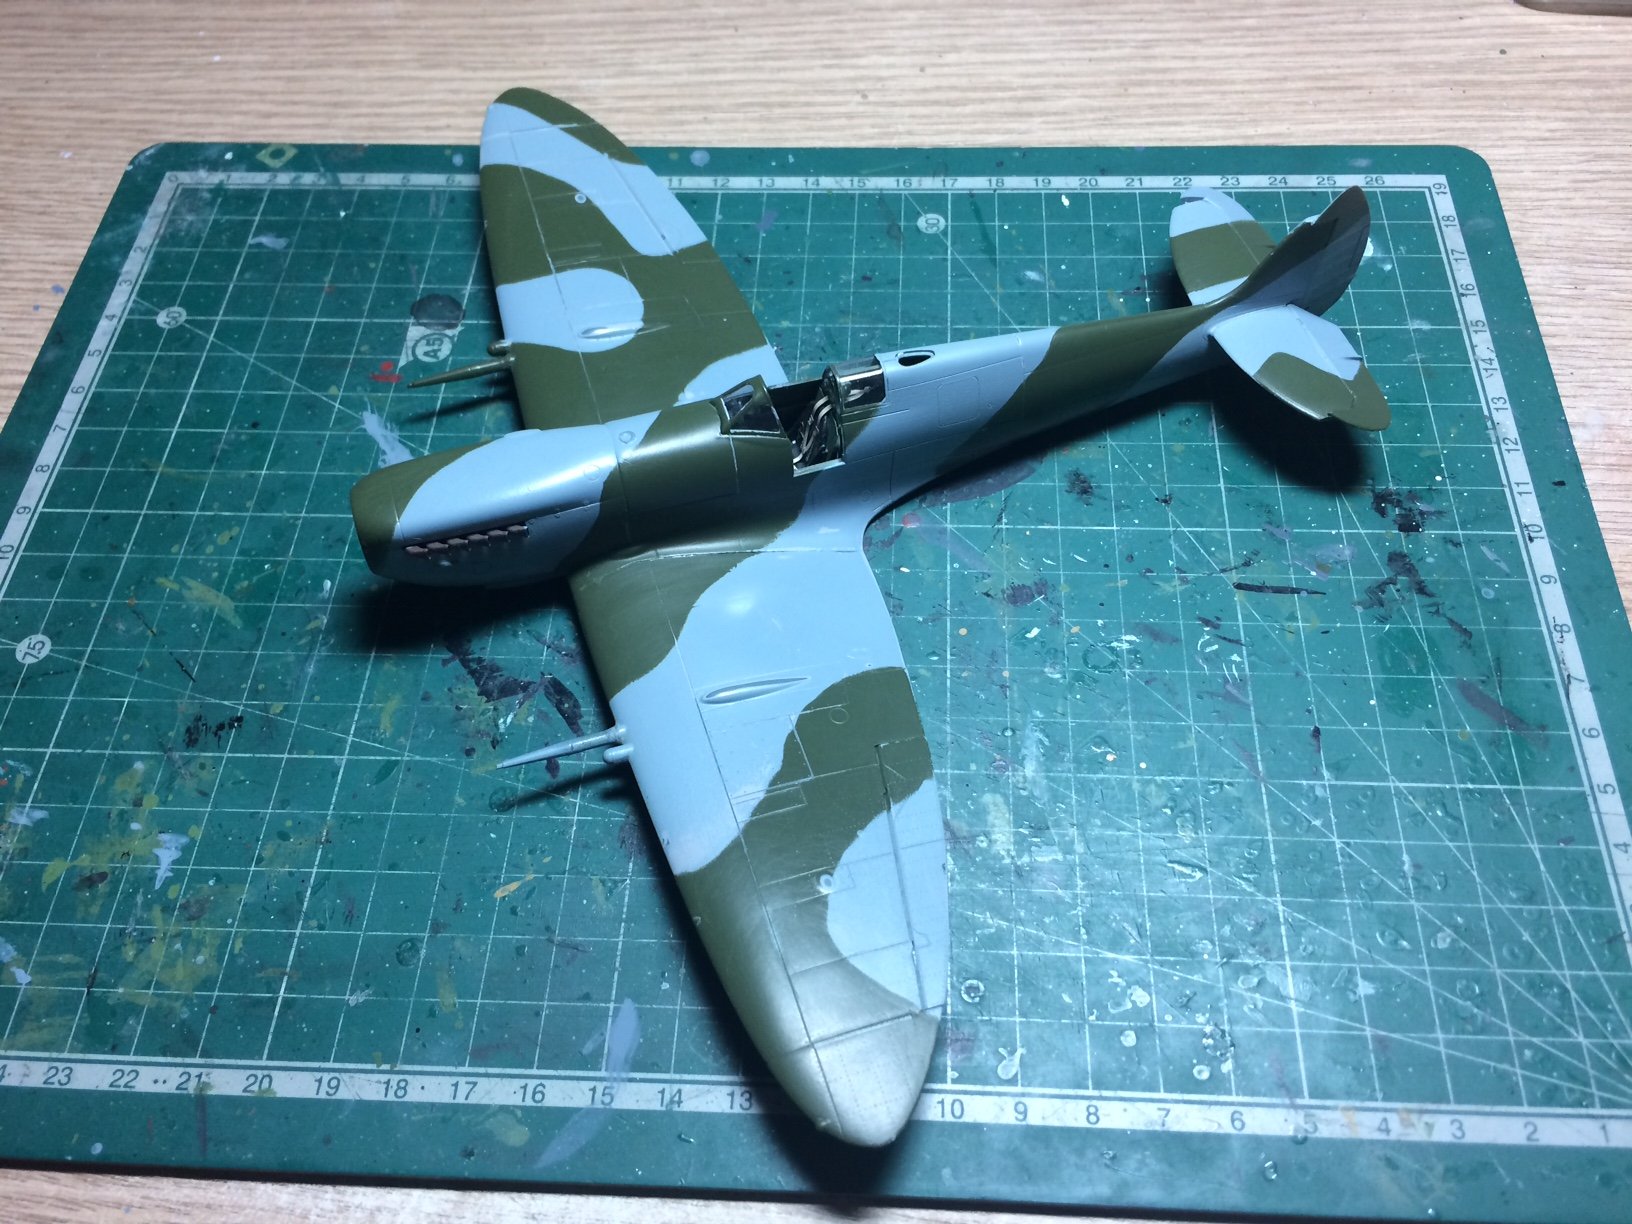
A bit more progress this evening multi tasking with my Spit build (I know easy tiger) anyway I did a bit of tidy up including buffing the paintwork and also I thought it would be good to bring out the panel lines by re-gauging with my fine panel line tool.
Family pic with my Spit.
OC.
- mtaylor, marktiedens, Egilman and 5 others
-
8
-
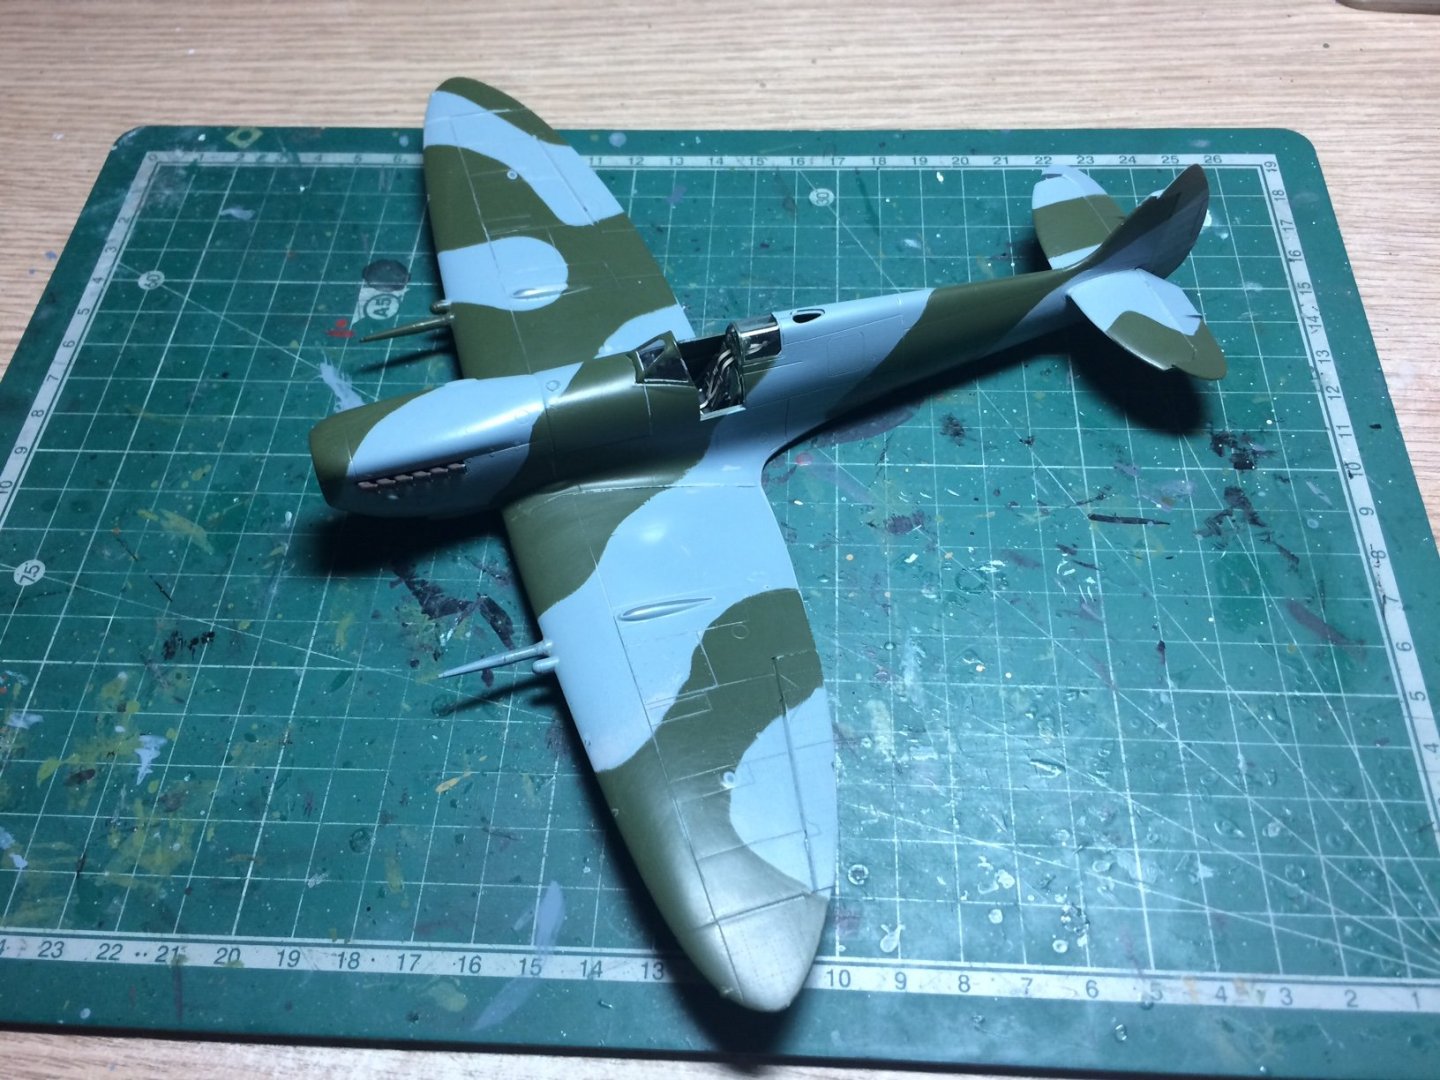
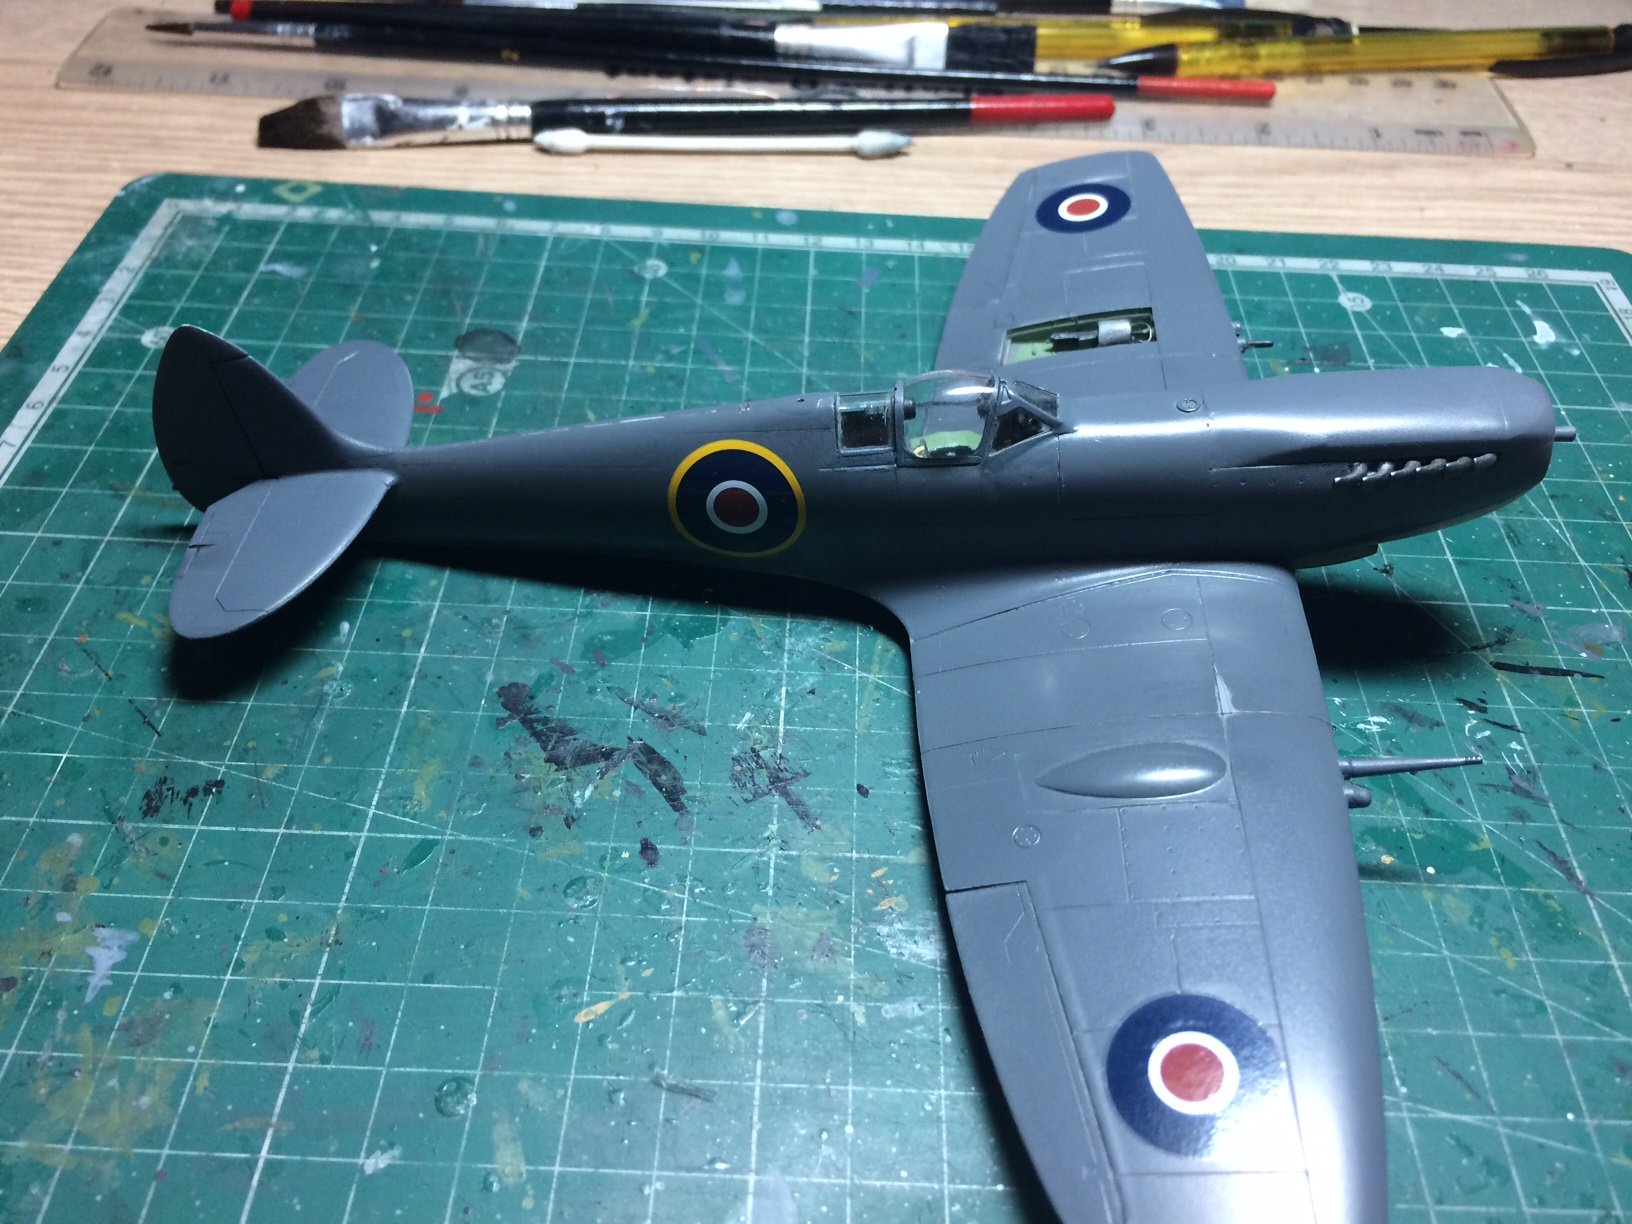
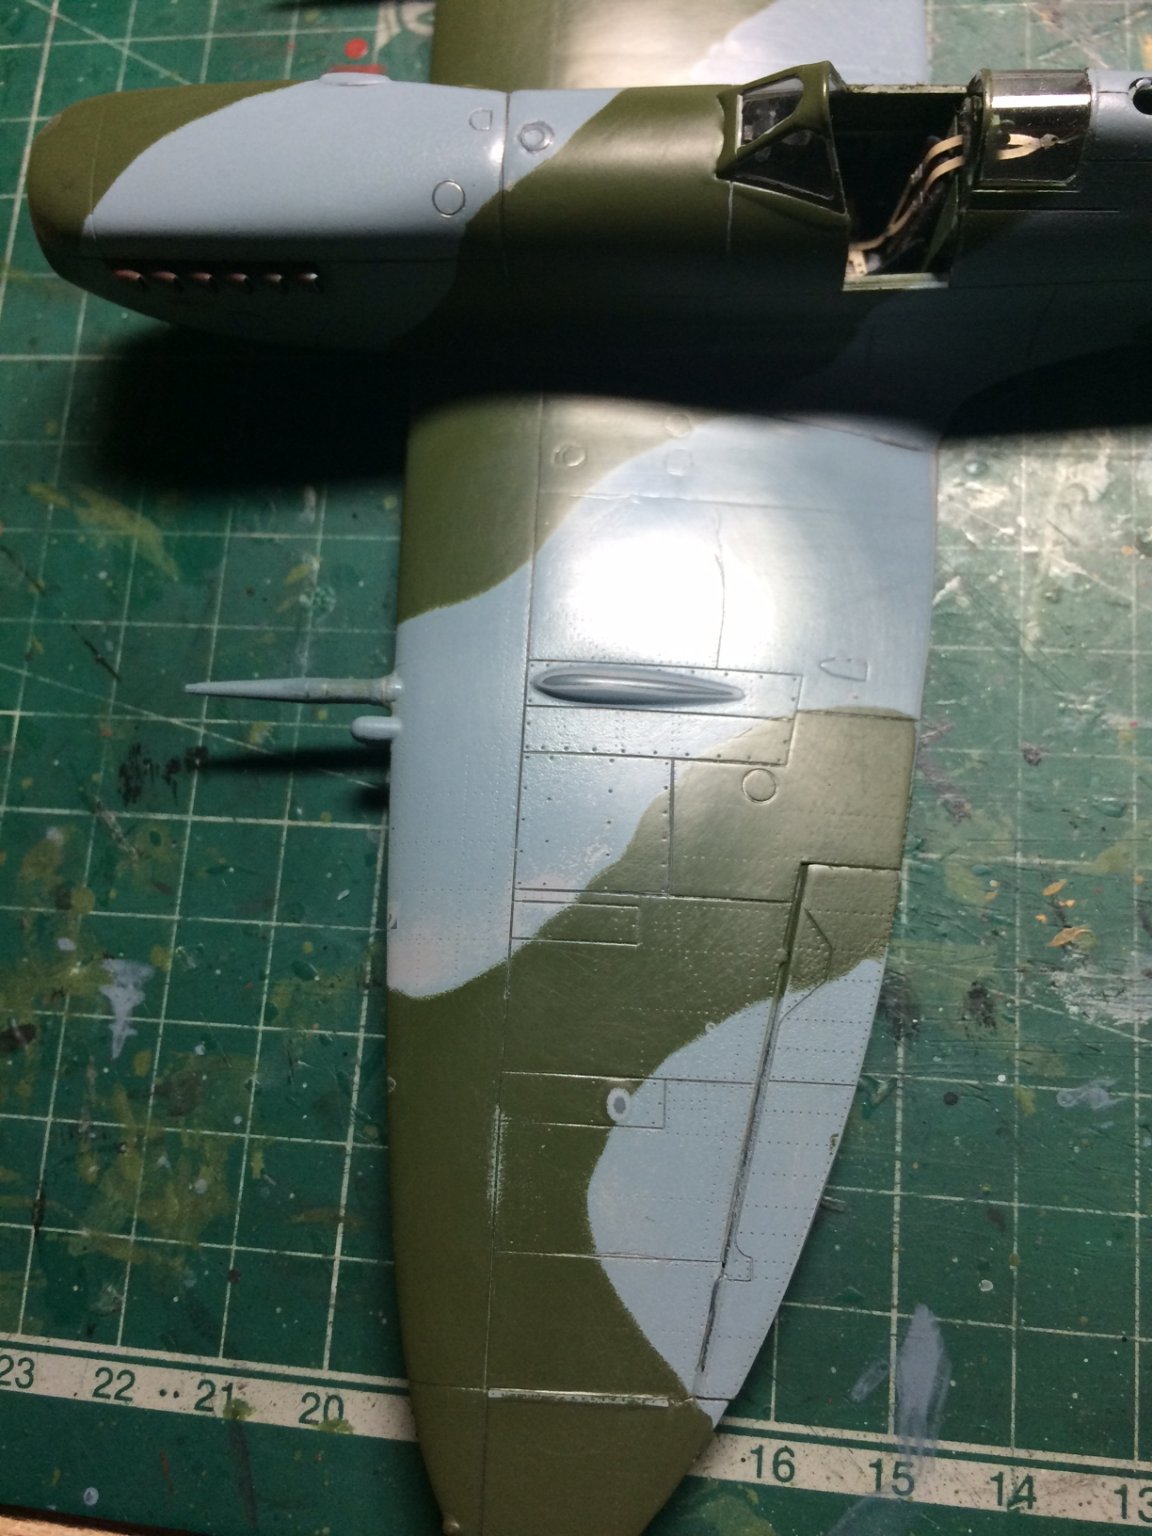
Evening all, I got round to de-masking the IX today - it didn't turn out too bad, the green areas are now ok, as I want to shown a well used version with ware patches and paint fading - I decided to add these areas now, the Grey also needed touching up but first I had to mix up a shade as close to the rattle can Grey as possible (this isn't easy as we know) I reached a shade as close as possible, when this has fully hardened I will buff the finish to get a satin scheen.
OC.
-
1 hour ago, Kevin said:
add a char wagon and some NAAFI girls, a bit of runway some perimeter lighting, and some fog,
jeep looks fantastic
I would need a super long garden for all that - but nice idea though.
OC.
-
4 hours ago, popeye the sailor said:
well isn't this an interesting turn of events?!?!?! a dio is a cool idea
thumbs up to whoever did the good turn....very kind! looking super so far OC.... ")
Thank you kindly Denis, hope your doing ok.
OC.
-
7 minutes ago, Egilman said:
Looks pretty darned close to me my friend....
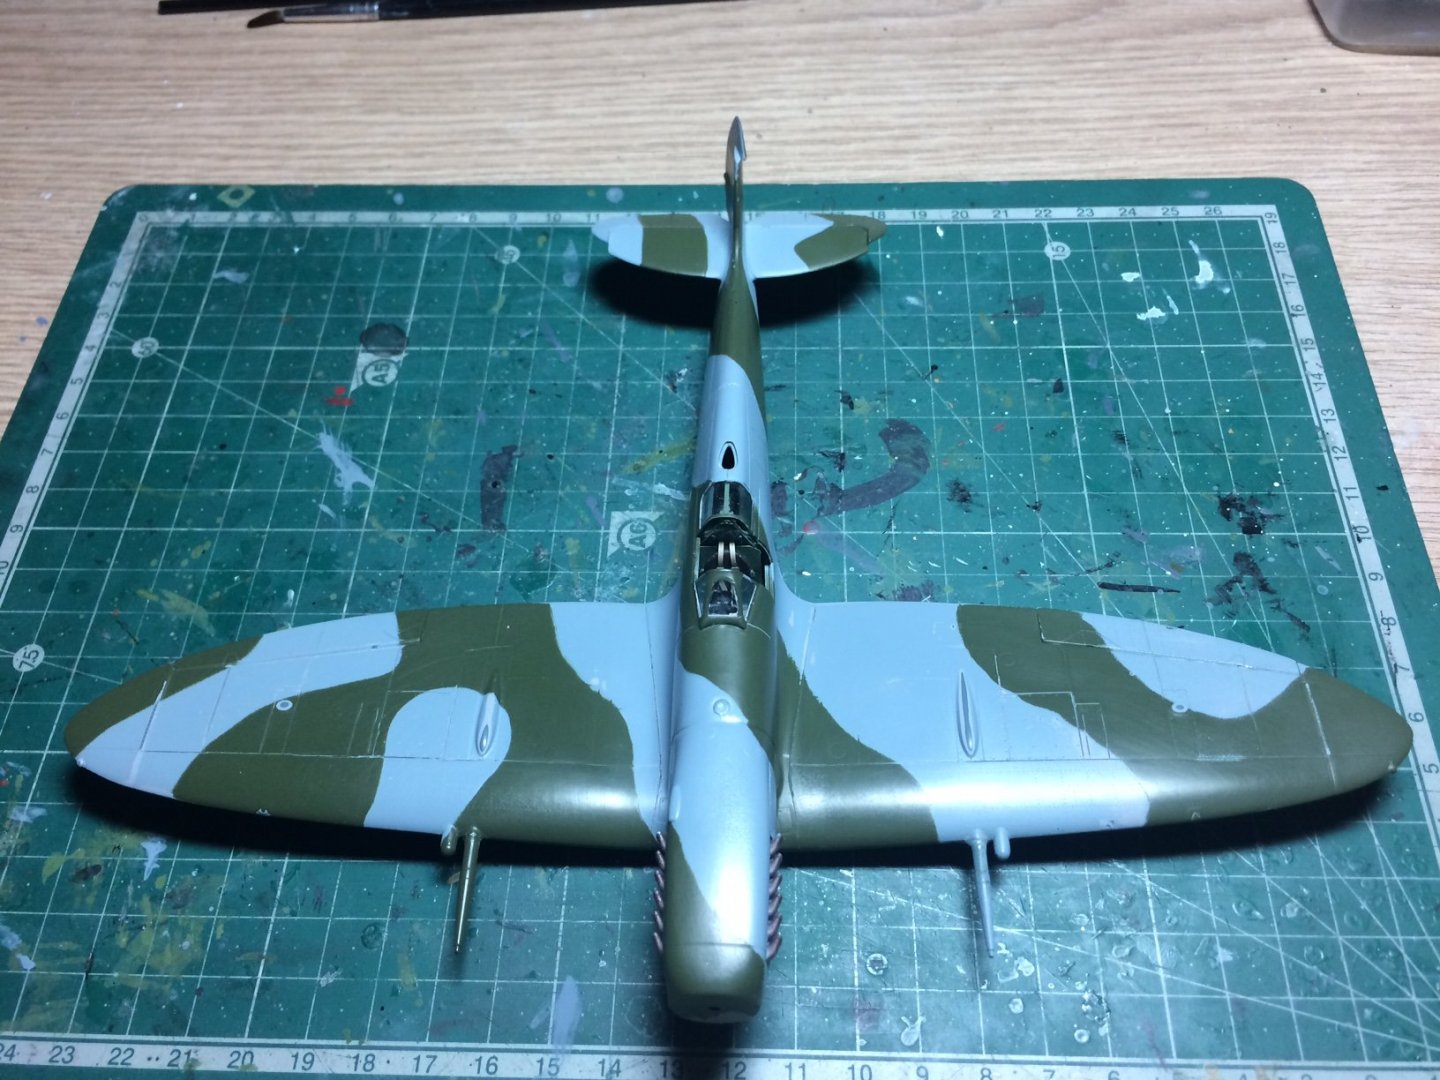
Thank you kindly, its Tamiya AS-27 from thier rattle can range have read its very close to EDSG.
OC.
-
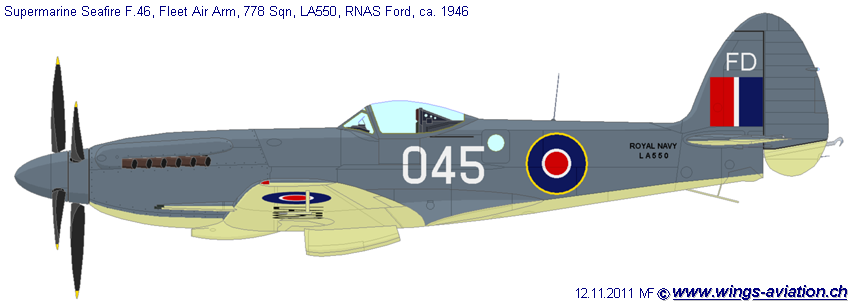
This is a different mk of seafire but its the same colour scheme I am trying to replicate - think its the same?
Pic off the net.
OC.
-
I.m really impressed with how that has gone - you can see how it has changed and how it has become a really shiny - great stuff bro.
OC.
-
37 minutes ago, Tigerdvr said:
And the smell doesn't leak out of the cupboard?
No, the door on the cupboard does a good enough job to keep the smell inside.
OC.
-
6 minutes ago, Tigerdvr said:
A nice job and log, thanks for sharing. Please explain "de-gasing in the cupboard.
Cheers, Harley
Hi Harley, I use Tamiya Laquer Rattle cans for my painting, and during the drying process they give off quite a smell (the term for the his drying is called de-gasing) basically when the smell has gone they are ready to be handled.
OC.


Seafire Mk. III (Late) by Old Collingwood - FINISHED - 1/48 - PLASTIC
in Non-ship/categorised builds
Posted
So, later today - carry on with the decaling and applying coats of Micro Sol to settle them down better as they have quite a lot of panel lines to go over.
OC.