


Old Collingwood
-
Posts
11,997 -
Joined
-
Last visited
Content Type
Profiles
Forums
Gallery
Events
Posts posted by Old Collingwood
-
-
-
5 minutes ago, Landlubber Mike said:
I should have mentioned that I've painted Vallejo acrylics on top of the Mr. Color lacquer primer and Tamiya lacquer paints no problems. Only problem I've had is when I used that Polycarbonate paint on top of acrylics - that caused the acrylic to turn runny.
One thing to note too is that there are varying opinions on how long to let something dry and especially cure before adding a different layer on top. Most seem to suggest waiting at least overnight, if not 24 hours, to be on the safer side.
Thanks Mike, certainly lessons learned.
OC.
- Egilman, mtaylor, popeye the sailor and 1 other
-
 4
4
-
Thank you kindly Mike, I am fully relating to that, I think that is what happened a combination of what EG said and yourself - the laquar layer reacted (made worst by heat) with the Acrylic Tamiya top coat semi gloss.
What I will do in future - Not mix laquar with Acrylic, and to finish my mossie off - use the two colour laquar tamiya rattle sprays, sort out some decs - put them down again using my micro set and sol, then after about a week or so use the tamiya laquar flat coat but somehow try not to spray it to thick (not that easy with rattle cans).
OC.
-
4 minutes ago, Canute said:
OC, looks like a great save. Well done.
Thanks Ken, its a clear canvas again ready for masking and spraying.
OC.
- mtaylor, Edwardkenway, Canute and 1 other
-
4
-
4 minutes ago, mtaylor said:
I suspect the biggest problem with the Spitfire against the Zero was armament. The Spit had only a few .30 cal. machine guns. The Zero had to cannon and several larger caliber MG's. I'm only "suspecting" this as I'm not full in on the details of the adversaries at the time.
I know in the European theater the Spit IX was introduced with the more poweful engine, this made it a match for the rather excellent FW190 of the Germans, I assume more poweful spits were shiped out over seas but not sure.
OC.
- Canute, mtaylor, popeye the sailor and 1 other
-
4
-
That is looking very nice my friend - very tidy work.
OC.
- Edwardkenway and VTHokiEE
-
2
-
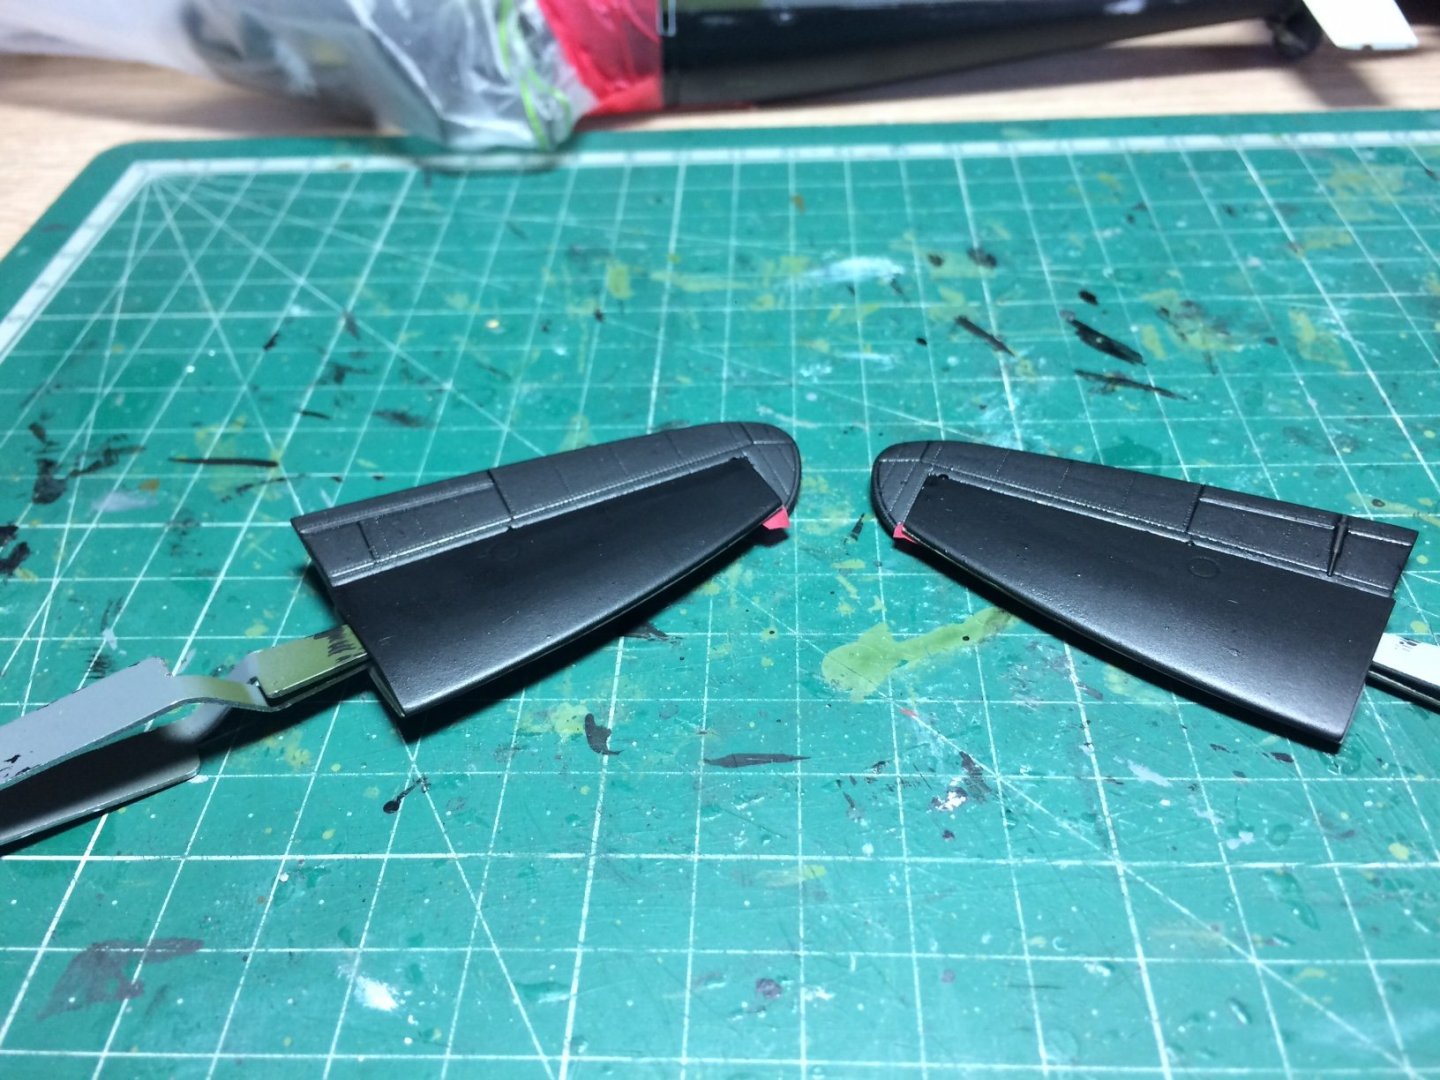
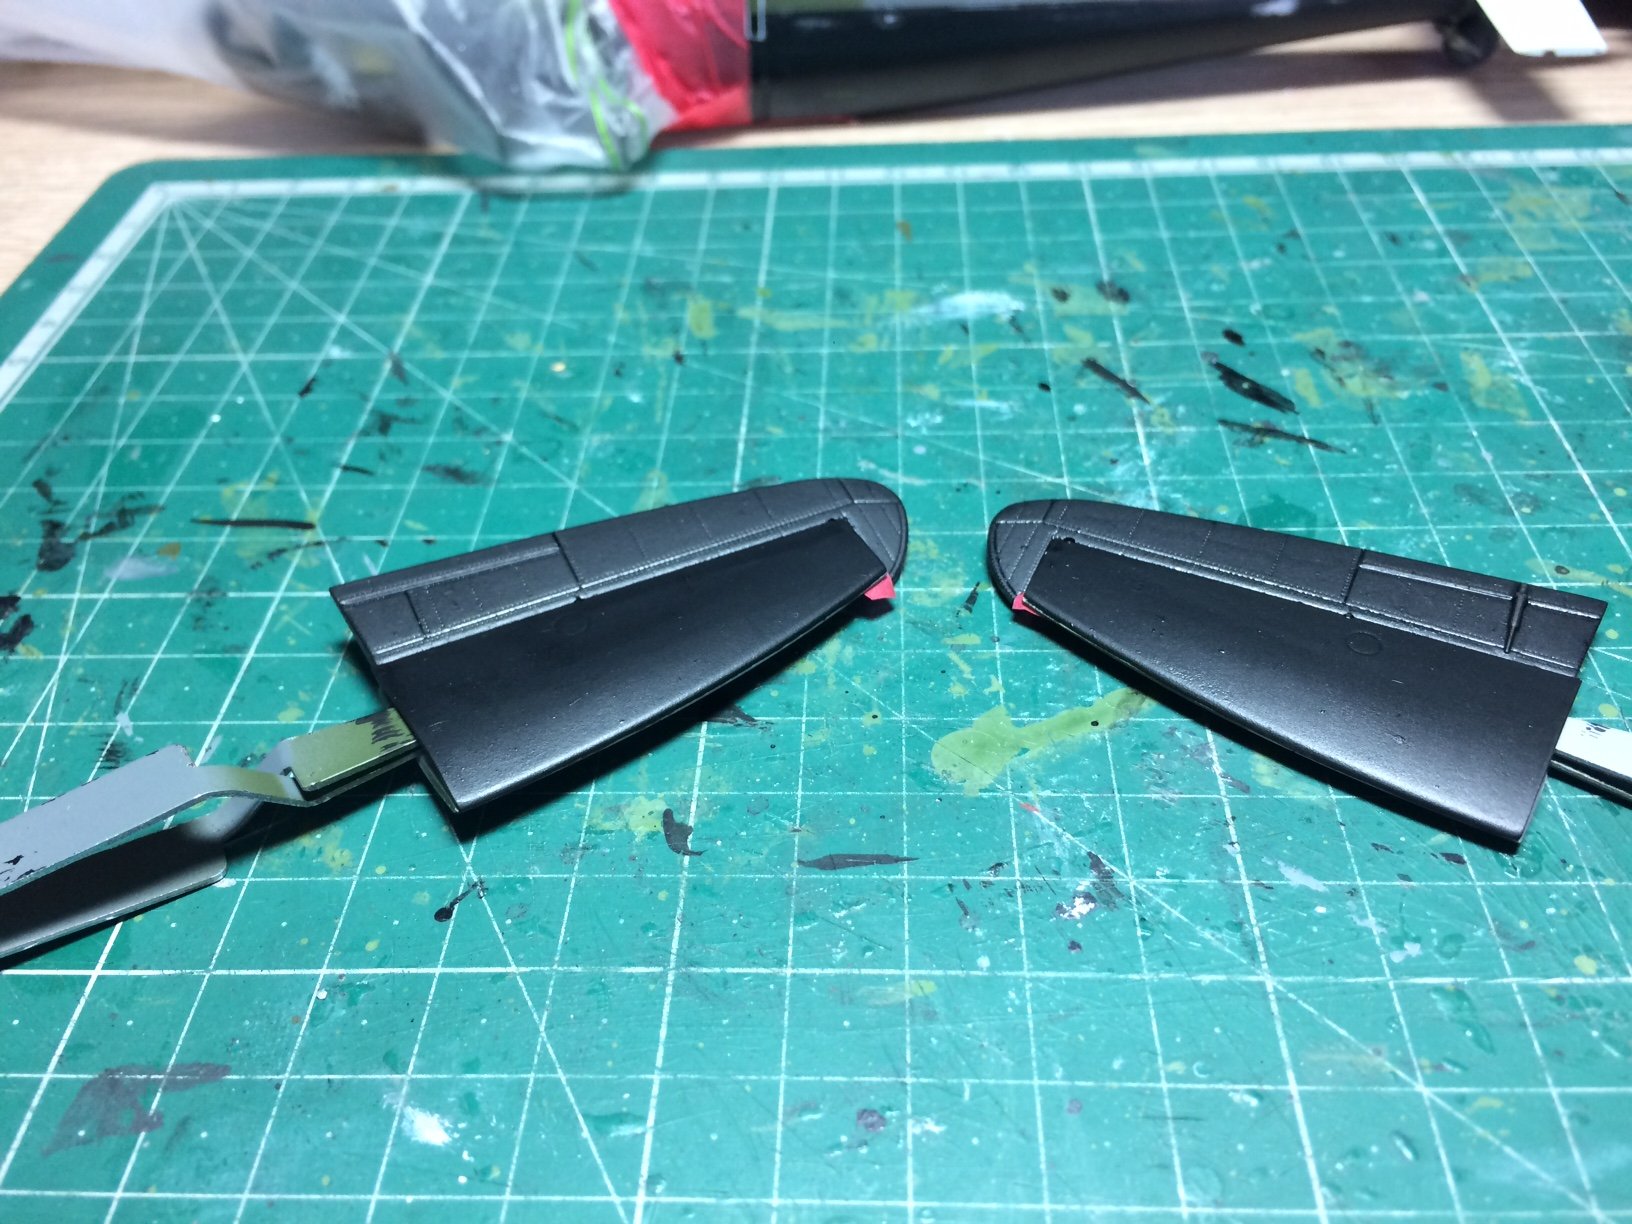
I put the fuselage aside and tuned my attention to the Black paint underneath both stabs and main wing, this was straight forward as they had already been primed, I decided to hand paint these same as I hand painted the other wing, I masked up a few areas on the wing near the flaps - then painted away.
I have the stabs done and part of the main wing - I will finish the rest when the paint is dry and hardened.
OC.

- Javlin, Kevin, marktiedens and 8 others
-
11
-
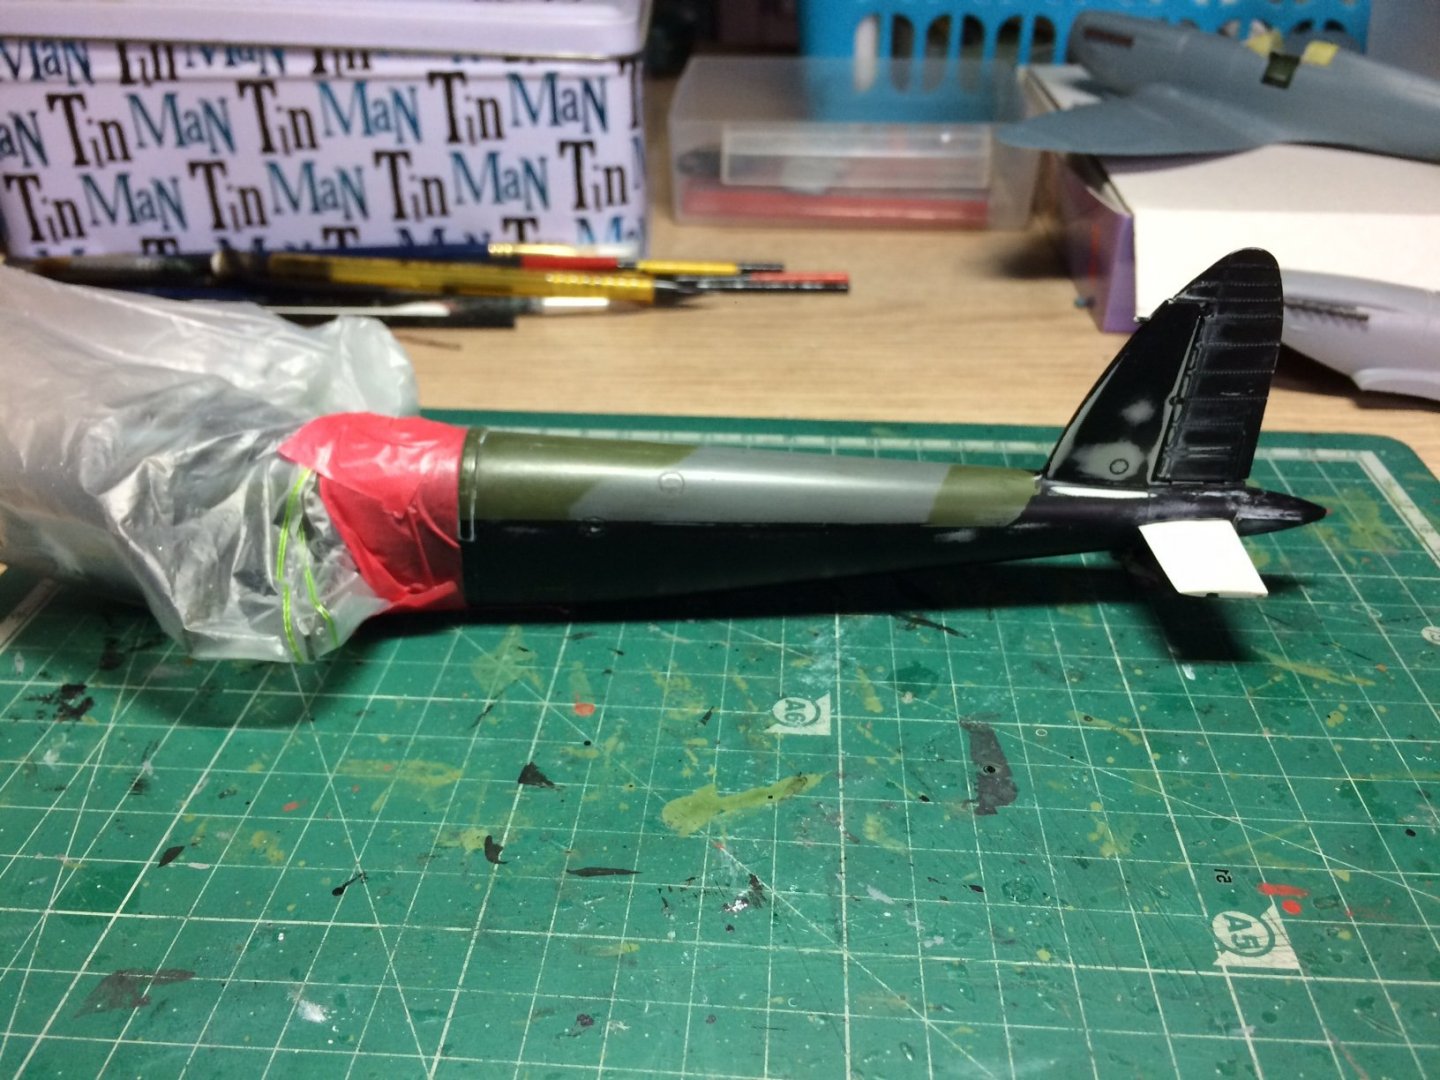
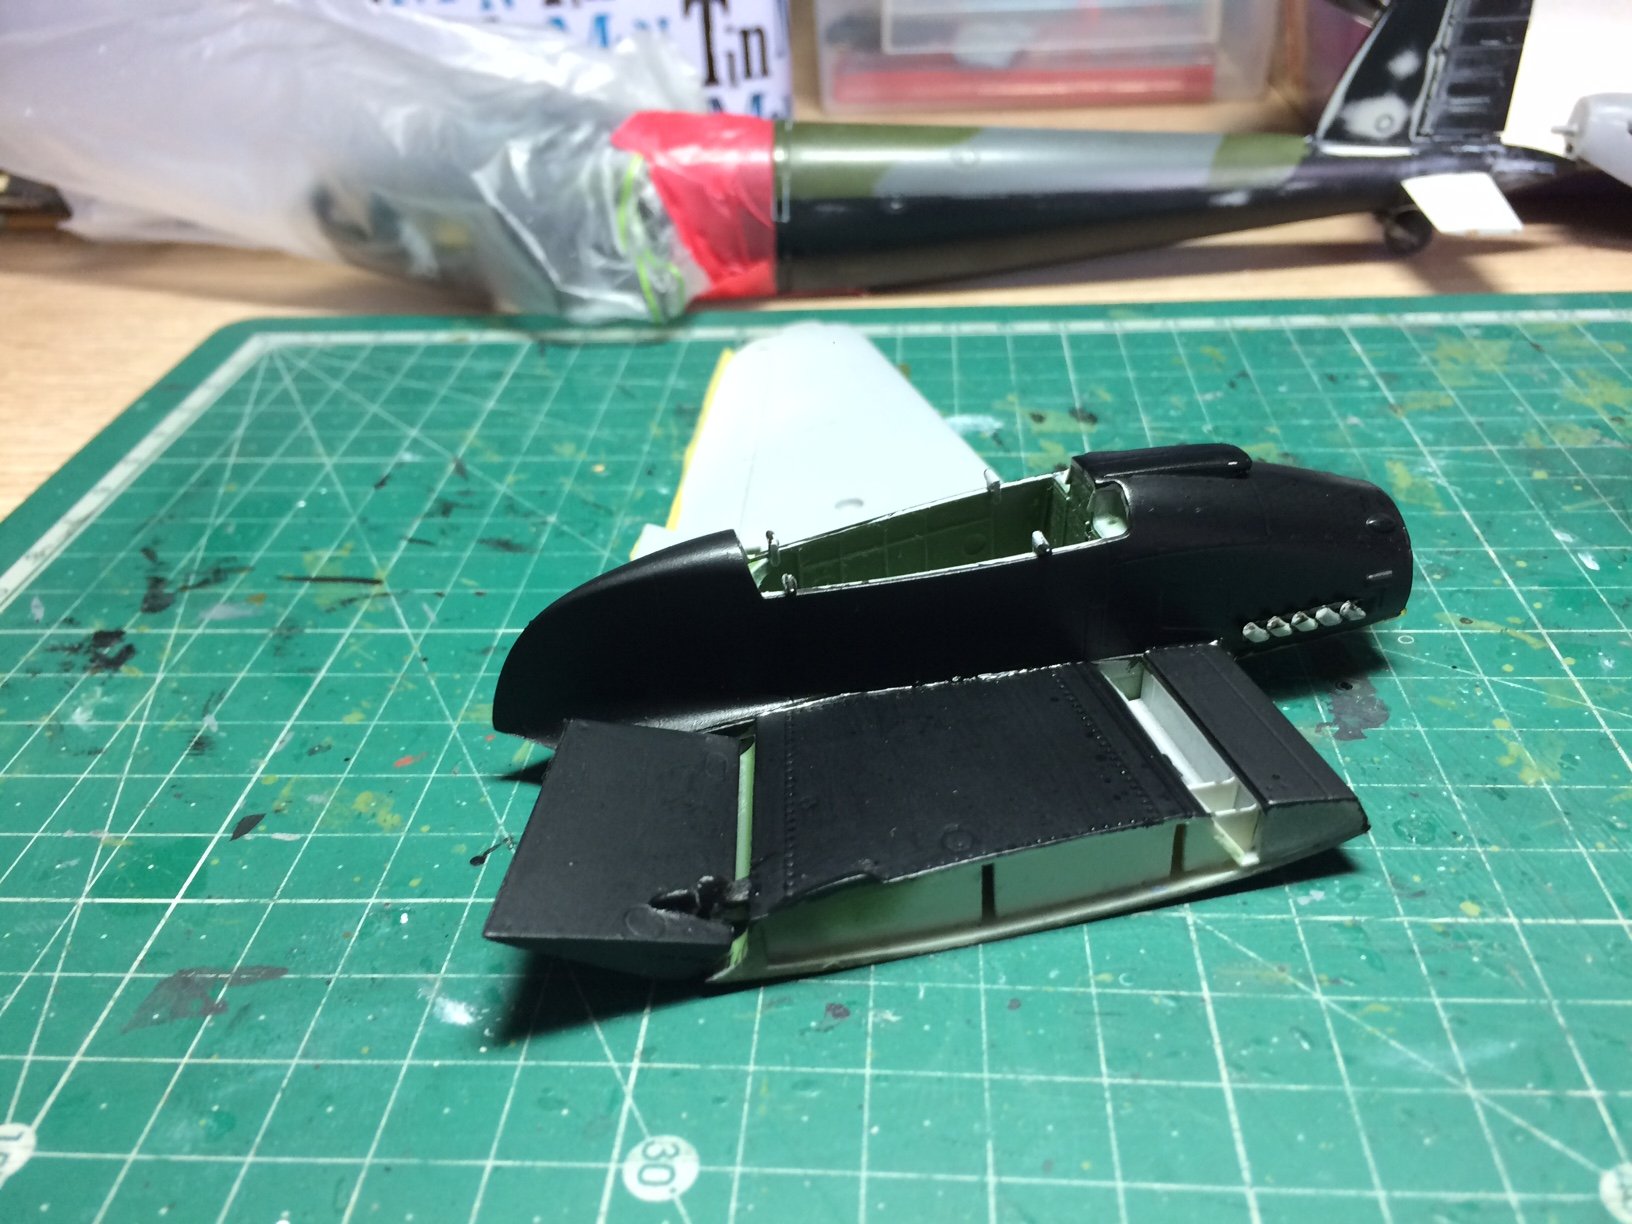
So after the disaster, the process to try to turn it around started last night by me trying the old trick of using masking tape to pull the damaged decals off, several tries and to my amazement the worst culprits came away without damaging the paint work underneath.
So today after a good sleep, I got some fine wet and dry and soapy warm water, and proceded to work on the areas affected, this worked out quite well as the tamiya laquar layers that had been sprayed on with the rattle cans, had actually formed quite a hard layer - so I carried on.
When I was happy with the finish the next stage was to mask off and isolate (thas a good word these days) the front section as that was not affected, so with the aid of a plastic bag and tape - it did the job.
So this is the fuslage ready to be masked up for the camo colours.
OC.

- mtaylor, popeye the sailor, Canute and 6 others
-
9
-
8 hours ago, Edwardkenway said:
Sorry this happened OC.
If it's any consolation I know you will be able to get over it somehow.
Thank you Edward, I think I have it in hand, read lower.......
OC.
- popeye the sailor, Egilman, mtaylor and 1 other
-
4
-
8 hours ago, cog said:
Can you get your hands on Mr Paint cleaner? It removes even enamels. That might just be the solution for the stripping, or as Lou suggested. I wouldn't just sand lightly and spray, or hand paint for that matter. It might become looking rather clumsy. Every layer you add with a brush is quite thick, compared to airbrush or rattle can.
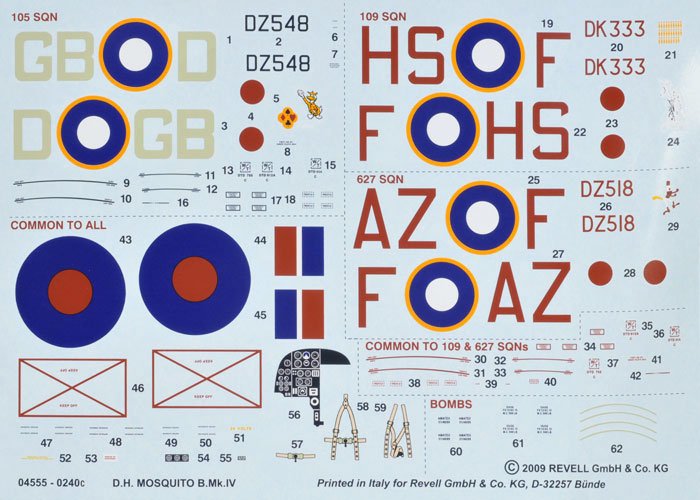
Maybe you can have decals printed. This is the sheet. Make certain it's at the right scale when you have it printed on decal paper. If you can't give me the measurements of the sheet or from a large decal and I see what I can do for you. You might even try to contact Revell ... it's a German company, so close enough to home
")
So sorry this happened to you. Especially since it really went so well, and it was looking so marvelous
Thank you so much for checking that out, like I said to Lou - the restoration is in place, I will explain more lower......
OC.
-
11 hours ago, lmagna said:
If you are going to strip it down anyway OC why not take it all the way and try a bottle of Super Clean like EG described in his car build and take it down to the plastic?
https://www.walmart.com/ip/SuperClean-Tough-Task-Cleaner-Degreaser-1-gal/23752162?selected=true
Might be better to start from the beginning rather than go halfway.
Sorry this happened to you it was going so nicely.
Thanks Lou, the restoration begins .......
OC.
-
1 minute ago, Egilman said:
That's how I would do it, others might have a better way though....
Thanks mate, reasurance knowing you would do it that way, kind of a busy head at the moment working it out.
OC.
-
Painting wise - what do you guys think is best - paint the camo first by letting a small amount of over spray then mask up and do the Black meaning just the one demarcation line needed.
OC.
-
-
Just a small update - I was able to pull the (now) damaged decals off using masking tape, I was lucky it didn't pull any layers of paint off underneath, so I should now have a fairly good surface (after a light wet n dry) to re paint.
OC.
-
11 minutes ago, Egilman said:
Yep, I would give a light sand down of the affected areas and repaint....
Like I said, the decals will take care of themselves.....
It's too damned pretty not to finish it....
Thank you EG, I will have a go latter today.
OC.
- Canute, mtaylor and popeye the sailor
-
3
-
7 minutes ago, Egilman said:
I'm sorry brother, I didn't catch that, no acryls ever get applied over true lacquers... period why cause lacquers, the real lacquers can take up to two months to completely degass (dry/cure) once you have applied a true lacquer you have to stay on that road....
Lacquers are lacquers whether or not it be applied to a model or a car or a piece of furniture.... they don't mix with anything well at all..... (and they can take forever to cure)
Truly a lesson for future builds - painting with laquars keep it just laquars, painting with Acrylics keep it Just Acrylics , I never use Enamels anymore.
OC.
- Canute, mtaylor and popeye the sailor
-
3
-
2 minutes ago, Javlin said:
OC I was building a small cabinet for the wife to go in a bathroom solid black and she has been prone to the oriental black very glossy and deep.I think I applied the lacquer clear first and it had cured well and for some reason applied an acrylic clear and it cracked like crazy spider webbed.Those two do not mingle well at all sorry as heck to see this happen
 Kevin
Kevin
I assumed the Tamiya Rattle cans (I was told they are laquars but for kits) and Acrylic would have been ok, I was told and read to be careful spraying Tamiya rattle can clear coat laquars over decals as they can carck them if to much is sprayed in one go.
OC.
- Canute, mtaylor and popeye the sailor
-
3
-
If I decide to re paint the rear section - any thoughts on prepping the surface as I dont have any solutions for taking the paint back, would it work just fine wet and drying just to flatten the decs back so fresh paint Tamiya rattle laquar cans can go over the top?
OC.
- mtaylor, Canute and popeye the sailor
-
3
-
8 minutes ago, Egilman said:
Well that confirms what caused it, too much heat catalyzed the acrylic before it could cure....
I'm sorry brother.... she was beautiful...... she will be again this is only a setback....
Gutted as I got the wings close to perfect.
OC.
- popeye the sailor and Canute
-
2
-
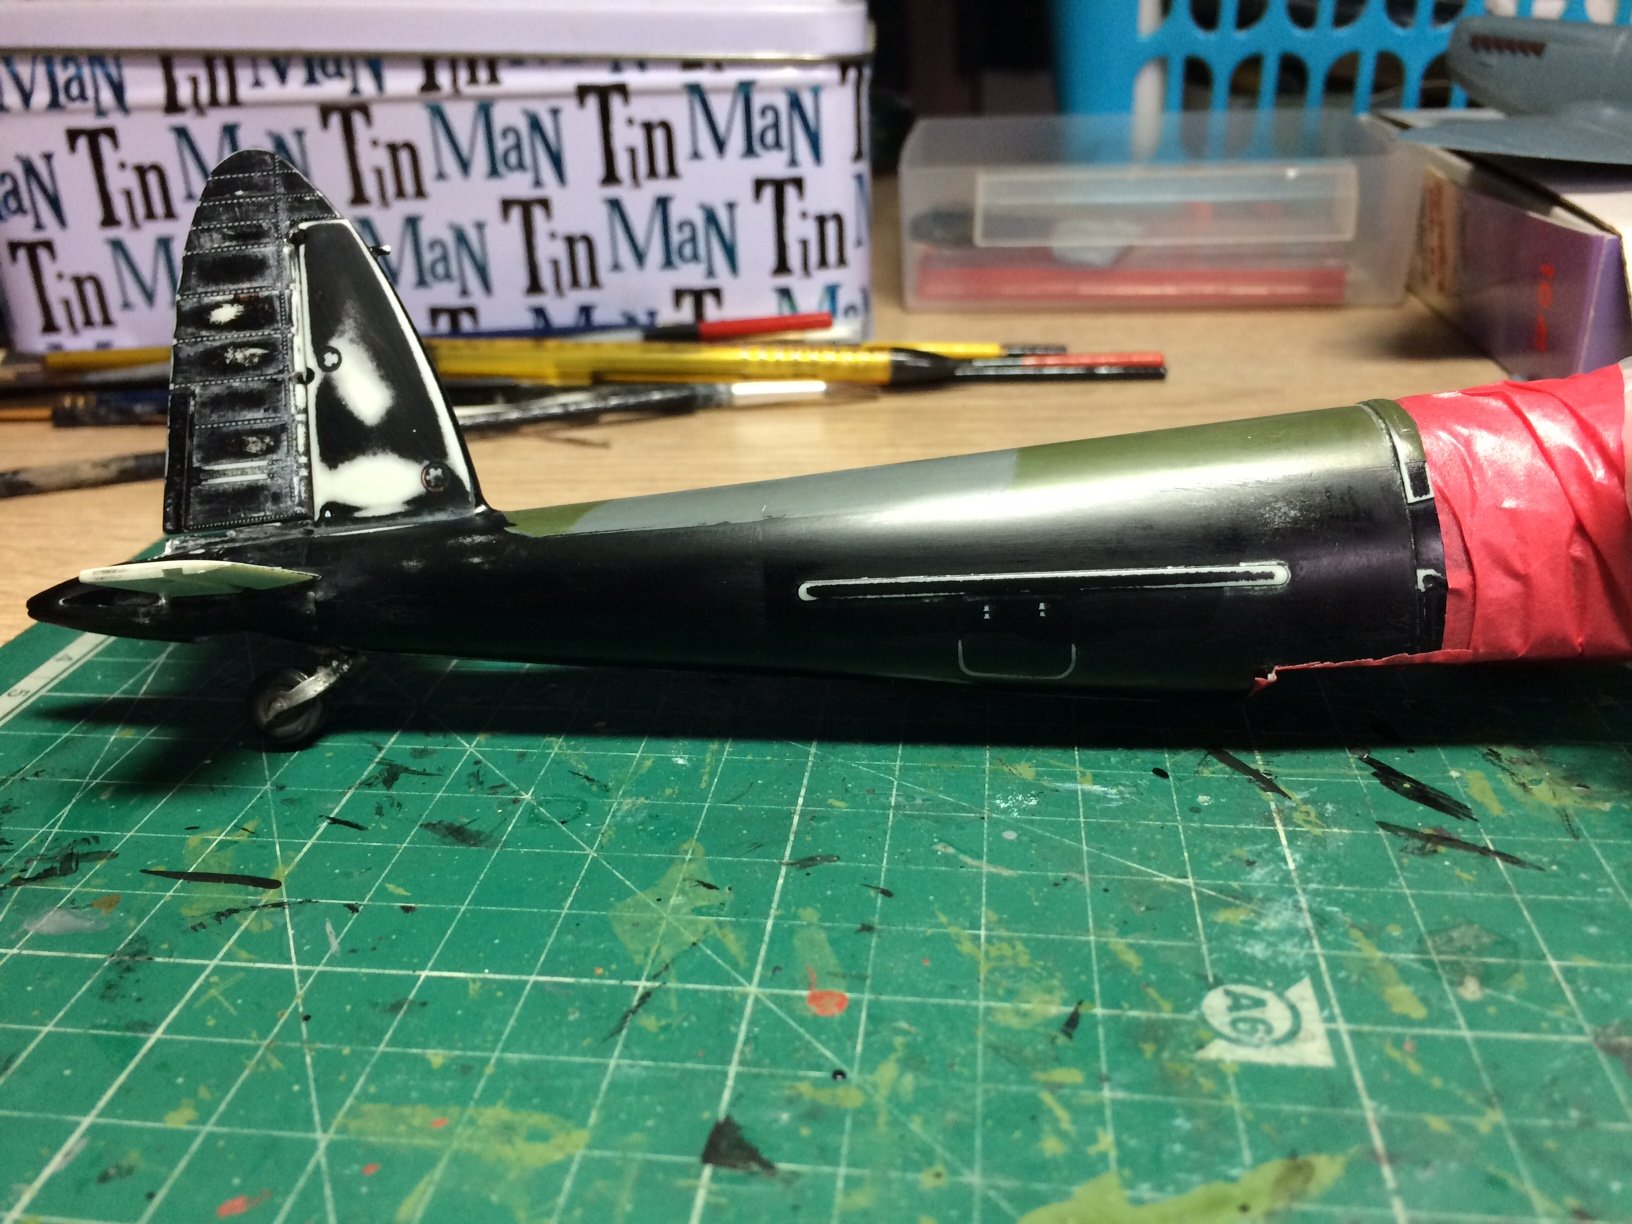
I have just this minute had a got on the tail, I re - applied the X35 by wide brush I worked it in well but smoothly and started to see the cloudyness smoothout and show the dark Black underneath and same in the decal (that is damaged from rubbing) But, after a few minutes letting it dry on its own the cloudyness is coming back only difference is its a gloss cloudyness not flat.
OC.
-
Thanks EG, I will try on the tail first as its a controled area Its Tamiya X35 Semi Gloss Clear it a bit on the thick side but I have no way apart from distilled water to dilute it.
OC.
- popeye the sailor, mtaylor and Canute
-
3
-
5 minutes ago, Egilman said:
I don't think it was a reaction.... My thinking was to the heat of the hair dryer. I have a suggestion.....
I don't think it will hurt it at this point....
Say on the rudder where it is discolored the worst? Try coating it again, only this time allow it to dry on it's own....
My mind says it cured too fast not allowing the material to cure from the inside out. the heat created a skin over the top which didn't allow the insides to completely degass.. That causes the skin formed to cloud up.... My hope is that the clouding is only surface and a reapplication will smooth out the problem.... Try it on a small area and see if it works....
I'm just making a suggestion based upon educated guess at this point I don't know if it will work, but it's worth a try....
the only other option is a strip and repaint....
Thank you EG, the problem is the sponge I used has scratched the paintwork now (I tried wetting it to see if it would clean up but no good) I think the paintwork is no good now.
But thank you for your thoughts mate.
OC.
- Canute and popeye the sailor
-
2
-
Just now, mtaylor said:
Humidity maybe?
Shouln't have been any - was indoors no heating on and about 18deg I keep telling myself "should have just sprayed the Tamiya rattle can flat over it and not tried to even up the gloss coat first, perhaps you can not apply acrylic over the top of Tamiya rattle cans as they are laquar and not acrylic.
To try to rescue it would mean trying to get a smooth surface then re masking the entire rear section from the fuselage joining section, meaning fresh black and on the tail/rudder, fresh camo on the top, I have found in the box and alternative large code with side roundel and registration code, but no spare tail decals (that would have to be left blanc.
Just the thought of having to re do it again - a third time - this kit is becoming a real knitmare.
OC.
OC.
- Canute, mtaylor and popeye the sailor
-
3

B-25 Mitchell "Meet Miss Runyon" by Javlin-HK-1/32
in Non-ship/categorised builds
Posted
"Please get the Mossie" heard there are some rather nice kits at that scale.......please please.
OC.