HOLIDAY DONATION DRIVE - SUPPORT MSW - DO YOUR PART TO KEEP THIS GREAT FORUM GOING! (89 donations so far out of 49,000 members - C'mon guys!)
×


Old Collingwood
-
Posts
12,104 -
Joined
-
Last visited
Content Type
Profiles
Forums
Gallery
Events
Everything posted by Old Collingwood
-
 Just a bit of builder artistic license denis - think it looks better that way. OC.
 -
Gonna be a great kit. OC.
-
Thats looking super - you have brought the detail out really well. OC.
-
Got my seat ready - this will be good so great to have a fellow spit build on the forum (your F18 looks Superb) OC.
-
They do a kit of that not sure what scale though - memory escapes me. OC.
-
As denis said - very nice work - I love the shading in the fuselage. OC.
-
Small world Jack/Ken. OC.
-
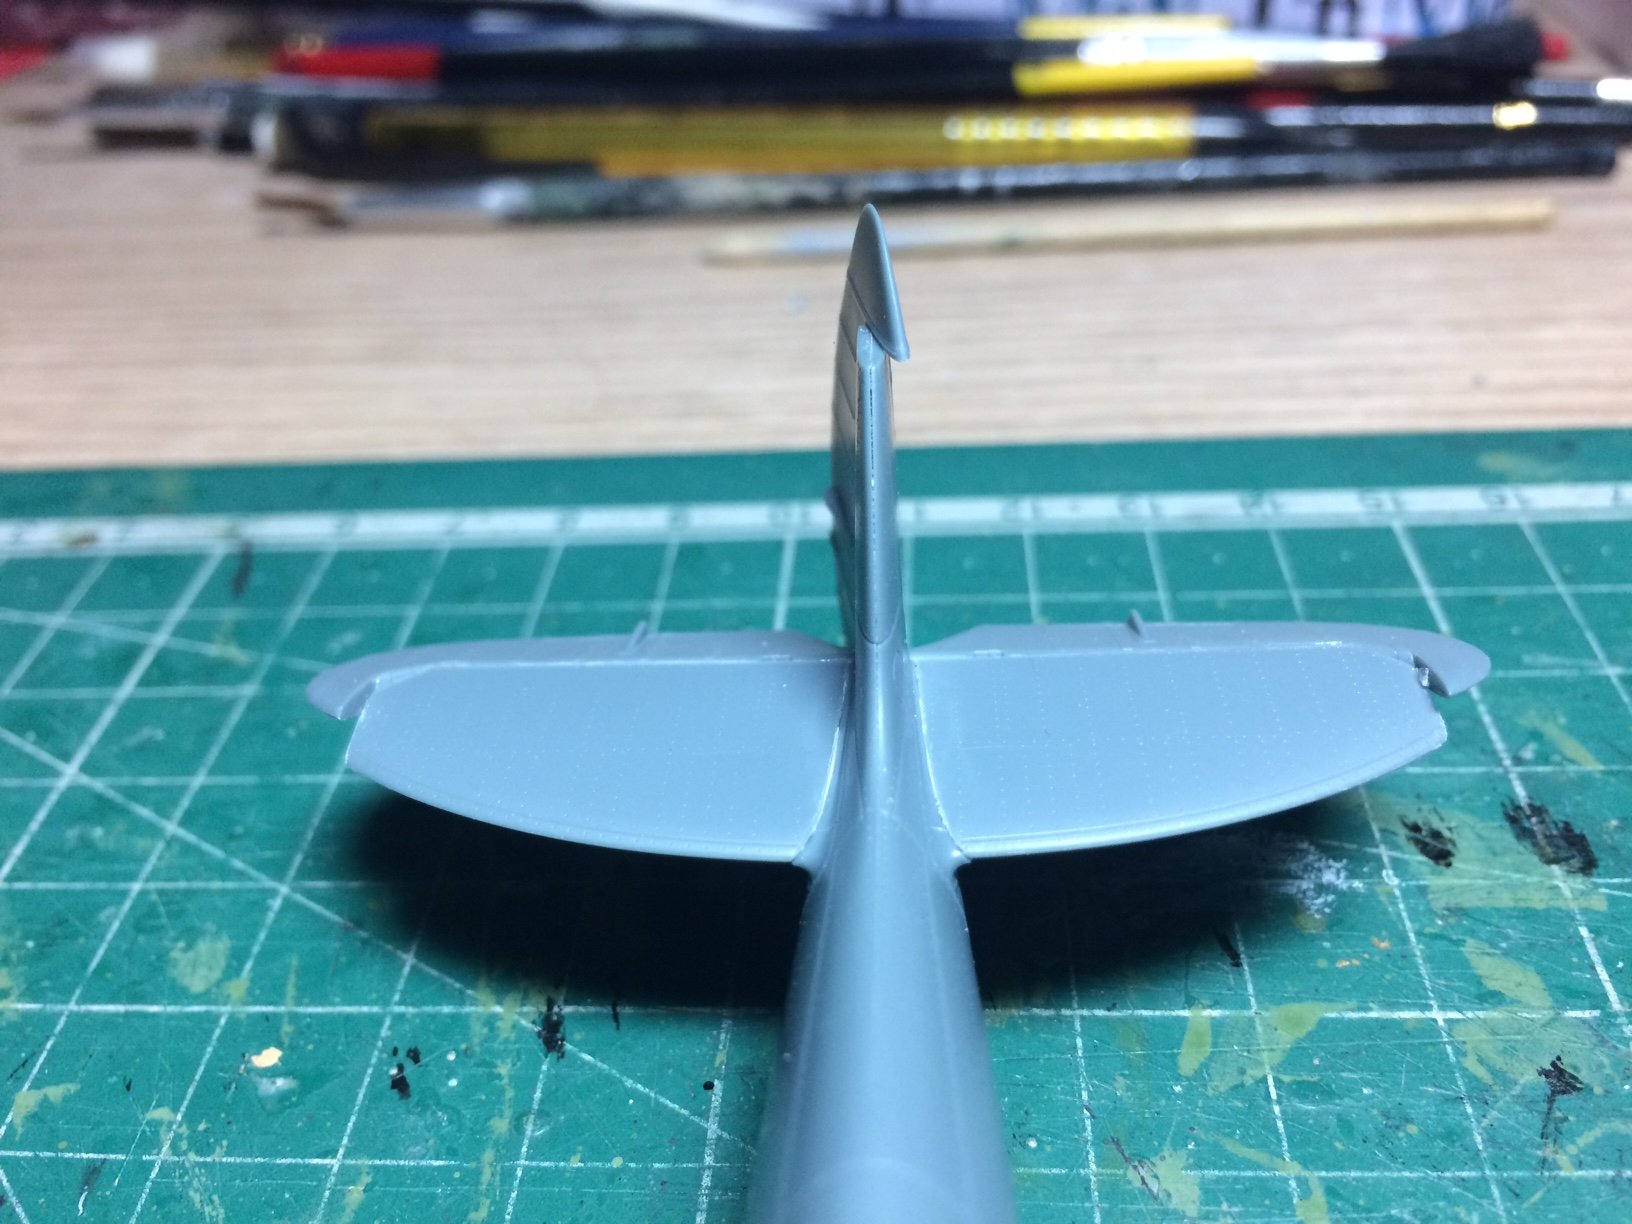
Later today (yep I know where does the time go) I will check the join where the Stabs meet the fuselage and fill if needed, then I think it will be wing tip and Aileron fitting time, I will probably keep the Ailerons level as I dont think they are gravity enduced so wont droop on power down. OC.
-
One of mine was "A bridge too far" after watching the film as a teenager I went out and brought the Airfix Dio kit of the same thing - soldiers and Tanks and the bridge all in 1/72. OC.
-
Those will be cool. OC.
-
Thank you Ken. OC.
-
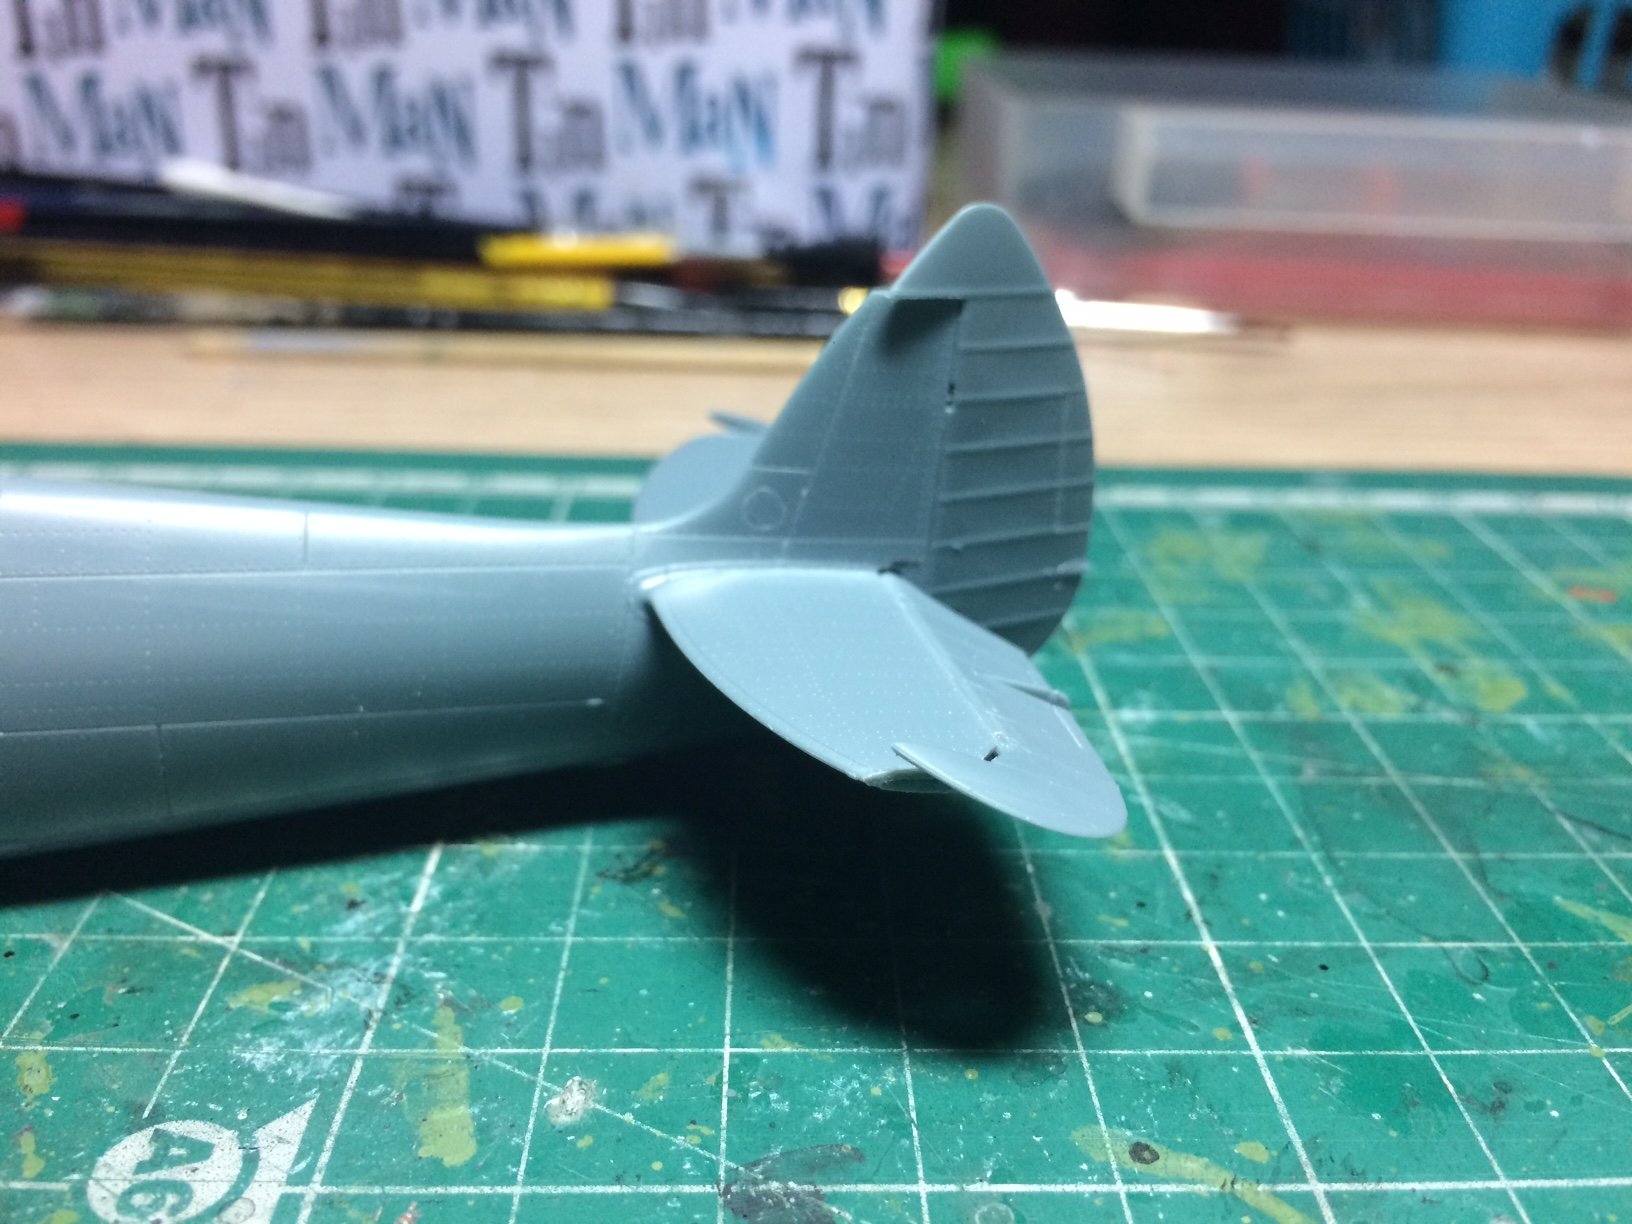
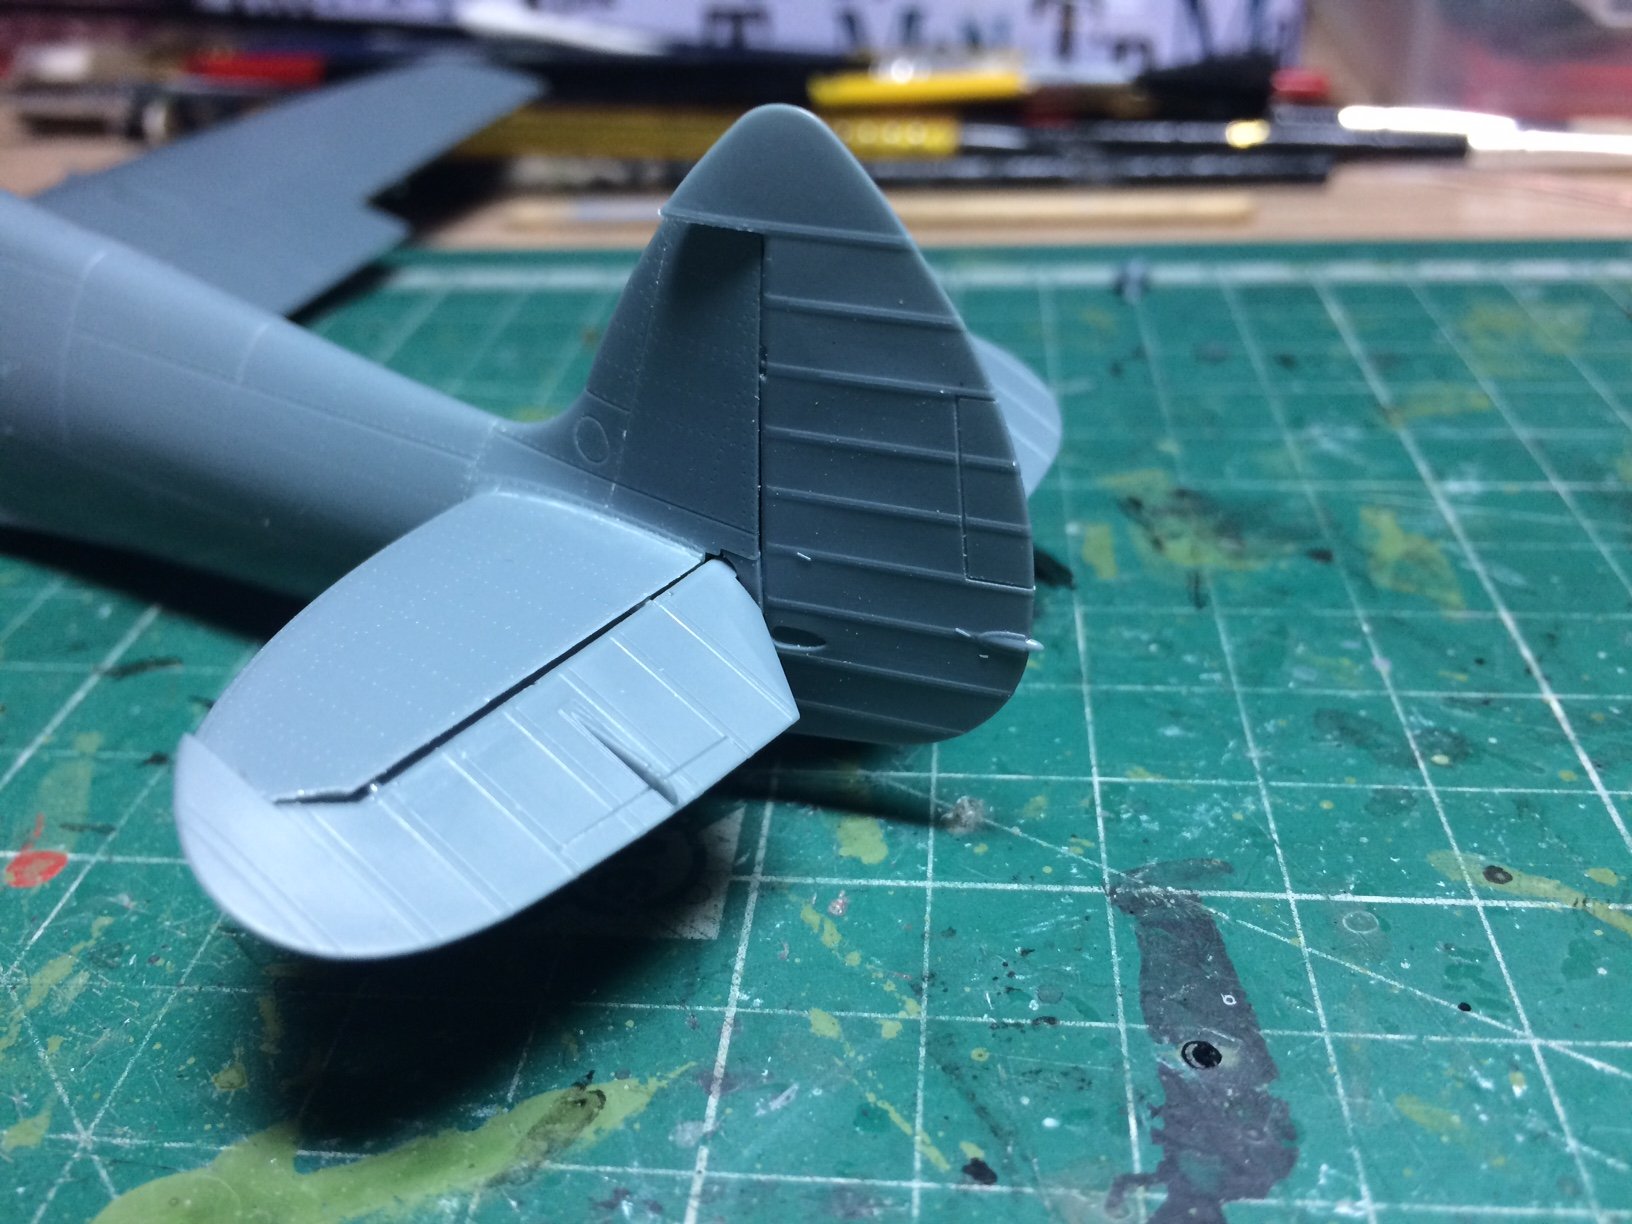
Evening all hope all are well and not going too nuts yet, I spent another hour or so on the Spit, I decided to make the stab frames / stabs and rudder, quite straight forward with minumum fuss, I decided to droop the stabs and give the ruidder a bit of angle. OC.


-
No thats where the Bow goes with the Arrows 😉 But thank you for the compliment. OC.
-
Yep - but deffo a brll kit. OC.
-
Plan for today (later) there is still a hairline gap where the wings meet the fuselage so I will work some plastic putty into it, then I will either attach the rudder stabs and Rudder or the wing tips (depends what I fancy doing first). I know I keep saying it - but I really recommend thses Eduard kits they are simply first rate in every way. OC.
-
Very nice work mate - very nice indeed, that red colour really makes her stand out. OC.
- 337 replies
-
- 5
-

-
- finished
- mountfleet models
- (and 1 more)
-
Yellow ocre is the colour we all know for the bulwarks and carriages, but if you find the shade a we bit too bright you could always dull it a bit by adding a bit of white, its completely how you want to display it my friend and how pleasing it wil be to your eyes. I am loving those canon/carriages though they will look super when finished. OC.
-
Thank you EG, credit to the kit as its Superb best I have ever built. OC.
-
Lovely job Edfward a real credit to you mate - it really has come out first class, I will miss the banter and viewing oyur work in The Special section (Here) hurry up mate and find another thing to build - we will be waiting. OC.
-
B-25 Mitchell "Meet Miss Runyon" by Javlin-HK-1/32
Old Collingwood replied to Javlin's topic in Non-ship/categorised builds
Now, this will be cracking also - good choice of kit. OC. -
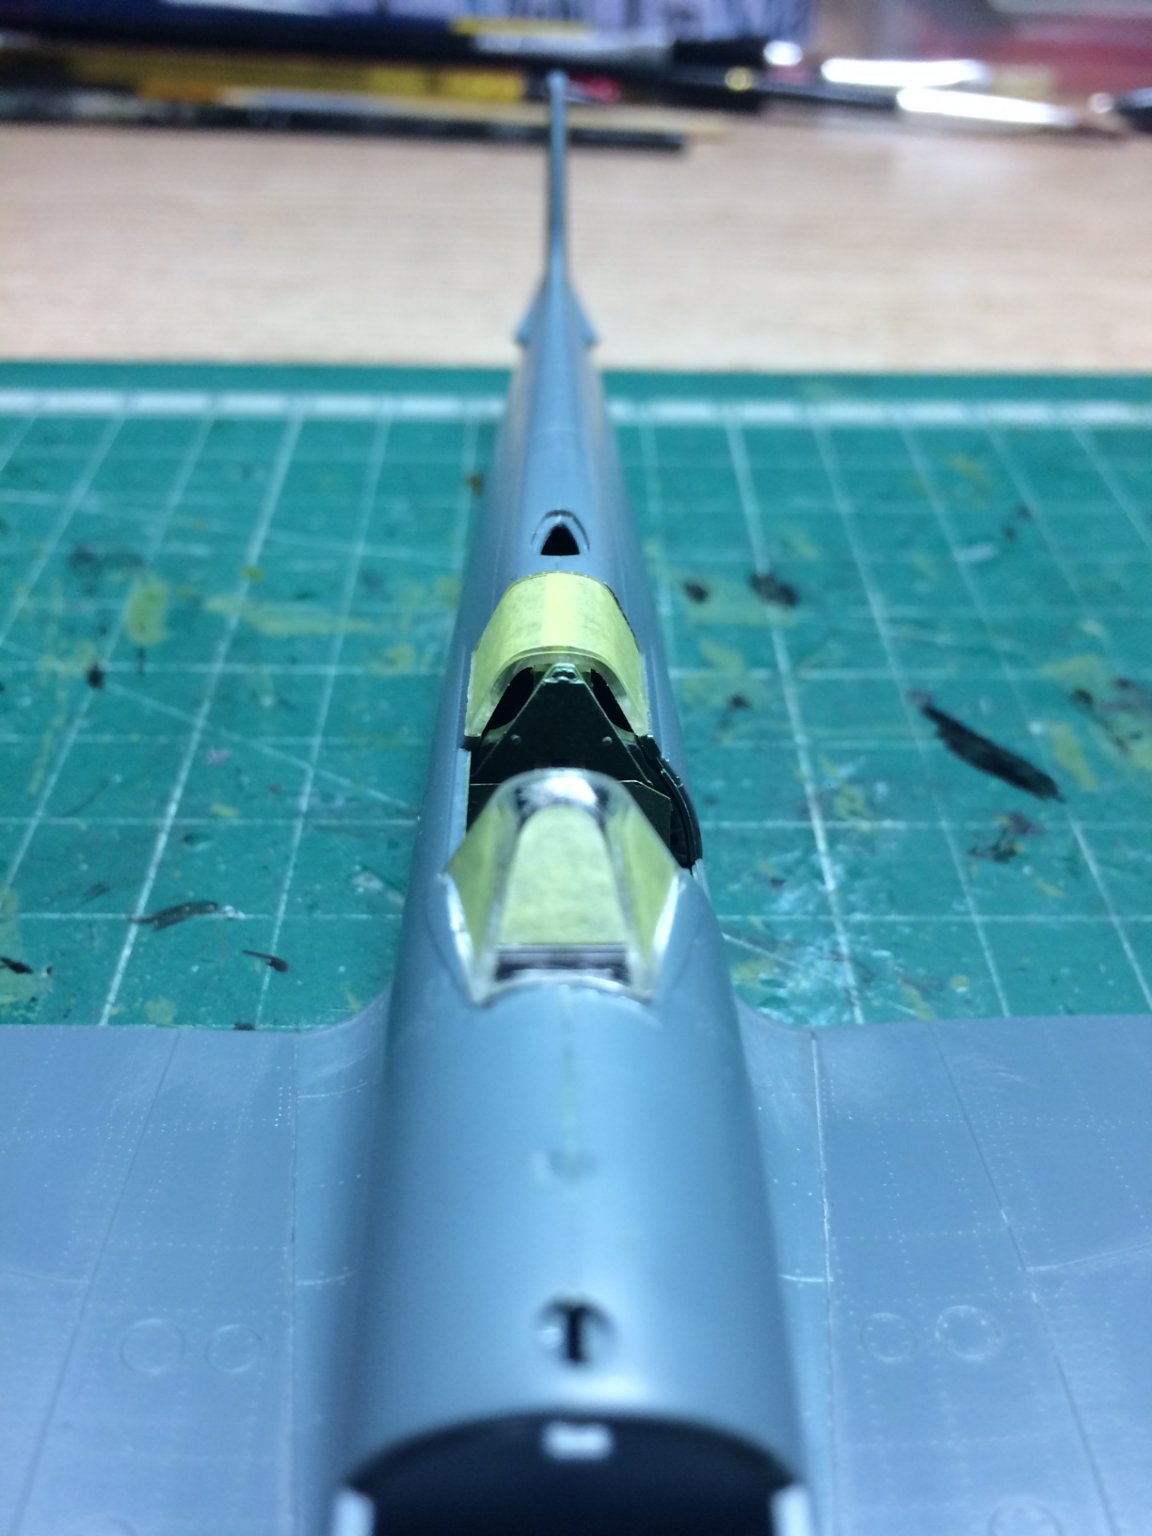
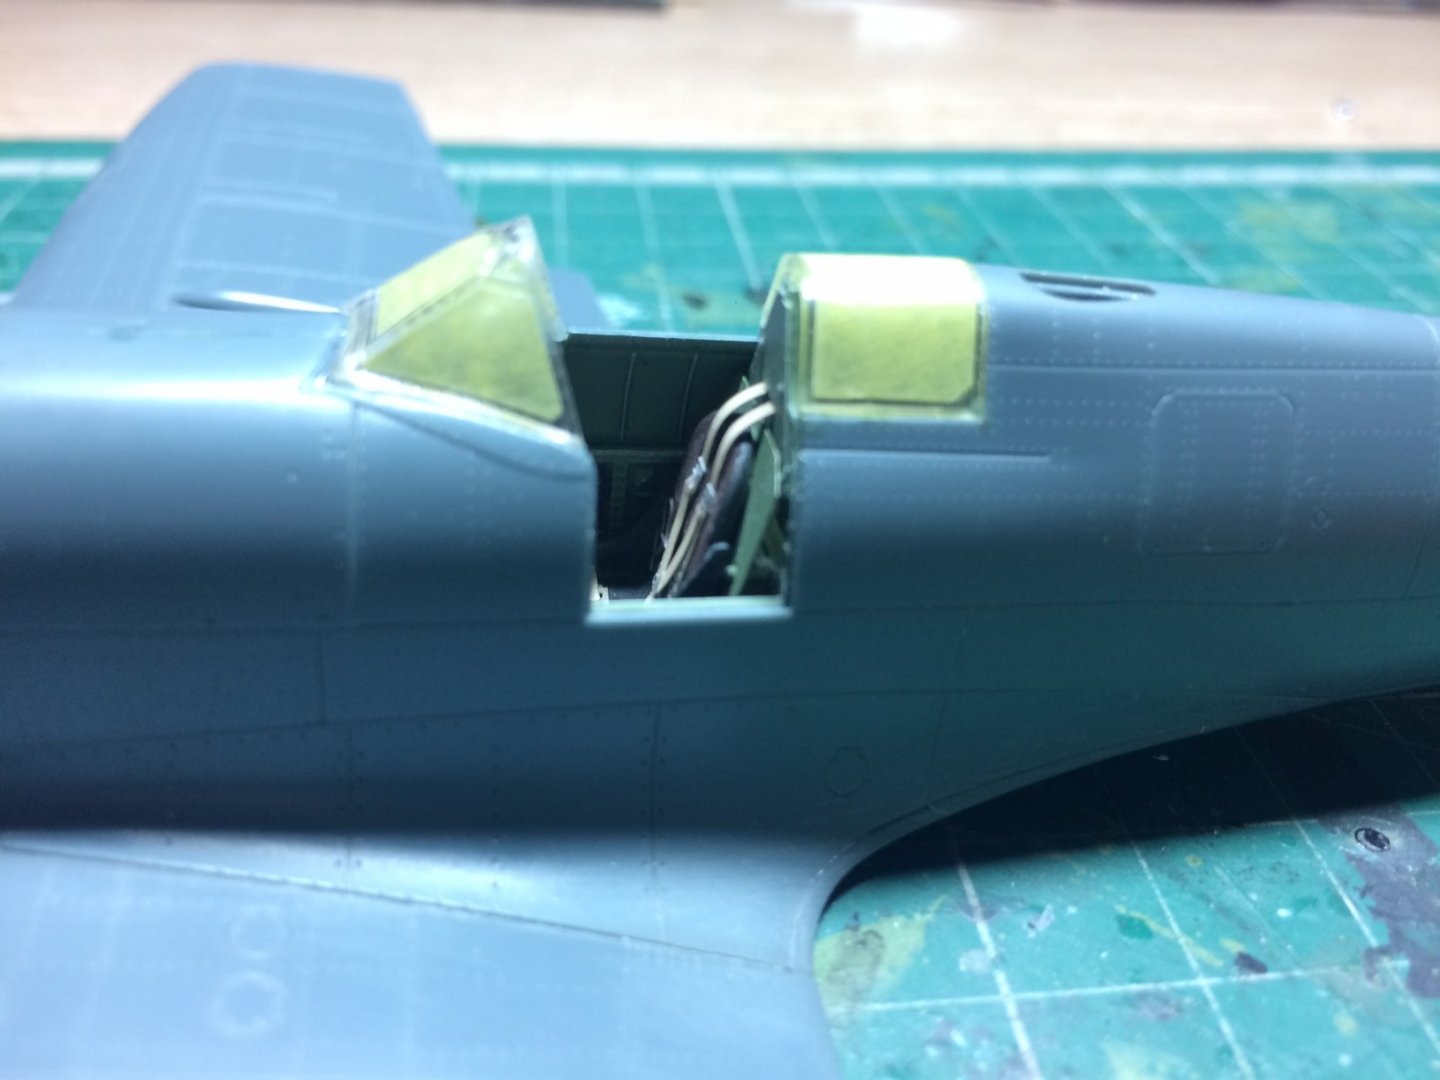
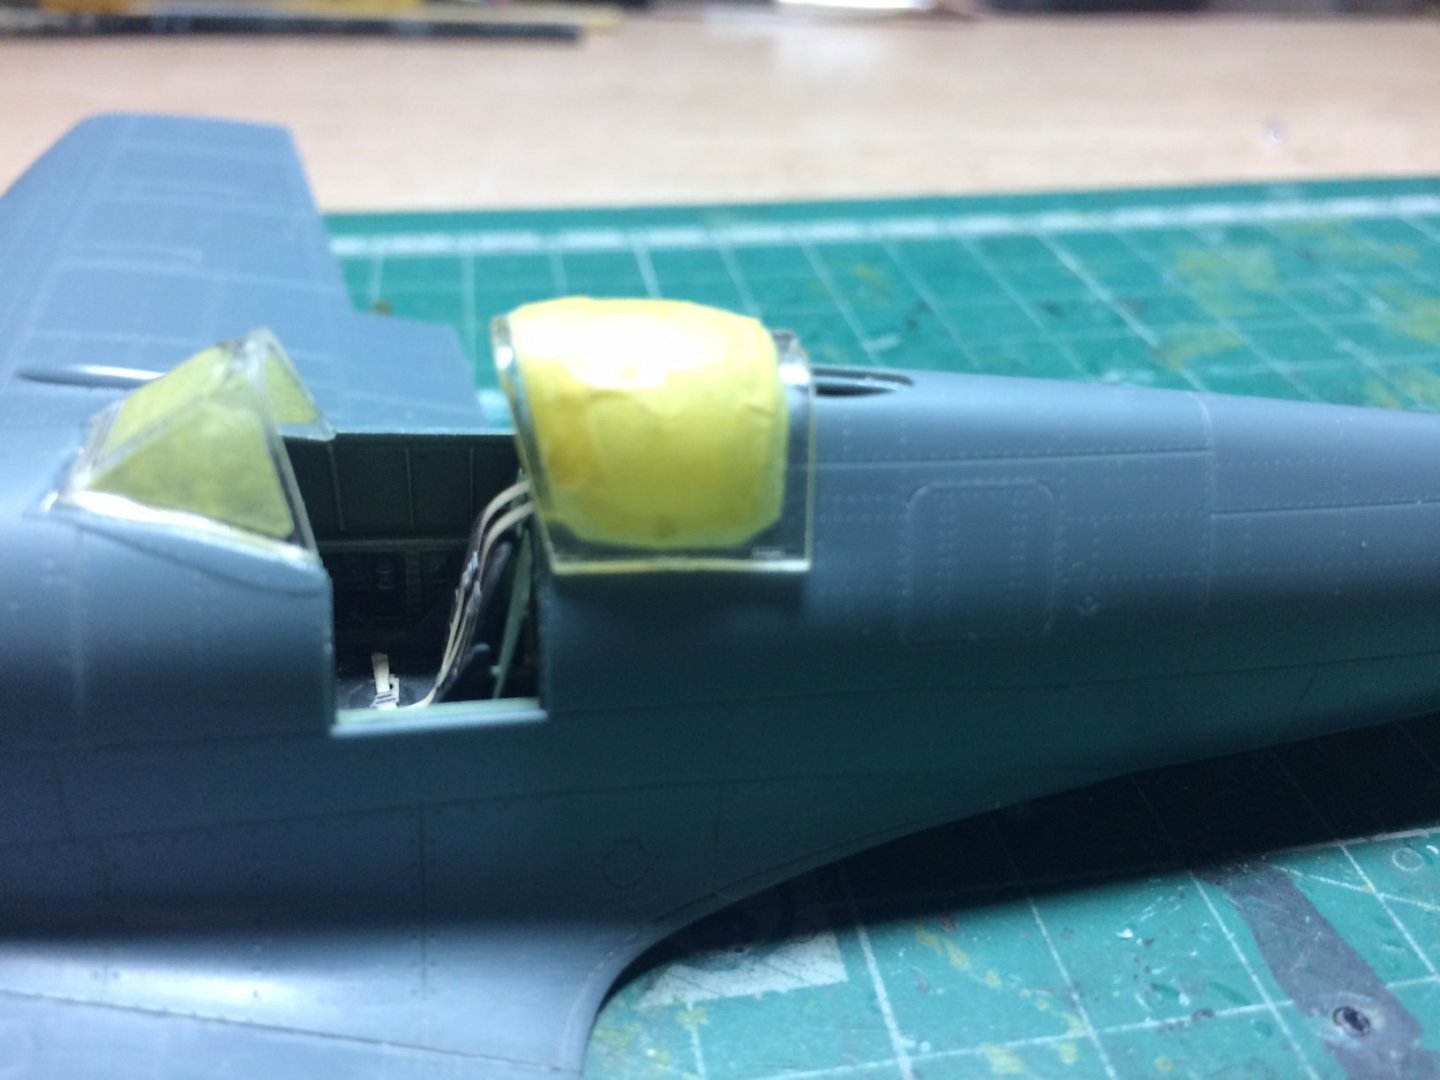
A bit more progress - no work done in the day time as we were sat out enjoying that weird bright ornage thing in the sky, so I decided to work on the cockpit glazing, this is in three sections due to me having the cockpit open, first I cut away the front section and after tyding up the edge I fitted some masks that came in the kit, this was a three part mask - I then glued it in place and set it down using the dryer, next was the rear section - again tydy up and masked using two masks, this was then glued down/heated, last was the sliding section - this had the same prodecure, but it stays off till the last stages of the build. Thank you all for the interest people are showing in my build. OC.

- 298 replies
-
- 11
-
-
Nope we been nauty - very nauty....🙃 OC.
-
Ours is under review next monday to see how many extra weeks we will get added ontop............I feel like a caged animal (to be fair it dont worry us to much as we have no family - friends etc - just keeping the flipping food and gas /electric meters topped up is our priority). Our hobbies help though - dont they Jack.👍 OC.