HOLIDAY DONATION DRIVE - SUPPORT MSW - DO YOUR PART TO KEEP THIS GREAT FORUM GOING! (Only 13 donations so far - C'mon guys!)
×


Old Collingwood
-
Posts
12,098 -
Joined
-
Last visited
Content Type
Profiles
Forums
Gallery
Events
Everything posted by Old Collingwood
-
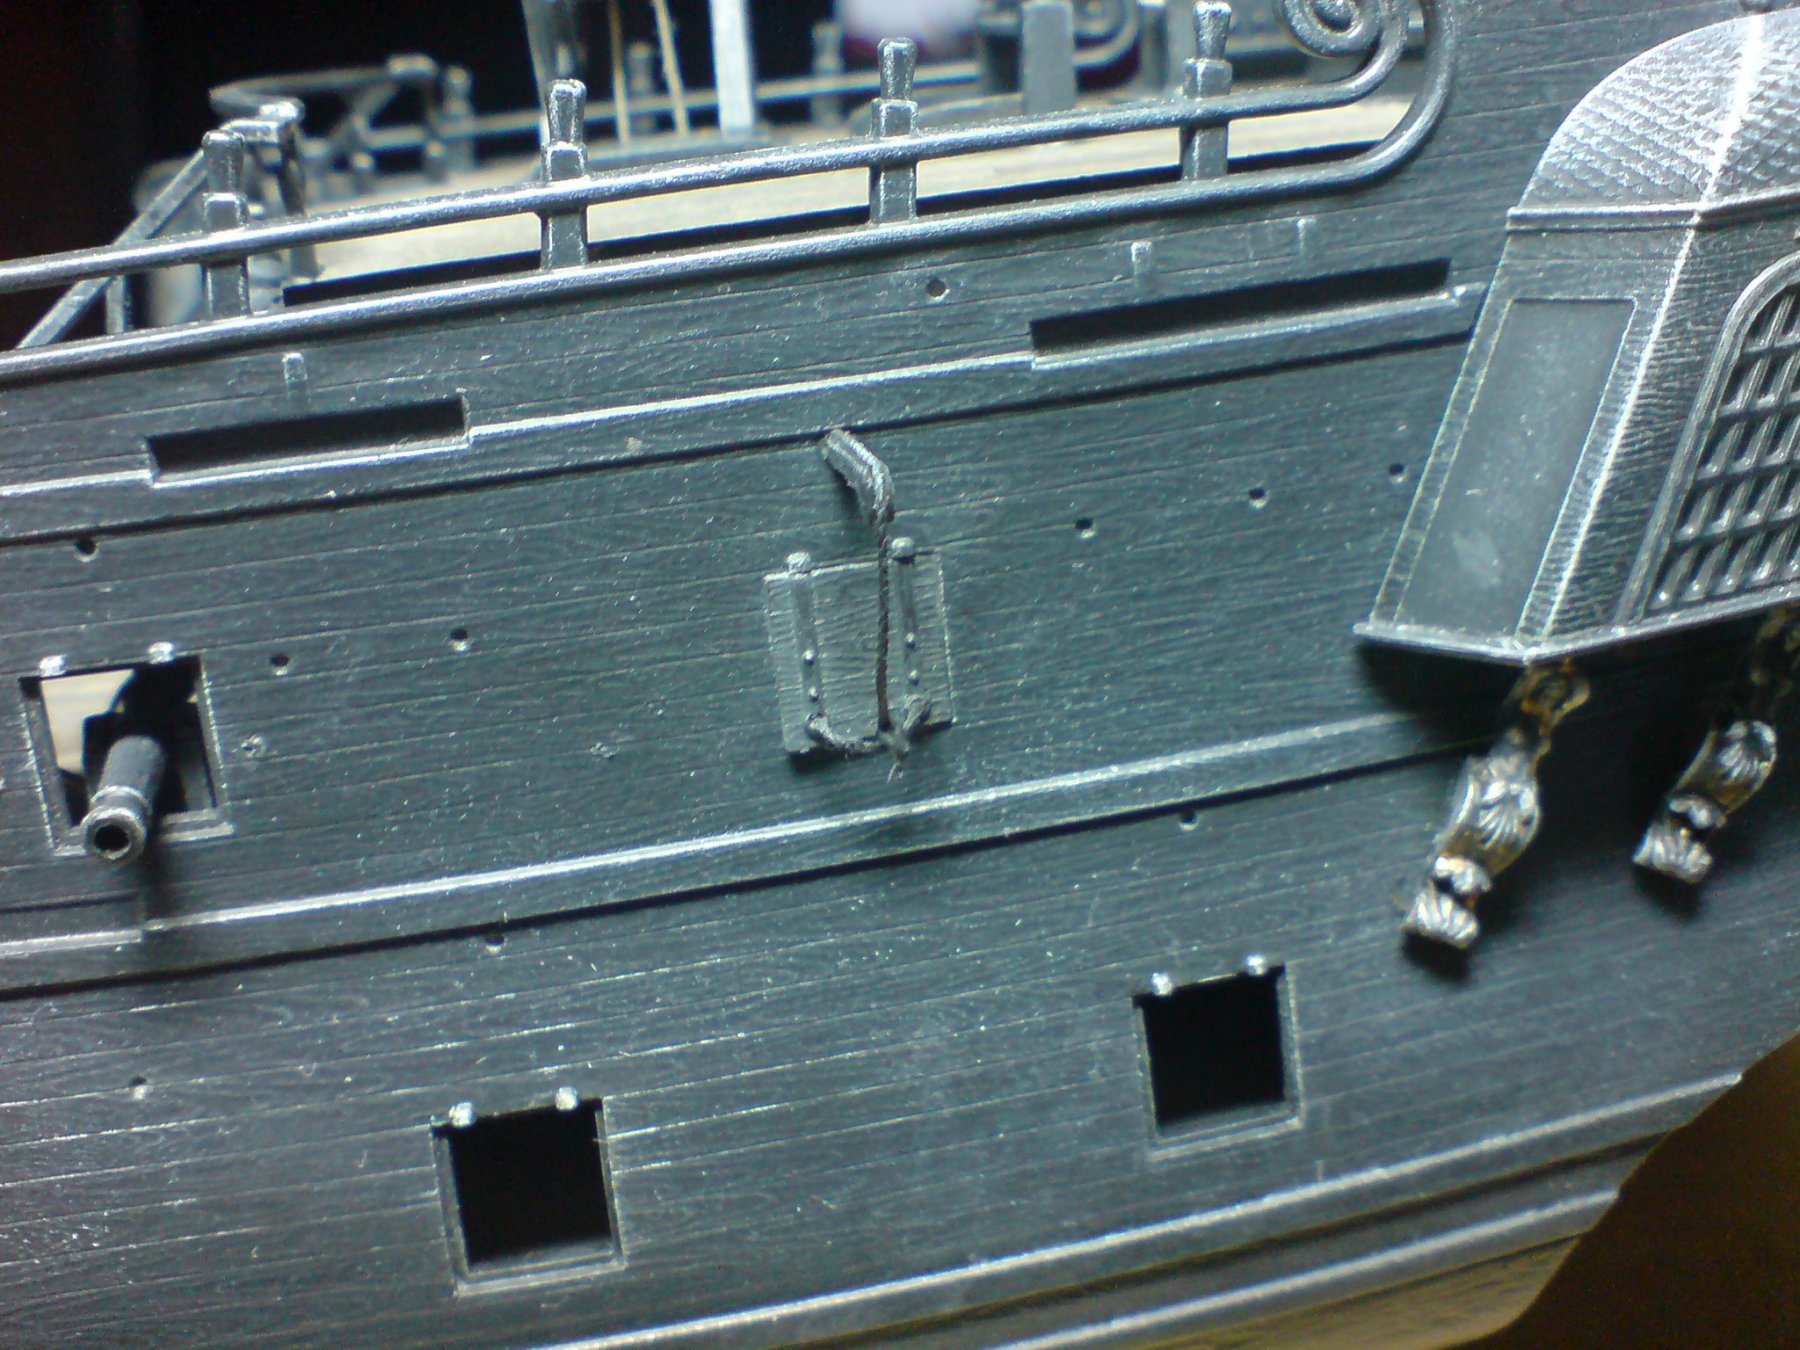
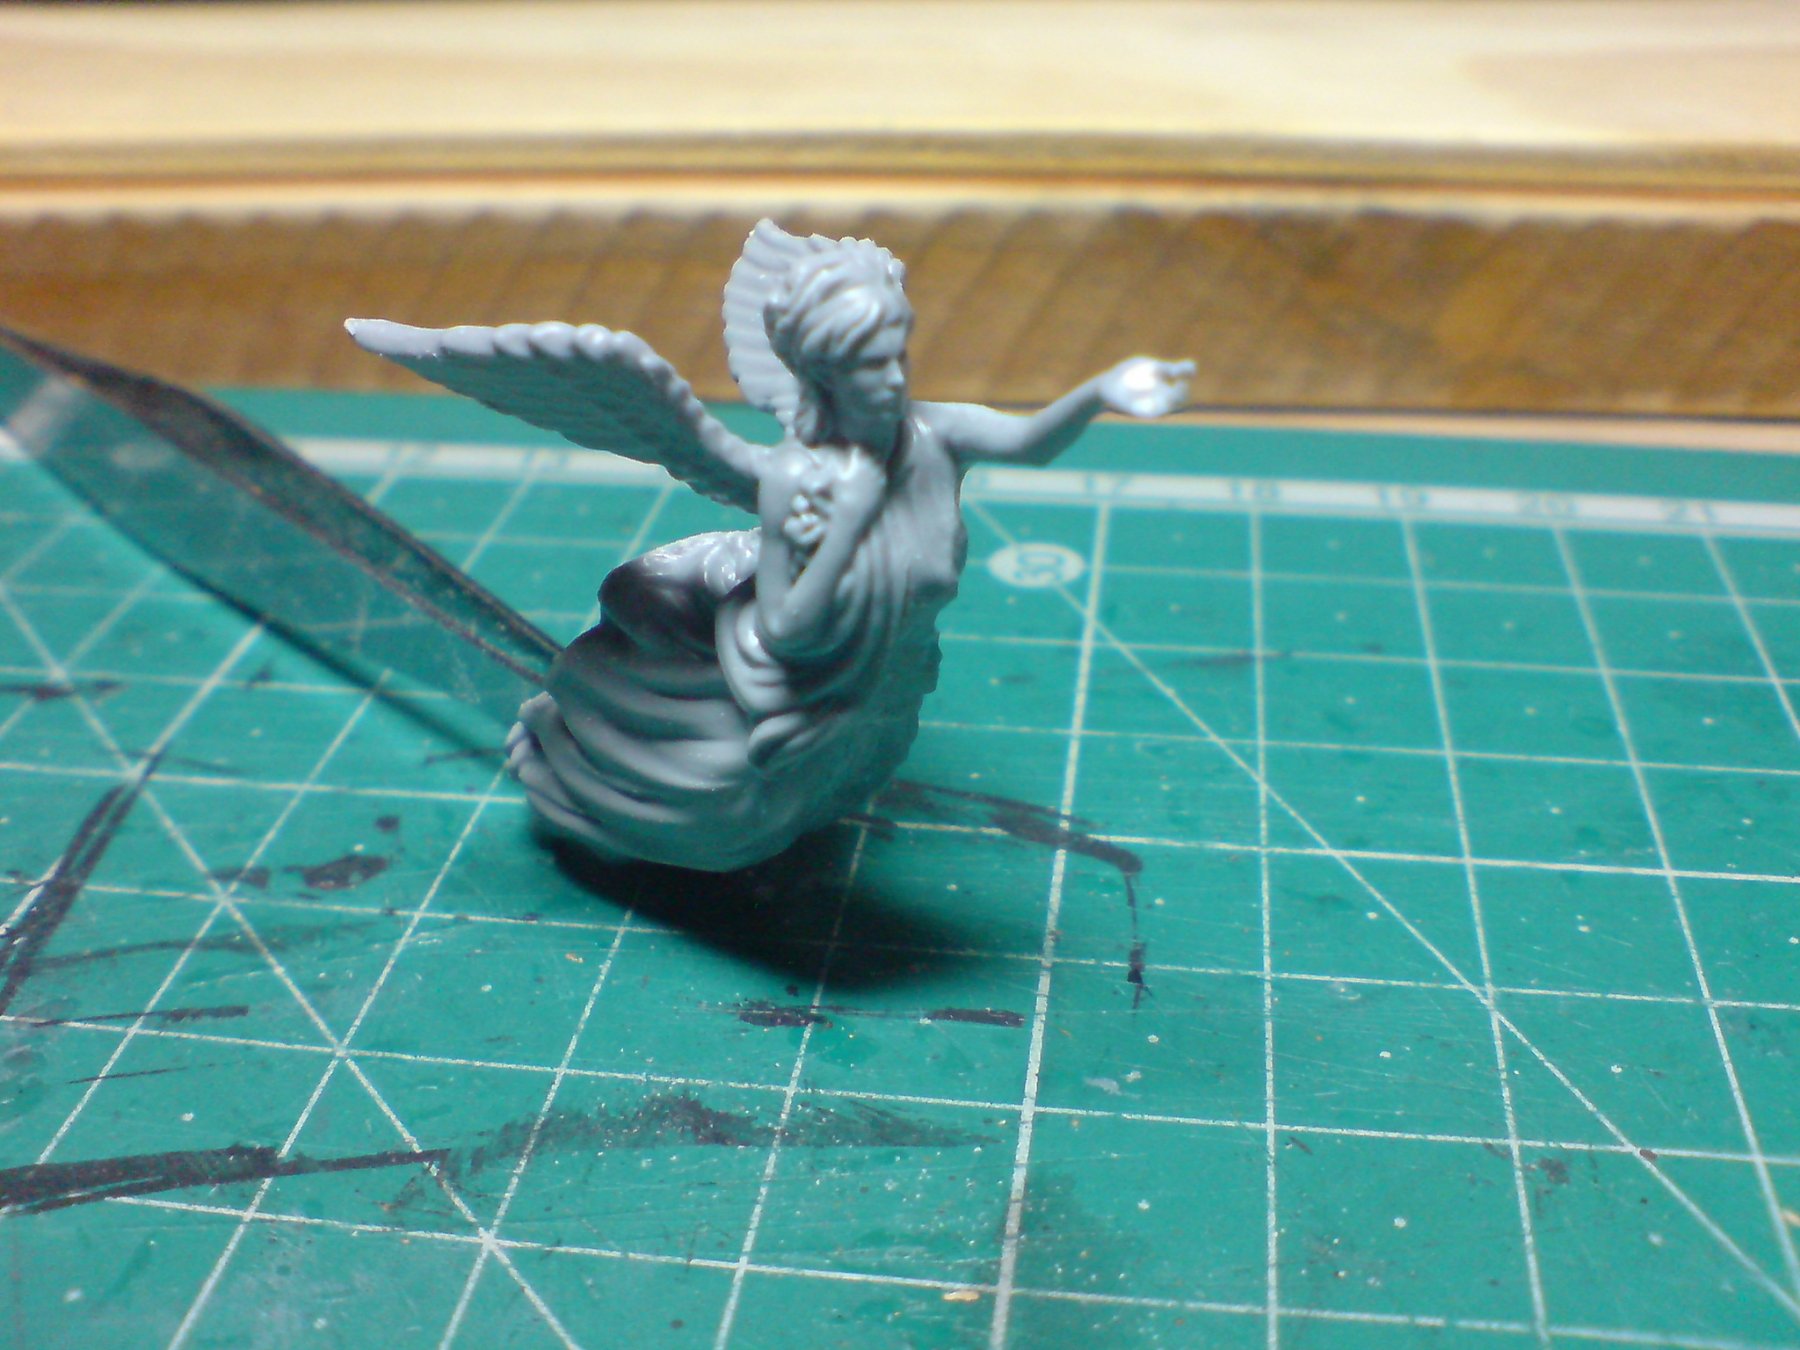
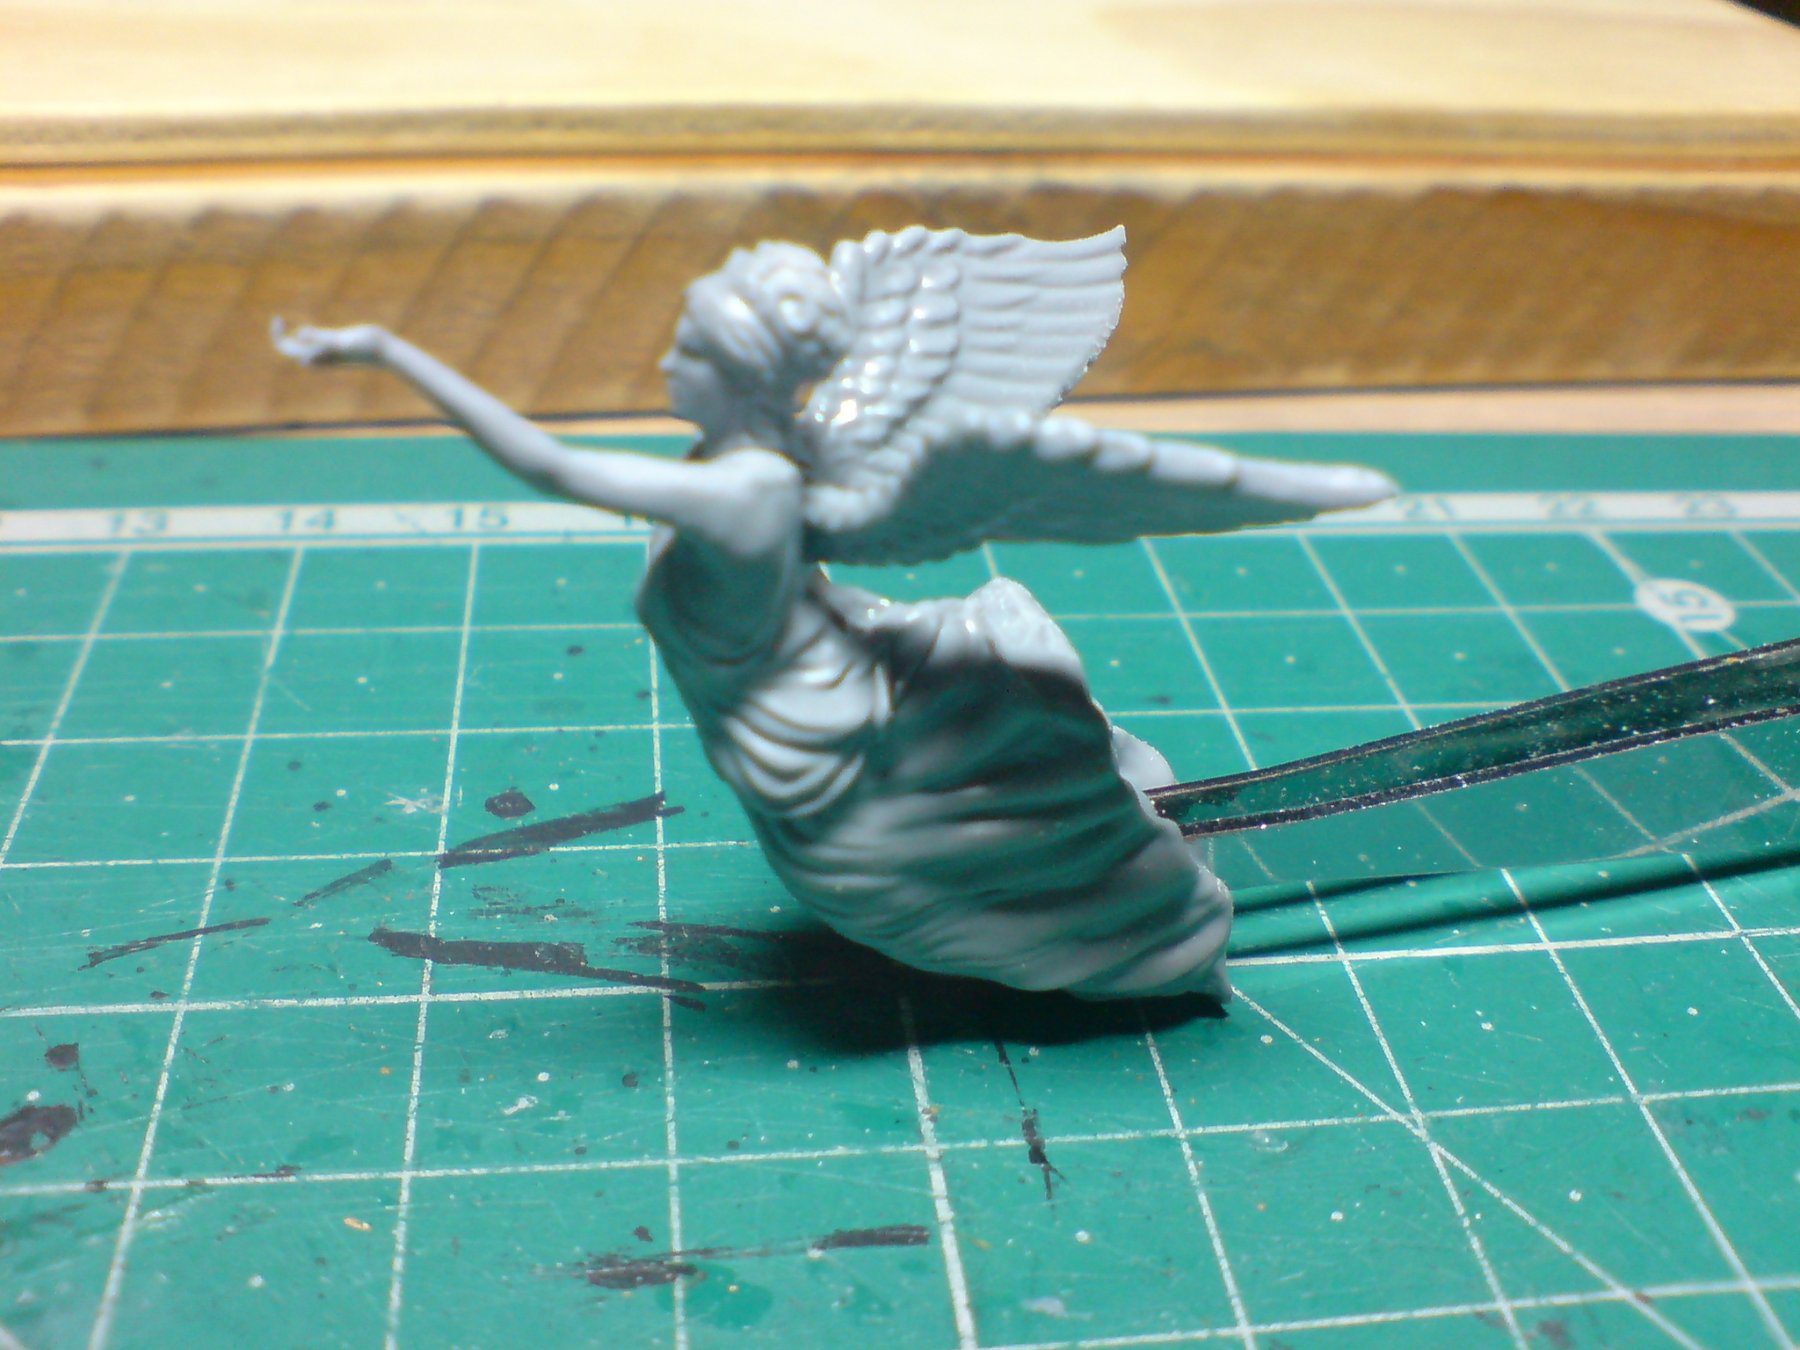
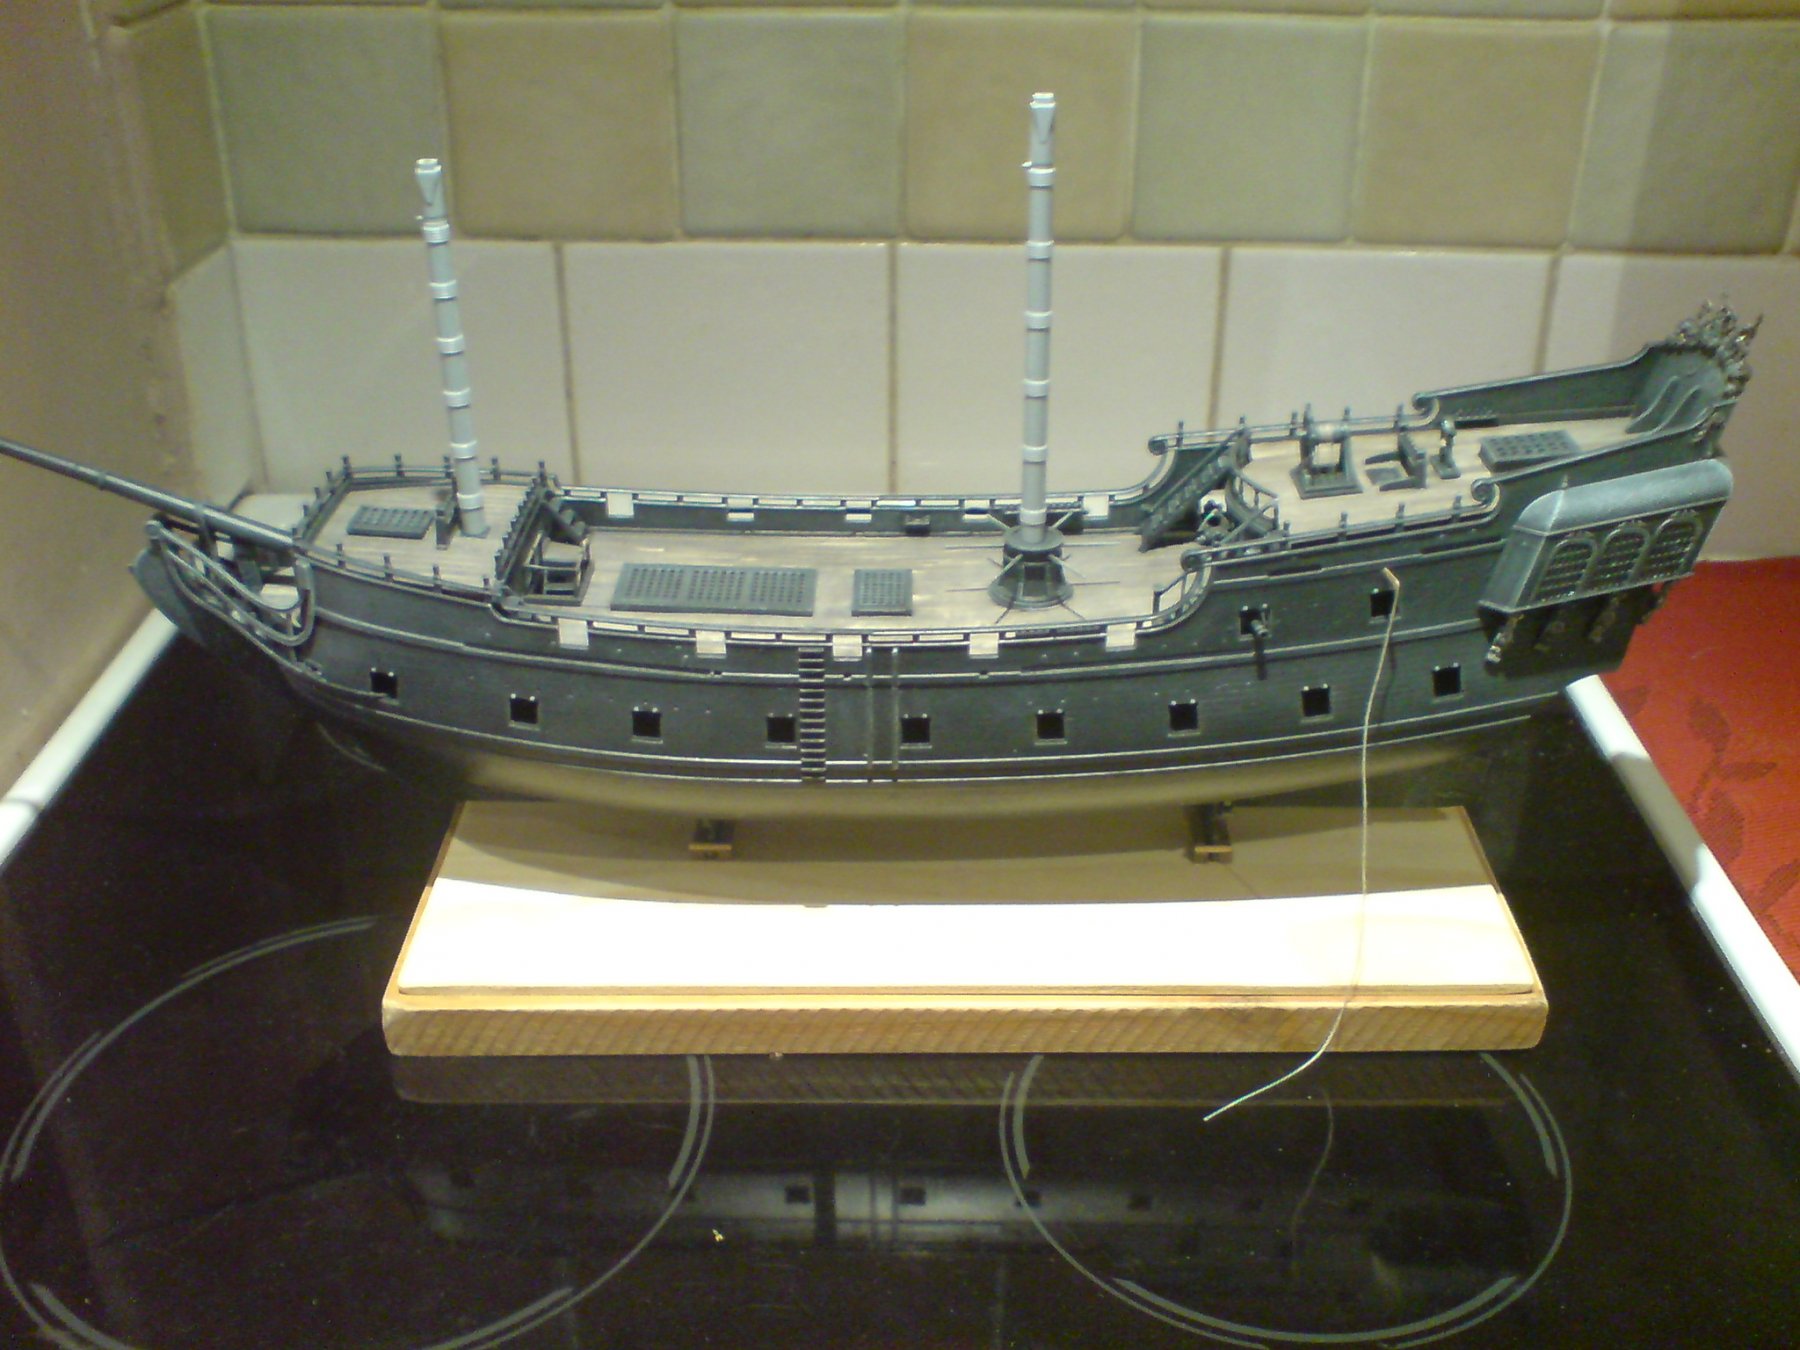
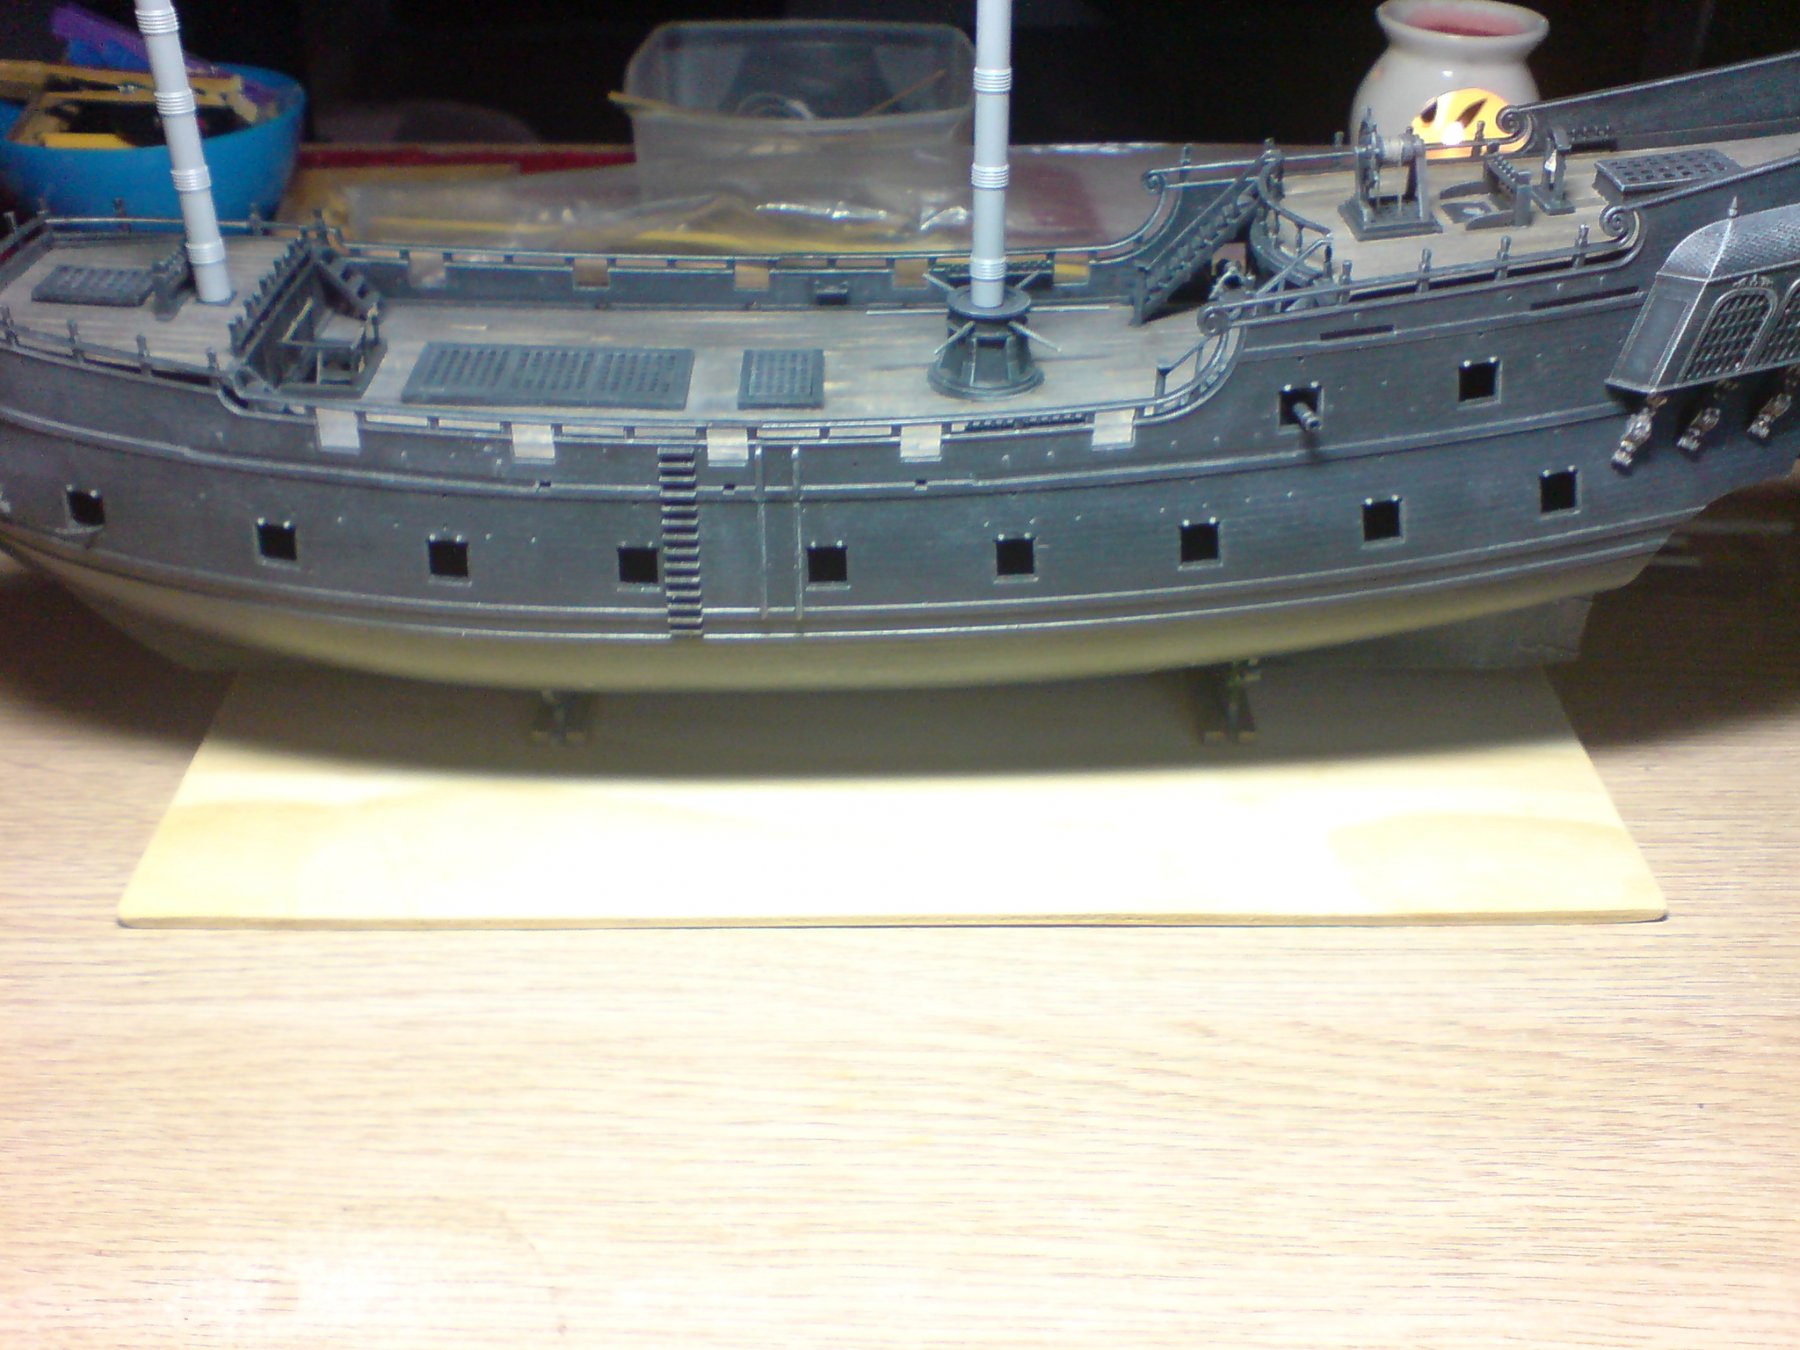
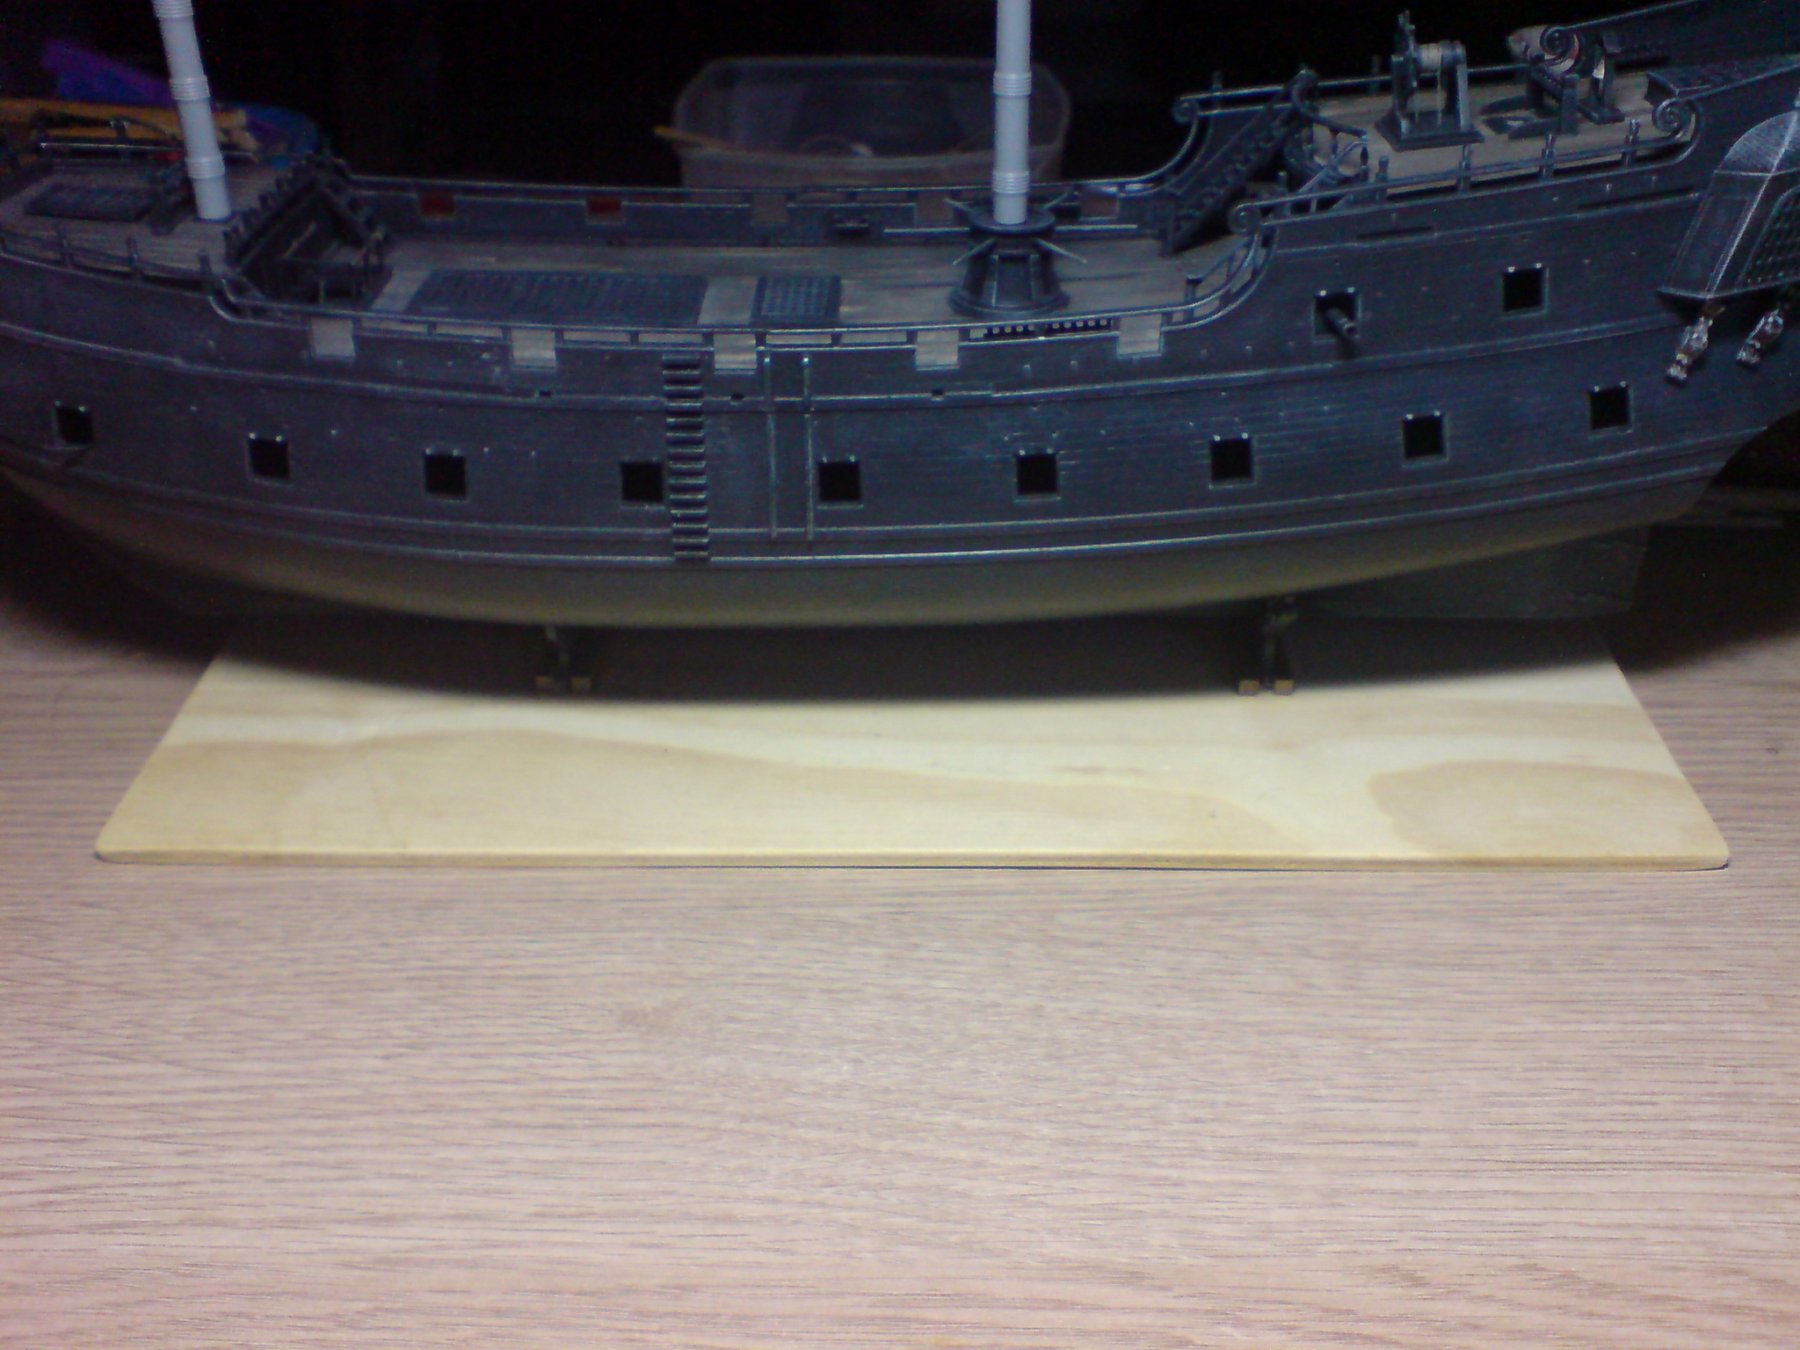
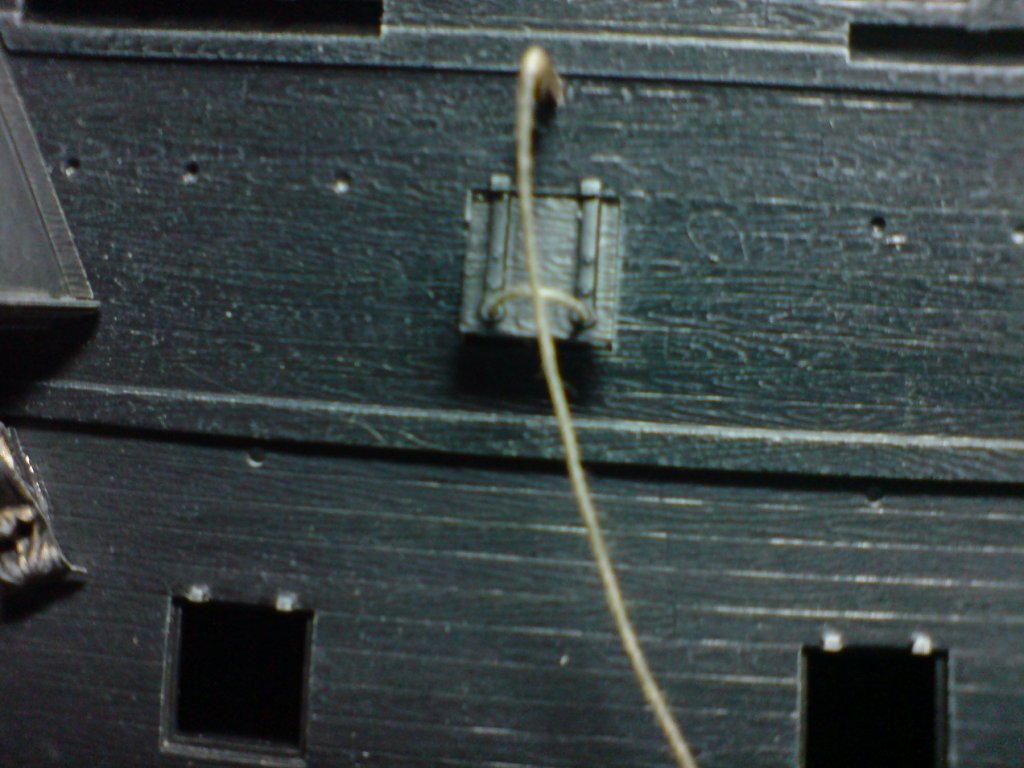
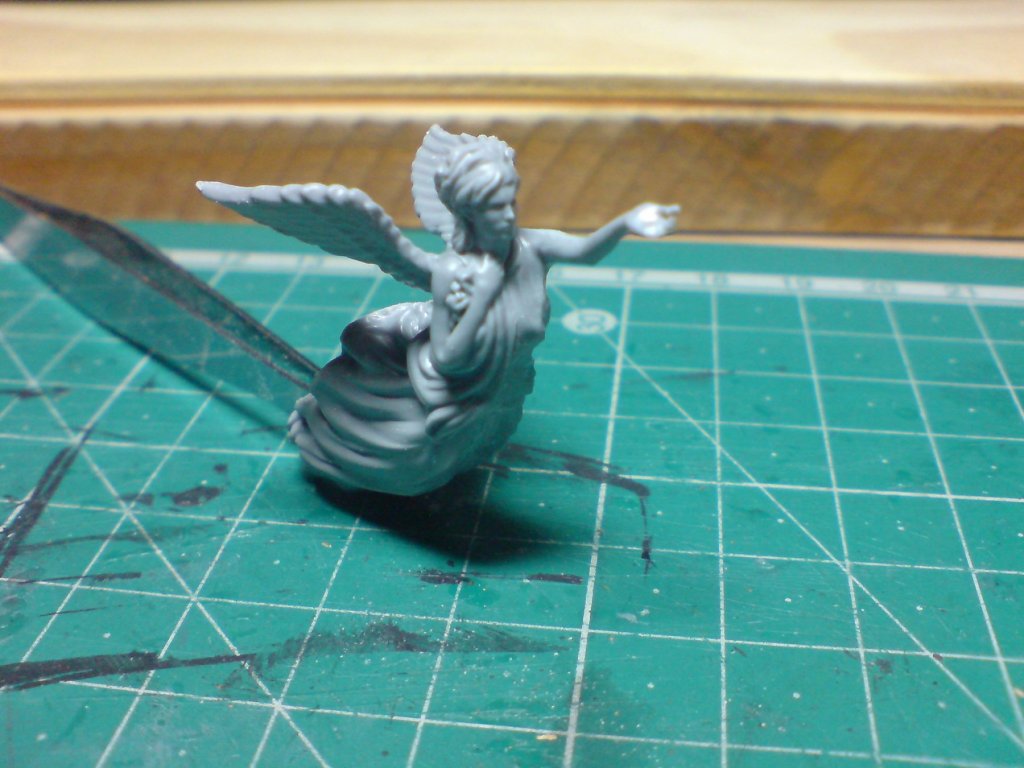
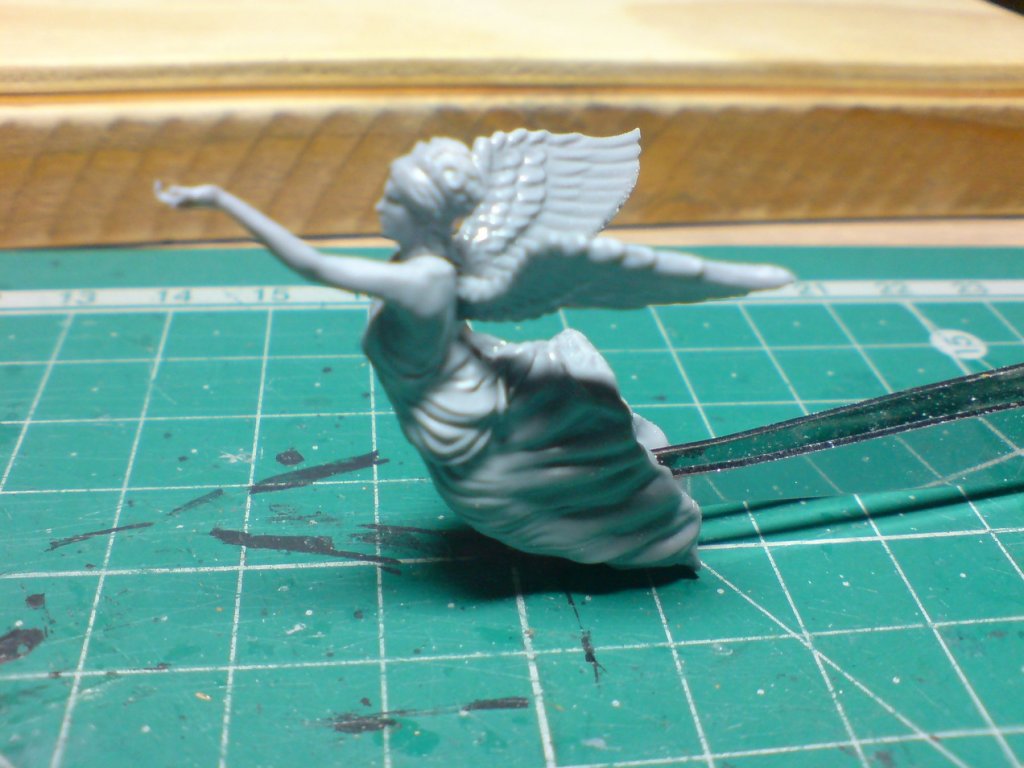
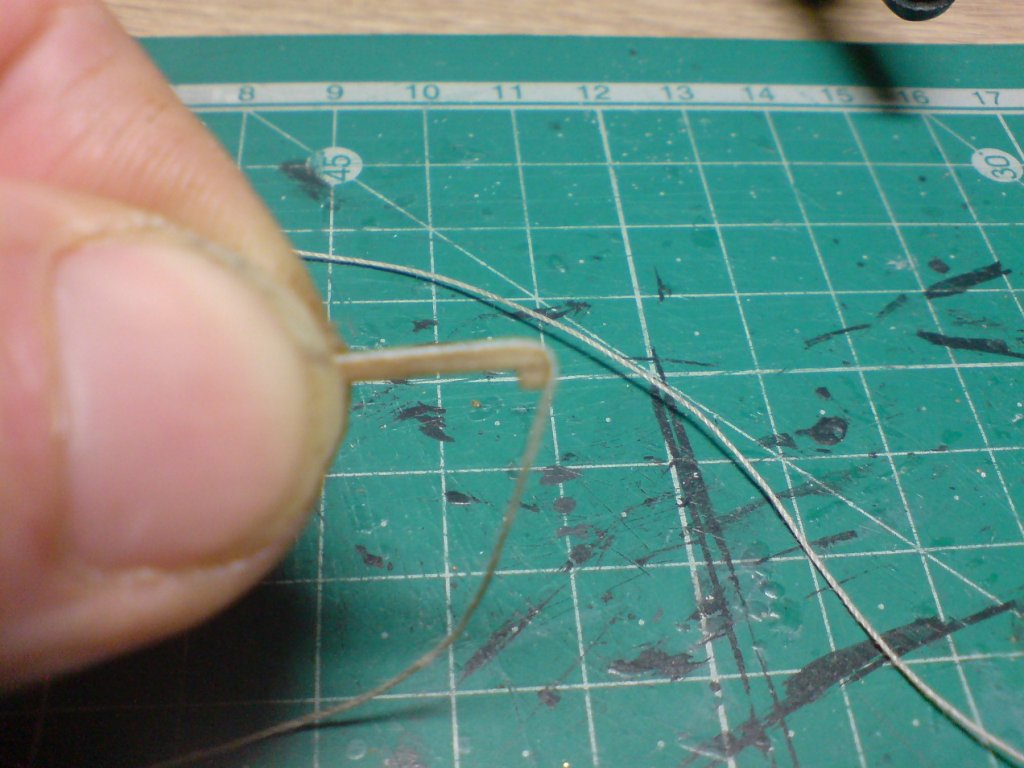
 Good day all, abit more progress today - I have been working on the two main deck port covers, I cut the two covers from the fret, then fed the rope through and glued the ends at the back, when set I trimmed the ends then glued it to the openings on the hull, after it had set I as able to tie a knot where the two sections of rope meet, after adding a blob of pva and heated with the dryer - I then trimmed the end. I then painted and weathered the lid/bracket/rope. Then it was the turn of the other side - same procedure, but this time I have left the port lid slightly open, the ropes have been attached in the same manner - just waiting to tie them. I have also neen lucky enough to get a replacement figurehead (the good lady wicked wench herself) I have joined the two halves together and cleaned her up slightly - just waiting on some brass paint and weathering the same as I have done to the rest of the brasswork. A few pics - OC.
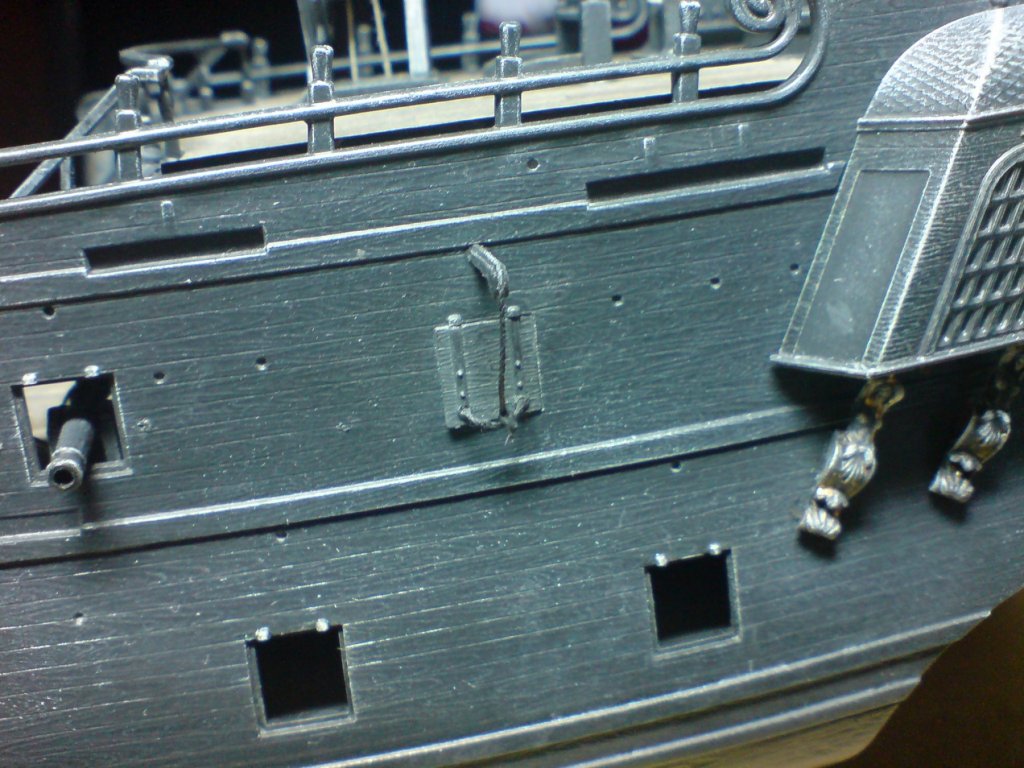

-
Looking forward to this denis - will follow with great interest. OC.
-
Really nice clean detailed work a delight to watch. OC.
- 527 replies
-
- 1
-

-
- caldercraft
- victory
- (and 1 more)
-
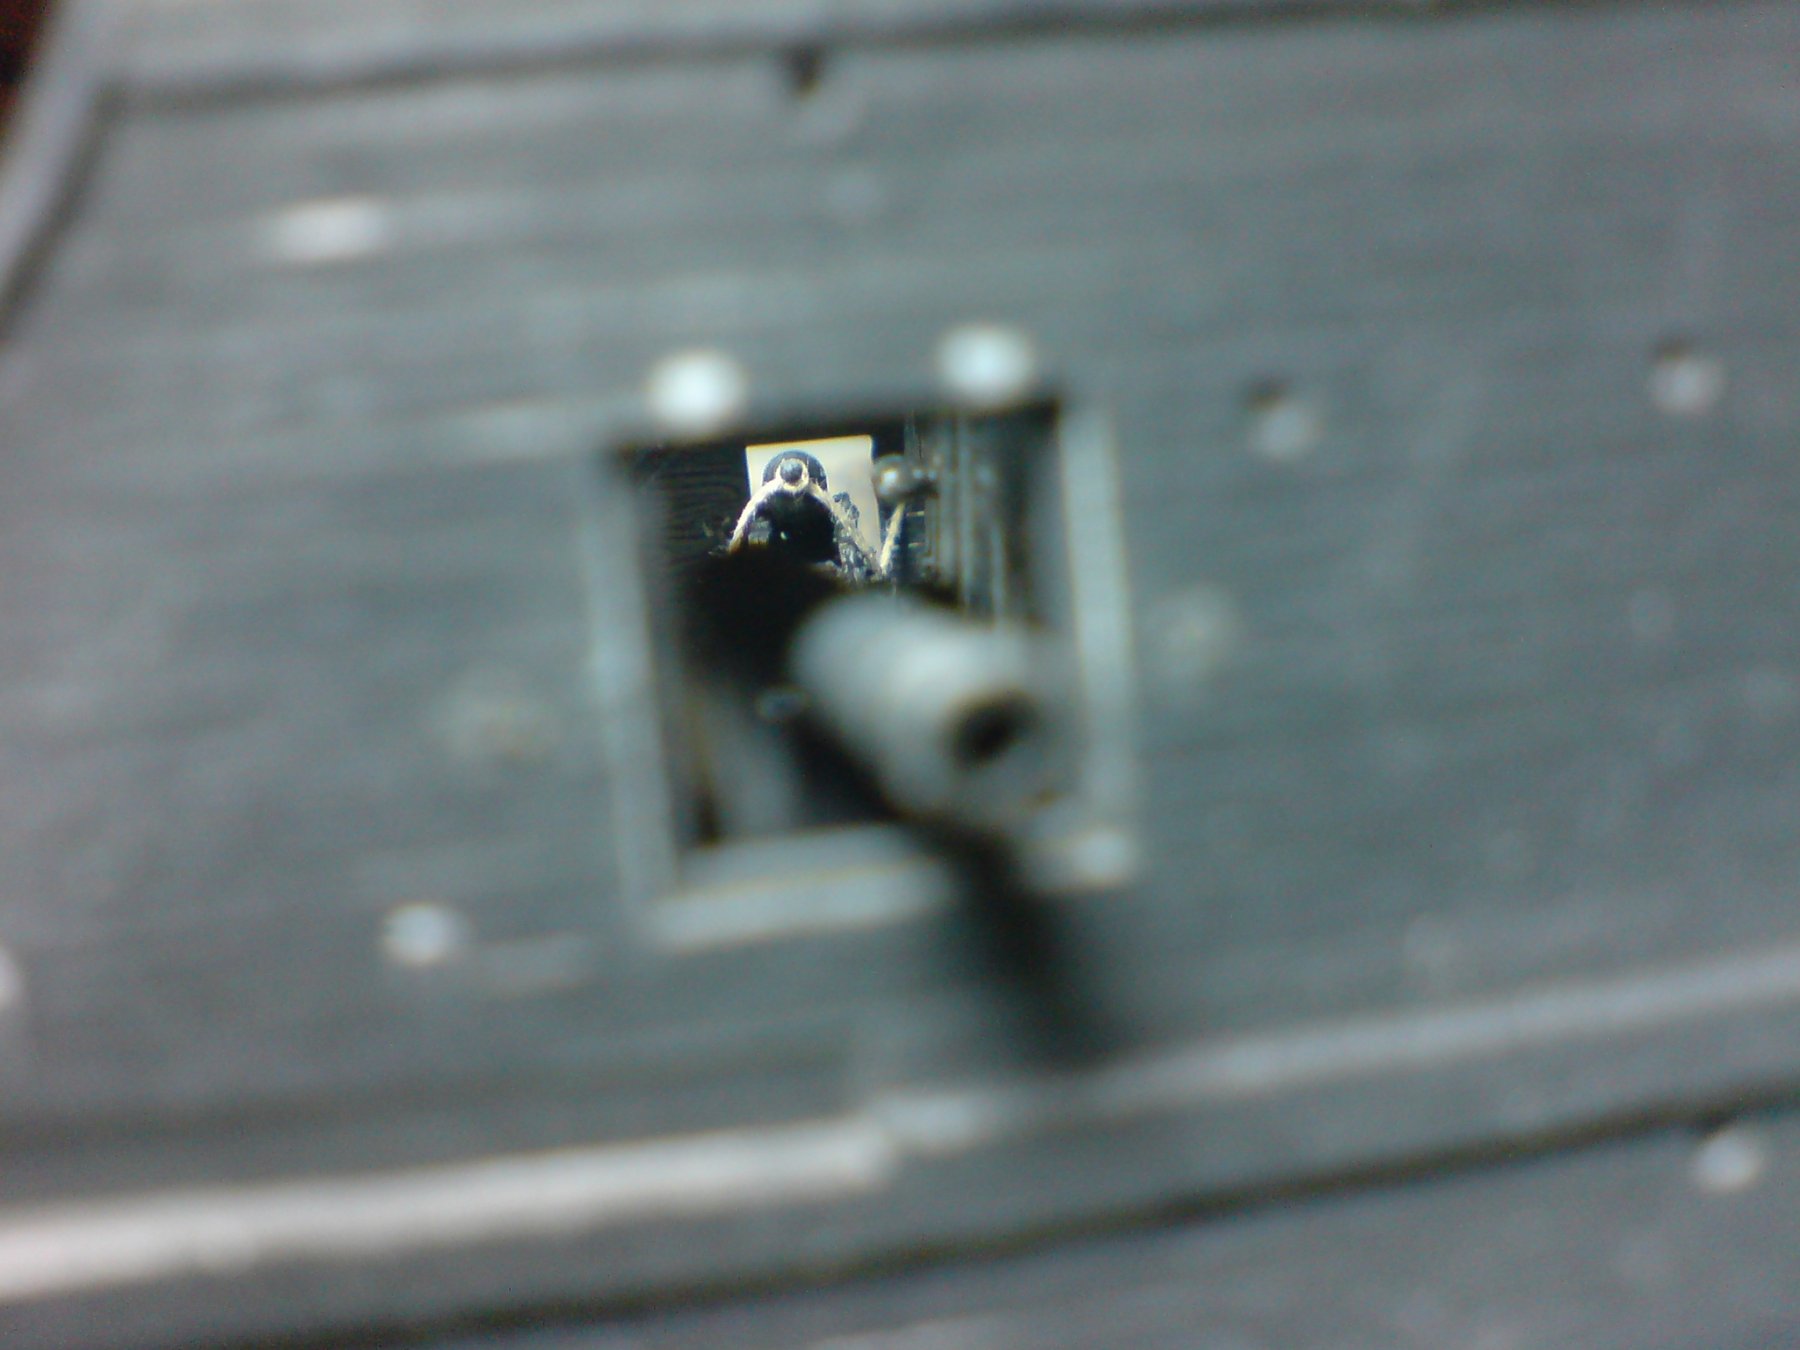
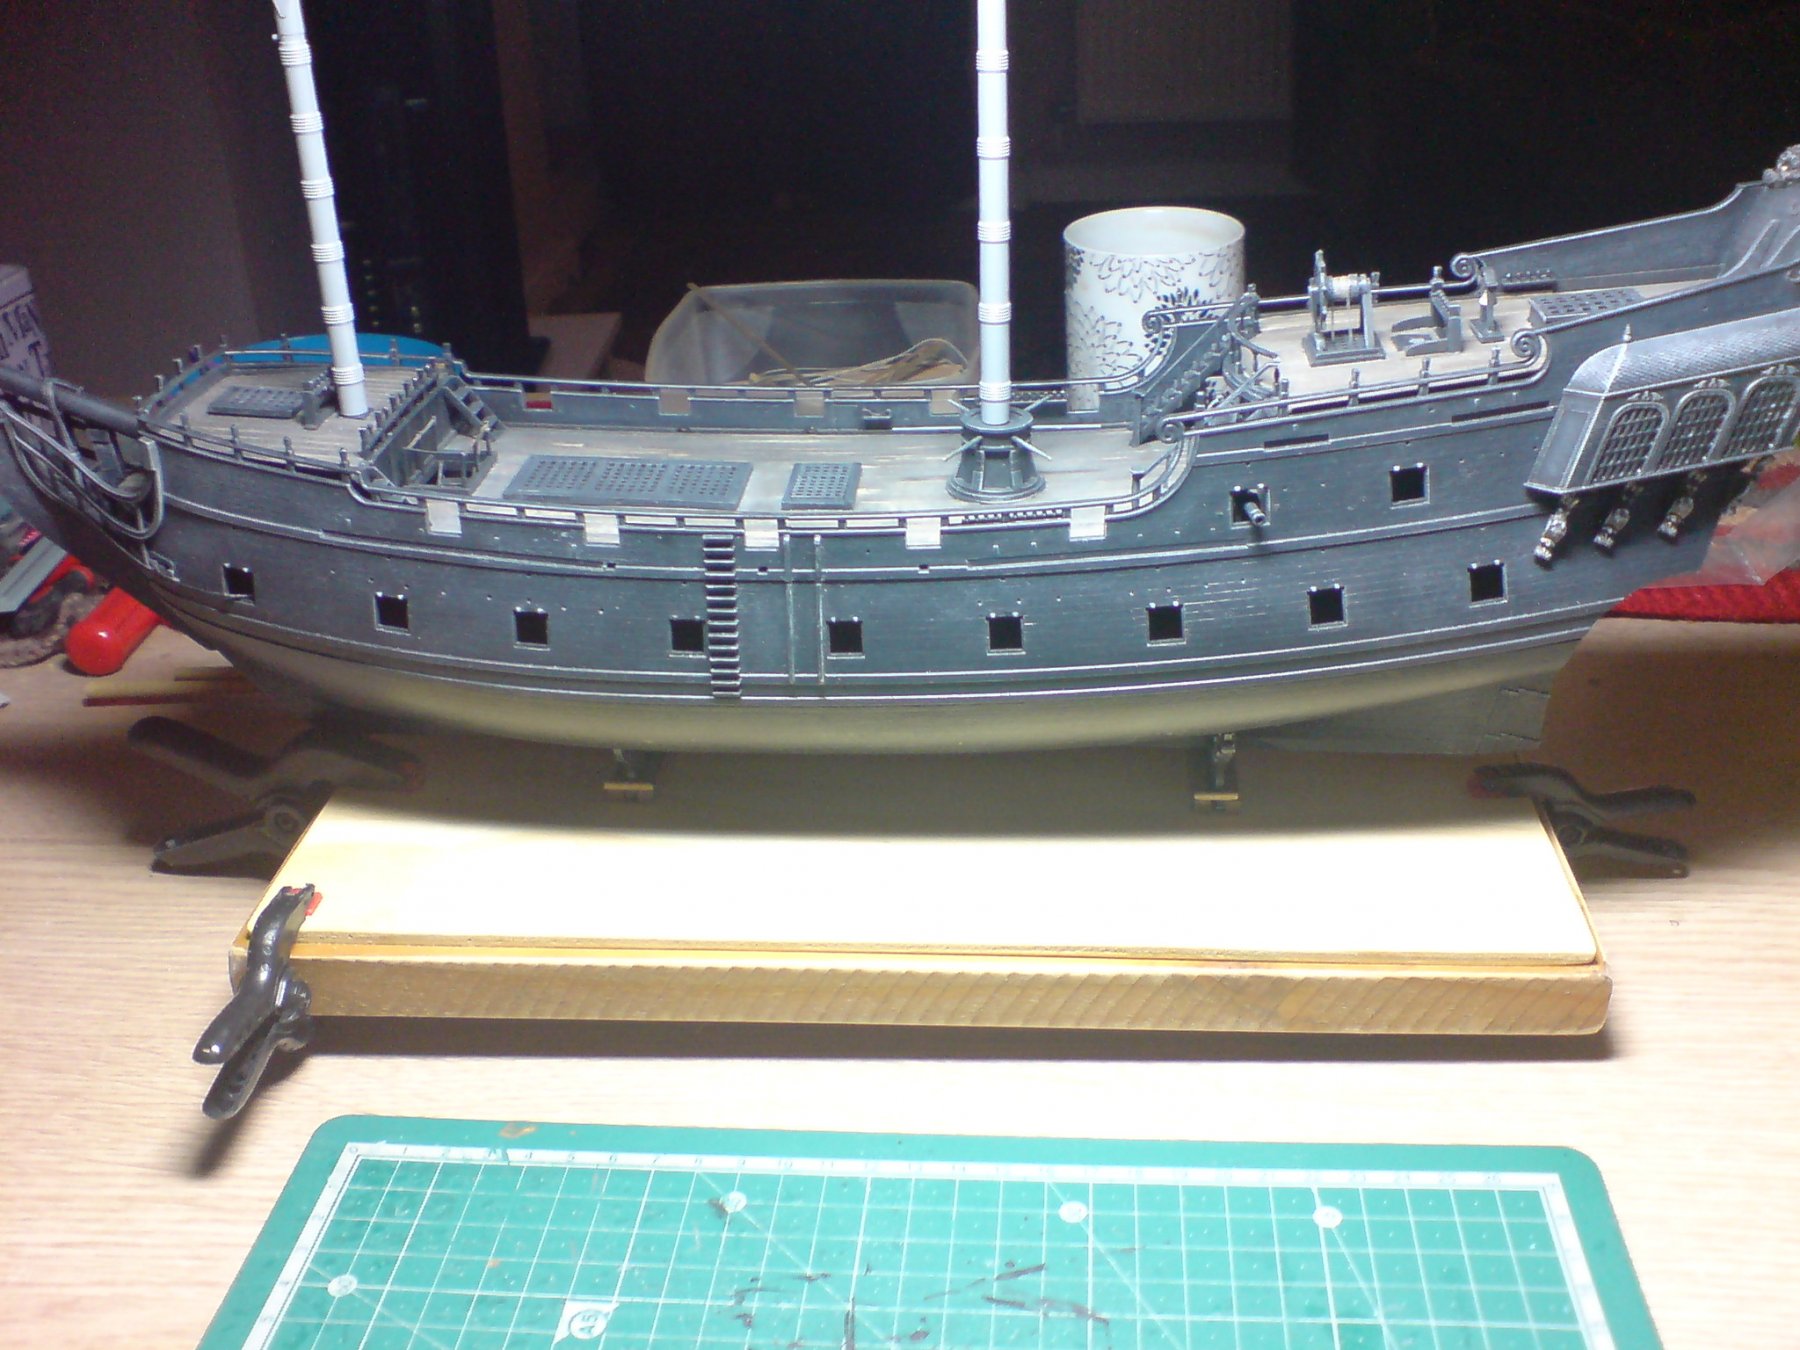
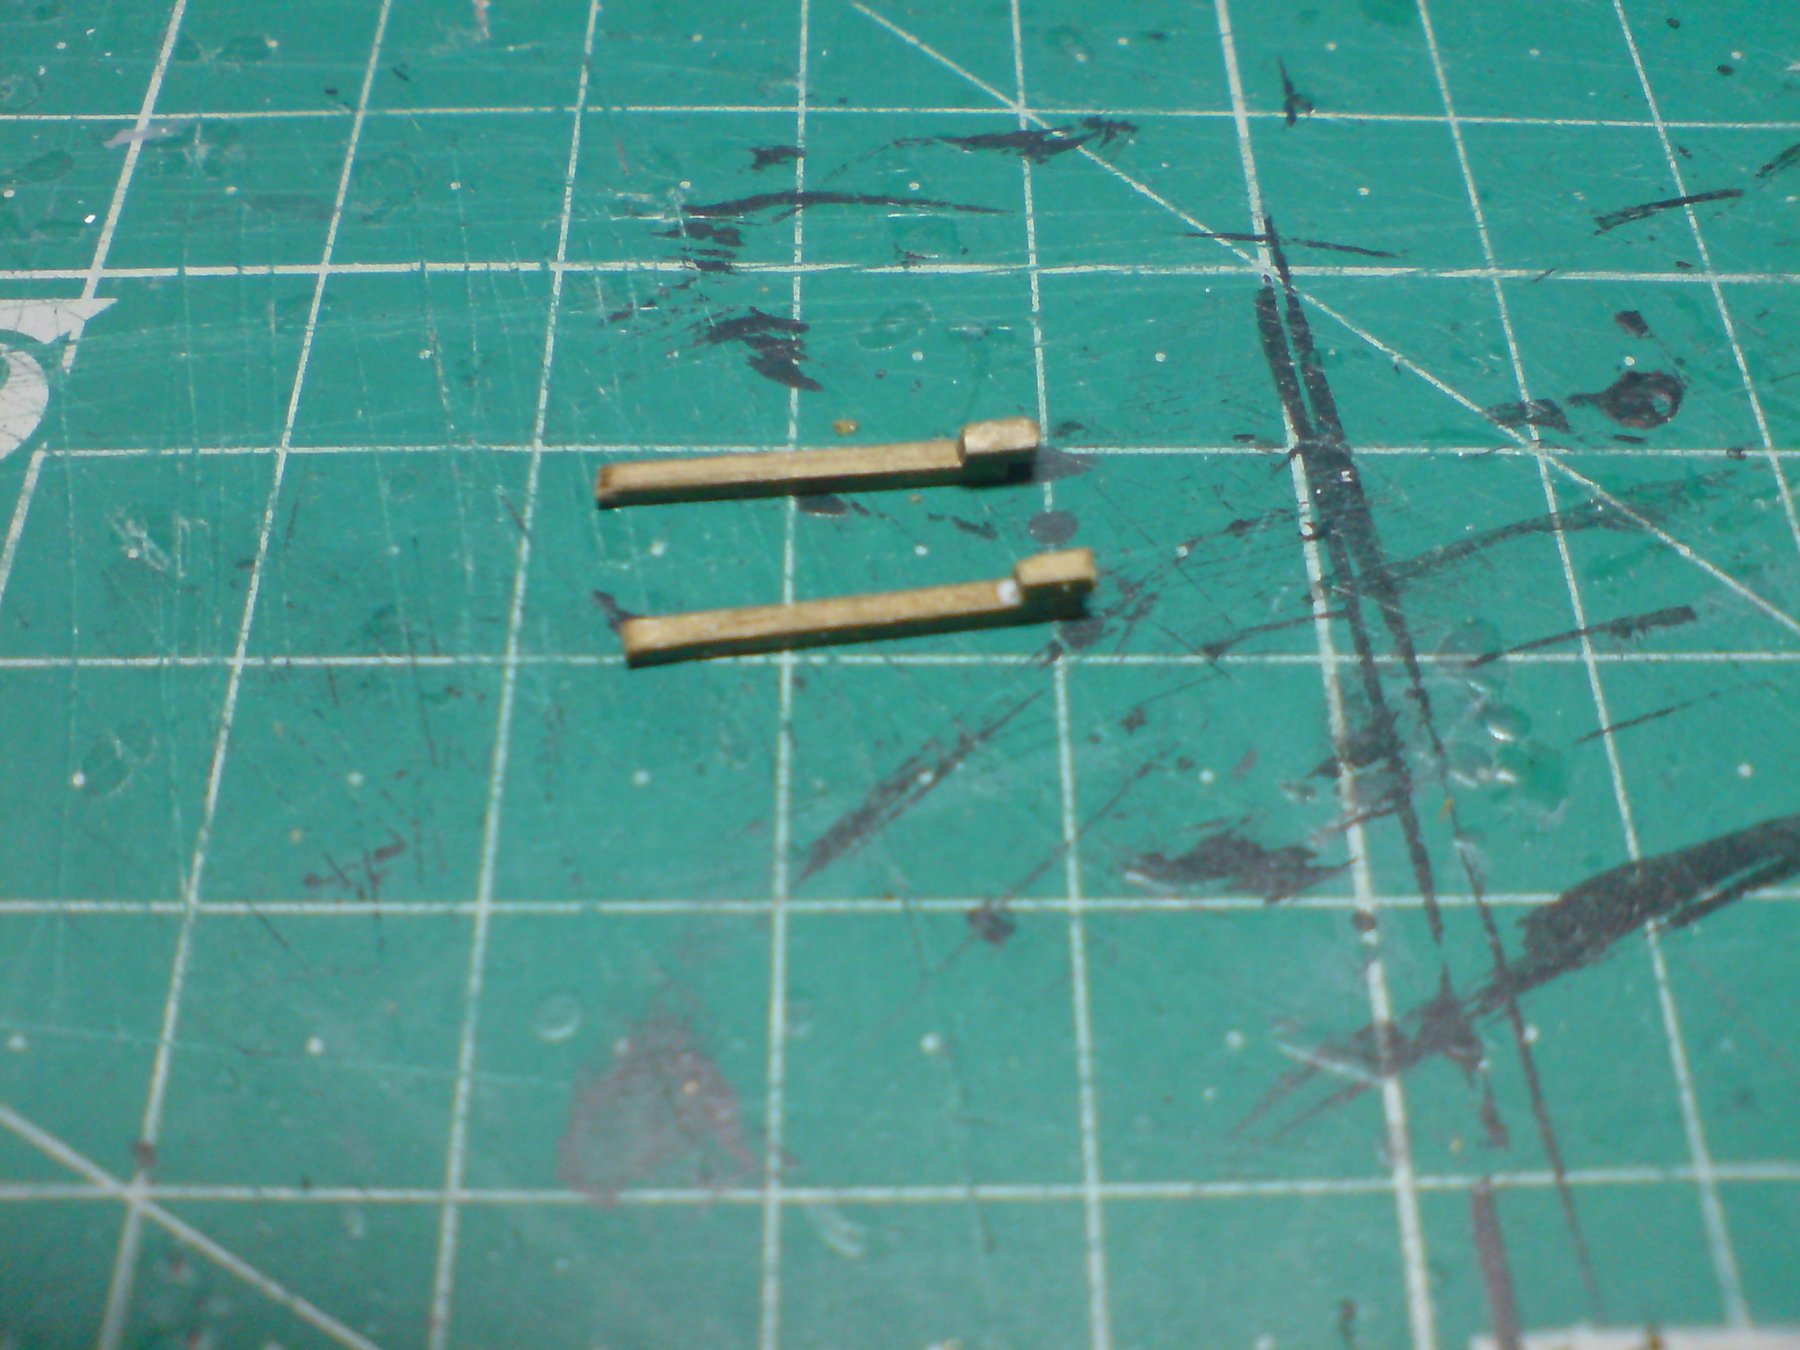
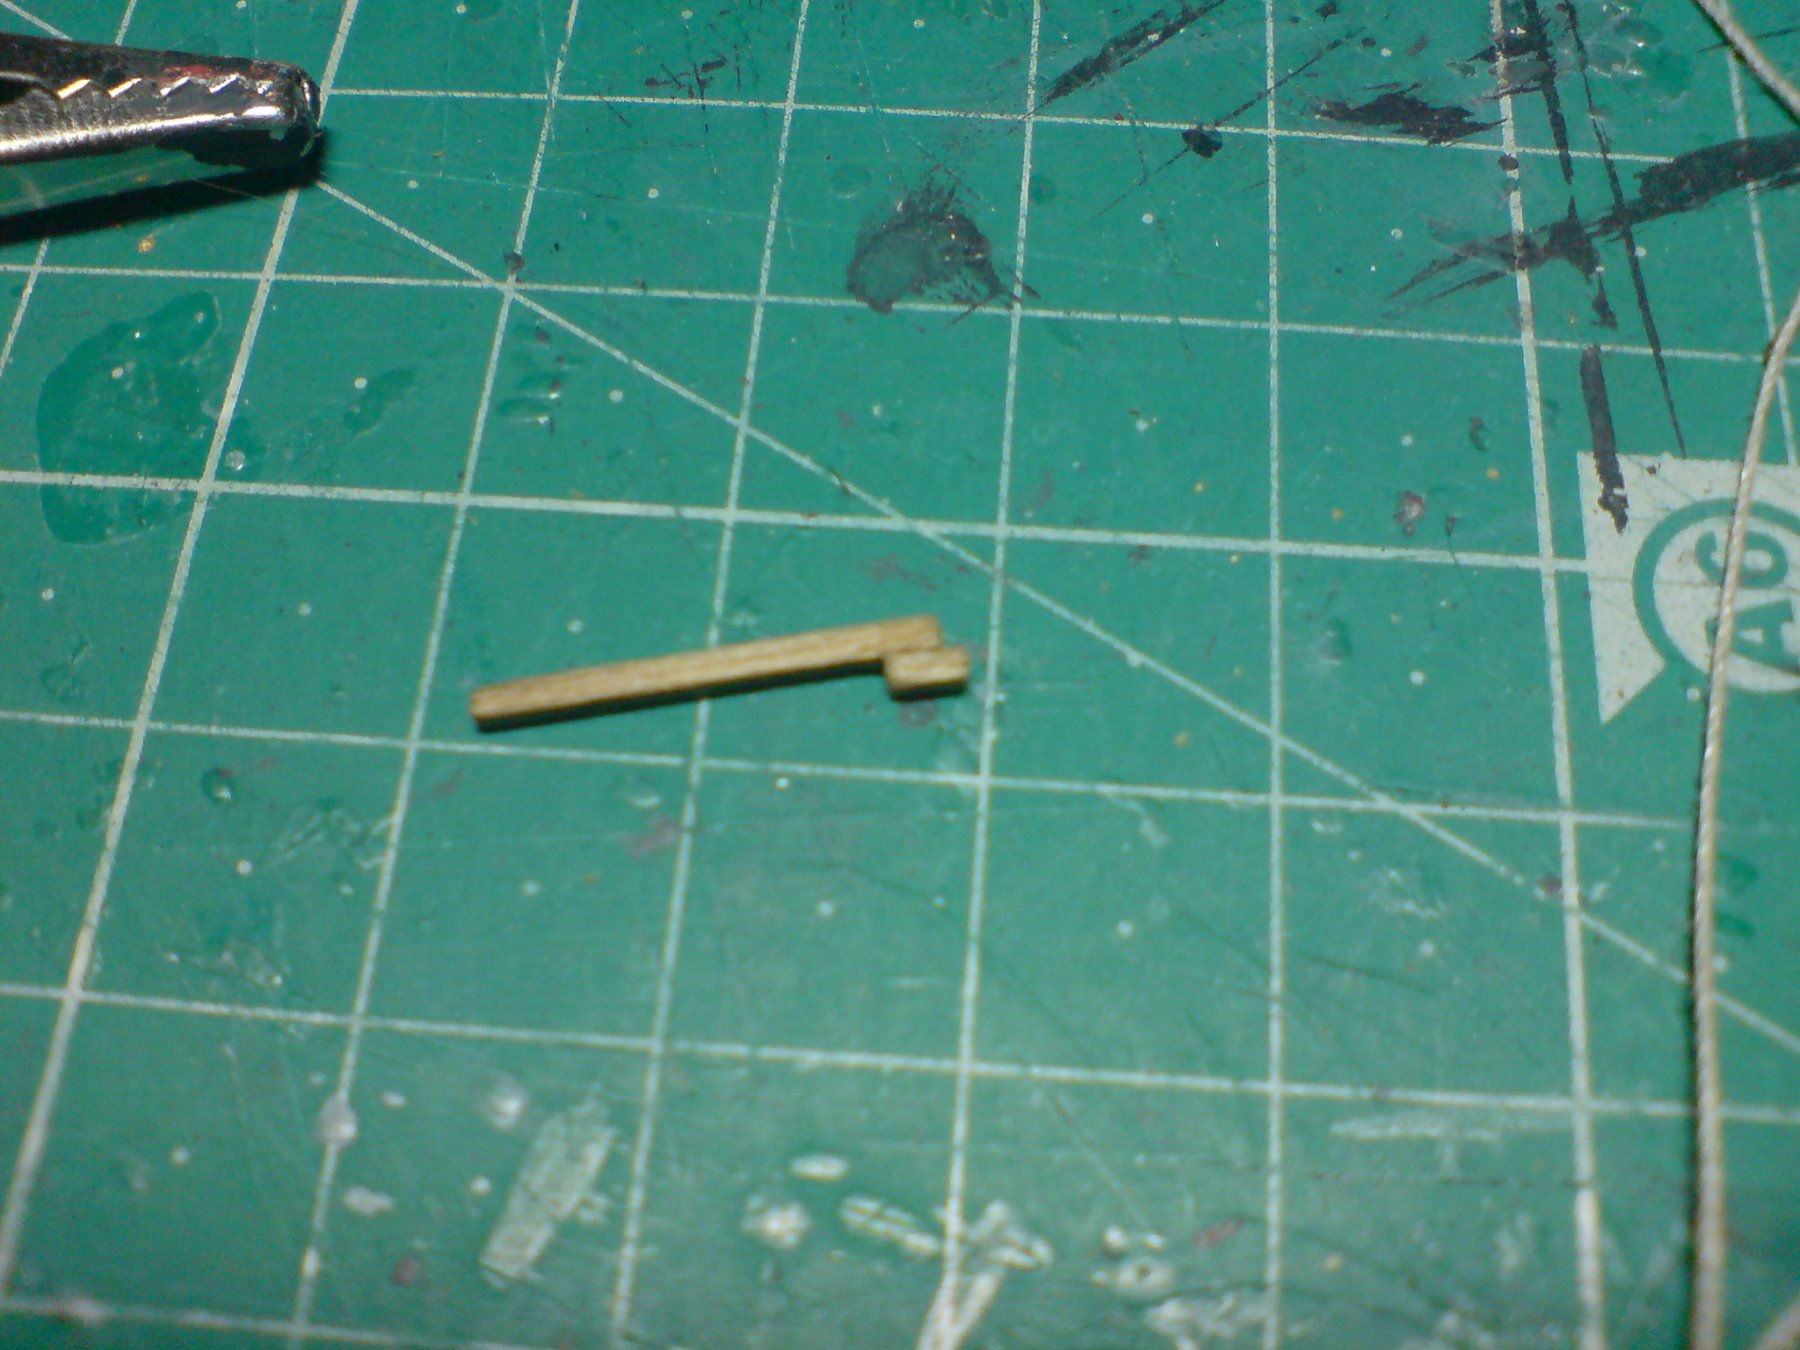
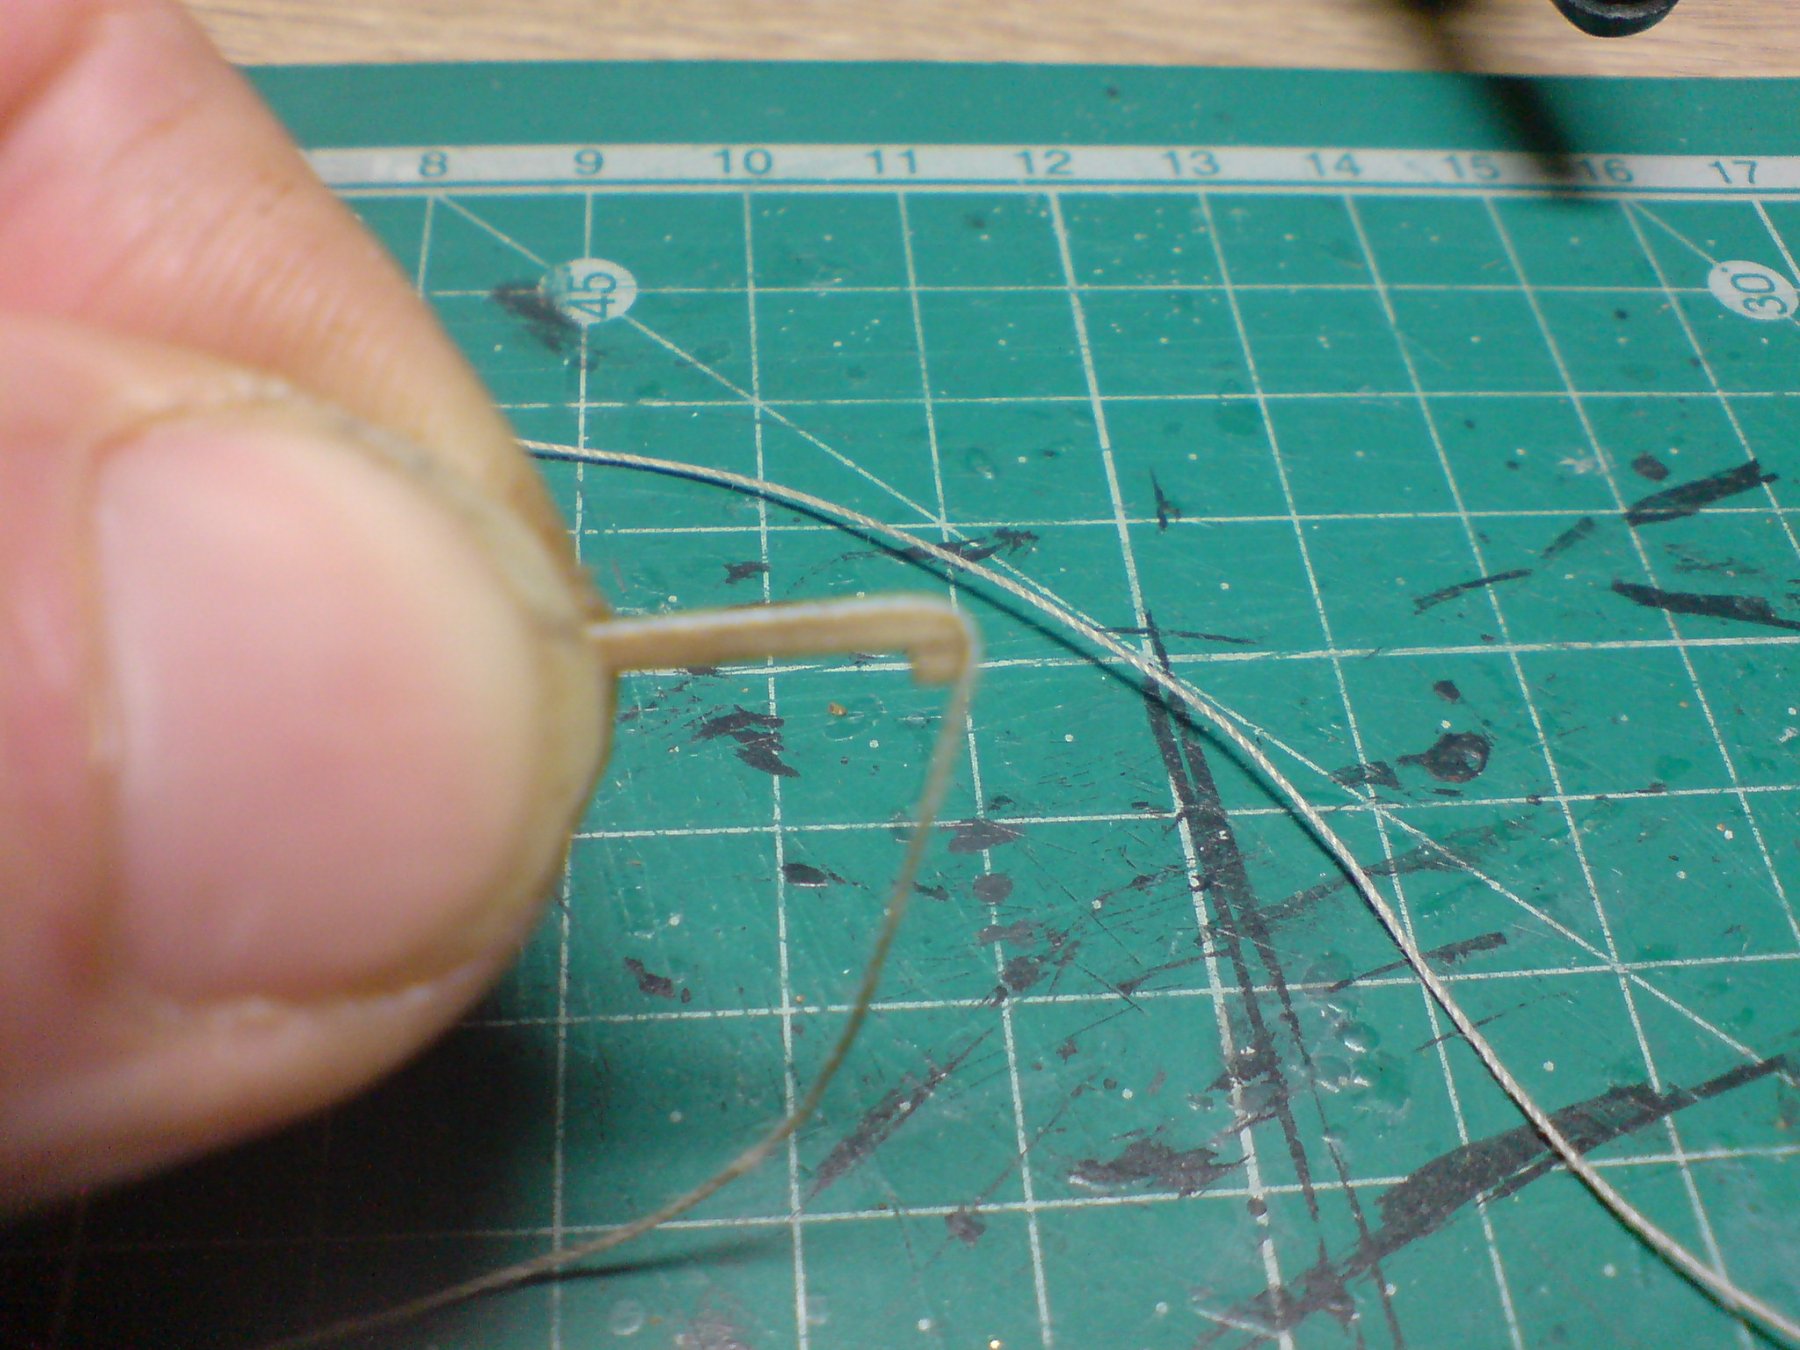
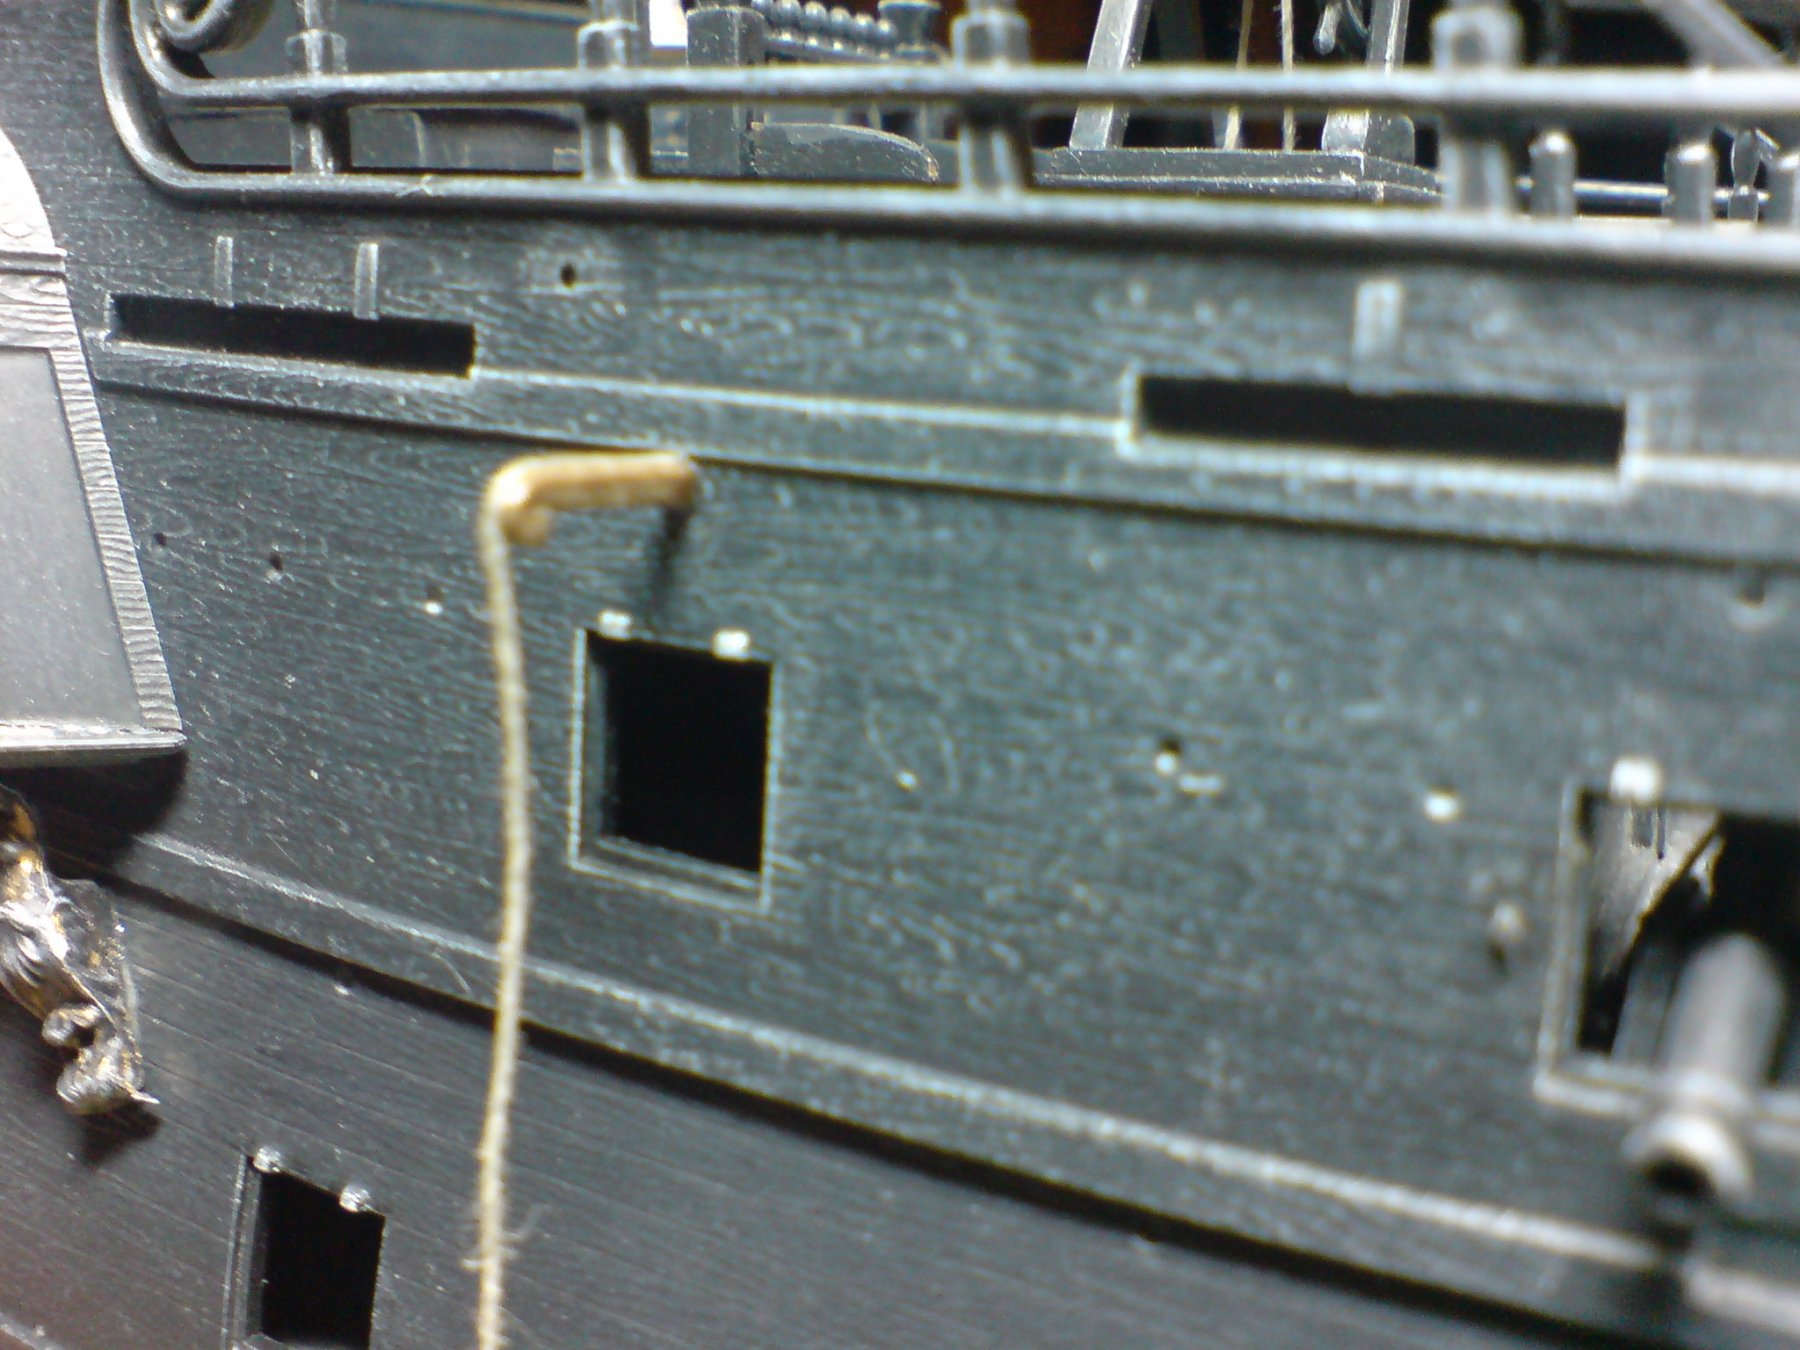
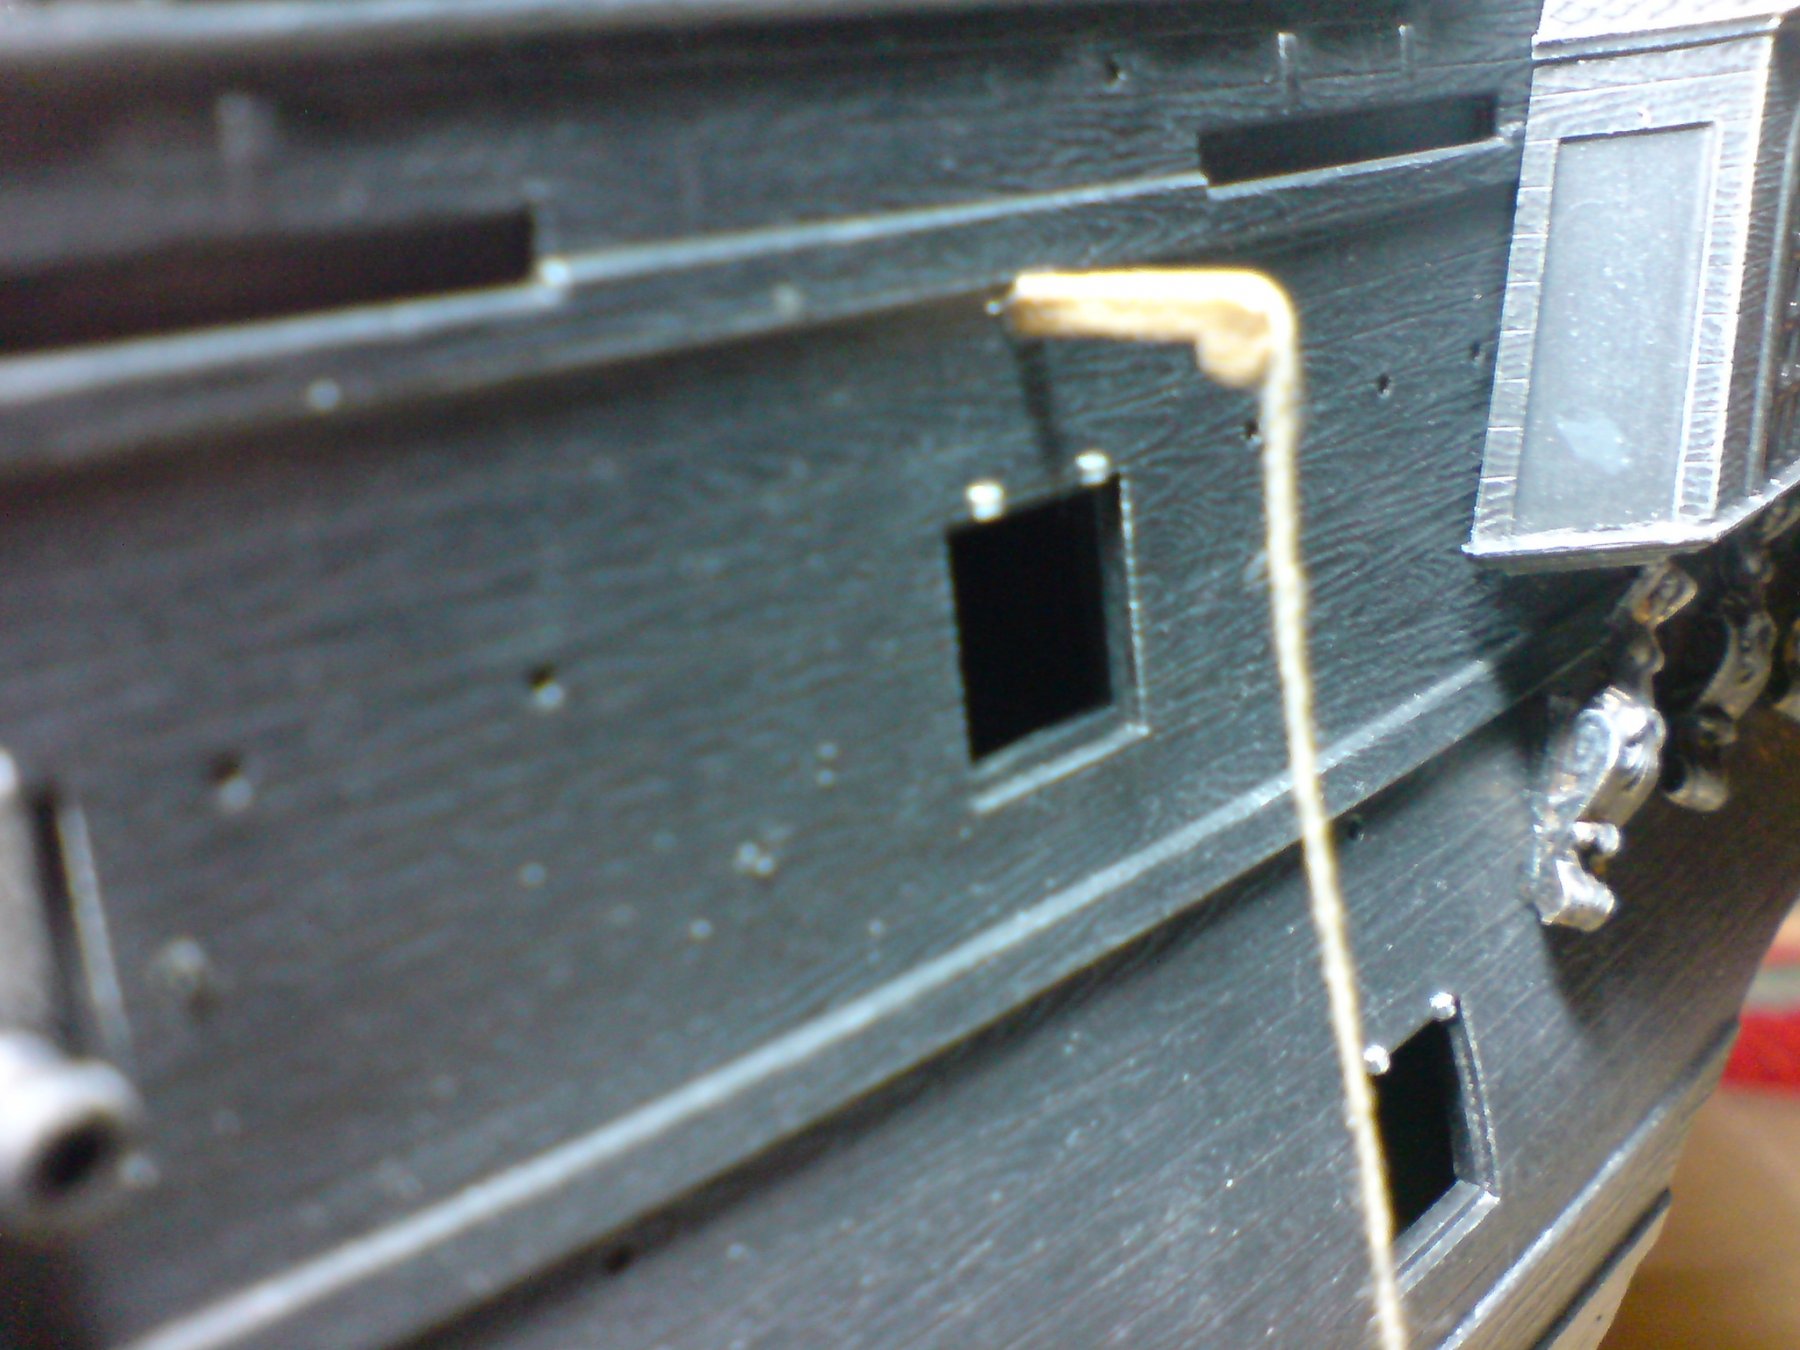
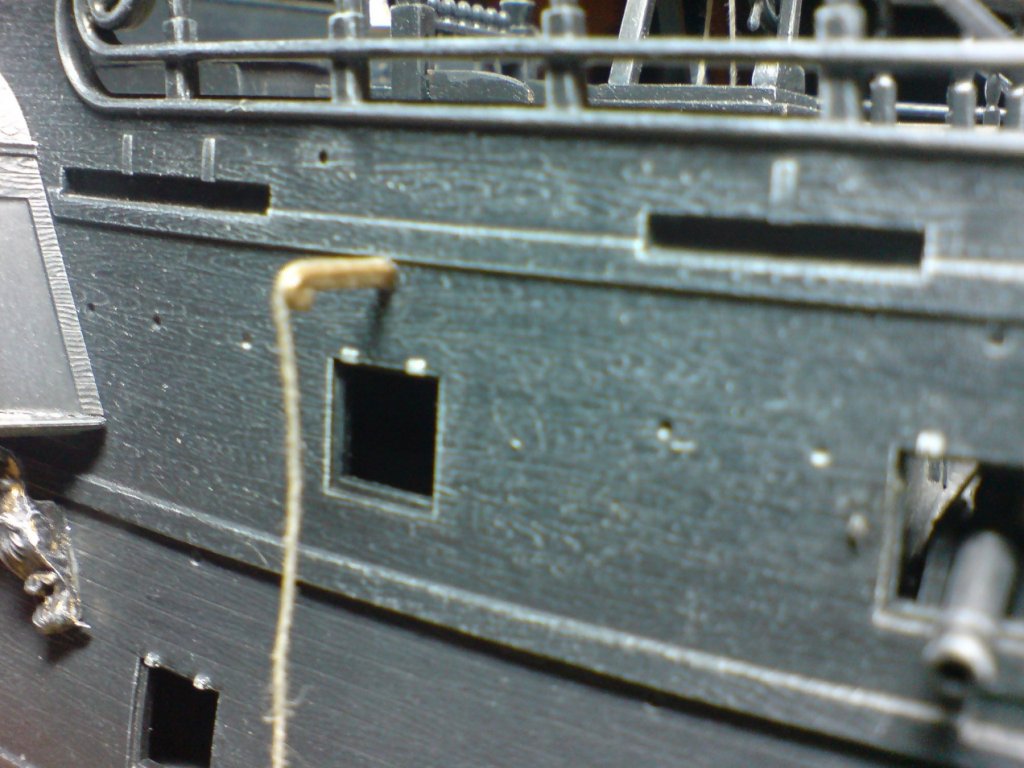
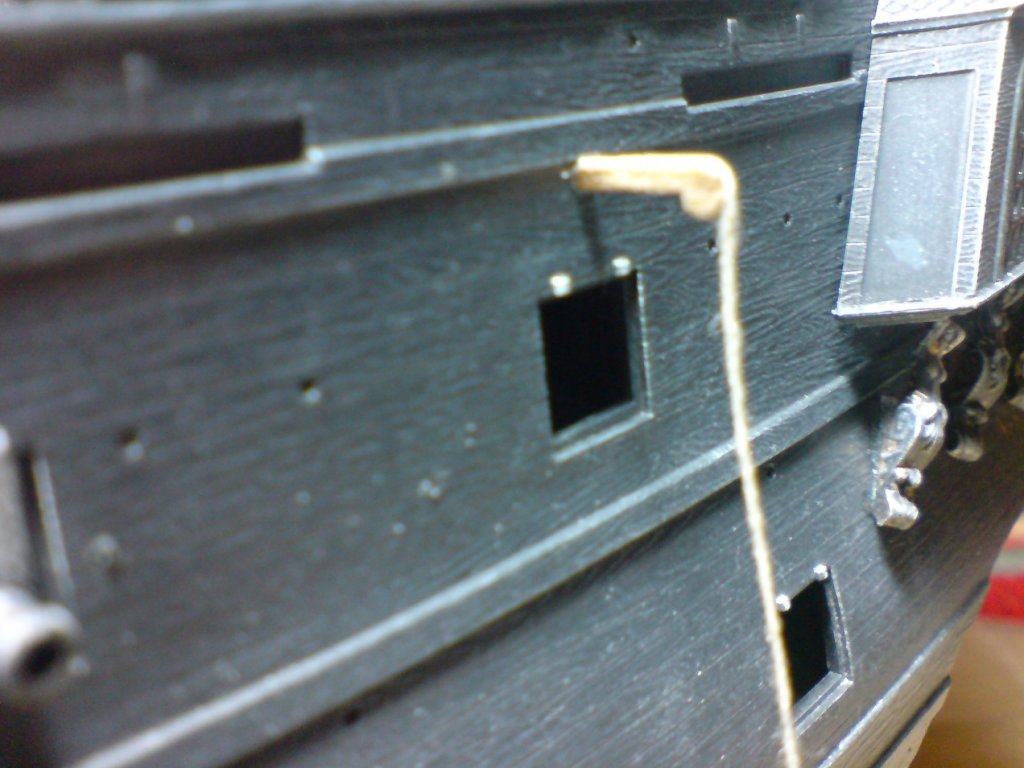
Hi all, I managed to get outside and cut out the base board, then after sanding the edges I glued the sub - base down onto it using PVA and spring clips, I set this aside to set - While it was setting I turned my attention to the gun port lids and anchor points, the lids are opened/closed by a two point rope attachment on the lid creating a v shape with a rope coming down and attached to a spar sticking out of the hull above the port, a rope routes through the hull over the spars rounded end and down to the v shape rope link on the lid. First I drilled into the hull to accomodate the spar made from 2 x 2mm timber, this was cut longer than needed as the end would be glued and pushed through the hole drilled in the hull, on the ends I cut and glued a small piece of 2 x 2mm, then when set I rounded the ends, next I glued a section of rope on the top and secured it over the rounded edge. I finished off by gluing two of these (port and starboard) into thier positions. A few pics .... OC.


-
Hi jason, thank you for the comments - the windows were un-diluted PVA the gorilla branded version. OC.
-
Just a short note to say how overwhelmed I was with all the warm wishes that I duly passed on to the admiral. Tomorrow I will be cutting to shape the main base then glueing down the sub - base to it. Once gain a Huge Thank You. OC.
-
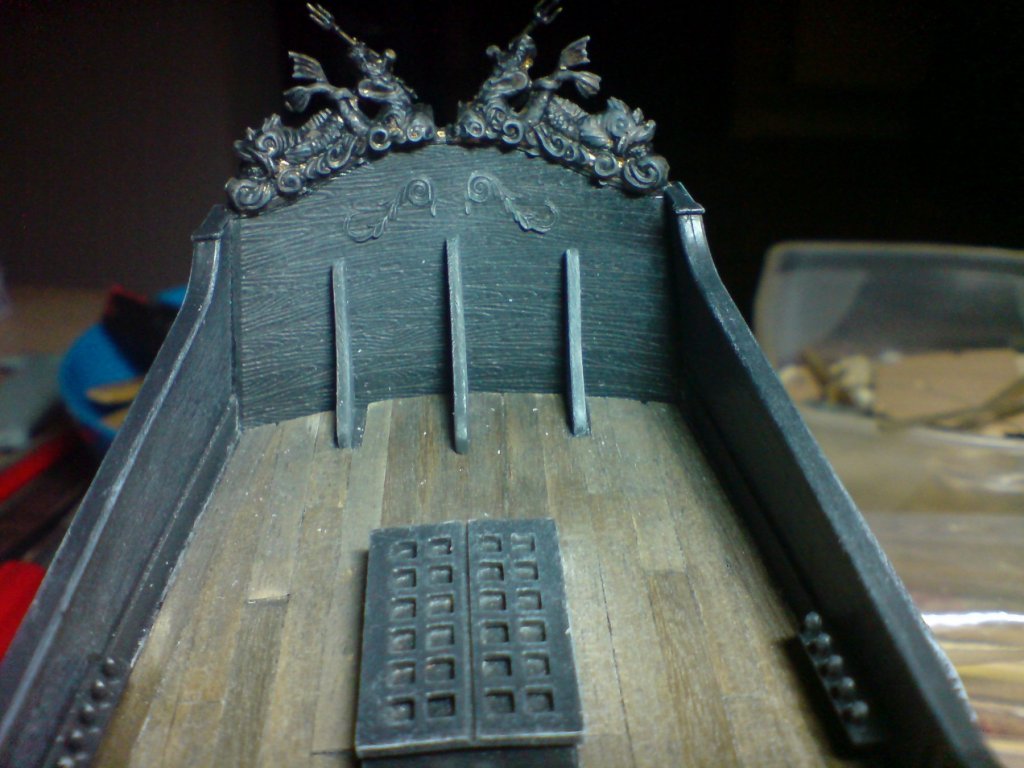
Last job of the day was the shaping/painting and securing of the three rear transom/poop deck supports. OC.
-
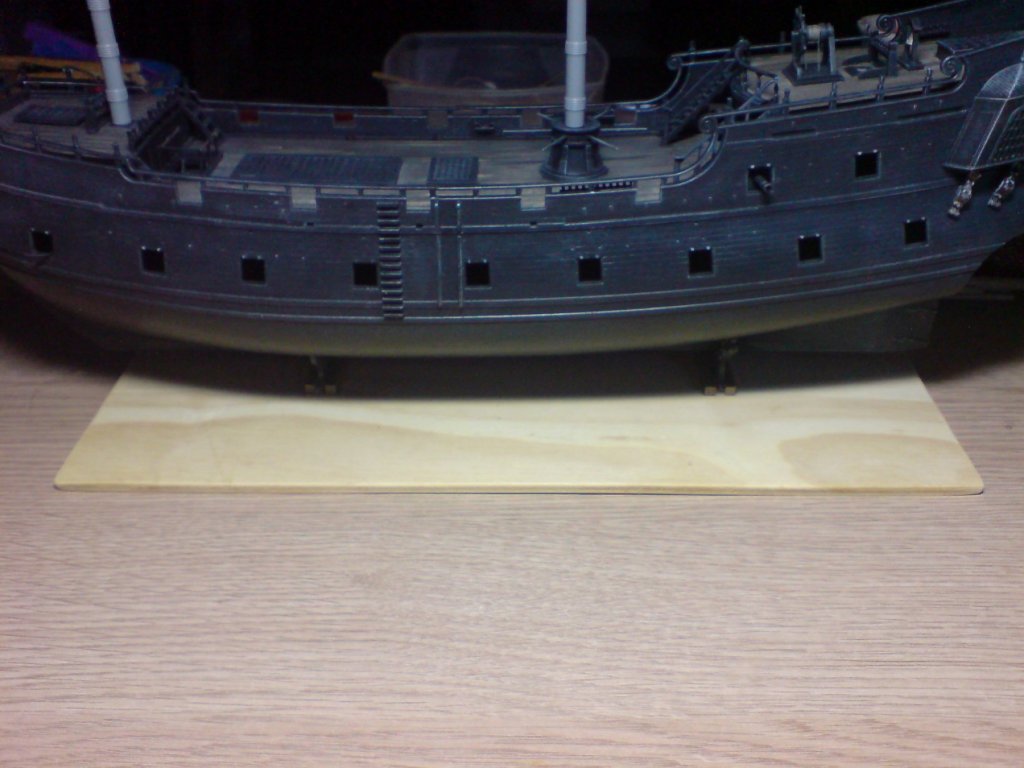
Next was to work on a sub section of the base I am building - first I cut to size a piece of thin ply, this is acting as a pre - anchor for the pearl then onto a more substantial base I have yet to cut (both offcuts of wood knocking around the house). I constructed four braces that were measured around the plastic kit frame supports, then glued down, I then set this aside to fix - then later I glued the pearl down onto the sub base. OC.

-
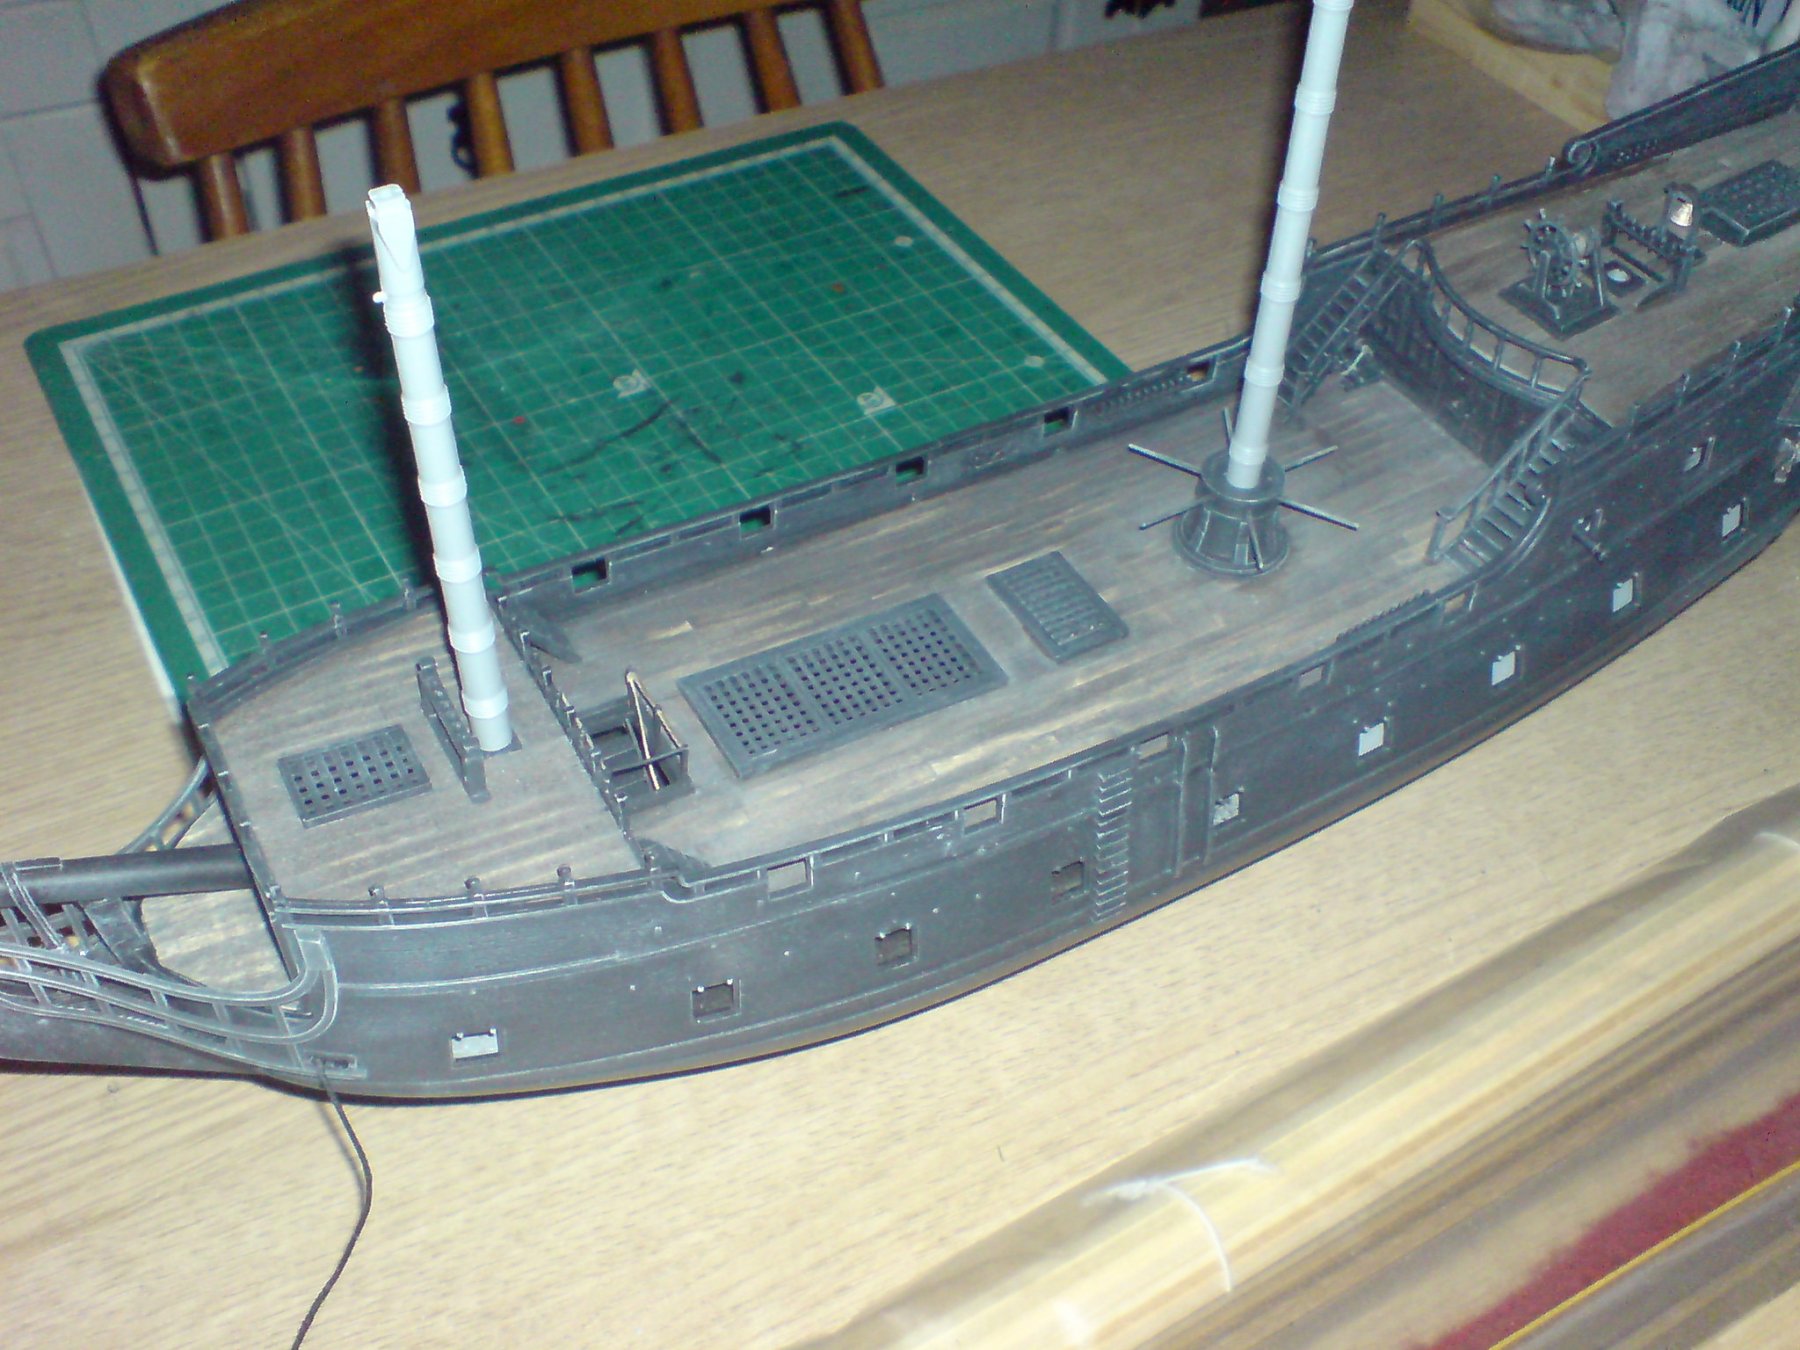
Managed some work on the pearl today - I finished putting the main masts - lower sections together, I then cleaned up the seems on them then dry fitted them on the respective decks - they still need painting. OC.

-
All the best to you and yours denis. OC.
-
Thanks mate I know what you mean. We should resort back to our old navies a lovely diet of old meat. weevil biscuits and rum - I could live off the rum though. OC.
-
Really tidy work denis - nice clean plank runs also. OC.
-
I can only back up what denis said - very nice work bob. OC.
- 359 replies
-
- 2
-
-
- prince de neufchatel
- model shipways
- (and 1 more)
-
Any way! back on with my build - tomorrow I hope to trim the two breech ropes glued but hanging from the hulls side, then I will work out my next stage in her build stratergy. Sincerely thank you to all the replies and words of thought and care - it means a lot from my family of ship builders. OC.
-
Thanks ken, the trouble is - it costs extra money to eat healthily, my wife has always said here in the UK its always the poor who are the least fit and well, thankfully we have a mostly chicken and frozen or tinned vegetables, and try to get greens when we can, both of us have zero sugar or fats like butter or sandwhich spreads, same with milk we only take concentrated milk - never full fat. We should be as healthy as a sportsperson lol. OC.