MORE HANDBOOKS ARE ON THEIR WAY! We will let you know when they get here.
×


Old Collingwood
-
Posts
12,077 -
Joined
-
Last visited
Content Type
Profiles
Forums
Gallery
Events
Everything posted by Old Collingwood
-
 Sorry I missed sending birthday greetings - hope you had a lovely day and recieved some lovely boat building goodies. OC.
- 83 replies
-
- 5
-

-
- marcle models
- card
- (and 1 more)
-
Belated happy birthday to you denis, hope you had a cracking day and some nicey prezzies. OC.
-
No mate, I just drink coffee out of a jar that just requires milk and water, I have tried thinning it down with disstilled water, I found the bottom of the jars had collected alot of sediement, and even after vigorous stiring and shaking till my hand nearly fell off, it still has some residue that comes out and I cant brush it out smooth enough on the model. Thing is im down to about a fifth of the remaining paint so no wonder im getting all the sediment off the bottom. OC.
-
Im already scraping the barrel with the paint quantity, some folk used to suggest straining paint through some types of cloth, if I tried that I would have no paint left, to be honest I looked at the three main plastic jars AP507A. AP507B and AP507C befor I statted my recent re build and thought even then that 507B and C where both looking a bit worse for ware and low, but I thought best to just carry on regardless and see how I get on. OC.
-
I think my problem is Im hand painting with old paint that has small bits inside due to age, I have tried to stir it well and shook the life out of it, im tempted to pause the painting(meaning some building) till I can get some more paint. OC.
-
Evening all, on the subject of dust (from my previous post) I have been working on the same area adding some tiny derrick brackets, then painting the two camo colors, then I fitted the two derrick cable support arms, these fitted with ca, they slide down smearing ca glue over my paintwork, when dry I scraped the hard ca glue to try to remove it, then re touched the area with my brush, then I painted the plastic derrick and ca'd some wire to the end - then I glued to the barckets the derrick - again this moved as it was so small and flimsy marring the paintwork with ca, again this had to be scaraped away and the touched up, just not as neat as the original paintwork. So just the two pics tonight. OC.

-
Very true mate, its easy to get lost in the scale when working under a magnifier and taking macro photos, in the same way we can be very judgemental f our own close up work ( I keep seeing a dusty messy job with my work - one day in the very distant future I must try to save up for a sprayer) OC.
-
You made a great rescue with those shaped brass pieces, and with the rudder "I know your pain" I did the exact same thing with my build a few years back - too much heavy handling while working on the hull. OC.
-
Thanks lou, I had wondered as sometime to me the work im doing can feel repetitive - touching up work then going back over it to correct some over paint, so when I post some work on here it can be from several hours work - but not show much for it. OC.
-
I was just thinking - am I posting too often about boring sections of build, would it be more interesting and less repitative, if I only posted developments and pics after completing more work ? OC.
-
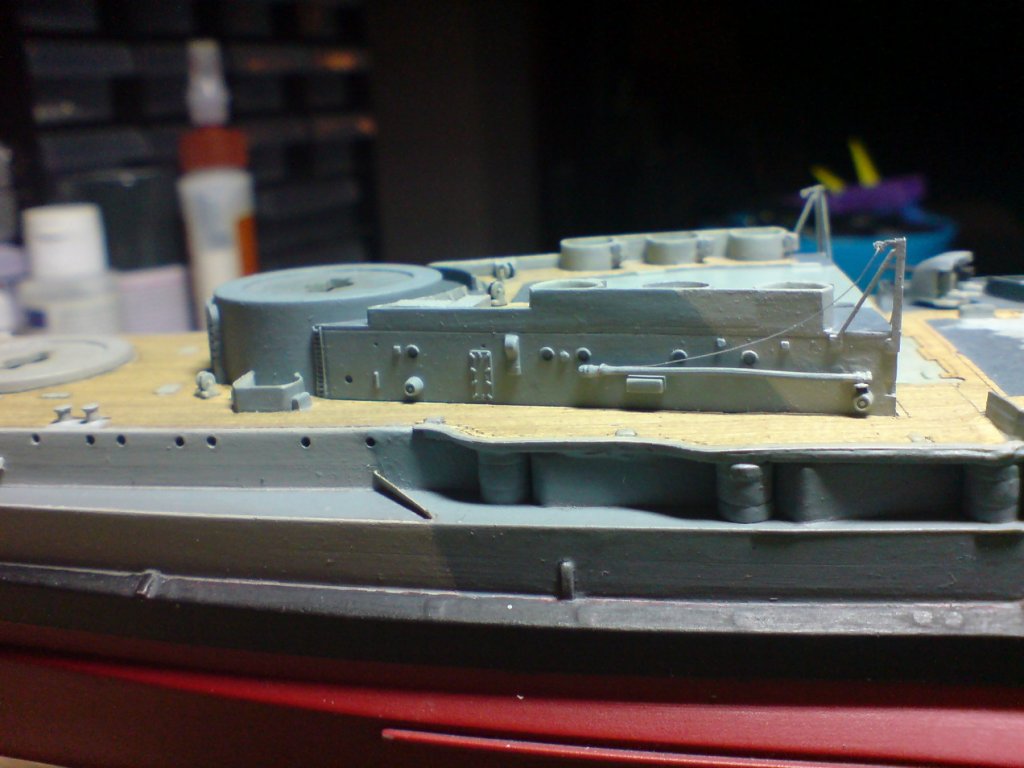
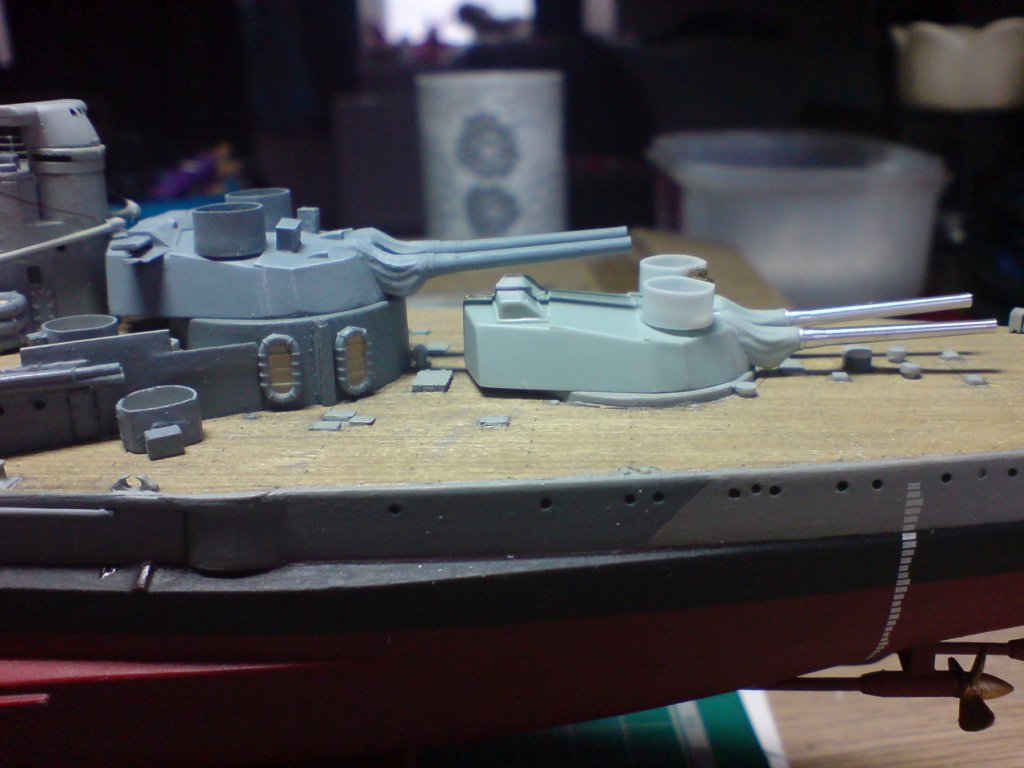
Evening all, more progress with front lower section, I added the middle gun tubs and filled and sanded the area, then a few areas of painting was completed, finishing off with the two sides being fitted. Just the two pics showing the state of play with the assembly dry fitted on the deck. OC.

-
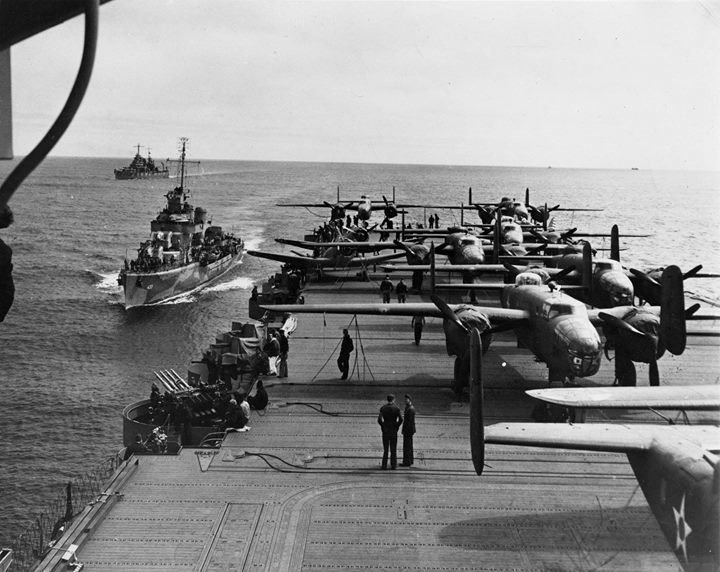
Here is a photo of Hornet full of bombers waiting to do the Doolittle Raid. Courtosy of I Love WW2 Planes on Twitter. OC.
- 467 replies
-
- 9
-
-
- mikasa
- wave models
- (and 1 more)
-
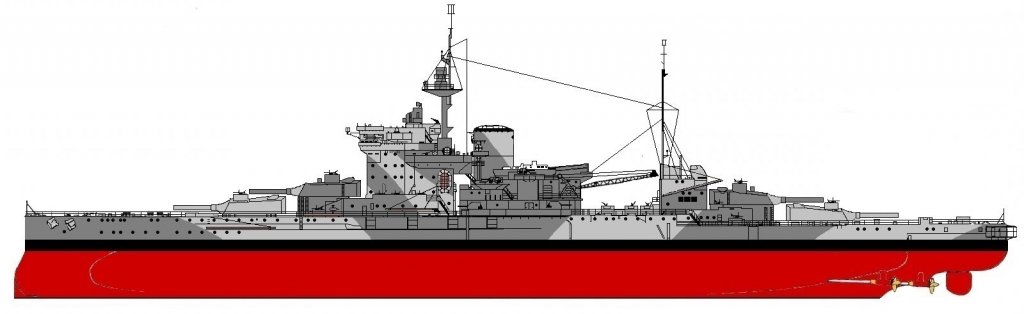
Thought I would post a drawing I have been working on - showing how the ole girl will look when finished. OC.
-
Hi danny, I know this like from ages ago but I found out what those round columbs are for - they are the 4in mount supports. OC.
.thumb.JPG.786cfb116686f0100cfd503e488c253f.JPG)
.thumb.JPG.63ae738f911e4c23f8cf8d55b0a1486a.JPG)
.thumb.JPG.78ca6207765ac6601ba4004cec11e3c2.JPG)
.thumb.JPG.aca93c13b59008ac37733cba8c4c8e92.JPG)
-
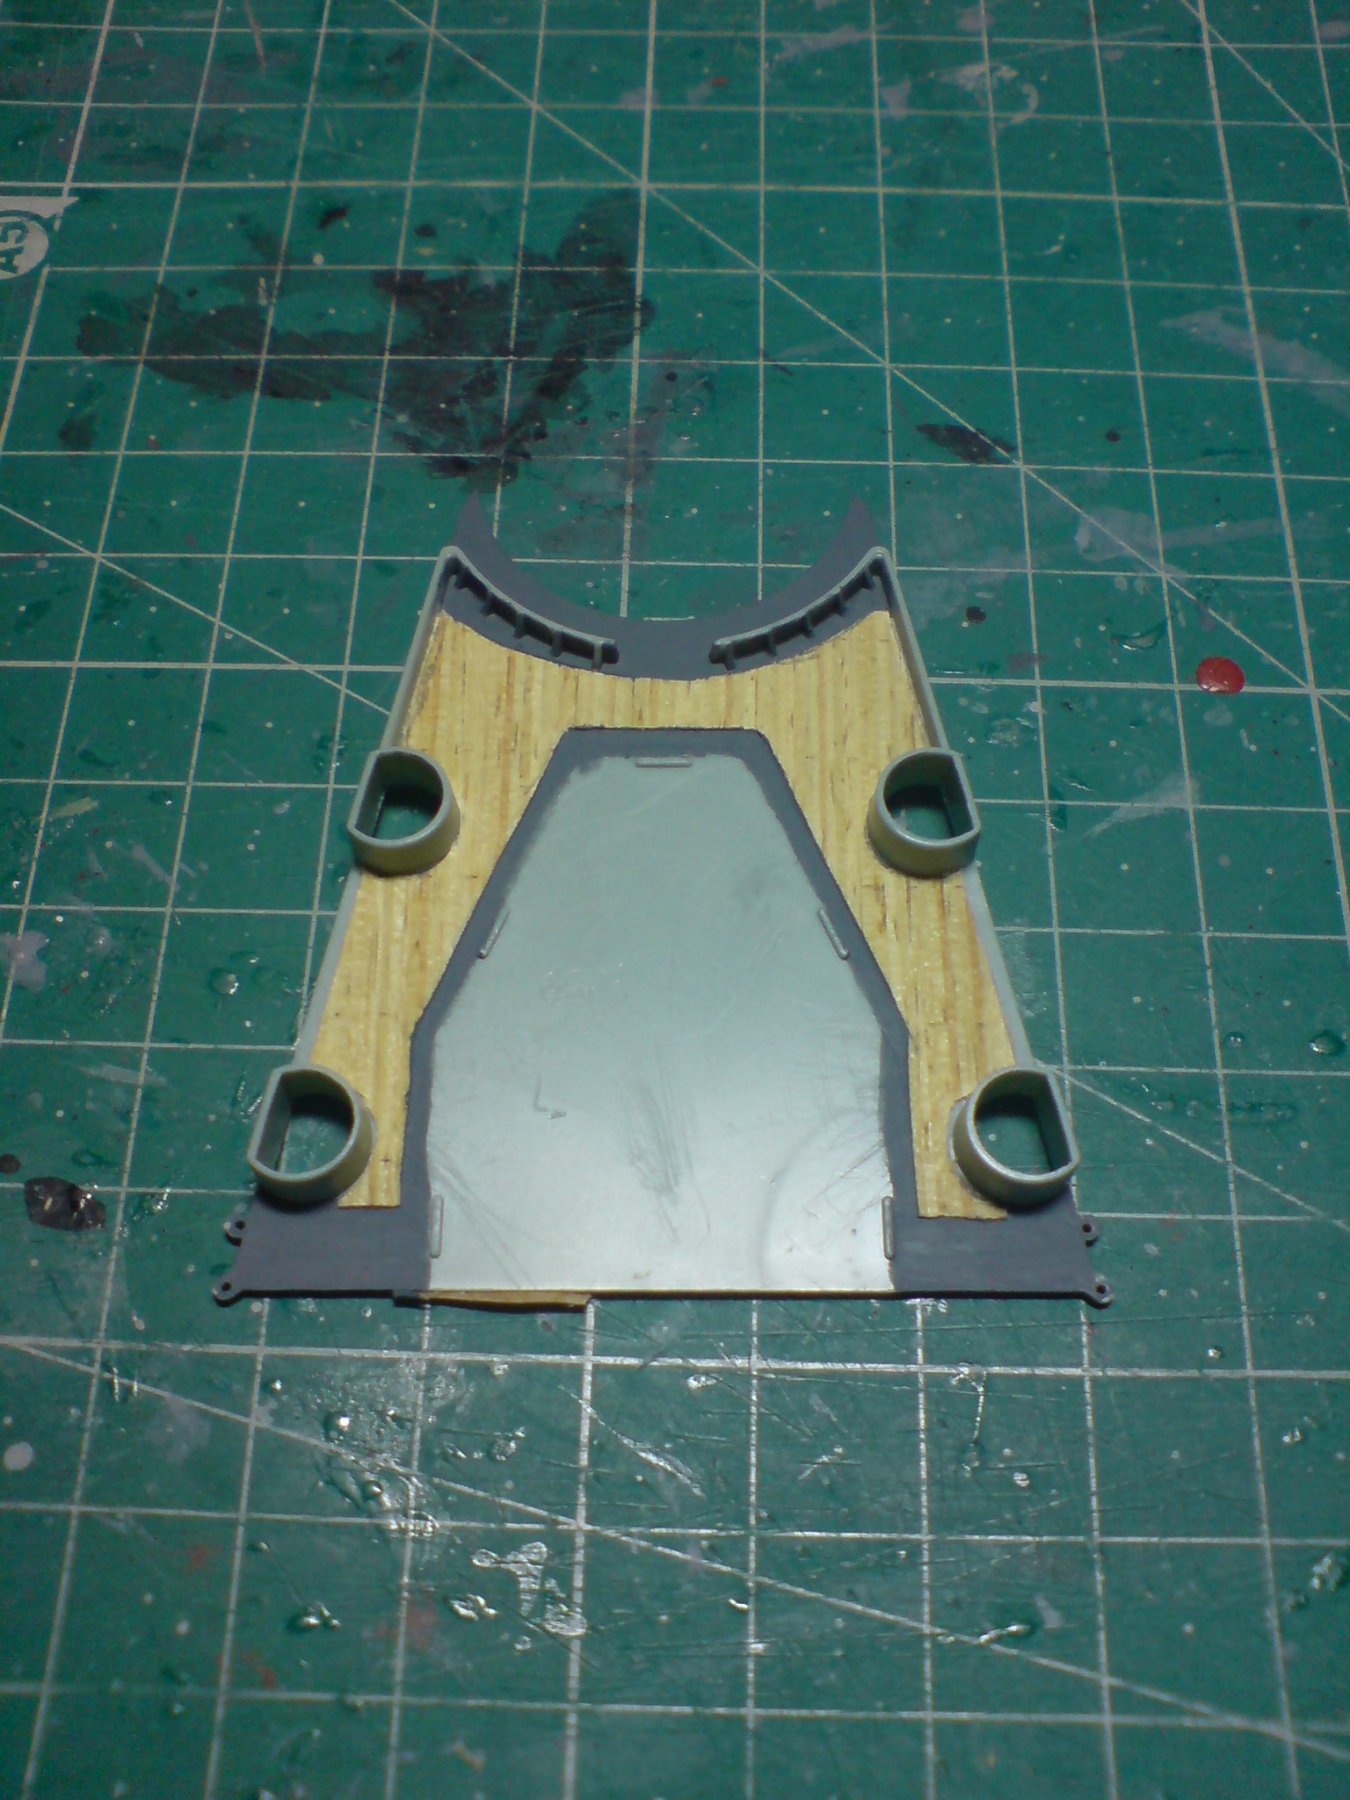
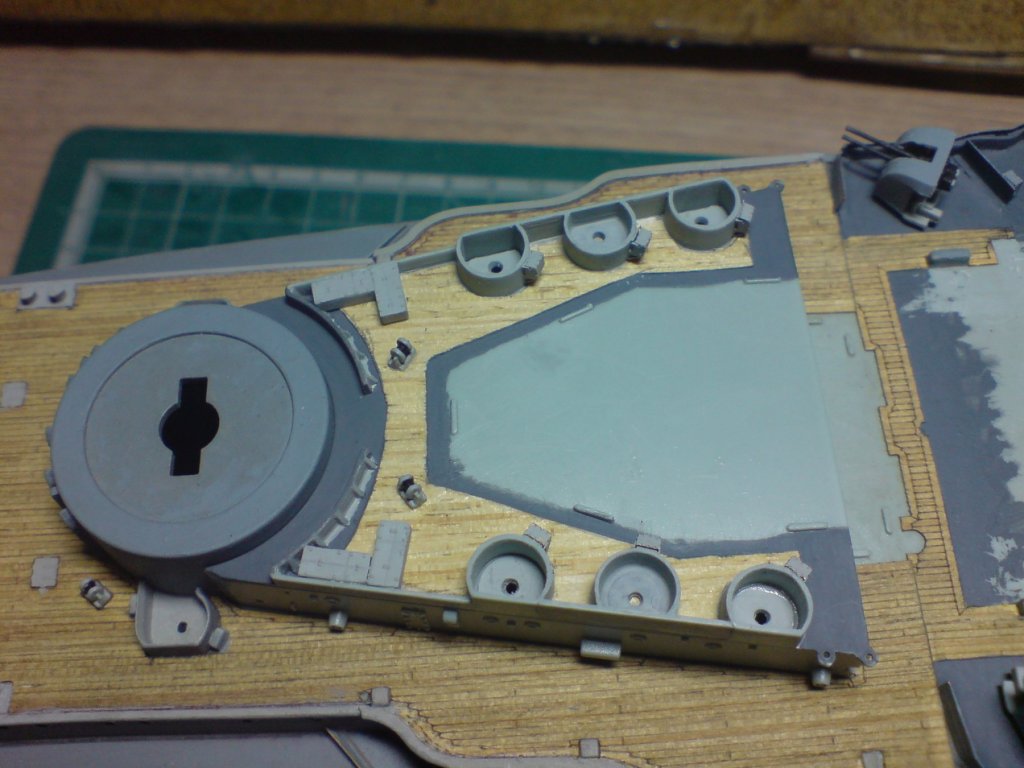
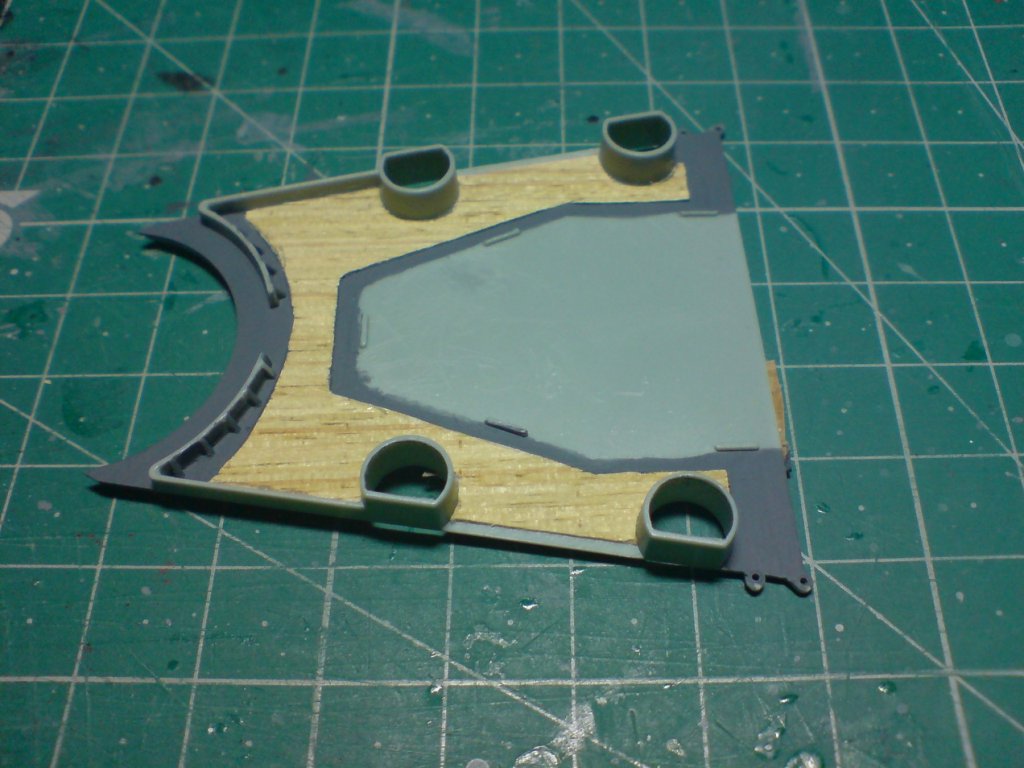
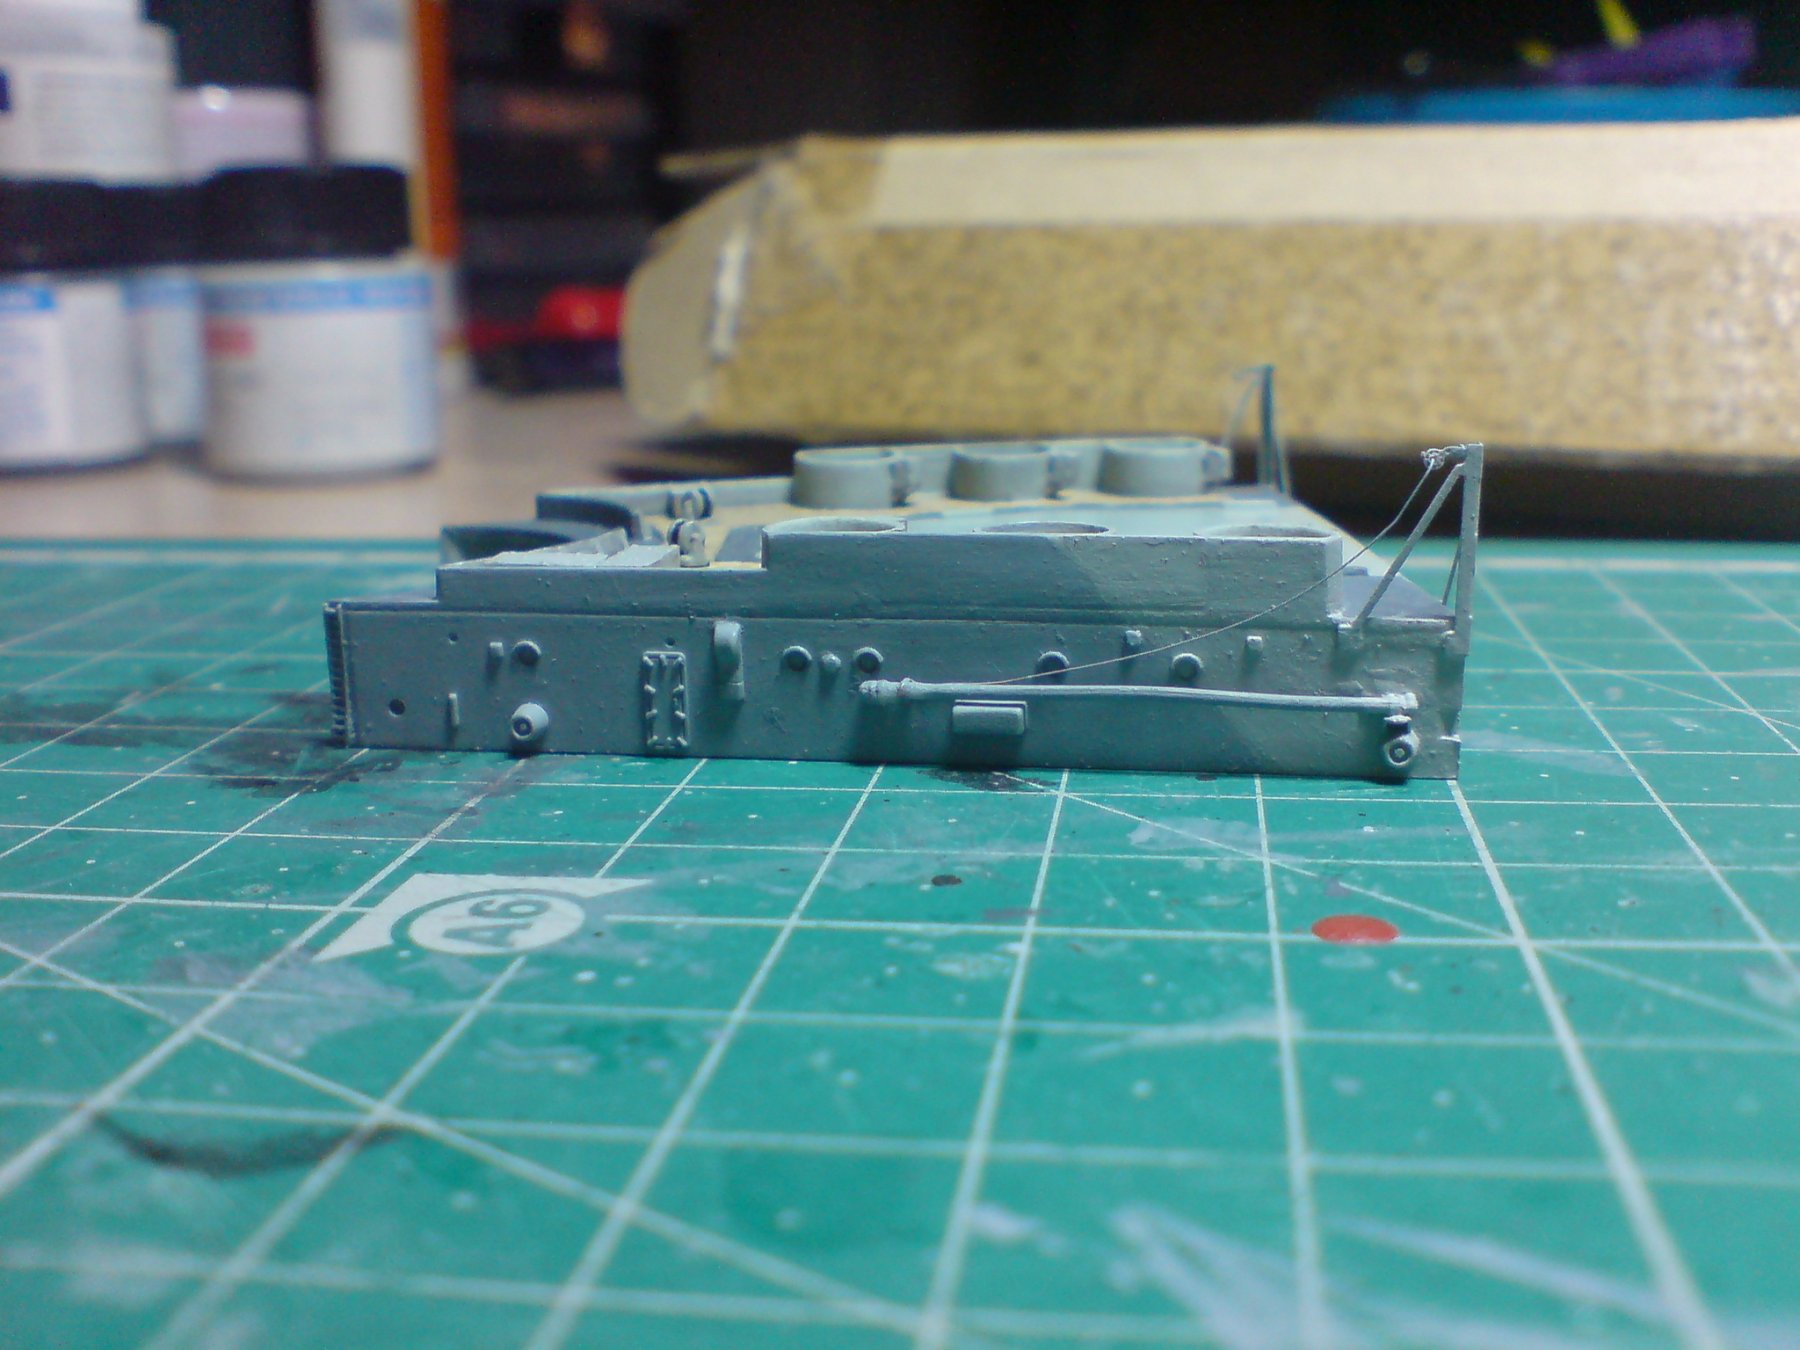
Evening all, once again many thanks for the likes those taking the time to view my build. I made my first steps at assembling the main forward block - first stage is to work on the first level oerlikon deck, after tyding up the bulwarks I made the decision to fit some wood decking - this required me to make a paper template first to get the correct shape of the fittings already on the deck, after cutting and test fitting a few times, I then transfered this onto the wood deck pieces I have left over, then I gently cut them out. I then painted dark deck grey around the edges where there is no decking, next stage will be to add the middle gun tub and the bottom pieces. Just the two pictures. OC.

-
In the photos I have seen they are weathered so much thay have lost their white color and became a shaded grey color, hence why I just shaded them slightly. OC.
-
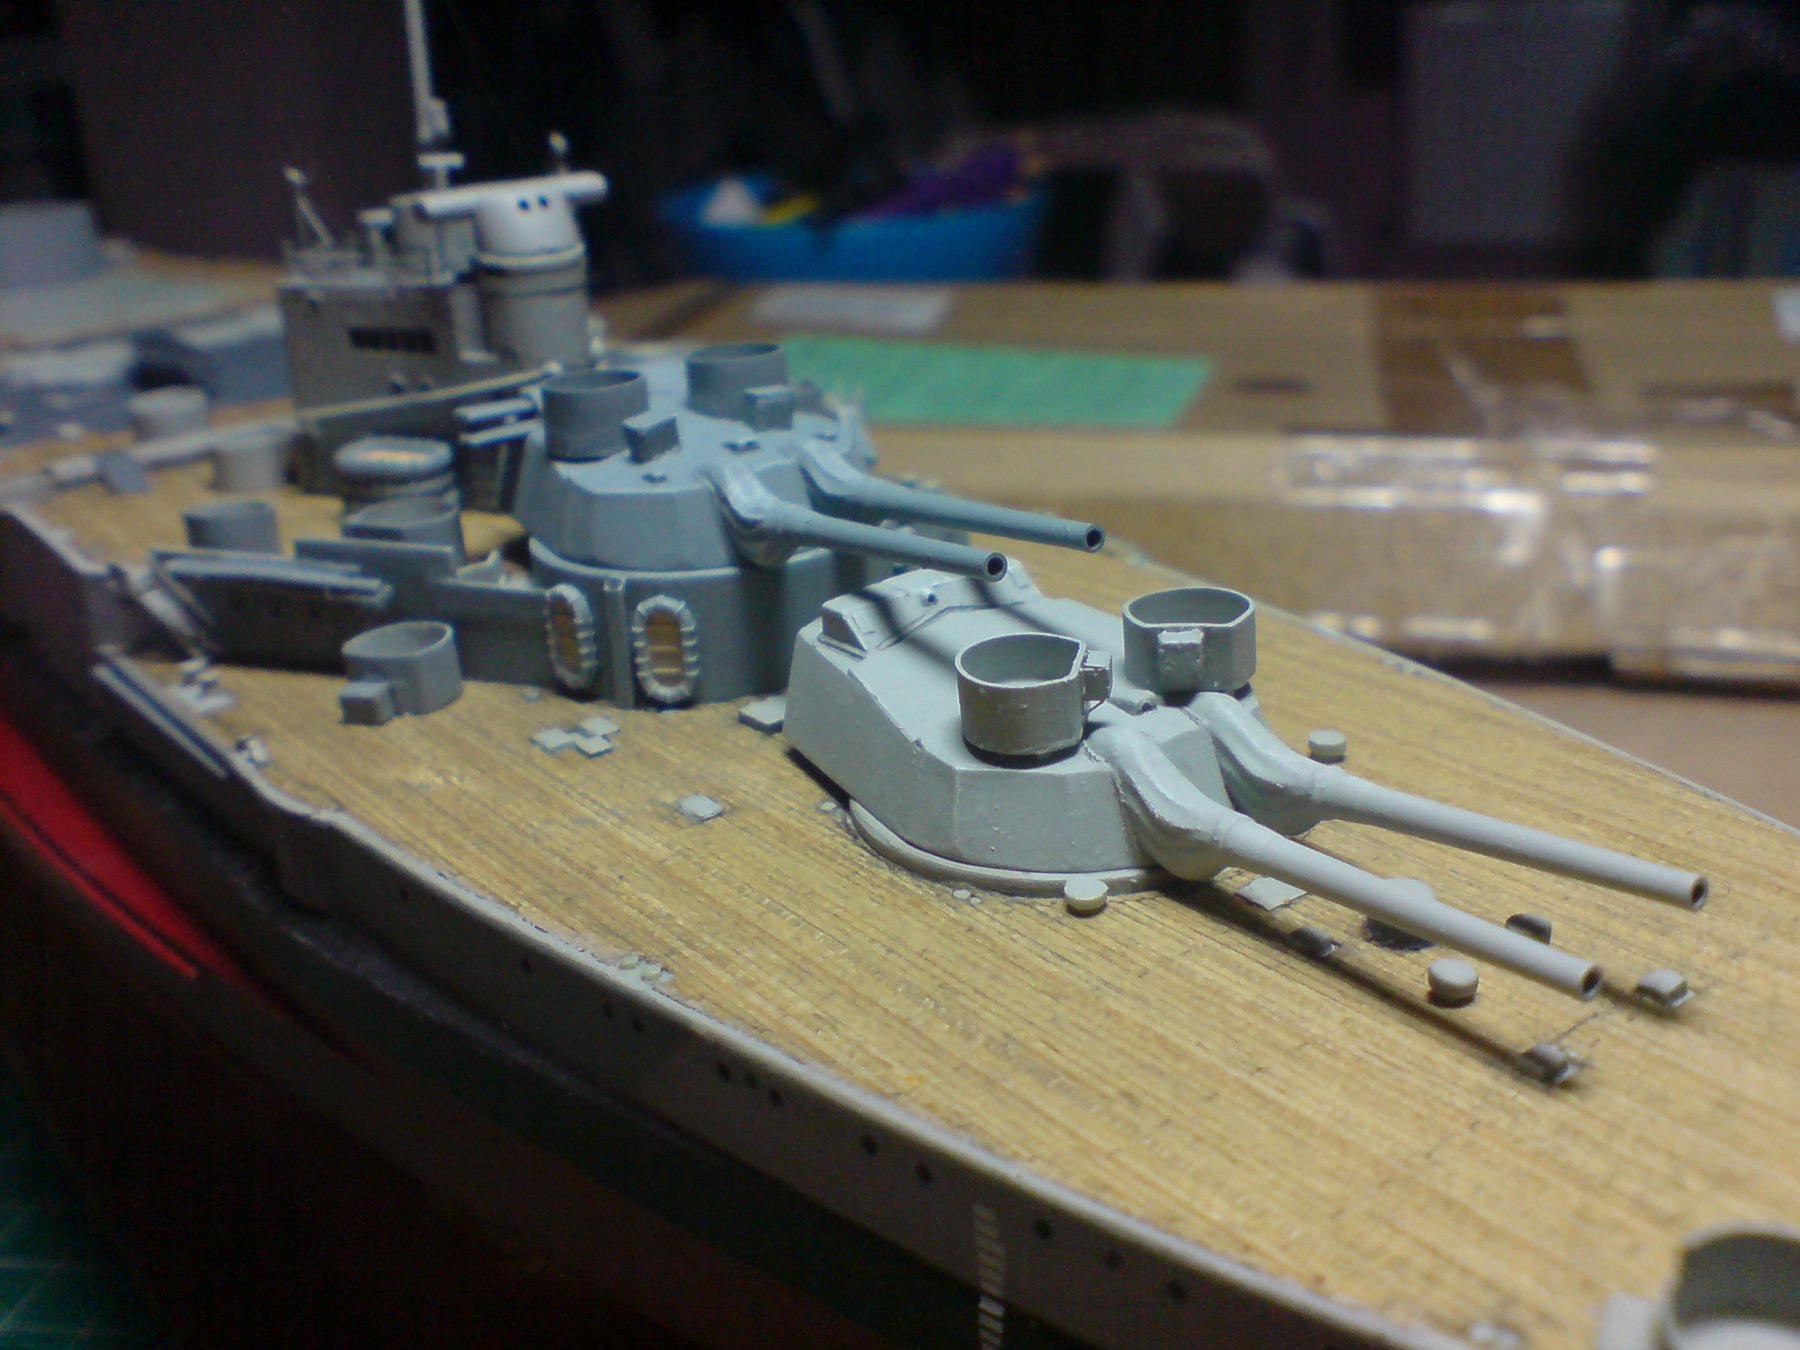
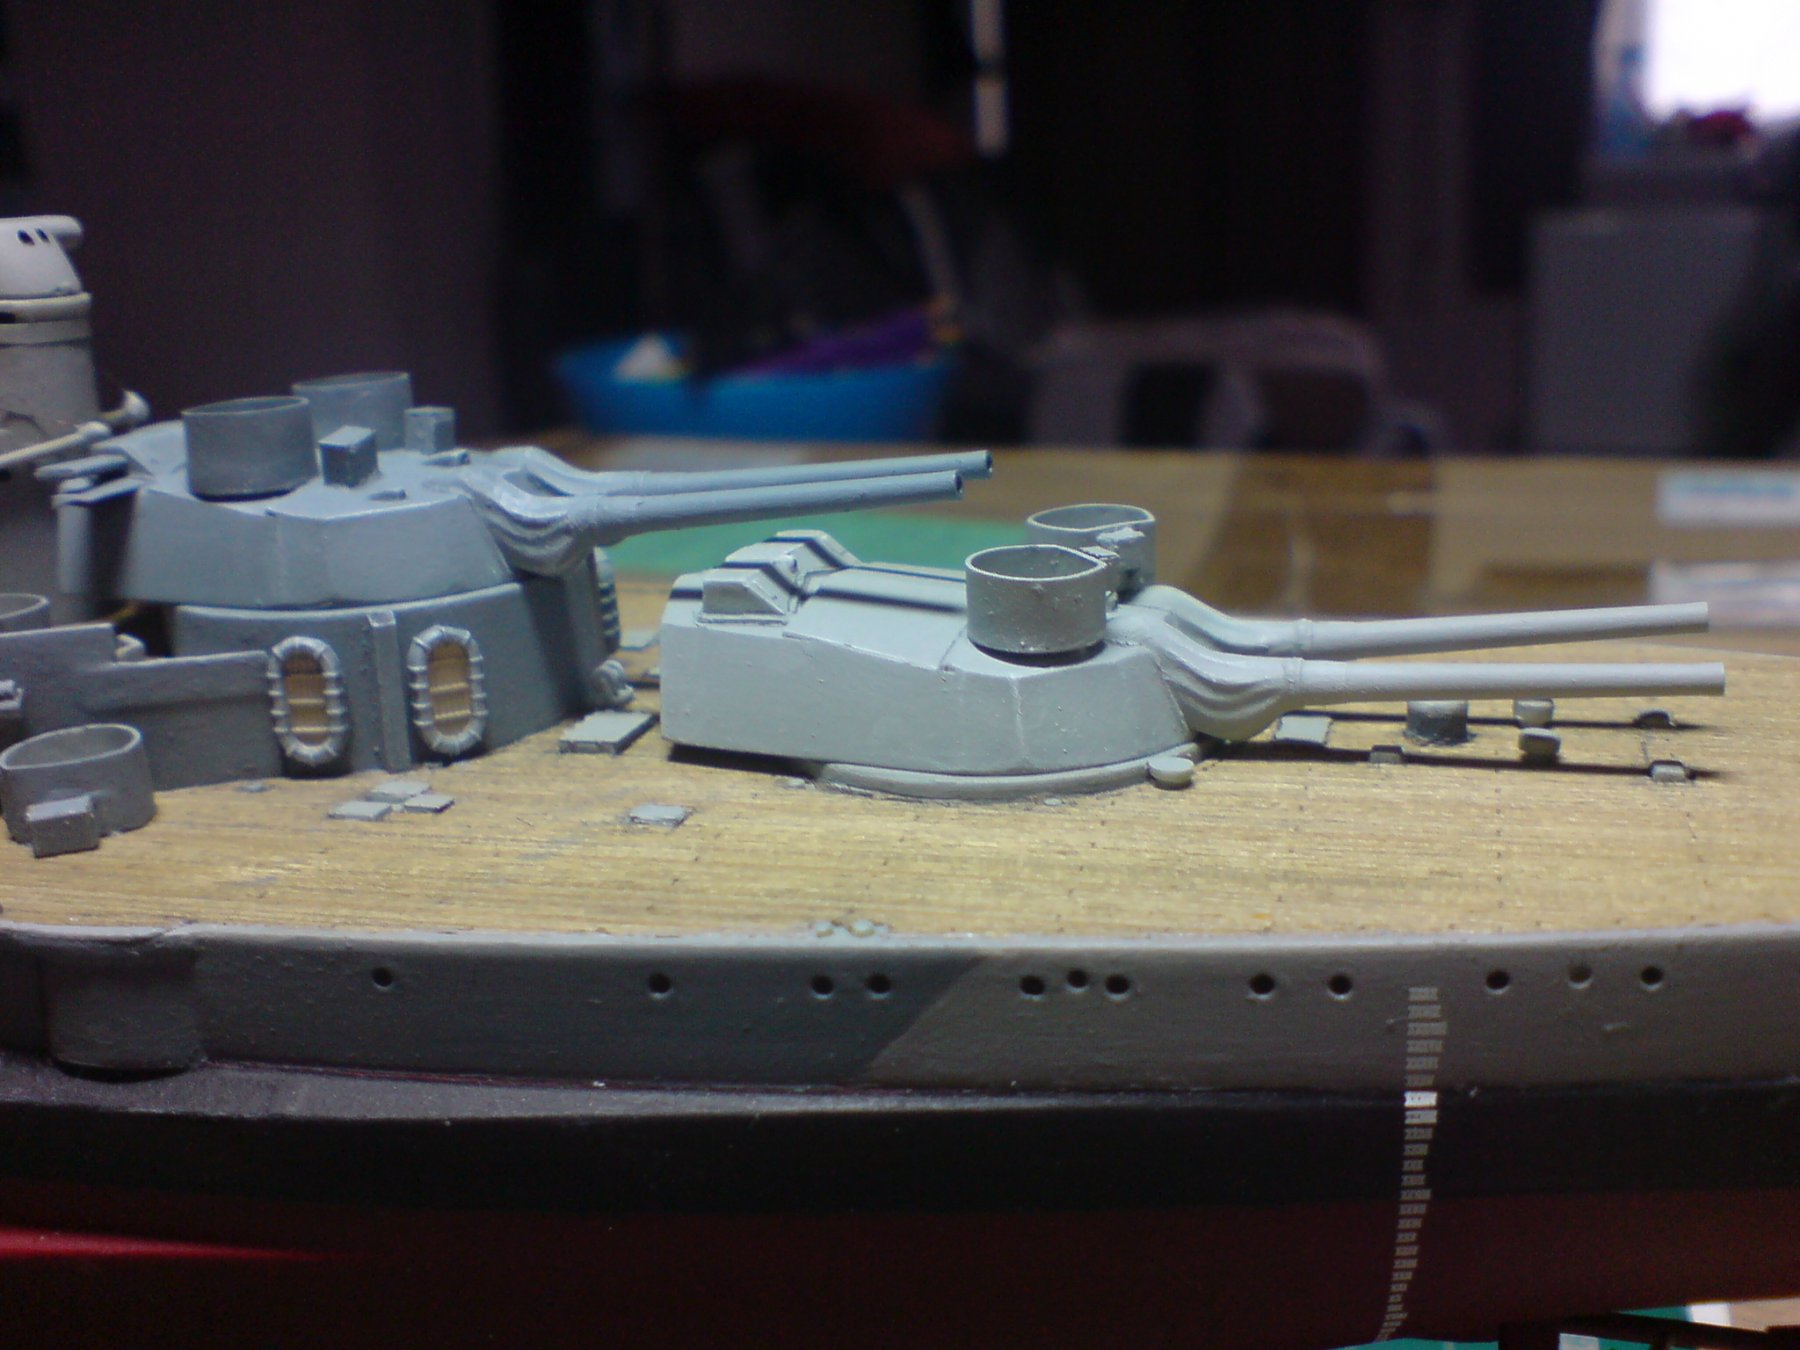
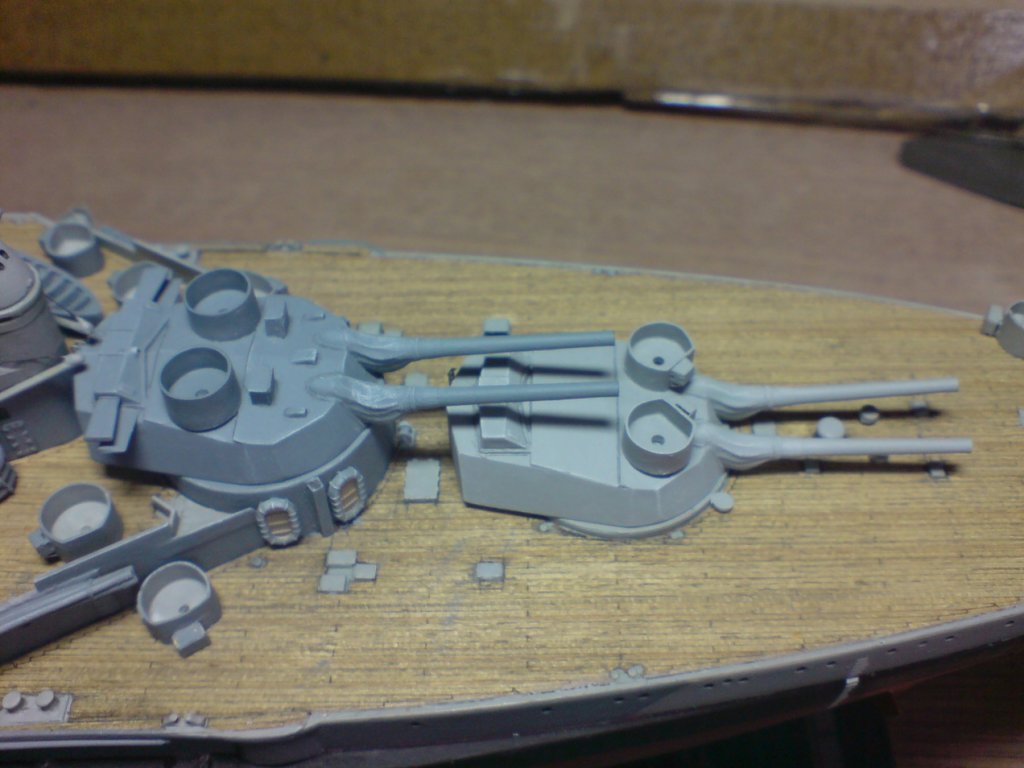
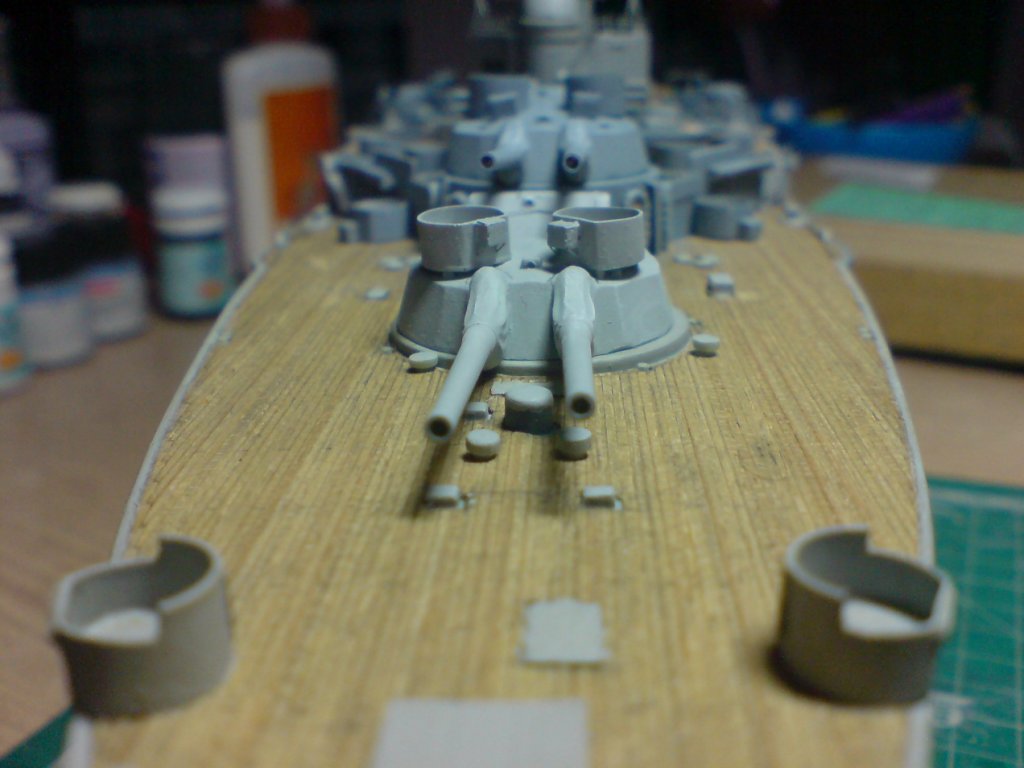
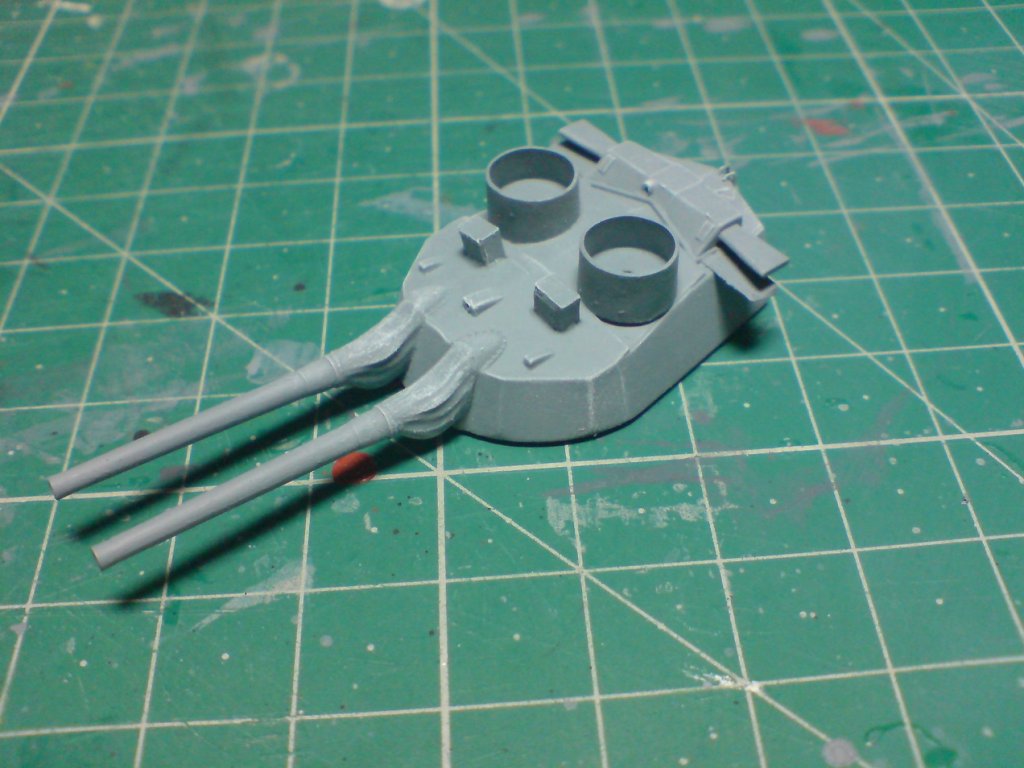
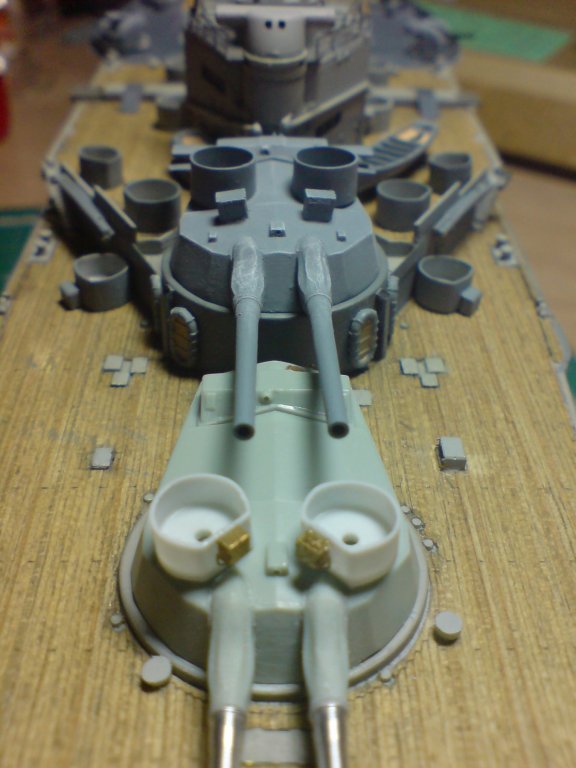
Good day all, another good day on the ole girl, I managed to paint up both x and y turrets including doing a bit of shading and dry brushing, by using a fine pencil and dry white painting. So both turrets are now glued in position and I can move on to the main structure. Here a few pics showing where I am at this stage. OC.


-
Looking really nice bob, all the best to you after your op. OC.
- 359 replies
-
- 3
-
-
- prince de neufchatel
- model shipways
- (and 1 more)
-
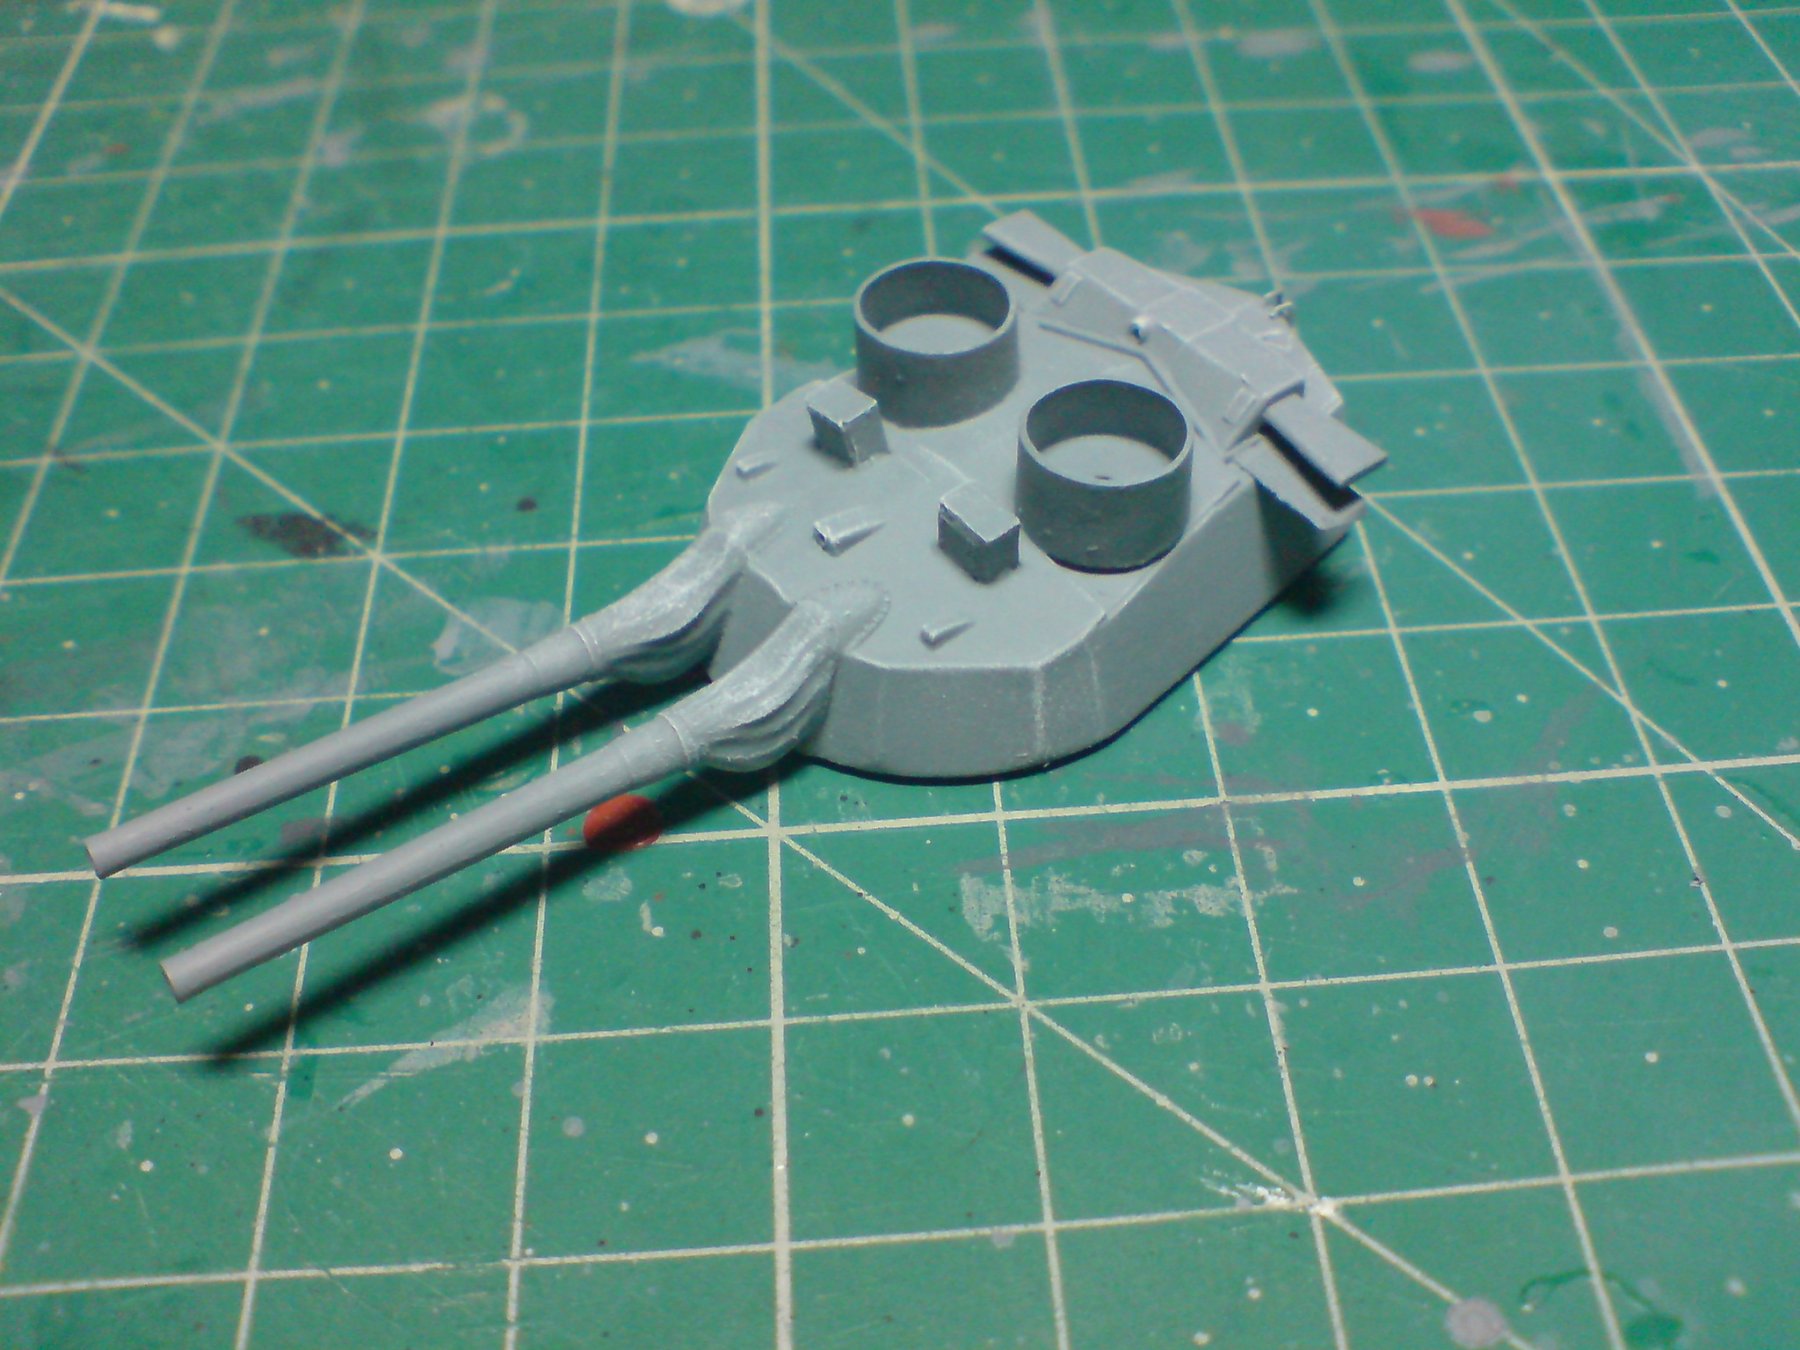
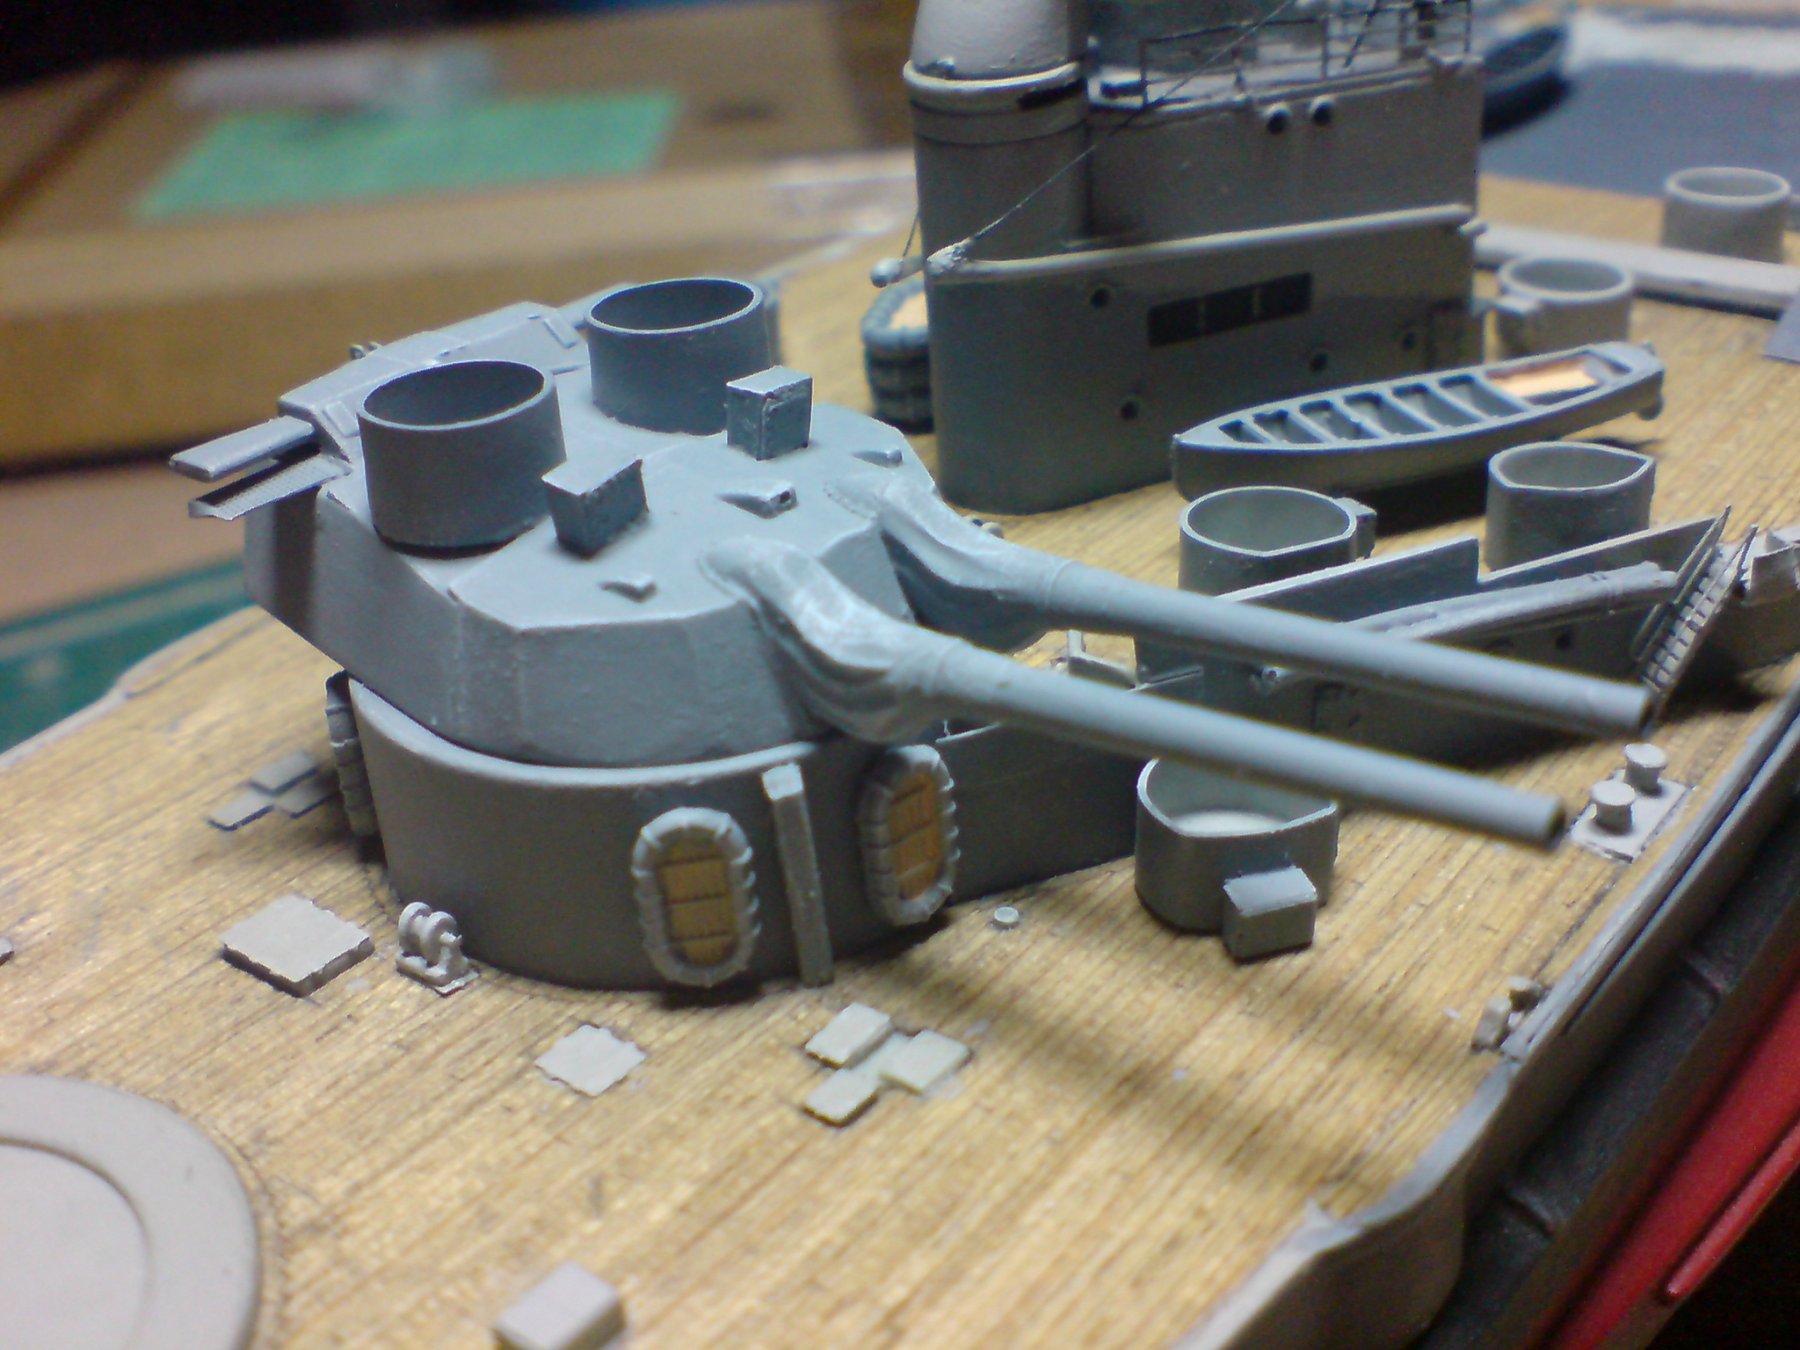
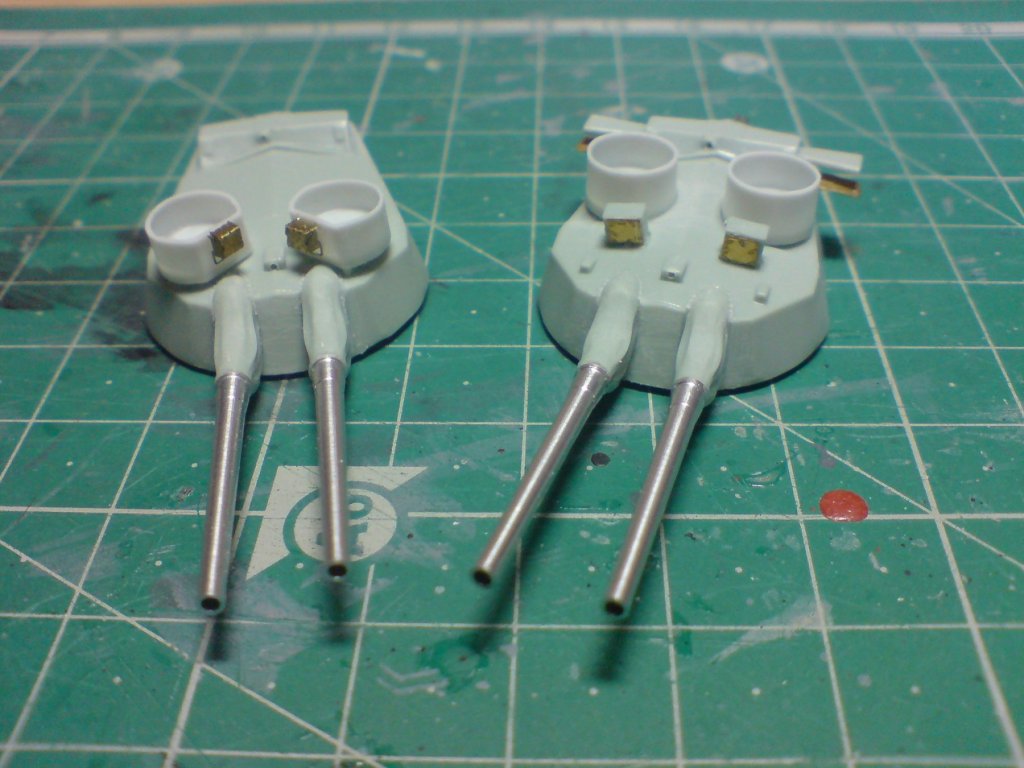
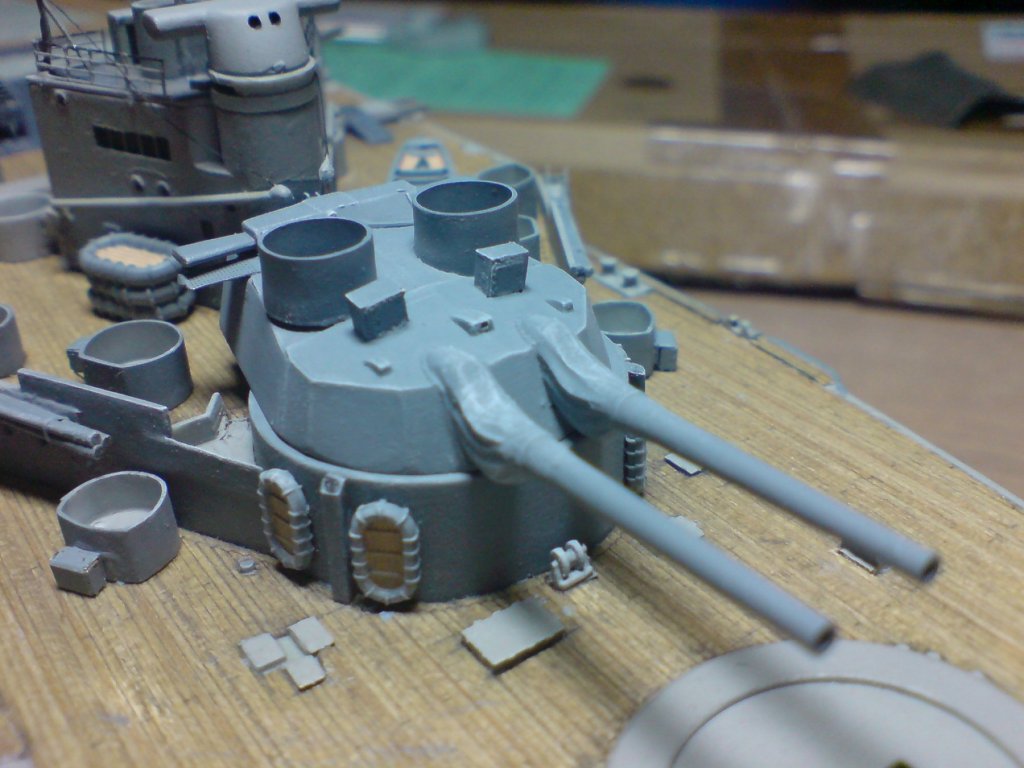
Evening all, so carrying on from building my 15in mk1s, next step was to add the different bits of pe - including steps, escape hatch and access platforms under the rangefinders, after these had fixed it was time to paint the x turret, this was going to be AP507B mid grey - after several thin coats I decided to do a little bit of highlighting by dry brushing some white, it came out quite good I think. Just a few pics. OC.

-
Thanks lou, its a combination of factors to be honest, but I have checked them and they are square strangly enough. OC.
-
Hiya sam, I have been catching up with your build, you are doing a lovely job so much fine work. OC.


.JPG.11ec487e900b7e5c8d627c3cb8a07269.JPG)
.JPG.f2f020f2316bd8b0f3b416b5187c2e72.JPG)
.JPG.ee6f32ff74ab5abd47e3f6dd383a902f.JPG)
.JPG.f74b7fe35da65f926e2c6630b9bc5fc8.JPG)