HOLIDAY DONATION DRIVE - SUPPORT MSW - DO YOUR PART TO KEEP THIS GREAT FORUM GOING! (Only 24 donations so far out of 49,000 members - C'mon guys!)
×


Old Collingwood
-
Posts
12,098 -
Joined
-
Last visited
Content Type
Profiles
Forums
Gallery
Events
Everything posted by Old Collingwood
-
 Looking smart with the wood on the cabin gives it more depth and detail. OC.
- 378 replies
-
- 4
-

-
- t78 norden
- billing boats
- (and 1 more)
-
Didn't they do these to them - OC.
-
WOW that is such a step and a landmark stage - what a difference it makes closing in the hull with the first planking, and making a good job of it(trust me thats come up ok) the hardest part covering the frames is over, your next job sanding the planks should be more enjoyable. Try to find something plyable/fexable and bendy to sand with - I used to use those decorating sand sponge blocks, as they will follow the contours, also I and probably everyone else on here uses those small flexable nail file strips (not on our nails though) they are great for smaller areas also some different grades of sand paper or wet and dry is also very helpfull - cutting them to the size you want. Great progress and keep up the good work - you are doing fine. OC.
-
Amazing work and what a brilliant way to make the anchor attachments, What i love about this site is the way someone can come here knowing nothing, and with time and friendly conversations and interacting with each other, we learn so much and advance our boat building knowledge. OC.
-
Thank you so much kevin its great having you come along for the journey, its only taken me 3 years and probably another 3, wait till I get to the rigging . I was on my other build "After - in between this" build HMS Warspite in 350 scale, but I have had a break on that one due to the tiny parts playing my hand condition up, I was getting locked fingers from holding the PE parts, and going cockeyed, so I decided to have a bash on me frigate instead. She is a bit of a mish-mash to be honest kind of a captains interpretation of how his 20 gun sixth rate should look. Keep up the great work with your County Class as you know it is a very special part of my childhood, going over Devonshire at Pompy Navy Days. All the best OC.
- 455 replies
-
- 4
-
-
- slightly modified
- greyhound
- (and 1 more)
-
She is looking smart mate, I like the contrast with the red black and grey, lovely work. OC.
- 378 replies
-
- 3
-
-
- t78 norden
- billing boats
- (and 1 more)
-
Great work don, and what a lovely little tool that palm chisel havn't used one of those in years and years. OC.
-
I follow your work with kind interest kev, its not just a plastic build - its not a wood build, its not a out the box kit, its far more than that - its scale and work level is what makes it even more interesting, I think the main element is taking youe time and re thinking and studying what you want to do. Please keep up the enthusiasm and the posts/pics I know not just me but others will feel the same on here. All the best Collingwood.
-
I think when finished you should get some real miniture fishes for it. Oc.
- 378 replies
-
- 4
-
-
- t78 norden
- billing boats
- (and 1 more)
-
I got the pics - Well Cool I used to collect Captain Scarlet figures and vehicles - "but thats another story hhhmmmm clears the throat" OC.
- 378 replies
-
- 4
-
-
- t78 norden
- billing boats
- (and 1 more)
-
Thank you pat, she is startting take some shape and develop an identity. OC.
- 455 replies
-
- 2
-
-
- slightly modified
- greyhound
- (and 1 more)
-
I managed to fix the one side in place, first I had to mark the shape showing where I needed to cut out the raised hull details, then with a sharp knife I removed these and when it was all flat and after a few dry runs - I glued it in place. There is a small amount of touch-up to do, then I will attack the other side. No picture as the one above basically illustrates what I have done. OC.
- 455 replies
-
- 5
-
-
- slightly modified
- greyhound
- (and 1 more)
-
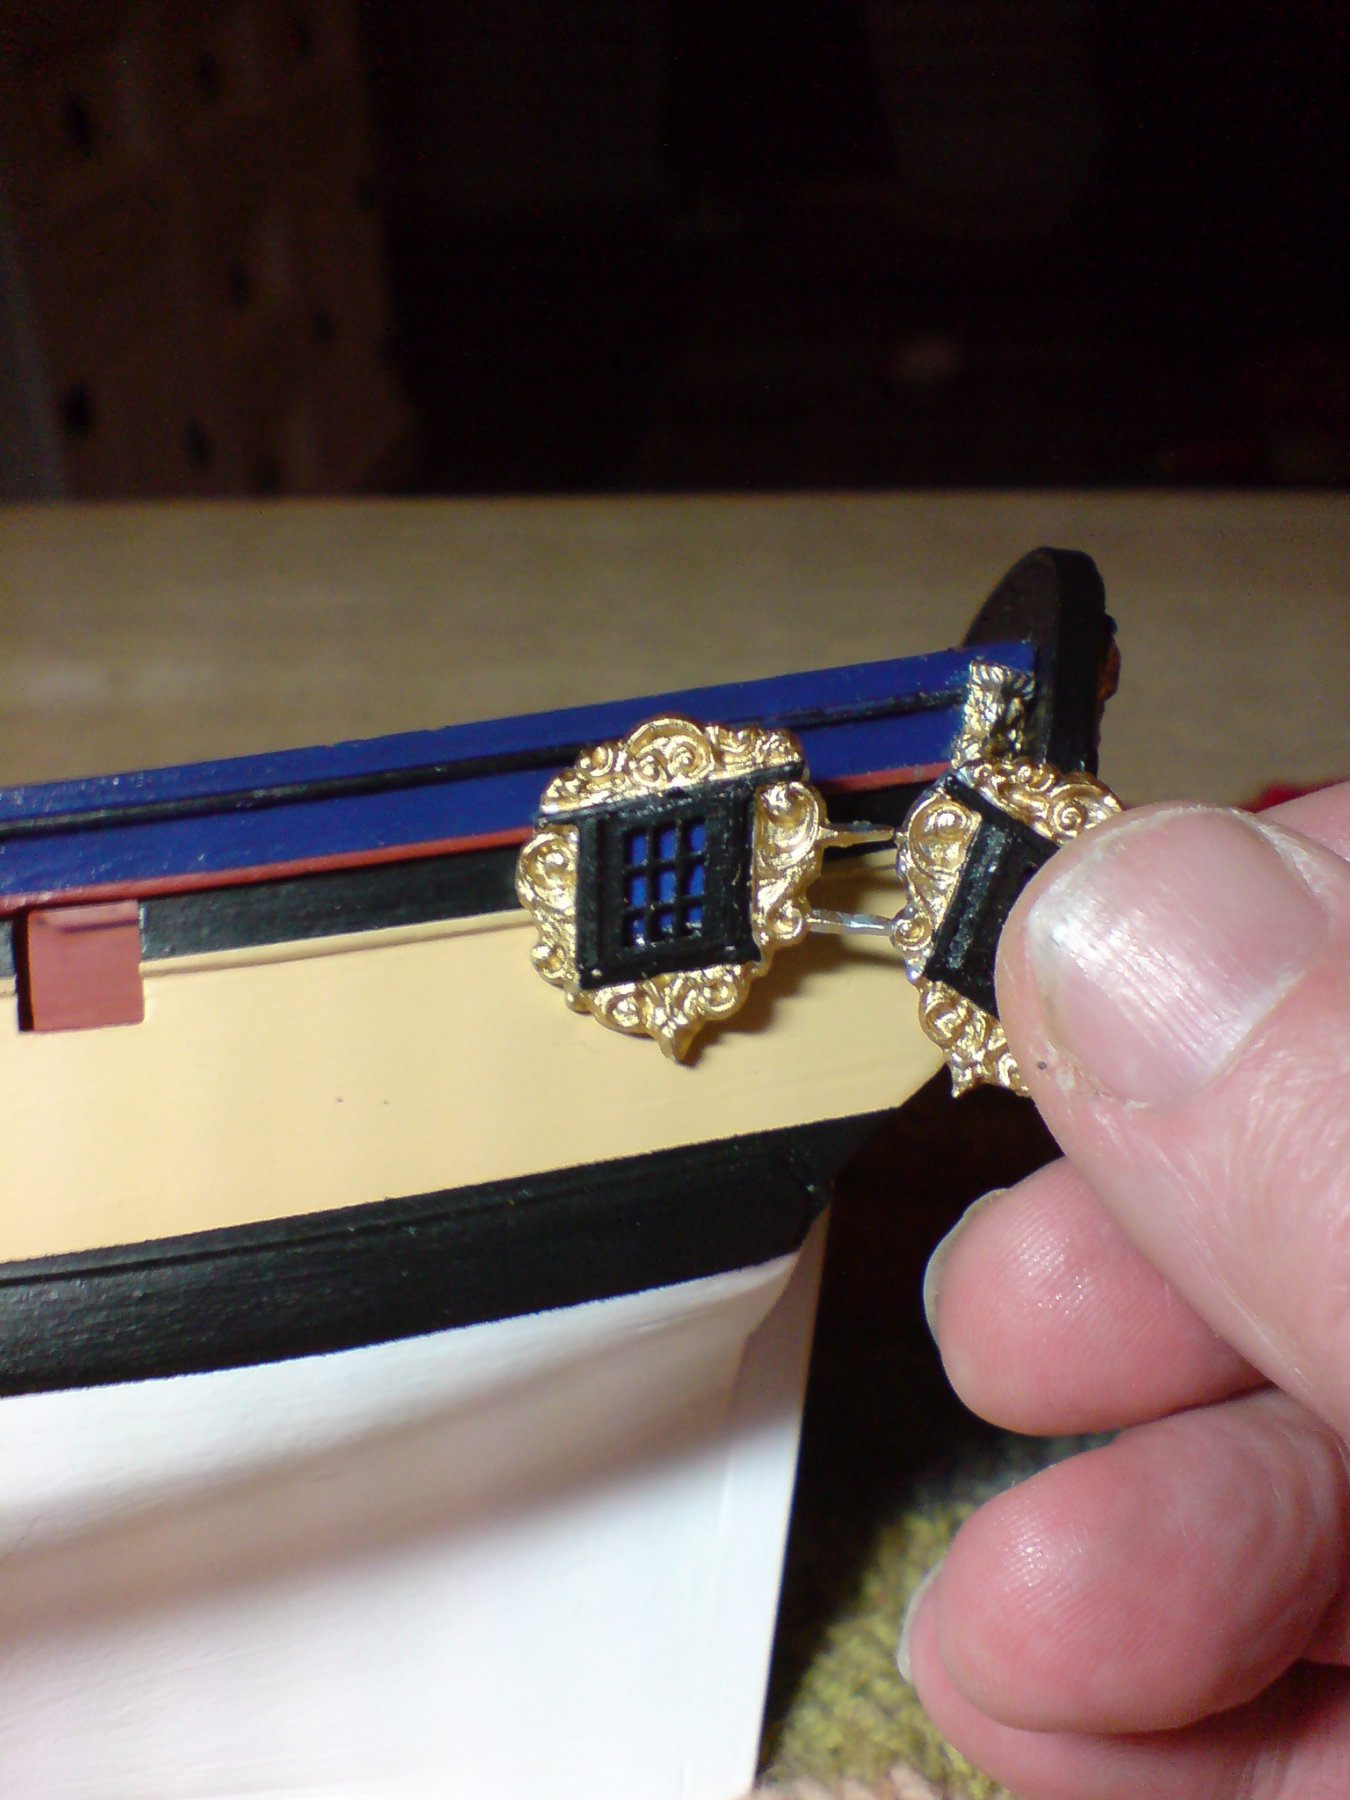
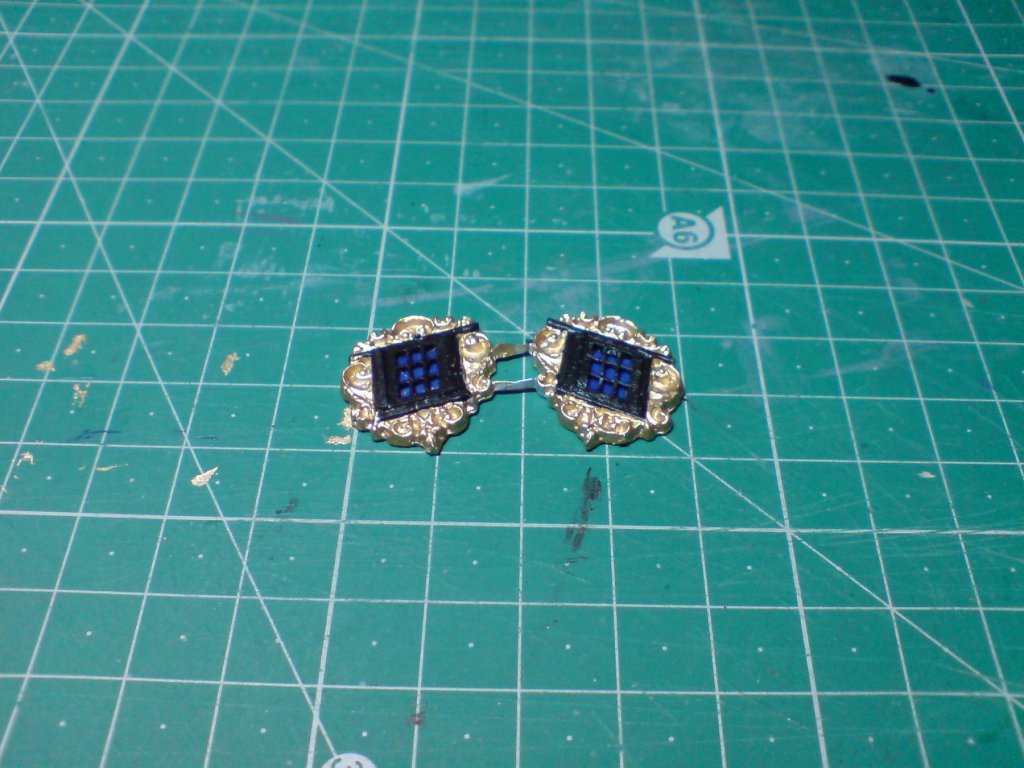
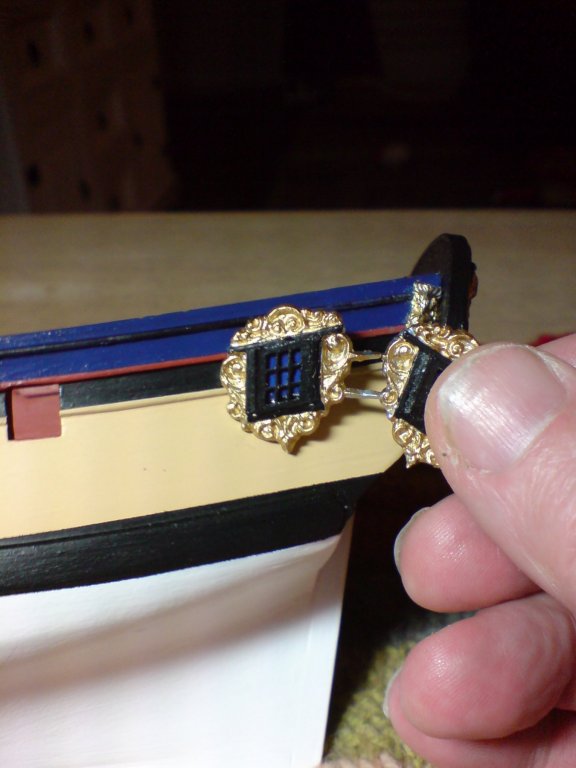
Evening all, right next stage was a bit of a punt as I wanted to construct the rear quarter windows, but to be honest I didn't want to build them from scratch, I went searching through all my stuff to look for the kit parts, but alas I could only find the one side - so Into my other box of lovely bits (corel HMS Peregrine) and I found the two rear quarter window assemblies, these are more flat in profile but have some quite nice decoration around them. First thing I had to do was construct the window pain frames - luckly I had these small wood fittings, so after a little sanding to make them fit, They were dropped into the cast fittings, and after I added a couple of coats of dull black. I then decided to give the windows a false glass look using some painted (shiny blue) card, this was painted first then cut to fit the shape inside the rear recess, then placed and glued in. Here is the result - with one of the pics just showing a dry fit. Also shows the size of it compared to my fingeres its 1/100 scale. OC.
- 455 replies
-
- 11
-
-
- slightly modified
- greyhound
- (and 1 more)
-
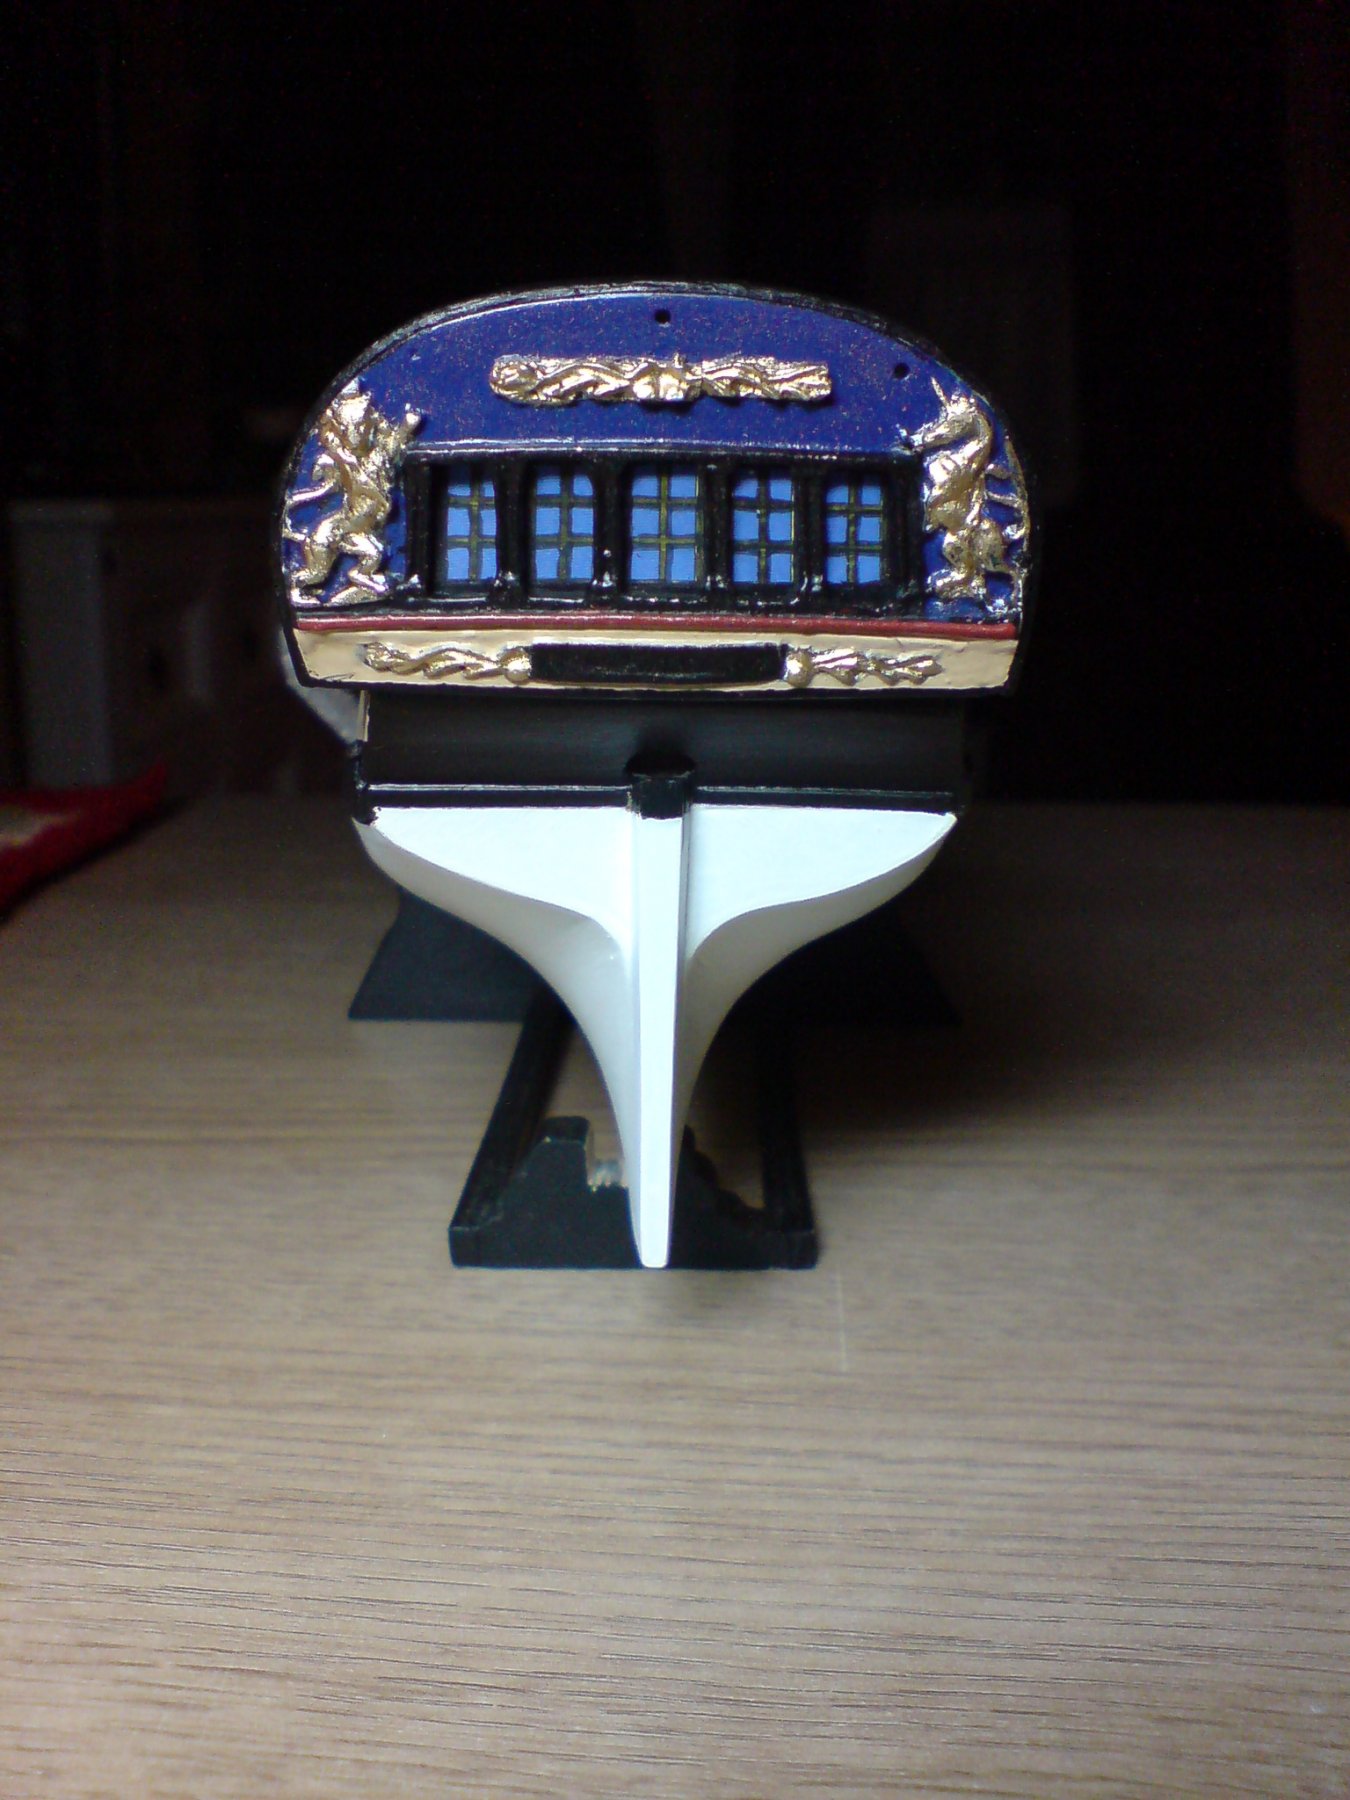
Evening all, After painting the back of the transom dull black, I decided to attach it to the hull - nothing much to say about that just I used some general purpose glue for it. Here are a couple of pics. OC.


- 455 replies
-
- 12
-
-
- slightly modified
- greyhound
- (and 1 more)
-
My other hobbies are photography/aircraft and music -synths(used to be in an 80s band) so sometimes I feel the urge to do other things, but always feel the need to return to our fine forum with all my mates OC.
- 378 replies
-
- 3
-
-
- t78 norden
- billing boats
- (and 1 more)
-
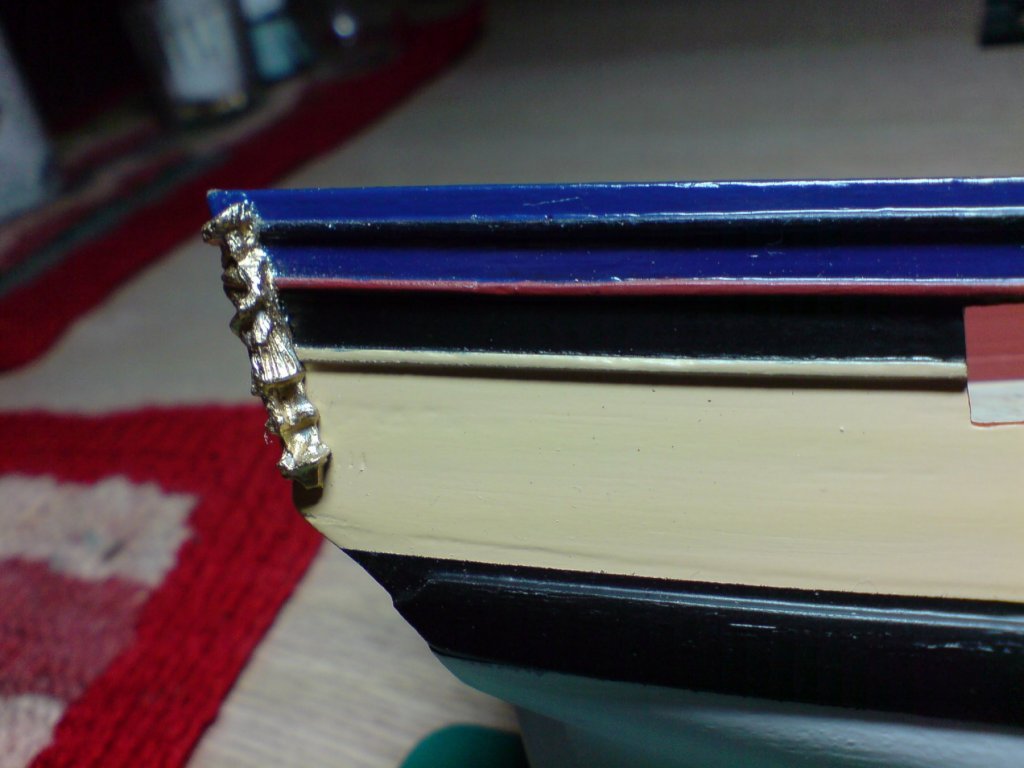
Just a follow up folks - next step with the transom will be to paint the back (thats planked) in the middle top - red ocre and either side (outside overhanging the hull behind the brass figures) black, then when dry I will give all the paintwork (except the brasswork) a couple of semi flat top coats to calm the sheen down a bit (the french blue has come out as a semi gloss), I will apply some gloss top coat to the inside window frames /glass though. OC.
- 455 replies
-
- 2
-
-
- slightly modified
- greyhound
- (and 1 more)
-
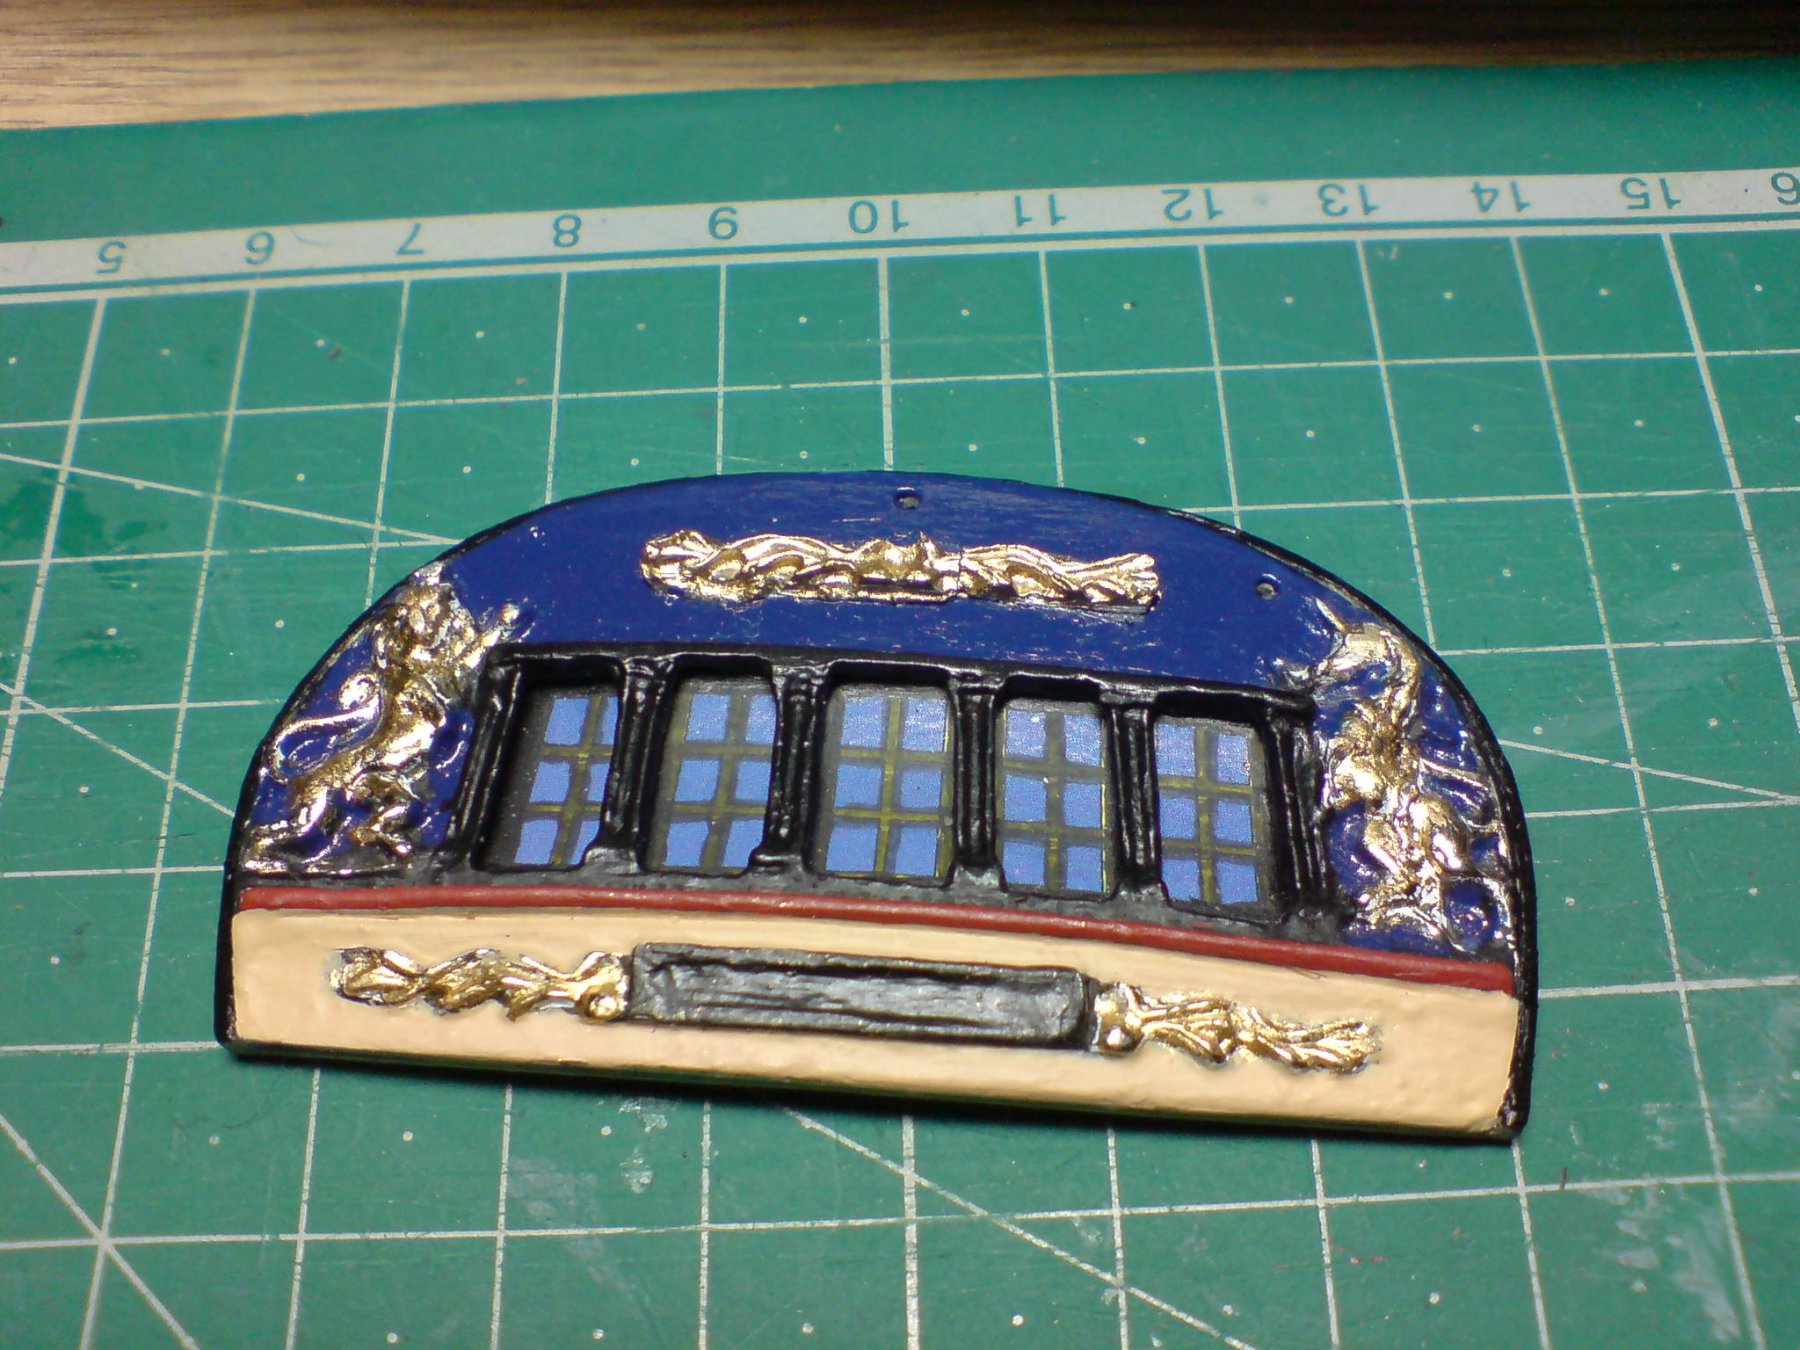
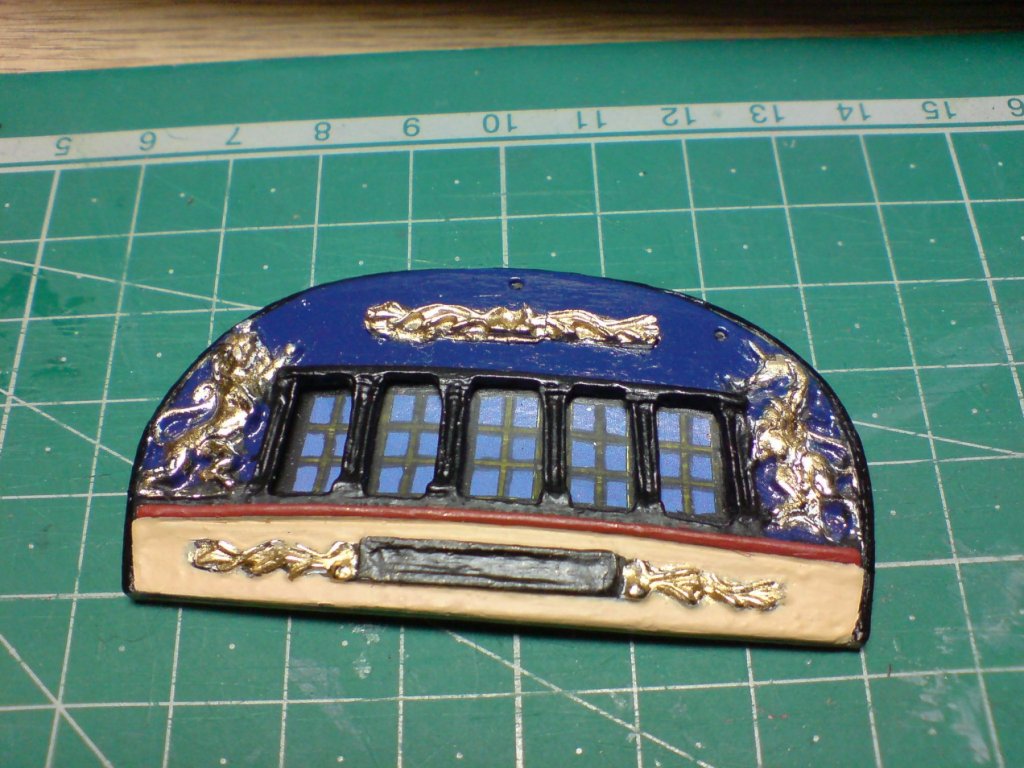
More progress today, I decided to attack the metal bits from my peregrine kit as there was some quite good bits, I started by attaching a rope design on the top of the transom, next I found some figures that are fixed between the edge of the transom and the rear quarter window, these where attached with a general purpose glue(carefuly) then touched up with some brass paint. Here are the pics. OC.
- 455 replies
-
- 8
-
-
- slightly modified
- greyhound
- (and 1 more)