HOLIDAY DONATION DRIVE - SUPPORT MSW - DO YOUR PART TO KEEP THIS GREAT FORUM GOING! (Only 24 donations so far out of 49,000 members - C'mon guys!)
×


Old Collingwood
-
Posts
12,098 -
Joined
-
Last visited
Content Type
Profiles
Forums
Gallery
Events
Everything posted by Old Collingwood
-
 I know your pain with the metal parts - I have a second kit HMS Peregrine that I am canabalising for its parts including metal fittings. OC.
 -
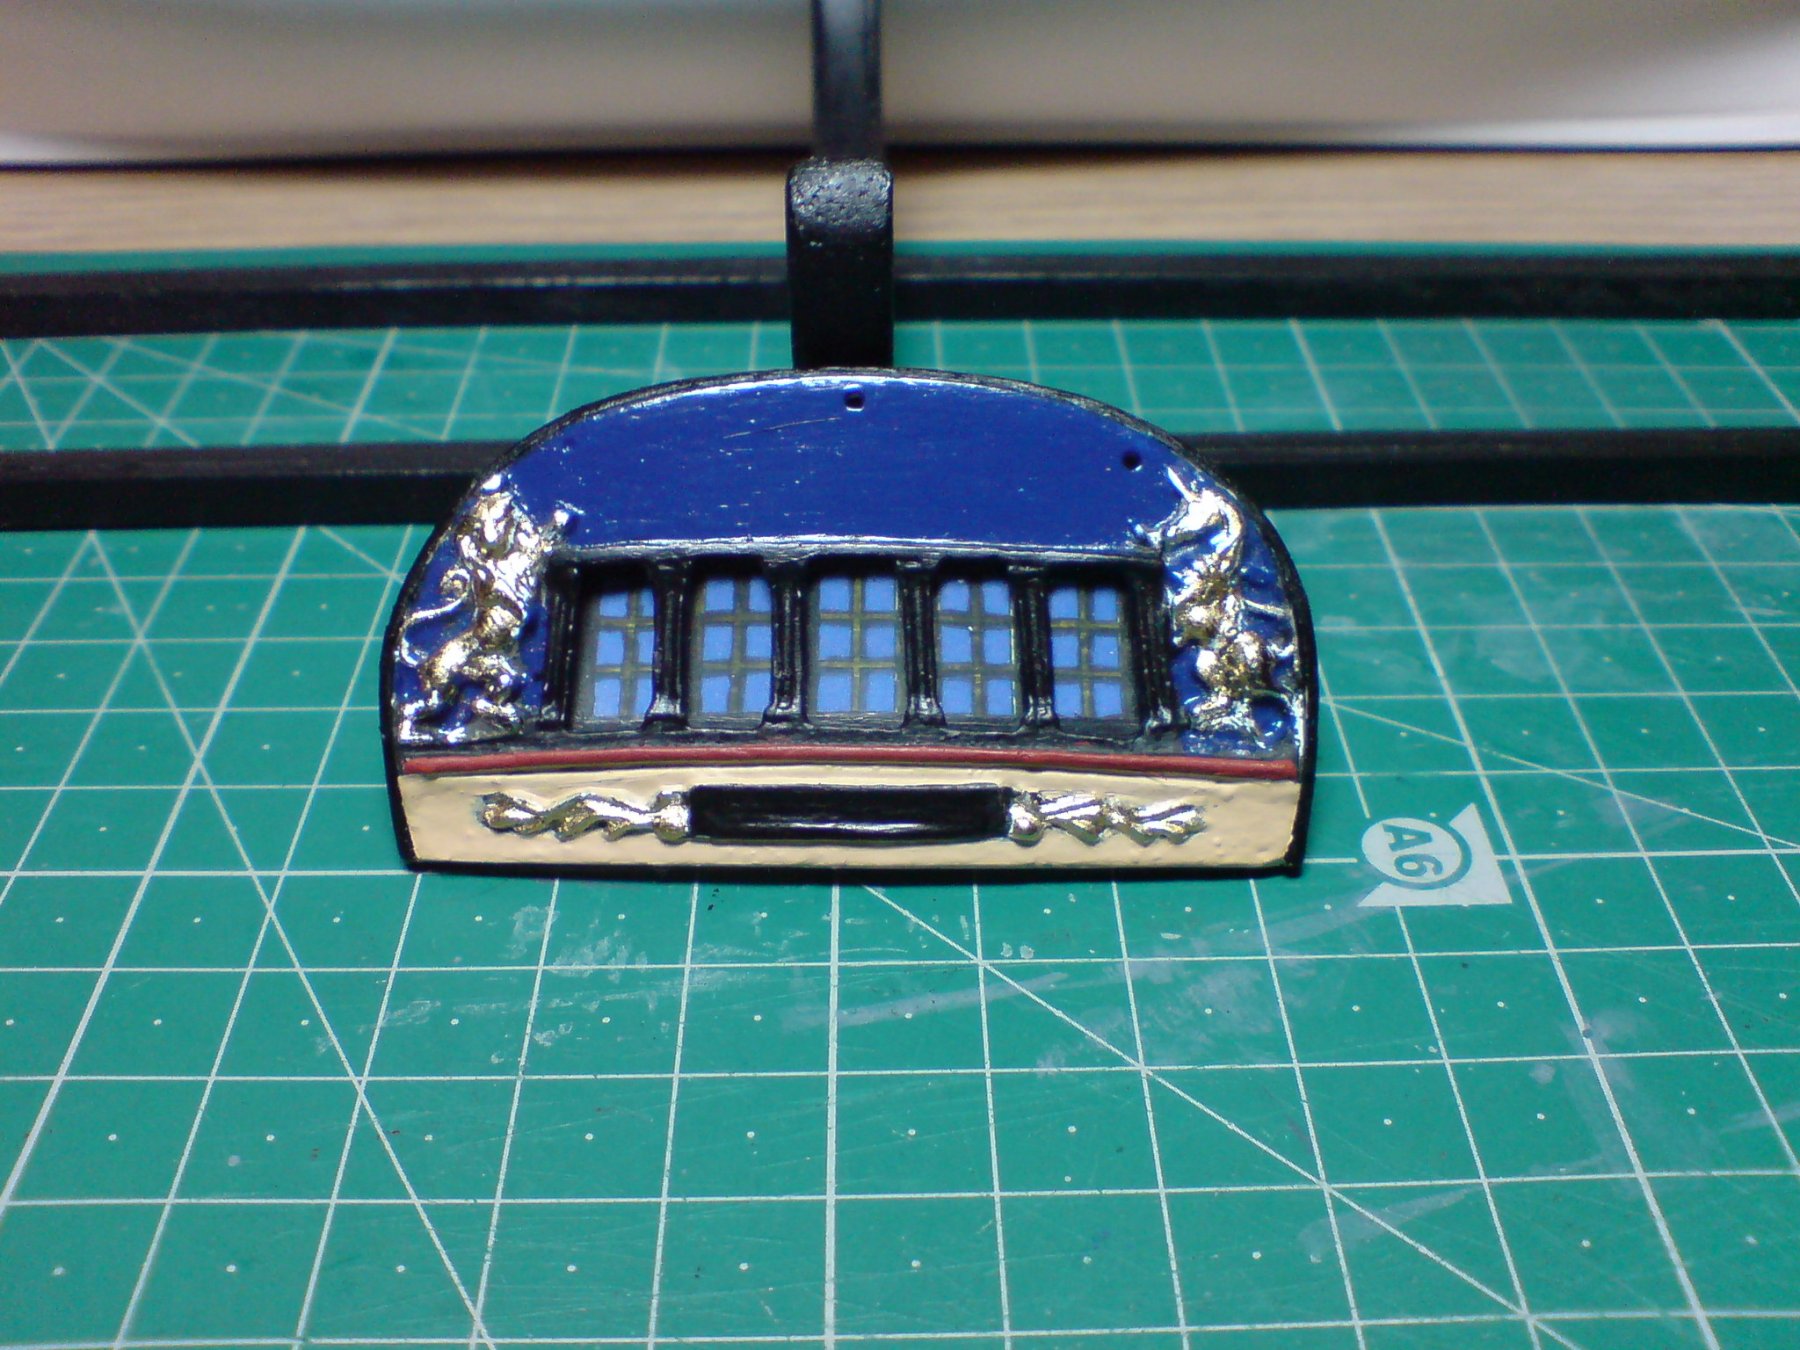
Thanks dave, it was trial and error I thought "go with it" as the unicorn and lion do not look to bad, so just clearing the top engraving did seem to make a fair amount of difference, just needs a couple of coats of semi satin top coat to take some of the shine from the blue, and blend it all together(sam will be on the hull) OC.
- 455 replies
-
- 4
-

-
- slightly modified
- greyhound
- (and 1 more)
-
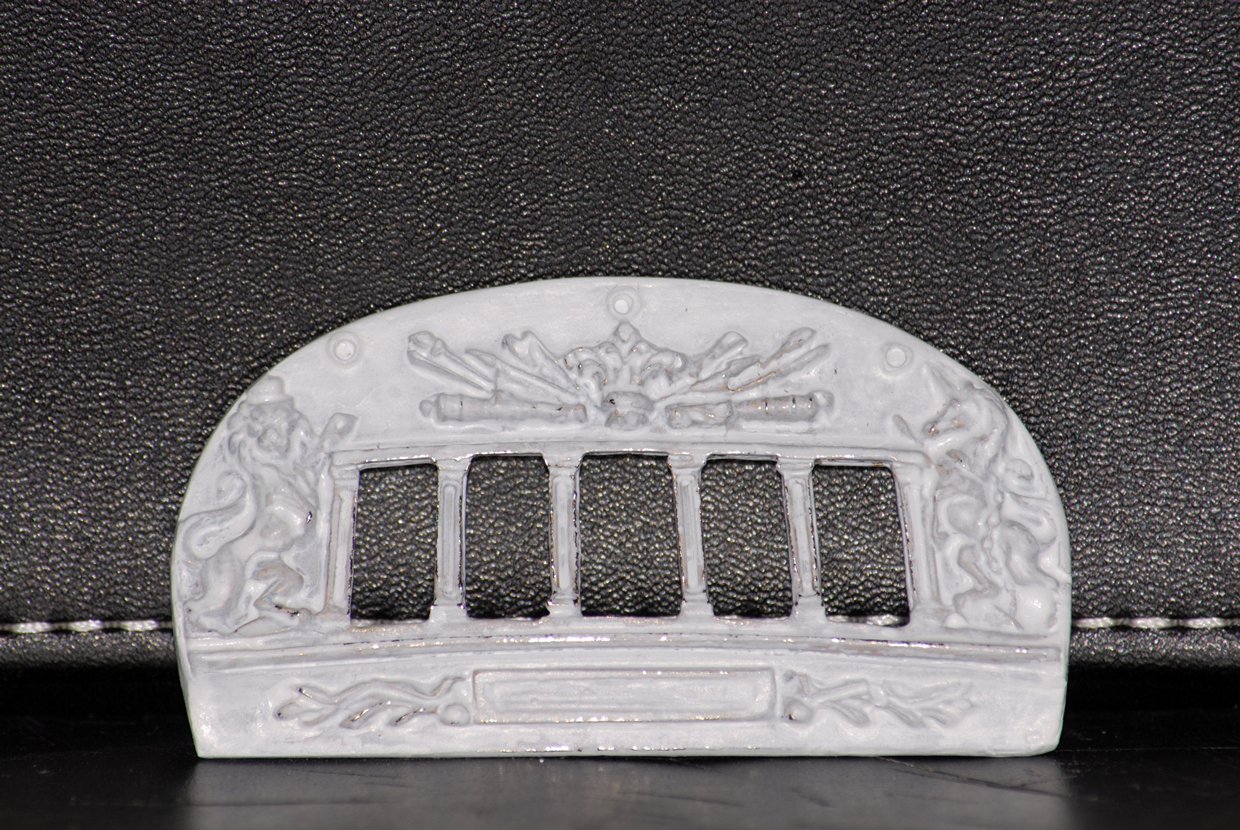
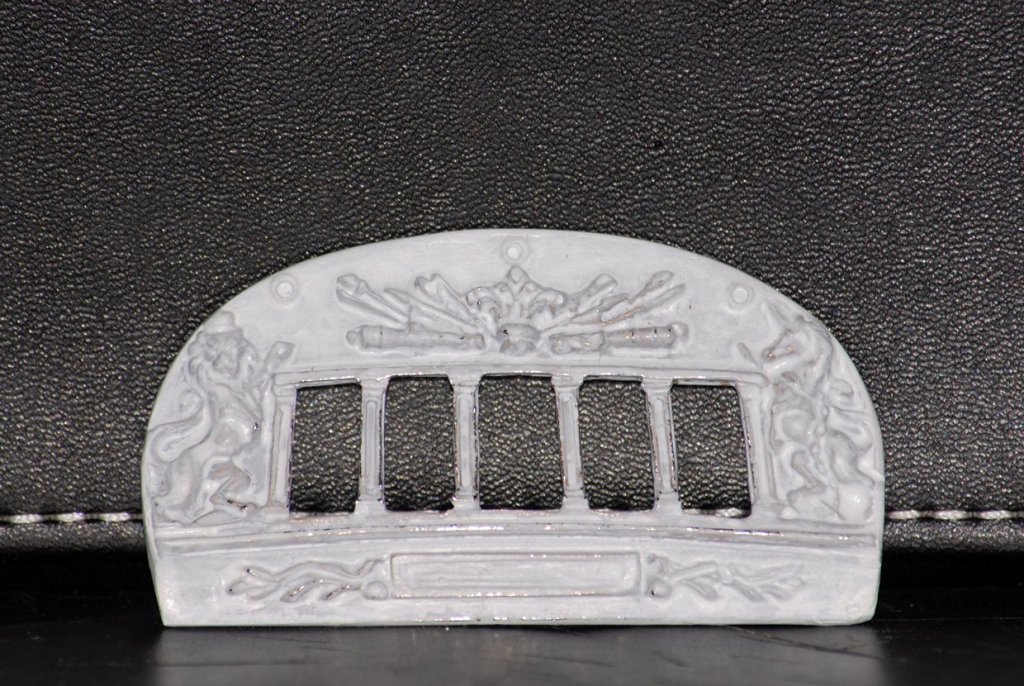
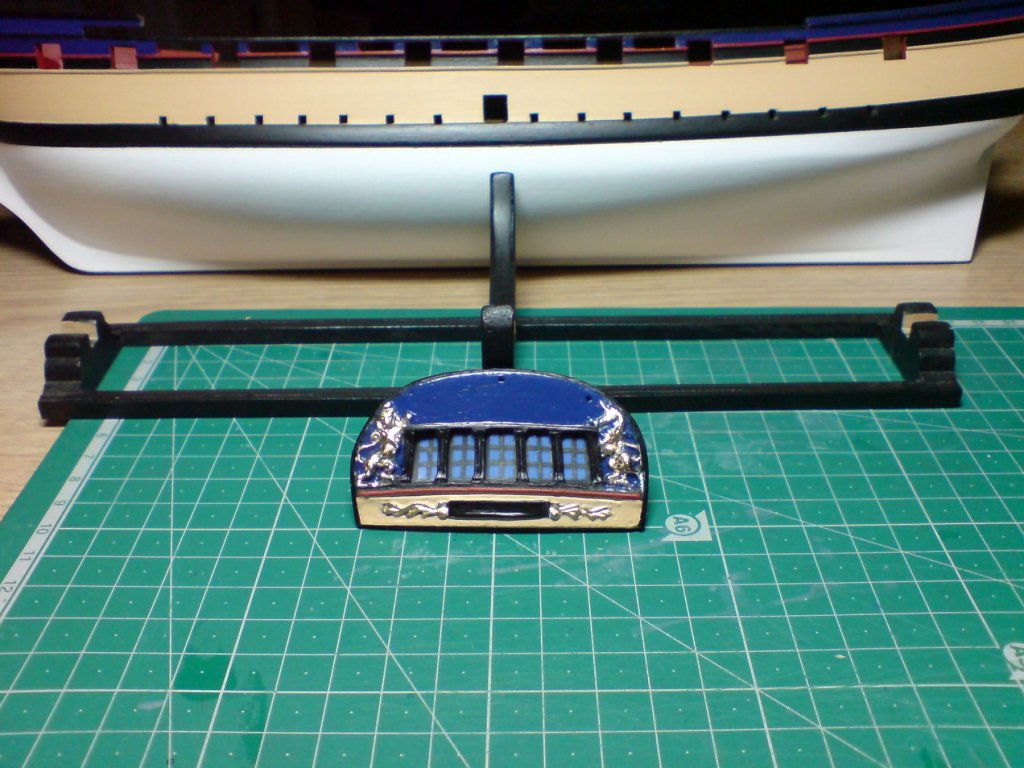
This was how the transom looked before I attacked it with a file and some paint. OC.
- 455 replies
-
- 6
-
-
- slightly modified
- greyhound
- (and 1 more)
-
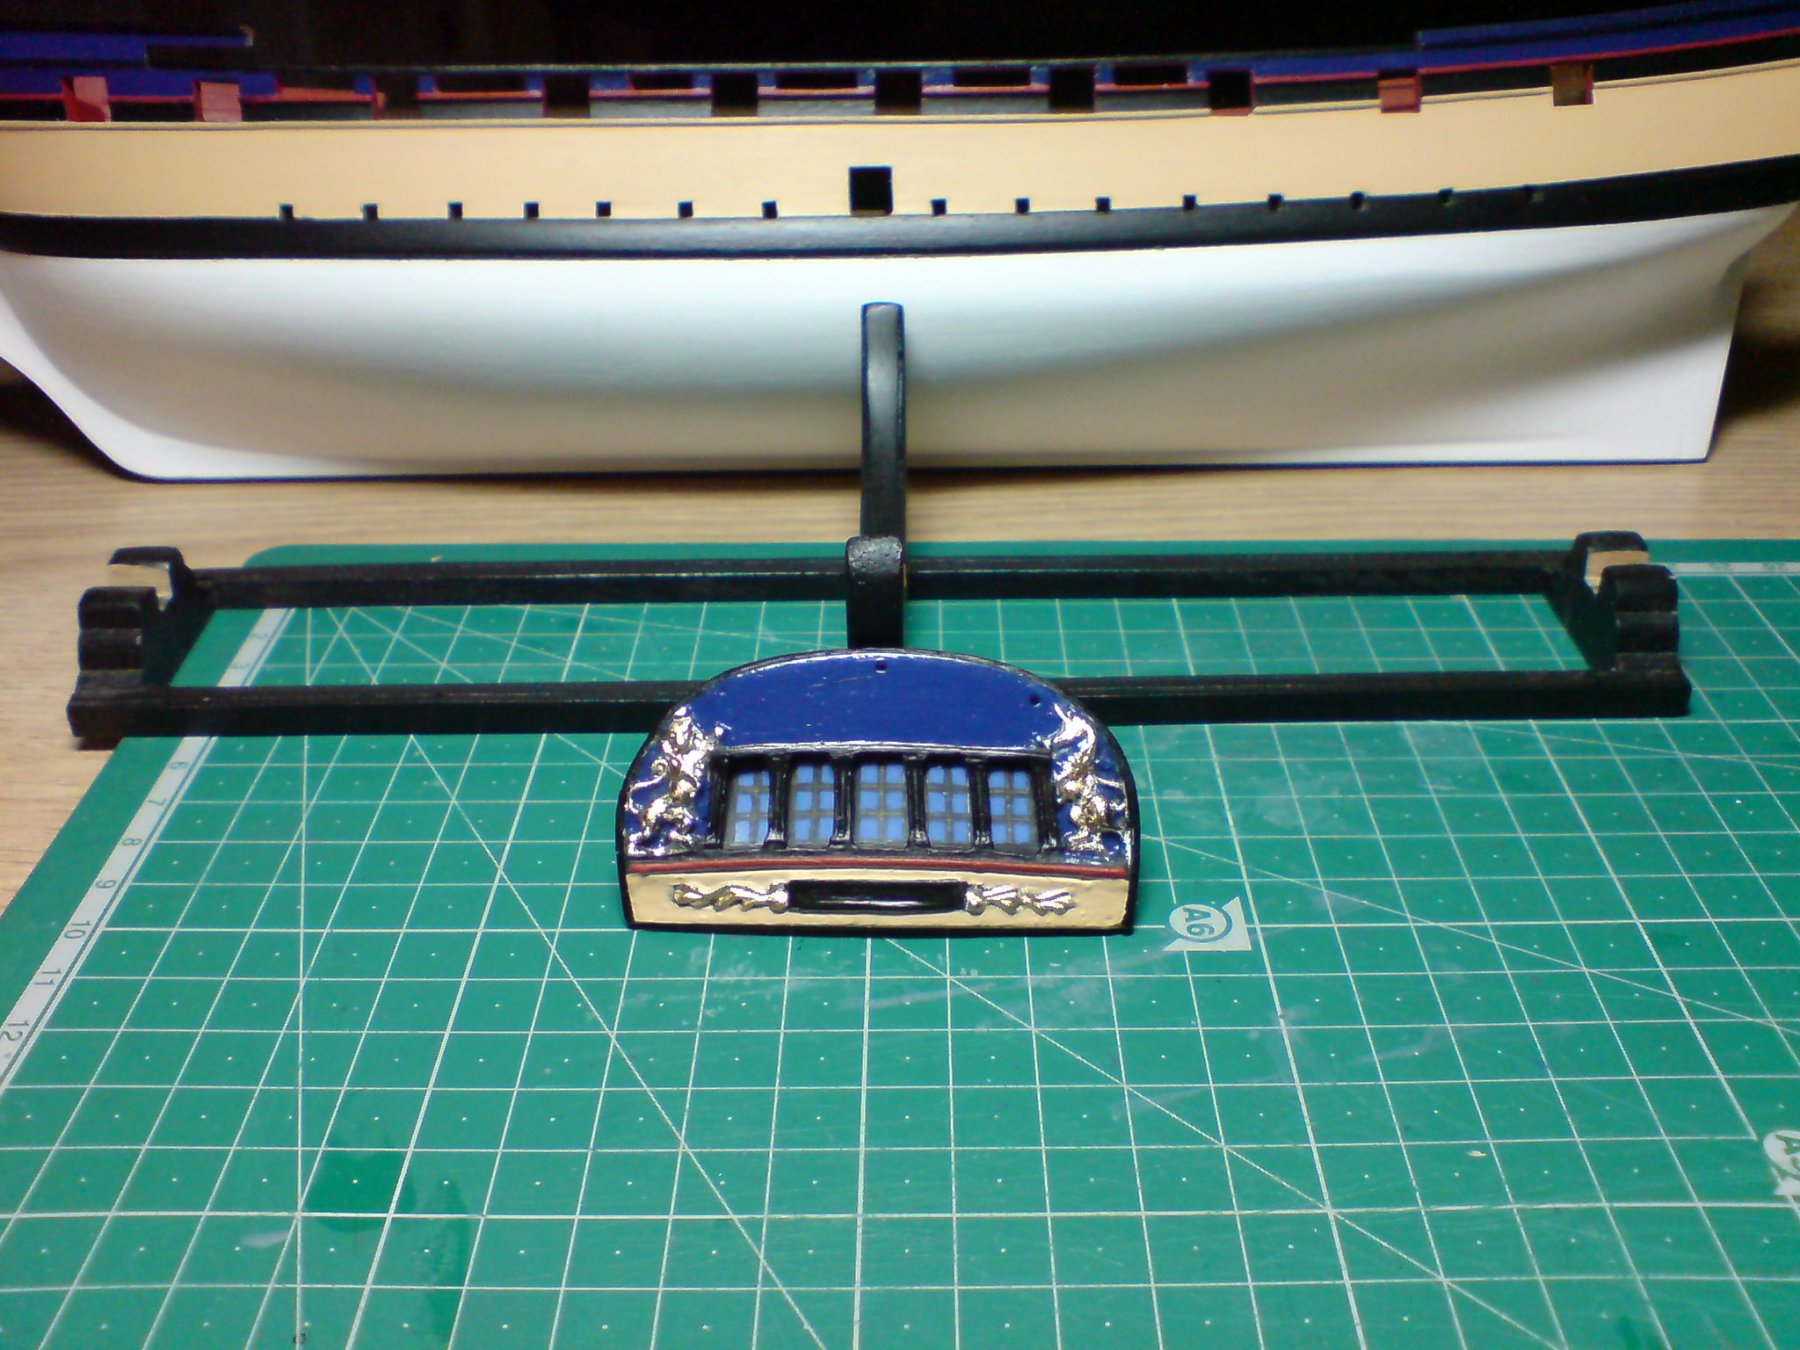
Evening everyone! I decided to have a go at the transom, I had another look at the kit molded metal affair - and decided to have a go at tarting it up a bit, I started by filing off the top detailing - this took some time gentle filing till it was smooth. I then decided to paint the transom corresponding colors to the hull - French Blue, Light Yellow Ocre and Red and Black details, I finished it off by painting the edge Black. Here are a couple of pics. OC.

- 455 replies
-
- 10
-
-
- slightly modified
- greyhound
- (and 1 more)
-
Very good progress so nice and lined up so well, you have her profile perfectly formed. OC.
-
Looking very nice, now I see what you mean with the bulkhead frames - they look great and add to the detail. OC.
- 378 replies
-
- 4
-
-
- t78 norden
- billing boats
- (and 1 more)
-
We could put up an 80ft main mast in your garden but I bet your admiral would end up using the spars for washing. OC.
- 455 replies
-
- 5
-
-
- slightly modified
- greyhound
- (and 1 more)
-
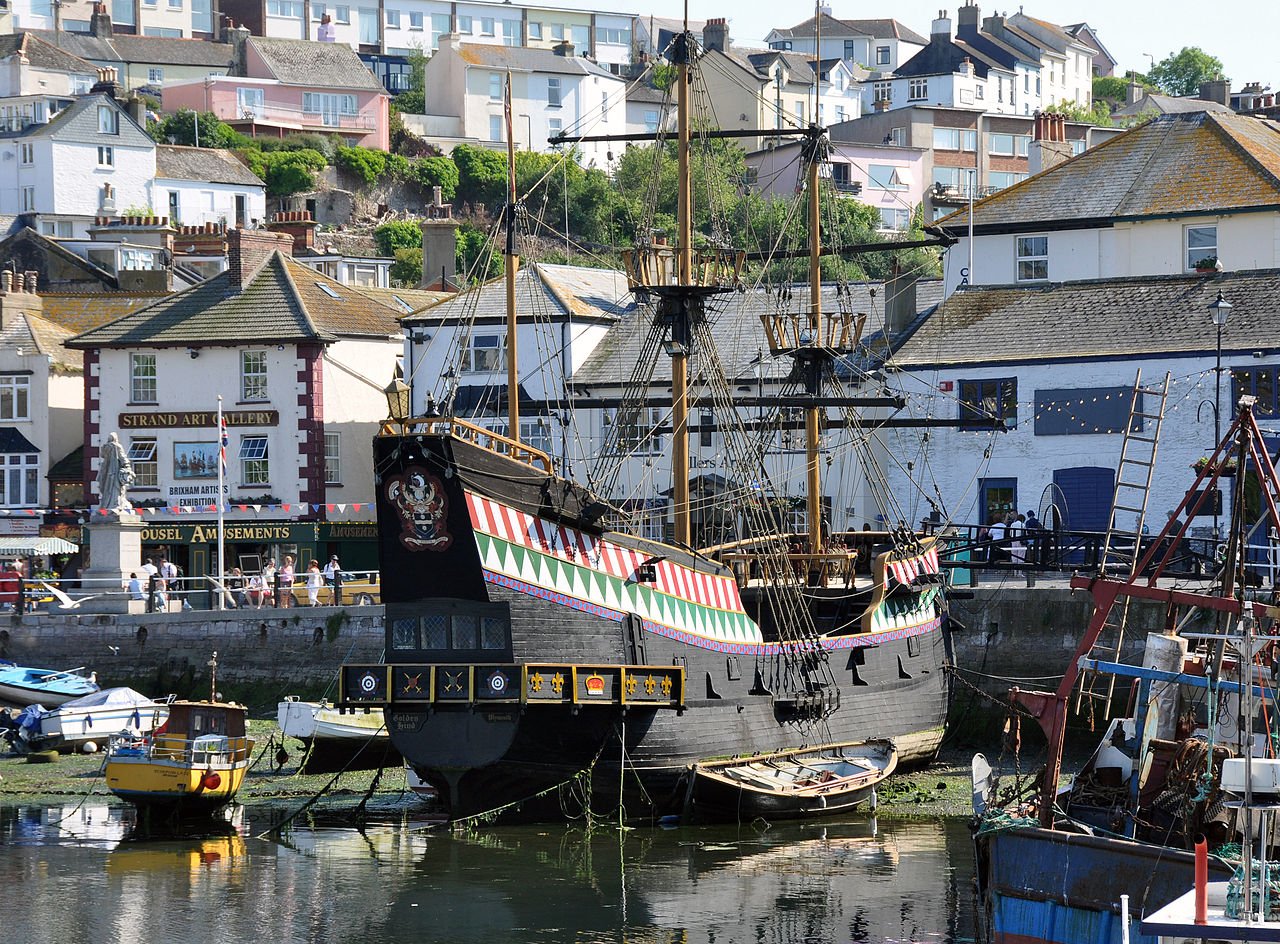
For more ideas you should check this out - its the sister ship to the Revenge - Golden Hind, and exact replica is in the UK at a seaside place called Brixham Devon, heres a pic. OC.

-
What - do you live in a 18th century period ship then? OC.
- 455 replies
-
- 5
-
-
- slightly modified
- greyhound
- (and 1 more)
-
Glad your on the mend, take it easy though I know from experience how a disablity or illness can really get you down. Your build is really looking superb. OC.
-
Looking tidy, the oak planks do look realistic looking from a ship of the period, just looking at Victory's lower gun deck she had the same look of her decks. OC.
-
Hi there david, thank you for looking in, you should pull up a chair now you are here, lots more to do yet, hope you are well regards to glen also. OC.
- 455 replies
-
- 2
-
-
- slightly modified
- greyhound
- (and 1 more)
-
What a great start - love the profile of the planking. OC.
- 79 replies
-
- 3
-
-
- marisstella
- barque
- (and 1 more)
-
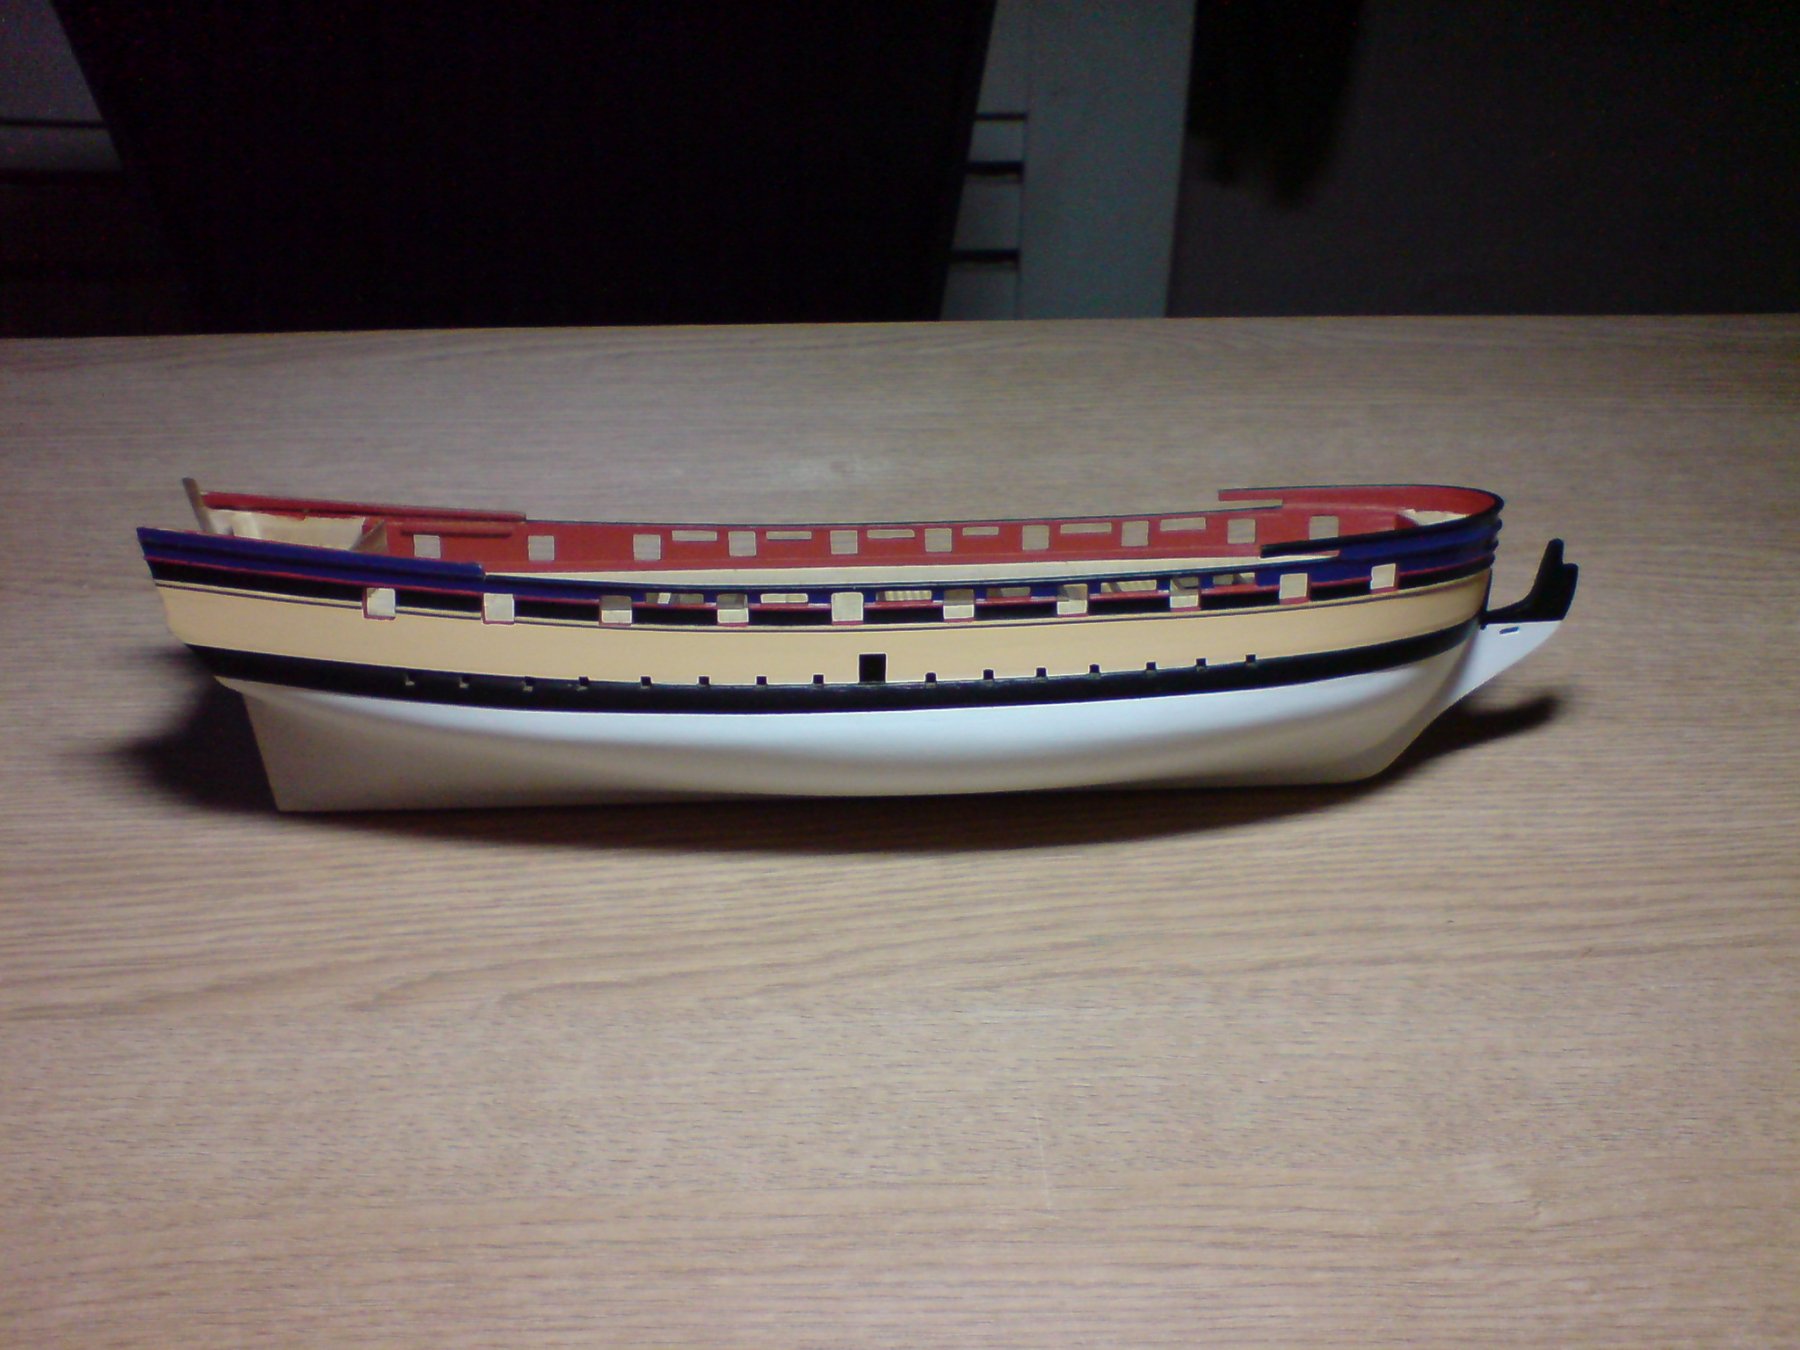
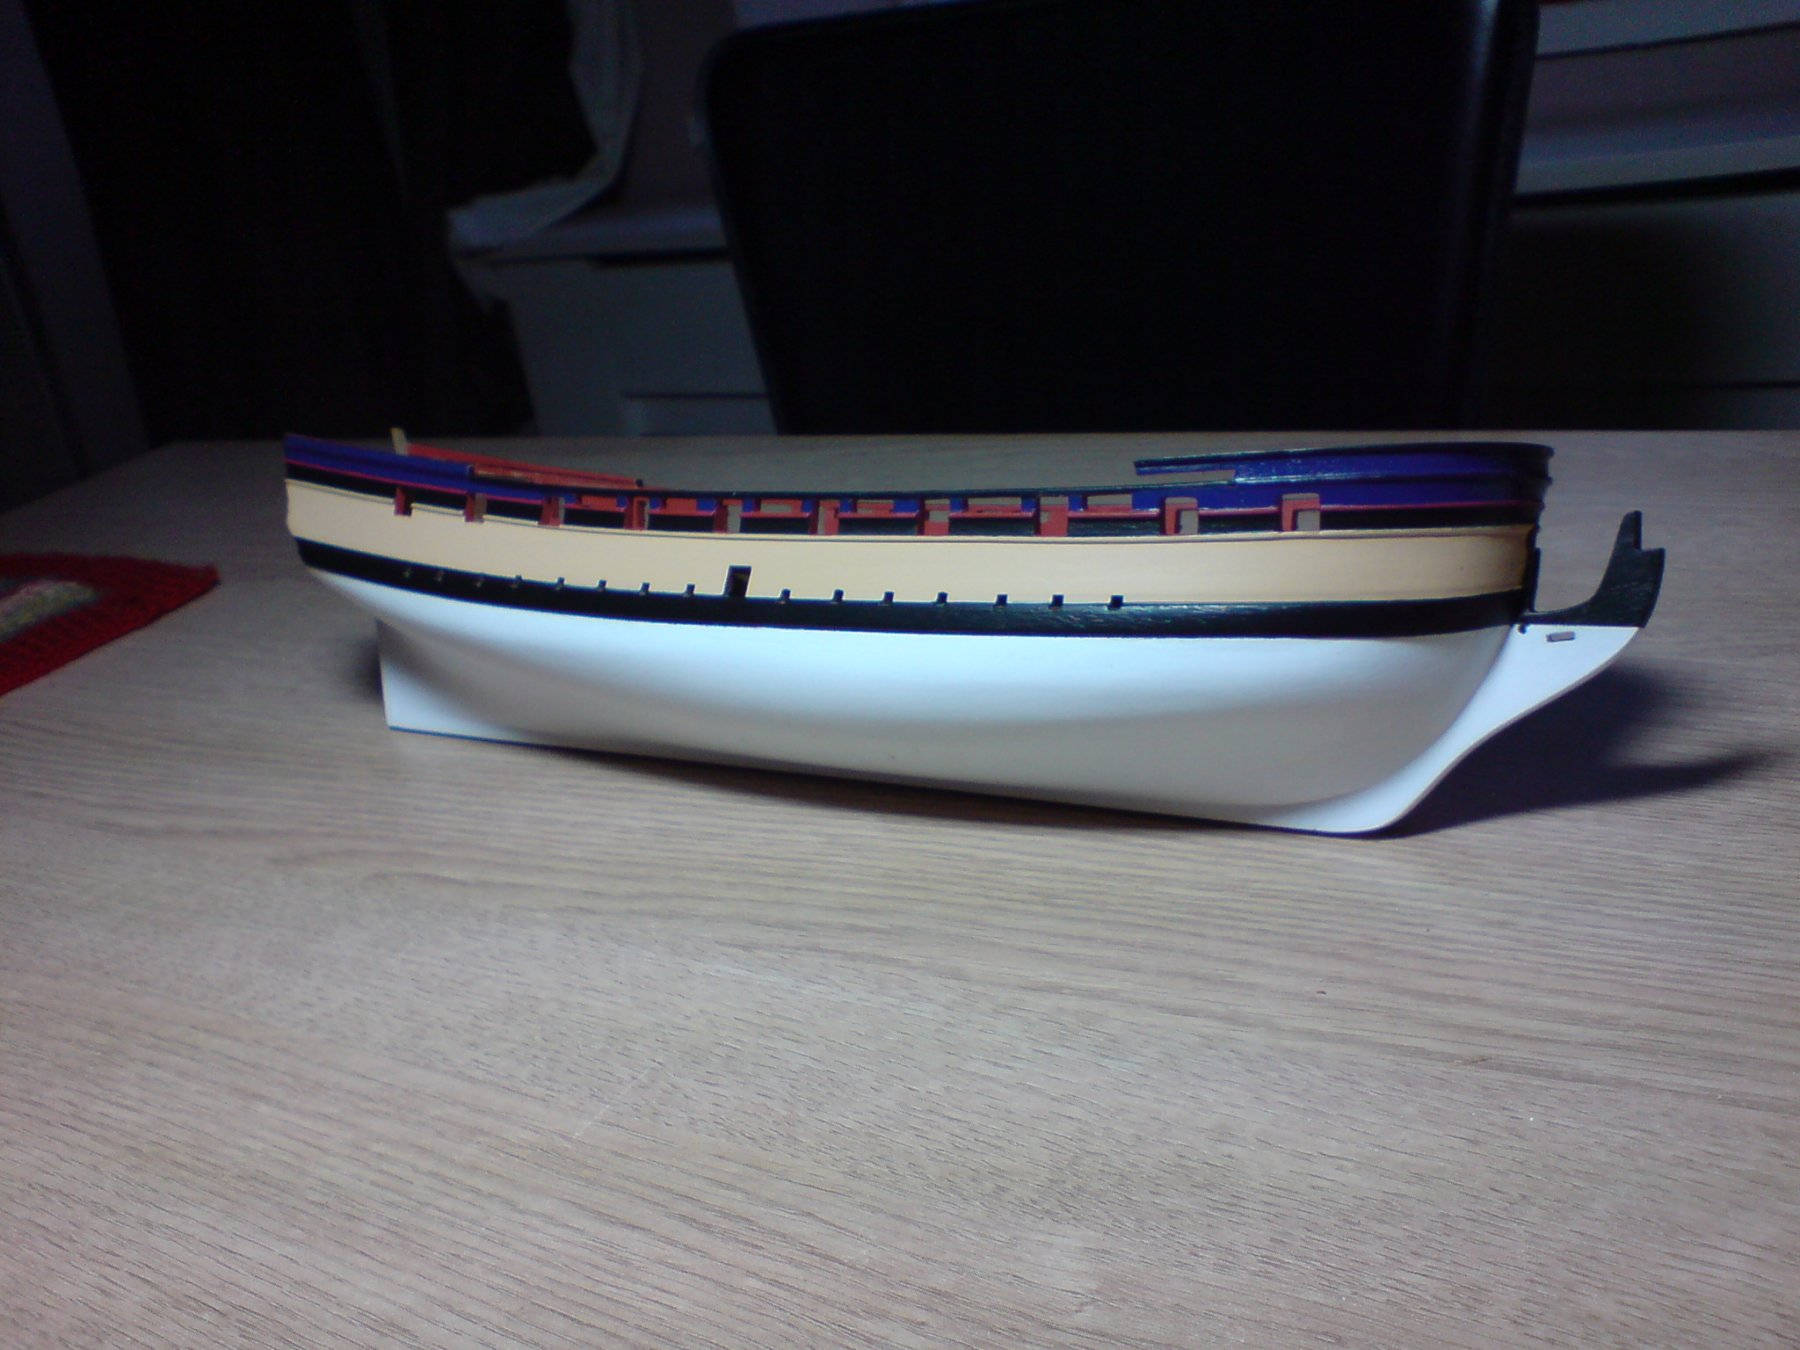
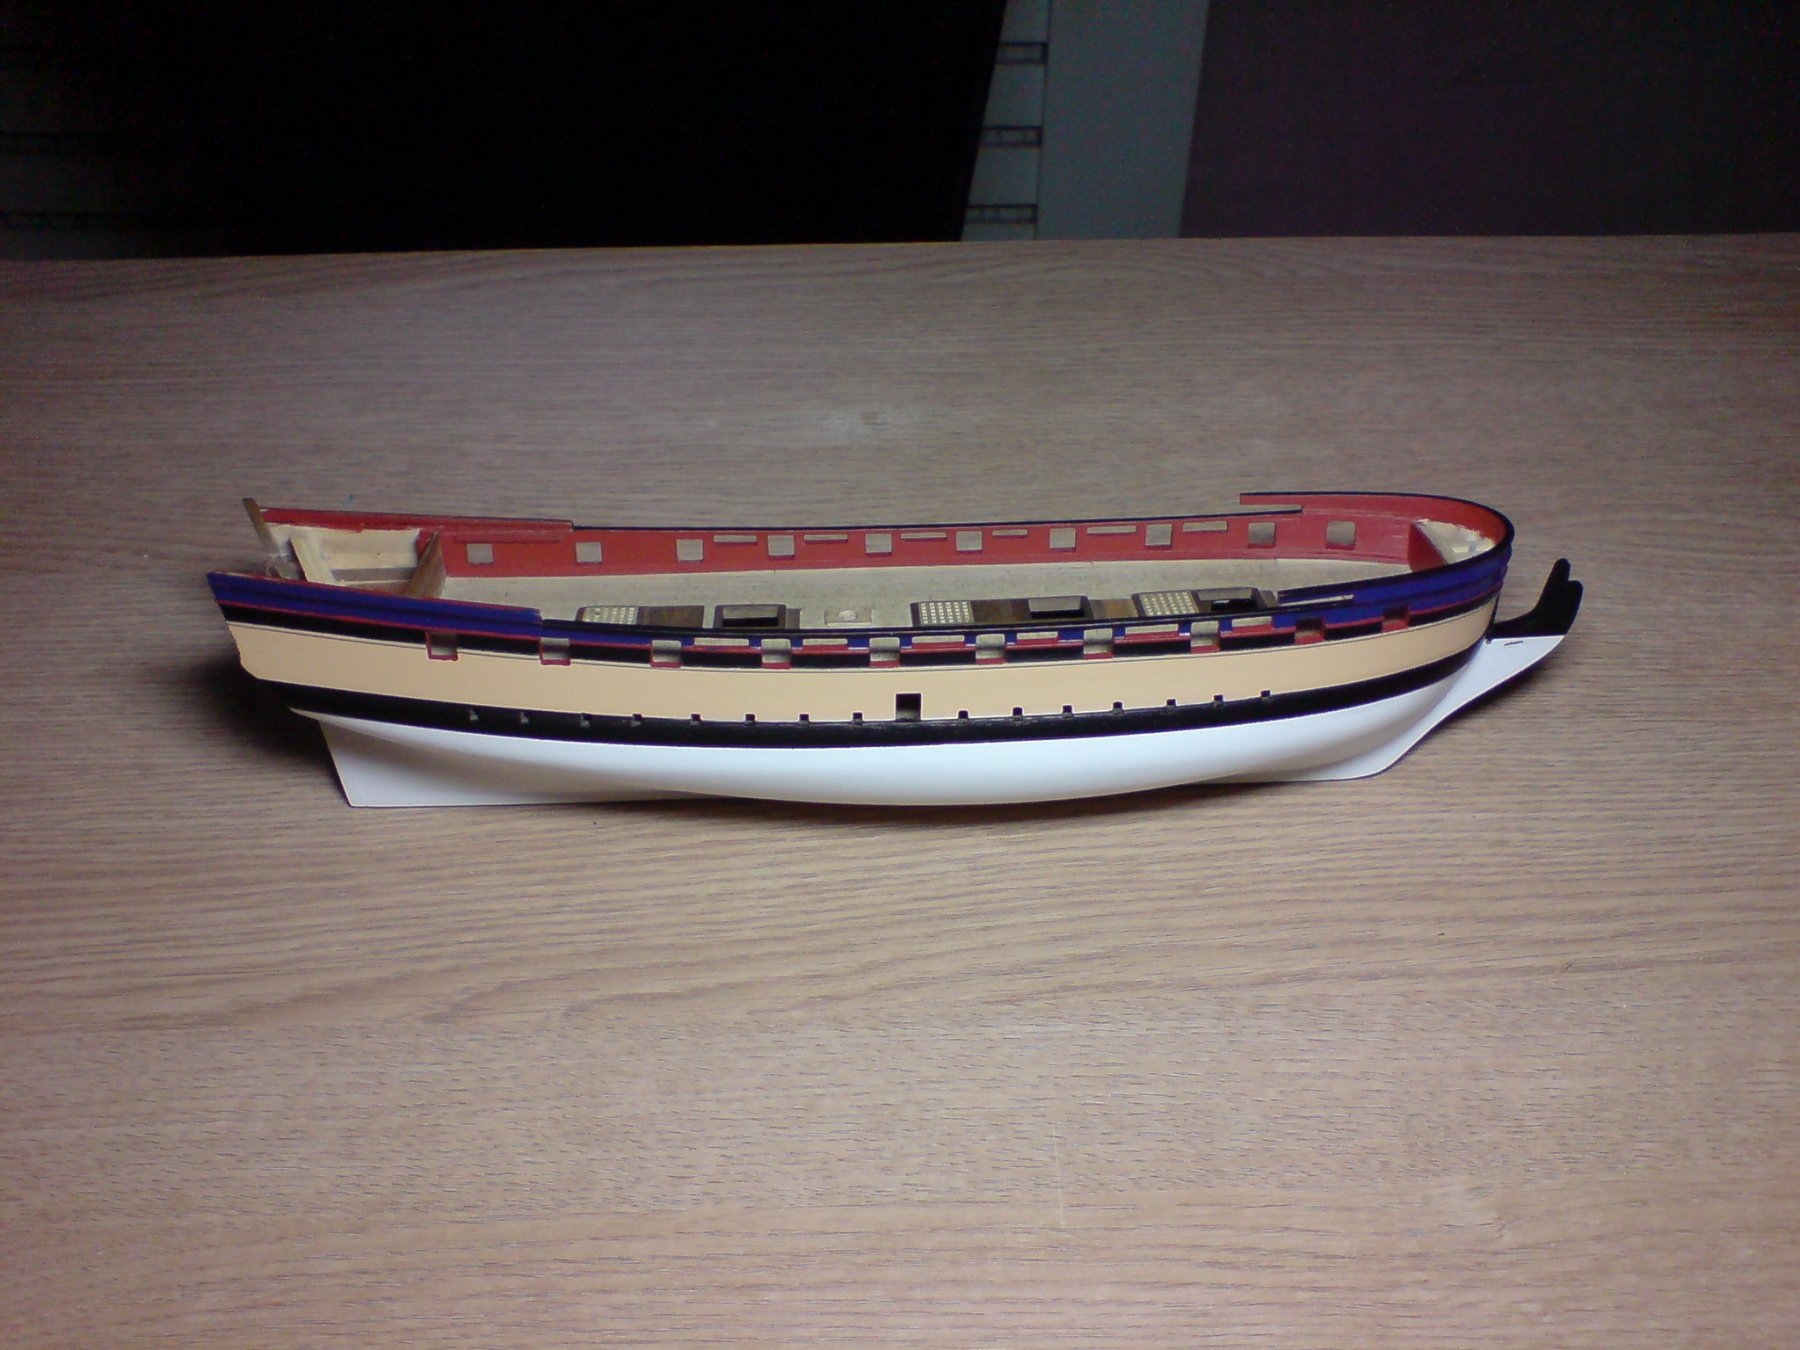
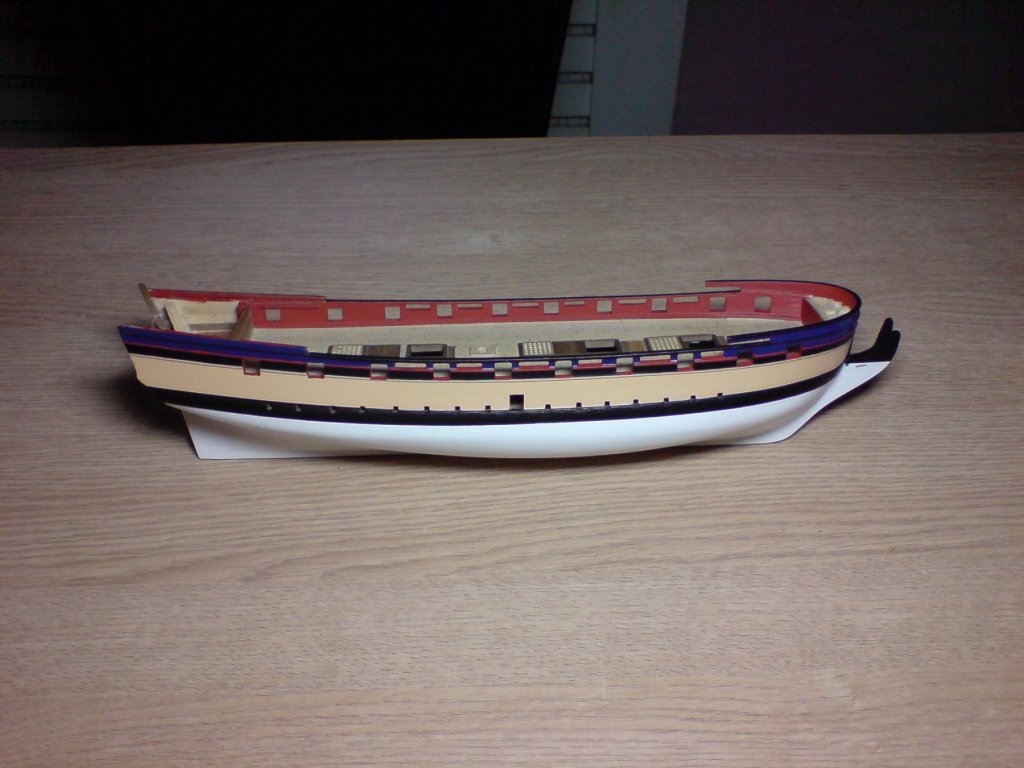
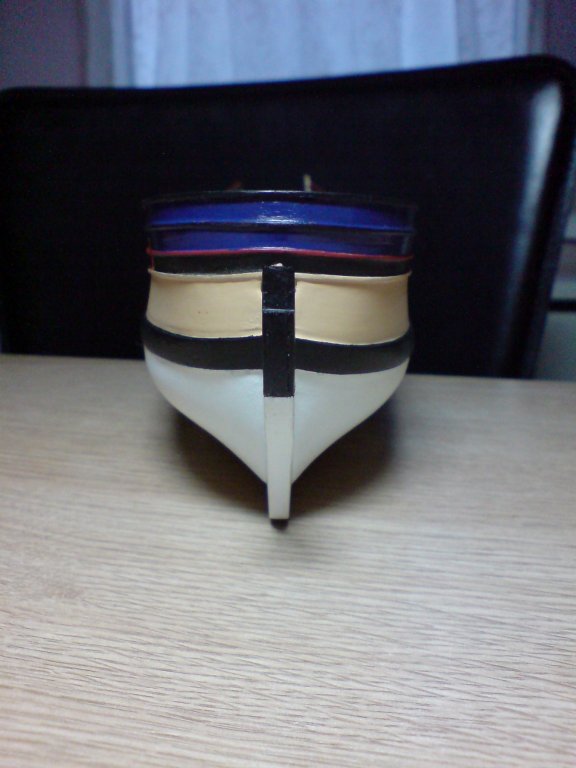
Evening folks, I have spent a good couple of days finishing off the hull paintwork - I painted the other lower hull side, then applied the white/black lower transom relief area, and also did some tidy-up work on the wale, last I applied the top black on the stem. So appart from a few tiny adjustments and working on the hull/top bulkhead rails and some decoration, the hull is nearly comlete (on the outside). Oh - and the rudder and the stem frame work/figurehead/ anchor howser framework, etc etc. OC.


- 455 replies
-
- 16
-
-
- slightly modified
- greyhound
- (and 1 more)
-
I so nearly had one of these but changed my mind at last minute due to service/insurance/running costs etc. OC.

-
She is looking Superb really beautiful work you should be very proud of your self. OC.