HOLIDAY DONATION DRIVE - SUPPORT MSW - DO YOUR PART TO KEEP THIS GREAT FORUM GOING! (Only 24 donations so far out of 49,000 members - C'mon guys!)
×


Old Collingwood
-
Posts
12,098 -
Joined
-
Last visited
Content Type
Profiles
Forums
Gallery
Events
Everything posted by Old Collingwood
-
 Looking good - are you going to leave the bulkheads as a internal planking guide or remove them, they do not look to wide to do that. OC.
- 378 replies
-
- 5
-

-
- t78 norden
- billing boats
- (and 1 more)
-
Sound just like how my situation was - sanding dust going everywhere, the Admiral was non too pleased. OC.
-
I did reply to you admiring the work you have done on the hull, but it vanished (must have been those tiny gremlins ......sure I saw them pinch my post)...... OC.
- 378 replies
-
- 5
-
-
- t78 norden
- billing boats
- (and 1 more)
-
Thanks carl, I just thought it looked a little narrow not thickness wise but width. OC.
- 455 replies
-
- 3
-
-
- slightly modified
- greyhound
- (and 1 more)
-
After doing a laptop change and transfering over all my files and 1000s of photos files, I am done now and all eyes to see folks postings. OC.
- 455 replies
-
- 2
-
-
- slightly modified
- greyhound
- (and 1 more)
-
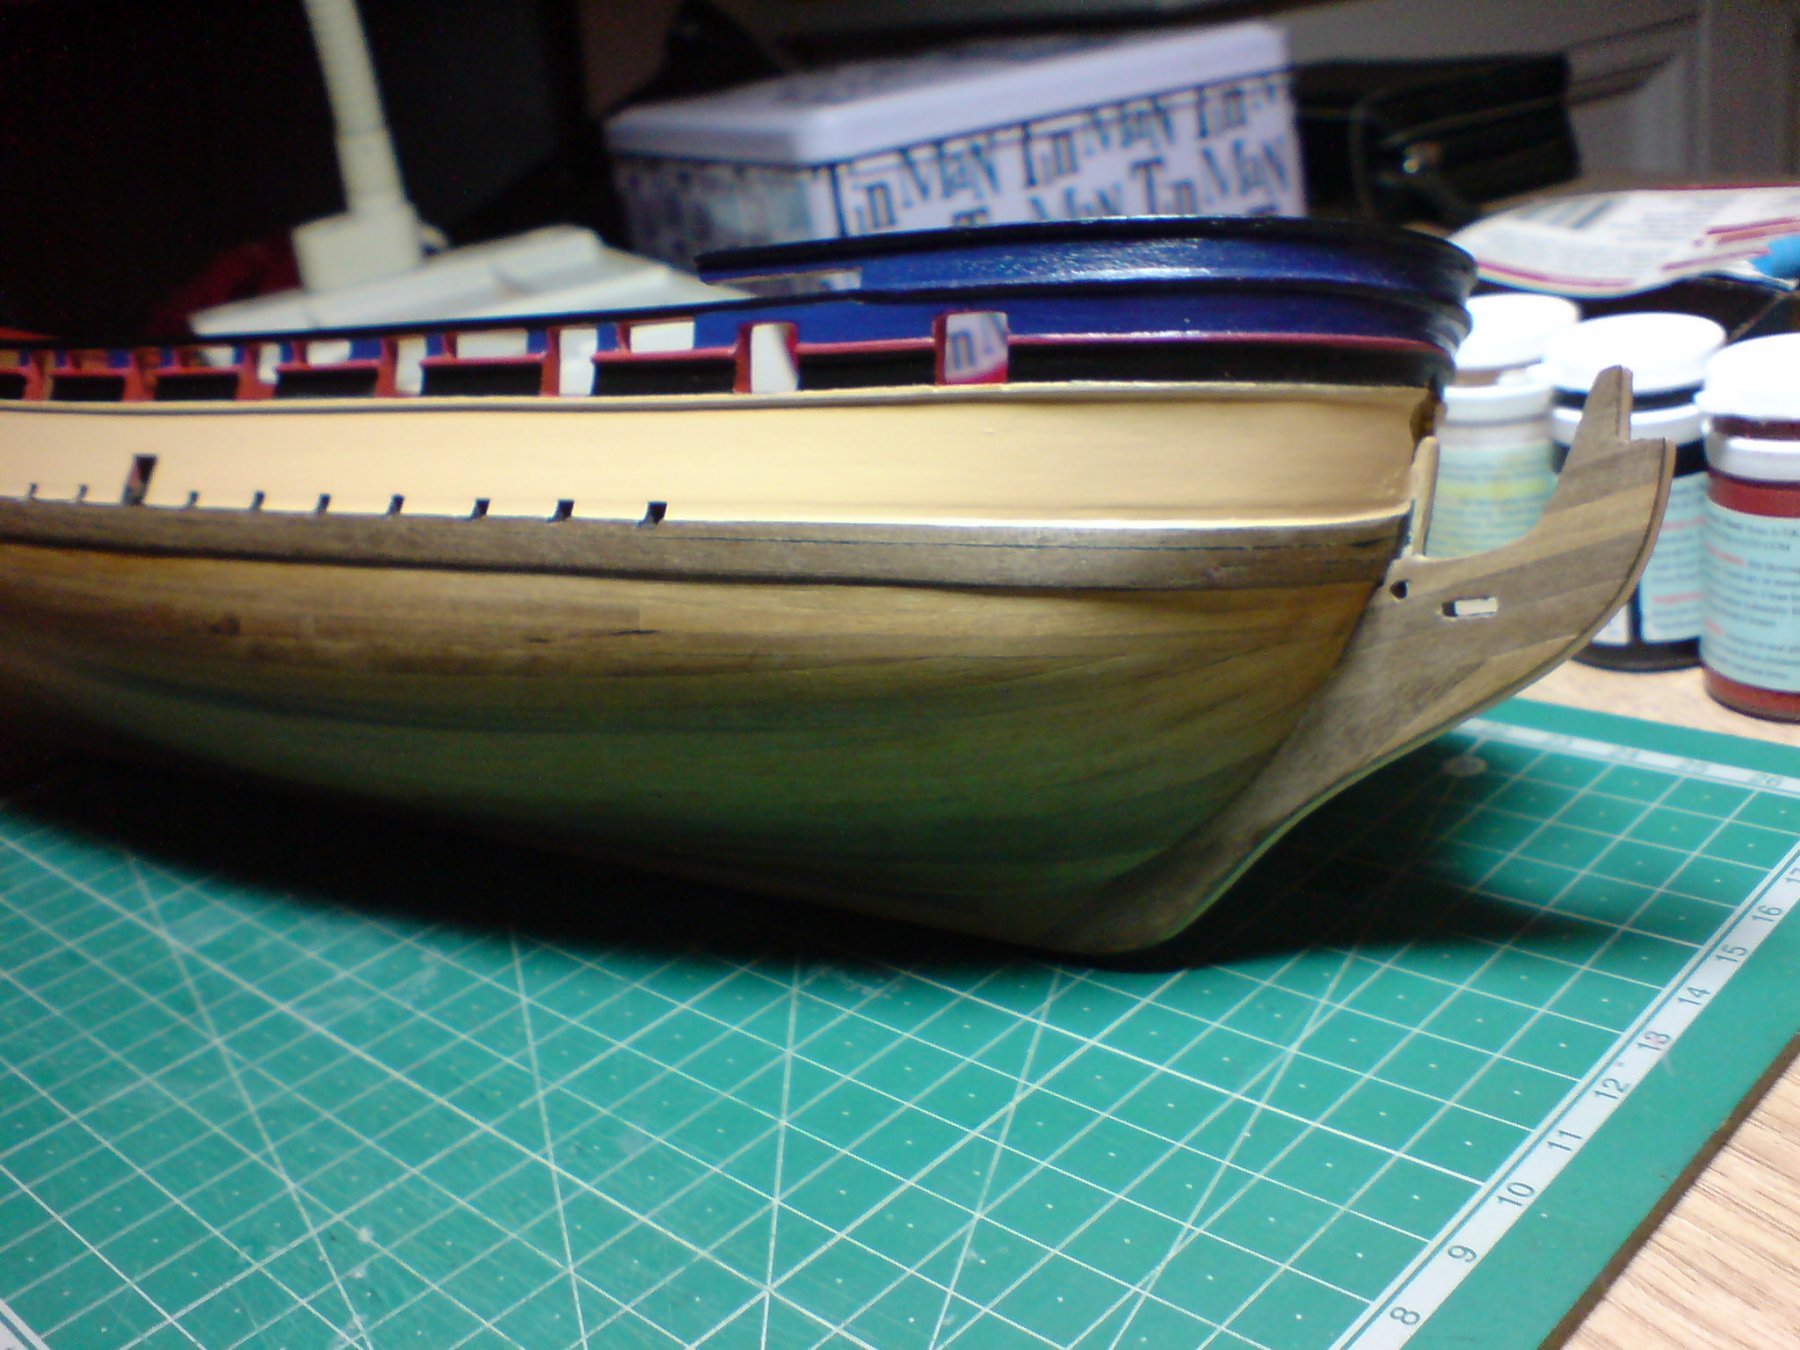
Question folks - does my wale look a little to narrow? OC.
- 455 replies
-
- 2
-
-
- slightly modified
- greyhound
- (and 1 more)
-
WOW what an amazing job looks so realistic, sorry for keep repeating myself, you amaze me with what you are doing, perfection in modeling. OC.
-
Coming along really nicely, its amazing the transformation from putting our first few lengths of planks, to closing up the hull, a real sense of achievemnet I think. OC.
- 378 replies
-
- 6
-
-
- t78 norden
- billing boats
- (and 1 more)
-
Managed to put about 5 coats on the hull it hasn't come up to bad. OC.
- 455 replies
-
- 12
-
-
- slightly modified
- greyhound
- (and 1 more)
-
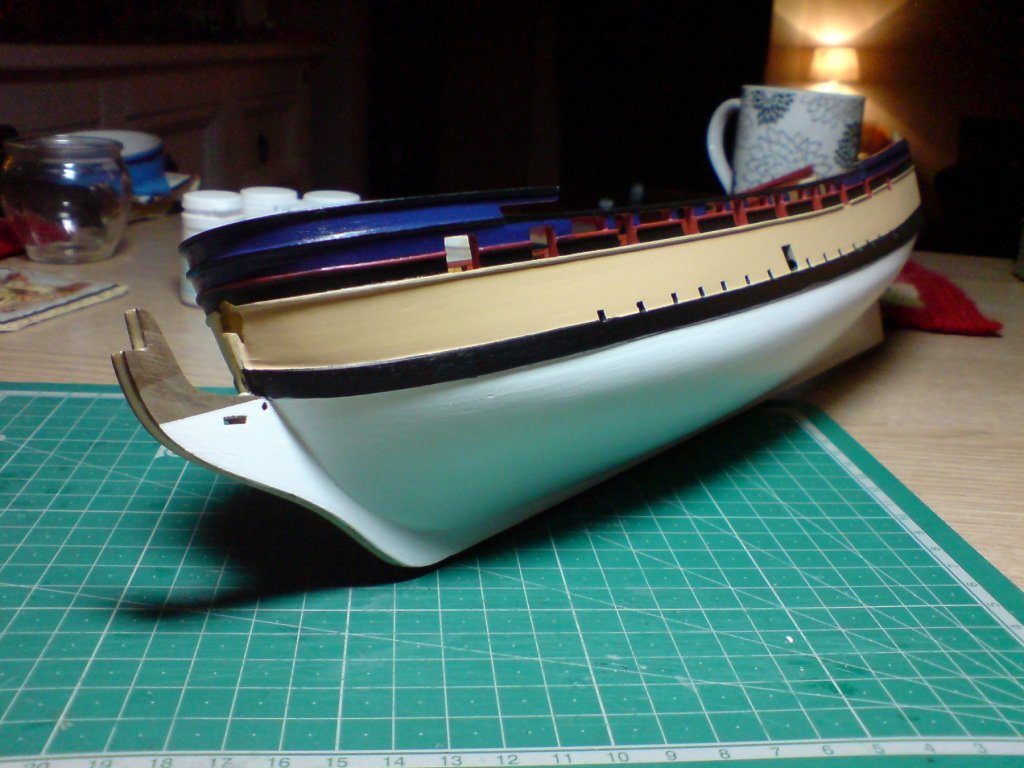
Hi folks, I have painted the lower hull on the one side flat white, I have put a couple of coats on her but she needs a little bit of very light sanding and a few more coats, then a little bit of re touch up of the wale. I wont put any pics up yet till she looks a little more tidy. OC.
- 455 replies
-
- 3
-
-
- slightly modified
- greyhound
- (and 1 more)
-
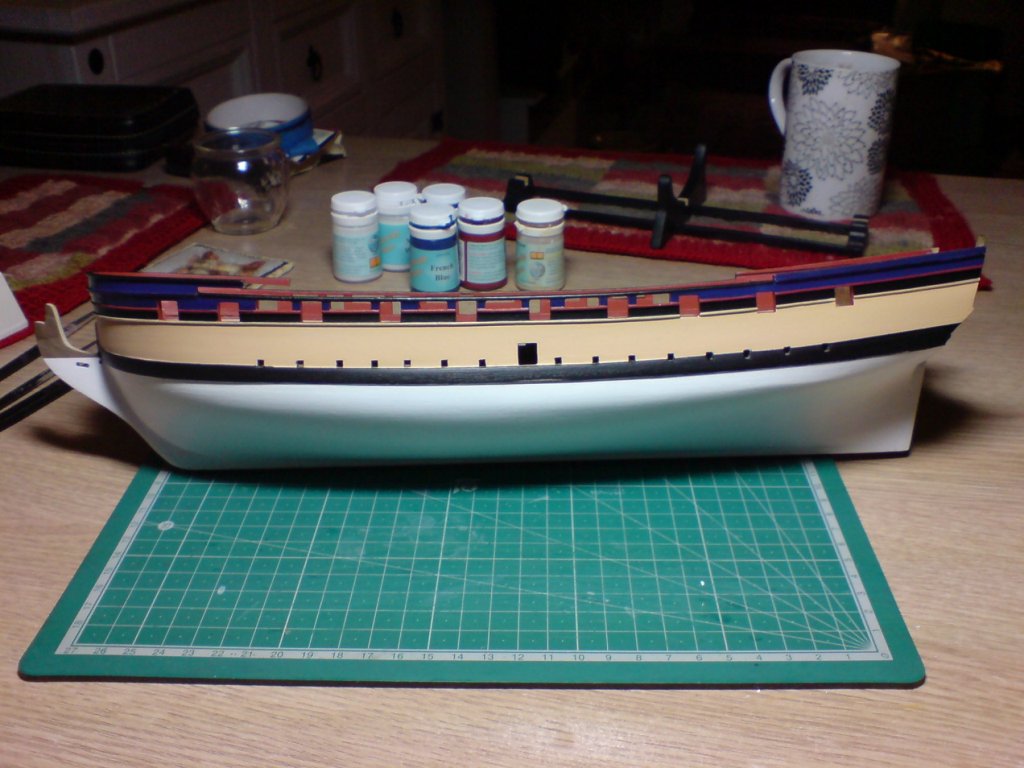
Just more painting folks - I masked off the wale top and bottom and added a couple of coats of dull black. OC.

- 455 replies
-
- 12
-
-
- slightly modified
- greyhound
- (and 1 more)
-
The very first thing I would do before putting Any planks on the hull or anything else, is to put some strengthening strips of wood between each and every rib/frame to give them support, try to fit a couple in each gap fairly close to the edge (say about a centimeter from the edge), make sure you have the same even gap between rib/frames on both sides to keep it all square. Then the Really Important part - you need to sand the edges of each rib/frame with something flat as the ship needs a smooth area for the planks to follow, (The edges of the ribs/frames left as they are will cause the planks to stick out and not follow a smooth line) I would really concentrate on doing this first before attaempting to lay a single plank on the hull. Hope this helps. OC.
-
Should have ran away with all the sauce - could imagine you out in the snow with that boul of sauce and your admiral shouting "come here with that - you you snowy sauce stealing person" lol. OC.
- 378 replies
-
- 5
-
-
- t78 norden
- billing boats
- (and 1 more)
-
Hi and welcome, its a great site where just about every type of wood/plastic and card ship-boat has been built, by experienced folk who are friendly and very helpful. just shout out when ever you need a hand keep the photos coming in. OC.
-
What a lovely reply - it really brings home how important this site is to so many of us, it re injects that warmth and good feeling we have for our fello folks. OC.
- 378 replies
-
- 9
-
-
- t78 norden
- billing boats
- (and 1 more)
-
Looking superb so much detail amazing I too can not speak highly enough of Lifecolor paints, they are brilliant and last so well without drying out. OC.
-
Yep Black on the wale then dull white on the hull below that, also the stem will be half black and white with a demarcation line level with the wale, and the lower transom will be white level with the lower hull, and either red ocre or french blue where the head of the rudder enter's the hull. OC.
- 455 replies
-
- 3
-
-
- slightly modified
- greyhound
- (and 1 more)
-
Really tidy work bob everything in its place and looking like the real thing. You should do a Victory build bob, you would do a Stunning job of one, Im sure not just myself agree. OC.
- 682 replies
-
- 4
-
-
- halifax
- lumberyard
- (and 1 more)
-
Thank goodness for our site - gives us something to take our minds off normal life/weather and health, I can understand your pain with the ribs - I broke my rear transom framework some time back, the hull planking has come together nicely, its one of the "hold your breath" stages I think. Keep up the good work she is coming on great. OC.
- 378 replies
-
- 5
-
-
- t78 norden
- billing boats
- (and 1 more)
-
Very tidy work - the rear planks blending into the rudder post look real great, and the white lower paint contrasts well with the wood, Great Wormanship. OC.
-
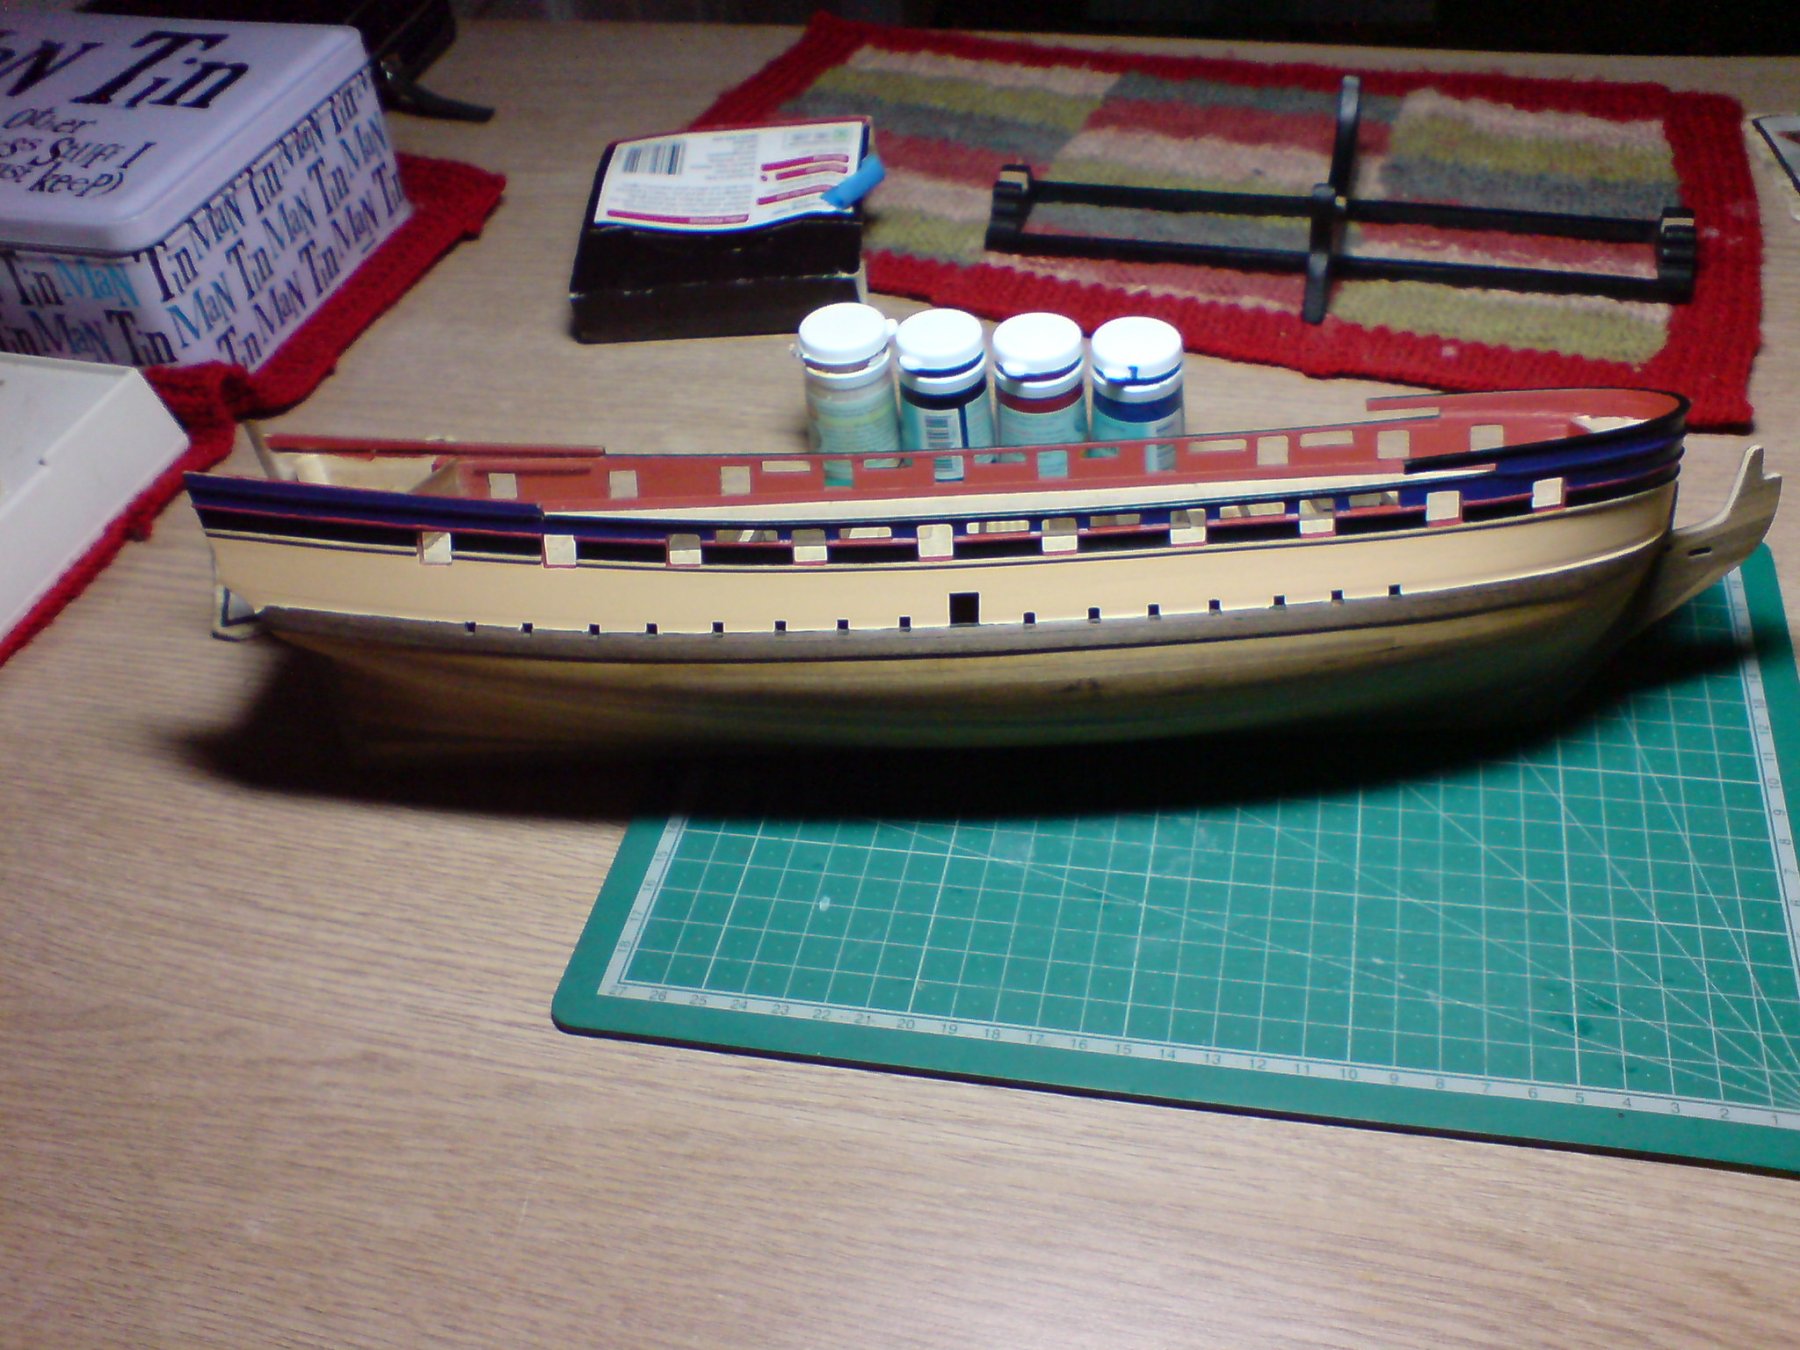
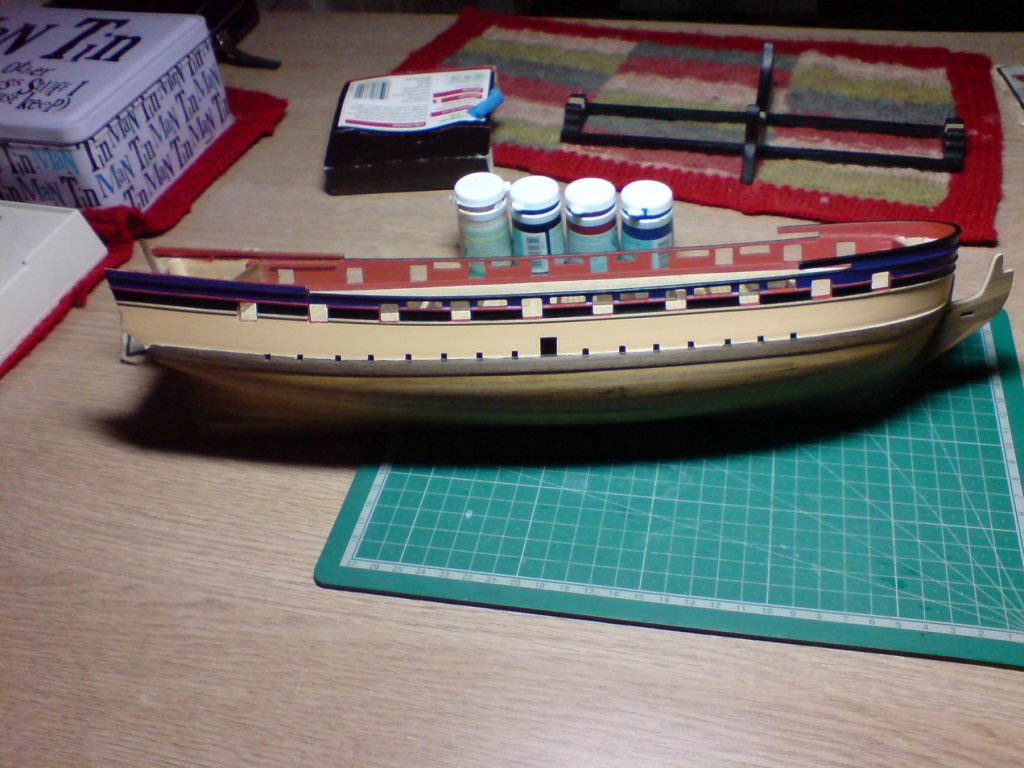
Today was paint day, I decided to change the paint scheme slightly - this is the pre paint stage the french blue paints on in a semi gloss finish, this will be tamed to a matt or satin-matt finish. Here's a couple of pics. OC.

- 455 replies
-
- 9
-
-
- slightly modified
- greyhound
- (and 1 more)