HOLIDAY DONATION DRIVE - SUPPORT MSW - DO YOUR PART TO KEEP THIS GREAT FORUM GOING! (83 donations so far out of 49,000 members - C'mon guys!)
×


scrubbyj427
-
Posts
1,690 -
Joined
-
Last visited
Content Type
Profiles
Forums
Gallery
Events
Everything posted by scrubbyj427
-
 Thanks Yves, you are correct. The only foreseeable resin part on the model will be the QG’s, outfitted and surrounded by boxwood and AYC parts. There may be other fittings along the way that I will possibly offer in resin.
 -
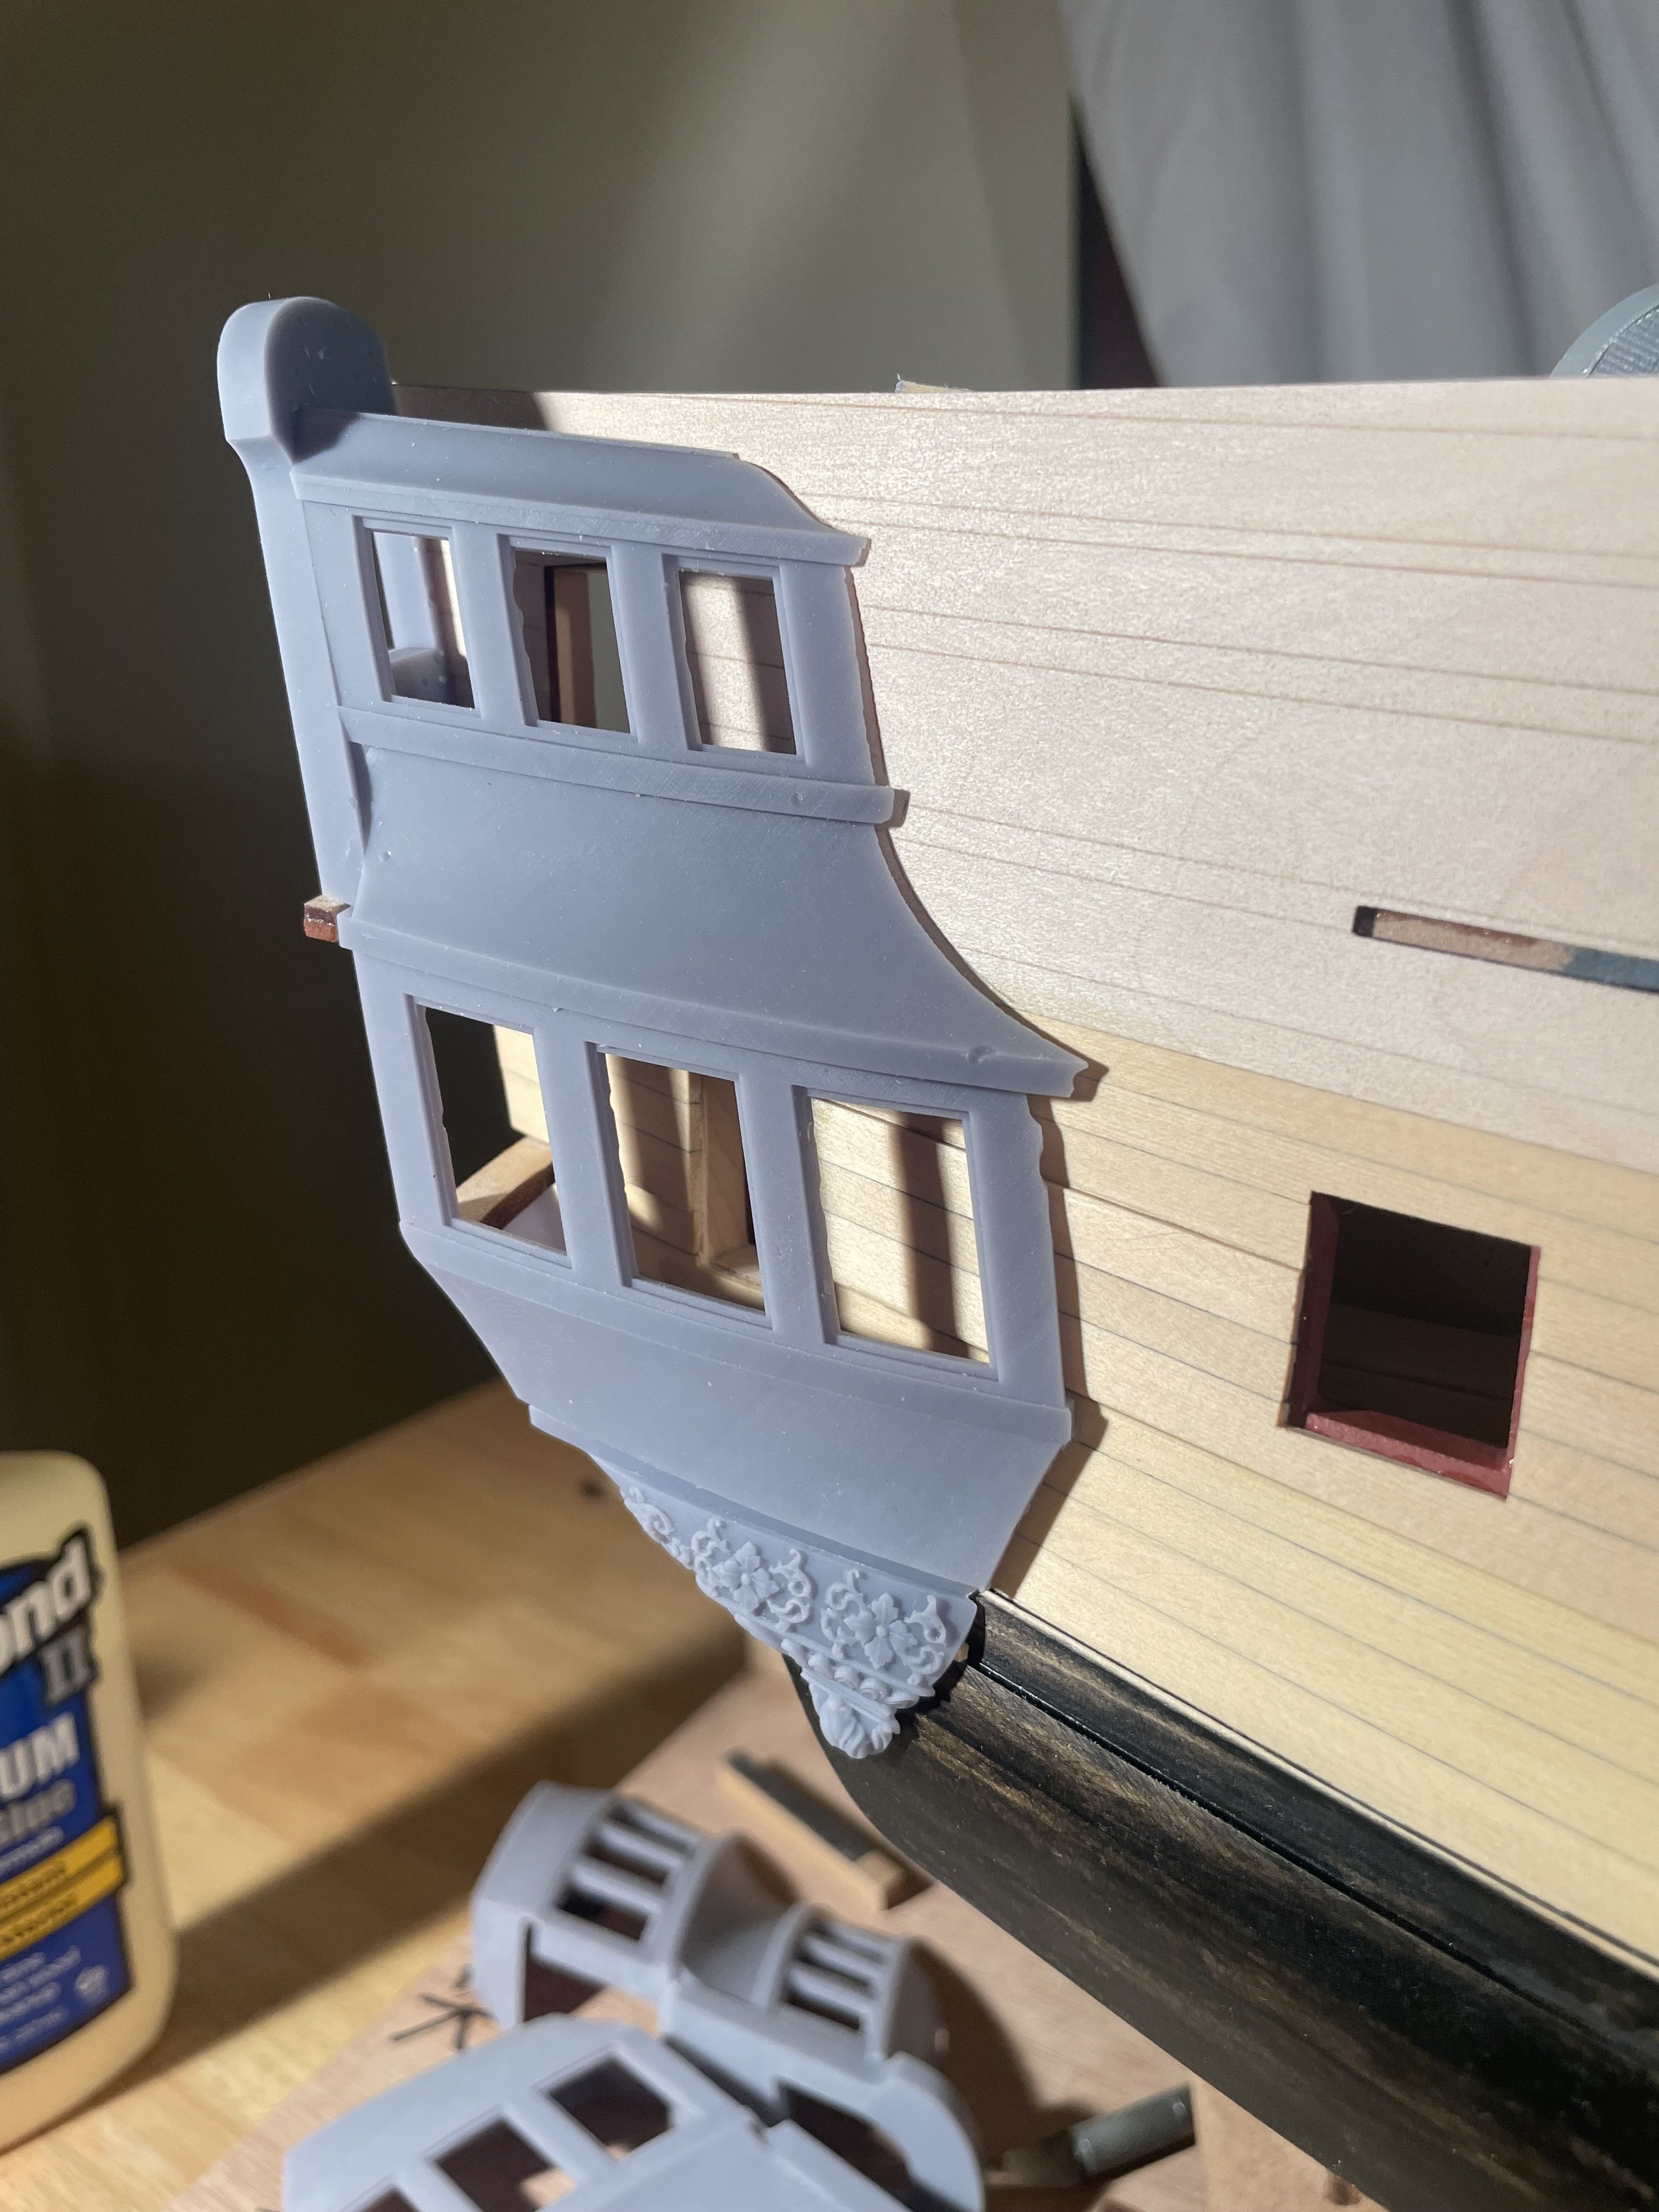
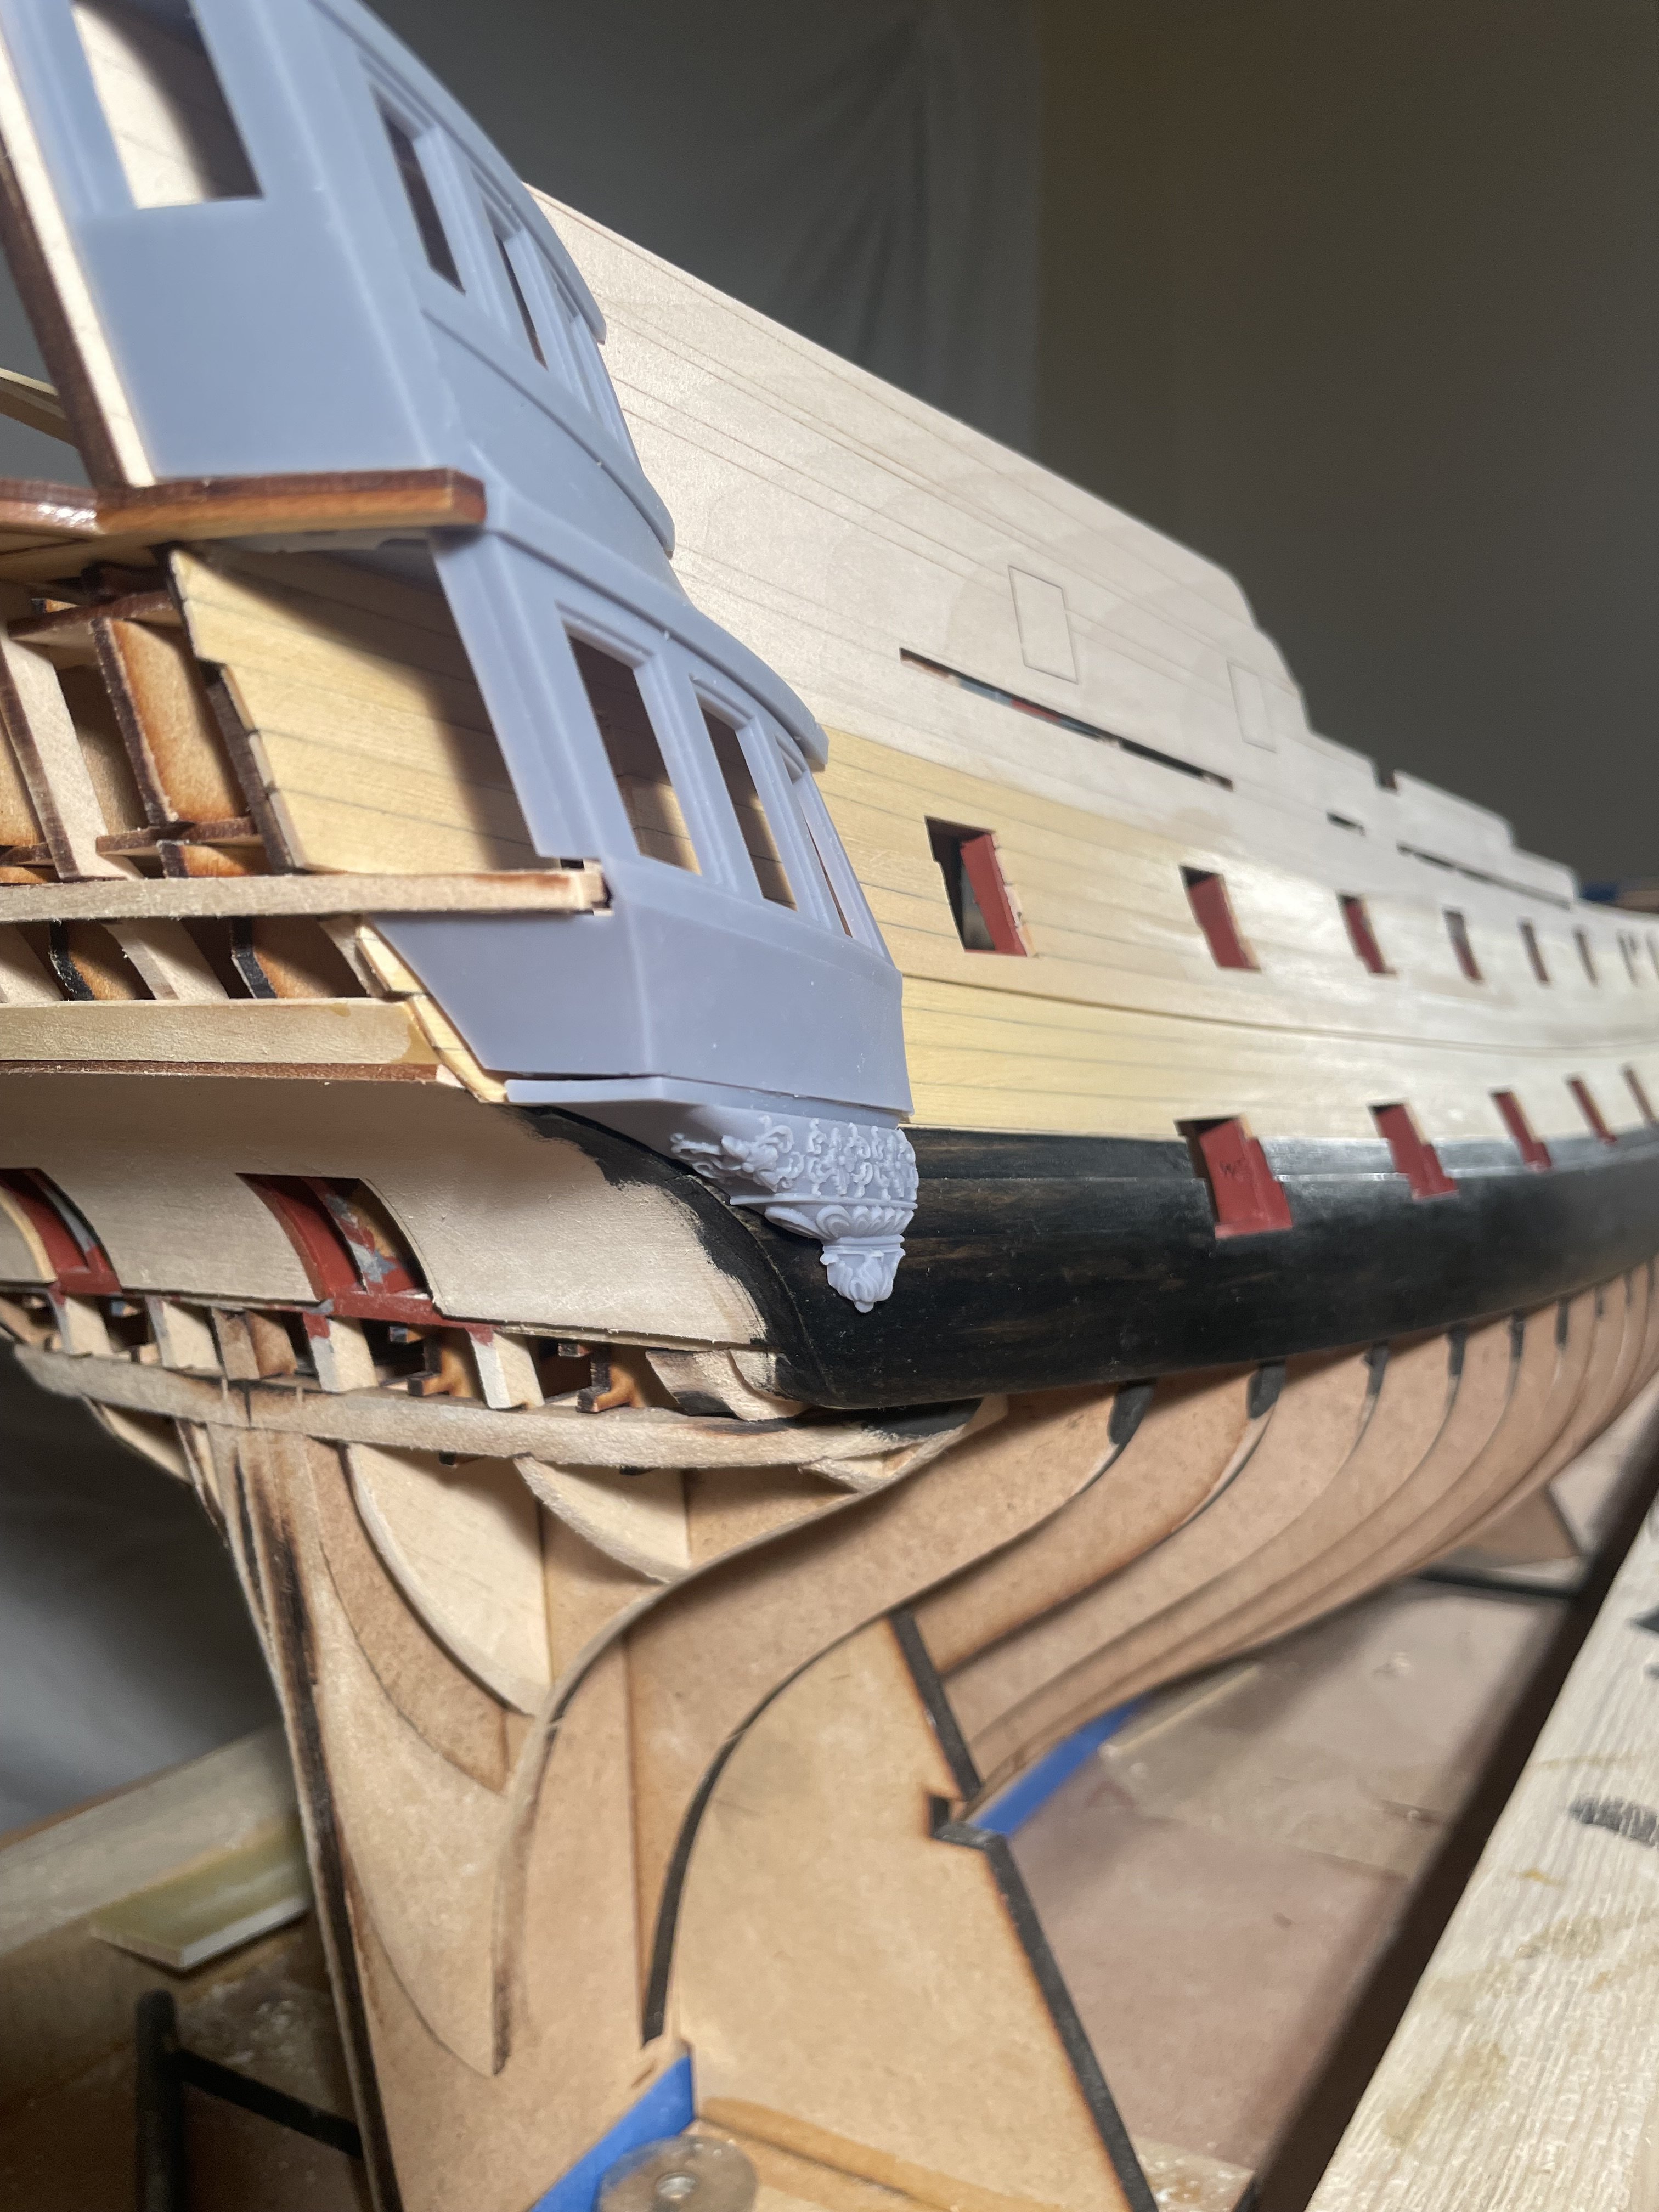
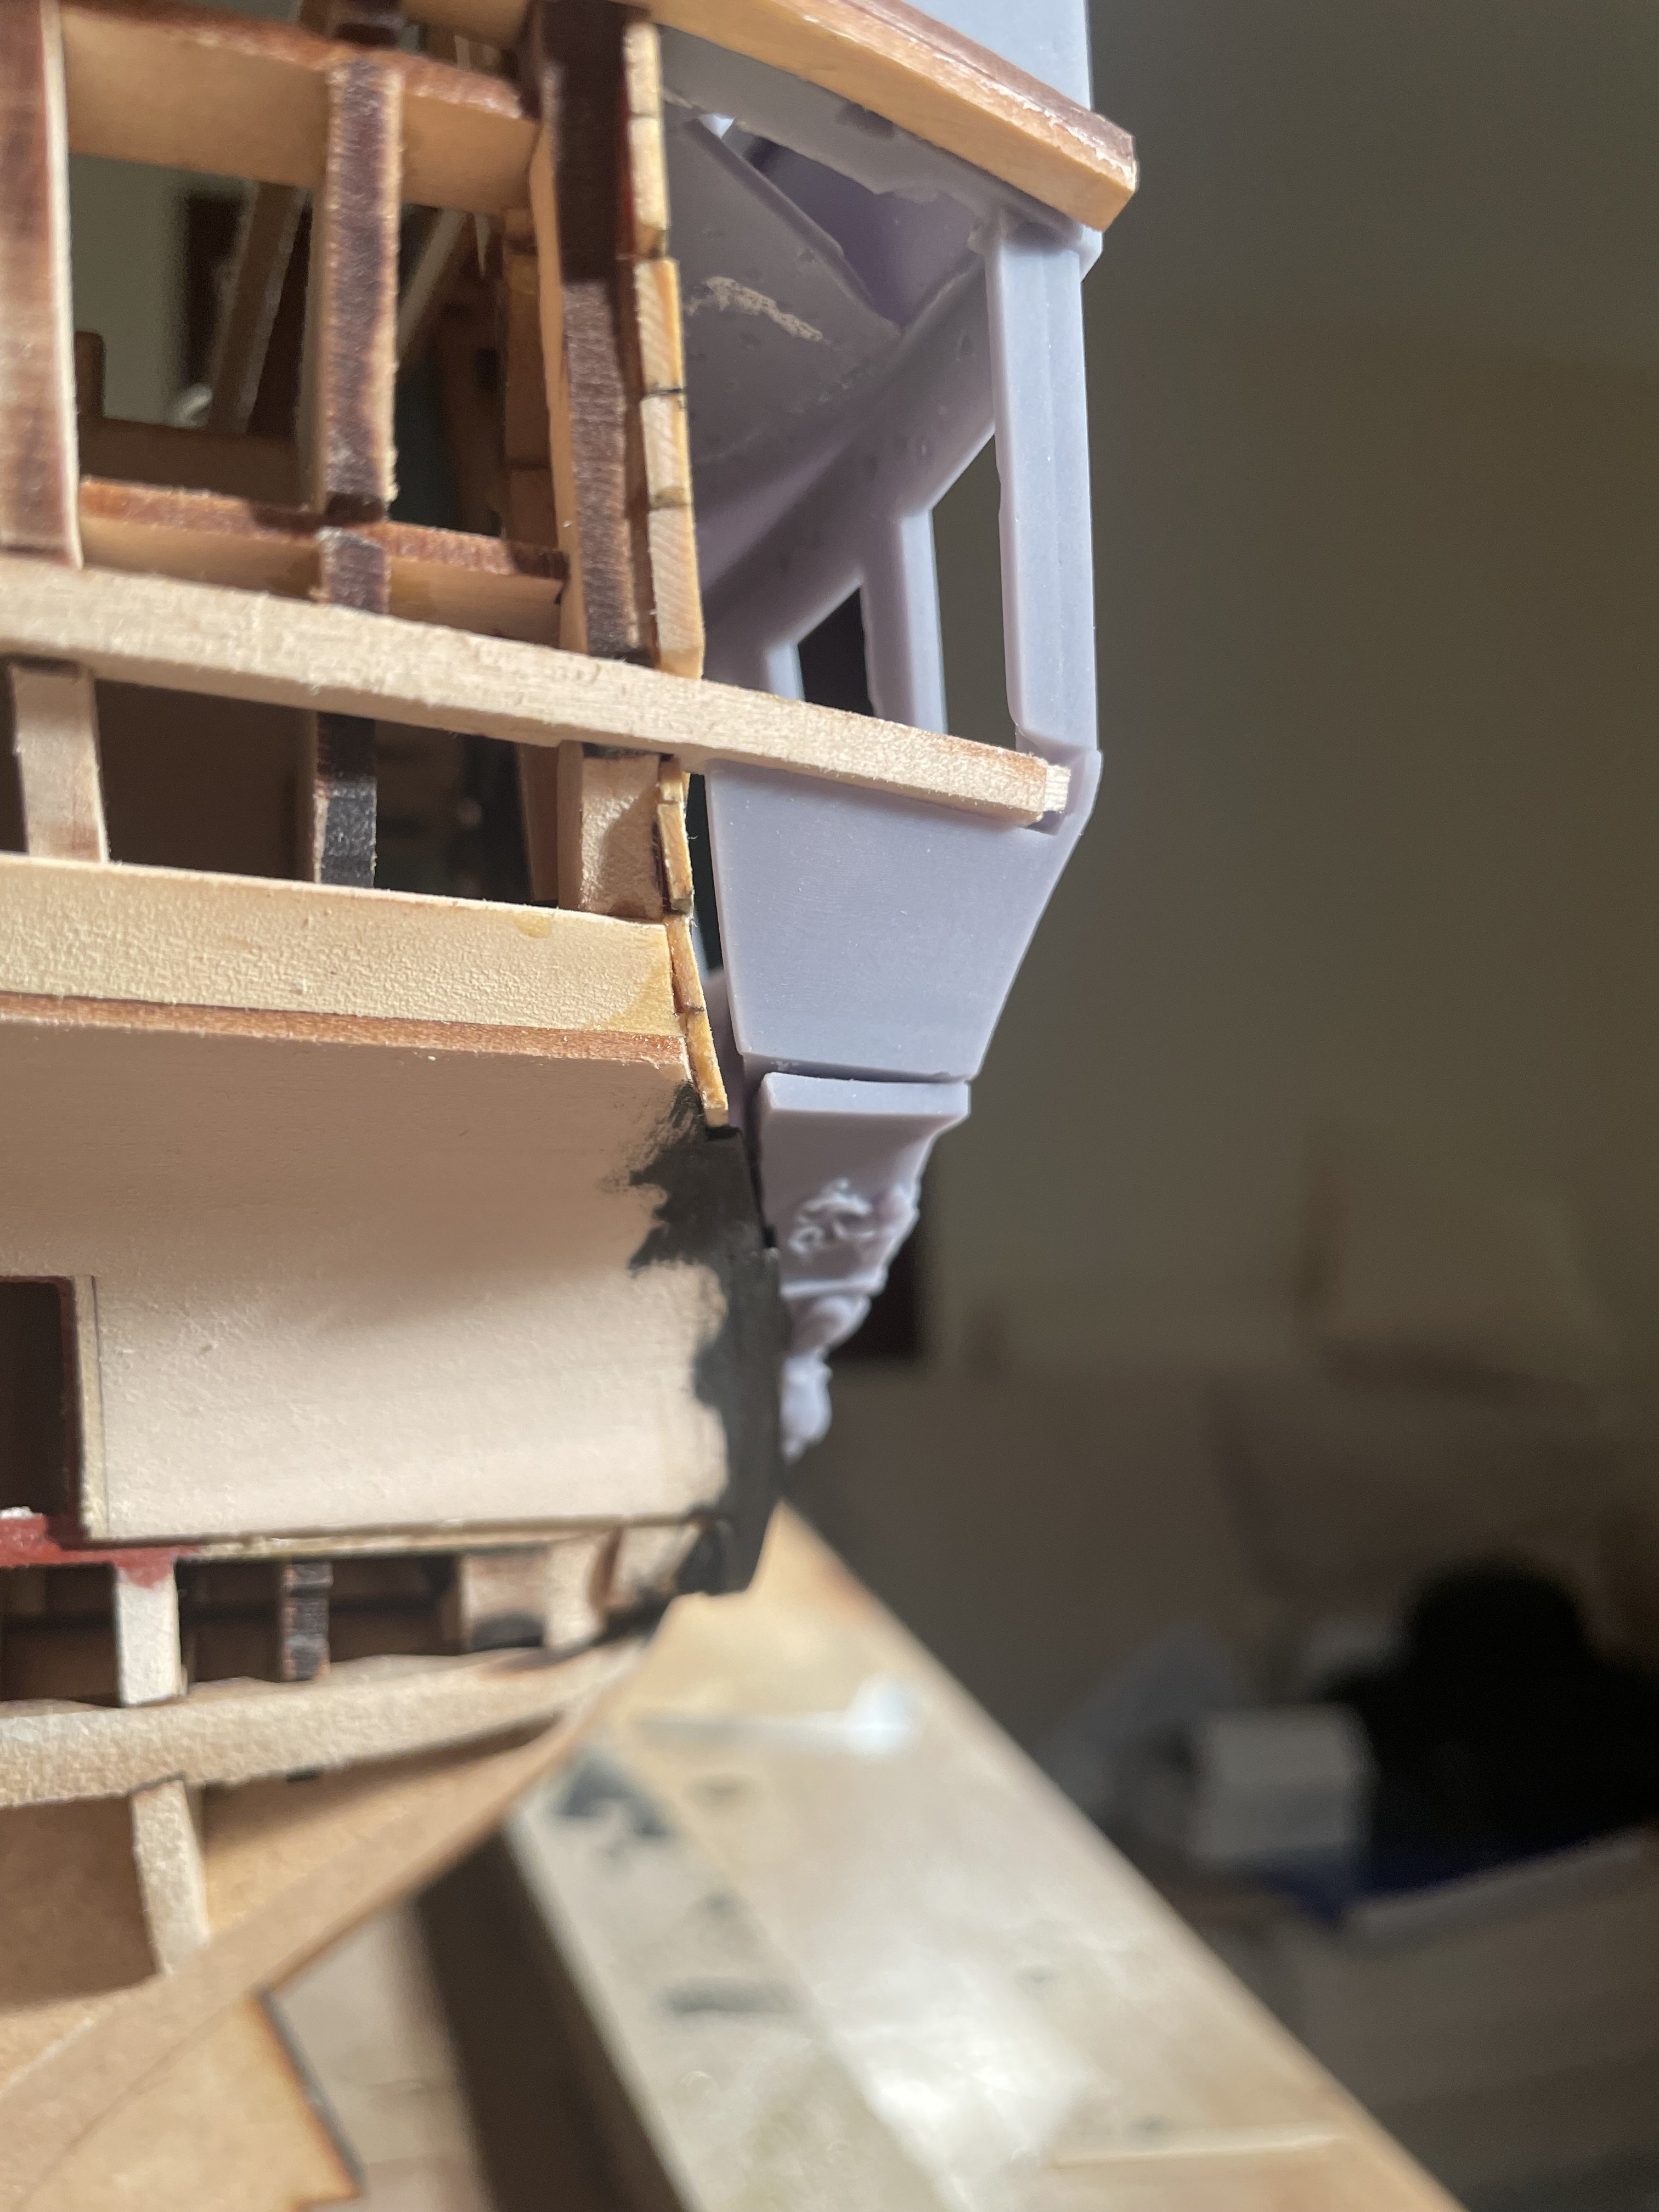
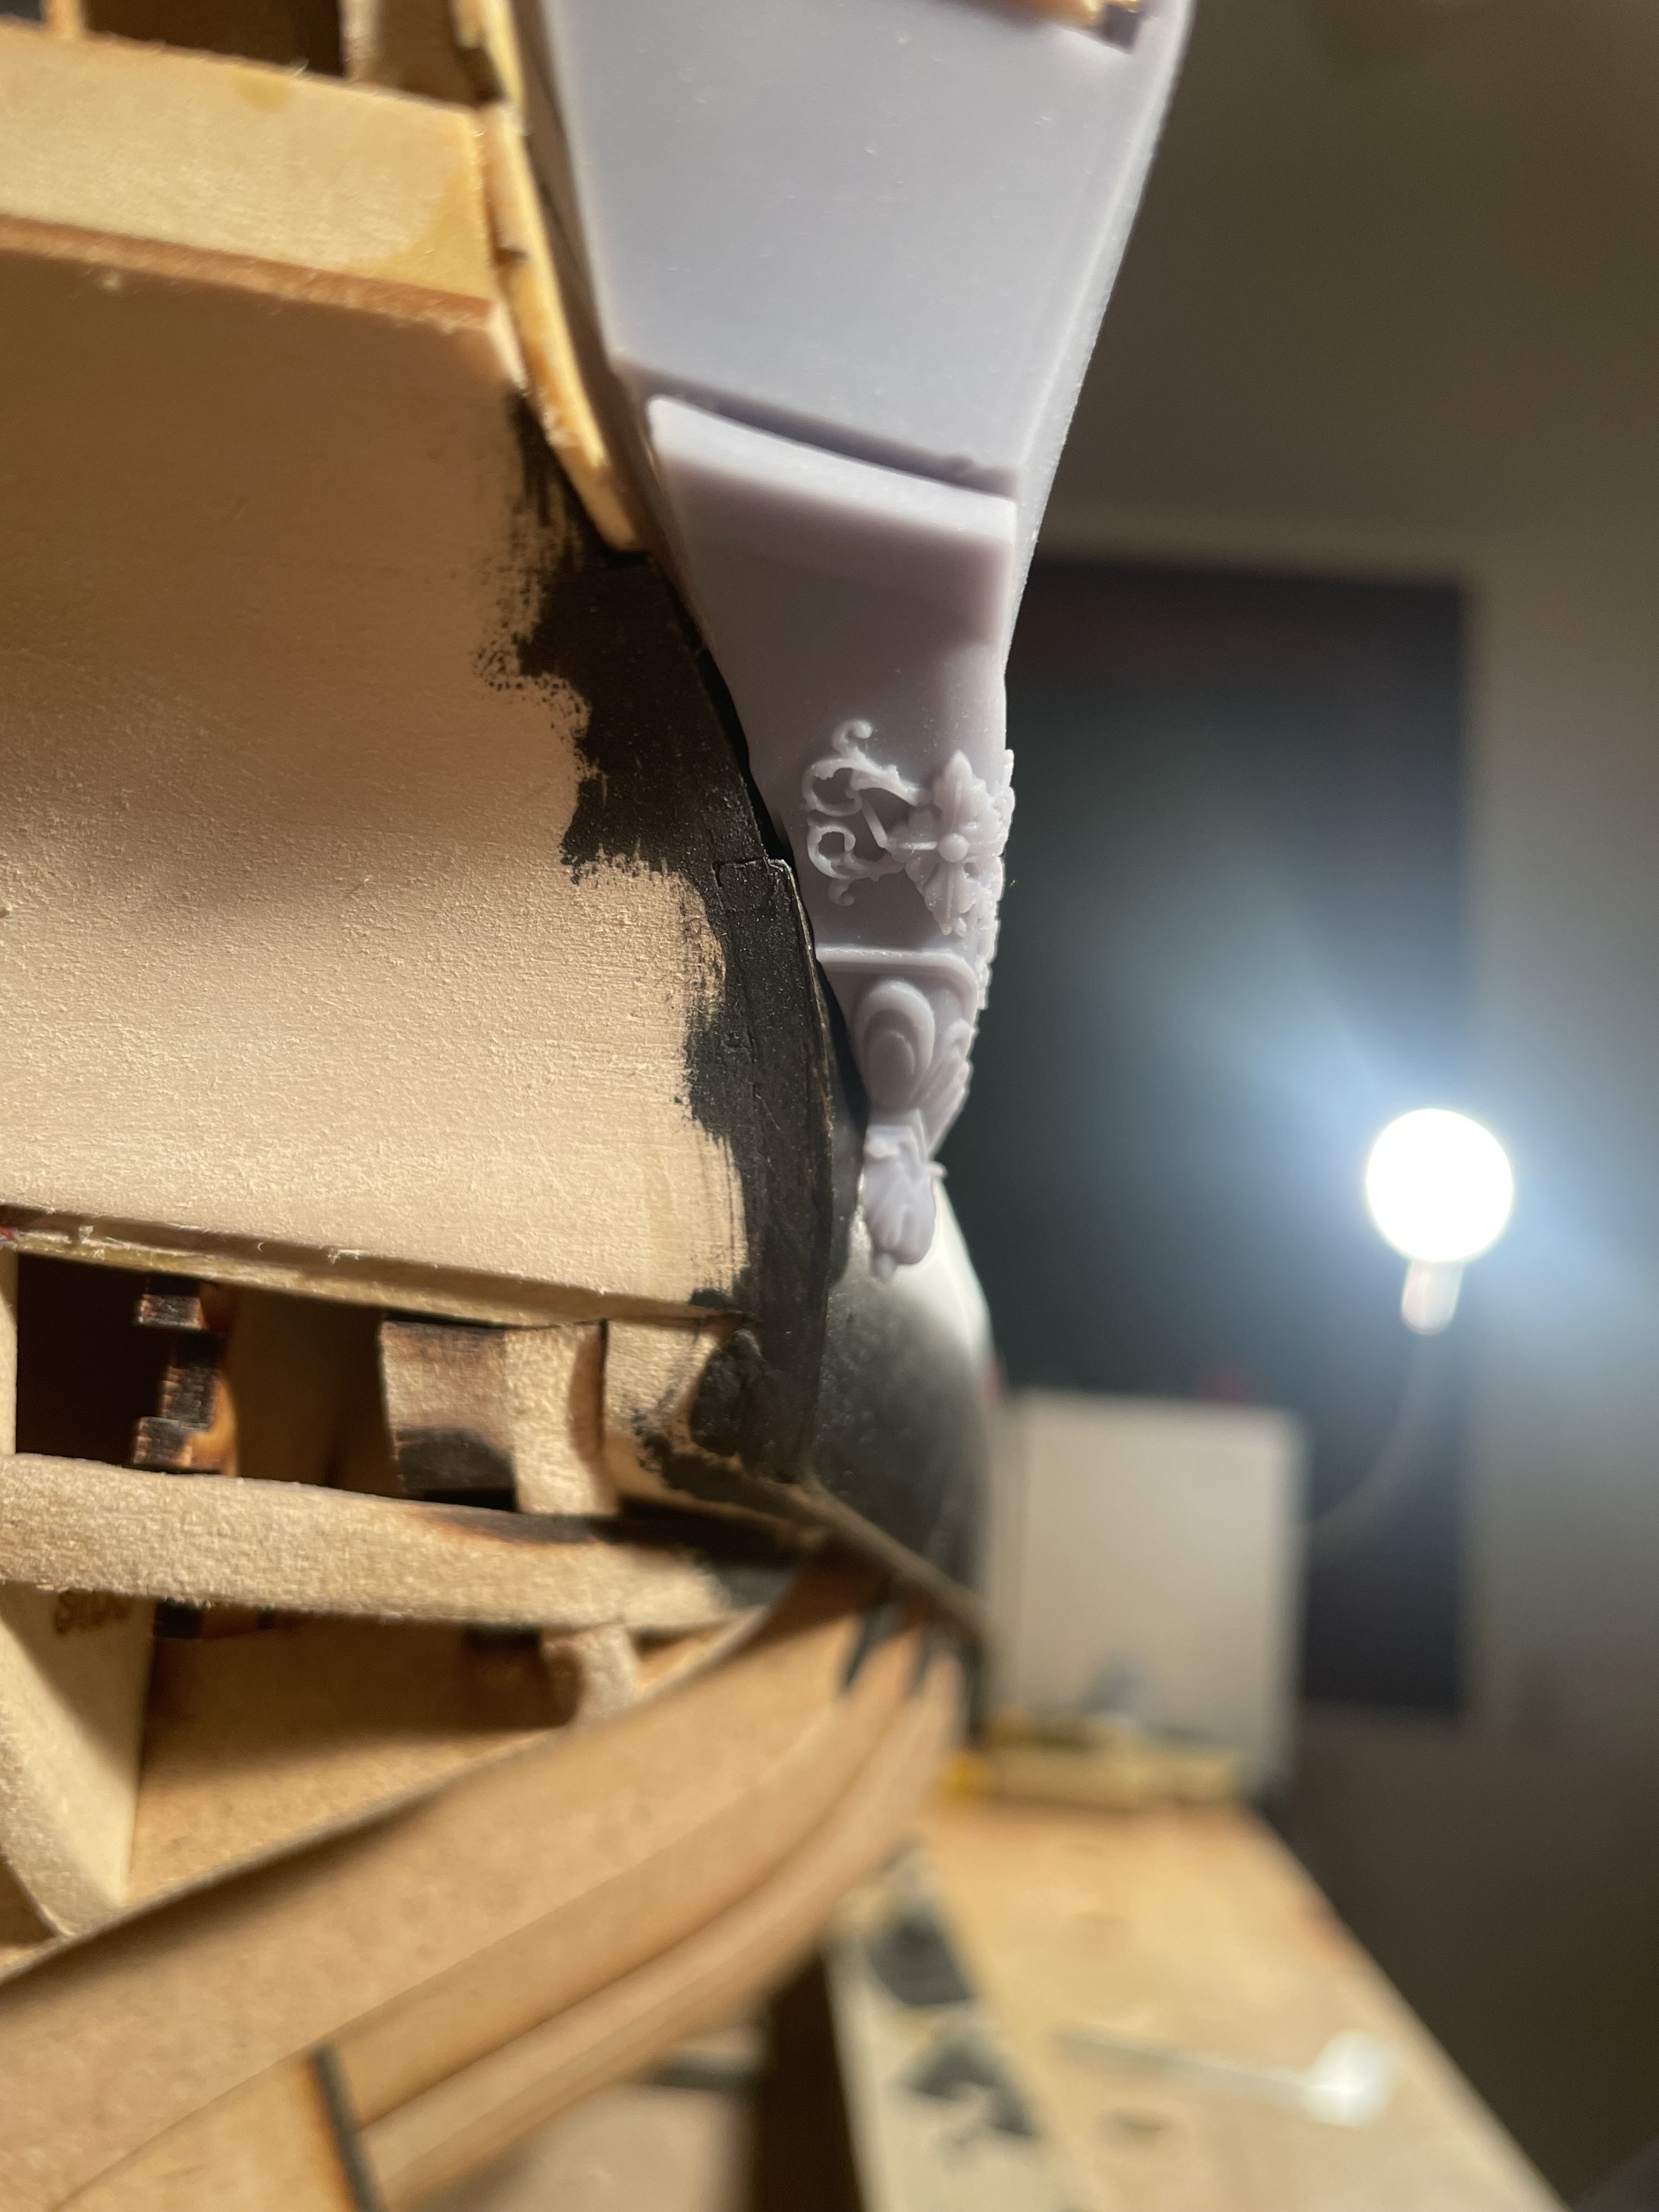
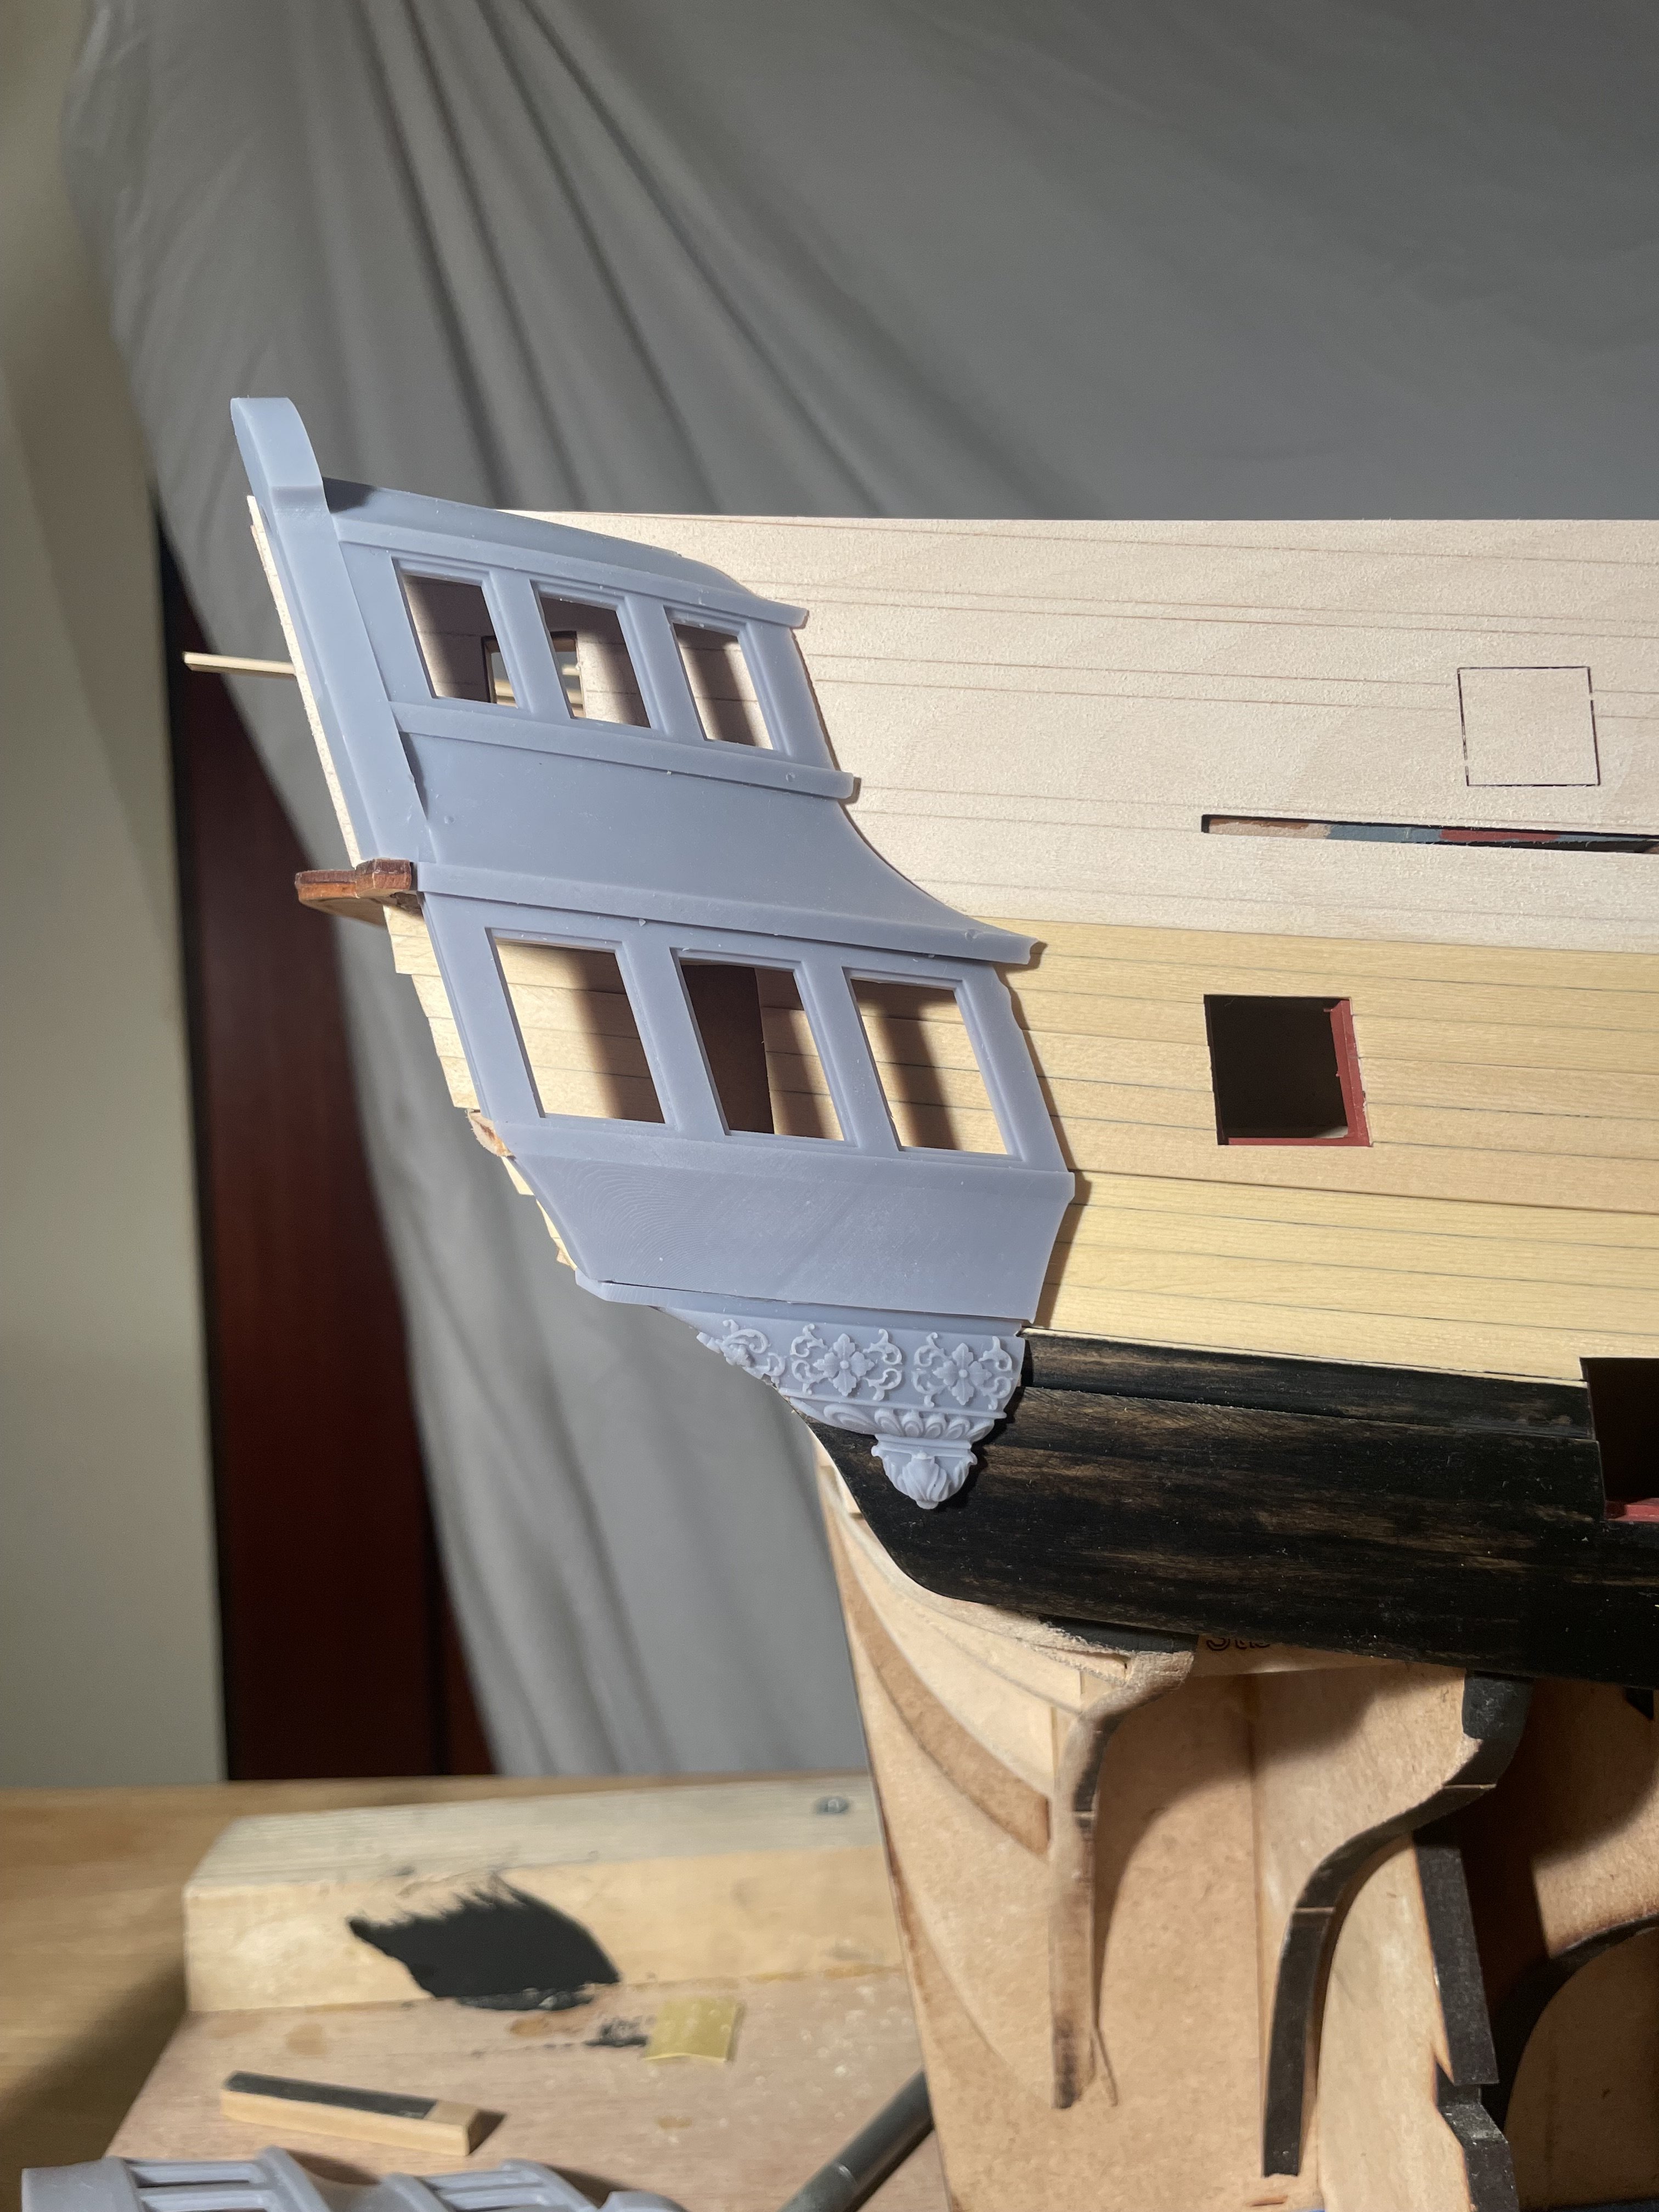
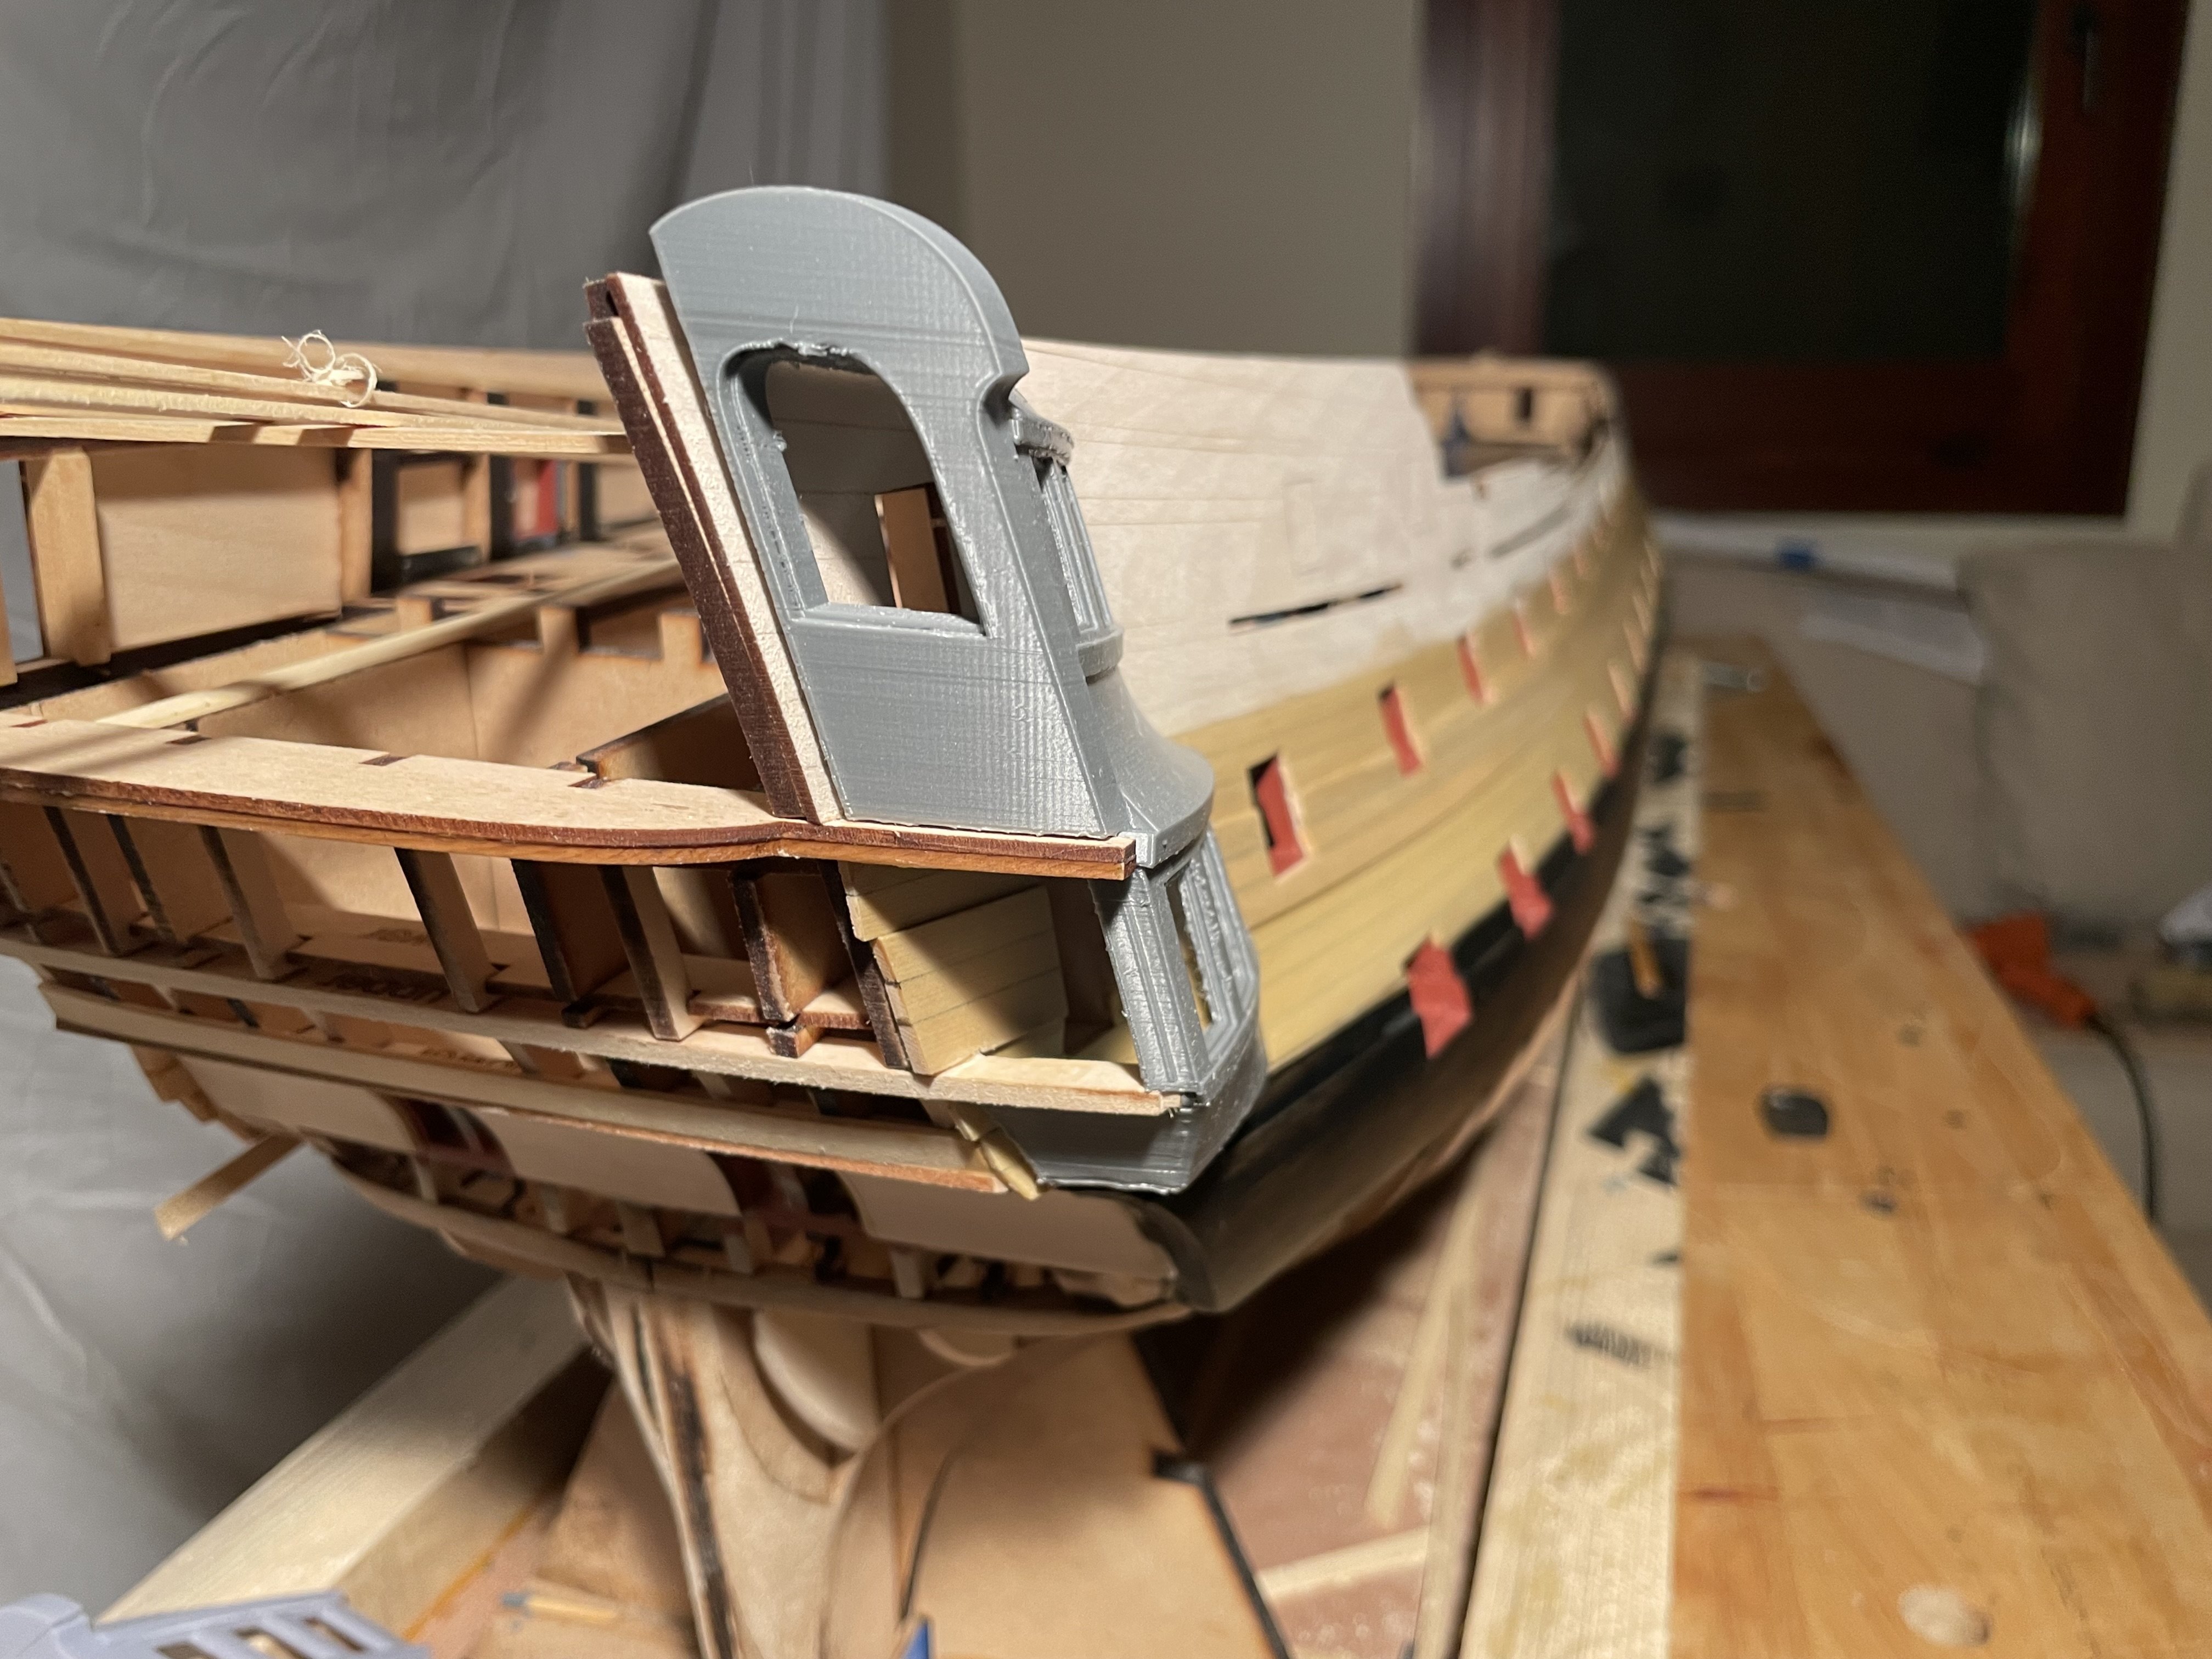
Hi Giampiero, thanks for looking in and your compliment. Yves is correct, the drop is simply a test piece to make any necessary adjustments before it is carved in wood. However the basic QG’s will be printed and outfitted with many boxwood parts, I guarantee that once complete, they will be indistinguishable from a wooden construction. My reason for this is the QG’s on this model are very complex and I didn’t want to leave anything to chance for the builder. I began designing and could offer a wooden construction alternative for the QG’s if there was enough demand. These were an extremely complex assembly in an effort to keep everything lined up. JJ
-
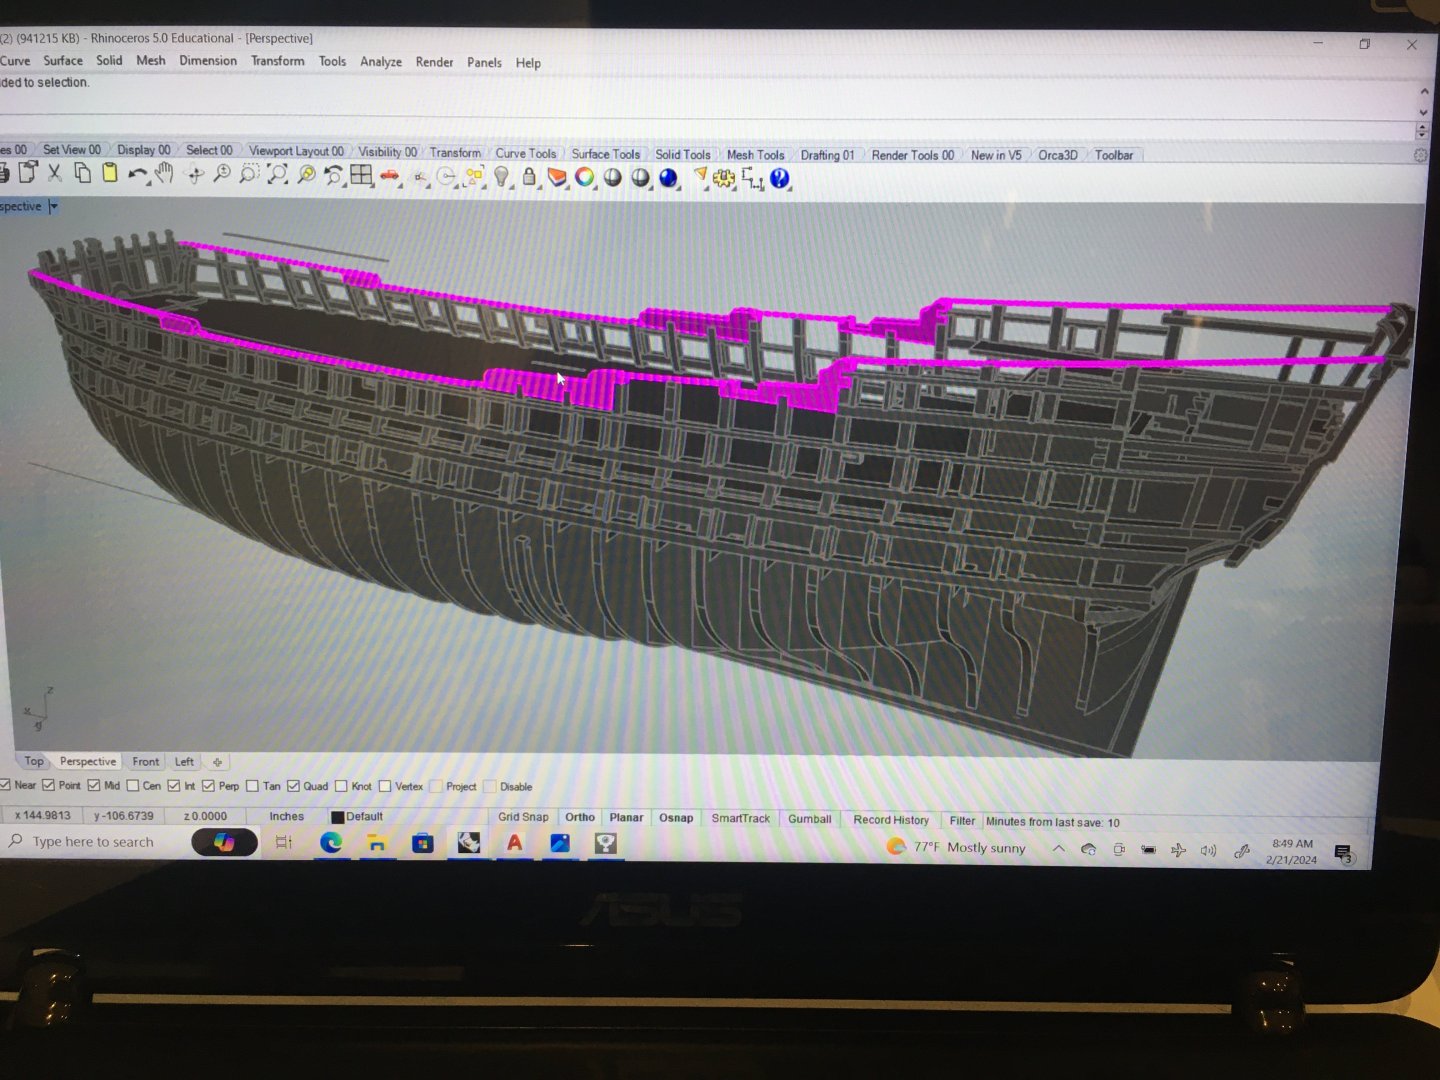
Quick update. received the prototype print for the stbd drop. The fit is nice without any adjustment to the QG or the drop, both are straight off the printer as designed. Will make a few slight adjustments and proceed with boxwood CNC carved ones for the model.


- 396 replies
-
- 26
-

-

-
Very nice work! Congratulations on retiring, now you have plenty of modeling time!
-
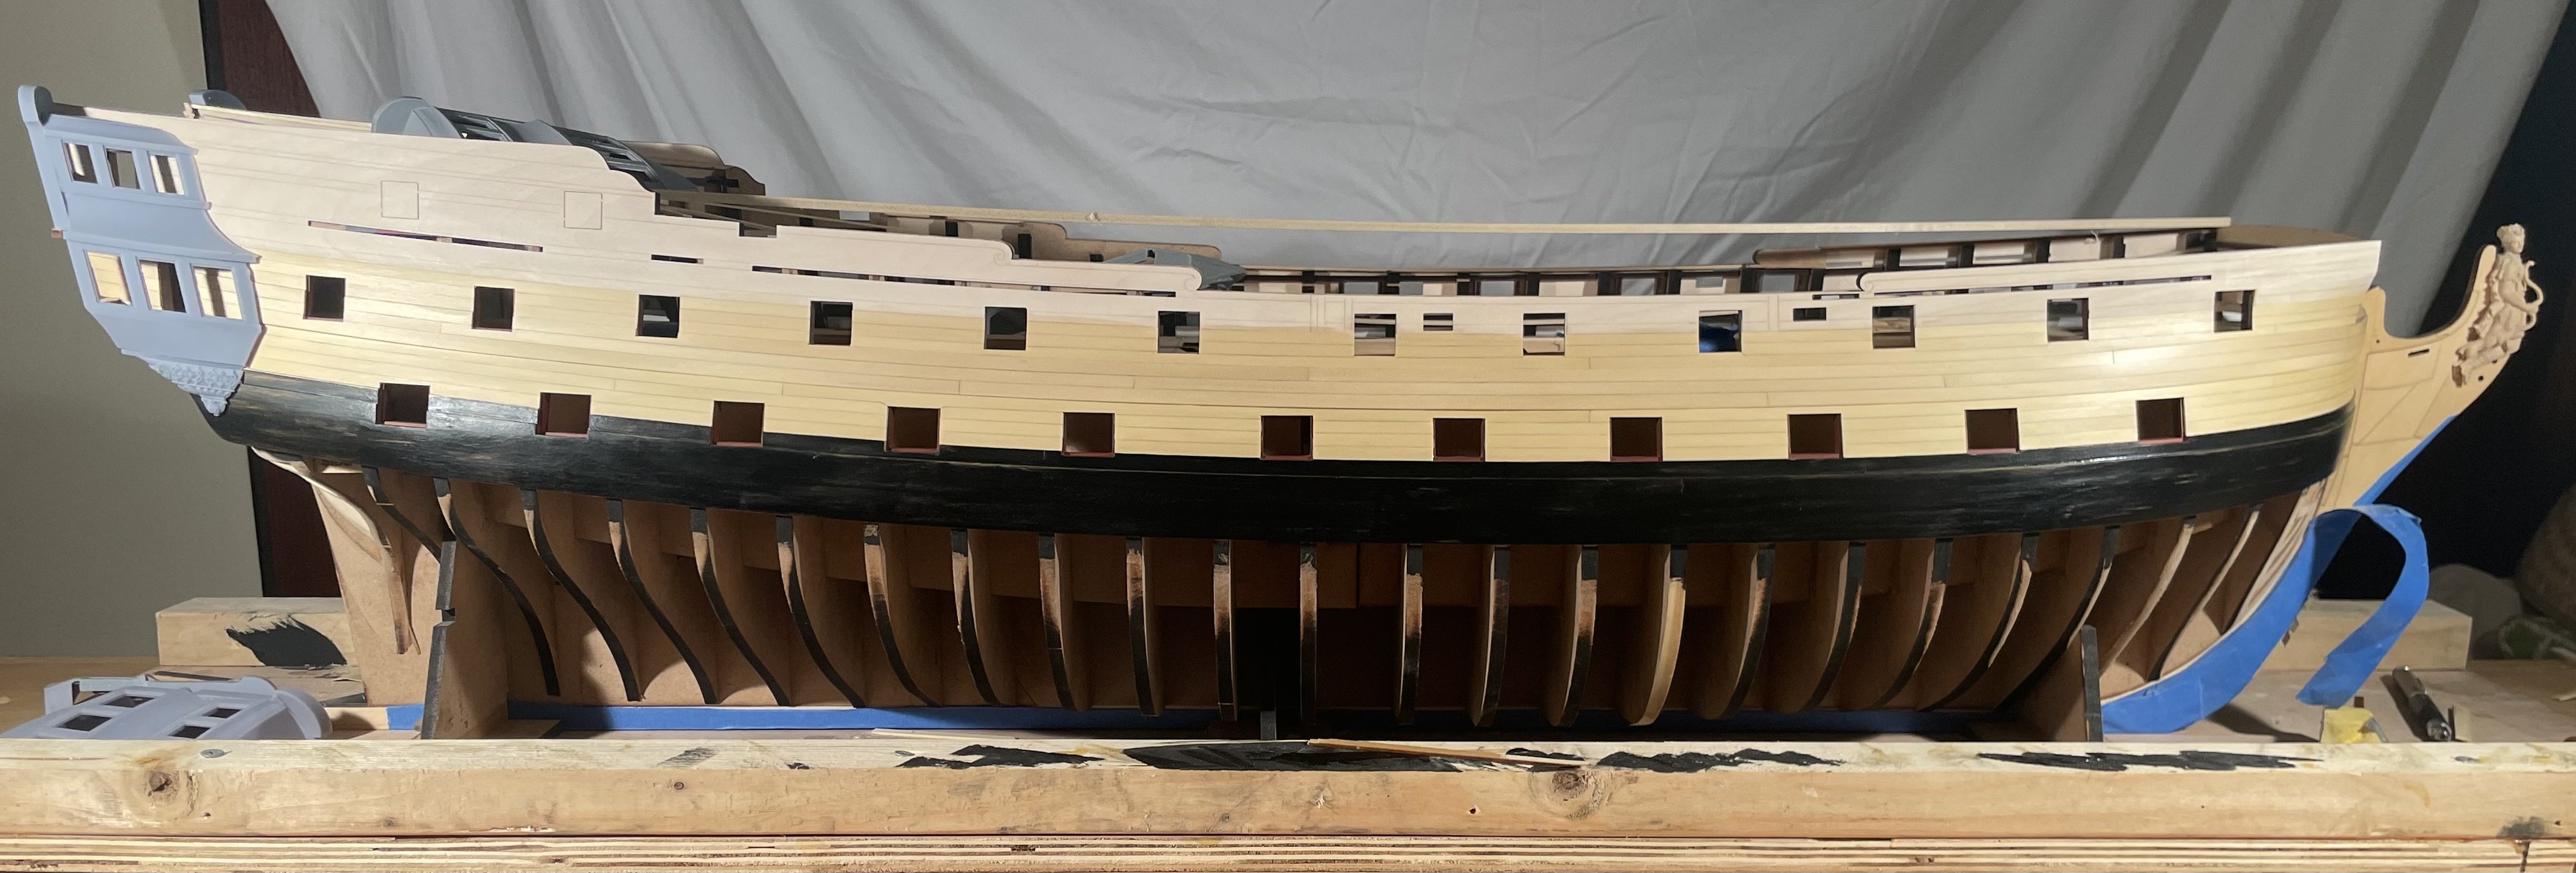
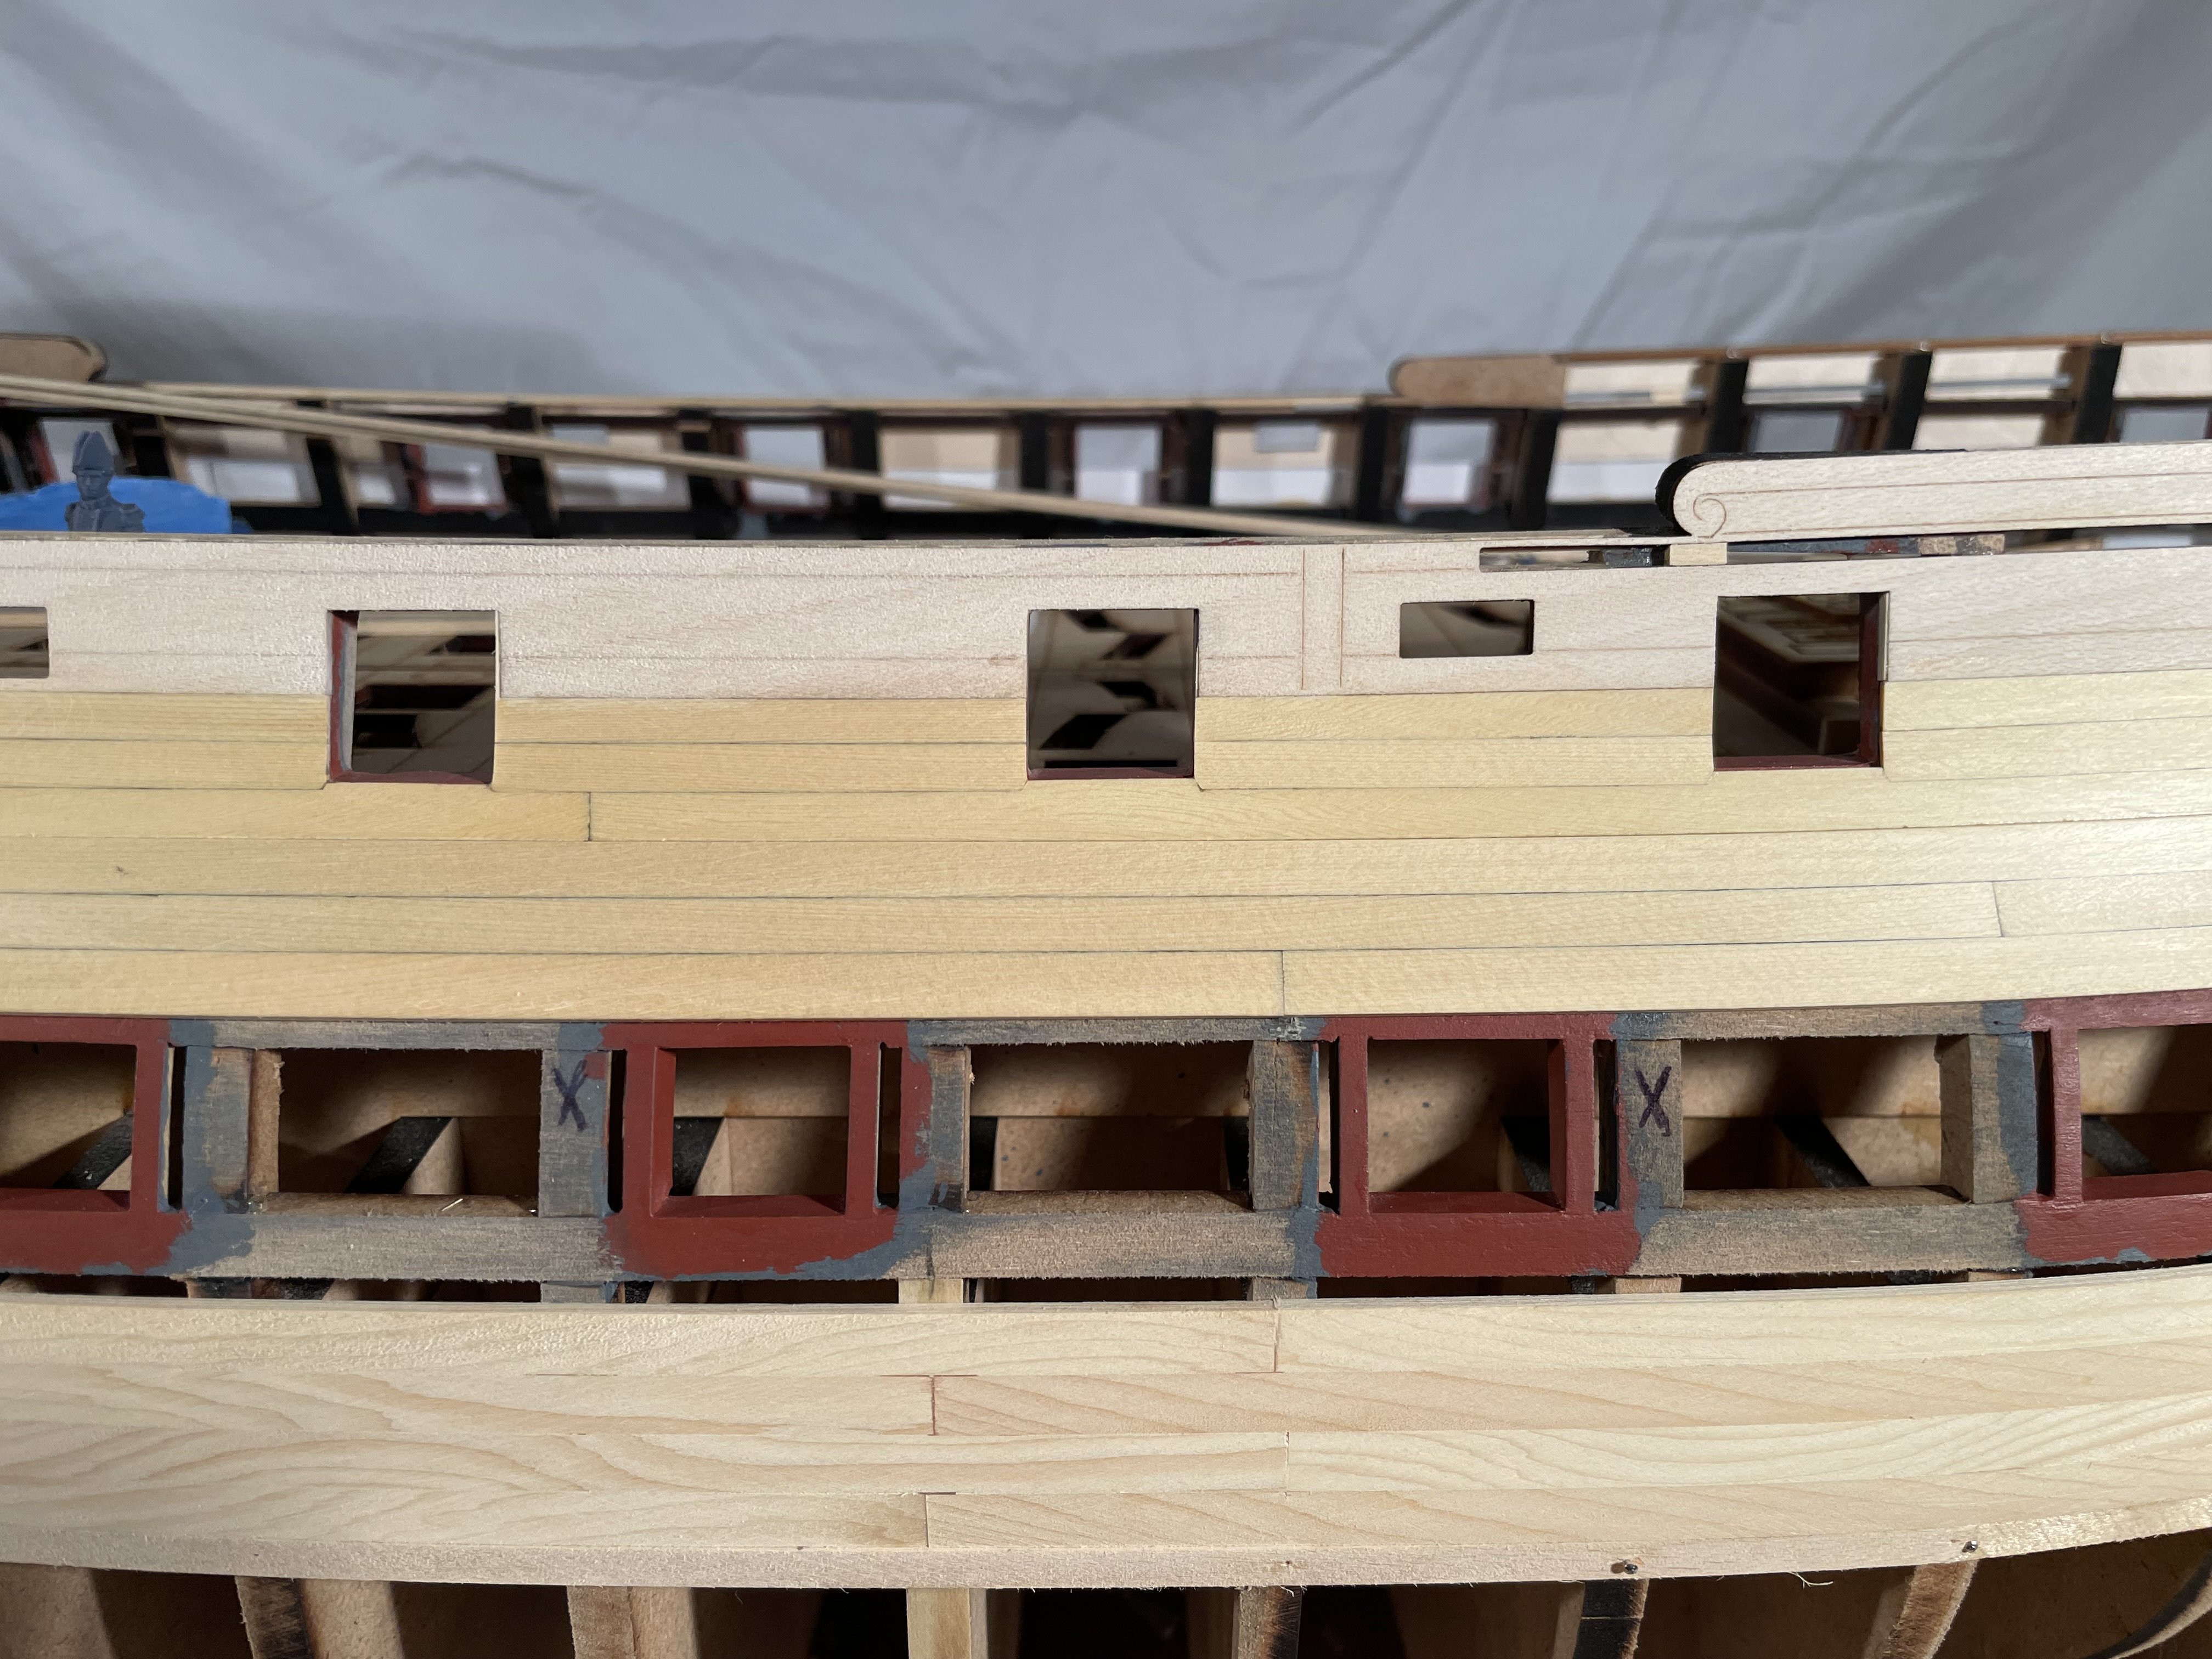
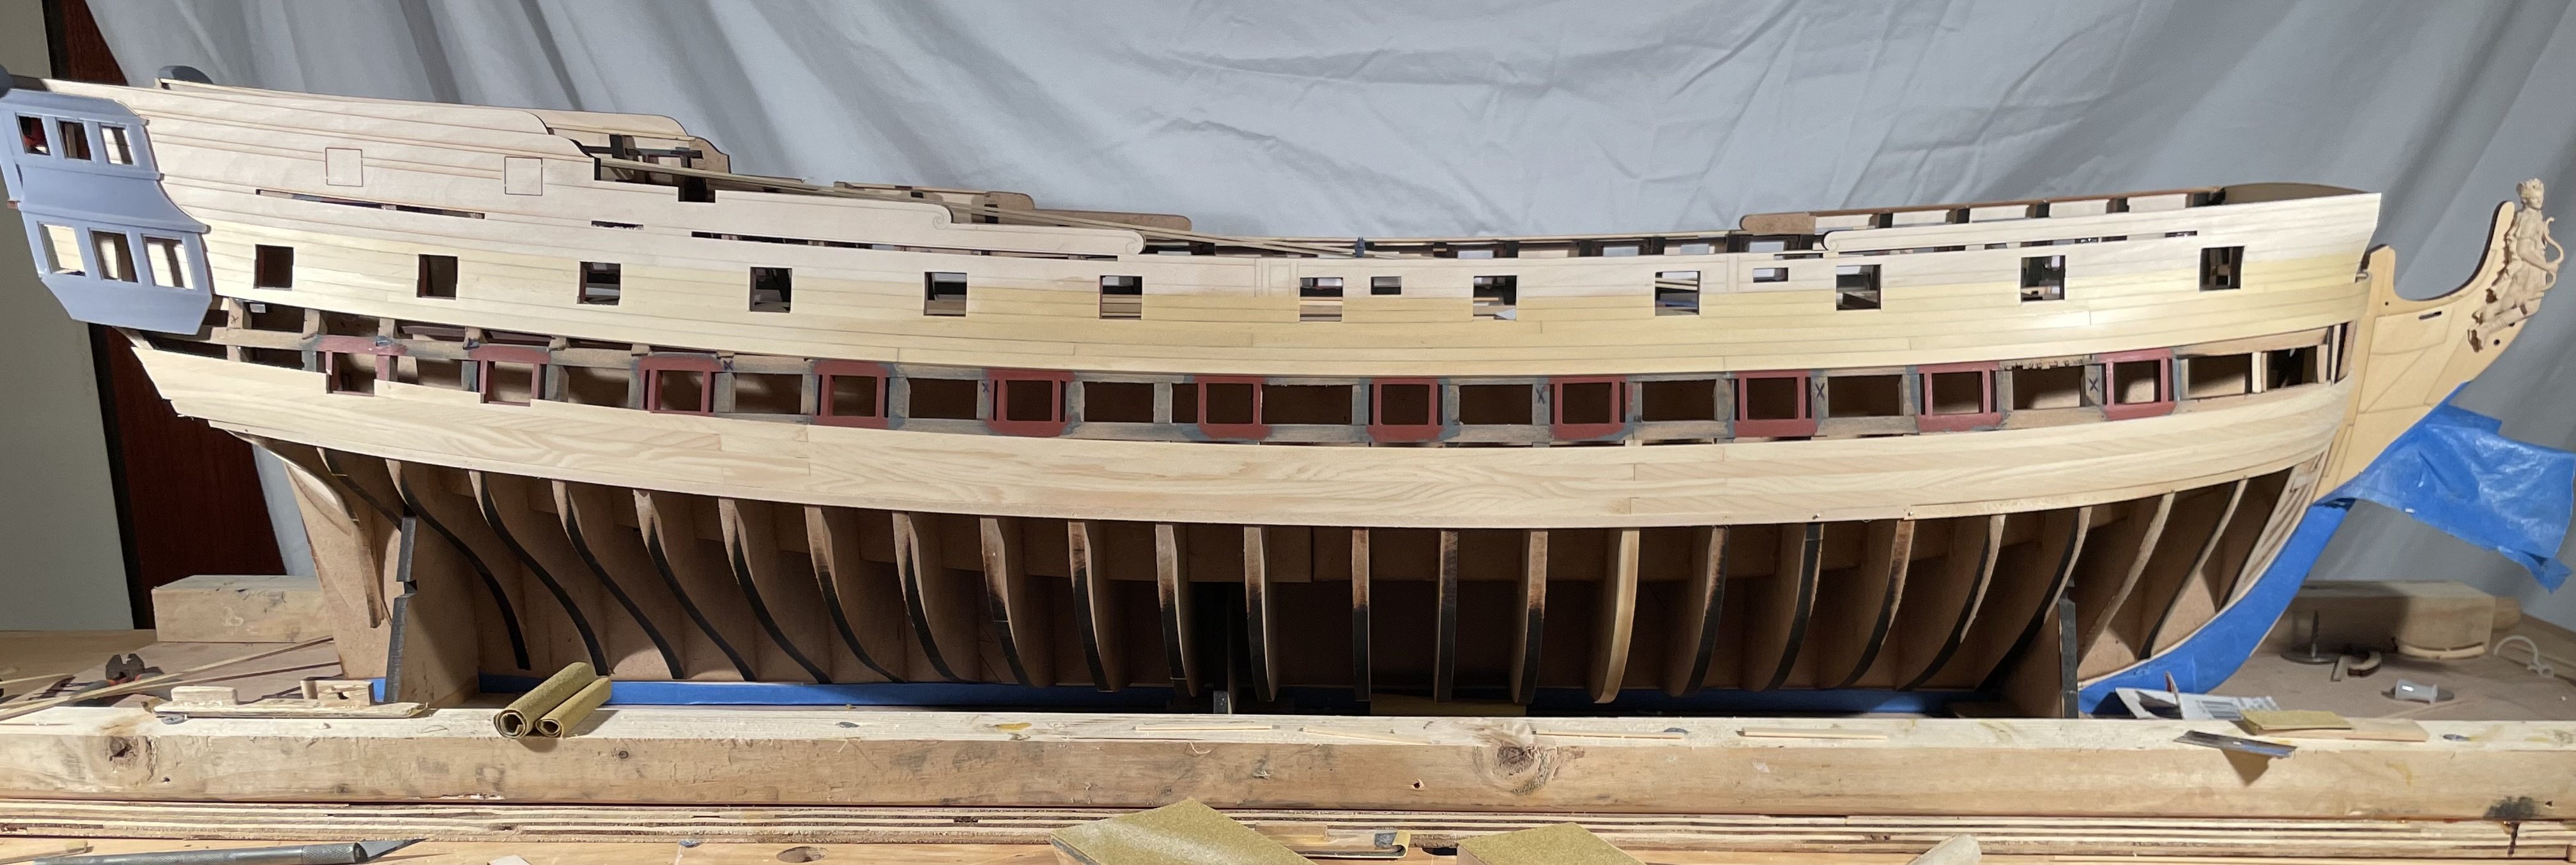
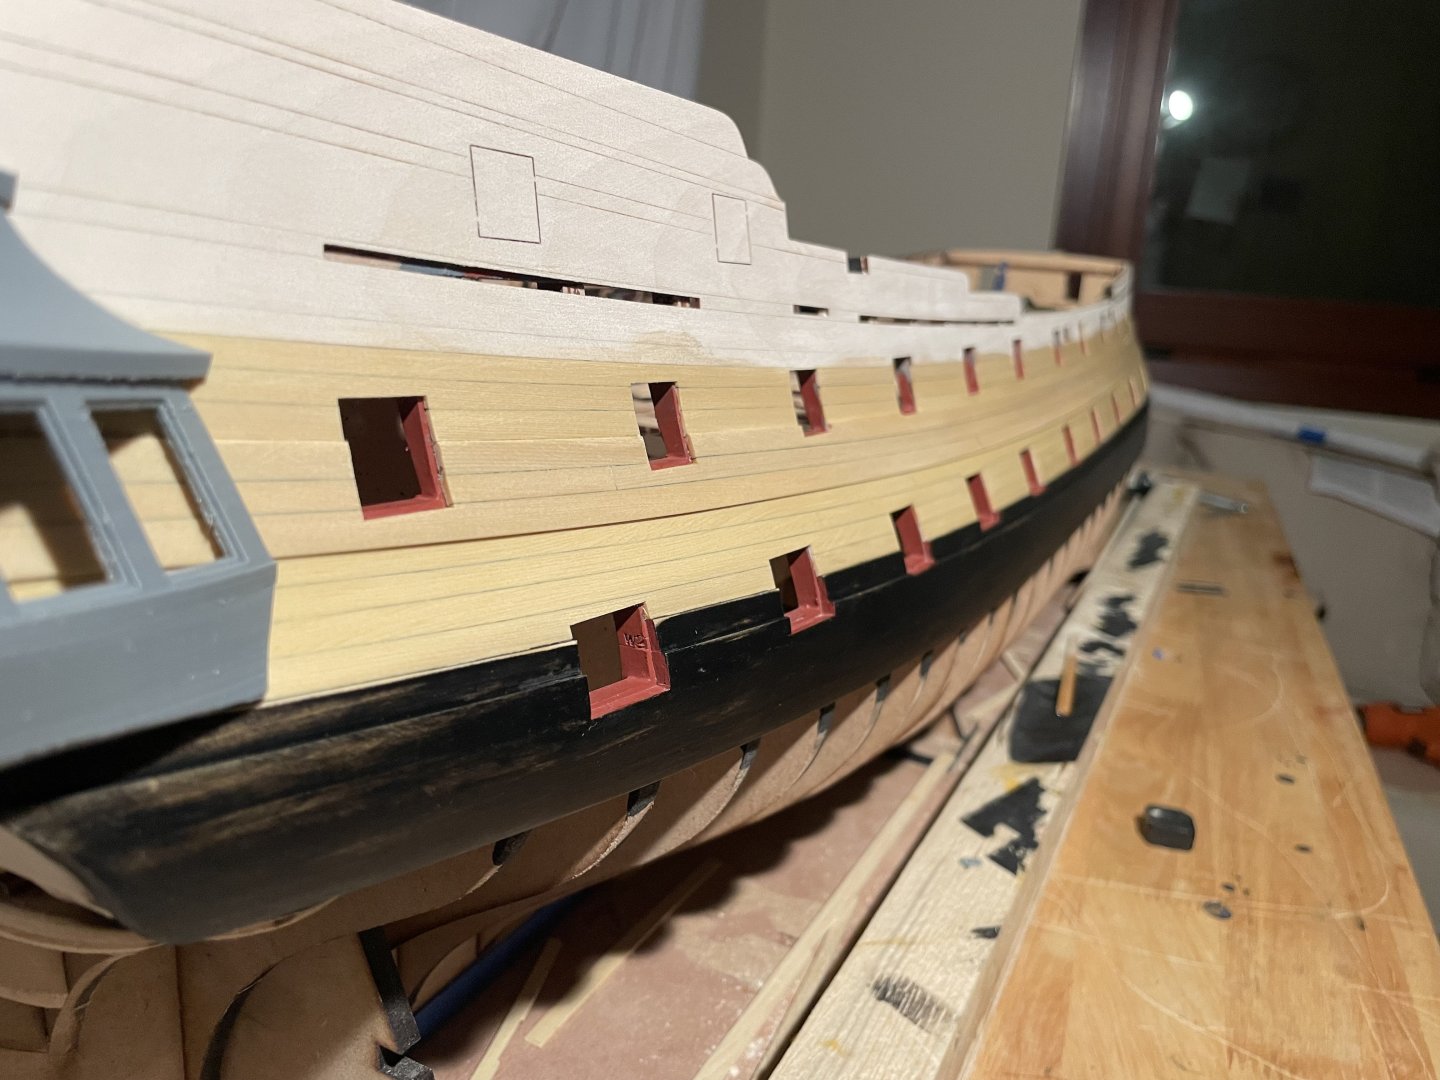
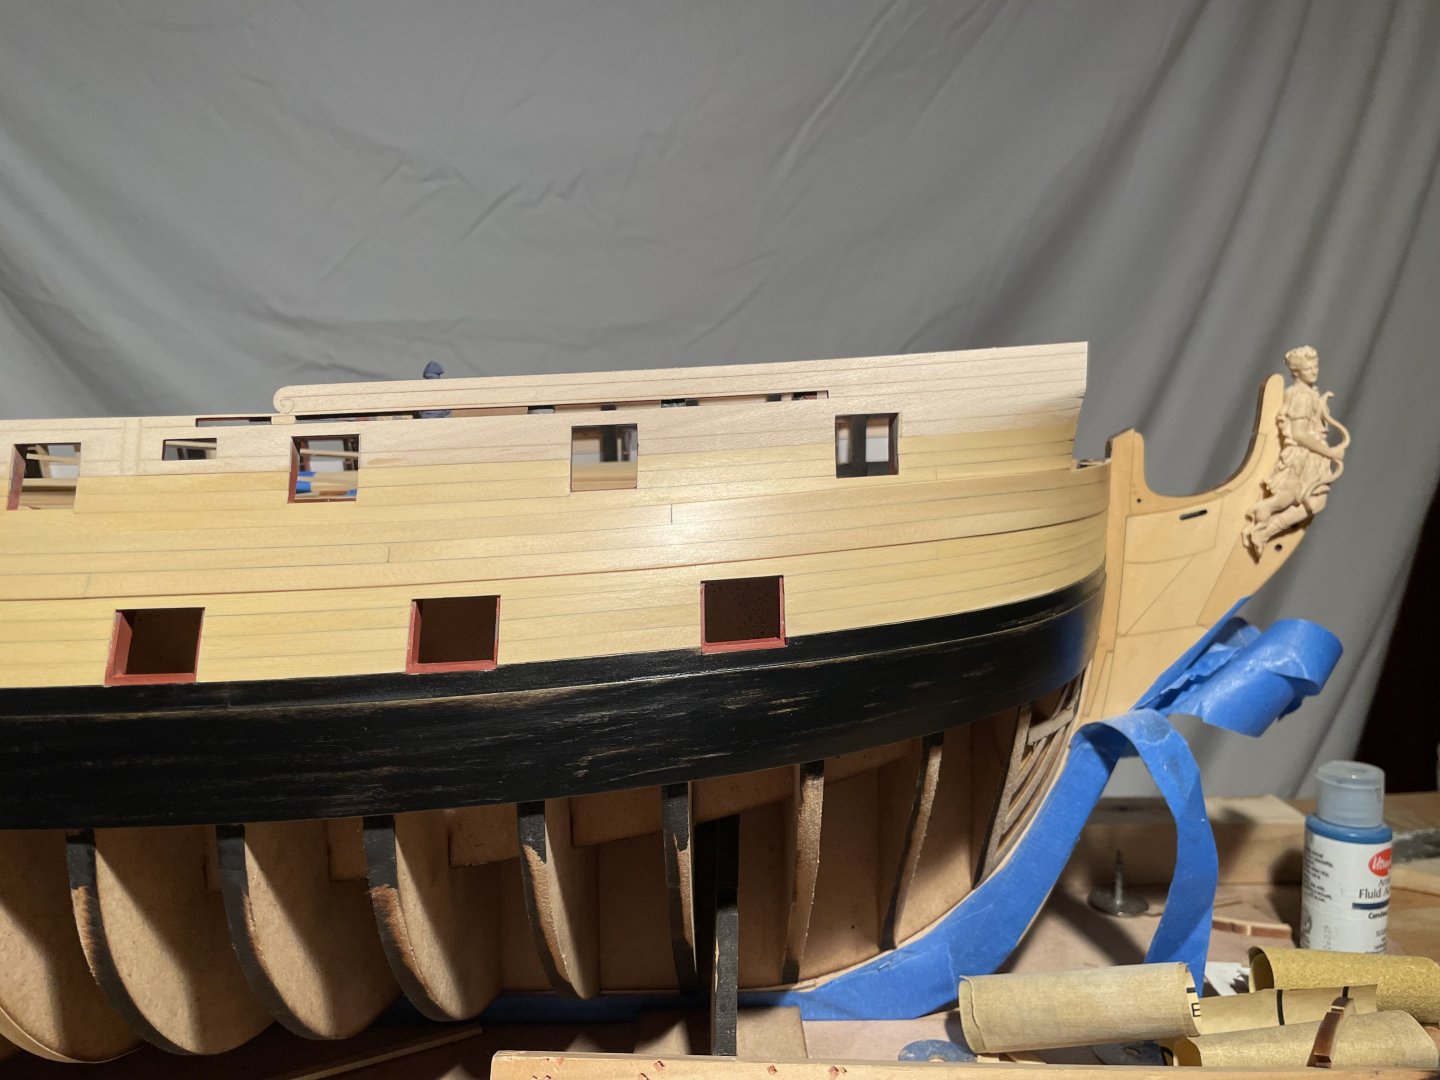
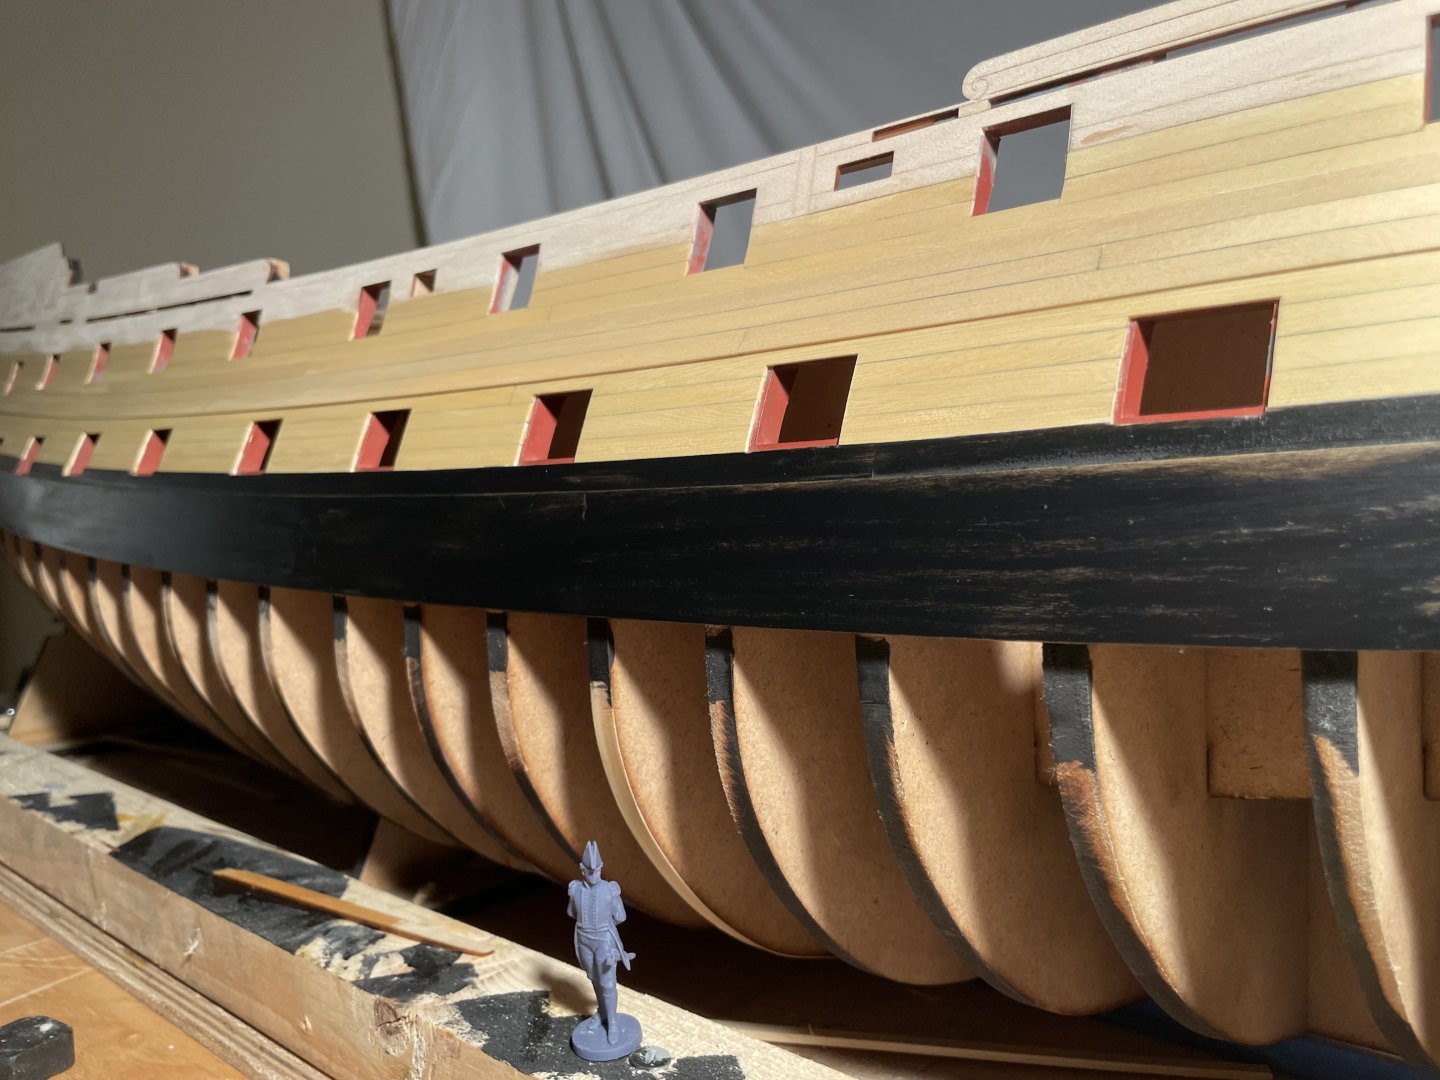
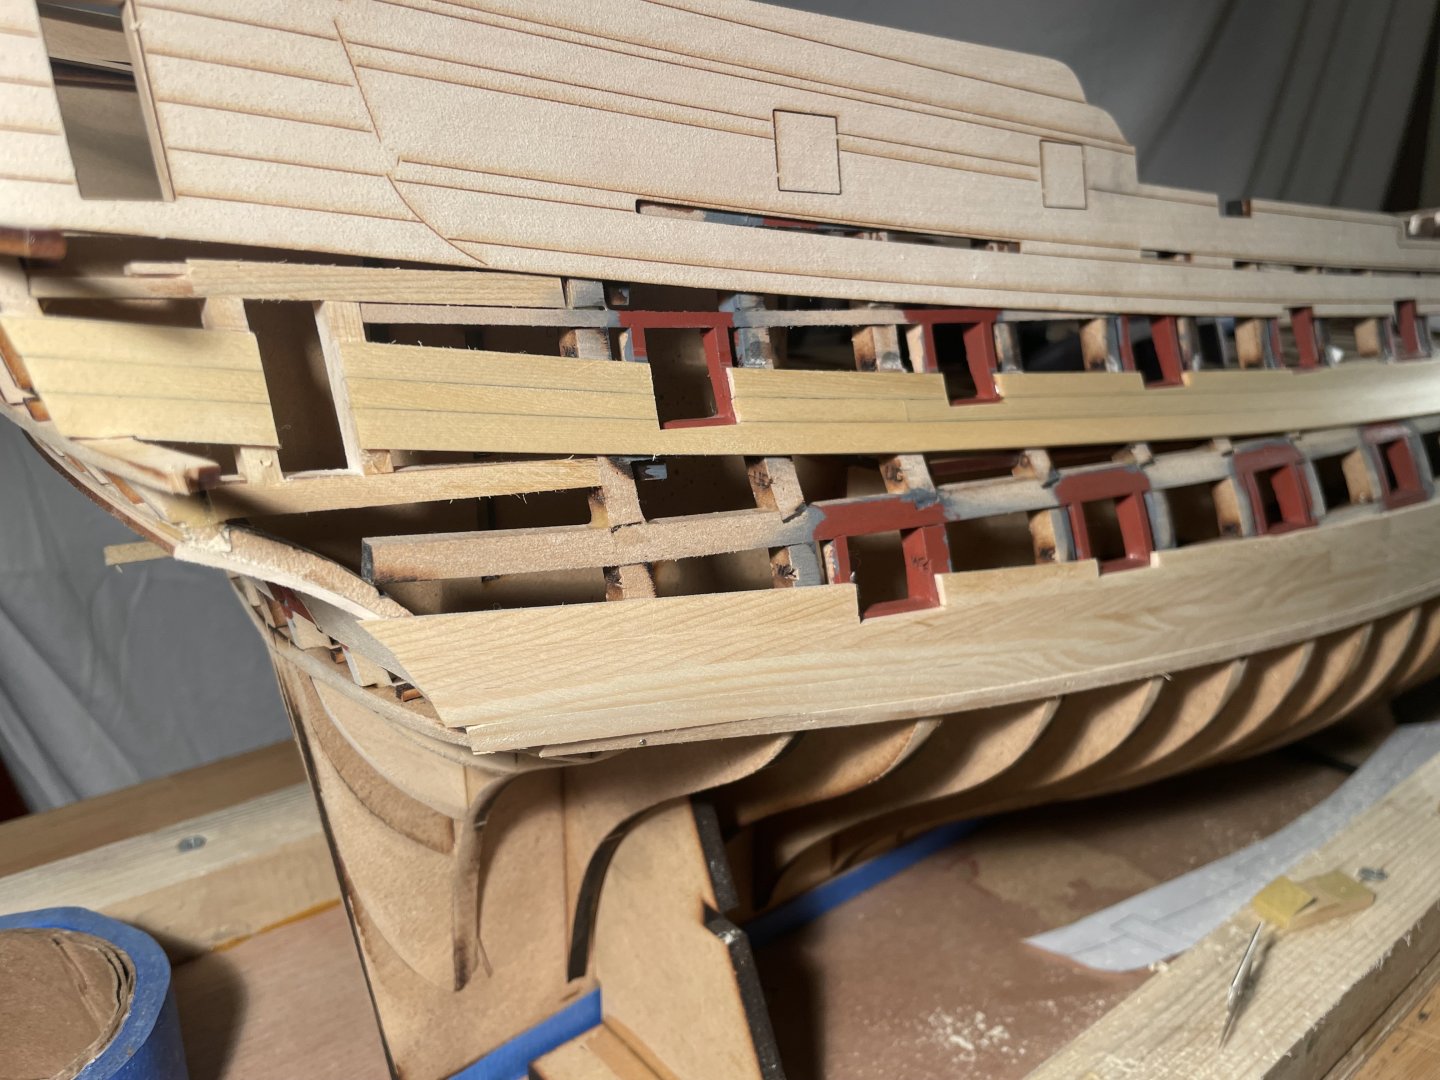
I finished the stbd side planking of the main wale up..finally. I apologize in advance to anyone who takes on this planking behemoth! I attempted to give a more “worn” look to the wales, similar to some of the contemporary models I’ve seen, I need to play with it a little more but I think it adds a little character. I still need to clean up the gunports a little more and then paint the margins of the planks after another coat or WOP, but I’m finally making some noticeable progress. Thanks for looking in. JJ


- 396 replies
-
- 21
-
-
-
Thank you Fred, I’m making a career change that’s going to allow me to dive into Portland almost full time, but I have to wait until January, but I do have some updates on Portland coming shortly. In the meantime, in about a month, ill be able to direct some major efforts towards completion of my Winnie.
-
If you’re interested in laser cutting, I’d be happy to discuss.
-
I had to immediately tie all mine together on Portland, some were over 5” long. The longitudinal gunport structure is a good way to do this and kill two birds with one stone. I also utilized the strip along the top, but mine is integrated into the design and permanent and like Chuck, I’ve used it for a fairing guide on the inside and out.
-
Stunning work Fred! I’m now extremely motivated to resume work on my Winnie, next month. Keep the updates coming! JJ
-
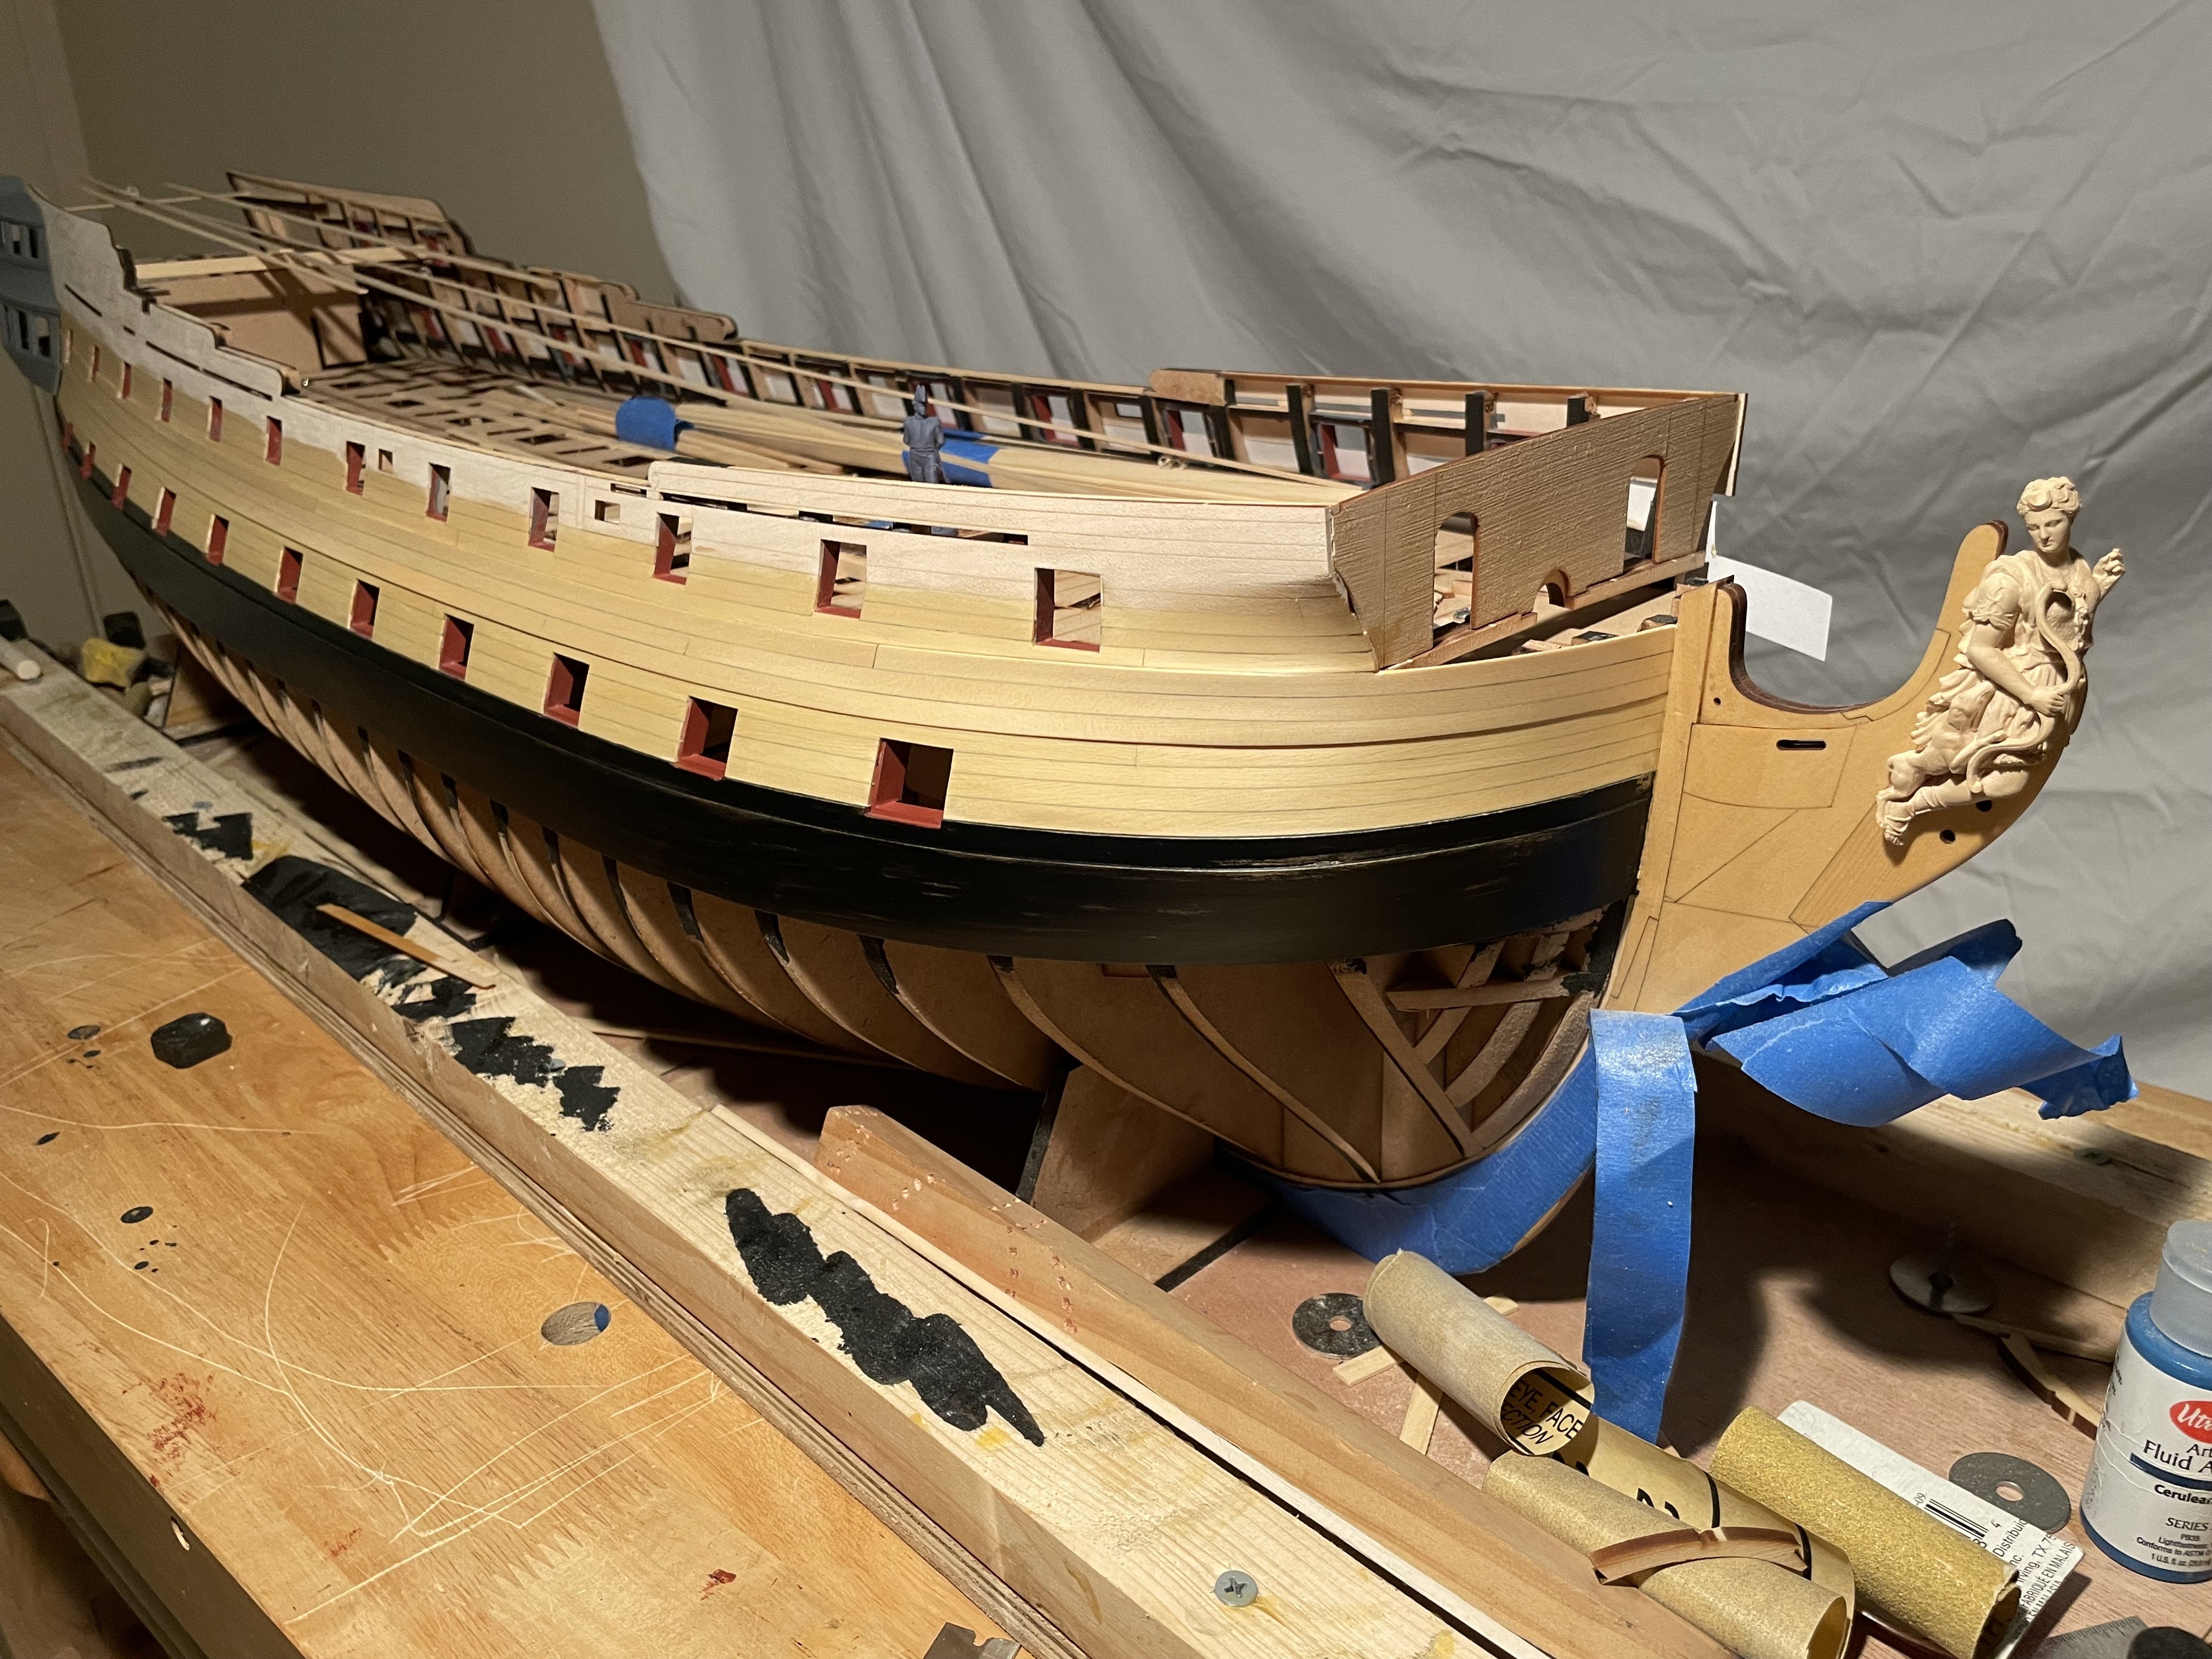
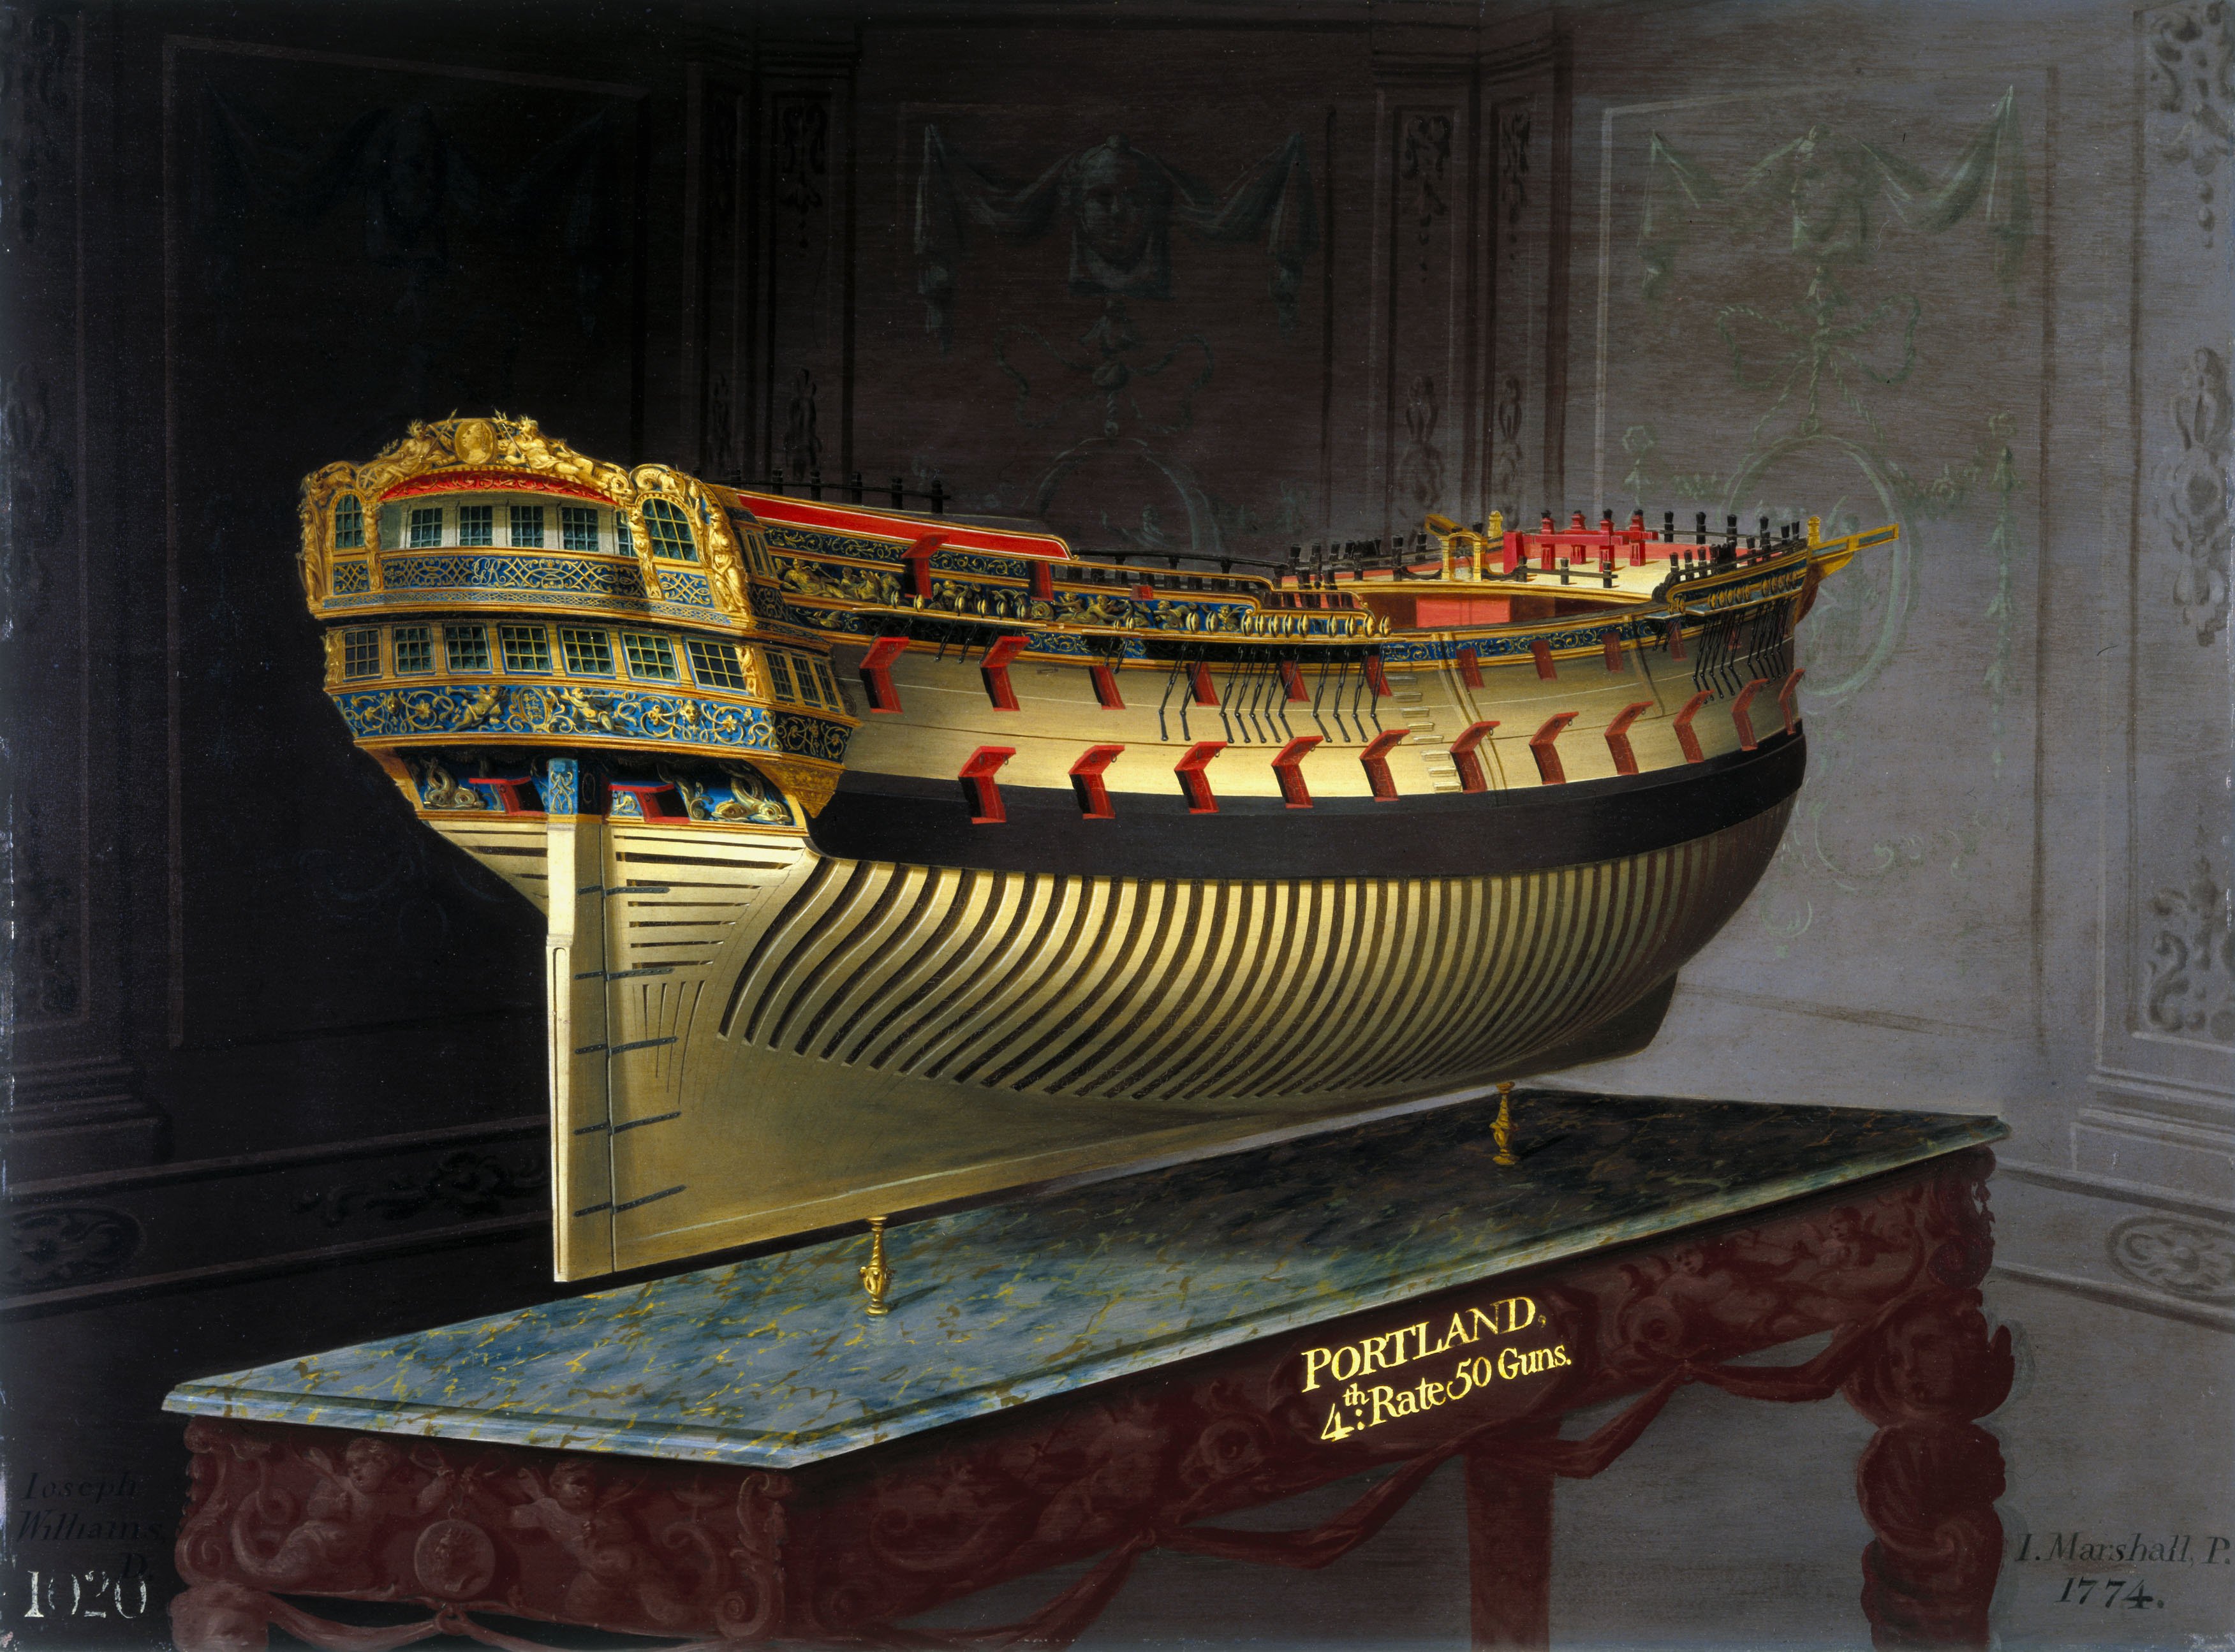
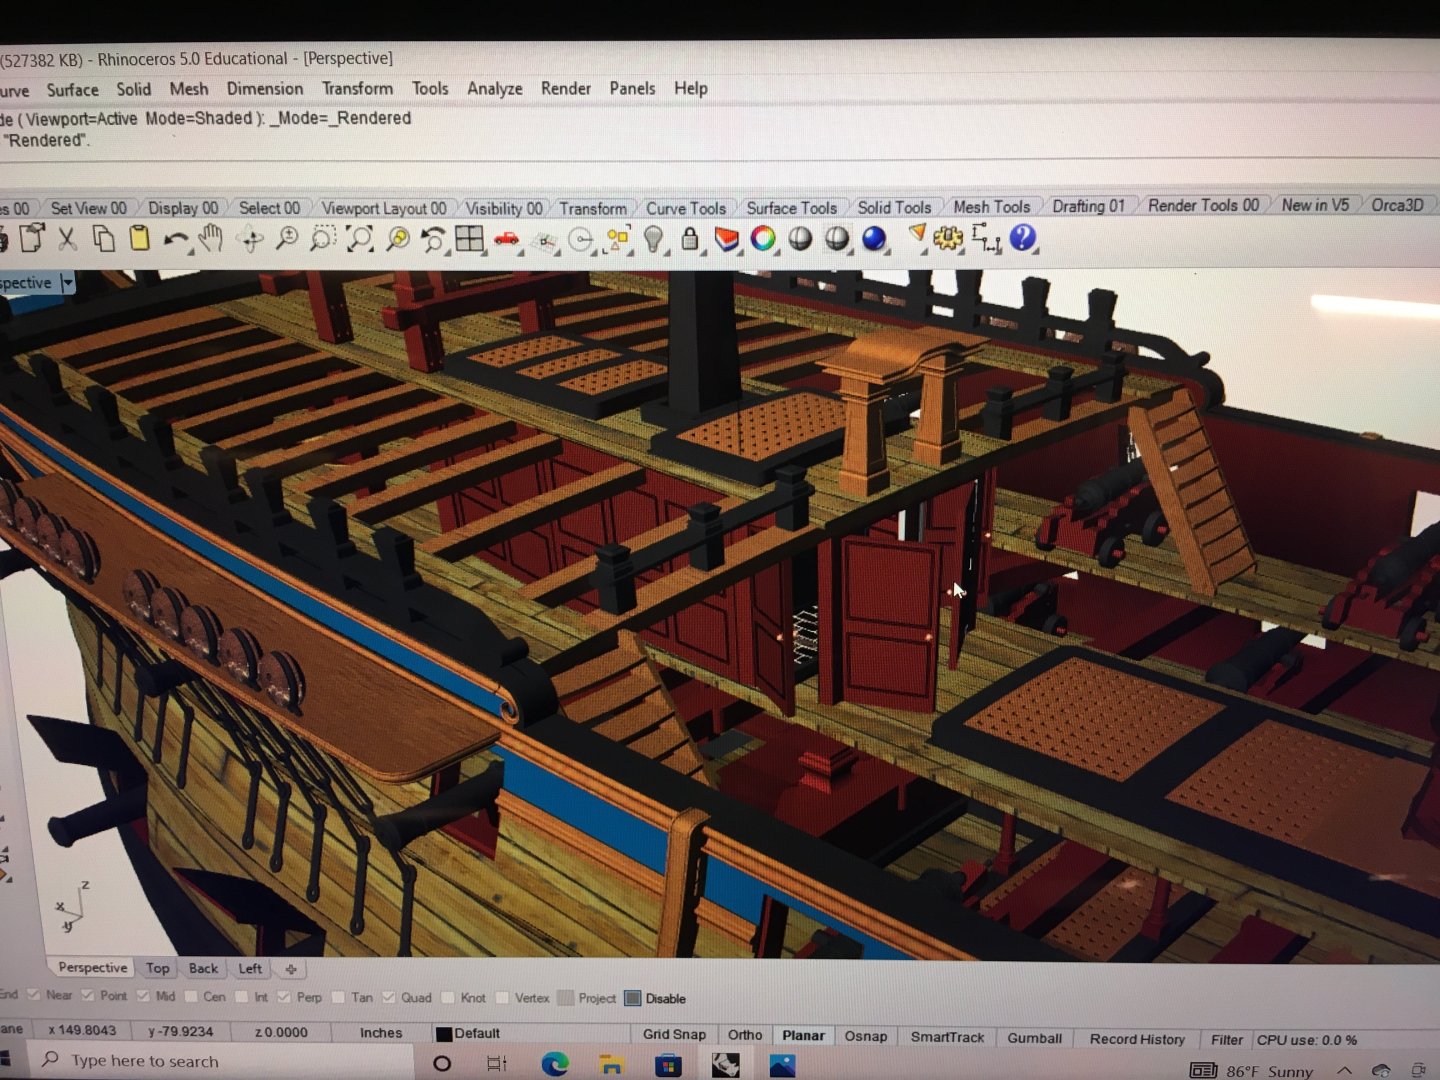
Hi Fred, Thank you! The lower gunports will have all their doors but I will be showing them Open, as shown on the painting. The gun deck will be fully fitted with 24pdrs and visible through the main deck.

- 396 replies
-
- 10
-
-
Your margin planks look great, those were definitely fun to make. She’s looking great!
- 399 replies
-
- 2
-
-
- winchelsea
- Syren Ship Model Company
- (and 1 more)
-
Wow! That is just beautiful! Excellent work!
-
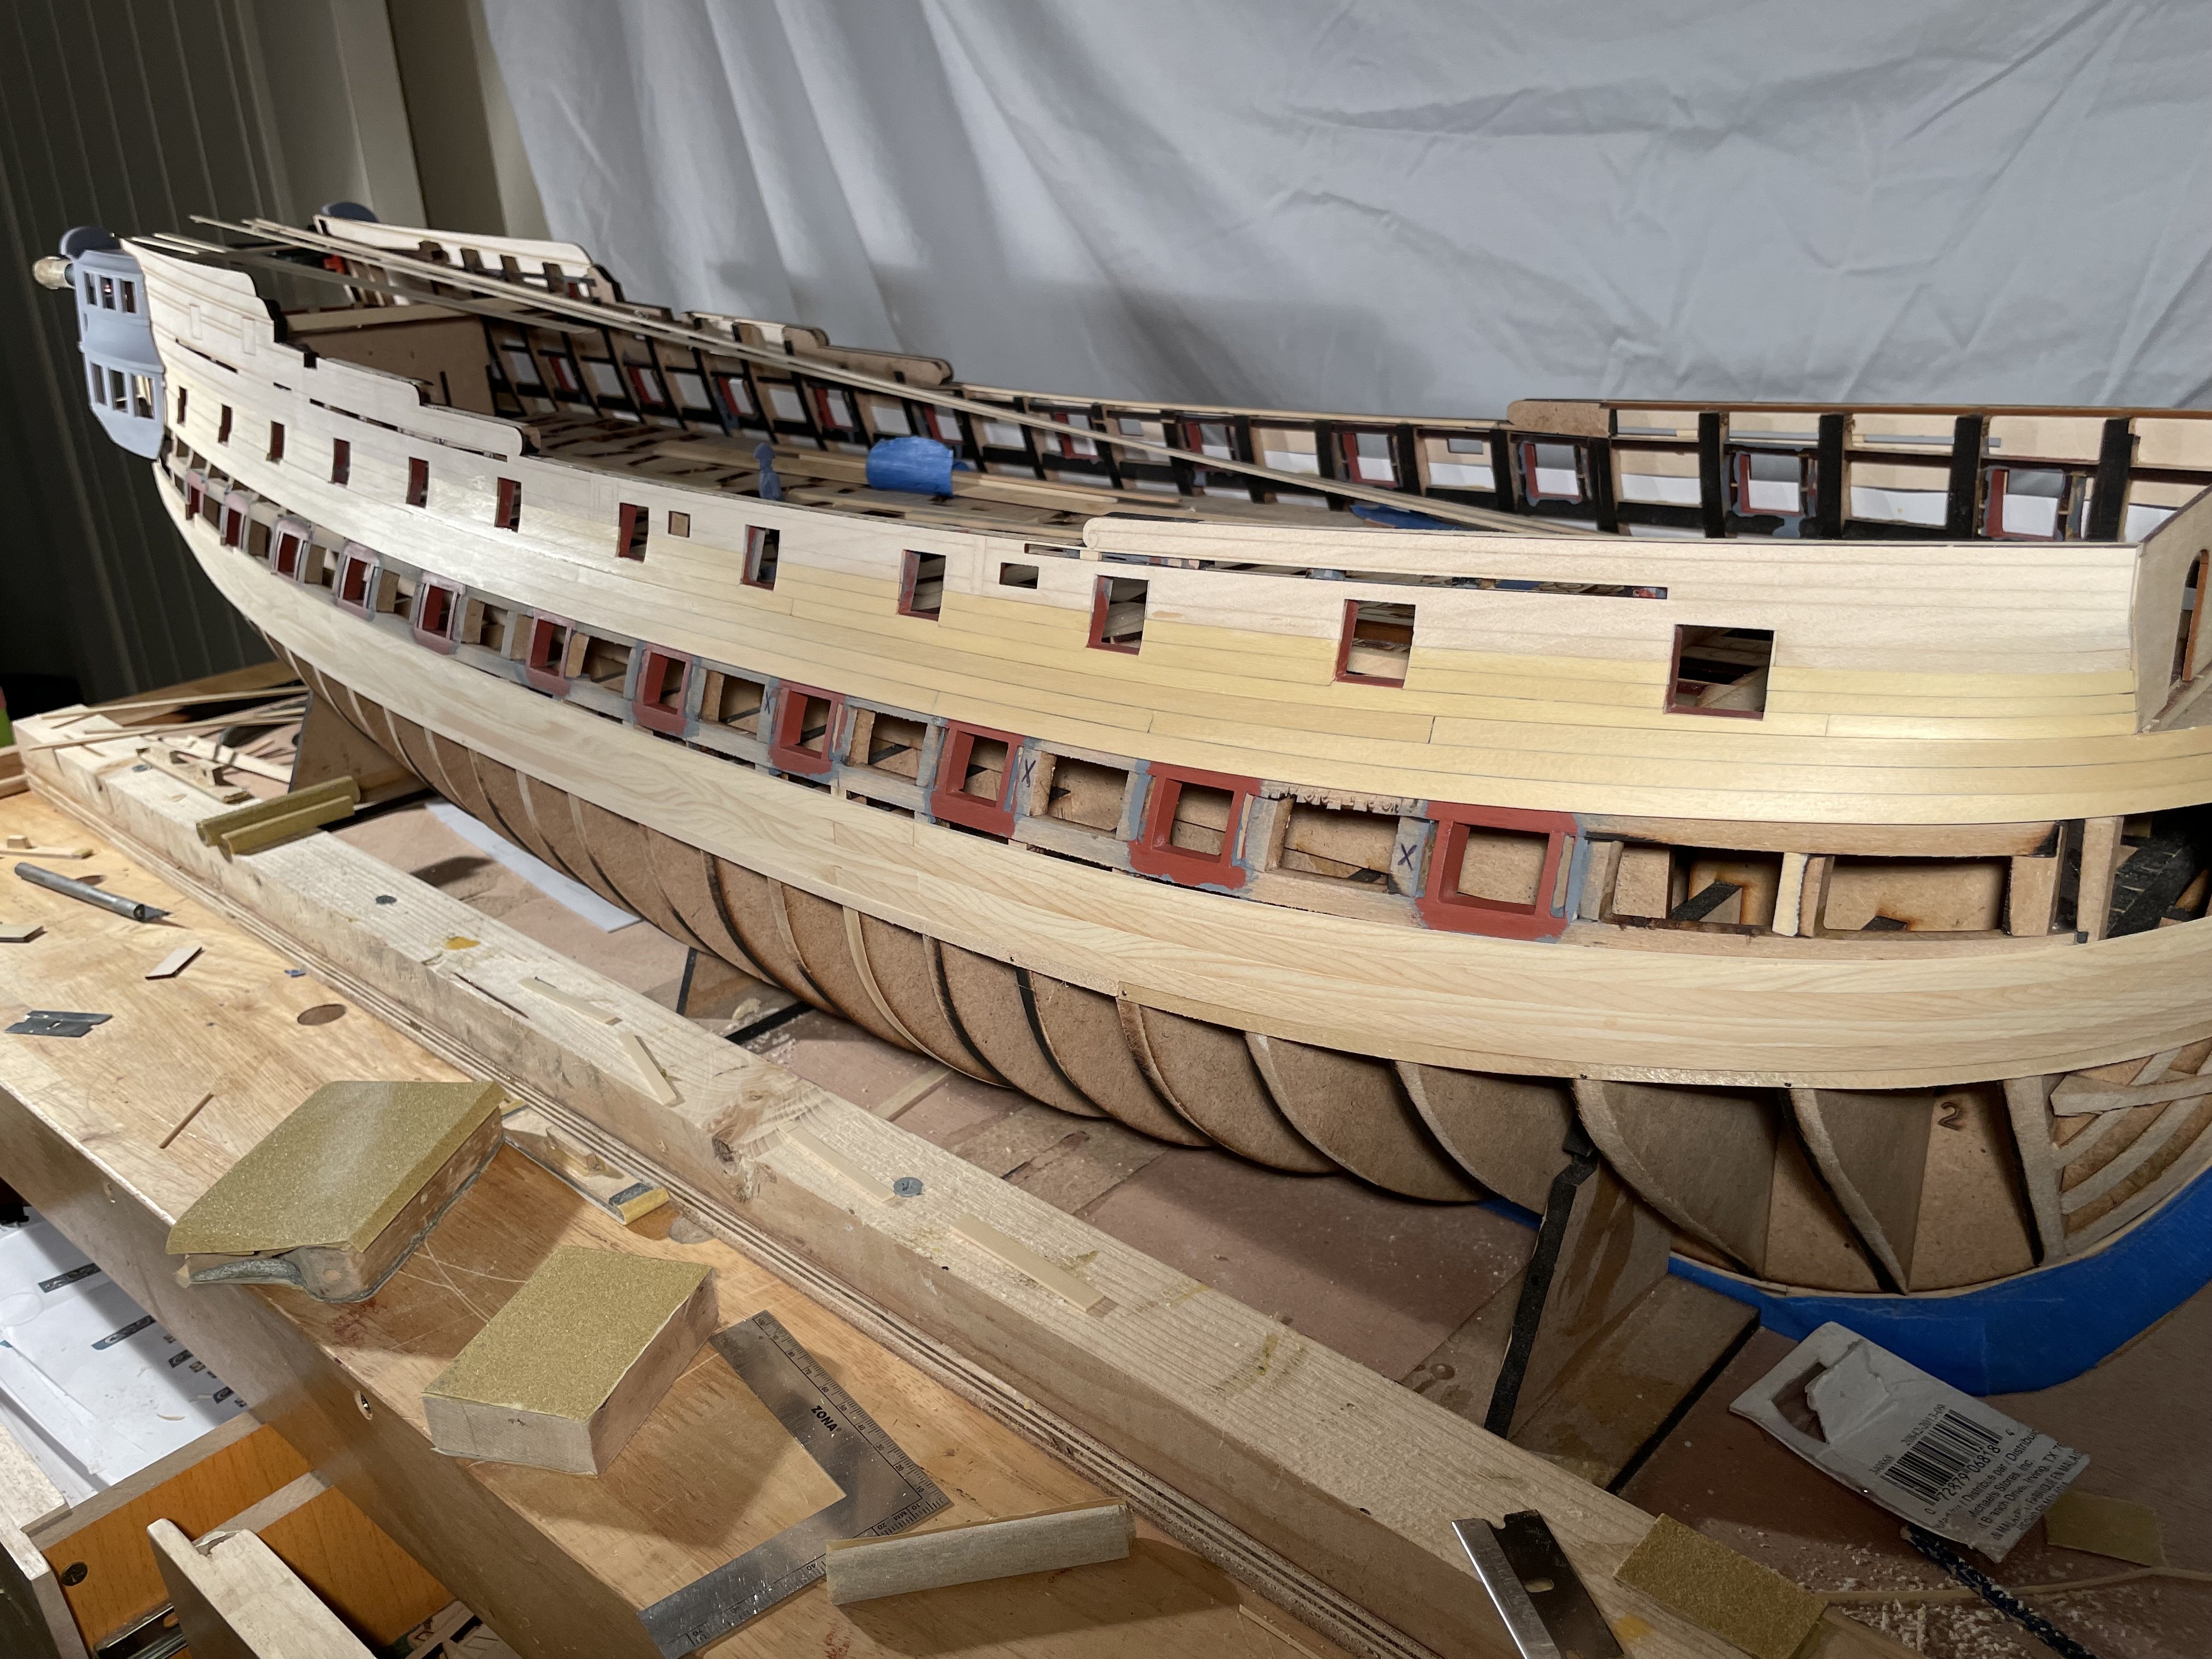
Small update: Making some progress with the planking, going to finish the main wales this weekend and start closing in the gun deck. JJ


- 396 replies
-
- 24
-
-
-
Beautiful work Mike! She’s coming along nicely! JJ
-
Very impressive. Looks like my decision in which 3D printer to purchase is being made easy.
-
It seems you and I are in an competition now to see who can put off working on their Winnie the longest😂 Great photos of the NMM, post more when you can, I’m curious about some of those two deckers. Enjoy your trip.
-
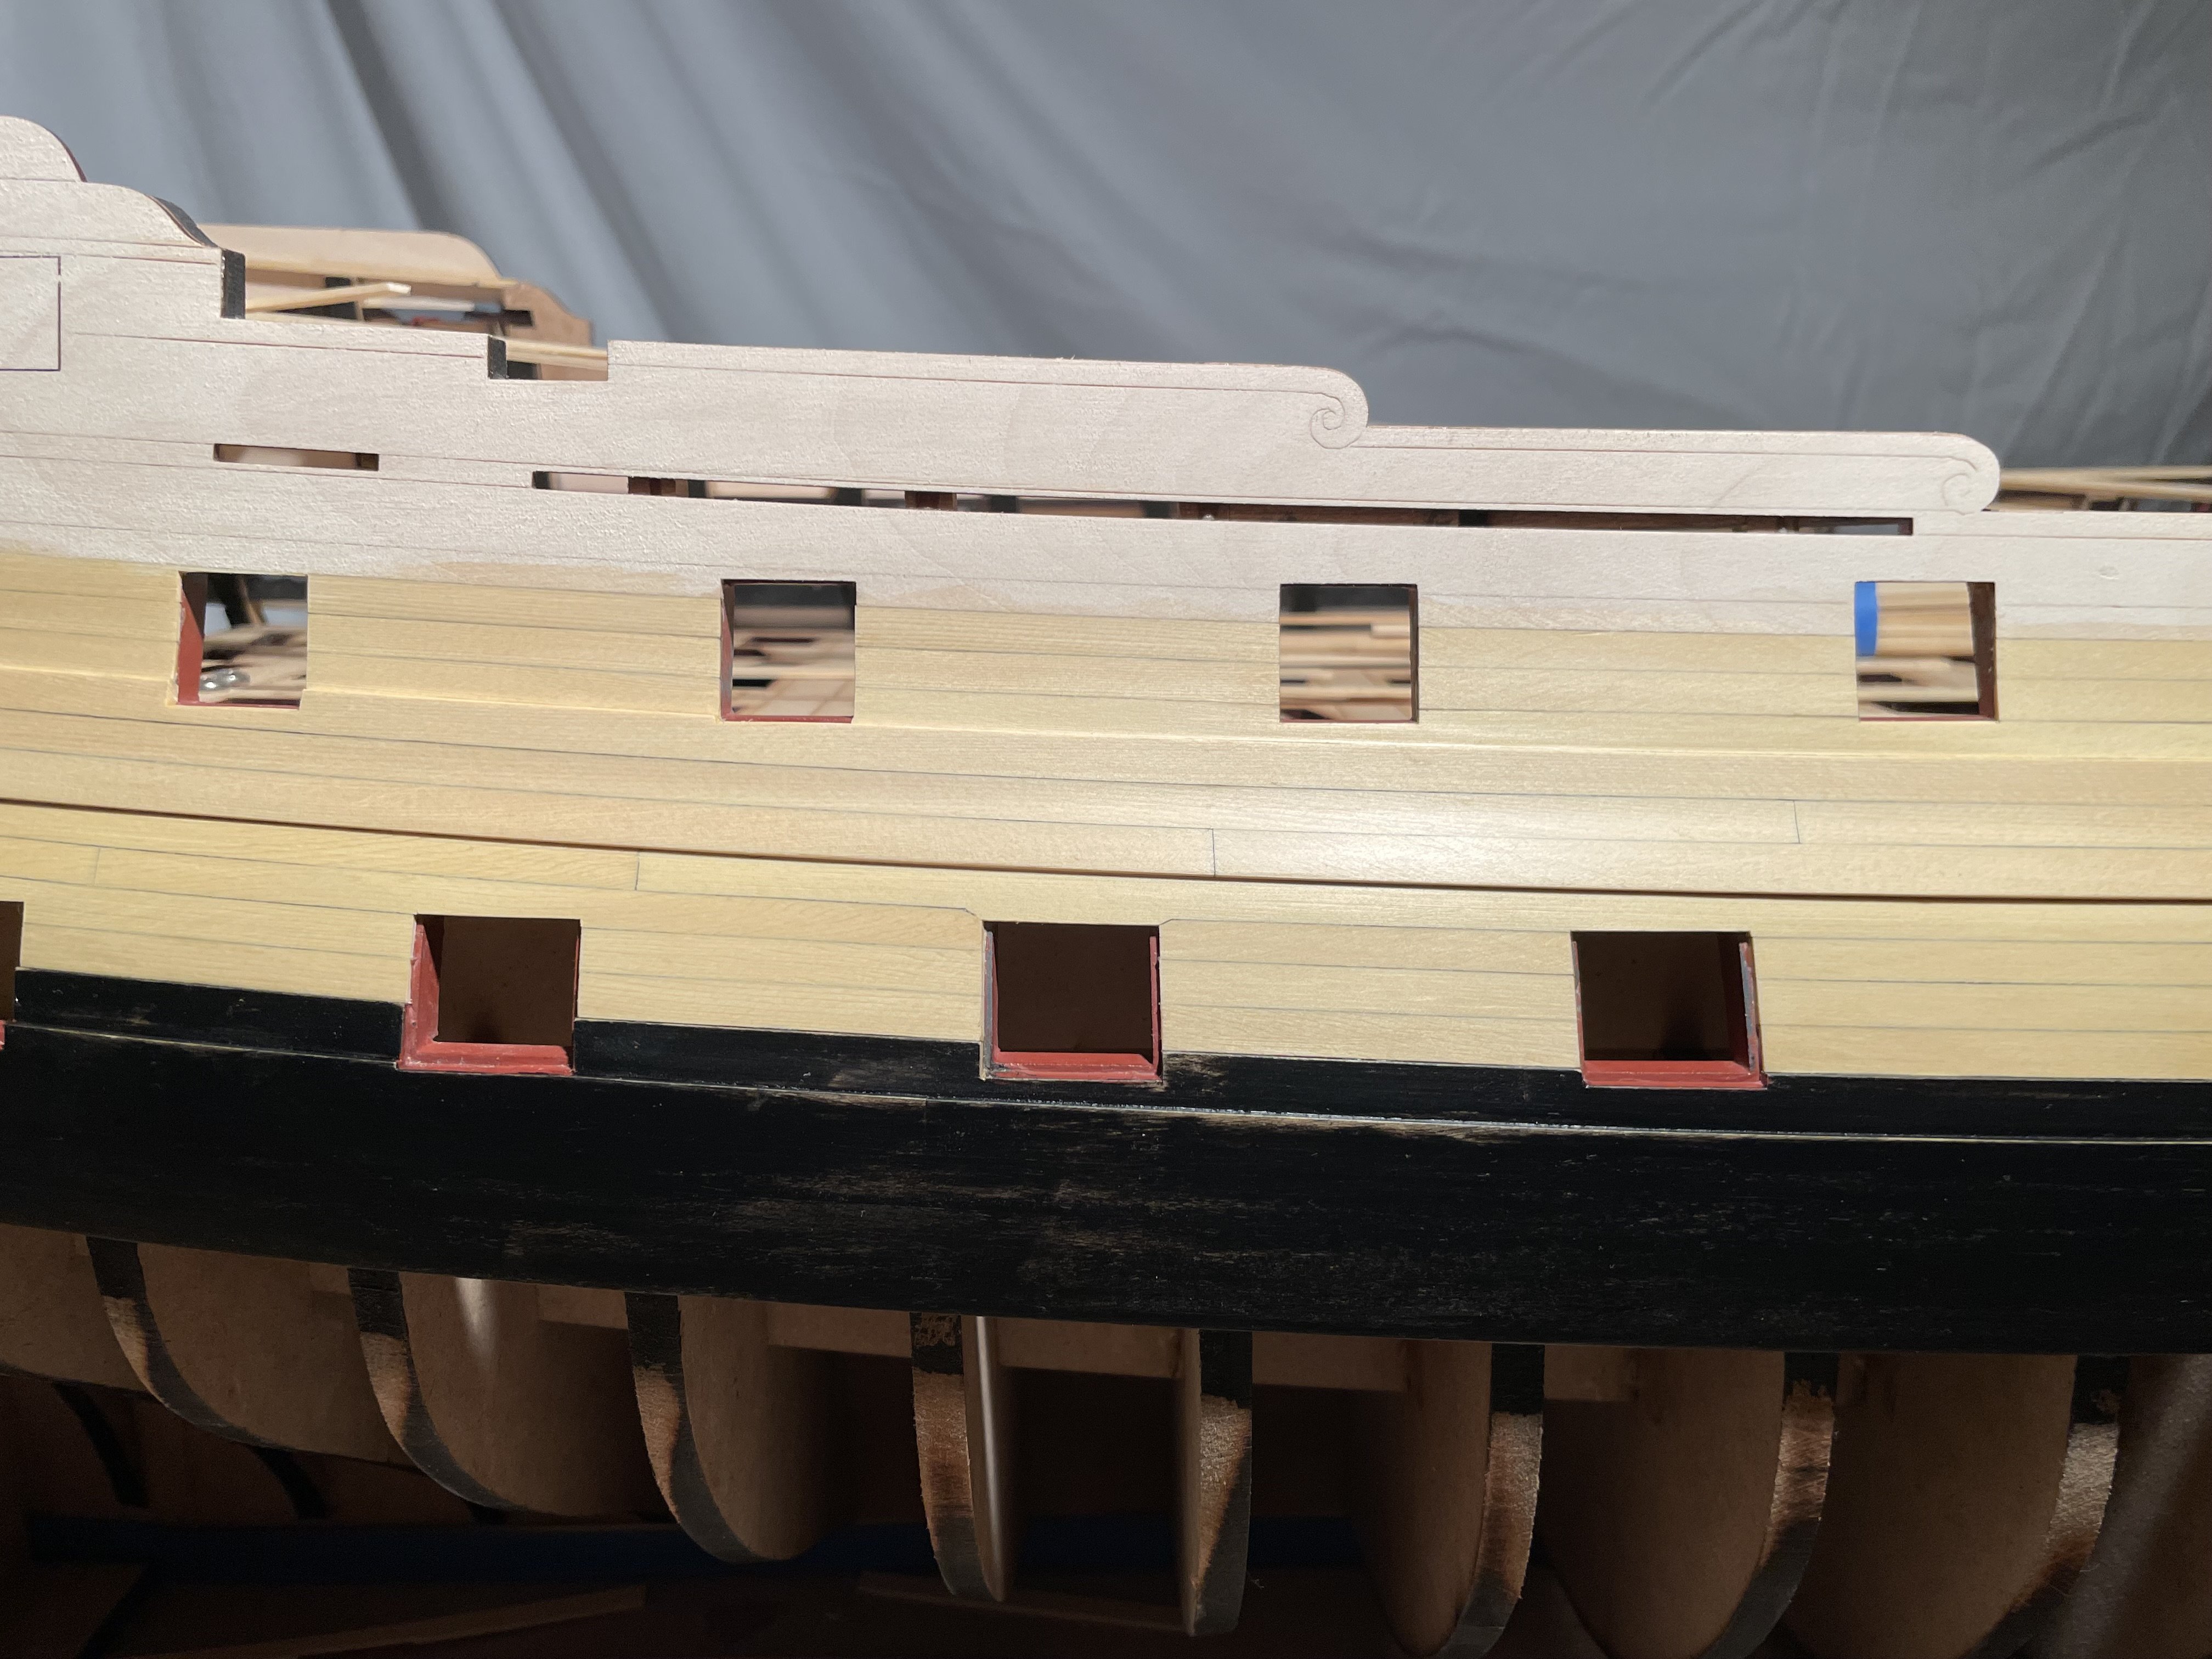
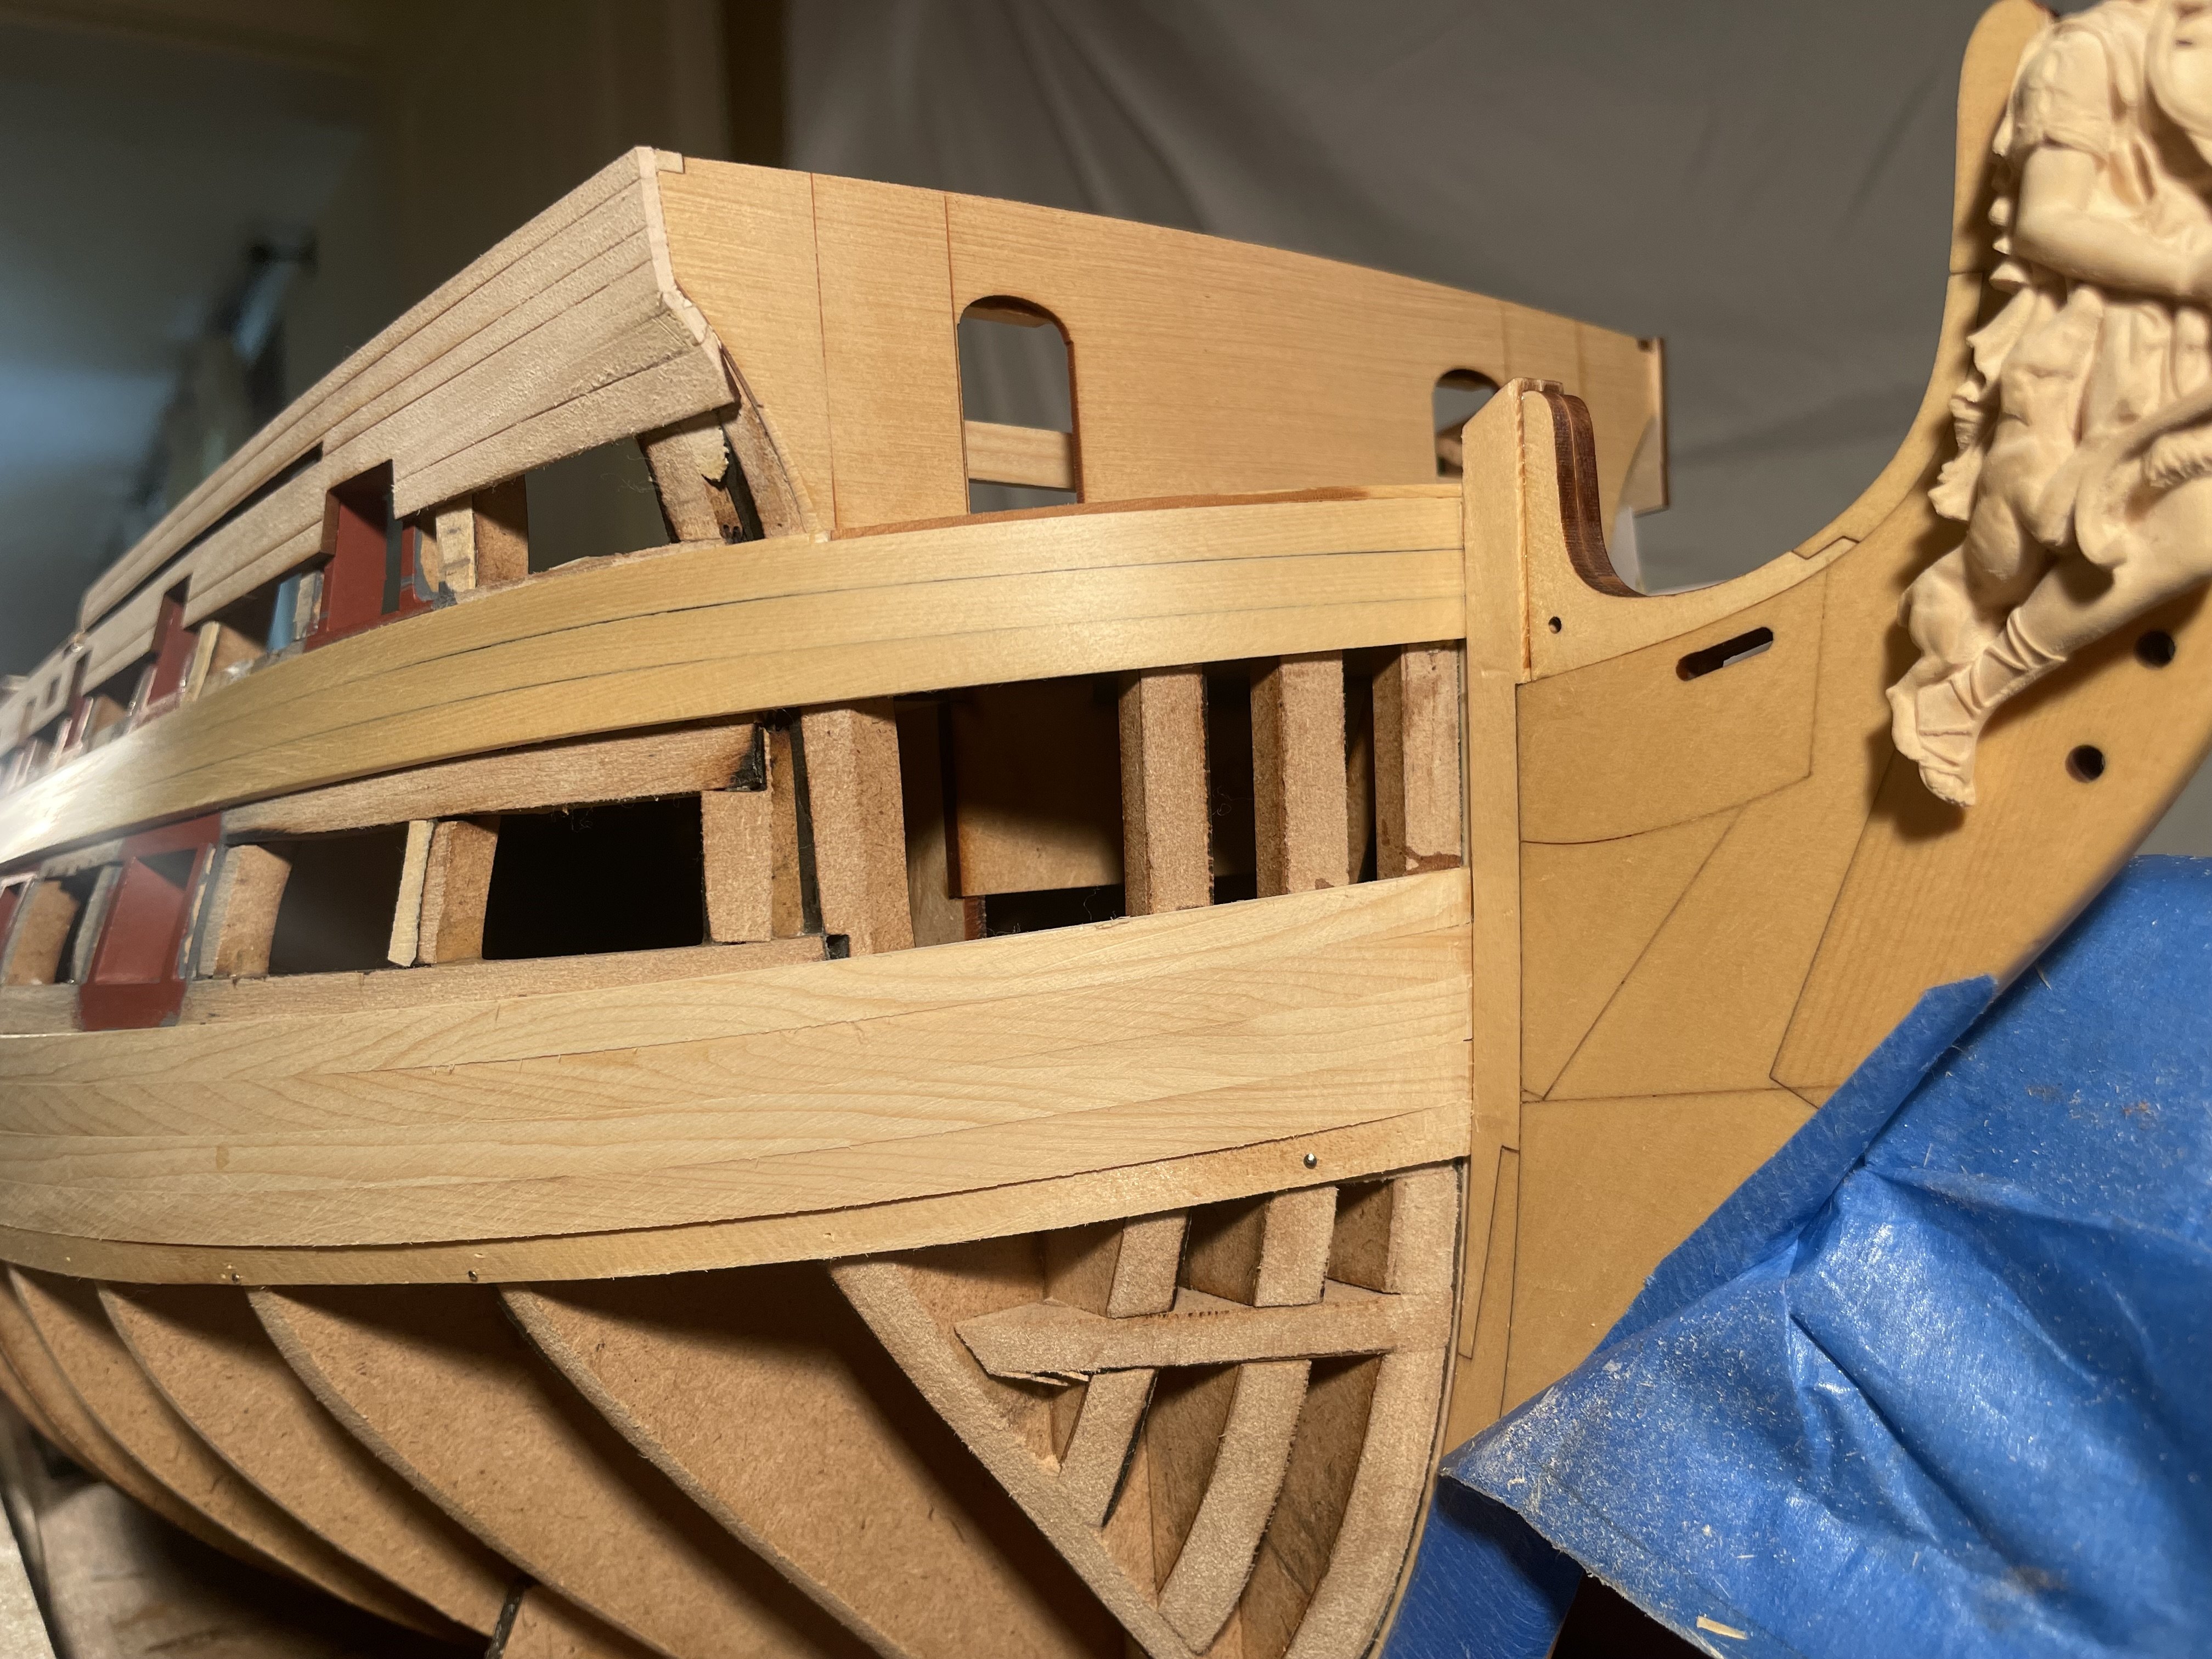
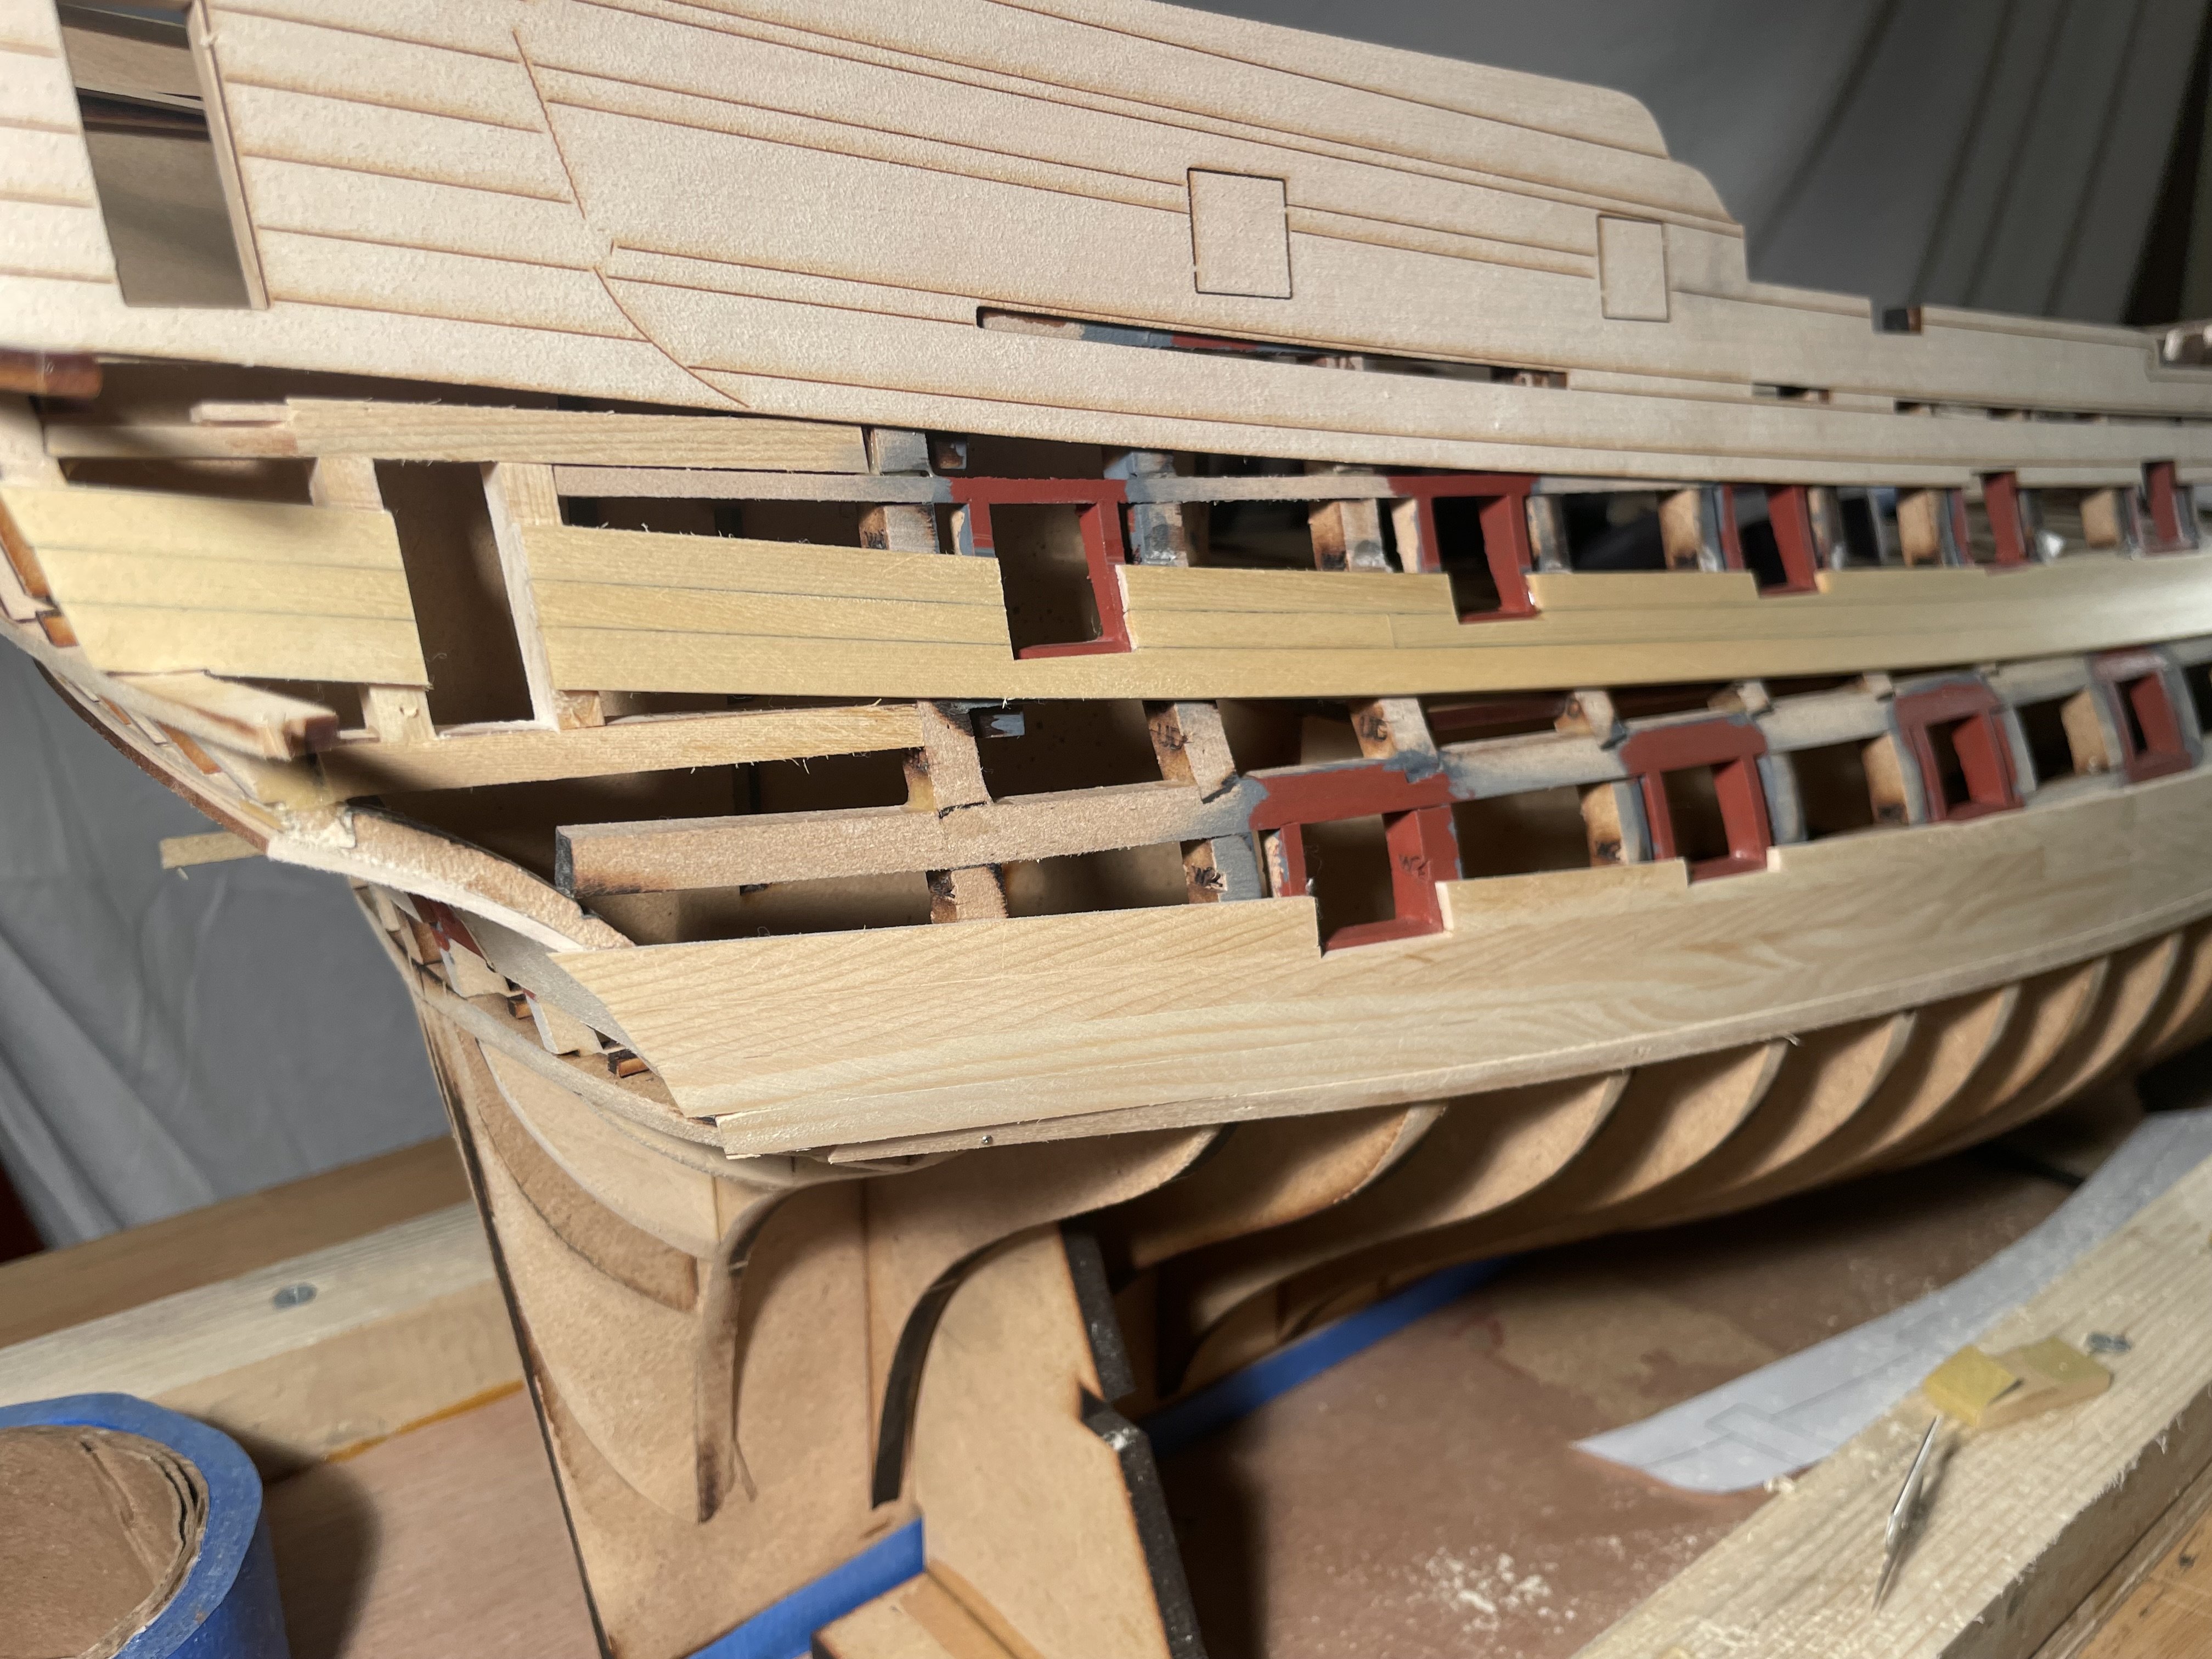
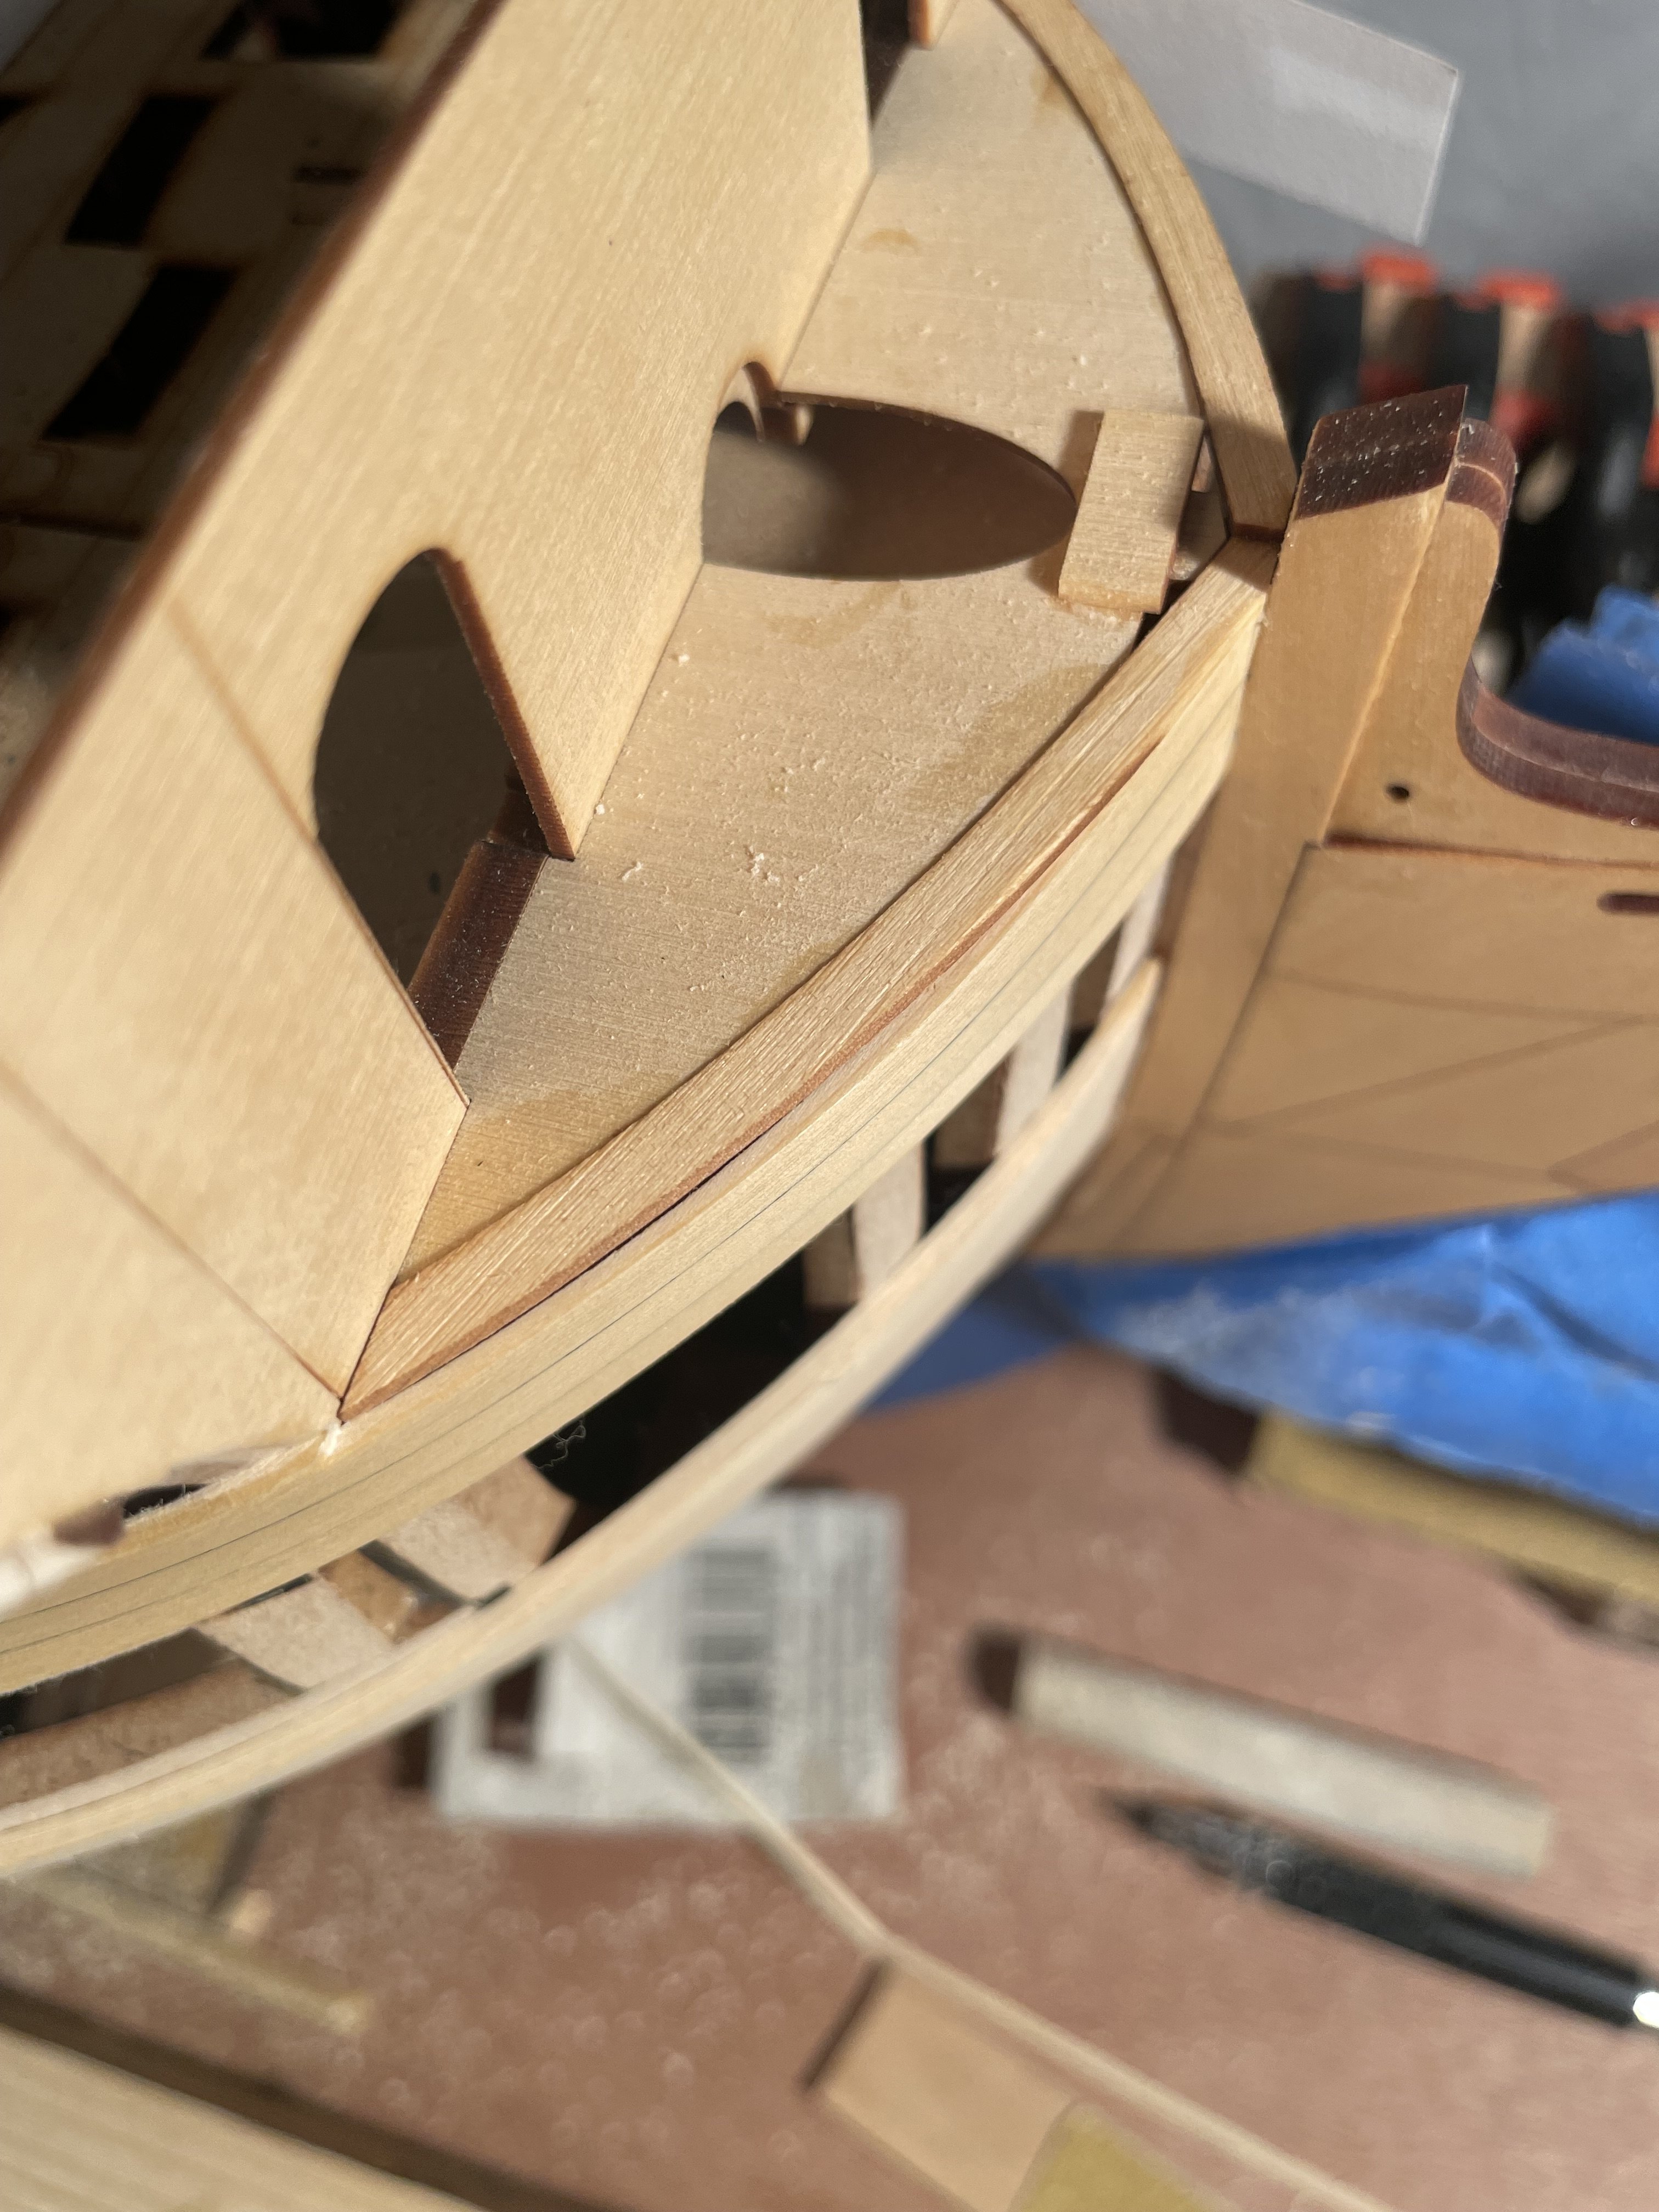
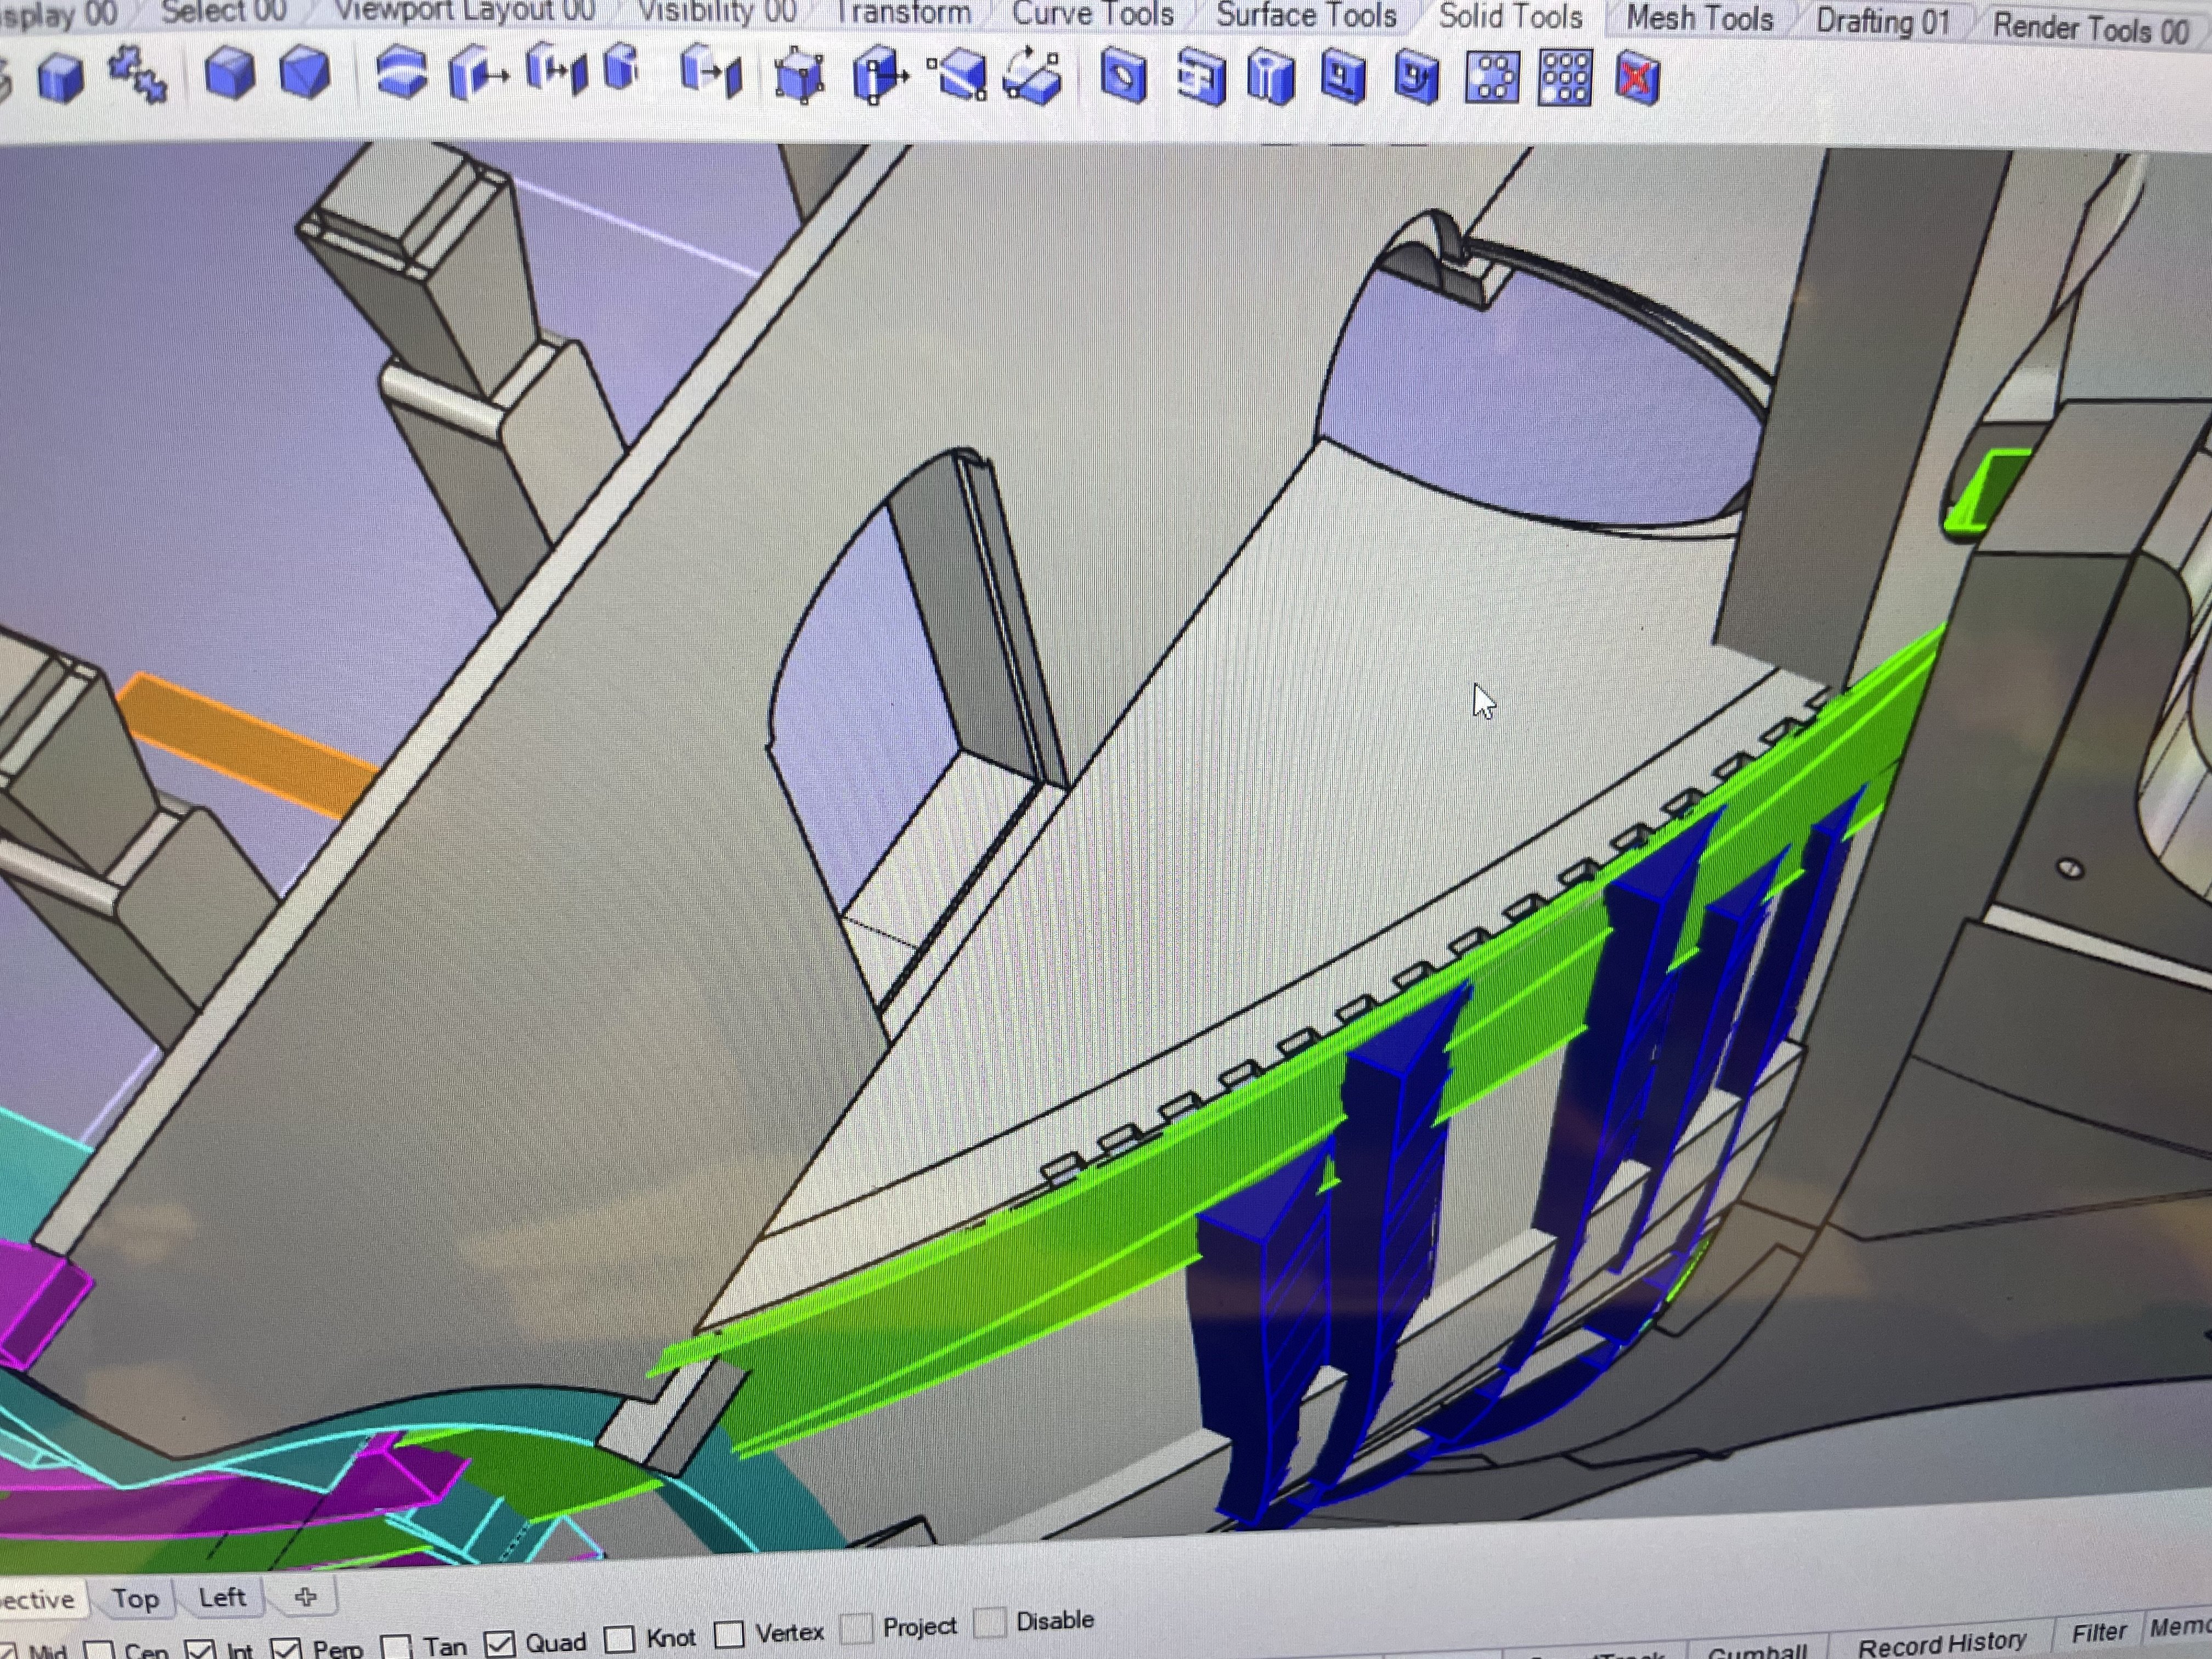
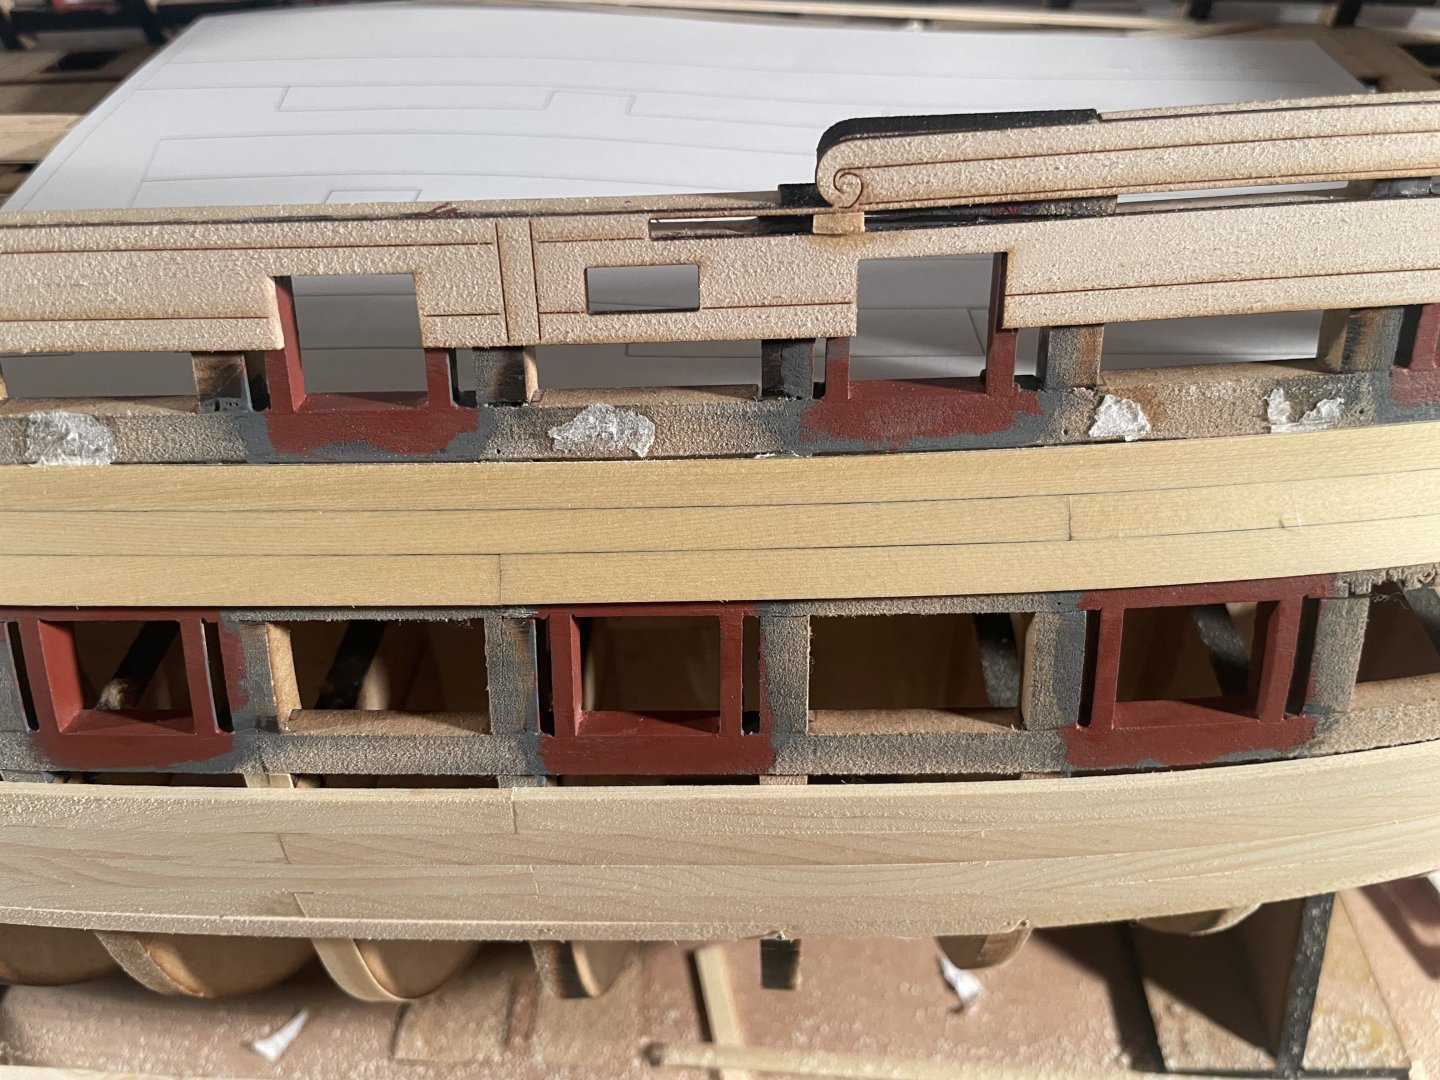
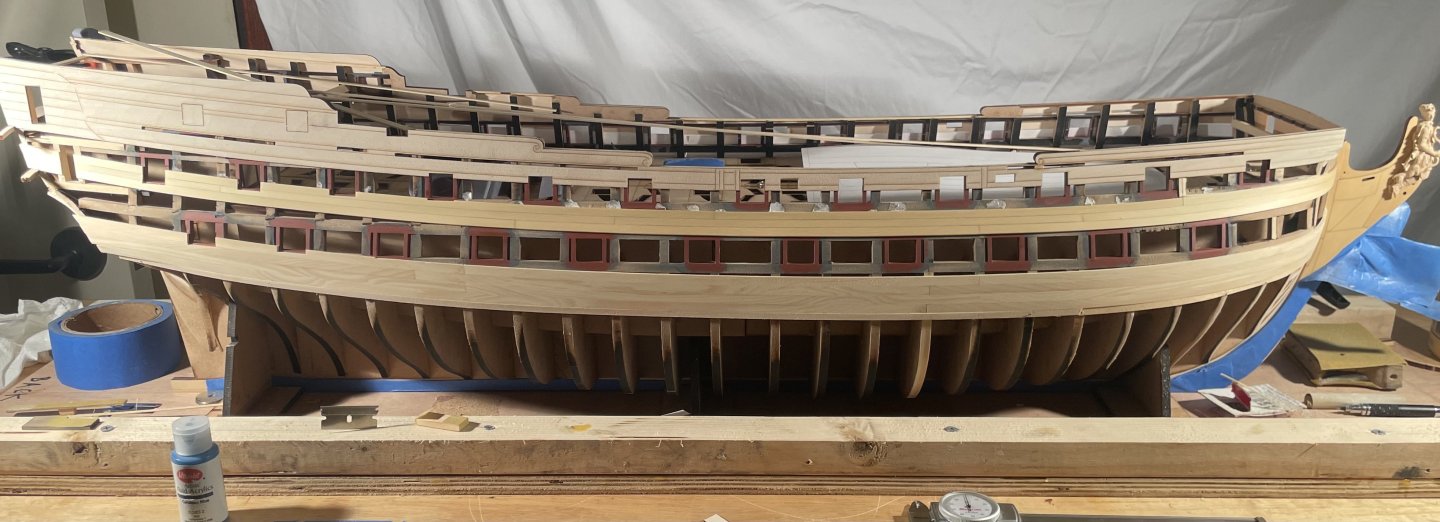
Completed the upper stbd wale, a little tricky in the front area where the grating will eventually go. As you can see in the photo below, the precut sub deck piece has a spacer on it that represents the eventual boxwood piece that will hold the gratings in place below the 3D model shows this piece in place already. This will come later for obvious reasons, it is just too fragile to survive the build. the upper most plank for the upper Wales needs to be slightly trimmed so this place holder sits on top of it as seen below you can see a slight notch at the end of the beak head bulkhead, this plank needs to be bent and shaped first before being notched otherwise it will break every time . The rest of the planks are business as usual, heat, bend, notch for gunports and glue. I started at the lower plank and worked my up. I sanded them down smooth and added some WOP to protect them. Next I will move up with the thinner planks (.045”) to meet the upper panel which is a little thicker to allow some sanding. Very slow and steady. JJ


- 396 replies
-
- 26
-
-
Those guns look wonderful Chuck! Plans to do a 24 pdr? Amazing what printers can do. What printer are you using? Anycubic?
-
Research in the HMS Ulysses 1797, a Roebuck class ship
scrubbyj427 replied to Kevin Kenny's topic in Nautical/Naval History
Lovely Subject Kevin! I would go 1/48, the detail is much cleaner and easier to manage. The model won’t be offensively large compared to your Thorn model. -
Such a nice job Dusan! Excellent Winnie Build!
-
Nicely done Yves! Quite the project you’ve taken on. Very nice display! Inspiring me to work on my Portland further. JJ