HOLIDAY DONATION DRIVE - SUPPORT MSW - DO YOUR PART TO KEEP THIS GREAT FORUM GOING! (83 donations so far out of 49,000 members - C'mon guys!)
×


scrubbyj427
-
Posts
1,690 -
Joined
-
Last visited
Content Type
Profiles
Forums
Gallery
Events
Everything posted by scrubbyj427
-
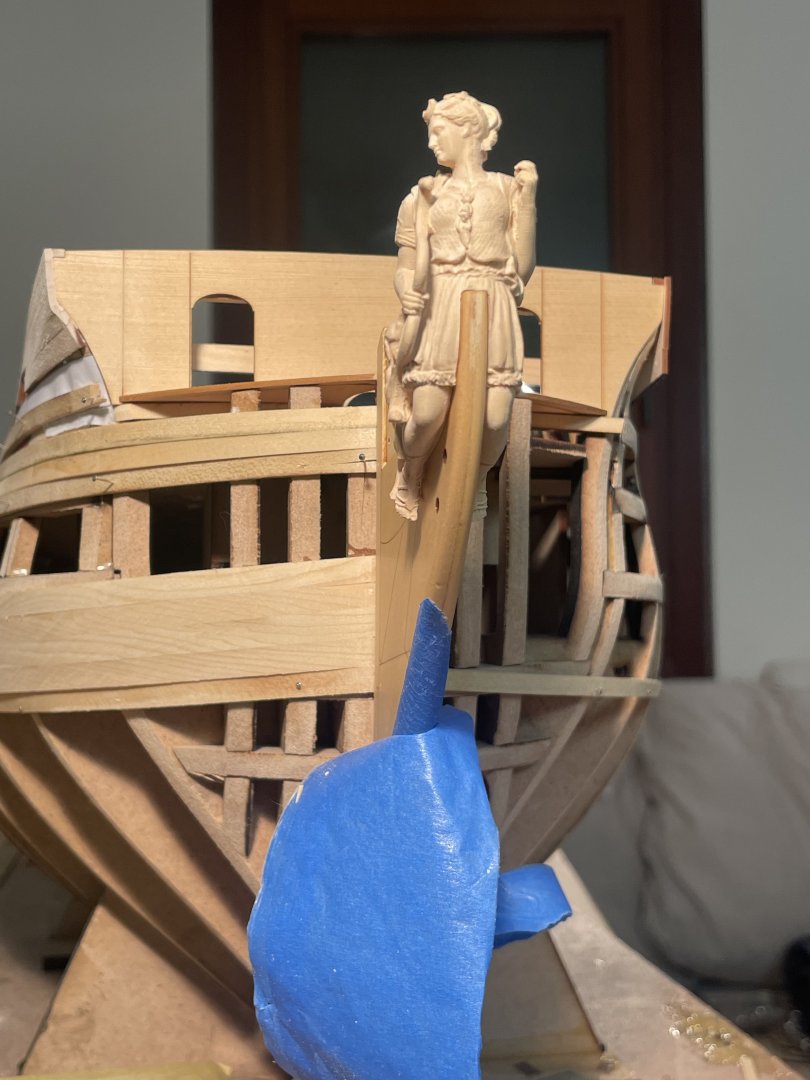
 Hi Yves, Thank you, yes that it Artemis I will complete the bow with an arrow upon final assembly. The figure you are looking at is actually boxwood, I have yet to produce a resin one. If you look back a few posts you will see the stern carvings as well, those will also be boxwood and I should have the first sets soon. JJ
 -
Slowly working on the port side wales now, when I can find time. Should have some finalized QG’s soon and a test drop in resin. When that’s finalized, will begin production of boxwood carvings. started playing with this new sticker feature on my phone, tricky way to make a full white background. Works about half the time JJ


- 396 replies
-
- 20
-

-

-
Your Winnie is looking really nice Frank. Looking forward to more updates.
-
How many coils were required for your model? Is the 18cm in all directions? so coils are only required below deck?
-
Your lamps look wonderful Tom, I’m going to try those on my Portland model. The idea of not having to wire them is incredibly appealing and will speed up the process exponentially.
-
Incredible! Fantastic work!
-
Byrnes thickness sander for sales
scrubbyj427 replied to scrubbyj427's topic in Modeling tools and Workshop Equipment
Make sure you search as many ways possible for Byrnes products on eBay and save them all, it will alert you via email when one shows up, that’s how I spotted this so early. I would have bought it but I already sourced one, just wanted to share for all to see. -
Woah! Beautiful work Fred! Guns look fantastic!!!
-
Byrnes thickness sander for sales
scrubbyj427 replied to scrubbyj427's topic in Modeling tools and Workshop Equipment
Haha gone already! I haven’t even checked on it since posted. Figured it would be gone fast at that price. Hopefully someone on MSW got it! -
Just popped up on eBay this morning: https://www.ebay.com/itm/315569114582?mkevt=1&mkpid=0&emsid=e11021.m43.l1120&mkcid=7&ch=osgood&euid=ac2cbc7f167b484d8a8721363ec0ad4e&bu=43568109158&ut=RU&osub=-1~1&crd=20240719025805&segname=11021
-
Hi Frank, my sincere apologies for not responding to this, I somehow let it slip through the cracks. To answer your questions, I bought a 9volt battery plug and connector from Evan’s LED (on msw vendor list), I did indeed carefully drill from the bottom of the keel up and out the side of the bulkhead former. These parts are very small so I drilled two small holes and then used a No.11 blade to carve out a square hole in which the female end of the electrical plug would permanently fit. As you can see in my build log, there is a series of feeder wires that supply all the lanterns throughout the model that I ran up through the spirketing and into the deck beams where then feed the lanterns. The lanterns are 3D printed and I’m happy to share that file with you, I used Evan’s chip leds, smallest available ( I believe) to simulate a warm candle light. i hope this helps, now is the time to begin installing all this wiring, I think just before chapter 4. It was a very difficult task to hide all these micro wires successfully so take your time. JJ
-
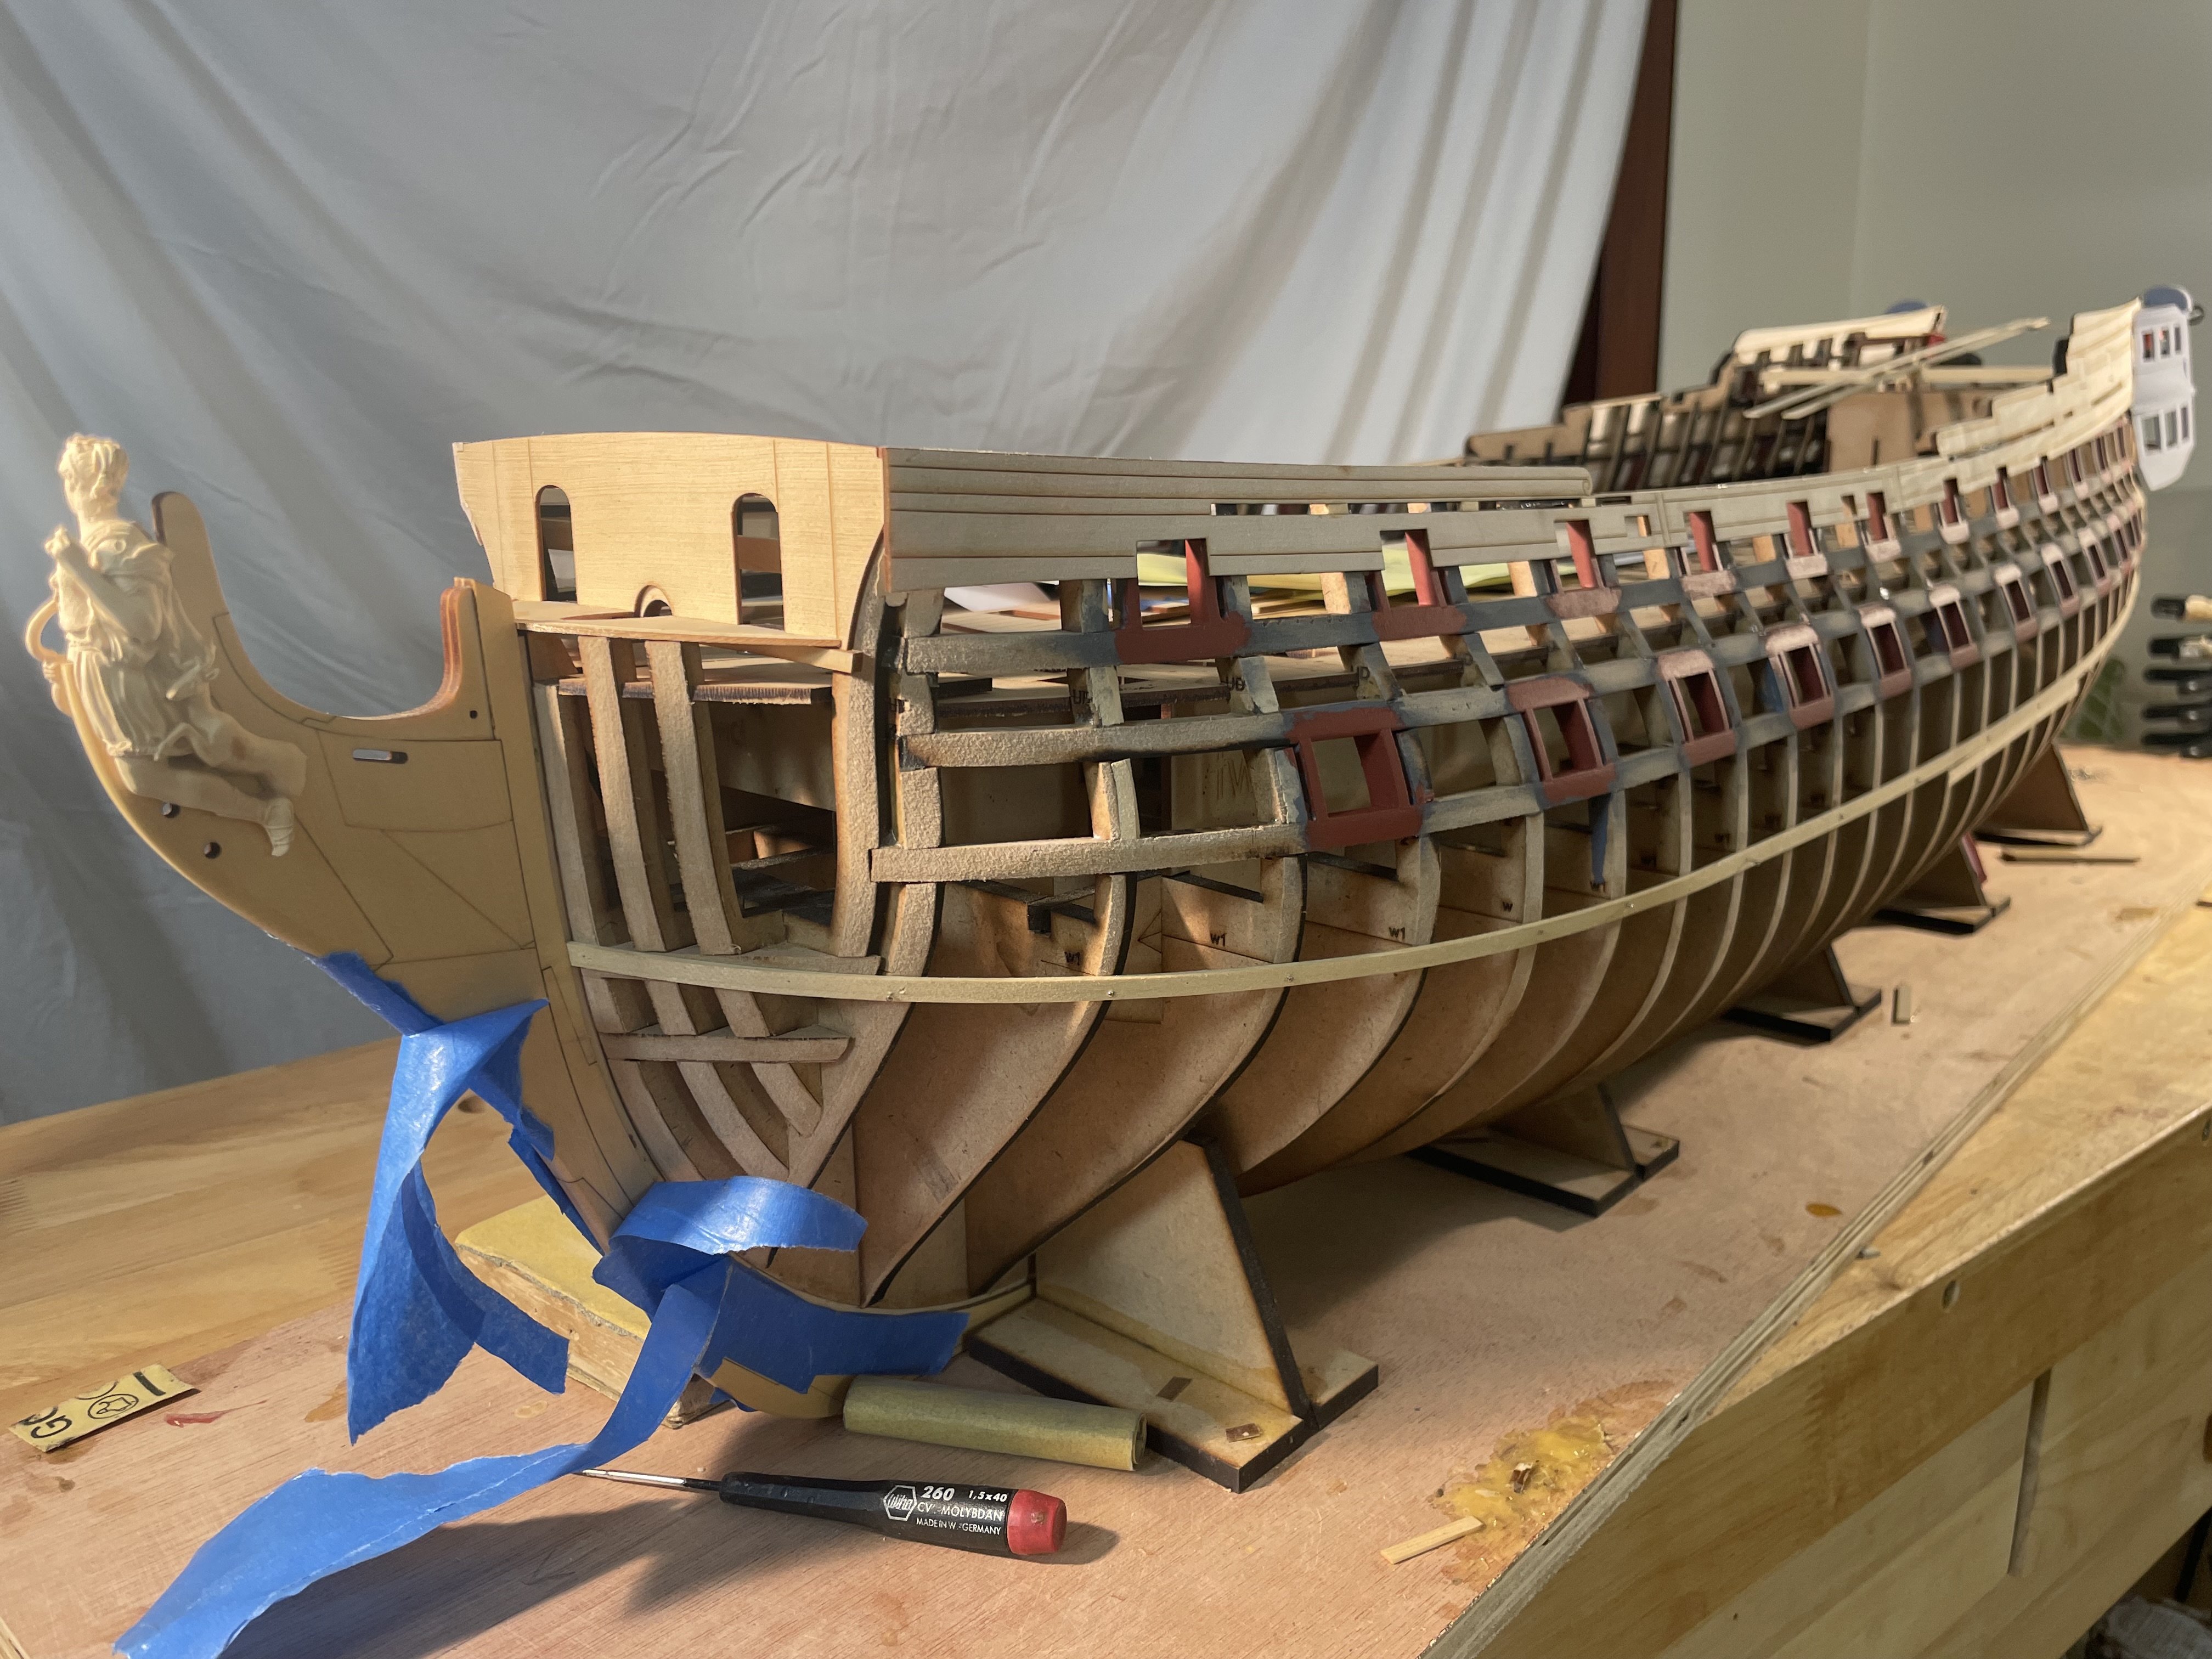
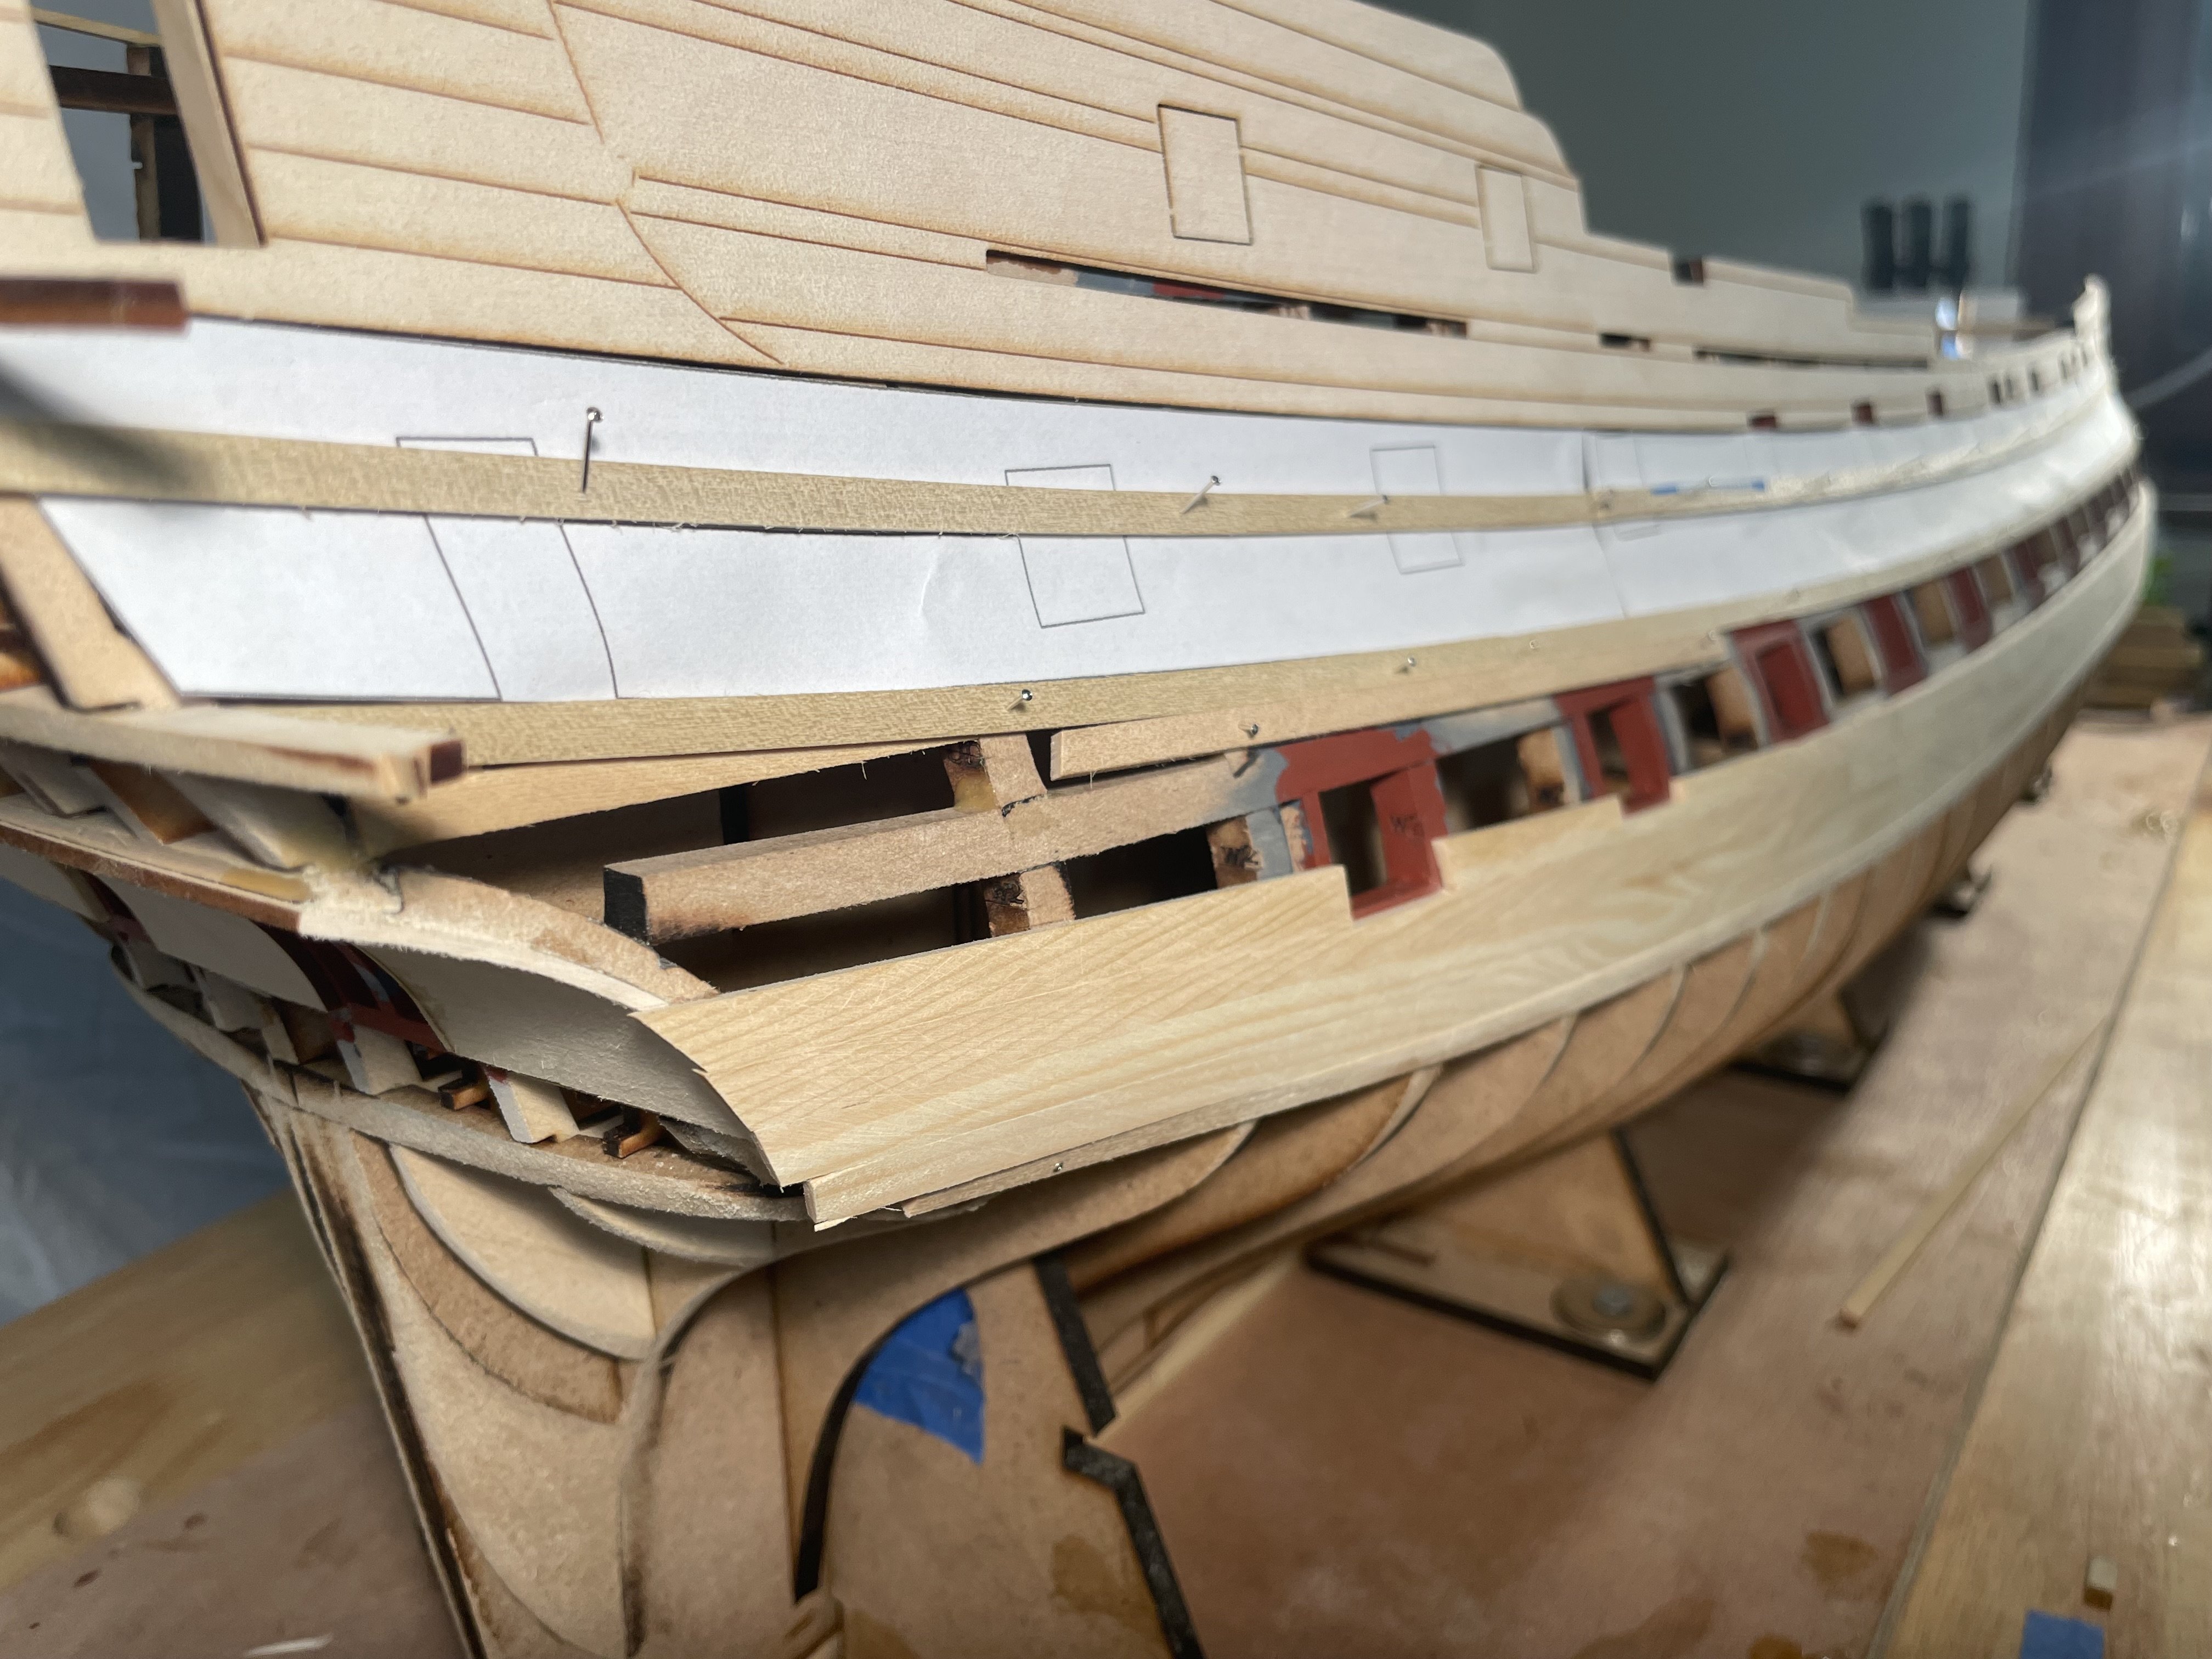
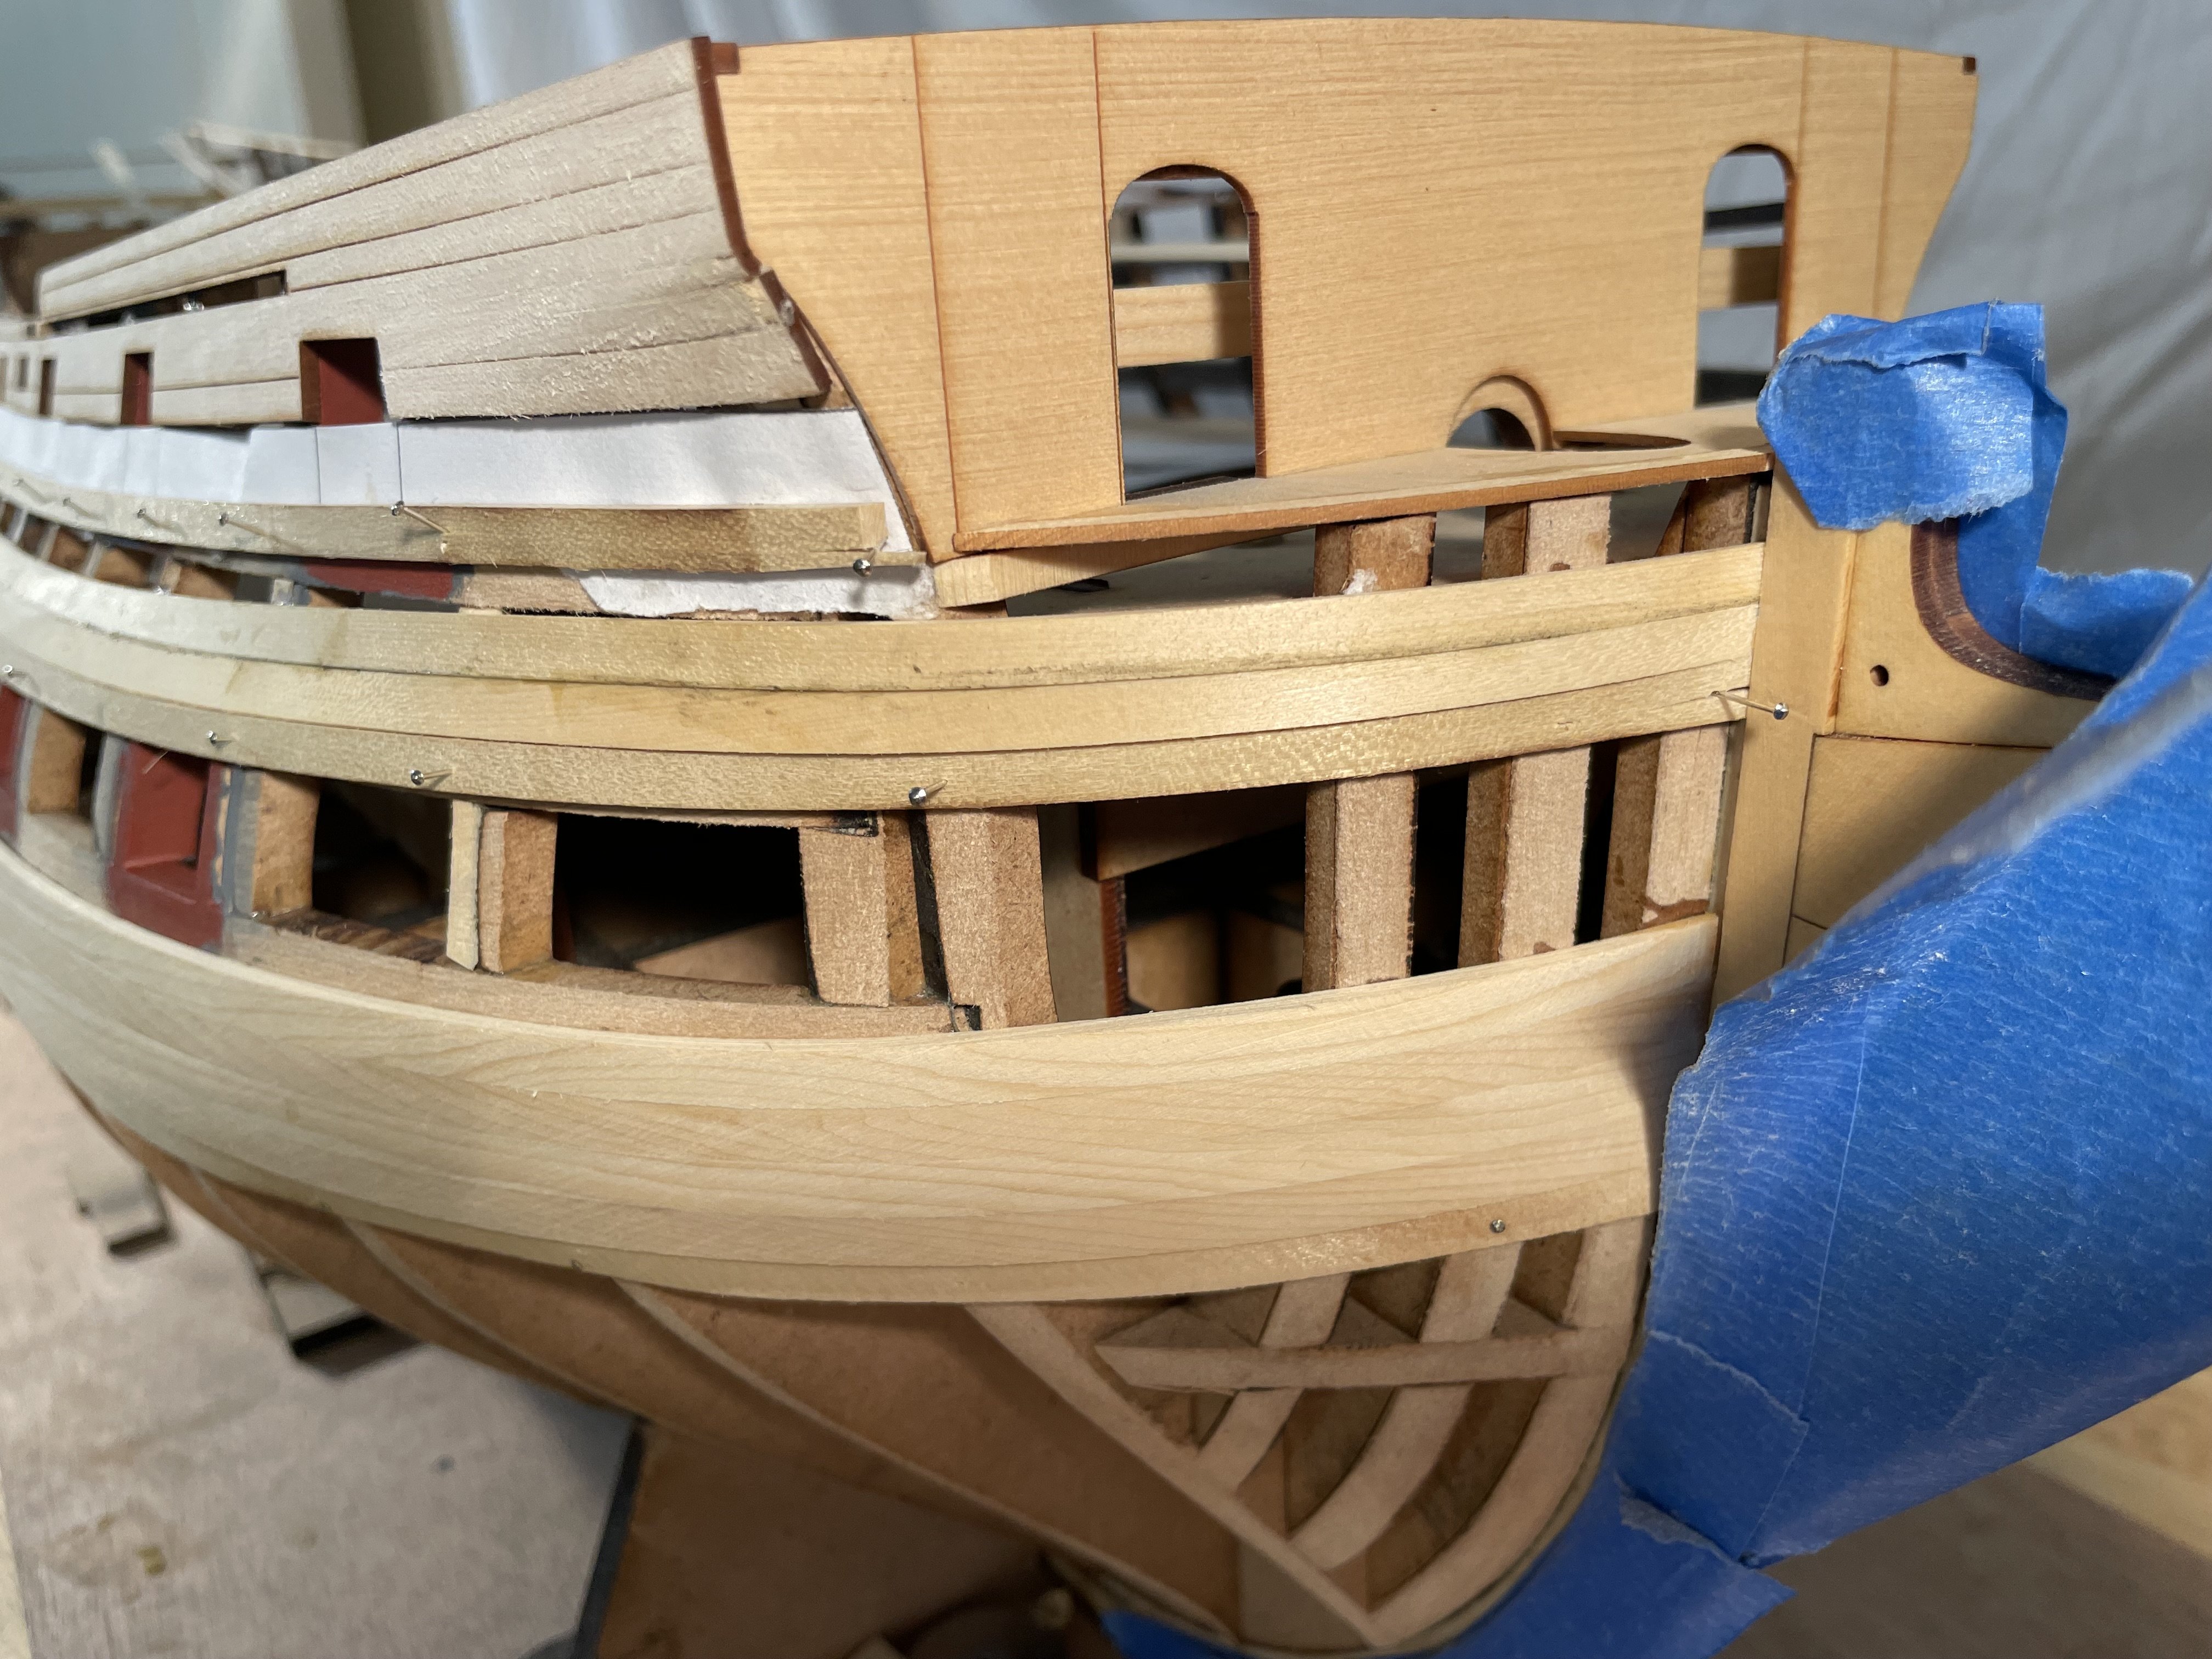
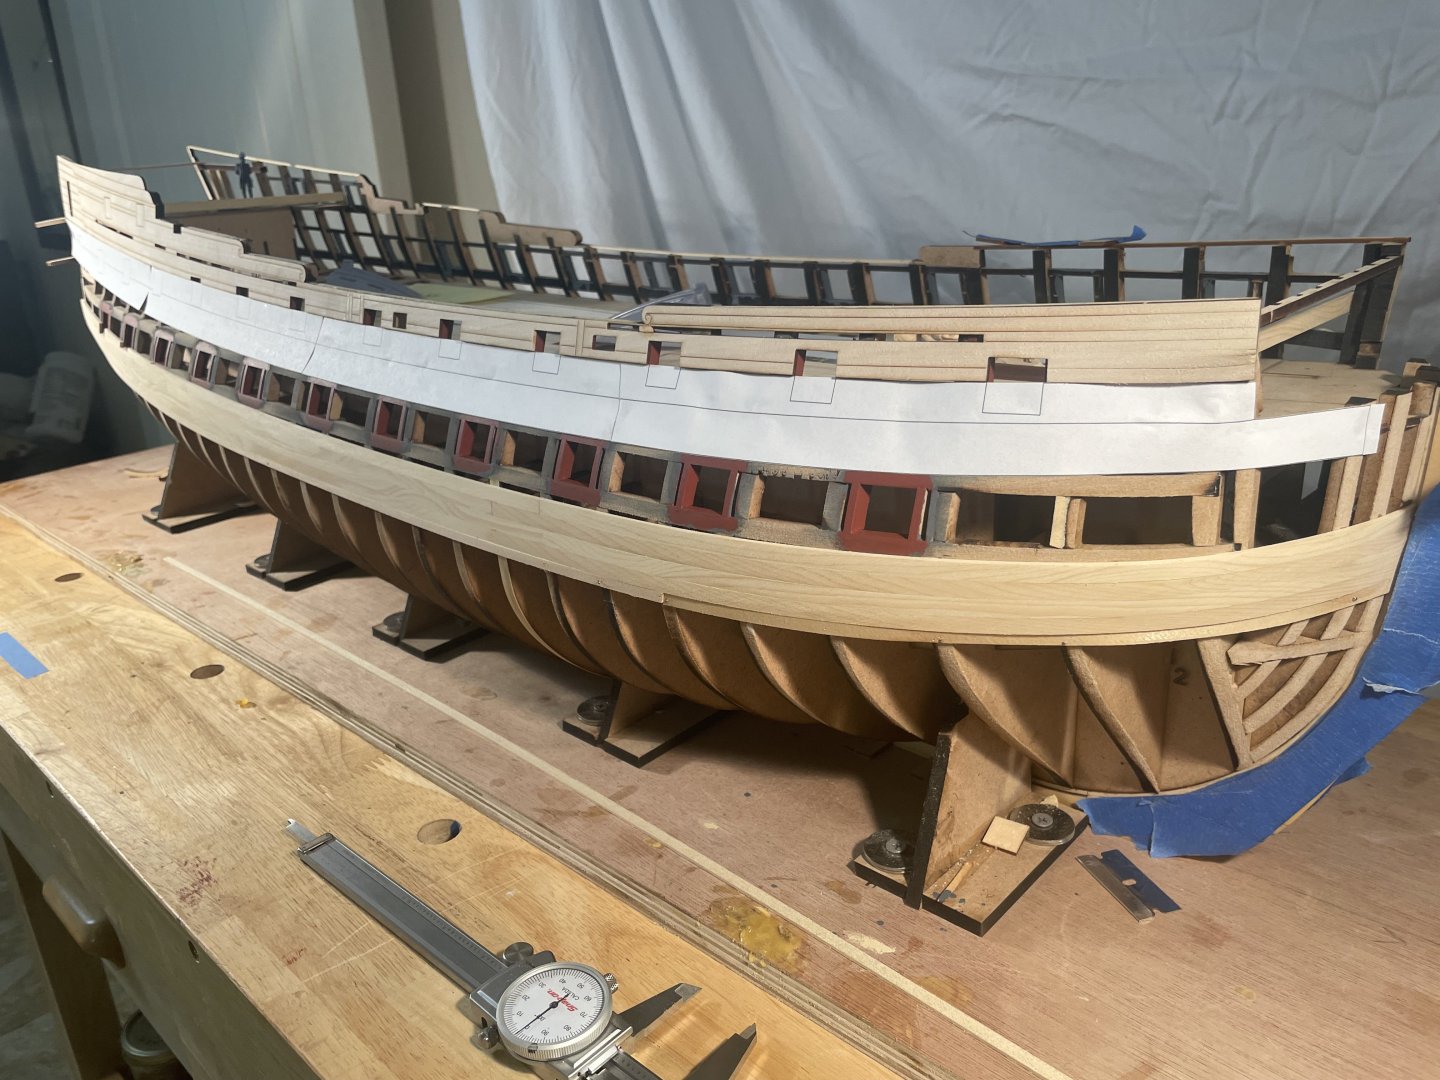
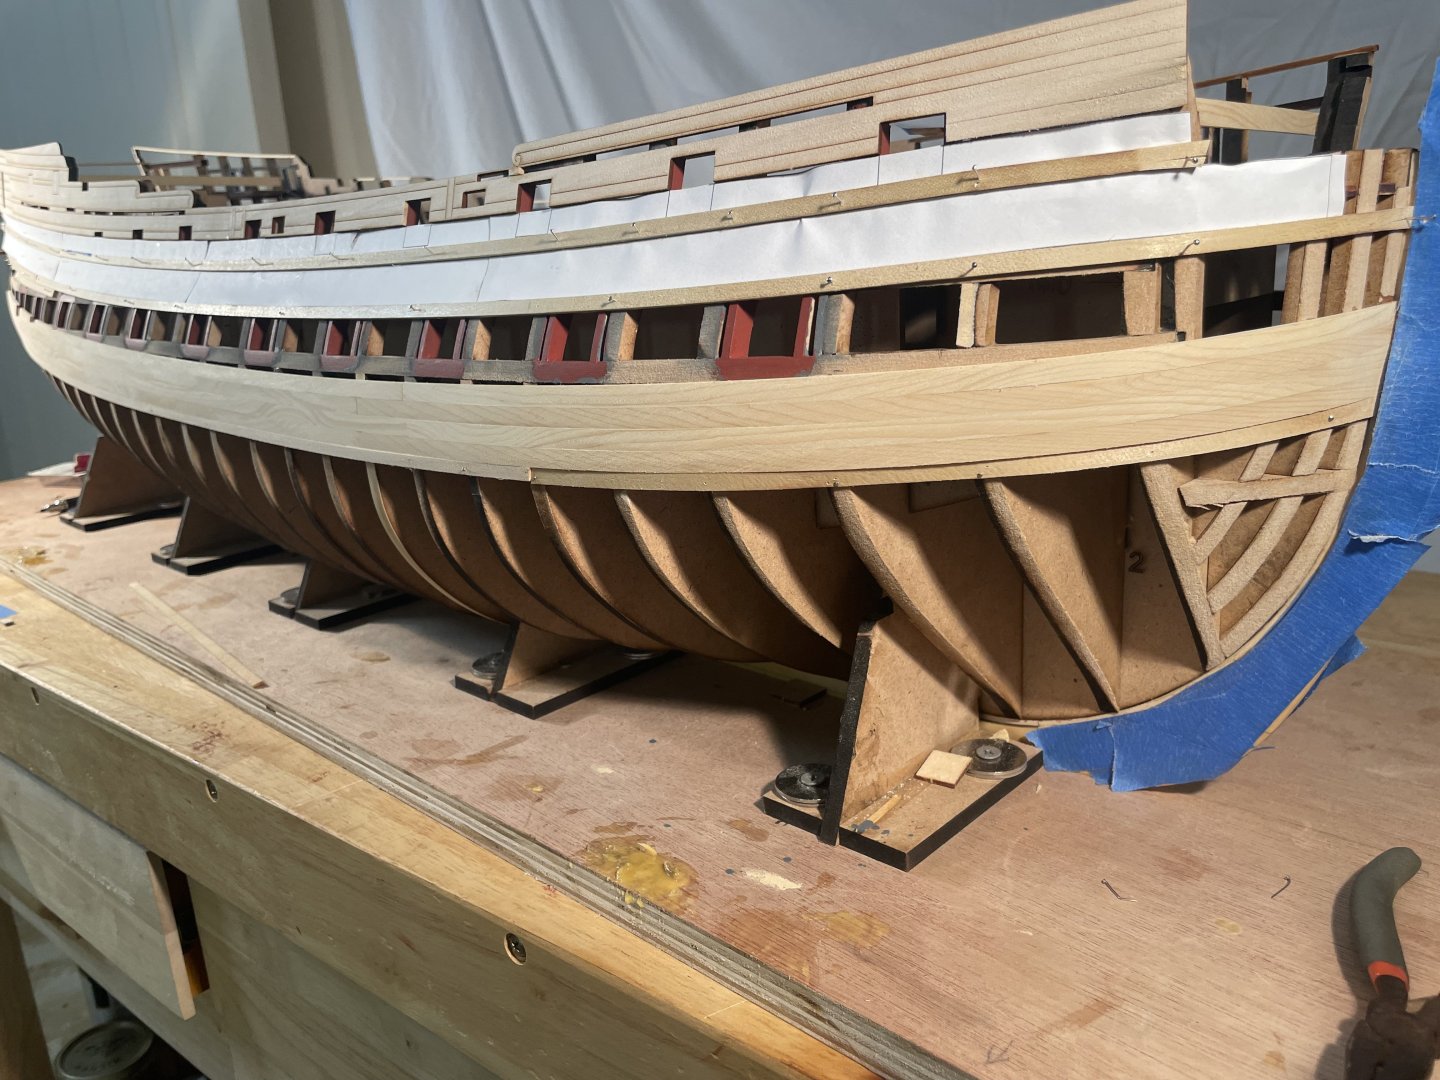
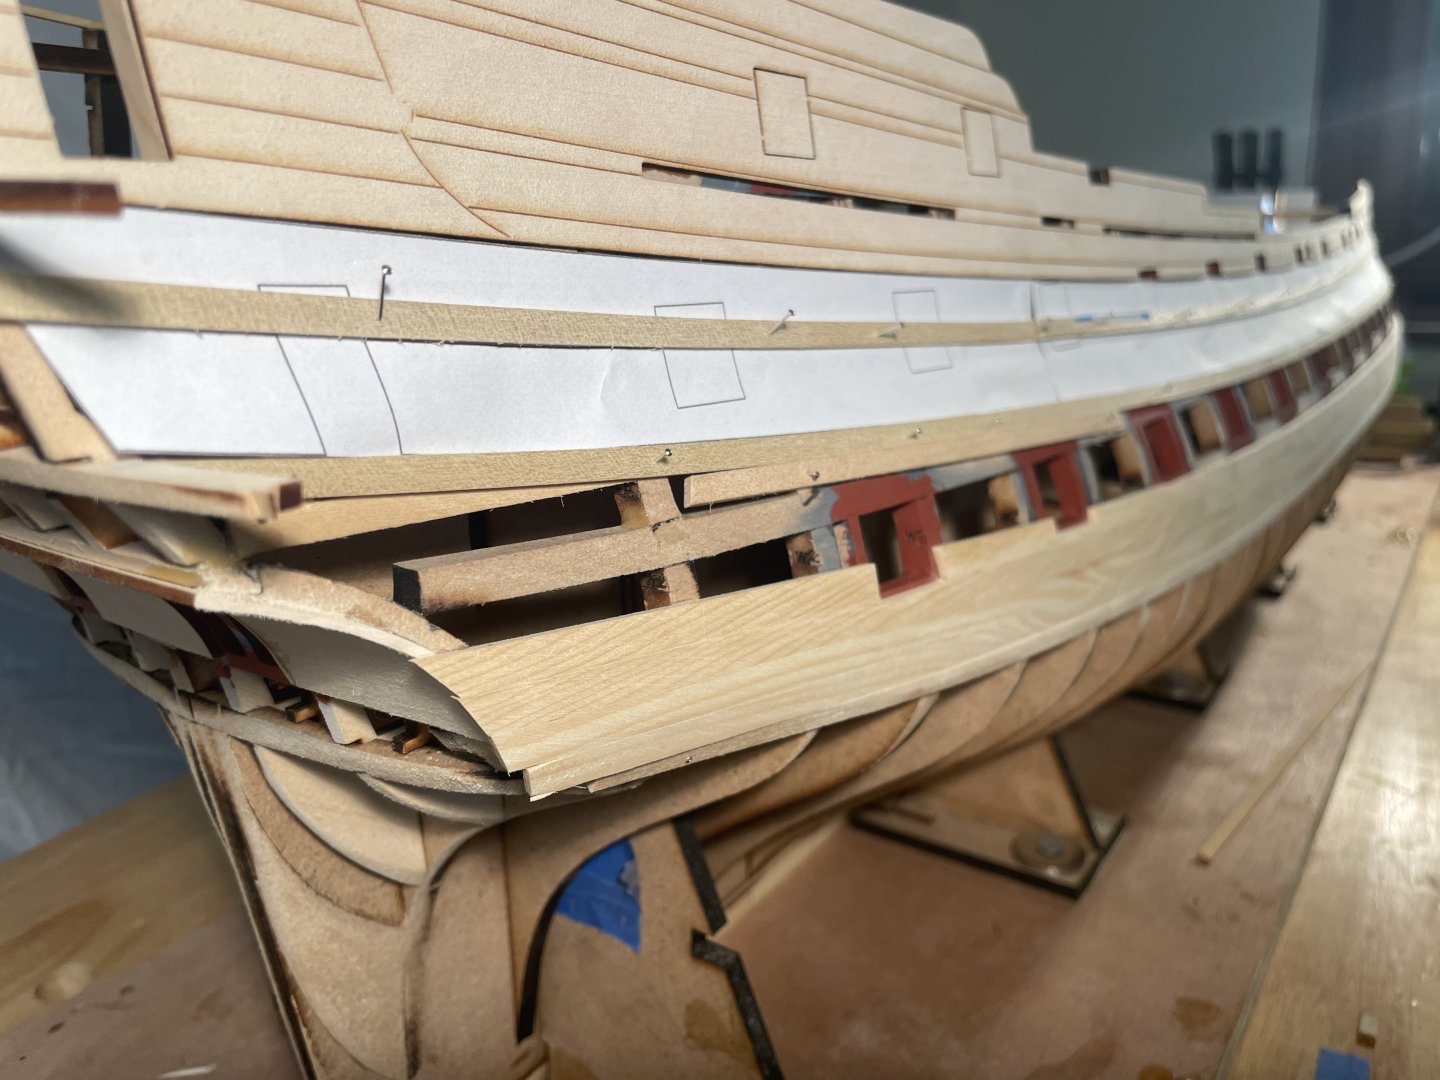
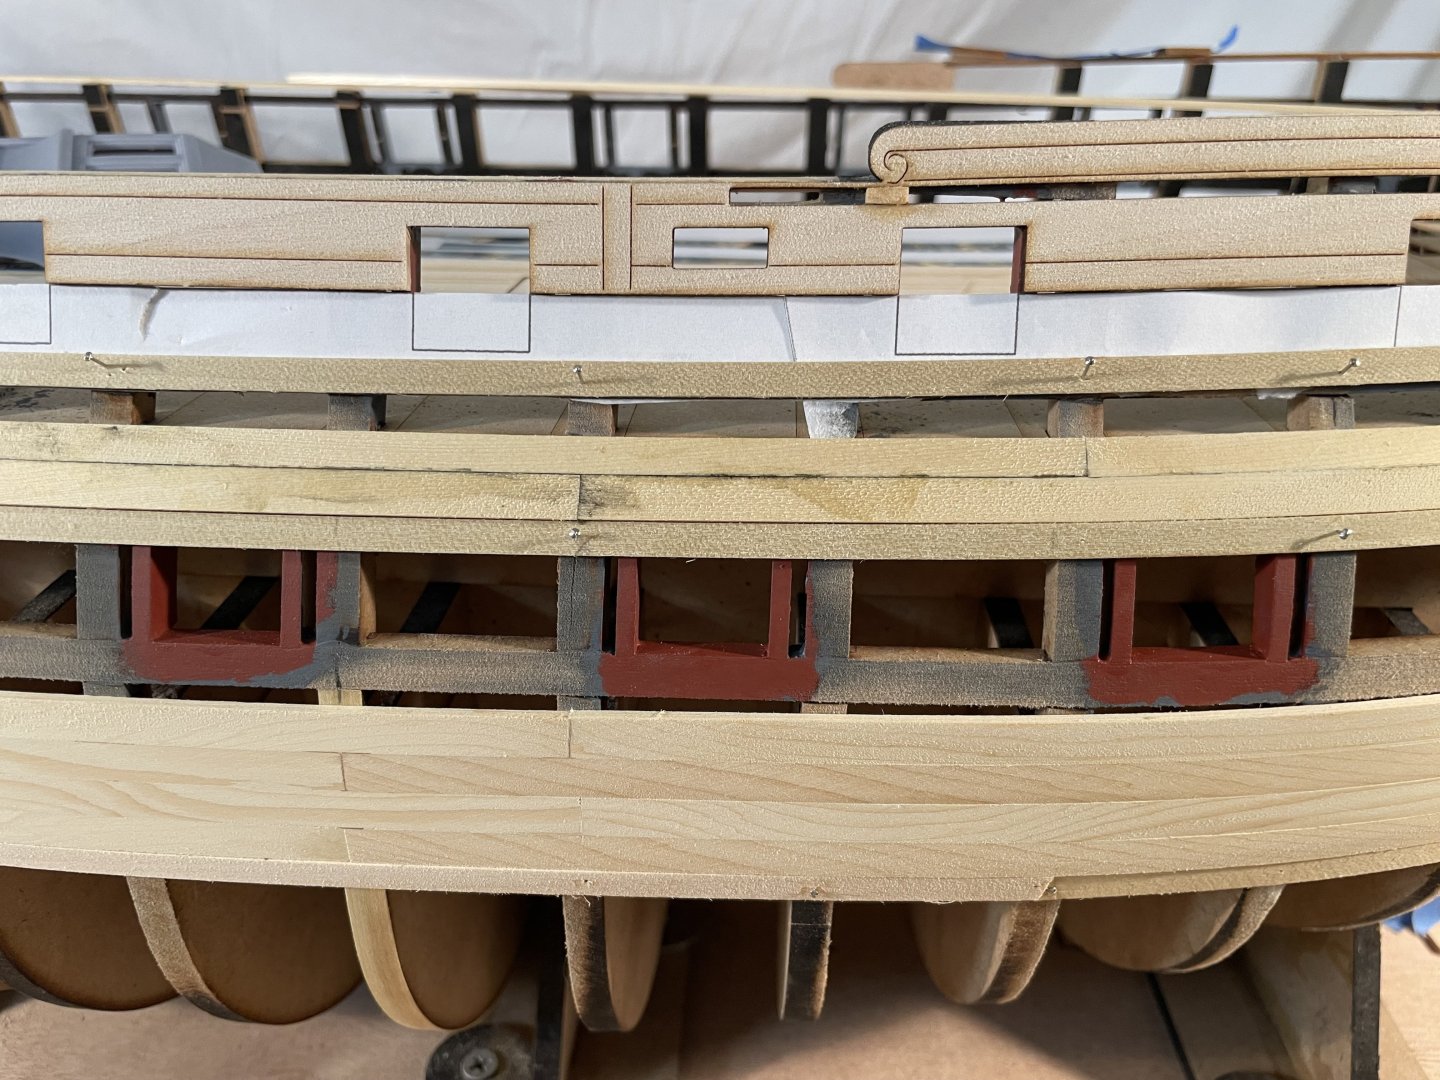
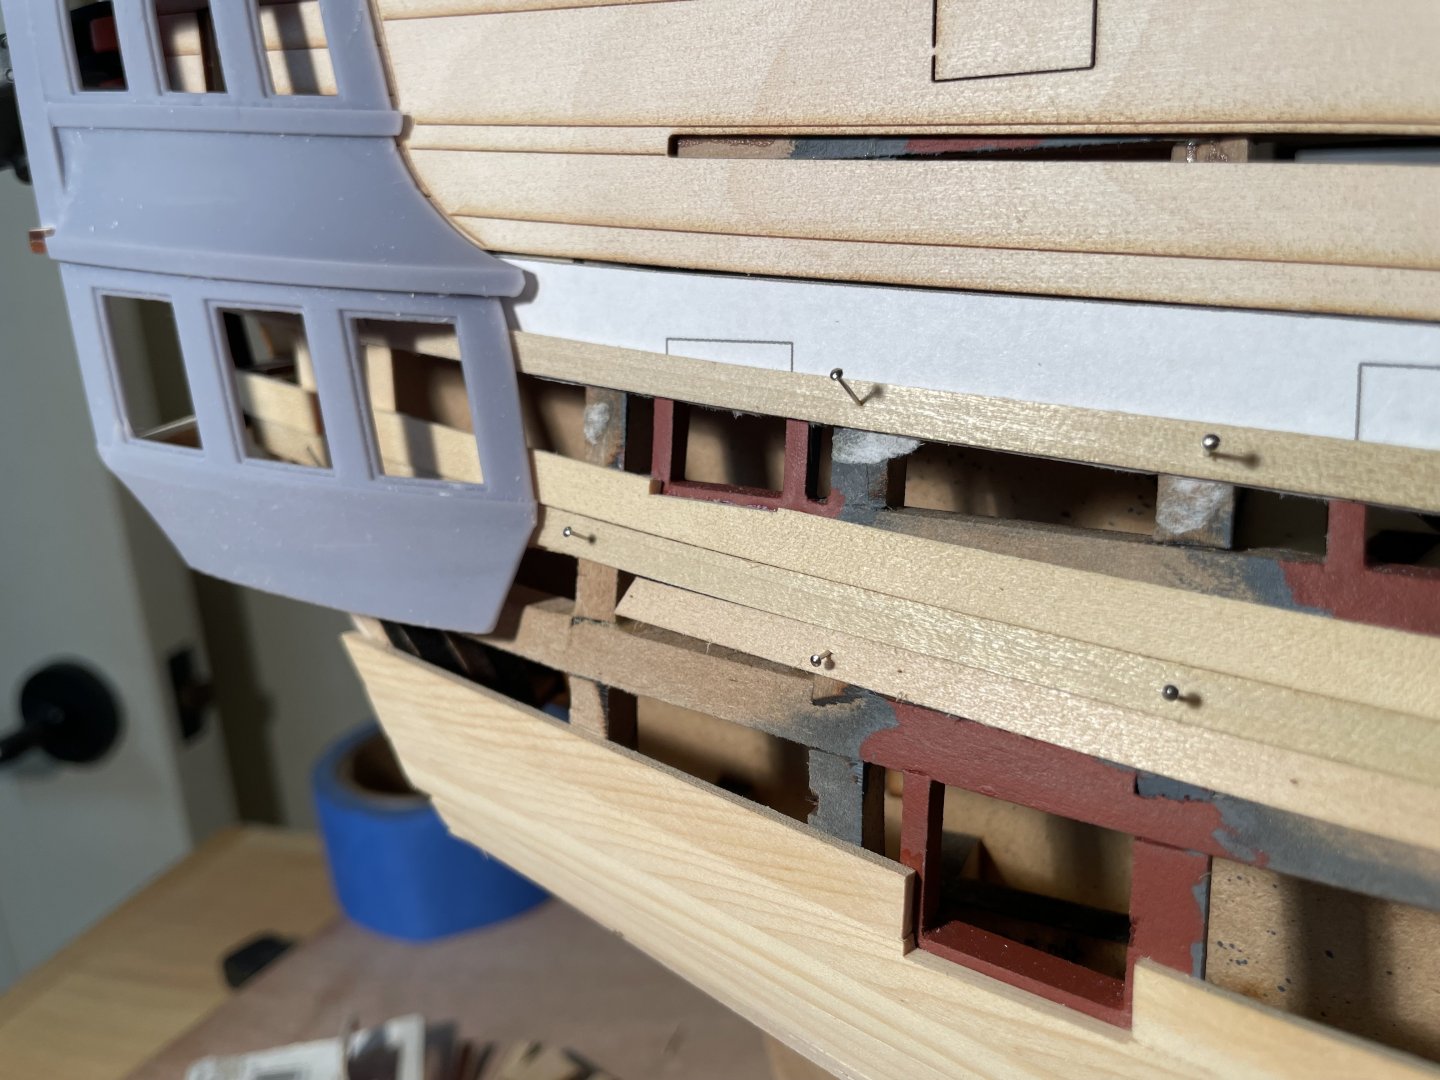
While waiting for my final QG prints I’ve decided to move up to the upper wales before I finish the lowers. On Portland, the upper wales are not painted black so care has to be taken when planking as they need to look pretty like the rest of the planking. The upper wales are not as thick as the lowers but still marginally thicker than the hull planking, I dug into my nice AYC and cut my strips at .090”. First off I printed paper templates to locate the upper wale relative to the laser cut upper “frieze planking”, once lightly glued on I attached battens above and below the margins of the wales. Once satisfied with the run I began planking, but first I took a blade and removed the part of the paper template that occupied the location of the upper wale, it’s not needed anymore. No secrets here, just the Chuck method of tick strips and heat guns until planks fit tightly as they should. you’ll notice my horrible glue mess I make at the seams, I like to edge glue the planks and I use a light charcoal to simulate caulking, this will all sand off and look tidy when complete. I’m hoping to have the upper stbd wale completed this coming week and possibly the lower as well. You’ll also notice in the above photo that the lower wale is of low quality wood, this will get painted black obviously so feel free to utilize all those subpar planks you’ve been holding onto all these years😂 JJ

- 396 replies
-
- 18
-
-
Beautiful job Glenn! It’s been fun to follow along. JJ
- 587 replies
-
- 3
-

-
-
- Indefatigable
- Vanguard Models
- (and 1 more)
-
Speedwell is looking good Rusty, off to a great start. Glad to hear you’re doing well and have been forced back to work! Will be following along. JJ
-
Those are really quite amazing Chuck. I’ve spent a bit of time now really thinking about how you made those on the laser table and I’m coming up with a blank stare into my coffee cup. They look 3D printed.
-
https://syrenshipmodelcompany.com/hms-winchelsea-1764.php#!/Cap-Square-set-for-Winnie-Cannon-fits-1-15-16-and-1-9-16-Carriages/p/674735038/category=36635011
-
Too late for my Winnie but perhaps my Portland (someday) will like a few sets of these.
-
She’s looking very nice Fred. Great paint work, I won’t even attempt.
-
Maybe so, except my Winnie is 4000 miles away from my workbench.
- 840 replies
-
- 1
-

-
- winchelsea
- Syren Ship Model Company
- (and 1 more)
-
Congratulations Steve! Incredible achievement! It’s refreshing to see this early version of Victory.