HOLIDAY DONATION DRIVE - SUPPORT MSW - DO YOUR PART TO KEEP THIS GREAT FORUM GOING! (Only 13 donations so far - C'mon guys!)
×


Kevin
-
Posts
7,008 -
Joined
-
Last visited
Content Type
Profiles
Forums
Gallery
Events
Everything posted by Kevin
-
 That sounds an intresting idea, im looking to see if my amerigo would ever berth along side with sails stowed but sail lines that attach to them left in place, i just dont think i can make the sails look realistic
 -
Did you continue with this build, would love to see any progress
- 4 replies
-
- 1
-

-
- Amerigo Vespucci
- Mantua
- (and 1 more)
-
very nice indeed
-
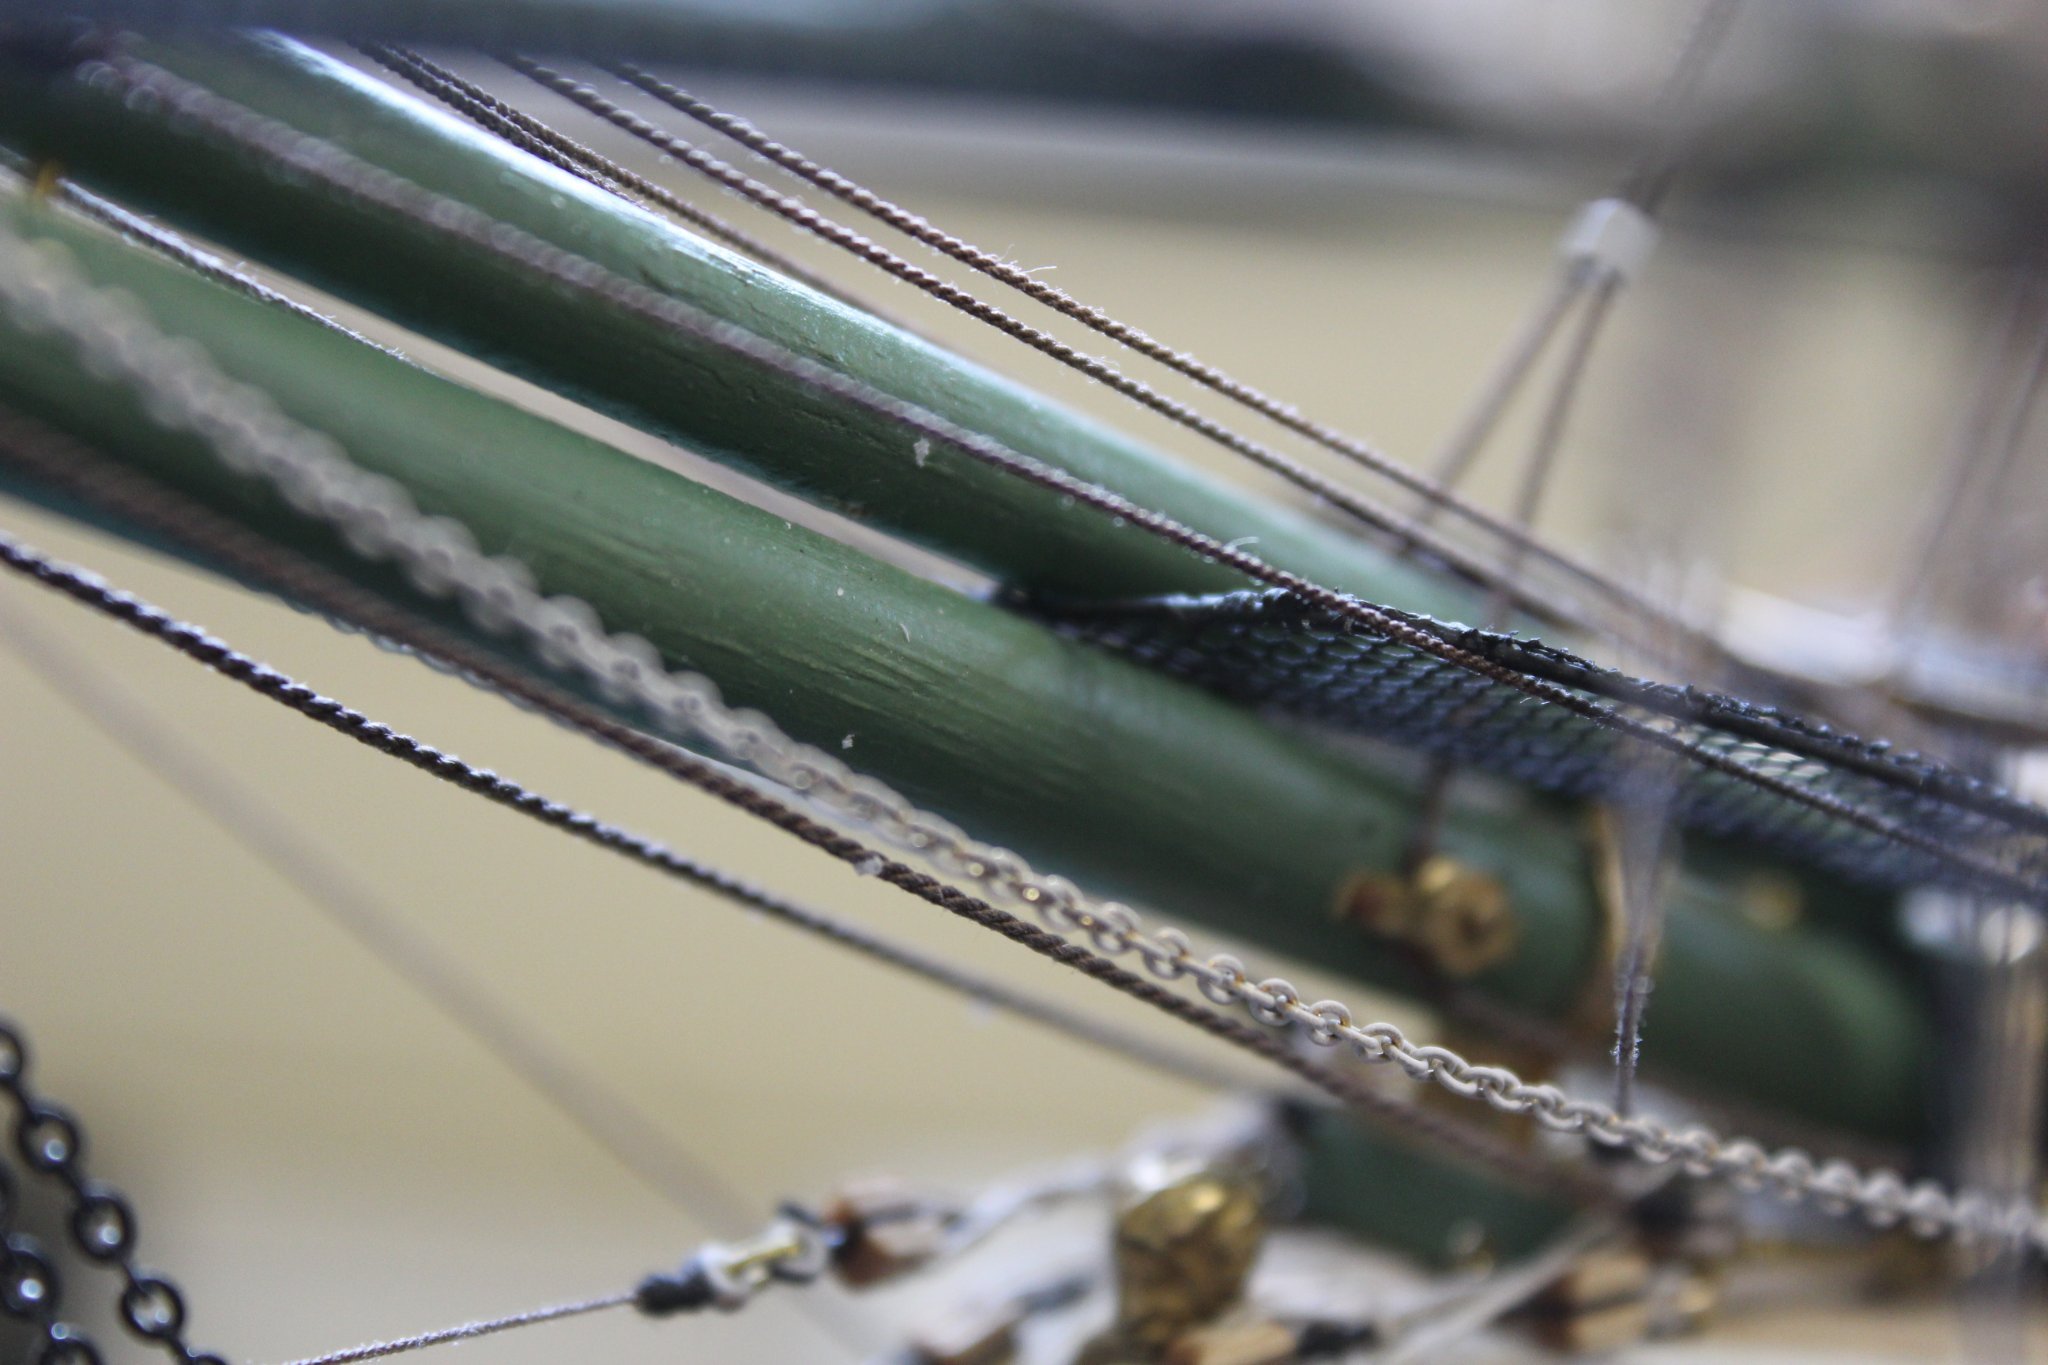
good evening everyone i have had to change my approach to the rigging i am making my own rope, and have been making 8 sizes from 4 different thickness spools Guttenburg Mara in 120, 100, 70 and 30 the plans i have say size 6 for the shrouds but using the above sizes (which happens to be 4x70 is just over 0.5mm where as 4x 30 is about right at just under 1mm i hope that makes sense, what was the largest size will drop down from 7 and 8 to 5 and 6 so i have ordered another size 11 which now allows me to change my 8 sizes and possibly not use the 120 size through the rope walk now i am able to use my new size 6 to make up the first pair, no deadeyes on here, so the only way to get the tension right is using slip knots on the sheavef

- 273 replies
-
- 8
-
-
- panart
- amerigo vespucci
- (and 1 more)
-
i had to giggle just after i posted this i looked at whats next, only to see that some of the things have changed, meaning more rework
- 273 replies
-
- 1
-
-
- panart
- amerigo vespucci
- (and 1 more)
-
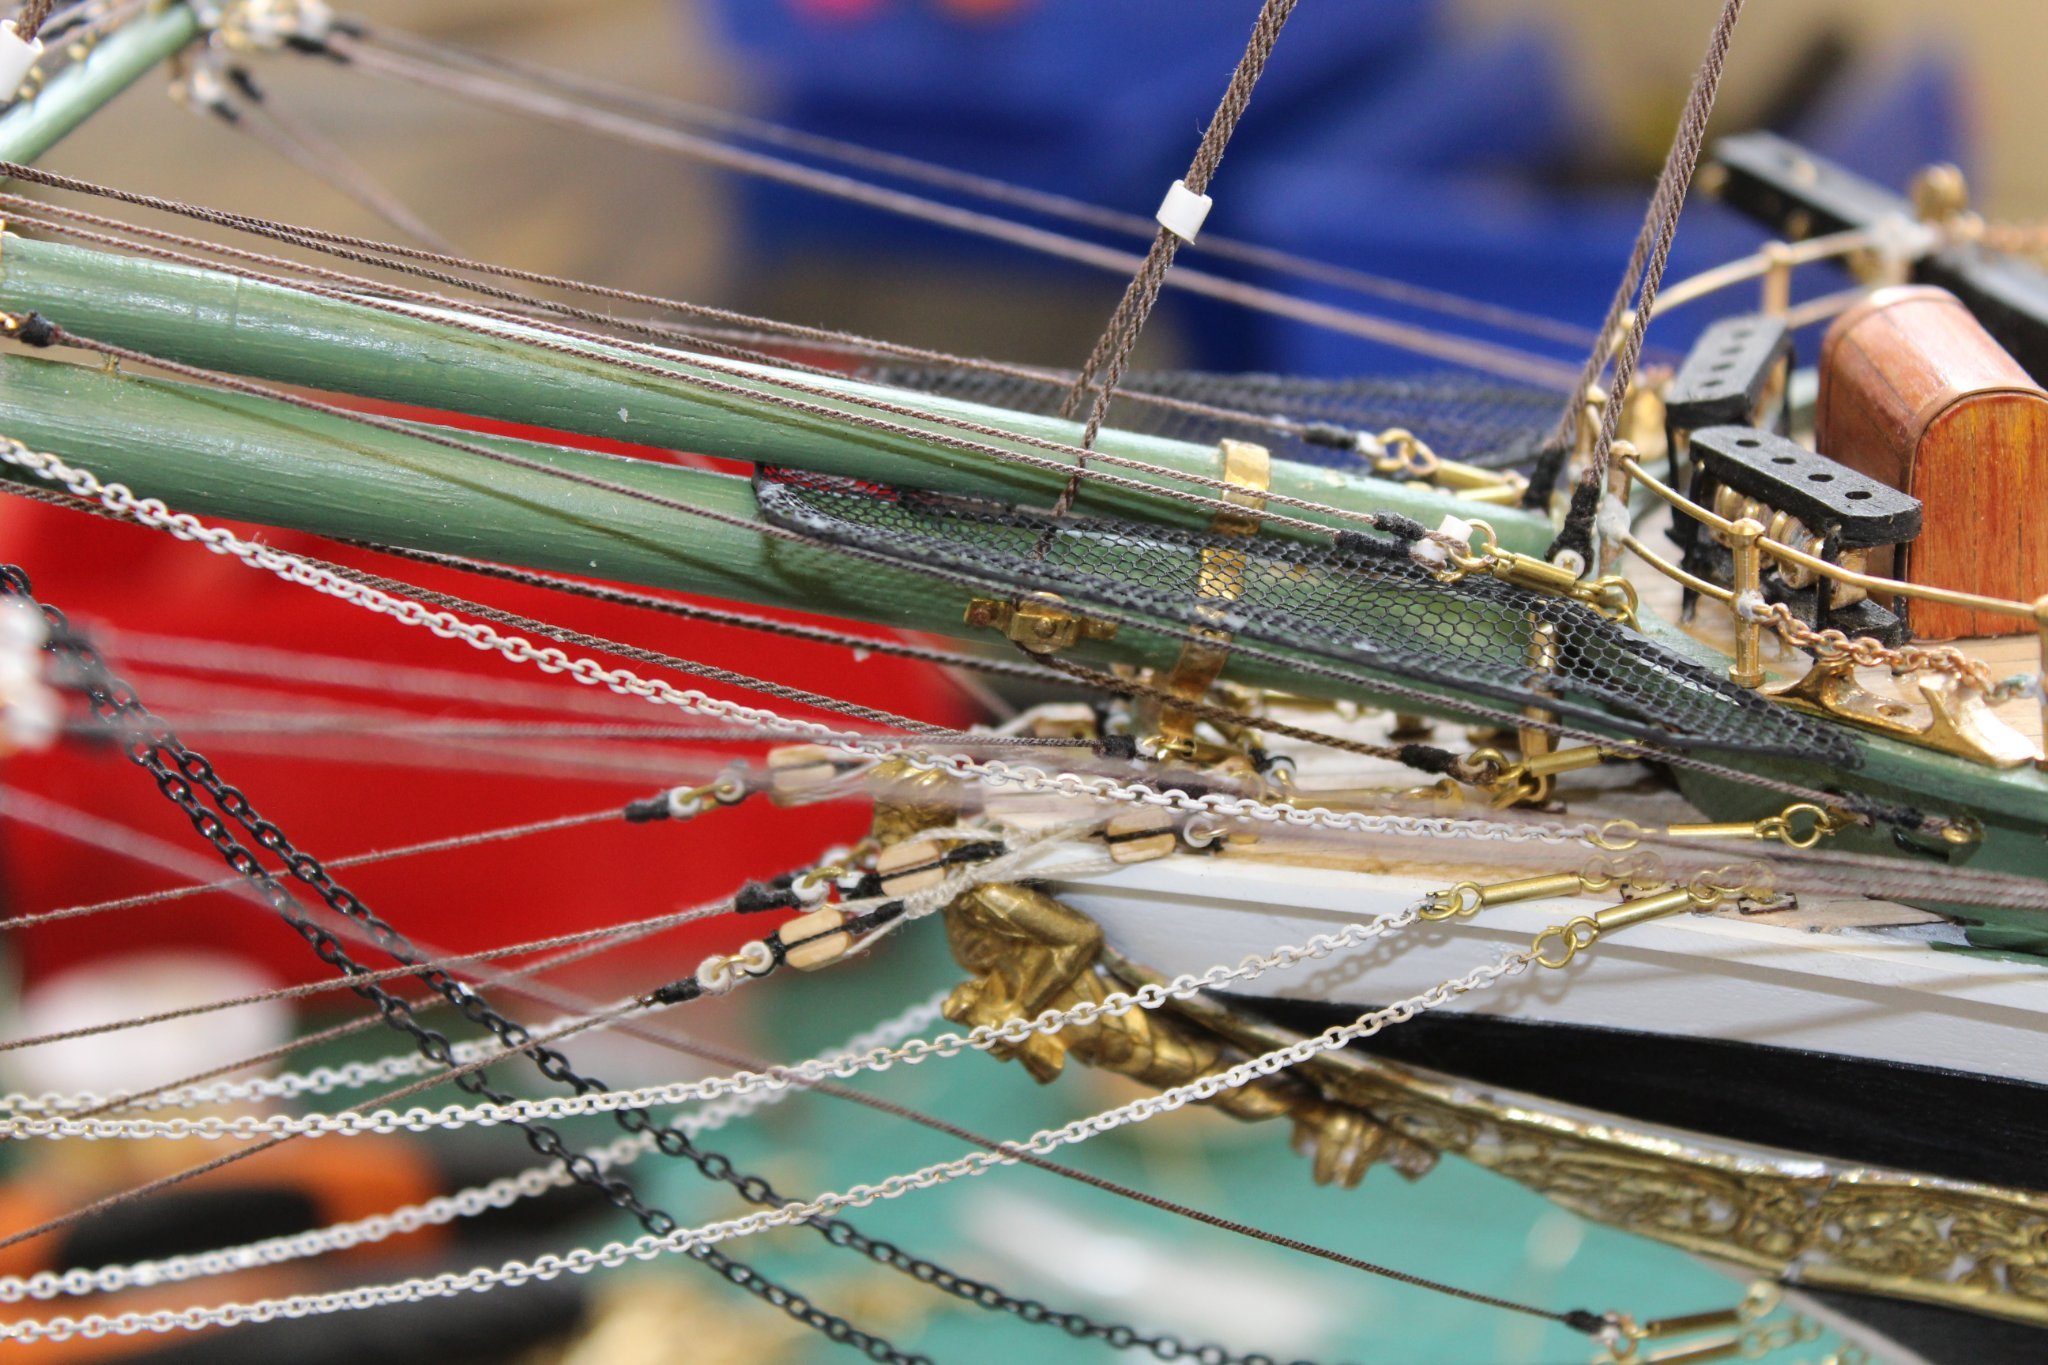
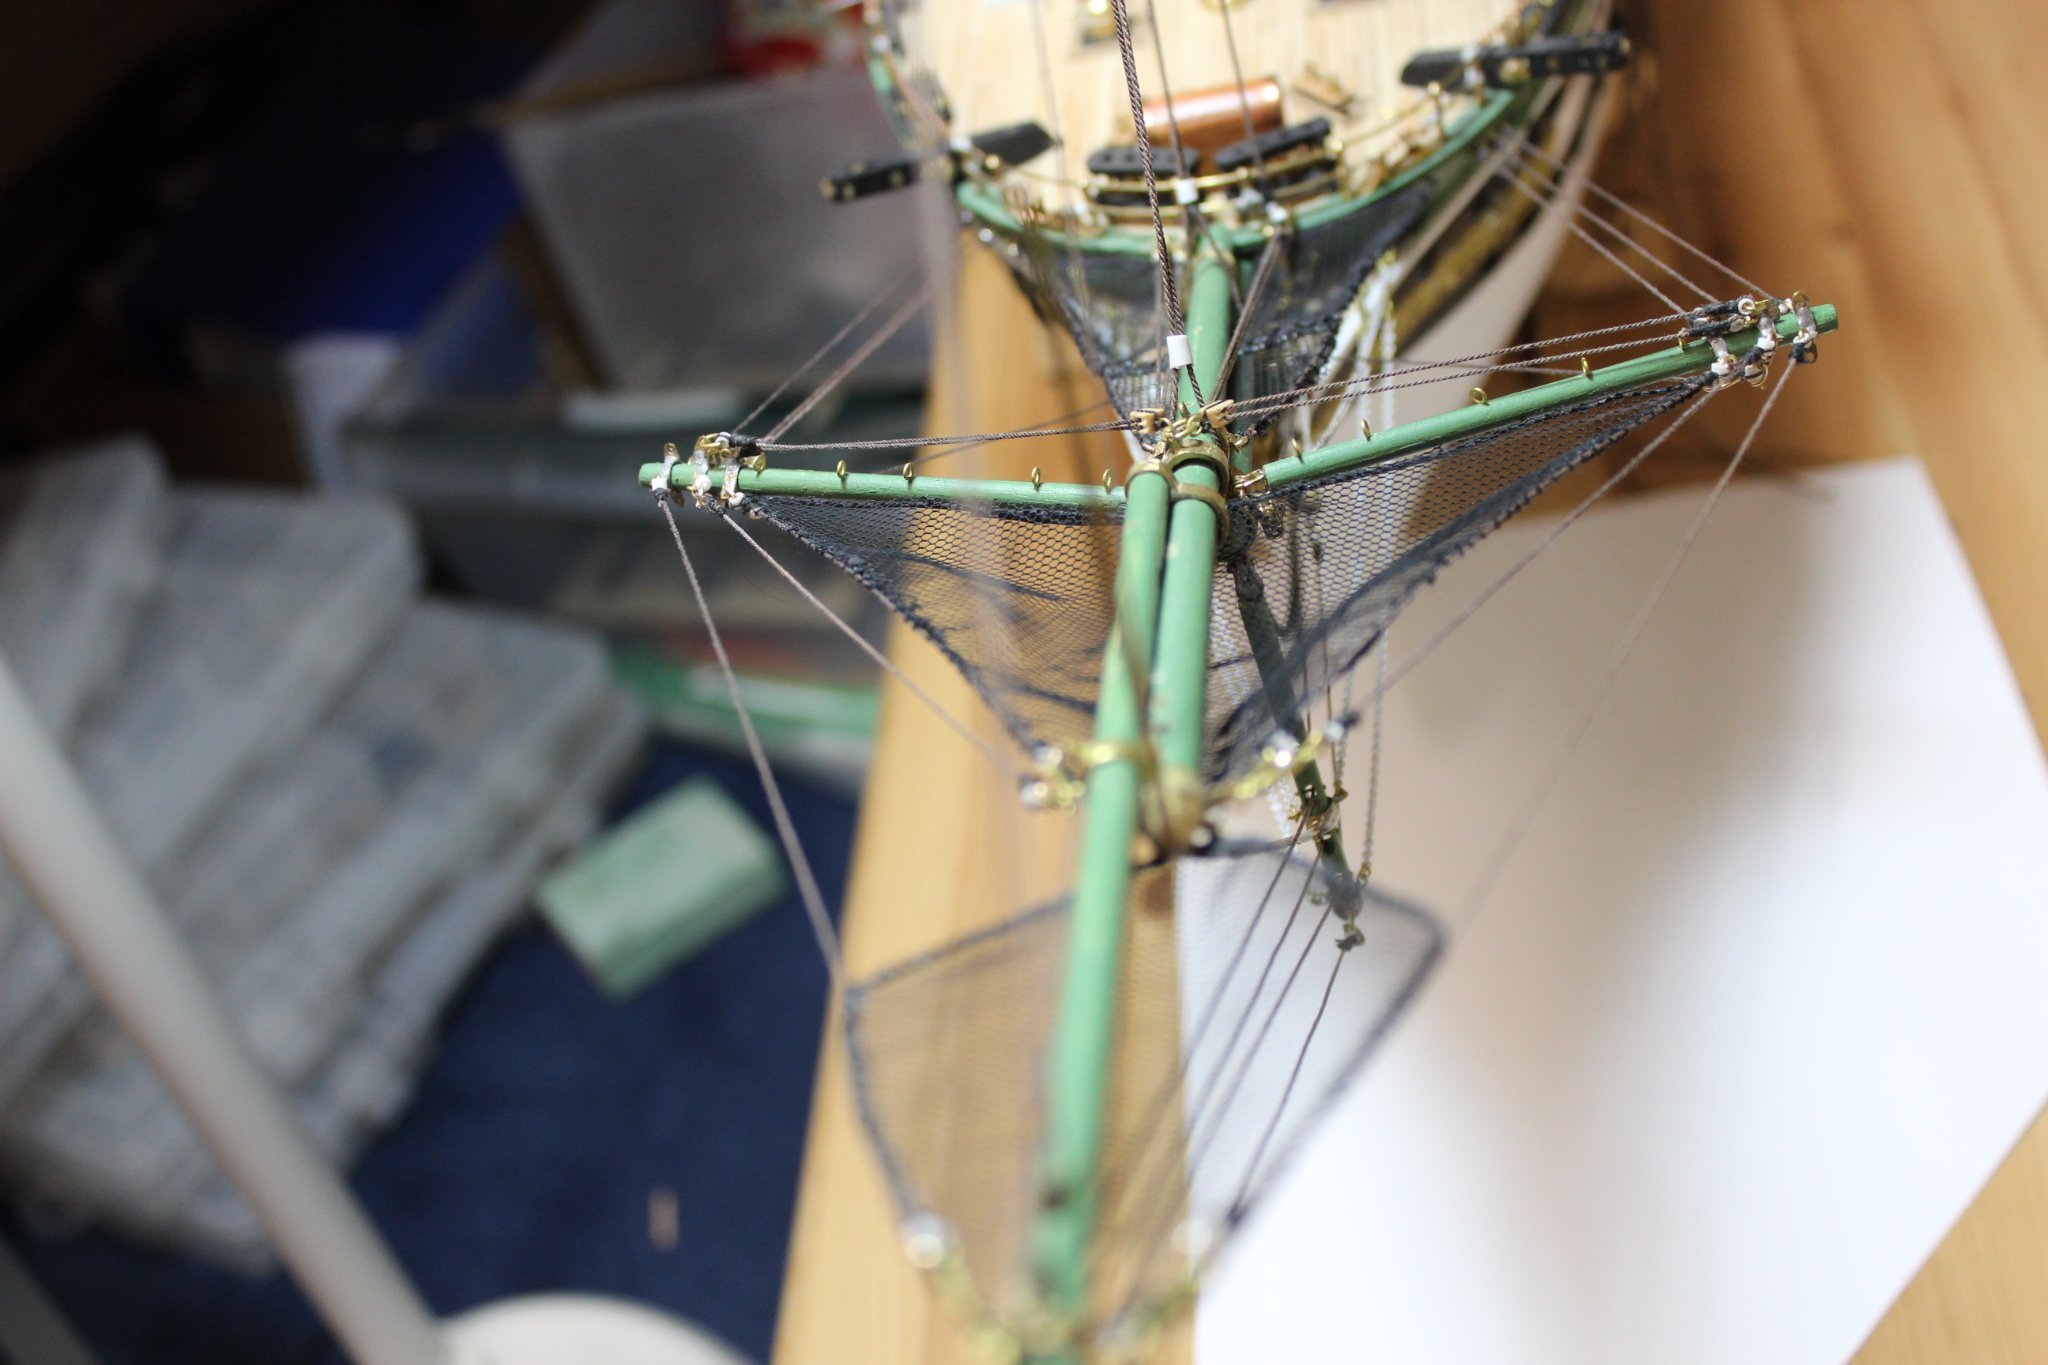
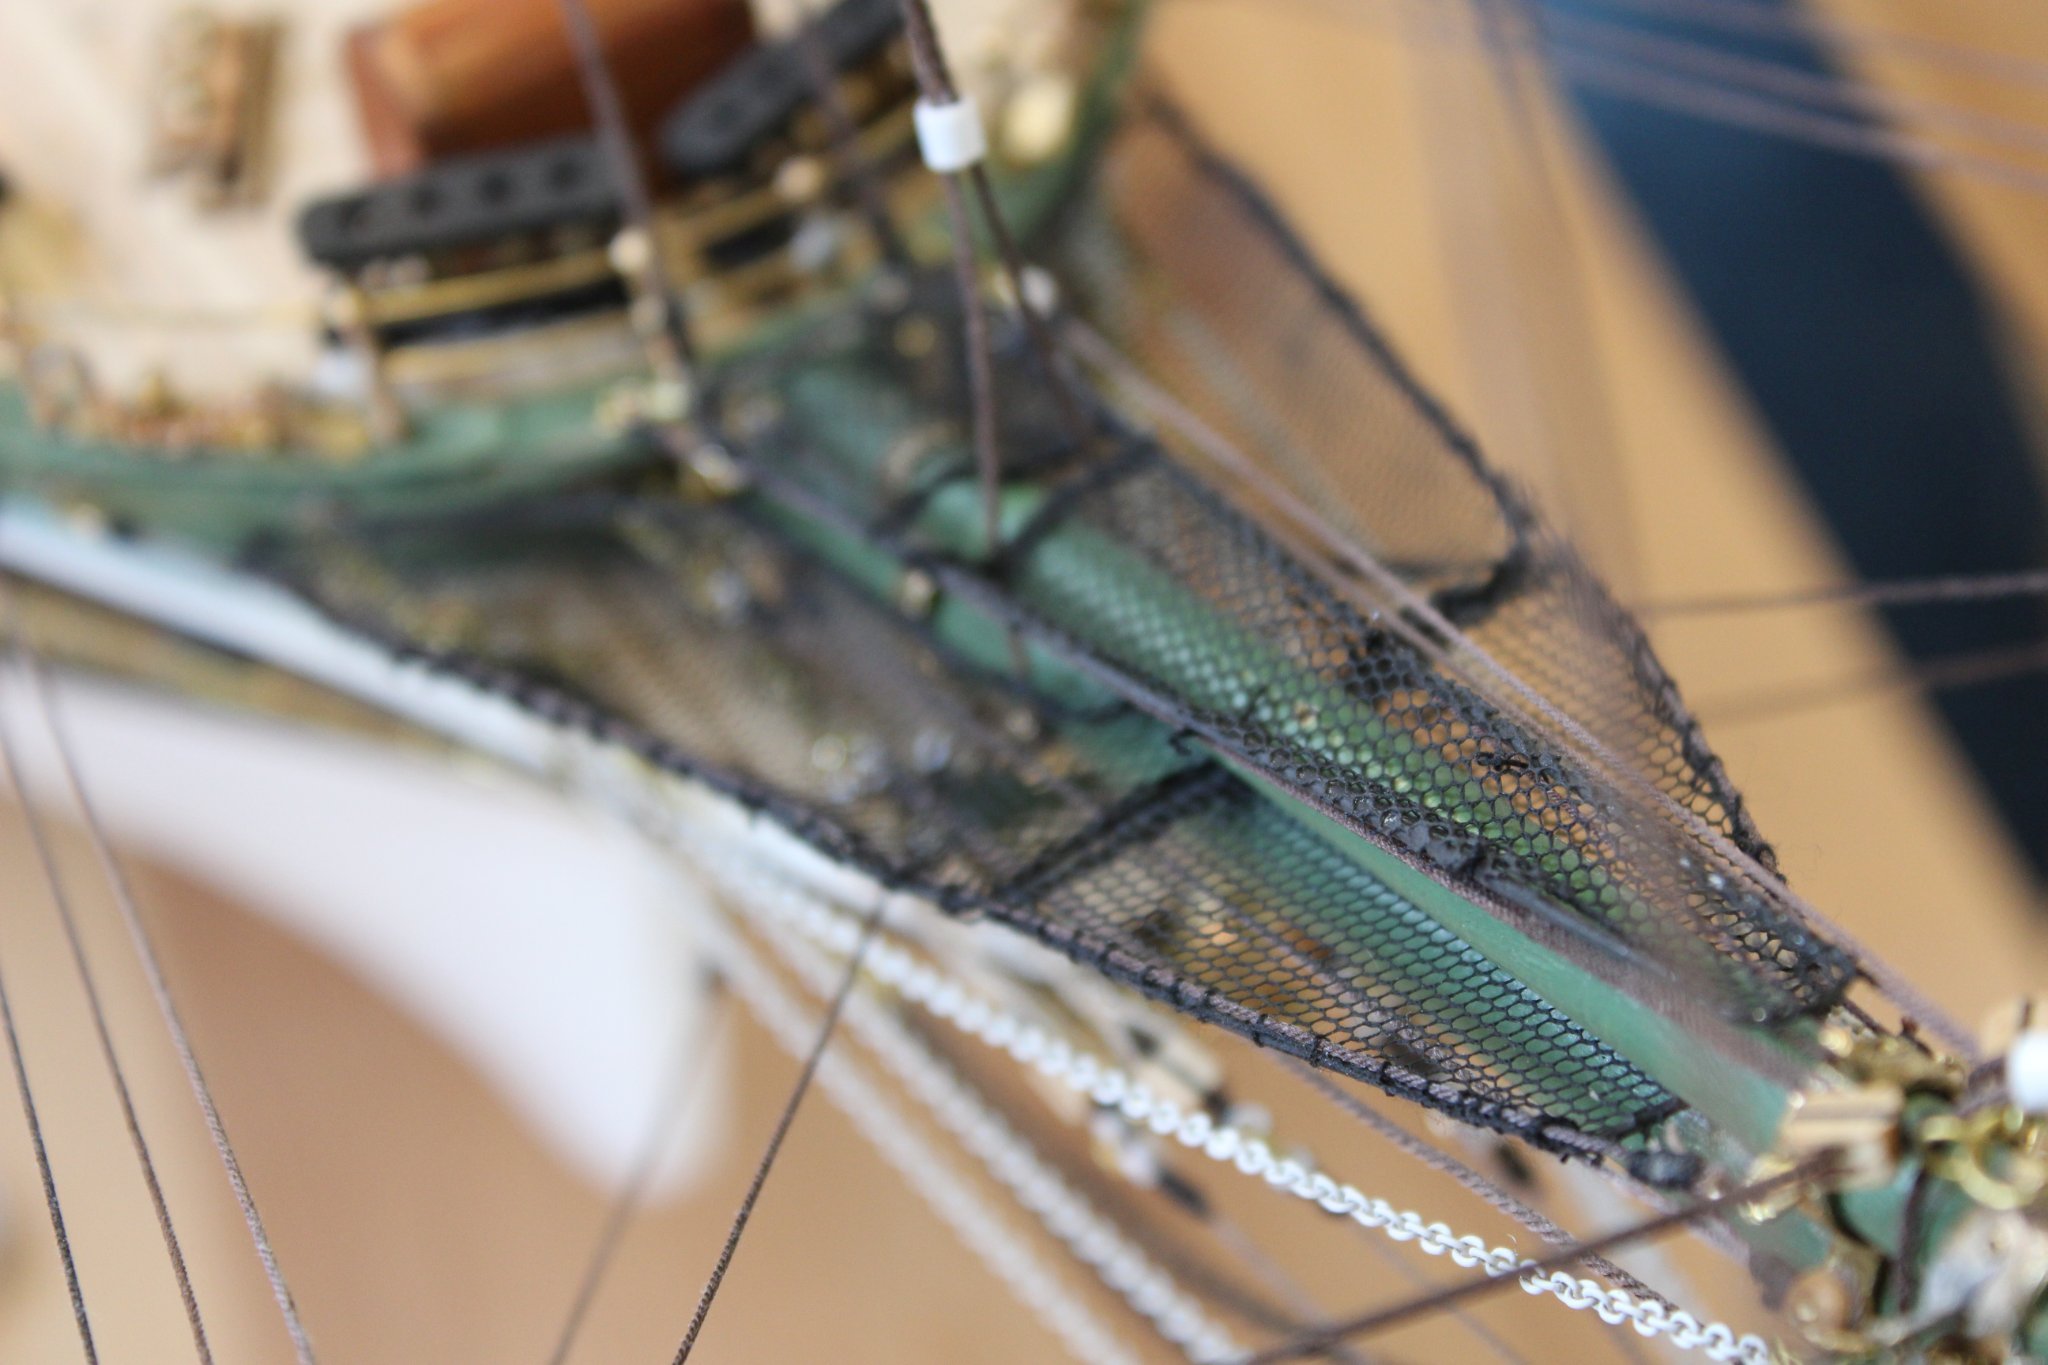
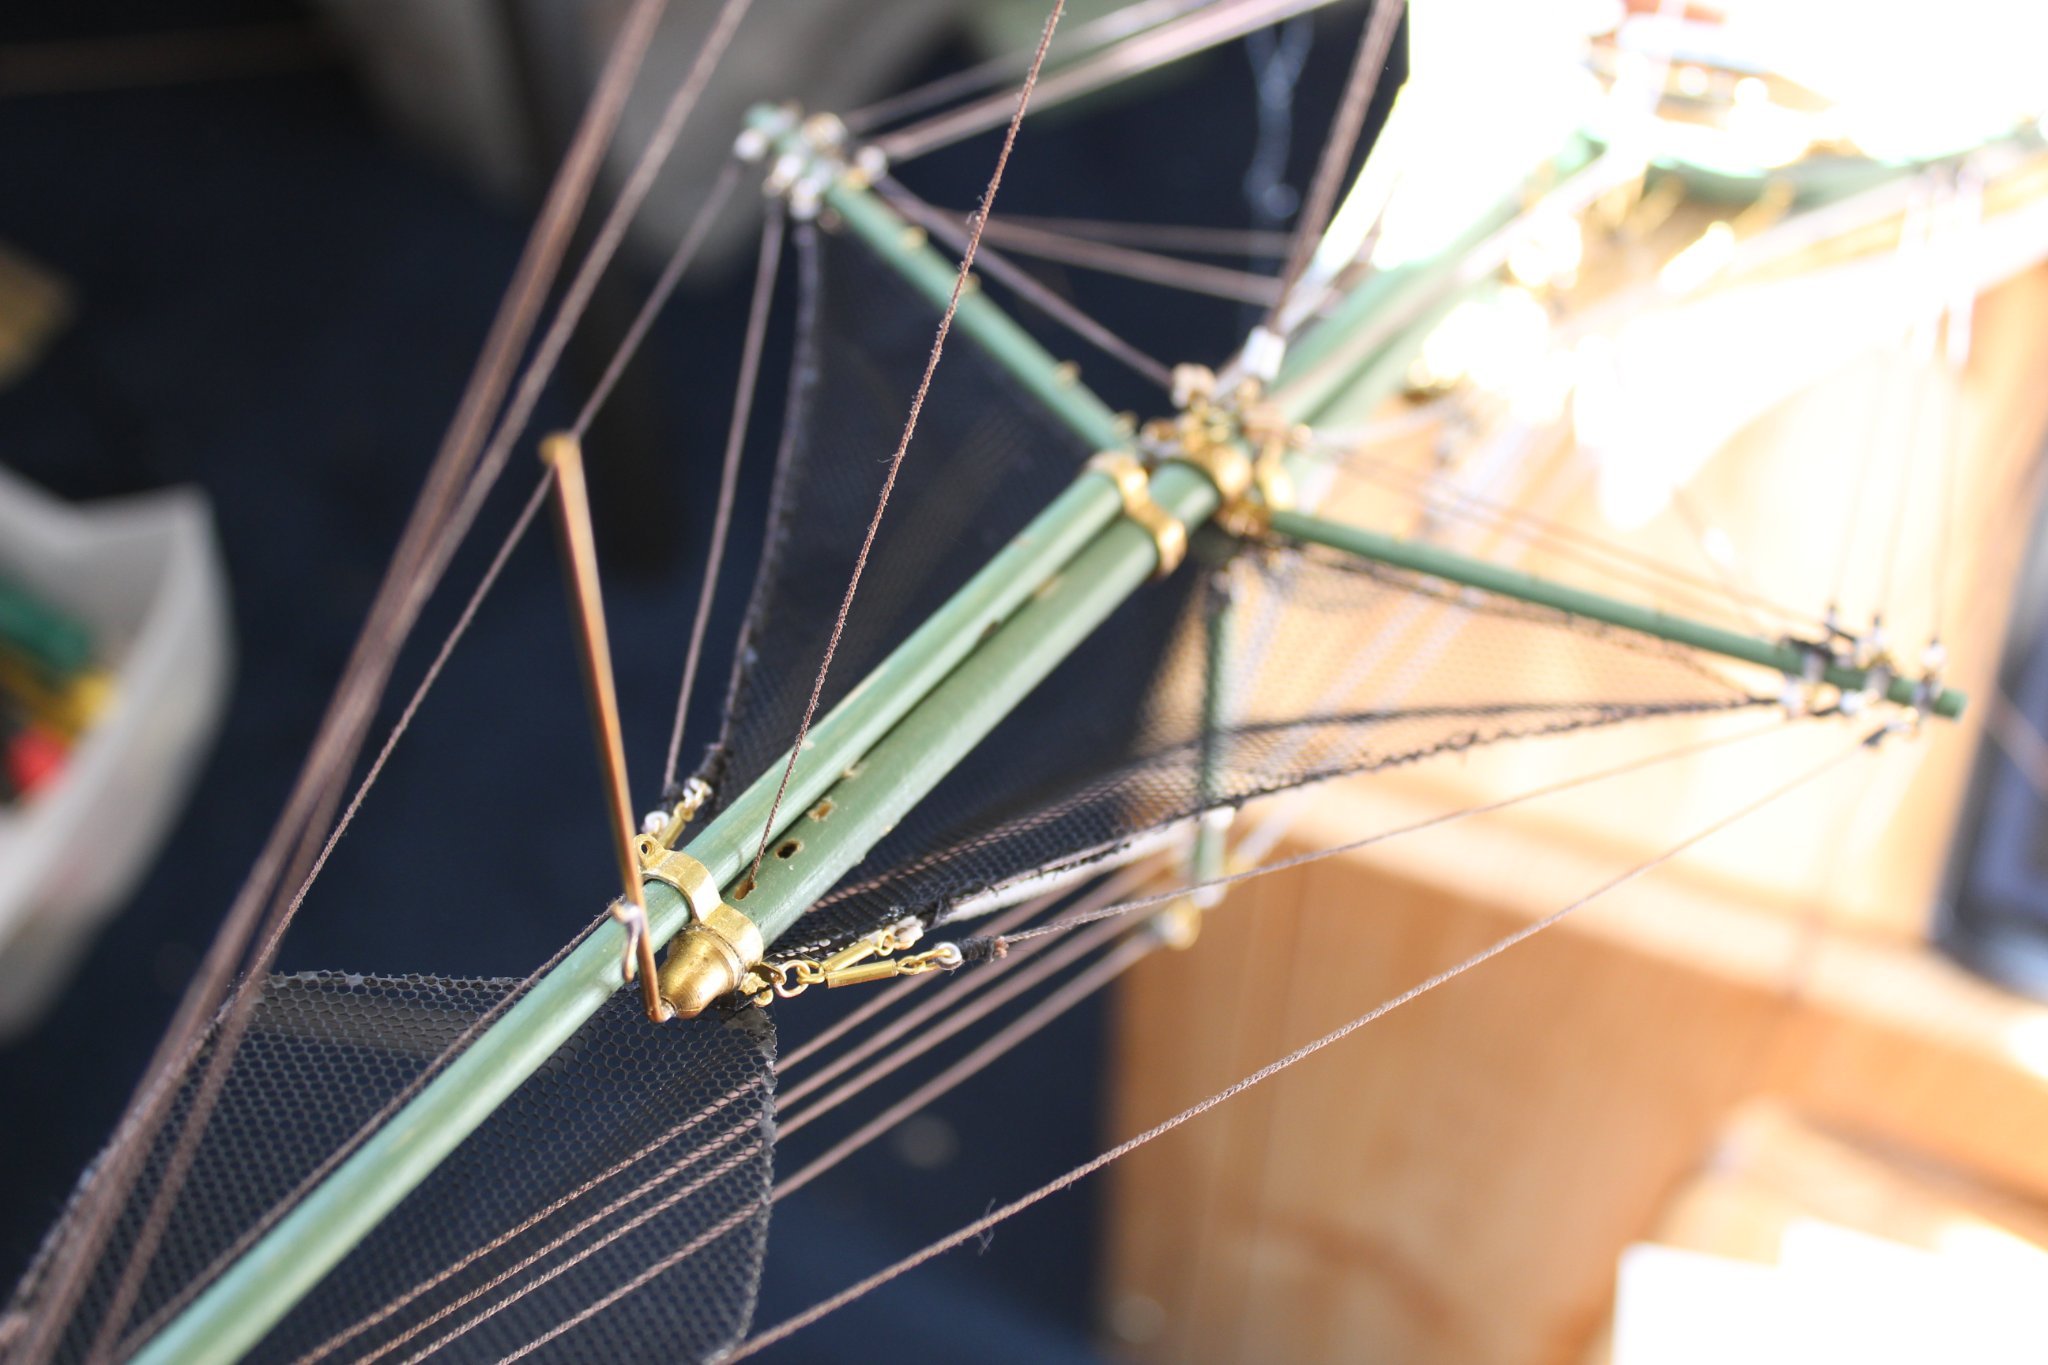
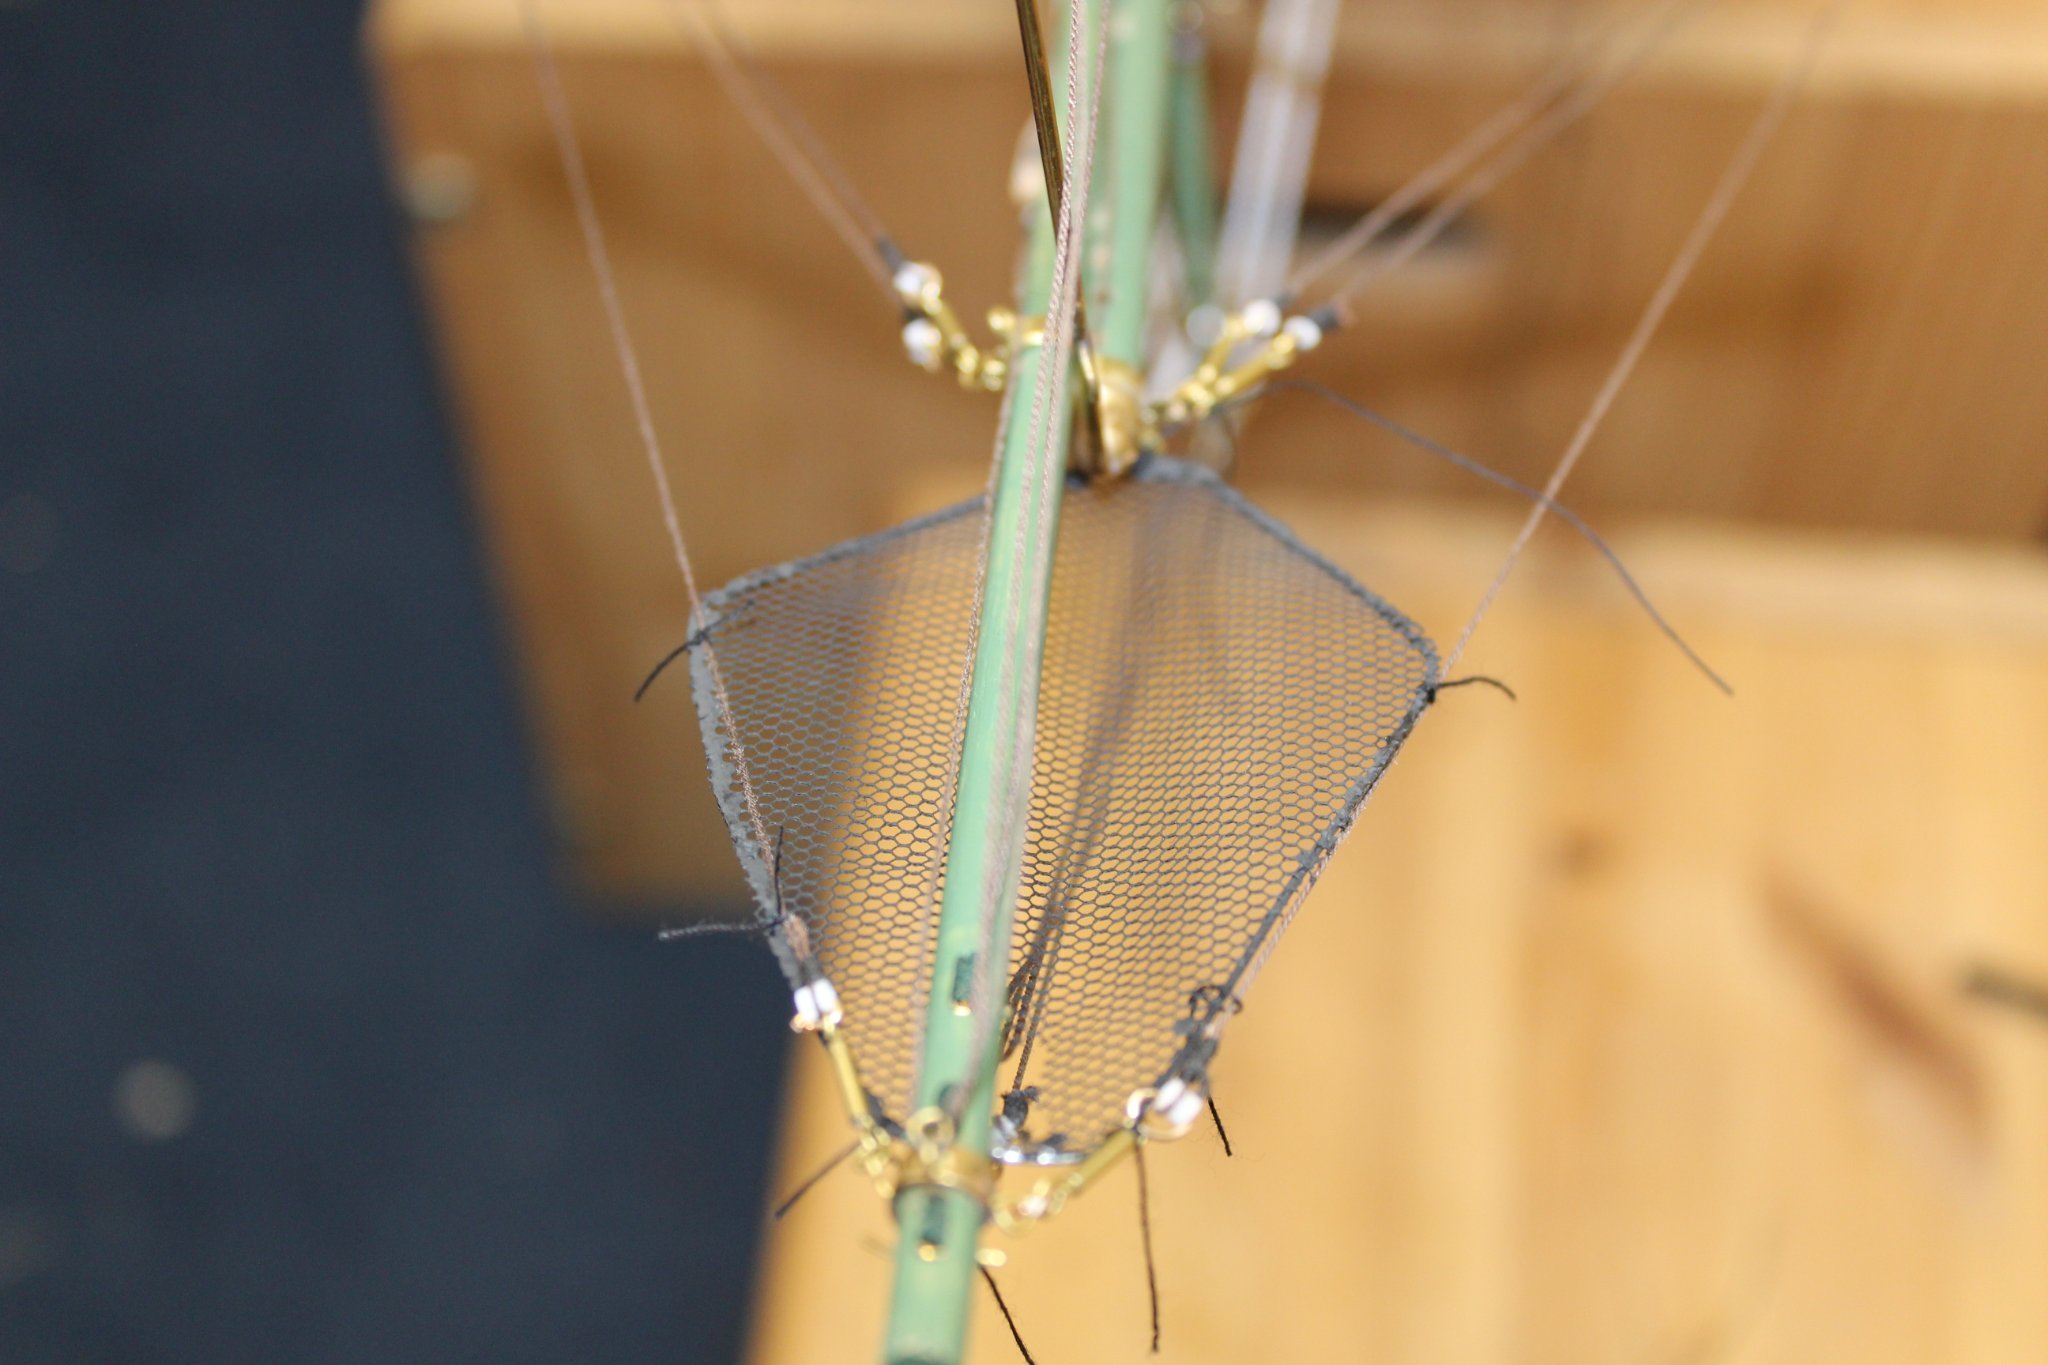
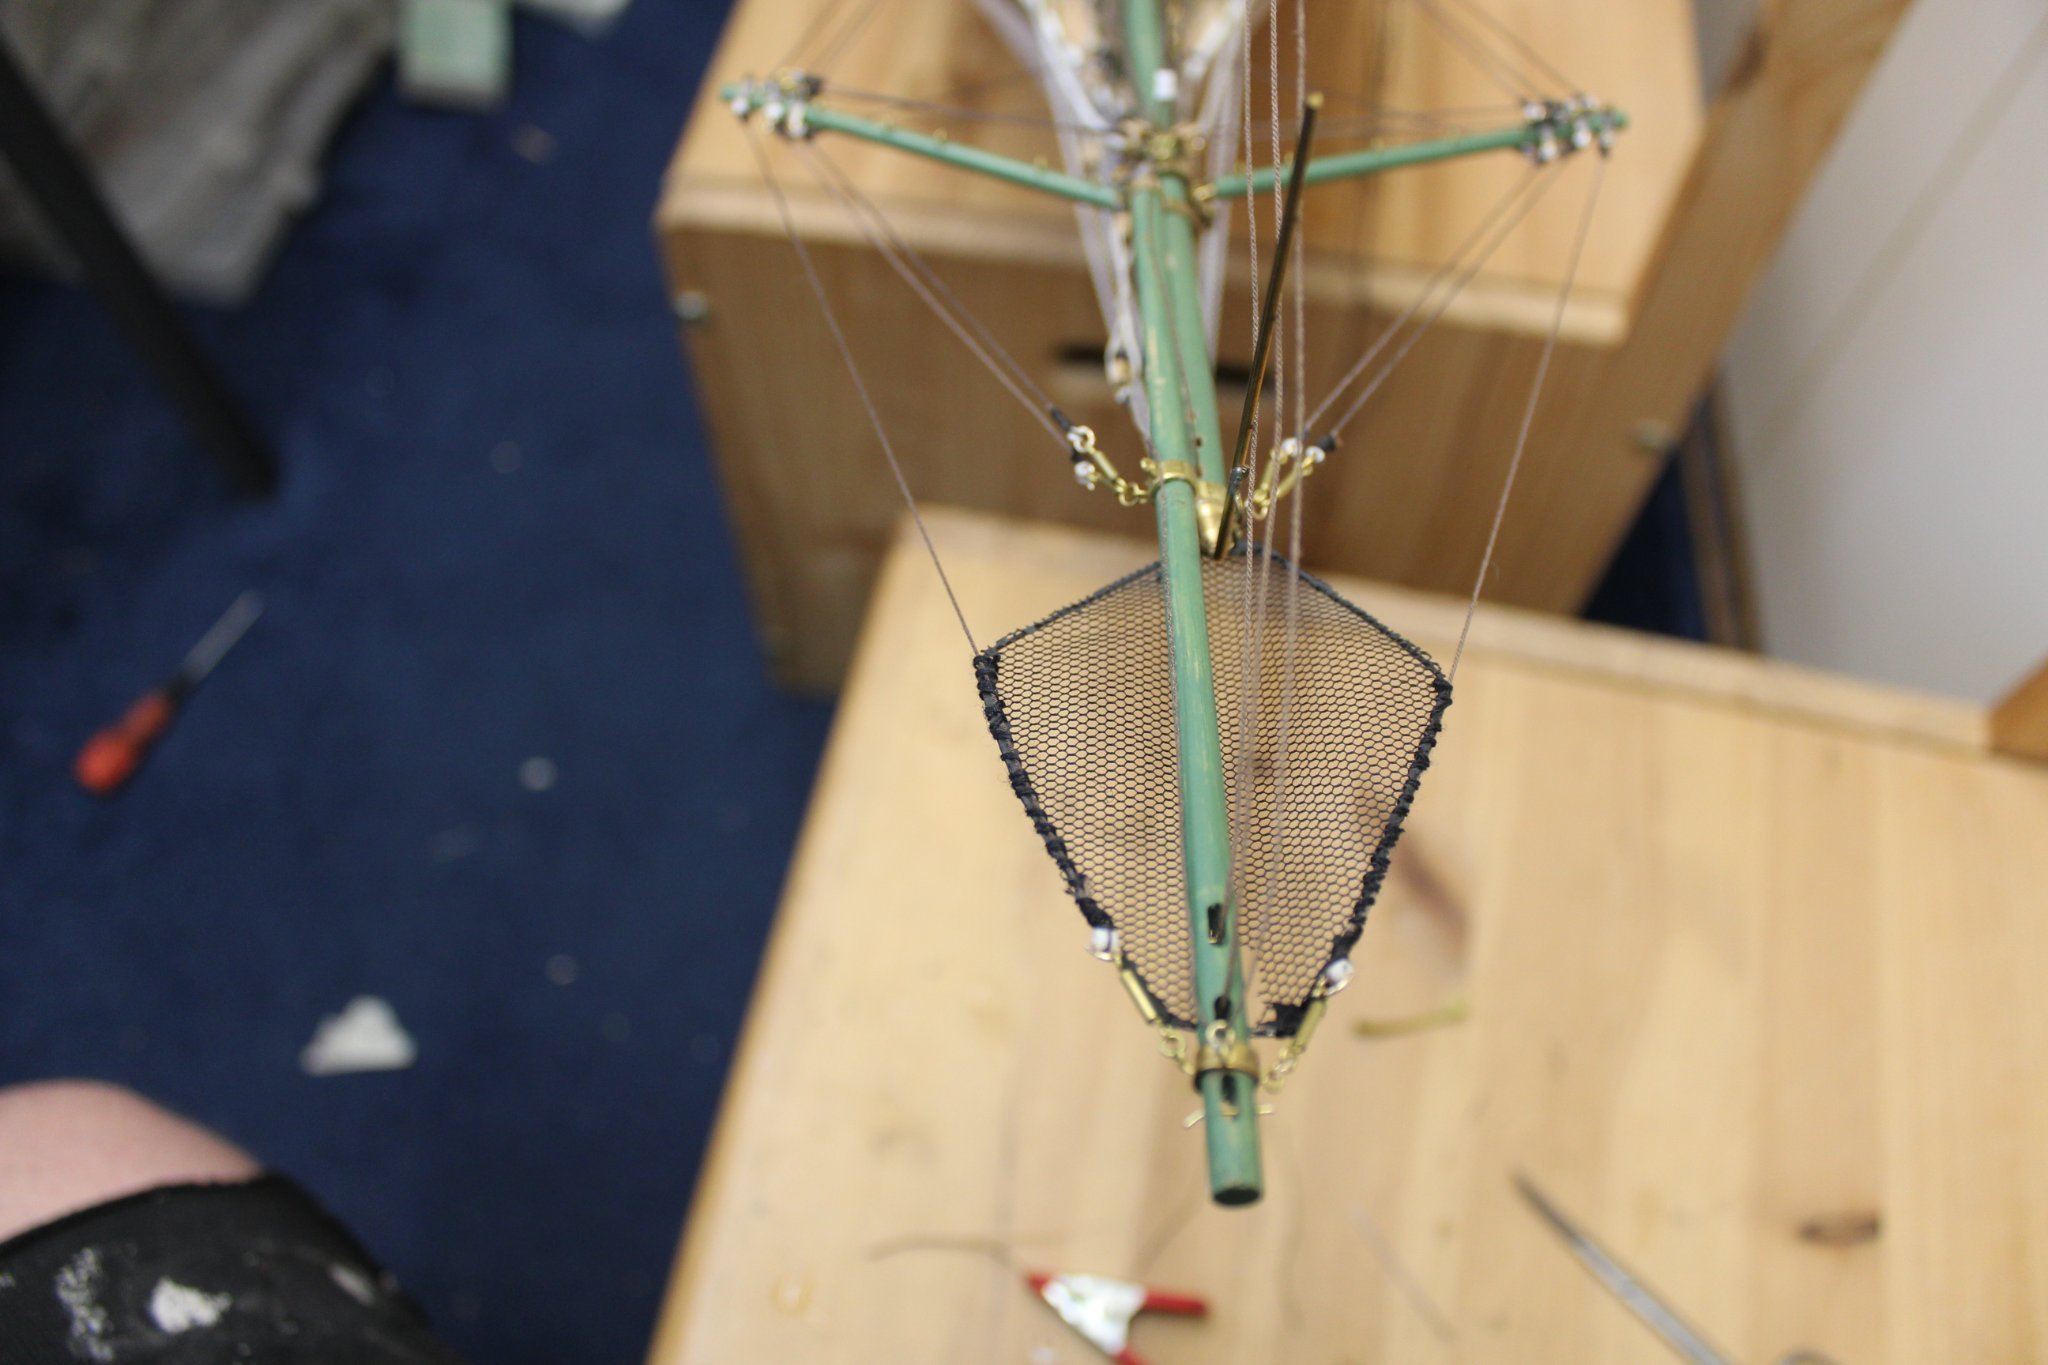
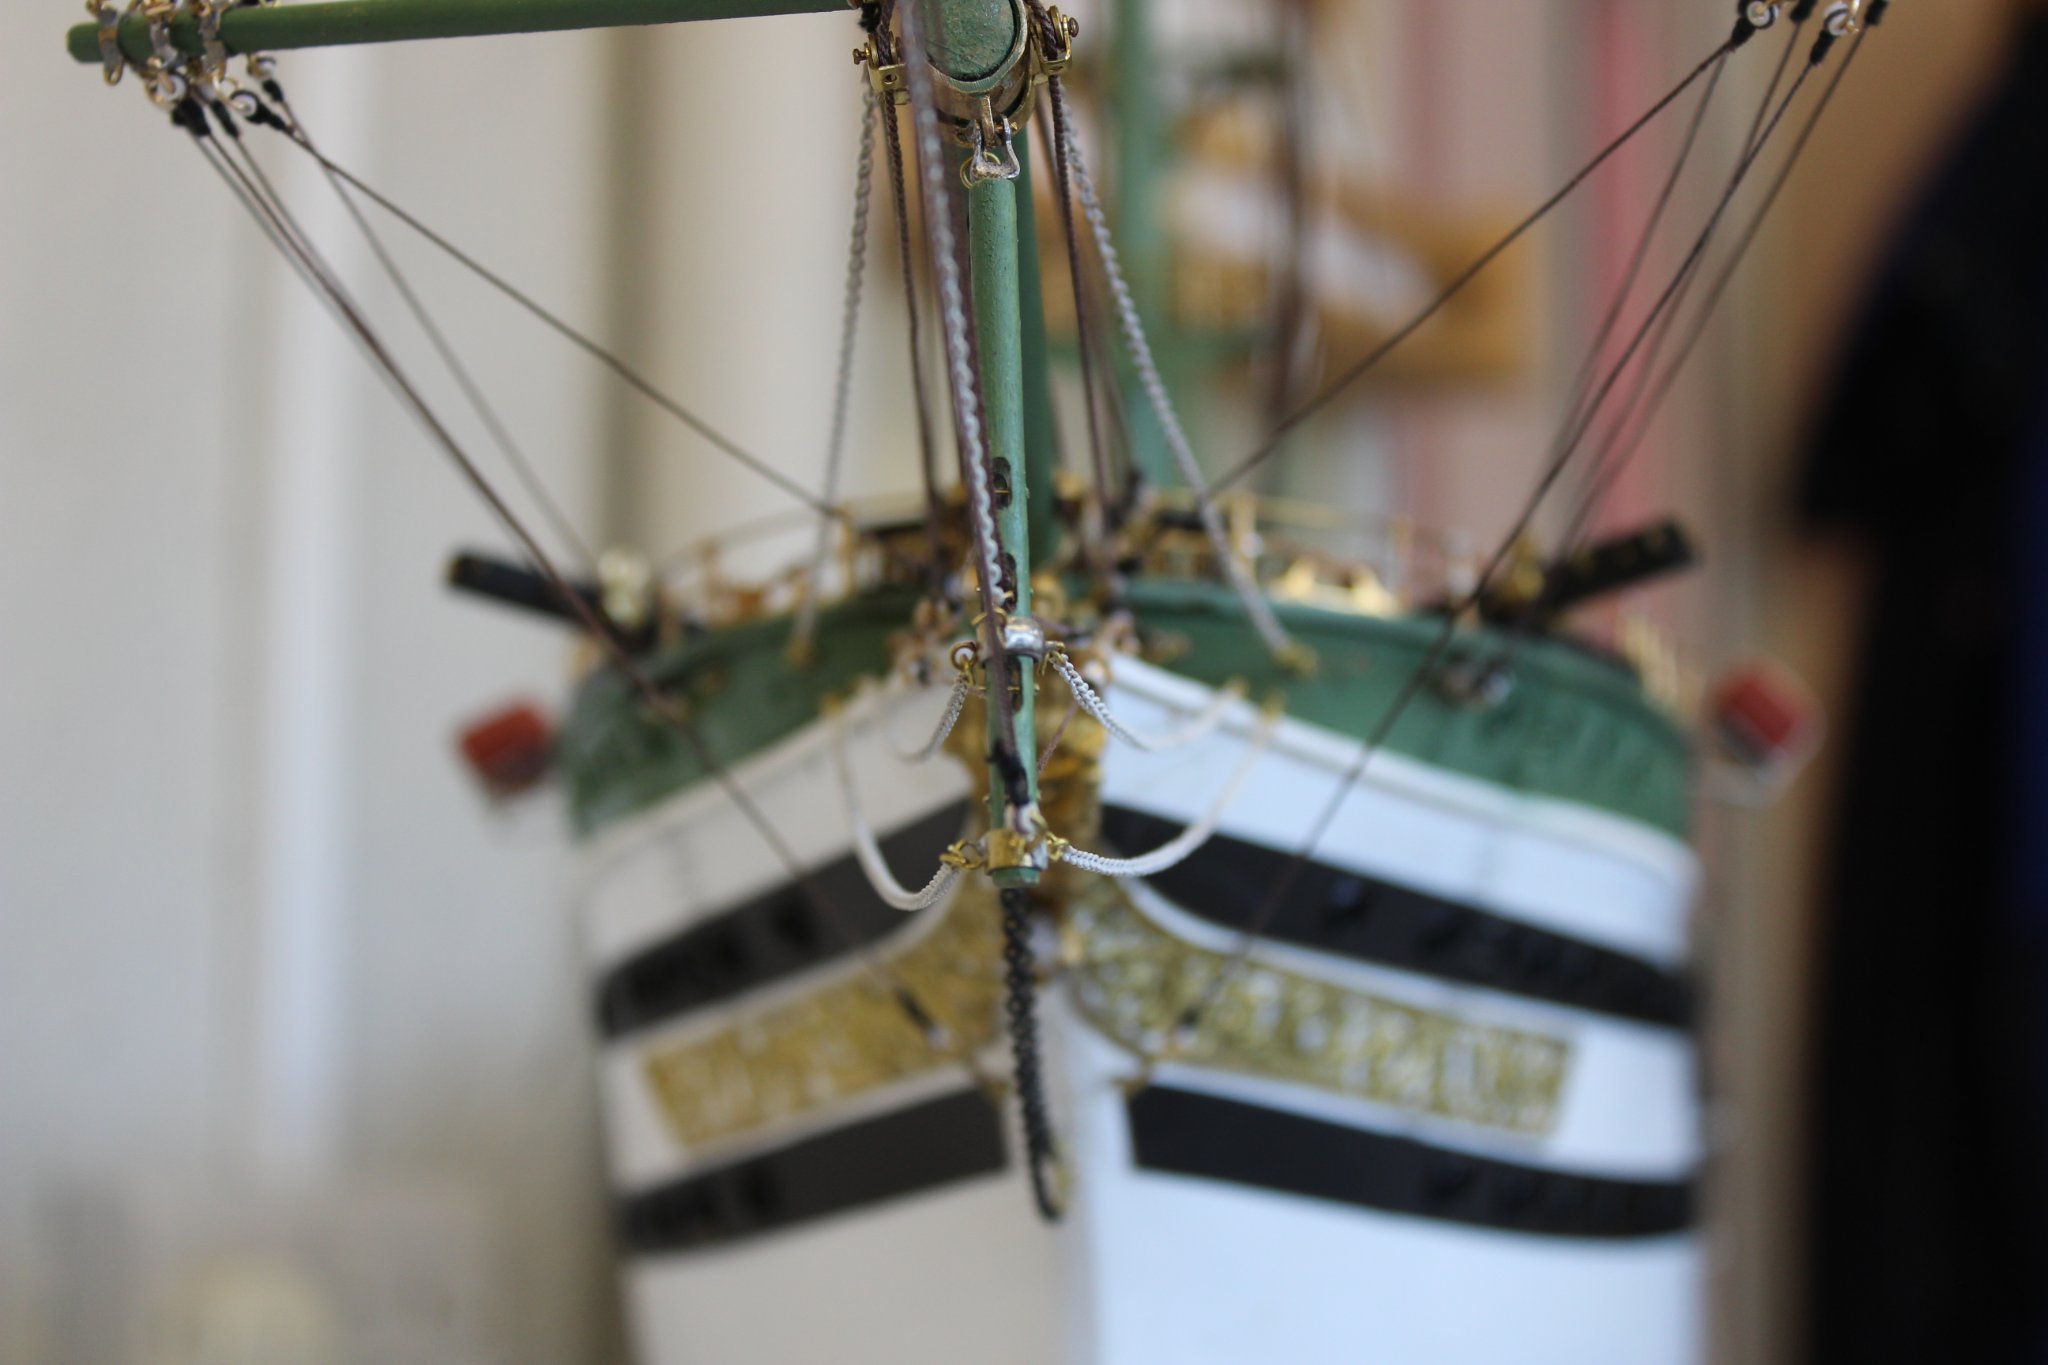
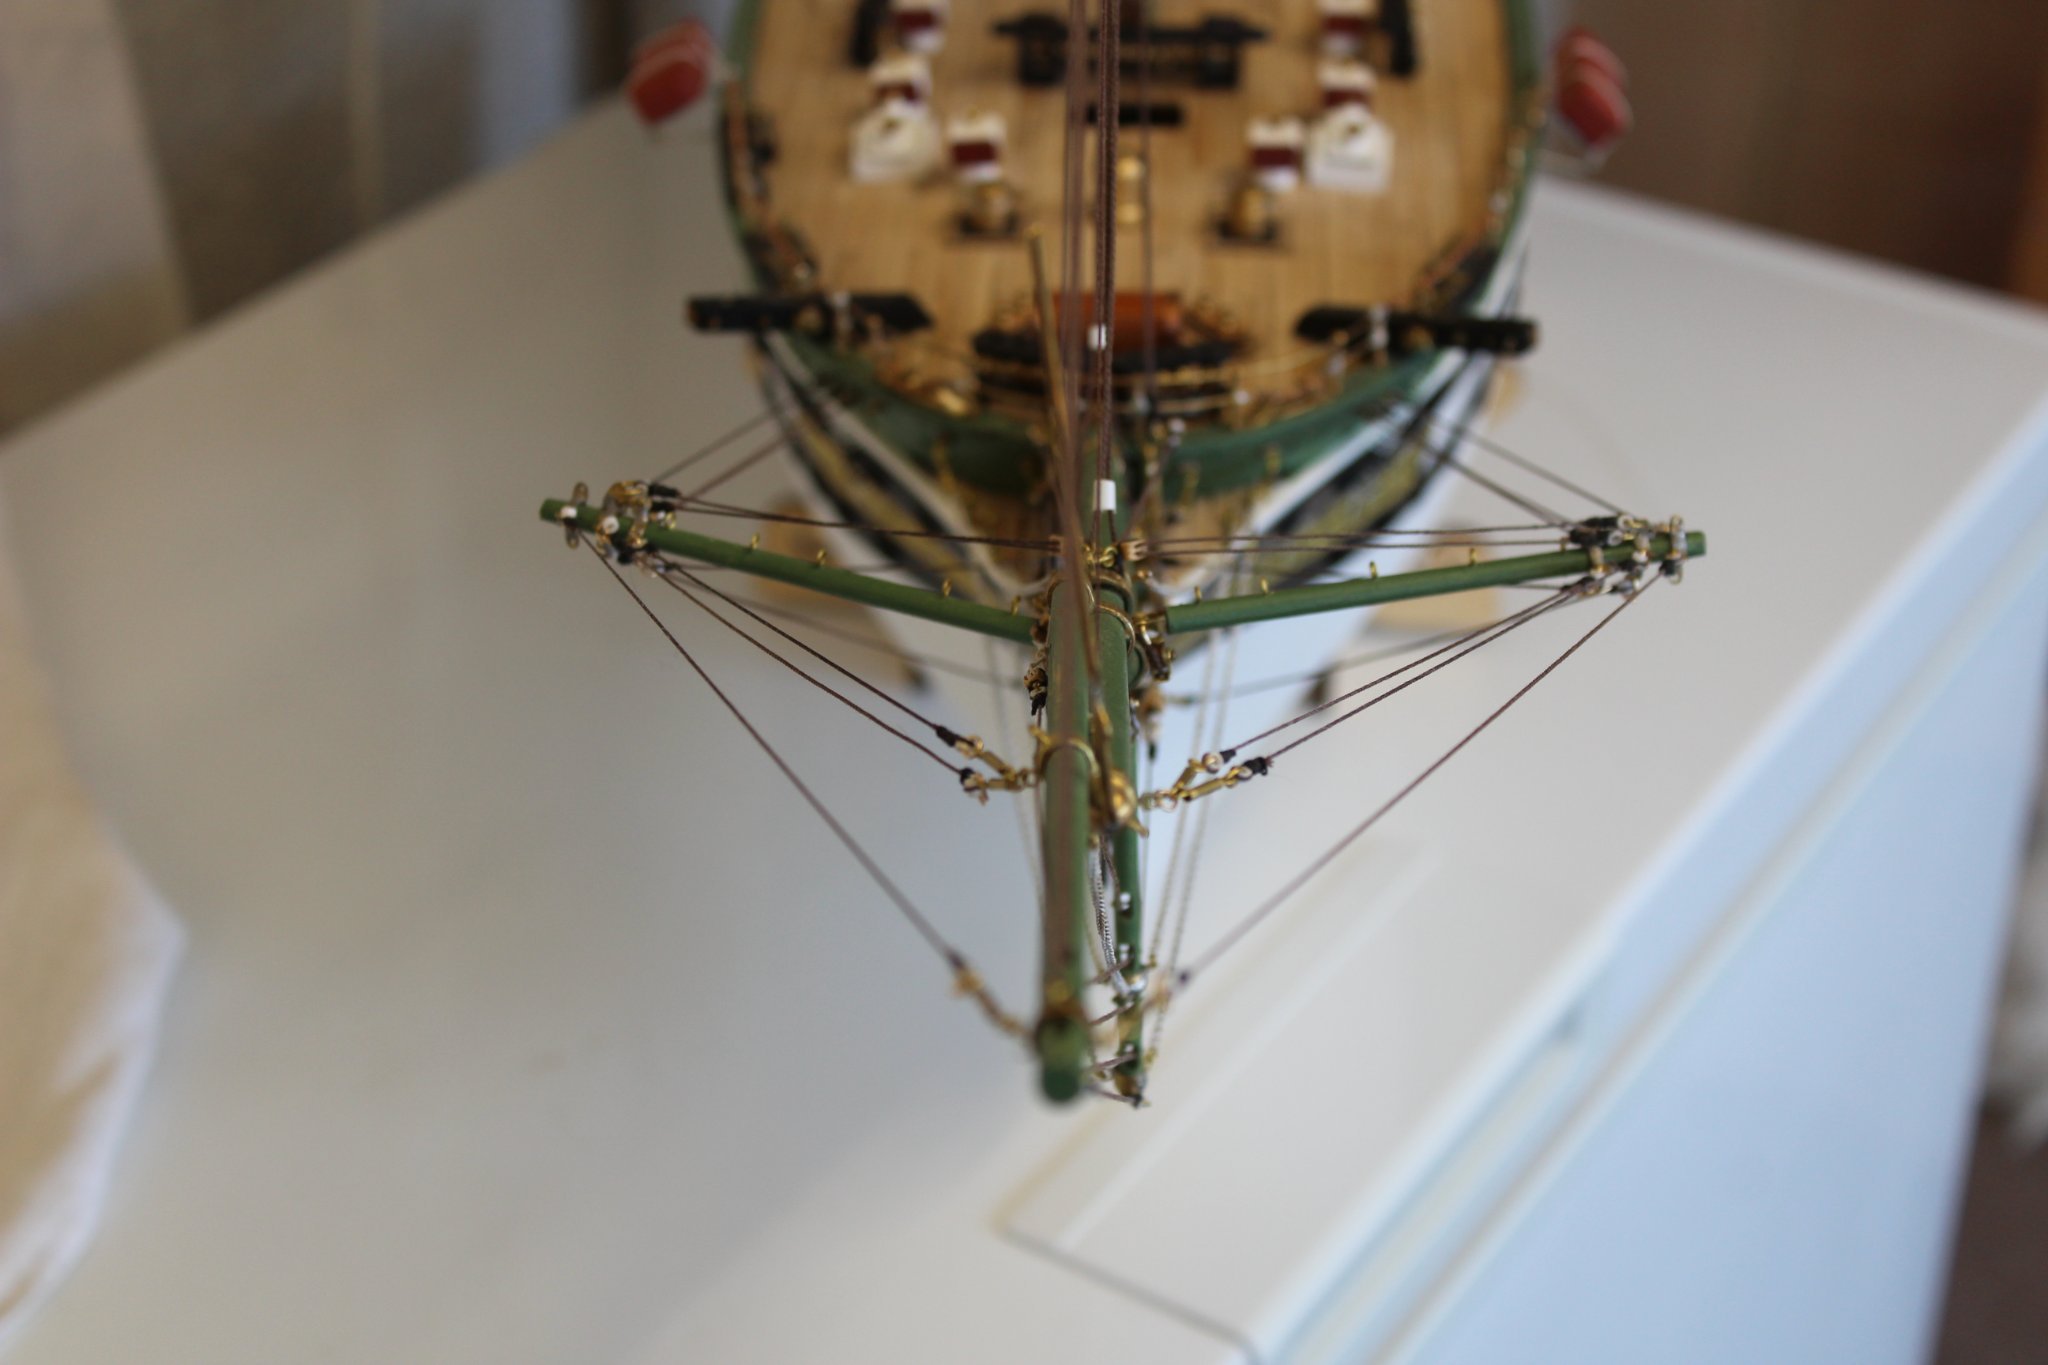
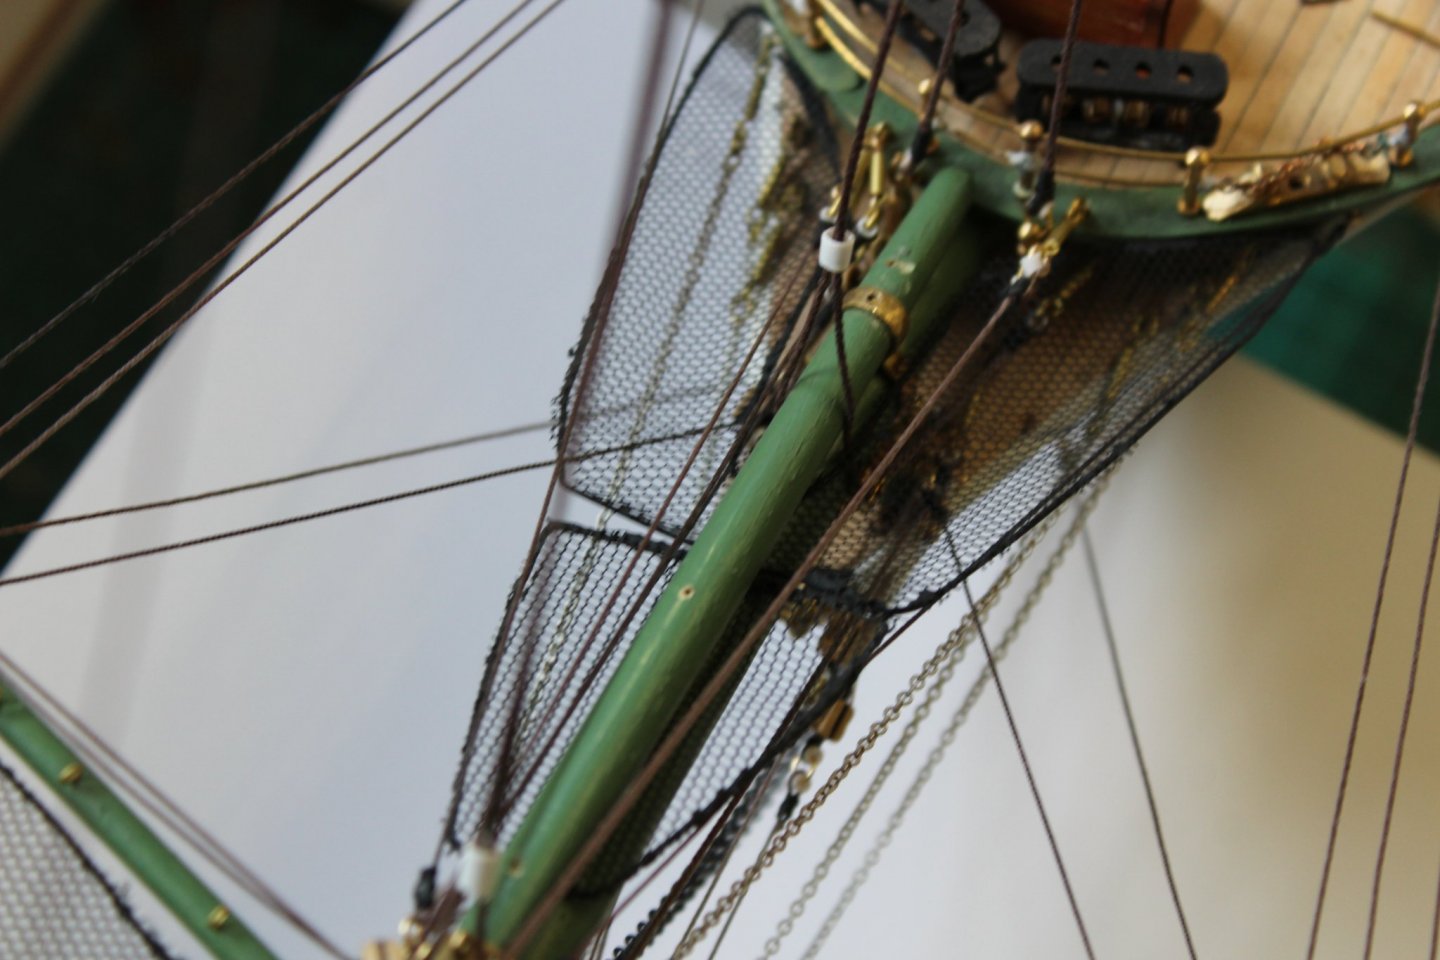
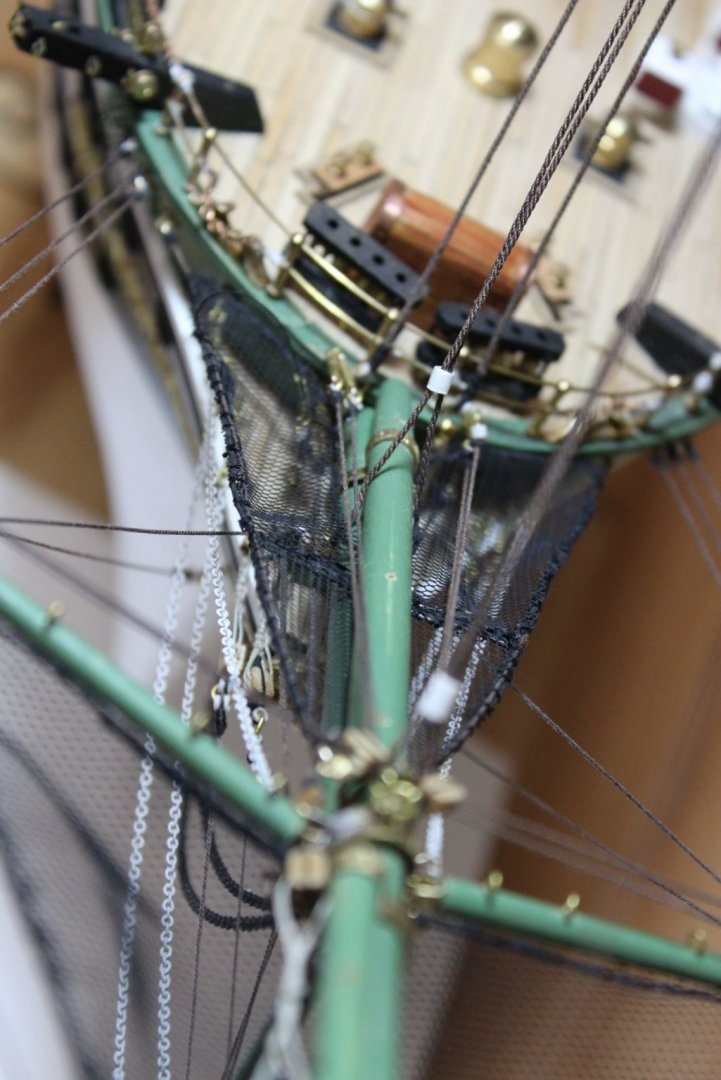
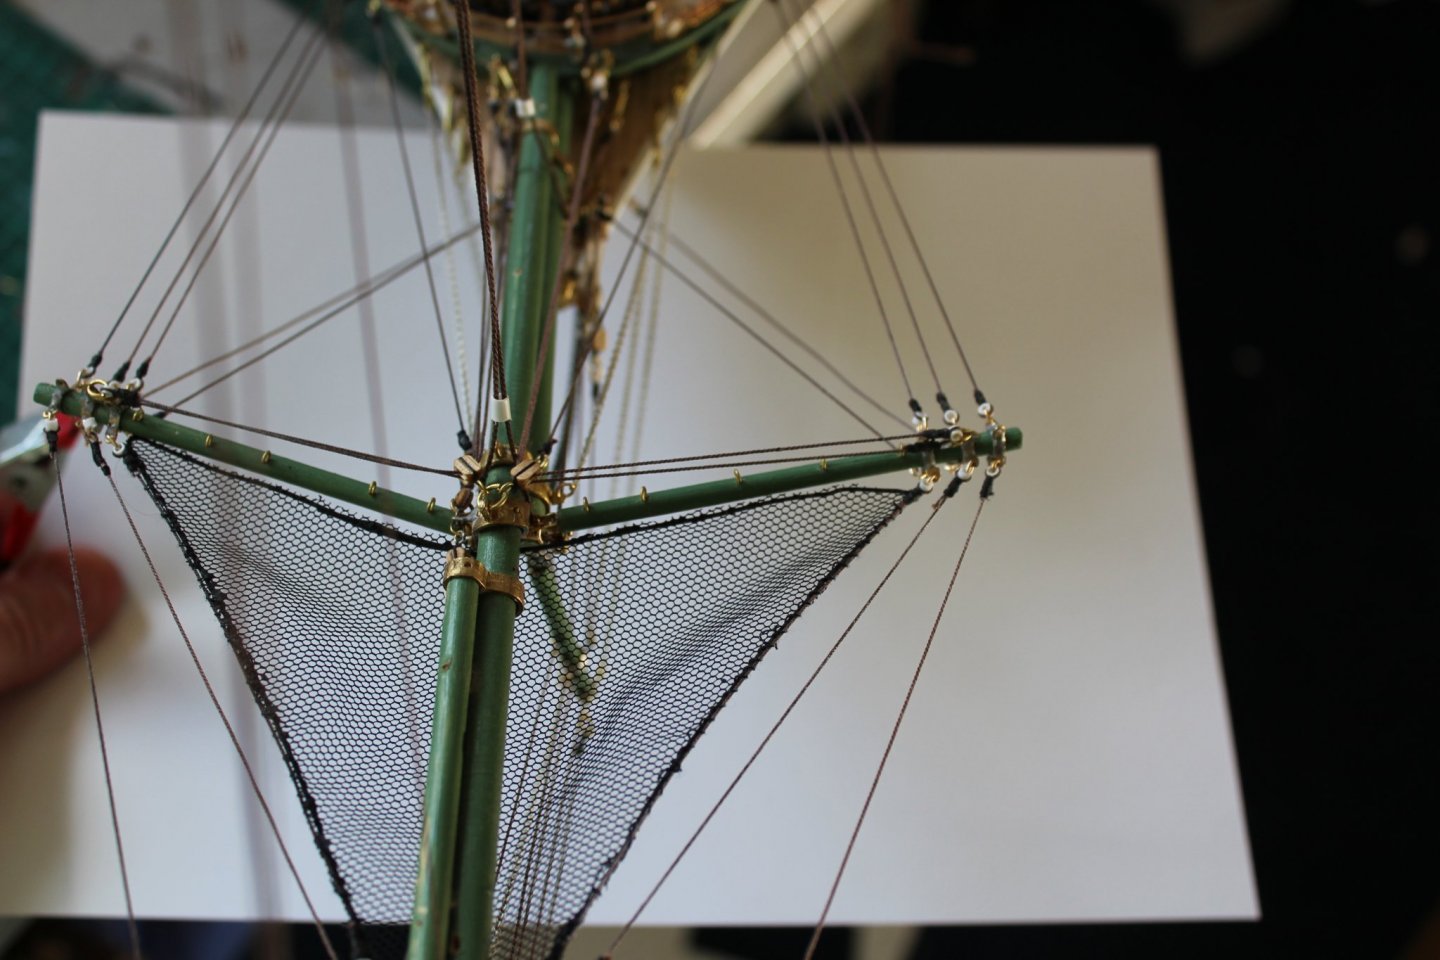
well the nets are completed, LOL i now need to find a way to avoid knocking the front end, breaking the bowsprit from now and i will certainly throw all my toys out of the pram and drop kick the build into the bin wire template to get the shape tight squeeze


- 273 replies
-
- 15
-
-

-

-
- panart
- amerigo vespucci
- (and 1 more)
-
Ty for posting phots of castings, they look better than i thought they would
-
thank you Yves, i keep finding new lines to go in
- 273 replies
-
- 2
-
-
- panart
- amerigo vespucci
- (and 1 more)
-
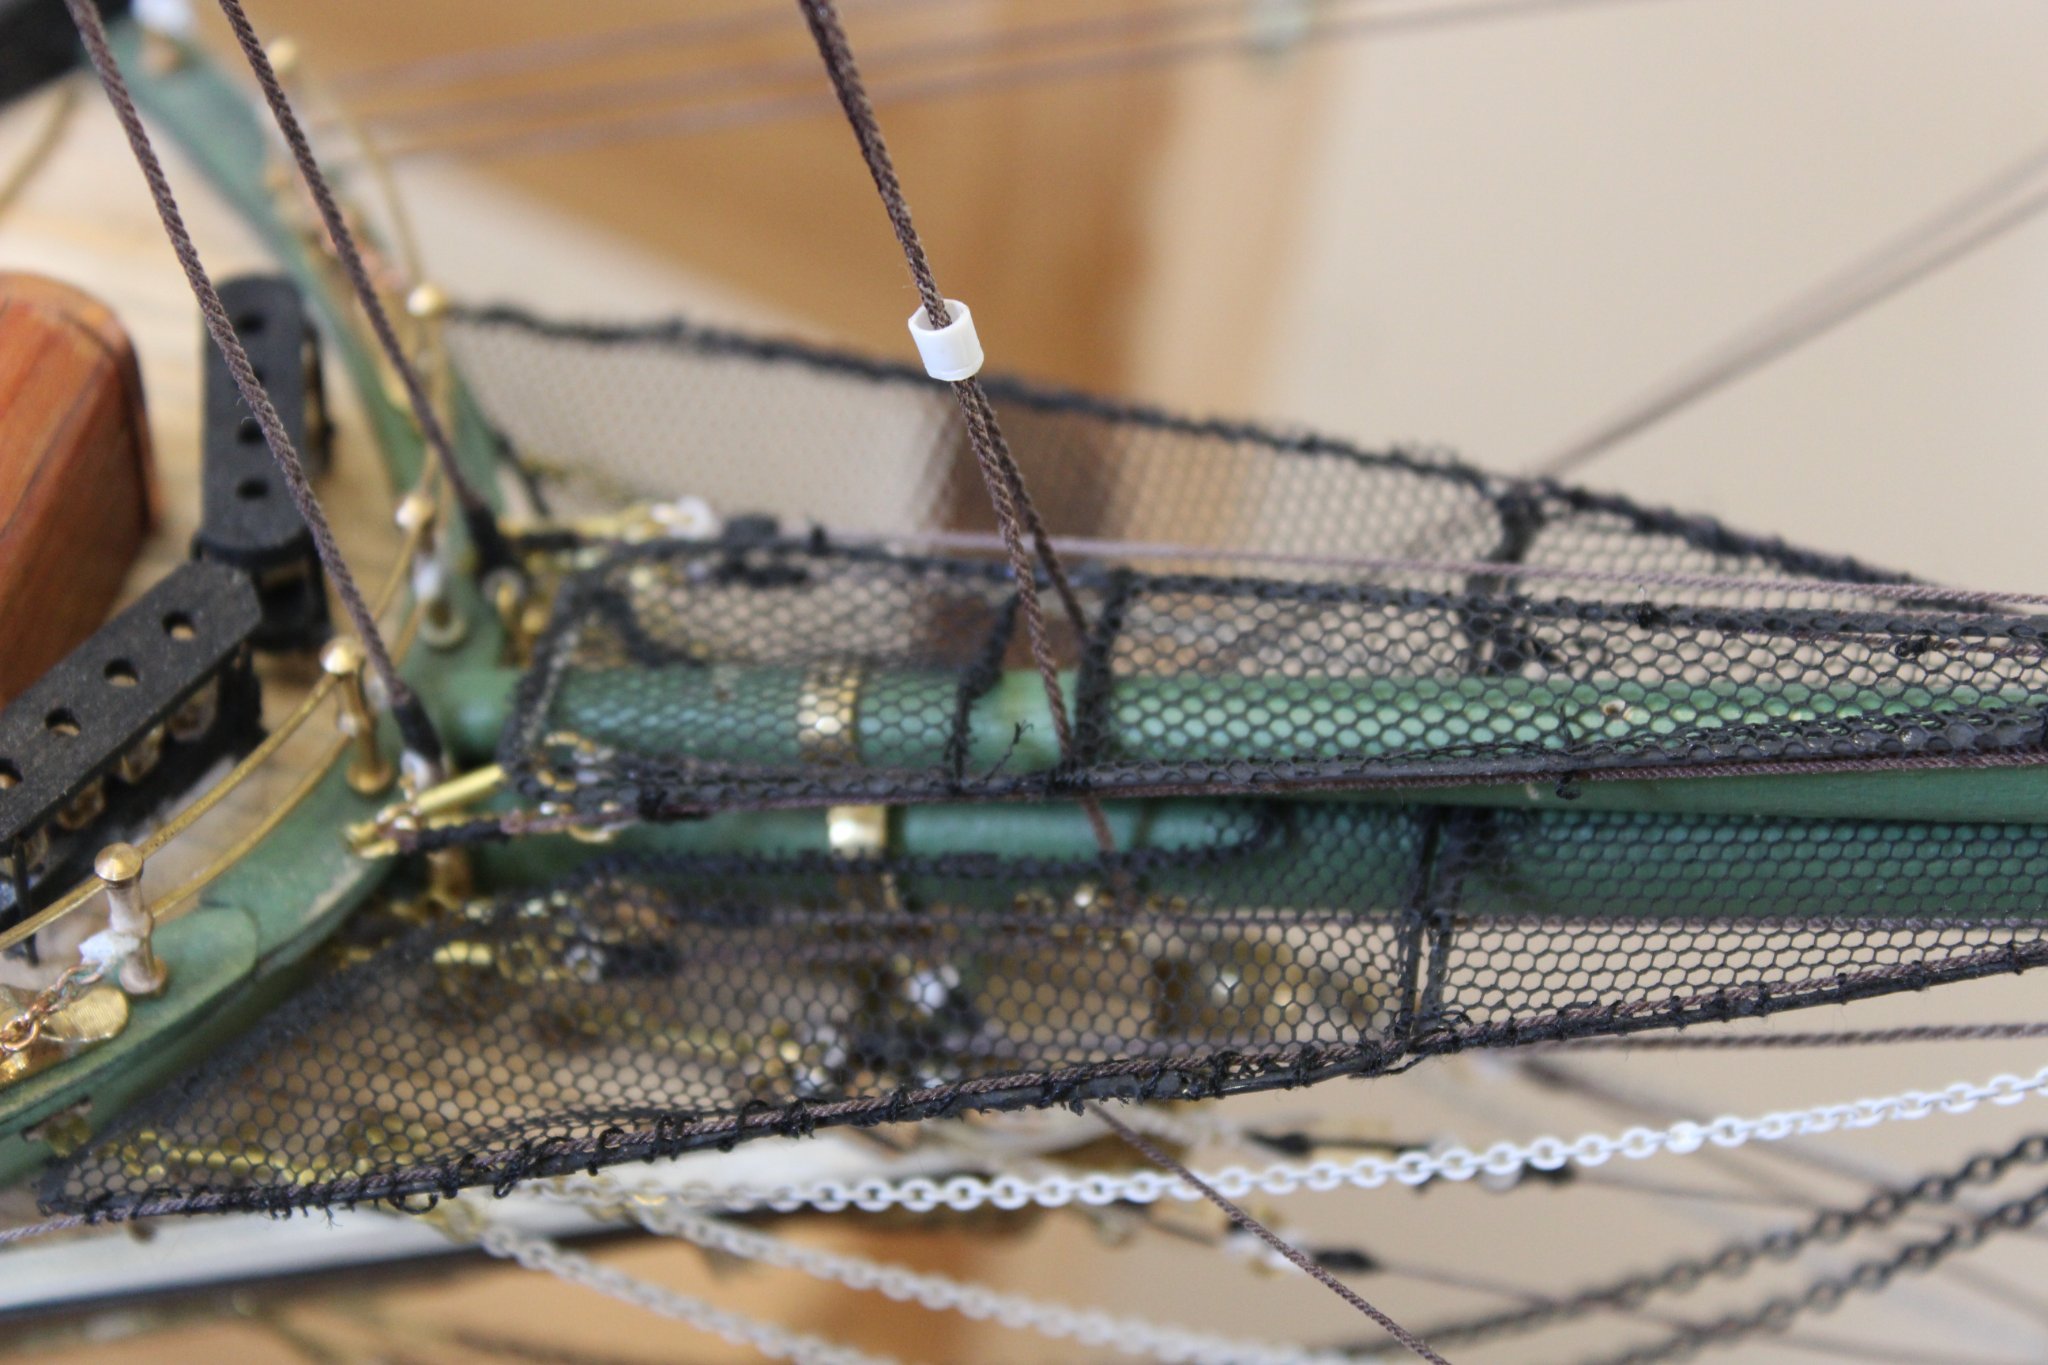
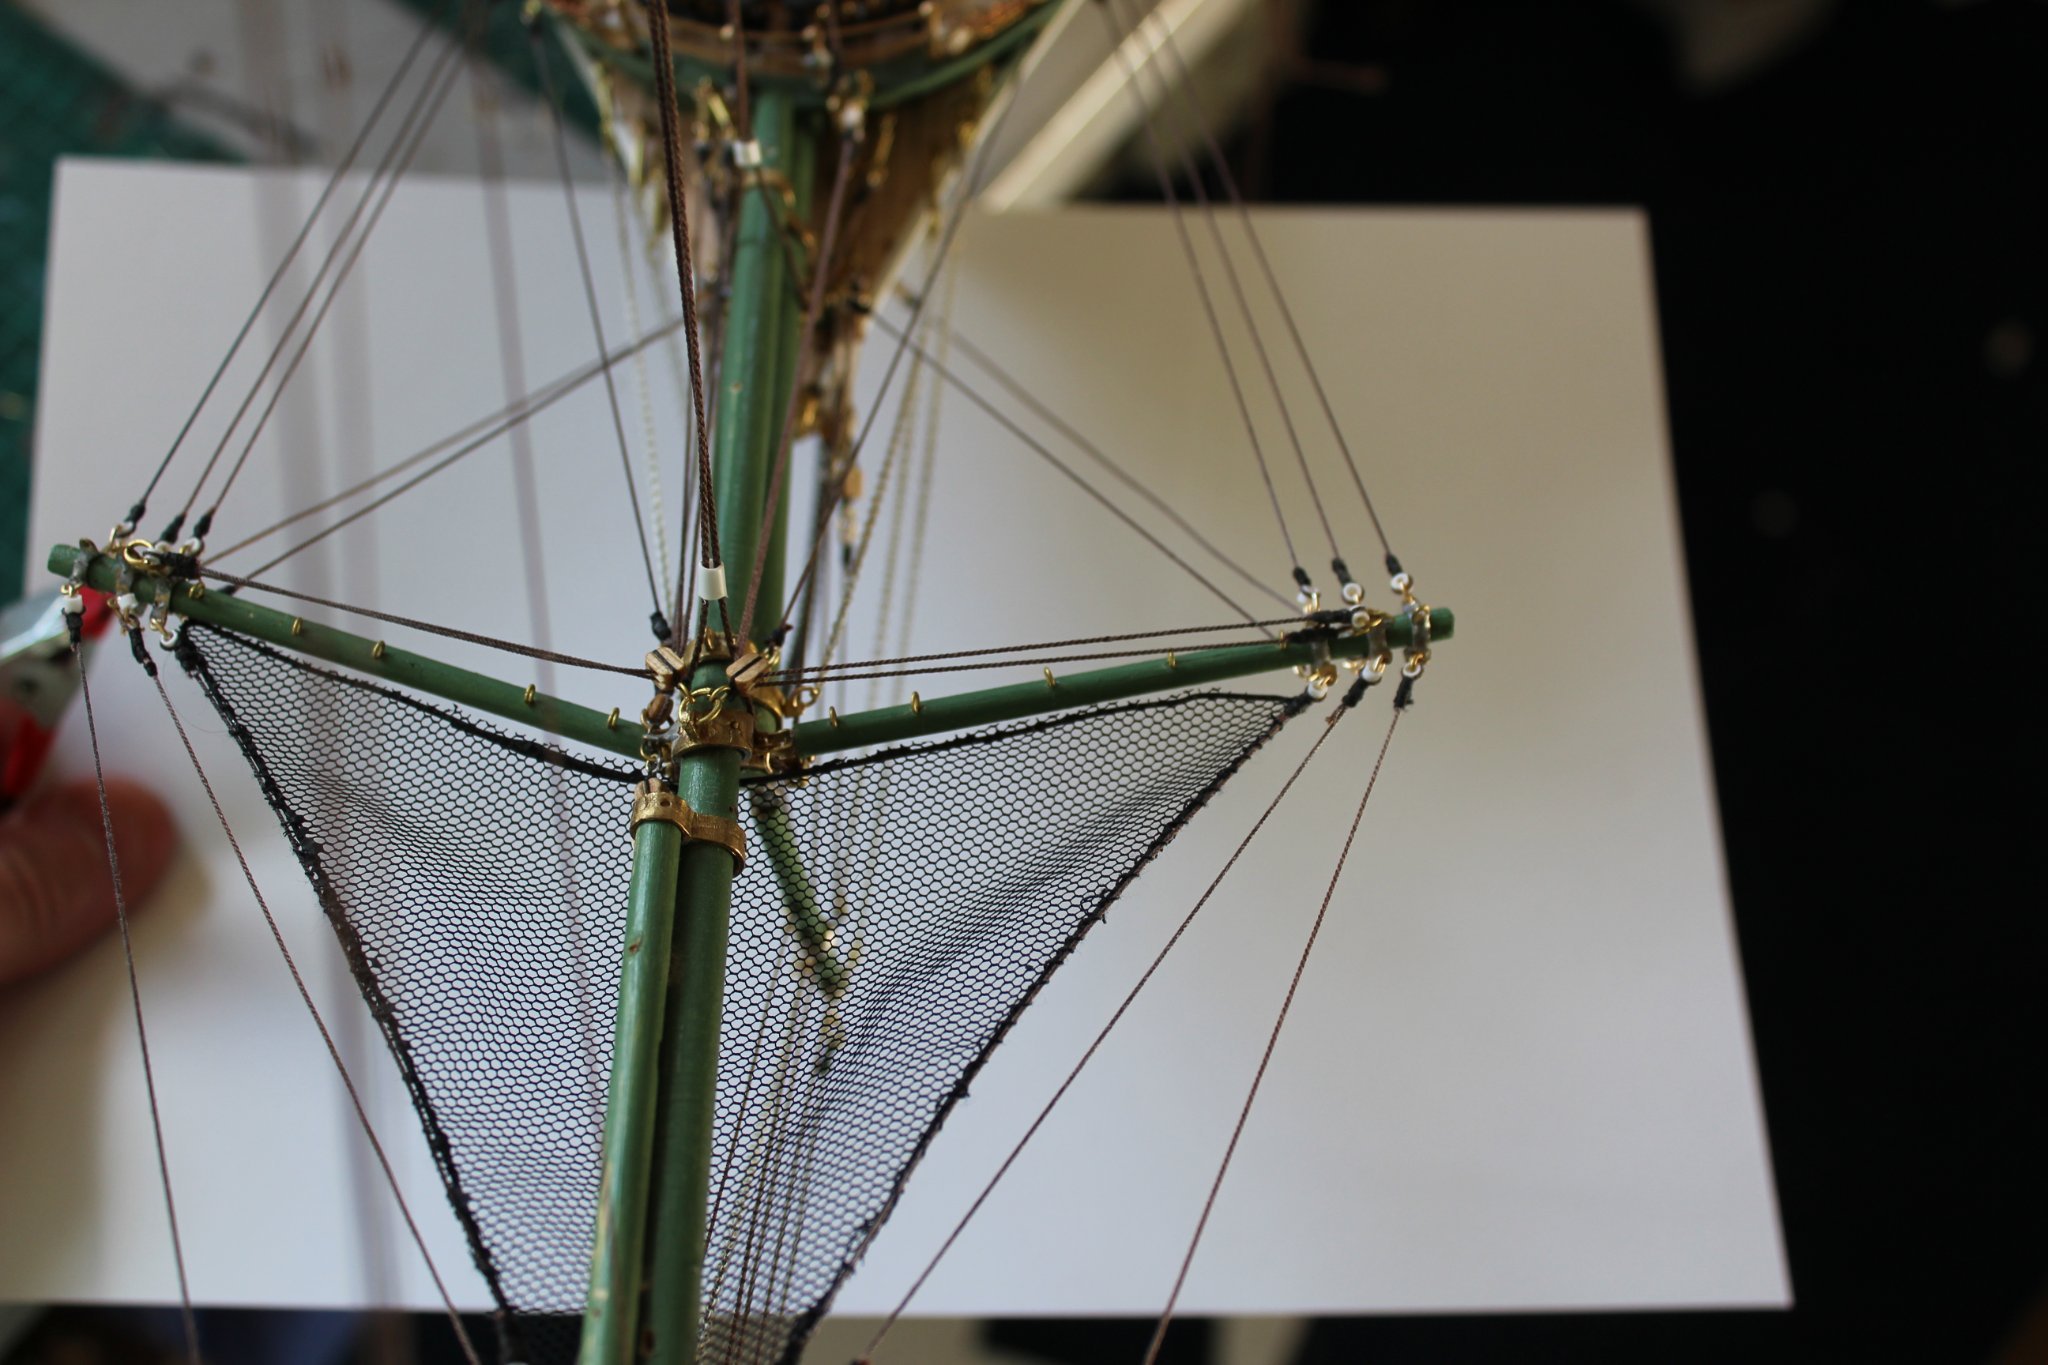
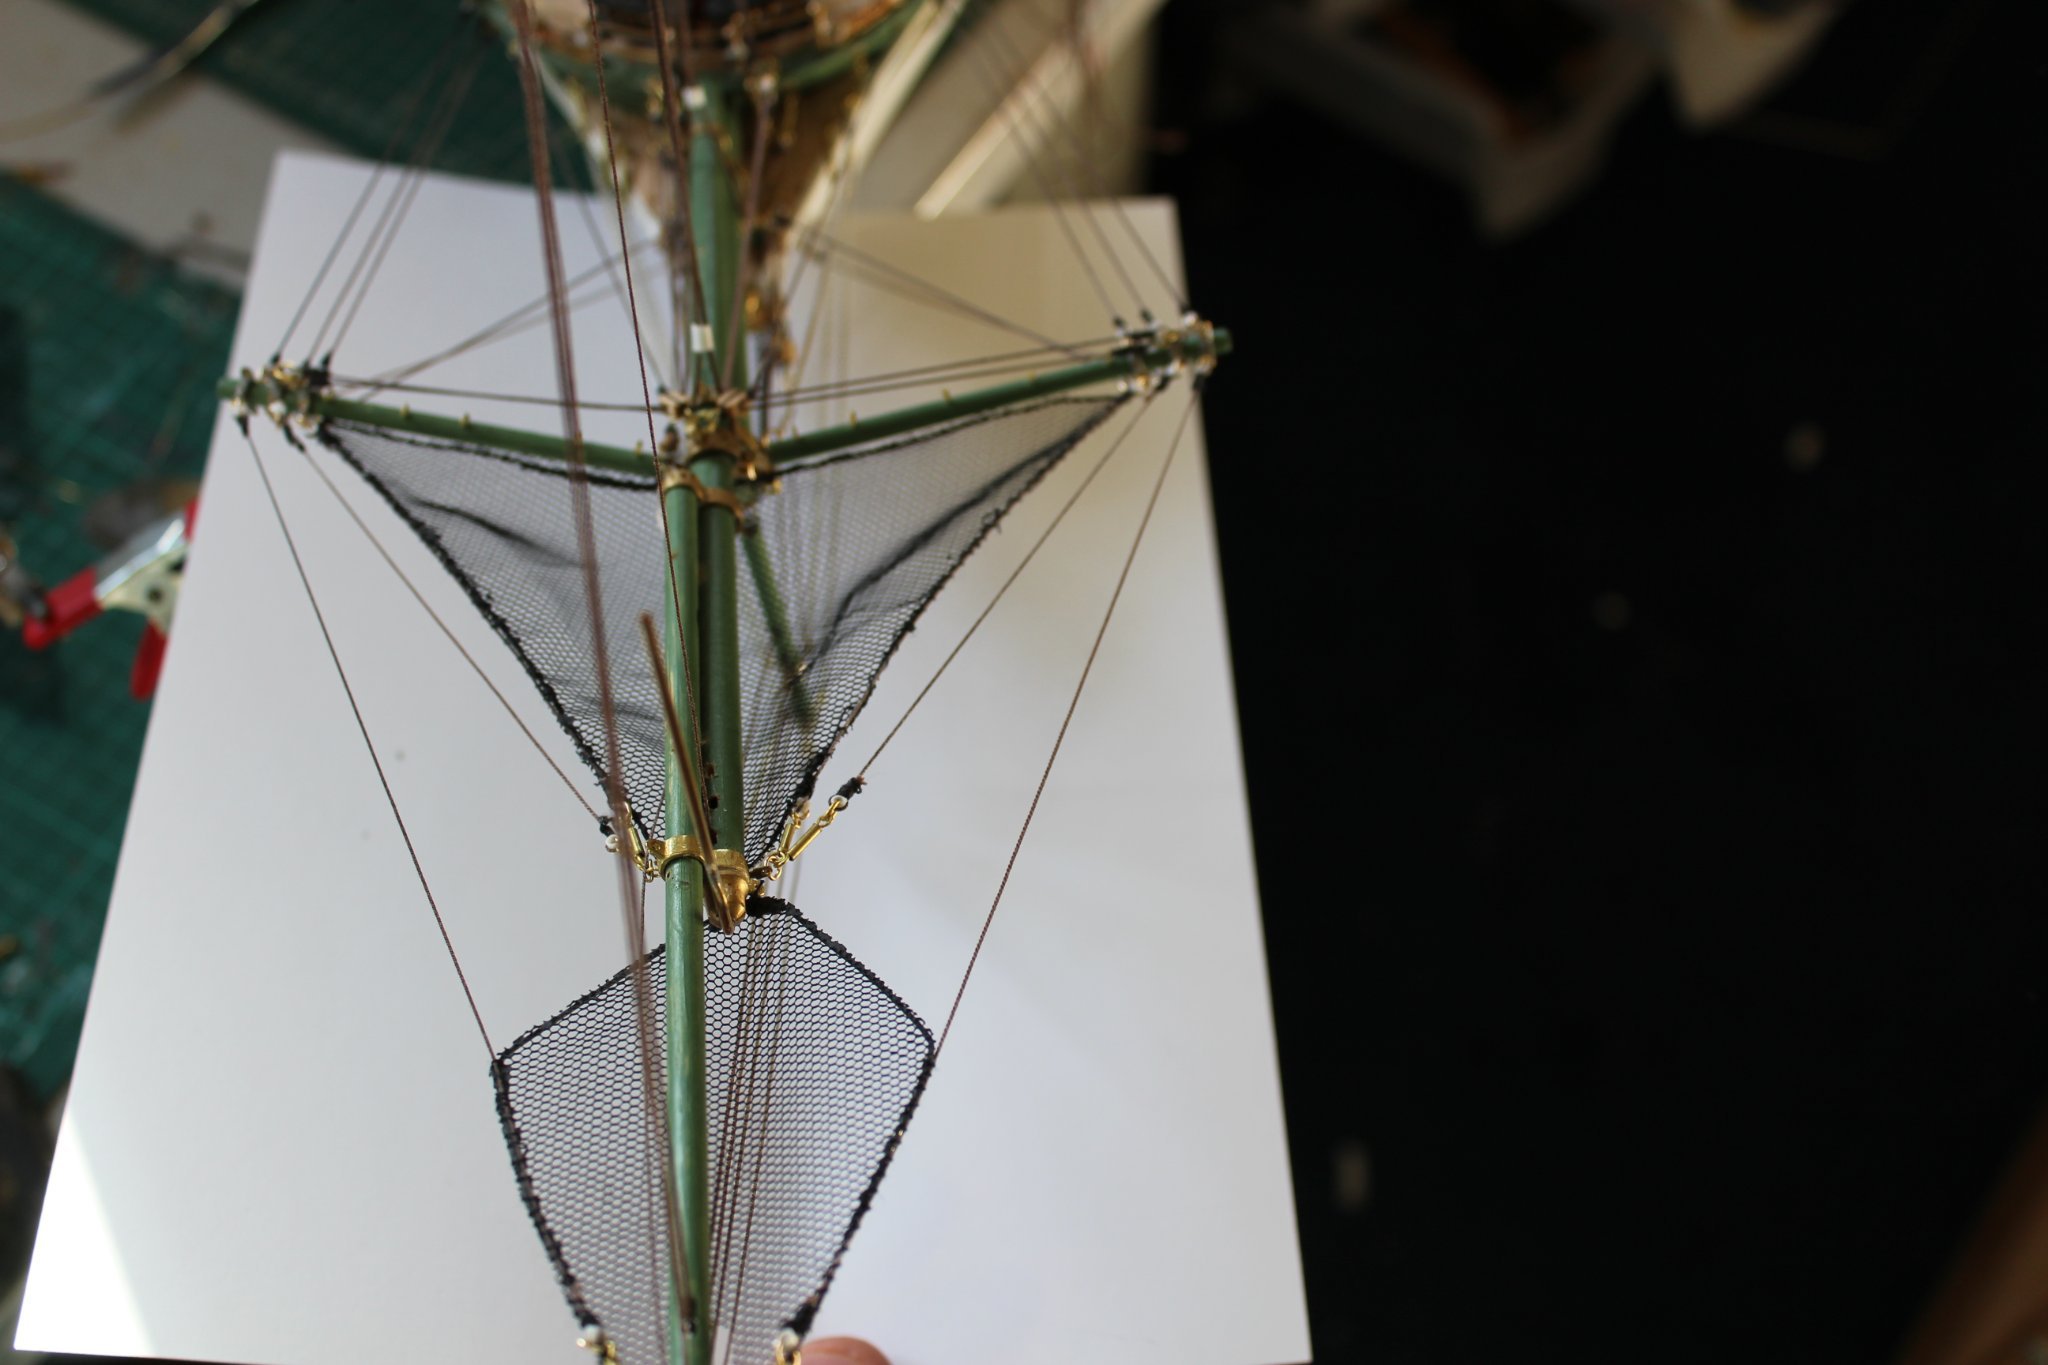
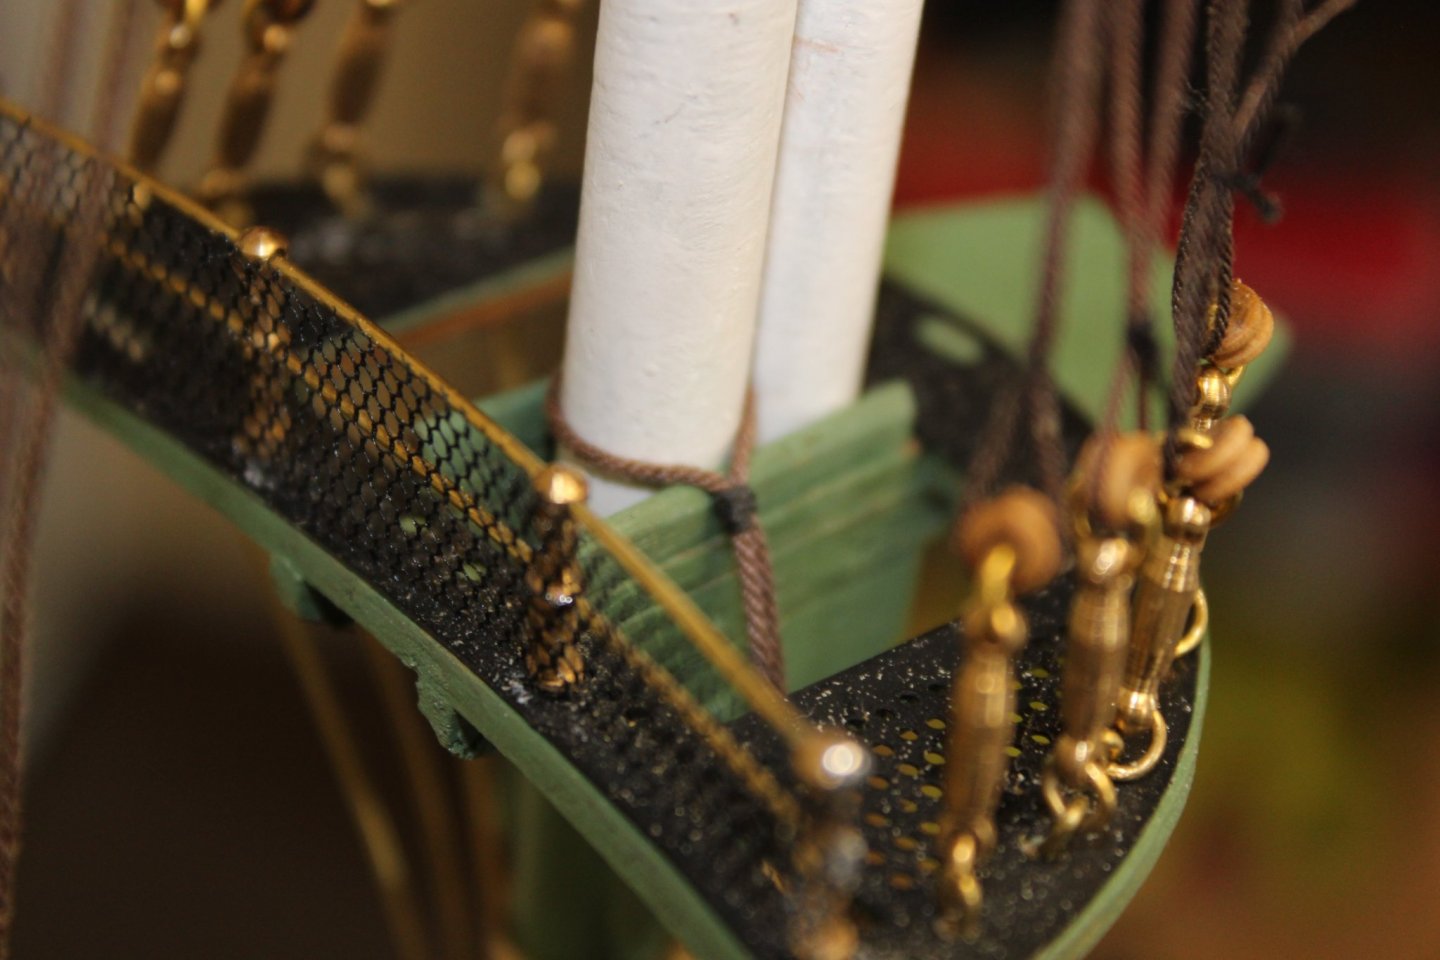
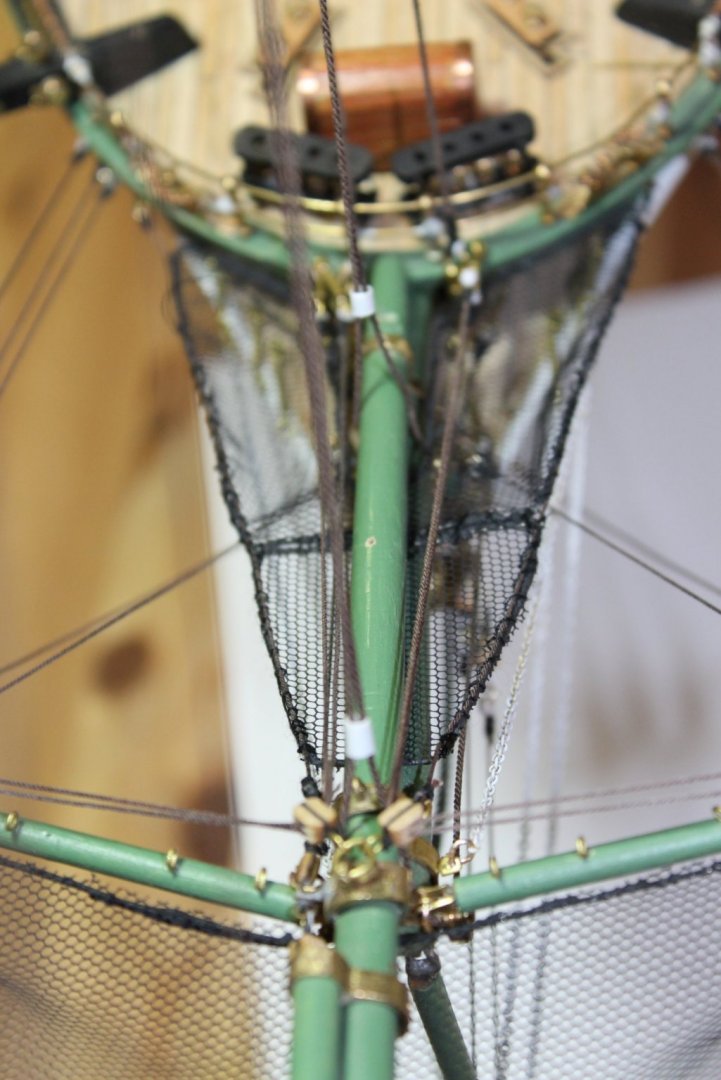
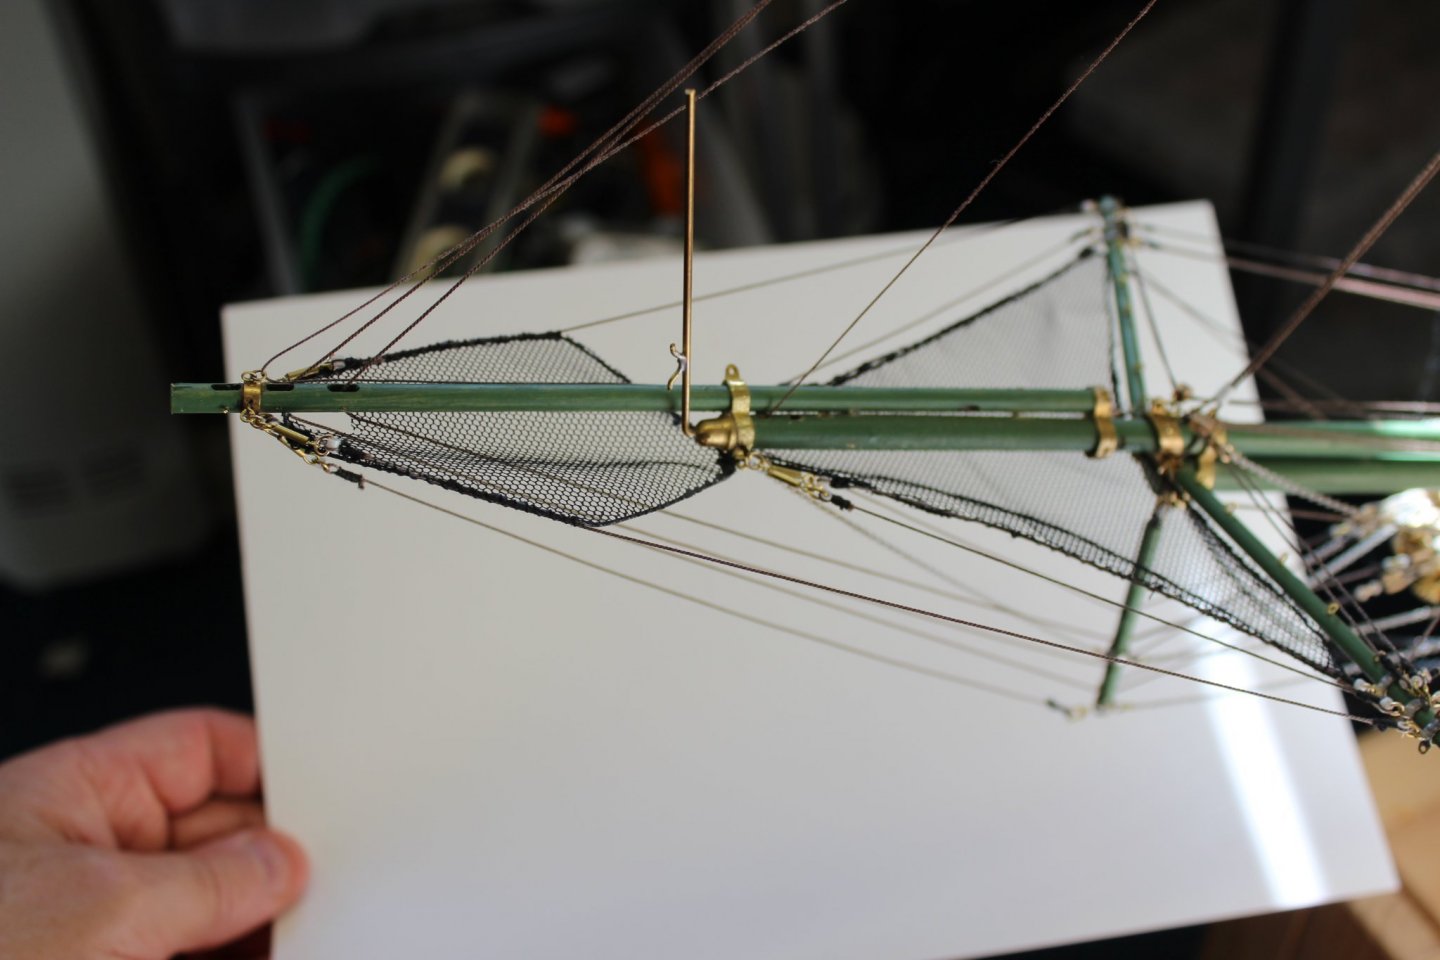
good evening everyone well the redo's returned today and hopefully the 1st netting looks tidier the 2nd one then made up and into place she has gone, i have two more to make up but requires more lines to go in to secure them still neds a tidy up and some loose ends sorting out, im happy


- 273 replies
-
- 12
-
-
- panart
- amerigo vespucci
- (and 1 more)
-
So glad you found someone to do the garage conversion for you
-
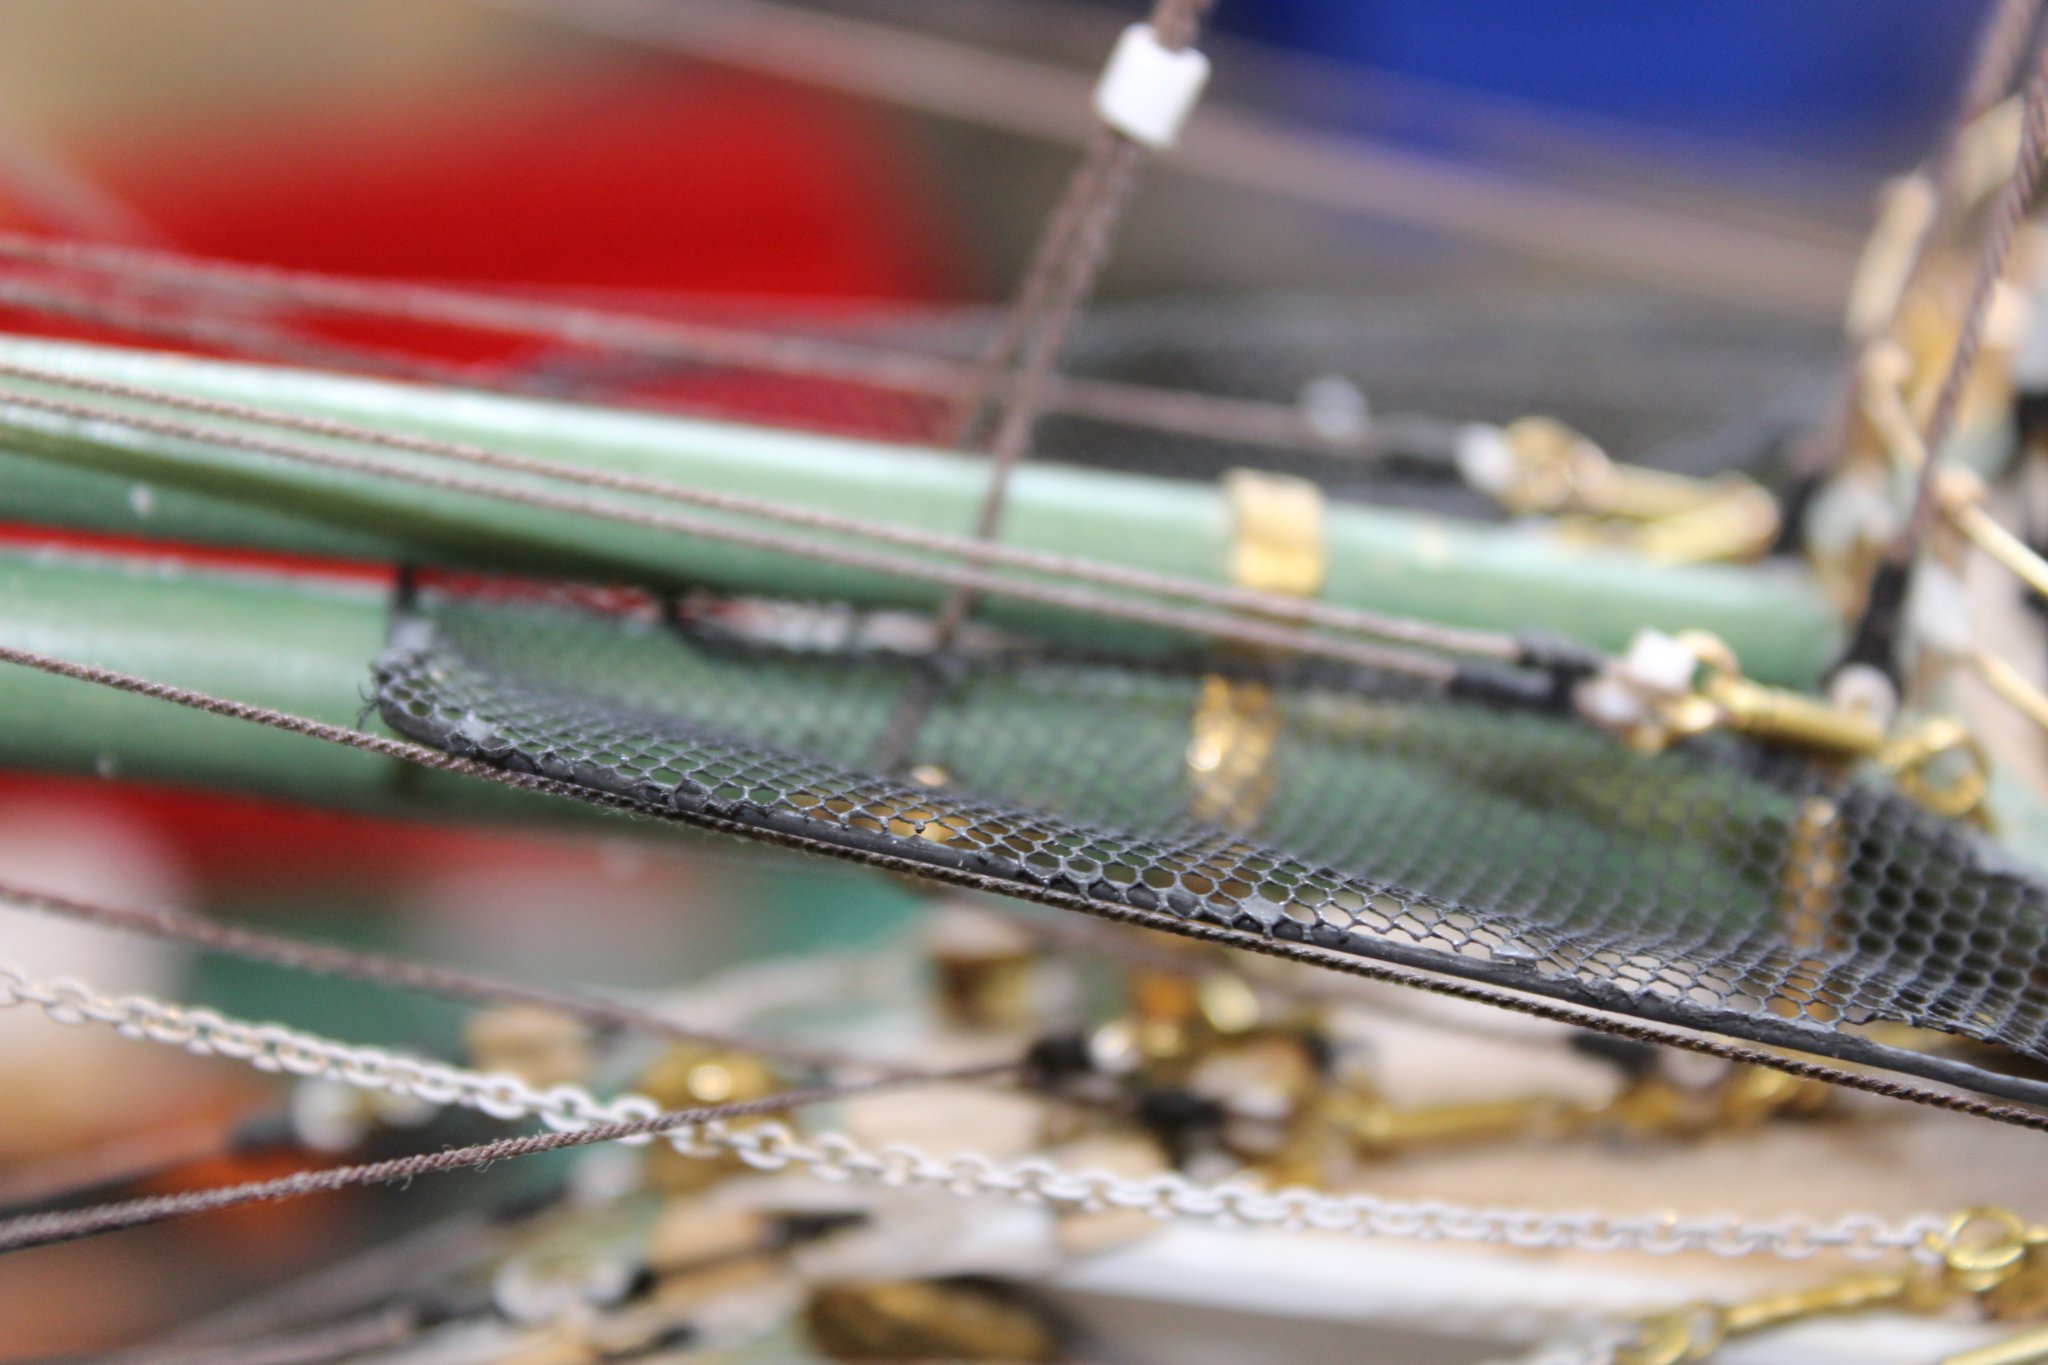
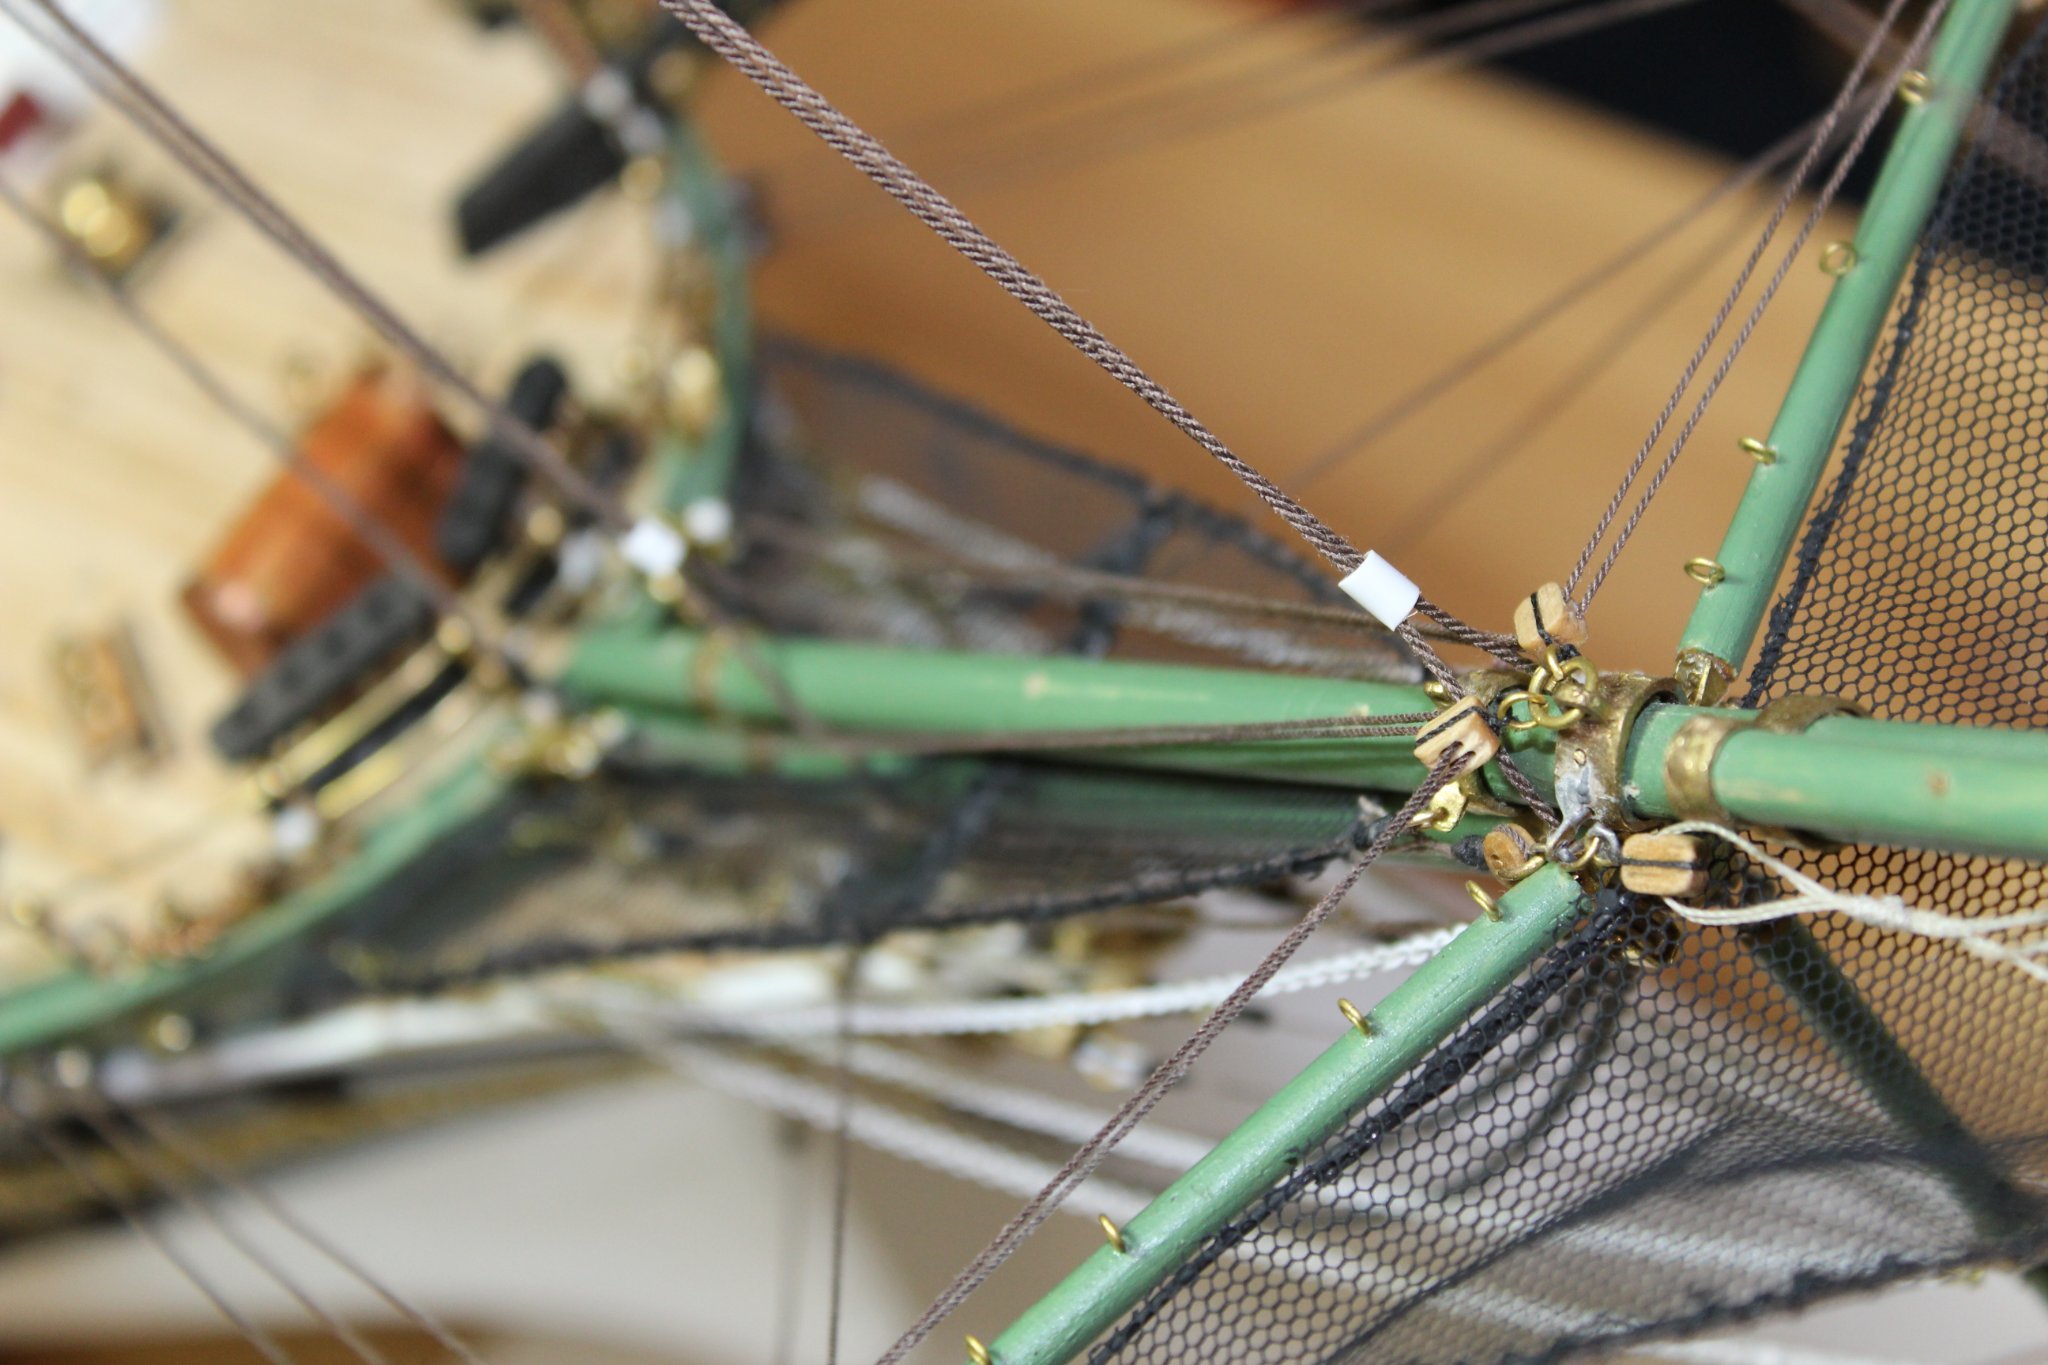
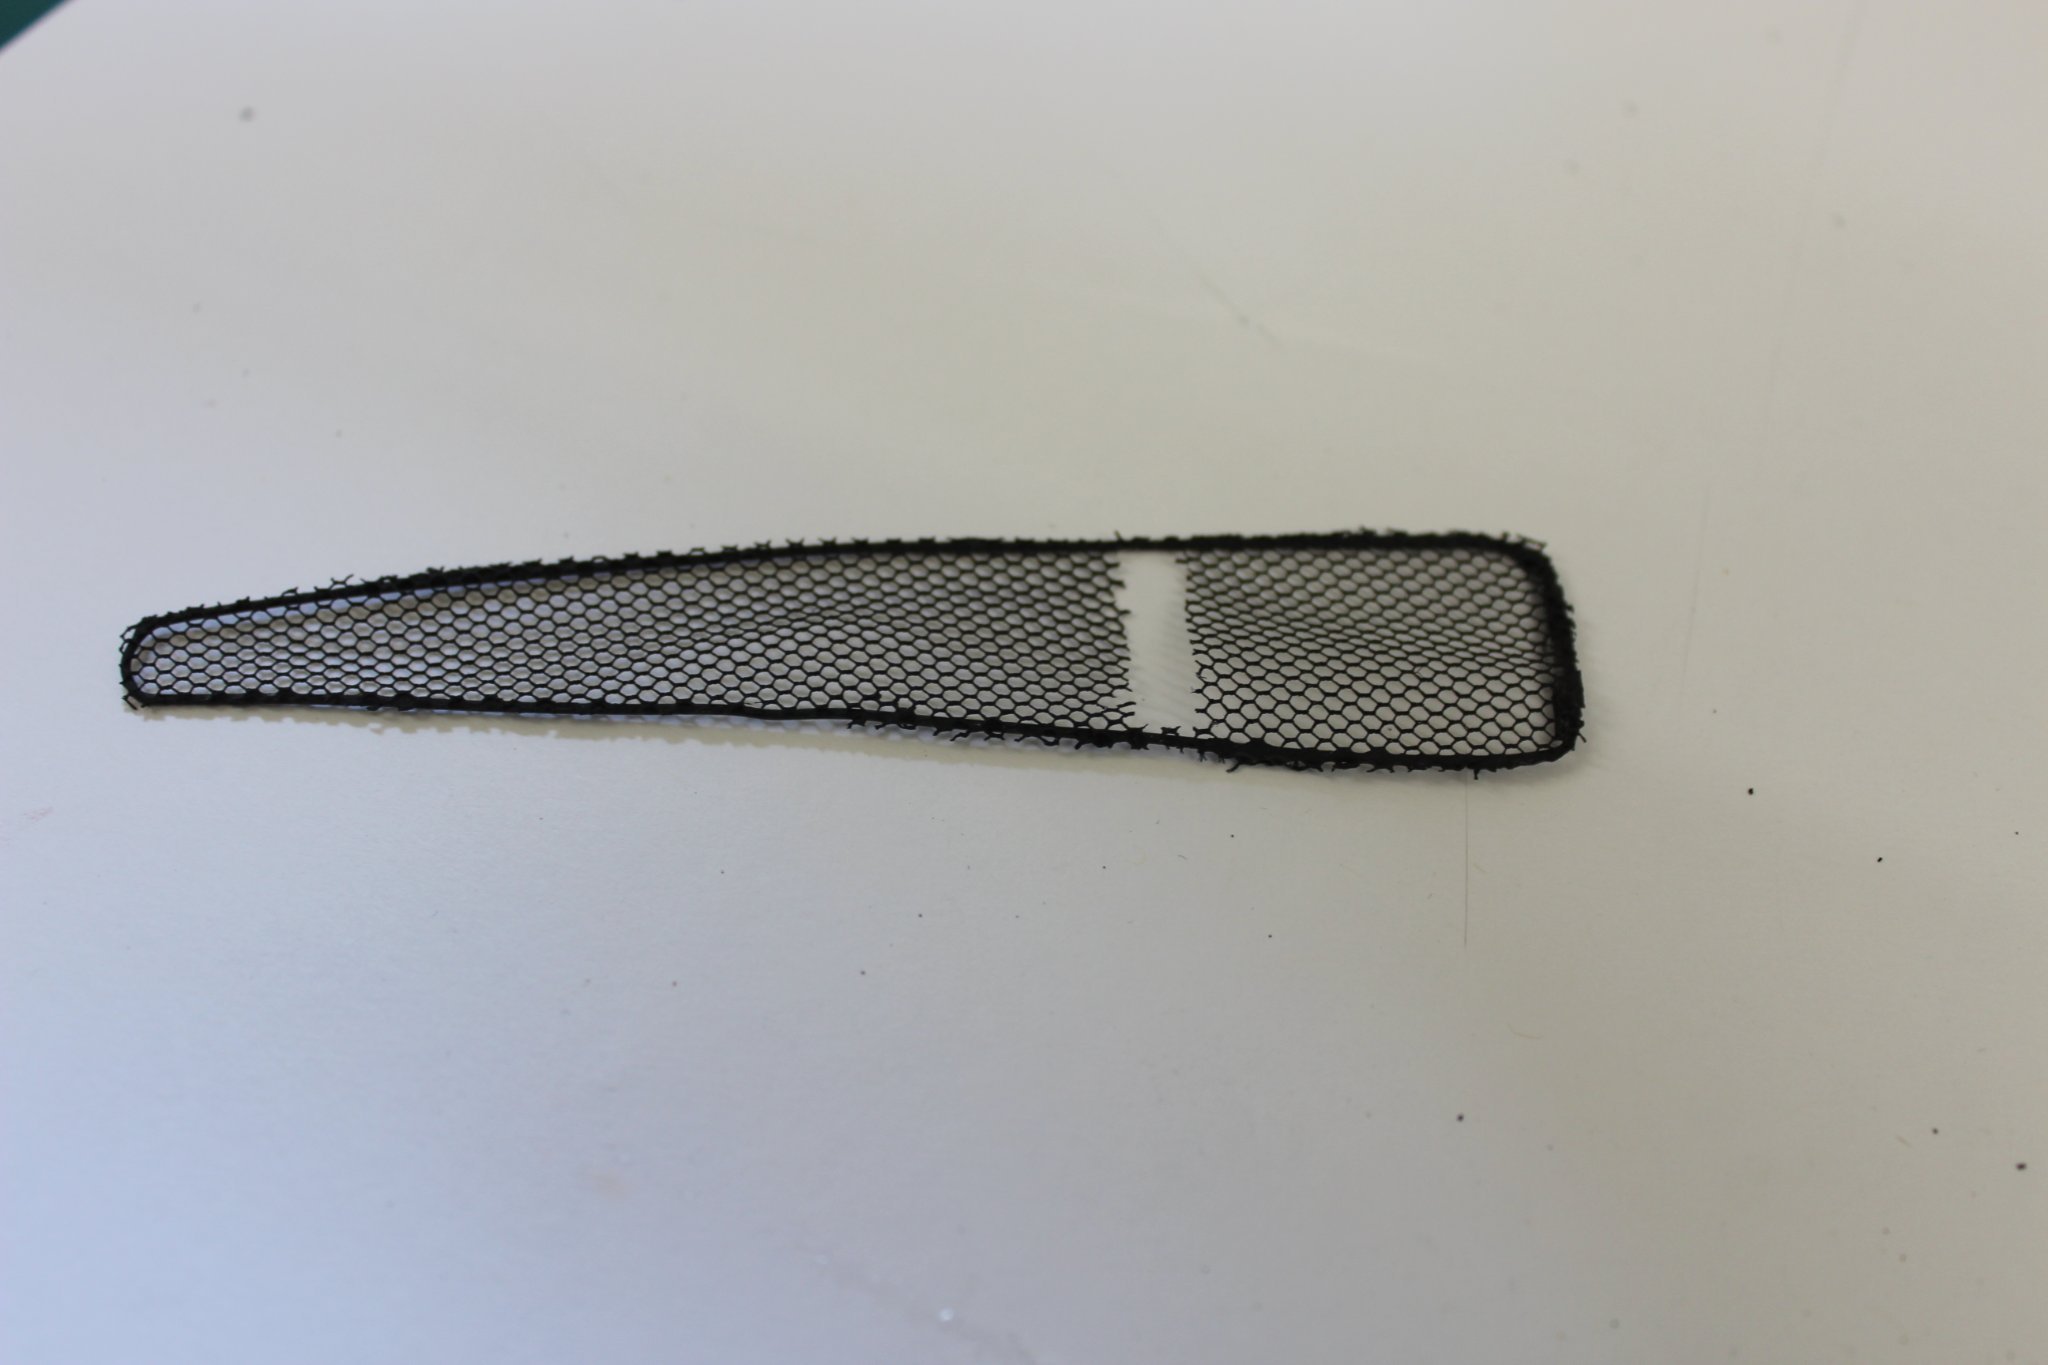
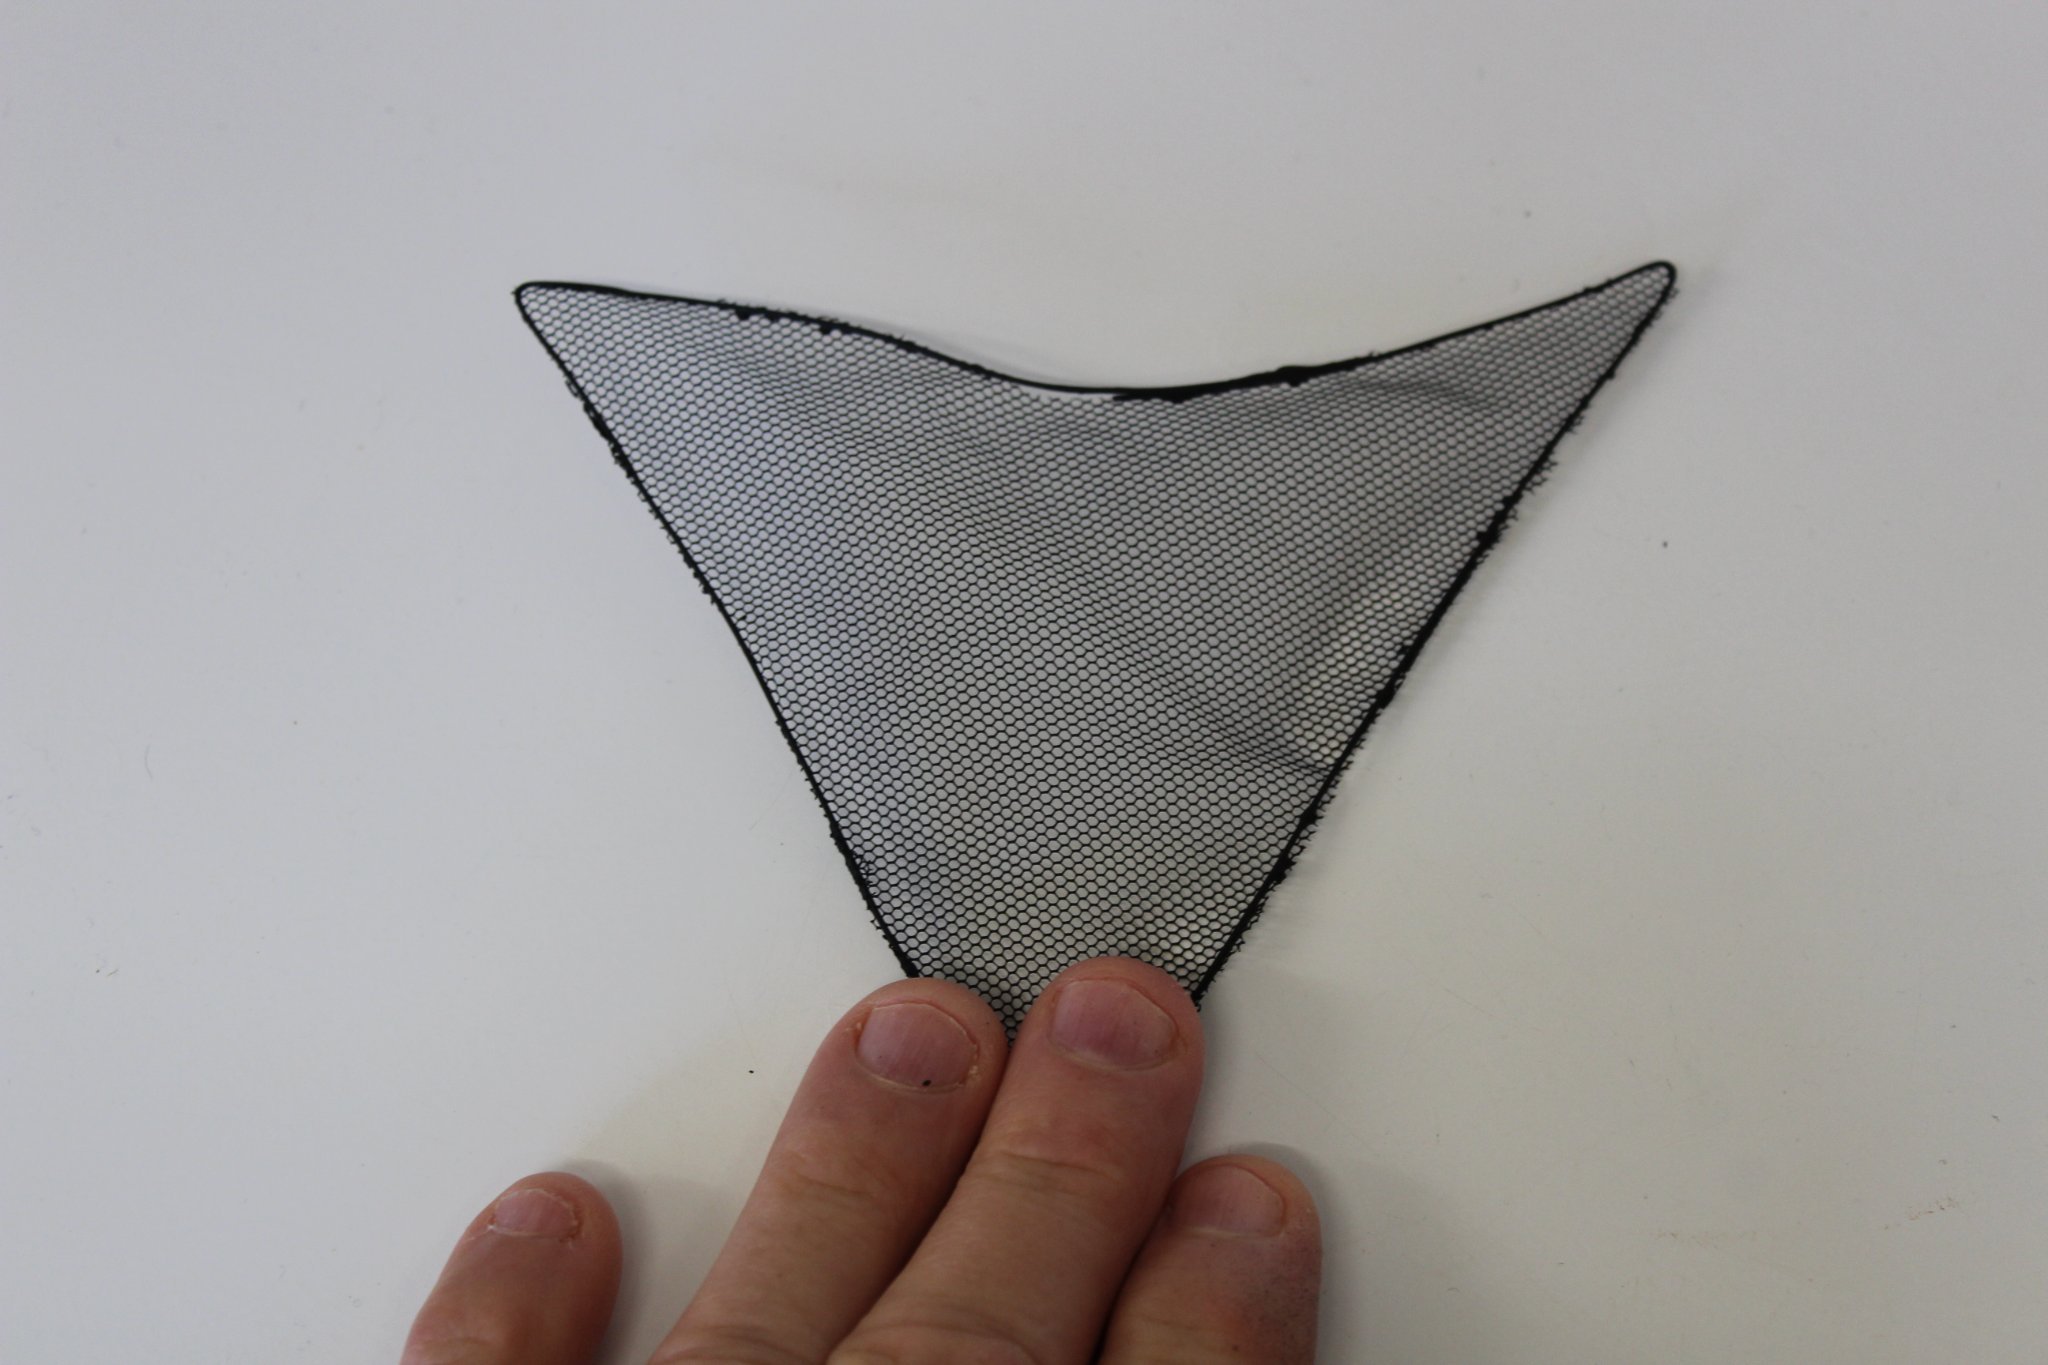
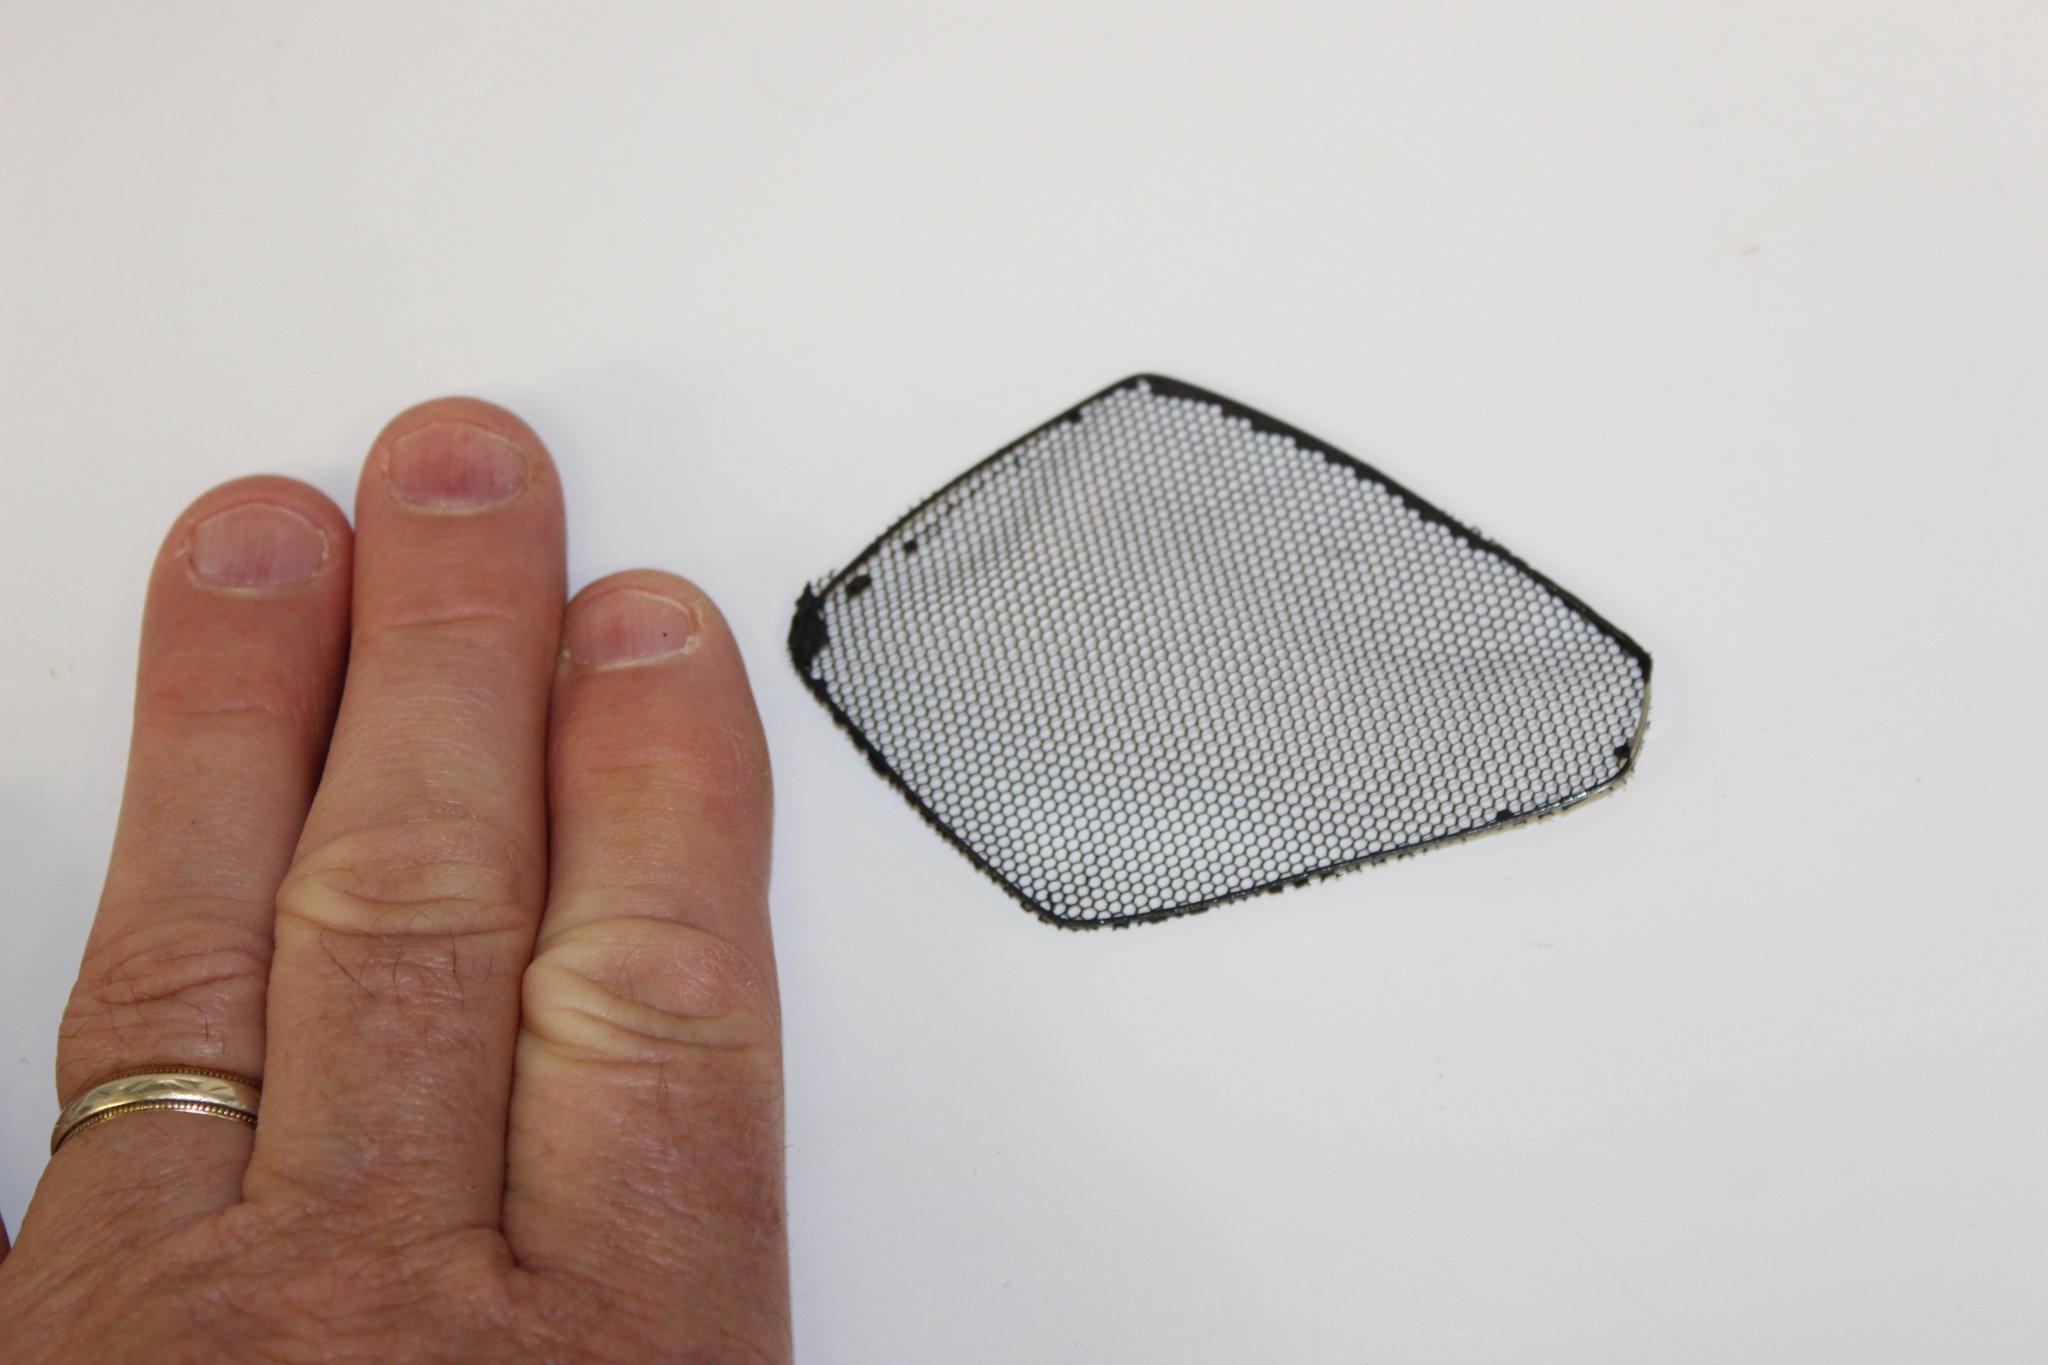
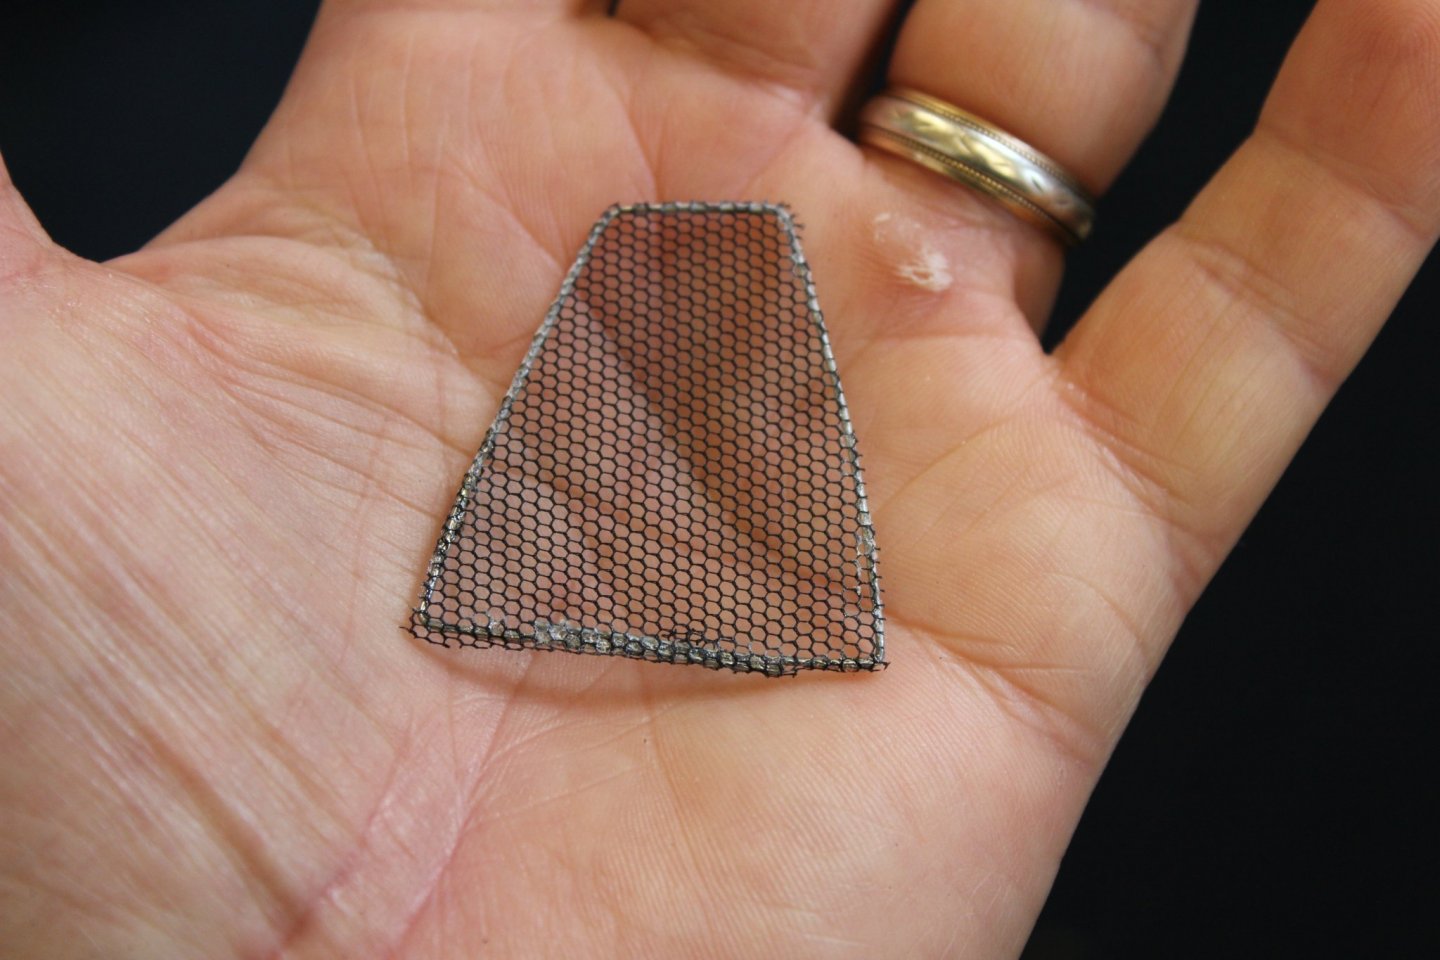
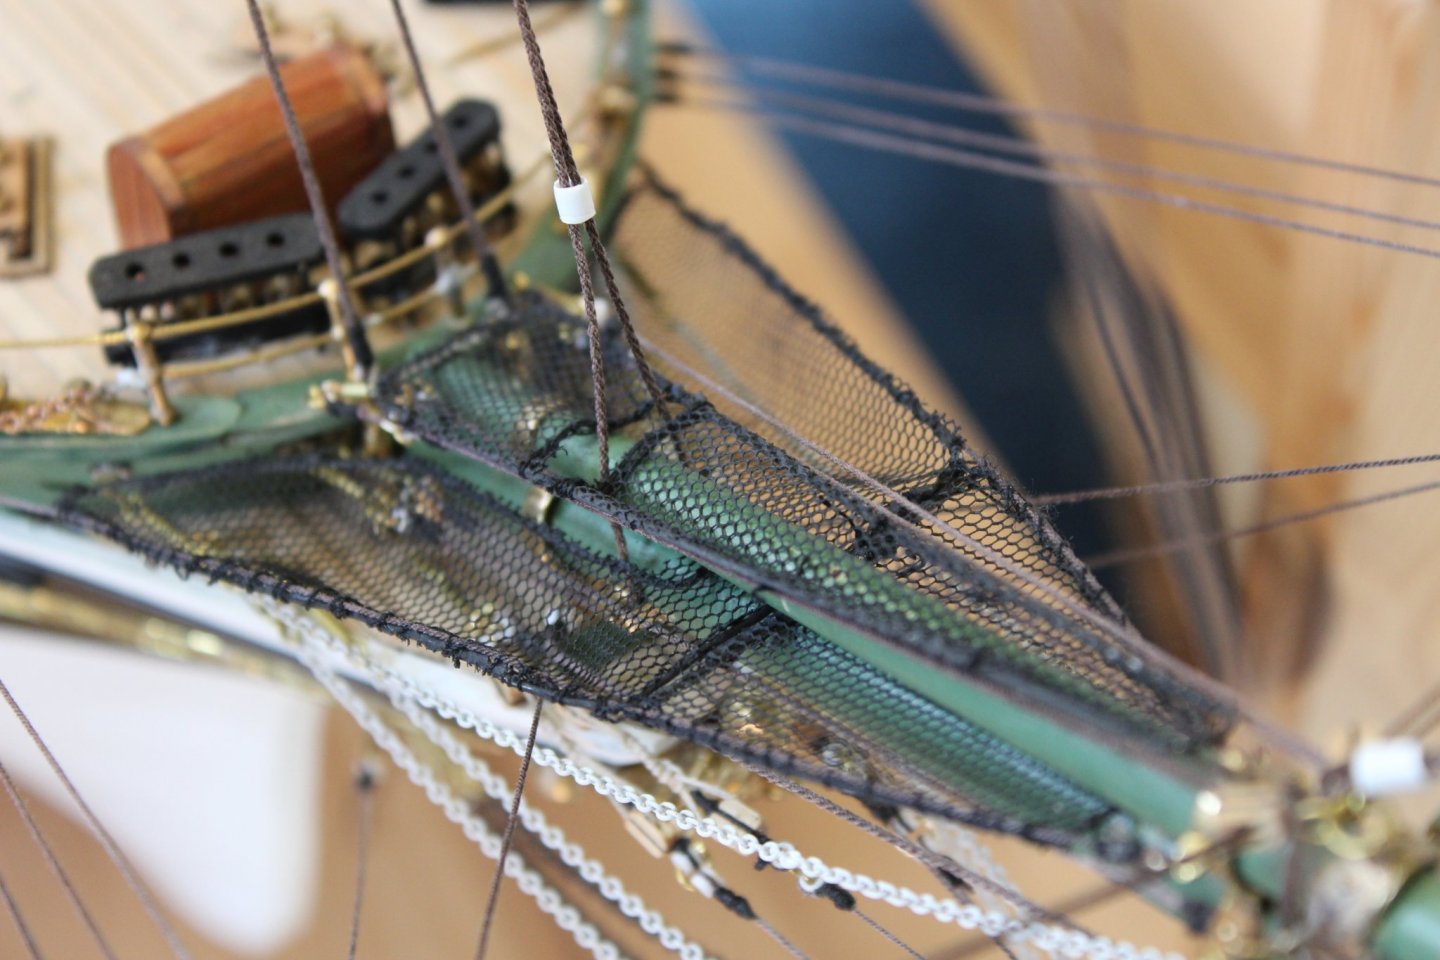
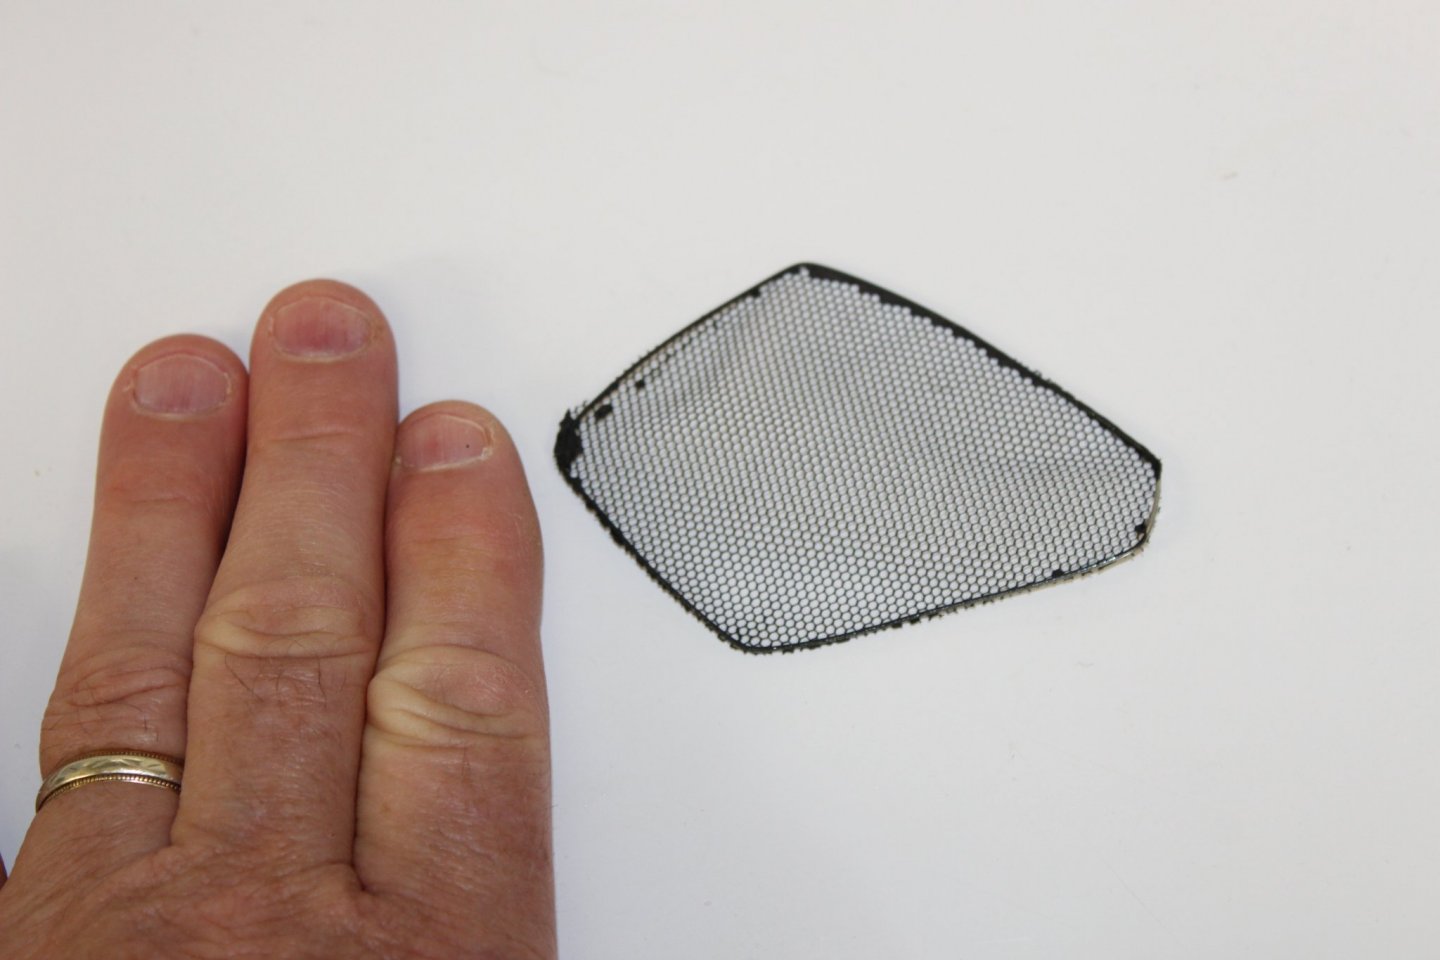
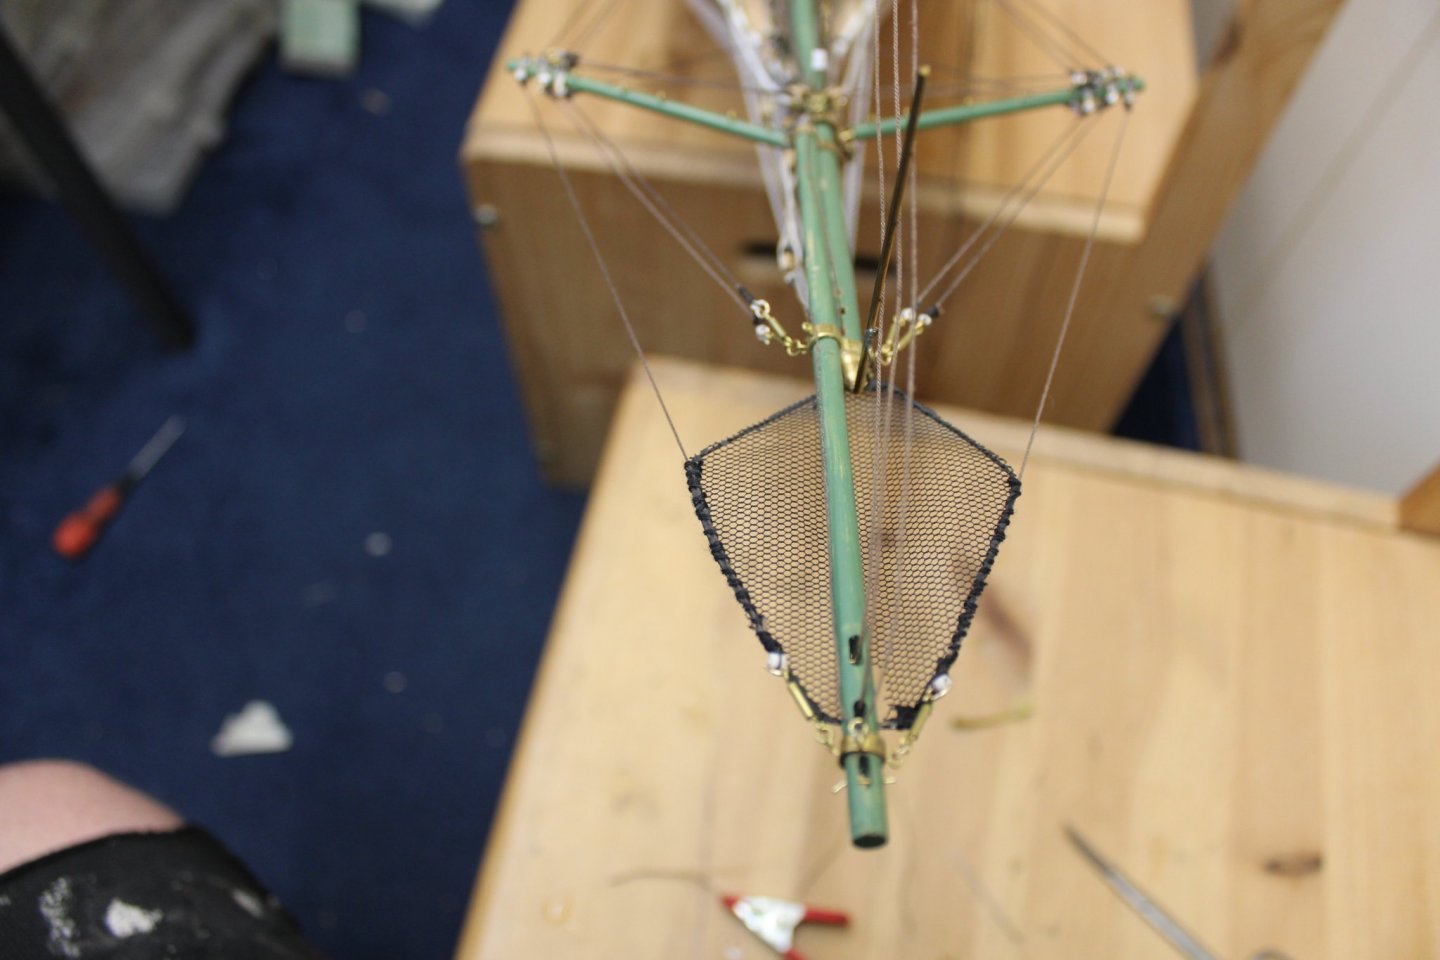
good evening everyone the safety nets are now in the process of being made up, i made a rough template in card, then bent some 0.6mm wire round the shape and fixed the net to the wire. Sprayed with black primer and fitted to the lines, i think the scale is to small, but better than my alternative, looking at these photos i may just take it off and use a thinner thread


- 273 replies
-
- 11
-
-
- panart
- amerigo vespucci
- (and 1 more)
-
Lovely work OC,
-
its after that i enjoy the most, lol im crap at it but just love the masting and rigging part of a build
-
i have tonight just ordered another upper deck to replace the one i was using, when that arrives in a couple of weeks i may bring the Enterprise back to the table, my mojo for it has returned
- 312 replies
-
- 9
-
-
- enterprise
- caf
- (and 1 more)
-
WASA (cafmodel.com) i do hope this comes to something Please @cafmodel
-
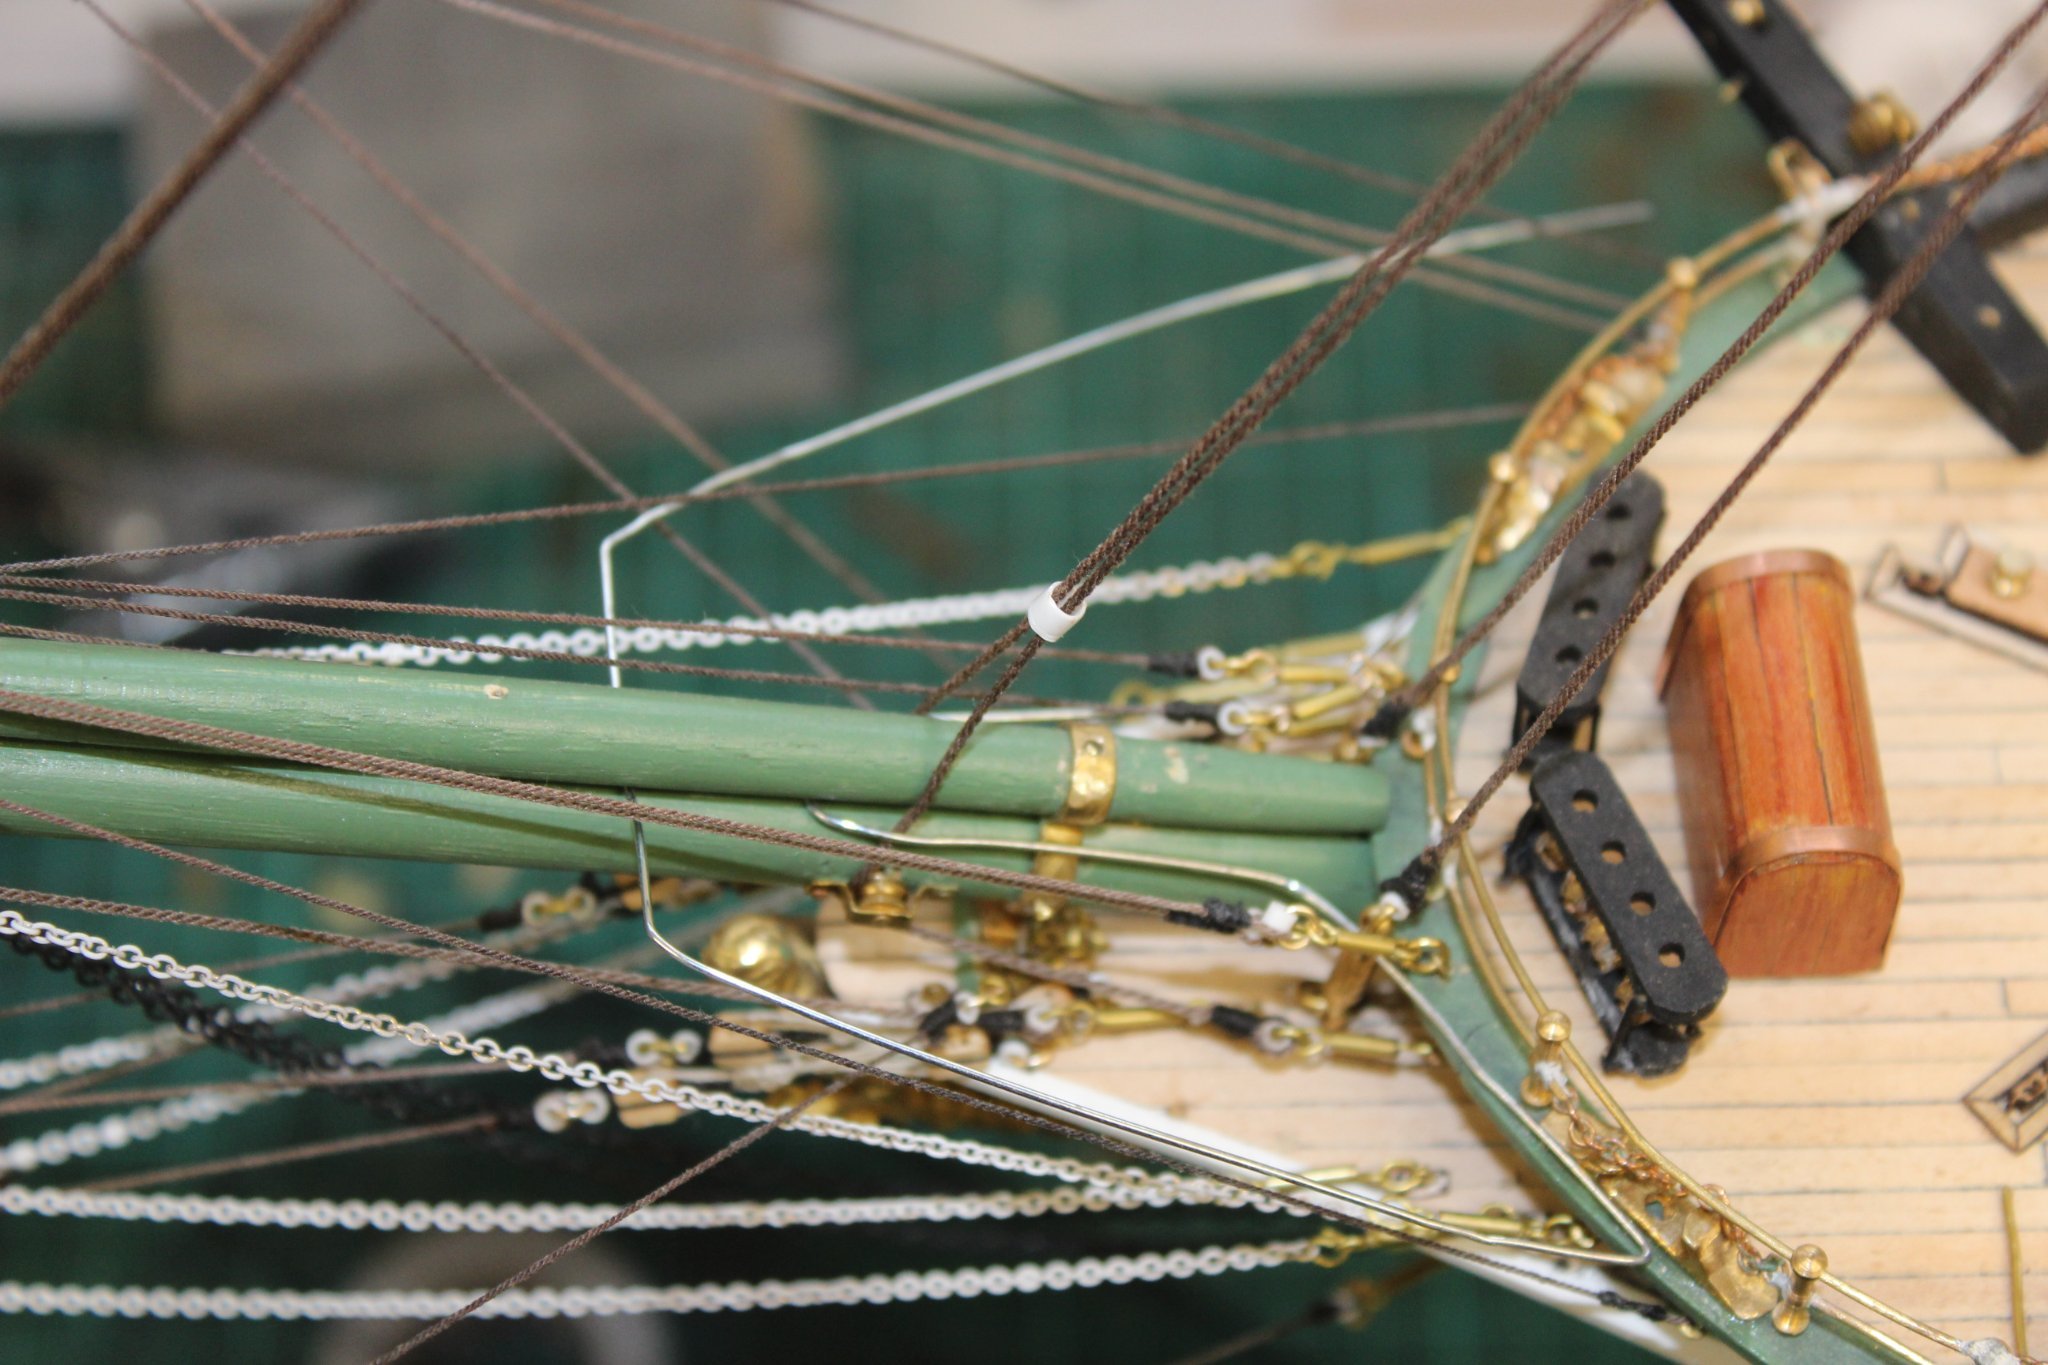
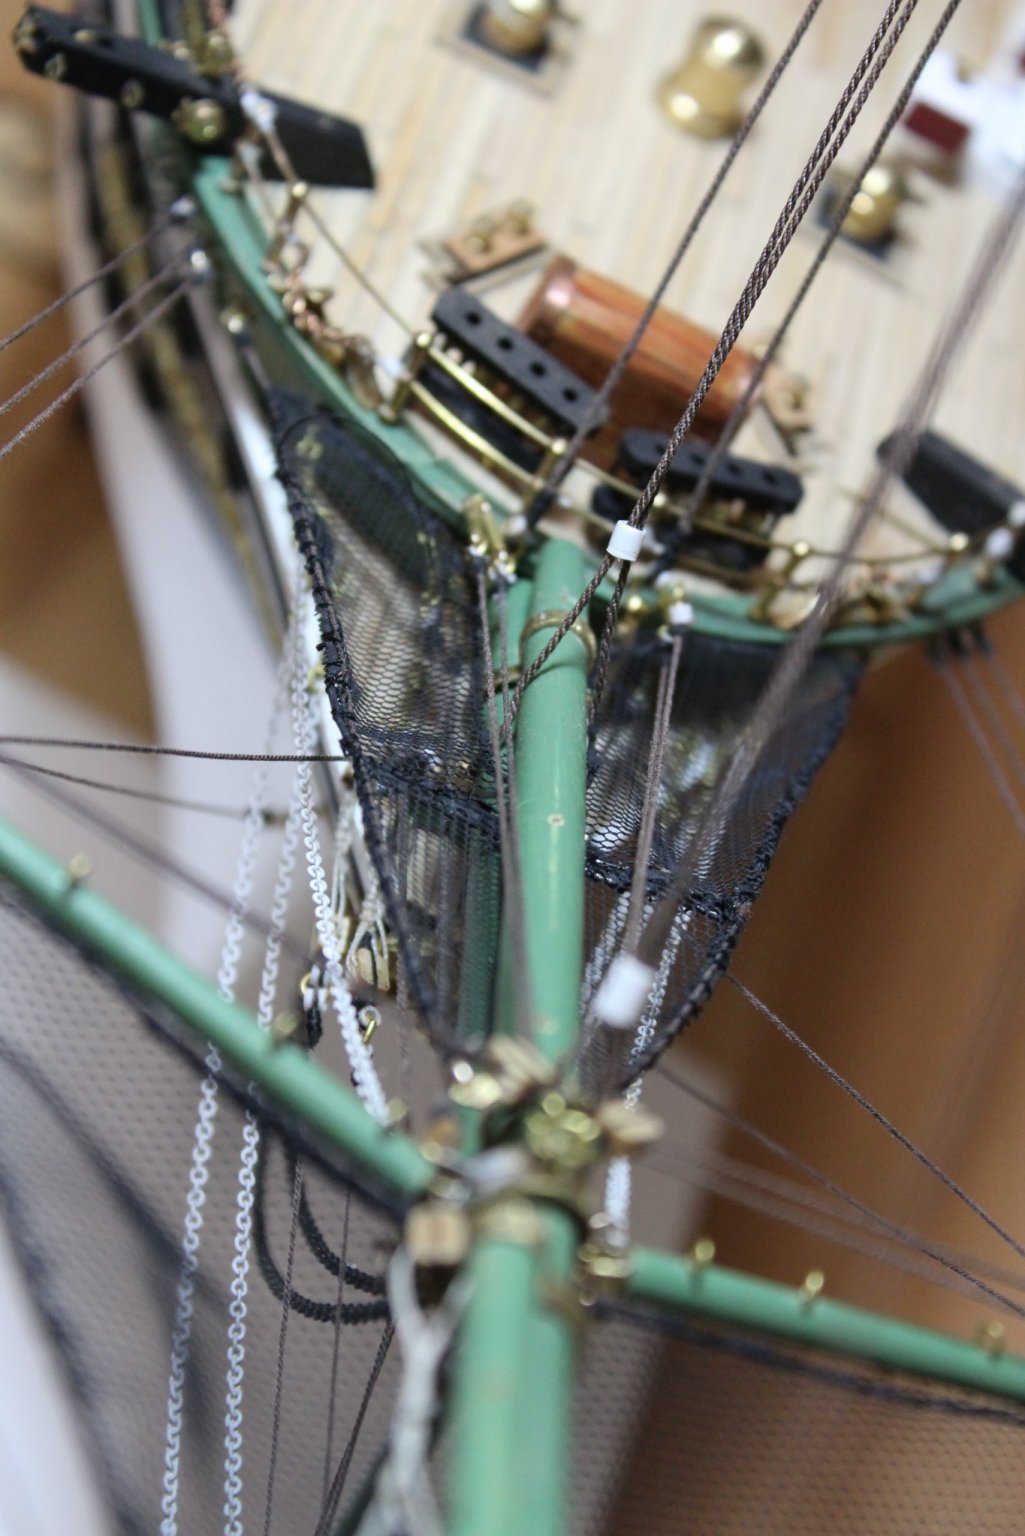
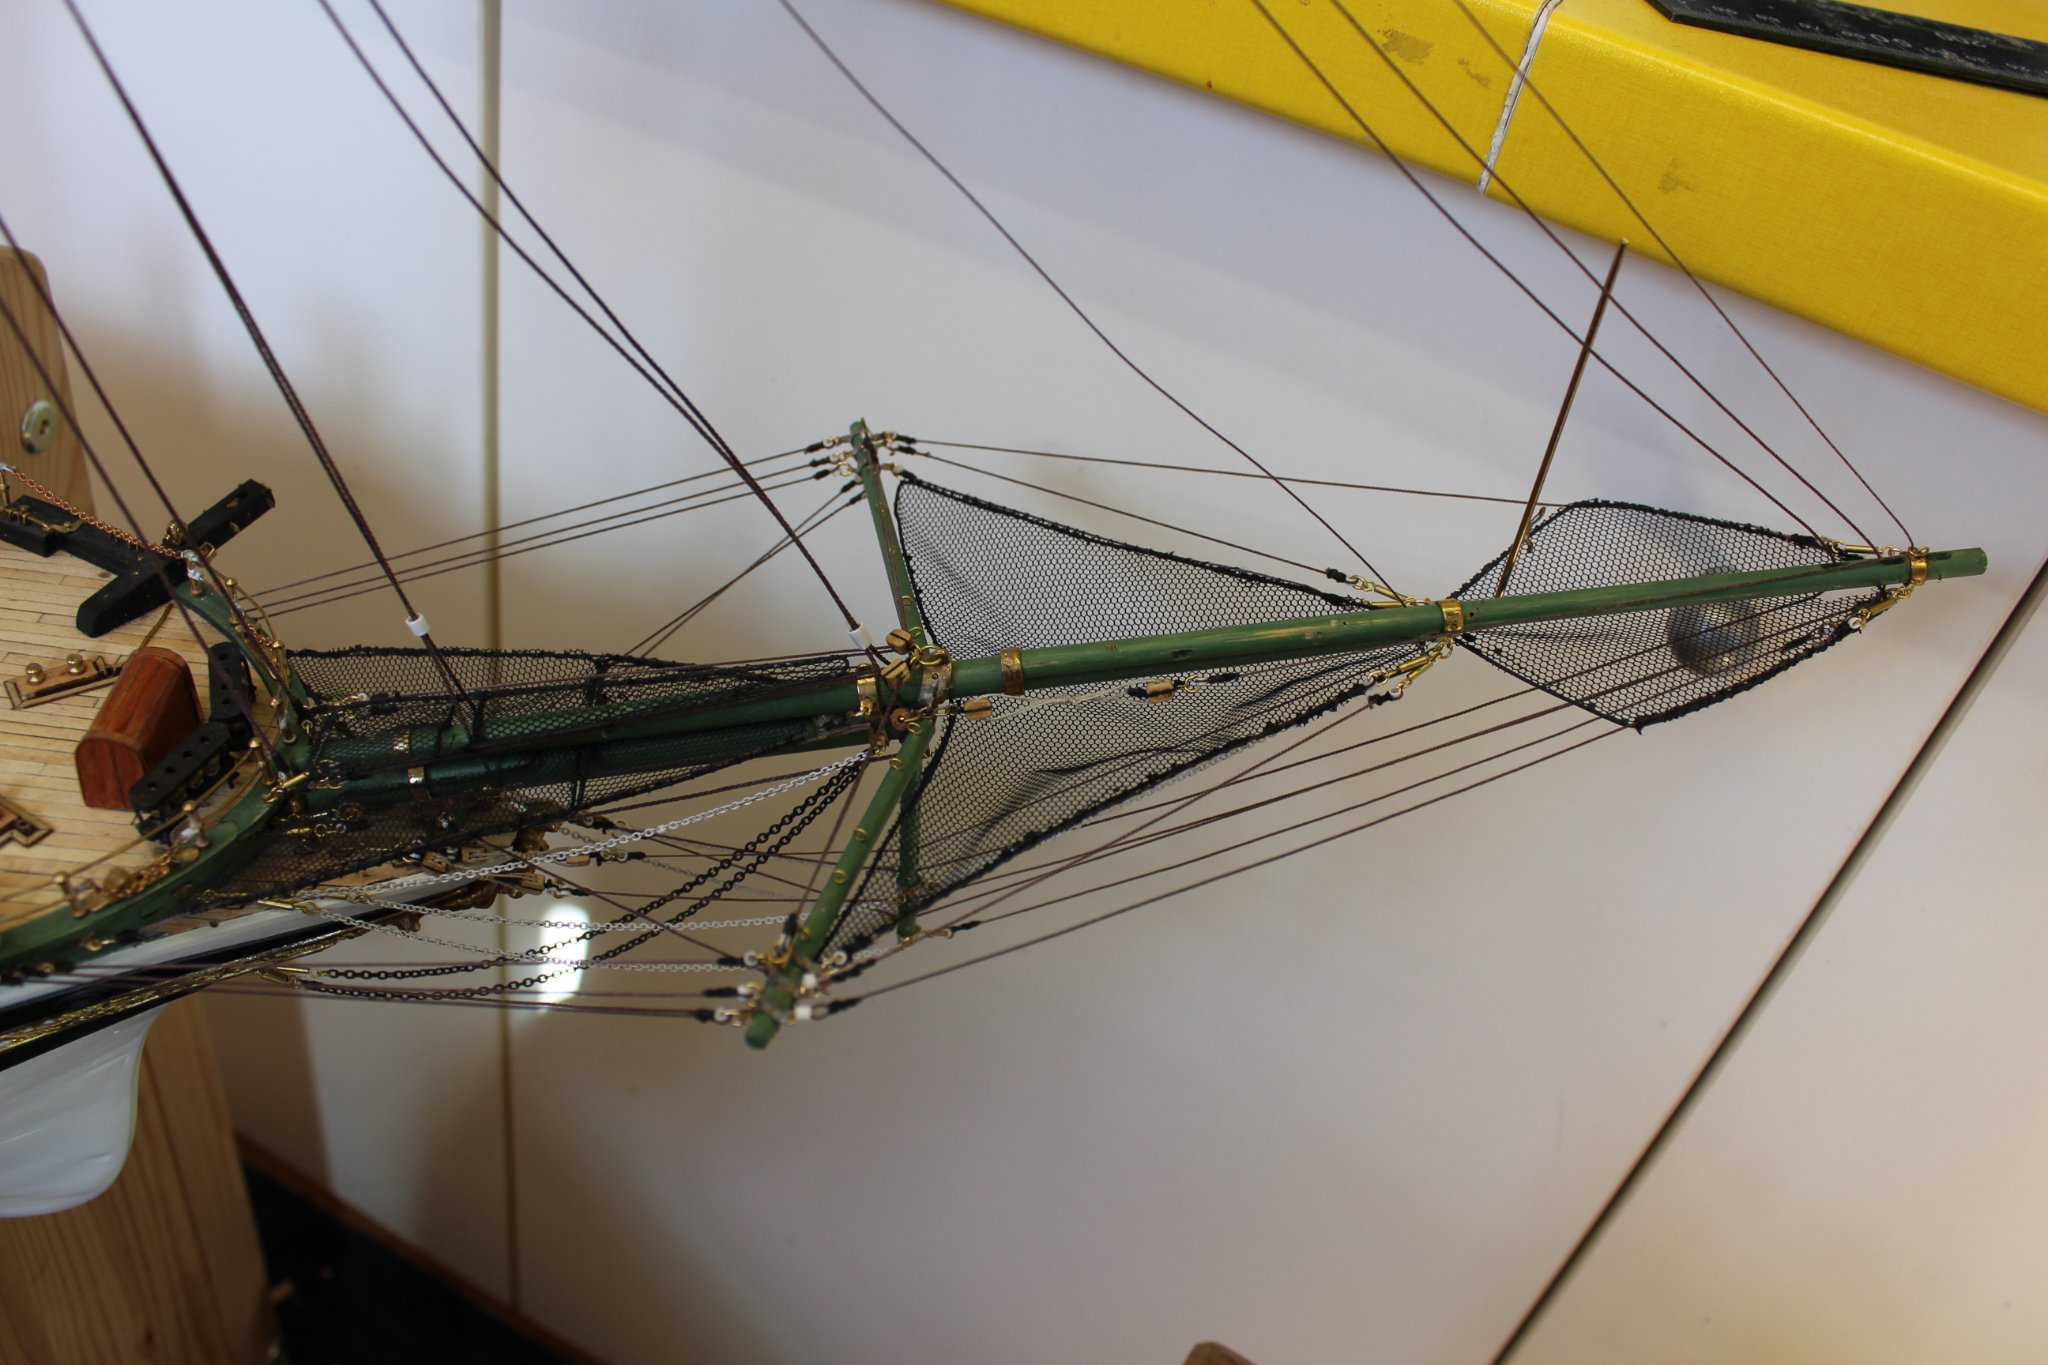
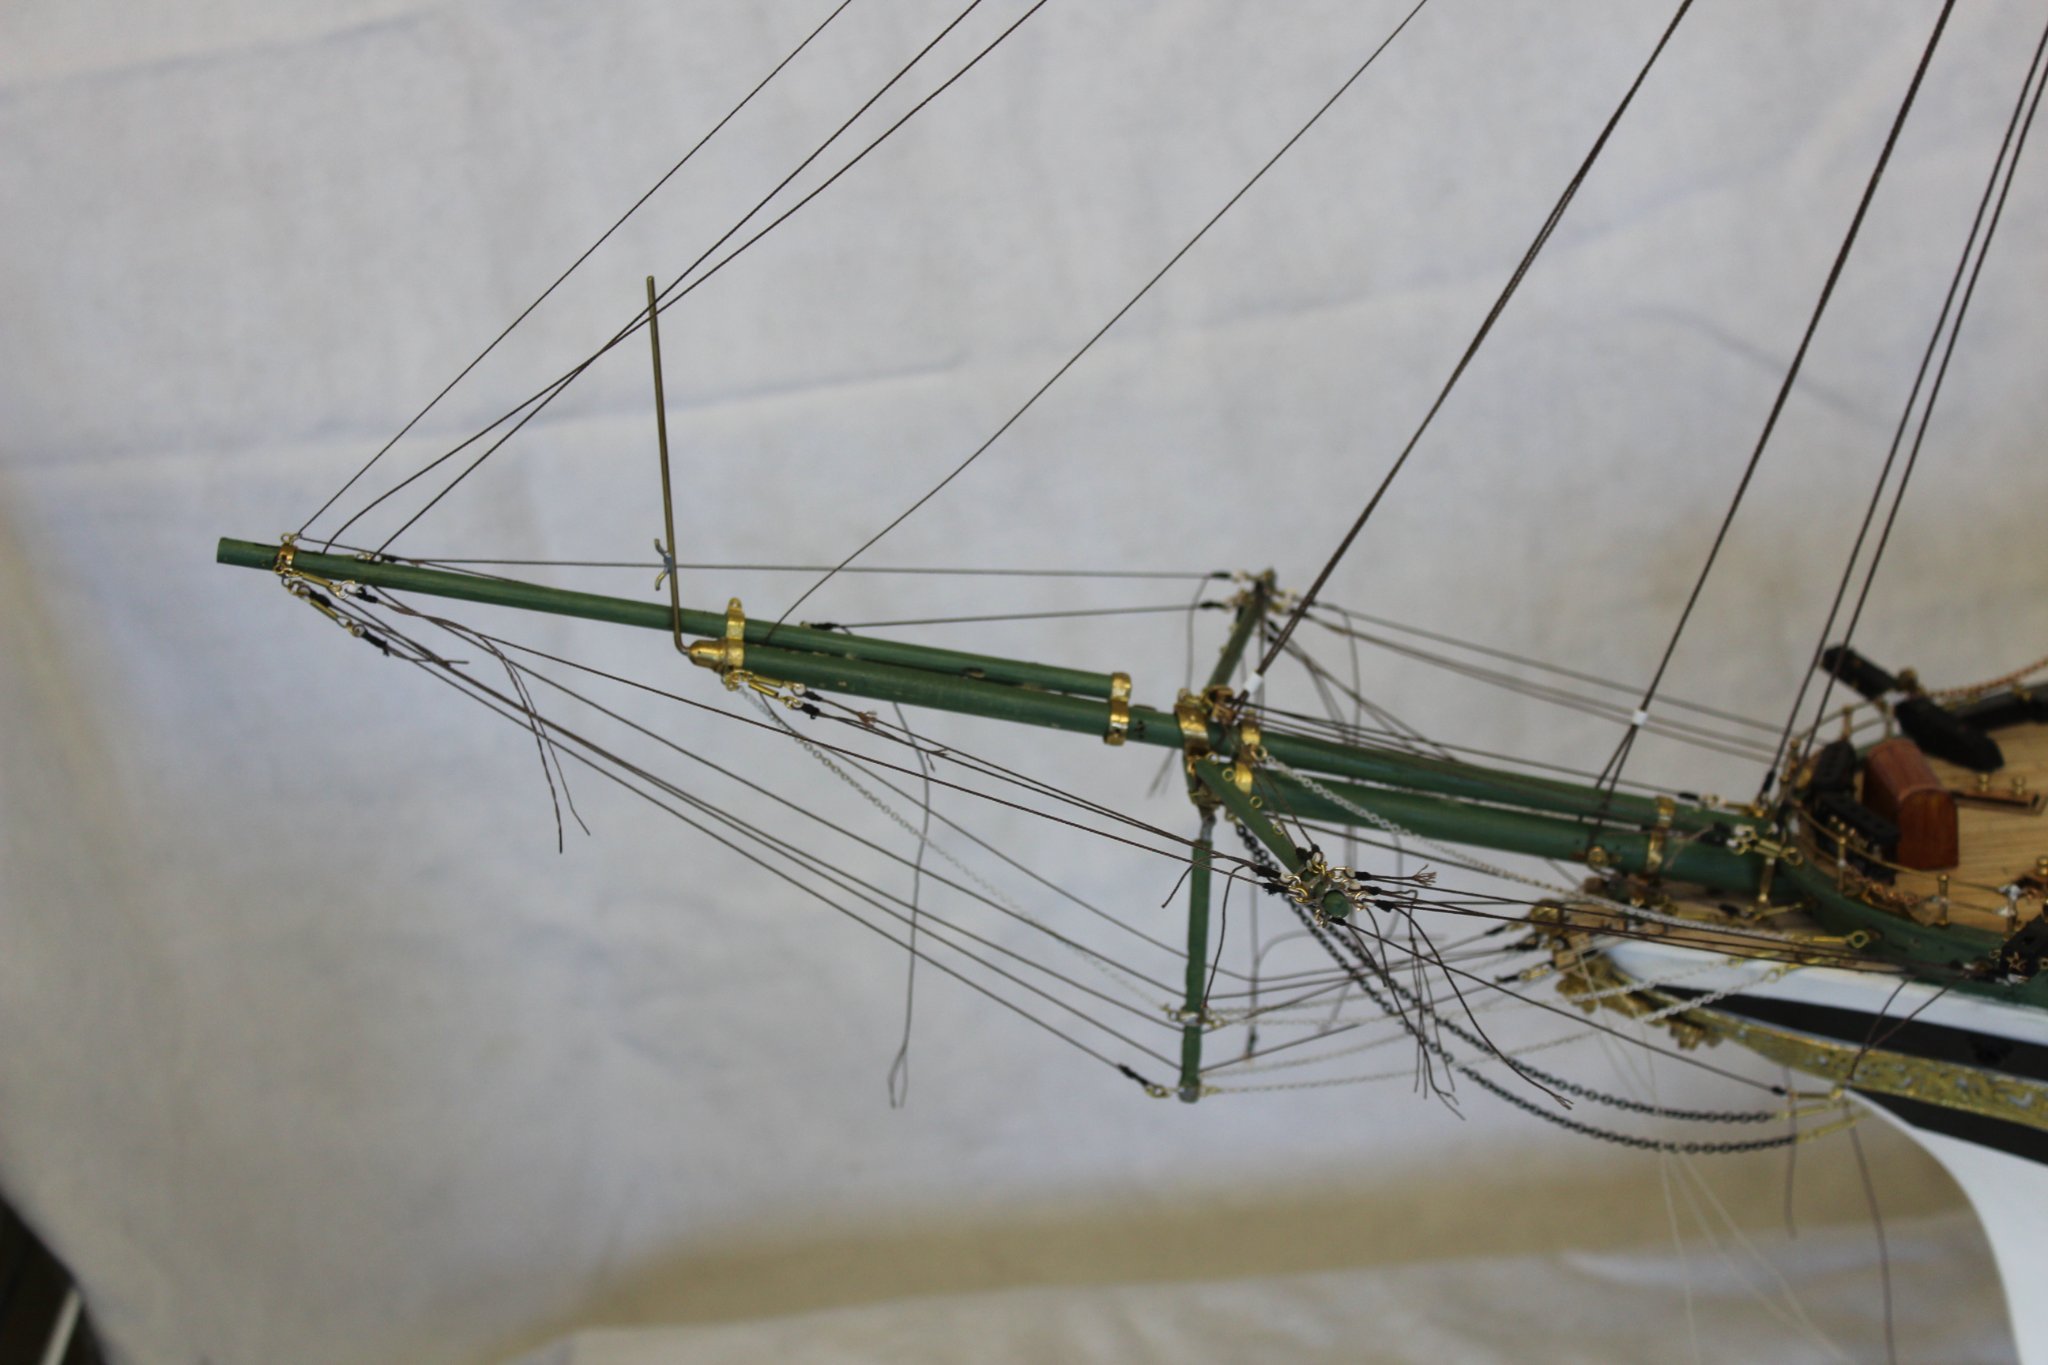
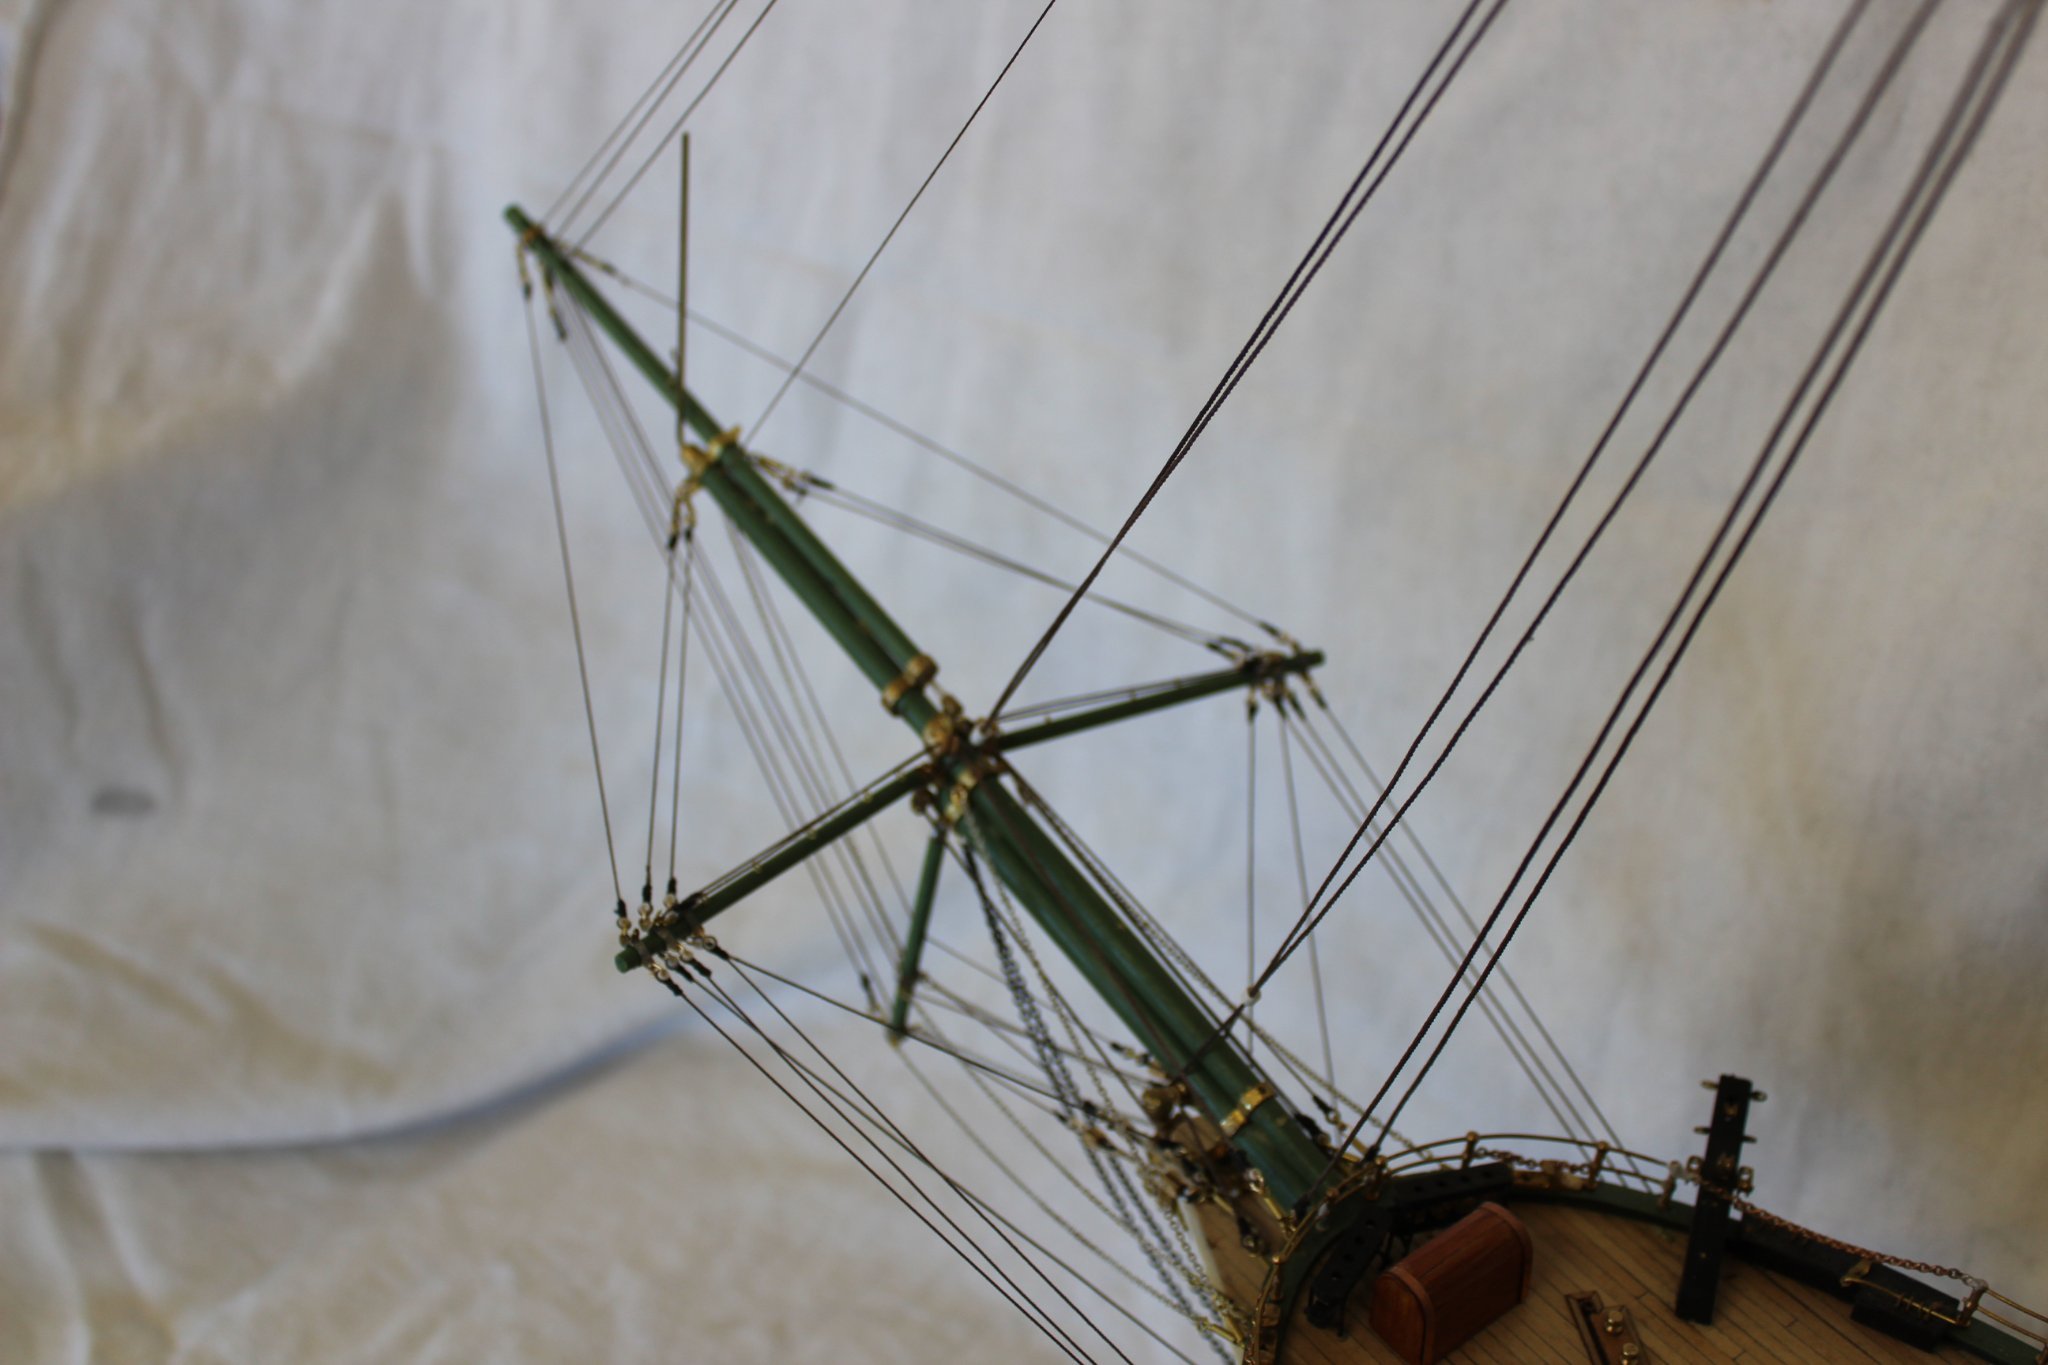
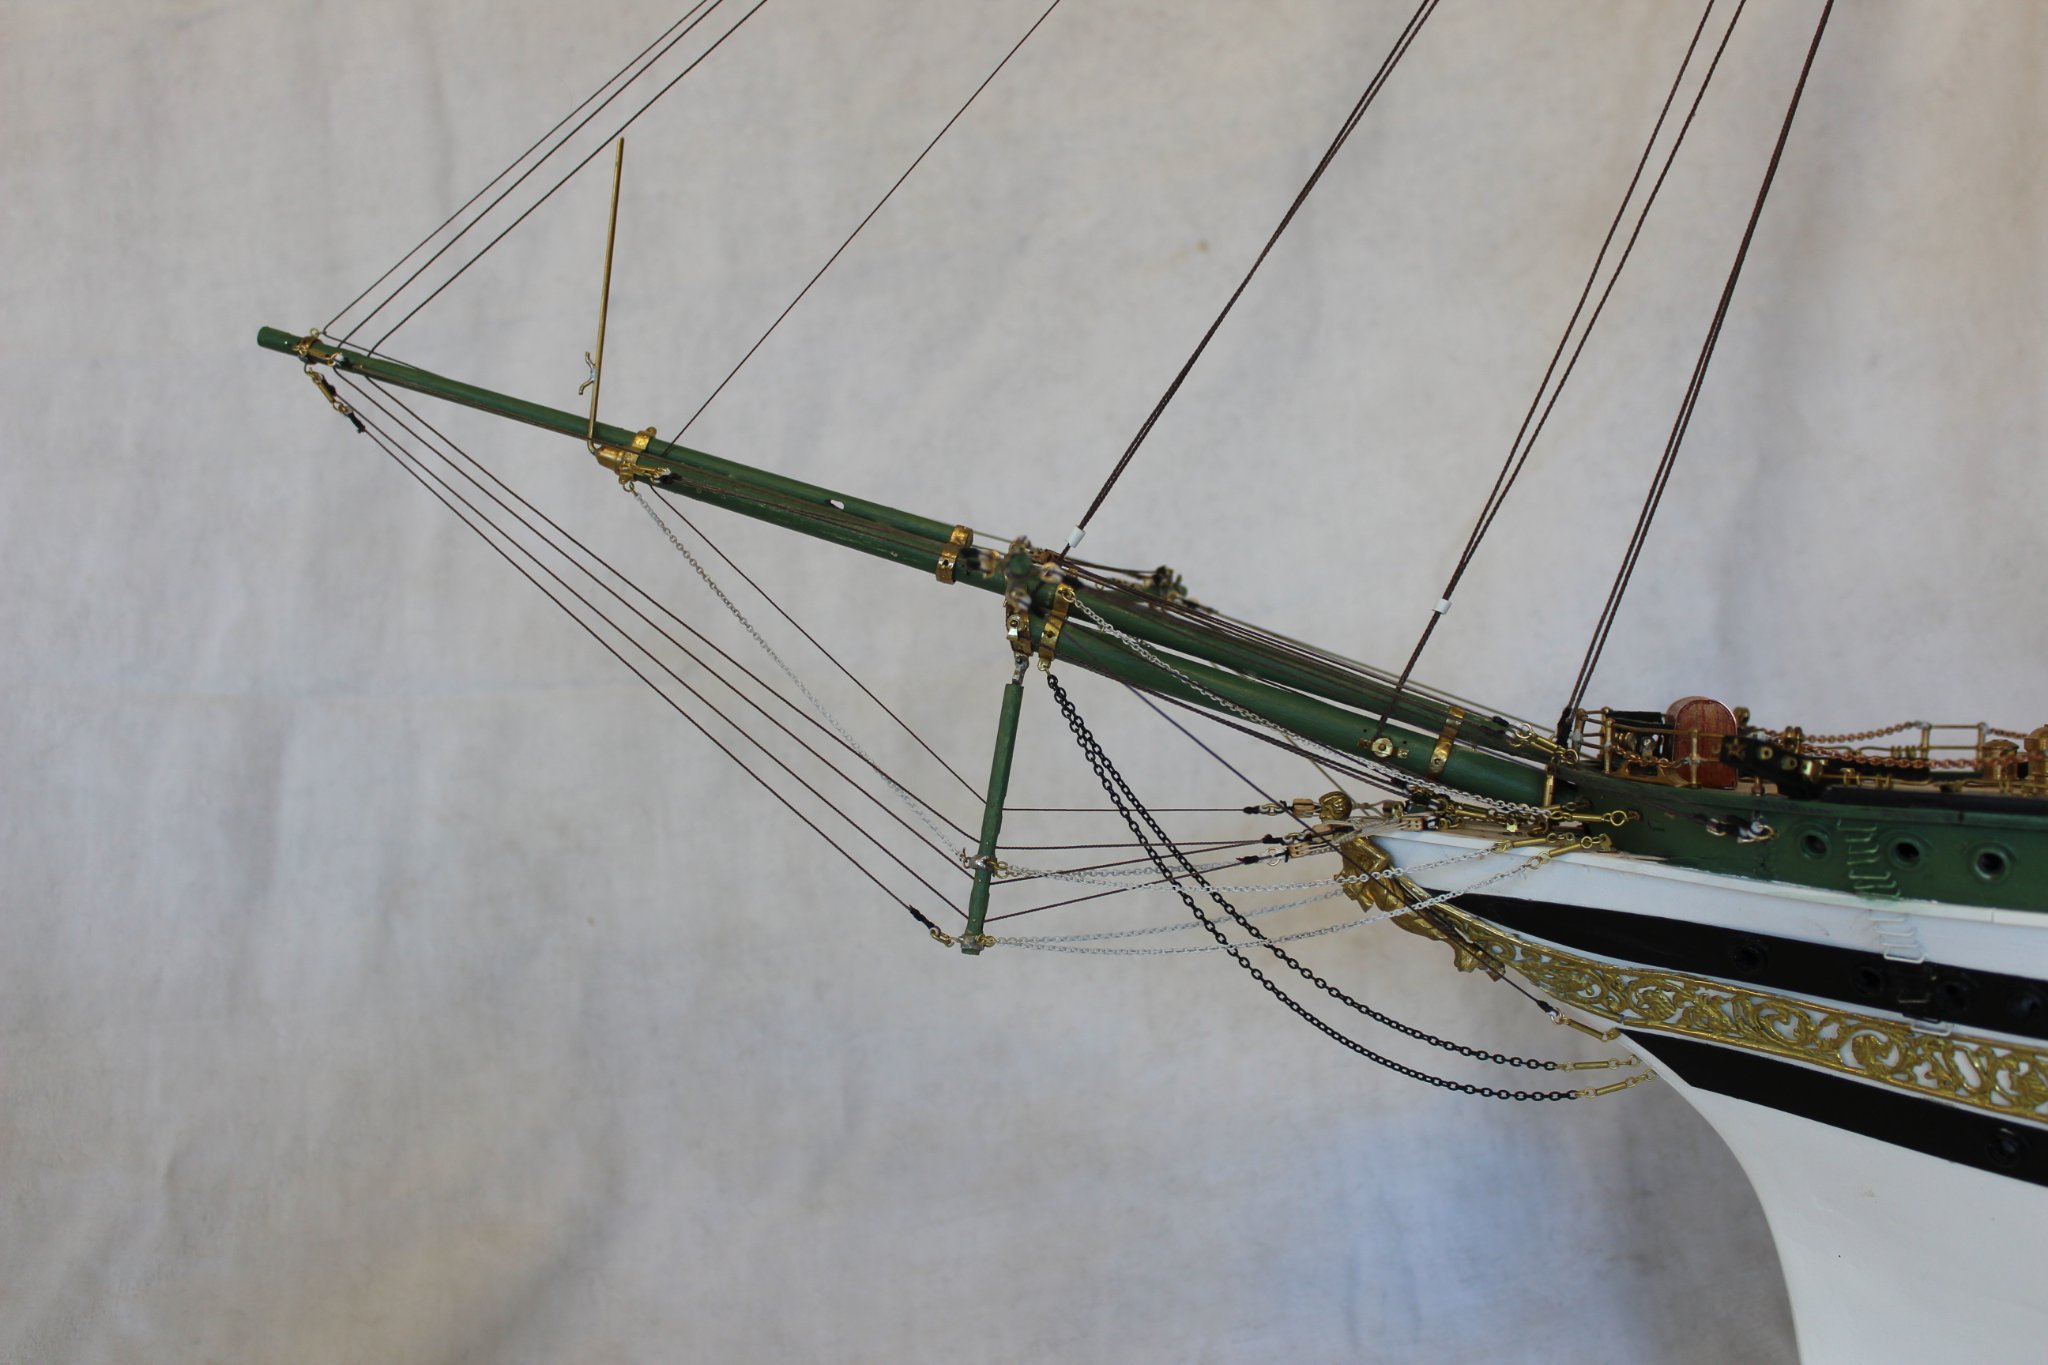
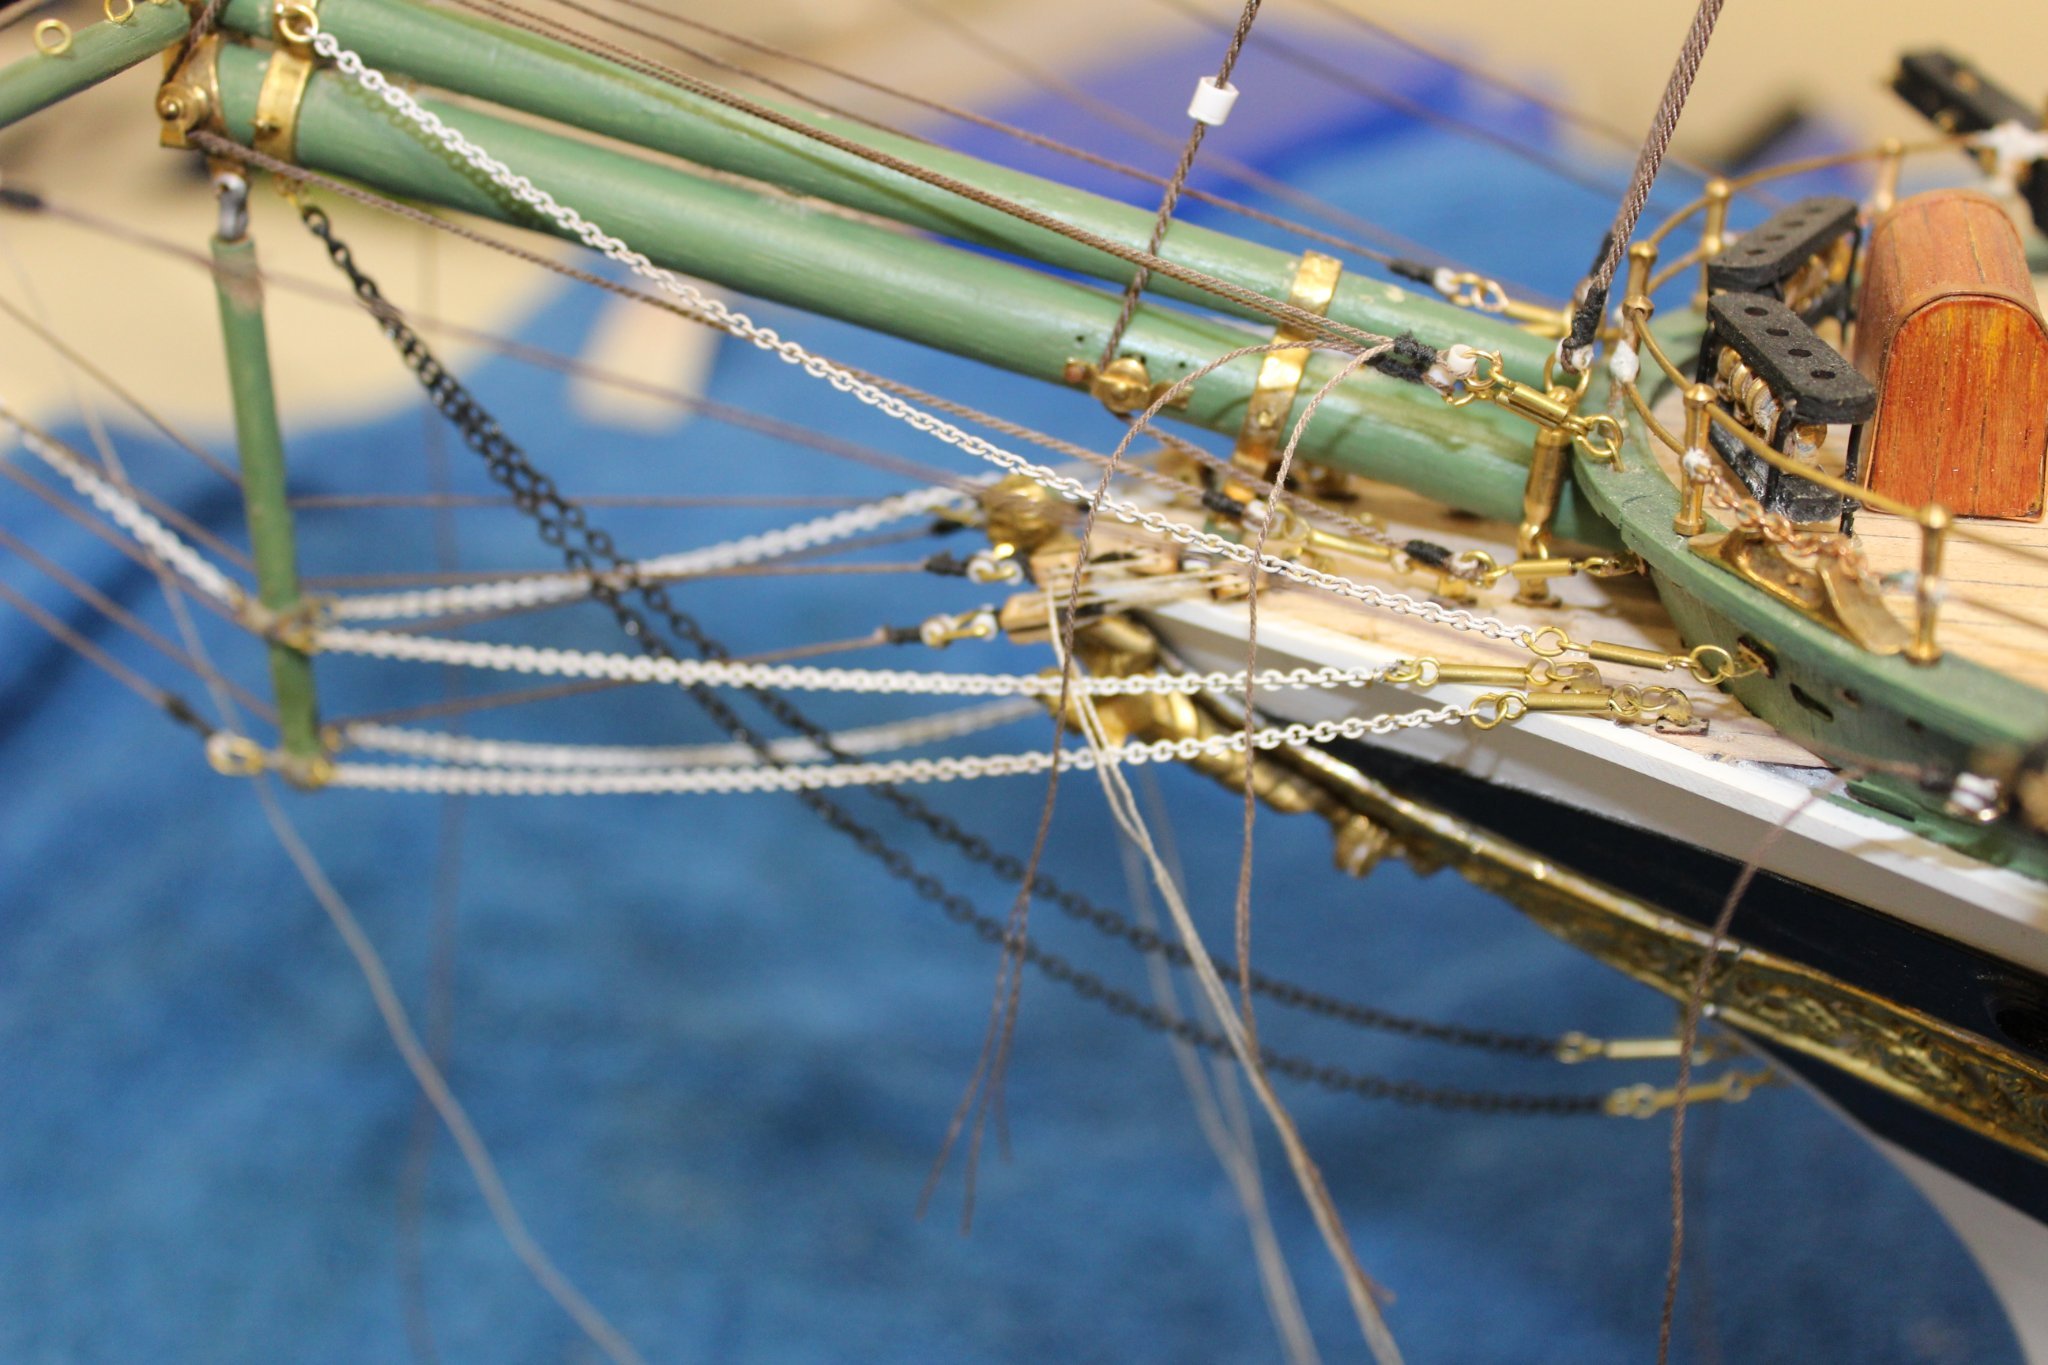
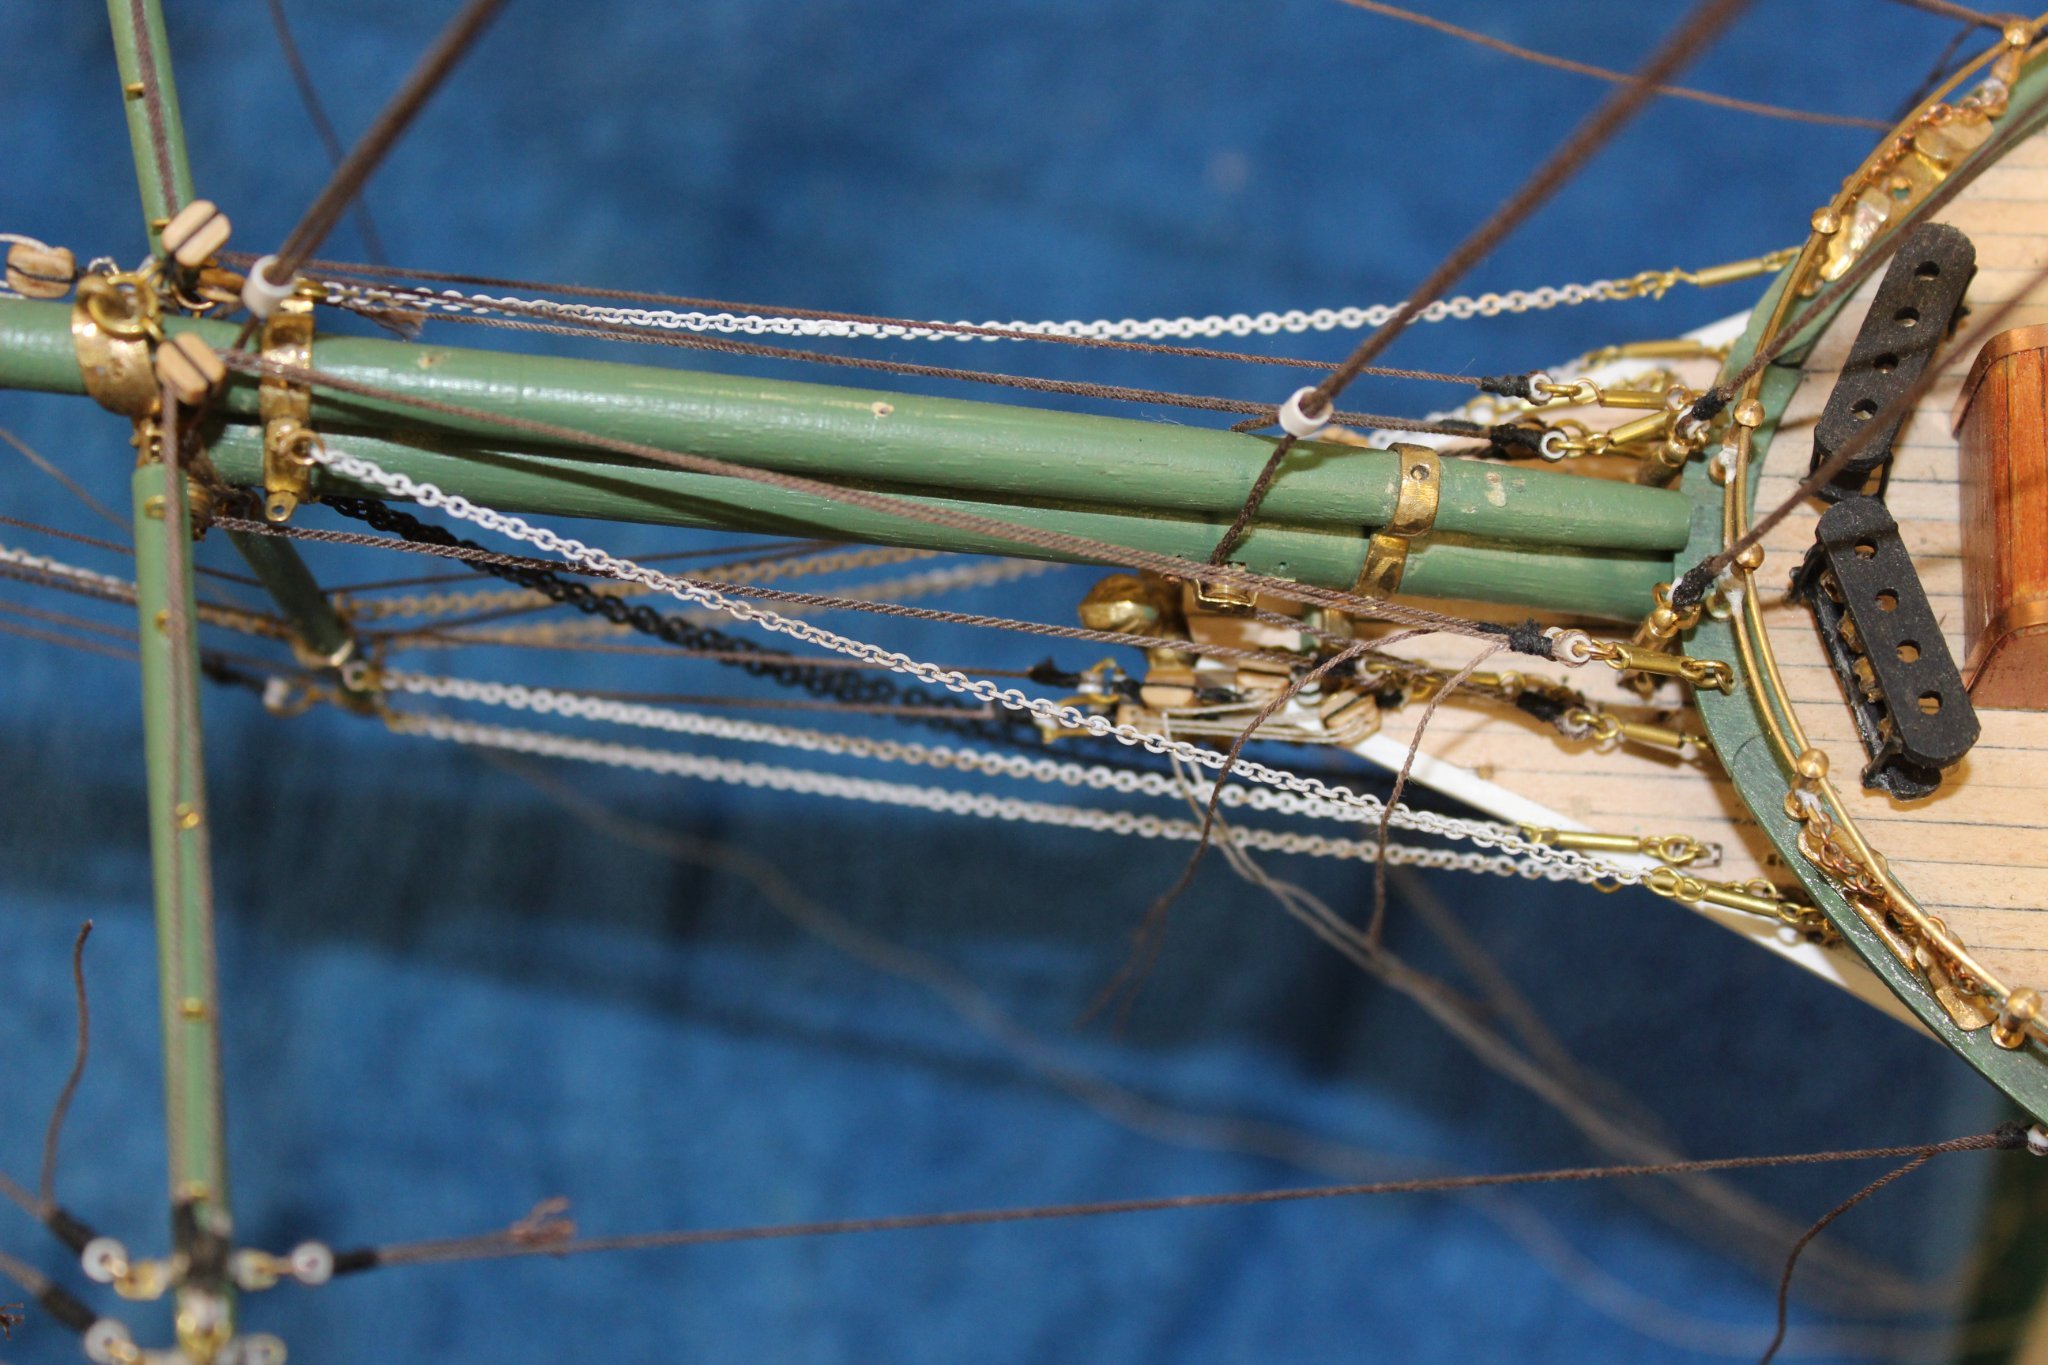
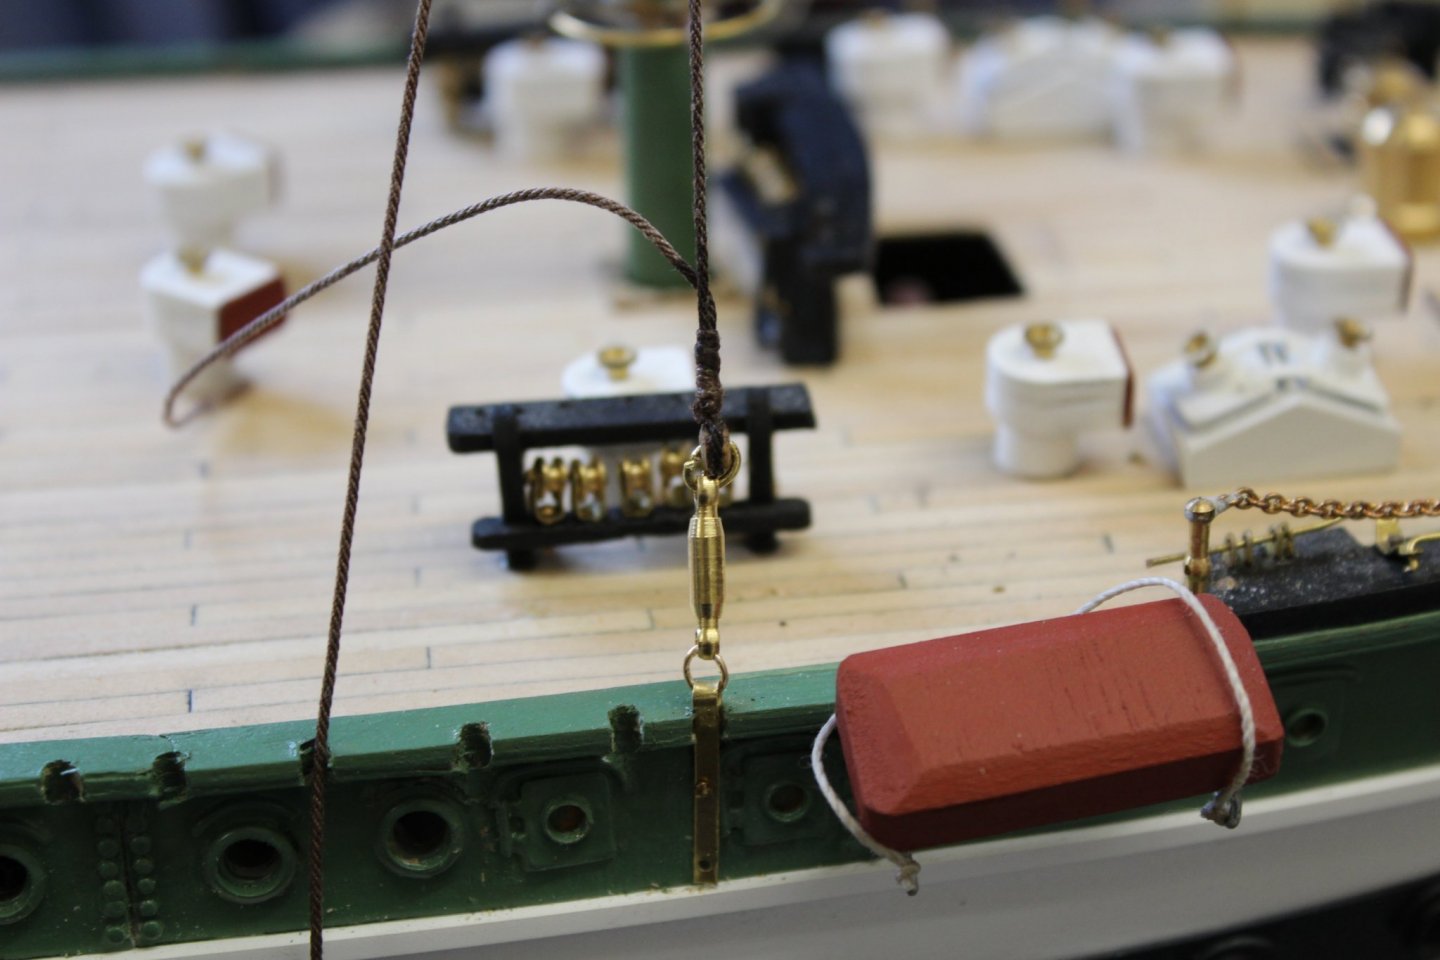
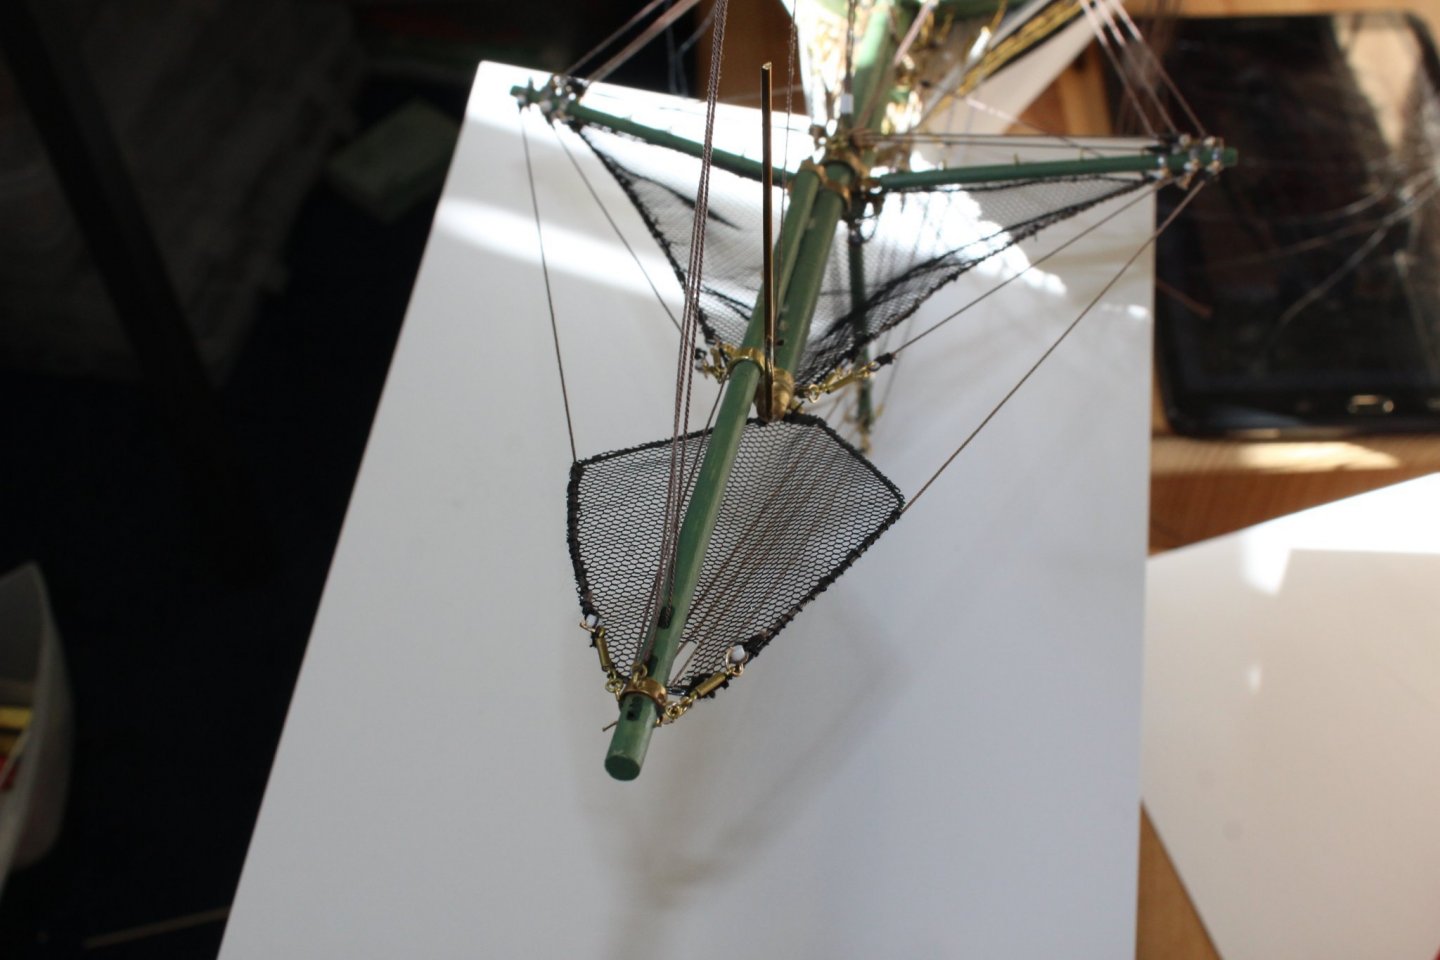
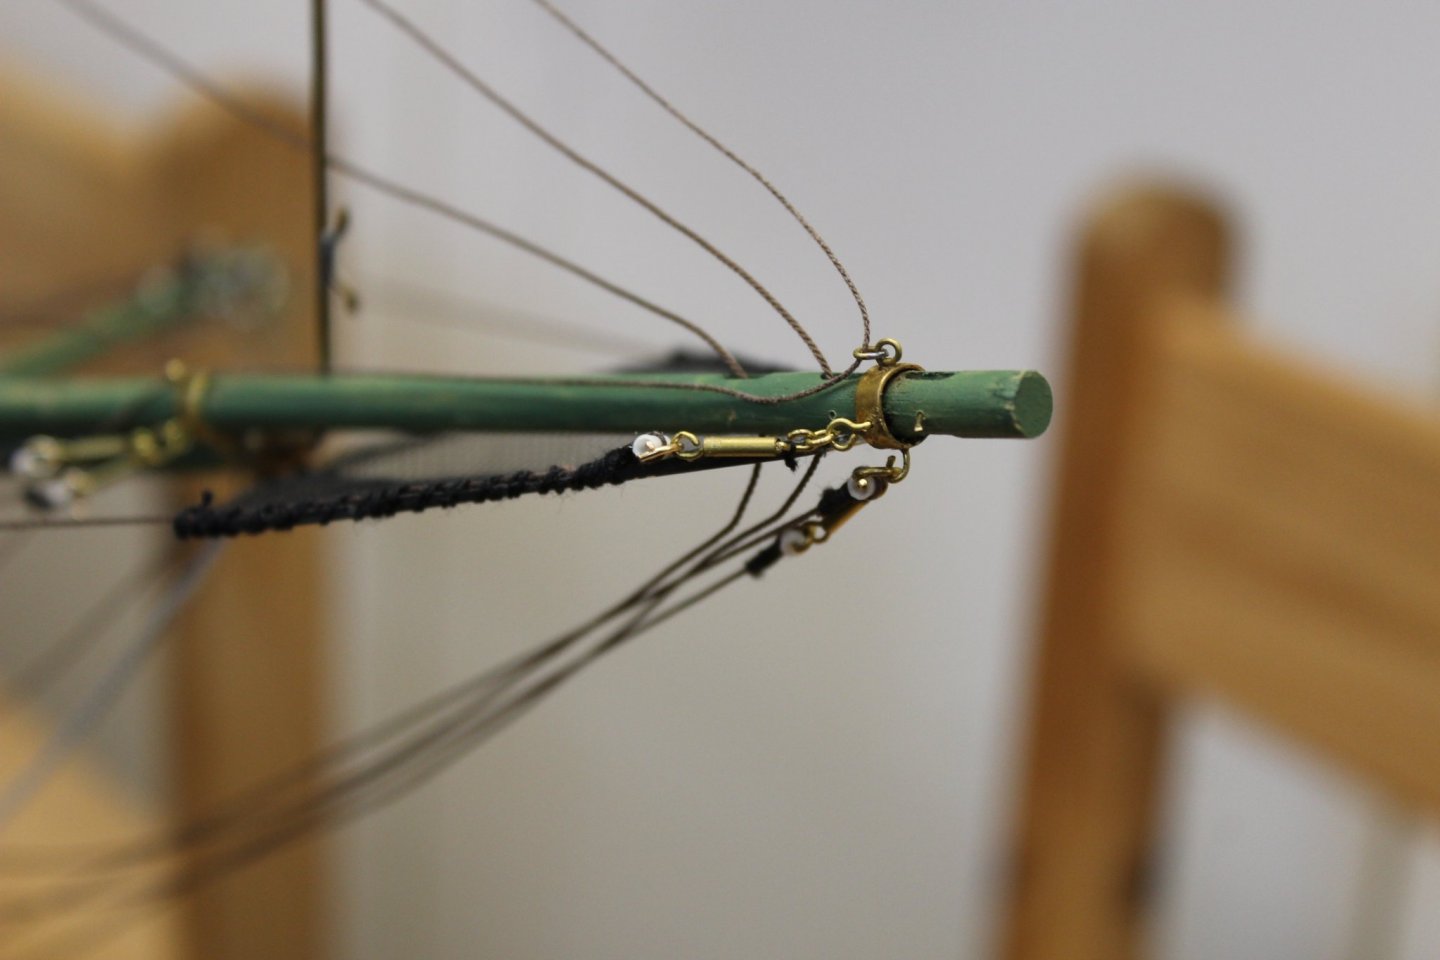
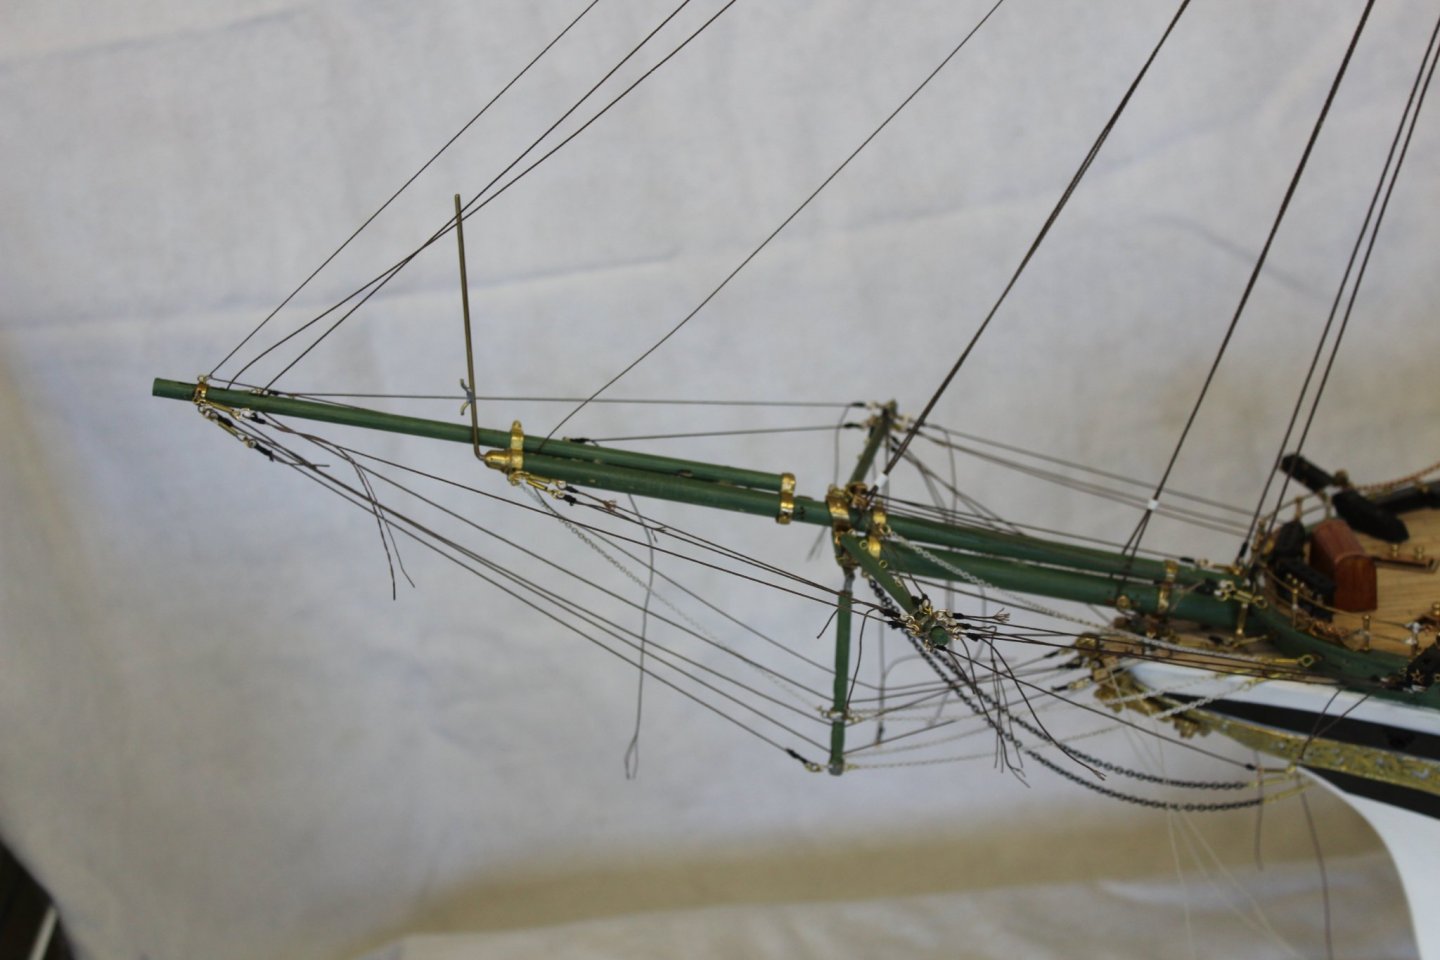
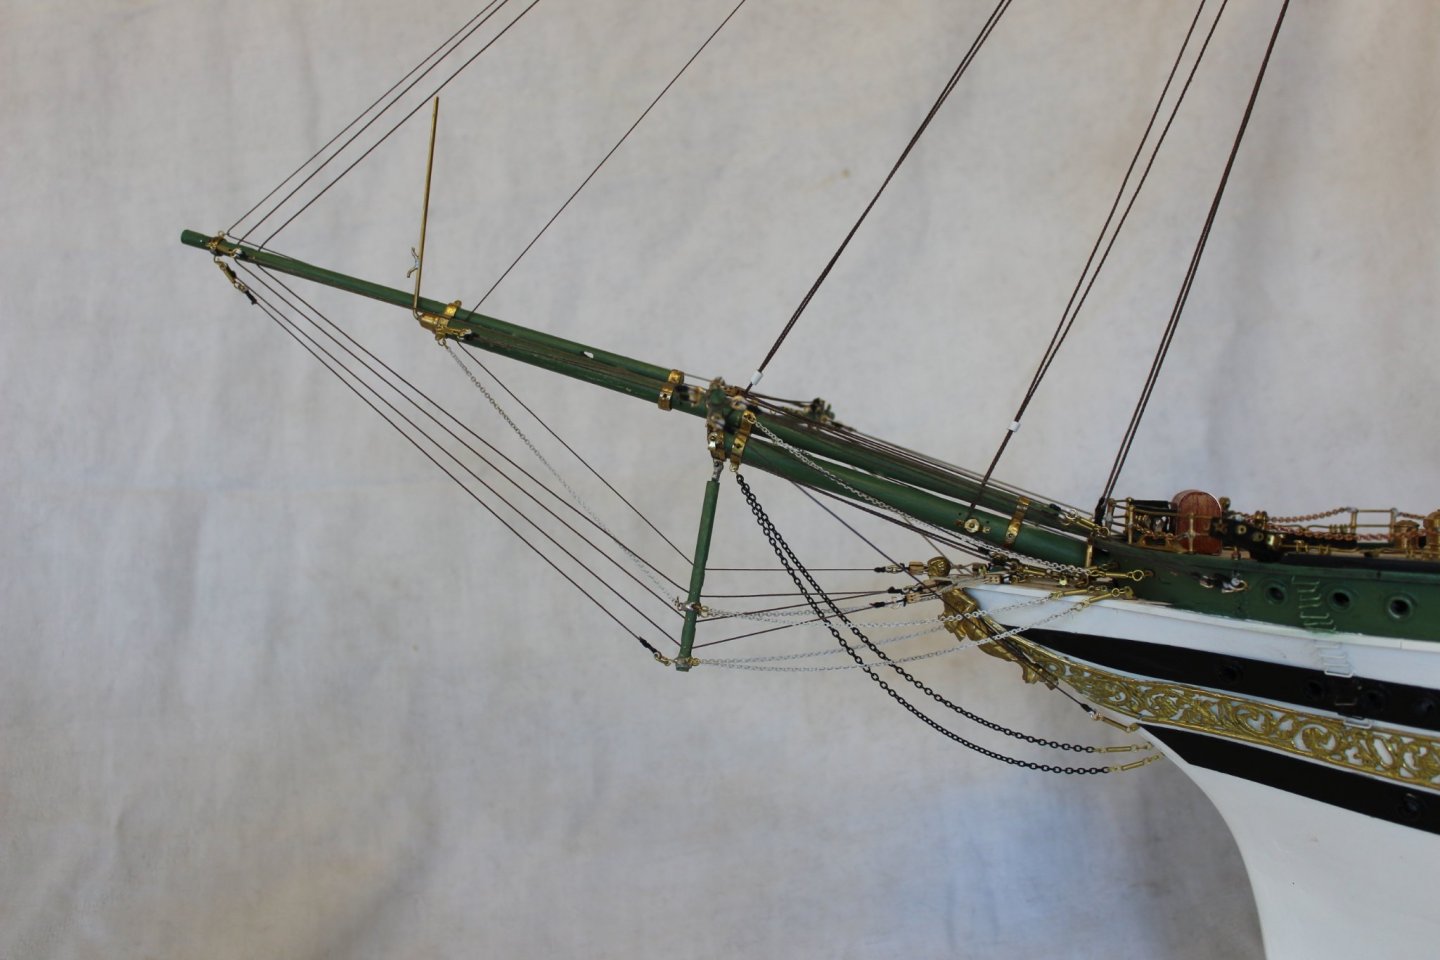
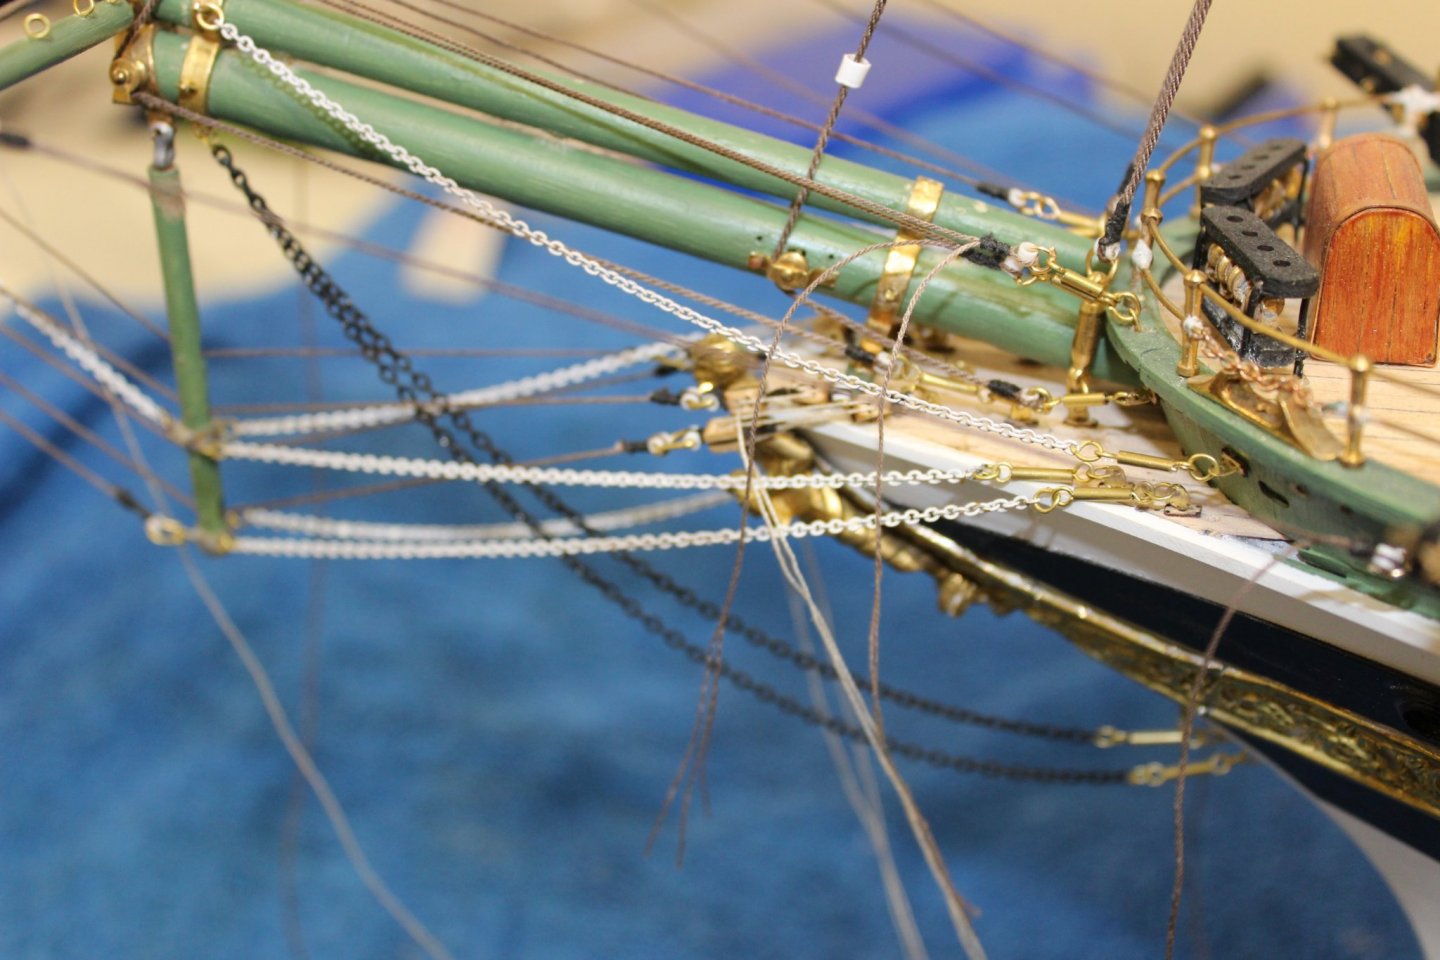
good morning everyone well the bowsprit rigging is completed, and it was actually more to it than i thought, all the ends are trimmed and im 75% happy with it, still dont look how i envisaged it safety nets next


- 273 replies
-
- 13
-
-
-
- panart
- amerigo vespucci
- (and 1 more)
-
welcome, to some normality im also from the UK here is the link to a completed version
-
very nice indeed
-
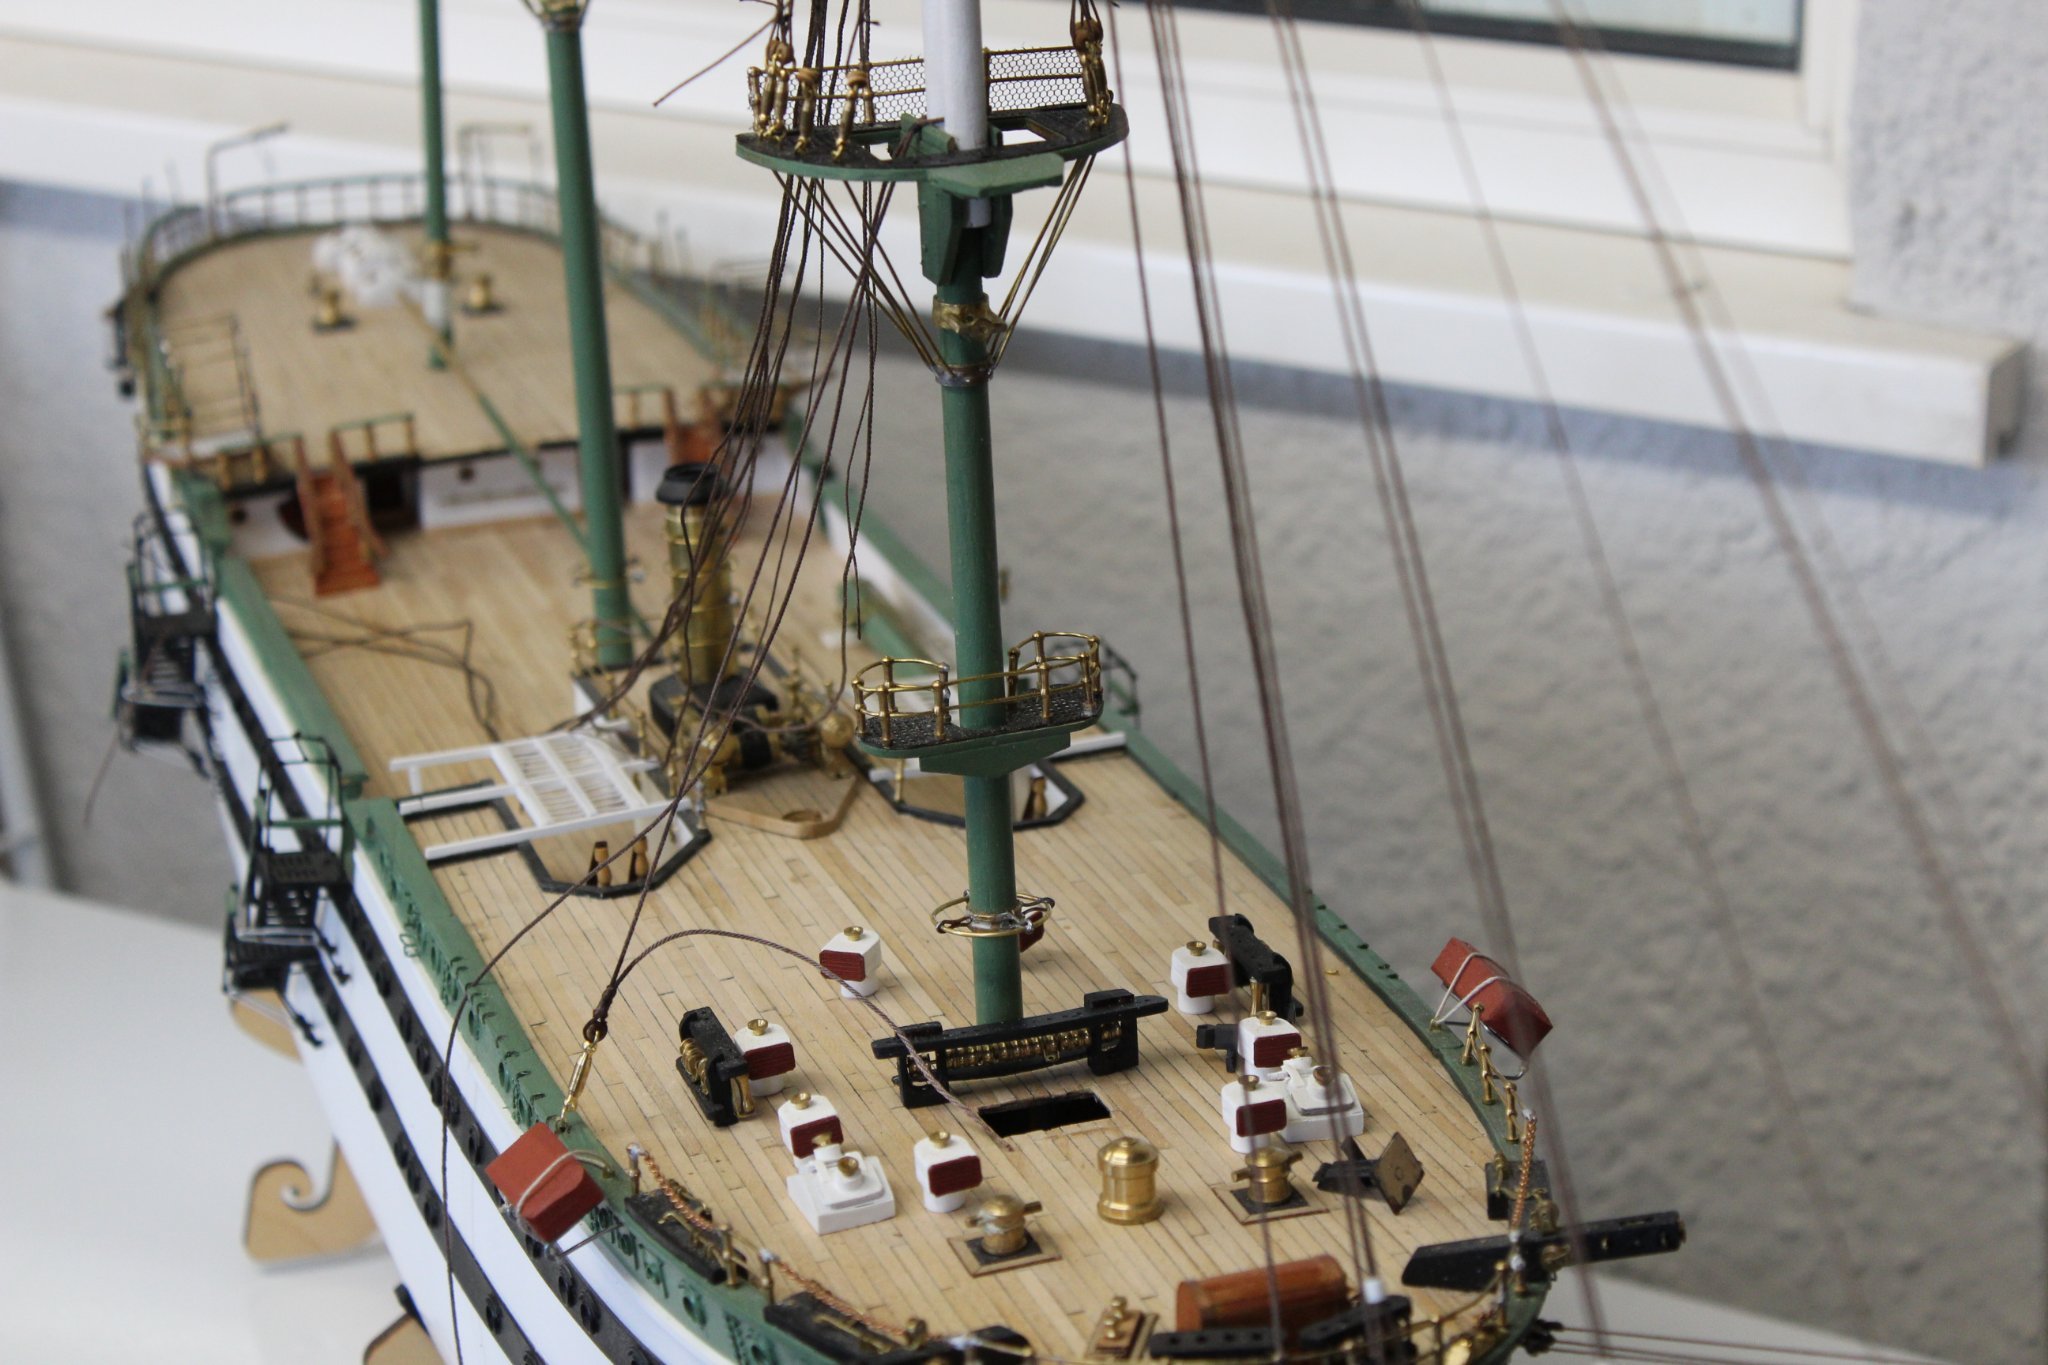
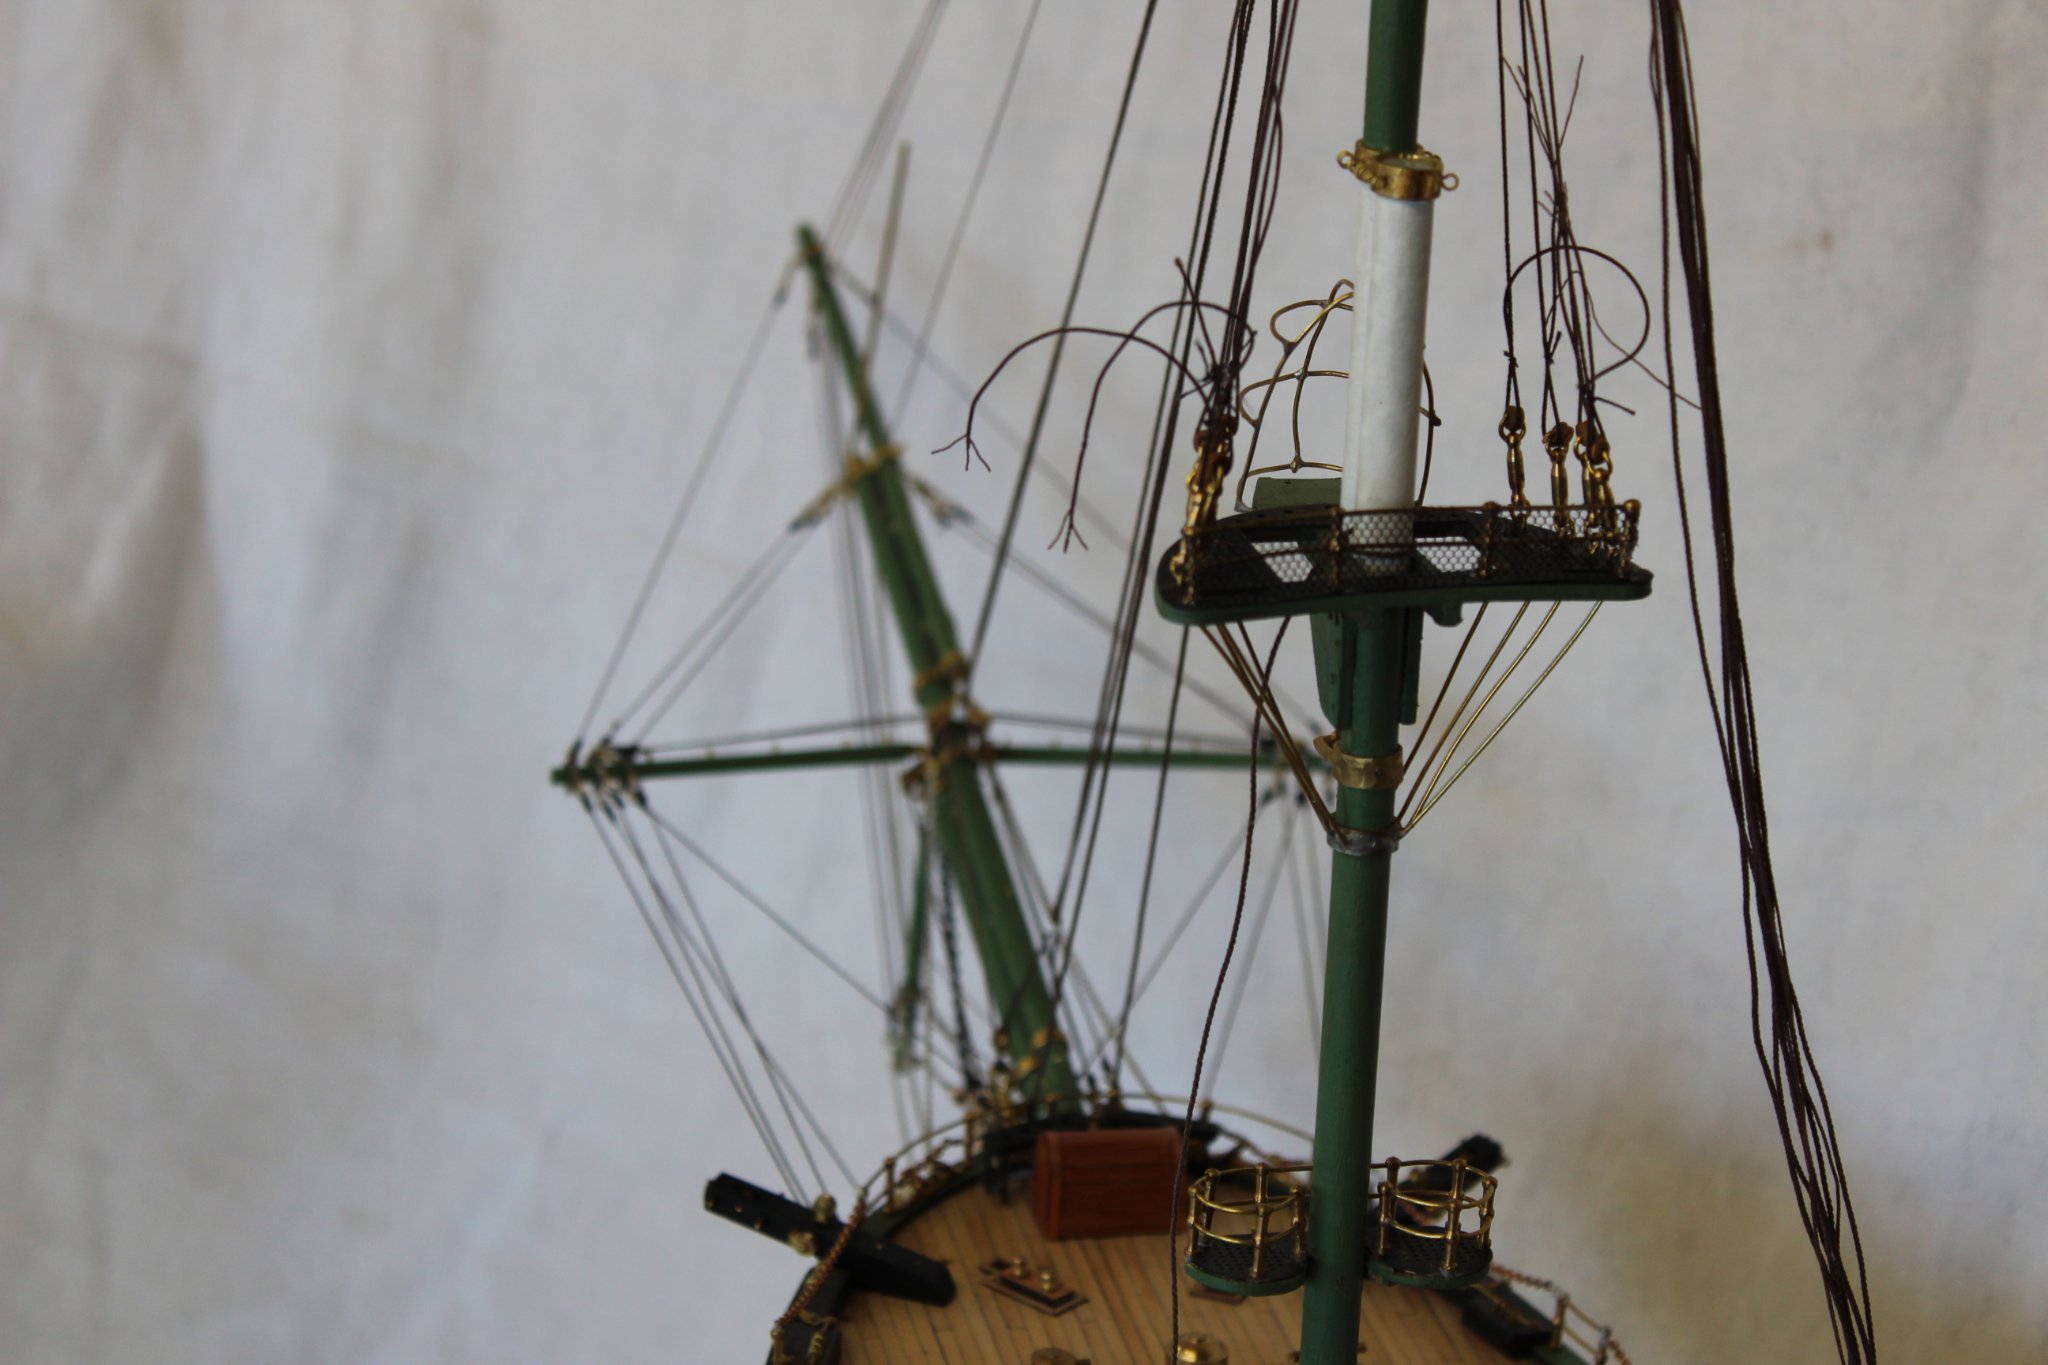
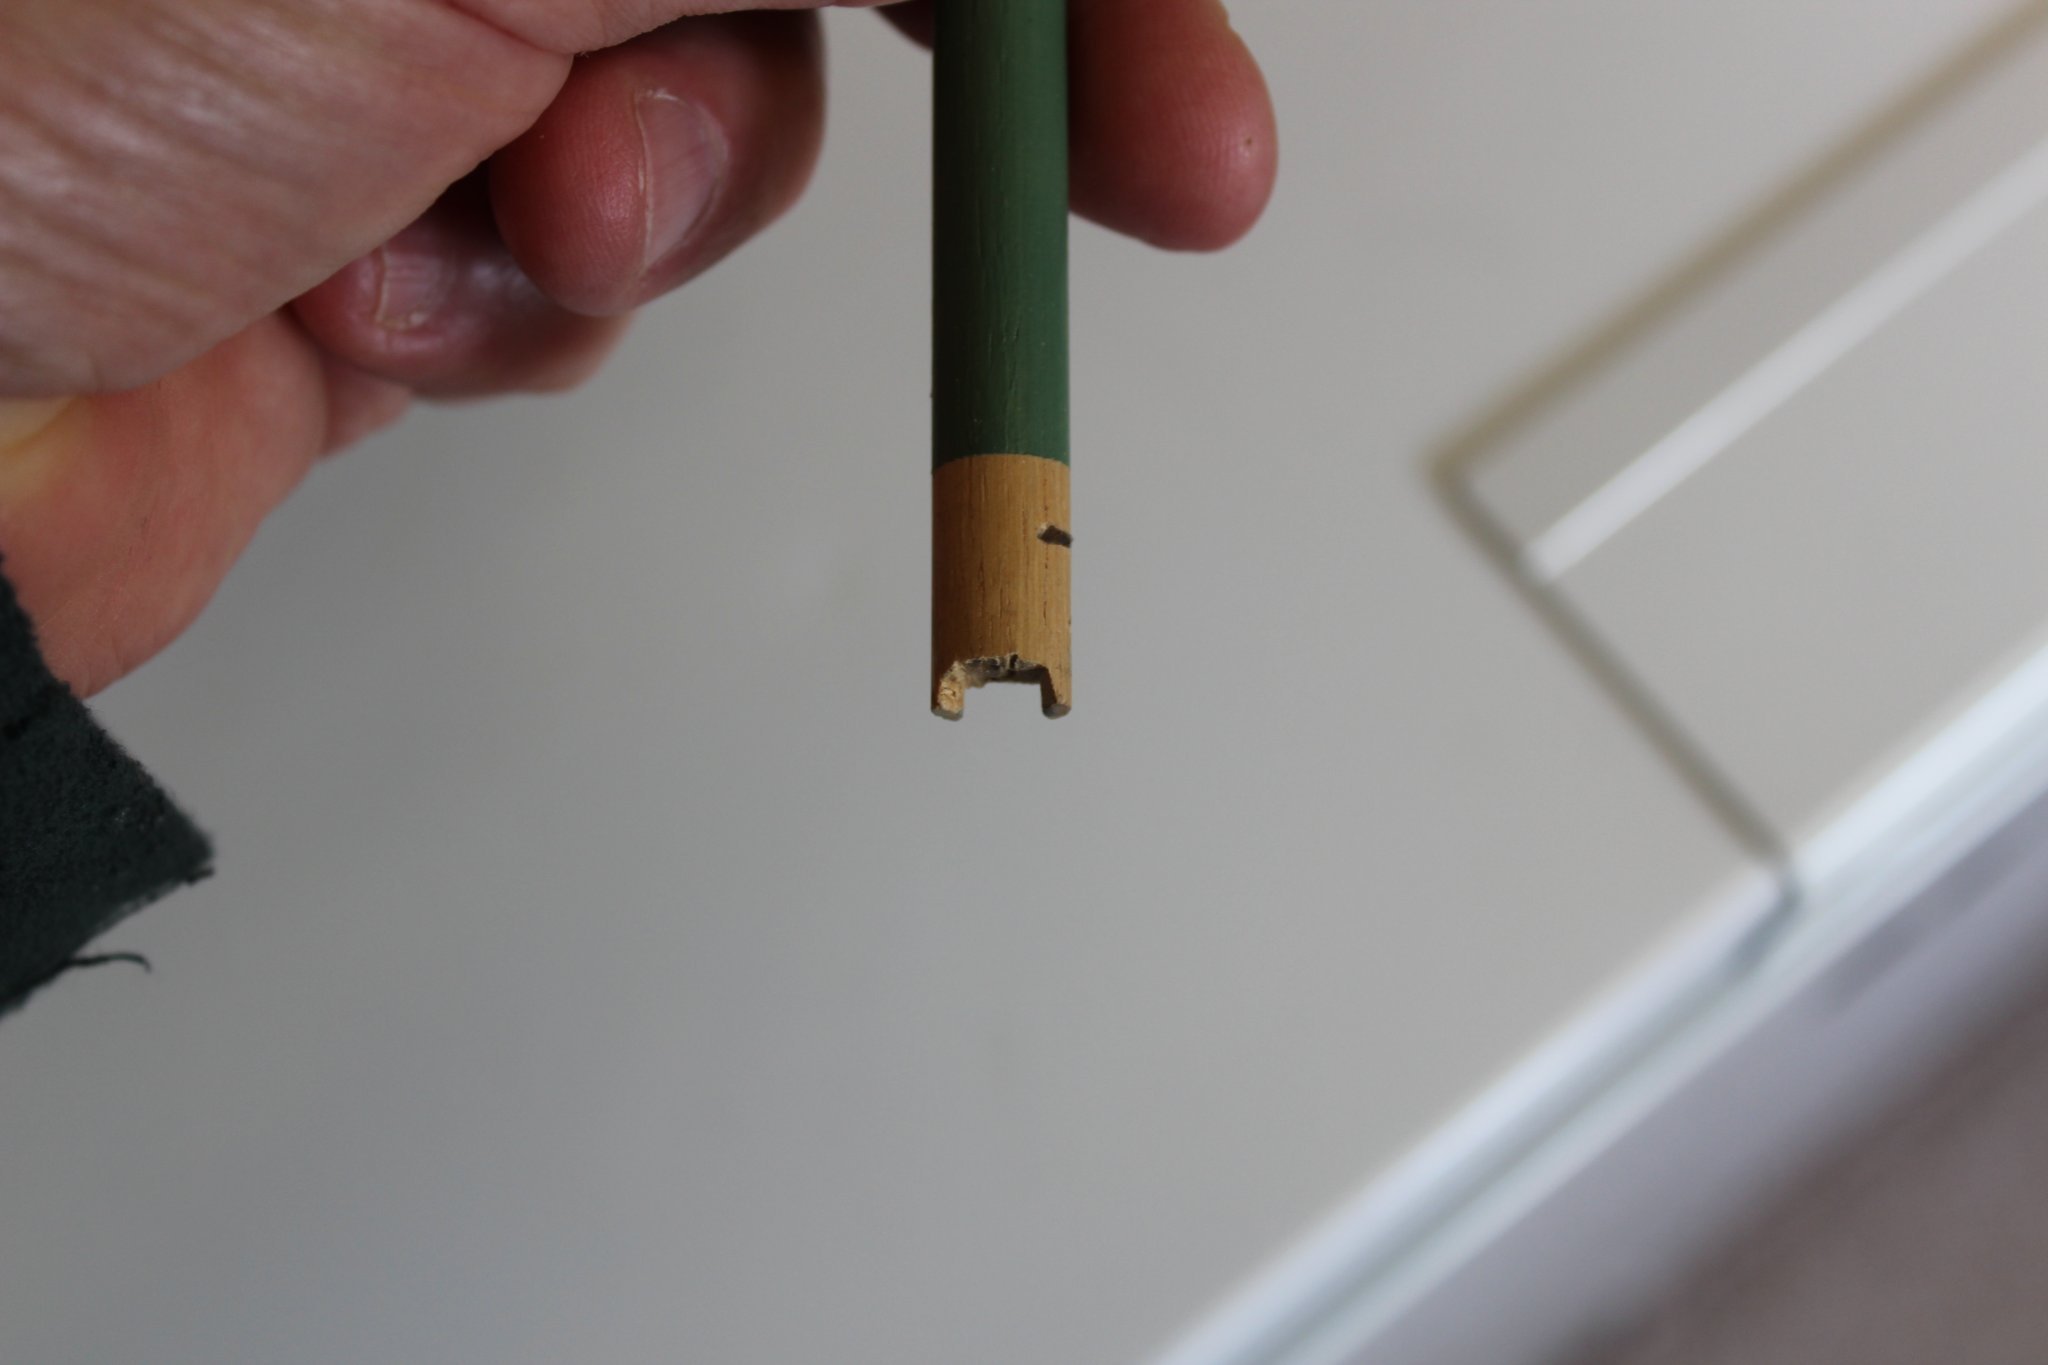
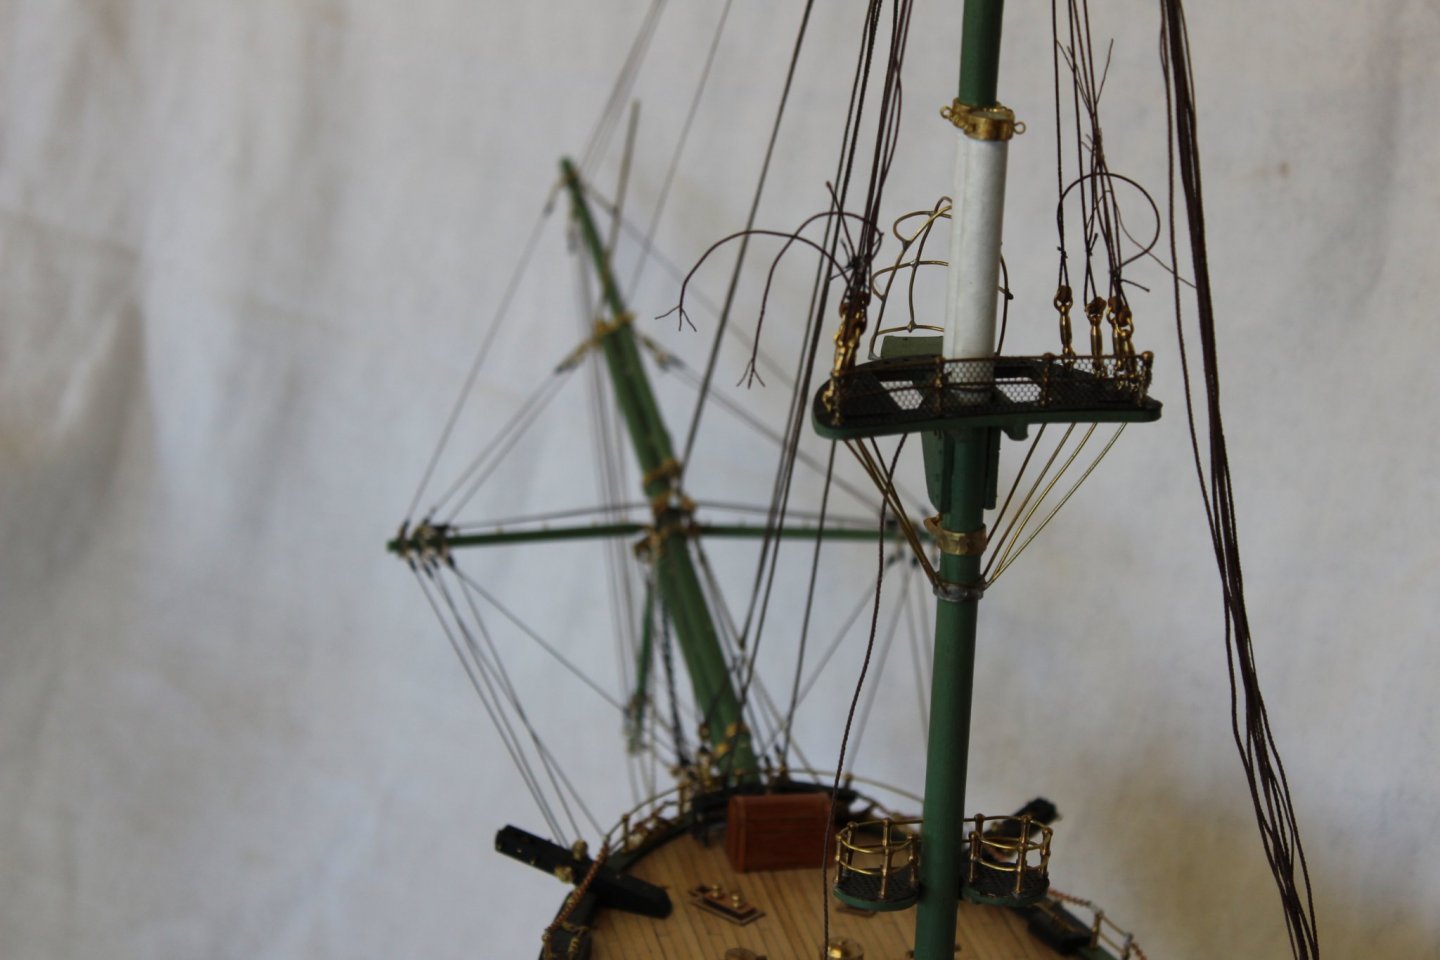
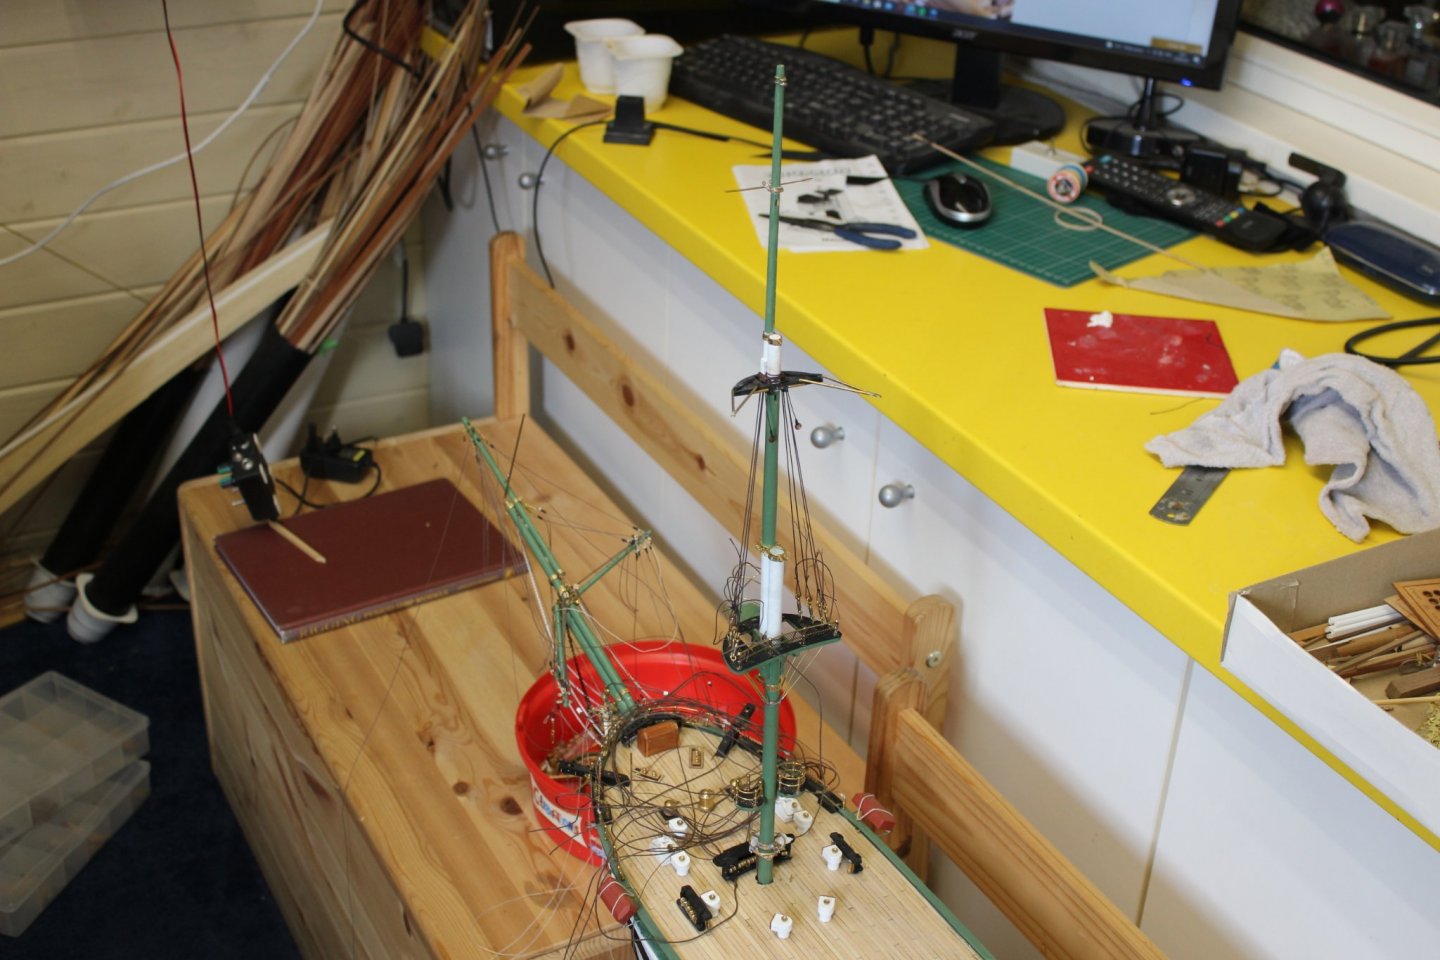
good evening everyone its fine ripping old builds up and restarting, BUT you need to put everything back i have known for weeks/months that i had a problem with the foremast, i never put in any of the sub decks which helps line the mast up, to stop it falling off the keel this late in the build i had no option but to eventually resolve the issue i remeasured the mast and saw that it is a few mm to long, so i cut a slot in the base, and it works, the mast is now in place and permanently fixed spent the rest of the day tidying up the bowsprit rigging this should be completed over the weekend


- 273 replies
-
- 13
-
-
- panart
- amerigo vespucci
- (and 1 more)