HOLIDAY DONATION DRIVE - SUPPORT MSW - DO YOUR PART TO KEEP THIS GREAT FORUM GOING! (Only 13 donations so far - C'mon guys!)
×


Vivian Galad
-
Posts
596 -
Joined
-
Last visited
Content Type
Profiles
Forums
Gallery
Events
Everything posted by Vivian Galad
-
 Hey Jerome, one step at a time. Discovered my 3 new kits have arrived and, even with the excitement to go for them as quickly as possible, I´ll first have patience and keep the steps in my caravel. One day I´ll become a pro and won´t be in a hasty way. Loved to read it, though . Ty, bug - Still working, rigging is the real thing, it seems. Sam, I think all my builds will go that way since I love the look of used things, as if that was a history of it´s own. But I can apreciate those who work hard to bring a brand new ship, shining and all (well, maybe not shining ). Today I was thinking if a ship that voyaged the Mediterranean would "age" differently from one on the Atlantic. Seems to me that the winds from the african coast would be more harsh, sandy (and they were used mainly for the travel south) and thus a more threatening weather than that faced on mediterranean sea. I´ll have to study that to do my Corel´s "Cocca Veneta". ^^ Thanks for following up. =*
 -
What can I say? I´m just a little girl on a toy shop with my mouth agape and shining eyes. Yours is really one of the best I´ve seen on details ever, and the bricks, wish I can do something like that someday. For now, I´m just admiring. Beautiful, amazing, well, u know your work is beyond the top. I´ll follow.
- 1,215 replies
-
- 1
-

-
- sloop
- kingfisher
- (and 1 more)
-
Just learning, just learning. Treenails for the next build: check! Good work, Meredith. I´ll follow you. ^^
-
I felt the pain of the crash!! Happy you put her under reppair. Hope in the future I can scratchbuilt as you are doing now. Fantastic job!
-
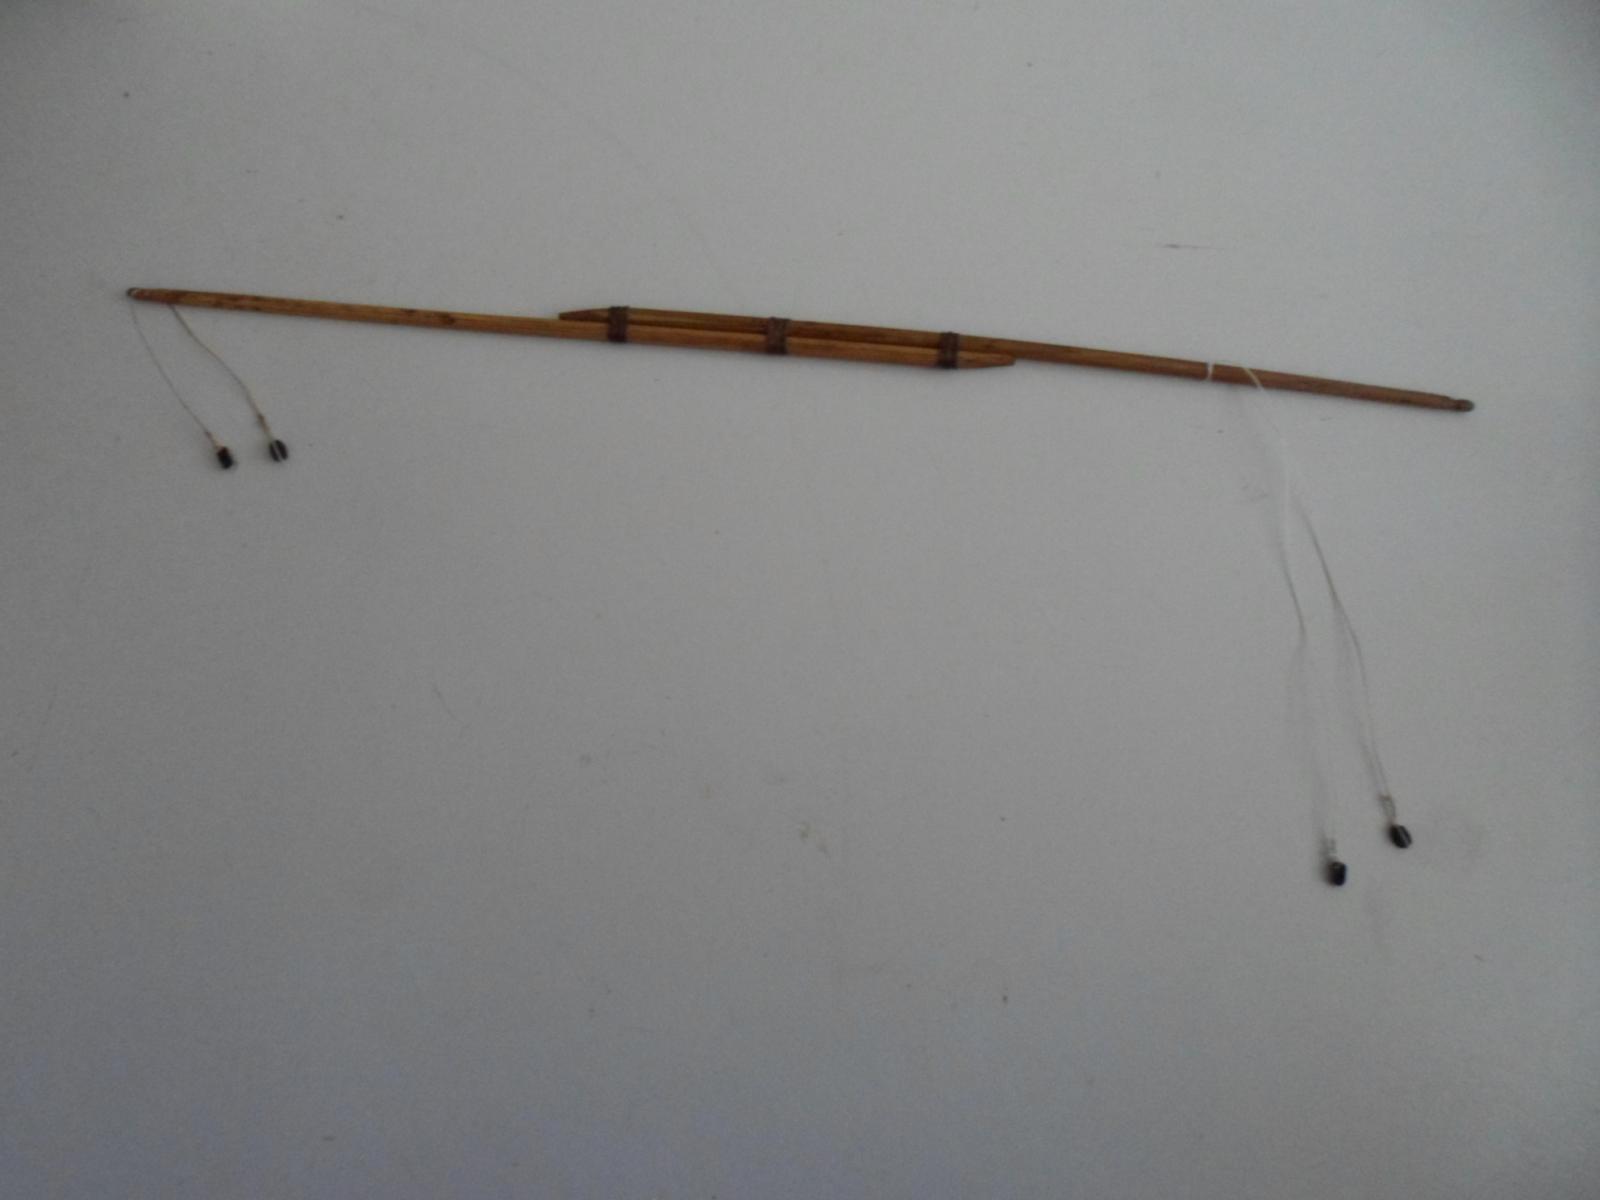
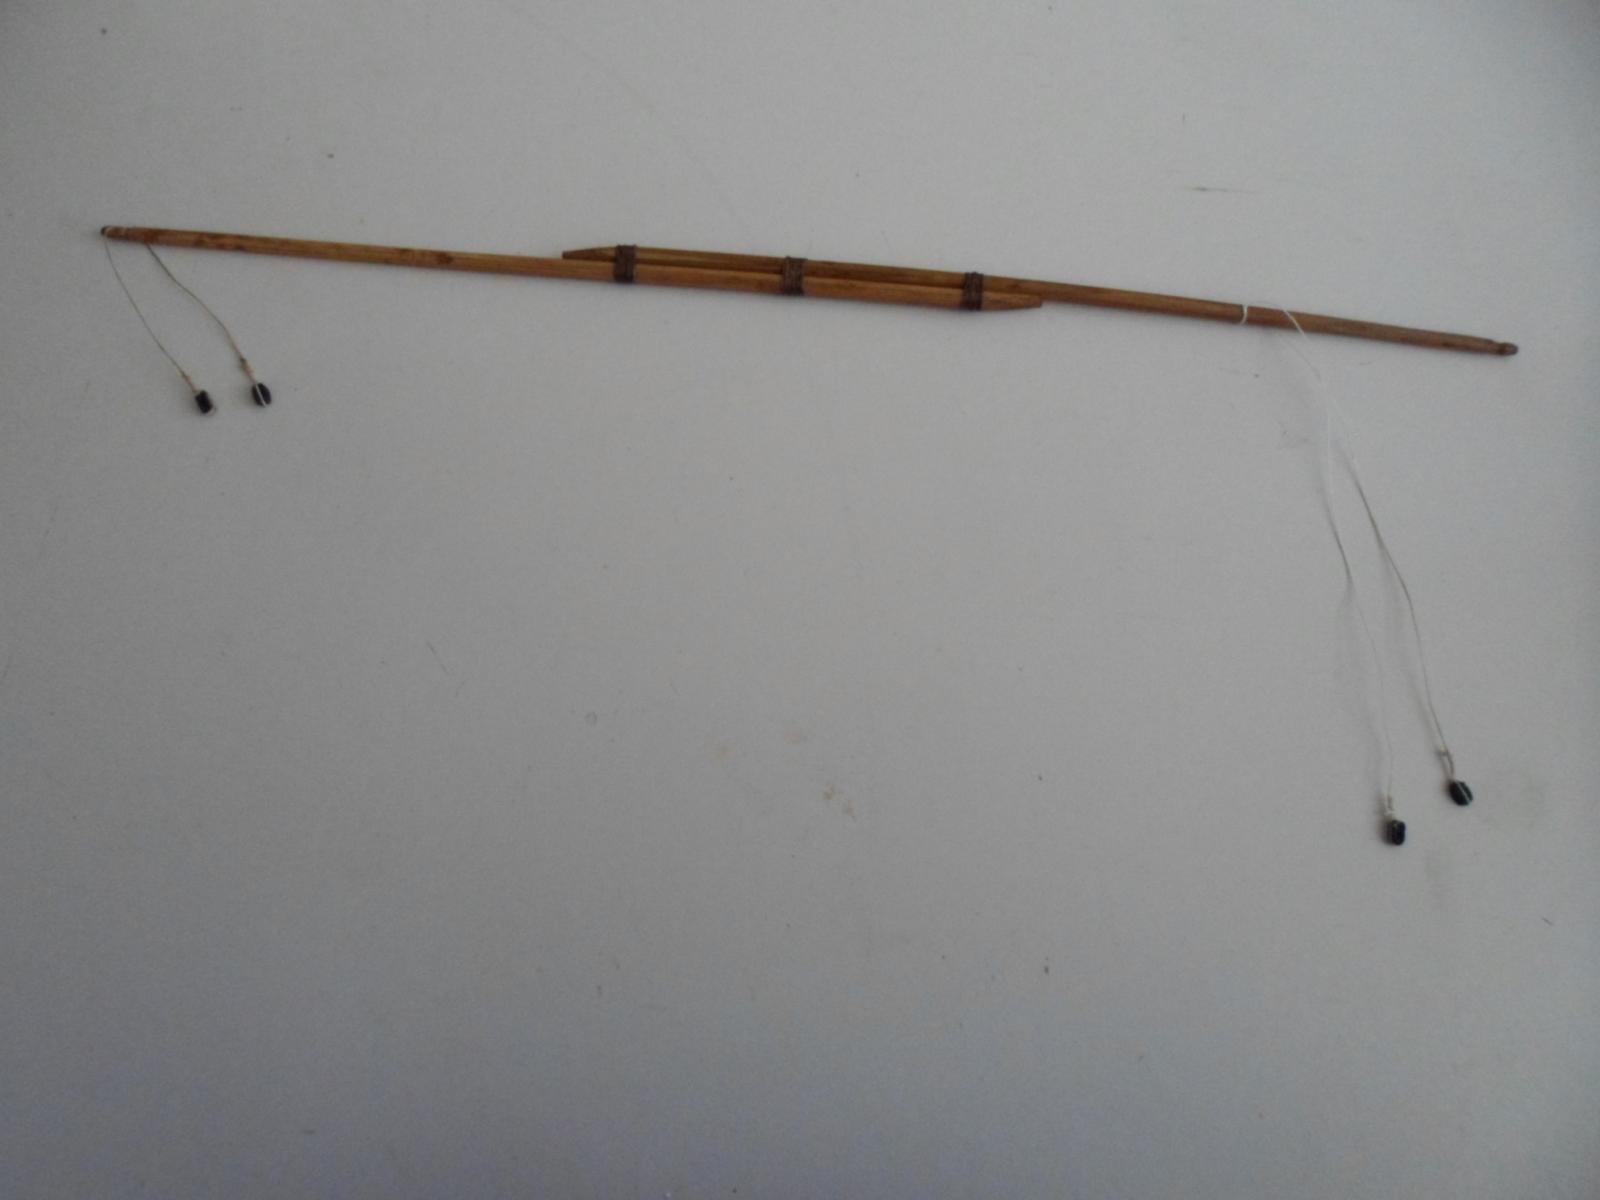
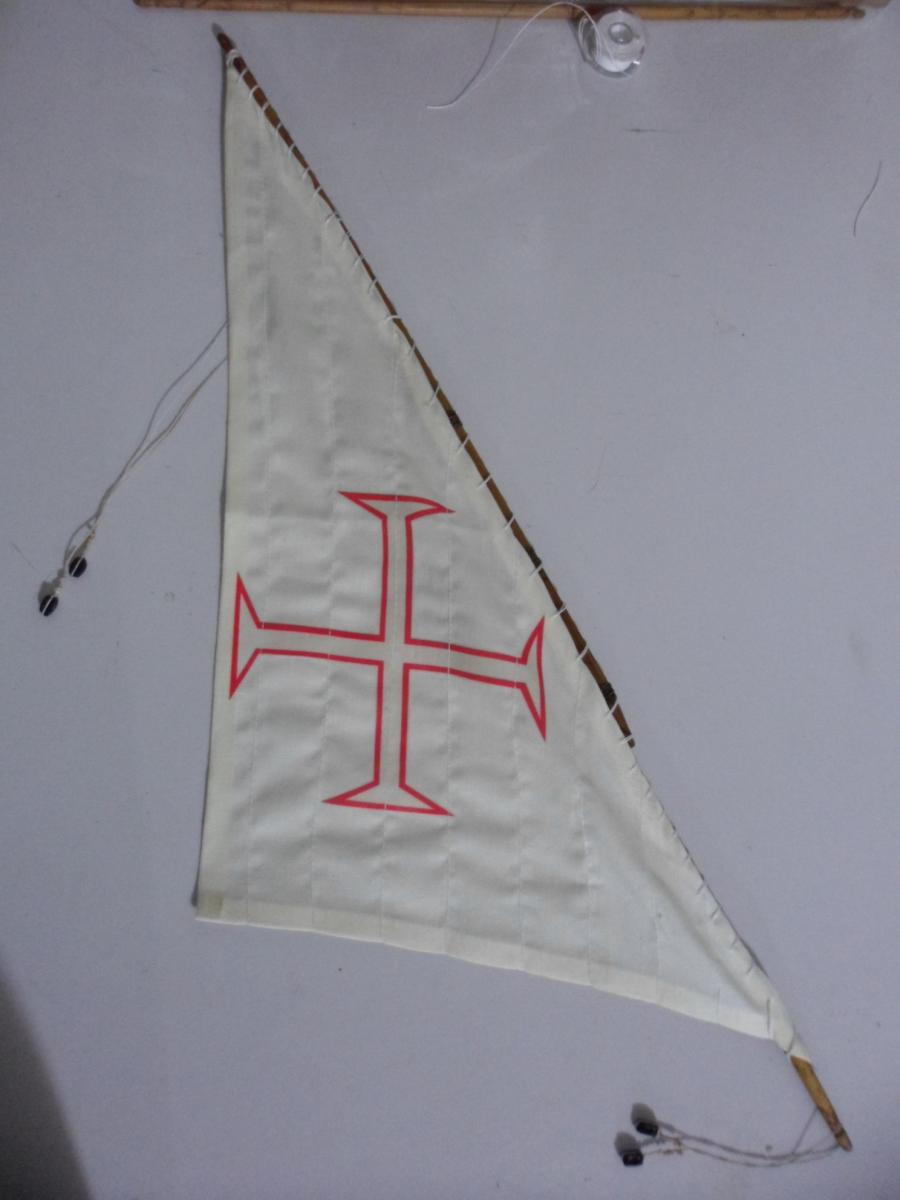
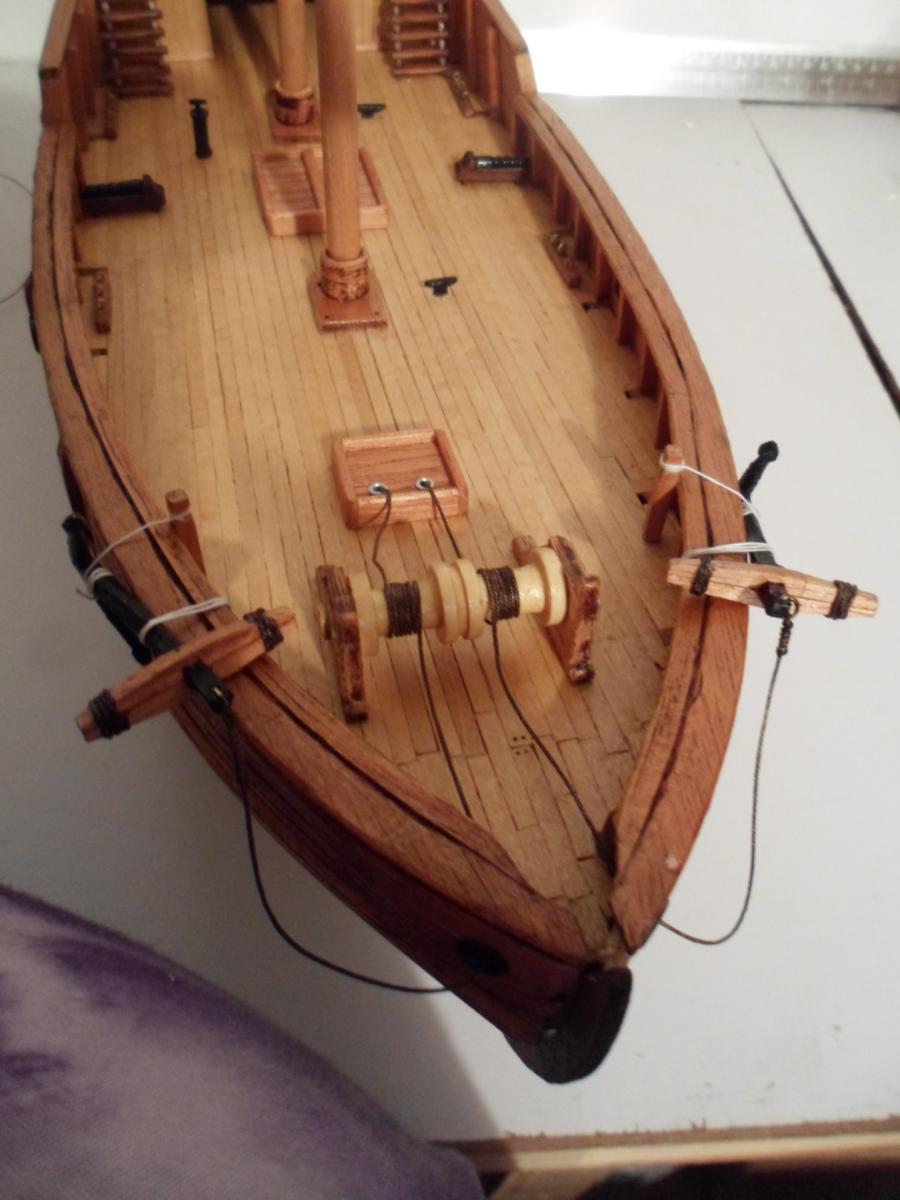
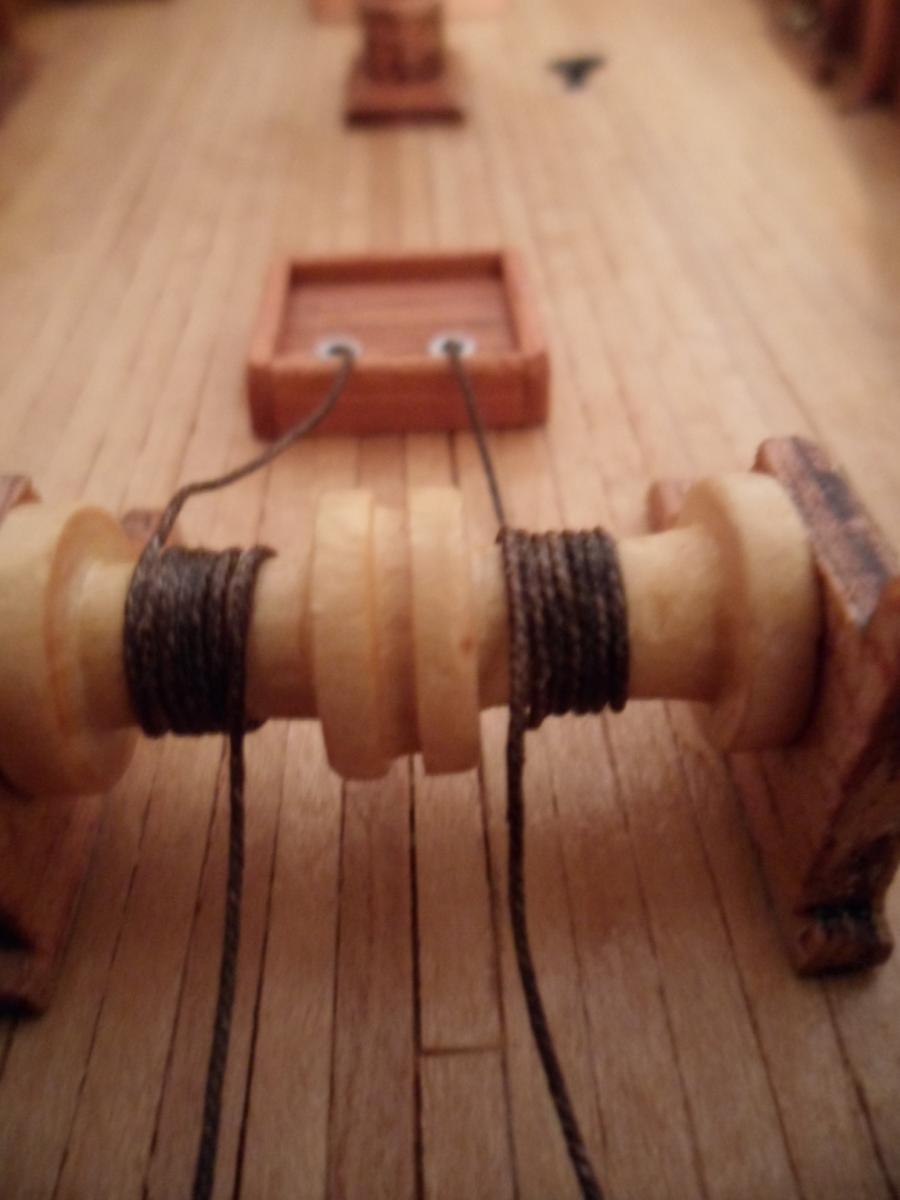
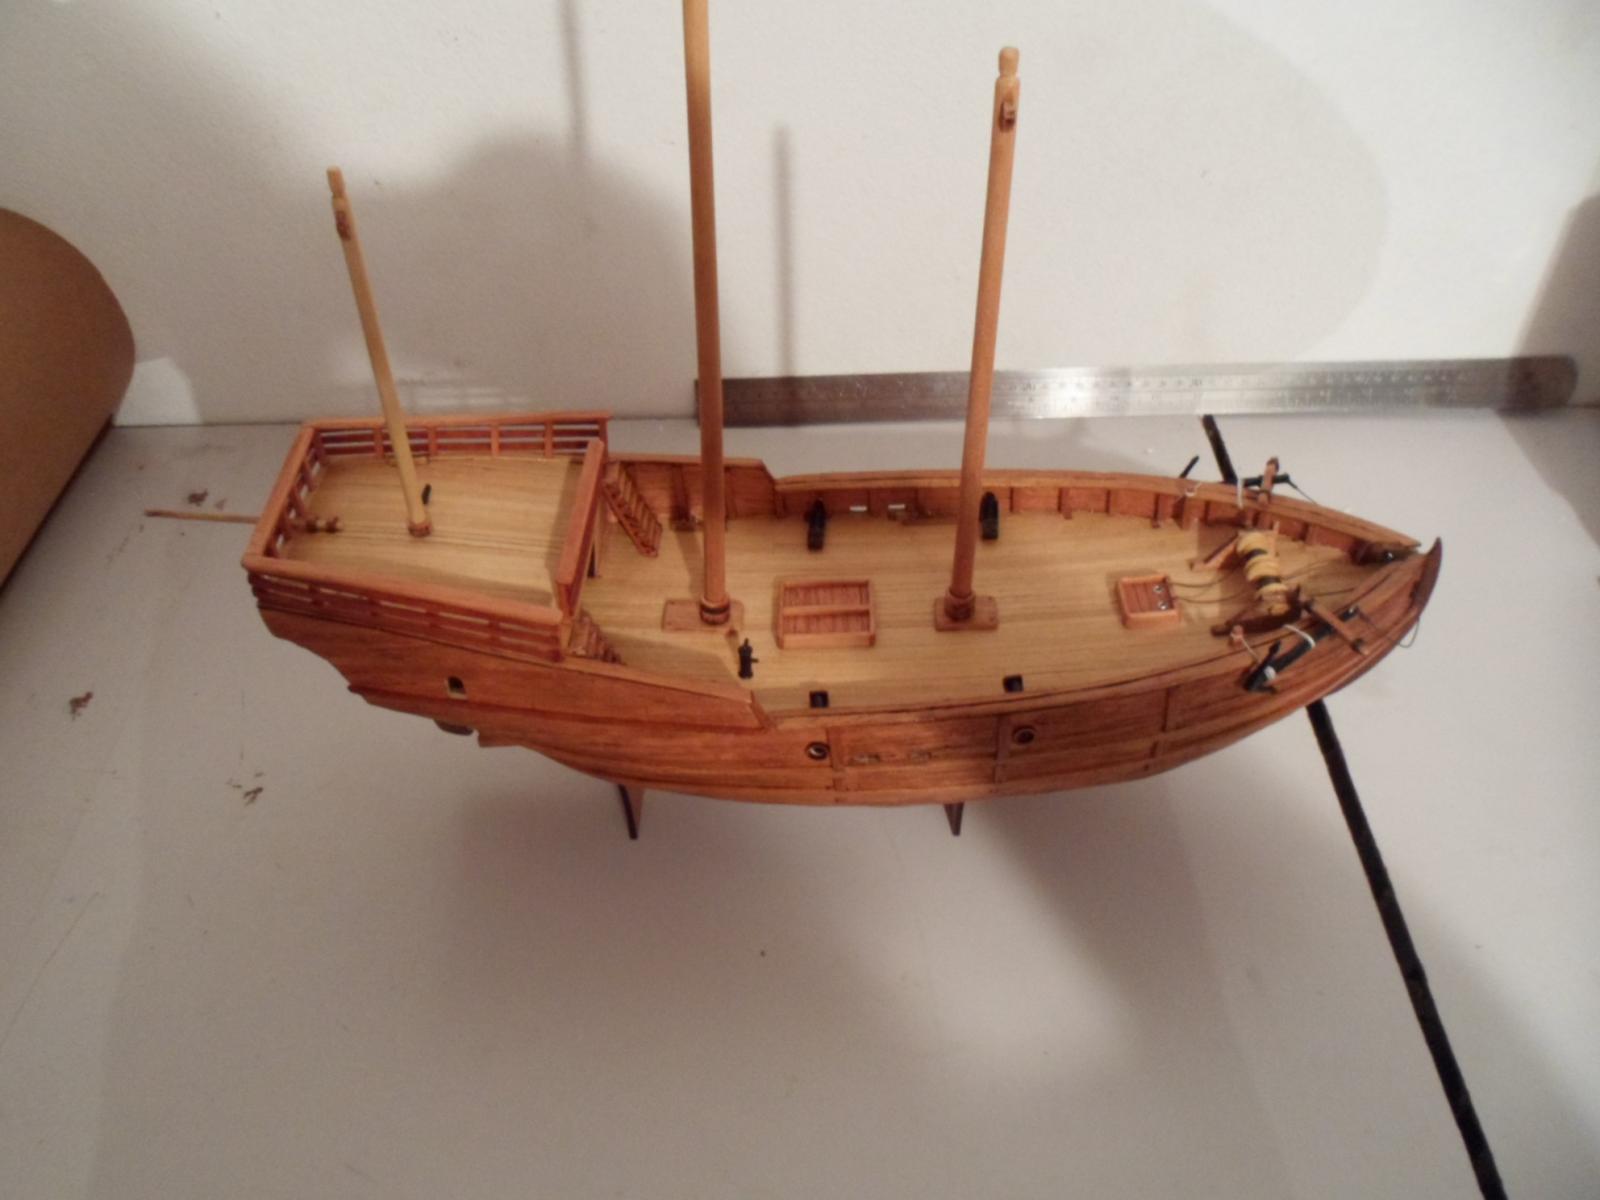
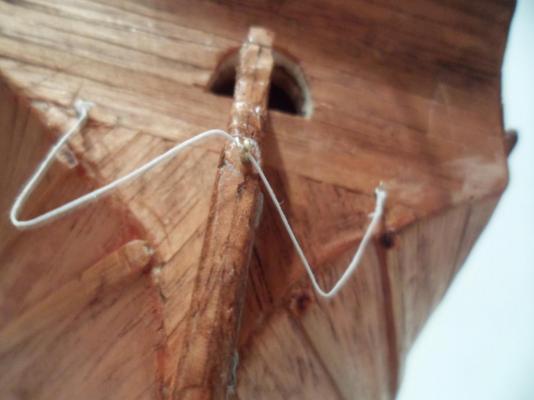
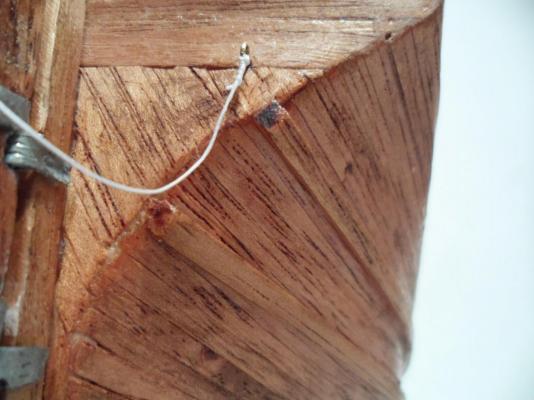
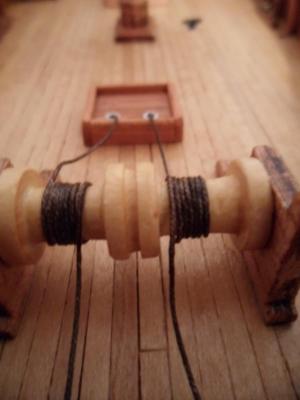
And now, my latest progress. Before that, a phantasmagoric view of my ship at night! Well, the work on deadeys began with rope and learning, for I had to consult some tips on the subject. I´ve waxed my ropes so they could look worn out, like the rest of the ship It took me some time till I got it and could do that rolling up the rope look what it should look. After that was a matter of repeating the process through the deck till all deadeys were in place. And, that´s the rigging? Step by step my advance on the first pair holding the main mast. 1. 2. 3. Last one showing how it came out. Have to say I´m very happy looking at it - it´s the first pair of a set of 8 and took a lot of time from me. I´m happy too cause my first new ship is waiting for me at my local post office and, aside a problem with taxes, I´m as a little girl waiting for a puppy. lol


- 188 replies
-
- 7
-
-
- latin caravel
- artesania latina
- (and 1 more)
-
Hey, Bindy! Thanks for passing by. Just saw u openned your log and I´m following ^^ Ulises, loved them and all the time I waited for them was paid. I´m very proud of my decision in letting the instructions aside (and the deadeyes that came with the kit too) and hearing my heart on the topic. Gracias chico! Bug,
-
And here they are: !!! Now I can get back to work!!!!


- 188 replies
-
- 3
-
-
- latin caravel
- artesania latina
- (and 1 more)
-
Hola Raymond! Every time I got to my ship is a passionate thing and I can see myself on my 80´s still there, woods and tools and love to bring these beauties to the world =D. Have 3 more ships coming and can´t barely wait (thoughts of going after them pollute my mind...).
- 188 replies
-
- 2
-
-
- latin caravel
- artesania latina
- (and 1 more)
-
Nice work and thanks for the bolt making technique! It´ll be a plus for my next ships. ^^
-
Thanks, guys. I´m anxious for my new builds ^^
-
Hey, Duff. Ty ^^ Bug, already on the sail.
-
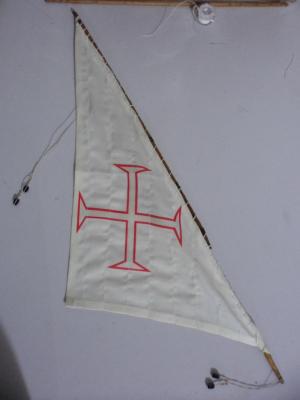
Well, well. Some little progress in the last few days. As I said, was working on my sails and here I bring my first one finished. Two 4mmX24mm sticks brought together with glue and lines. Got them waxed so to look as weathered ropes. In detail Mizzen sail on the beginning Detailing the wood to what I wanted it to look - lots of sanding and two layers of wax. And my first sail ready.
- 188 replies
-
- 8
-
-
- latin caravel
- artesania latina
- (and 1 more)
-
Hey, Buck, ty! The instructions said to paint the hull almost black. I couldn´t do it to the wood, instead, thought the wax would bring stains but keep the wood visible. If I had painted her black, think I would never look at her with the same admiration.
- 188 replies
-
- 1
-
-
- latin caravel
- artesania latina
- (and 1 more)
-
Moon, fun and satisfaction ^^. Last two days I got on my sails, but no rigging yet. Got like 6 hour just to let the wood the way I want, with some studied imperfections here and there. Ulises, I´m really thankful for your support. Ppl say god is in the details and I like to be some time on the same piece till it is what it deserved to be. Hope in the next ones I can overcome the mistakes I did and learn more, but this caravel will always be my first baby. Besos!
- 188 replies
-
- 1
-
-
- latin caravel
- artesania latina
- (and 1 more)
-
Monty, my many thanks. She´s my baby love now. In no time there I am, apreciating her, thinking on how she´ll be after the rigging, with sails on to take the seas... Don, a fantastic 2014 for you and everyone u like ^^. Thanks for the visit. Bug, I´m learning a lot through the forum. When I got the kit I began it hurriedly and paid for that. Got a non simetrical hull (although it is not that assimetrical too), some problems with my deck planking and find out too late that the instructions and the laser cut pieces weren´t so precise. If I took my time, I could have seen some of these problems. Now I´ve got what time is to the hobby and never do more than a few things when working on her, to prevent further mistakes and to fully grasp all the details. Thanks for your words =*
-
Jeff, I´m in hope my deadeys will be here tomorrow. In the meantime, I´ll work on sails, final varnish for the hull and some minor fixing. Since I modified the kit, I think it´s right to show some comparison to what it was to be by the book and what I wanted her to be. There are not so many things, but to me, they gave the soul she deserved.
- 188 replies
-
- 1
-
-
- latin caravel
- artesania latina
- (and 1 more)
-
The lifeboat alone is a masterpiece!! Following this one too.
-
Beautiful ship, great work. Following and learning. ^^
-
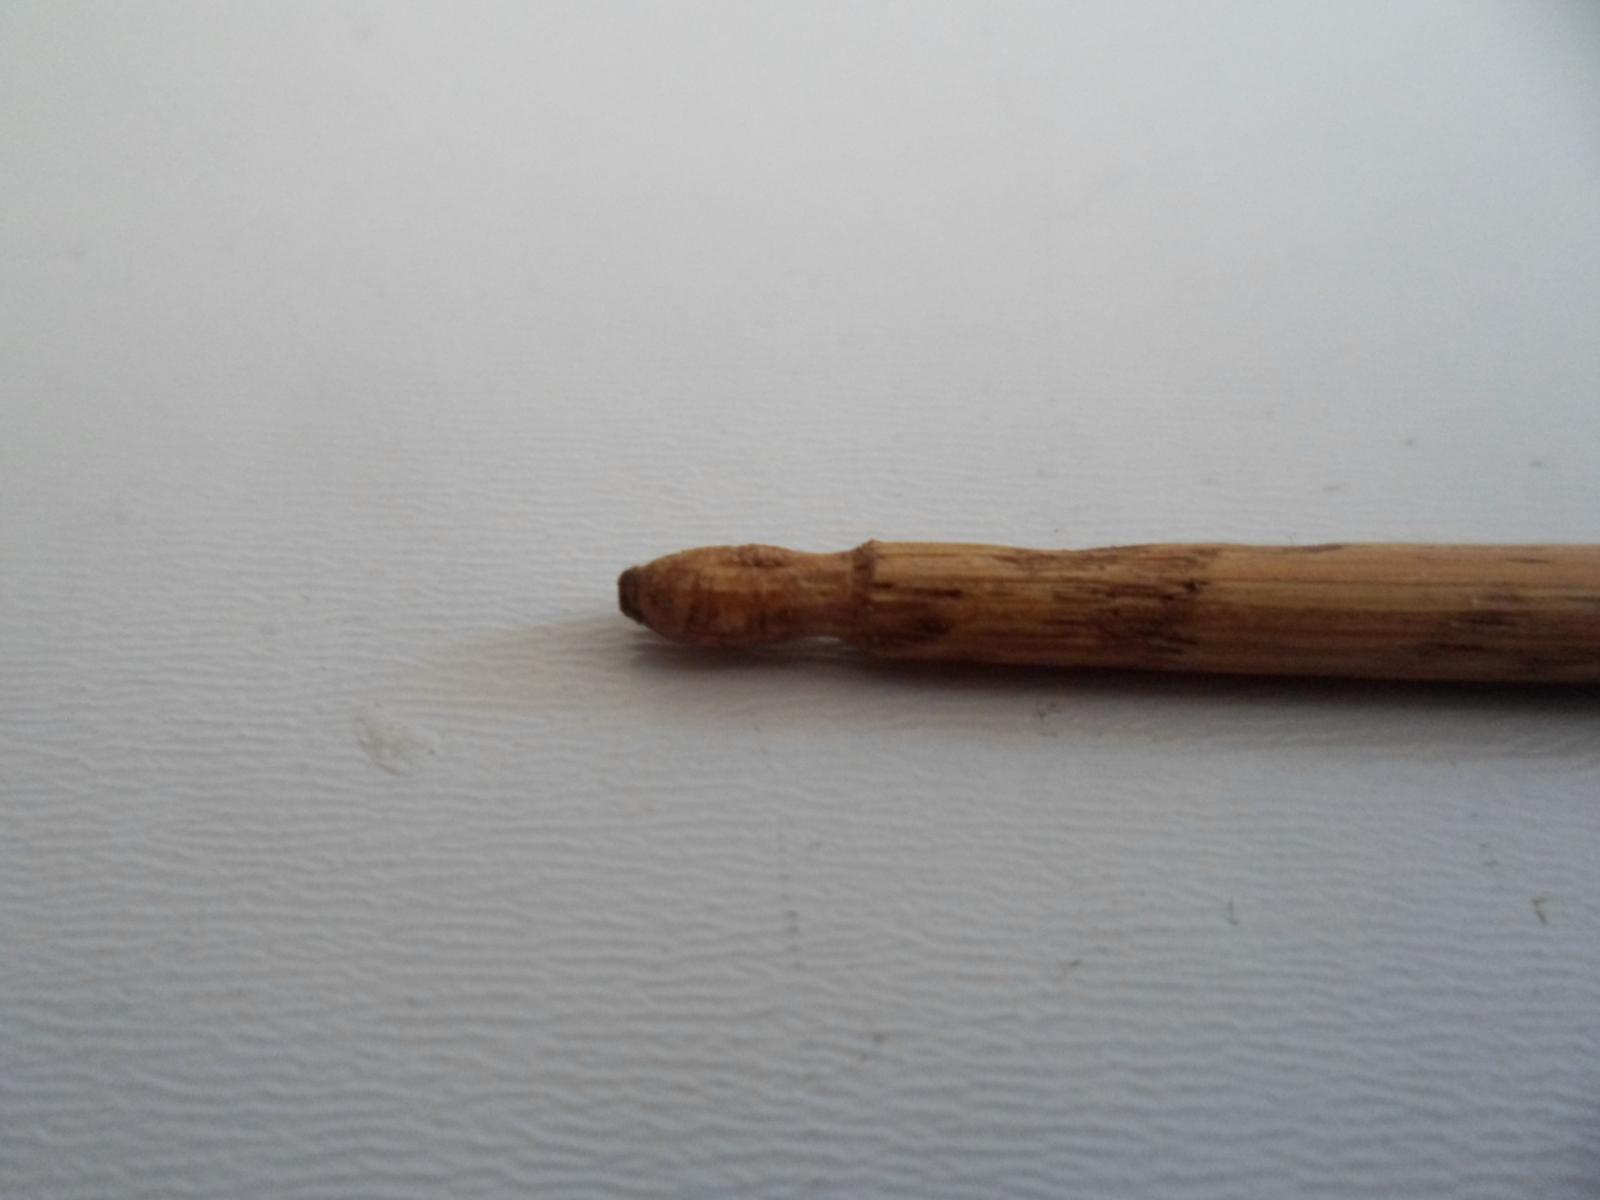
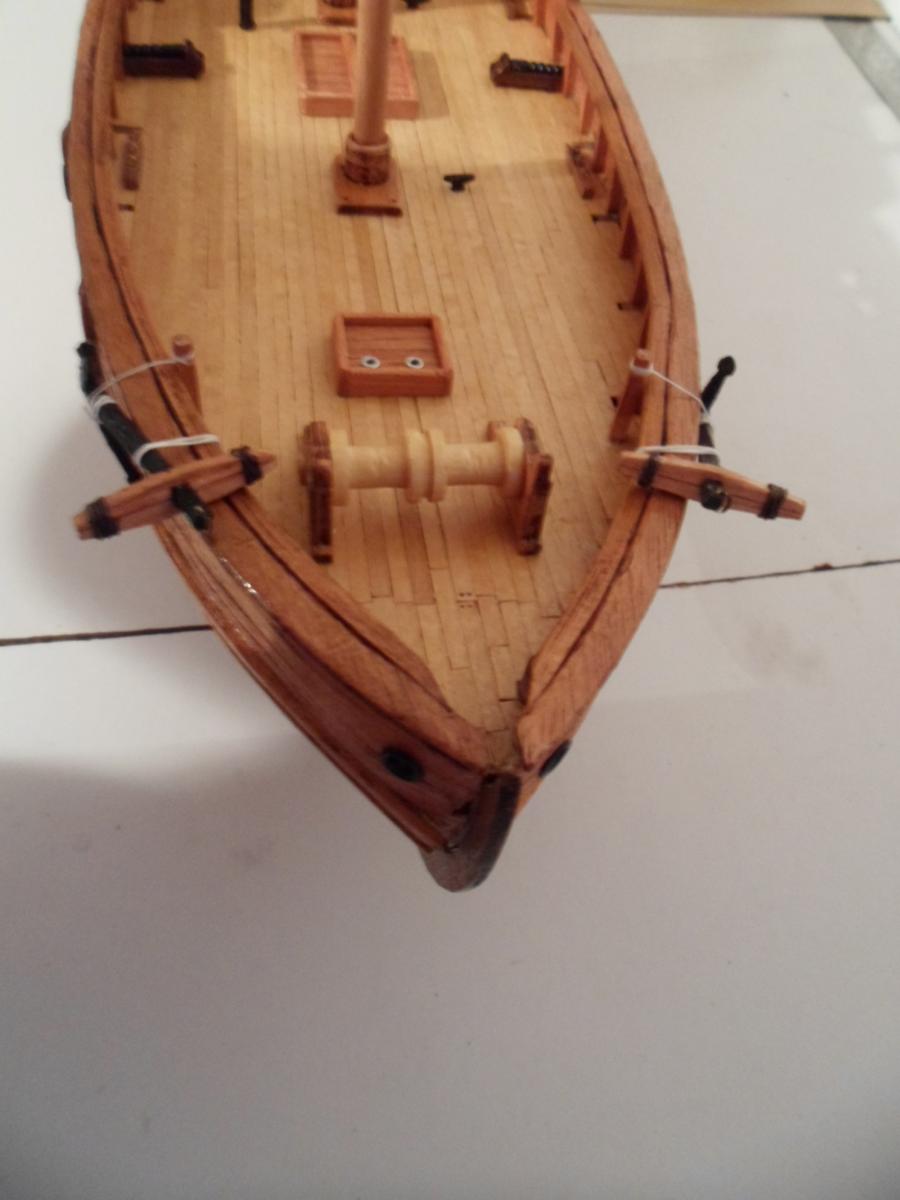
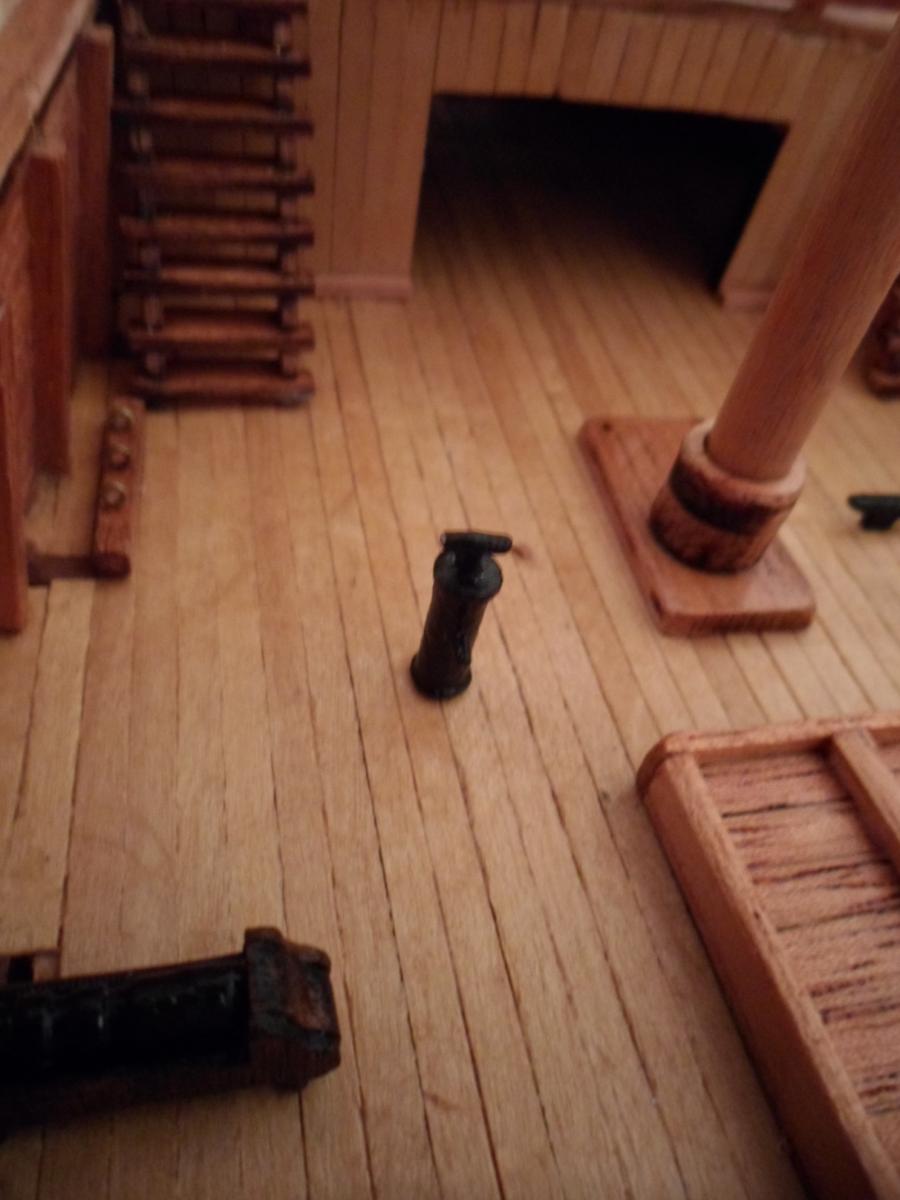
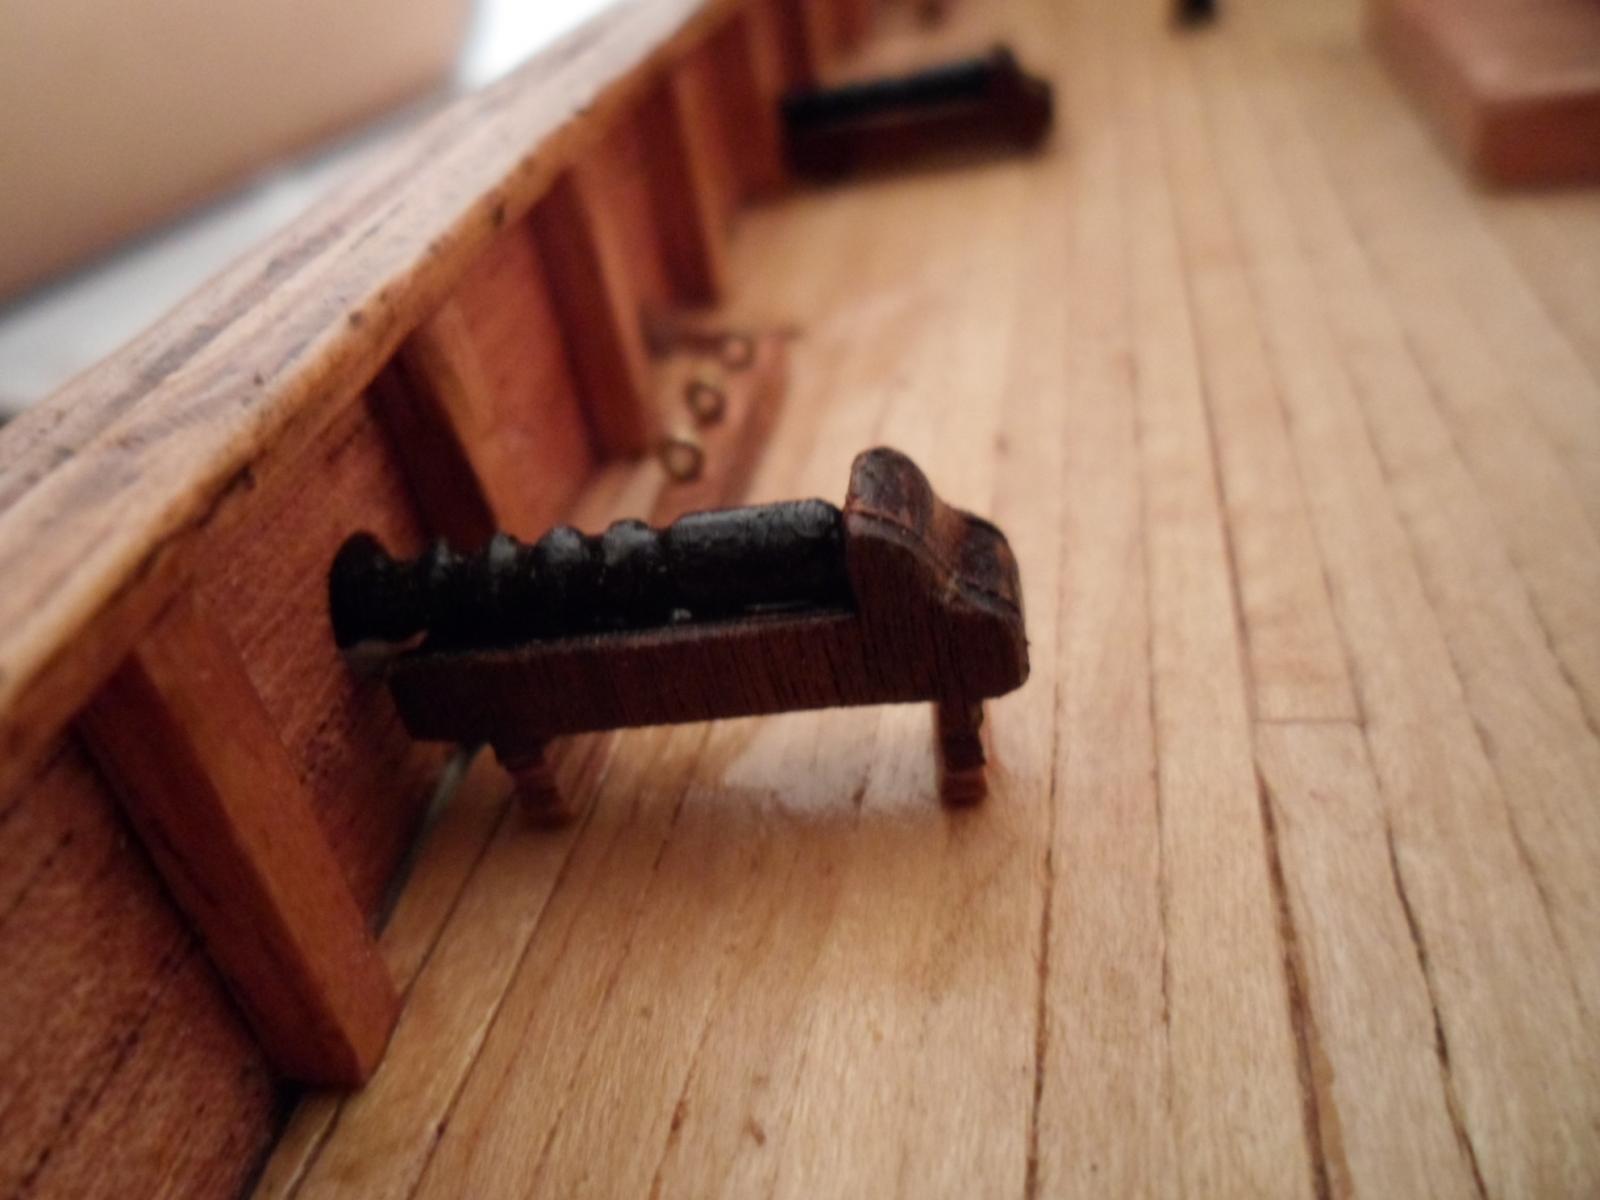
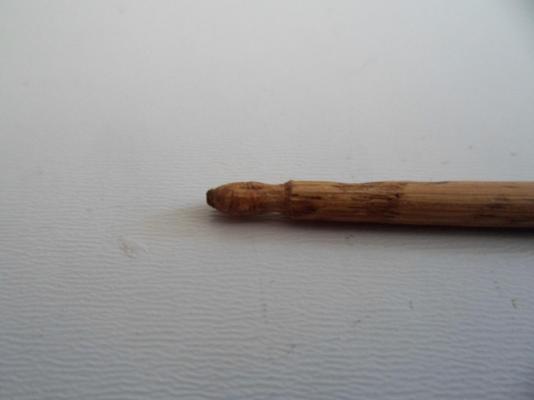
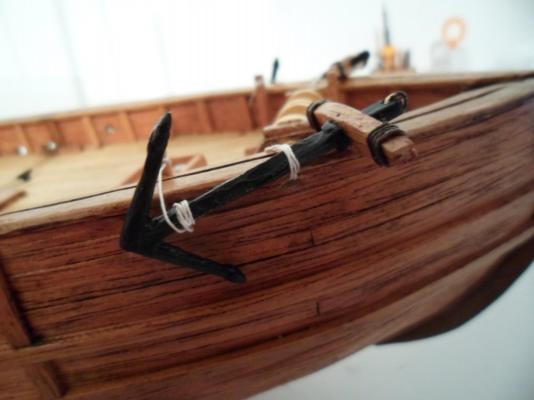
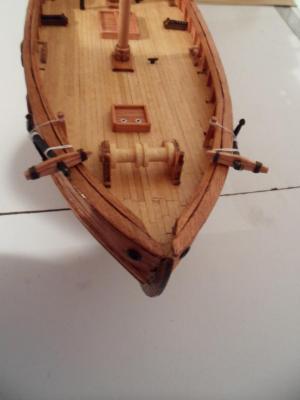
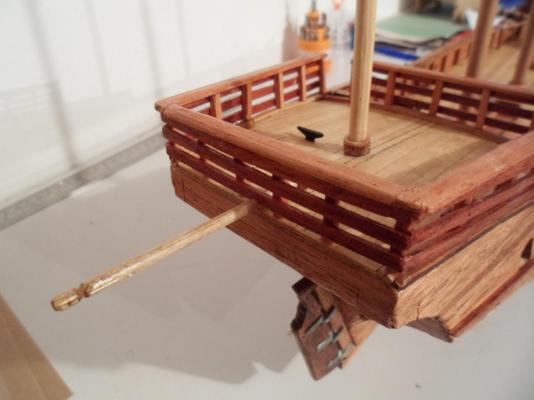
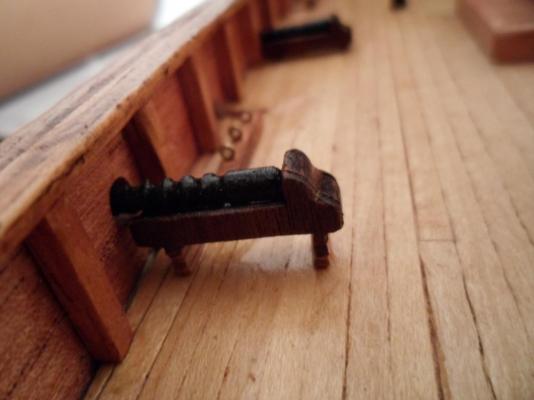
Hey all! Did some progress today and I´ll bring some pictures on. First of all, worked on my anchors, and don´t know why found them cute. Some time sanding, some time polishing, then painted them black, as all my metallic fittings. The wooden part was made from two 3x3mm pieces tied together - all again, sanded, varnished and closed with the ropes, waxed to get dark. Had the water pump to do the same, so, I did. Sanded, polished and painted it black. Fixed it to the appointed place on plans and it looks that way: Mizzen alone don´t have the power over mizzen sail, so, there it is, a tail to hold the sail. The rudder got its driving bar and got some seccurity ropes (so I think it is). Bar made from a 4x4mm wooden strip, sculpted to fit in. Ropes got trough brass fittings attached to the hull and rudder. Finished my anchors and windlass with ropes and all. Satisfied with the results. Did that oops fixing to my cannons and learned a bit about making holes without thinking about the use for them... Now my caravel got that look Tomorrow I hope will work on sails, to let them ready for the final effort. I´ll varnish the hull once more, with a marine varnish, after filling the small gaps that are still there, too. Seems she´s getting ready to explore the Atlantic.


- 188 replies
-
- 7
-
-
- latin caravel
- artesania latina
- (and 1 more)
-
When I grow up I´ll be like Doris. When I modeled houses I always had the thougth of putting a removable top floor or roof, so the interior could be explored by the client/viewer. It´s like magic, when u take out the roof and people can look inside to perceive details they couldn´t just one minute before. That´s something I´m thinking on doing with my next ships. Anyways, the windows are something magical too, to peer inside a tiny openning and see how wonderful Doris´ work is. (well, I´m really enchanted ^^) A happy new 2014 full of realizations, Doris!
- 883 replies
-
- 2
-
-
- royal caroline
- ship of the line
- (and 1 more)
-
Mike, still waiting for the kit, but I´ll have that in mind. Thanks for the advice. ^^