Supplies of the Ship Modeler's Handbook are running out. Get your copy NOW before they are gone! Click on photo to order.
×


Maury S
-
Posts
1,490 -
Joined
-
Last visited
Content Type
Profiles
Forums
Gallery
Events
Everything posted by Maury S
-
 Here is the link to my cutter. Clinker planking was new for me. David's suggestion was to plank without frames on the plug and add them later. Maury http://modelshipworld.com/index.php/topic/7678-18-cutter-by-maurys-scale-148-small/?hl=%2Bcutter+%2Bmaury
 -
Danny, I started the cutter, and get back to it when ever I come to a stopping point on the Echo Section. It's small, so when I'm in the mountains I can take it with me. Not power tools necessary. I'm sure you'll have yours completed by the time I turn around. That will help me a great deal when it comes time to get the frames in. Maury
-
So sorry about Sadie. Maury
-
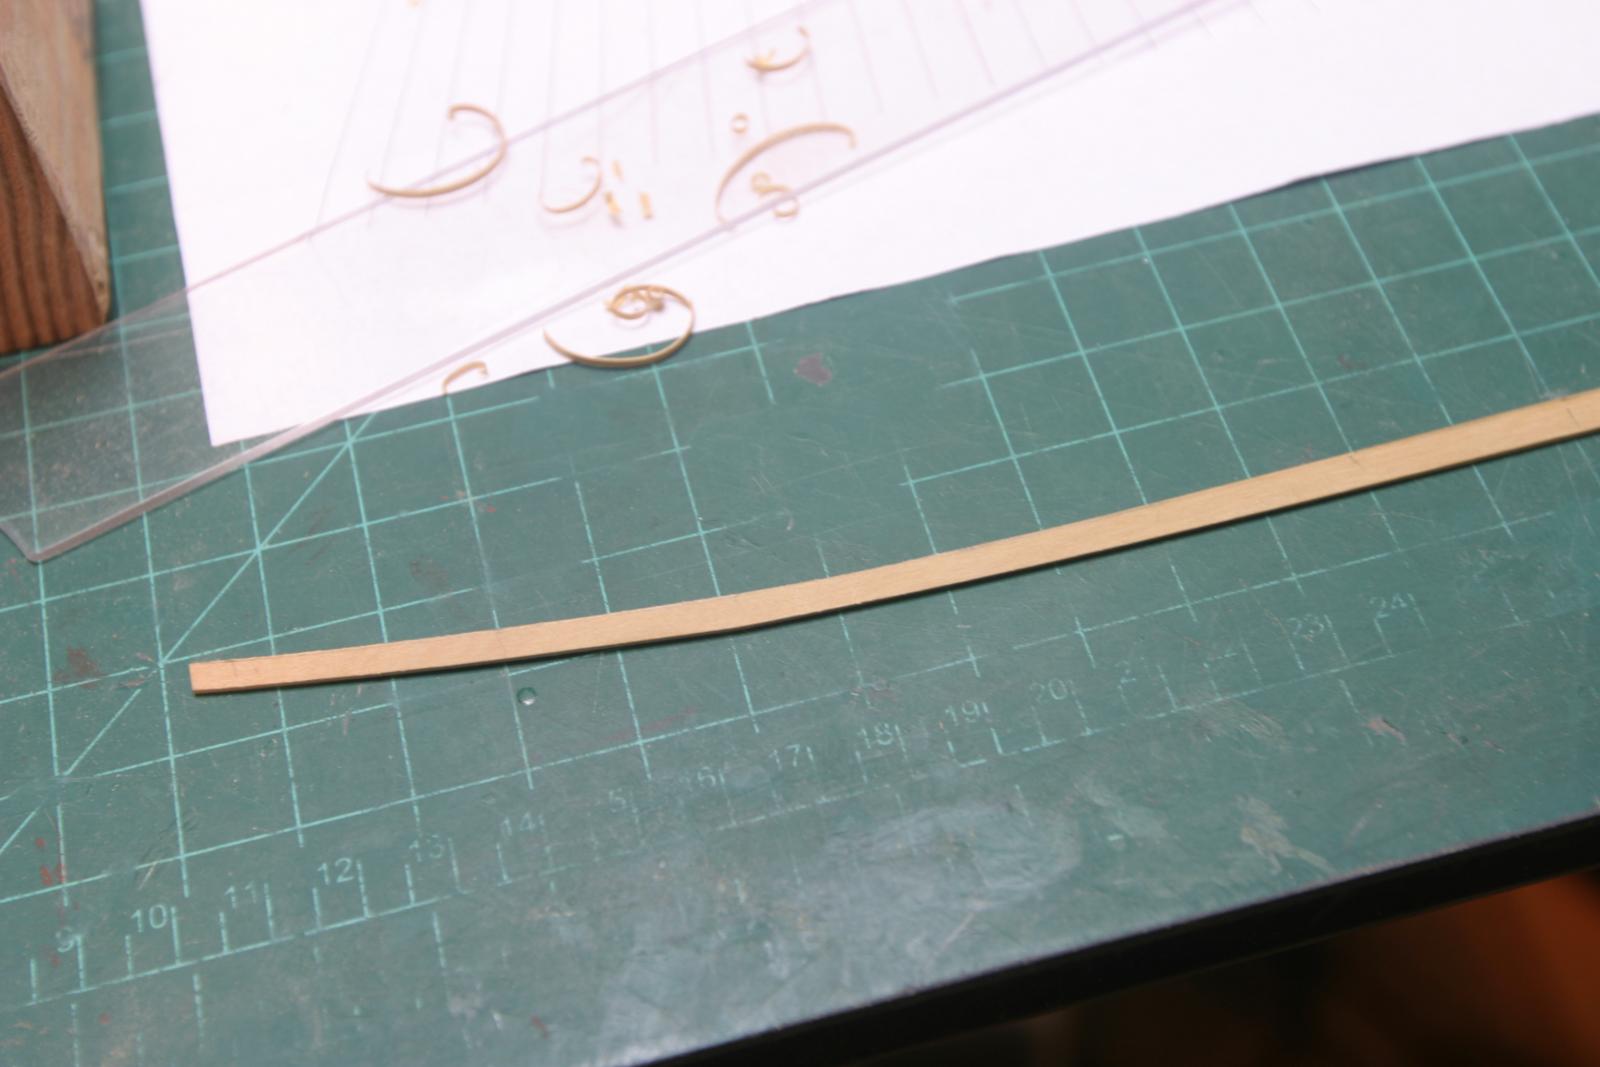
There was a dip in the planking so I spiled the next strake to even it out. You can make it out at the fourth bulkhead from the stem at the end of the drop plank. There is a light pencil line on the strake where the problem was. Maury

-
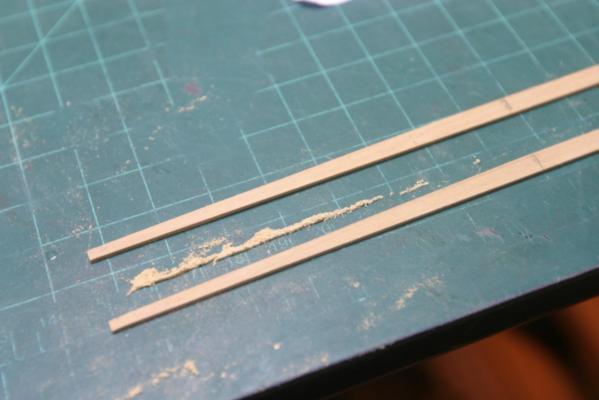
Working on the first strakes. The center and aft sections go on first, then the drop plank. First pieces are tapered to about 1/2 full width between bulkheads B & J then installed in segments. Aft section takes a big twist as it gets to the square tuck. Next are the drop planks. Maury

-
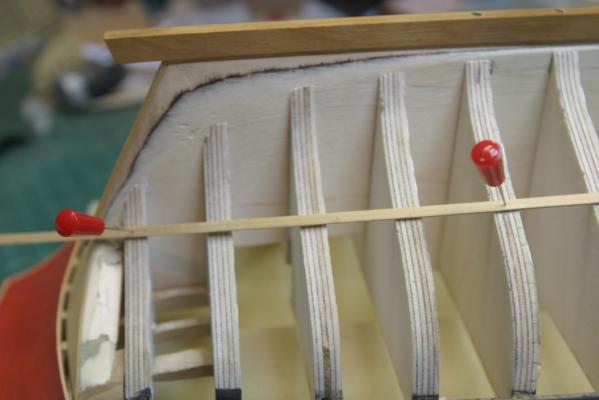
Laying out the planks below the wales. I used tick strips every other bulkhead starting from deadflat and ran a batten at the mid points (10 planks down) from stem to where the square tuck joins the stern. That seems the most critical alignment of the planks. Since it was fair, I marked all the bulkheads with a dark line. Same exercise on the other side. Maury
-
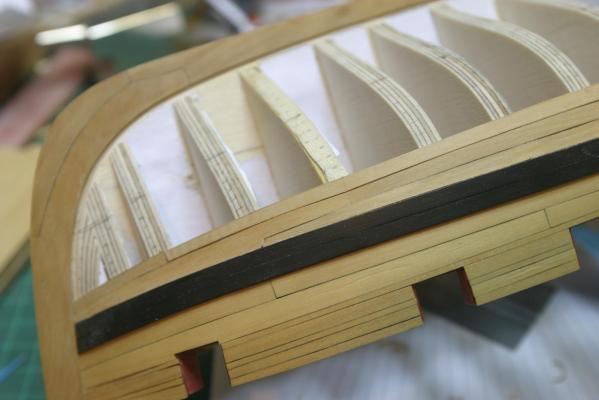
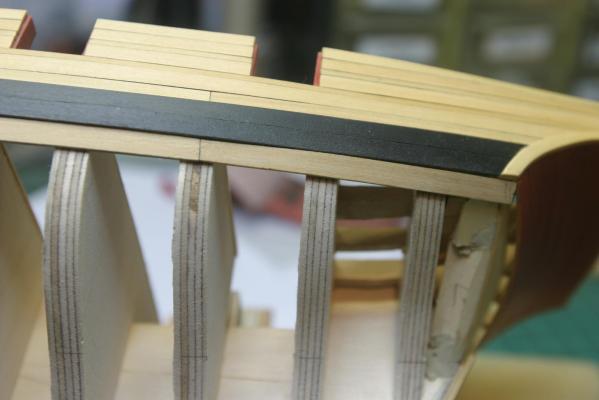
Over the last few days, I've applied six well-thinned coats of black paint (Model Expo Hull Black) to the wales. I don't have Chuck's skills at hand painting without going past the edge, so I taped it with Tamiya masking tape. Very little bleed-thru and most of that scraped-off easily. Maury

-
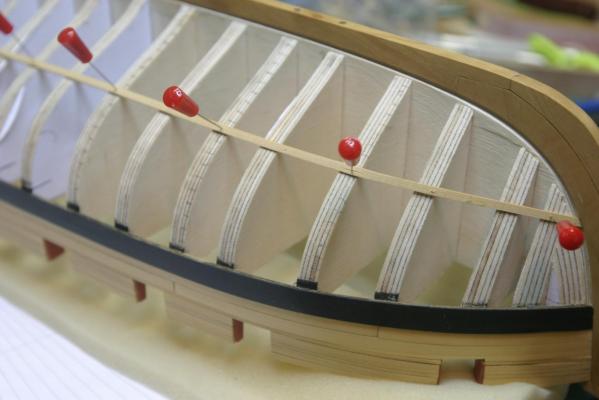
The wales have been installed on the starboard side. The pieces were cut to size, tapered at the bow and cut to fit the shape of the fashion piece at the stern. These went on much easier than the original planks. A little sanding, then I'll put a coat of sanding sealer and start painting them. Maury

-
Third coat of paint on the counter. One more to go should even everything out. Maury
-
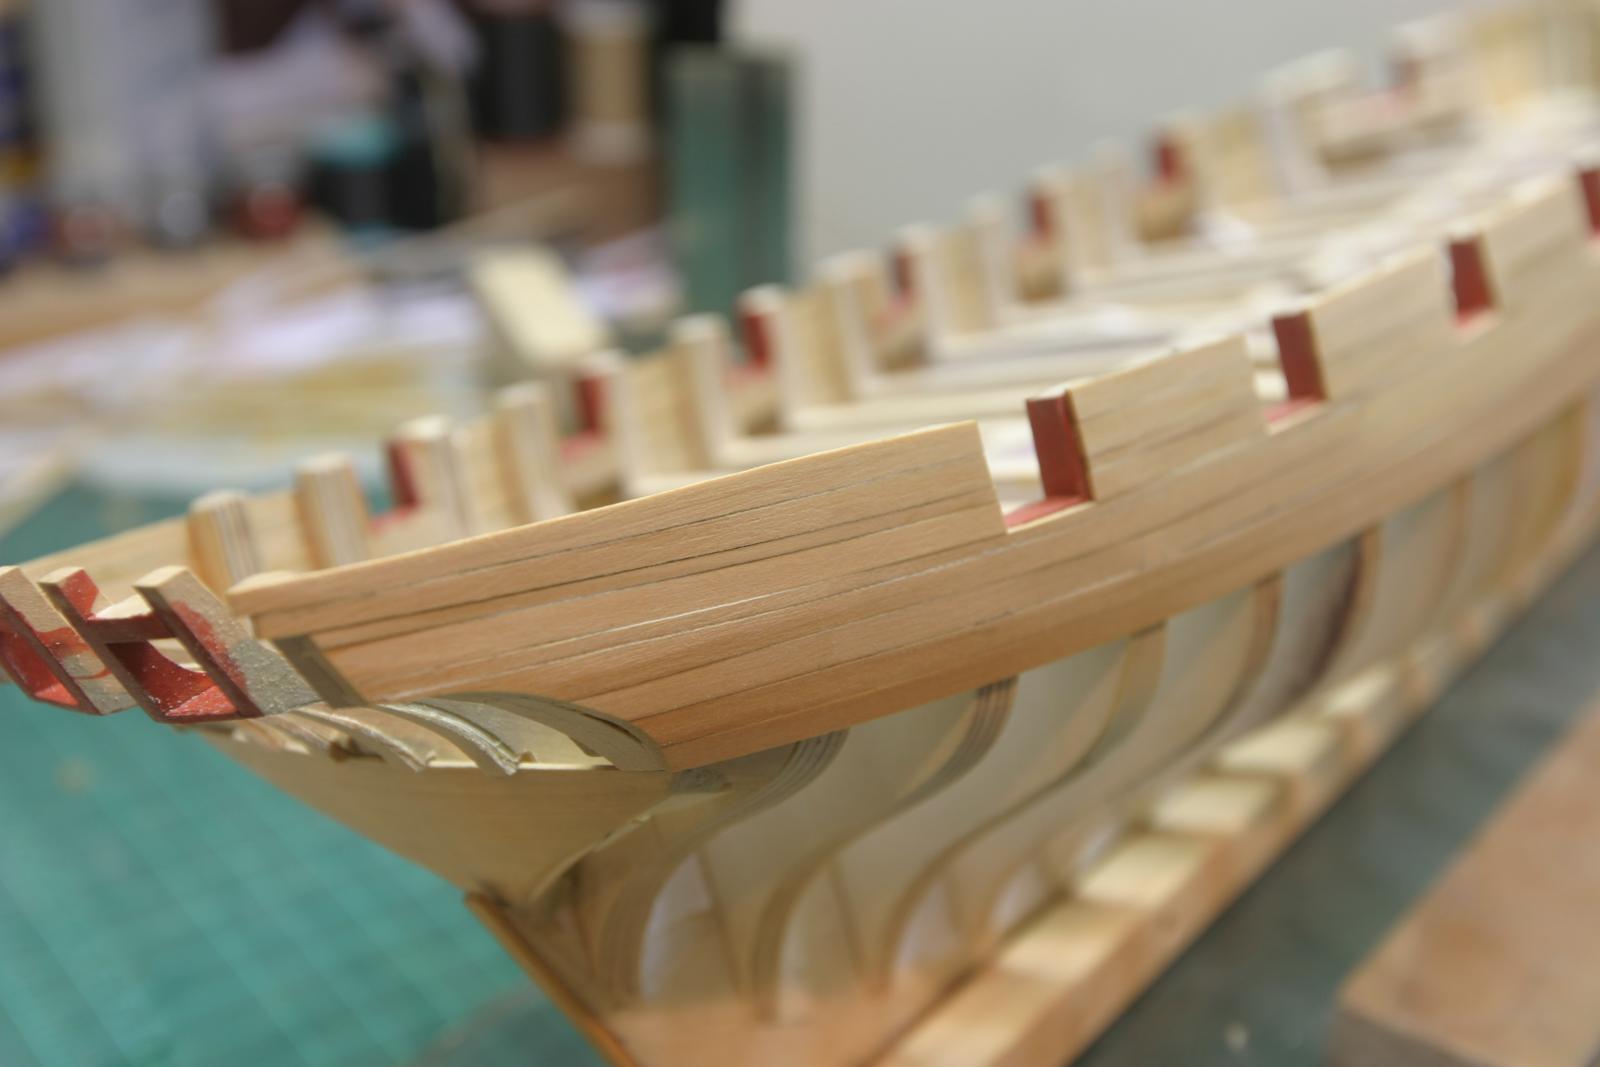
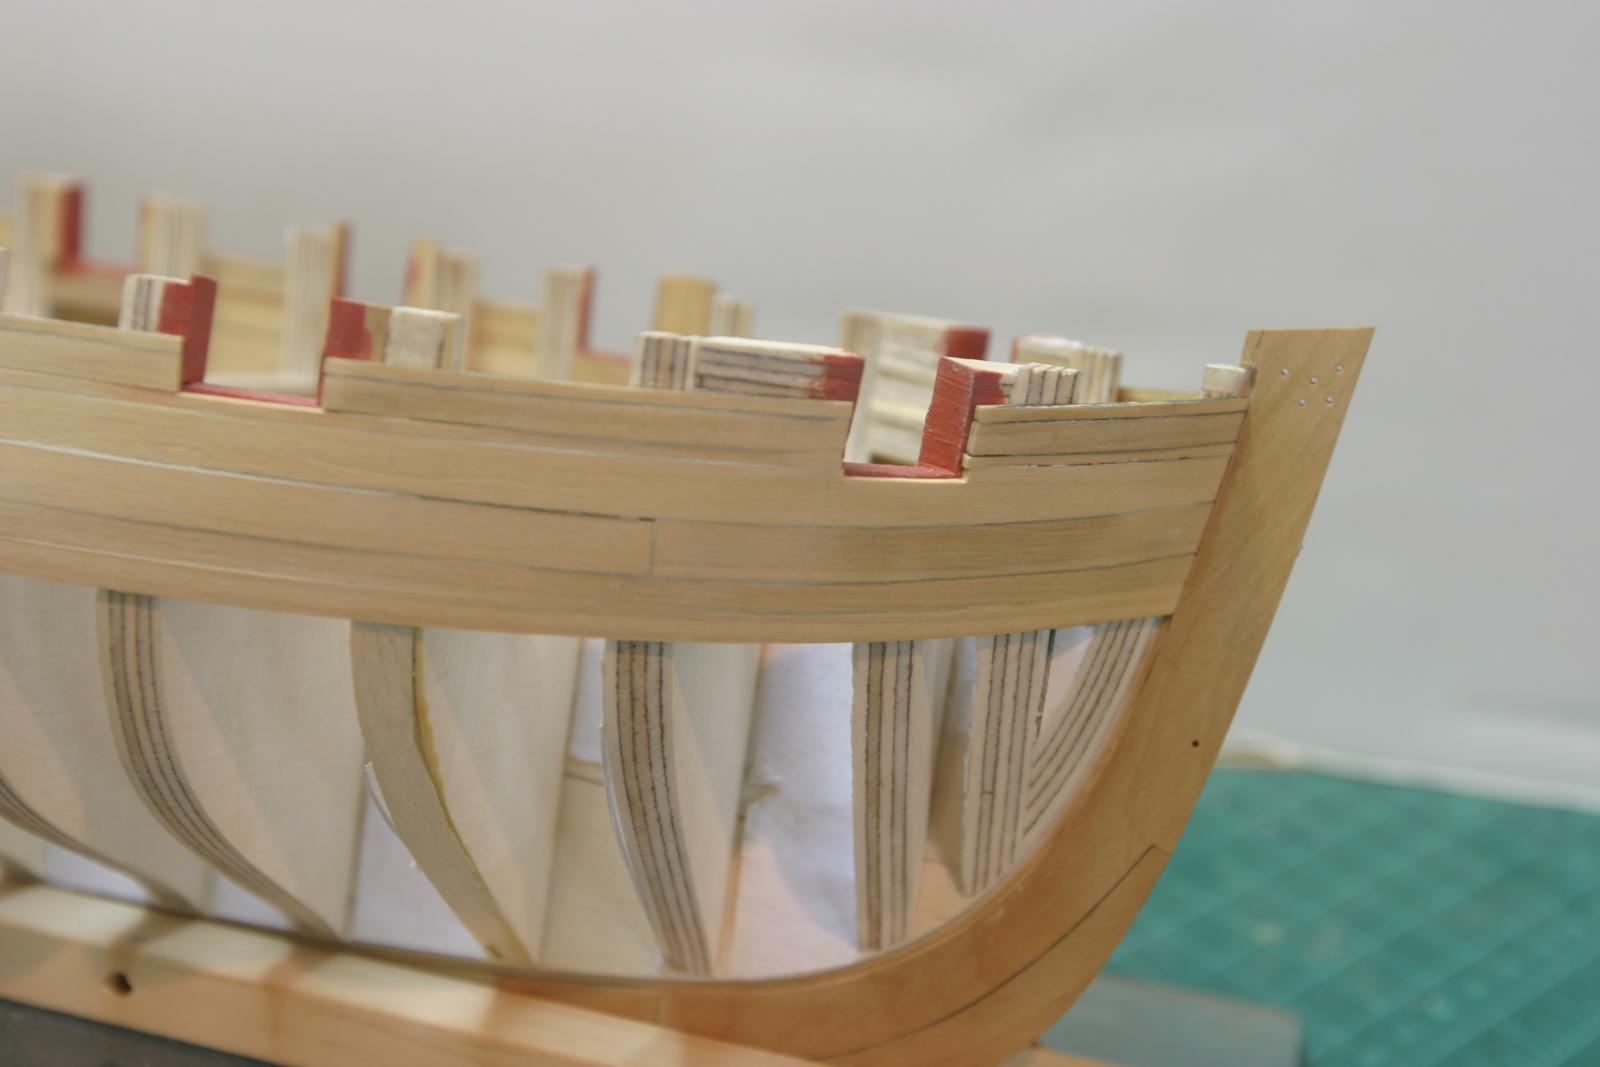
Using Chuck's bulkhead kit keeps everything lined up nicely. I had quite a few adjustments to make by cutting them myself...particularly at the stern. Looking good. Maury
- 452 replies
-
- 3
-

-
- cheerful
- Syren Ship Model Company
- (and 1 more)
-
Echo by Maury S - FINISHED - Cross-Section
Maury S replied to Maury S's topic in - Build logs for subjects built 1751 - 1800
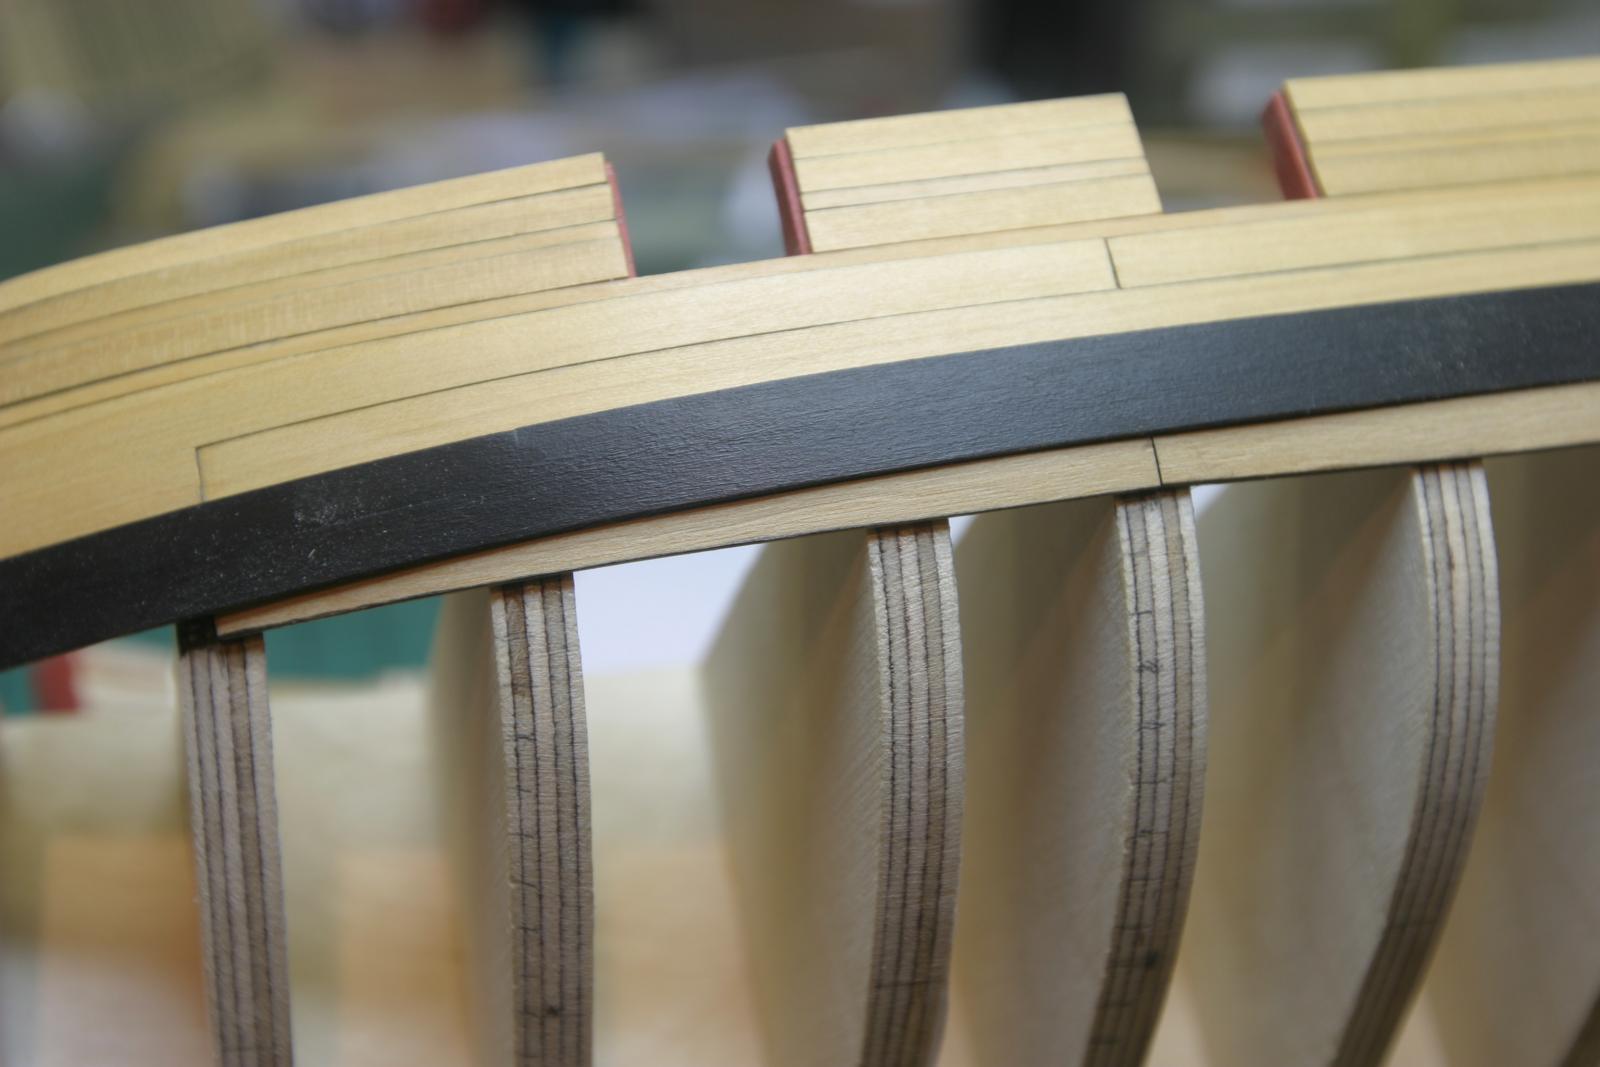
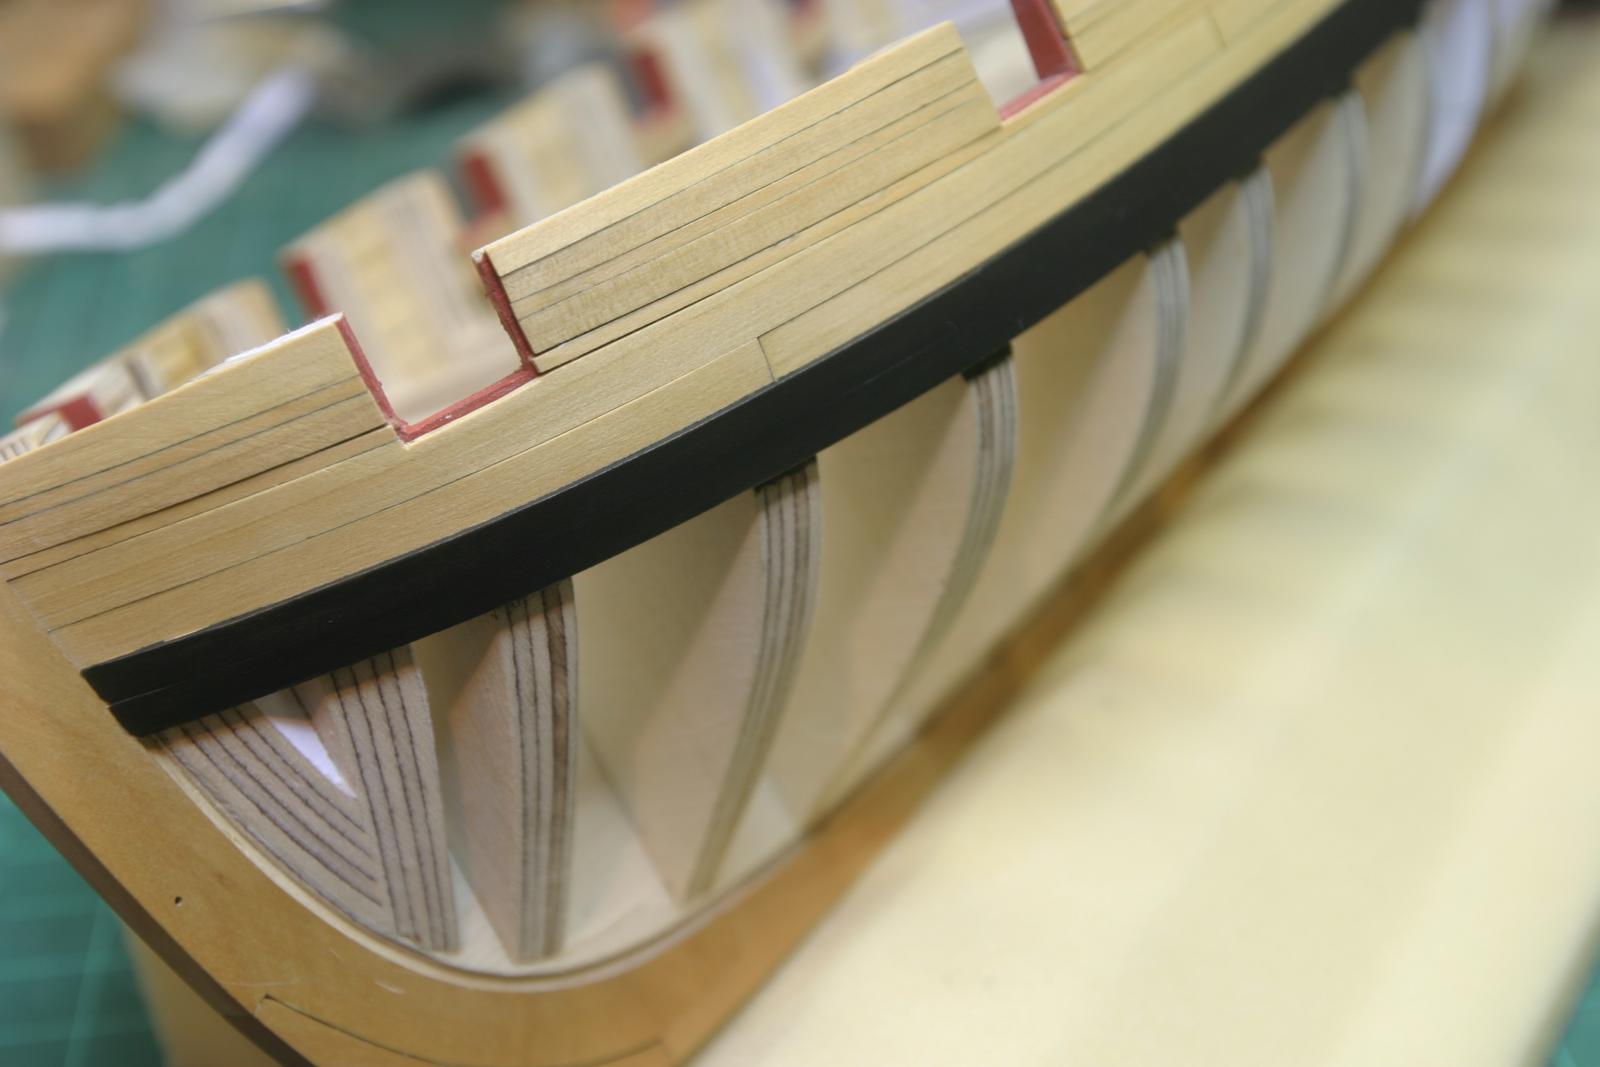
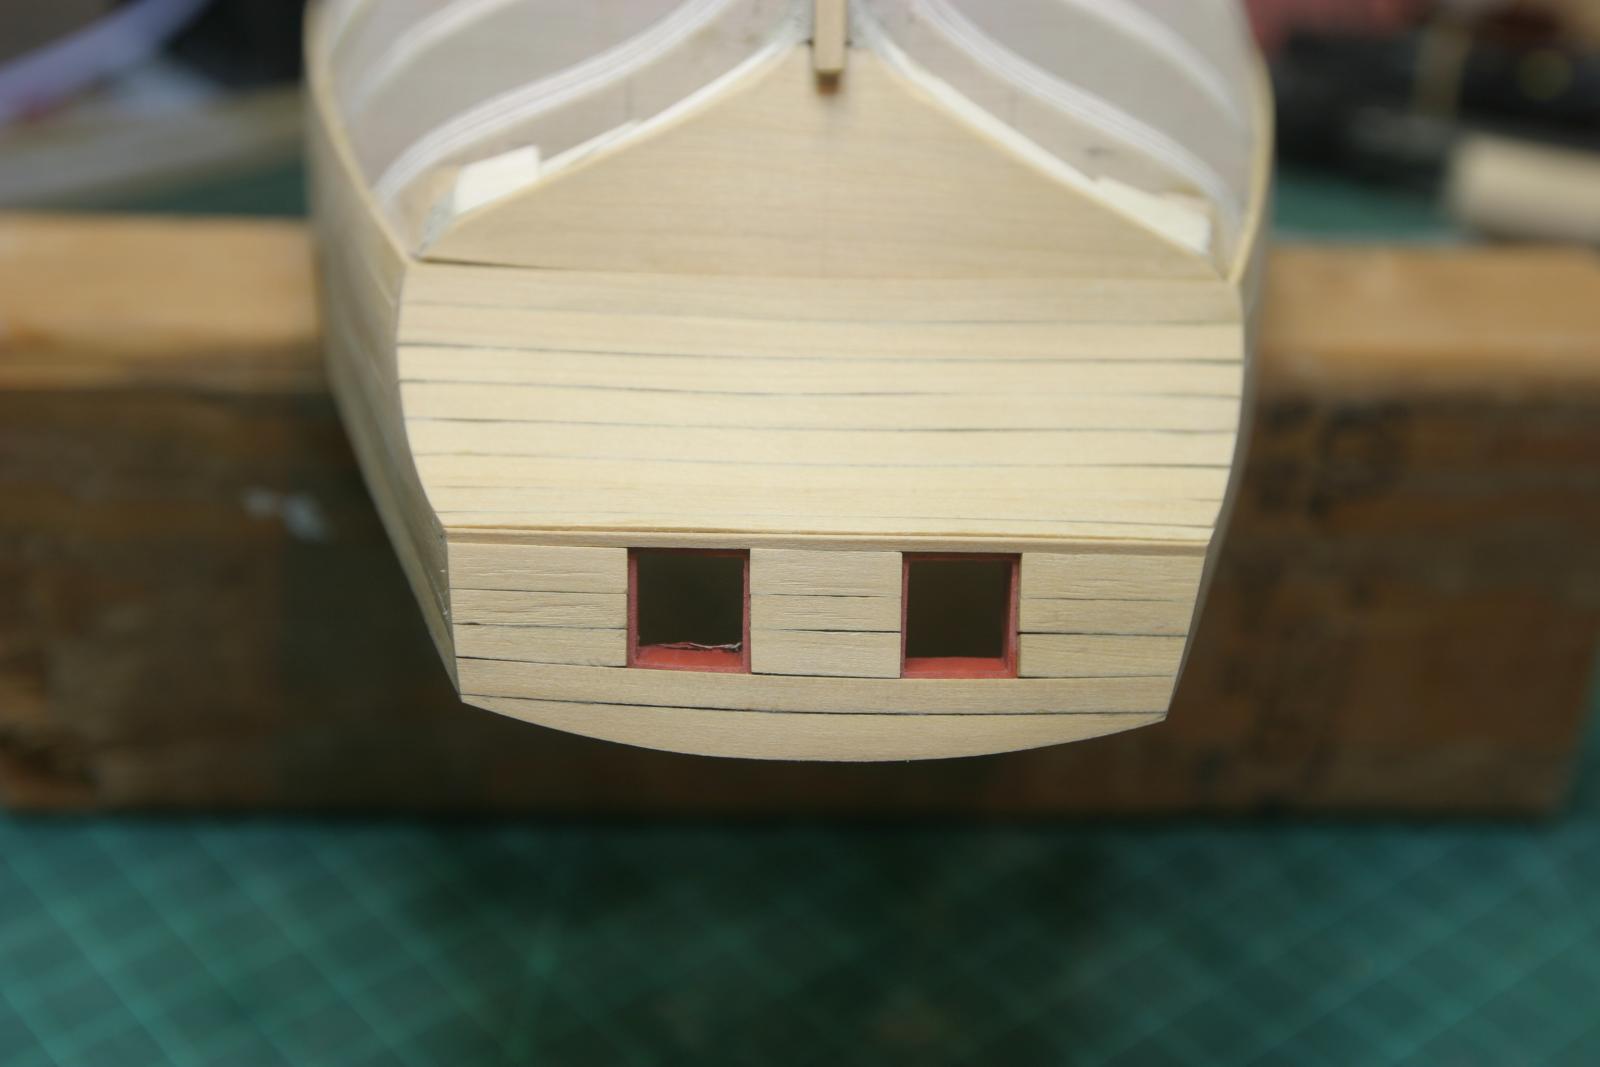
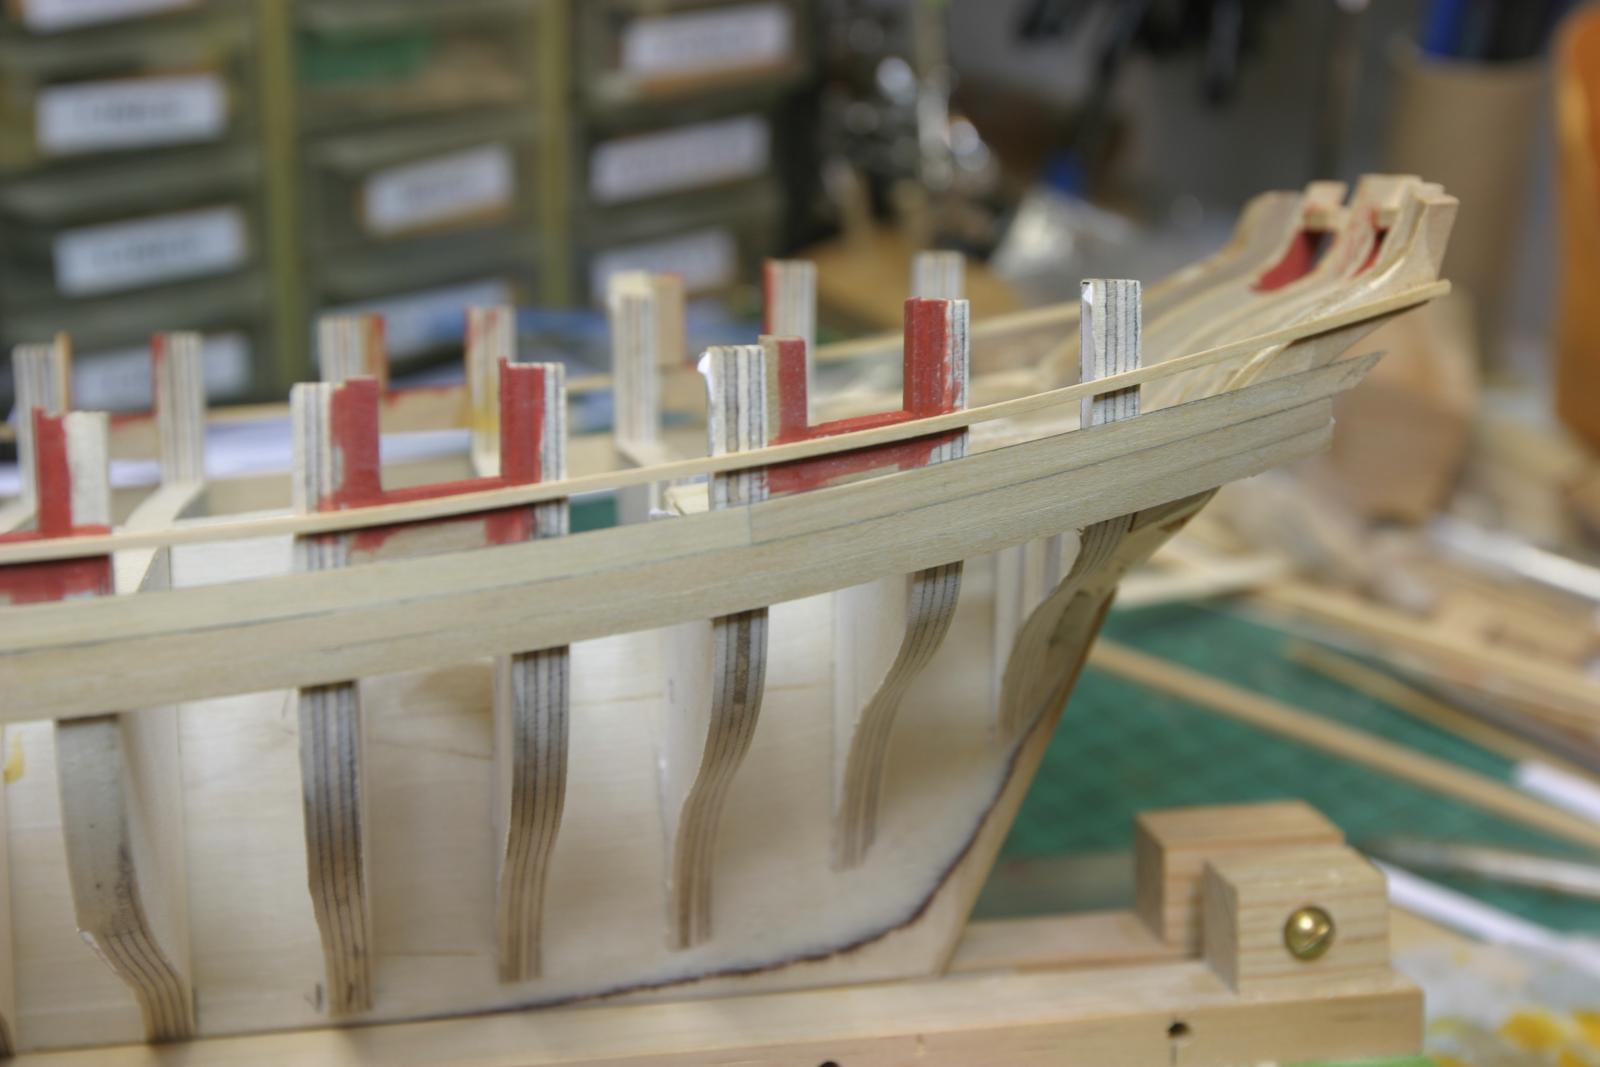
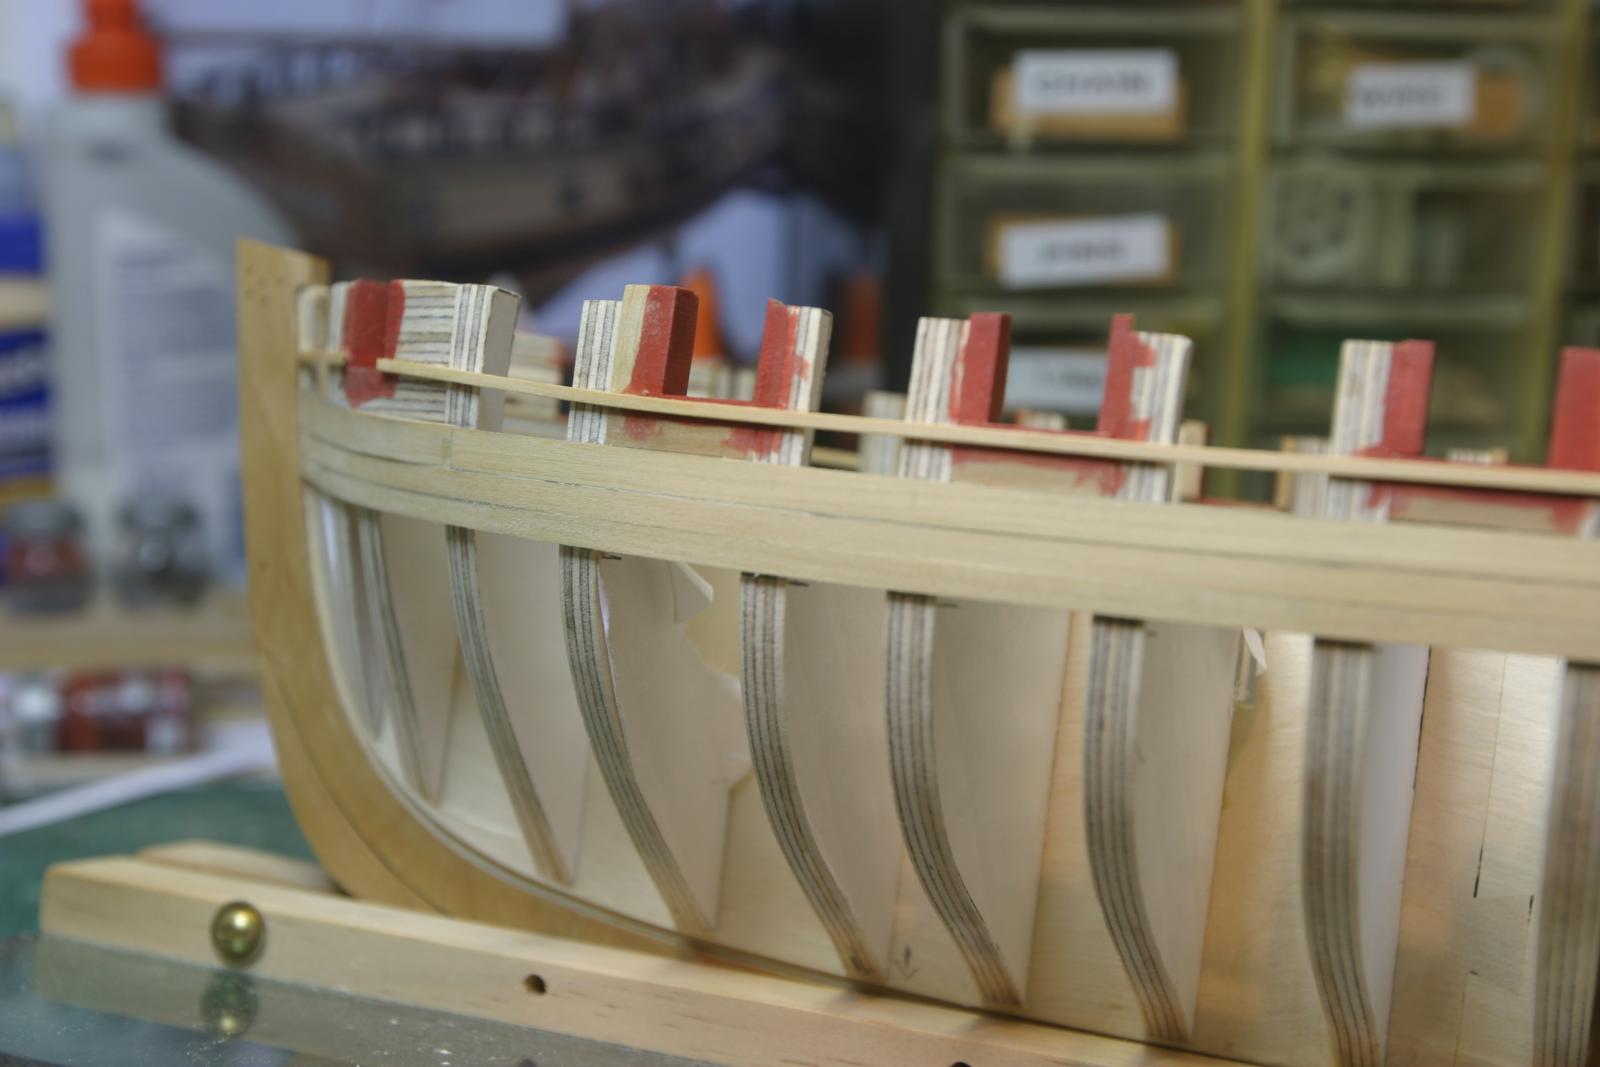
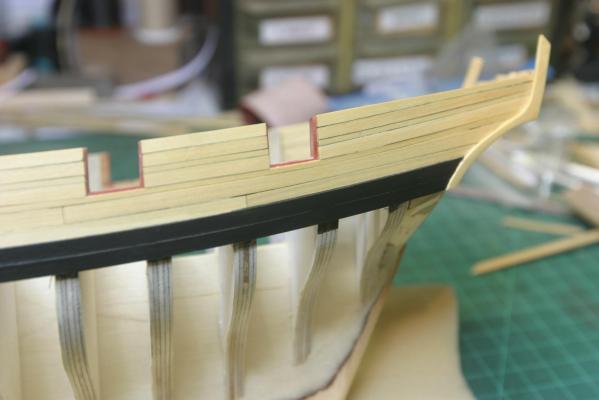
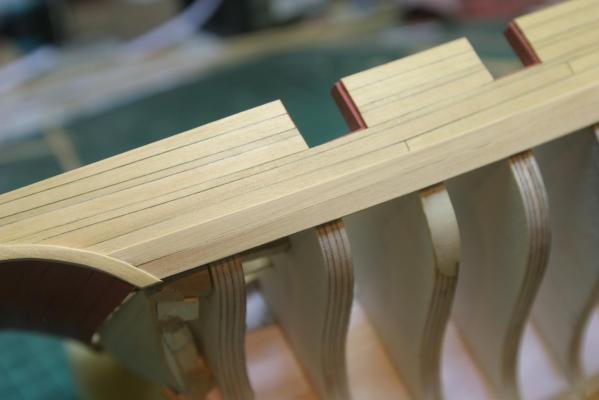
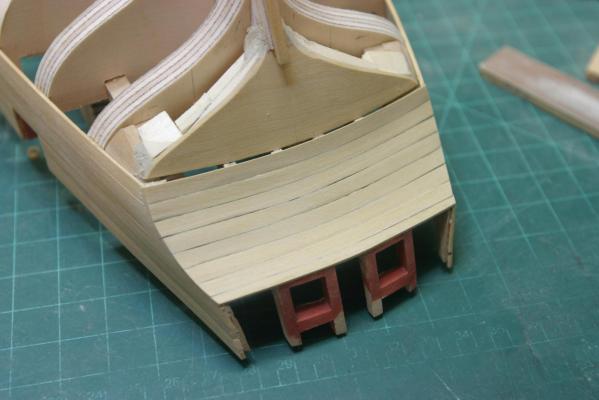
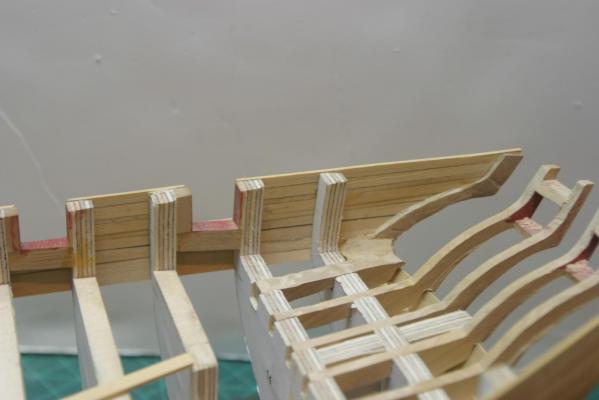
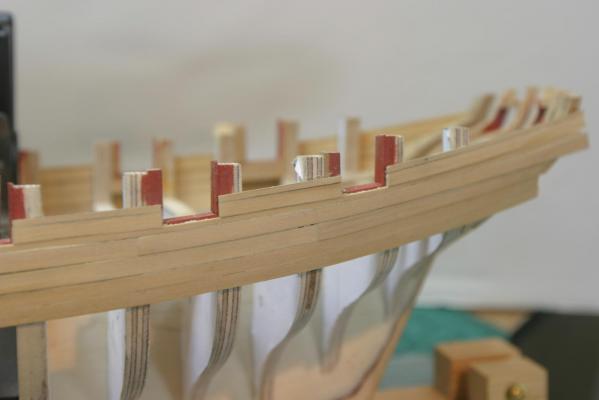
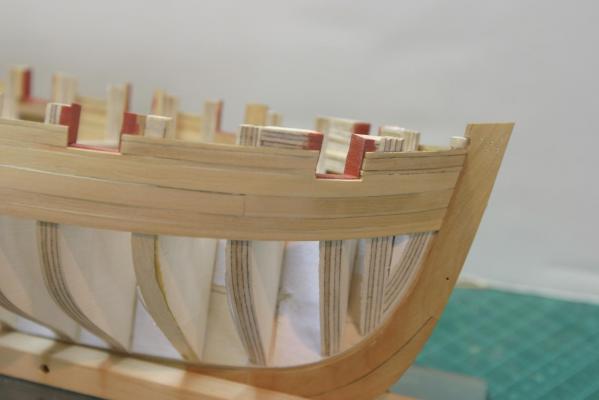
In real life, the spaces between the frames would have been filled-in. Those pieces are not included in the plans provided. Maury -
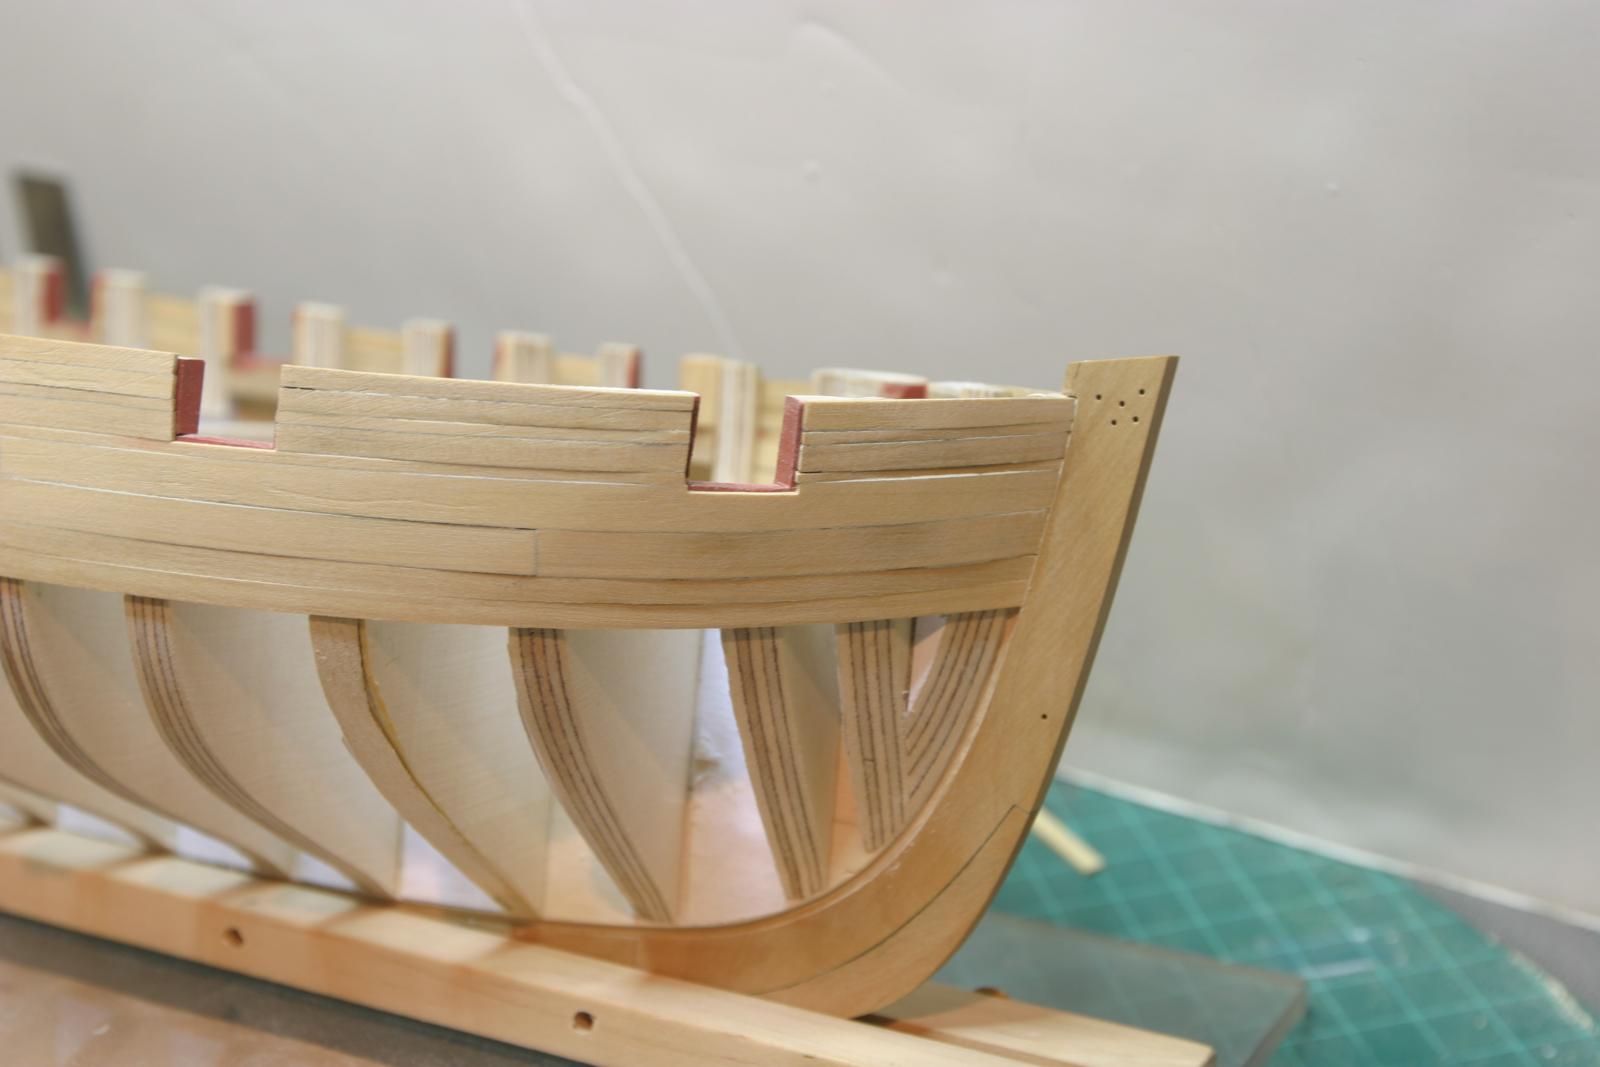
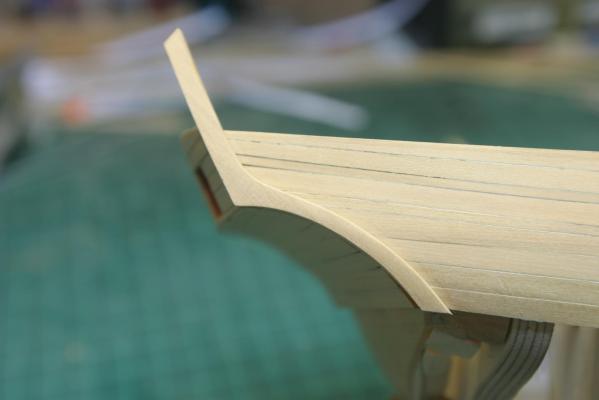
Fashion pieces cut, shaped and glued in place. Tops will be trimmed later. Maury
-
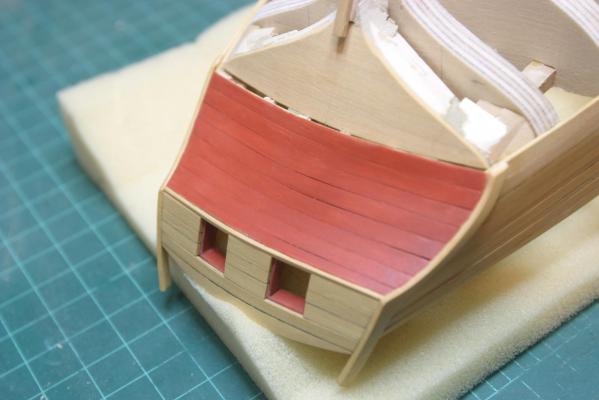
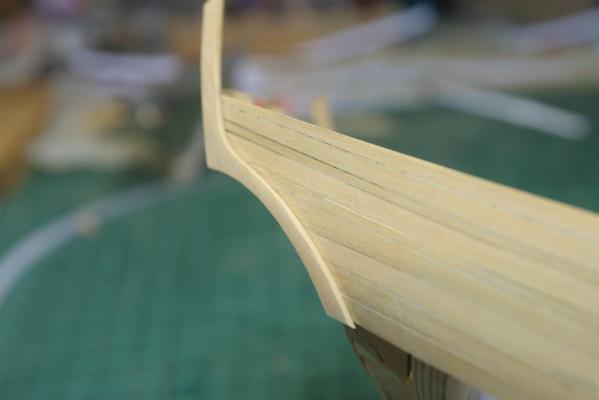
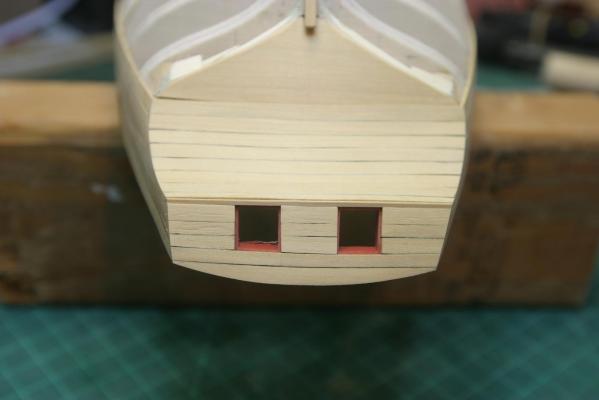
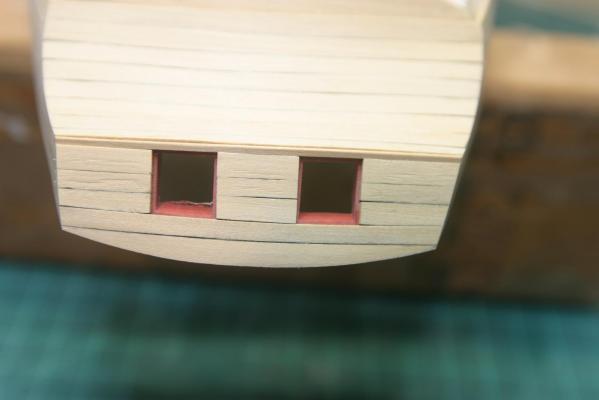
The counter took some edge bending as well as the gentle bend of the stern and came out well. Edge bending is still something I'm getting comfortable with...the inside of a bend seems to bend a bit sharply in the center rather than a gentle sweeping curve. I even place two clamps in the middle of the plank to widen the curve. Trial and error. The transom edge bending is less severe and went on well. I did the lower strake pieces first, then moved to the solid plank above the gun ports and then filled-in the rest. Next up are the fashion pieces covering the edges of the counter and transom. Question for Chuck...The planking over the square tuck is vertical on the plans and in your build log, but seems horizontal in the pictures with the instructions. I seem to recall more discussion about the vertical planking and the surround on the build log at the time, but that does not appear now. Maury

-
What a great range of knowledge we have available! Maury
- 15 replies
-
- 1
-
-
- Cutter
- Sherbourne
- (and 2 more)
-
Port side upper planks installed and the outer aft frame thinned. I used a Jewelers saw and chisels to thin them. I was afraid to use a rotary tool at this stage. Maury
-
I finished the planking above the wales on the starboard side. They still need the tops faired and a bunch more sanding. Maury


-
Ed, I can hardly wait for the book, but this hobby has forced me to understand "Patience". Maury
- 3,618 replies
-
- 1
-
-
- young america
- clipper
- (and 1 more)
-
More planking. I started using CA on the planking and things went much faster. The next step is to make sure the tops of the frames are fair and match from side to side. Tops of gun port verticals need to be sanded off. Square tops of the frames get faired. This will give me a place to measure the width of the next two planks up to the shear. Maury

-
The next strake up needs some minor tapering and a notch for the gunport. I used the heating iron to put a slight bend in the plank before gluing. Maury
-
I bent the stbd side piece and over did it a bit. Easy to correct. Just learning to make those little adjustments that only come with experience. Chuck, the strake above the molding is broken up by the gun ports. Do you bend a full-length piece to a fair run before you cut it in small segments or bend the pieces separately? I'm not there yet, just asking. Maury
-
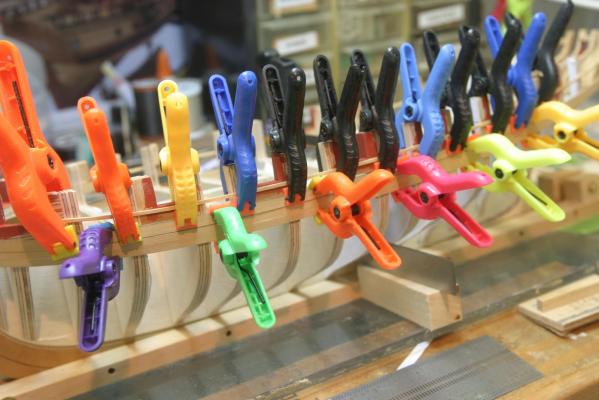
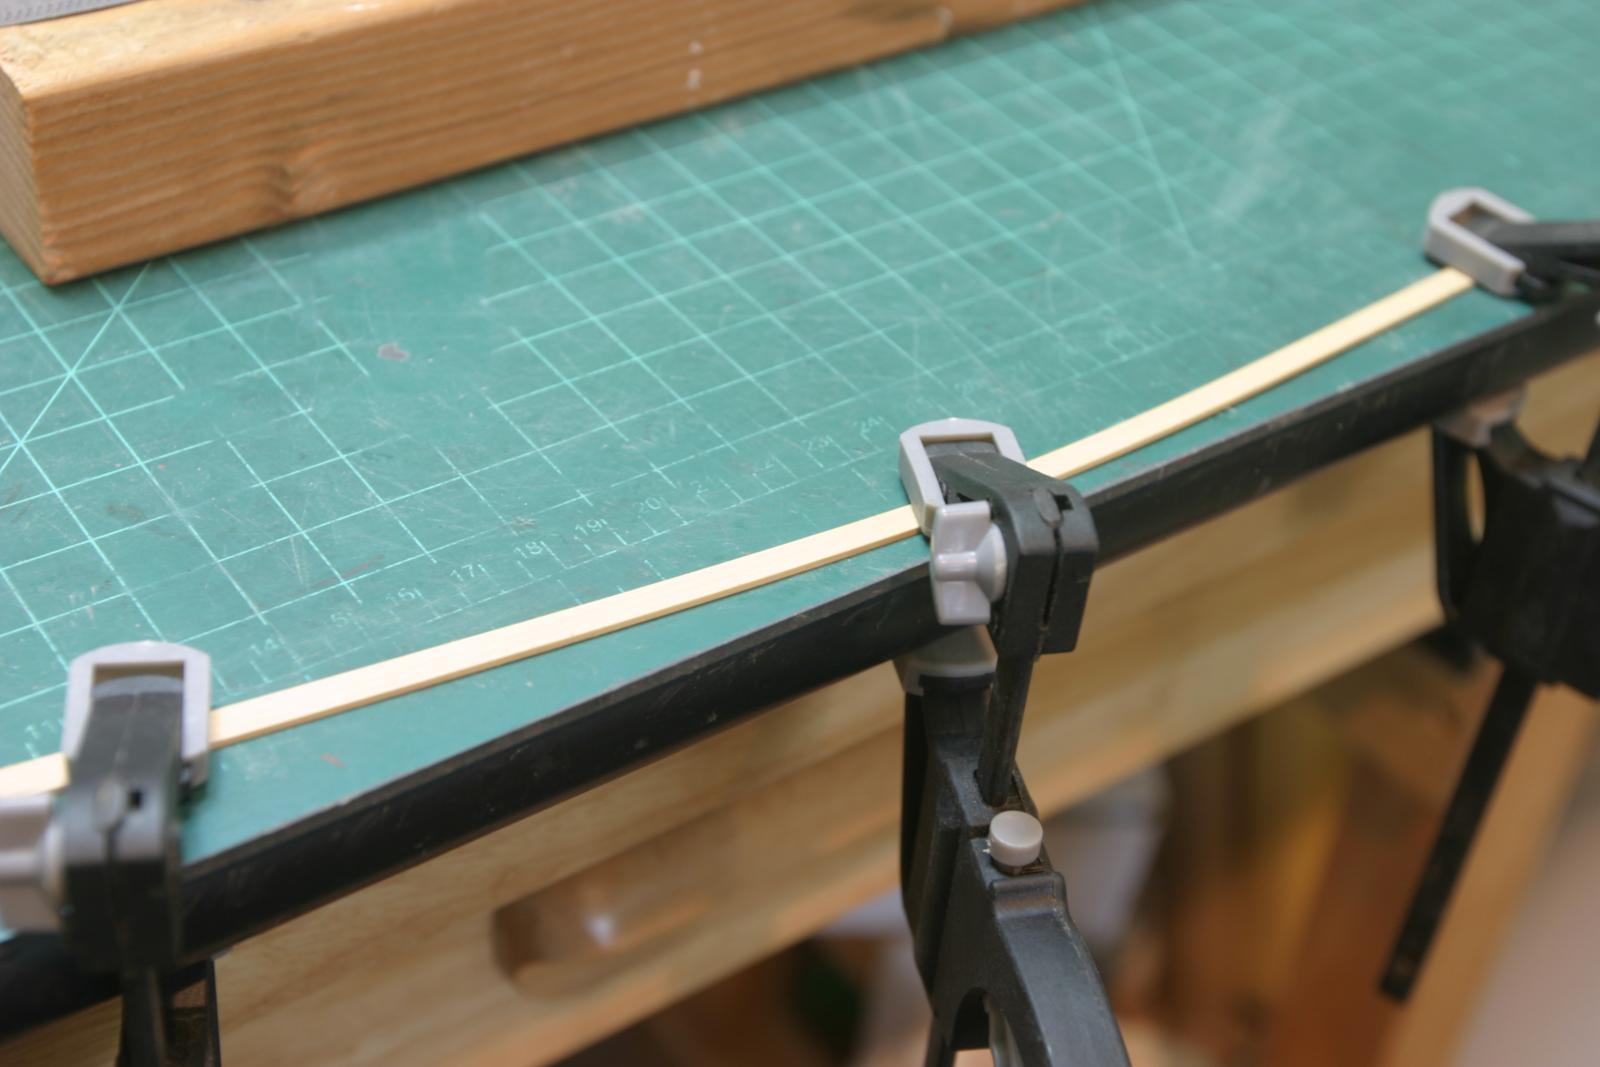
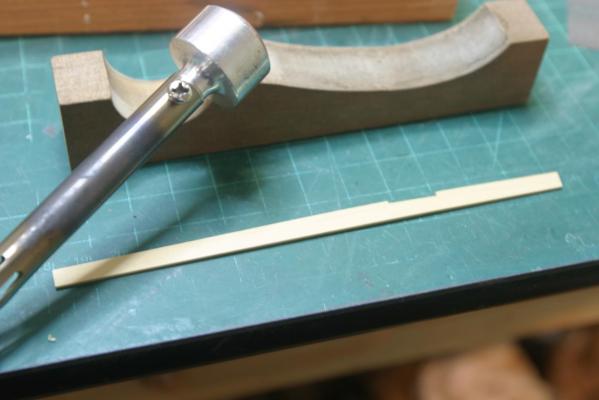
Thanks Chuck. First attempt at edge bending. Learning curve! Maury
-
Completion of the first strake above the wale on the port side. This involved edge-bending the long center plank so I tried Chuck's clamping and heating method. It did not hold much of the bend after 5 minutes with the blow dryer on high. I repeated and let it set for an hour...not much difference, but enough that I did not have to force it too much. I clamped it both against each bulkhead, and also against the wale. The aft-end part of the strake is too short to do much bending so I mark the width and used a ships curve to to get a mild curve to match the run of the wale. It fit perfectly. By the way, after marking the width at each bulkhead and drawing a fair line, I clamp it in the vise and use a very sharp 1" chisel to cut close to the line and finish it off with 100 grit and 150 grit sanding sticks. Maury