HOLIDAY DONATION DRIVE - SUPPORT MSW - DO YOUR PART TO KEEP THIS GREAT FORUM GOING! (Only 24 donations so far out of 49,000 members - C'mon guys!)
×


Gahm
-
Posts
1,217 -
Joined
-
Last visited
Content Type
Profiles
Forums
Gallery
Events
Everything posted by Gahm
-
 Beautiful model! Very well done! Congratulations! Thomas
 -
Cutter Cheerful 1806 by rafine - FINISHED
Gahm replied to rafine's topic in - Build logs for subjects built 1801 - 1850
Beautiful tree nailing work, Bob! I love the slightly stronger contrast between nails and planks. Otherwise, if you don't see the nails, why do all the work? Thomas- 525 replies
-
- 2
-

-
- cheerful
- Syren Ship Model Company
- (and 1 more)
-
The stern of your Syren turned out very nice indeed! Especially the cap rail which is one of the more difficult parts to build! Thomas
- 1,306 replies
-
- 6
-
-
- syren
- model shipways
- (and 1 more)
-
Welcome to the Syren fleet! Thomas
-
3/16" sounds about right. I reduced the diameter of the dowel for the mast at one end on the lathe and chose the drill bit accordingly. I have to go back and see what I used exactly. Thomas
- 659 replies
-
- 2
-
-
- syren
- model shipways
- (and 1 more)
-
Very nice progress! It always makes such a difference when all these details get added. Thomas
- 659 replies
-
- 2
-
-
- syren
- model shipways
- (and 1 more)
-
Excellent choice of model ! And welcome to the Syren fleet . I would not worry too much about the little warp. You should be able to easily correct this with filler blocks. Where the longboat is concerned, I have not built it myself yet, but the wood stain mostly used for the Syren is Golden Oak (MinWax) which you can get for example at Lowes or HomeDepot. Of course what stain you want to use on your model is really up to you Thomas
- 26 replies
-
- 3
-
-
- syren
- model shipways
- (and 1 more)
-
You are producing one master piece after the other! Your little boats are gorgeous! Thomas
-
Sal, you did an excellent job on your head rail! Beautiful work! Thomas
- 659 replies
-
- 3
-
-
- syren
- model shipways
- (and 1 more)
-
Cutter Cheerful 1806 by rafine - FINISHED
Gahm replied to rafine's topic in - Build logs for subjects built 1801 - 1850
Bob, your gun ports look fantastic! Next time I have to do gun ports I will use your technique! Thomas- 525 replies
-
- 2
-
-
- cheerful
- Syren Ship Model Company
- (and 1 more)
-
Augie, this QD rail is a real little piece of art in itself! Beautiful work! Thomas
- 2,191 replies
-
- 3
-
-
- confederacy
- Model Shipways
- (and 1 more)
-
Great progress! I like the clean straight edges of your gun ports. You chose an interesting method for tree nailing. I have never done it with tooth picks. On my first model I used bamboo sticks thinned down to the right (in scale) thickness with a draw plate. It looked fine at the beginning, but as soon as I applied wood stain there was a certain diffusion effect along the edges of the holes and the tree nails and the final result looked a bit larger than intended. Hopefully you won't have this problem . Thomas
- 1,306 replies
-
- 3
-
-
- syren
- model shipways
- (and 1 more)
-
Cutter Cheerful 1806 by rafine - FINISHED
Gahm replied to rafine's topic in - Build logs for subjects built 1801 - 1850
Beautifully done - as always! Thomas- 525 replies
-
- 1
-
-
- cheerful
- Syren Ship Model Company
- (and 1 more)
-
Excellent progress, Richard! Your Syren is shaping up very nicely. And there is nothing wrong with simulated sheaves . Thomas
-
Your head rail is coming together very nicely! The middle rail is clearly one of the more challenging parts, and yours looks very good! Thomas
- 659 replies
-
- 4
-
-
- syren
- model shipways
- (and 1 more)
-
Hello Robert, I think you did a fine job on your first hull planking. The problems you are listing are problems most other ship model builders have to deal with, too - at leat I know for sure that I had to deal with them . Once the hull is stained and painted the one or other imperfection, which seems to be very obvious to the builder of the model, is barely noticeable for anybody else because of the overall impression of the hull. The choice between staining and painting the hull is more a matter of personal preference and not a matter of right and wrong. I have seen a lot of models - including Syren models - which were painted with ochre and looked fantastic. As far as I know the original ships were painted that way. So when choosing to paint your Syren with ochre you have every chance to end up with a great looking, beautiful model. And most importantly: have fun building your model! That is ultimately what it is all about! Thomas
-
Cutter Cheerful 1806 by rafine - FINISHED
Gahm replied to rafine's topic in - Build logs for subjects built 1801 - 1850
Hi Bob! I am looking forward to watching this build! Cheerful is a beautiful ship! Thomas- 525 replies
-
- 2
-
-
- cheerful
- Syren Ship Model Company
- (and 1 more)
-
Very nicely done, Sal! I specifically like your second last picture showing cat heads and hawse holes together. Have a great vacation! Thomas
- 659 replies
-
- 1
-
-
- syren
- model shipways
- (and 1 more)
-
Congratulations, Bob! Your Essex is an outstanding model!! You set the bar very high for every Essex modeler who might follow in your footsteps. Personally I was always looking forward to your build log and the progress which was documented there nearly on a day to day basis. Thank you for sharing this! And good luck with Cheerful. I have my chair ready Thomas
-
Sal, you are off to a great start with the head rail! Your scroll work looks great! And it does not really matter whether you have 2 lines or one as long as the overall composition looks right. And yours clearly does so far! In my opinion the head rail is probably the single most difficult part of the whole Syren build. Although I always feel that whatever piece I am currently working on turns out to be the most difficult . Thomas
- 659 replies
-
- 4
-
-
- syren
- model shipways
- (and 1 more)
-
US Brig Syren by Gahm - Model Shipways
Gahm replied to Gahm's topic in - Kit build logs for subjects built from 1801 - 1850
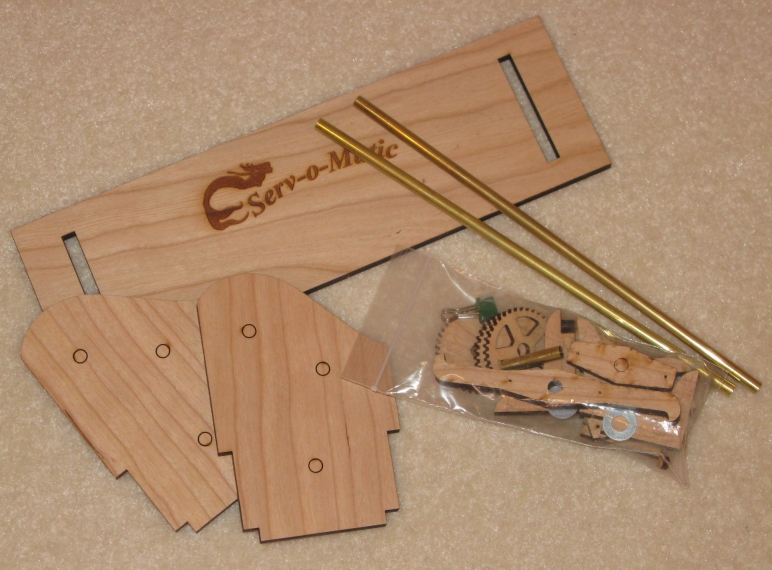
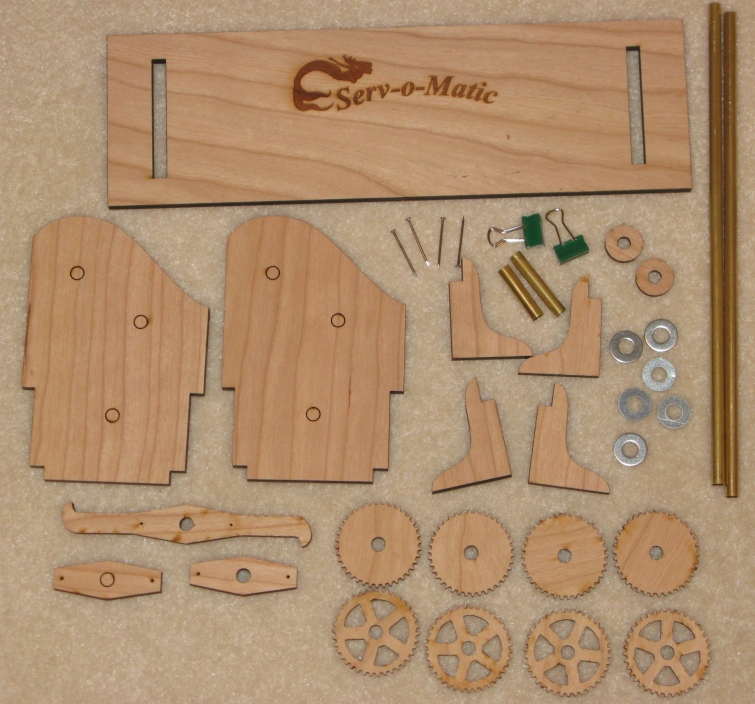
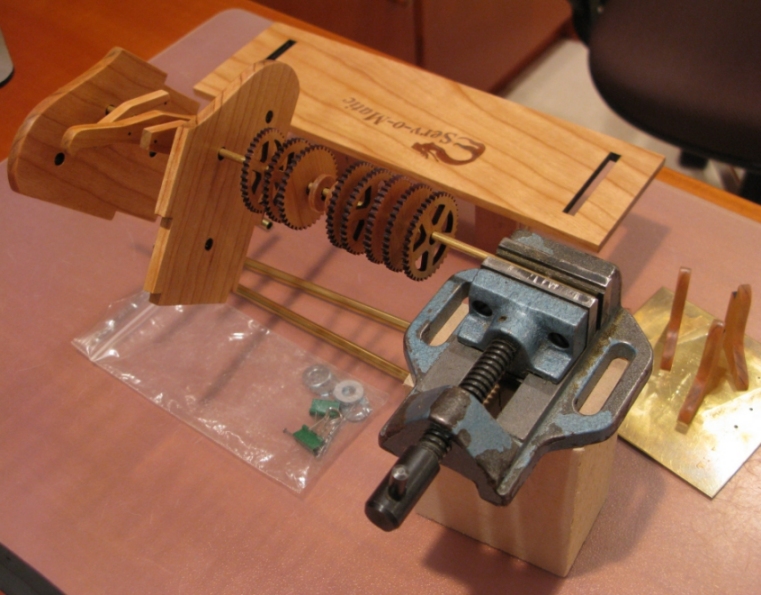
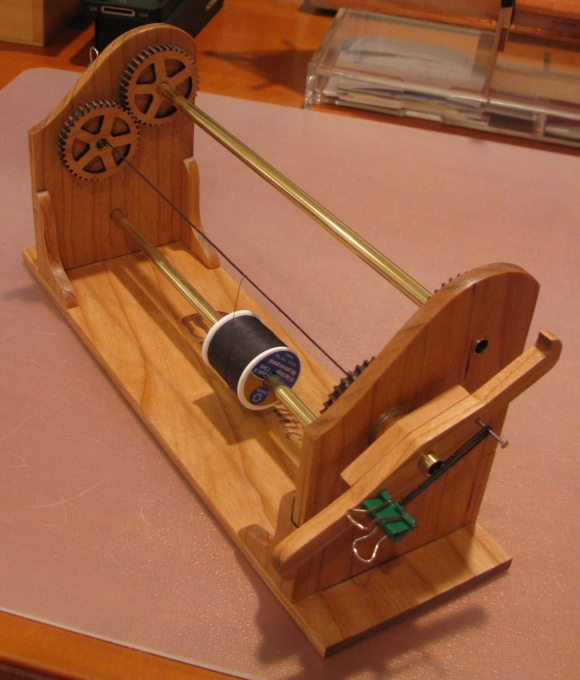
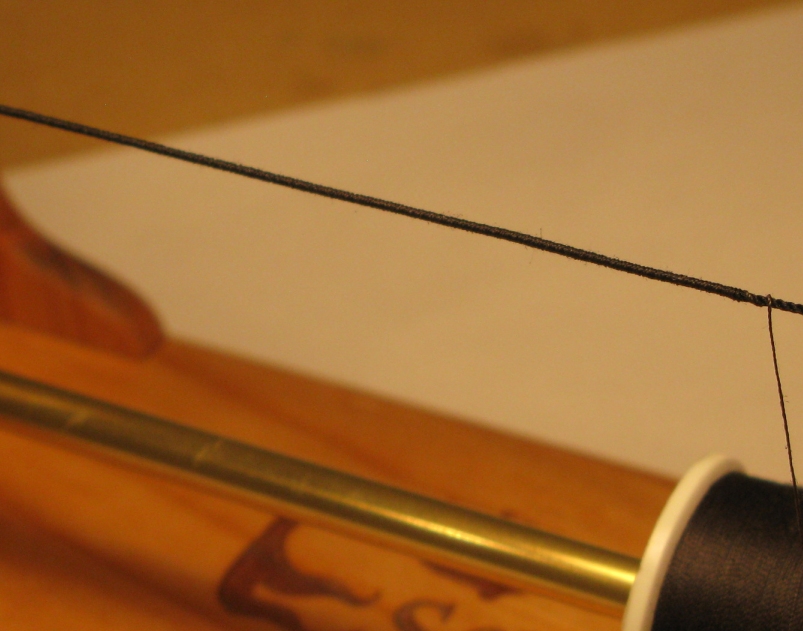
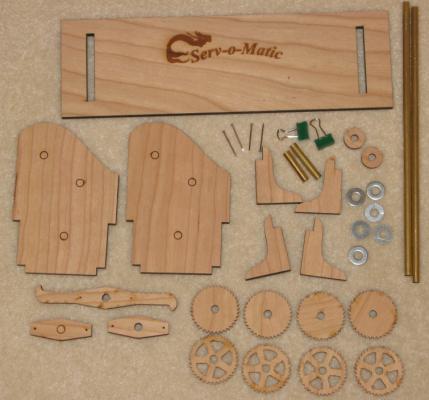
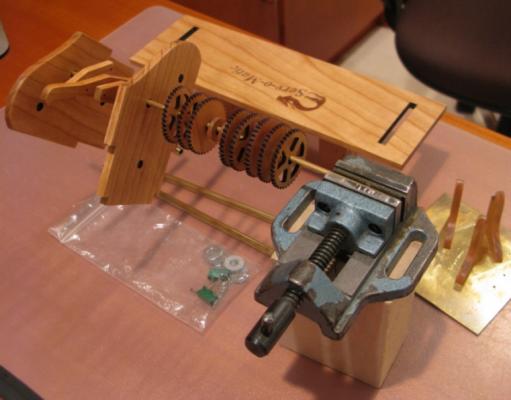
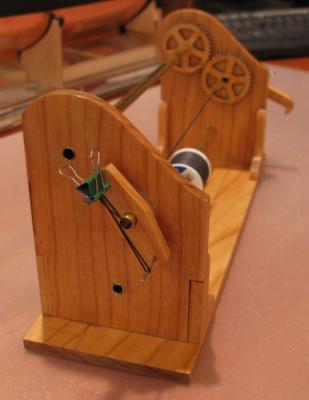
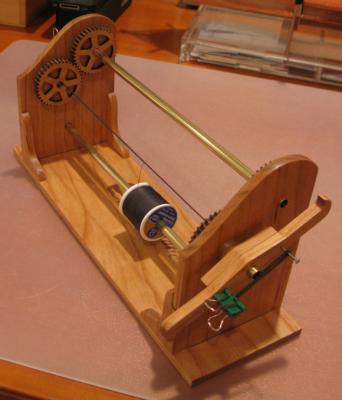
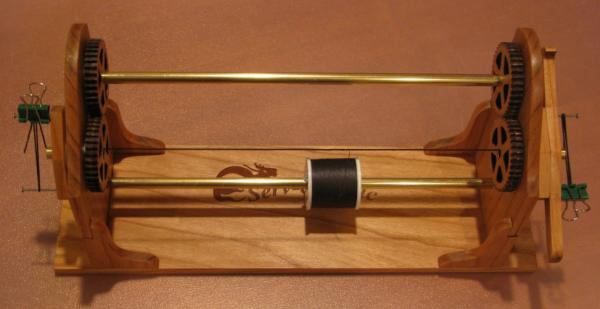
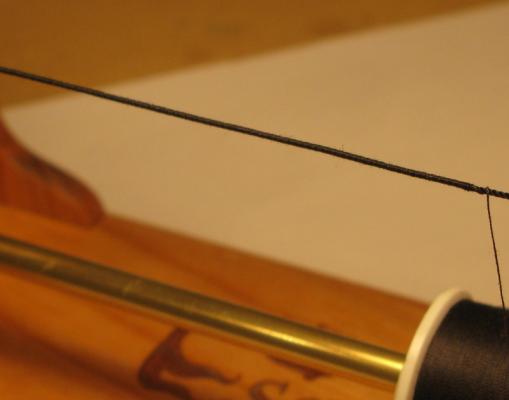
I treated myself to Chuck’s new serving machine. Not that I need to serve anything at the current point in my Syren build , but I always like to get acquainted with new techniques early on so that I don’t run into too many problems when I really need to apply these techniques later. During the last few months I had thought about a suitable design for my own serving machine. It is not really difficult to find good examples in the internet. However, when I looked at the amount of work, which would go into the design and the material, especially suitable gears, Chuck’s new ‘Serv-O-Matic’ kit along with the reasonable price tag quickly changed my mind. Images 1 and 2 show the content of the kit. As all of Chuck’s products the kit is high quality (solid Cherry wood) and easy to assemble – basically only the laser burn marks need to be removed (to have a nice looking machine) and the wood sealed with rub on poly (image 3). The end result is a beautiful, very sturdy, and nicely functioning serving machine (images 4, 5, 6). Image 7 shows the result of a test run with a thread, which was not really suited for serving, but was conveniently ‘available’. It may give a little idea what kind of results can be achieved with a little practice and the right serving thread. This was the 3rd time I bought products from Chuck’s Syren company. I know I am repeating what other fellow modelers have already written in their build blogs. But each time I ordered something I was amazed about the excellent service, the reasonable pricing, and above all the outstanding quality of the products. Thomas Image 1 Image 2 Image 3 Image 4 Image 5 Image 6 Image 7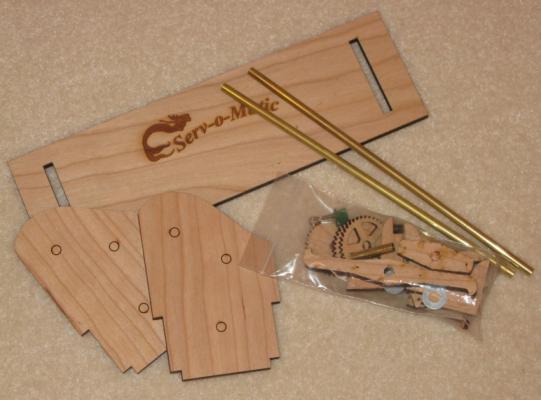
-
Congratulations! This is a fantastic model! You did a beautiful job . . . something to be really proud of! Thomas
- 302 replies
-
- 1
-
-
- granado
- caldercraft
- (and 1 more)
-
You did a very nice job with those casts! Great painting technique! Thomas
- 659 replies
-
- 3
-
-
- syren
- model shipways
- (and 1 more)
-
US Brig Syren by Gahm - Model Shipways
Gahm replied to Gahm's topic in - Kit build logs for subjects built from 1801 - 1850
Thank you, Daniel! And thank you for all the likes! Thomas