vossiewulf
-
Posts
1,477 -
Joined
-
Last visited
Content Type
Profiles
Forums
Gallery
Events
Everything posted by vossiewulf
-
 That's another good point, looking at all the lines belaying up there including sheets that run forward to avoid the huge gaff boom. But also at the same time, exactly what type of ship is going to more often need bow chase fire than a cutter? Seems odd to me that good clear bow chase firing positions wouldn't be a primary requirement for the design.
- 714 replies
-
- 1
-

-
- lady nelson
- victory models
- (and 1 more)
-
Thanks Mark. I was also wondering if it was only used when they needed bow chase fire, seems to me some of the frigates I've seen have had part-time chase ports that looked a bit elevated from other ports on that deck.
- 714 replies
-
- 2
-
-
- lady nelson
- victory models
- (and 1 more)
-
Mark you really don't have to go to that extreme to make us new guys who go one step back for every one forward feel better And I'm sorry, I know that must have been a serious ouch of a decision. But like others have said you'll feel much better once you know you have it 100% right.
-
Good luck Gaetan we have faith in you

-
And after THAT long scenic tour through the outback of gunwale construction I'm back to the original point but I think I've clarified it, the inboard planking should follow the external planking and the rail sheer so we get the top of strakes as gunport sills. And since this is just being painted I shouldn't stress about how many planks I use to do it.
- 714 replies
-
- 2
-
-
- lady nelson
- victory models
- (and 1 more)
-
Hull plank length
vossiewulf replied to Mau's topic in Planking Techniques's Click Here for Topics dedicated to planking!!!!
Ditto, thanks Chuck. I'll also go see if I can find more, now that I know they're called planking expansions -
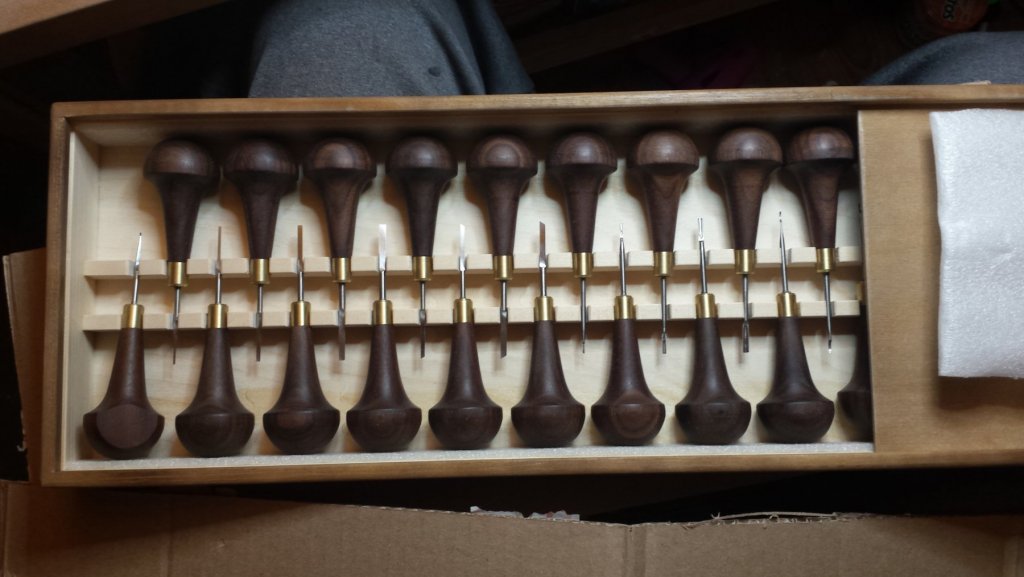
Ok, will look there, and glad I can contribute to your overall health I will go look at Chuck's post. I mean I assume Chuck is totally accurate about what he's doing, I'd just like to know what the rules and constraints were. The tools are phenomenal. I have many fairly expensive edge tools from traditions all over, US of course and Swedish and German and Japanese, lots of Japanese tools. These are as good as any made anywhere. And he's selling them for about 1/3 what they're worth, you could make a reasonable living buying tools from Mikhail and selling them on Ebay with a 200% markup.
- 714 replies
-
- 2
-
-
- lady nelson
- victory models
- (and 1 more)
-
Ok i don't know what I did to merit a personal ship construction research service but I'm rating the results at *****, a solid five stars :). The Swift's gunwales are basically exactly what I have including the rises of the gunport sills forward and aft. Problem totally resolved while I was working on rabbets with my new carving tools from Mikhail. So I'll have to add this to the pile of ones I owe you
- 714 replies
-
- 4
-
-
- lady nelson
- victory models
- (and 1 more)
-
Thanks Rick, unfortunately that's where I am too. I just dropped a note to Amati requesting contact with the designer or someone equally familiar. Will see if they respond.
- 714 replies
-
- 2
-
-
- lady nelson
- victory models
- (and 1 more)
-
Thanks for the pics, and it looks very good BTW The only thing is that even looking carefully at your pics I can't see where the difference is. Please look at my pics, maybe you will have better luck. For now I guess I'm going to cut the second rabbets until we figure out what is going on here. And for what it's worth, I'm just using my cell camera even though I have a fancy Olympus, and it's not even particularly new, it's a Samsung S4 since none of the newer ones do anything I need much better. Except for the new Google phone, I read a review on a camera site that said its camera was superior even to the latest Apple cameras, very near full DSLR quality. So I was thinking about getting one. I do know that my cell cam only works well with very bright light, you should be able to tell my task light is never very far out of frame just above the model when shooting. In normal light autofocus is spotty and the pics are noisy, but I can fix the noise pretty easily with a fancy noise-reduction add-on for Photoshop that I have. All I do in Photoshop with these though is crop and save as a lower-quality jpg to retain the high resolution but get under the 2mb barrier. But I am also a fully-qualified graphics guy who long ago worked in the games industry as an artist, I've done 100% of the graphics for my Line of Battle game. So if you need pics fixed I can fix 'em

- 714 replies
-
- 3
-
-
- lady nelson
- victory models
- (and 1 more)
-
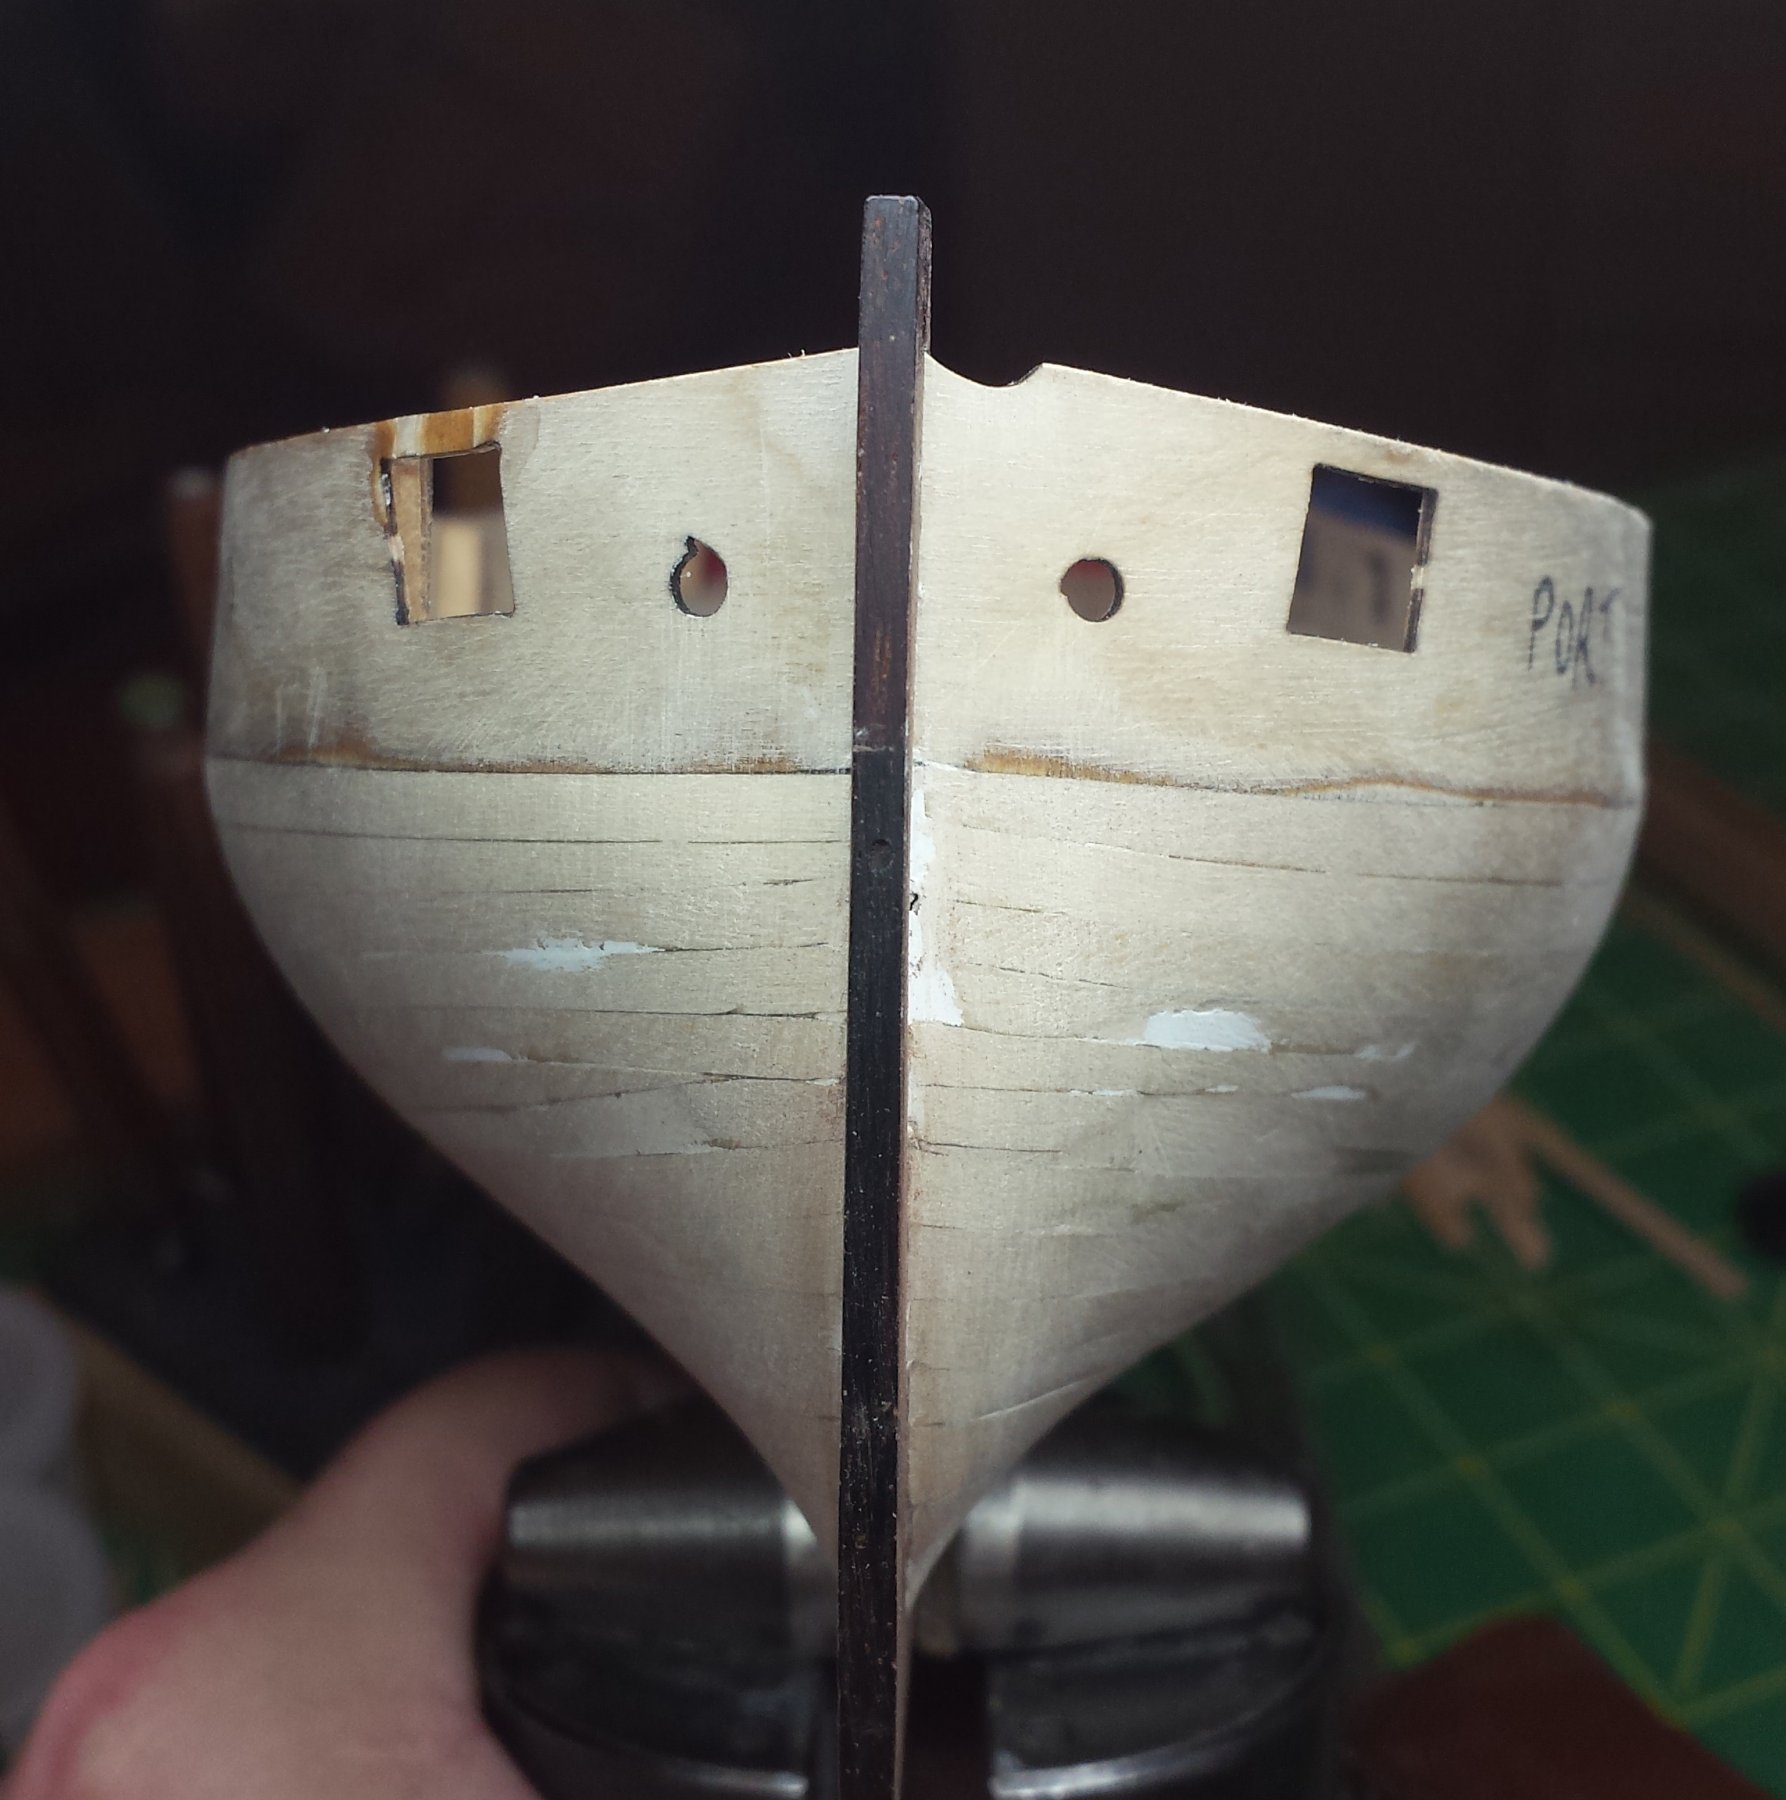
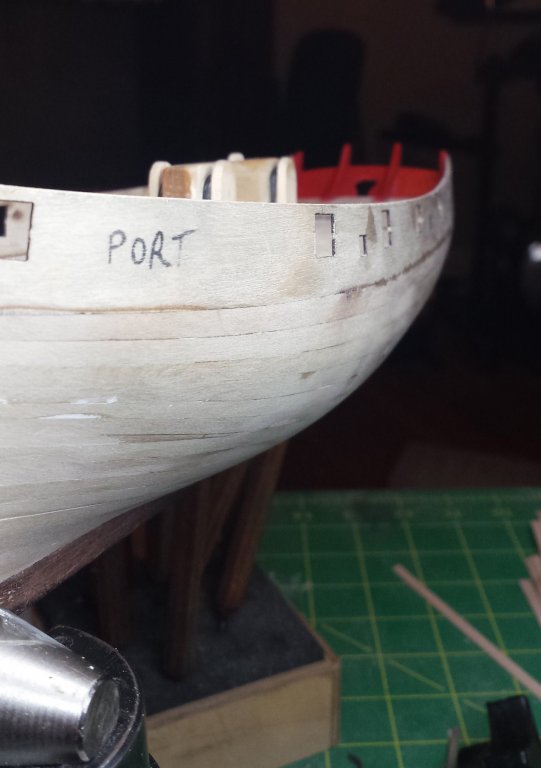
And here's a pic from the bow - it looks like the gunwales very intentionally rise toward the bow, and it doesn't look wrong it looks pretty logical. So at the moment it looks like I've done what the kit intended - we know the deck line was also dead on the bulkhead tops so that line is what they intended. But I have gunports that vary in height from the deck, the gunwale sheer line is more pronounced than the deck line, and the gunports follow that line instead of the deck.

- 714 replies
-
- 3
-
-
- lady nelson
- victory models
- (and 1 more)
-
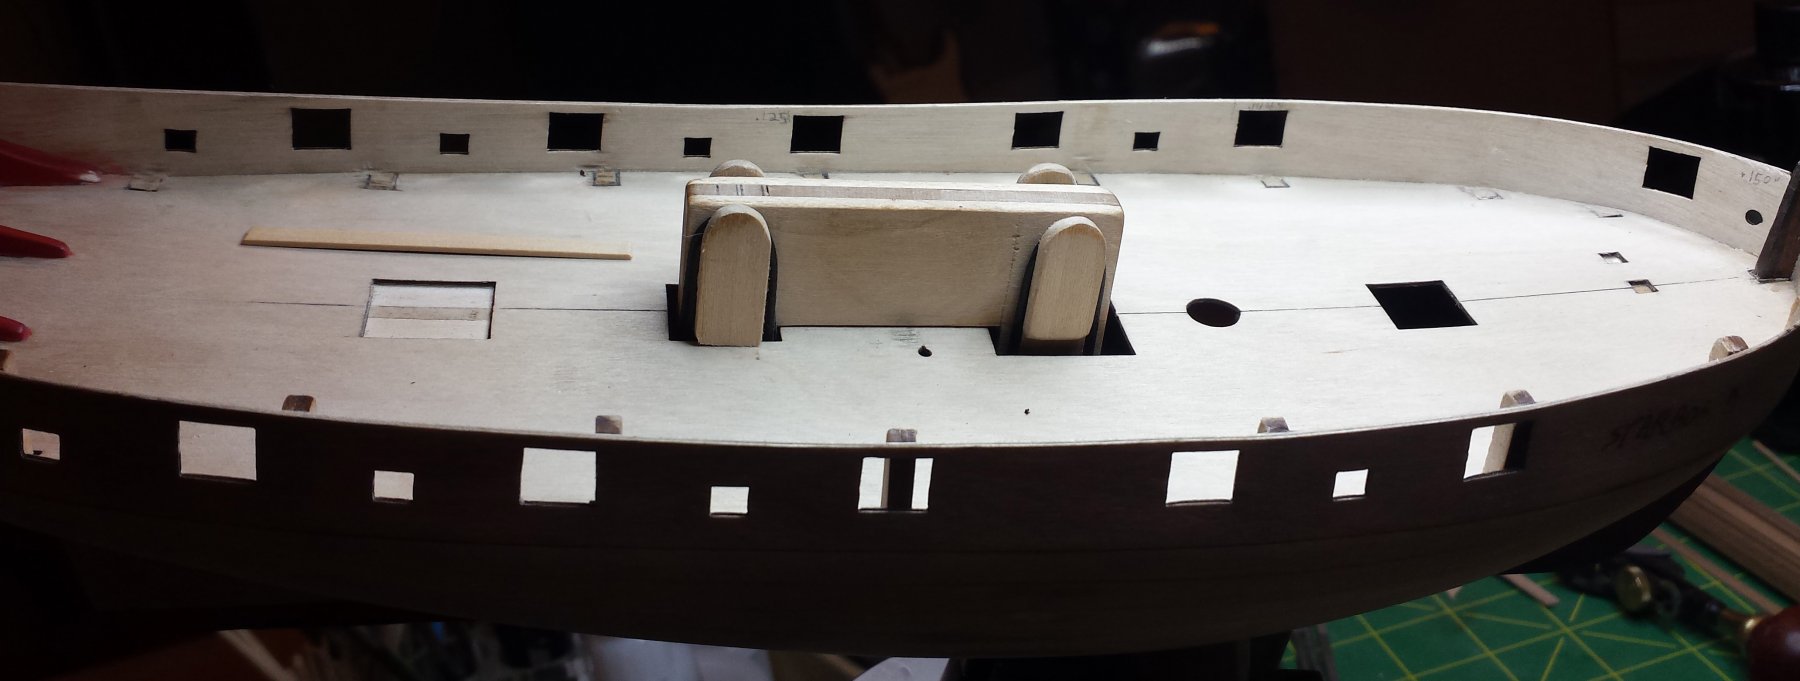
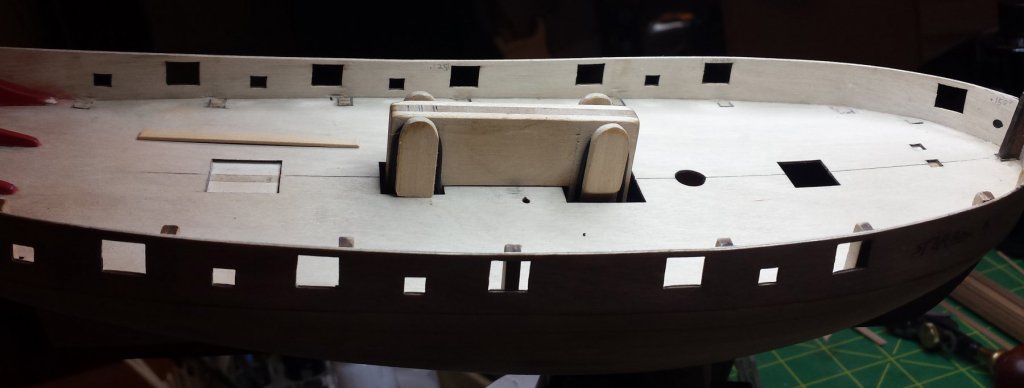
Ok here's mine now from the inside. Height of gunwales at the bow is 14.72mm, midships is 12.8mm. You can see the bow gunport is higher off the deck than the midships ports and they begin to rise again on the stern. The gunwale/bulkhead sheer is more pronounced than that of the deck. The thing is I can't see where it's wrong, once the top line was straightened you see it makes a continuous smooth curve with the gunports following it exactly. Also the tops of the gunwales are now closely matching the tops of the bulkhead tabs, which also makes it look as intended. And another is you saw I made my bow stem piece as a dead copy of the original, and these gunwale strips fit perfectly, that was how I established how much the lower edge was supposed to overhang on the bulkheads for gluing. Can you see where the problem is?
- 714 replies
-
- 3
-
-
- lady nelson
- victory models
- (and 1 more)
-
I only have one pic at the moment, will go take a couple more. If what you're saying is how it's supposed to be, I have major problems, because the curve followed by the gunports is significantly different than the curve of the deck. This is what I ended up with after straightening the bulkhead top line, all the ports are an equal height from the top of the rail. The ripples looked like deviations from this line.
- 714 replies
-
- 3
-
-
- lady nelson
- victory models
- (and 1 more)
-
Another thing I'm guessing on, the height of the bulkheads vary from bow to midships and to stern. Either I have to use three full width planks with stealers bow and stern or four reduced planks with the top one varying quite a bit in width. And should inner bulkhead planking follow deck sheer or rail sheer? And why in God's name would the height of a gunport change from bow to stern? They seem to follow the rail sheer and it's going to change the field of fire of the bow and stern guns.
- 714 replies
-
- 2
-
-
- lady nelson
- victory models
- (and 1 more)
-
Hull plank length
vossiewulf replied to Mau's topic in Planking Techniques's Click Here for Topics dedicated to planking!!!!
Unfortunately I think the upgrade resulted in Chuck swearing off the web for a few days, I'd like to hear his take on the Cheerful plank lengths and pattern. And thanks Mark for the additional info. -
Hull plank length
vossiewulf replied to Mau's topic in Planking Techniques's Click Here for Topics dedicated to planking!!!!
Thanks Mark! -
Hull plank length
vossiewulf replied to Mau's topic in Planking Techniques's Click Here for Topics dedicated to planking!!!!
Thanks Mark, I guess that means there's no consistency between hull plank lengths across RN ships. Cheerful as mentioned shows a consistent plank length across the ship and if the RN made lengths consistent across each ship, I guess they decided the plank length on a ship by ship basis? -
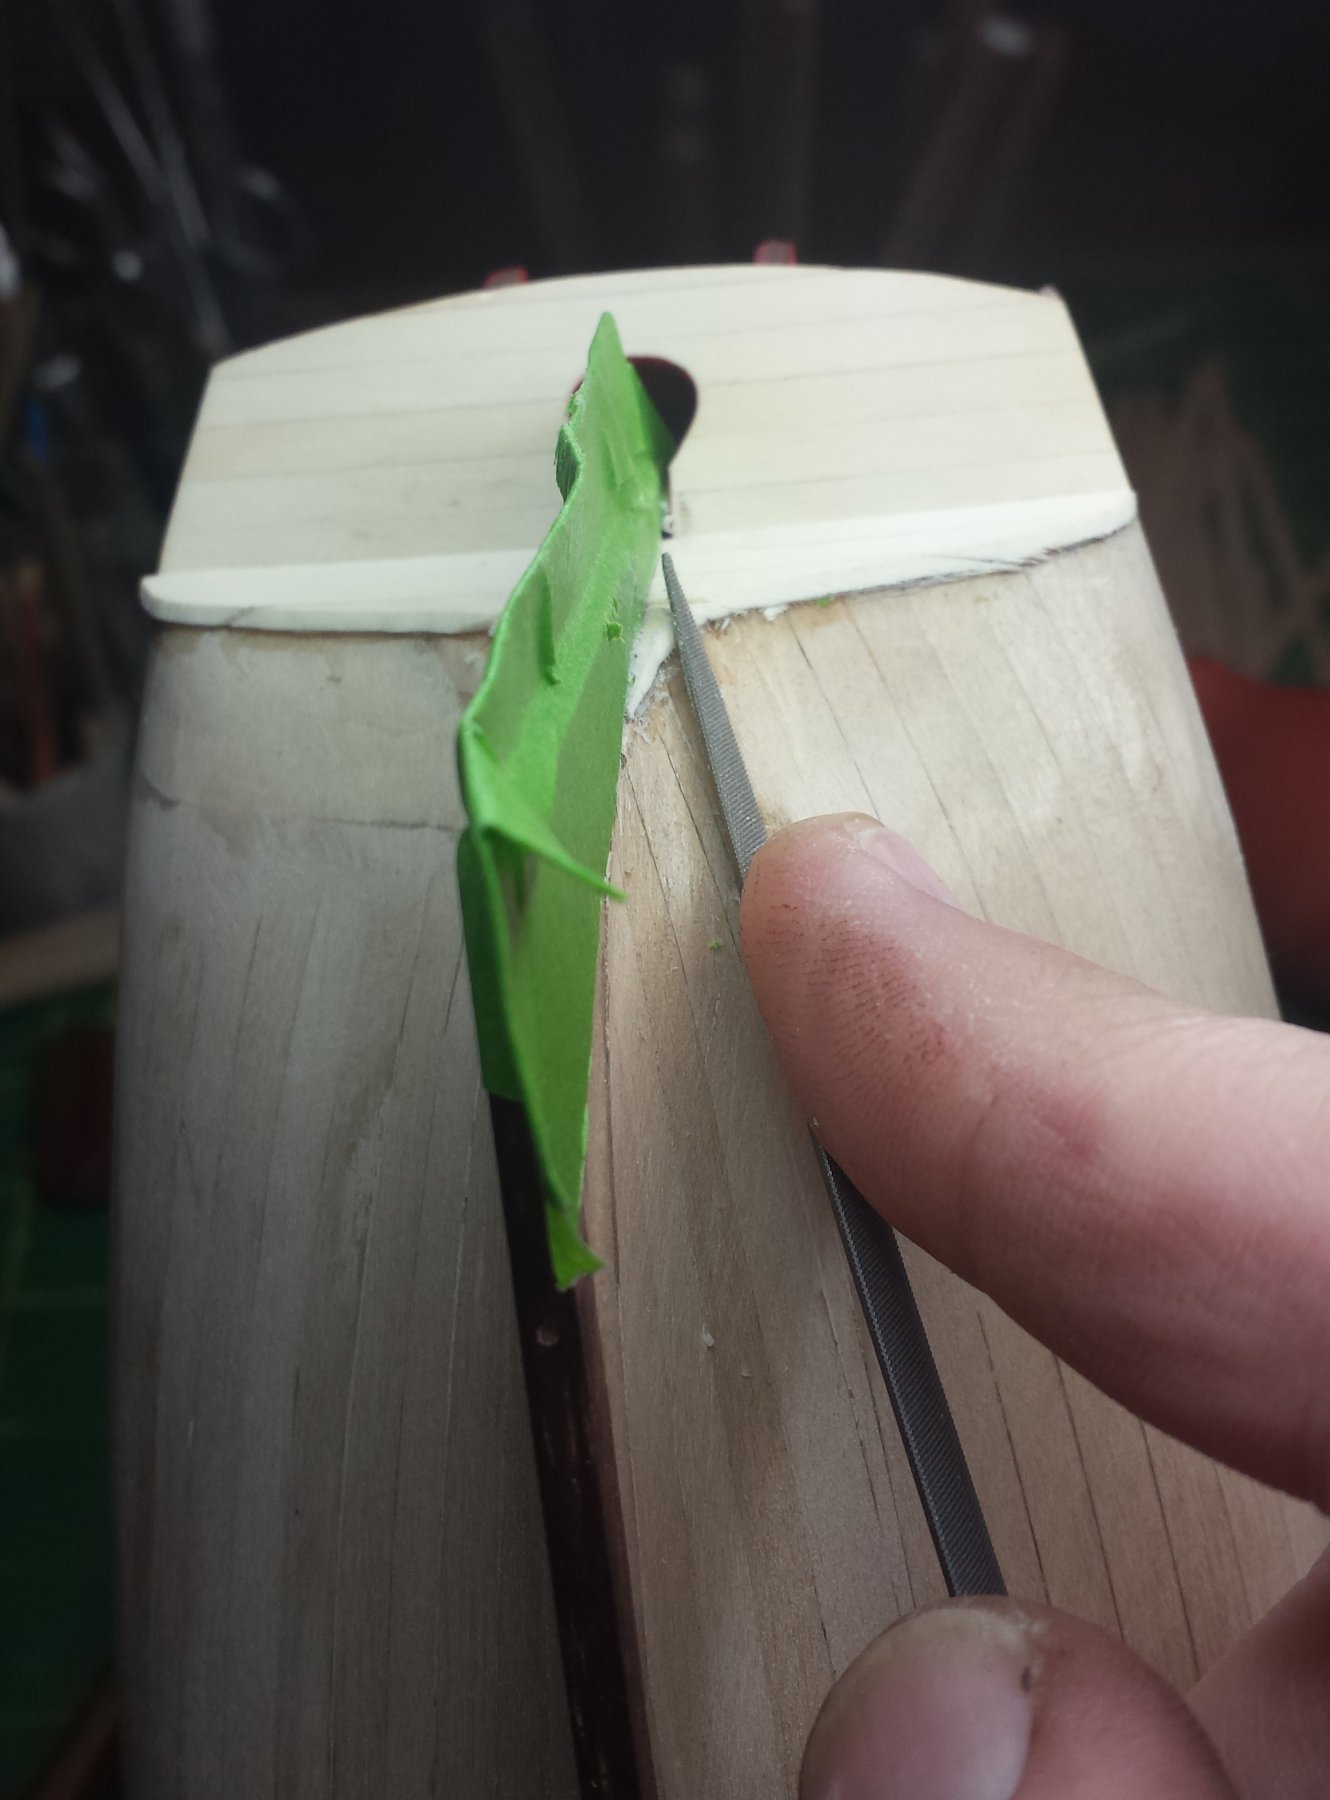
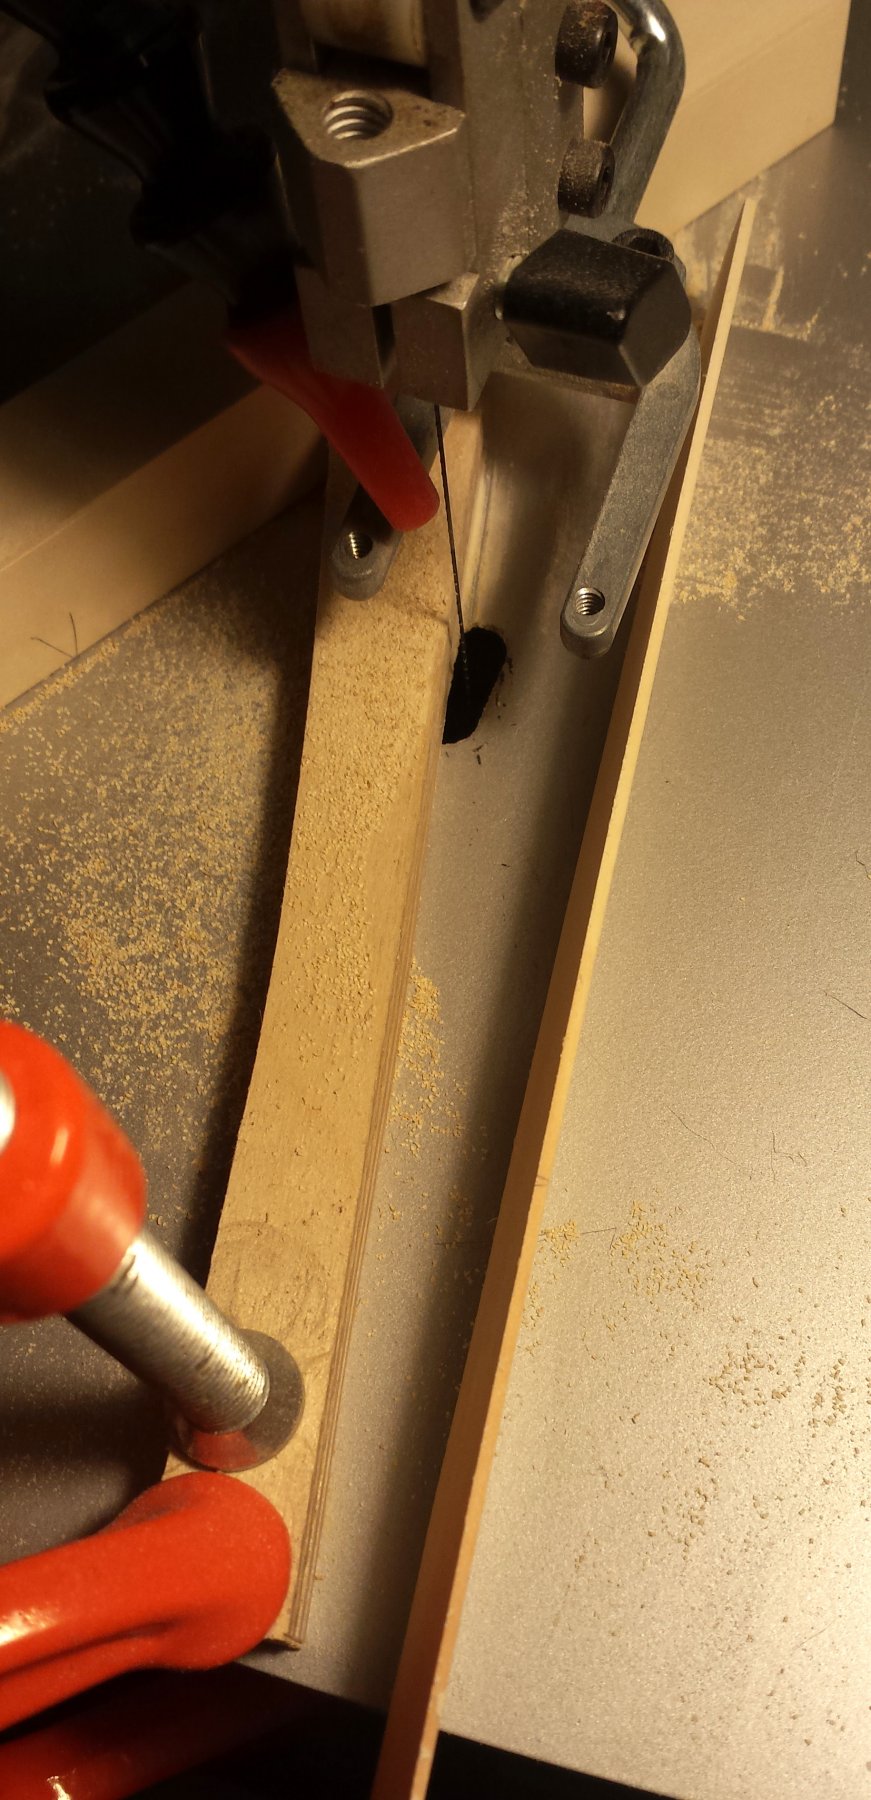
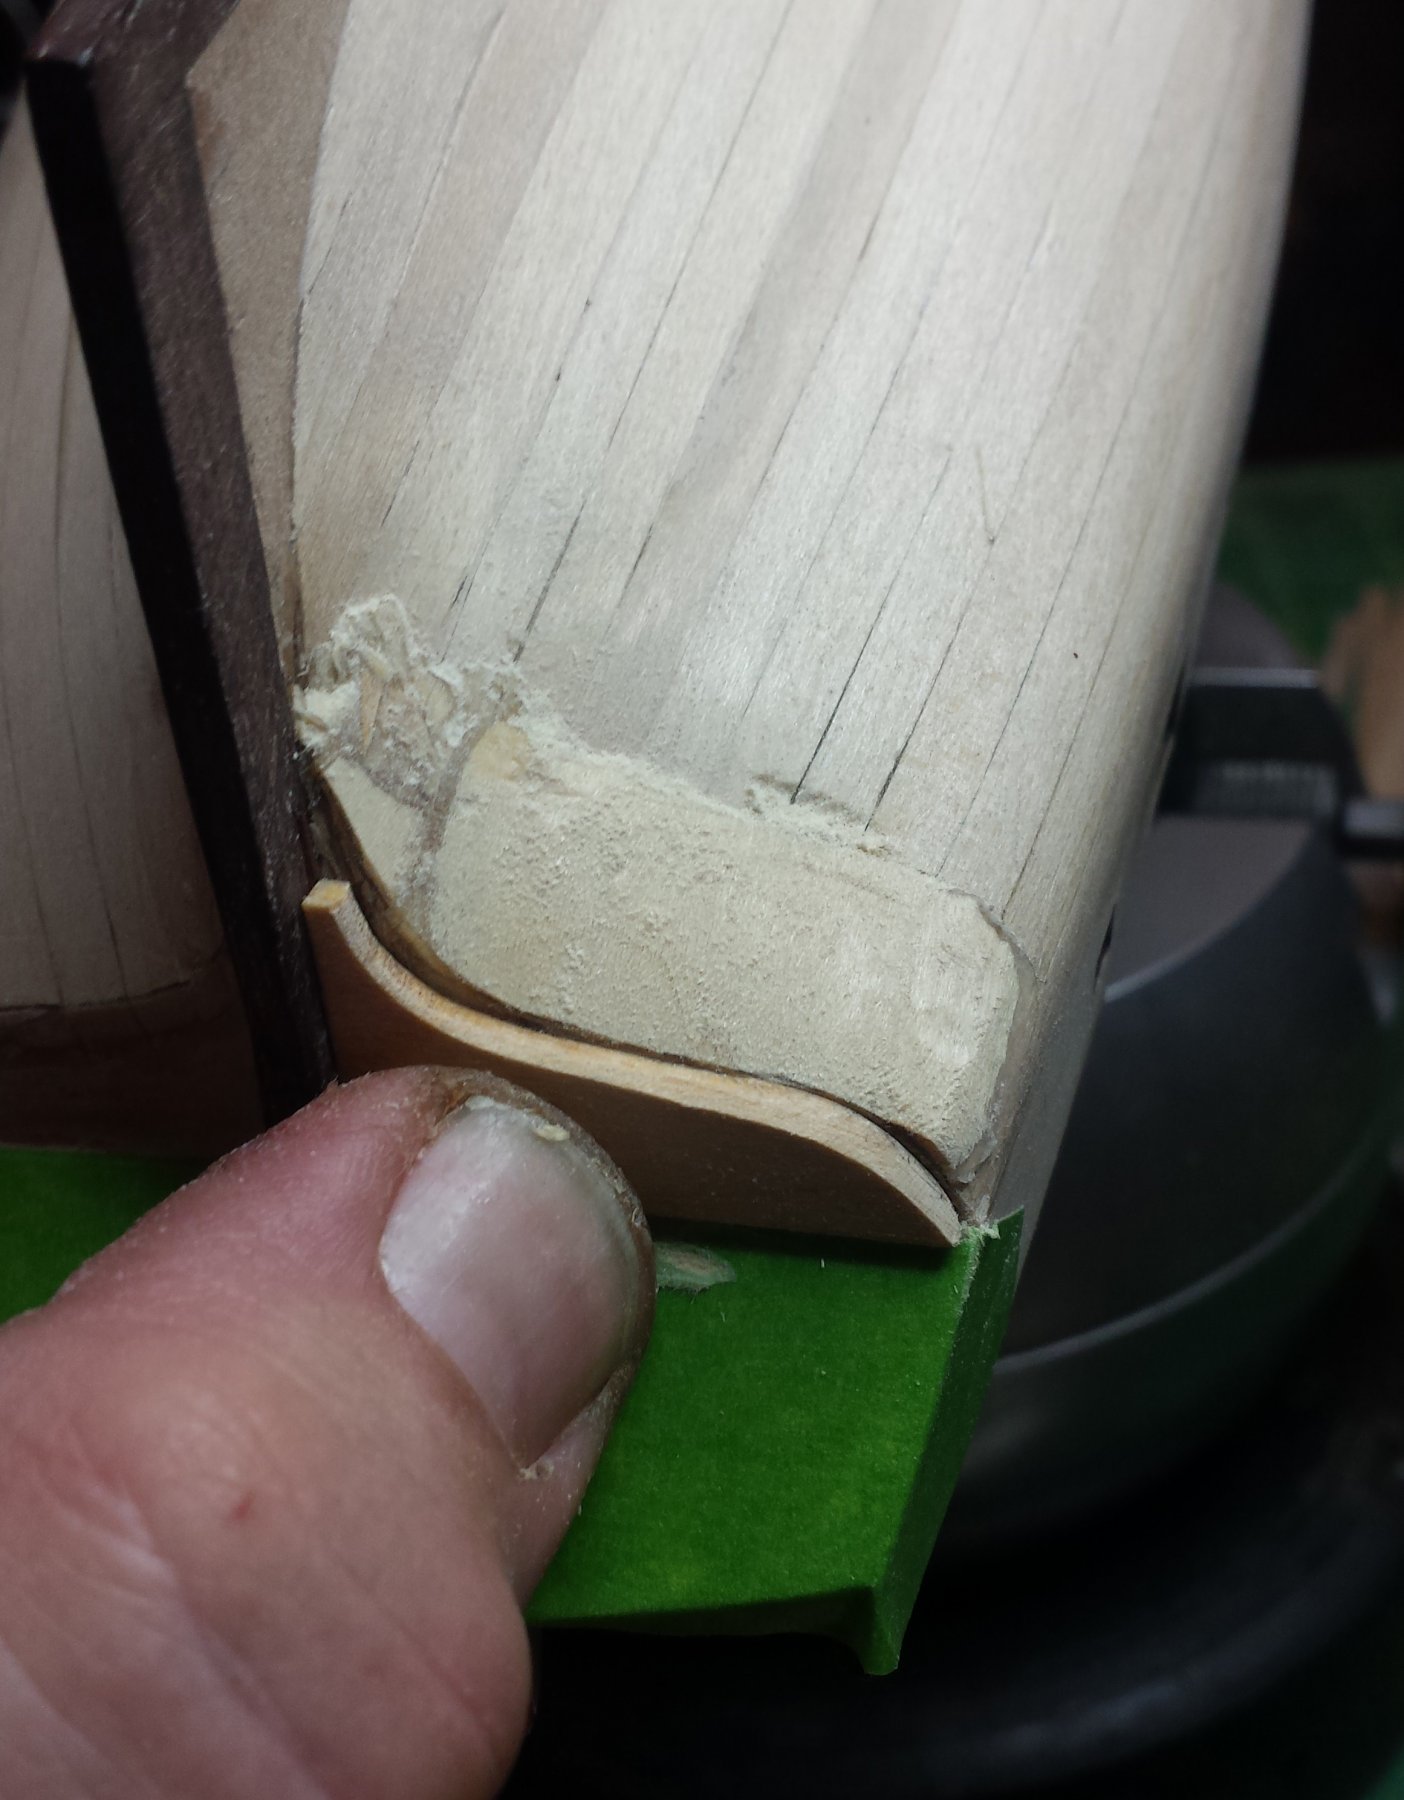
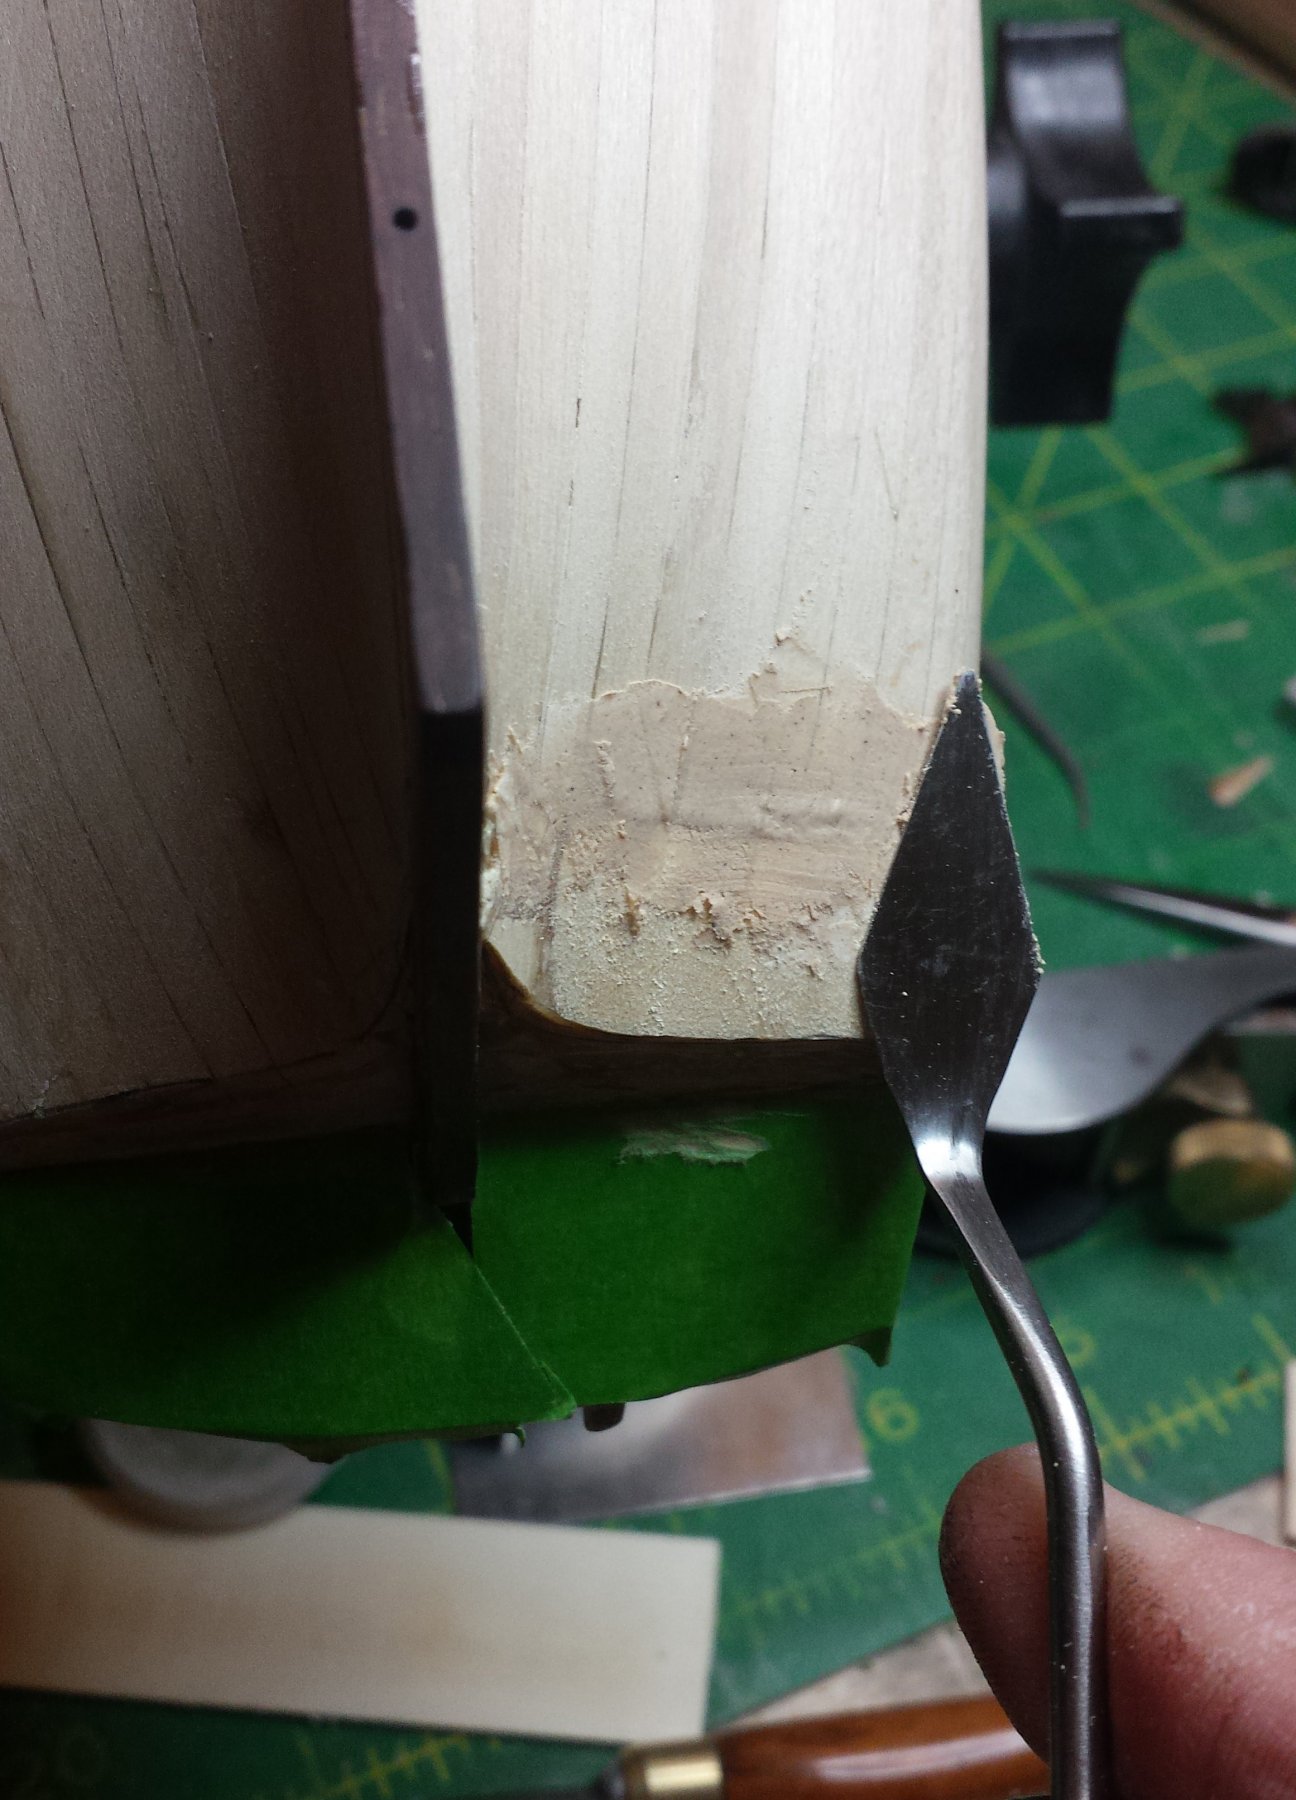
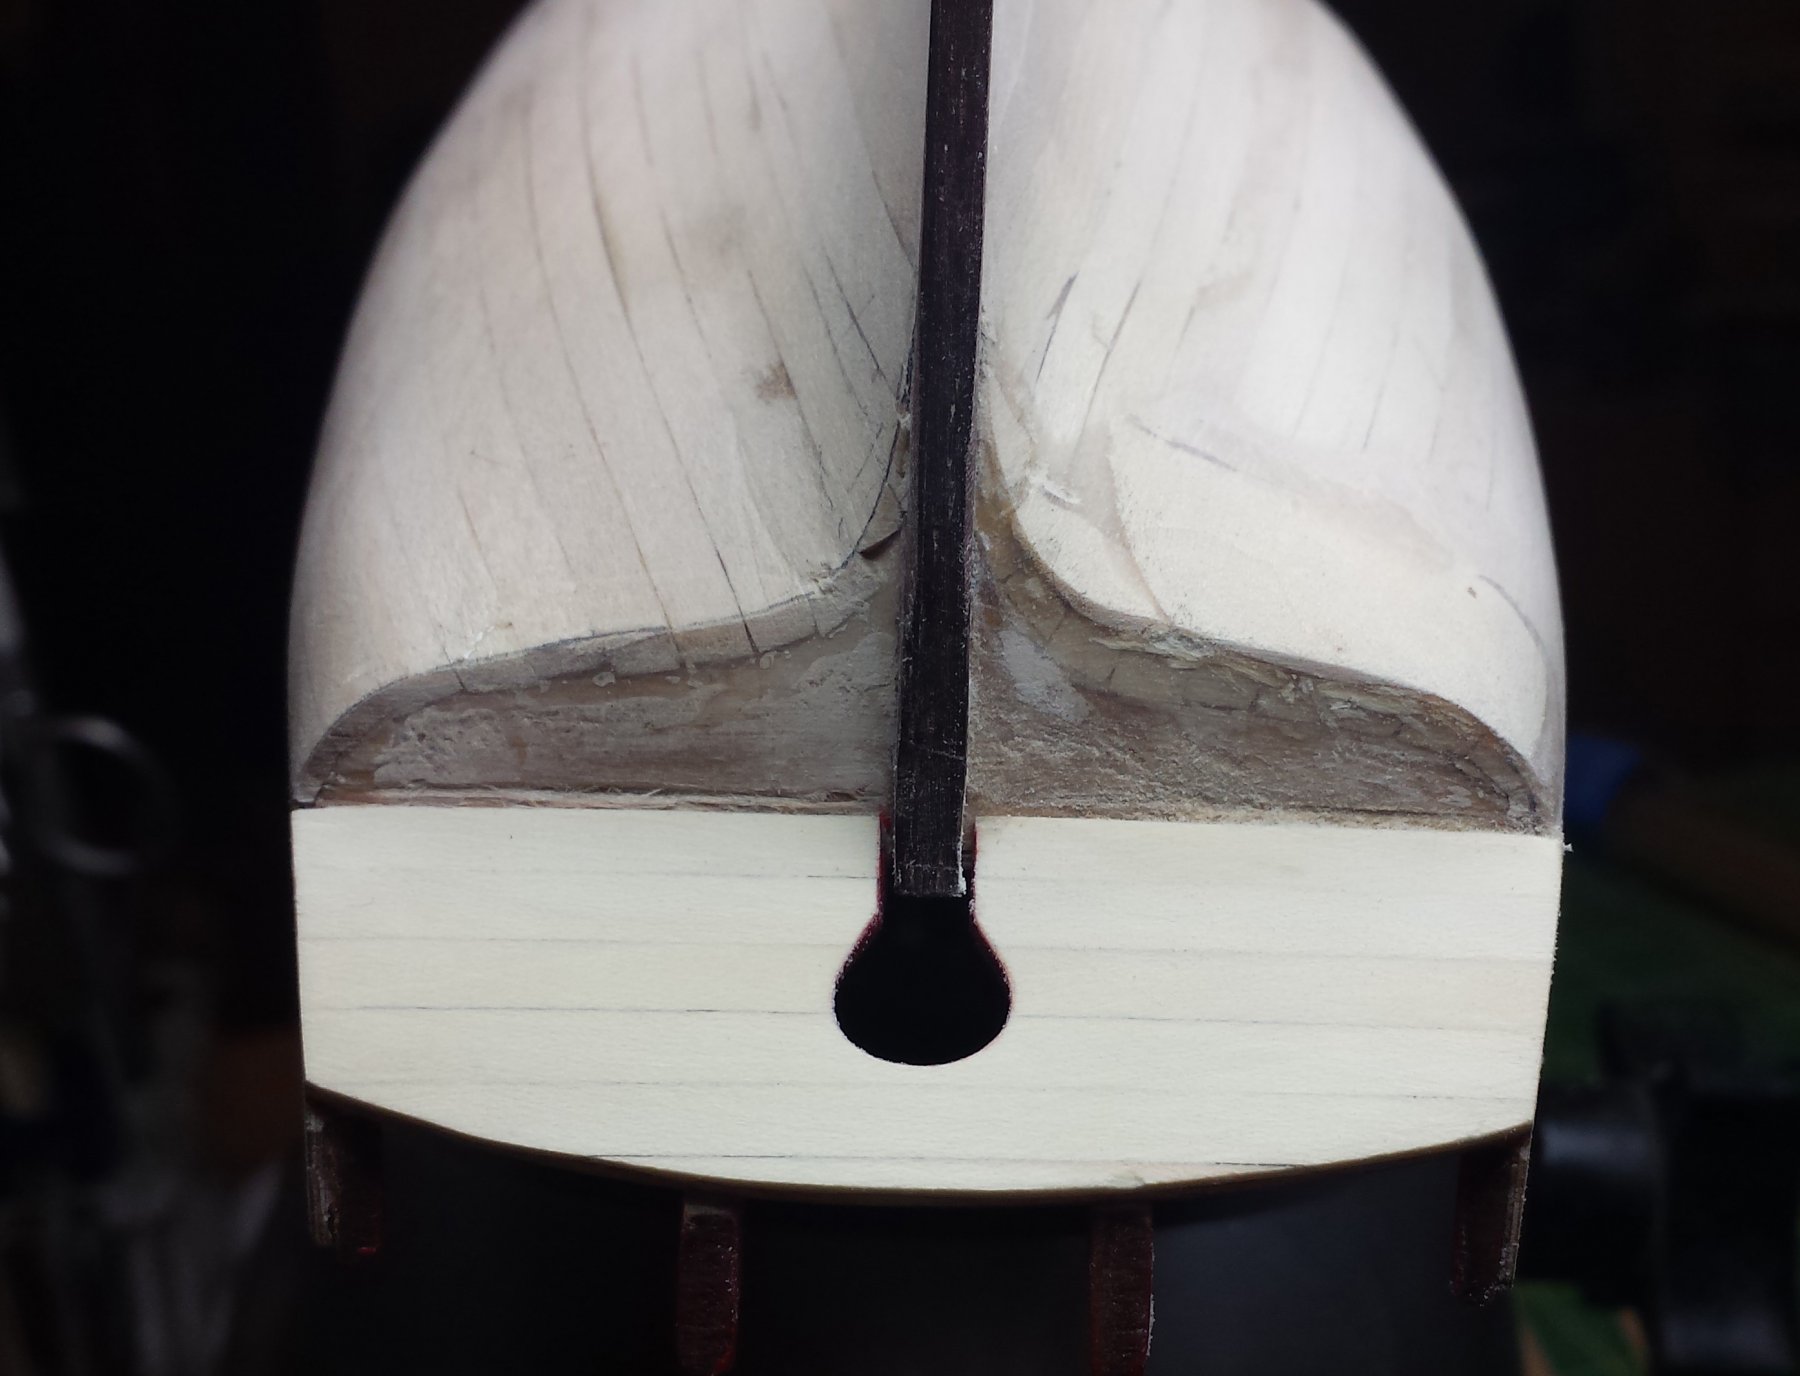
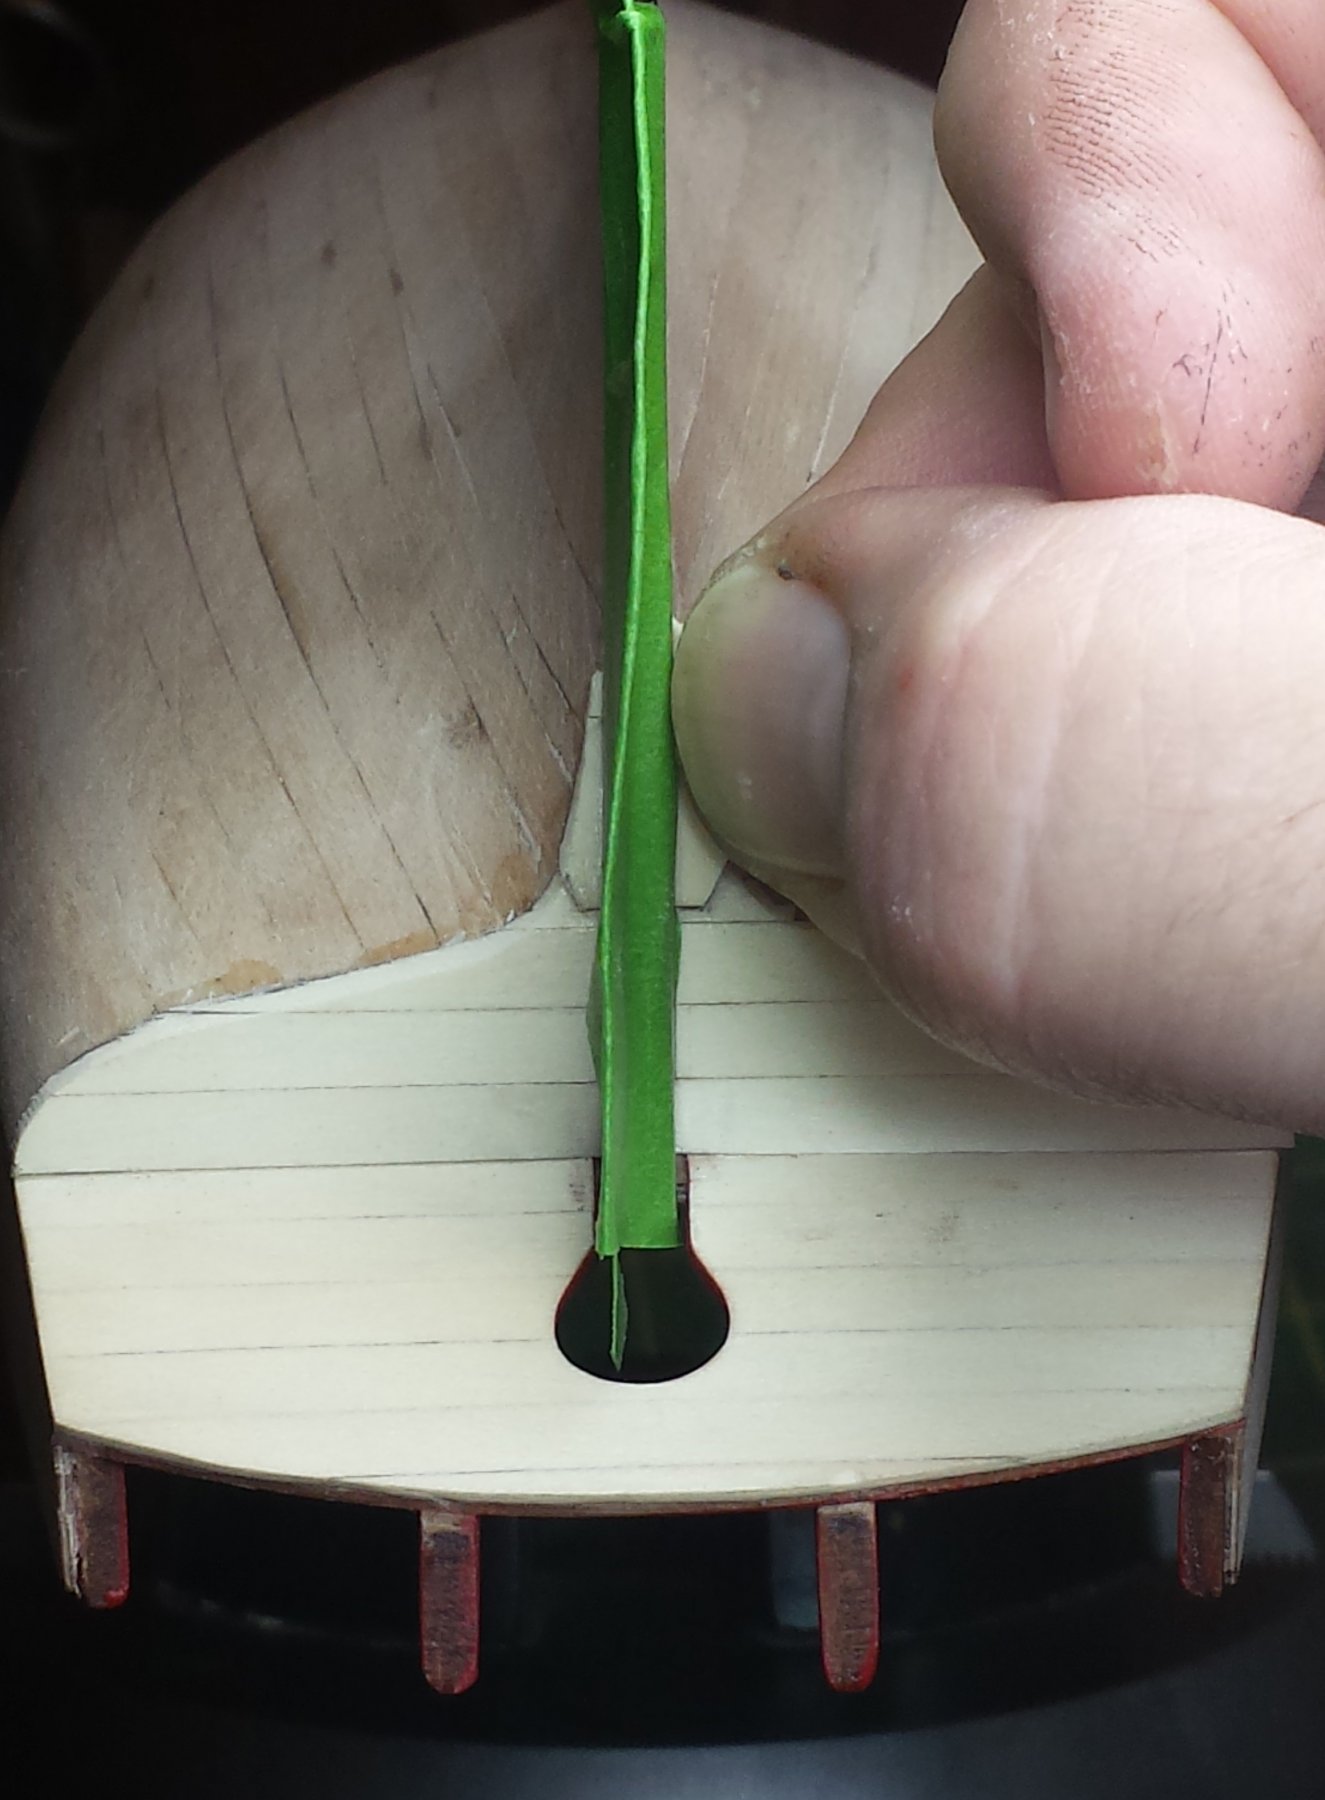
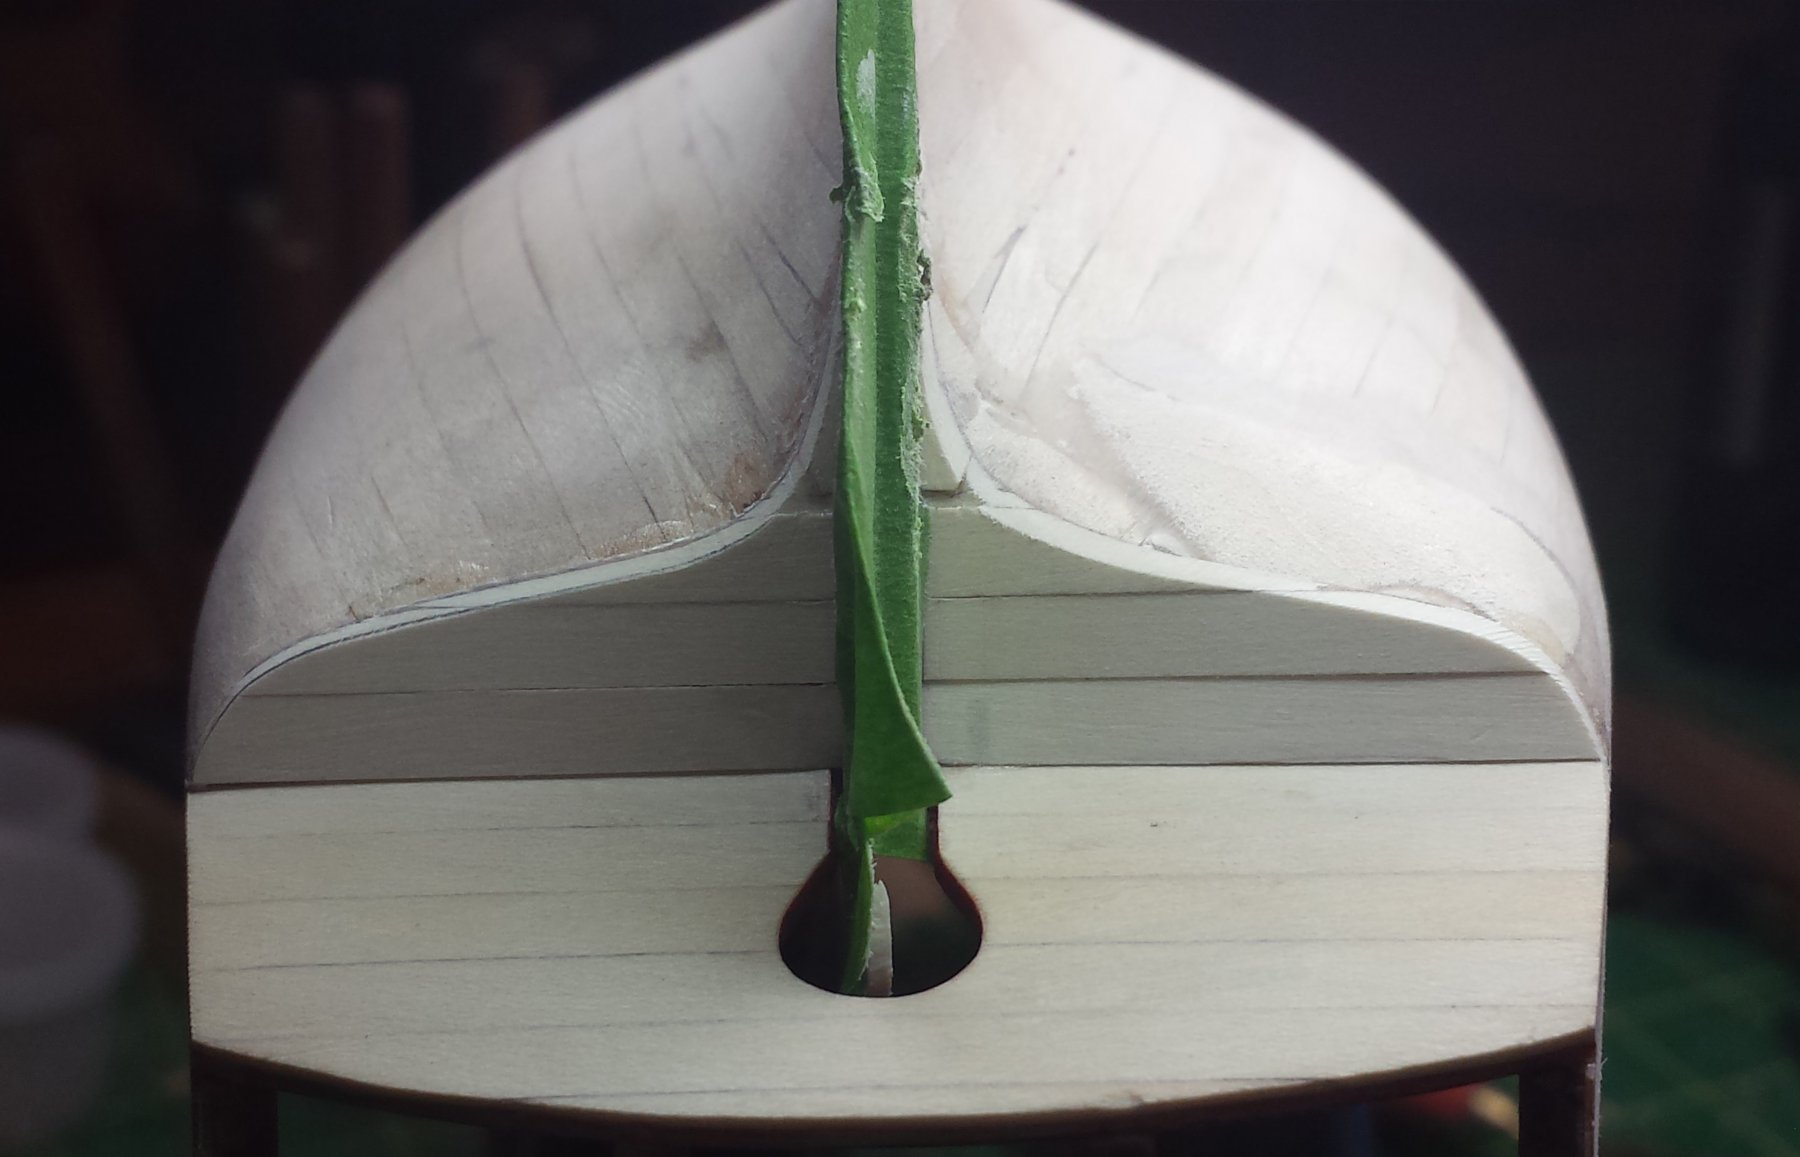
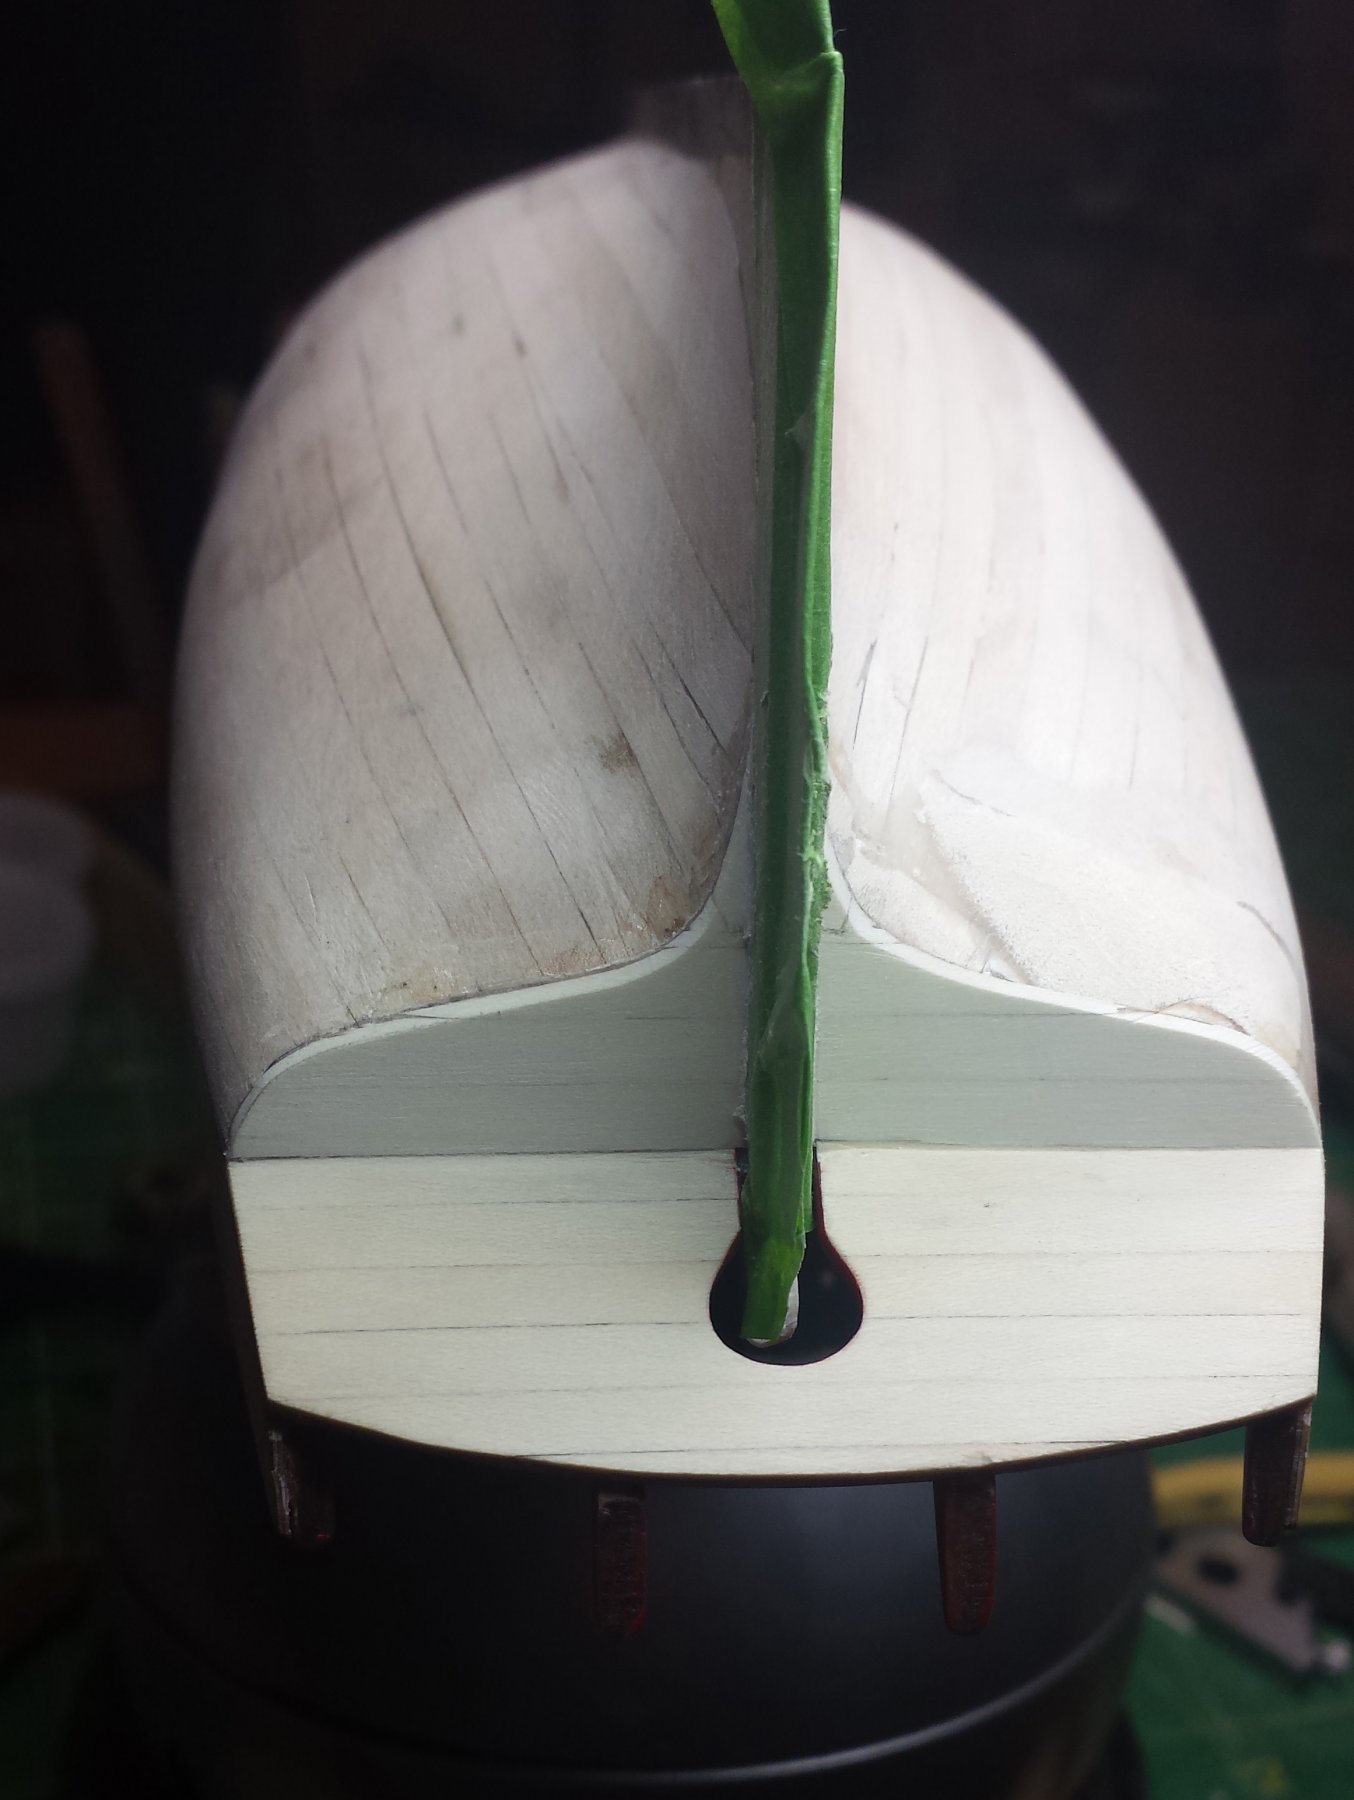
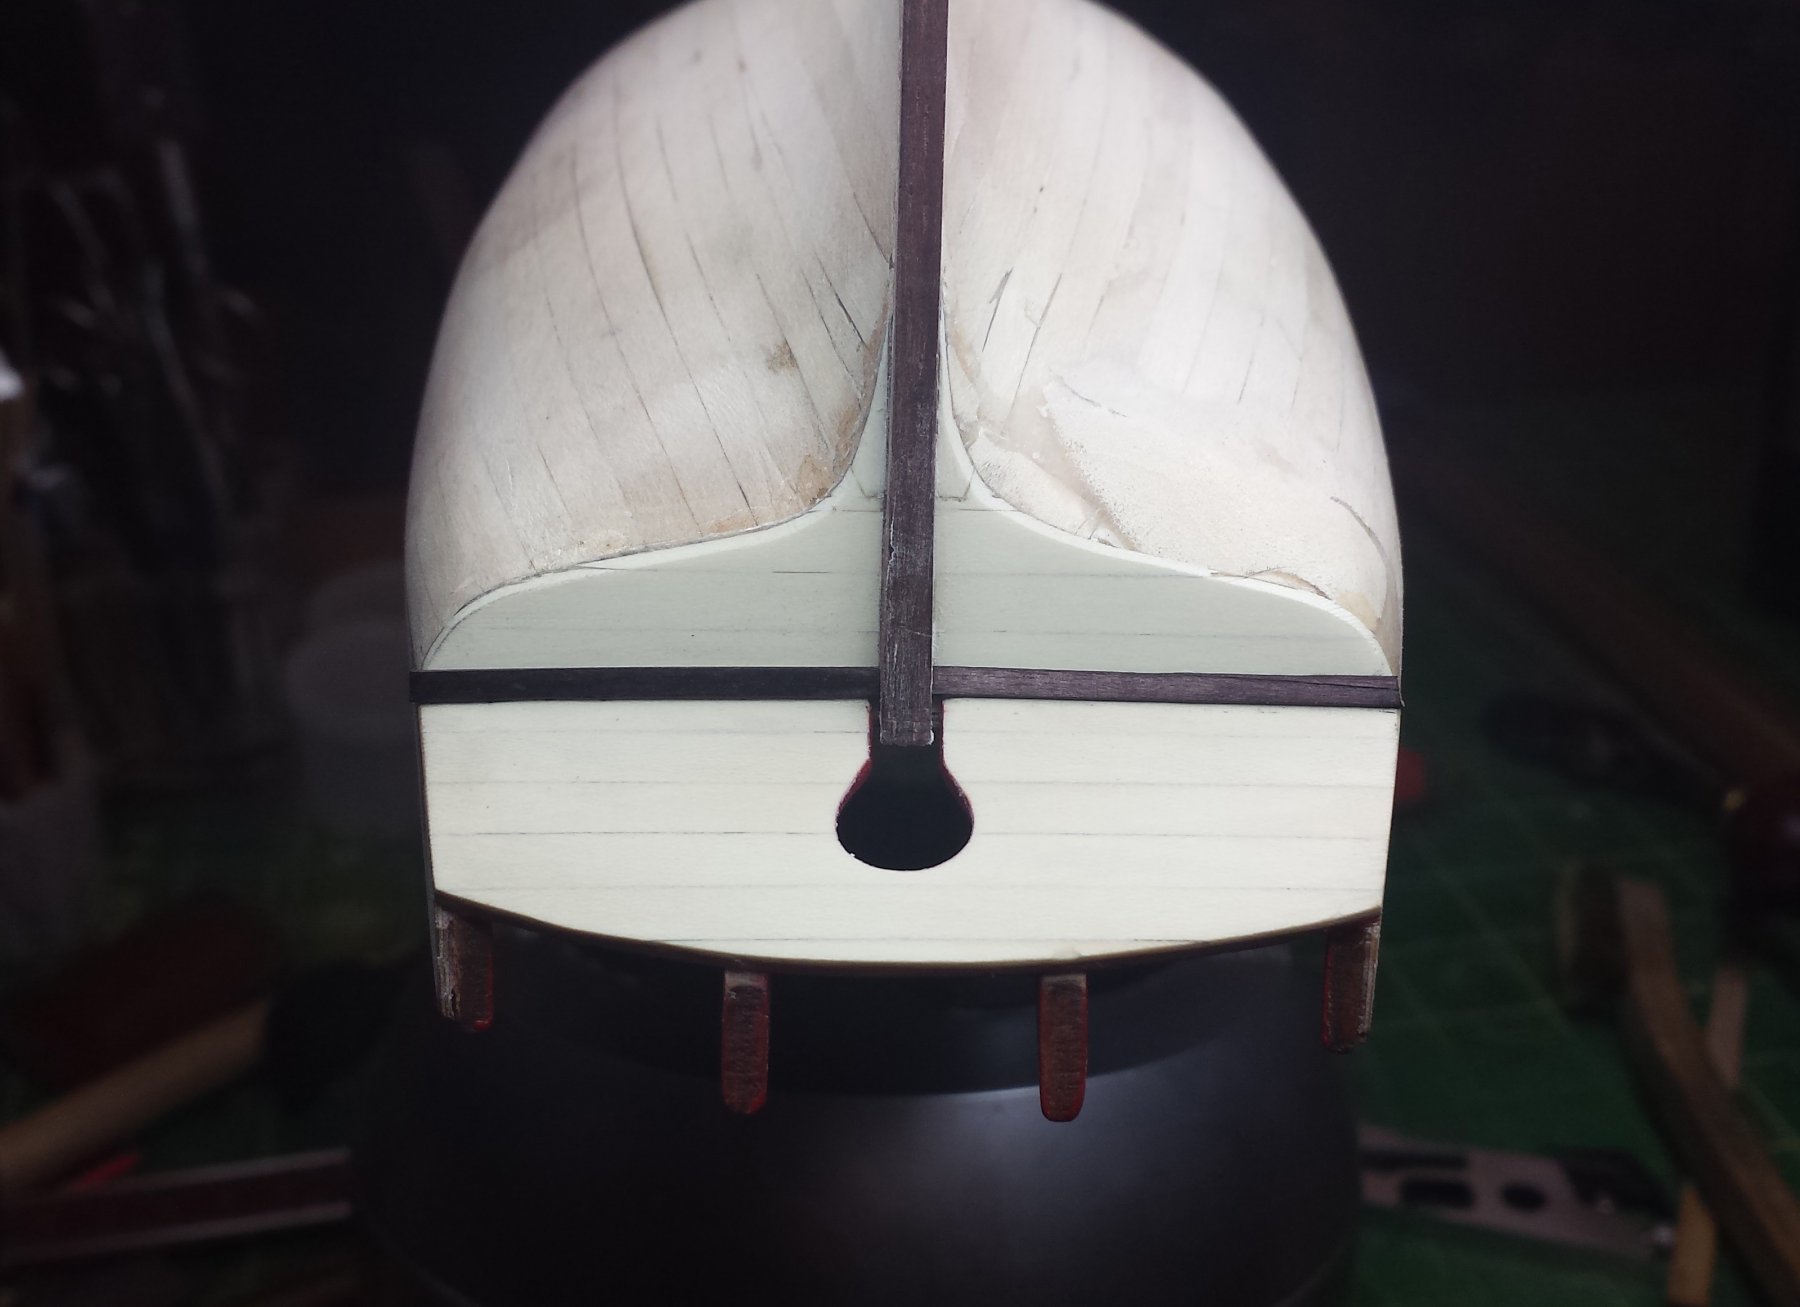
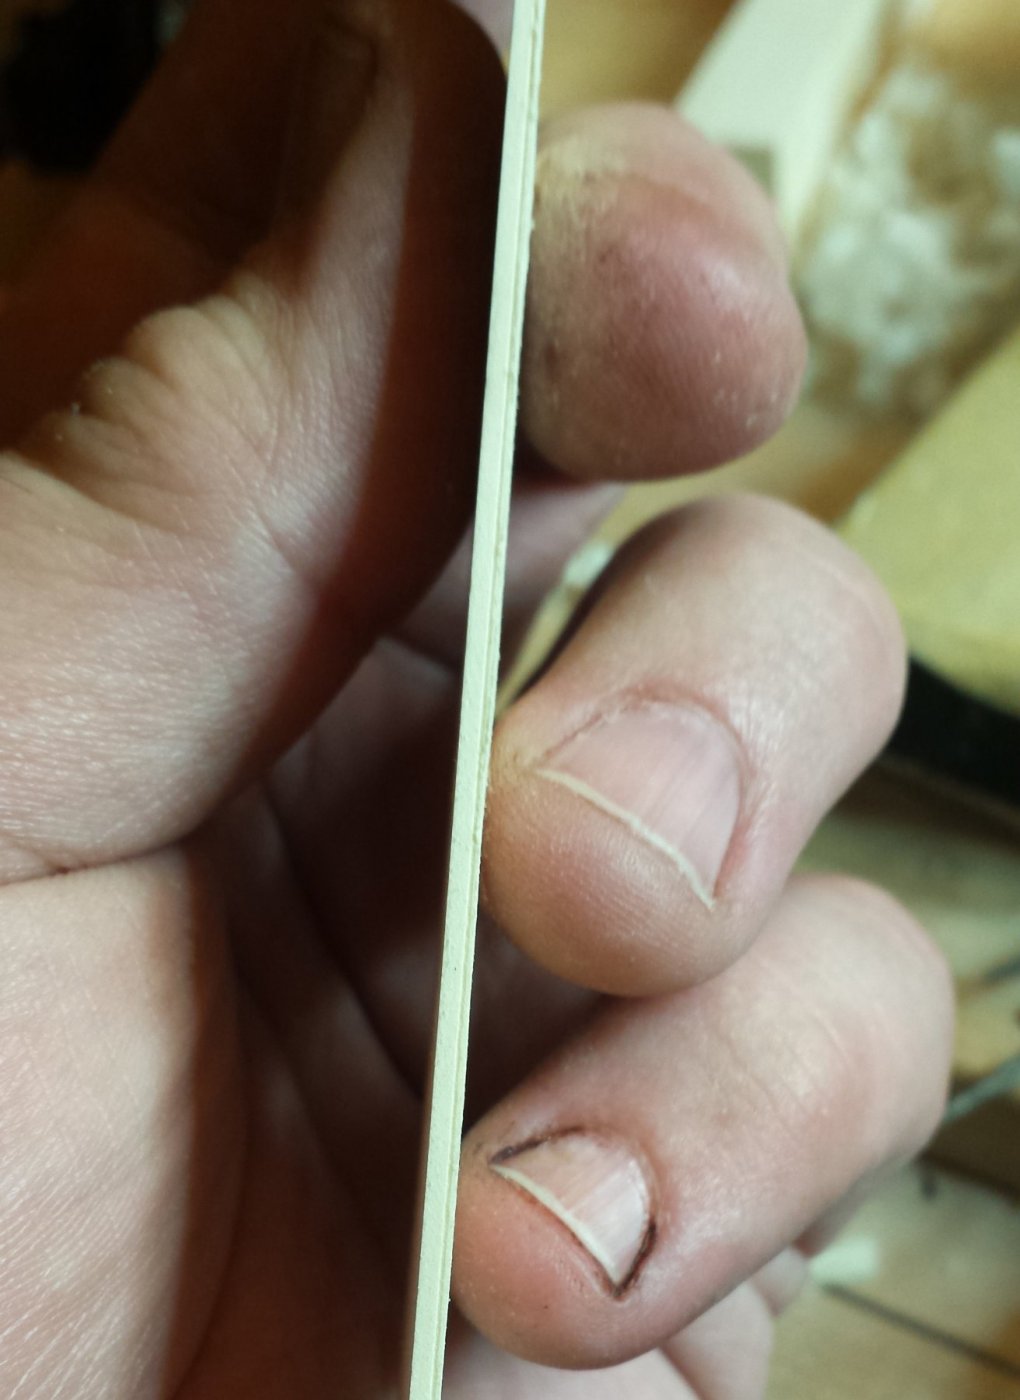
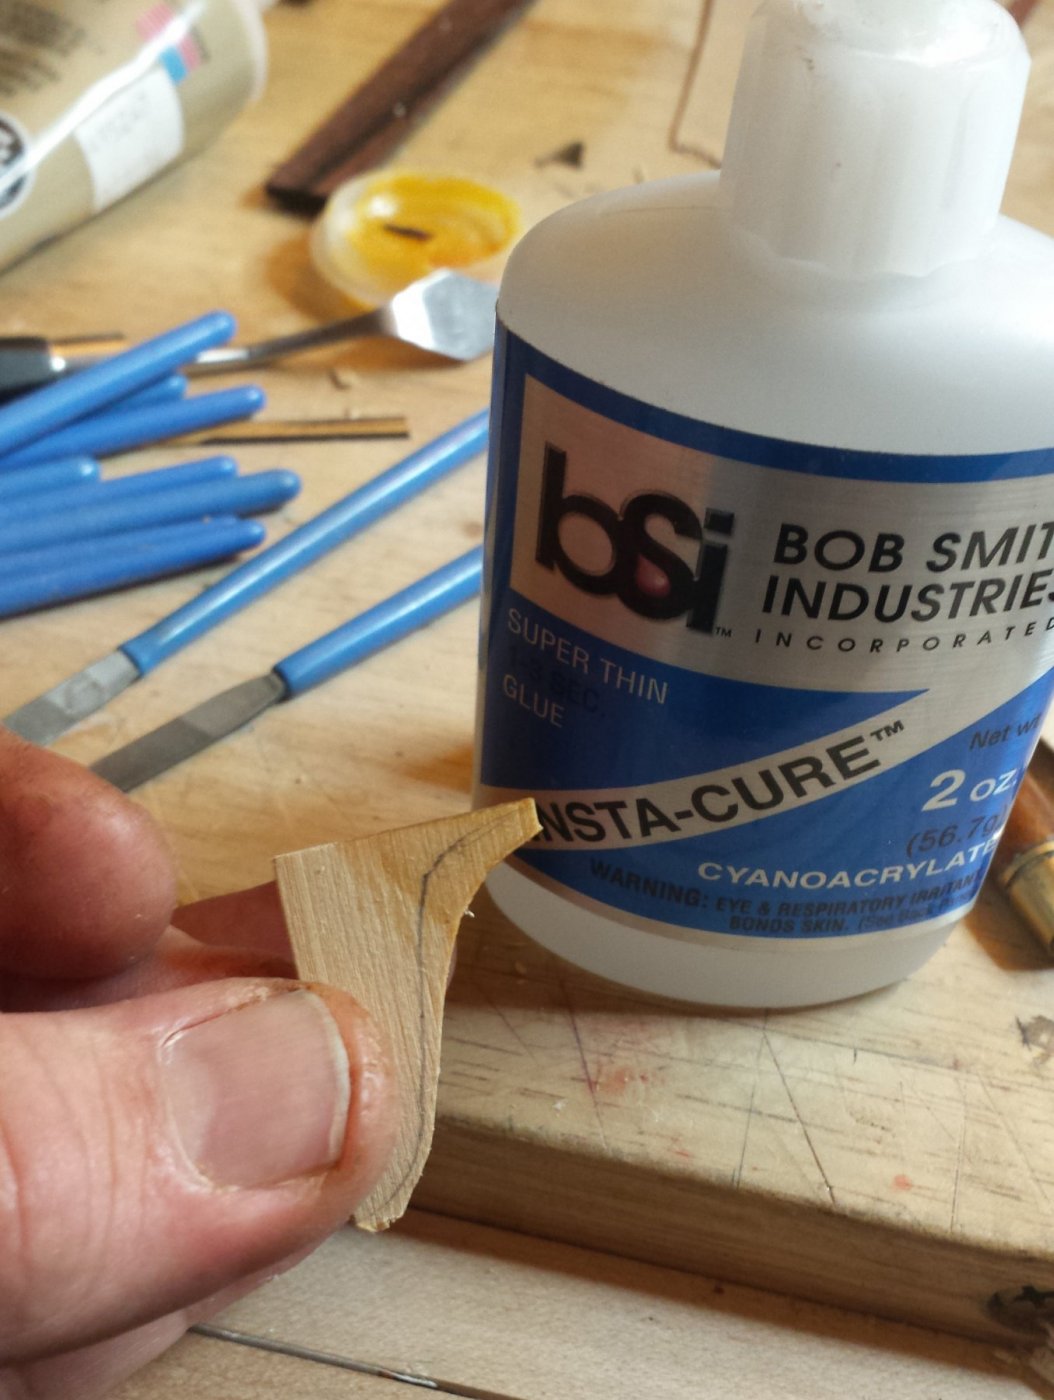
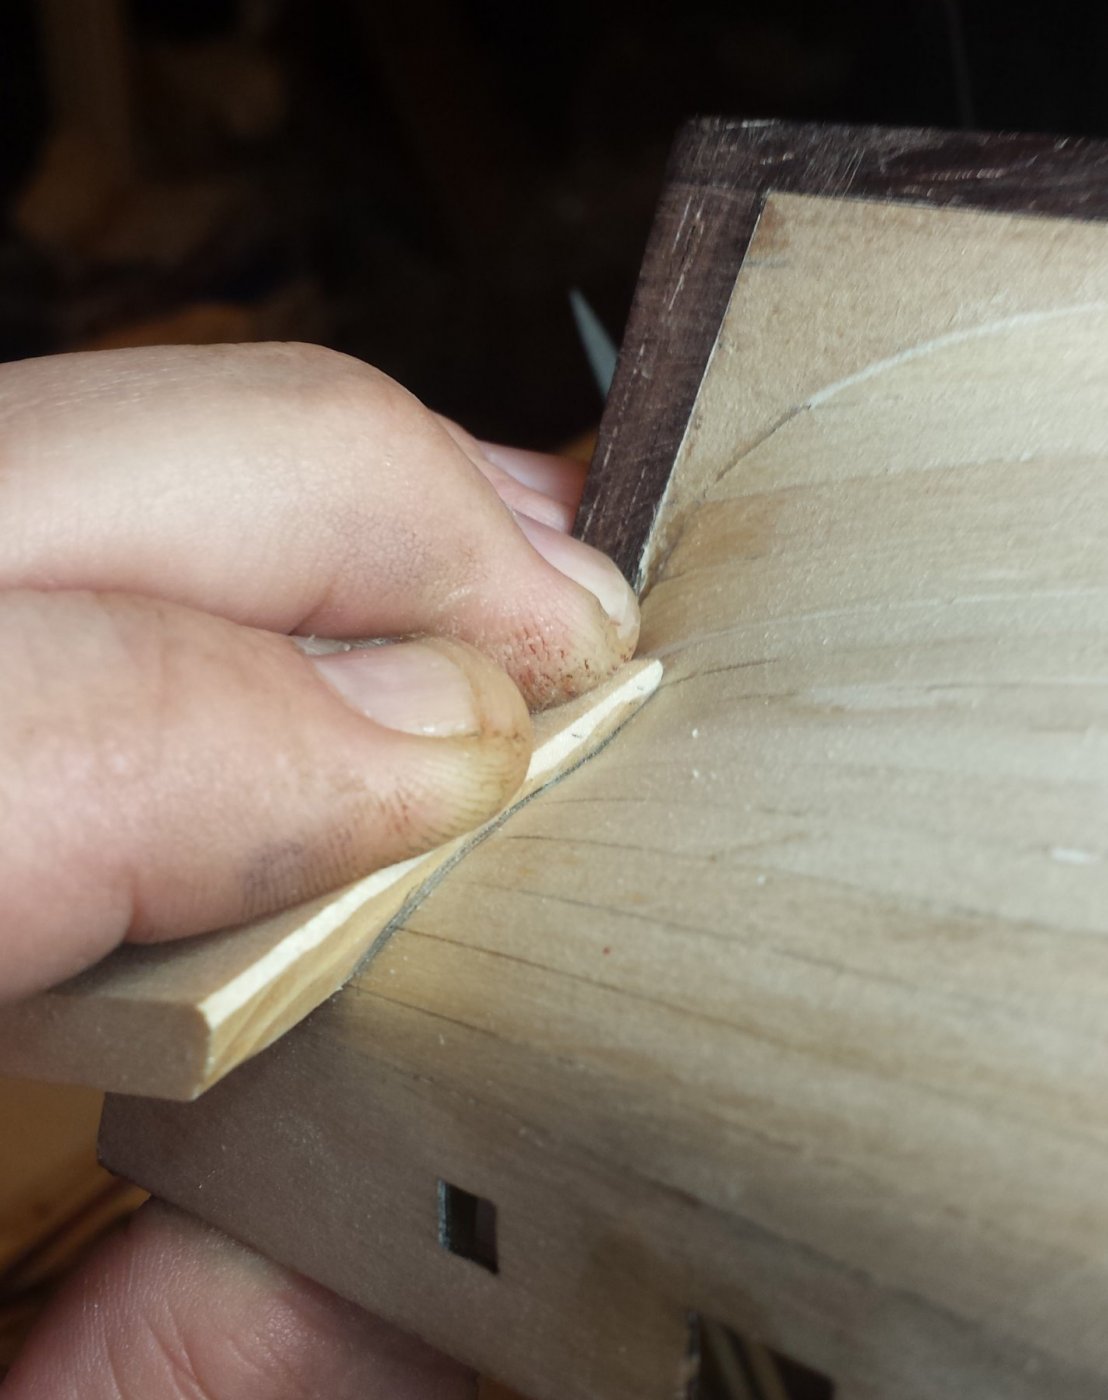
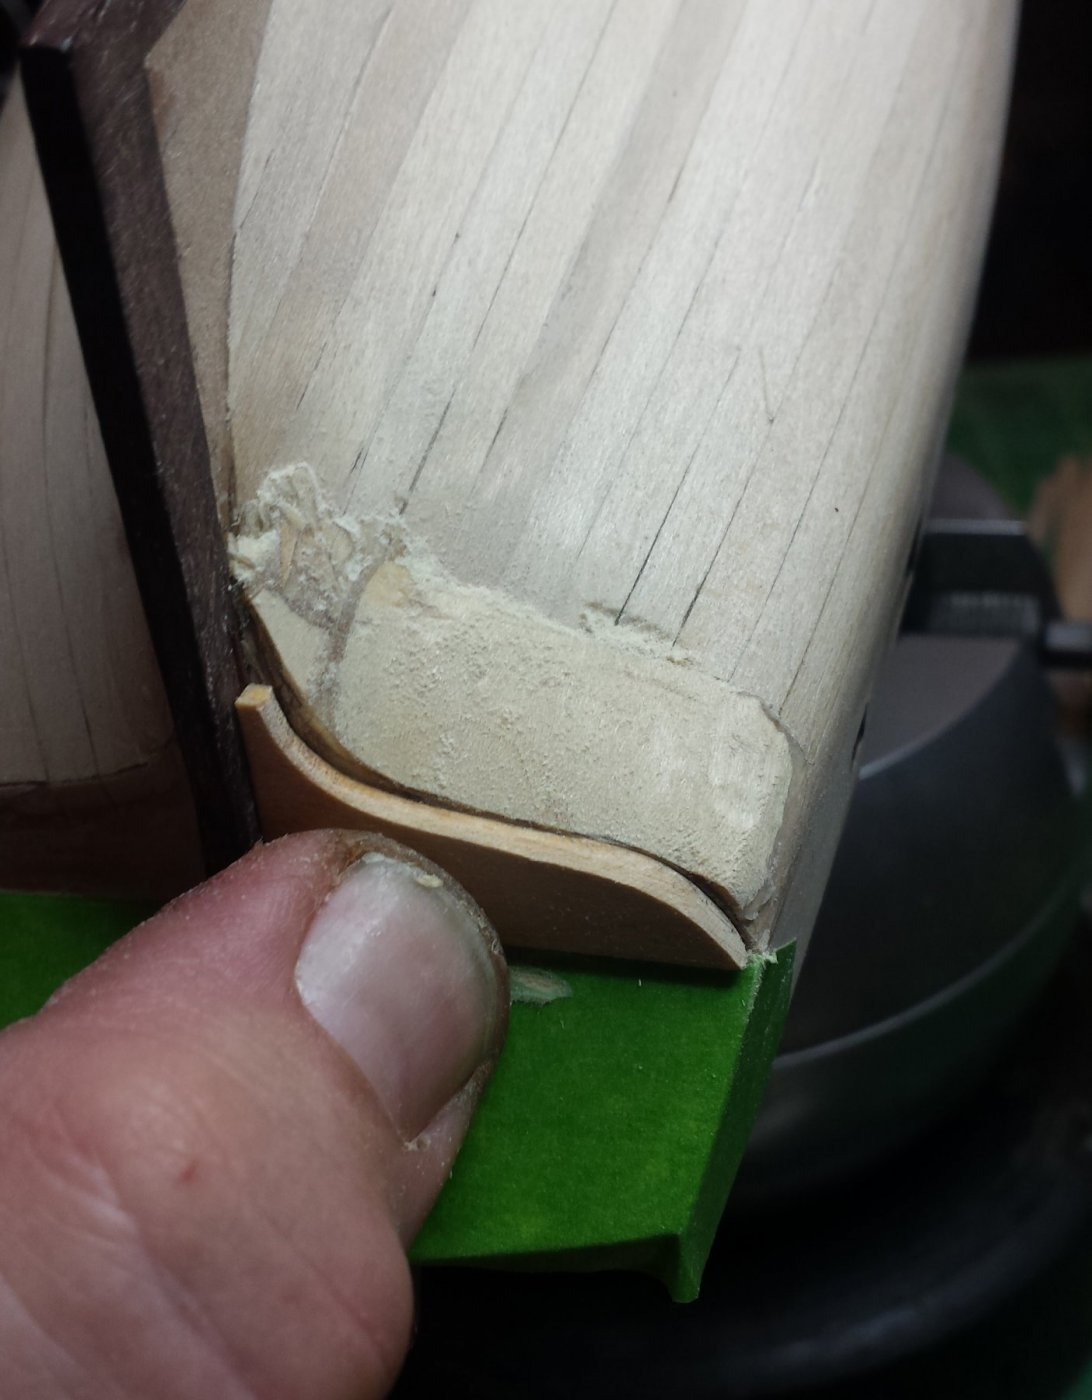
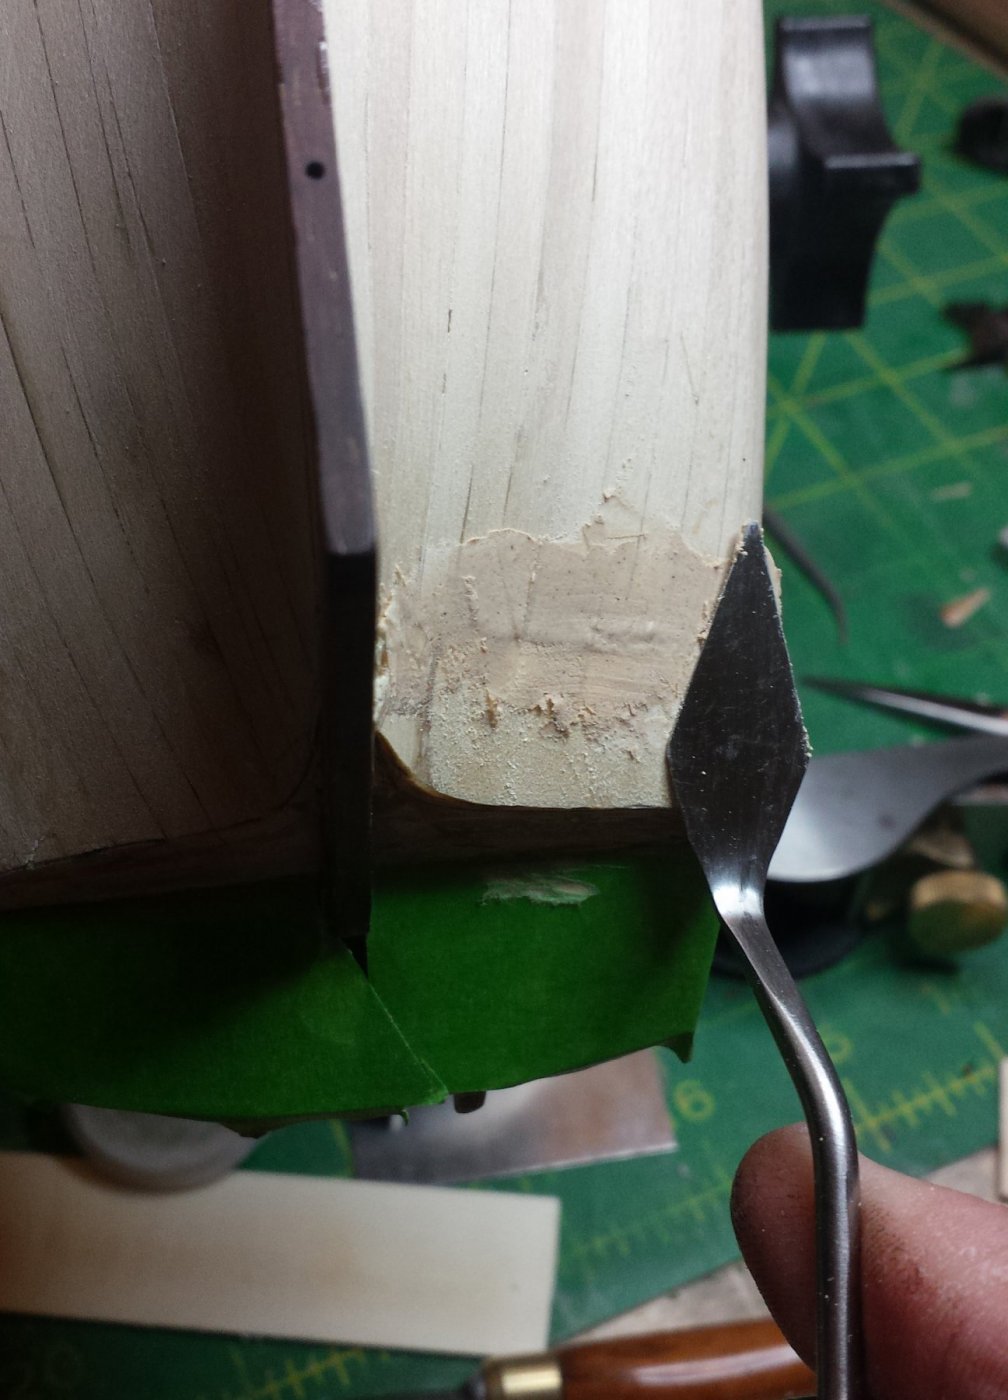
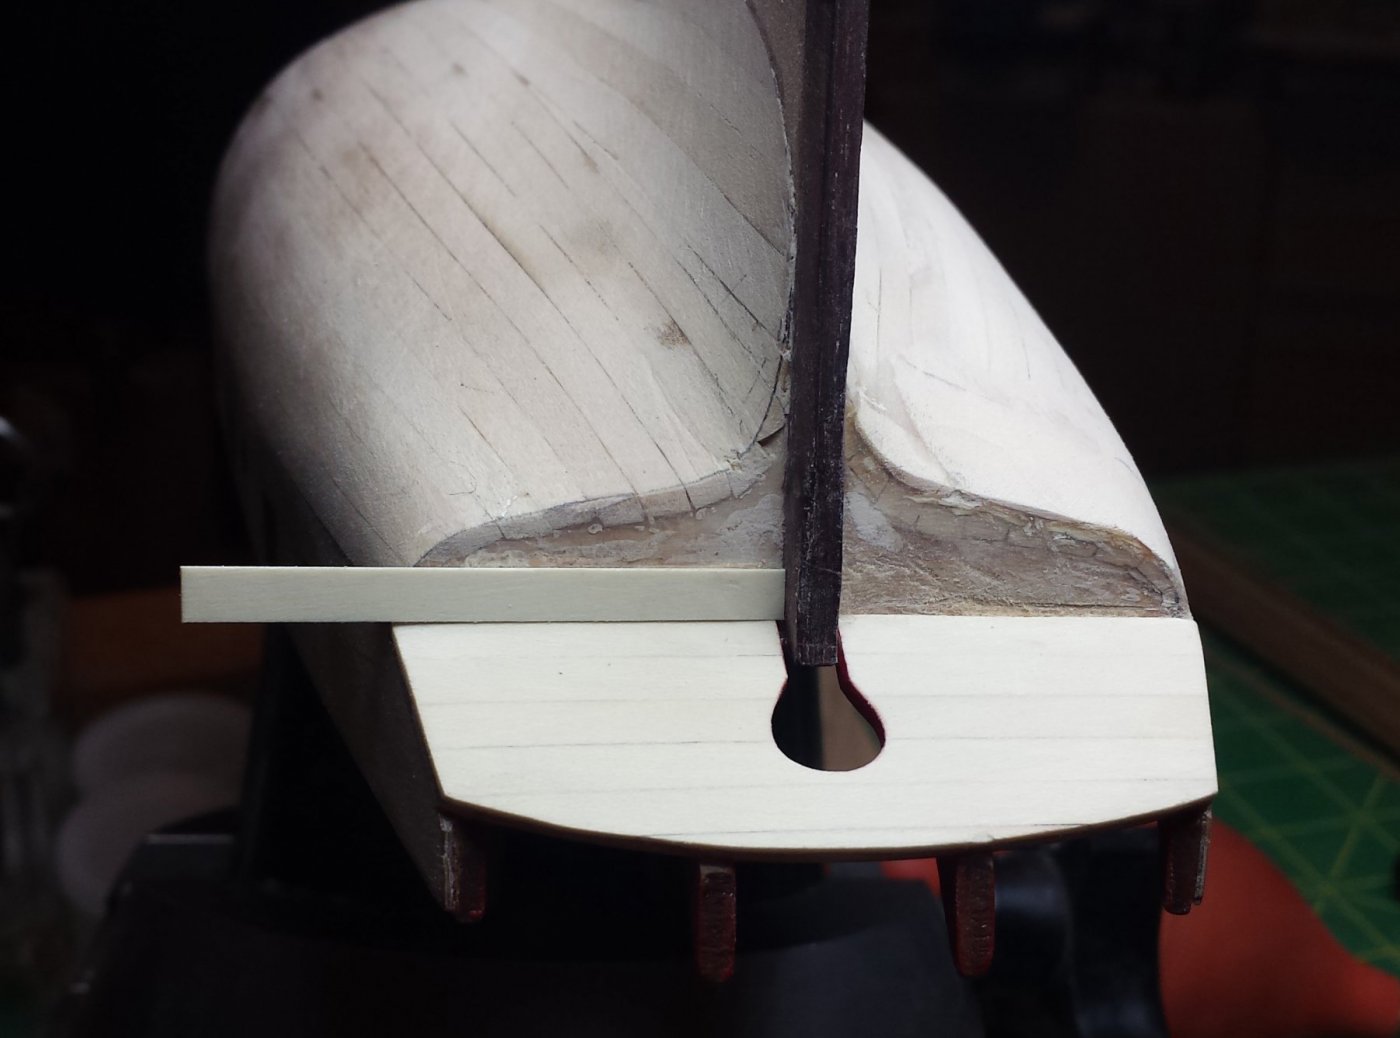
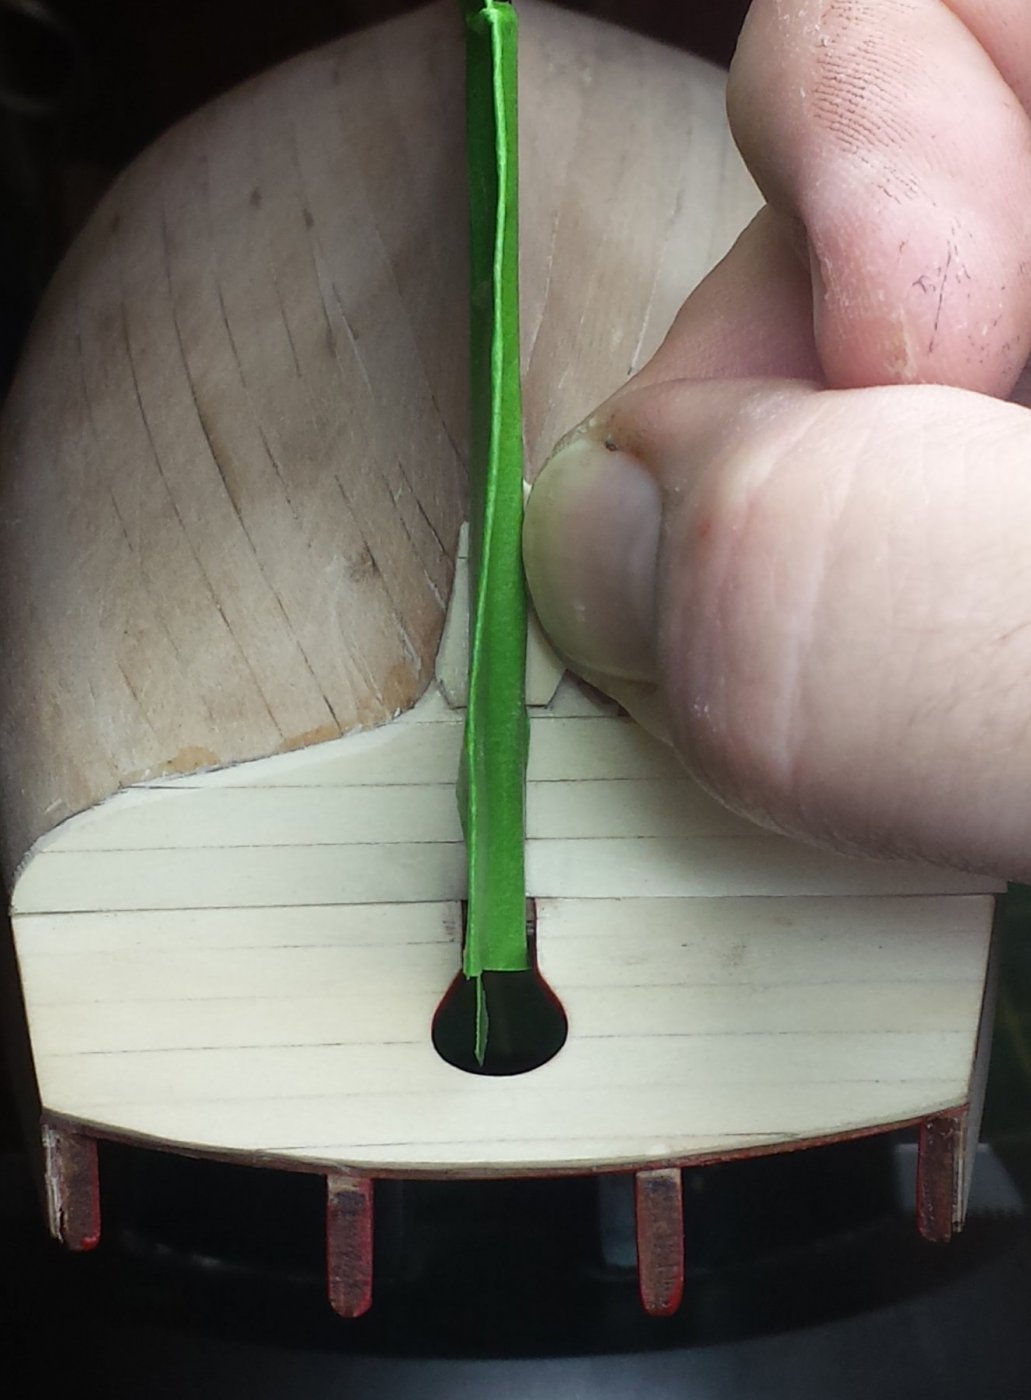
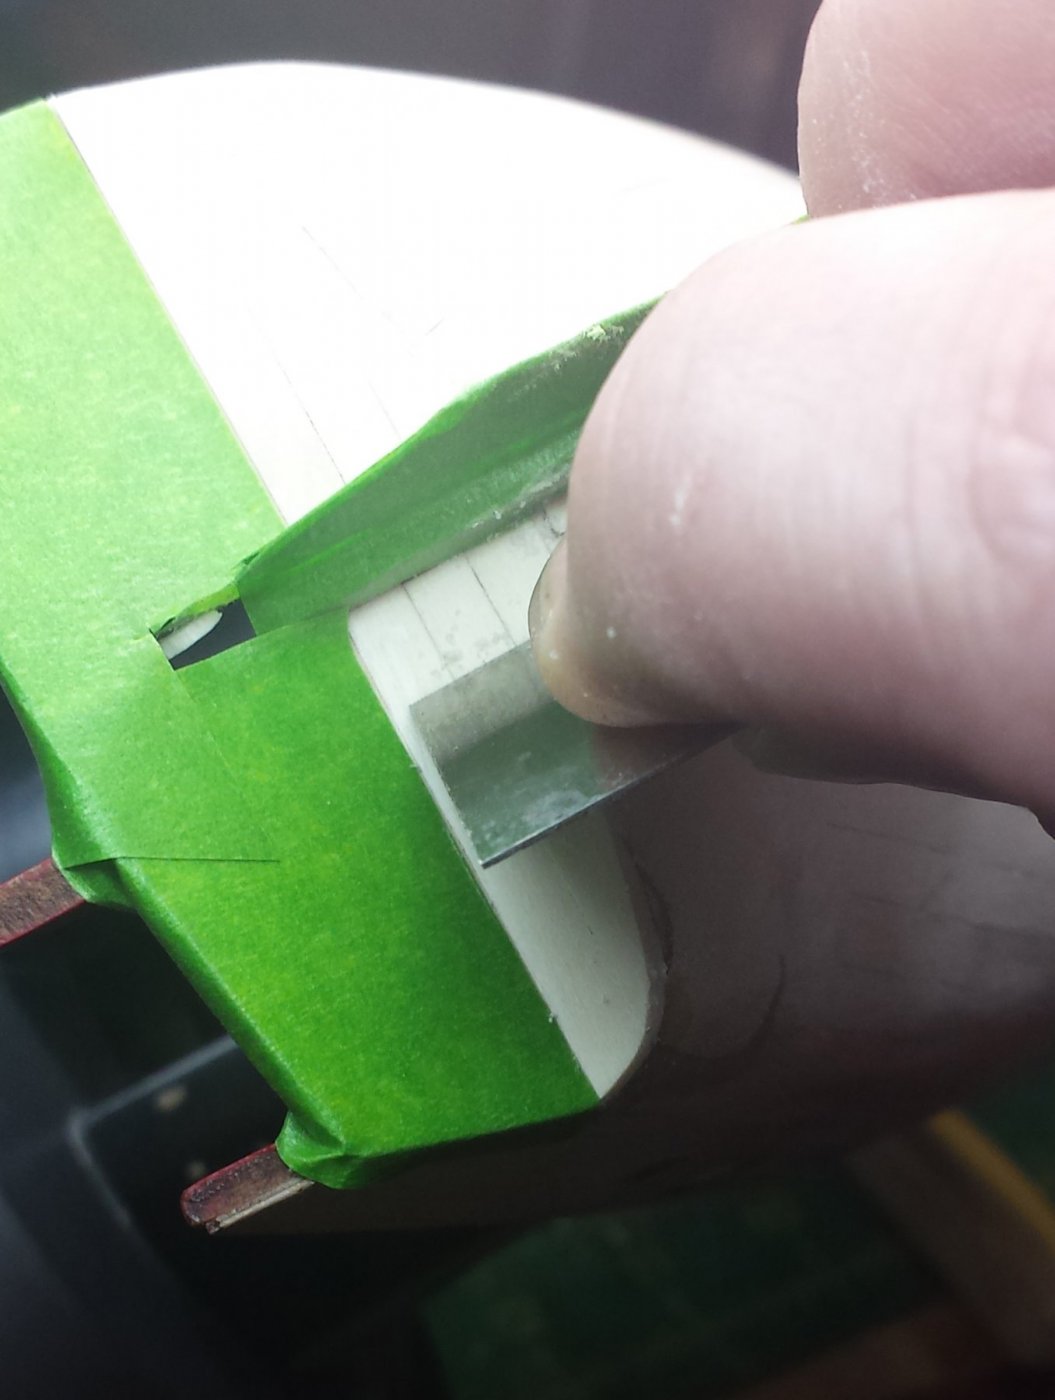
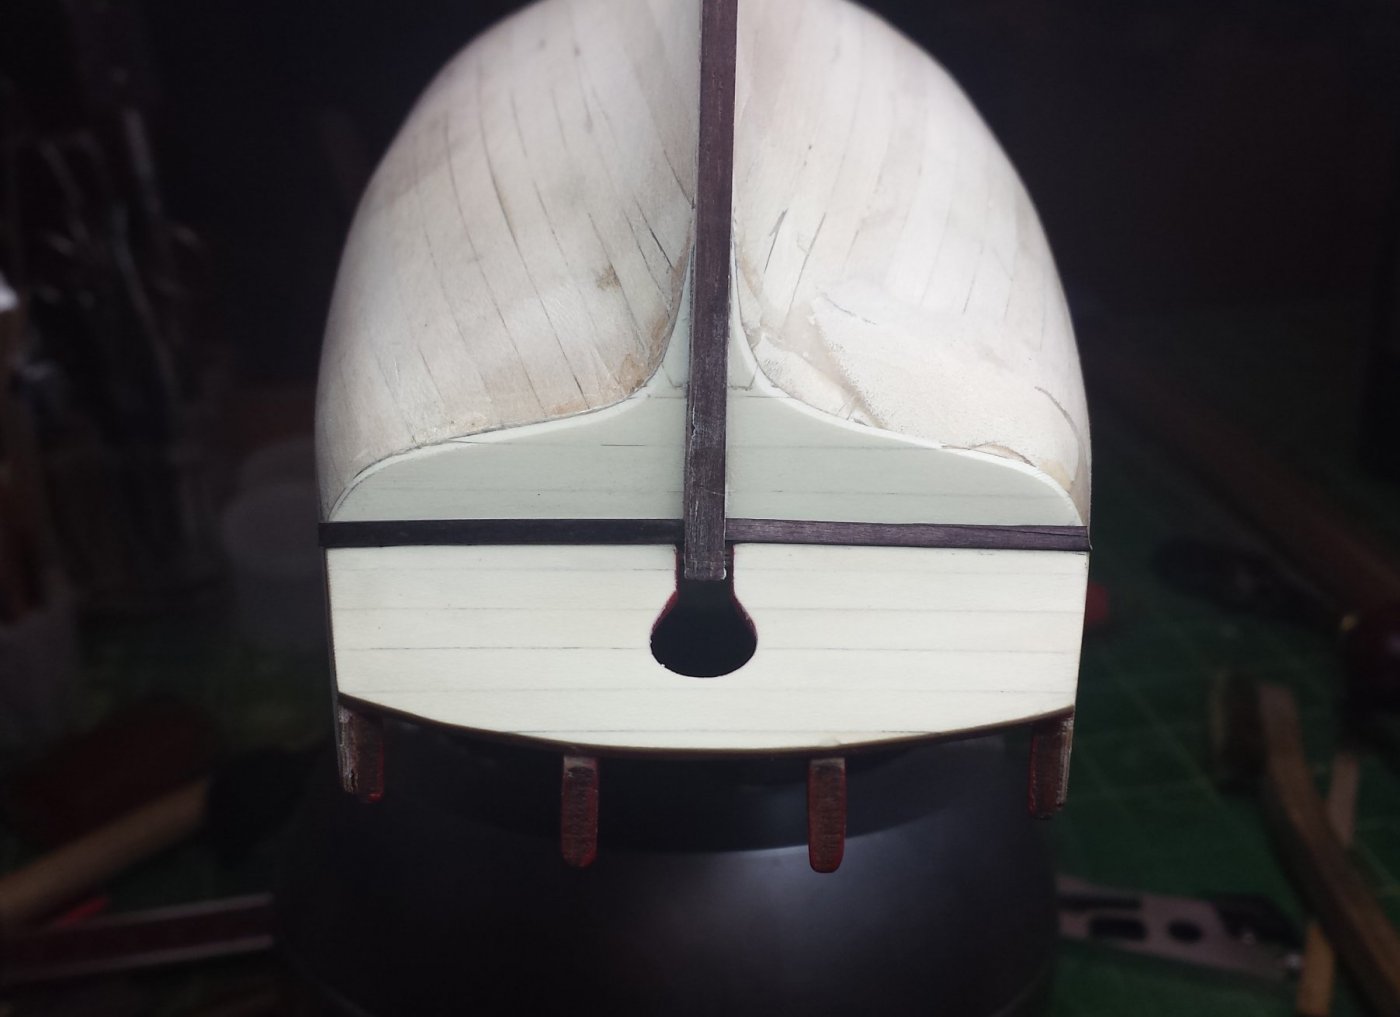
So this will cover the fix to the lack of symmetry in the lower counter that needed to be fixed prior to planking it and the planking. That started with resawing more holly off the 1" turning blank. Just enough extra to flatten with some plane passes before sanding to final thickness. I was about to start cutting planks when I saw how assymetric the two sides of the lower counter were, so I put down the holly and as mentioned above, the worst part was I would have to build one side up, not cut one down. So I made a pattern, first soaking the area of short grain with thin supper glue and covering with with some as well so it wouldn't snap off during shaping. Bad angle here not clearly showing how much shorter it was than the pattern, and also it would need to be filled in well onto the fuselage to replicate the other side. And this was also a fun part- it would have been easy of course to use filler and be done in 10 minutes, but this will be a high-tension glue spot for the final planking, and filler isn't a good substrate for that, so I had to make a wood piece, and that wasn't easy since the surface being glued to was curving in all directions and the wood piece had to cover a convex and a concave curve. I filled the remaining area with other wood pieces and also some poor-man's particle board that was wood chips mixed with CA. I then started working it down to the right size. OTOH, a little bit of filler between two solid glue points is fine. And eventually with lots of file and sandpaper work I brought it down to intended size and now these two sides are much closer. I stopped here as the final shaping should occur after the planking is in place. So, on to planking. Here I decided it was a good point to stsrt cleaning up the rudder post, so I did so with 120g, removing all dings and getting the sanding scratches at least going in the right direction. Once that was done I taped it over before proceeding, and here we are near the end of the planking. As you can see, I turned the last pieces 90 degrees, and scarphed them into the previous pieces as it seemed like something they would do in this case, and I'm test fitting the final piece. Once that was in place it was time to sand and shape the planks down to the lower counter, and then do some final shaping on the lower counter. After careful work, planking and hull are continuous and sufficiently symmetric to pass muster. And now need to level and sand that planking so we taped over the previous planking to protect it as well. Once again I used my little scraper to first level the planking. And then sanded down and the lower tape removed again. Finally, that joint between lower counter and fascia looked like something that would have been reinforced, so I added to pieces beveled in out of boxwood planking, and dyed it black for contrast. These needed to go on now, and I'll just have to do my best to tape them over and protect them as much as possible during final planking and sanding of the counter and fascia.


- 714 replies
-
- 7
-
-
- lady nelson
- victory models
- (and 1 more)
-
You mean you won't change your travel plans to support a guy you've never met build a model?? MONSTER! I very much appreciate the help Rick but no apologies are necessary, I will just move ahead and blame you for anything bad that happens
- 714 replies
-
- 3
-
-
- lady nelson
- victory models
- (and 1 more)
-
Hull plank length
vossiewulf replied to Mau's topic in Planking Techniques's Click Here for Topics dedicated to planking!!!!
Thanks Mark! I am confused by the first paragraph- did you mean that only the 13" width wouldn't be closely adhered to in unrated ships, or that both the length and width would vary more? Unless I'm well off, 24' seems longer than Chuck is using and I trust he has extremely good reasons for using those lengths. I'd always wondered about those 30 ships as I'd read it being attributed to using green wood and that made little sense to me- I'd think that would result in all sorts of internal stresses and poor-fitting joints but not full-out rotting. Thanks for explaining. -
Good suggestion, I replied to a topic that has the info I was looking for but for French ships. Cheerful seems to use 15'-20' planks.
- 714 replies
-
- 3
-
-
- lady nelson
- victory models
- (and 1 more)
-
Hull plank length
vossiewulf replied to Mau's topic in Planking Techniques's Click Here for Topics dedicated to planking!!!!
A little late but thanks for that, Gerard! Another important data point for French ships to go along with your information on French deck planking practices (and plank length) in Mark's Licorne project thread. Chuck or someone else knowledgeable, what were the RN hull plank length constraints in the Napoleonic period? As below I am building the "Lady Nelson" cutter, so I was hoping to find information in Chuck's Cheerful instructions since he uses planks that look like maybe 15'-20', but there wasn't any discussion of the rules that I saw, just tells the modeler to cut the planks according to the plan. I'll assume Chuck's skip order is correct. But instead of just copying his lengths, I'd like to know what the constraints and considerations were and if there were practices like Gerard mentions with shorter planks at the bow and stern and long planks midships. Also it is interesting that besides having uniform plank lengths on Cheerful vs. French practice, they also all seem to be below the minimum length acceptable for French ships. -
Ditto congrats on closing in the milestone, she looks great.
- 1,354 replies
-
- 2
-
-
- constitution
- model shipways
- (and 1 more)
-
Question, how insanely more painful would it be if I did the final planking with proper-length planks? If I could do that then I could treenail and that's merited by the wood.
- 714 replies
-
- 3
-
-
- lady nelson
- victory models
- (and 1 more)
-
Had another mostly spinning wheels evening when I realized not only was my stern not particularly symmetric, but that it was there before I planked it. Still shrugging at how I seemingly am endlessly checking symmetry only to see things like this staring me in the face. The worst part is that is it was the low side that I felt was wrong, so I had the much more painful job of building one side up rather than cutting one down. I'll post pics tomorrow, but let's say we need to get moving on the final planking because the stern sure is ugly right now. It's the right shape, but it's so ugly that a little boy who saw it ran out the door screaming "BAD BOAT! BAD BOAT!!" and I haven't seen him since. Still wondering how that kid got in here in the first place.
- 714 replies
-
- 3
-
-
- lady nelson
- victory models
- (and 1 more)