MORE HANDBOOKS ARE ON THEIR WAY! We will let you know when they get here.
×


vossiewulf
-
Posts
1,477 -
Joined
-
Last visited
Content Type
Profiles
Forums
Gallery
Events
Everything posted by vossiewulf
-
 I'm sorry Rusty, it's always so hard when we lose our dockyard supervisors
 -
Welcome Swimmer! Nice to see a Tsushima era build.
-
Welcome Ian!
-
Well set up my milling machine to drill some holes through the newly-tapered jib boom and nothing happened when I turned the speed pot. Nada. Fuses are ok and all connections look good, power is getting to the main board (the cooling fan comes on) but when I try to spin it up the amber light on the power box comes one and nothing happens with the mill spindle. Looks to me like the motor is dead somehow. It's 20 years old or so, I'm inclined to get a new high-torque (more capable) machine from Little Machine Shop. Either way, it's another roadblock. Grrrr.
-
Byrnes saw should be good and parallel, I only get burning on mine if the stock wiggles against the fence or I don't maintain a steady feed speed. However an even better choice I think is the little jig created by the NRG for Byrnes saws that lets you cut strips on the outboard side of the blade. I don't know about you but I find it hard to not have the stock wiggle against the fence towards the end of the sheet, causing a mark on the desired piece. This jig avoids that problem.
-
Also check to see if your blade is dead parallel to the rip fence. A dial indicator is handy for this.
-
best SECOND model ship kit recommendations
vossiewulf replied to palmerit's topic in Wood ship model kits
You shouldn't avoid CA, it is an excellent glue and in fact I have used CA for everything in my LN. I only use aliphatic resin glue when I have some part that needs lots of fiddling before clamping. As for finishes I prefer lacquers from luthier supply companies. The lacquers are very very clear and we're never spraying enough that high VOC lacquer spraying is a problem, I just use a mask when actively spraying. -
best SECOND model ship kit recommendations
vossiewulf replied to palmerit's topic in Wood ship model kits
One of the primary rules is the less glue you use, the better. And very little is needed if you're using CA or titebond-like glues that are designed to hold joints together on full-size furniture. Try it, the number of headaches you have will instantly drop. Also, French polish is a very specialized finishing technique primarily designed for making very level finishes on flat surfaces. It's not something you want to be doing on boats. Be simple, and for now use wipe-on-poly, you can get it anywhere. Application is easy and it's hard to have a disaster. Don't get me wrong I think there are much better options if you can spray a finish on, but wipe on poly will give you a perfectly acceptable finish. -
Thanks Dan! Looking forward to you continuing your log too, you have a nice LN also.
-
Thanks Chuck for answering, we really appreciate it. Maybe Chris will chime in later about why the Sherbourne and the Lady Nelson have three yards.
-
Curiouser and curiouser... @Chuck, why does the contemporary model of the Cheerful have three yards while your rigging plan only calls for two? We are trying to understand cutter rigging plans and not having much luck. Sometimes (@chris watton's Lady Nelson, HMS Sherbourne, the contemporary model of Cheerful) we have three yards on two masts, in other cases (Chuck's rigging plan for modern Cheerful models, Lennarth Petersson's rig in his Rigging Period Fore and Aft Craft book) we have just two yards. Was the third yard a light wind rig that wasn't there all the time as Phil suggests? Or are three and two-yard cutter rigs fundamentally different things?
-
Welcome to MSW Lars!
-
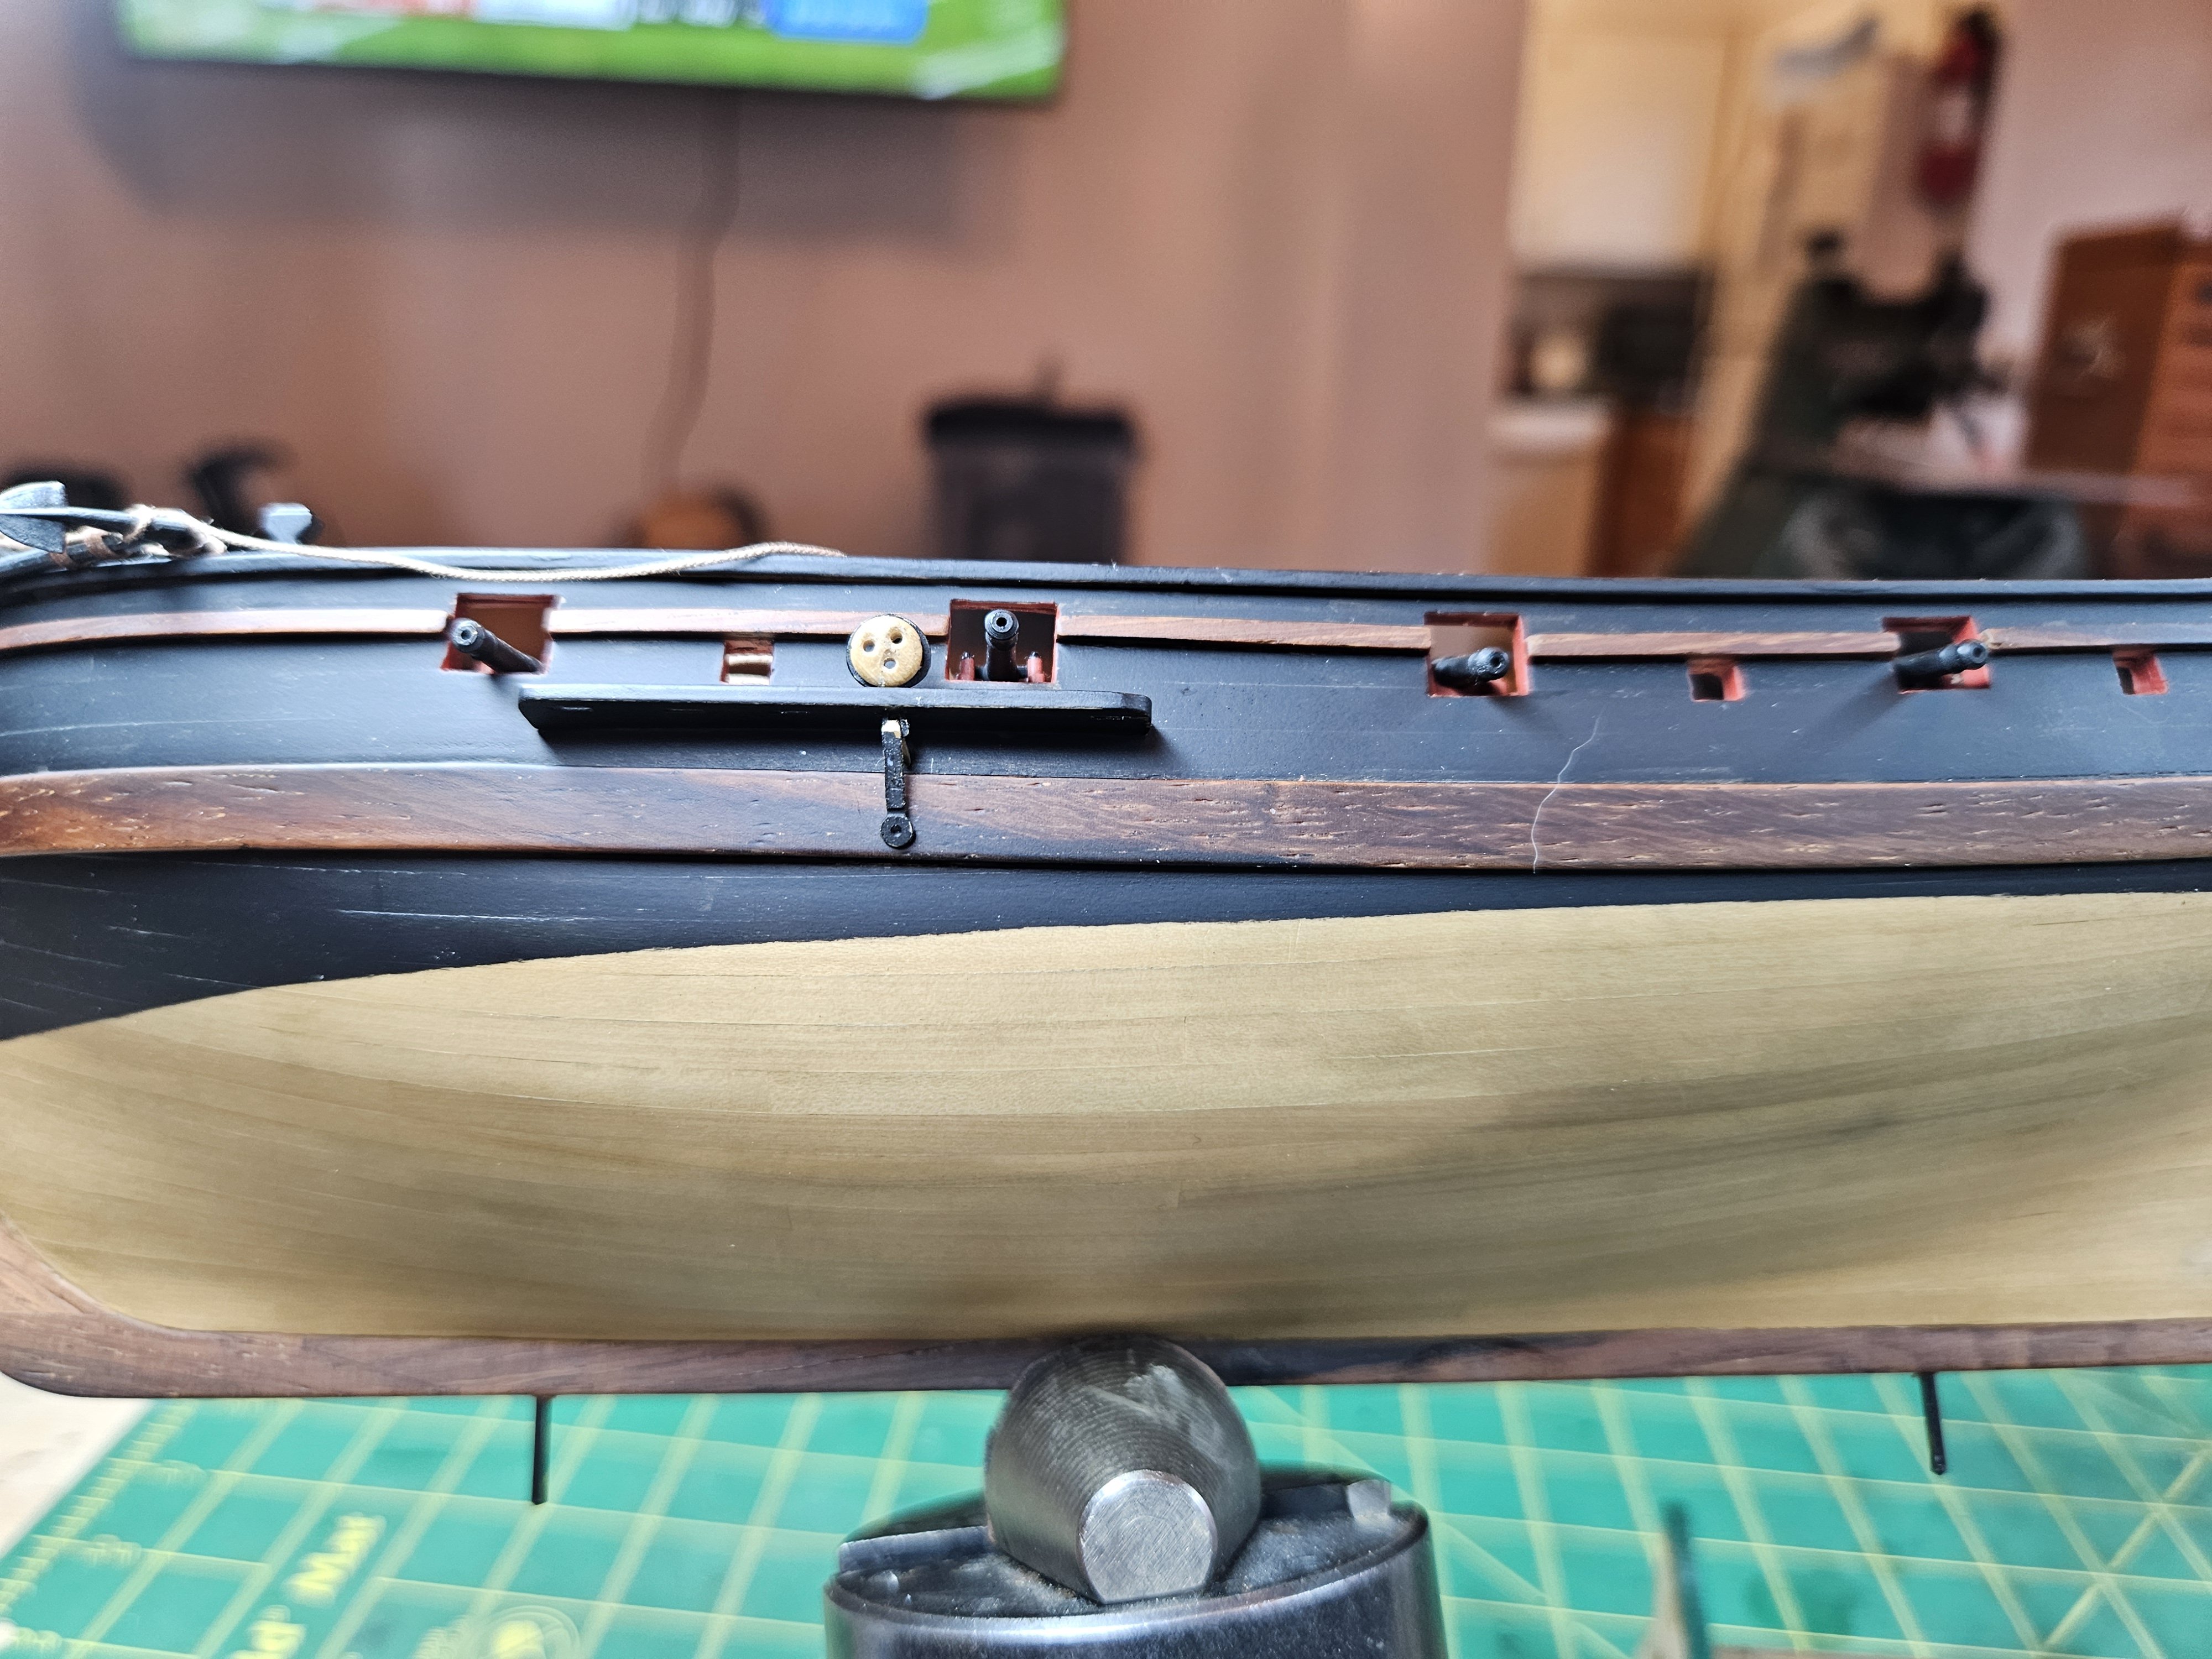
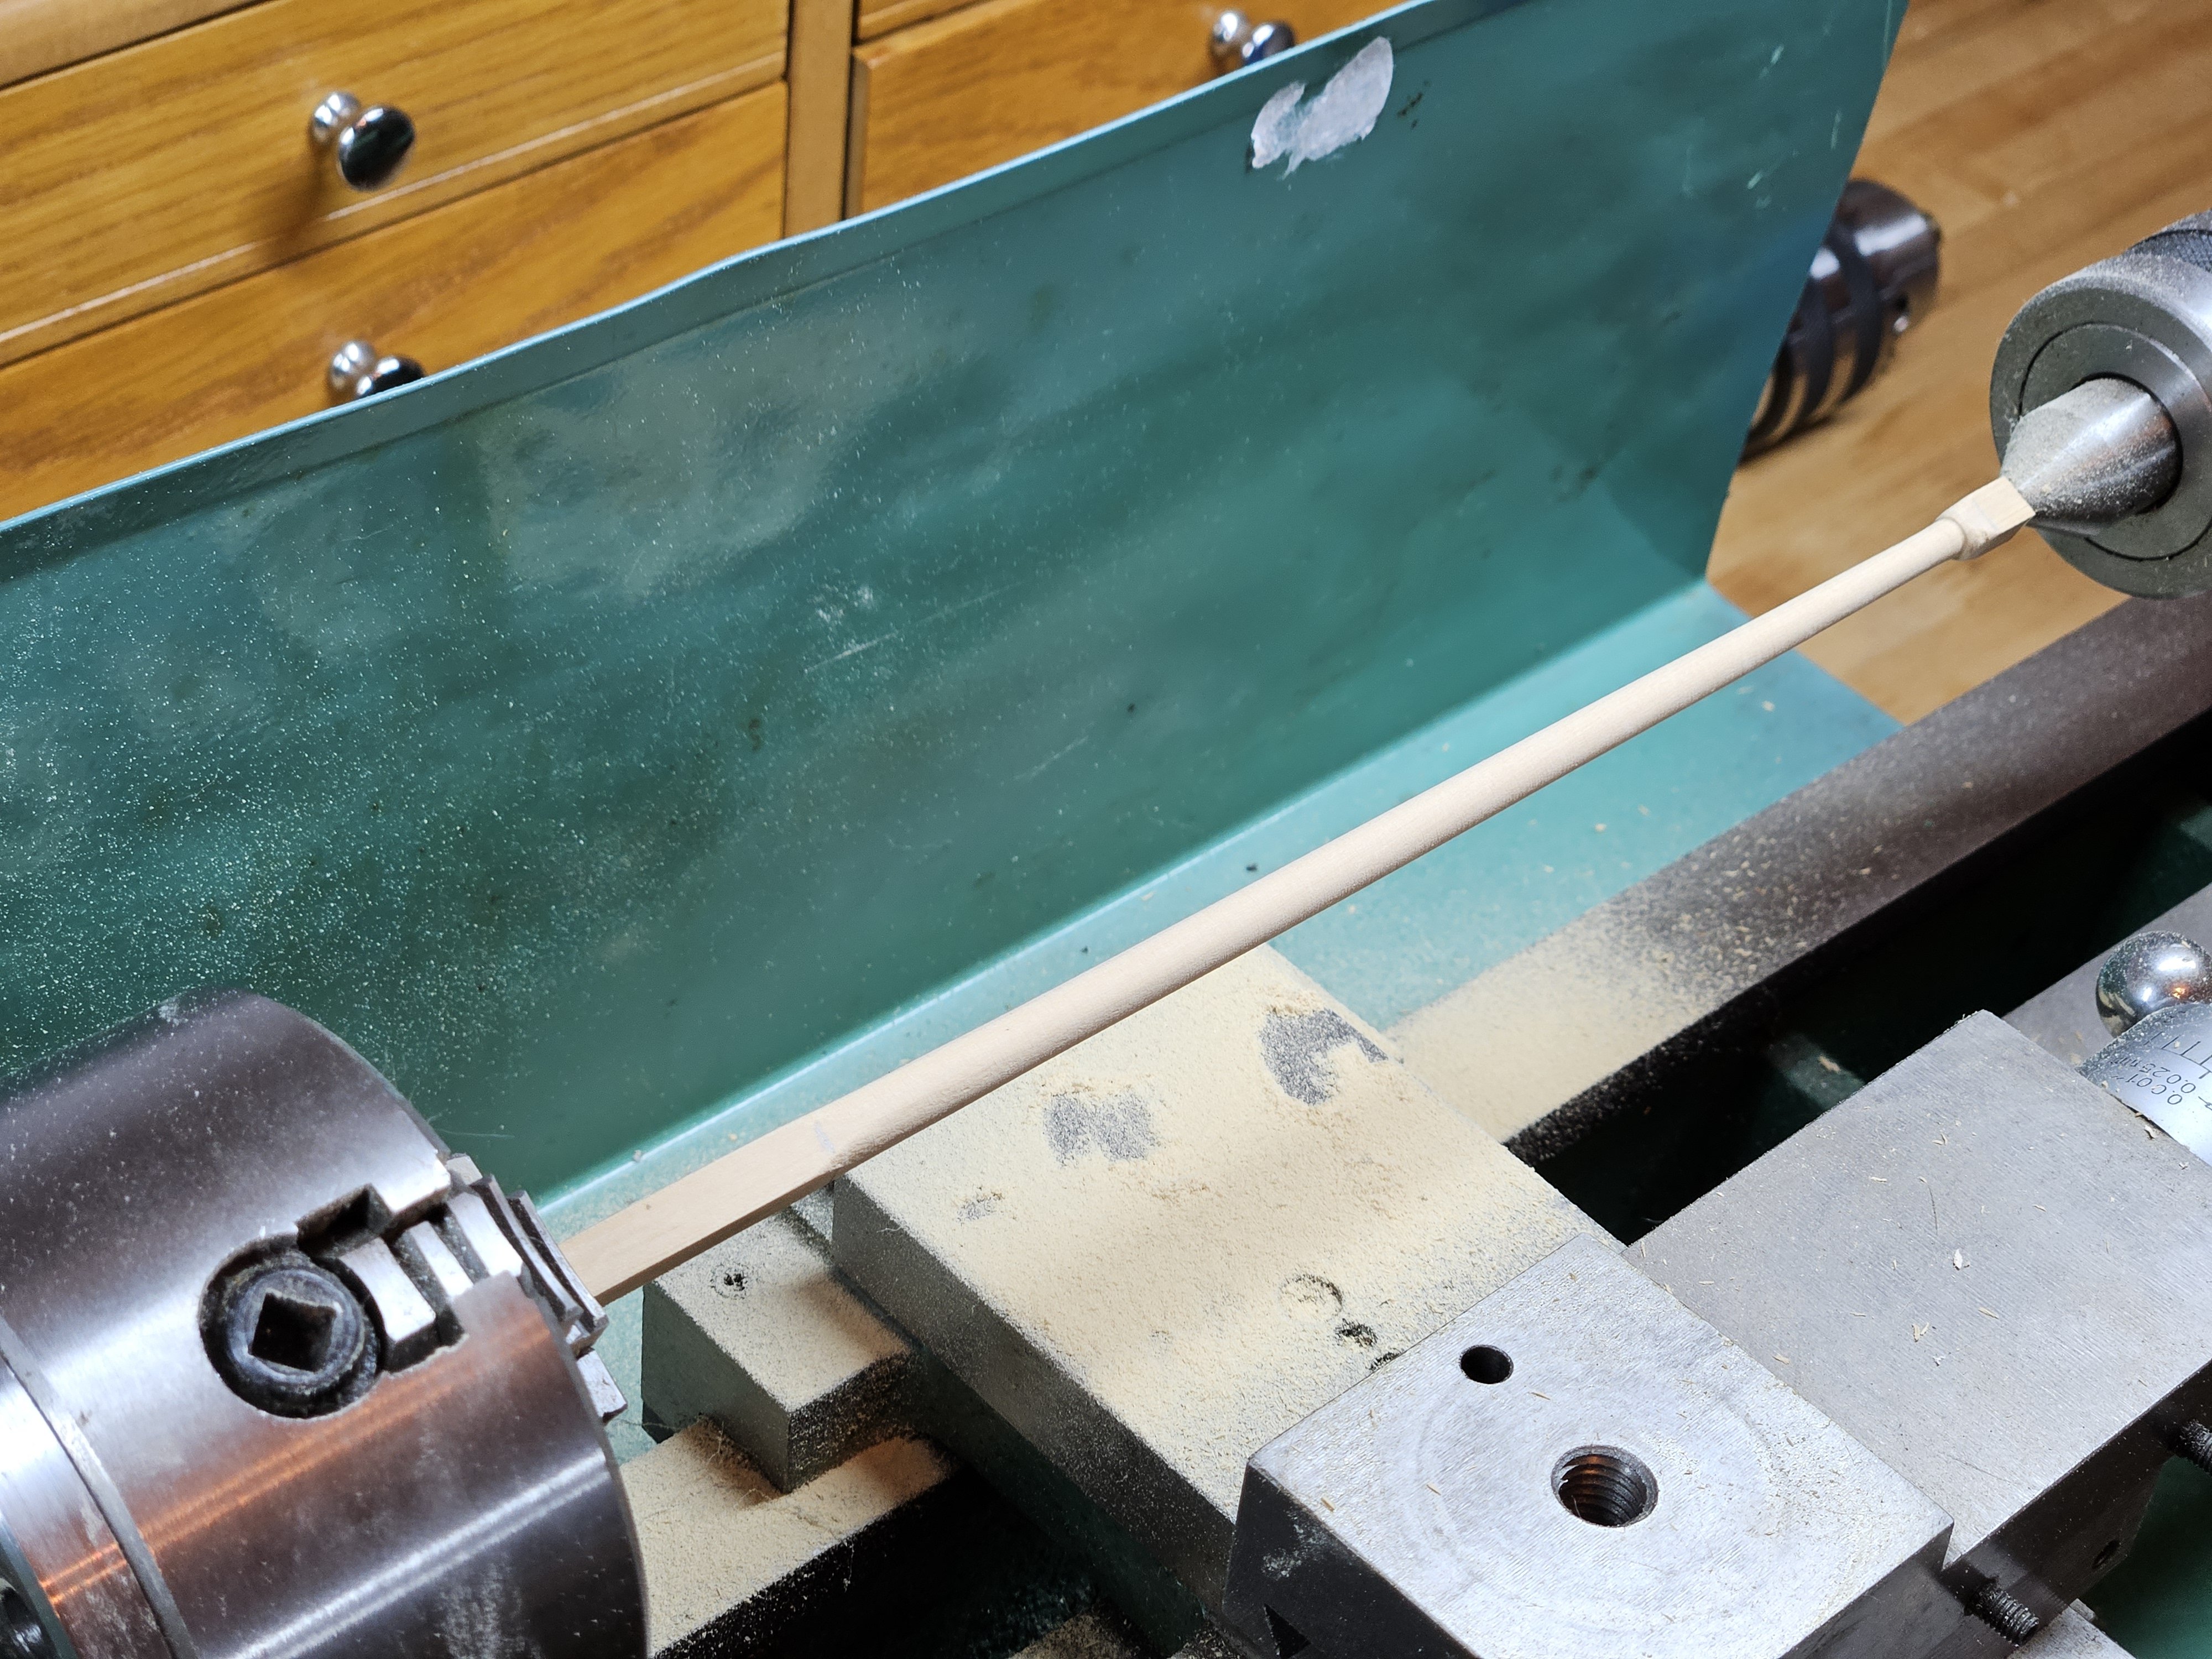
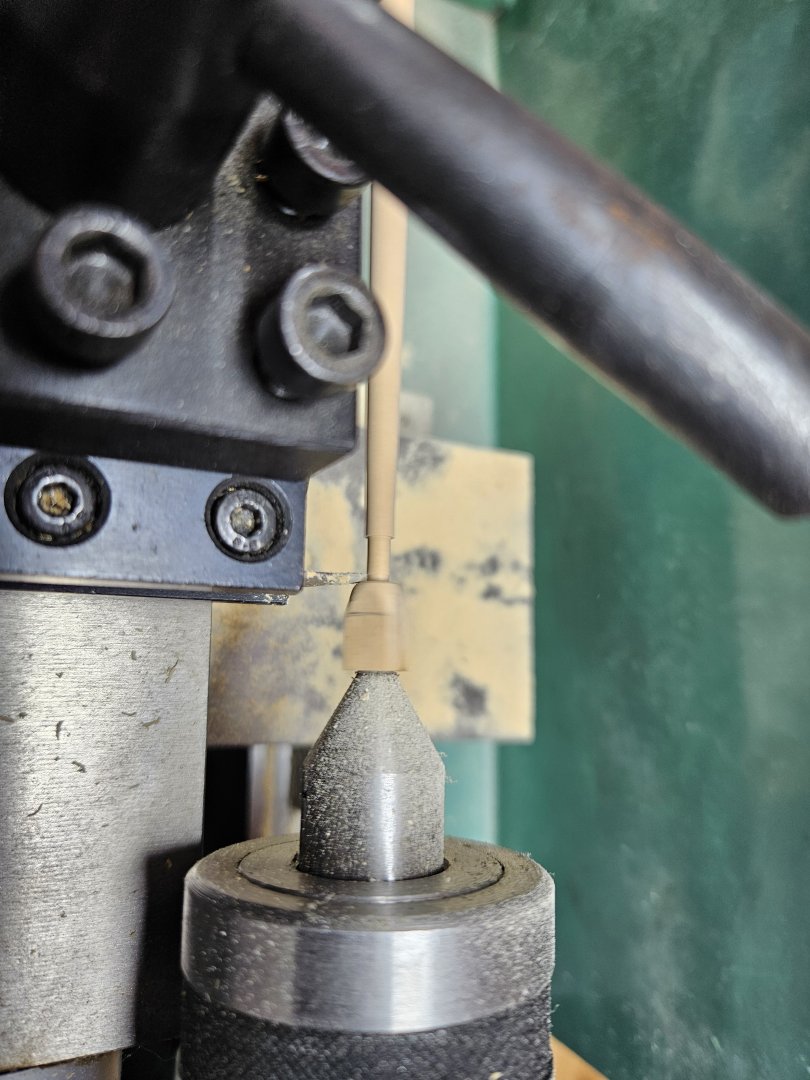
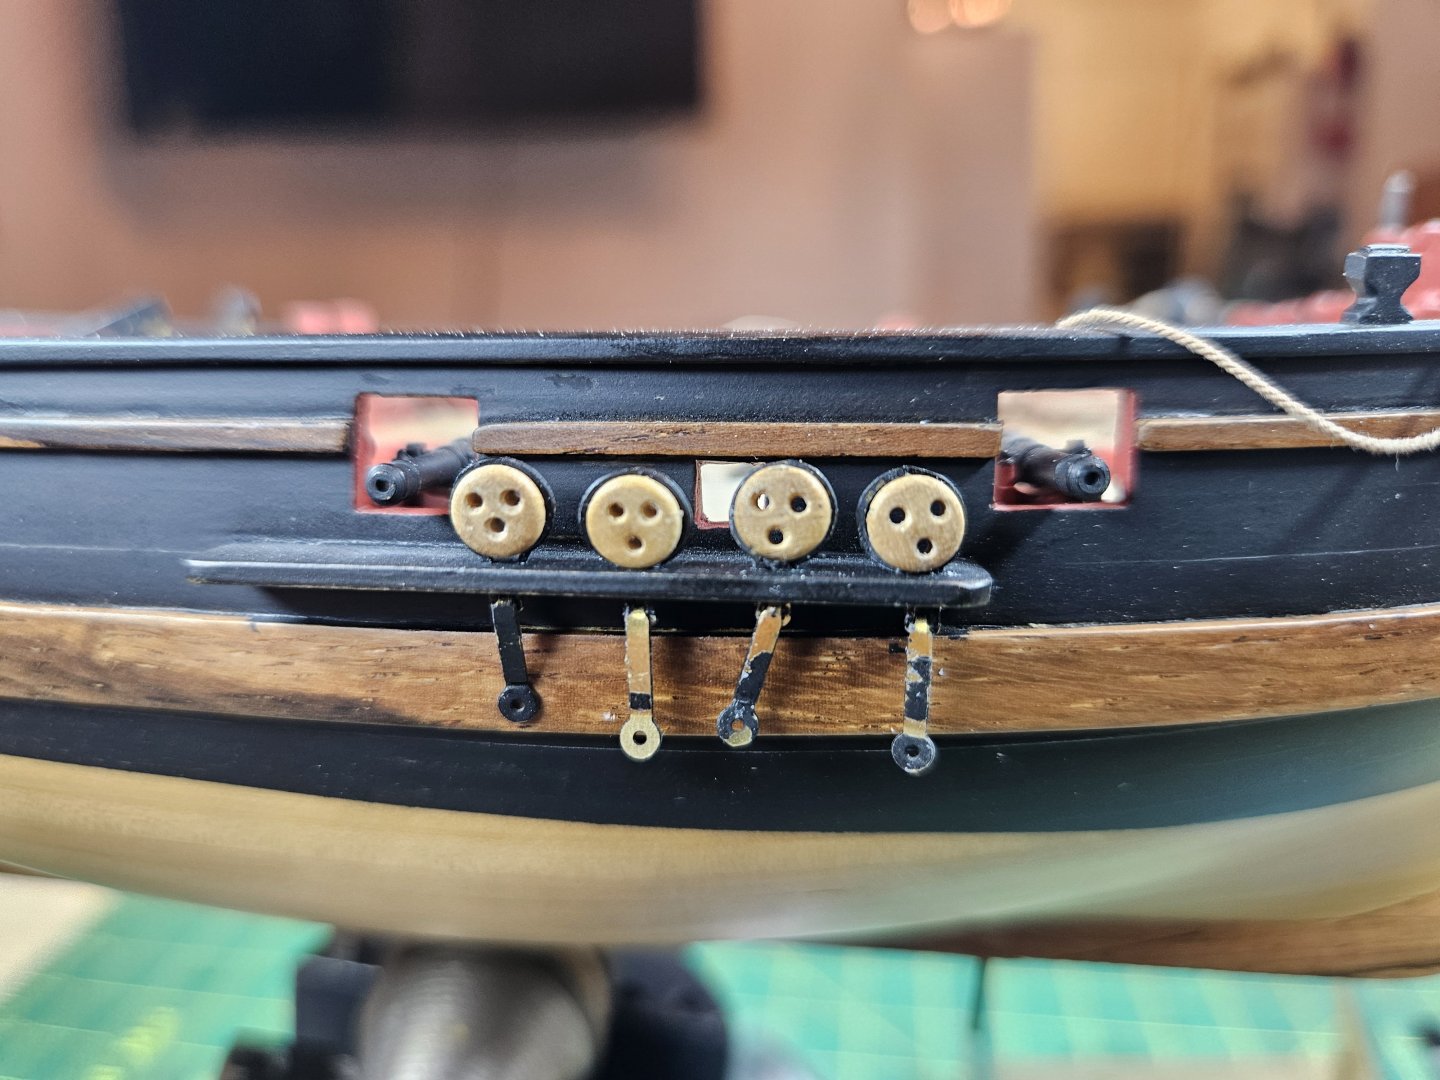
Some in process photos, one of those days when you don't quite finish anything. I have Lady Nelson up on my GRS engraver's block again. It's an extravagance but one I bought 20 years ago so it's amortized nicely. I honestly don't know how some of these guys do the phenomenal work that they do without an engraver's block to hold and spin and twist the subject with. Anyway, starting to mount the lower deadeyes. The chainplate is pretty generic but I don't want to scratchbuild yet another thing so I'm going with them. They look pretty nasty right now with most of the black off from the rough handling of bending them. They will have to be touched up with black paint but not until they're tacked down and I can't find the brass nails that came with the kit, so I ordered some- another wait for a week or so before I can wrap this up. On the good side, the four jaw chuck key came today, so I started working on the masting, going first with the jib boom. Got tired, so stopped here. Tomorrow will finish off the jib boom and start working on the mainmast. BTW, I am using Castillo boxwood for the masts and yards, I really like the almost invisible grain and figure on the wood I got from Jason @Crown Timberyard, too bad he closed down.


- 714 replies
-
- 9
-

-
- lady nelson
- victory models
- (and 1 more)
-
Yes if the wood tears out the fix is to switch the direction of planing.
-
Good news, been tapping my foot waiting on an order to finally leave Canada so I could compare it with Syren rope. I think I like your "natural" color better but we'll see. Anyway, I'm sure that's a weight off your mind!
-
It's not the harder steel that would make it last longer, it's the slightly beefier steel you'll have on a point with a carving knife that will make it last longer. Xacto blades are just so skinny that the slightest twist and pop there goes the point. The advantage to you with a real knife will be a much sharper edge than Xacto can produce and the knife edge will last orders of magnitude longer than the edge on an Xacto. Further, if you really want to improve your results to the maximum, get a matched pair of single-bevel Japanese marking knives so that you can cut a perfectly square edges on your card pieces no matter which direction you need to cut. Just be aware that any edge that is really pointy needs to be handled with care. Take a look at the left and right hand Kiridashi knives at 18mm. If you want to give something a try PM me and we'll walk through the details of what you need.
-
Can't help but like and comment, your Winchelsea is outstanding.
- 399 replies
-
- 1
-
-
- winchelsea
- Syren Ship Model Company
- (and 1 more)
-
The large grain of oak is not appropriate for small ships, using oak for small scales results in ships that look like toys. Wooden ship modeling wood has always been as fine-grained as possible while holding good detail and being reasonably workable. The traditional wood used on contemporary models was European boxwood, a very fine-grained wood. It's hard to get and therefore expensive, so most modelers have turned to other fine-grain woods like pear, Castillo boxwood, cherry, or yellow cedar.
-
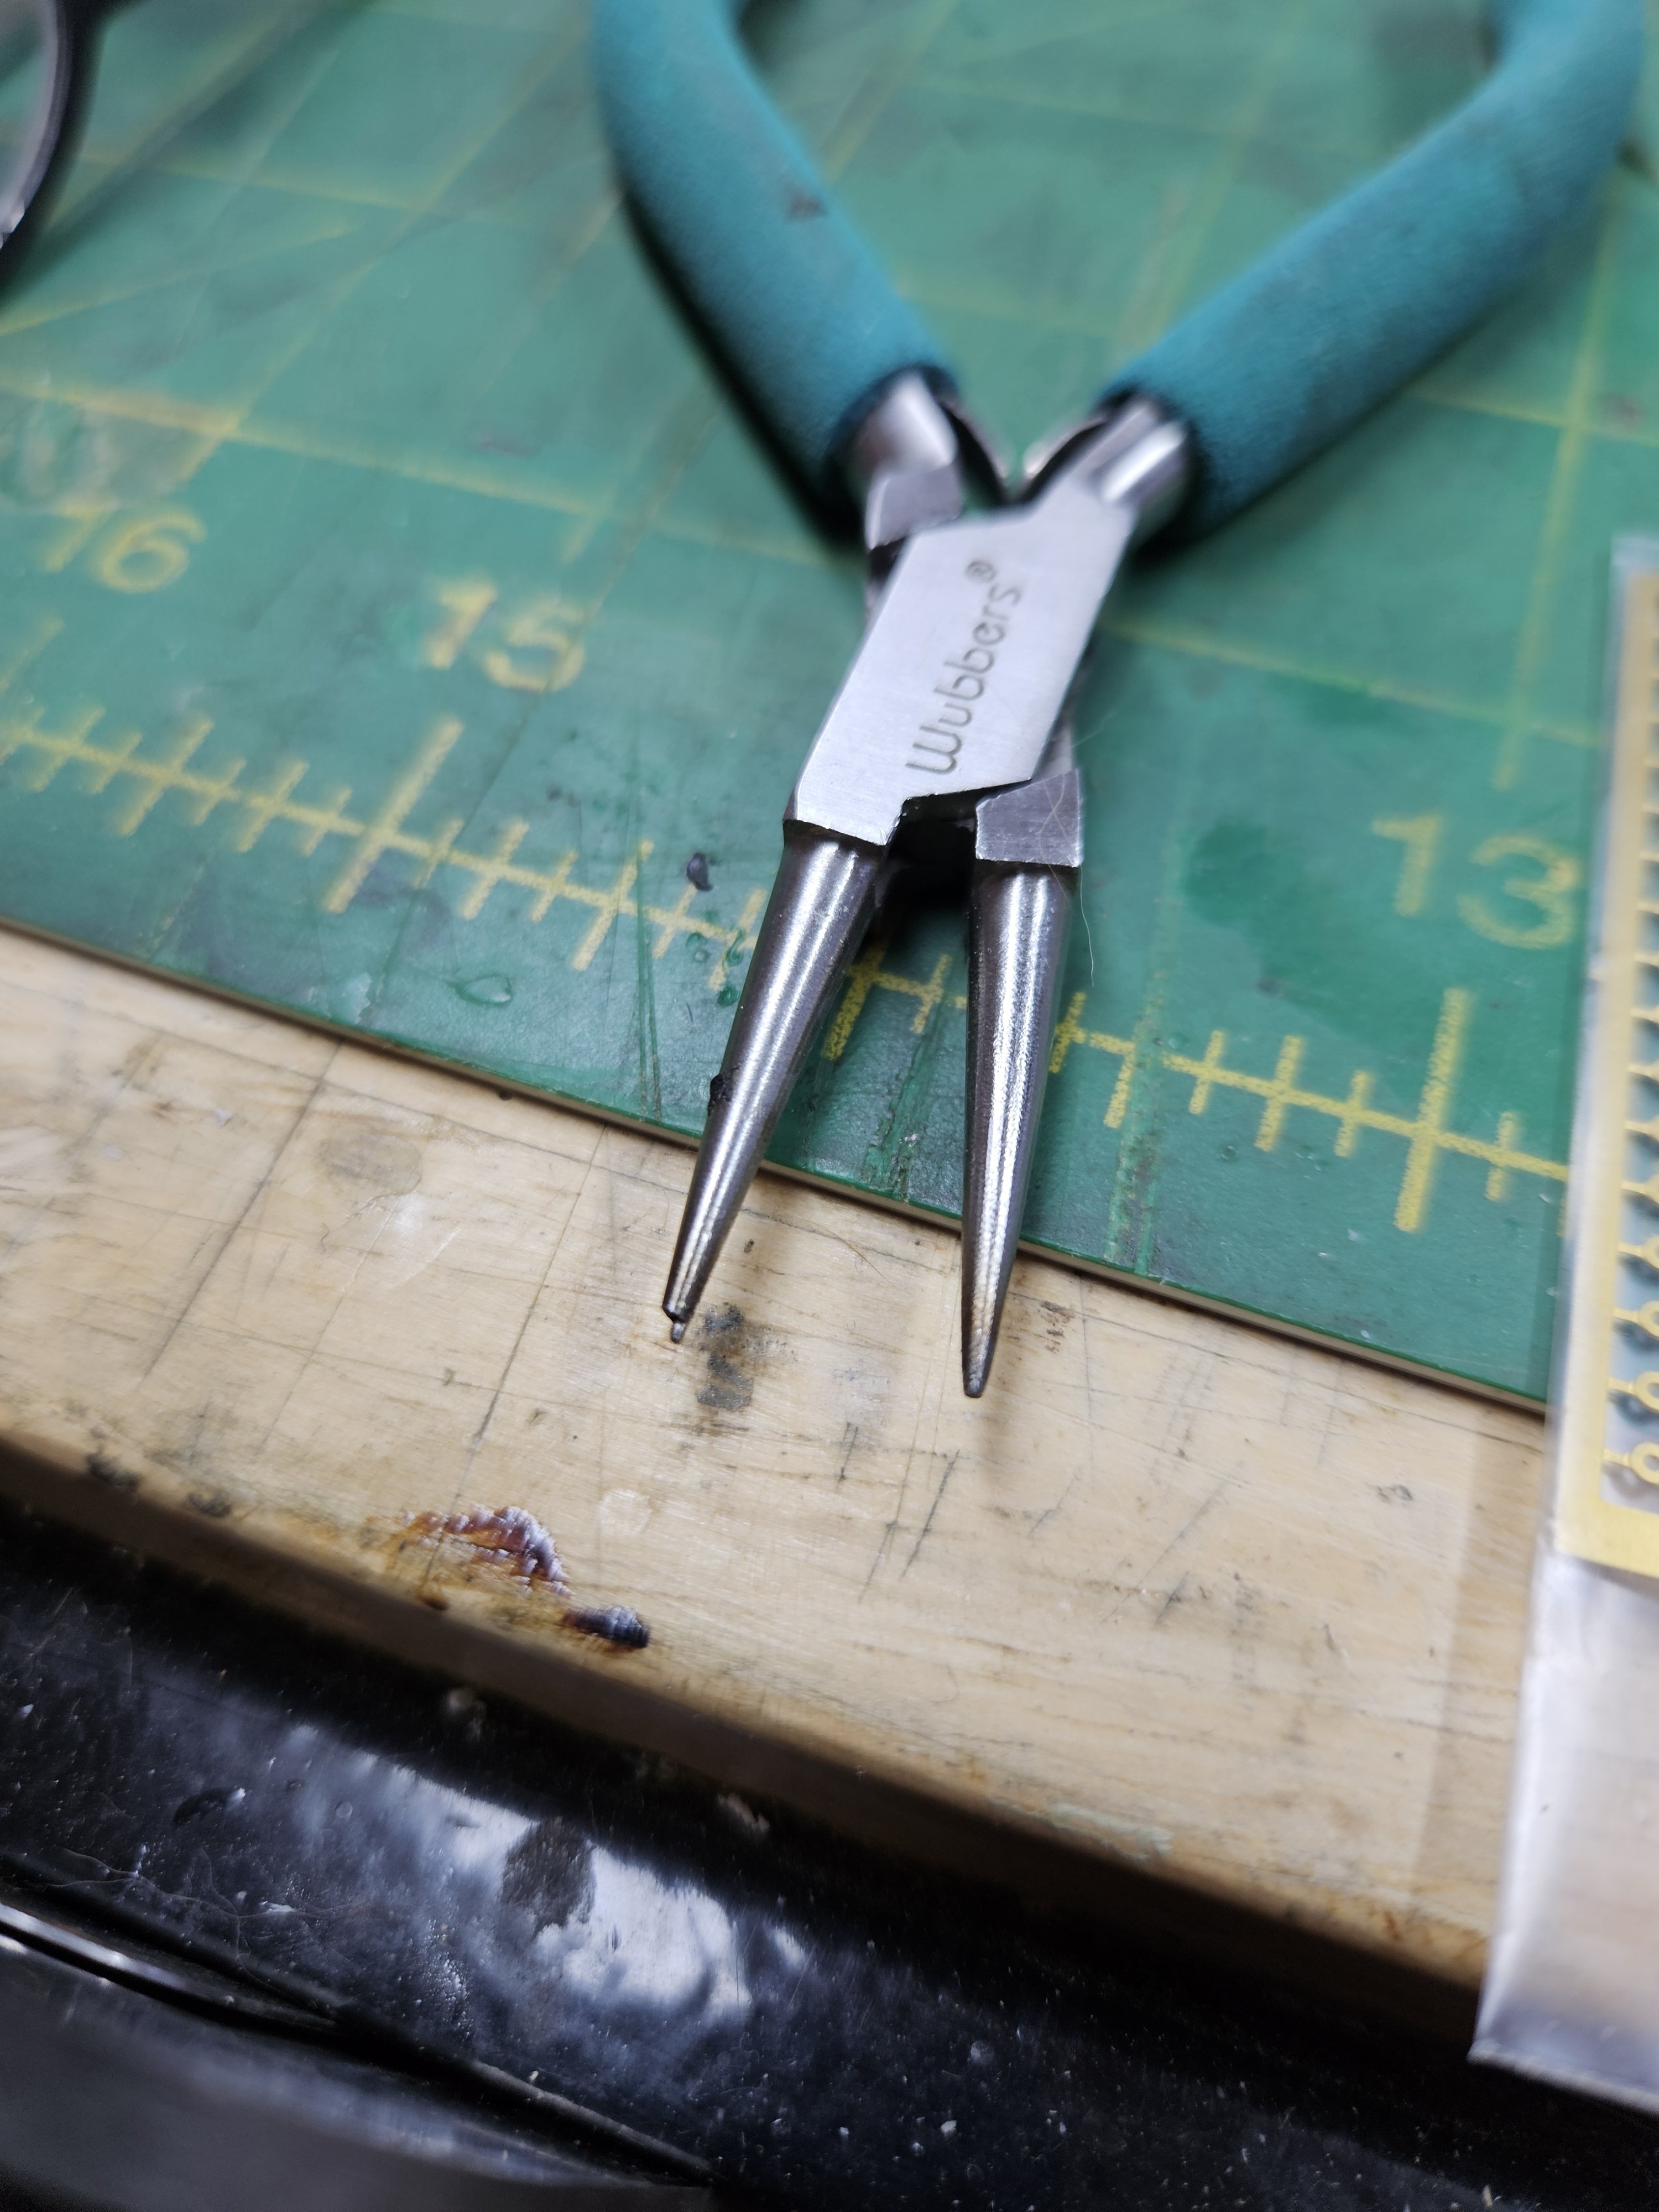
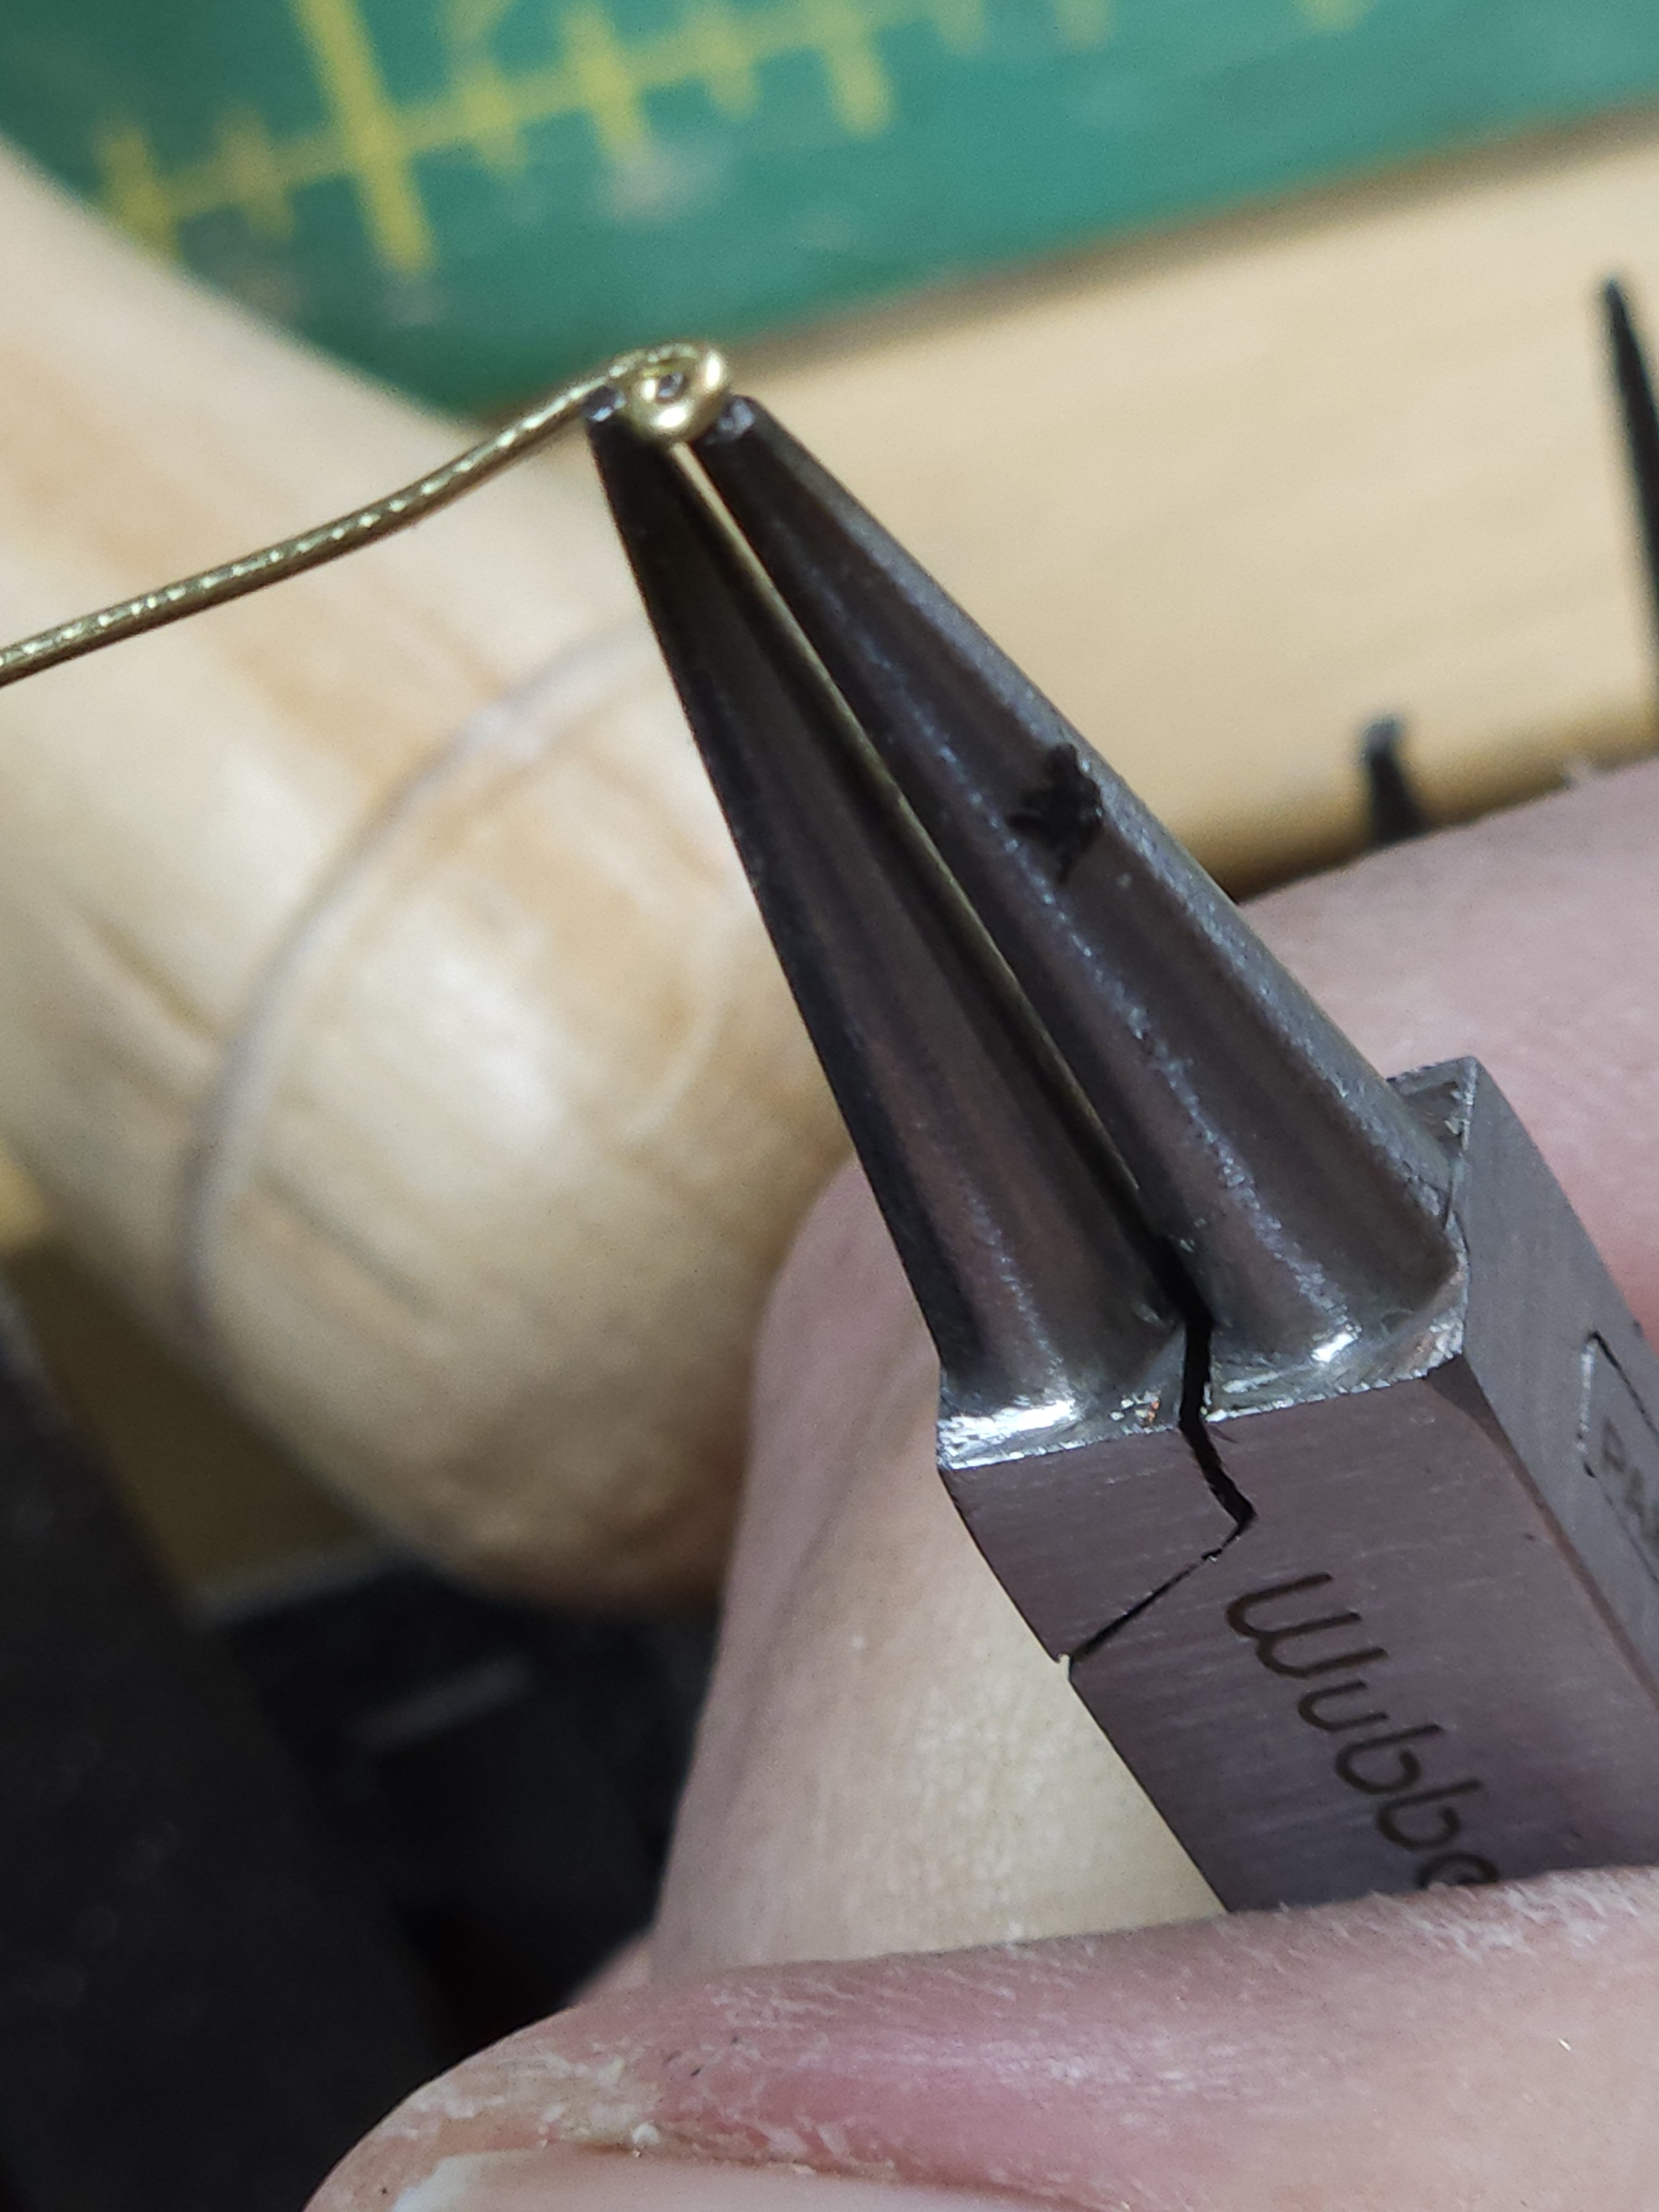
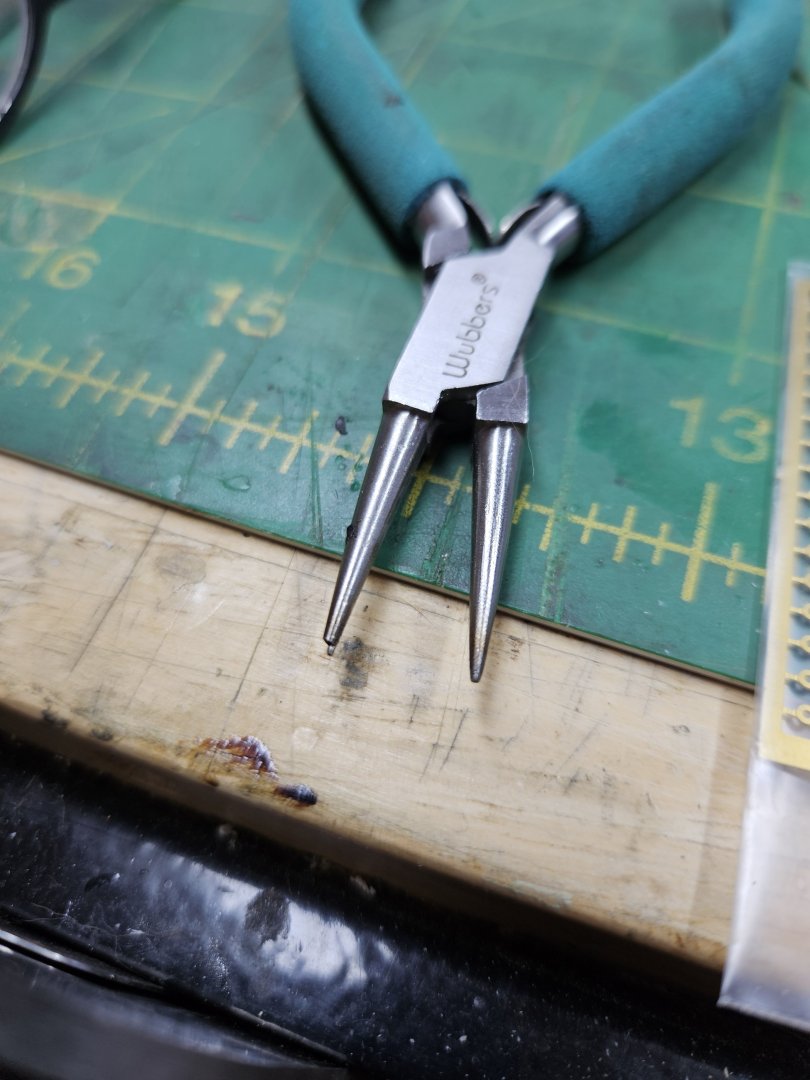
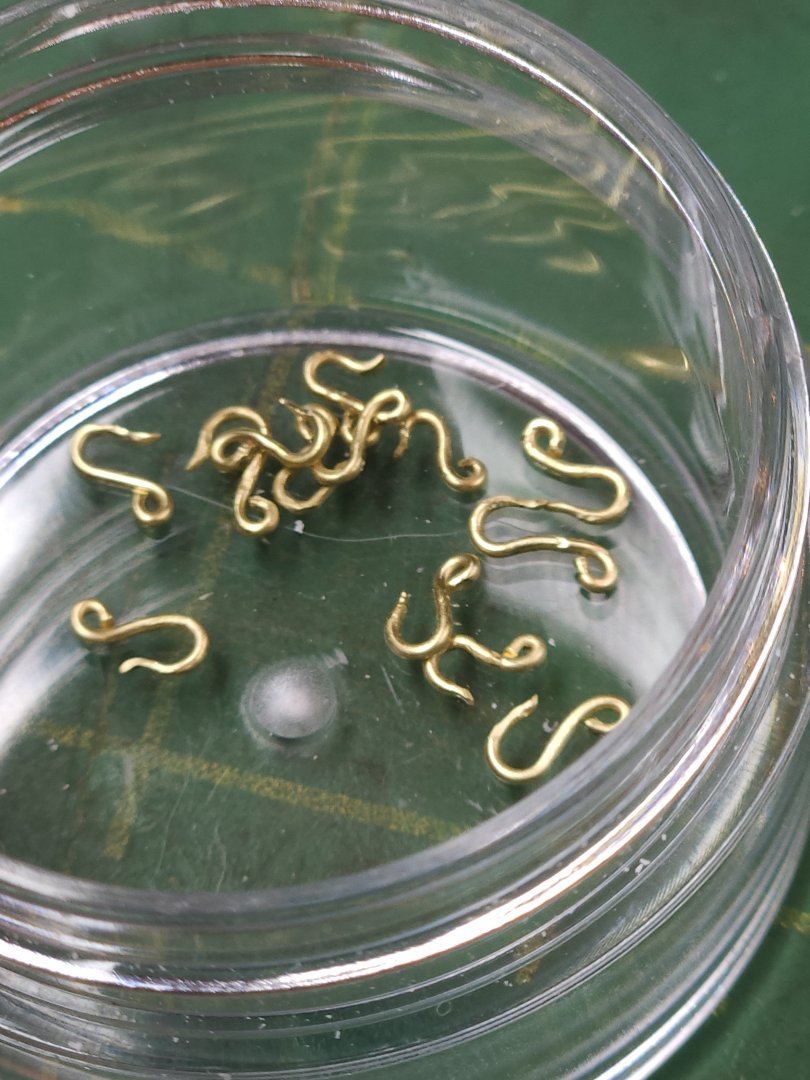
Thanks Gregory and Ian. Gregory, yes I have used drill bits in the past to make consistent loops, but I can make tighter loops with the pliers. Which I use depends on the situation, if I have 142 circles to make I'll definitely wind the wire onto a drill bit and cut the circles off one by one.
- 714 replies
-
- 2
-
-
- lady nelson
- victory models
- (and 1 more)
-
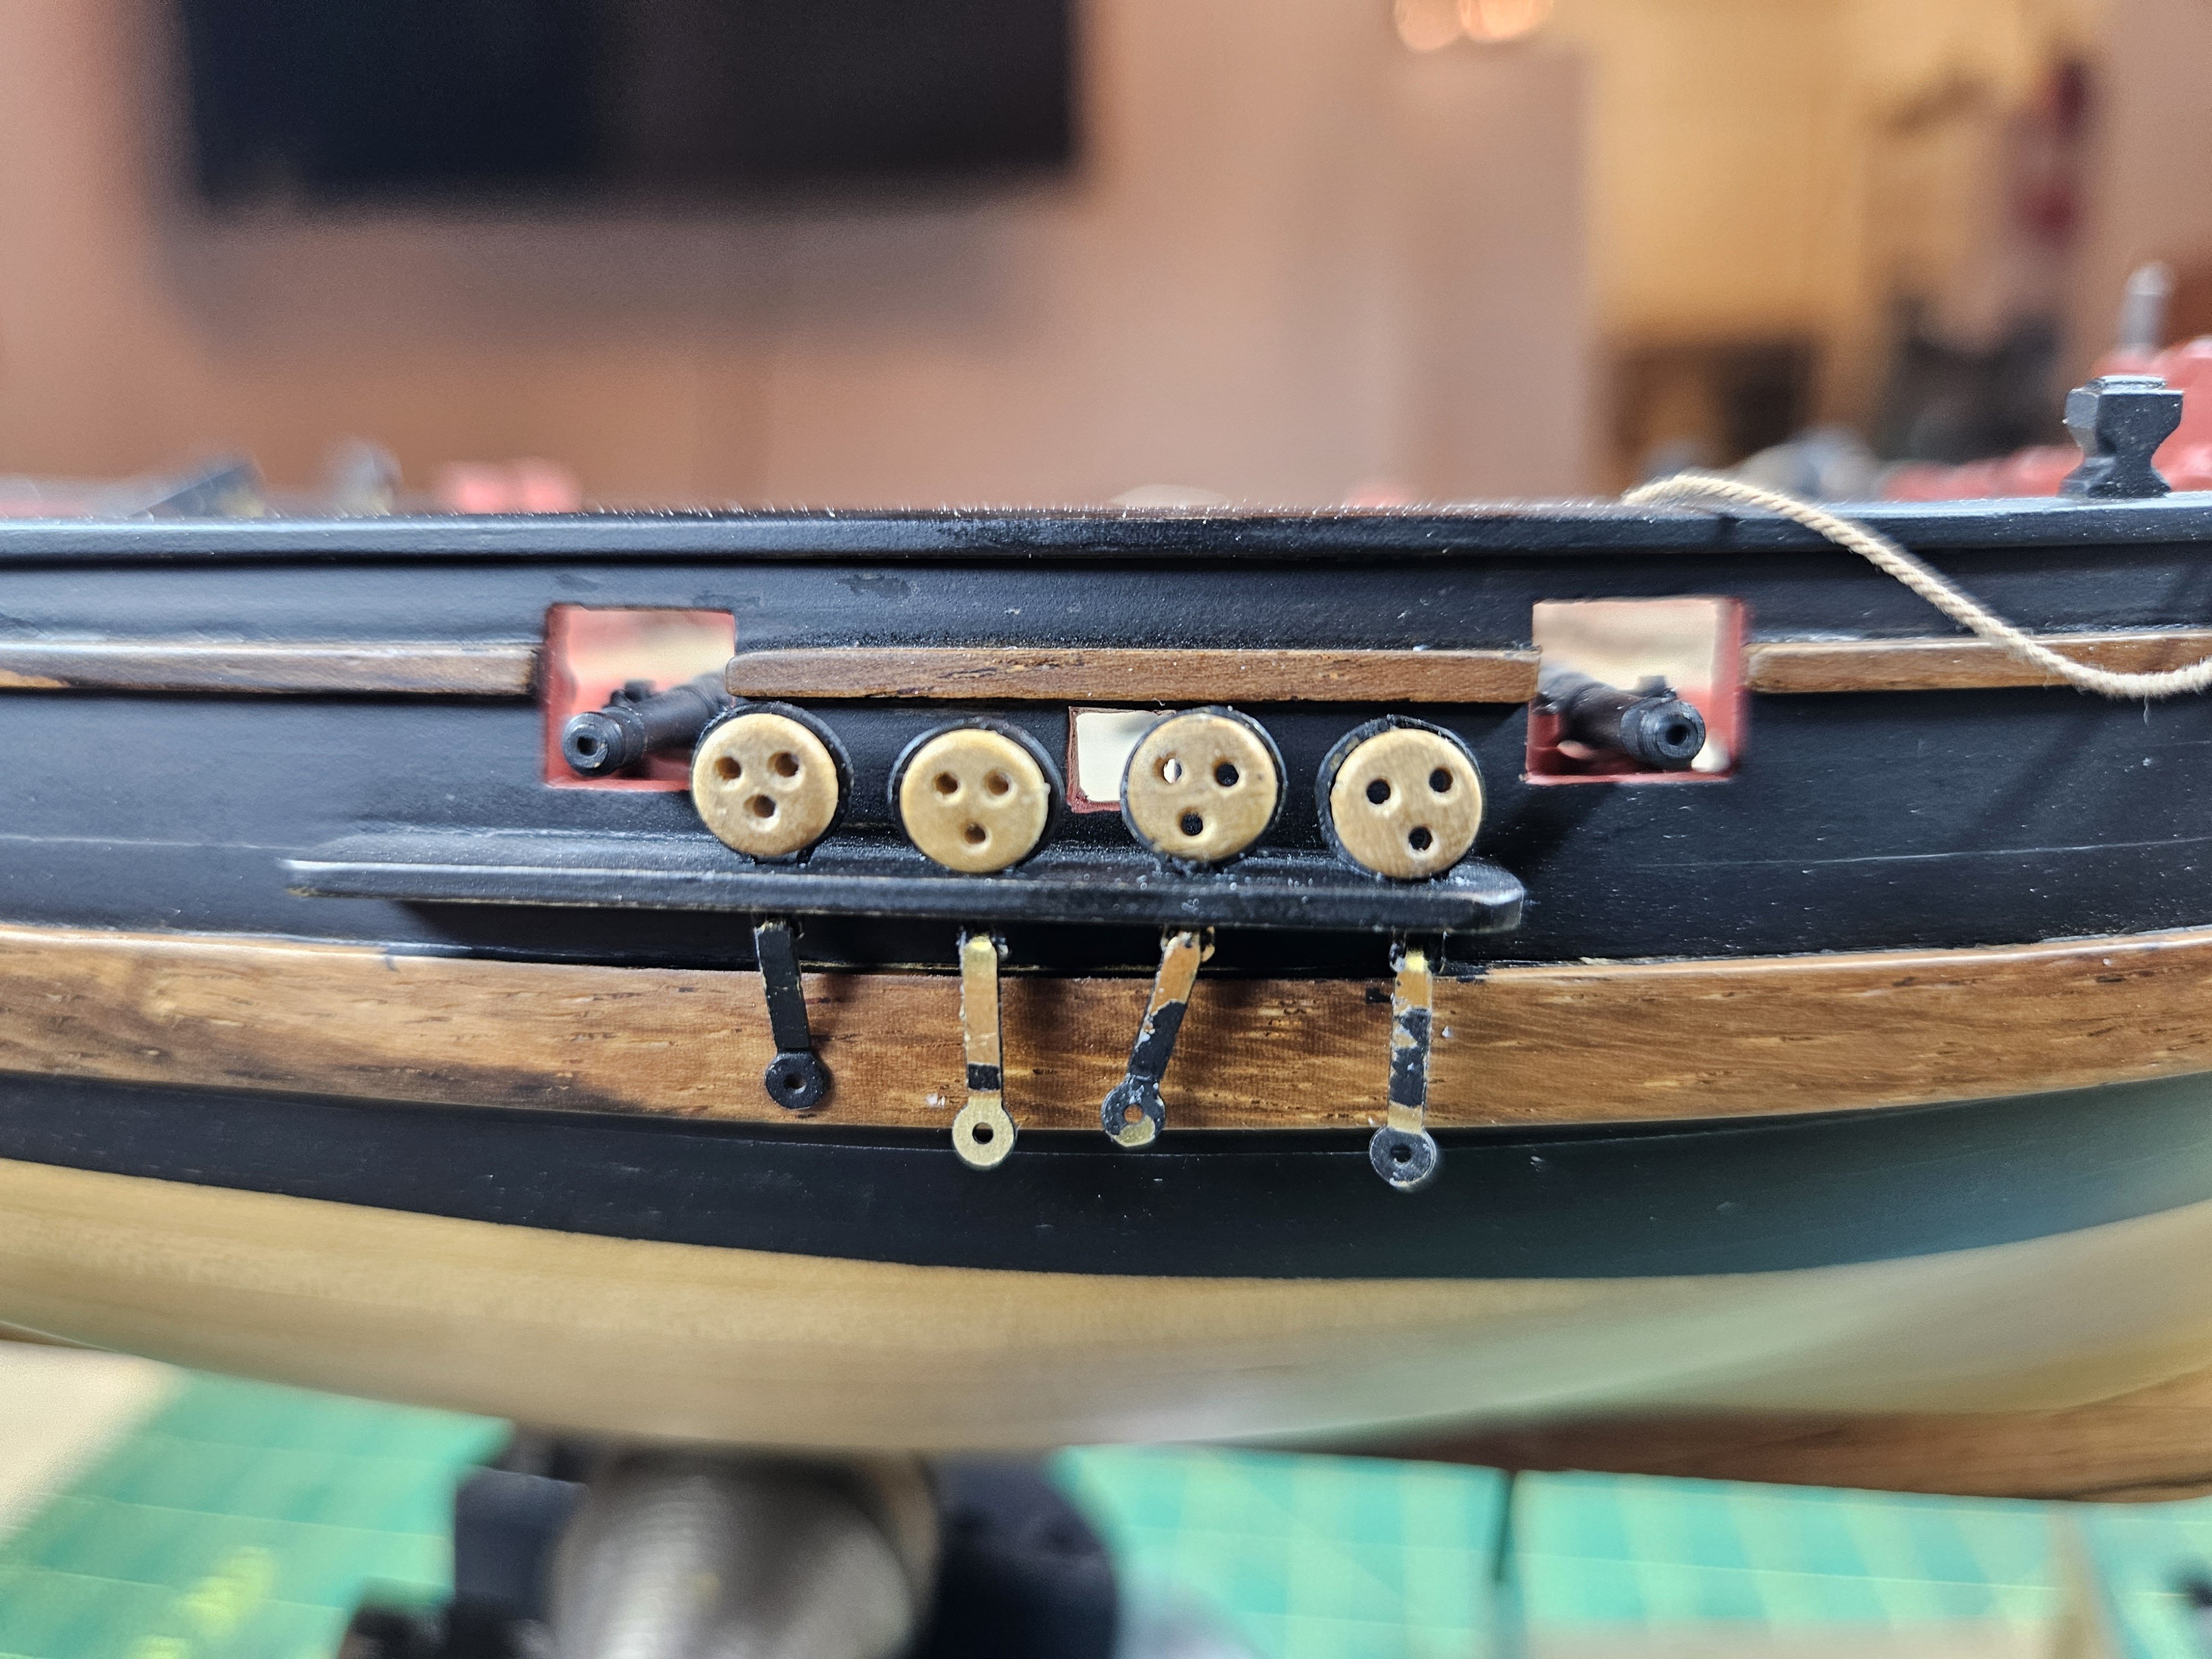
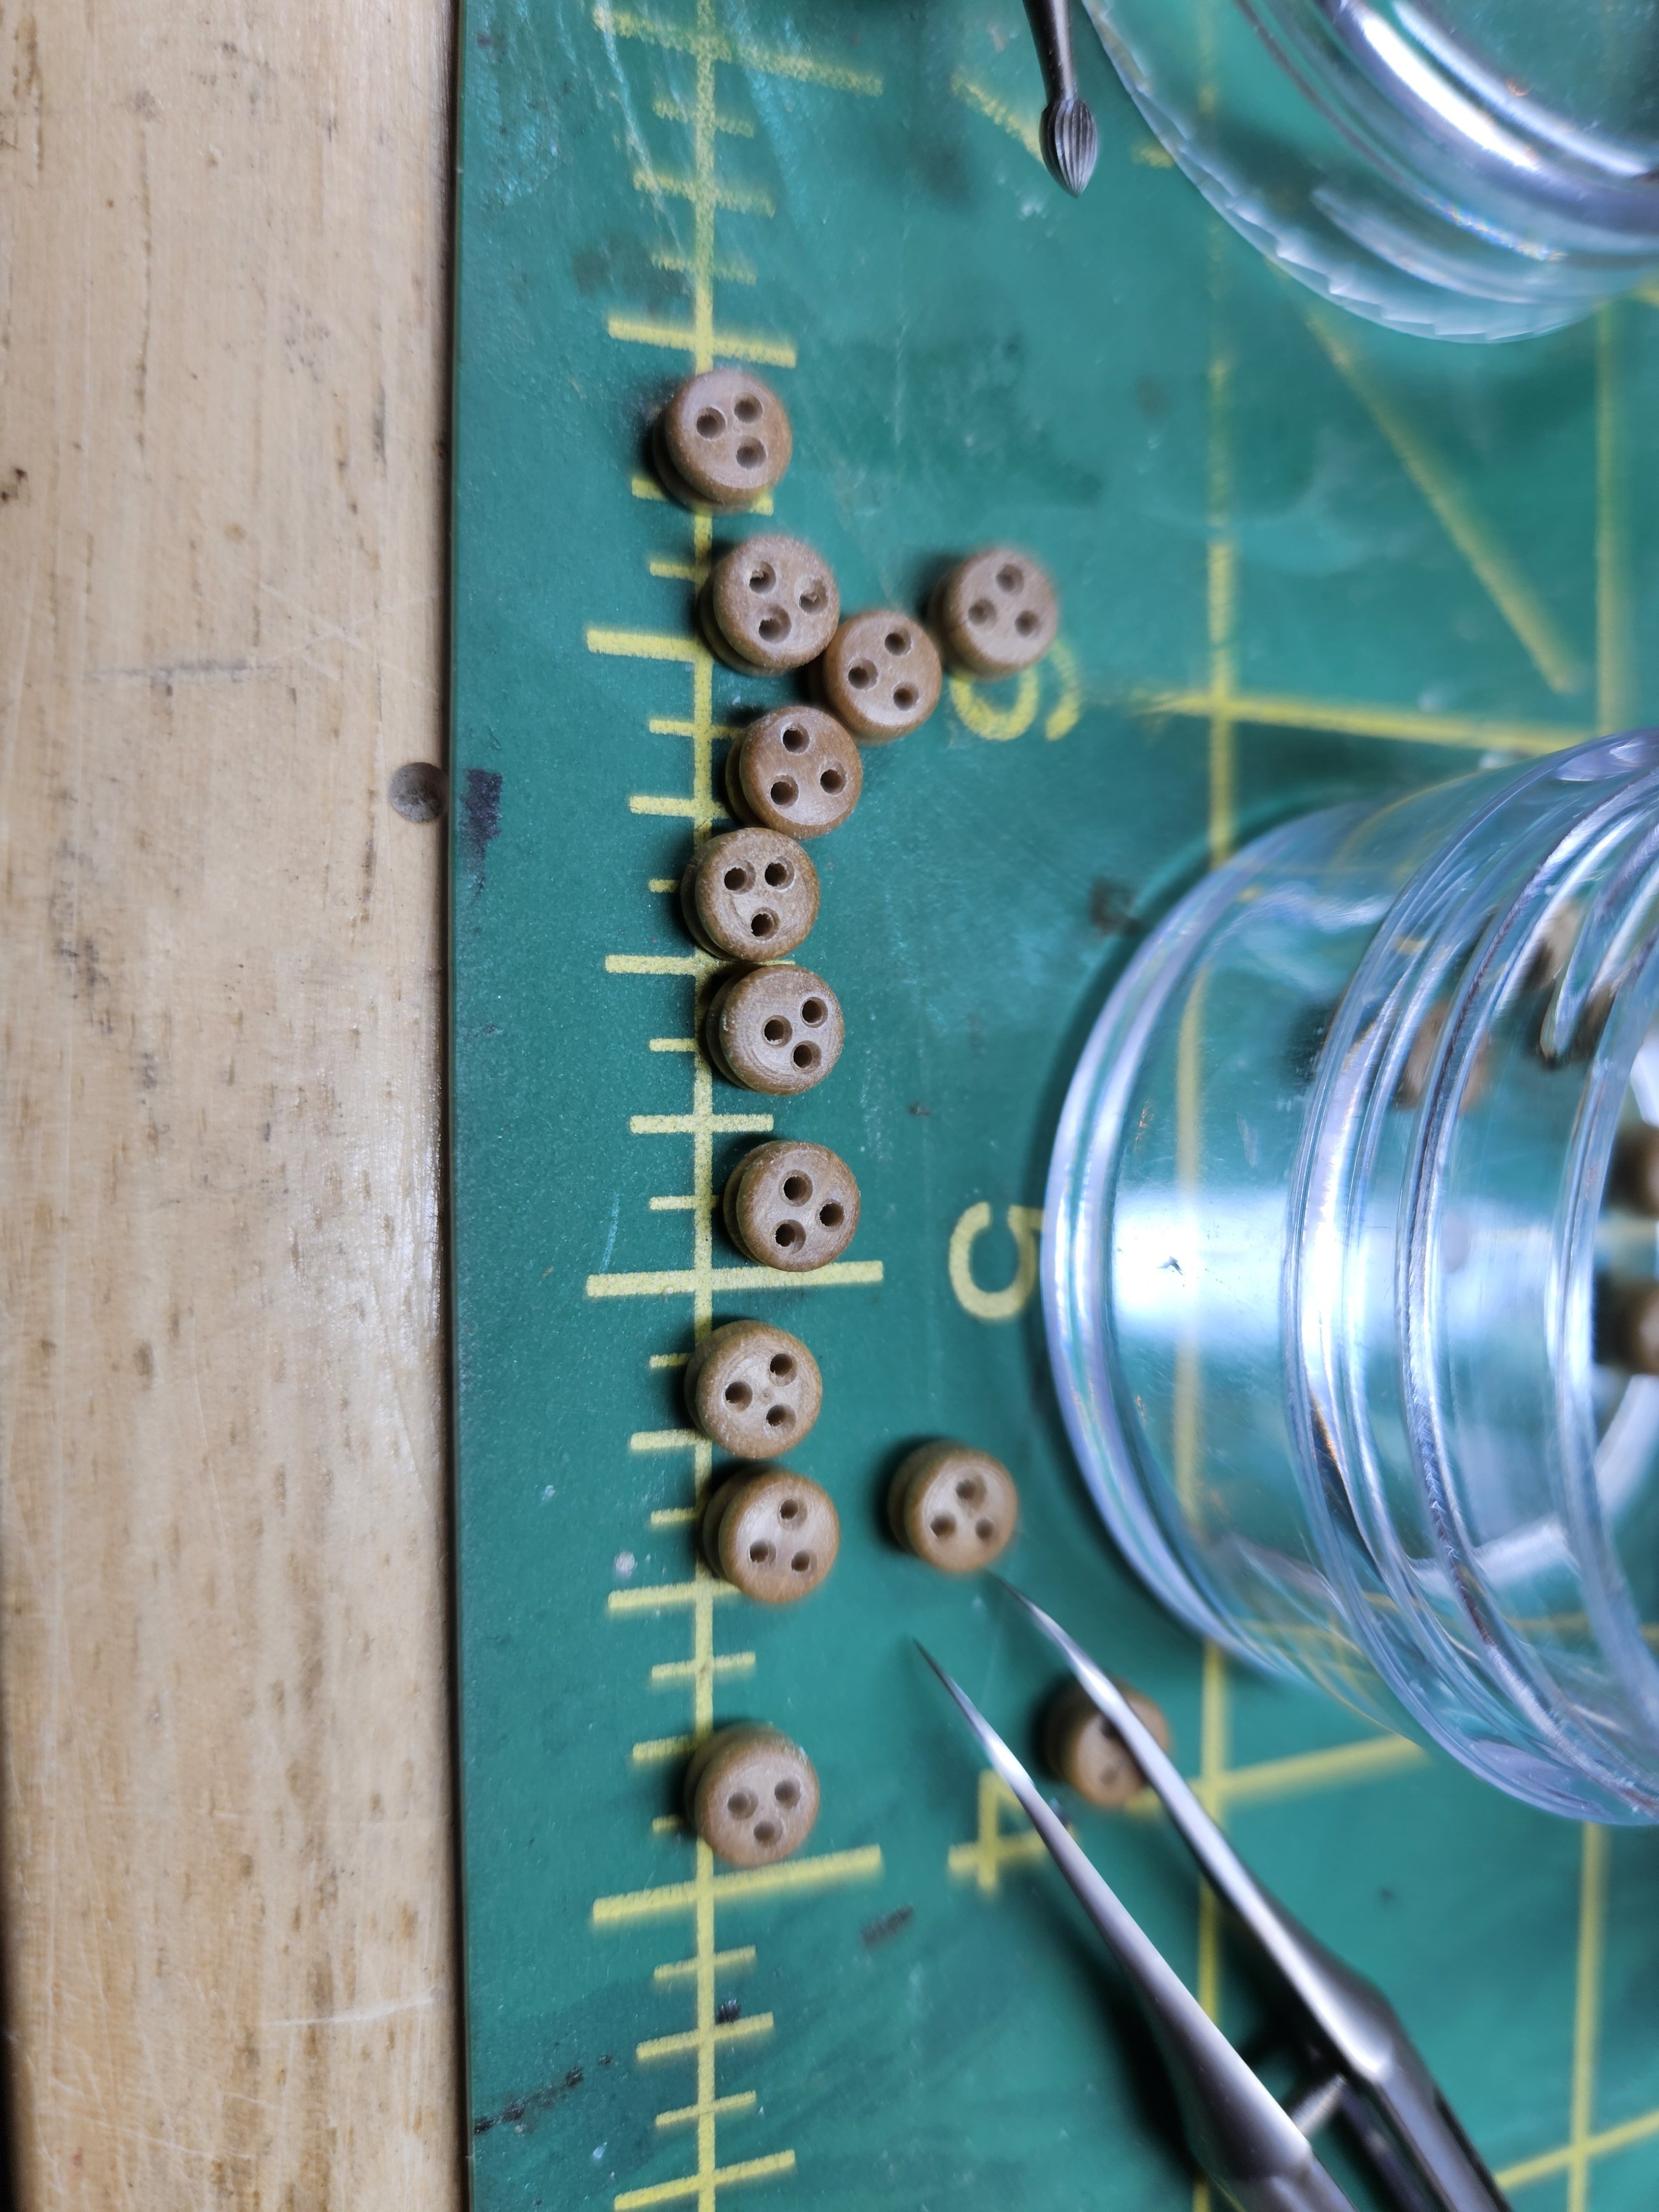
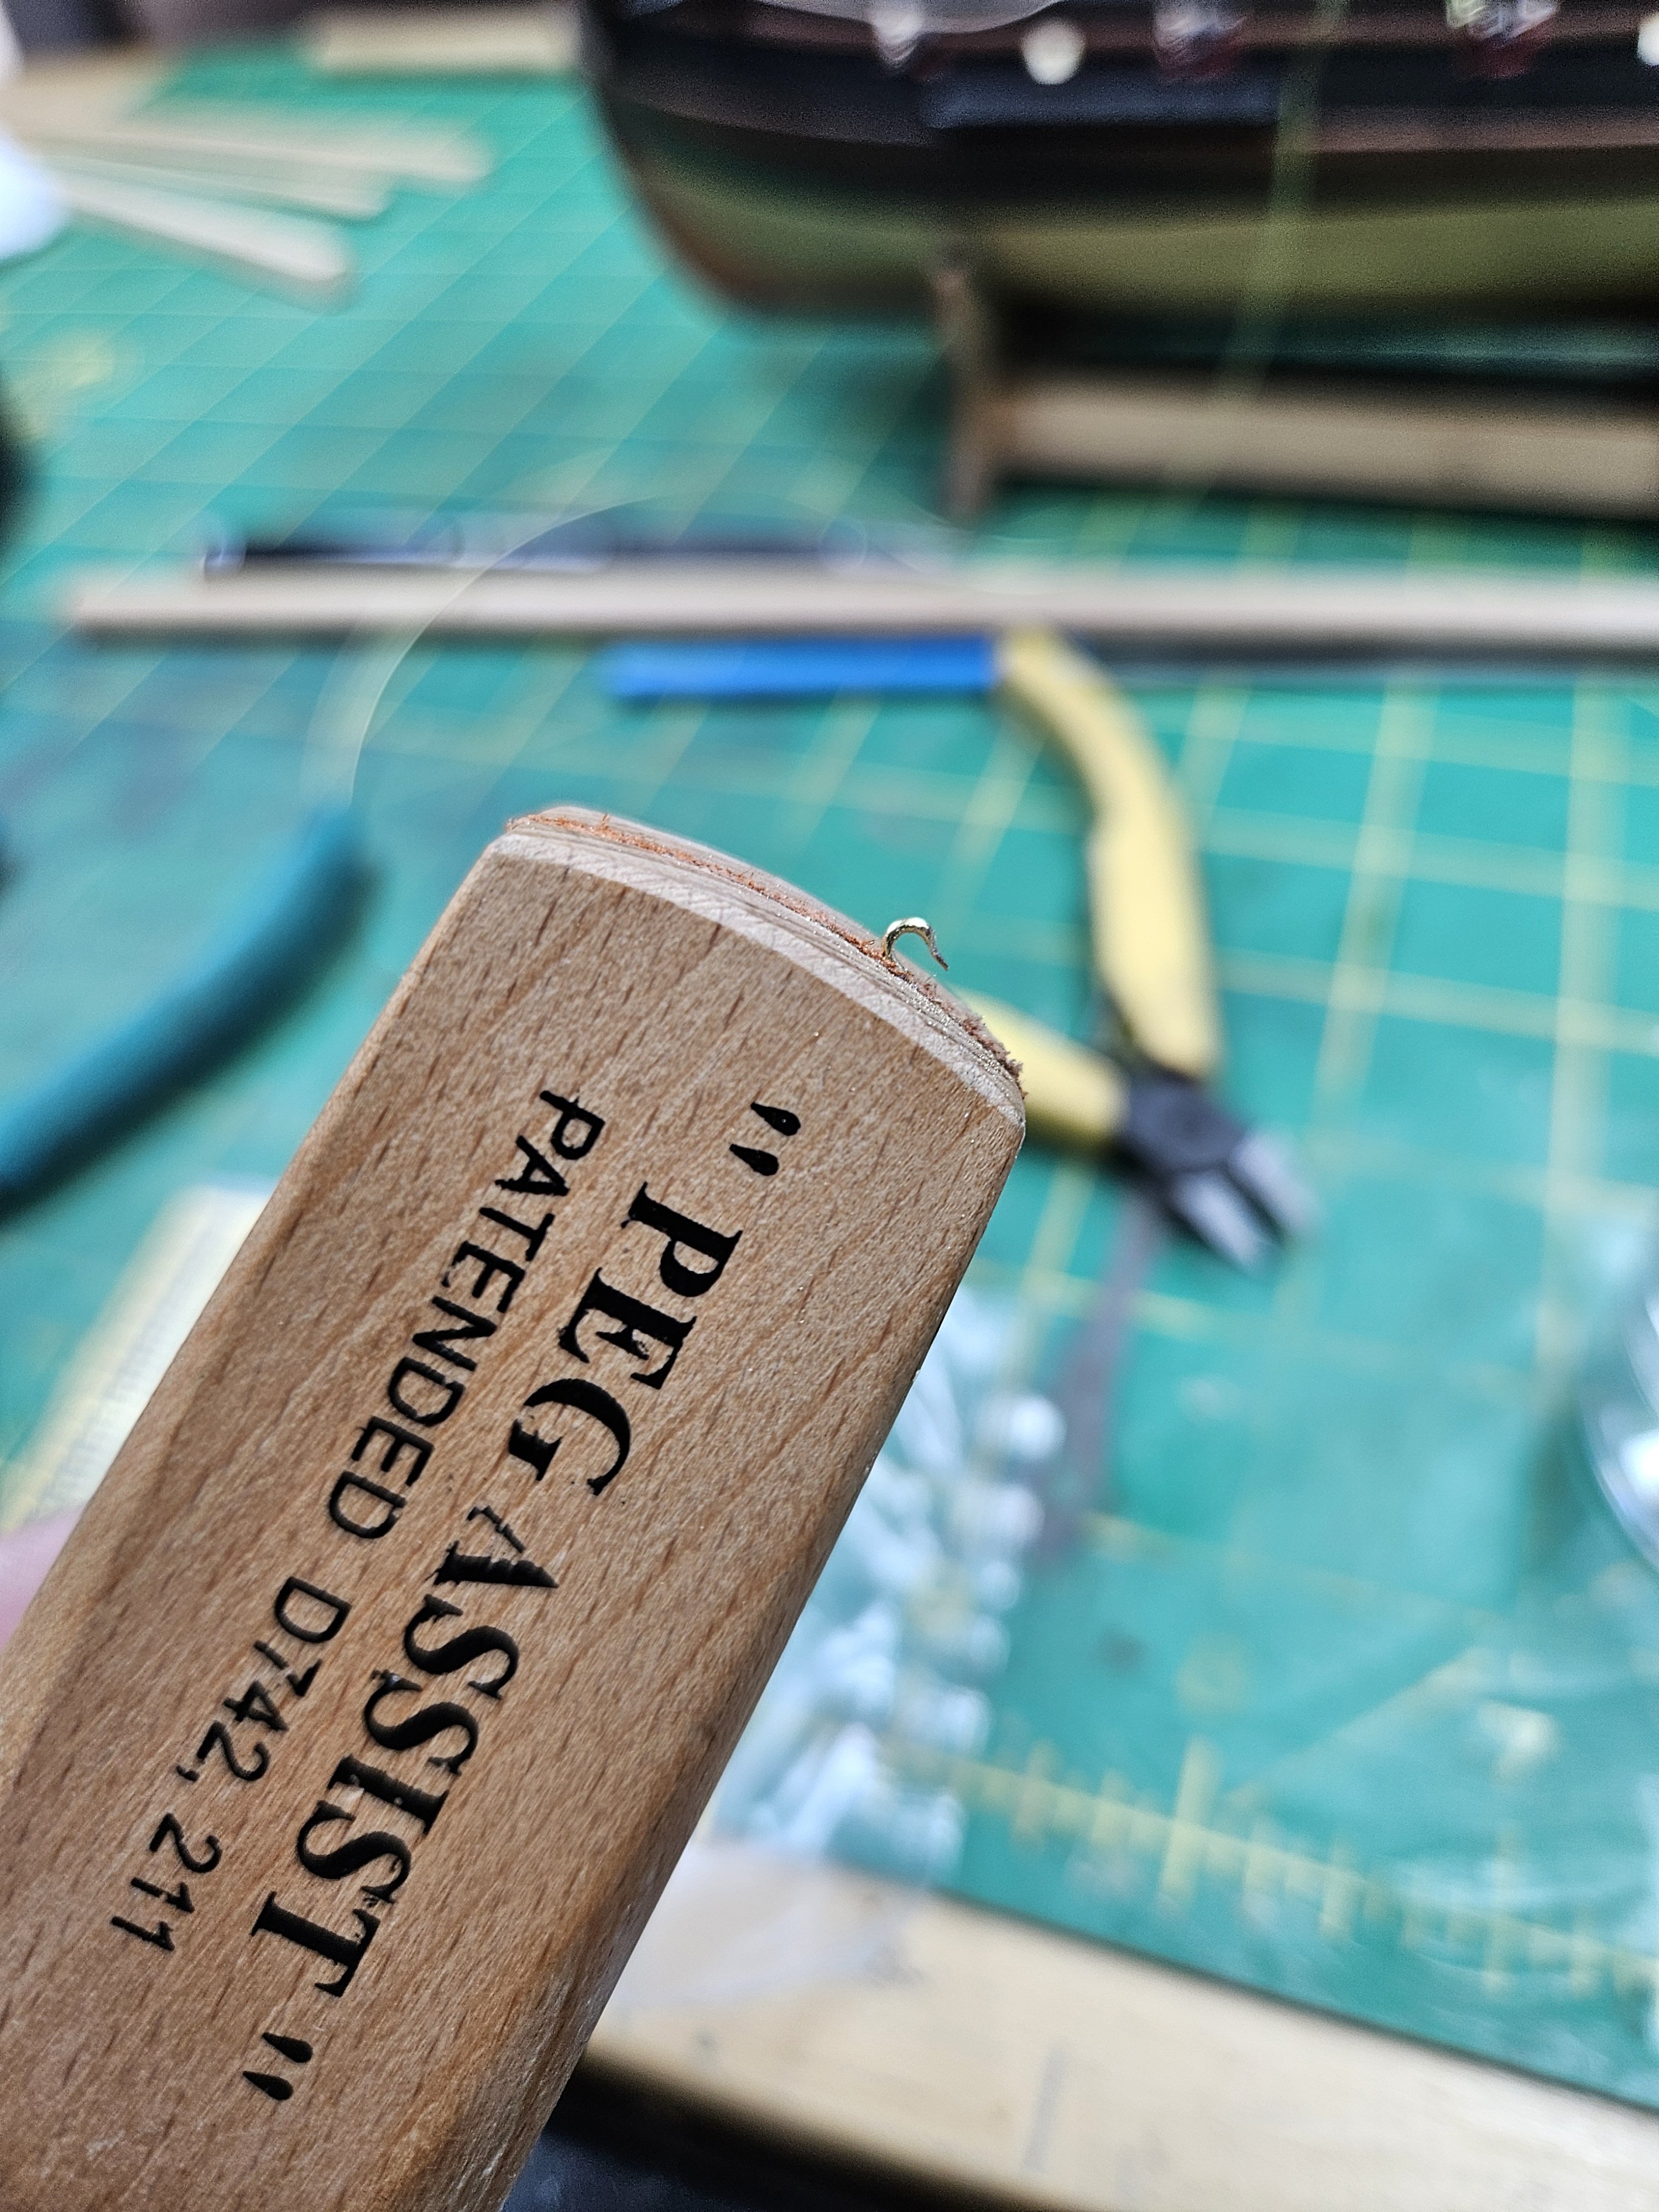
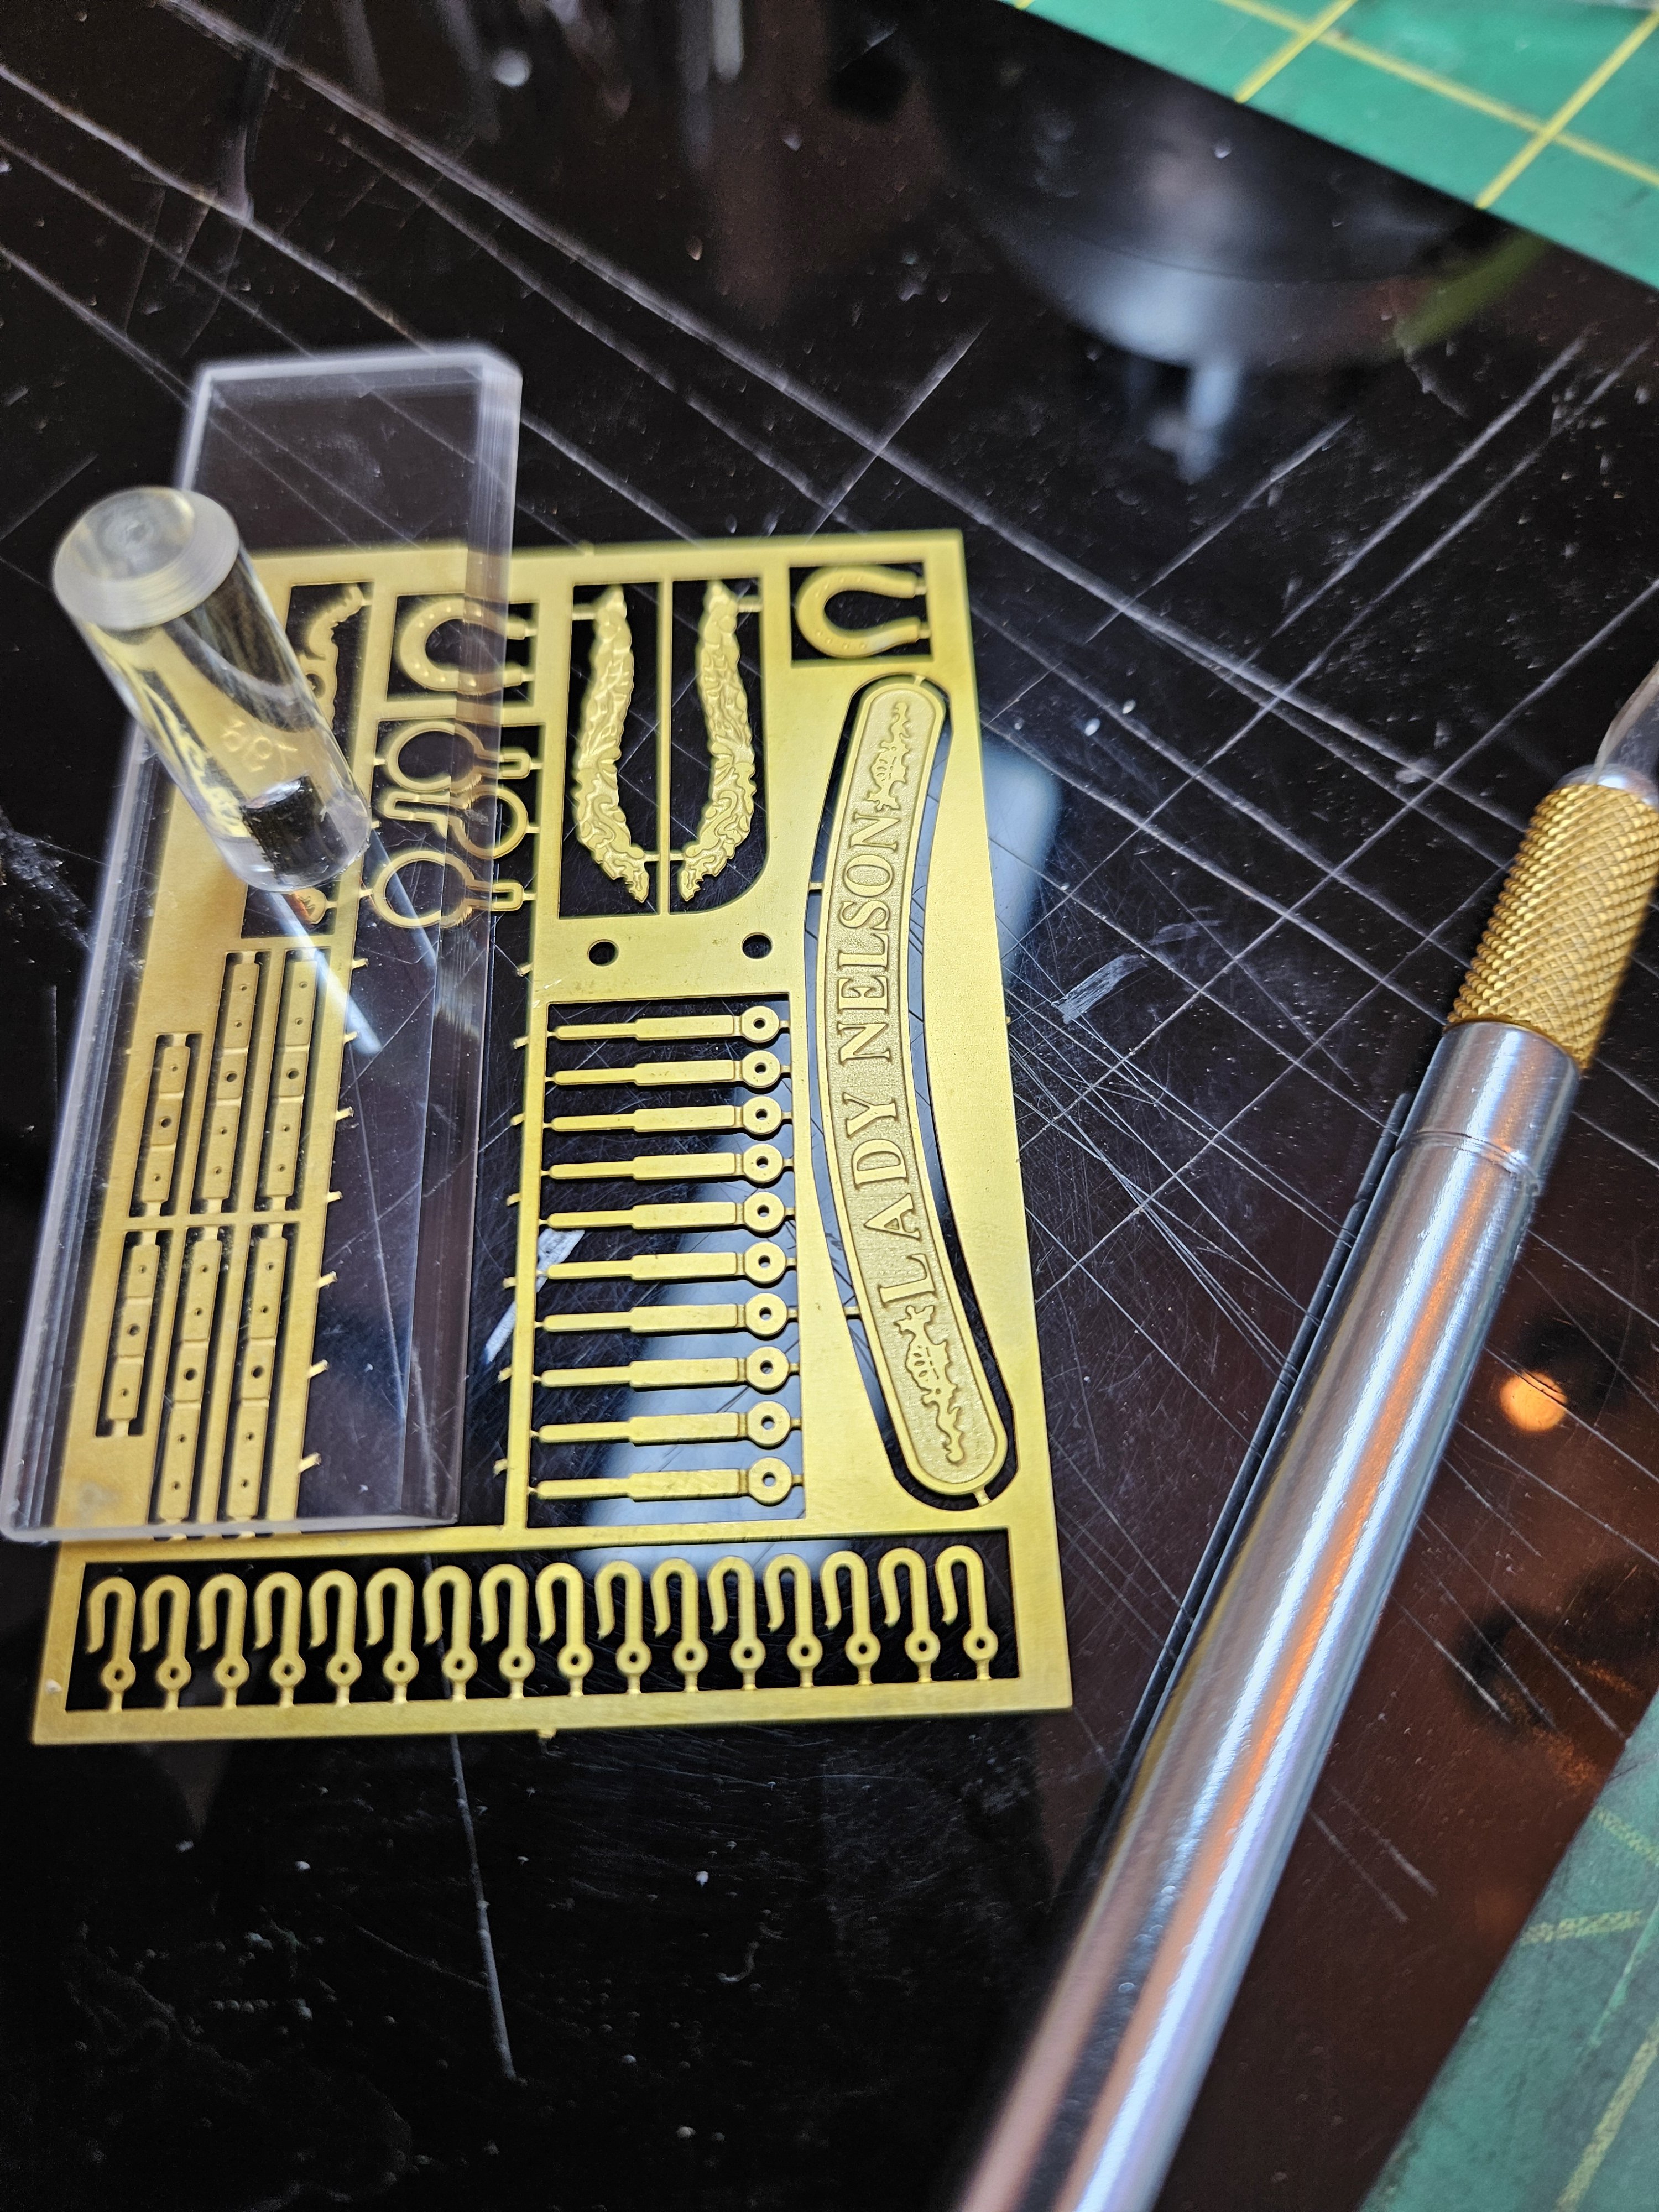
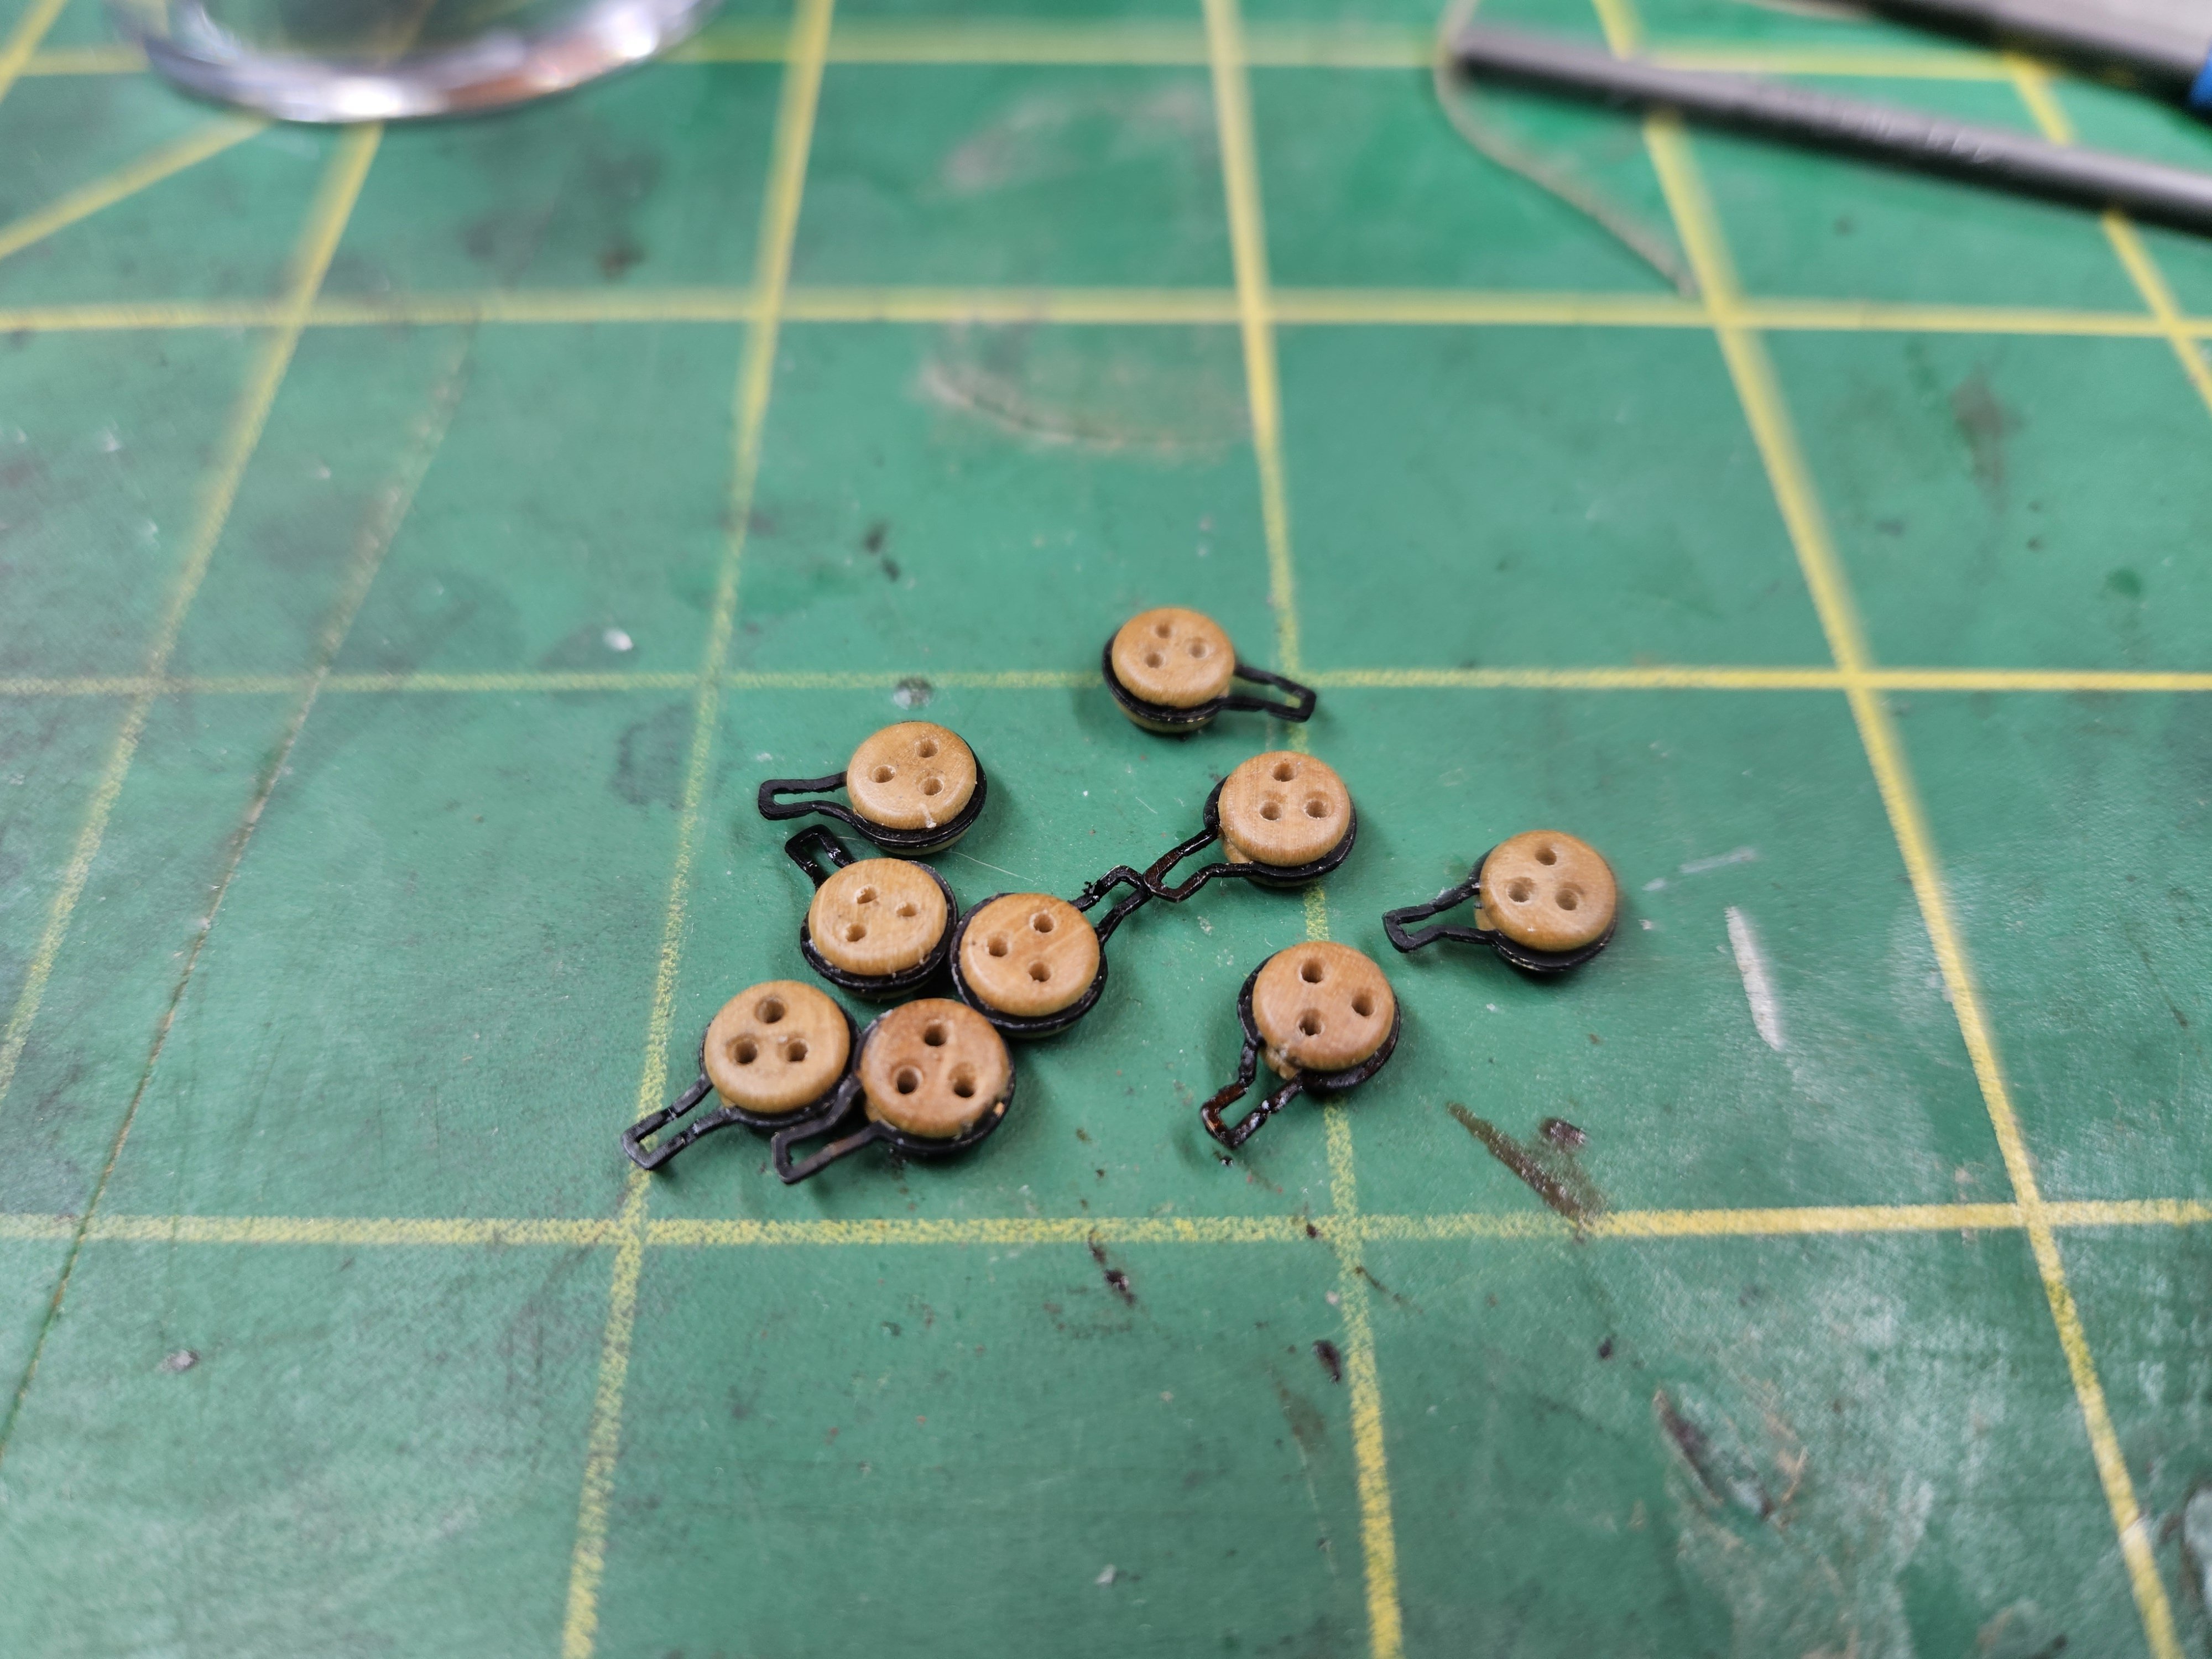
Still waiting for the 1/4"/6mm four jaw chuck key which is required to make the masts and yards, I've been trying to make some progress. So I started by making some hooks out of 22 gauge brass wire, which came out nice enough but they look a little big to me, I'm going to try again with 24 gauge. I probably should have zoomed in more, but I think you can still see that I filed away one side of my round-nosed pliers to be able to make pretty small eyes. I also started on the deadeyes and chainplates, the first thing I did was relieve the edges of the lanyard holes in the deadeyes with a small stone-setting bur. I then expanded the photoetched deadeye strops to fit over the deadeyes, then crimped them down on the deadeyes and painted them black along with the chainplate photoetched pieces. Cutting the P/E on an acrylic sheet with a see-through hold down, two things that help prevent pieces from shooting off into oblivion when cut free,


- 714 replies
-
- 6
-
-
- lady nelson
- victory models
- (and 1 more)
-
Not to mention Trial has studding sails and the lower yards don't seem to be in a square section where the sheaves are, like they are in Petersson and the model you linked. The only conclusion I've been able to reach is that there was very little consistency between cutter rigs, unless we're seeing time period differences that we're not recognizing due to the vague dates of most of the models involved. I'm still pretty stumped on a coherent plan to move forward. I have to choose one of these rigs and I'm still not sure which one is most right for my cutter. The plan Chris put together for LN shows a mast farther forward, taller, with more rake, with three yards on two masts, and it's more simplified than what I want. But I'm not sure either Cheerful or Petersson/the linked model would be more correct.
-
I don't know about that, it's a fungus so if you leave some in you're risking infecting the rest of the holly on your boat. I just don't see that a little bit of realism (even if we grant that it is) is worth the risk of spoiling an entire project.