


Ulises Victoria
-
Posts
1,790 -
Joined
-
Last visited
Content Type
Profiles
Forums
Gallery
Events
Posts posted by Ulises Victoria
-
-
-
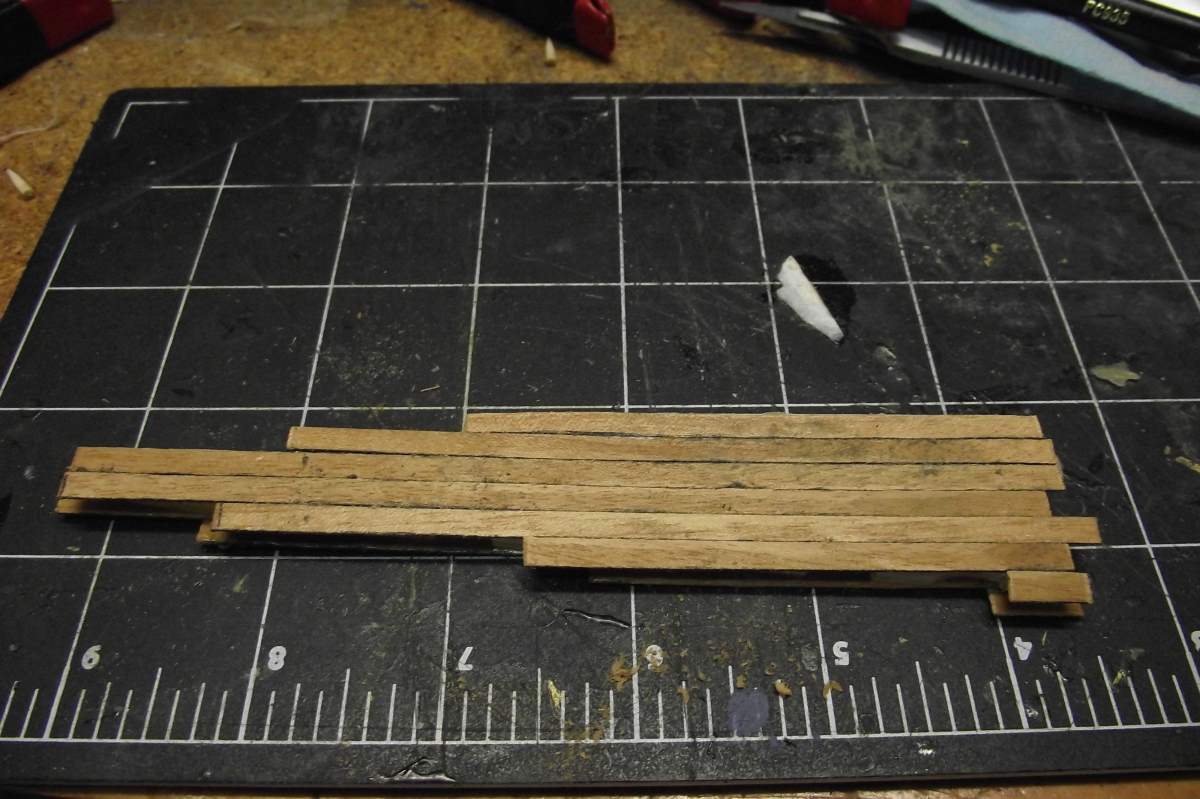
Hello mates!!! Small update: Building the rudder.
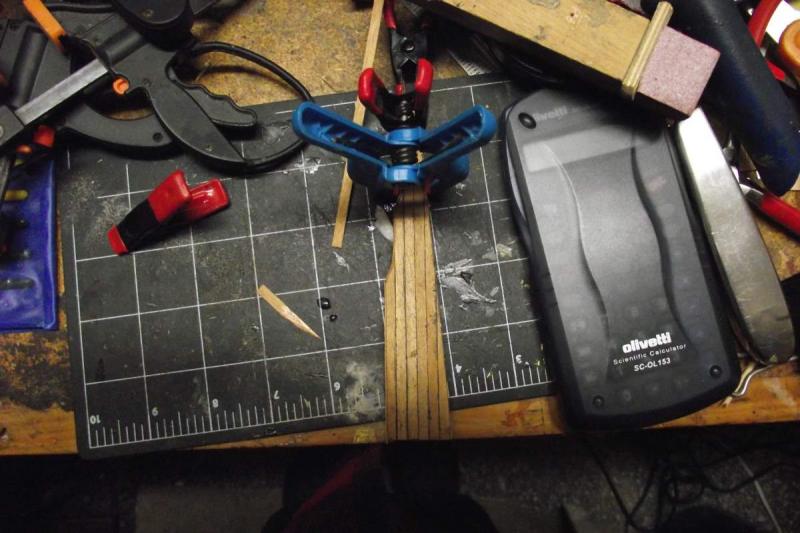
Start of planking the wooden template

Believe it or not, there is a rudder underneath


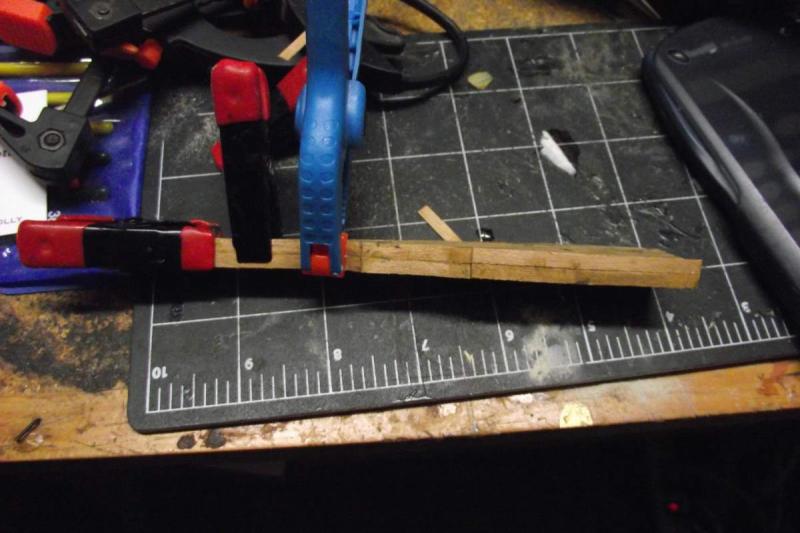
Planking the rear most part. Since I couldn't get a piece of the same wood wide enough to cover the entire surface, I'm using two strips side by side.
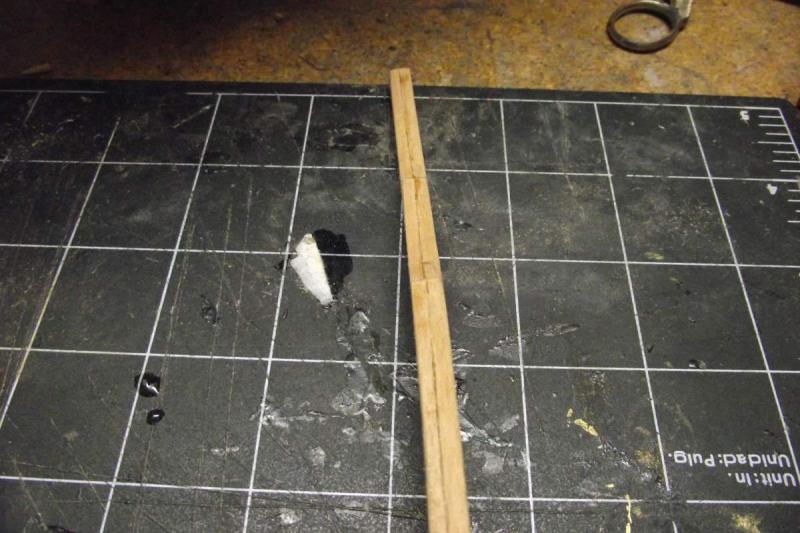
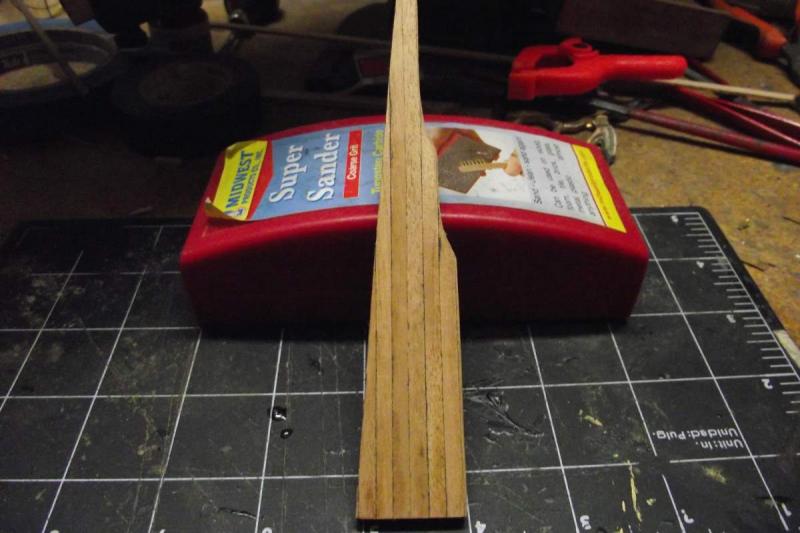
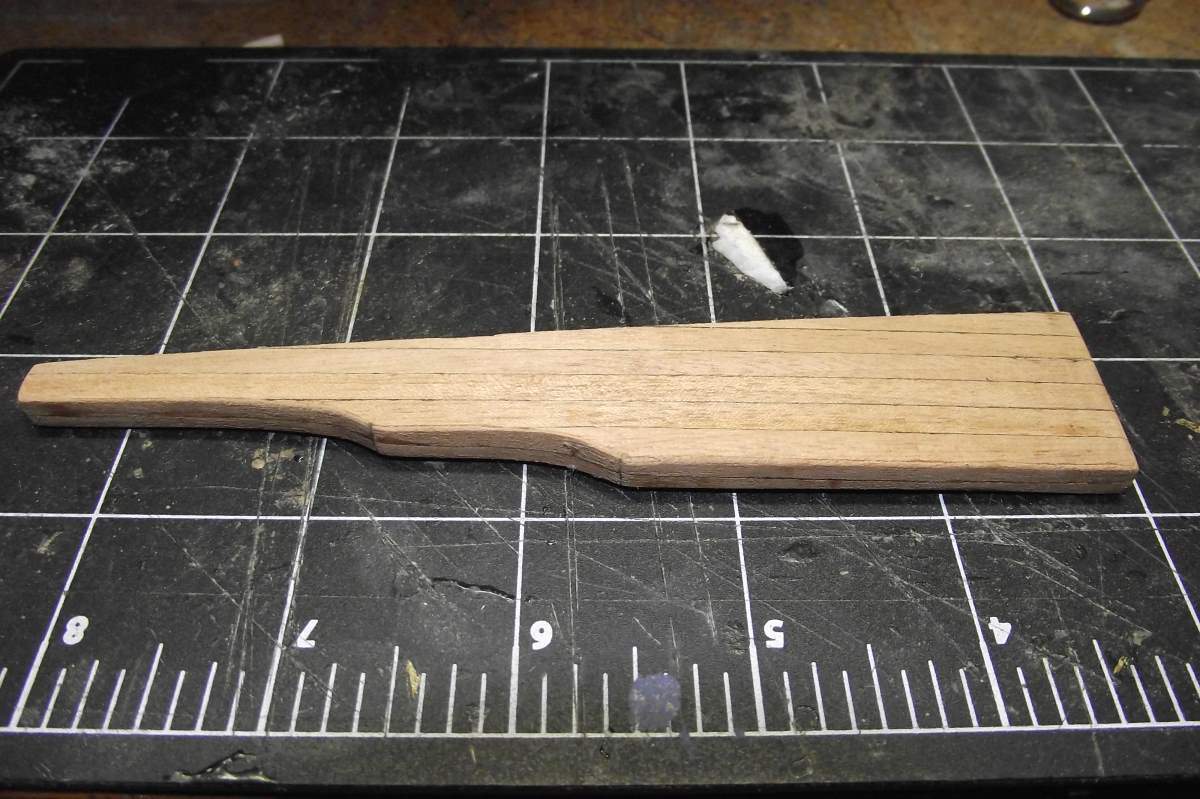
Taking shape

And finished shaping, with a coat of Tung oil applied.
Next update will be the process of carving the hinges openings, placing the hinges in place and fixing the whole structure in place, a process I am not very fond of.

- marktiedens, mtaylor, WackoWolf and 5 others
-
 8
8
-
- Canute, EJ_L and Daniel Dusek
-
3
-
-
Hi Guys,
The Royal Louis will be one of the last released kit but it is because I would like to redesign and modernized it quite a lot
 .
.Daniel
That is going to make me cry!!!

- EJ_L, mtaylor, Daniel Dusek and 3 others
-
6
-
-
Hola Mike:
You are completely right, the important thing is to enjoy any step of the construction and not necessarily to finish it!! Indeed, when you acomplished your model end there is some sadness.
Saludos, Karl
To me, the best part of finishing a model, is that I can start a new one!!!
Karl, excellent work. I'm starting the construction of the rudder in my RL: Will steal some ideas from you!
-
Update. That transom rail or whatever that is, finished.
Next step: The rudder.


Thanks for watching!
- marktiedens, CaptainSteve, ScottRC and 8 others
-
11
-
-
-
Hello mates.
After a really long period without an update, I'm finally breaking the procrastination shell and here I am.
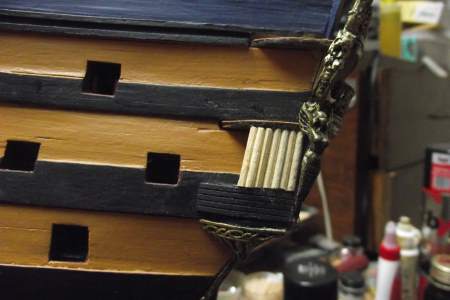
These have been really tough months for me. My sister's surgery and other severe family stuff prevented me from building. I was just not in the mood. And when I sat to build I faced the problem of those quarter galleries which gave me nightmares for months. In the end, they are not what they were supposed to be, as you will see. I had to improvise and the result is nothing I am proud of.
One thing is sure, nobody can say I didn't try. I tried aluminum, brass, plastic, wood, cardboard, epoxies, nothing seemed to work. So here it is. This will have to do. Please be lenient.
One thing that makes me happy is that finally I left that behind and I am now moving on with my build. Just one more sheet of instructions covering some deck furniture and fittings, and masting and rigging is on sight.
Cheers!!!
At first I tried to fill that space with toothpicks
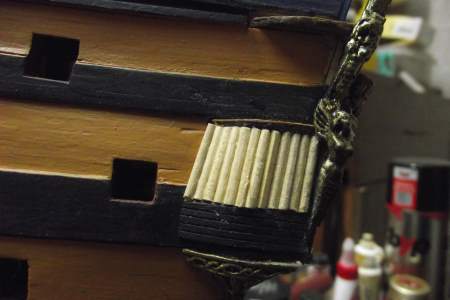
I later removed that and used a piece of prescribed balsa which seemed to work better.
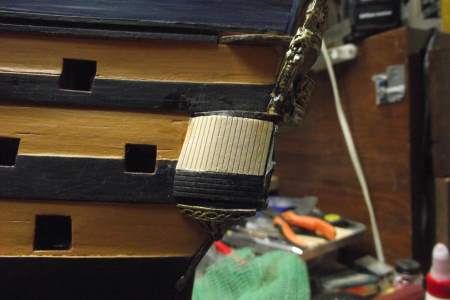
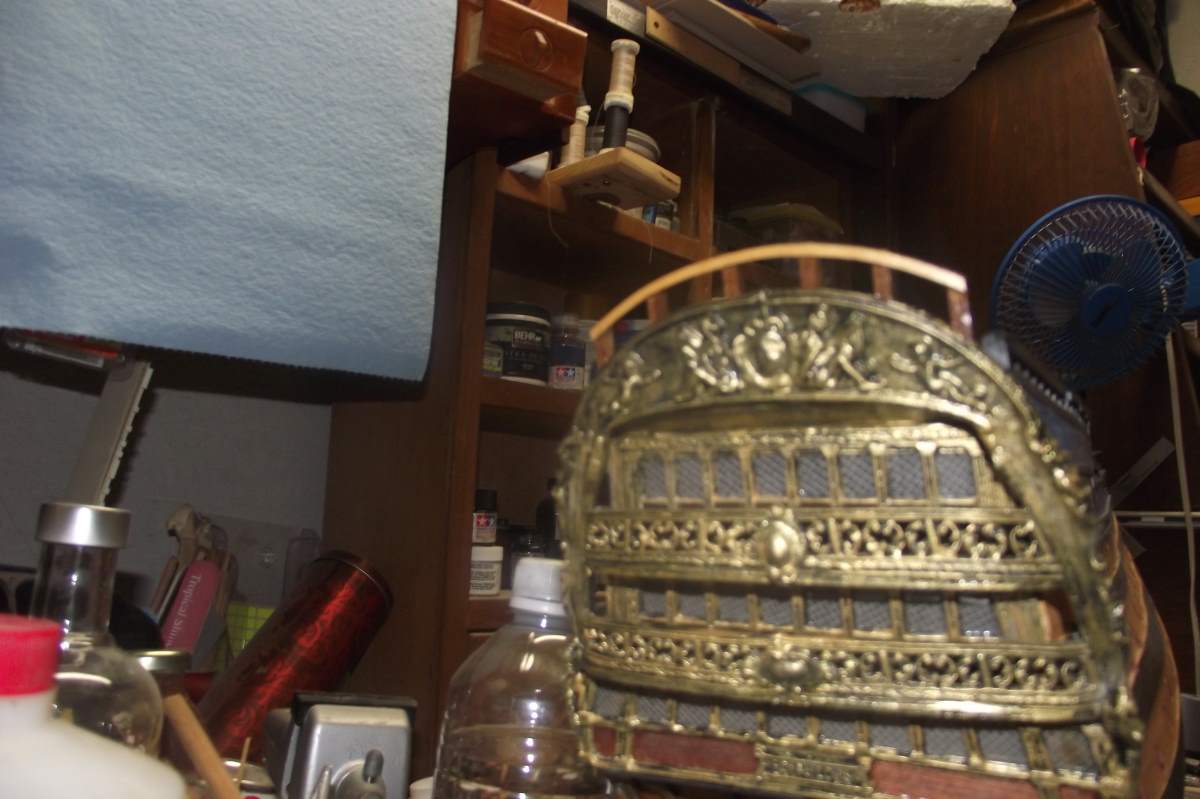
This is the finished starboard gallery
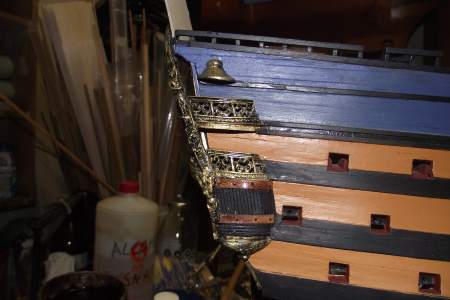
And the port one.

Now move on!!!
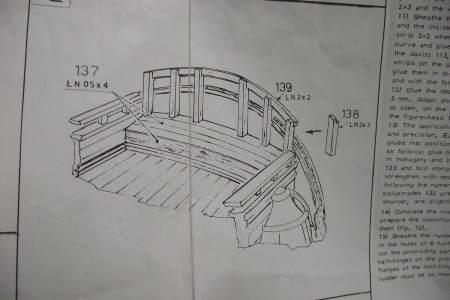
Next is to build this structure on the deck.
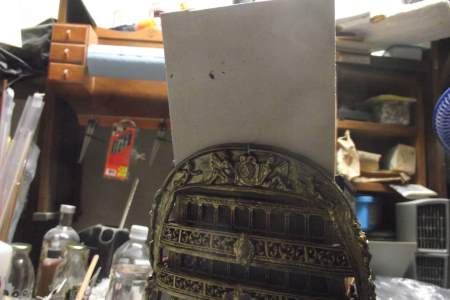
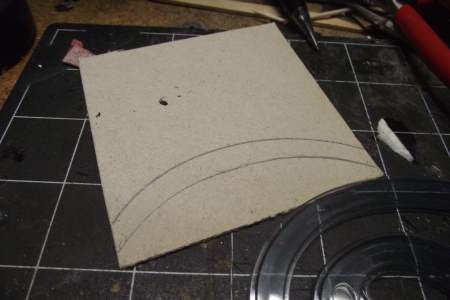
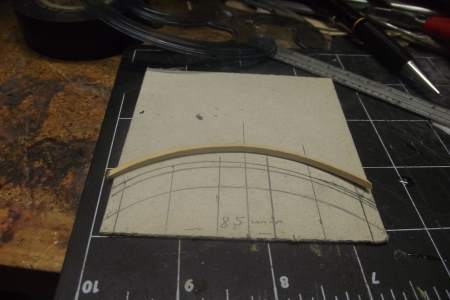
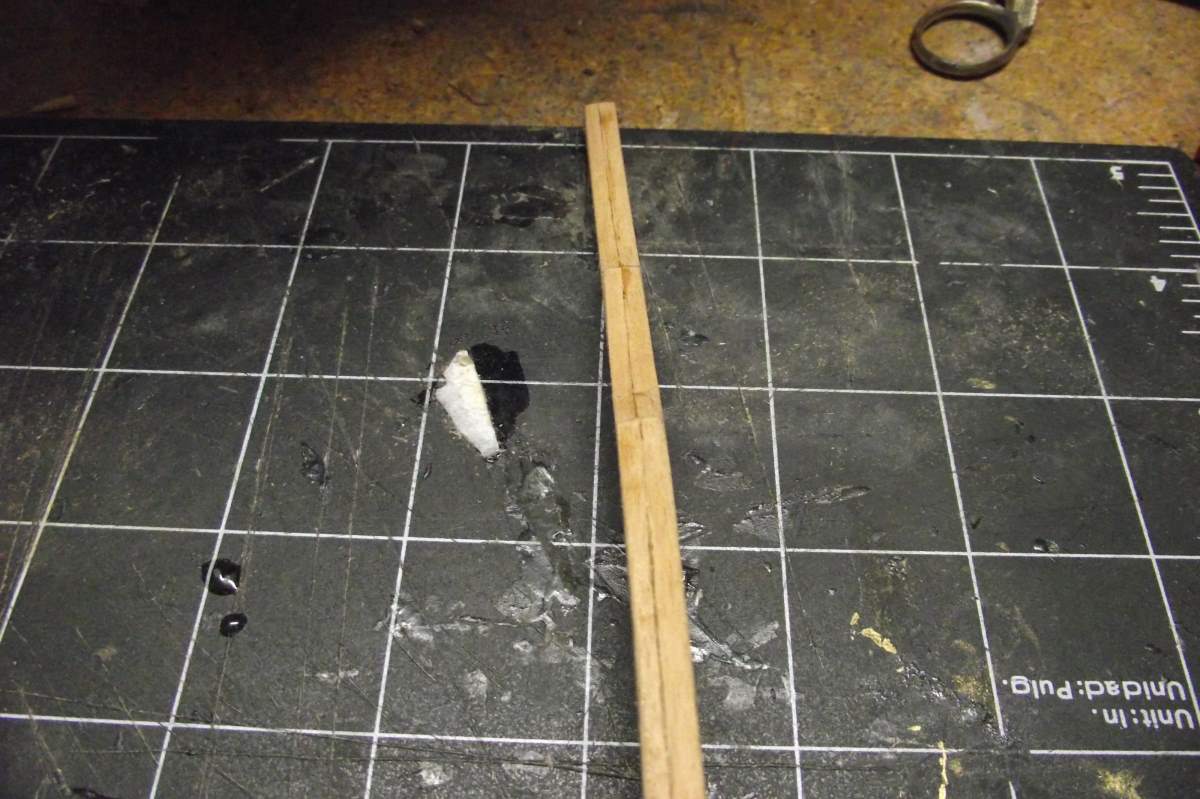
Making a template of the curve.
Finally found some use for that set of French Curves I bought long time ago.
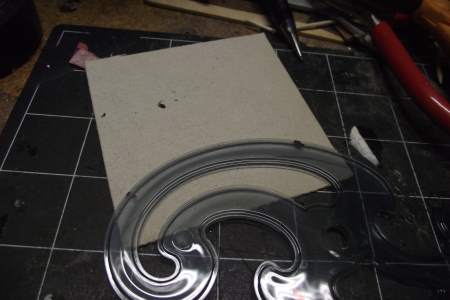
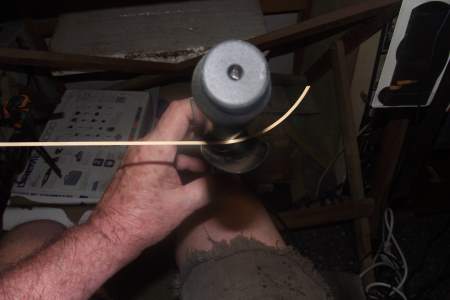
Using one of my favorite non-hobby-specific tools: A ladies large hair curler, used to bend wood.
The parts are roughly dry fitted over the template.
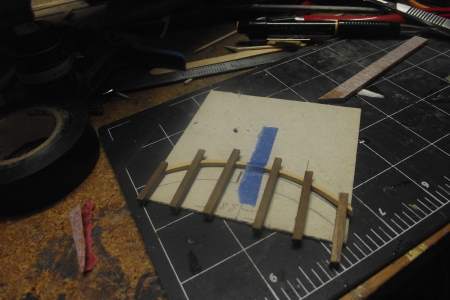
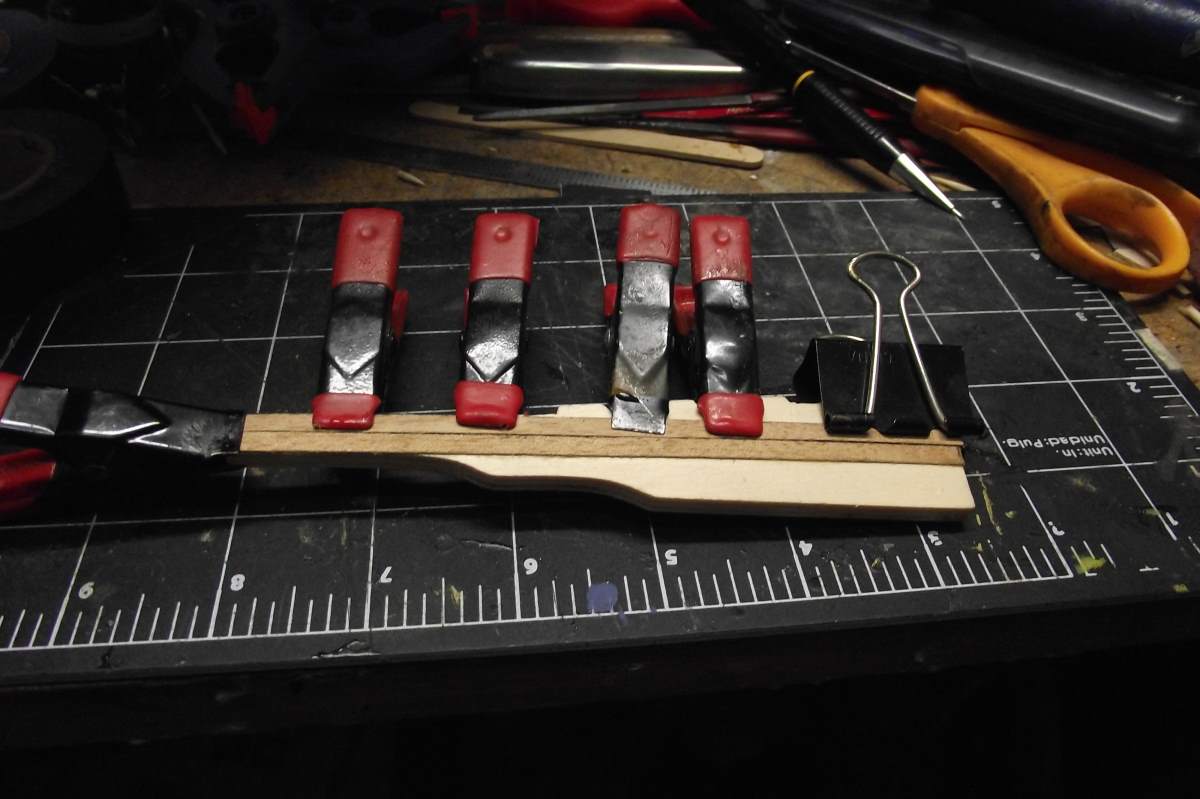
... and I will leave you in suspense until the next update... muahahahaha

I plan to finish this part tomorrow.
See you all.
Best regards.

-
A "Redo" is not a failure, it's another opportunity to get it right...something life rarely affords us.
Bill
Truer words were never spoken!!!
Ulises
- Chuck Seiler and mtaylor
-
2
-
Hello. Hope am not too late. Check this for butt end patterns
http://modelshipworldforum.com/ship-model-framing-and-planking-articles.php Look for article: Simple Butt-Shift Deck Planking
And for the treenails, if you must absolutely have them, drill the holes (properly aligned) with the smallest drill you have, or as someone said, just punch them with a sharp point. I use a drop of Boiled Linseed Oil (maybe can use some other stuff like varnish, but I have never tried it) on a piece of very fine sand paper, sand over the holes. The dust will mix with the BLO filling the holes and leaving a very subtle spot of the same wood.
Hope this helps
-
-
Looking good, Sjors. To paint those raised letters I would use the dry brush technique. Dip your brush in the paint and then pass it several times over a paper until you see that the brush is not painting anymore. The brush still contains minute amounts of paint. Go to pass it now over the letters. If at first you see nothing happening Good Sign!!! Keep doing it and slowly you will see the letters starting to enhance. You can later touch up areas that got paint where they shouldn't.
I hope this makes sense and helps!
Best,
Ulises
Edit: Oh, and foremost: Experiment off the ship whenever possible!!!
-
Hi Bill. There is a technique called weathering, intended to make things like cars, tanks, ships, etc. to have a weathered, abused look, which can be used to make something look very old. I have used it extensively in my plastic building days. It involves a technique called "dry brush".
Not sure if this is something like what you are looking for. Please look at post #5 in this thread.
http://modelshipworld.com/index.php/topic/3962-how-to-make-plastic-look-like-wood/
Please let me know if it is and if you need further explanations.
Best regards
Ulises
- mtaylor, CaptainSteve, Canute and 1 other
-
4
-
-
-
I agree with you Mike in the point about high/low contrast treenails on deck. When I started building wooden kits, the high contrast seem to me the way to go, but as experience is gathered, the opposite is now true.
In fact, what I do now, is drill small holes with the smallest drill I have, then put some drops of Boiled Linseed Oil on a piece of very fine sandpaper and use it to sand over the holes. The BLO mixes with the dust filling the holes and leaving a very discreet spot.
Hope this helps.
Ulises
-
-
Very neat my friend. I never learned how to do those drop strakes. Yours look very good.
Felicidades!
Ulises
-
-
-
The problems I am encountering using varnish as an adhesive are:
1. I'm not sure how secure of a bond is created between a synthetic fly tying thread and a cotton/linen rigging line with varnish.
Strong enough. Since they are static, not working items, a minimal amount of strength is needed.
2. It would be nicer to have something that can be applied when the knot is tied, bonds pretty quickly, and doesn't require cleanup.
Hmmm.. this is exactly how I work with varnish. Never needed clean-up
.


Just picked up the AL 1:48 HMS Surprise
in Wood ship model kits
Posted
Thanks for the link Paul.
I just downloaded all 28 .pdf files of the instructions. Not sure if they will be useful when building the AL Surprise, but still, they will not harm!!!
I have no plans to build this behemoth in the near future. My present working space wouldn't allow it. A 1.33 m ship needs a real workshop to be built!!!
And yet, the 1/64 Victory by Amati, at 1.60something is still in my wish list. Odd, ain't it?