James H
-
Posts
5,549 -
Joined
-
Last visited
Content Type
Profiles
Forums
Gallery
Events
Everything posted by James H
-

Spell Check
James H replied to allanyed's topic in How to use the MSW forum - **NO MODELING CONTENT**
You should be able to select those words and simply add them to your computer's dictionary so they don't show in error again. -
Spell Check
James H replied to allanyed's topic in How to use the MSW forum - **NO MODELING CONTENT**
Your spellchecker will always be a part of your own personal computer system and not anything we operate. -
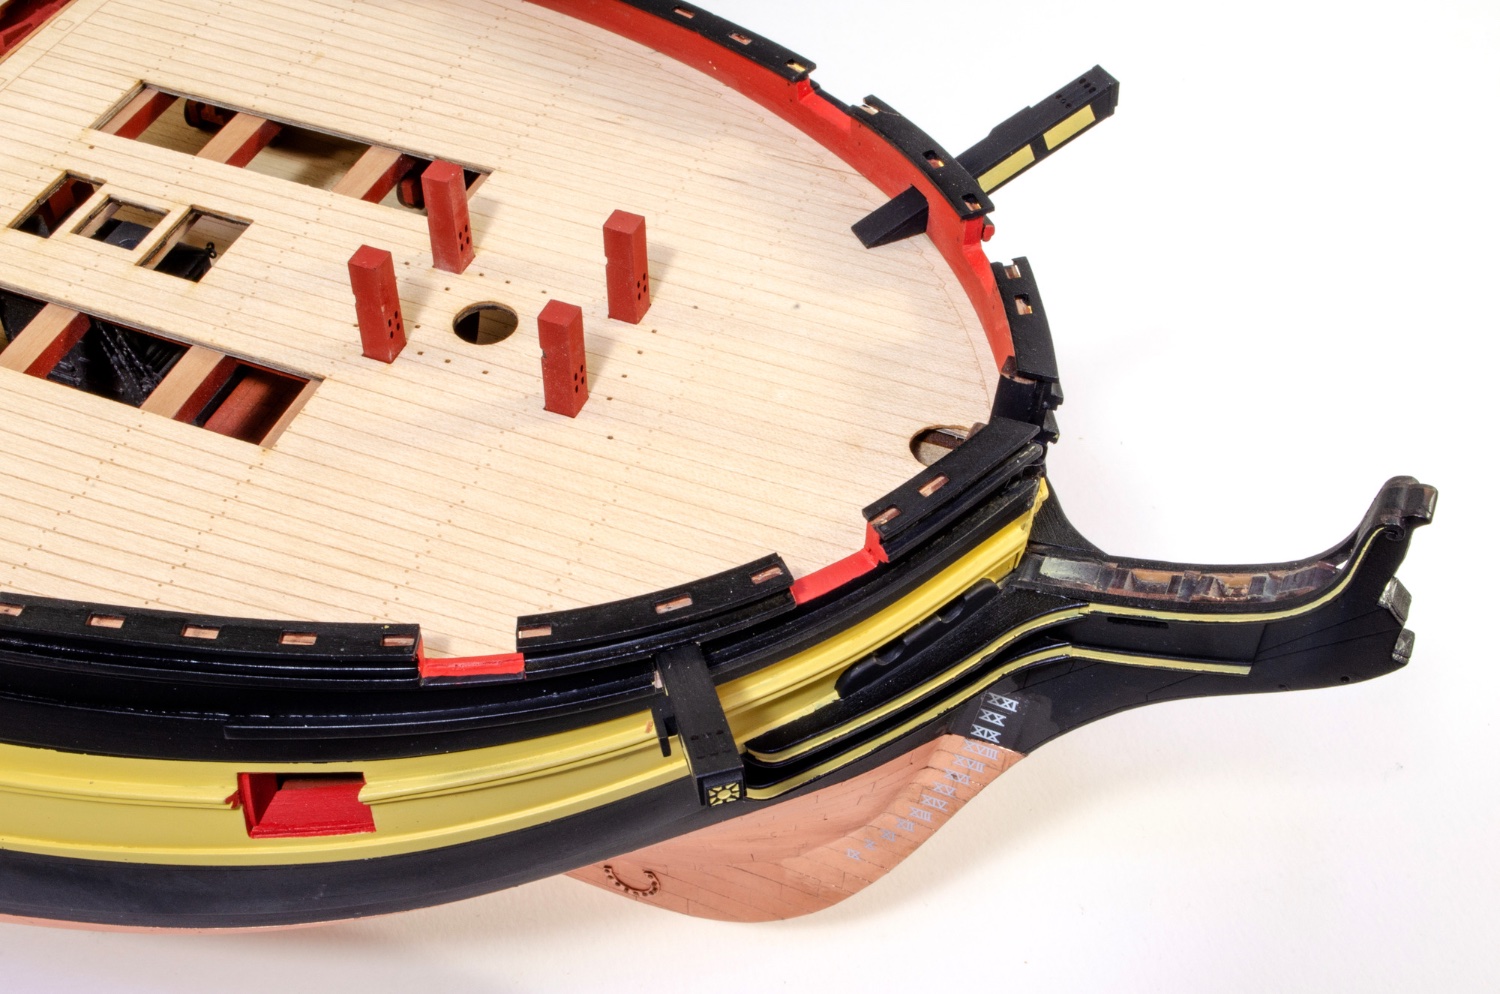
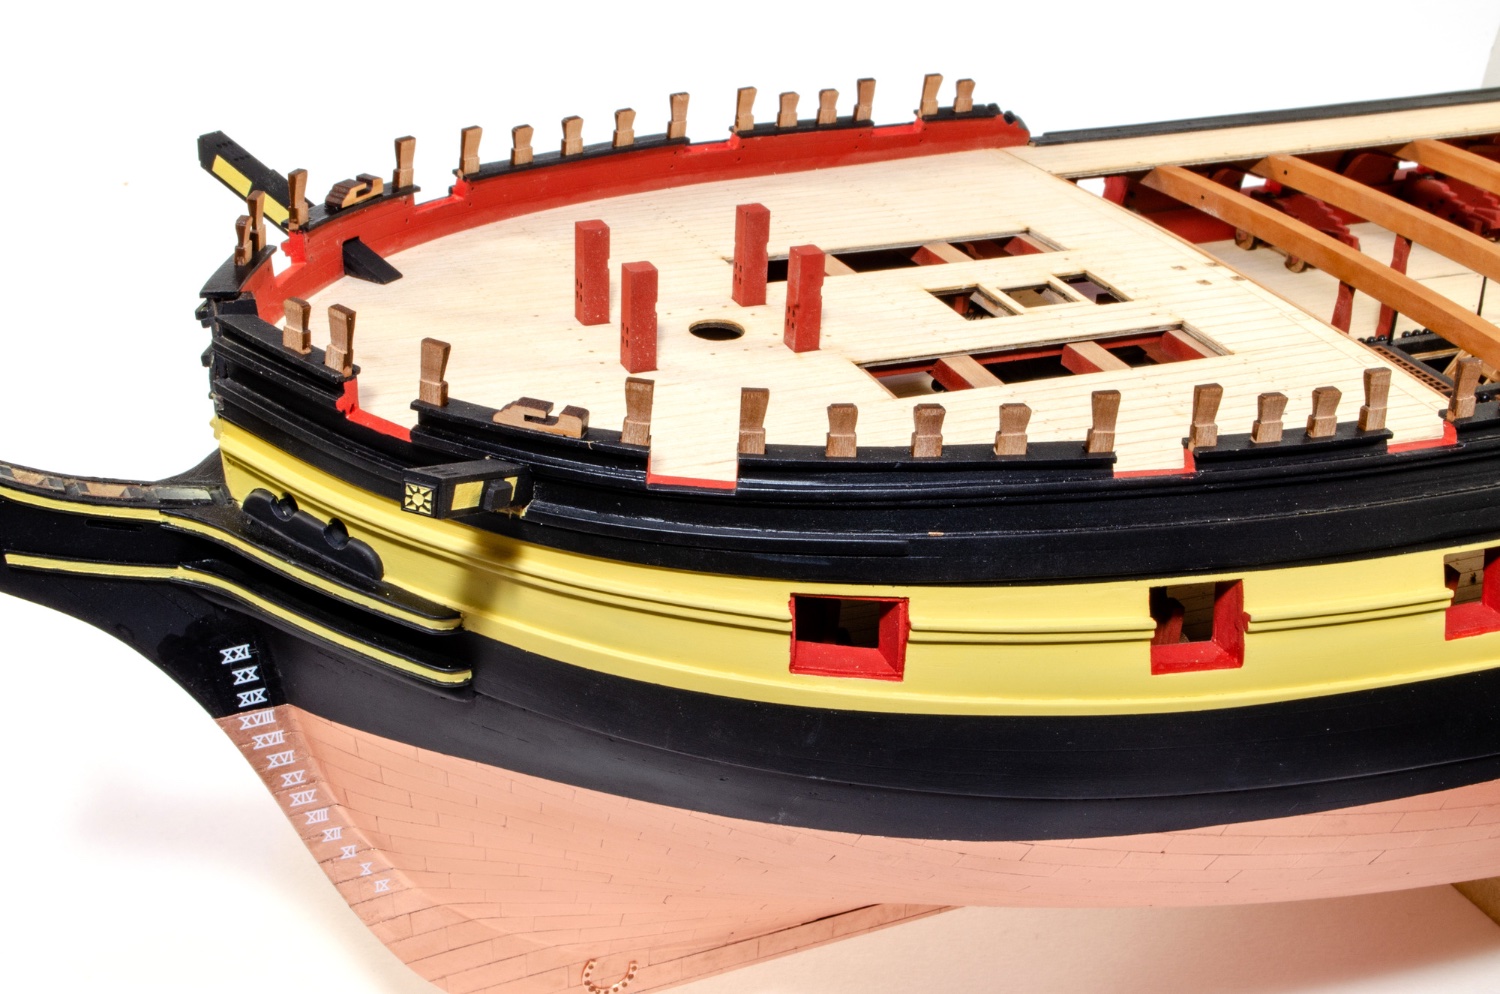
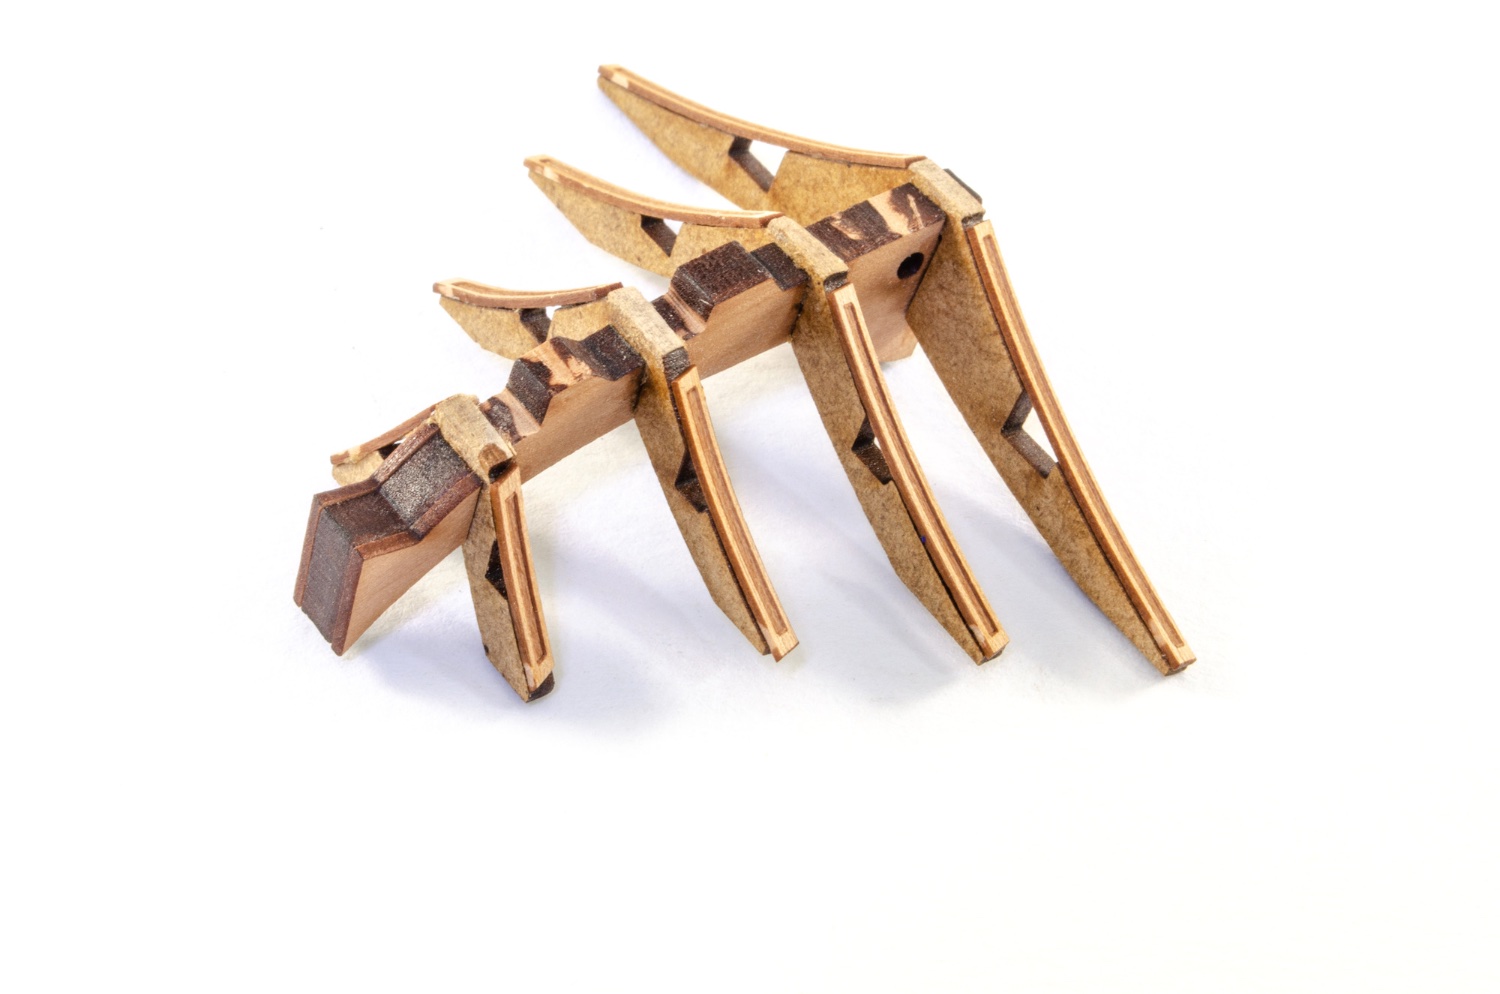
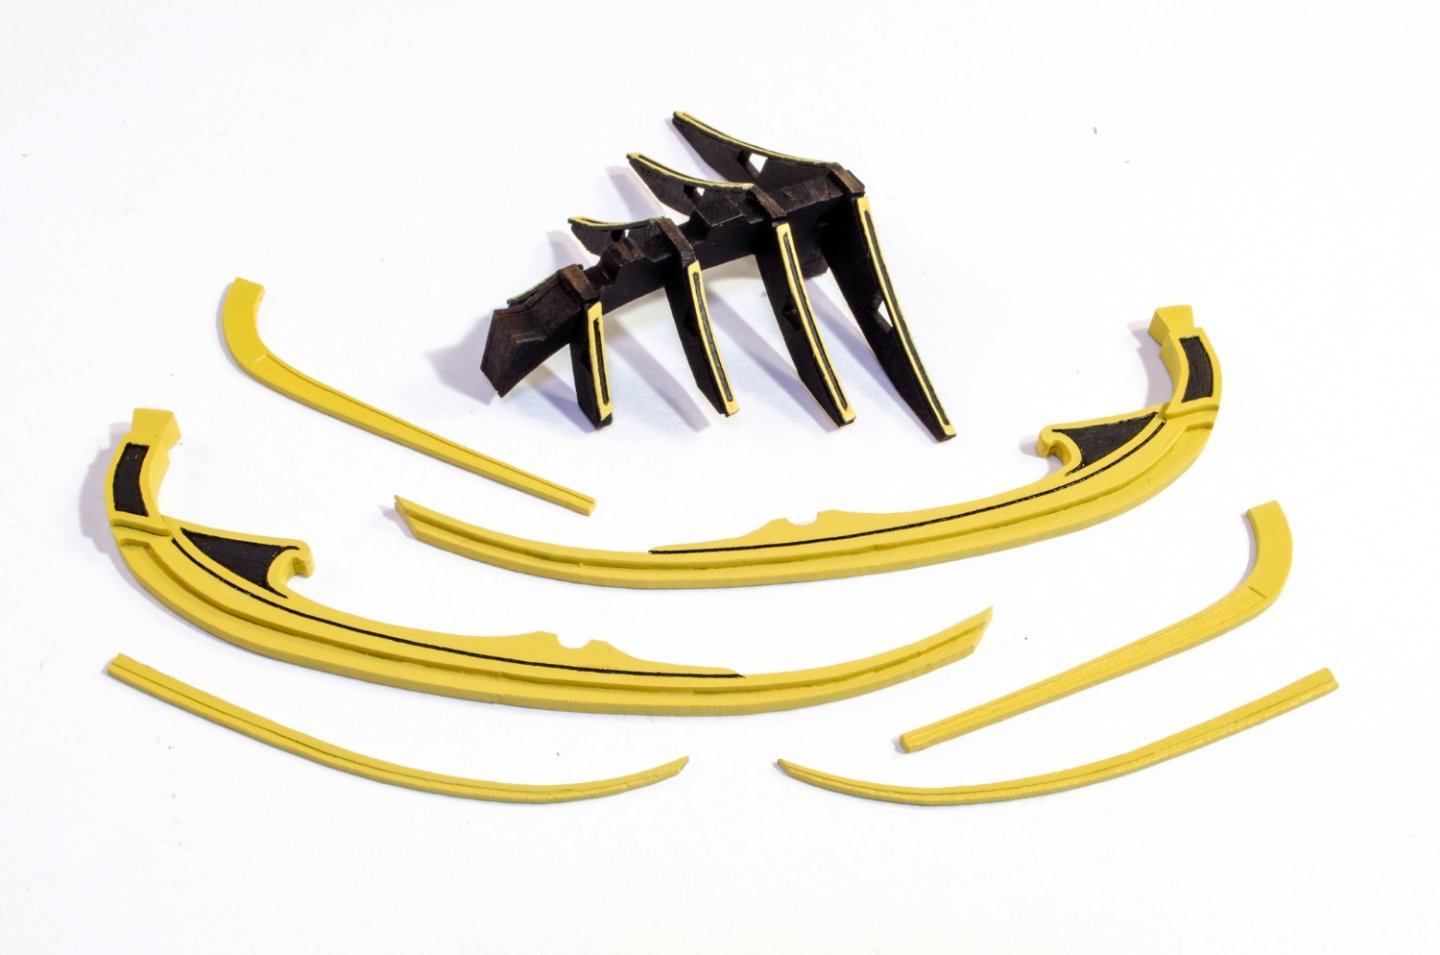
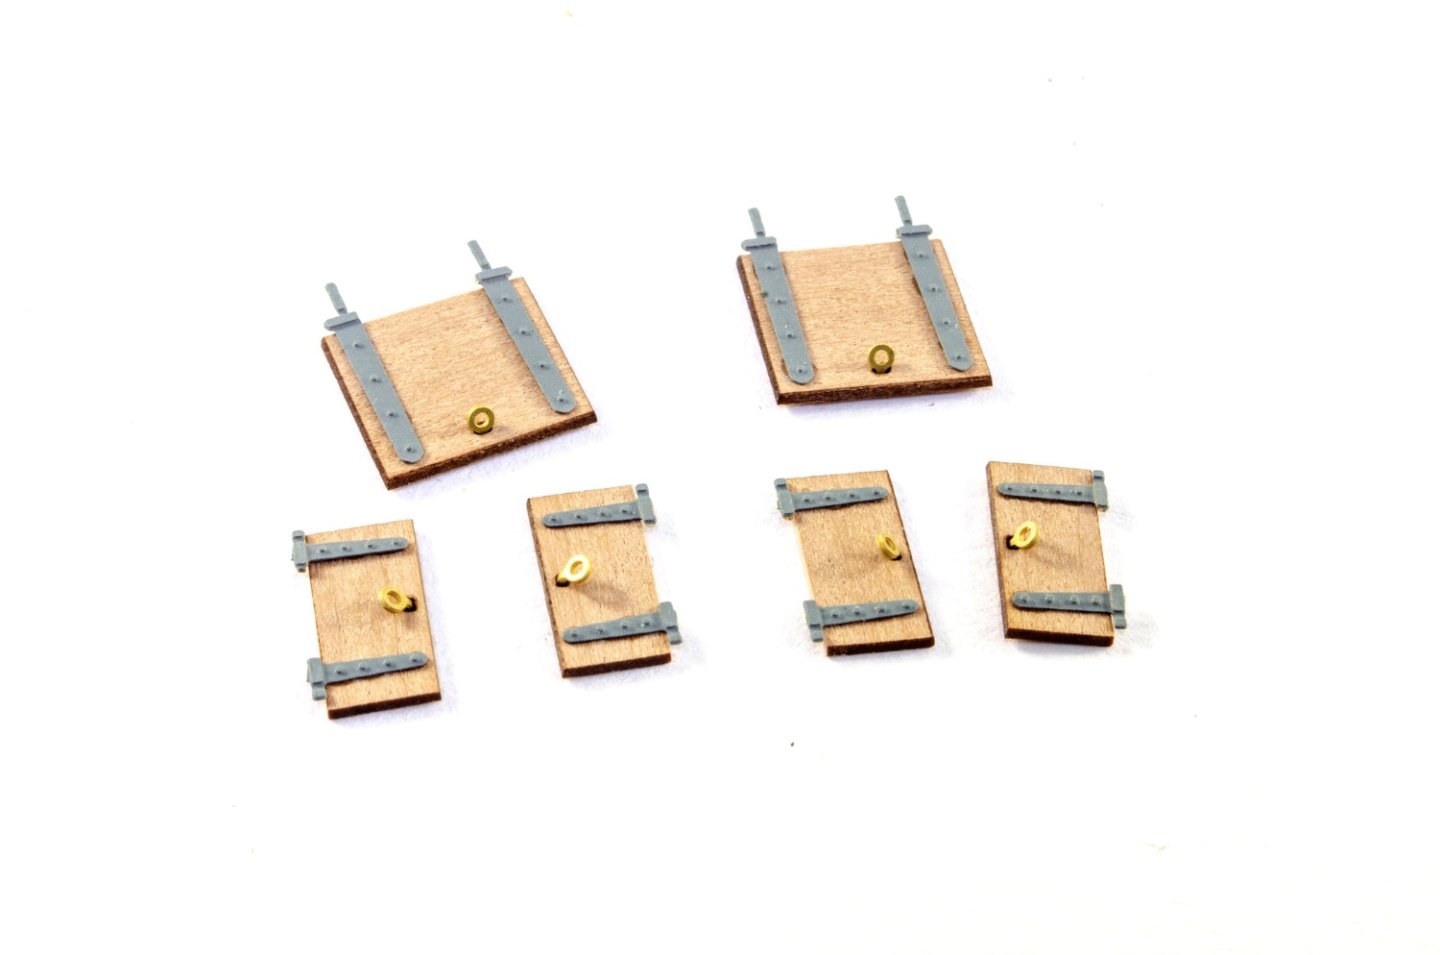
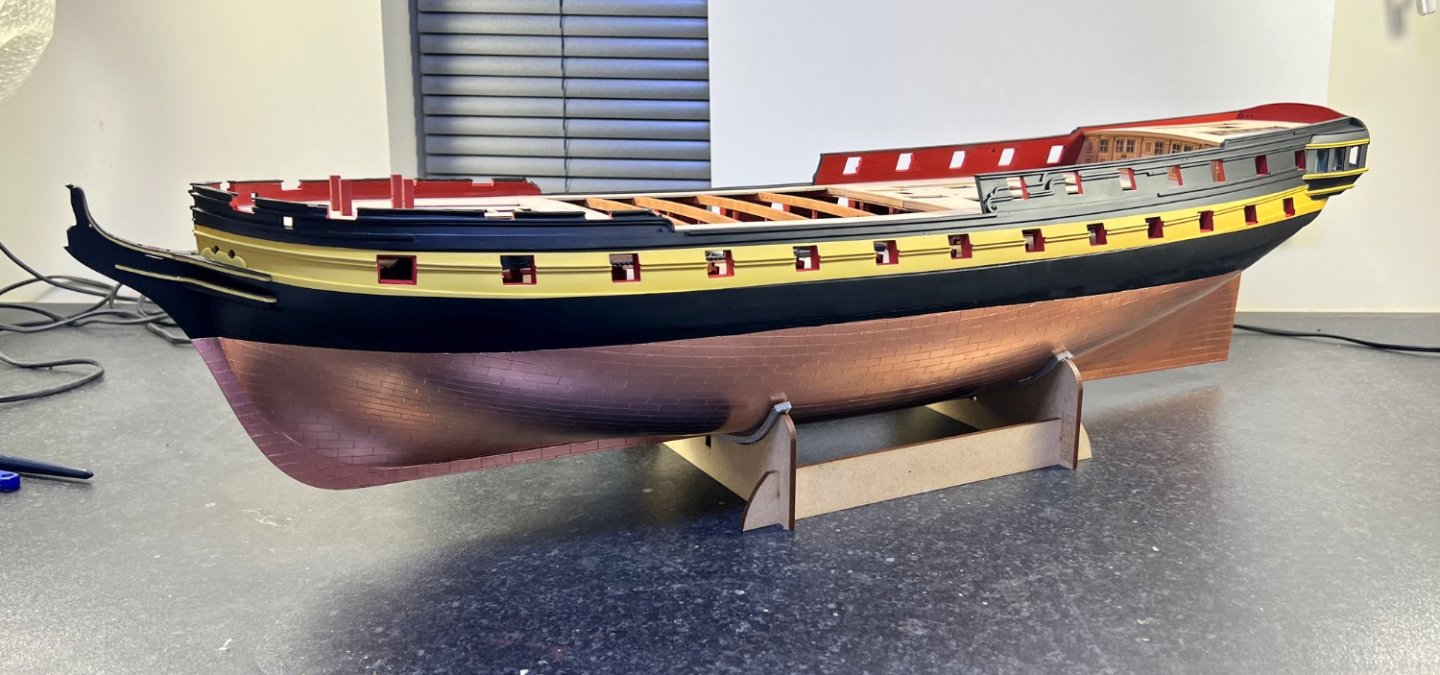
A confession: I have to start this update with me being given a gentle nudge as to painting reminder about painting convention when it comes to the head timbers. I painted them in black, with ochre insets where the engraved areas were. Whoop! That should almost all have been inverted! I painted the original way because it seemed the logical way, but nope... Here are the newly painted timbers. You'll note that some are now entirely ochre. This is how it should be, if using those conventions. I used a 0.1mm black Edding pen for some details. With Indy, the waterline marks are supplied as waterslide decals. I used a setting solution with these so that they help to conform to any surface details. First of all though, the application area was painted in gloss varnish. Remember...don't decal to a matt surface! The catheads are now finished and installed to the model. A small section of rail below the cathead, is removed. One of the parts leading to the head timbers will slot under there, with the curved knee sat over the upper edge. Lastly for now, the timberheads are installed to the gunwales. These are first shaped slightly. Until later...


- 473 replies
-
- 51
-

-

-

-
- Indefatigable
- Vanguard Models
- (and 1 more)
-
Those look just amazing 😁
-
Their packing is superb. Full credit for how they ship stuff.
-
Tuning Copper sheathing
James H replied to allanyed's topic in Building, Framing, Planking and plating a ships hull and deck
I'm not too sure. I used to work in engineering and I heard panel beaters/fitters refer to material as being 'tuned', meaning made to properly fit. But of course, this didn't refer to hull coppering. -
You know what to do! 😆 https://vanguardmodels.co.uk/product/hms-indefatigable-1794/
- 473 replies
-
- 11
-
-
- Indefatigable
- Vanguard Models
- (and 1 more)
-
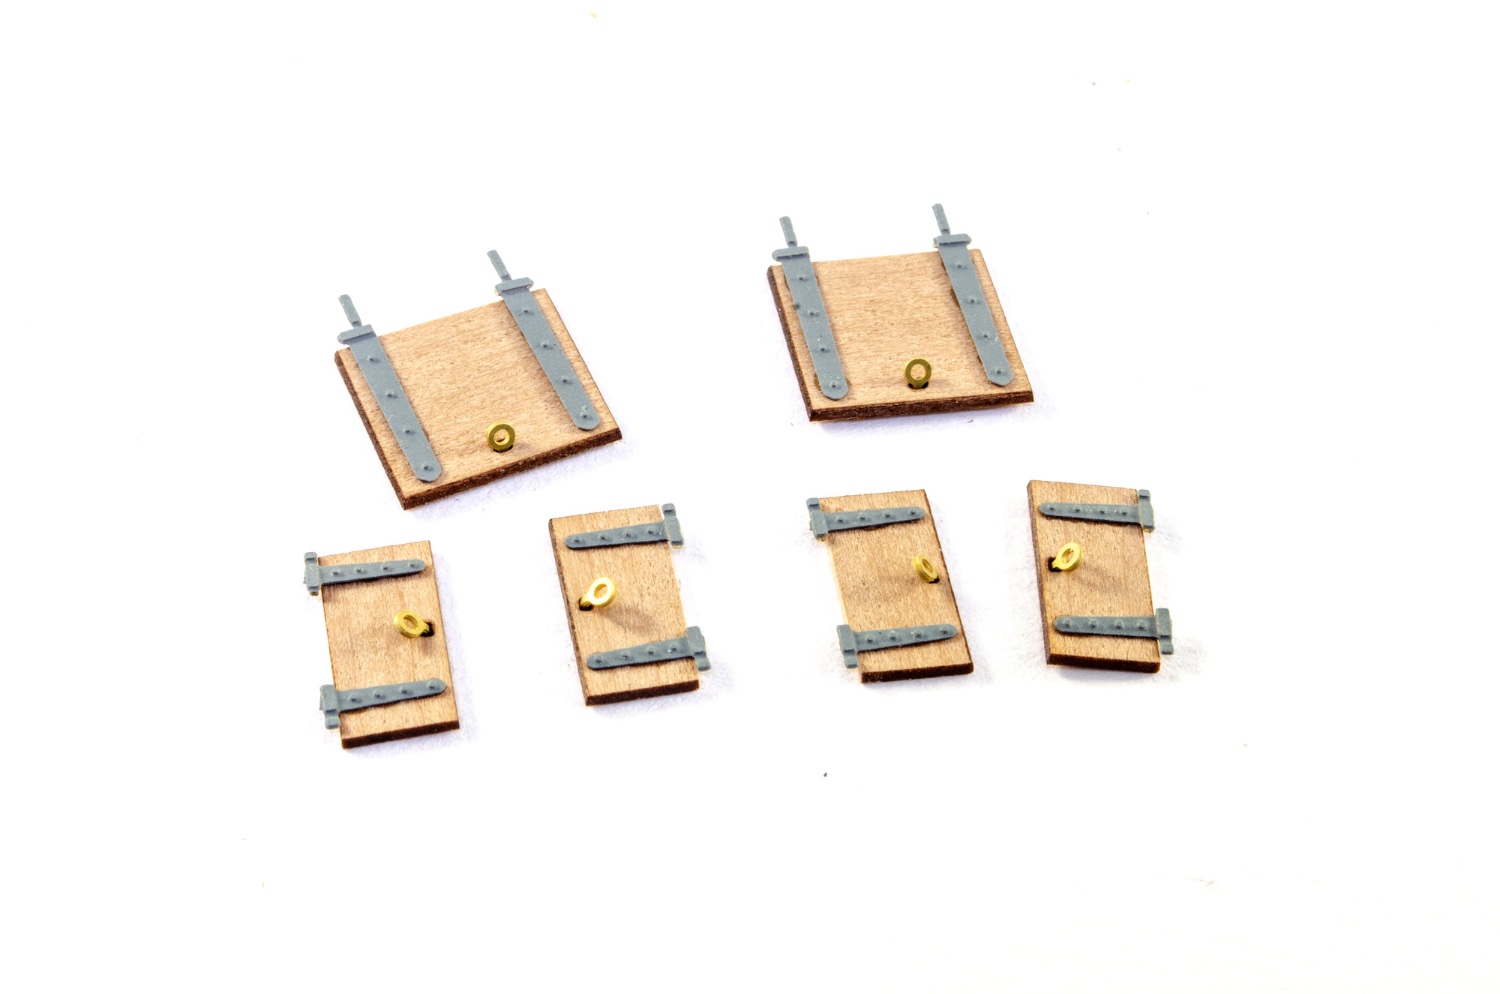
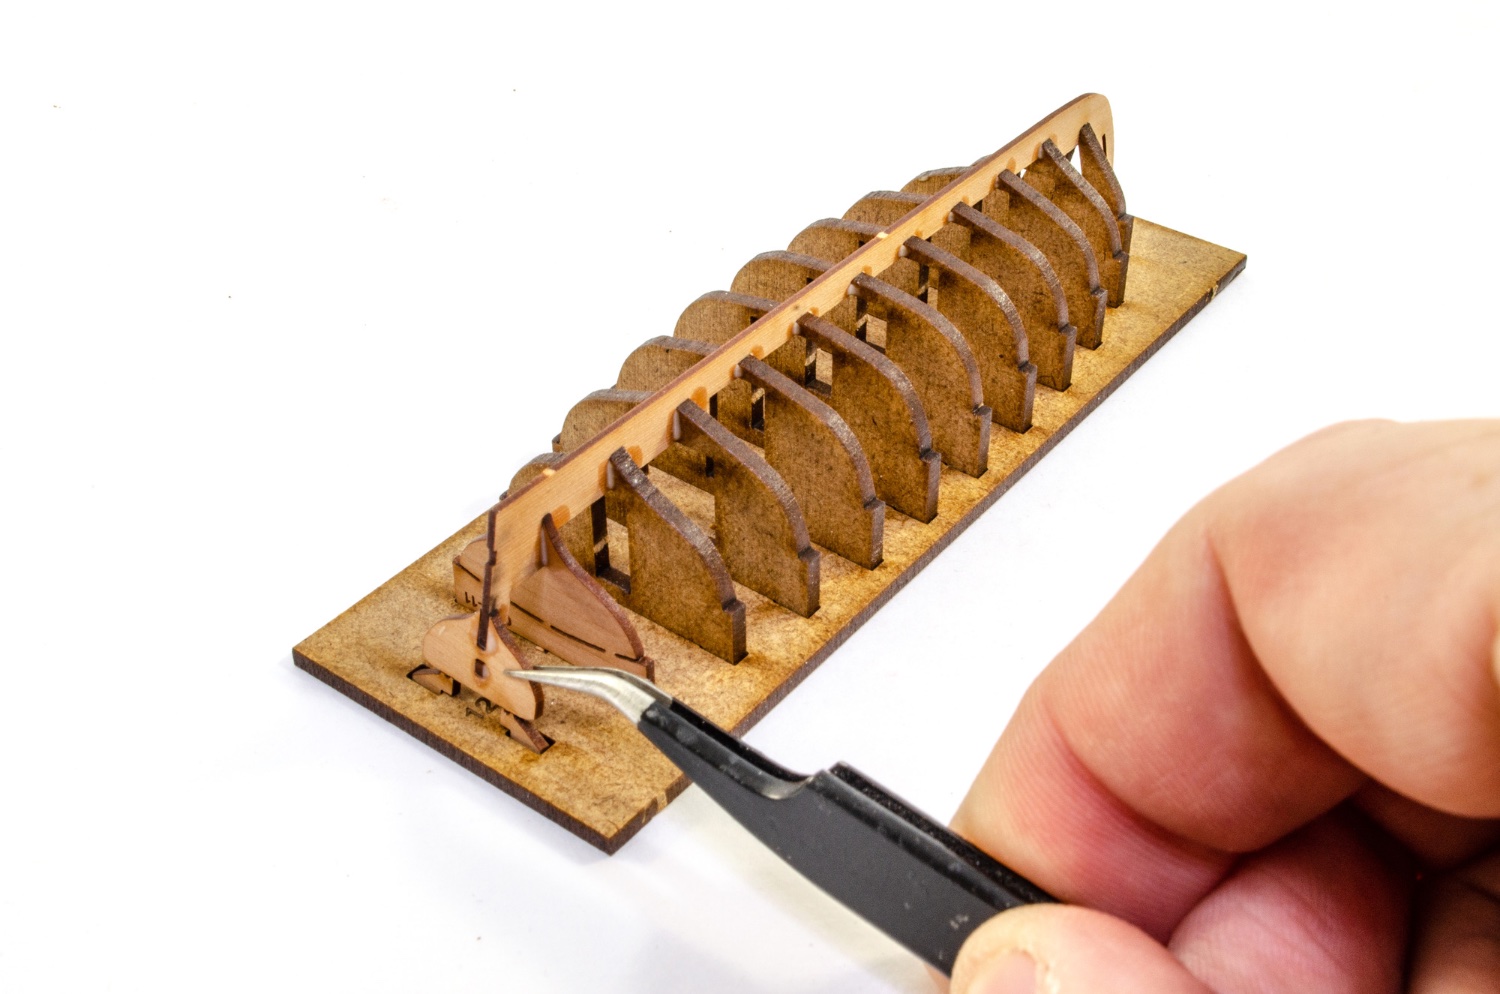
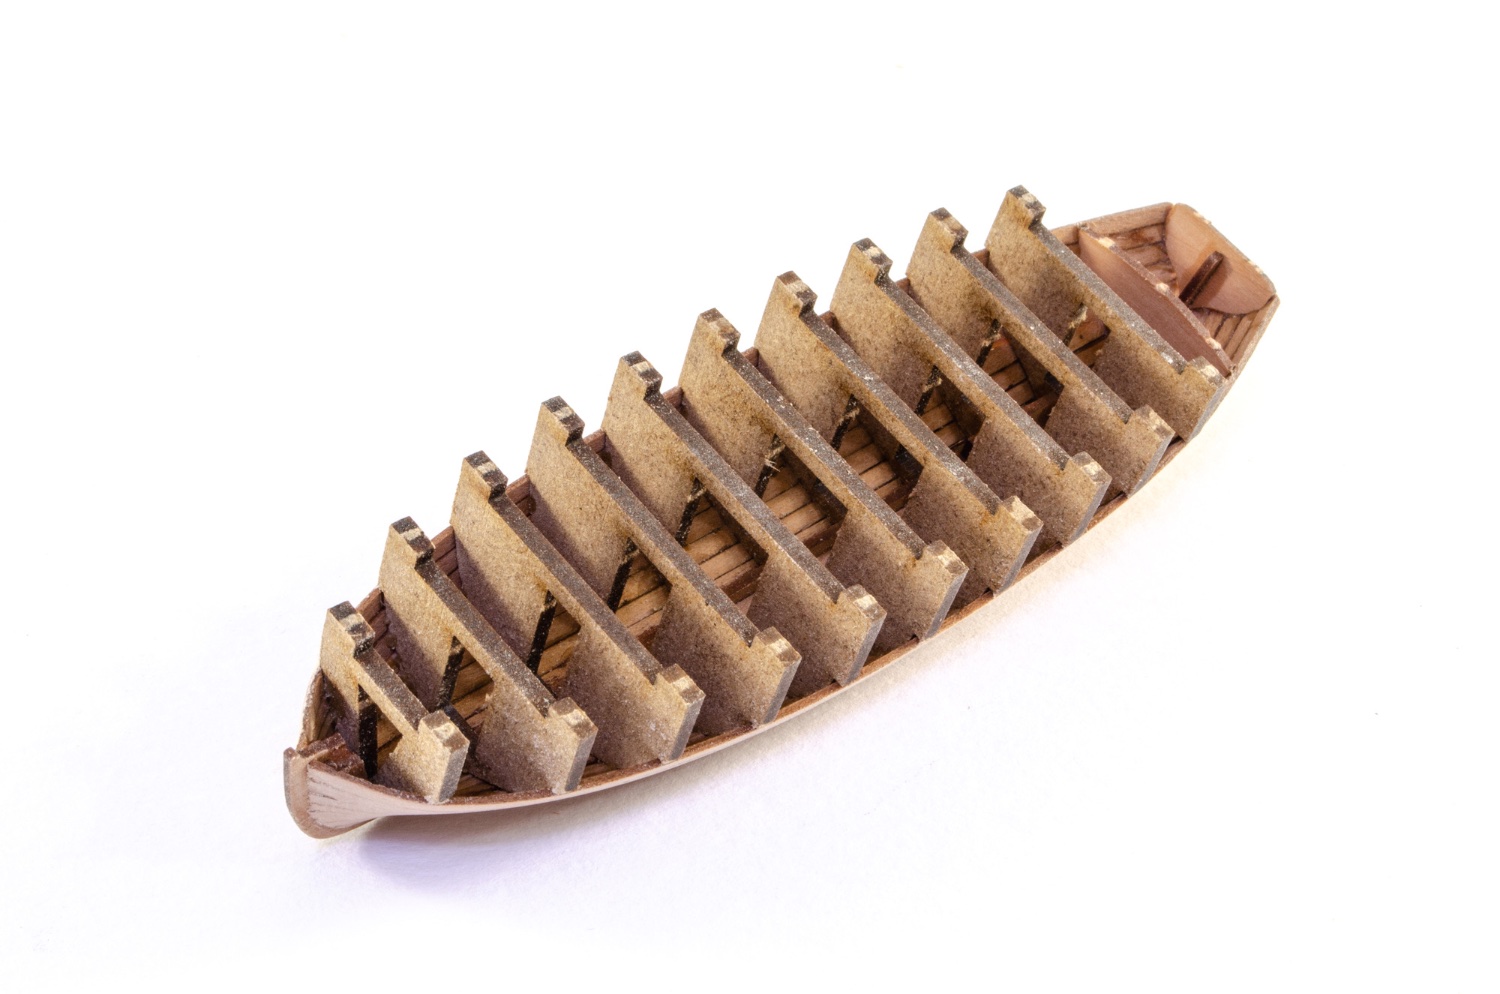
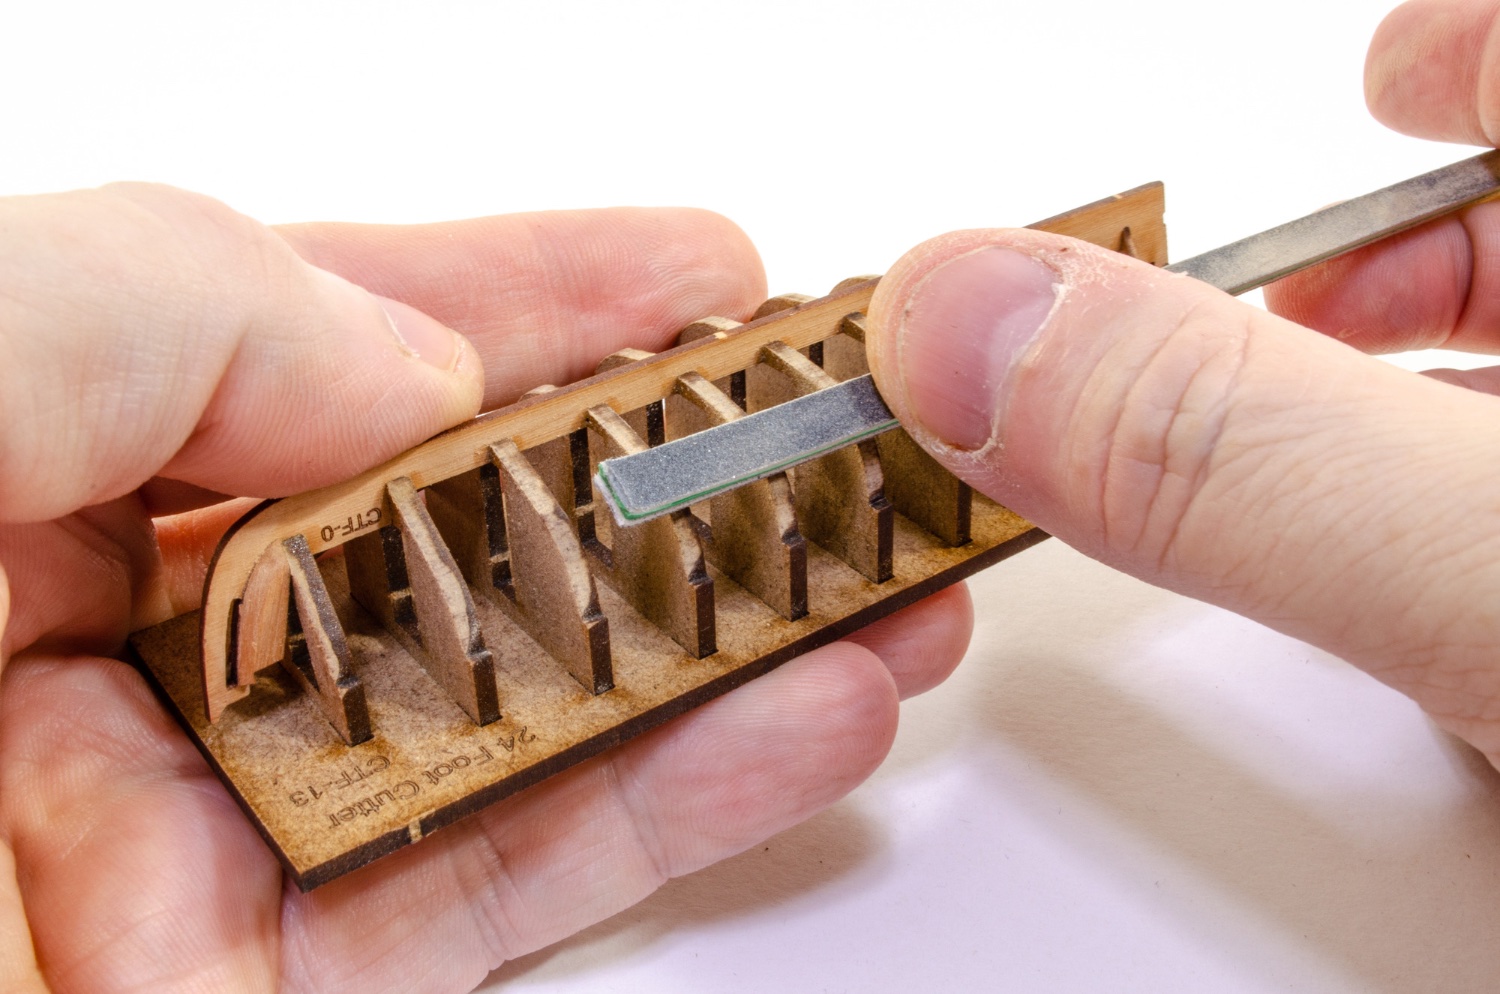
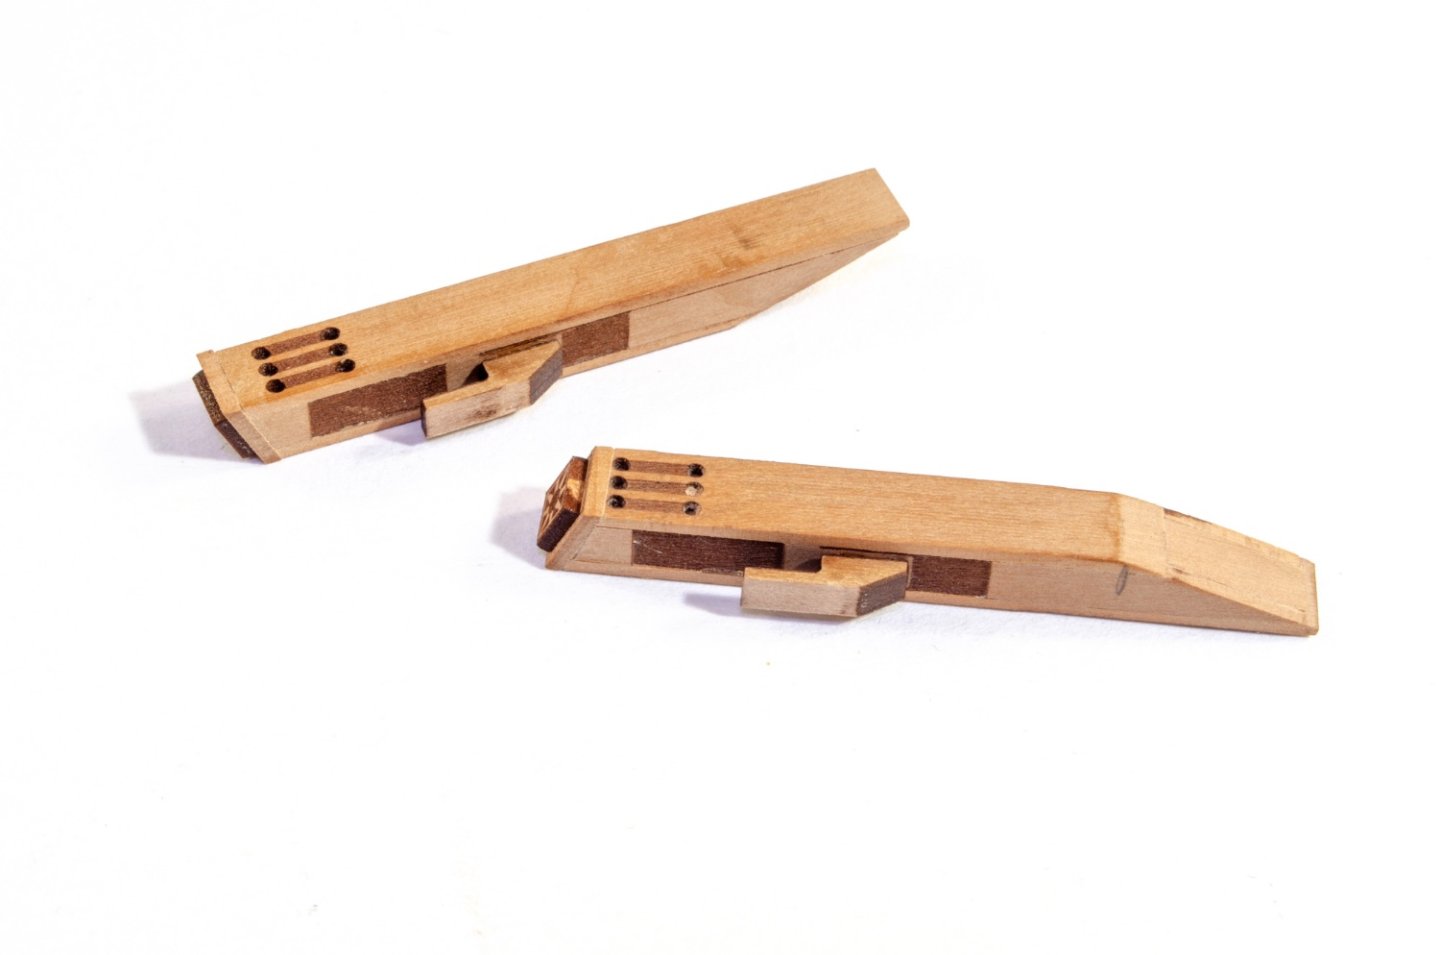
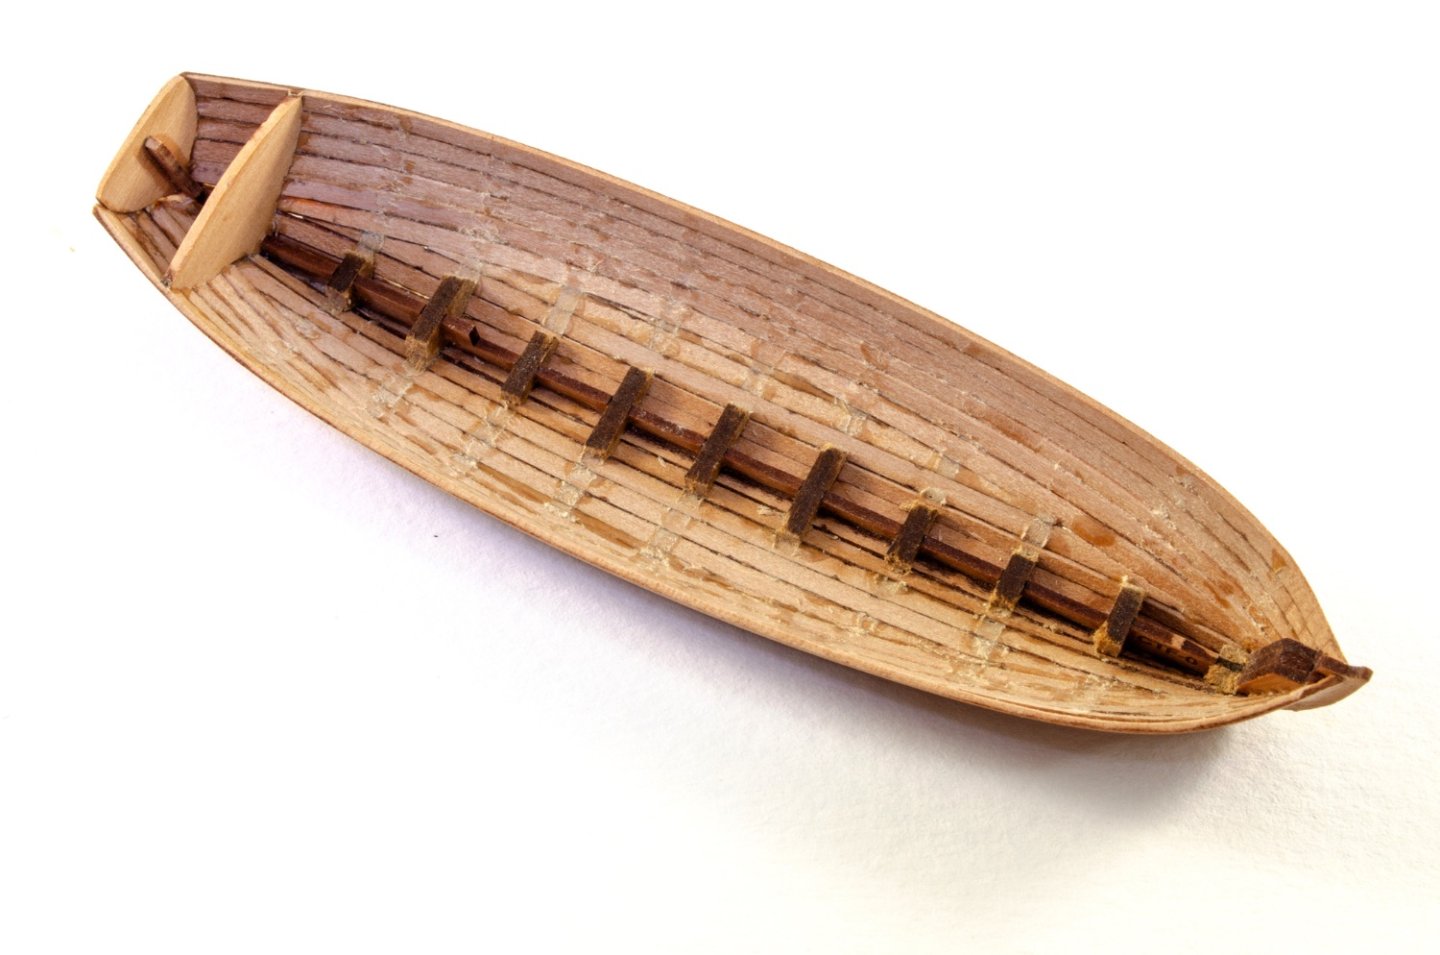
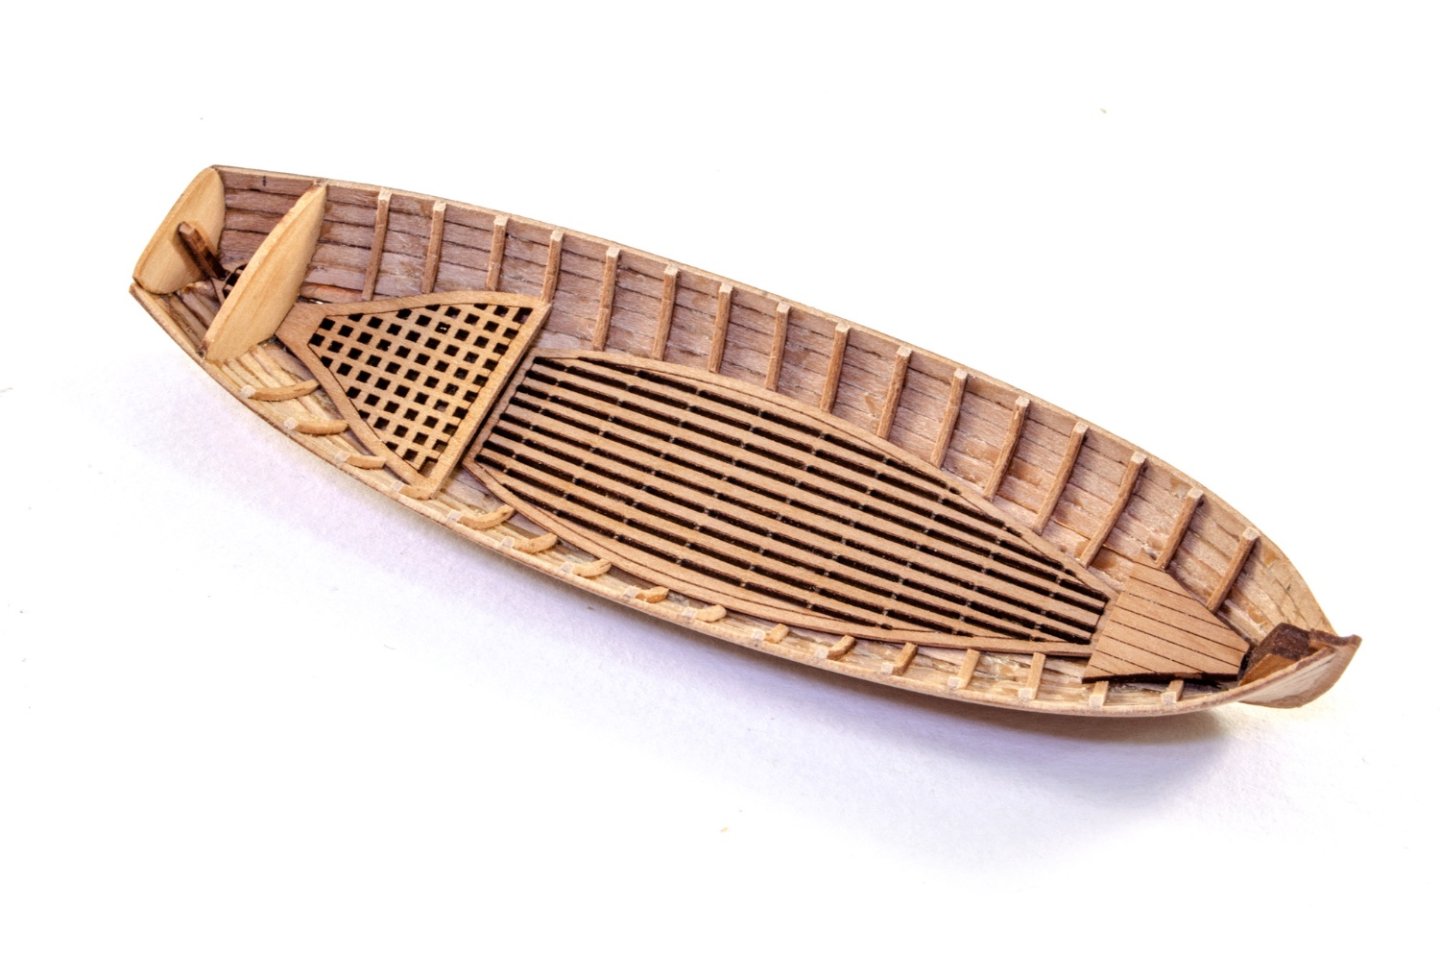
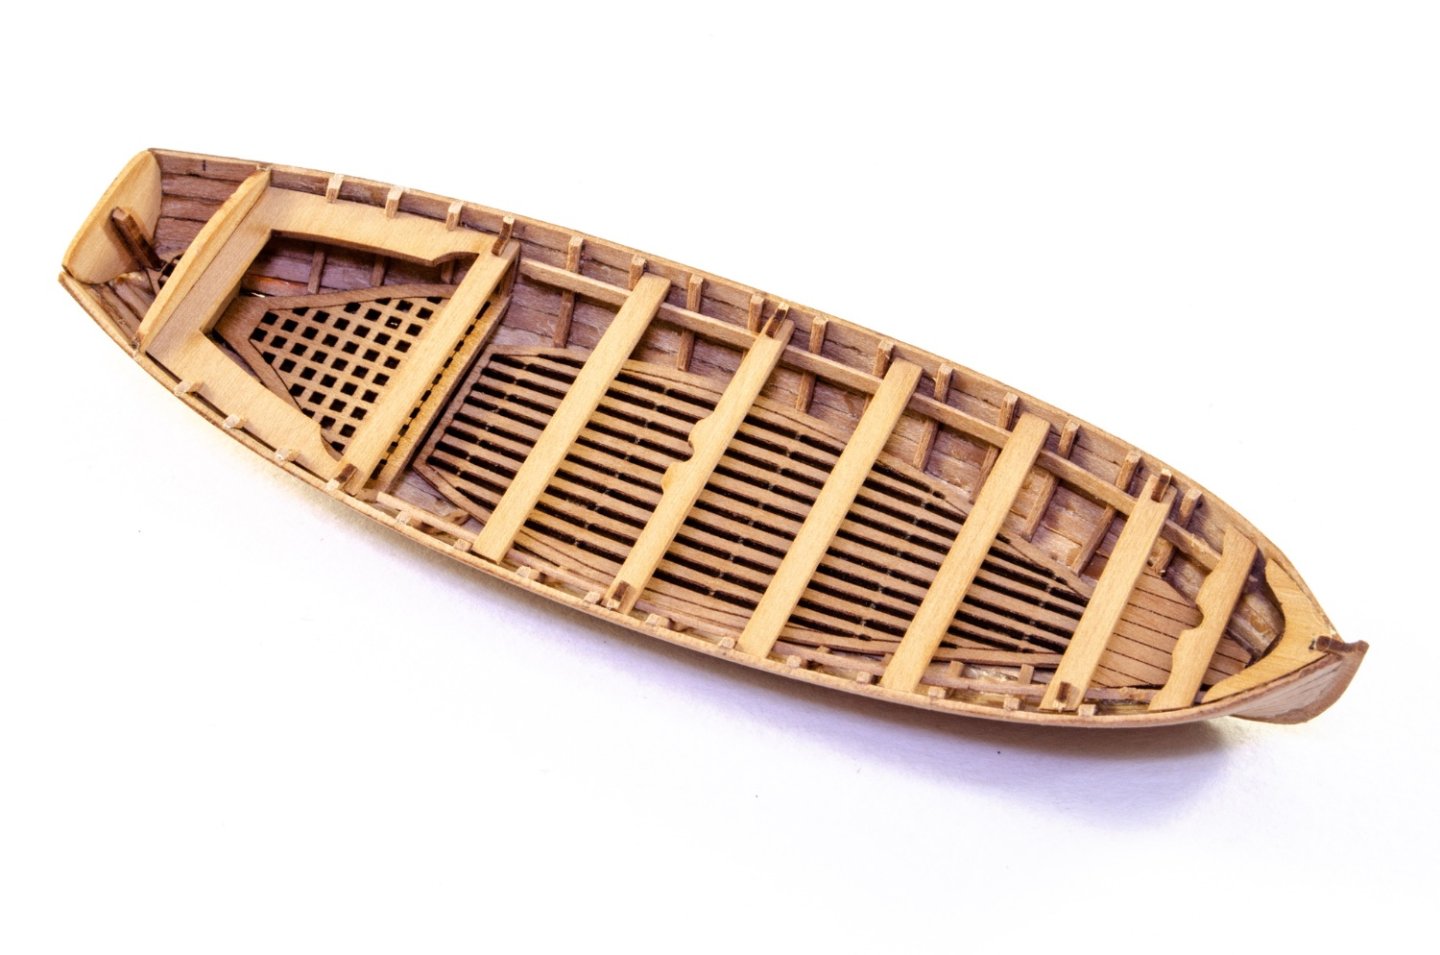
...continued: Gun port lids. Very straightforward. The channels are made up from three layers, so look more realistic. The edges of these were rounded/chamfered as per the real thing. The reworked figurehead is complete! And here is my work so far on the 24' cutter, which is still ongoing. Many are already familiar with the construction of these little boats. Until next time.


- 473 replies
-
- 41
-
-
-
-
- Indefatigable
- Vanguard Models
- (and 1 more)
-
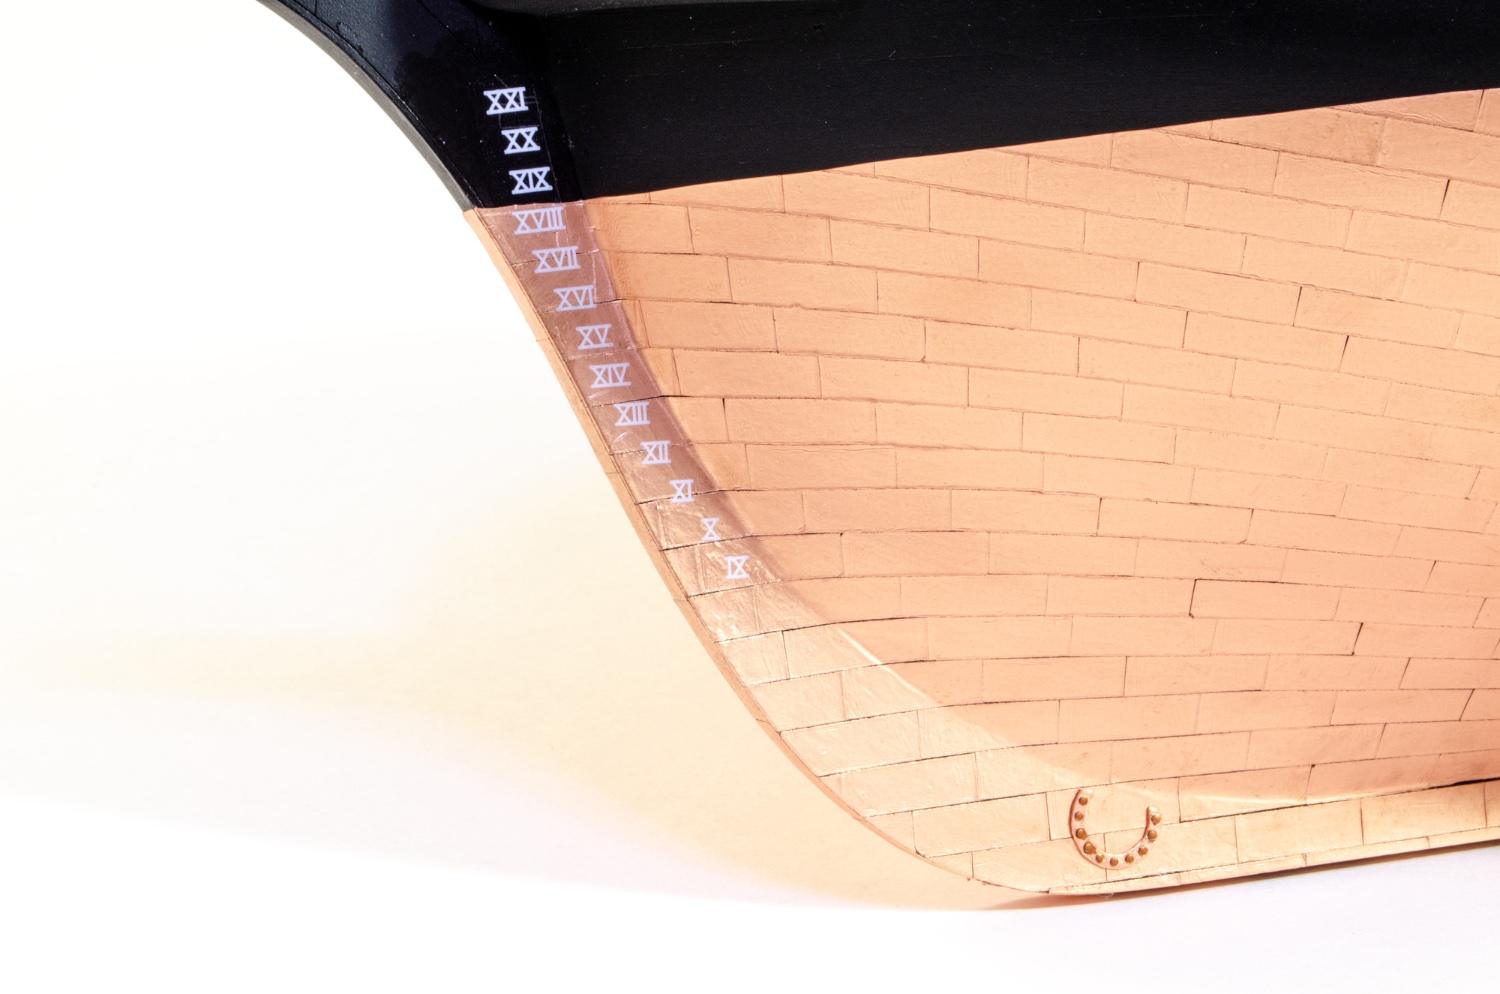
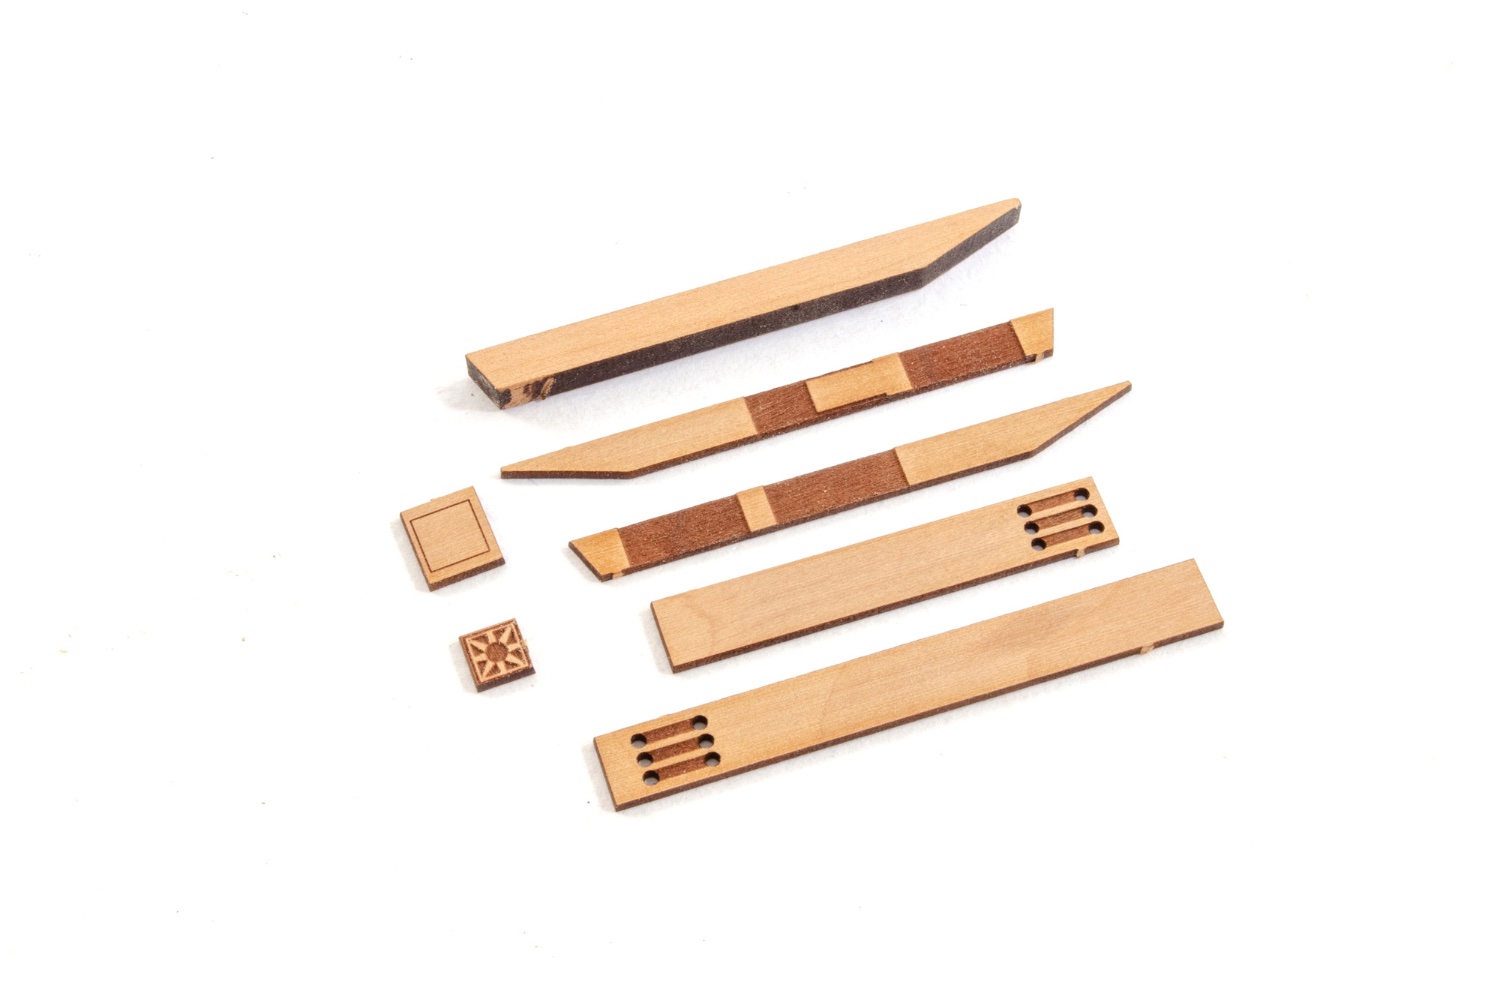
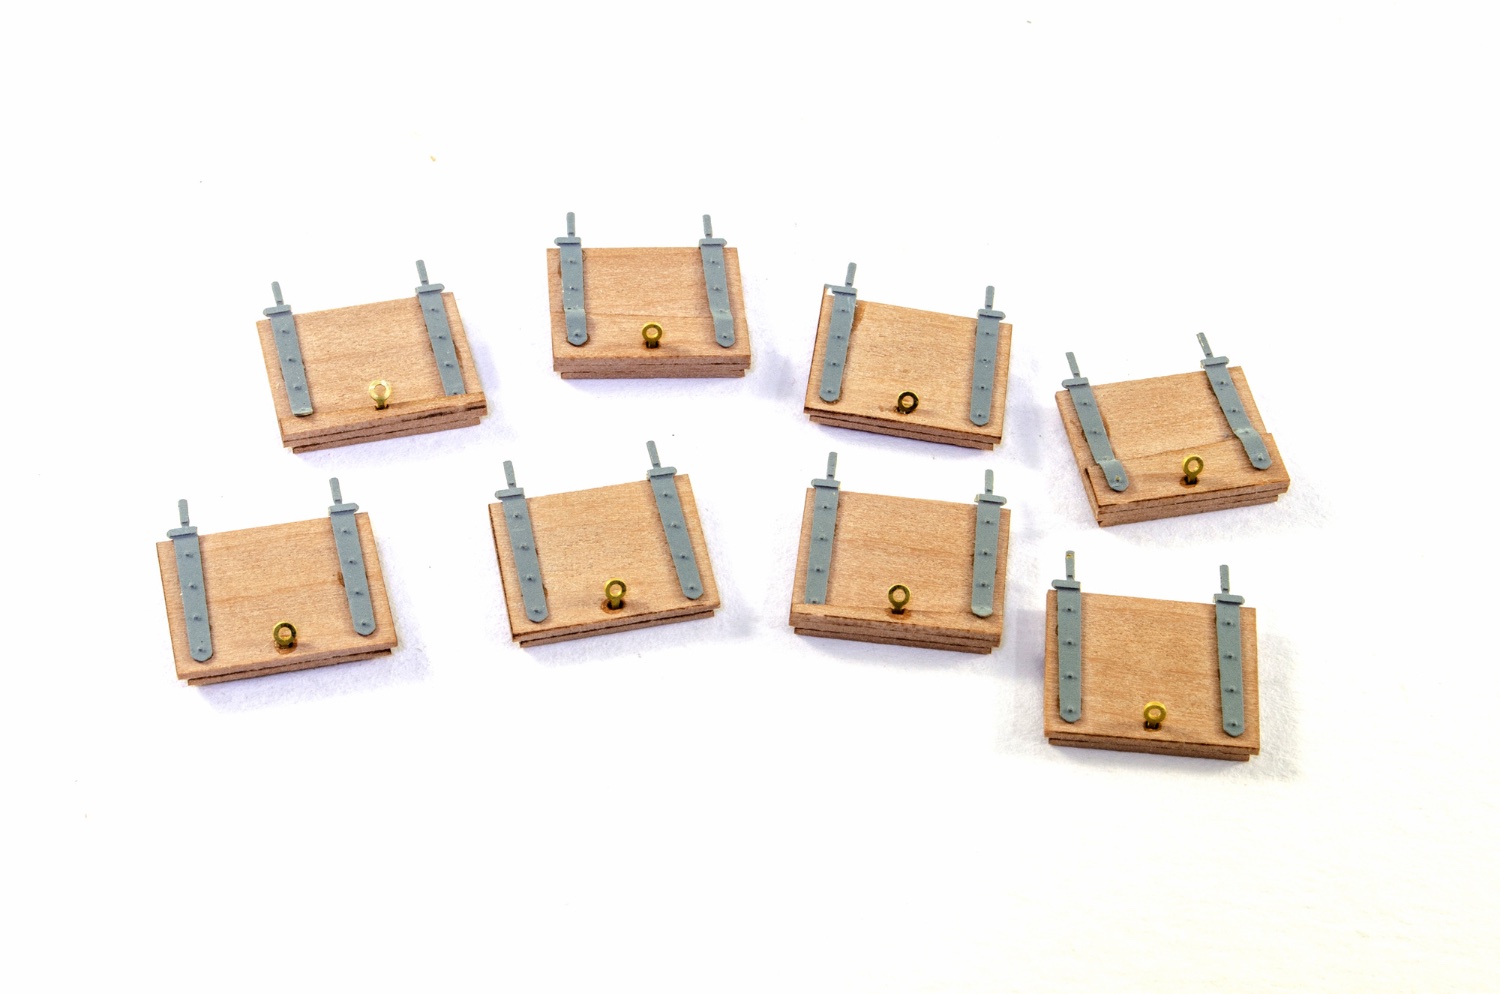
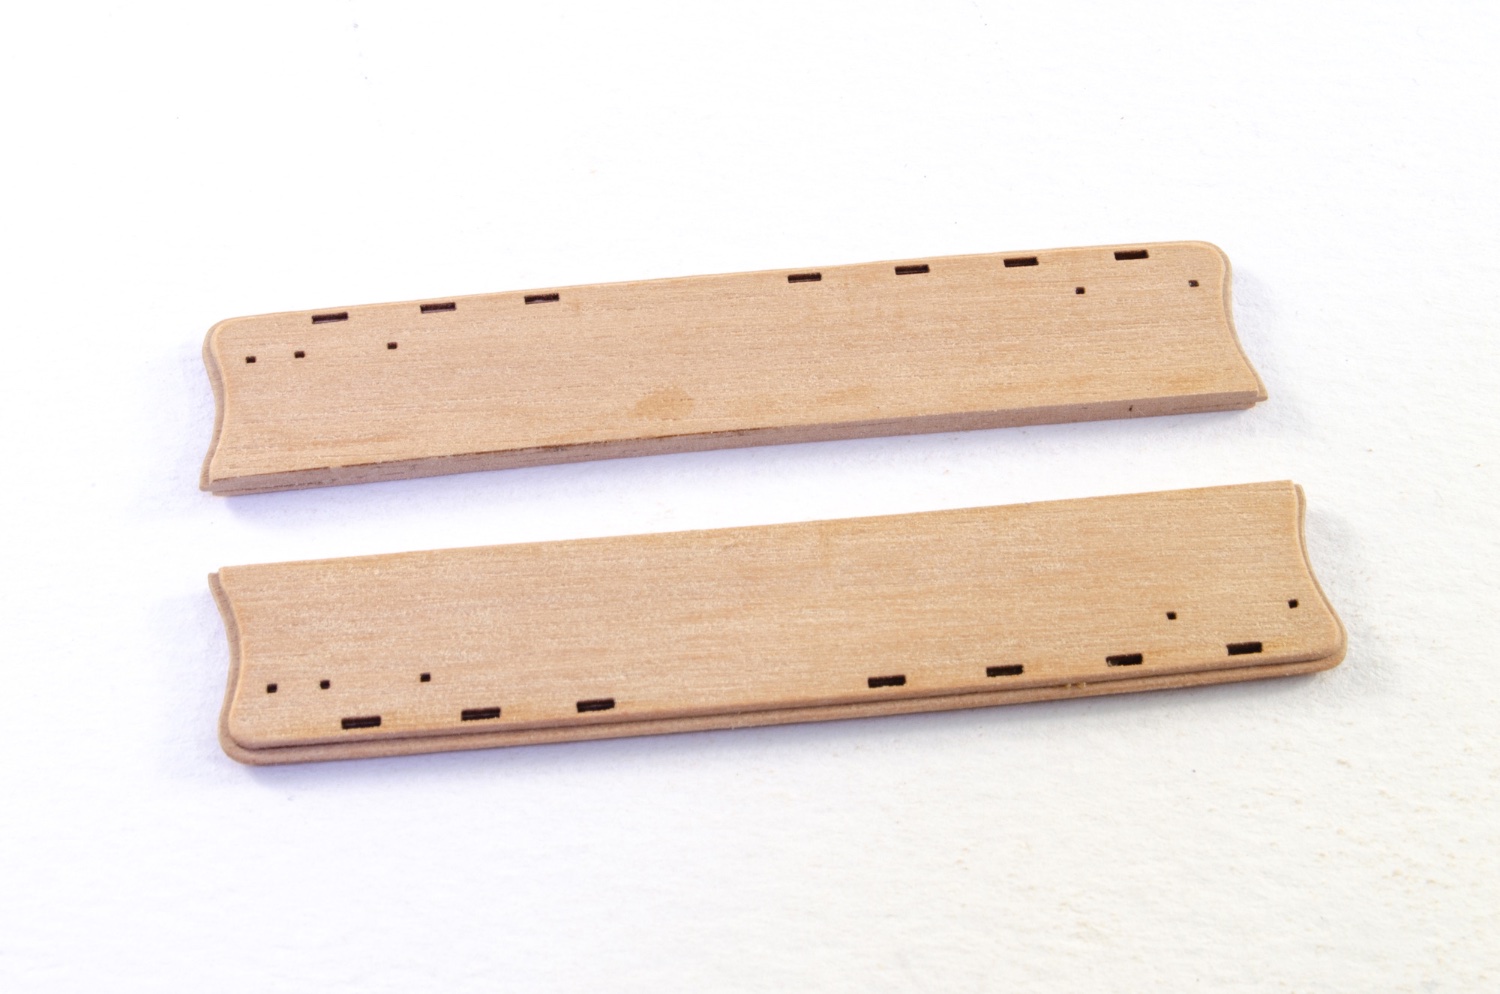
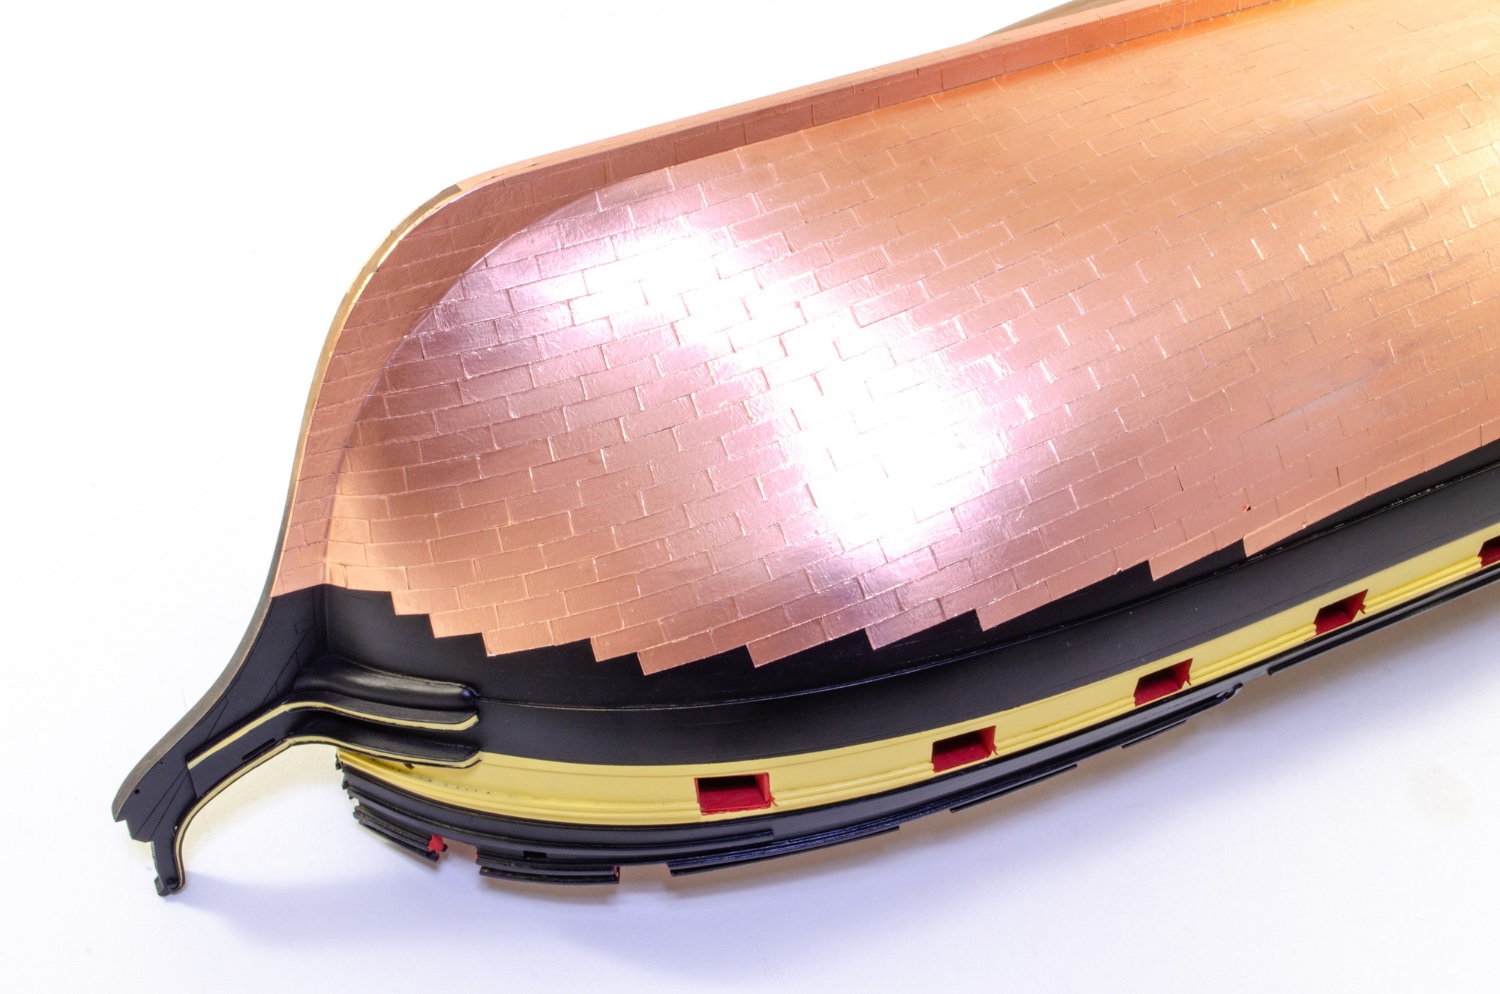
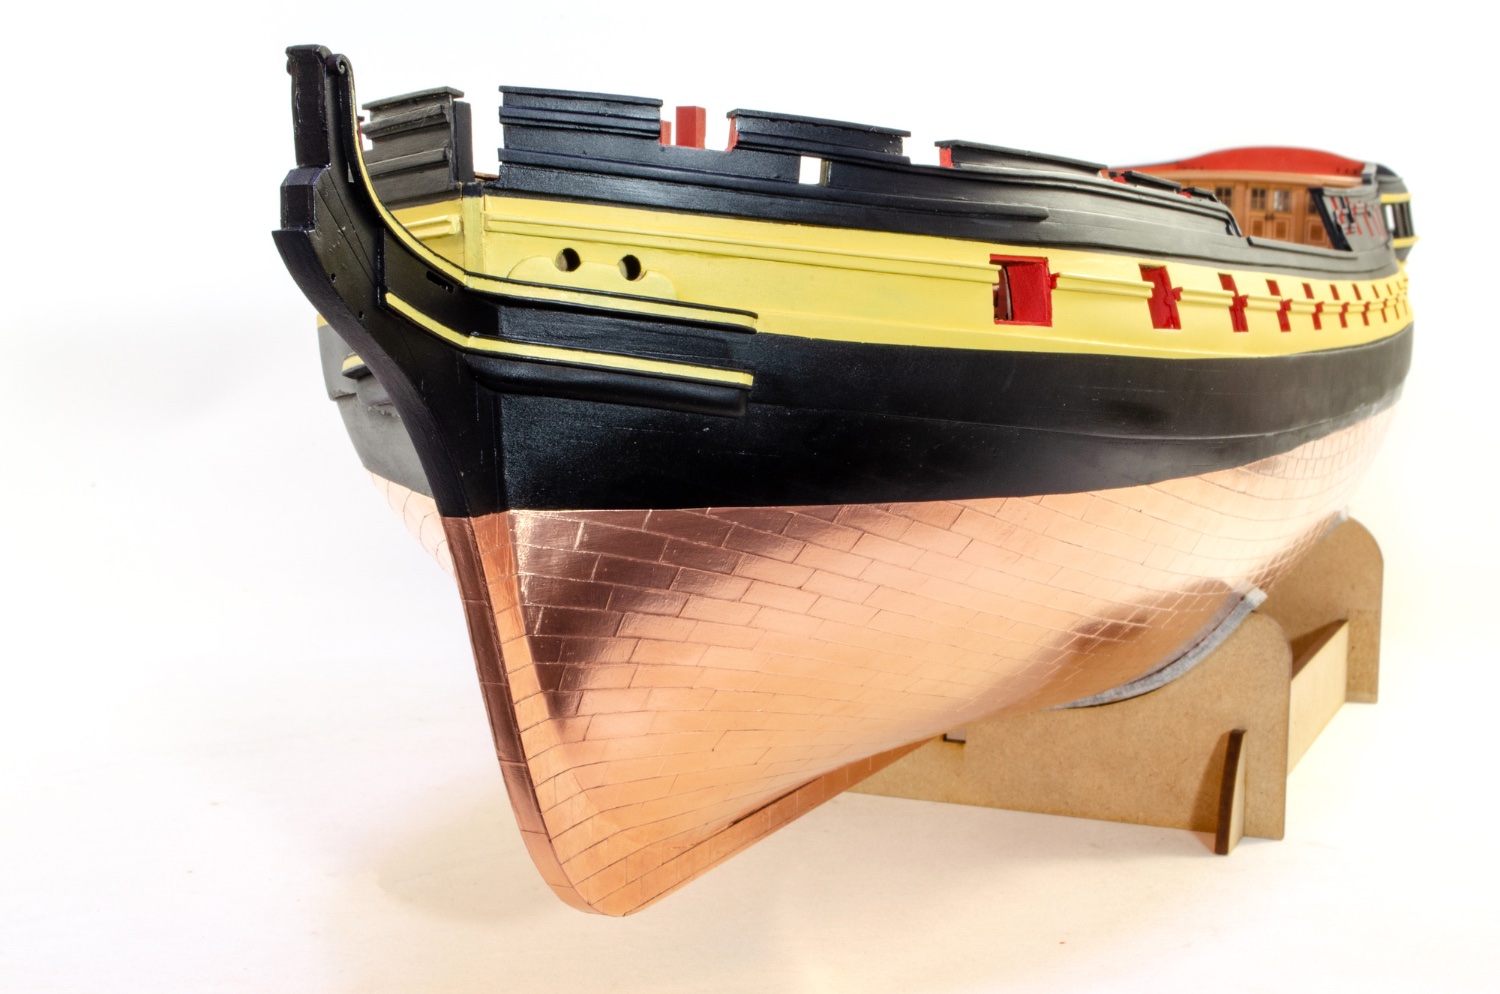
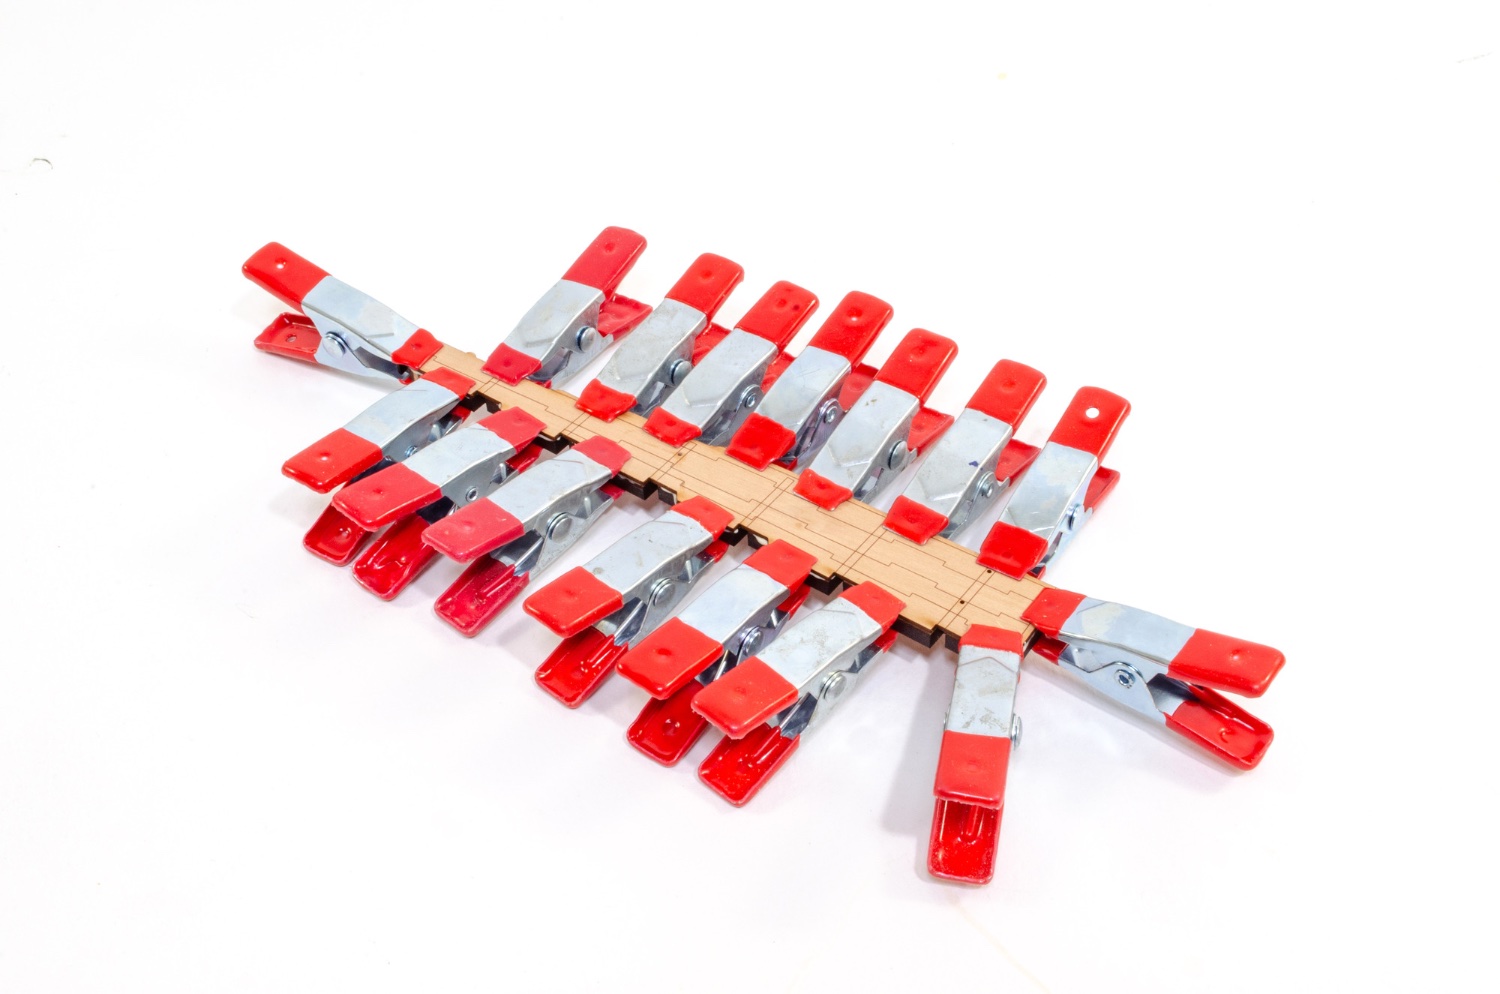
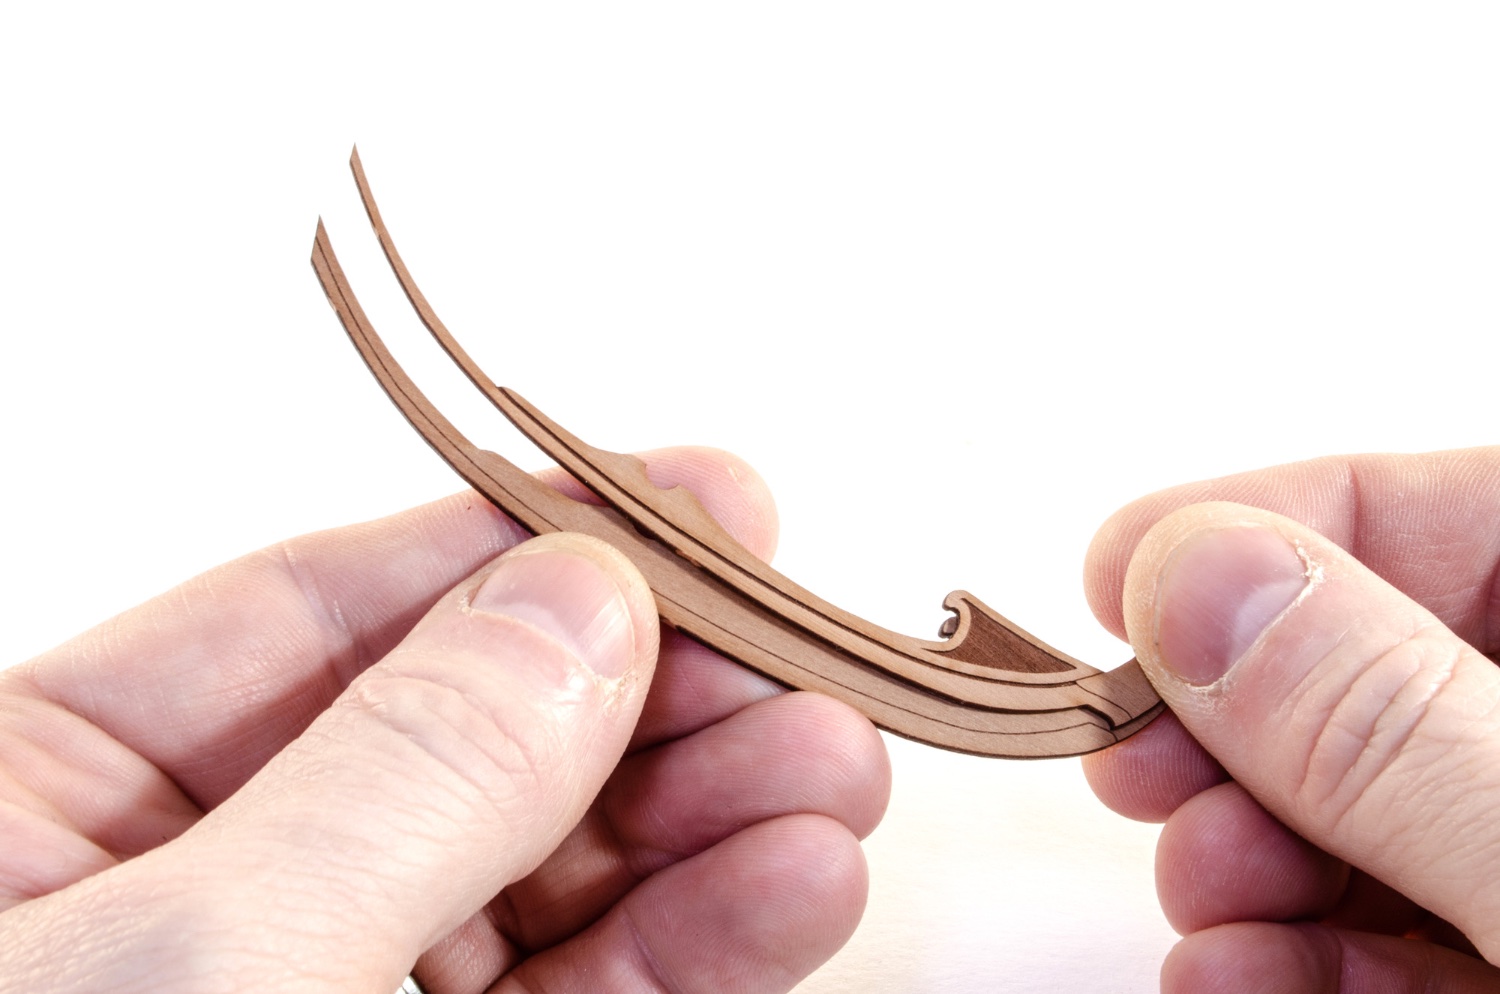
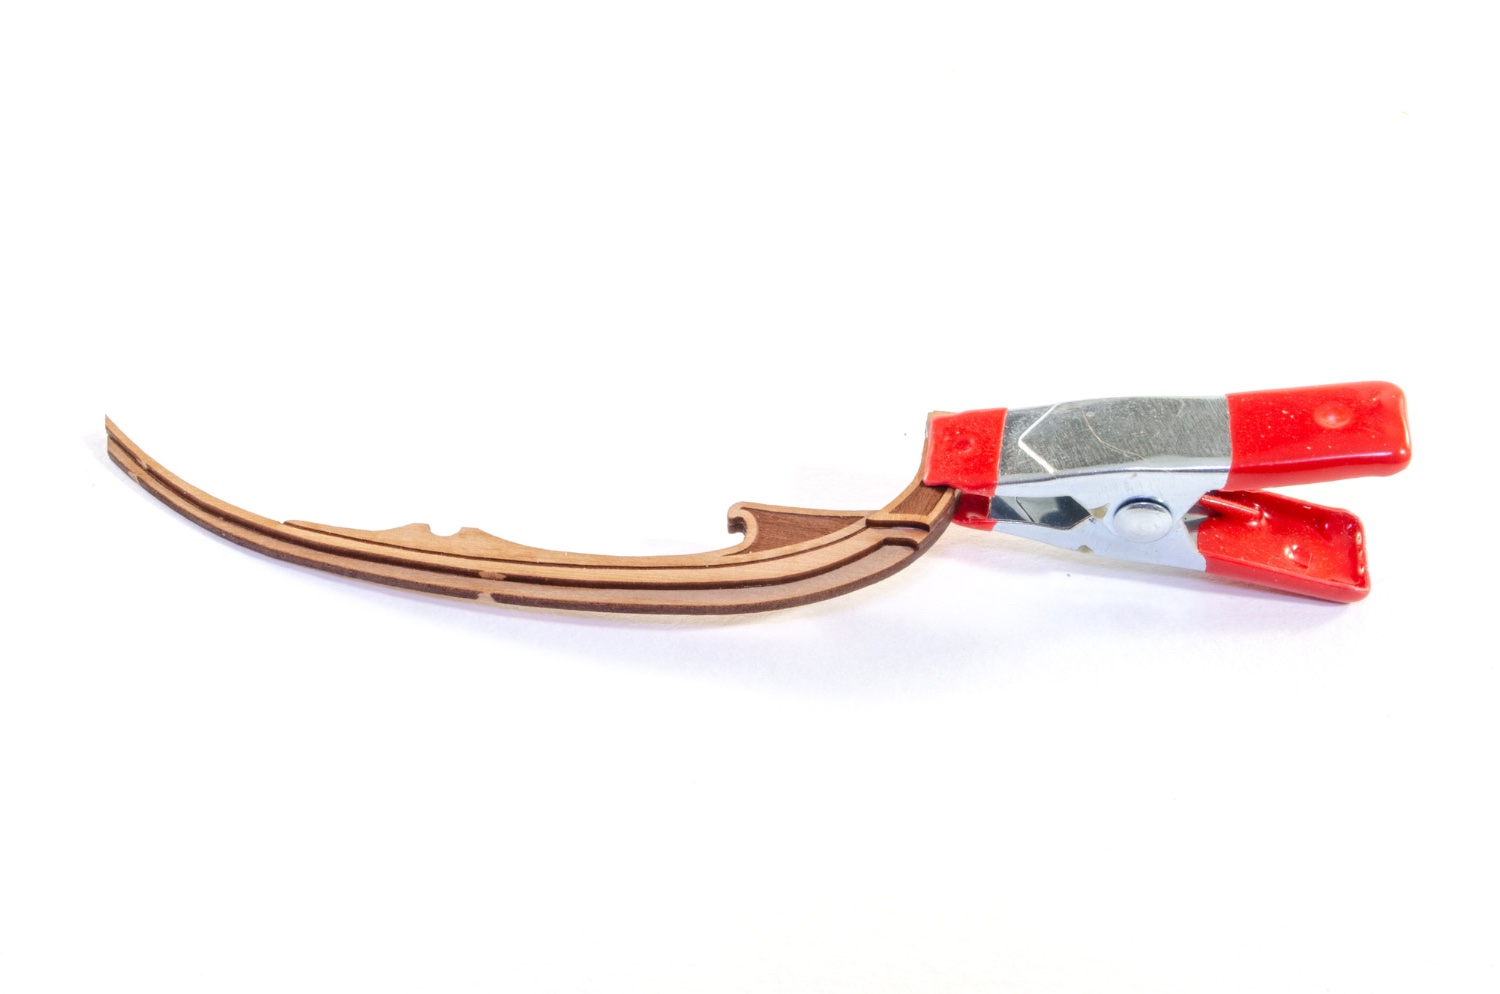
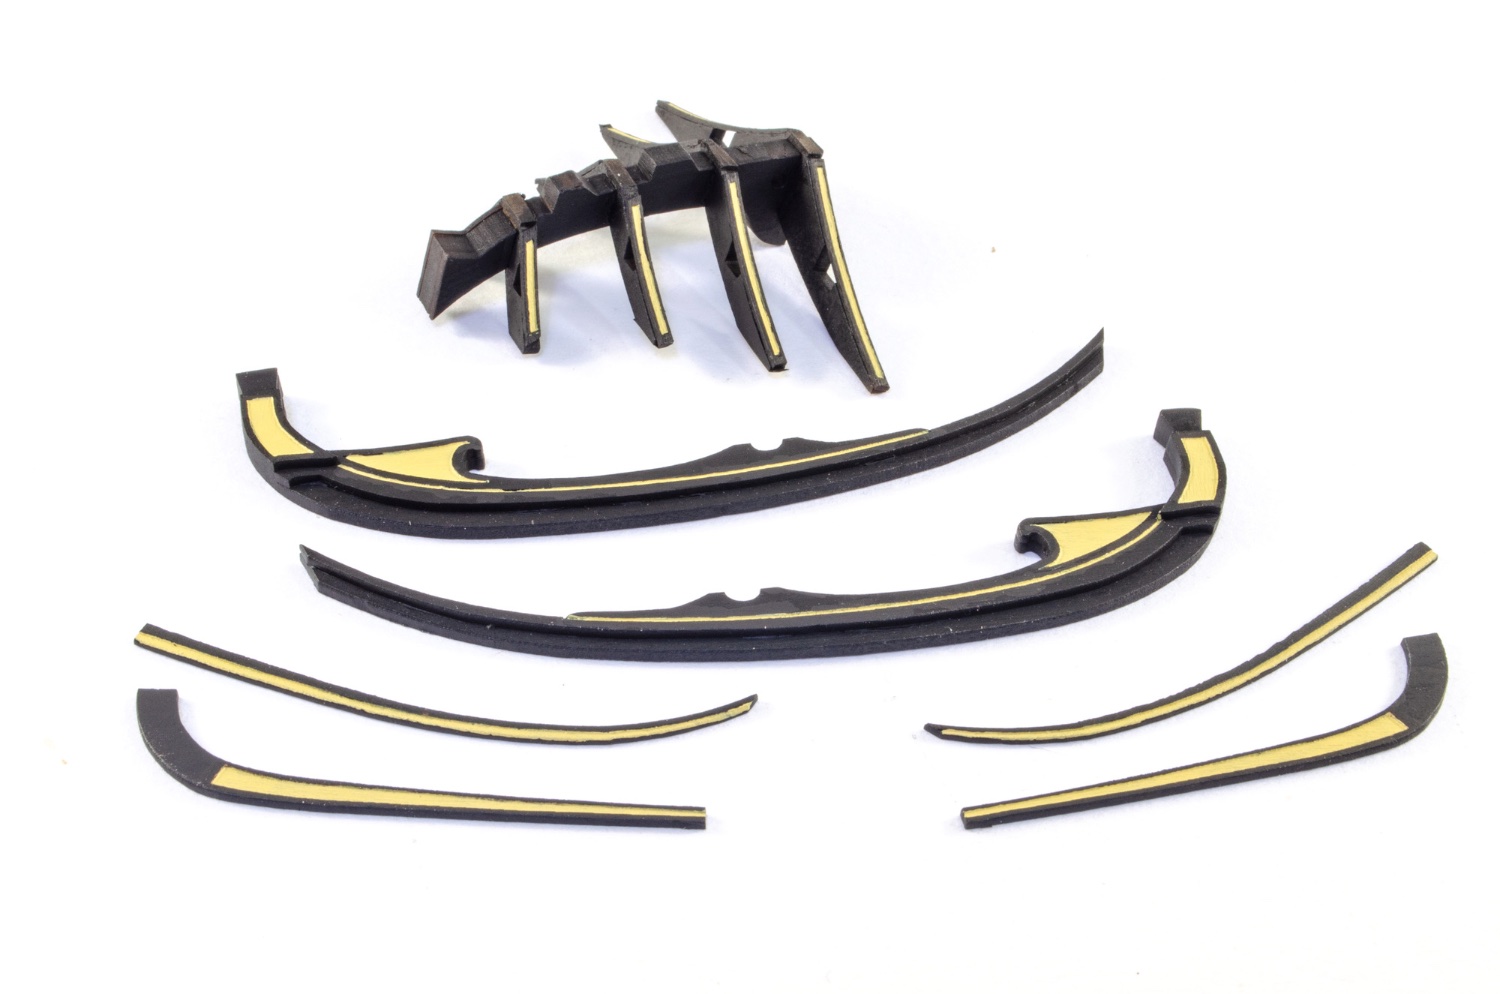
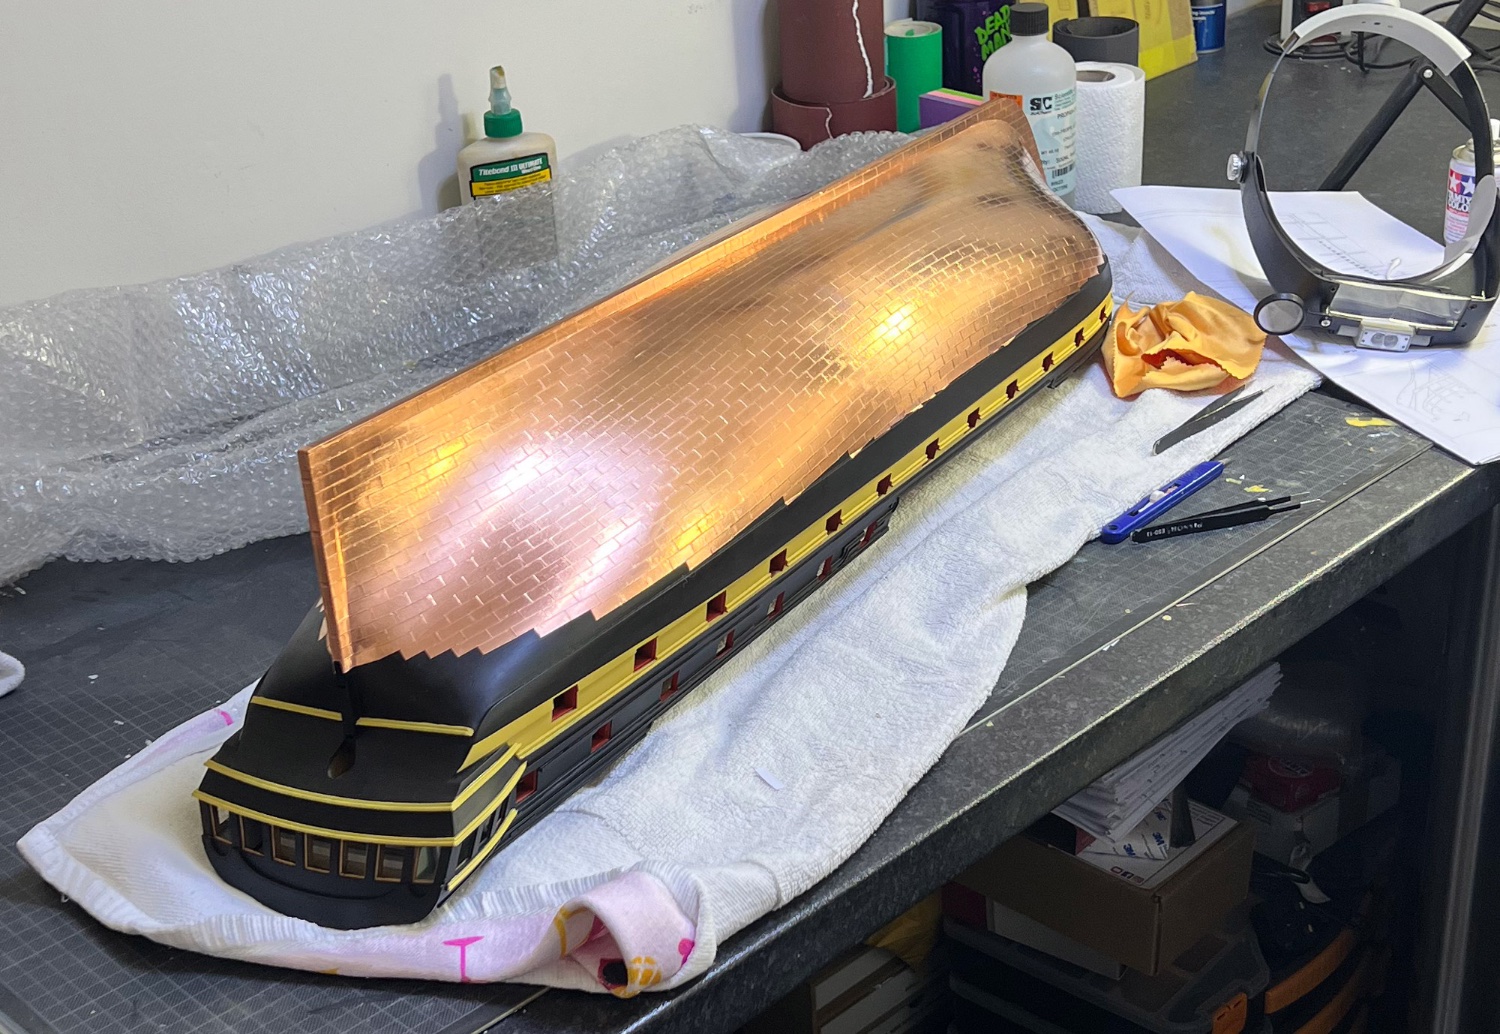
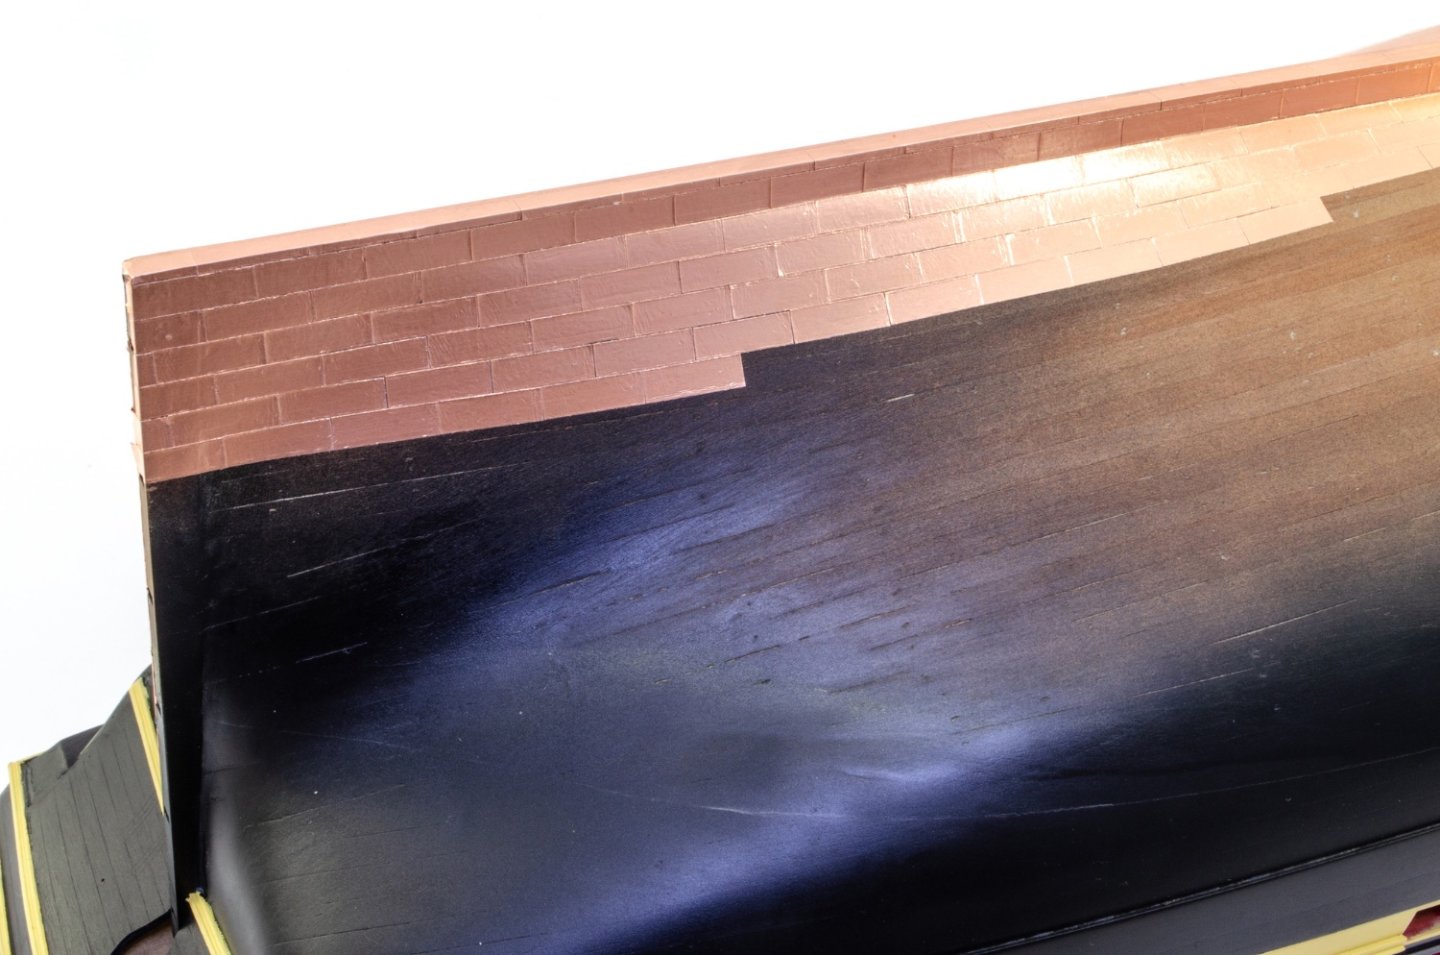
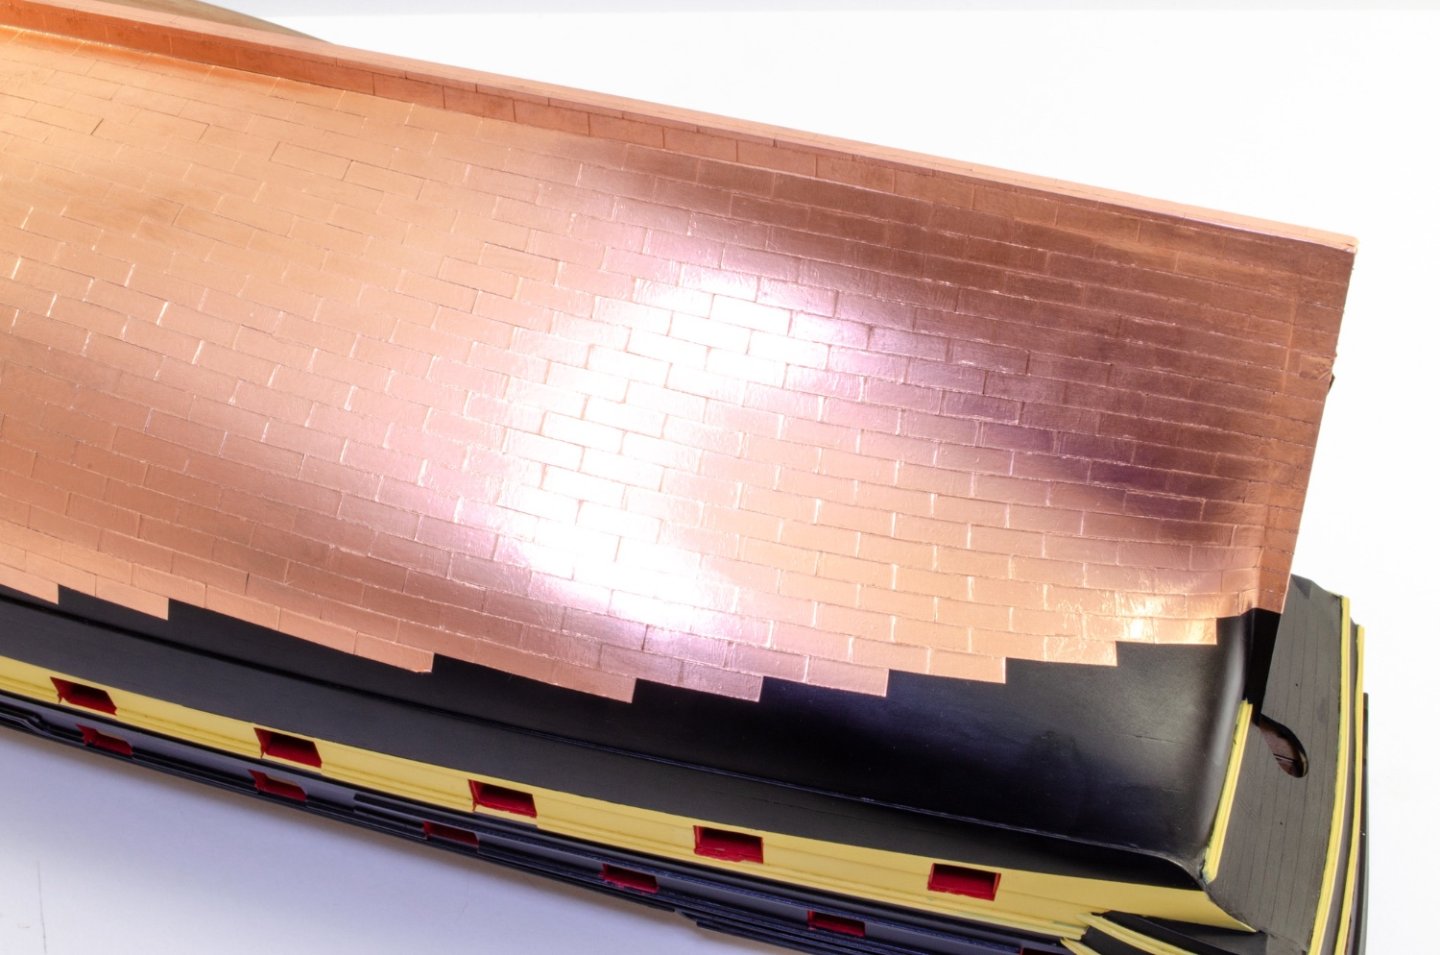
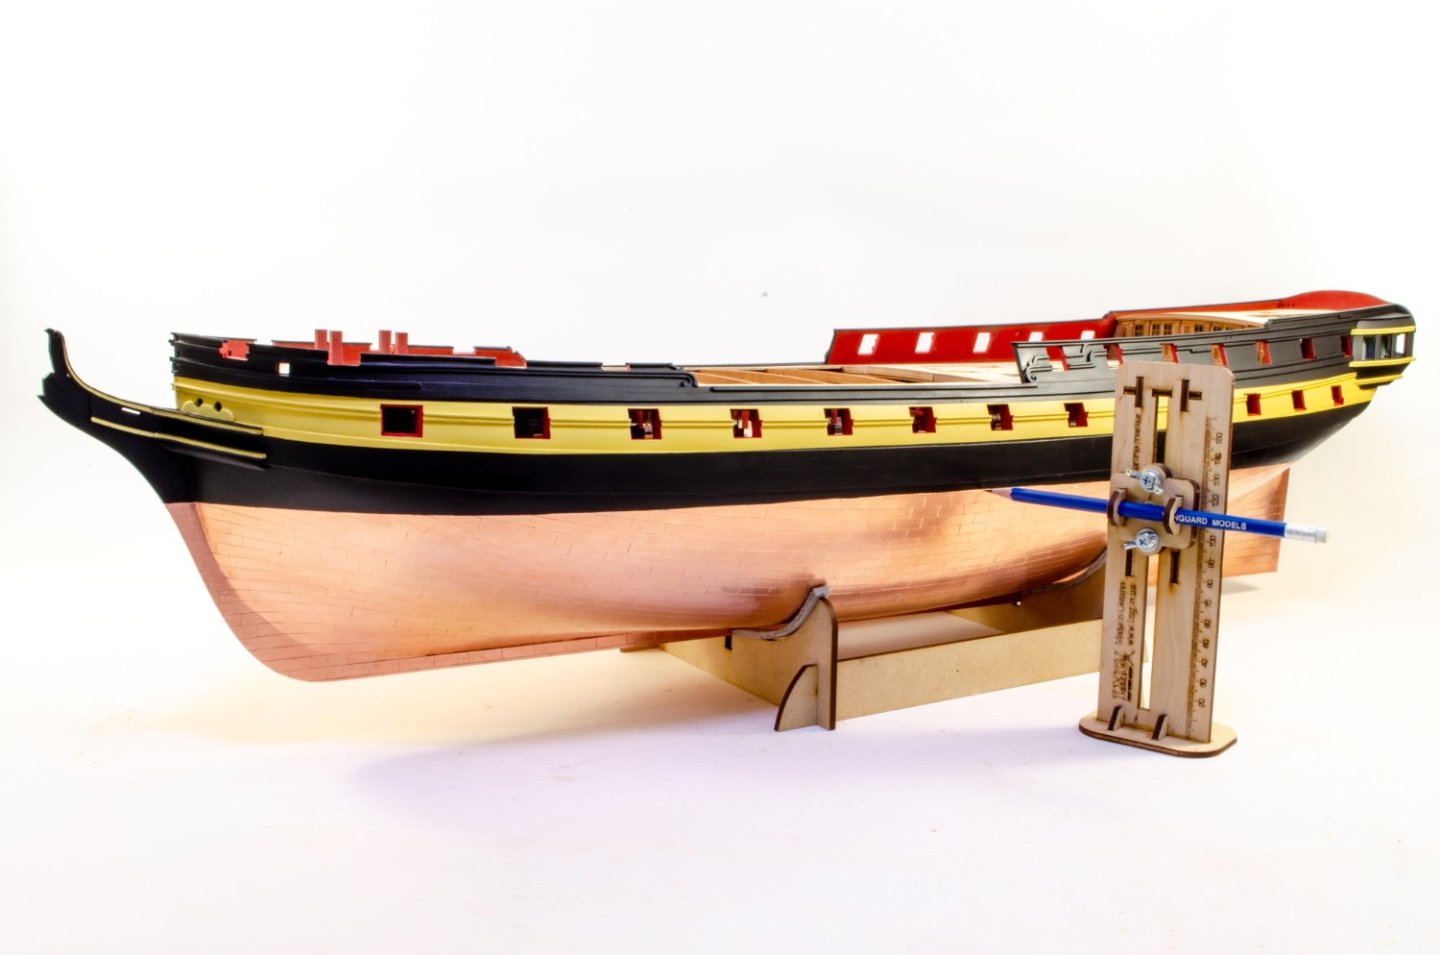
Update time. As you've seen recently, I've been doing the coppering using 6mm tape, cut into 18mm lengths. It's a little tedious, but perhaps less so that using PE, and it's also a little quicker. I coppered the hull in around 4 less than full days. There's no double banding on this.....just complete from keel to waterline. When all done, the copper was buffed down using cotton buds. The coppering was added above the slightly (and intentionally) lower waterline I added in silver pencil onto the black hull. I figured that adding a good two levels above that would be a reasonable indicator of 'enough'. It was as planned. With the copper added, I set the waterline tool again so I could draw along the copper plates this time. It needs to be remembered the the stern of this sits a little lower in the water than the bow, with the waterline increasing in depth from around 90mm to 95mm, bow to stern, along the full hull length.....so not parallel with the lower keel. With that done, I ran a fresh scalpel along the whole pencil line and peeled off the excess above the line. The keel and stern edges were then coppered too. The rudder is a very simple affair. I'm actually coppering this at the moment, but don't have those photos yet. The headrails are built up from various laminates of pear, and there are other single piece rails. All have engravings which must be painted in ochre, whilst the main colour is obviously black.


- 473 replies
-
- 38
-
-
-
-
- Indefatigable
- Vanguard Models
- (and 1 more)
-
Log to PDF Tool
James H replied to VTHokiEE's topic in How to use the MSW forum - **NO MODELING CONTENT**
Pinned! -
That's real useful info. I might just go with that!
- 473 replies
-
- 5
-
-
- Indefatigable
- Vanguard Models
- (and 1 more)
-
I do have several bottles of that stuff, but I'm thinking something that imparts an eggshell finish and is more suited specifically to copper. Future is a gloss finish, and not too much for scale.
- 473 replies
-
- 6
-
-
- Indefatigable
- Vanguard Models
- (and 1 more)
-
I work as a Senior Tech in local government.
- 473 replies
-
- 11
-
-
- Indefatigable
- Vanguard Models
- (and 1 more)
-
I'll do a proper update this weekend, but here's a quick phone photo of the coppered and trimmed hull. Other work I've been doing is finishing up the 24' cutter, painting the timberhead rails and building channels...as well as many other things. She will come together pretty quickly, but I do need to protect this copper from tarnishing.

- 473 replies
-
- 40
-
-
-
- Indefatigable
- Vanguard Models
- (and 1 more)
-
That is sort of ongoing as a possible plugin. Our forum uses proprietary software, and although we can make amendments etc. these things are best done by uploading as an app/module, and not by tinkering with pages of code that aren't ours.
- 542 replies
-
- 1
-
-
- Sphinx
- Vanguard Models
- (and 3 more)
-
backing up a log
James H replied to Knocklouder's topic in How to use the MSW forum - **NO MODELING CONTENT**
I think here is fine. Many people will have seen it here and can continue following. -
No, nothing has changed. It's as it's shown. I removed some char from top of parts, so things will look different.
-
The New Up Arrow Button!
James H replied to Matt D's topic in How to use the MSW forum - **NO MODELING CONTENT**
-
Grecial sure has nice lines!
-
backing up a log
James H replied to Knocklouder's topic in How to use the MSW forum - **NO MODELING CONTENT**
No, we have nothing that can do that, or access via third-party plugins. Browsers are generally equipped to export as either a web page or PDF, and also to print whole pages you are on. It make take time over a large build log, but there's nothing we can do about that. We keep several backups of MSW at all times, and backups are made 4 times per week, into several different locations. If you feel you need to back up your build log, for whatever reason, you'll have to do this manually. -
I think the point of this is that Chris has made it abundantly clear many times what his plans are with regard to his larger naval vessels (period etc), and that countless requests for ironclads and yachts, as well as the multitude of typically unknown vessels, simply won't fly. Discussion should revolve around announcements/releases etc. On this note, Chris has asked me to lock this topic so he can start a fresh one. This one is currently 78 pages!
-
backing up a log
James H replied to Knocklouder's topic in How to use the MSW forum - **NO MODELING CONTENT**
The forum software won't cater to that, but it's easy enough through your browser. Ok, I'm using Safari on Mac here, but this should be available on most, if not all browsers. Just export each page as a PDF and save to your computer.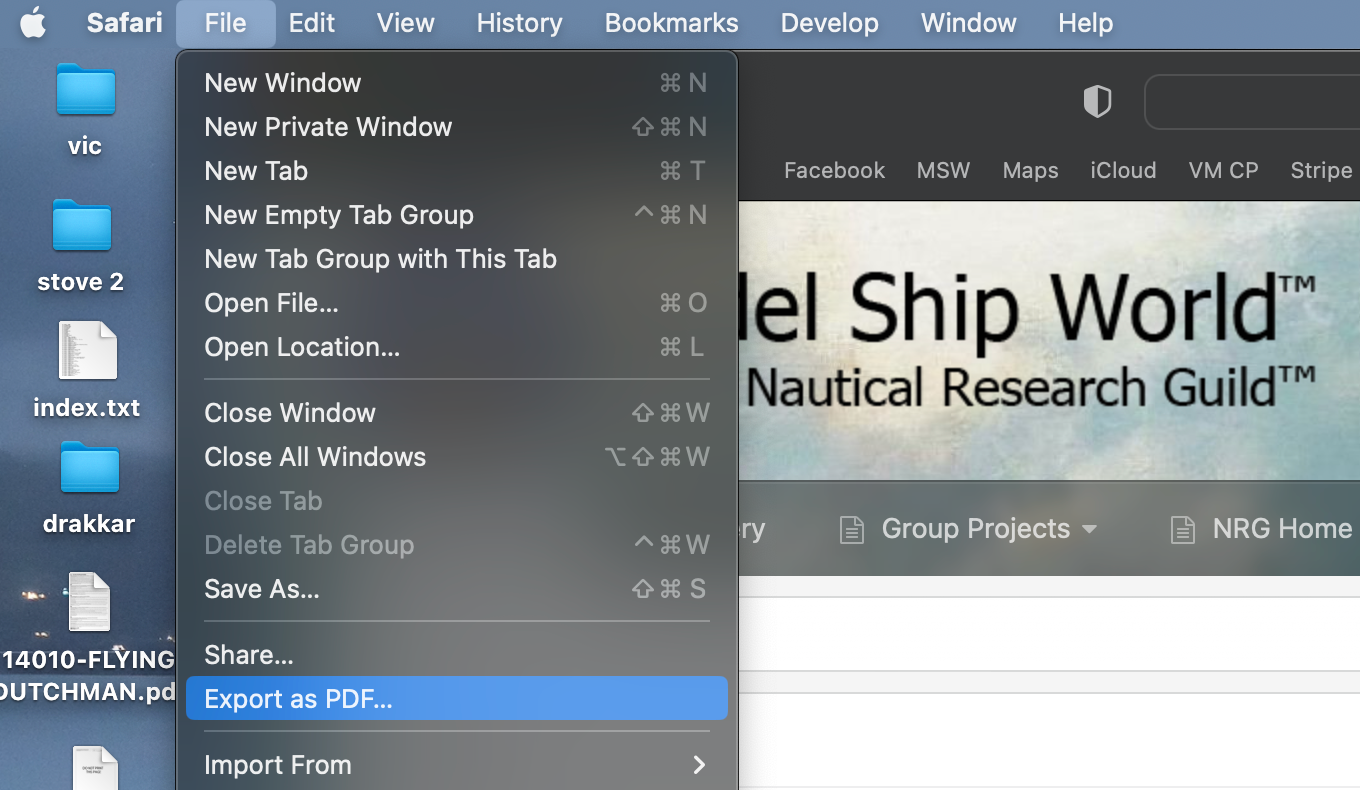
-
It's defo there. Try on an updated browser. Works for me on Chroma, Safari and Firefox.
-
I would paint the swastika first, using masks, then add the hardware over it and paint. BUT, Amati have supplied the kit with the last known iteration before it was sunk. At that time it had no swastikas. They were painted over.