-
Posts
781 -
Joined
-
Last visited
Content Type
Profiles
Forums
Gallery
Events
Everything posted by ChrisLBren
-
Hey Mike, The proper way to apply pure Tung Oil is 50/50 cut with Mineral Spirits for your first coat. Let that dry 24 hours which lays your base for uniform penetration. Then you apply full strength - let it sit for 15 minutes or so before buffing out. Continue to monitor for seepage and always allow 24 hours between coats. It sounds like you should just let the piece gas out - applying Danish Oil on top could compound your problem. Hope this helps
-
She's back on the bench - continuing the channels and chainplates. No more guarantees when she will be completed - maybe sooner than later ?!?
- 290 replies
-
- confederacy
- frigate
-
(and 1 more)
Tagged with:
-
Thanks Nigel ! I've held on to her because Ive always loved this ship and have wanted to represent a vessel as it actually appeared. So the thought of using some paints is fun - and this particular vessel lends itself to it. My plan is to mimic the scheme of the model in the German museum as closely as possible - and using some weathering techniques Ive picked up over the years. We will see - good to be back at modeling.
-
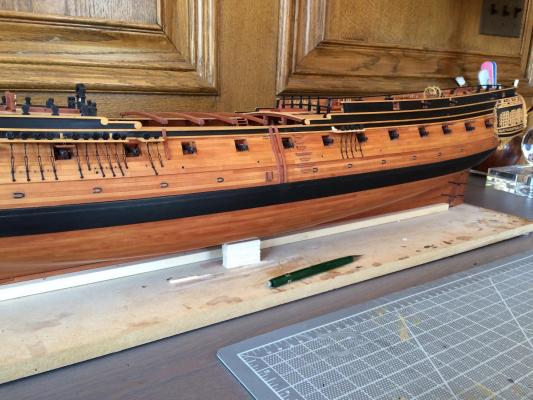
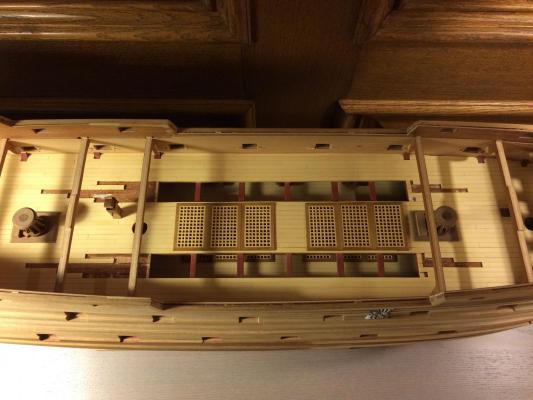
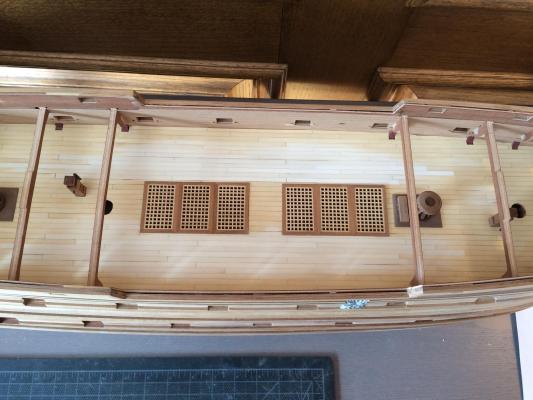
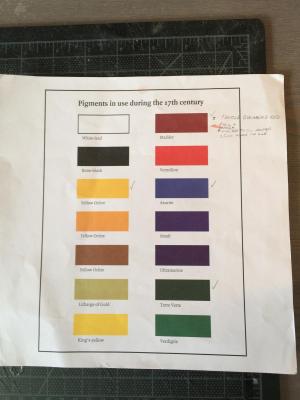
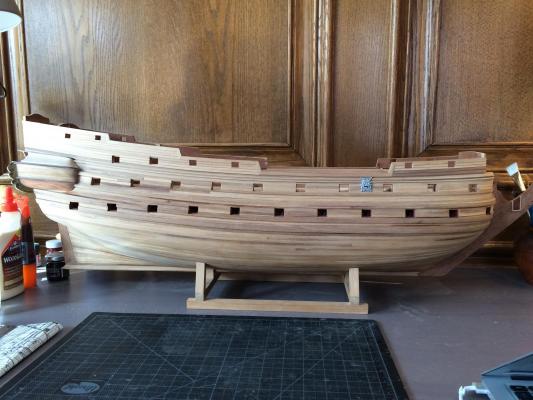
Guess who's back on my workbench ? My old friend the Wappen Von Hamburg. My three year old twins are fascinated by her (they think she looks like a pirate ship). I managed to sand off the wipe on poly on the lower hull - seal the cracks in the planking with epoxy on my so so planking job (she will be painted off white anyway below the wales) and seal up the deck (from my sorry attempt to show simulated Hahn style deck openings back in 2002). Ive attached some paint pigment guides from my earlier research - unlike my Confederacy - I want paint her to look as realistic for the period she existed in the 17th Century. The LGV in 1/36th is still waiting in the wings as is my Confederacy - Im getting back to into the hobby. I'm finding working on a kit after a long breaks from modeling is relaxing and fun !
-
Love windows Mark ! What product did you use to glaze them ? I may need to use them on a project. Thanks Chris
-
Wappen von Hamburg by andy - Corel
ChrisLBren replied to andy's topic in - Kit build logs for subjects built from 1501 - 1750
On my WVH - which is fully planked and begging for some attention - I epoxied the gun carriages (which were scratch built - I got the crappy pot metal ones in my kit from 2002) to the deck. Ill add the barrels later with a drop of epoxy onto the carriages - the ones below deck will not be rigged. I agree with Josh - if you can remove the upper deck to access the cannon - would be best -
Hey Remco Ive noticed the same thing on my Confederacy's wales - not much you can do about it. Needless to say I will not use Fiebings on the next build.
- 1,215 replies
-
- sloop
- kingfisher
-
(and 1 more)
Tagged with:
-
ancre Le Fleuron 1729 by rekon54 - 1:24
ChrisLBren replied to rekon54's topic in - Build logs for subjects built 1501 - 1750
That finish you've achieved is SPECTACULAR -
Sovereign of the Seas kit (was there ever more than one)
ChrisLBren replied to mtdoramike's topic in Wood ship model kits
There was a kit by Sergal of the Great Harry - larger than 50 inches. It looks like the Mary Rose on steroids. Its no longer in production but pops up from time to time on ebay. Google it for images of the kit - hope that helps. -
Tool for Sanding Inside of Curved Pieces
ChrisLBren replied to ChrisLBren's topic in Modeling tools and Workshop Equipment
Hey Bob and Greg, Thanks for your input - I took dremel and drill press back - I think a spindel is a better piece of equipment. Im not too worried about the parts dissolving since the frames are pretty big at 1/36th scale. So if you have any reccos for a good sander - Id appreciate it. -
Tool for Sanding Inside of Curved Pieces
ChrisLBren replied to ChrisLBren's topic in Modeling tools and Workshop Equipment
Thanks for the replies - just picked up a new dremel (mine was 35 years old and still works !) to fit in their workstation (basically their drill press) - thinking I mount the dremel at 90 degrees and dial the motor to a lower speed and it should work - any input here is appreciated. I wish Jim Byrnes had some sort of spindle sander as good as his disc sander.... -
Hey Group, I'm gearing up for my first framed build next year and wondering what is the preferred tool for sanding interiors of curved pieces - is the desk top stop spindle sander the best solution or could you simply mount a dremel rotary tool in a drill press attachment and use that ? Dimensions of the wood should be no larger than 1/4 inch thick. Just wondering if the spindle would be too high powered for this sort of operation. Thanks, Chris
-
Jim Byrnes Model Machines
ChrisLBren replied to Mahuna's topic in Modeling tools and Workshop Equipment
Nice Jim - very proud owner of all three of these machines.... -
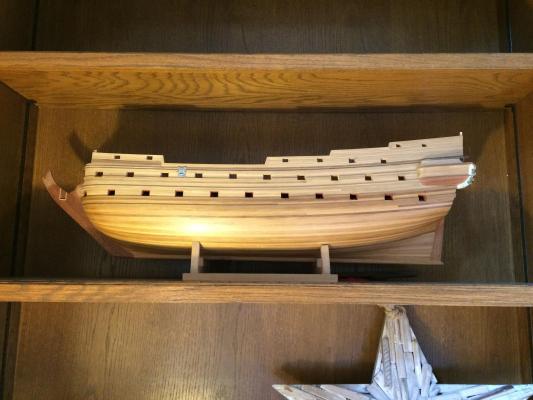
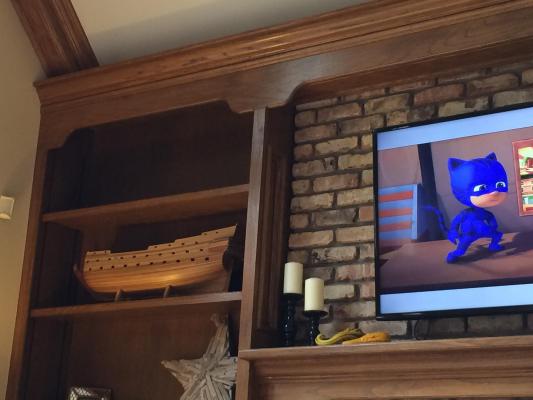
This hull as is may become a decorative fixture (our interior designer for our new house loves it as is). Keep in mind all of this wood work/shelves will be painted some shade of white soon - Here's a model of how she should look like in a German museum. I keep entertaining the idea of restarting this build at some point to try to get her as close as I can to this appearance.
-
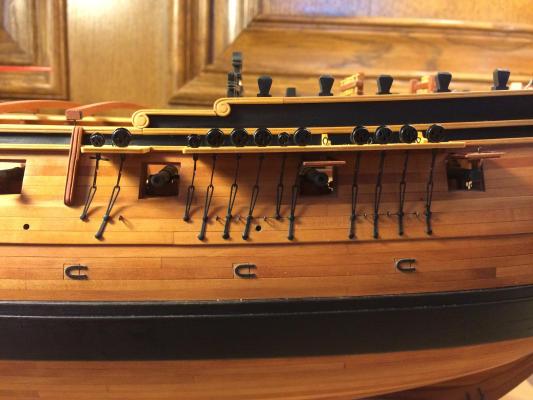
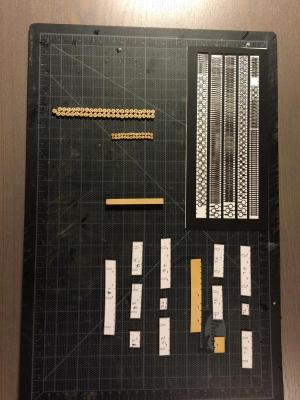
Finger still hurts a bit a week later but my model related injury hasn't stopped me ! Finishing Confederacy by year end or bust..... Update - the foremast channels are installed. I chose to paint Chucks nice boxwood deadeyes with Tamiya Flat Black paint. If I use paint/dye again on my next model (which Im leaning more to a "Belgian school" approach of all Pear) I will not bother with Fiebings dye - Tamiya flat black with an overcoat of Watcos Danish Oil looks as good as Fiebings with far less trouble in application. This is may be my last build at this scale - thanks to a photo etch set from Model Expo Ive been able to realize the chainplate assemblies - soldering them this small would be a serious pain - kudos to you Rusty !
- 290 replies
-
- confederacy
- frigate
-
(and 1 more)
Tagged with:
-
It happened this AM - cutting some small knees for my channels on my Preac and I got careless - while feeding the timber with my left hand my right hand was on the table to catch the part and some how my middle finger grazed the blade on the underside of the table... It was only a slight but sliced the tip of my finger to and dig into my nail. No MD necessary - but now I have a serious fear of these tools - and my Preac is nothing compared to its bigger brother the Jim Saw which is still boxed and waiting for the next project. First time I've cut myself with any tool while modeling in 20 years....
- 290 replies
-
- confederacy
- frigate
-
(and 1 more)
Tagged with:
-
I'm using Chuck's deadeyes from Syren and a photo etch set for the chainplates from Expo. The channels are ready - and Ive triple laminated boxwood for the knees for the channels - ready to be cut out. Im hoping to assemble next week after vacation.
- 290 replies
-
- confederacy
- frigate
-
(and 1 more)
Tagged with:
About us
Modelshipworld - Advancing Ship Modeling through Research
SSL Secured
Your security is important for us so this Website is SSL-Secured
NRG Mailing Address
Nautical Research Guild
237 South Lincoln Street
Westmont IL, 60559-1917
Model Ship World ® and the MSW logo are Registered Trademarks, and belong to the Nautical Research Guild (United States Patent and Trademark Office: No. 6,929,264 & No. 6,929,274, registered Dec. 20, 2022)
Helpful Links
About the NRG
If you enjoy building ship models that are historically accurate as well as beautiful, then The Nautical Research Guild (NRG) is just right for you.
The Guild is a non-profit educational organization whose mission is to “Advance Ship Modeling Through Research”. We provide support to our members in their efforts to raise the quality of their model ships.
The Nautical Research Guild has published our world-renowned quarterly magazine, The Nautical Research Journal, since 1955. The pages of the Journal are full of articles by accomplished ship modelers who show you how they create those exquisite details on their models, and by maritime historians who show you the correct details to build. The Journal is available in both print and digital editions. Go to the NRG web site (www.thenrg.org) to download a complimentary digital copy of the Journal. The NRG also publishes plan sets, books and compilations of back issues of the Journal and the former Ships in Scale and Model Ship Builder magazines.


