Chuck Seiler
-
Posts
1,878 -
Joined
-
Last visited
Content Type
Profiles
Forums
Gallery
Events
Everything posted by Chuck Seiler
-
 What did you use to darken the treenails? I thought I caught a glimpse of Minwax wood putty at the end, but was unable to get details.
- 156 replies
-
- 1
-

-
- marisstella
- marisstella model ship kits
- (and 4 more)
-
Welcome aboard drummer. What model are you working on and from whence do you hail?
-
EGAD!!! Why? Although as an experienced modeler, you probably have a good reason. I find it far too soft even as a filler. I prefer basswood. ...but to answer your question, Hobby Lobby and Michael's both have balsa sheets that thick.
-
Given the start up costs and learning curve associated with 3D printing (particularly for those of us trying figure out how to set the time on our VCRs) this may not be viable if one just wants customized cannon barrels or ship's carvings now and then. Are there commercial services available for this?
-
Thanks Chuck and Joe!!!
-
I had forgotten how fun and exciting stropping blocks can be.
- 130 replies
-
- 4
-

-
-
- wütender hund
- hanseatic
- (and 2 more)
-
Capitulation of warship between centuries?
Chuck Seiler replied to Baltic_submariner's topic in Nautical/Naval History
Technology, proximity, size and tactics. In the age of sail, battles were at close range with adversaries of similar size. When you got pummeled to the point where you could no longer fight you ran or were captured by somebody close to your own size. In WW2 ones ability to fight was often terminated by the inability to stay afloat. When you get pummeled by aircraft from ships a hundred miles away, who do you surrender to? -
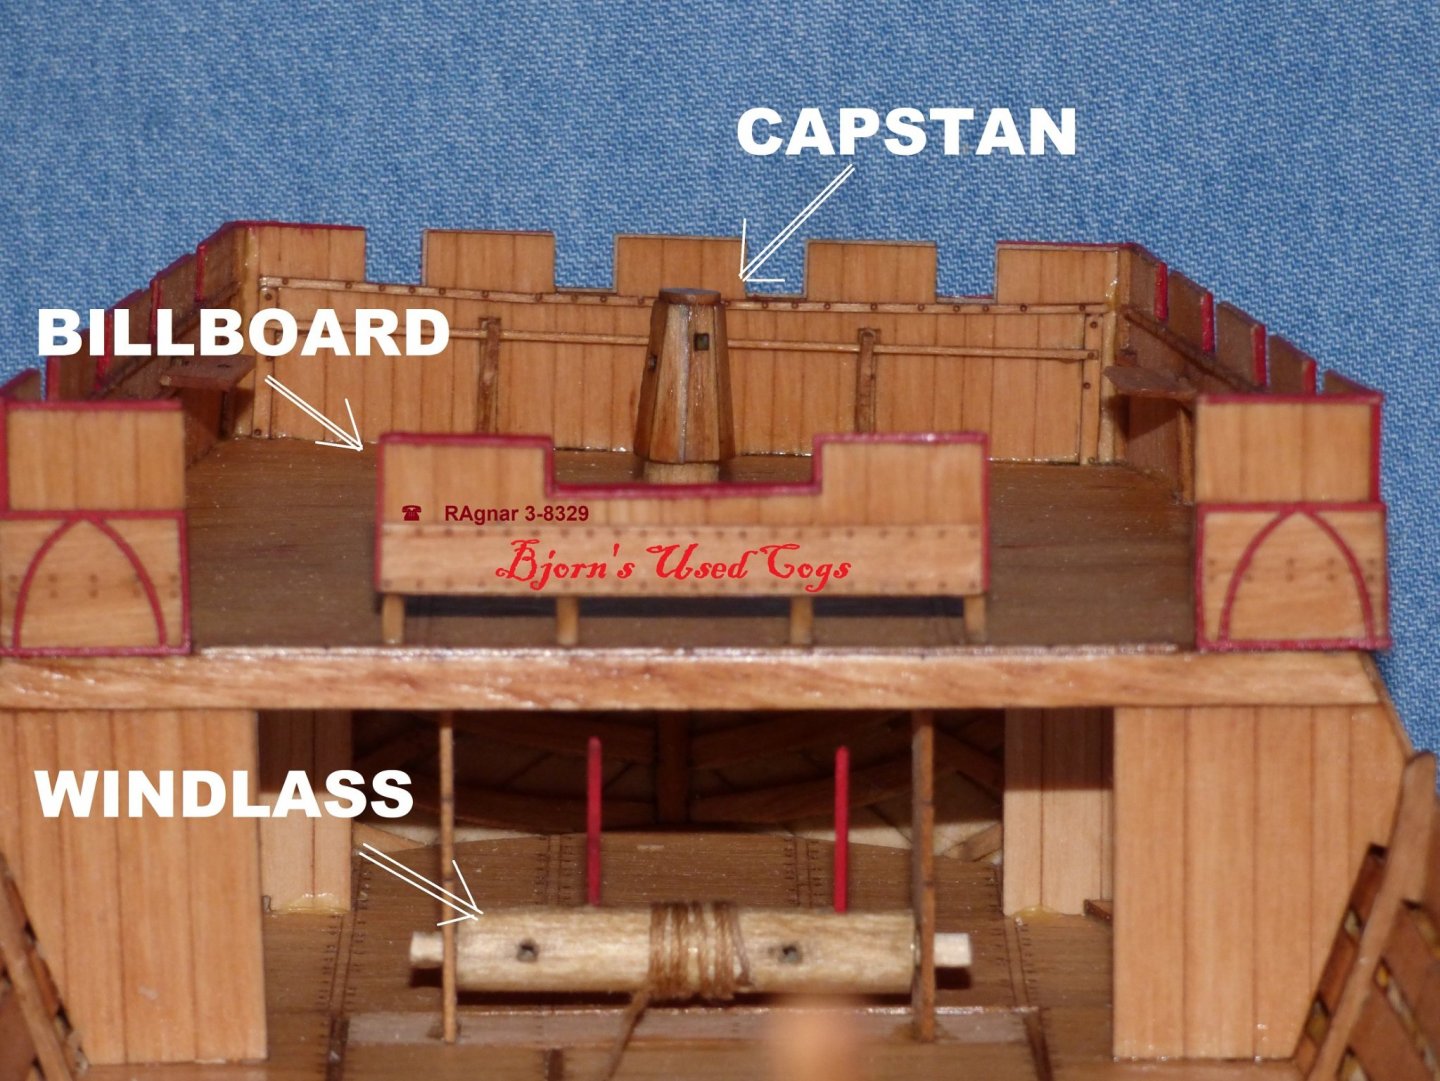
Steven, The under-deck windlass is used to hoist the yard. One suggestion was that it was to hoist the anchor, but it appears poorly positioned for that. Cargo loading maybe?

- 130 replies
-
- 6
-
-
- wütender hund
- hanseatic
- (and 2 more)
-
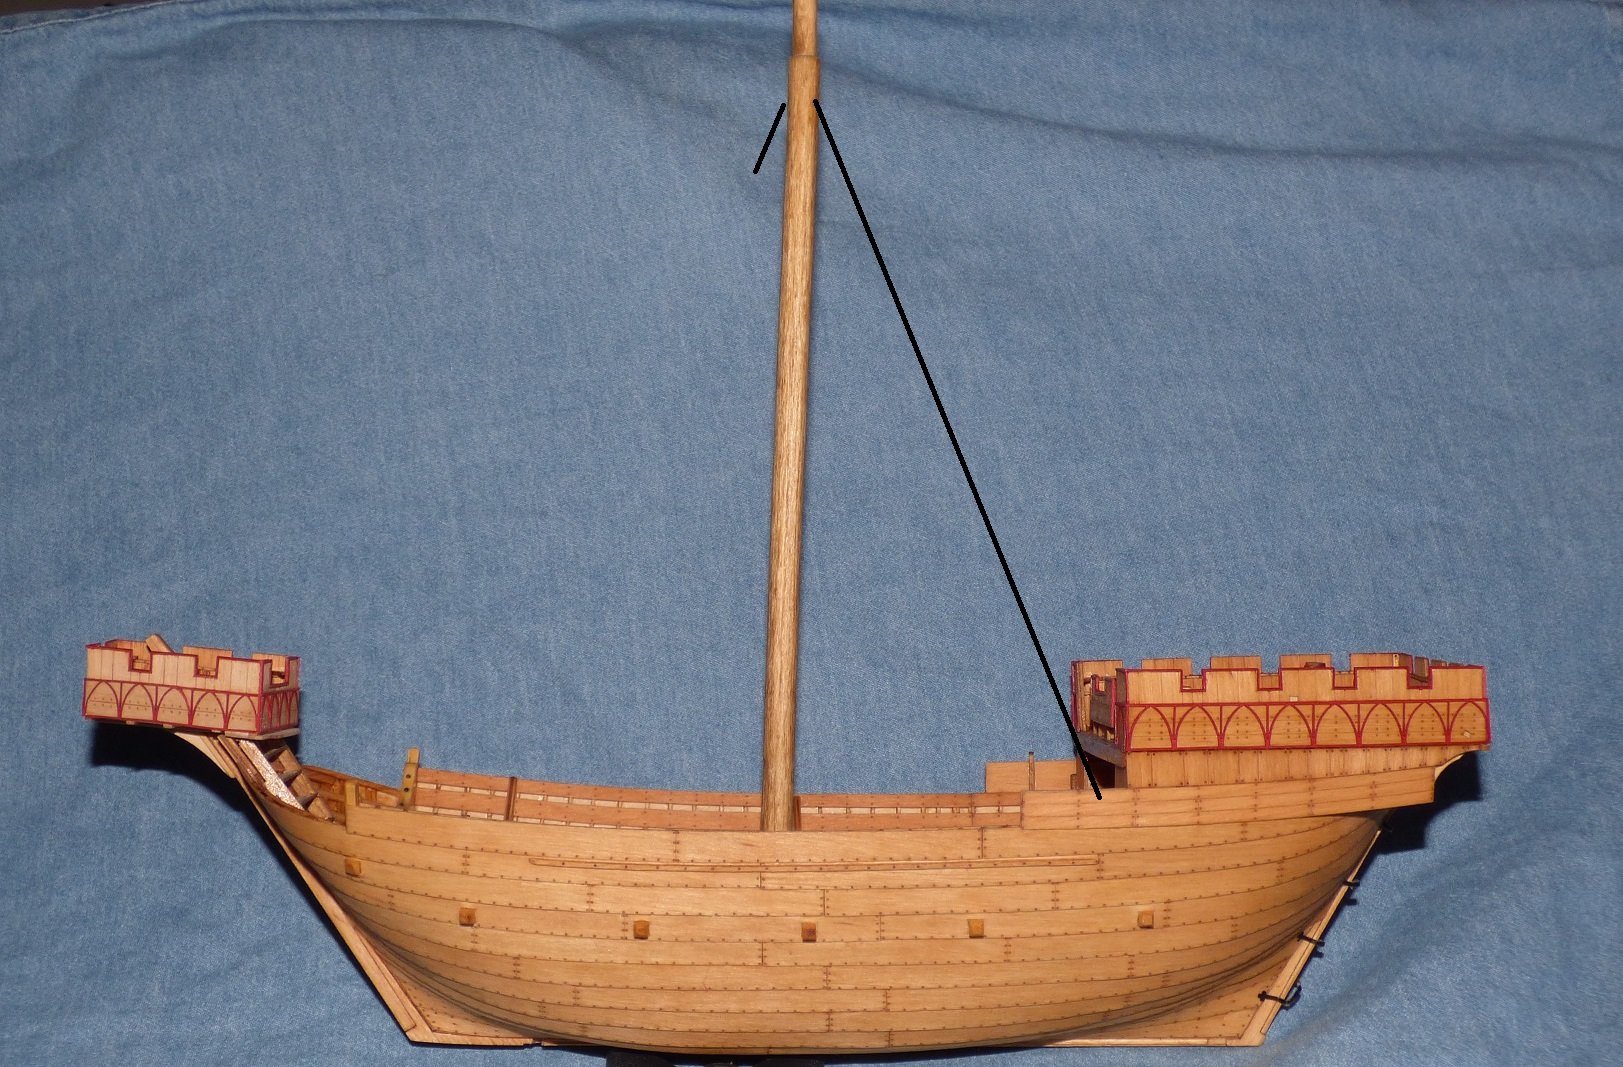
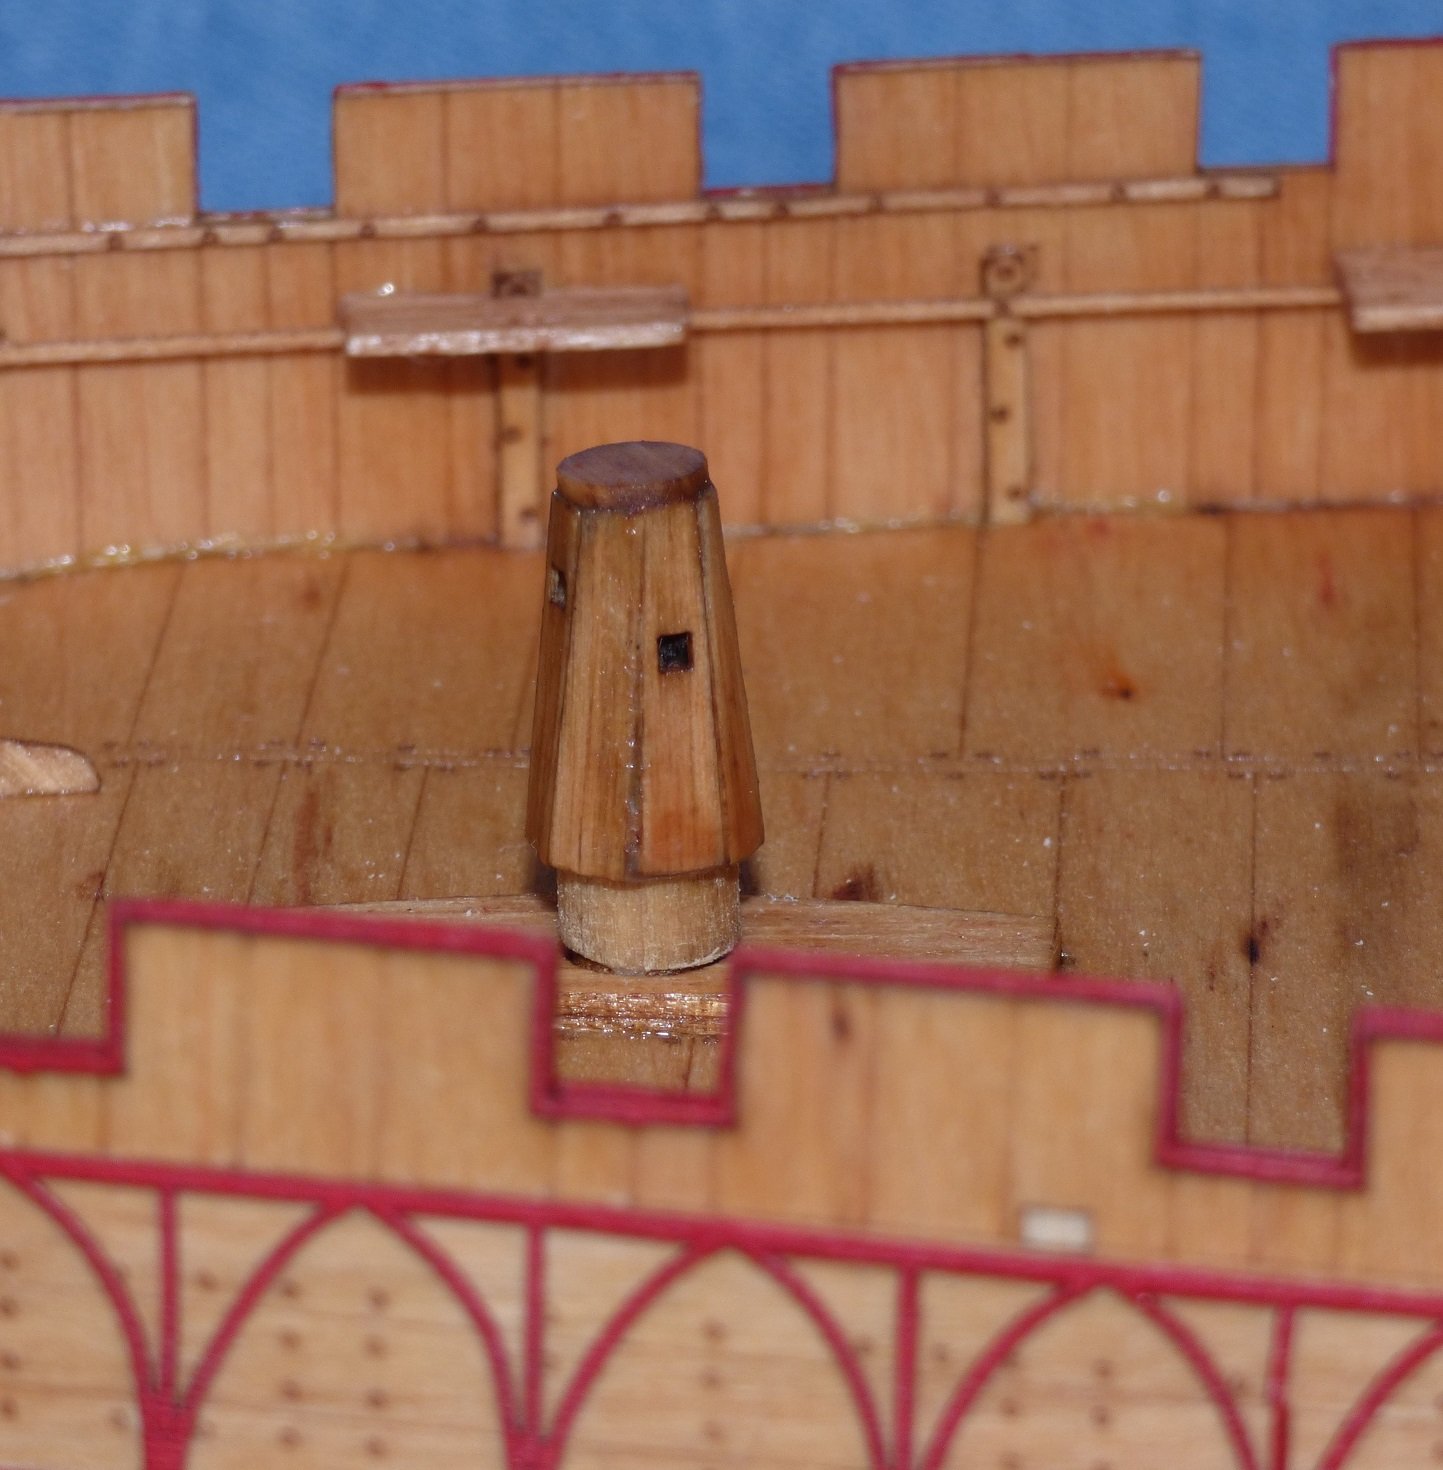
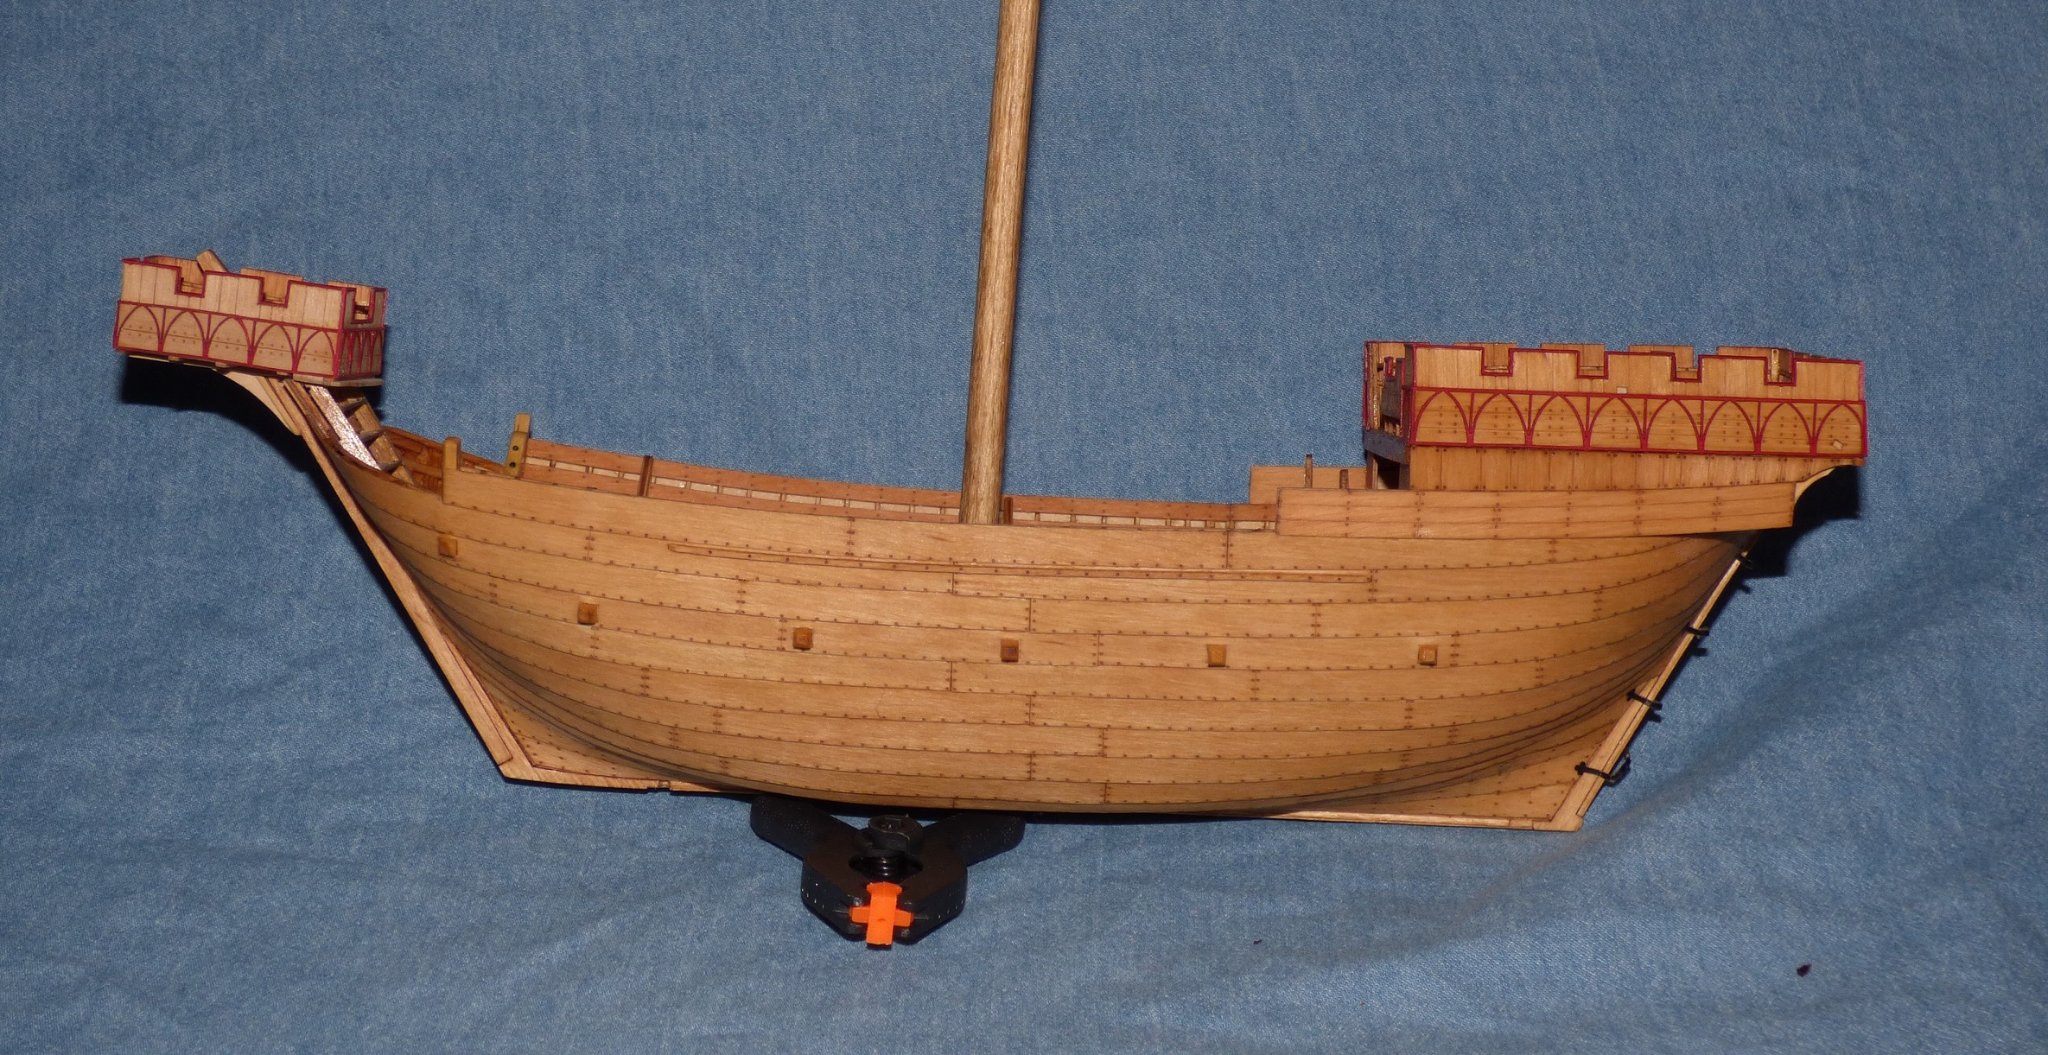
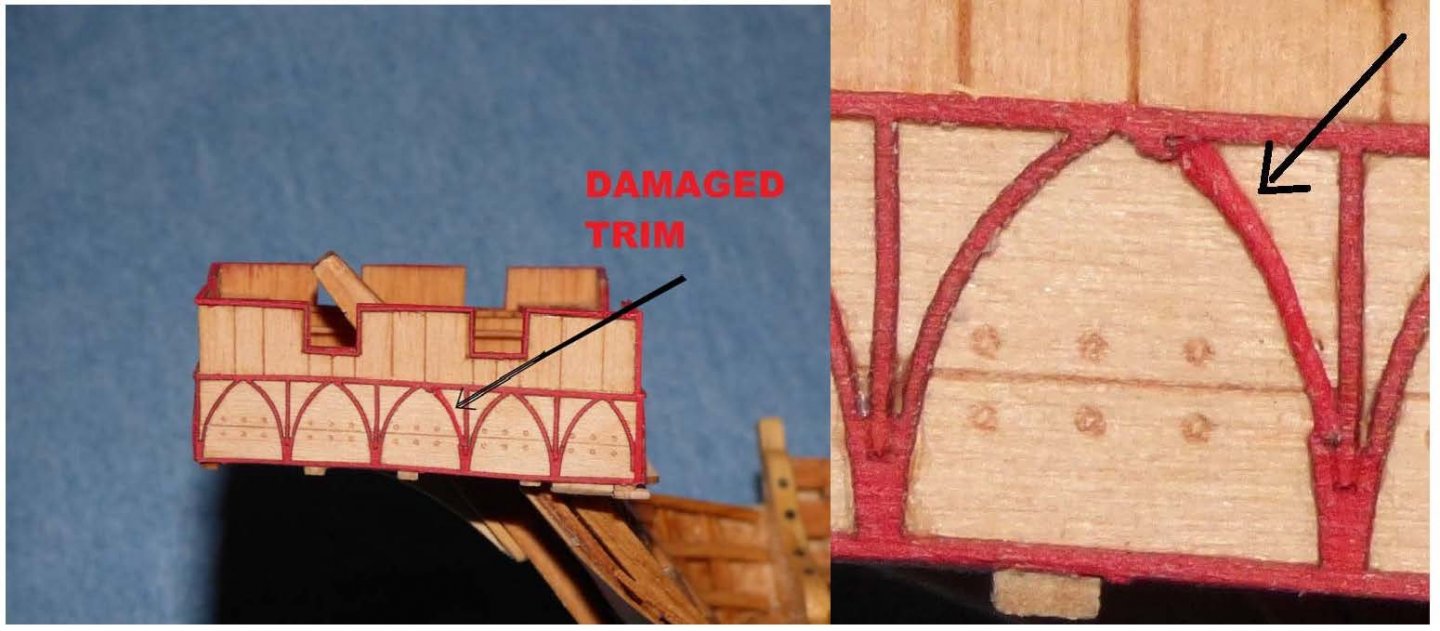
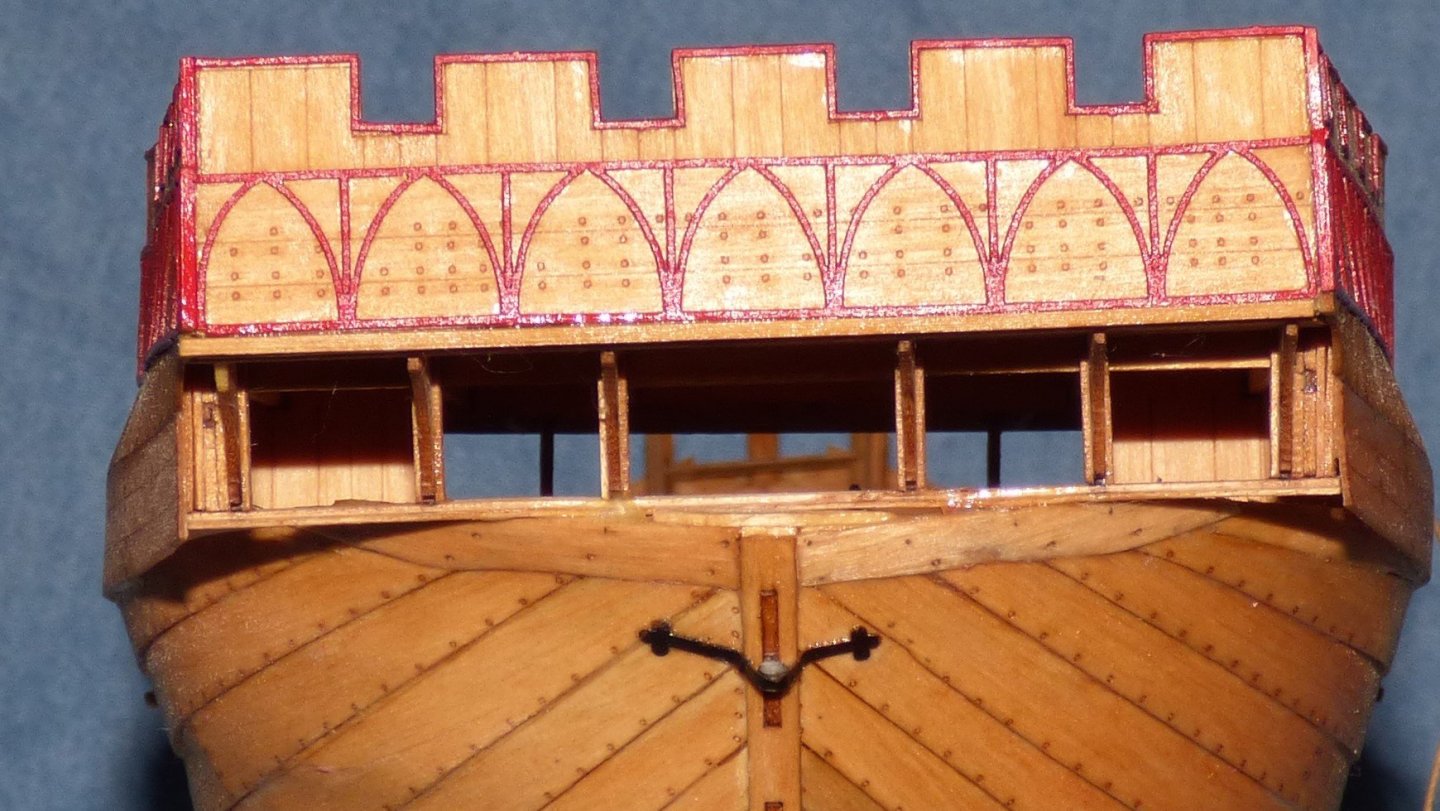
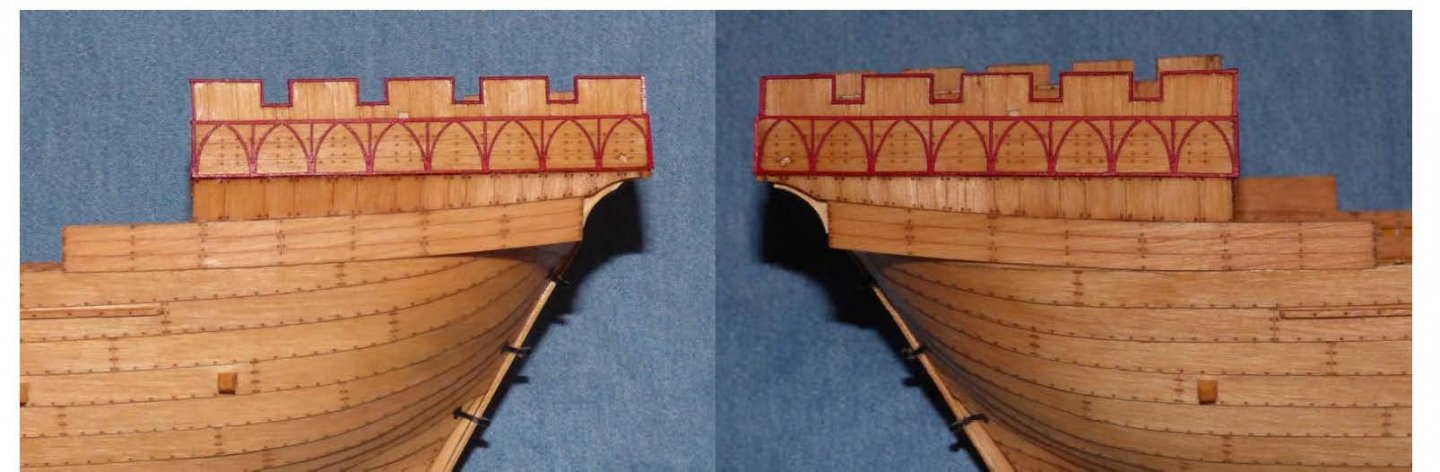
Progress continues. The forward castle (front porch) is complete and ready to be mounted. As mentioned in an earlier post, I had issues with the trim becoming damaged during the painting process due to the moisture in the paint (a break in the structure and curling). You can see one such place on the port side. And a close up of the same location: Red painted thread. Some detail on the stern castle completed: This includes the under deck windlass, the above deck capstan and the forward wall of the stern castle (billboard). The capstan from another angle. I still have not figured out what it is for. Up Next: Some blocks and deadeyes. I also want to mount the model on a base before I start the rigging process.


- 130 replies
-
- 7
-
-
- wütender hund
- hanseatic
- (and 2 more)
-
Thanks Clare. I am pretty happy with the way the trim turned out. I have done that before...painting before putting it on the model, but this had its own challenges. One panel on the stern and 2 on the bow had one one area snap and curl due to the moisture in the paint. I corrected by using painted thread. I will show this in my next post. I tried the WOP on the deck. Not terribly bad, but as good as I would have liked. I will not be using it on the hull. I may use Tung oil or just leave it as is. Update due tomorrow.
- 130 replies
-
- 2
-
-
- wütender hund
- hanseatic
- (and 2 more)
-
John, Understood. I was addressing your issue in post #14 where your bottom strake is not wide enough and you have about 1/16" left to plank. Perhaps it was an optical illusion.
-
Good save. What are your plans regarding the 'too narrow' bottom plank? One possibility is to go to Michael's or other hobby shop and get a piece of basswood. IIRC should be easy to fashion.
-
Micro drill bit sizes
Chuck Seiler replied to Peanut6's topic in Modeling tools and Workshop Equipment
It's a cross I bear, always 'the other Chuck'. 😢 -
NRG Capstan Project
Chuck Seiler replied to tlevine's topic in - Build logs for subjects built 1751 - 1800
I am assuming this can be scaled up or down if desired. Correct? -
NRG Capstan Project
Chuck Seiler replied to tlevine's topic in - Build logs for subjects built 1751 - 1800
Reading the instructions has not stopped me from making stupid mistakes before. "How come things that happen to stupid people keep happening to me?"-Homer Simpson -
Micro drill bit sizes
Chuck Seiler replied to Peanut6's topic in Modeling tools and Workshop Equipment
Chuck Passaro, I am assuming, not me. Great bits of you have a mill or good drill press. If you plan to drill by hand, I still recommend the pin vise, which will not accommodate the 1/8 inch shafts. -
Micro drill bit sizes
Chuck Seiler replied to Peanut6's topic in Modeling tools and Workshop Equipment
Check out "MICRO MARK". Go to their website and open their digital catalogue. Page 32 (I believe) has several micro drill bit sets ranging from about $15 to $30. Once you see what is available, you can get from MM or shop around. I have seen them at hobby shops, a local model railroad store, etc. Once you get the set and start using it, you will get a feel for what sizes you get most. You can then get individual bits just in this sizes when they break...and they will break. I find I use 60, 72 and 76 the most. I would recommend the hand held pin vise over the drill press. -
Thanks. I would have preferred it worked out right the first time, but this is a good alternative.
- 130 replies
-
- 1
-
-
- wütender hund
- hanseatic
- (and 2 more)
-
That was just a quick and dirty to show where I am. I wanted to get in and out so all the comments and such can come pouring in. <crikt crikt> The process was easier than anticipated but would have been easier without the castle in place. At this point, I am thinking of 'Wipe on Poly'ing the hull. Is there any issue with applying poly over oil based stain?
- 130 replies
-
- 2
-
-
- wütender hund
- hanseatic
- (and 2 more)
-
Chuck's Paint and Body Shoppe- Bend to fit. Paint to match. Close enough for government work
- 130 replies
-
- 7
-
-
- wütender hund
- hanseatic
- (and 2 more)
-
You built HMS VICTORY during surgical residency? Wow! I'm impressed. What can you do when you are NOT overstressed and actually have free time on your hands. Welcome aboard.
-
Agesofsail not Ageofsail https://www.agesofsail.com/
-
Do you want to make a model of a big ship or a big model? SYREN Ship Model Company (MSW Sponsor) offers a semi scratch kit of HMS WINCHELSEA. It is a frigate but pencils in at 38 inches. Quality is top notch and instructions are very clear. Several build logs on the site as well as kit designer, Chuck Pasarro. The kit is offered in chapters. You only by the material required for the chapter you are working on at the time. Check it out.
-
Sounds like a plan. I have had people who have seen Cardy-dog up close say the same thing. It isn't until they pick it up and see how light it is do they realize its not wood. The way they have you paint it, the ratios of colors, really works out well.
- 175 replies
-
- 2
-
-
- hanse kogge
- shipyard
- (and 1 more)