HOLIDAY DONATION DRIVE - SUPPORT MSW - DO YOUR PART TO KEEP THIS GREAT FORUM GOING! (Only 20 donations so far - C'mon guys!)
×


_SalD_
-
Posts
828 -
Joined
-
Last visited
Content Type
Profiles
Forums
Gallery
Events
Everything posted by _SalD_
-
 Thanks Elijah & Thomas. Yes Thomas I think I can see the light at the end of the tunnel, just hope it's not an oncoming train.
- 659 replies
-
- 7
-

-
- syren
- model shipways
- (and 1 more)
-
Cutter Cheerful 1806 by rafine - FINISHED
_SalD_ replied to rafine's topic in - Build logs for subjects built 1801 - 1850
great job Bob looking forward to the next one- 525 replies
-
- 5
-
-
- cheerful
- Syren Ship Model Company
- (and 1 more)
-
Thanks Dirk, Jack and Bob. Dirk it's nice that you take the time to look at my log and I appreciate your comments but I can't imagine you needing any help from me.
- 659 replies
-
- 6
-
-
- syren
- model shipways
- (and 1 more)
-
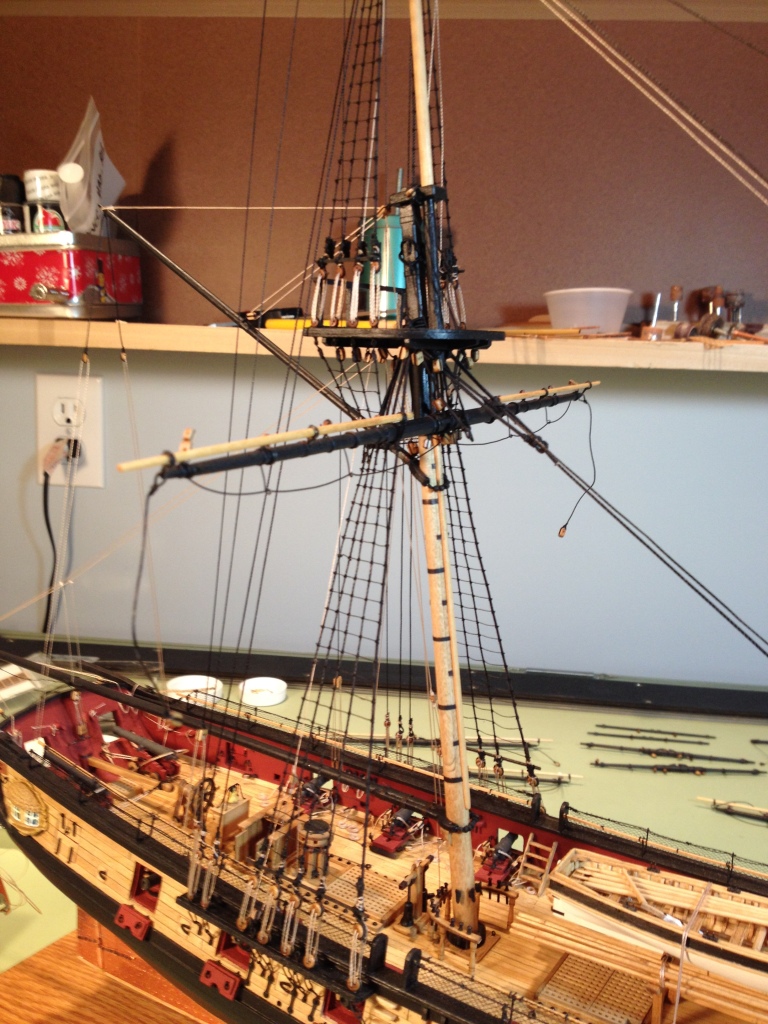
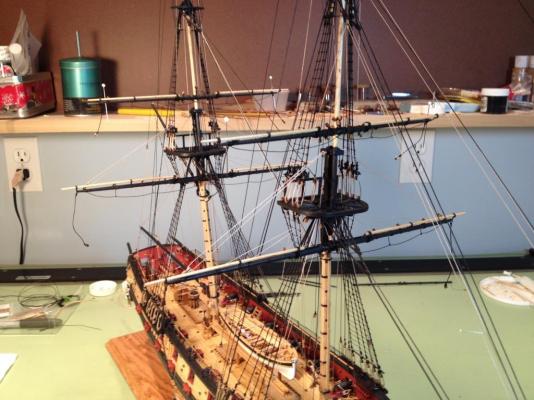
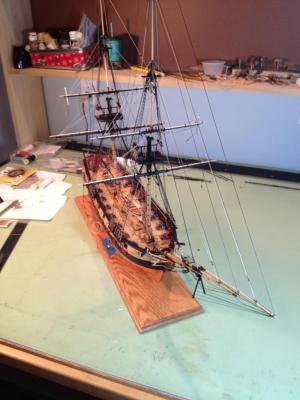
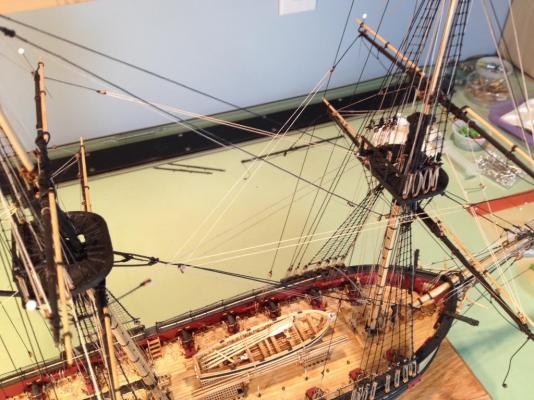
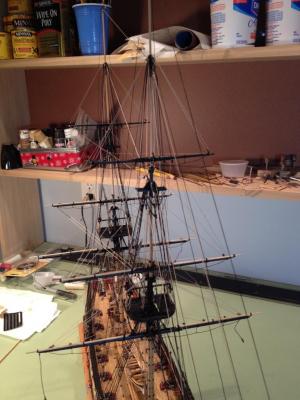
Thanks Lawrence and Thomas and for all the likes. Well I've been busy, busy busy… Lower, topsail and topgallant yards are all rigged. I find rigging, as I mentioned before, to be a task I enjoy doing so once I start it’s hard to stop. The yards were rigged following Chuck’s directions and so far no problems. Well no real problems just one little glitch happened when I went to rig the starboard side topsail buntline which is supposed to be run through a block hanging from the aft most cross tree. When I went to run it though low and behold there was already a line in there. What had happened was when I rigged the topsail yard jeer which is run through the block below the cross tree right in front of the buntline’s block the holes in the two blocks must have lined up perfectly and I failed to notice that the jeer line went through both blocks. After a few WTF's and some deconstruction everything was put in order. Parrel added to the top sail yards Lower yards rigged and topsail yards added Braces rigged and topgallant yards added. As a side note, the more lines I add I start to understand why lions have a hard time hunting zebras. Looking through all these black and white lines it’s hard to tell which is in front of which.
- 659 replies
-
- 18
-
-
- syren
- model shipways
- (and 1 more)
-
James, here's a link that show what I used to sand the inboard and outboard bulwarks http://modelshipworld.com/index.php/topic/8410-us-brig-syren-by-sald-–-model-shipways/?p=257875 it does take a bit of effort to get them down to their proper thickness.
-
Cutter Cheerful 1806 by rafine - FINISHED
_SalD_ replied to rafine's topic in - Build logs for subjects built 1801 - 1850
Beautiful work Bob, braces look fine and the anchor is great. Can you make me two?- 525 replies
-
- 3
-
-
- cheerful
- Syren Ship Model Company
- (and 1 more)
-
Winds, good luck with your built ship looks interesting, like the crew too. I'd also love to see a picture of your aquarium.
-
Cutter Cheerful 1806 by rafine - FINISHED
_SalD_ replied to rafine's topic in - Build logs for subjects built 1801 - 1850
Very nicely done Bob, your rigging looks great. I like the rope coils too. As for the braces I would do what's going to make you happy (personally I'd go with both fore and aft, but that's just my 2 cent). Or I guess you could install the fore braces see what it looks like and then install the aft ones.- 525 replies
-
- 4
-
-
- cheerful
- Syren Ship Model Company
- (and 1 more)
-
Thanks Dirk, one down, eight to go, and thanks Lawrence and George for the kind words.
- 659 replies
-
- 7
-
-
- syren
- model shipways
- (and 1 more)
-
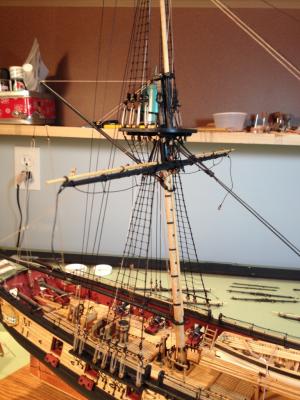
Just small update. Finished all the yard arms and hopefully attached all the required blocks and pendants. And then.... raised my first yard!! I pinned the yard to the mast as described in the manual but only glued the pin to the mast so the yard is free to move, just not vertically. Tying the truss around the mast was, lets say, an exercise in patience. Should've of done this twenty years ago when the fingers could move a bit more without cramping up. One lesson learned was that I made the sling on the mast a little too long so there's not much of a lanyard between it and the thimble on the yard.
- 659 replies
-
- 14
-
-
- syren
- model shipways
- (and 1 more)
-
US Brig Syren by Gahm - Model Shipways
_SalD_ replied to Gahm's topic in - Kit build logs for subjects built from 1801 - 1850
Great craftsmanship Thomas :im Not Worthy: -
Very clever, I like it.
-
Hi Jesse, I had thought about doing something similar before I took the easy way out and bought replacement cannonades from Bluejacket. I had thought about dipping the cannons in thinned black paint a number of times to build up their thickness, sort of like dipping candles in wax. I never tried it so I'm not sure if it would work. If you need extra cannonades to experiment on let me know I can send you the ones from the kit I didn't use. Not sure about the sails.
- 1,306 replies
-
- 6
-
-
- syren
- model shipways
- (and 1 more)
-
Thanks Ken & Richard, appreciate the kind words. Richard , I just followed Chuck's directions on make the foot ropes and it worked out rather nicely.
- 659 replies
-
- 4
-
-
- syren
- model shipways
- (and 1 more)
-
Nice work Richard, the belaying pins look great. I also like your idea of the mesh clamped to the vacuum hose, that should save me from digging around on the bottom of the shop vac anymore.
-
Thanks Elijah and you're right about the shine. I plan to paint them with some flat black paint.
- 659 replies
-
- 3
-
-
- syren
- model shipways
- (and 1 more)
-
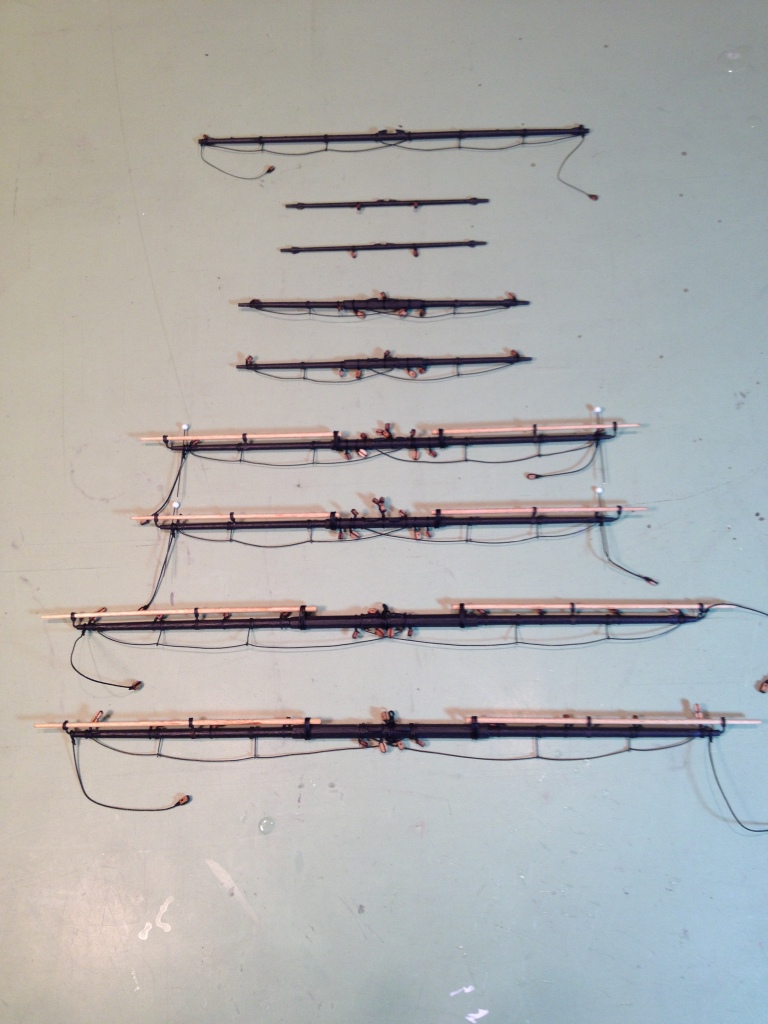
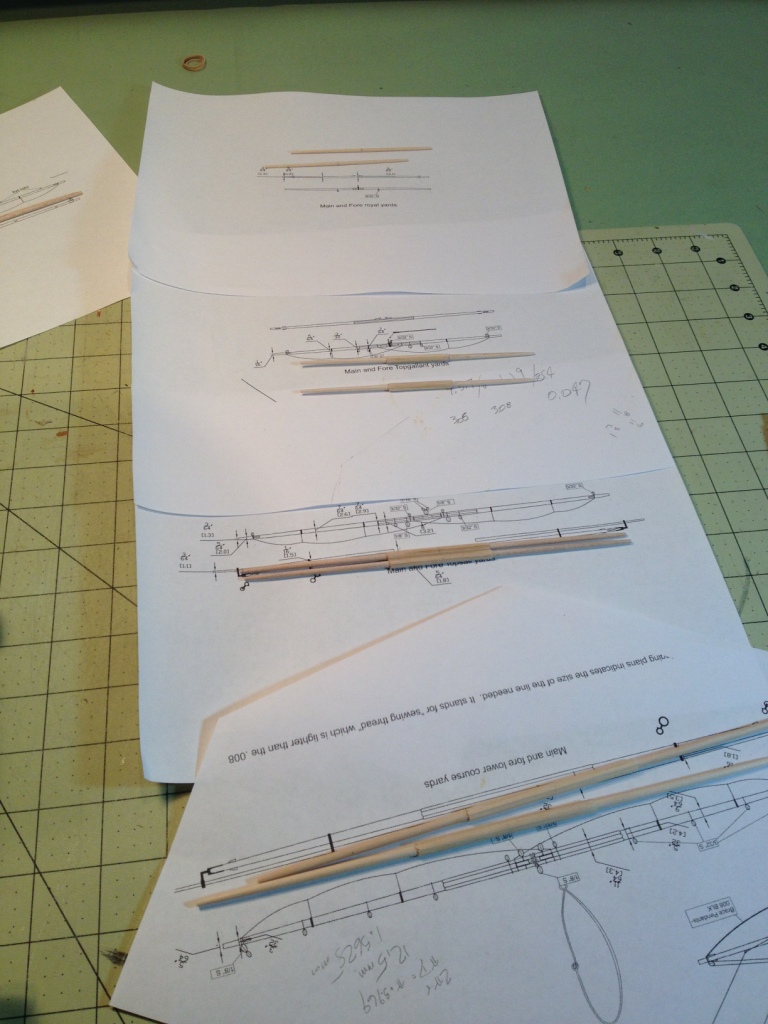
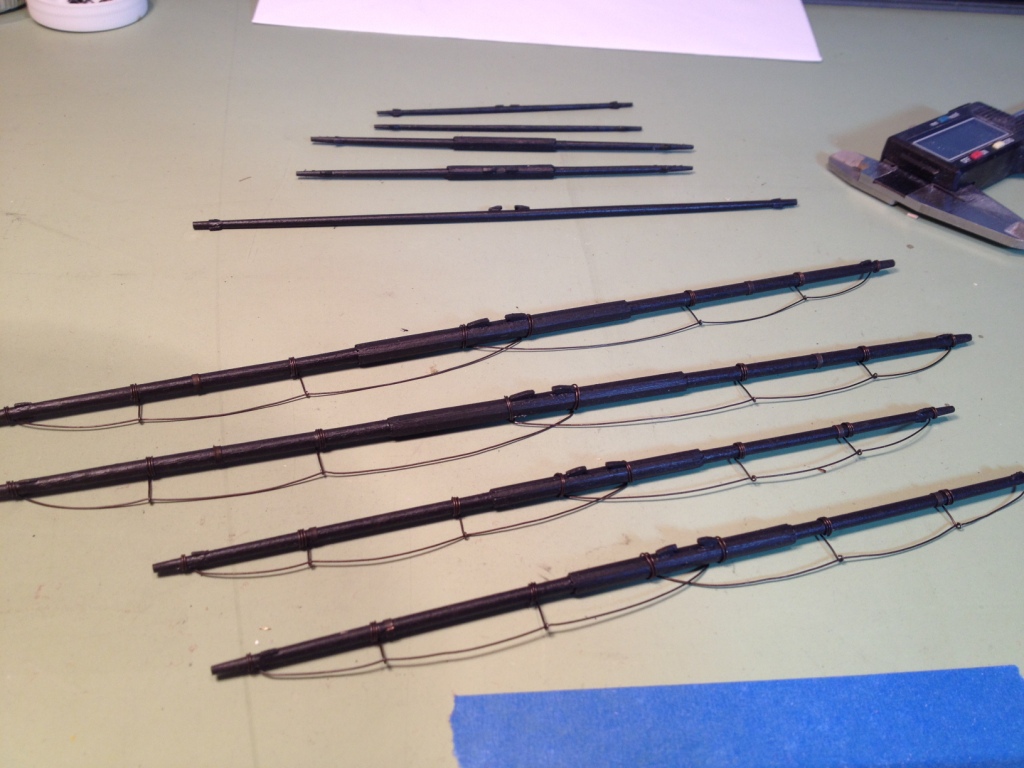
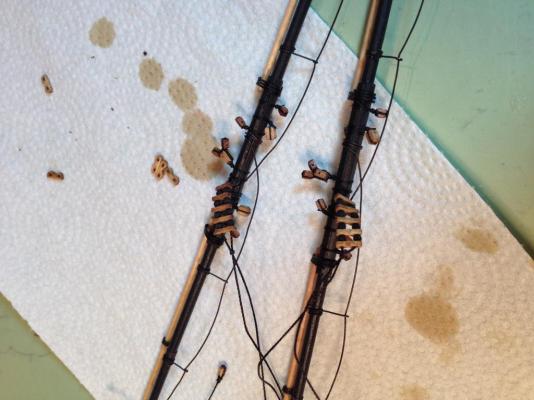
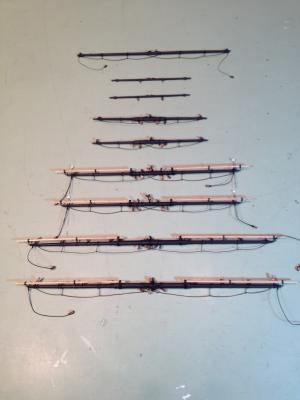
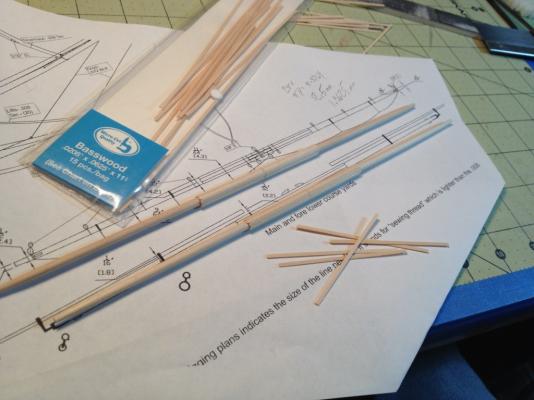
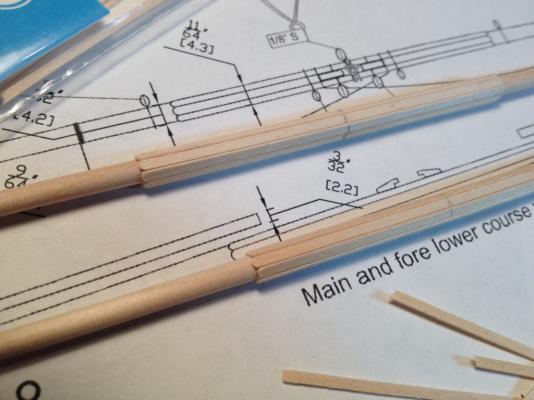
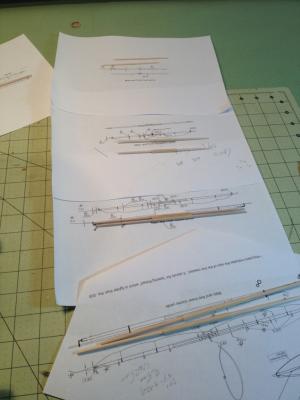
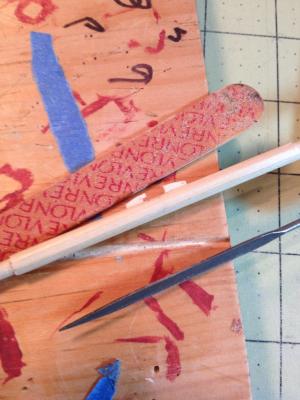
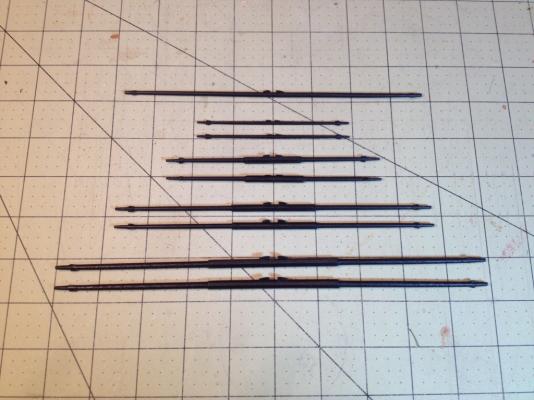
Started the yard construction and since all the yards basically follow the same 4 step construction procedure I decided to build all eight at the same time. All yards were cut and tapered following the plans using the appropriate size dowel. For the octagon shaped section of the yards I used some dimensional lumber from Midwest Products that I had purchased a while back. Using a caliper I measured the diameter of the lower mast (0.156”) then determined the circumference (3.14 * 0.156”=0.49”) and divided that number by 8 (0.49/8=0.061”) which very closely equaled the width of the Midwest lumber. The ends were rounded and glued in position. These pieces were also very thin so the edges didn’t need to be beveled. The gaps were filled with some Hobbylite filler and then sanded smooth. The topsail and topgallant yards were done the same way but with a different size wood strip. For the cleats I glued two rectangular pieces of 1/16" square wood stock to each yard. After the glue set for a day I sanded the the blocks to the shape shown on the drawings. For the lower notch I used a file that had teeth on its edges only. The yards were then painted. Foot ropes added. The 28 gauge wire was used for the footropes as described. Still need to add them to the topgallant and spritsail yard.

- 659 replies
-
- 14
-
-
- syren
- model shipways
- (and 1 more)
-
Dave, I think we all are our own worst critics at times and I think your right about when build logs stop. It's good you keep moving forward and she's looking fine from what I can see. Nice work.
- 28 replies
-
- 1
-
-
- phantom
- model shipways
- (and 1 more)
-
Nils the ship looks awesome. Hope everything turns out okay at the doctors, in the meantime I hope you have a nice Fraulein masseuse
- 2,625 replies
-
- 4
-
-
- kaiser wilhelm der grosse
- passenger steamer
- (and 1 more)
-
Thanks Gary & Thomas, it's nice to be appreciated. And as always thanks for all the likes.
- 659 replies
-
- 4
-
-
- syren
- model shipways
- (and 1 more)
-
Chuck, all I can say is your coils good great and if you ever decide to market them at Syren please let me know I'll be first in line. For the life of me I can't make a decent rope coil.
- 1,051 replies
-
- 7
-
-
- cheerful
- Syren Ship Model Company
- (and 1 more)