HOLIDAY DONATION DRIVE - SUPPORT MSW - DO YOUR PART TO KEEP THIS GREAT FORUM GOING! (Only 20 donations so far - C'mon guys!)
×


_SalD_
-
Posts
828 -
Joined
-
Last visited
Content Type
Profiles
Forums
Gallery
Events
Everything posted by _SalD_
-
 Thanks Dirk, George & Elijah for the nice comments. She is coming alive, don't you just love rigging.
- 659 replies
-
- 5
-

-
- syren
- model shipways
- (and 1 more)
-
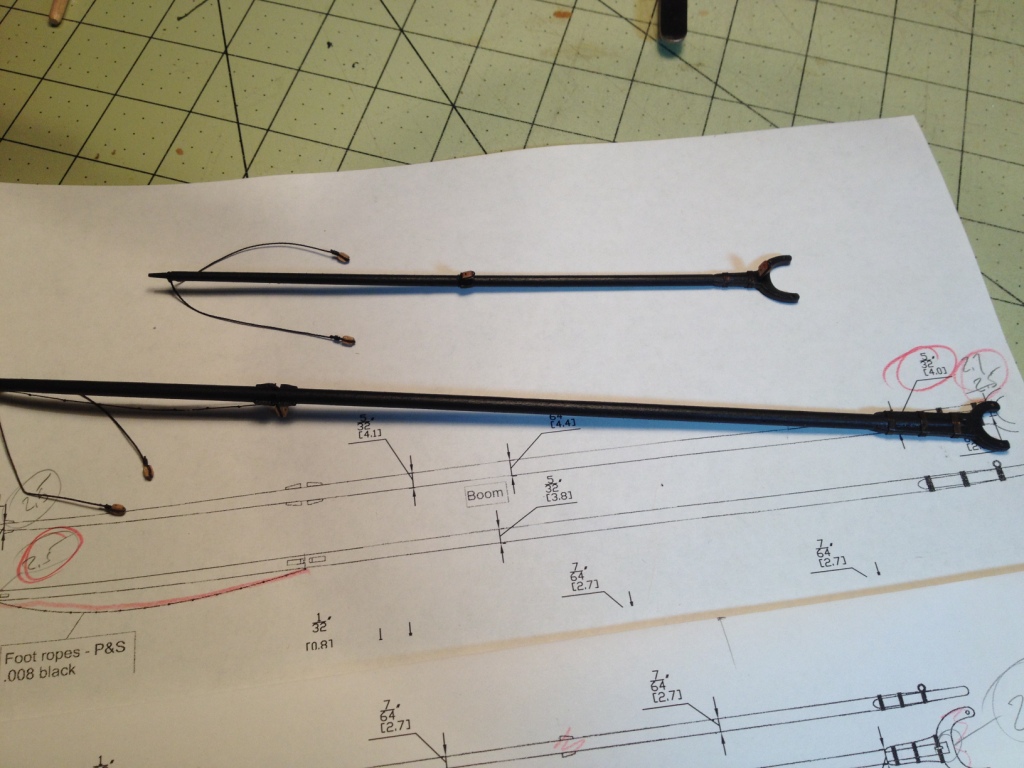
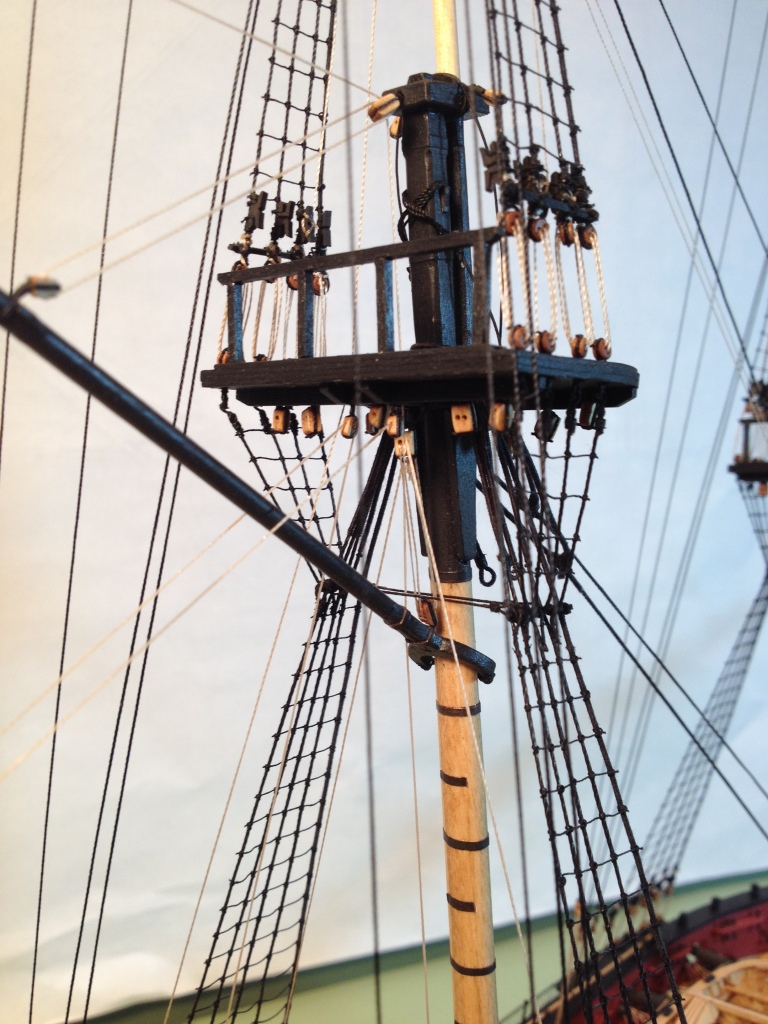
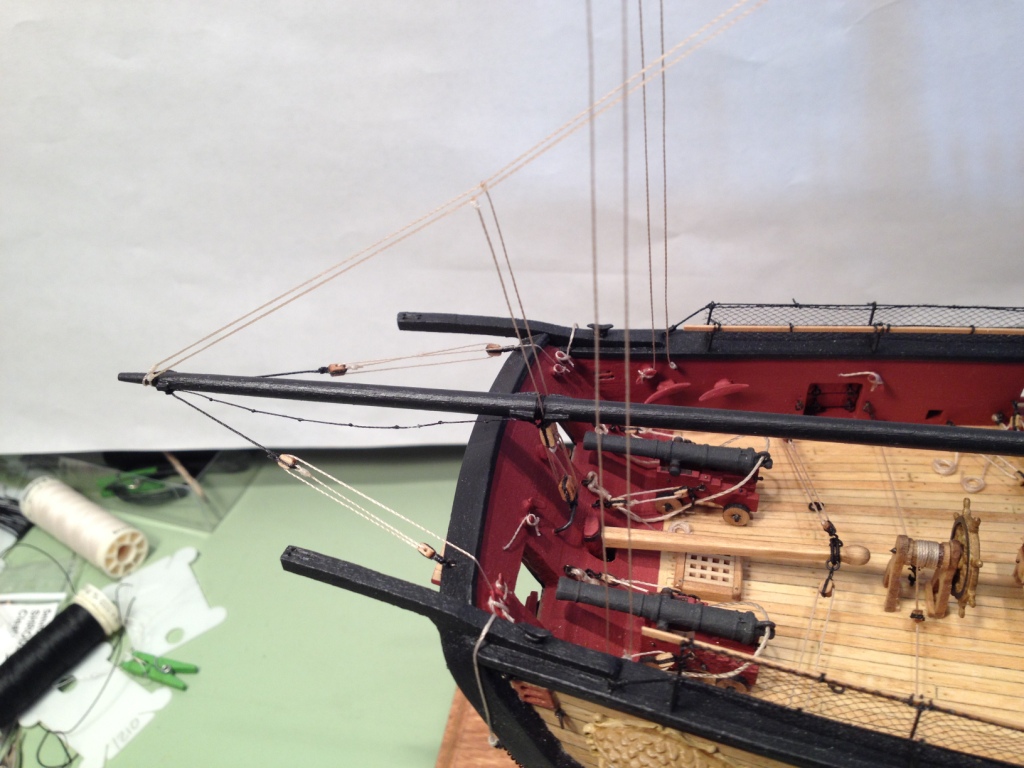
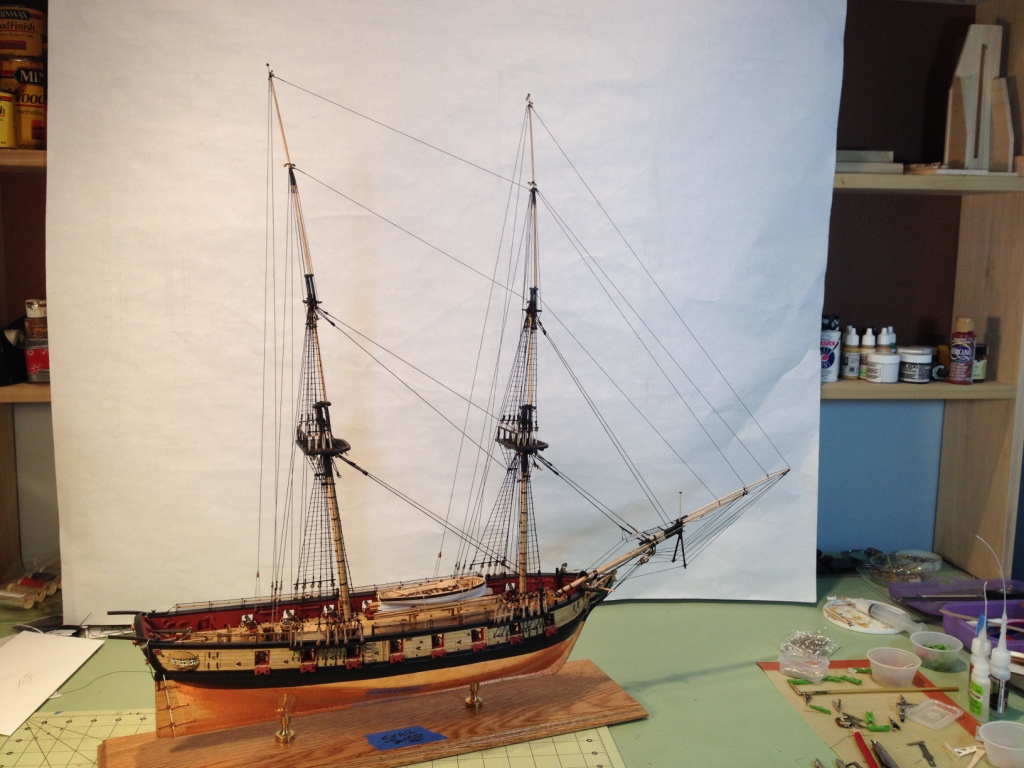
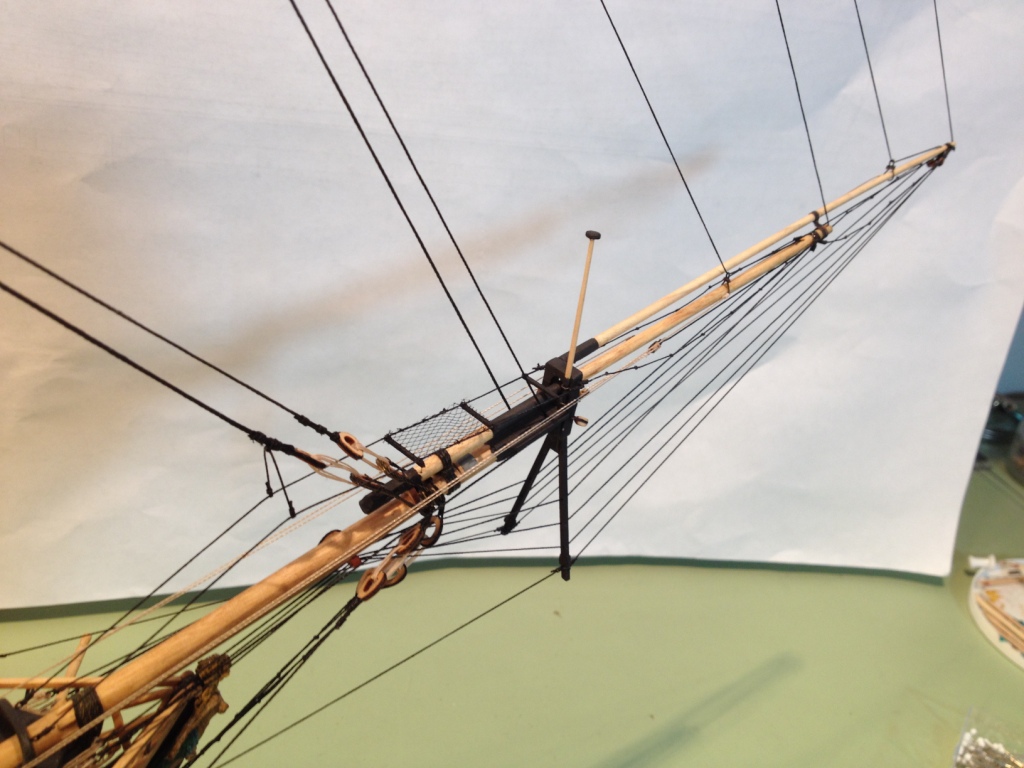
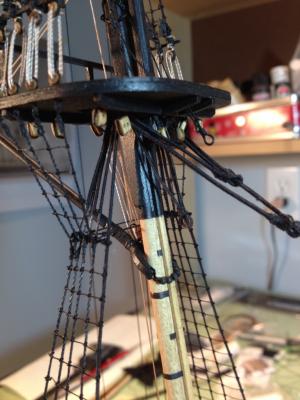
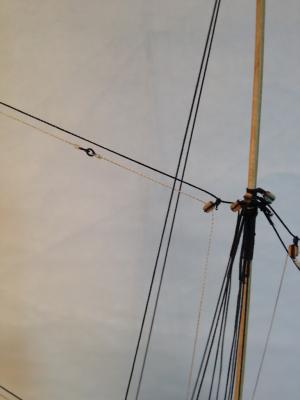
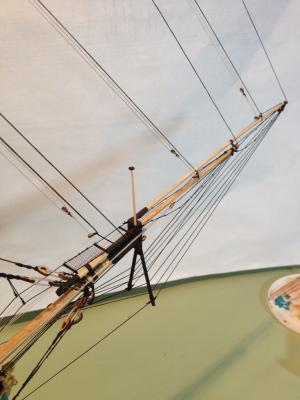
The boom and gaff were assembled as per the drawings and as you can see I decided to paint them black. Finding out the hard way, there is one boo-boo on the drawing. The cleats shown mid-span on the gaff are in the wrong position. They should be located on the sides of the gaff and not the top & bottom as shown on the drawing. I also decided to put the foot ropes on the boom before it was installed on the ship. I went to rig the boom’s topping lifts and discovered I had missed two blocks under the main top when installing them in chapter 17. They are the two blocks attached to the trestle trees. Using a pin vise and lots of patience the holes were drilled below the top and the blocks installed. At the end of the boom topping lift paragraph it says, “Note the “leg” of .008 rigging that runs from the topping lift to the boom. It is shown on the rigging plans. This should be rigged as well.” I don’t believe this is shown on the drawings or at least I couldn’t find it but I think it’s the line shown on page 122 in chapter 20. The staysail rigging was installed per the instructions and the only change I made was to seize some left over split rings to the end of the downhauls instead of making eyes. Now I need more rope coils, my least favorite thing to make.


- 659 replies
-
- 19
-
-
- syren
- model shipways
- (and 1 more)
-
Cutter Cheerful 1806 by rafine - FINISHED
_SalD_ replied to rafine's topic in - Build logs for subjects built 1801 - 1850
Nice job on the ratlines Bob.- 525 replies
-
- 4
-
-
- cheerful
- Syren Ship Model Company
- (and 1 more)
-
captgino just catching up with all your builds!! Where do you find the time? New kid, new house, new degree and building three ships, wow. The ships look terrific, nice work.
- 68 replies
-
- 3
-
-
- flyer
- constructo
- (and 2 more)
-
Thanks Bob, Elijah, Craig, Captgino, Thomas & Jack for all the nice comments and thanks to all for the likes. Elijah, she's not finished yet but getting closer. Still need to do all the yards and their rigging. Craig, It's a great kit and I'm sure you'll enjoy building her. The only major parts I replaced were the cannonades that I got from Bluejacket. I also use the 3mm hooks from the Syren Model Co. SOS, I'll need to send out the press gangs to come up with a crew.
- 659 replies
-
- 5
-
-
- syren
- model shipways
- (and 1 more)
-
Elijah great work on the stern, she coming along nicely. It appears you've got a lot of great help out there in Chicago.
- 701 replies
-
- 2
-
-
- phantom
- model shipways
- (and 1 more)
-
Rudder coat looks great Jesse. It was good you did it while you could still turn the ship upside down, makes it a lot easier. Sorry to hear about your health issues, wishing you well and stay strong.
- 1,306 replies
-
- 10
-
-
- syren
- model shipways
- (and 1 more)
-
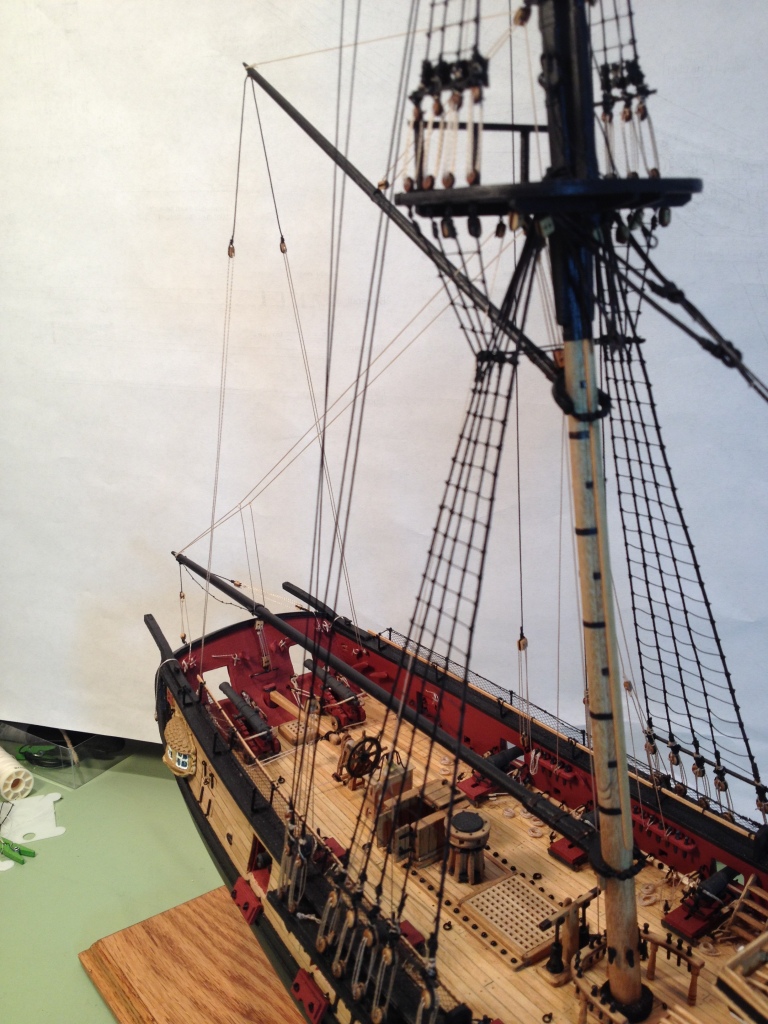
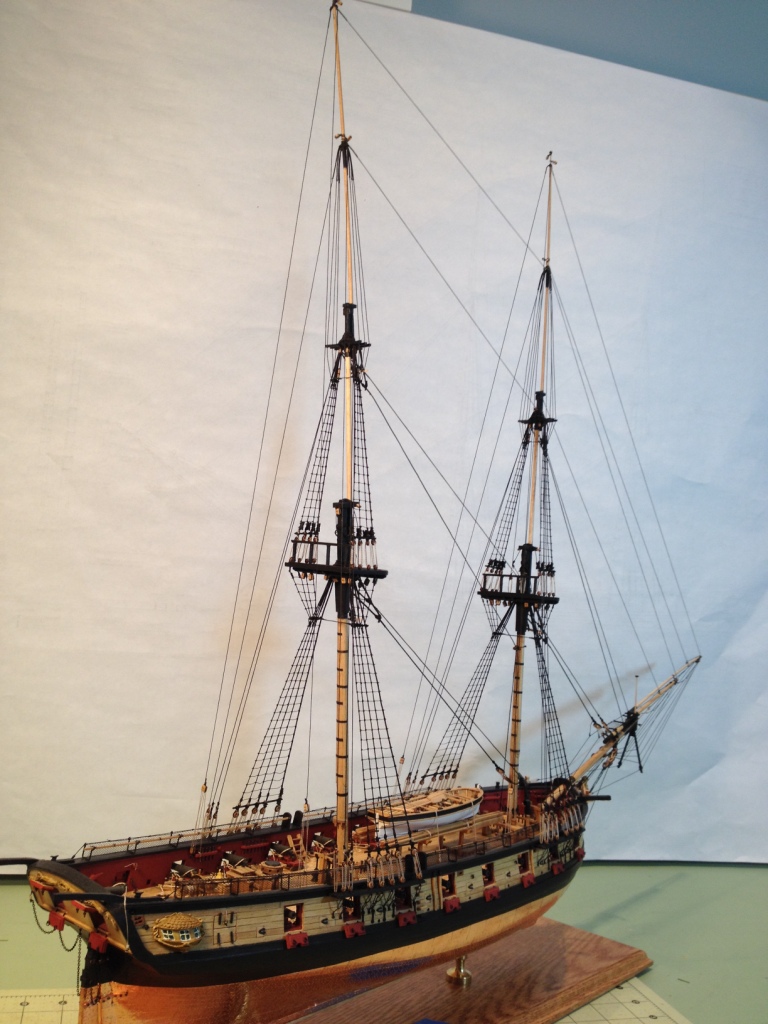
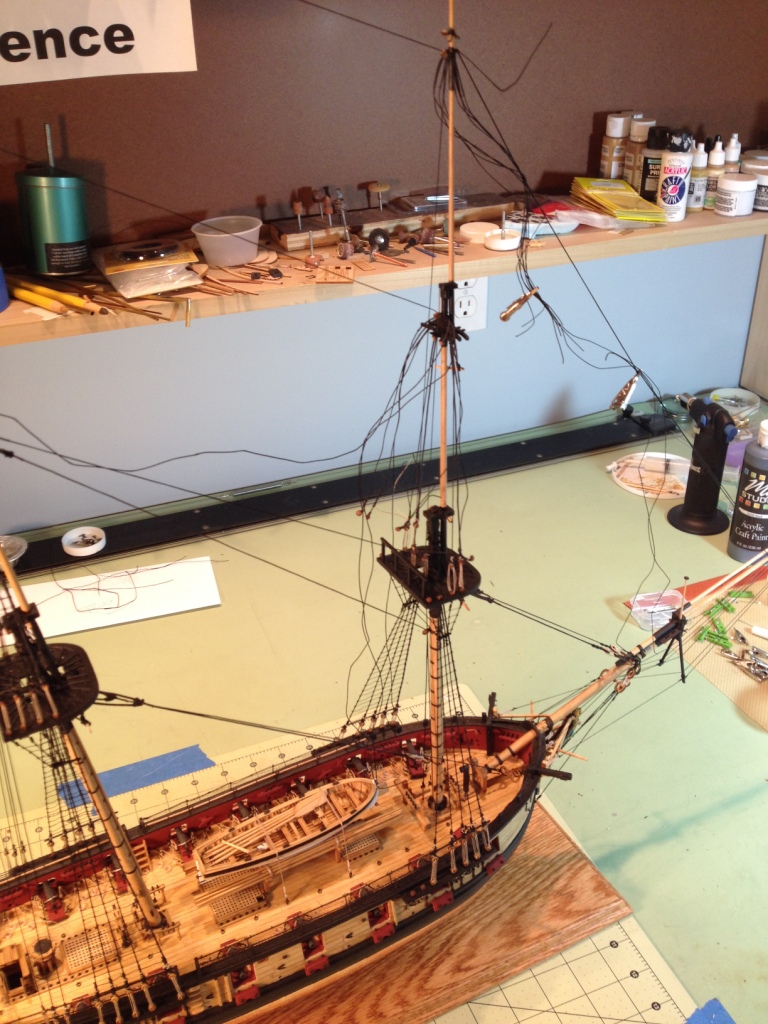
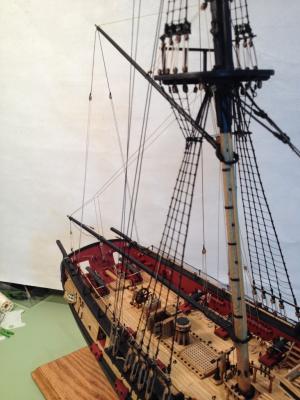
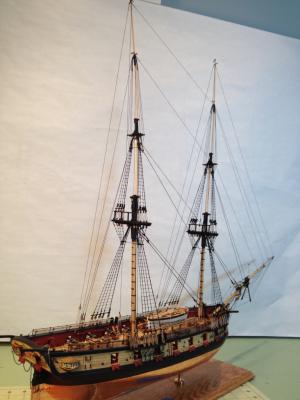
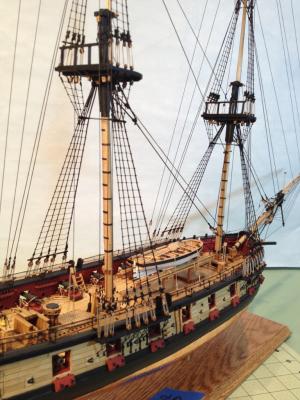
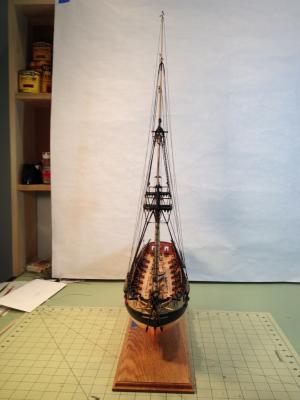
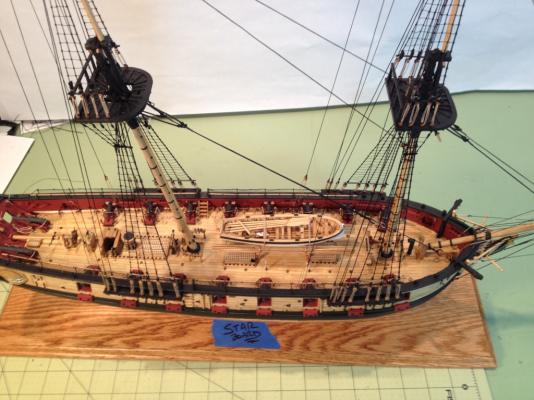
I finally finished the standing rigging and I must say this was a challenging chapter. Since I had installed the lower and upper shrouds for the fore mast while I was doing the main mast the rigging for the fore mast went a little quicker. Like the main mast I found it beneficial to install and temporarily secure the topgallant stay and royal stay prior to fixing the royal backstay. This is also when the dyslectic shipwright showed up. I always make a point of going over the directions a number of times to make sure I’m installing the parts on the proper side of the ship but even after doing this I installed the topgallant stay to the port side and the royal stay to the starboard, opposite to the directions. After a few choice words I decided to leave them as is because I figured nobody, well maybe Dirk, would notice anyway. To avoid this happening again I thought I would make a little visual aid. I just need to add some rope coils to finish up.


- 659 replies
-
- 16
-
-
- syren
- model shipways
- (and 1 more)
-
Good luck with your build Terry
-
Ditto on all the above comments Jack. Decals came out nice, great work.
- 203 replies
-
- 4
-
-
- artesania latina
- marie jeanne
- (and 1 more)
-
Thanks Lawrence, I do find doing the rigging enjoyable. Thanks Al, Since this is my first ship of this kind I don't really know the best way for doing the yards. For this ship I will be following Chuck's manual and I haven't read that far ahead yet so I should find out pretty soon.
- 659 replies
-
- 4
-
-
- syren
- model shipways
- (and 1 more)
-
Cutter Cheerful 1806 by rafine - FINISHED
_SalD_ replied to rafine's topic in - Build logs for subjects built 1801 - 1850
Nice work Bob. Shroud gang looks great, nicely served. Good luck with the rat lines.- 525 replies
-
- 3
-
-
- cheerful
- Syren Ship Model Company
- (and 1 more)
-
Welcome aboard Telp and thank you for the nice compliments, they're most appreciated.
- 659 replies
-
- 3
-
-
- syren
- model shipways
- (and 1 more)
-
Thanks Richard, it's a pleasure to have you following along.
- 659 replies
-
- 4
-
-
- syren
- model shipways
- (and 1 more)
-
Dirk, Elijah, Duff, George & Thomas, thanks for looking in and the kind words and for all the likes.
- 659 replies
-
- 3
-
-
- syren
- model shipways
- (and 1 more)
-
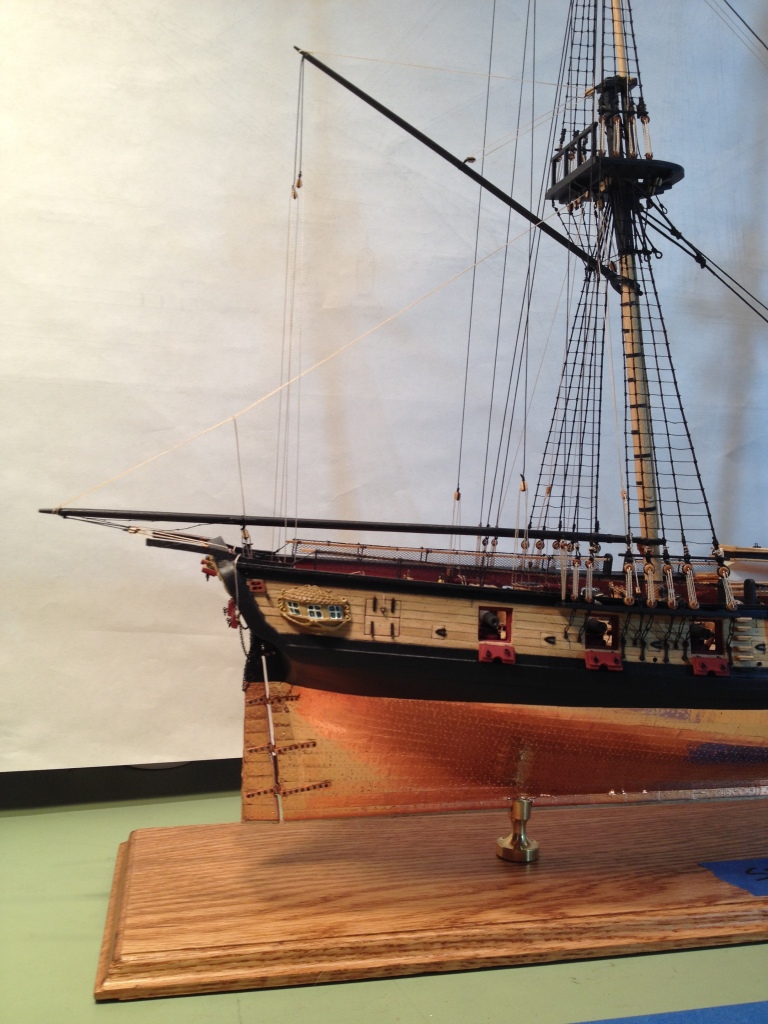
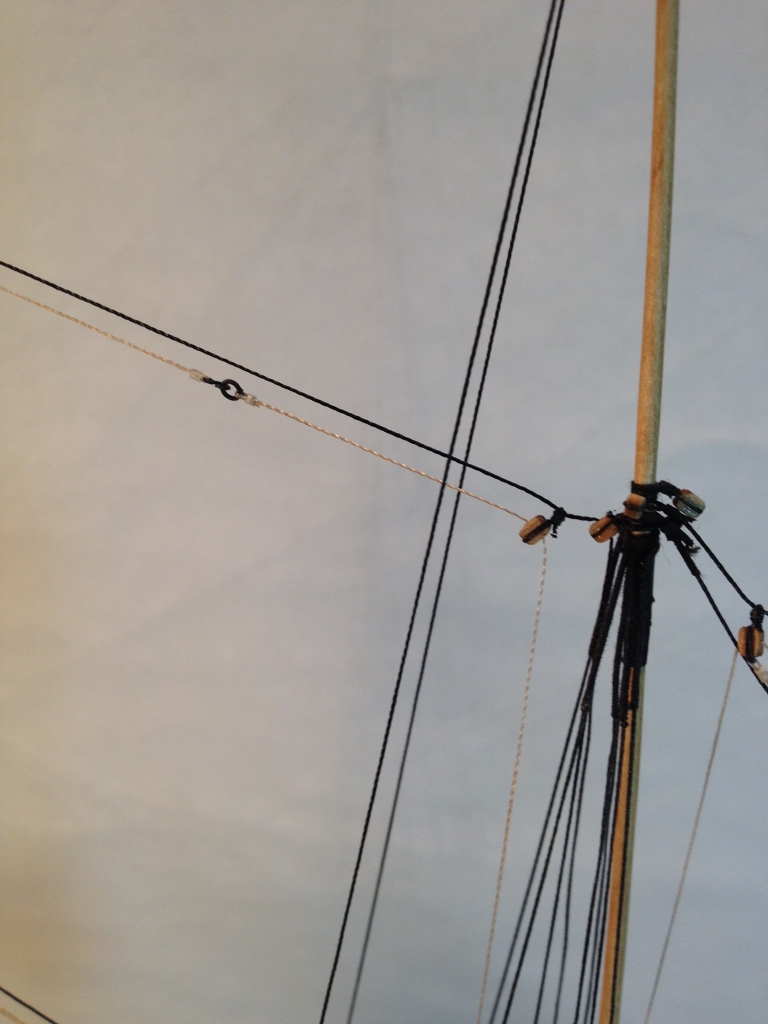
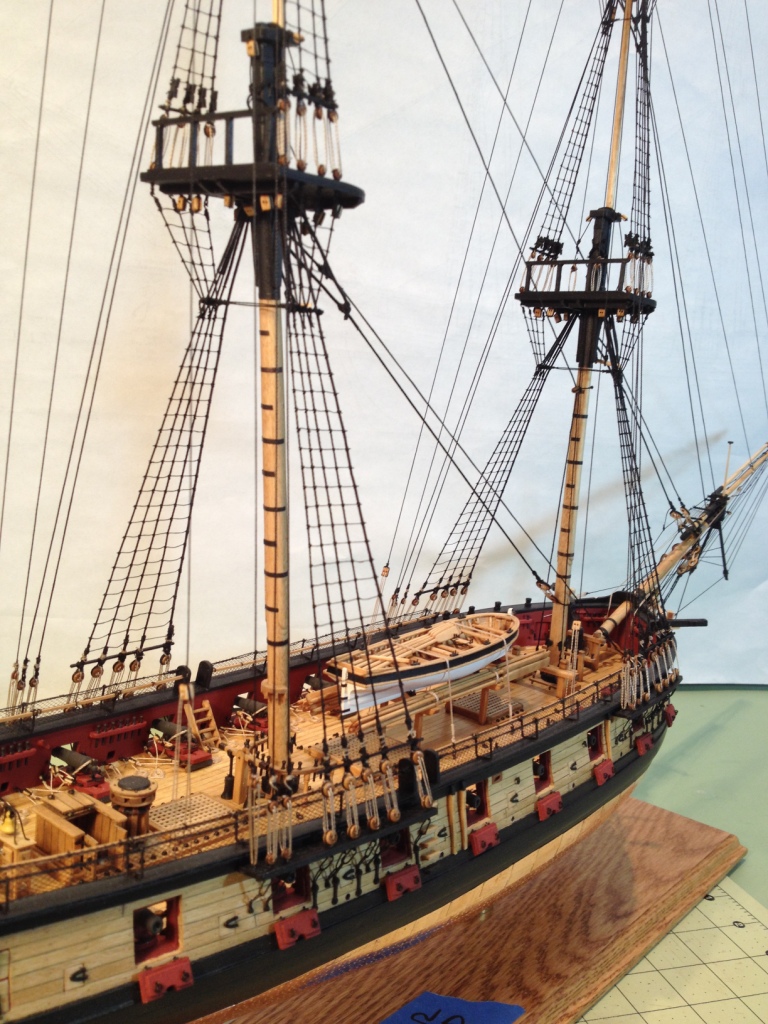
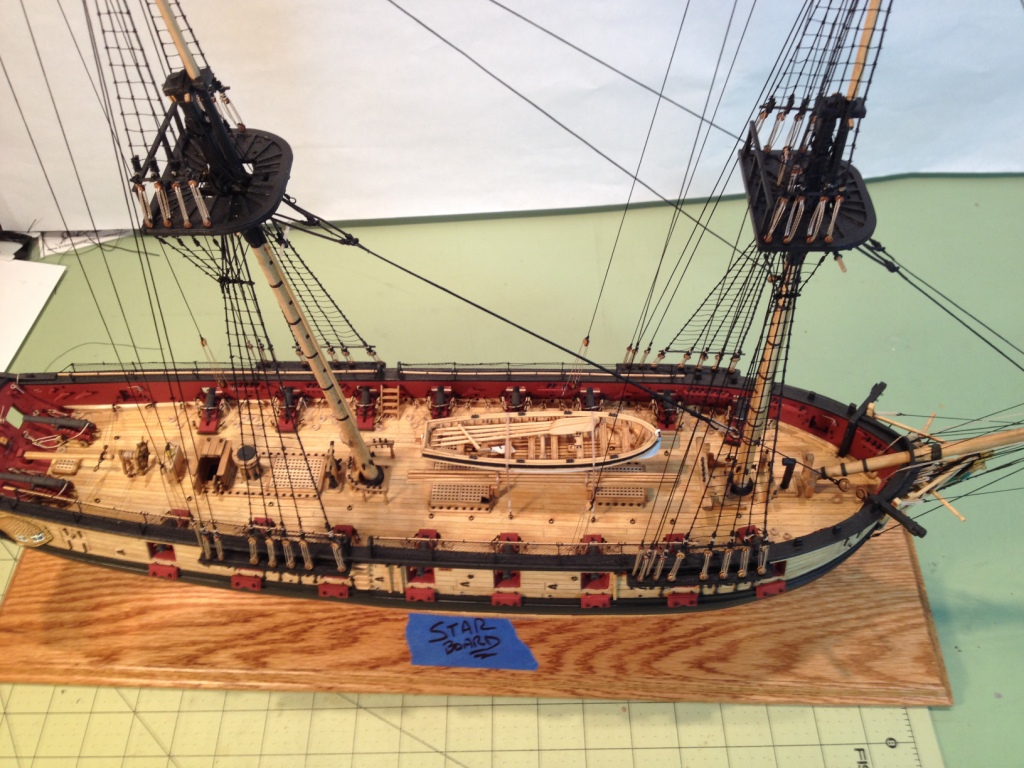
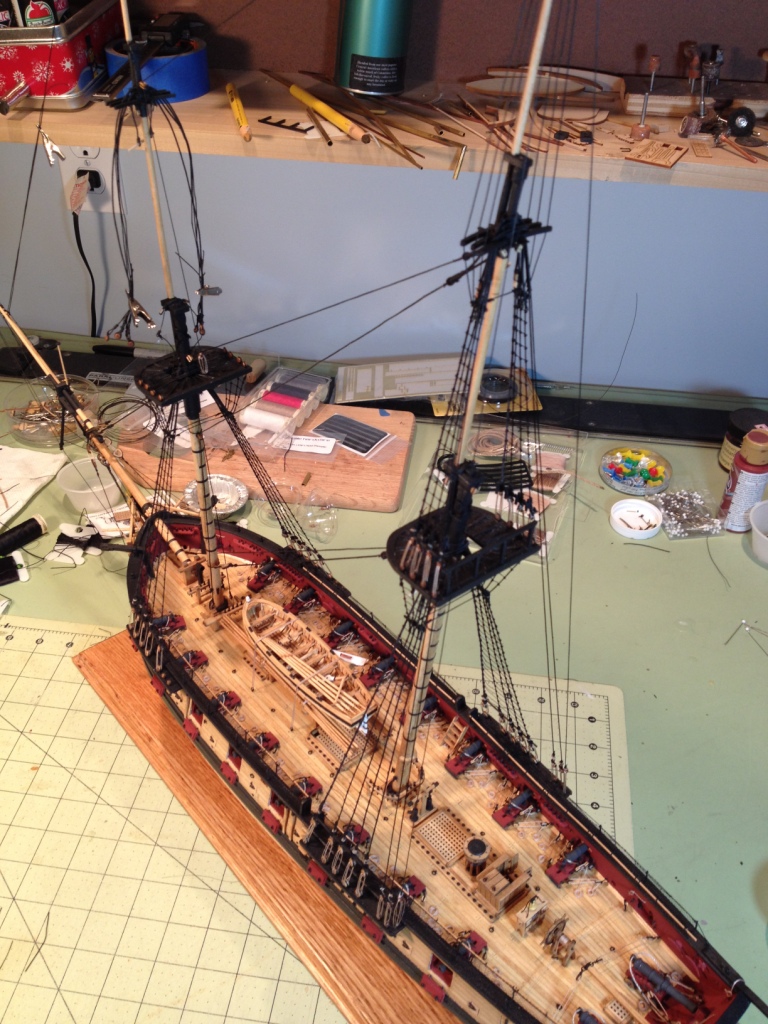
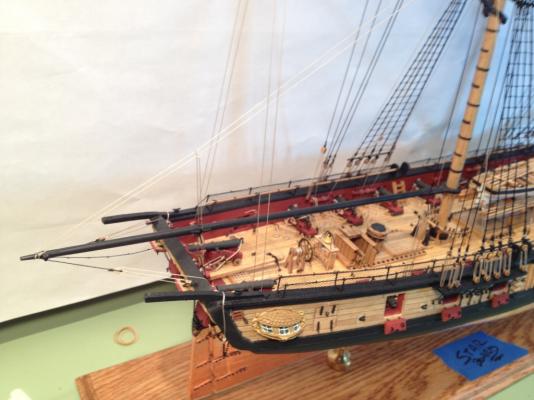
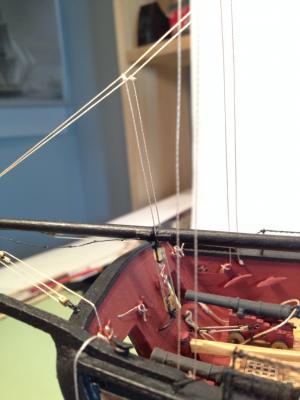
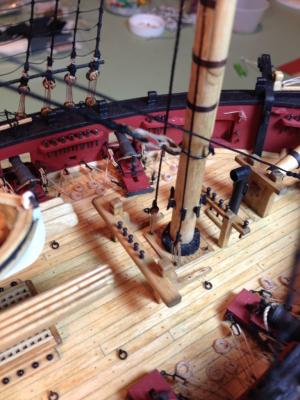
Not a lot of pictures with this post, it’s getting hard to take a decent picture of all the rigging, I think I need a better back drop. Most of the rigging for the main mast went according to the manual. One thing I did different was when I installed the main topgallant and royal stays. The manual had you installing the main topgallant and royal backstays first and then the stays but I found that when I applied the least bit of tension to the backstays there was a large deflection in the topgallant mast. To help offset this deflection I installed the main topgallant and royal stays but only temporarily. I ran the line from the main mast, through the block on the fore mast and down to the fore top and used an alligator clip to hold the end of the stay to the top. This helped a lot keeping the topgallant from not moving to much while tying the backstays in place. Another little deviation was while I was making the shrouds for the main mast I also made them for the fore mast. I didn’t secure them at this time but just placed them in position on the mast heads and then draped them out of the way. I did this before rigging the main topgallant and royal stays so I could make sure I got the blocks for these stays on the fore mast in their correct position, above the shroud gangs. I'm hoping that's right, not doing this before it seems to make sense that they're above the shrouds. I came into possession of some extra 2.5 mm deadeyes so I thought I would try making my own bullseyes for the stays. I have to admit trying to drill out a deadeye is not the easiest thing to do, but with patience it can be done. These were seized to the ends of the main topgallant and royal stays and then the lanyard was run through the bullseye and eyebolt on the fore top.


- 659 replies
-
- 16
-
-
- syren
- model shipways
- (and 1 more)
-
Cutter Cheerful 1806 by rafine - FINISHED
_SalD_ replied to rafine's topic in - Build logs for subjects built 1801 - 1850
Nice shrouds Bob. The serving looks great.- 525 replies
-
- 4
-
-
- cheerful
- Syren Ship Model Company
- (and 1 more)
-
I feel your pain Tom. Cannonade tackles coming along nicely.
- 1,348 replies
-
- 1
-
-
- constitution
- model shipways
- (and 1 more)
-
Thanks Lawrence, glad you like the cleats. Hi Jim, thanks for looking in.
- 659 replies
-
- 5
-
-
- syren
- model shipways
- (and 1 more)
-
Thanks Elijah, I do rotate some of the pictures before I upload them to my log, maybe your browser is re-rotating them. I use chrome and they appear as posted. Thanks Jack, yes and thank you again for bring the deadeyes to the last club meeting, it kept me moving forward. I did finally receive the replacement ones from ME this week so I'll replace the ones I used with interest. Your welcome Al and thanks for following my log and as far as being and old pro, well maybe old but definitely not a pro, but I keep trying and learning. Thank Nigel, I like the cleats too. I probably should have rounded them off a bit but it was just one of those moments. Thanks Thomas your kind words are always appreciated. and thanks to all who hit the likes button.
- 659 replies
-
- 6
-
-
- syren
- model shipways
- (and 1 more)