HOLIDAY DONATION DRIVE - SUPPORT MSW - DO YOUR PART TO KEEP THIS GREAT FORUM GOING! (Only 68 donations so far out of 49,000 members - Can we at least get 100? C'mon guys!)
×


clearway
-
Posts
2,229 -
Joined
-
Last visited
Content Type
Profiles
Forums
Gallery
Events
Everything posted by clearway
-
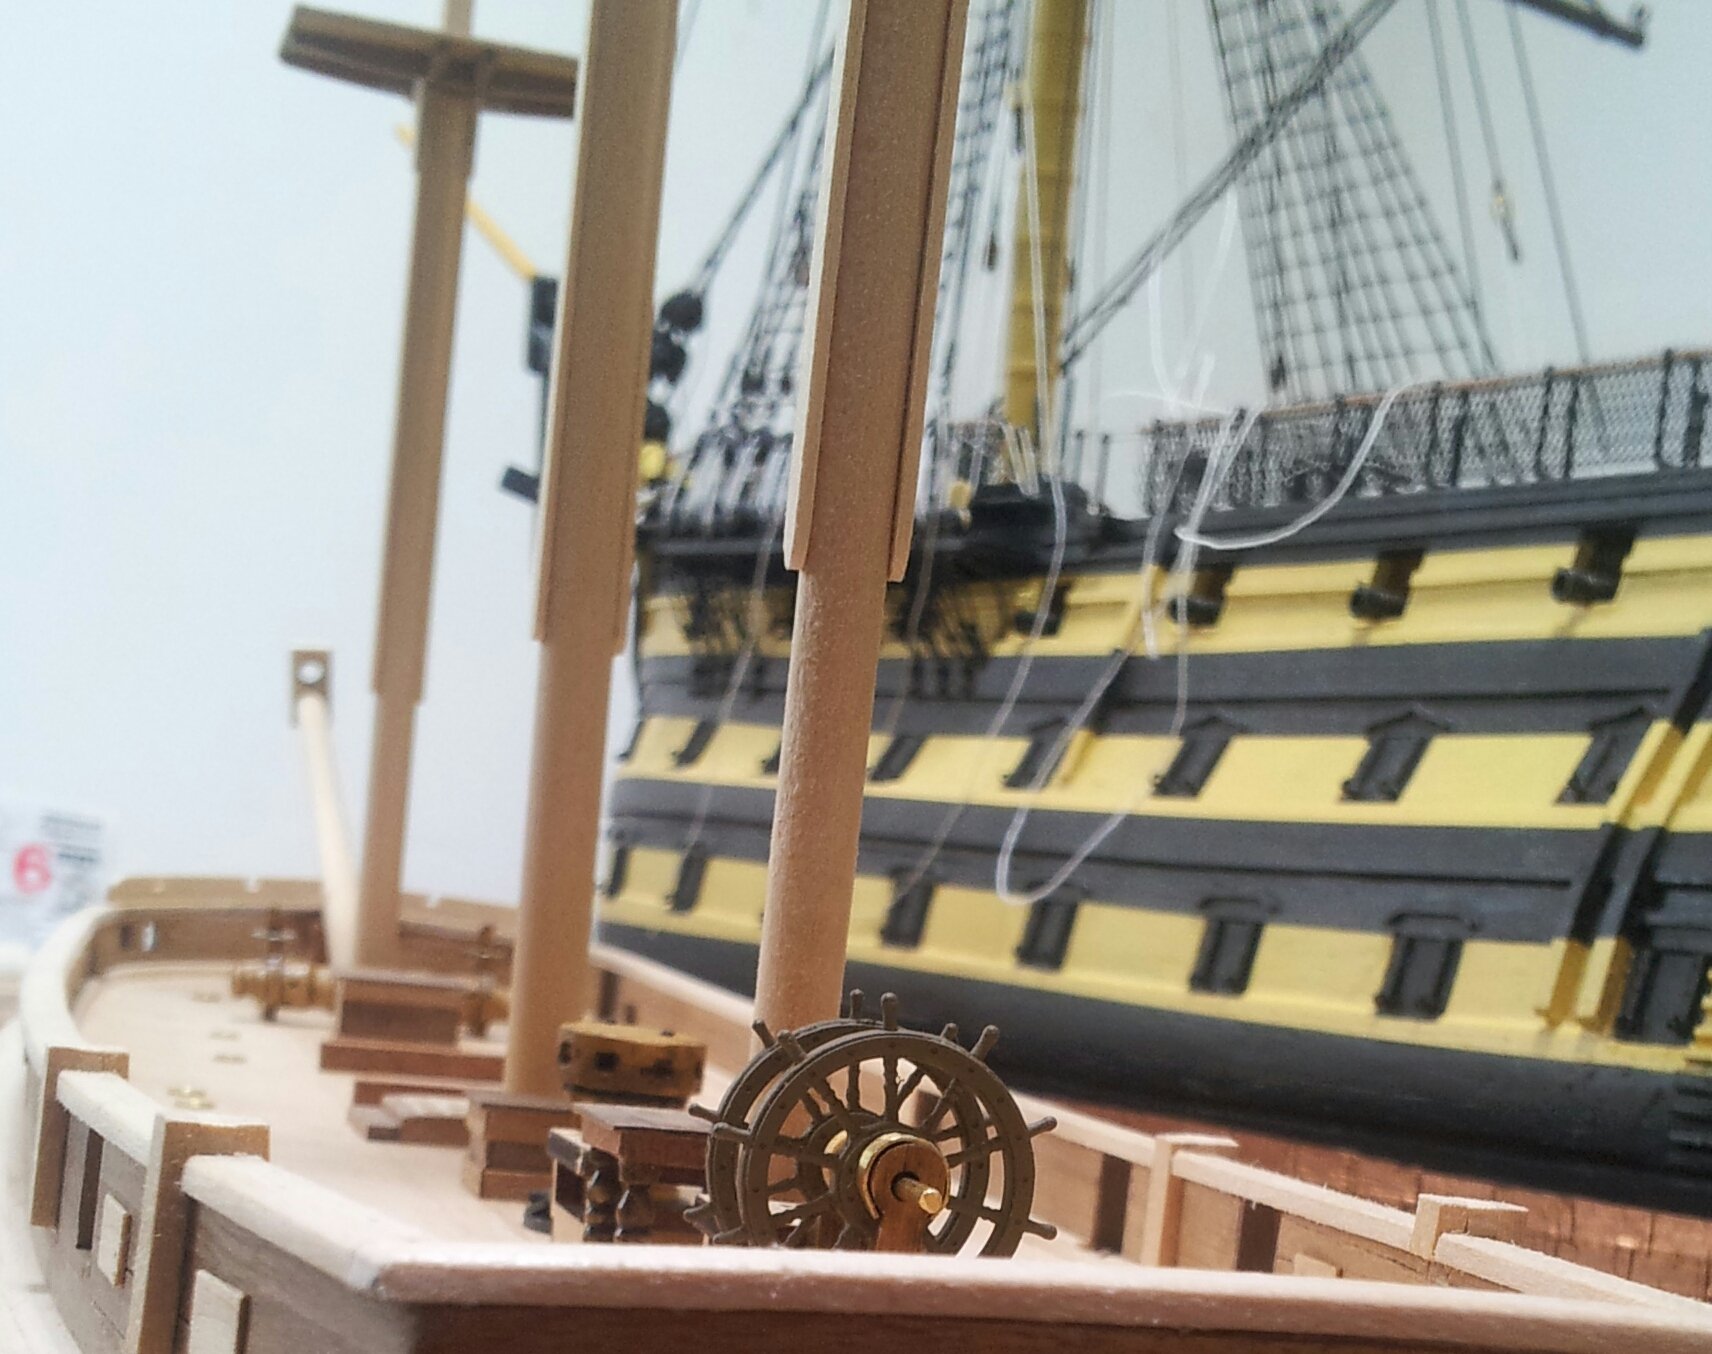
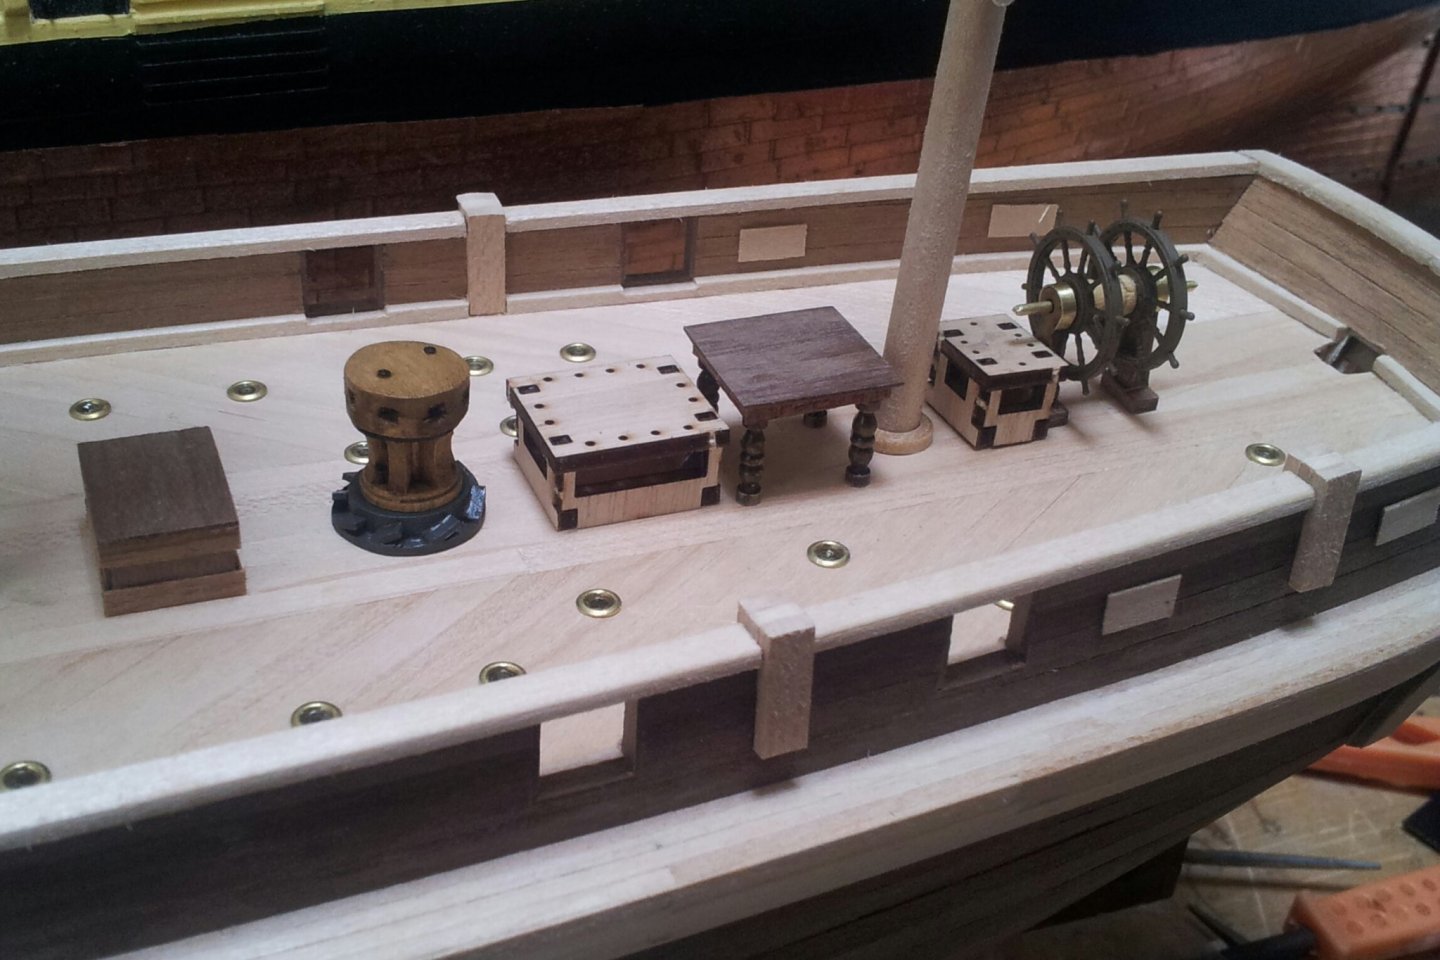
 hello all, finally got round to building the two caldercraft 10 spoke ships wheels i bought to replace the 8 spoke occre supplied ones and fitted the brass trim to the columns , also worked on the table for the azimuth compass (i suspect the compass by this stage was in a box around 12" square and not in a cabinet like on earlier ships) i used some turned brass columns left over from earlier builds for the legs, a bit chunky but i reckon a table on the exposed deck of a ship wouldn't have spindly thin legs. still not sure how i am going to improve the skylights but i do have some 1mm square section walnut about my bodice🤔🤨. decided to use the dark oak stain/ varnish on the capstan. so far the wheels have been primed and had a base coat of humbrol dark earth, will use washes and varnish to make them hopefully look a bit more "woody" Take care all Keith
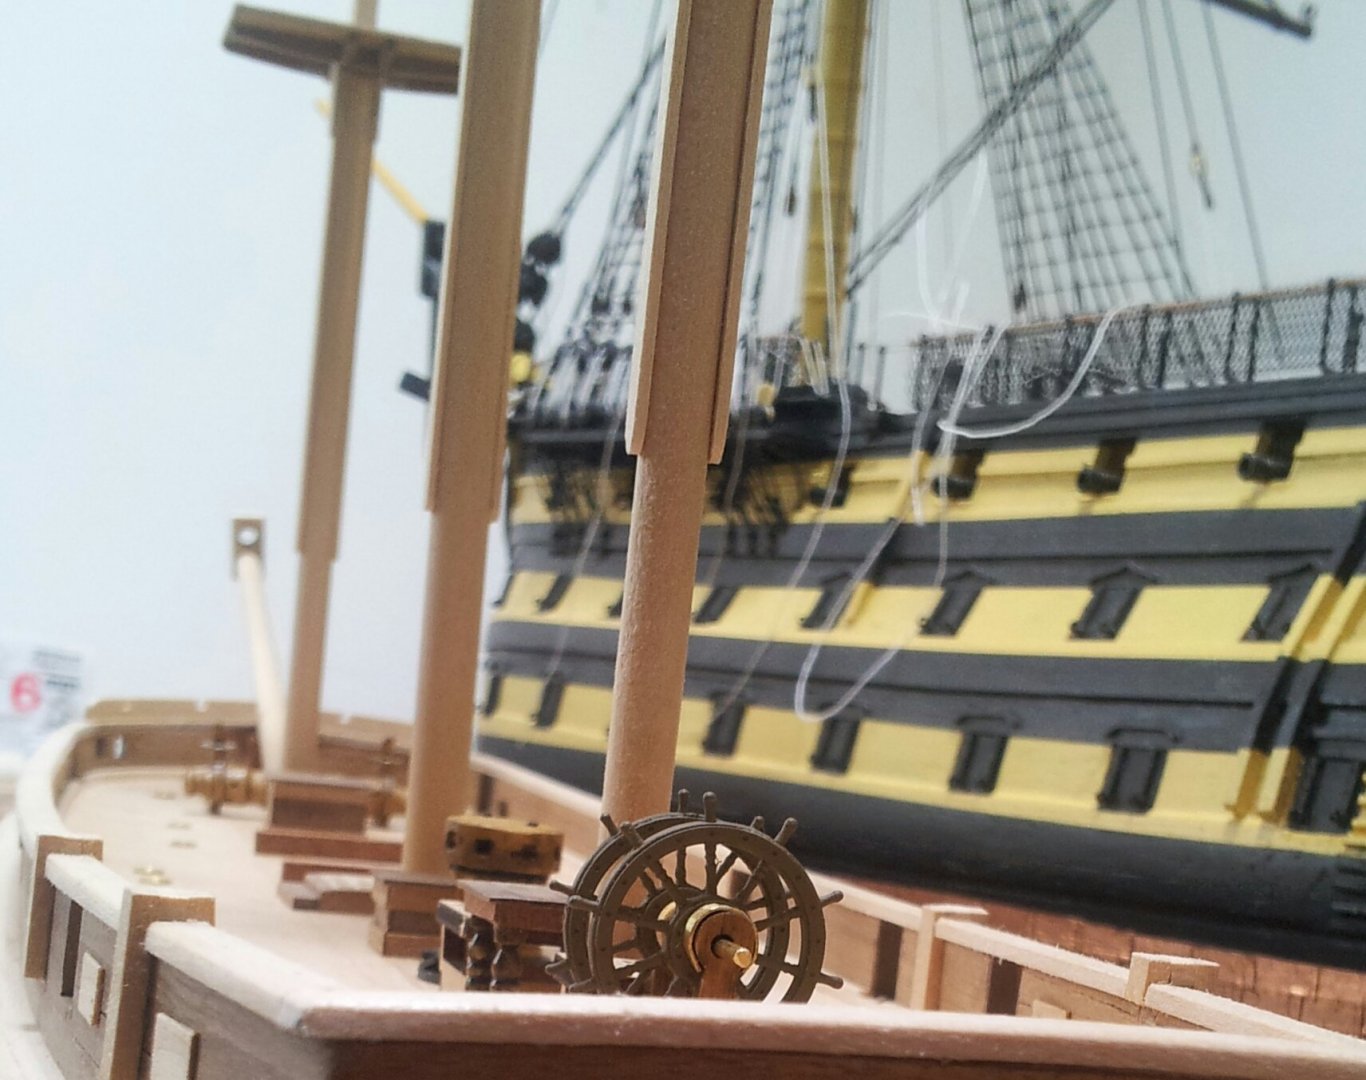
-
Ty keith s and broden and for likes and views everyone , what Keith s said regarding windlass barrell, but still better in wood even if casting was right😁. the angled wood replacing the wooden knees infront of windlass are from from the angled offcuts you are left with when removing accomodation hatch roofs from middle of tops Keith😉 i cut them to size and gave them a coat of CA to strengthen the ply. I might be restarting work soon myself so will be shipyard deprived😱, it normally takes me nearly a year to get as far as i did with Victory and Terror. Keith
-
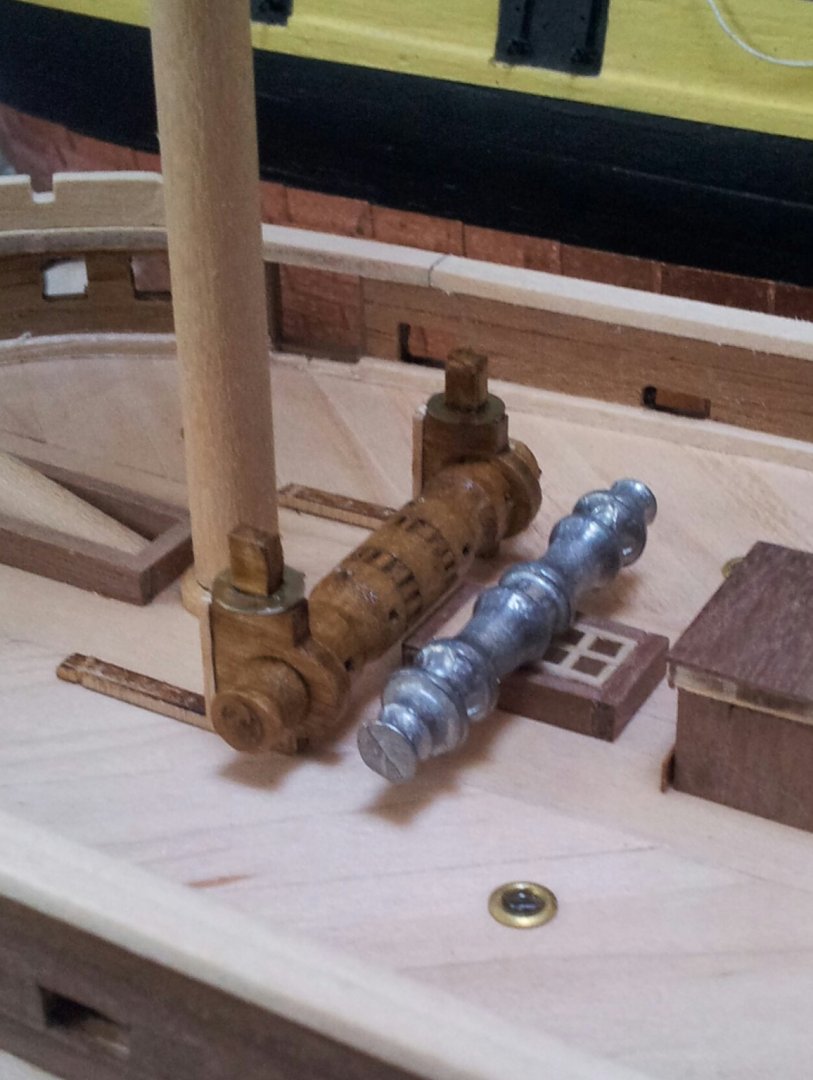
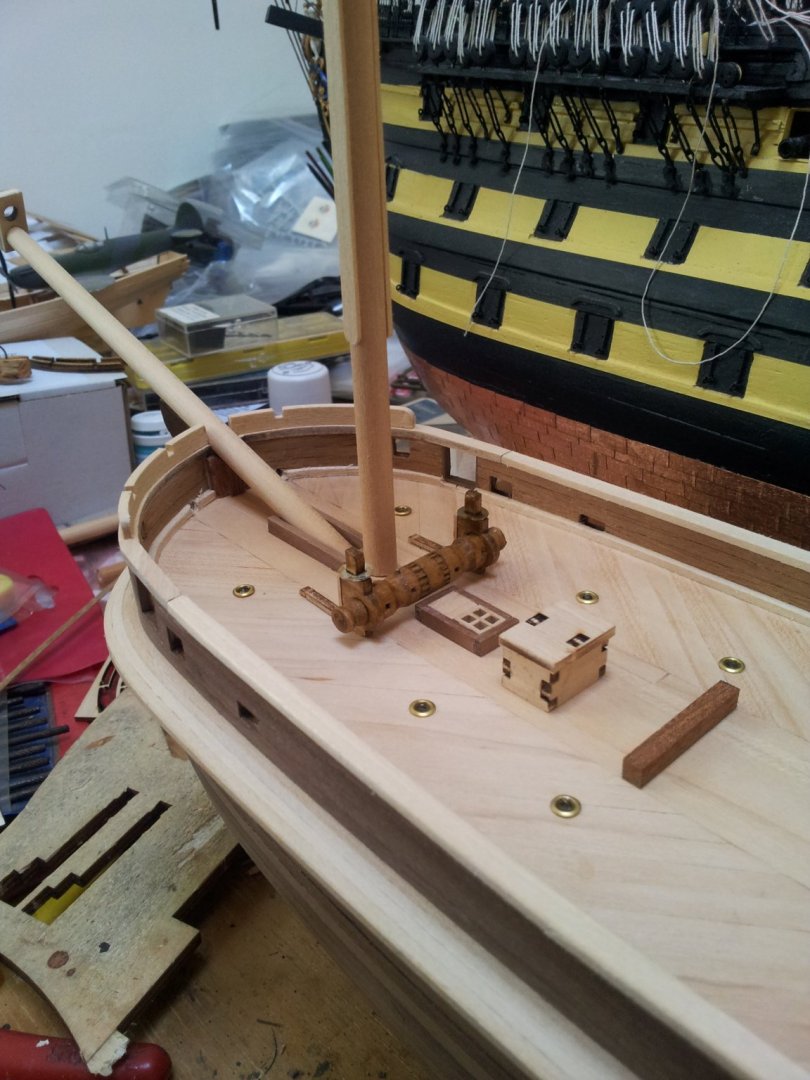
Hello again all- spent the day working on the philips capstan- built the base with pawl bits out of different thickness plasticard and used Peco track fixing pins for the bolts also including a pic of the windlass barrel supplied with the kit beside the new one- i should really cut the warping drums off the end of mine and fit some cogs between the warping drum and windlass sides. That's about as good as i can get the capstan in 1/75 scale- used humbrol gun metal to paint the base. not sure whether to use clear varnish on the woodwork, or use the dark oak stain/ varnish like i used on the windlass? Have fun all and take care. Keith
-
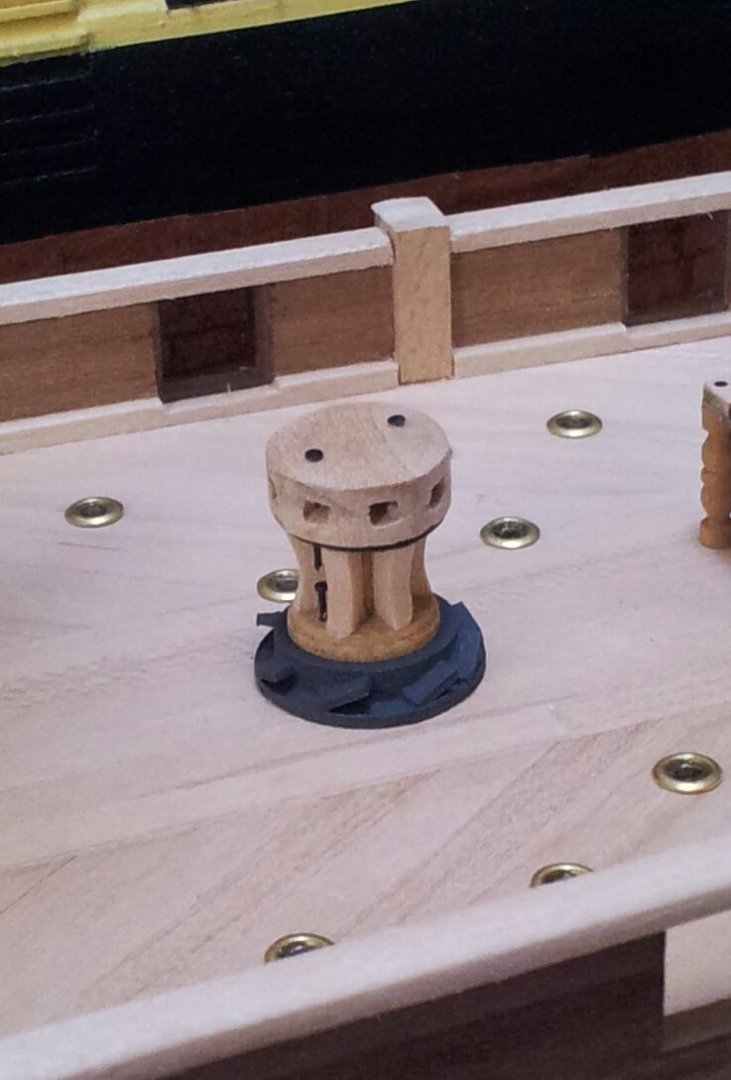
ty for views likes and comments as always everyone, bit of a quandry- just found and pre-ordered Matthew Betts book on HMS Terror which looks like it's full of technical pornography regards fittings etc- will get as far as i can on info to hand, but will have to wait till i get the book before finishing fitting her out (if you are looking in at all Matthew- good work sir and i salute your work so far) pity it's got an October release date in U.K.- Back on Terror i have clad the accommodation hatches and made a start on the philips capstan head- surprise surprise the occre one is no way near right take care all Keith

-
Ty Emmet and yes it was carved and filed from a piece of 8mm dowel as the one in the kit was made of white metal and wayyyyyy wrong. Keith
-
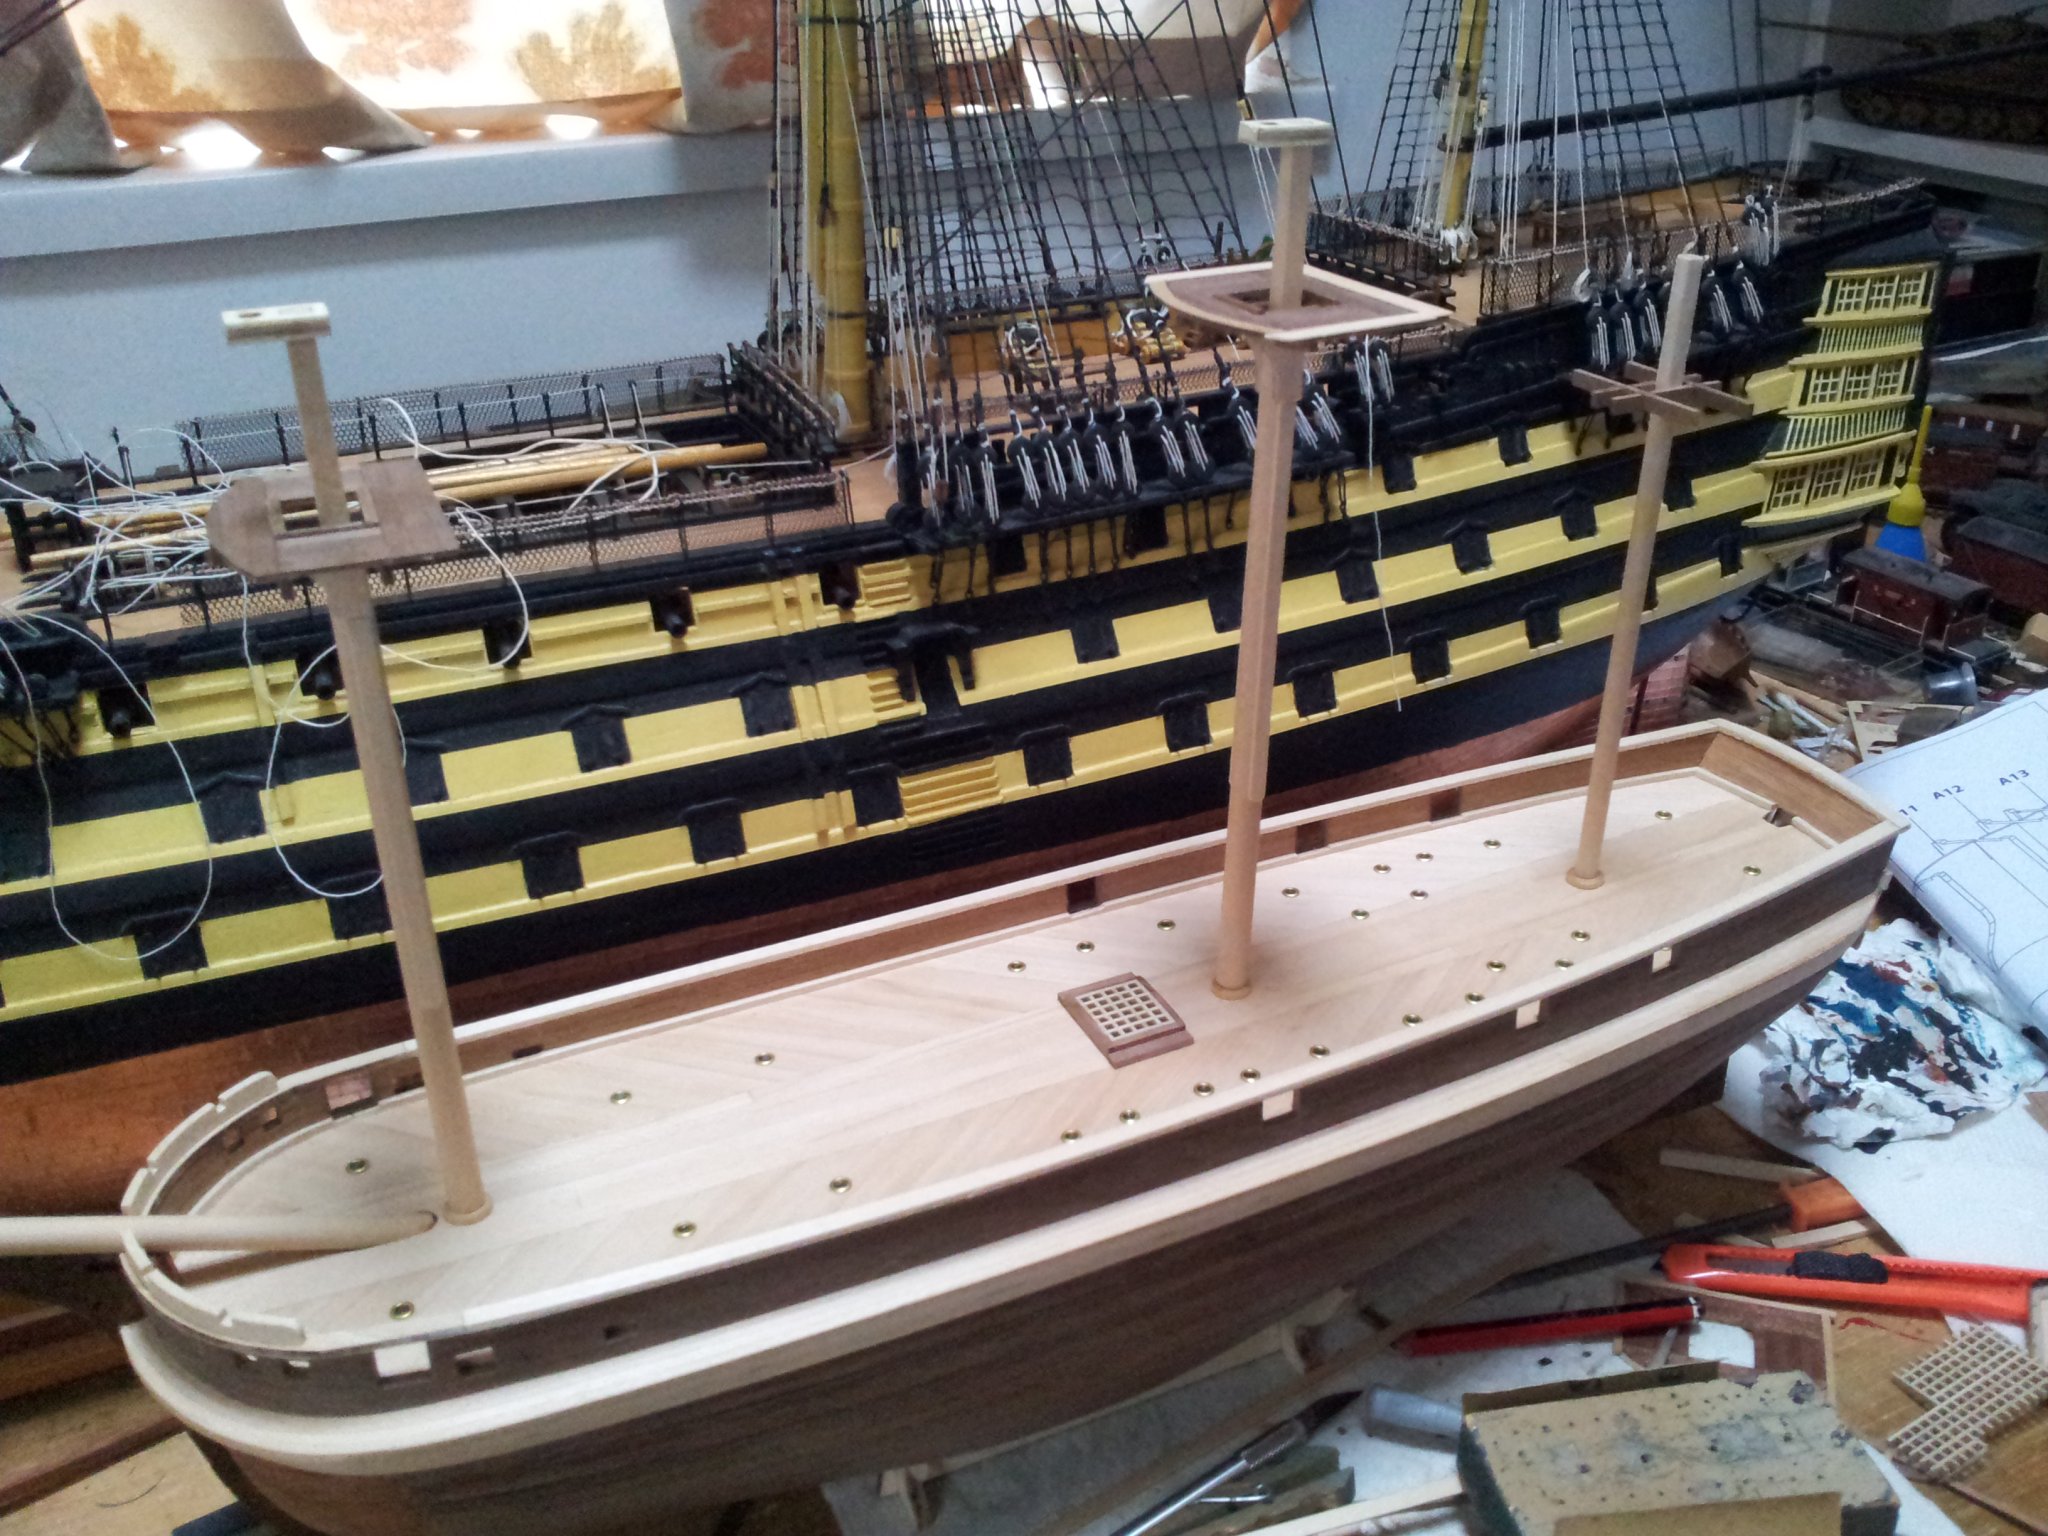
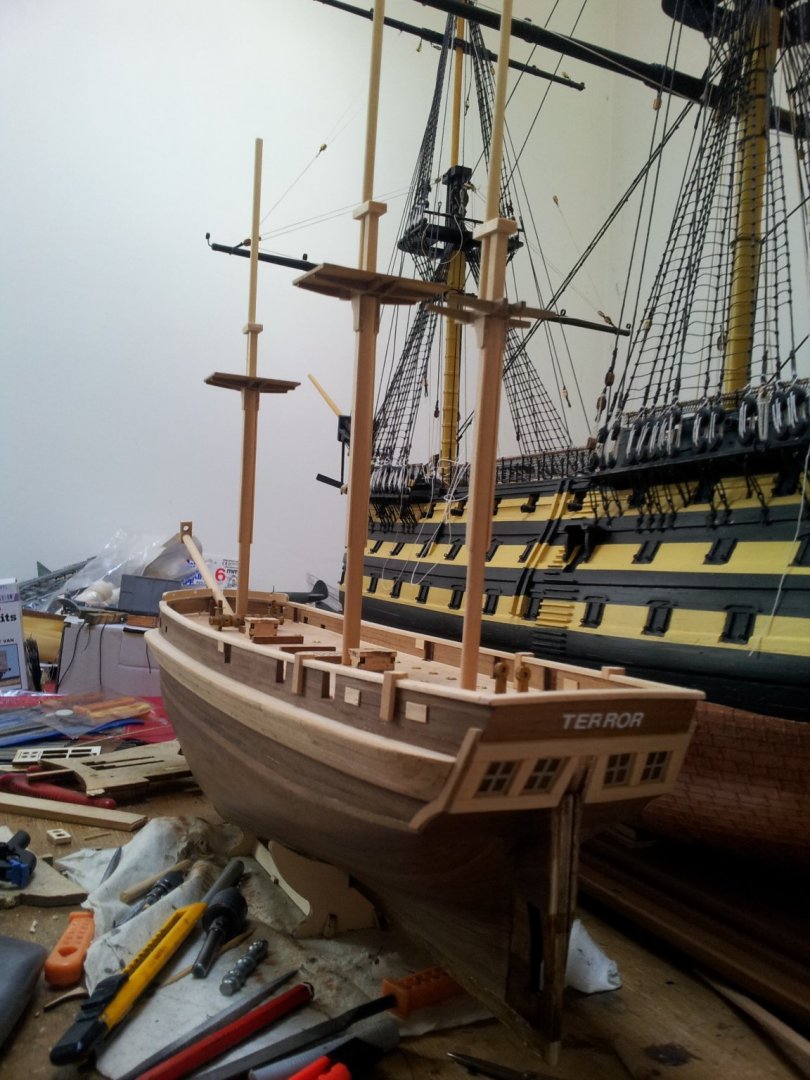
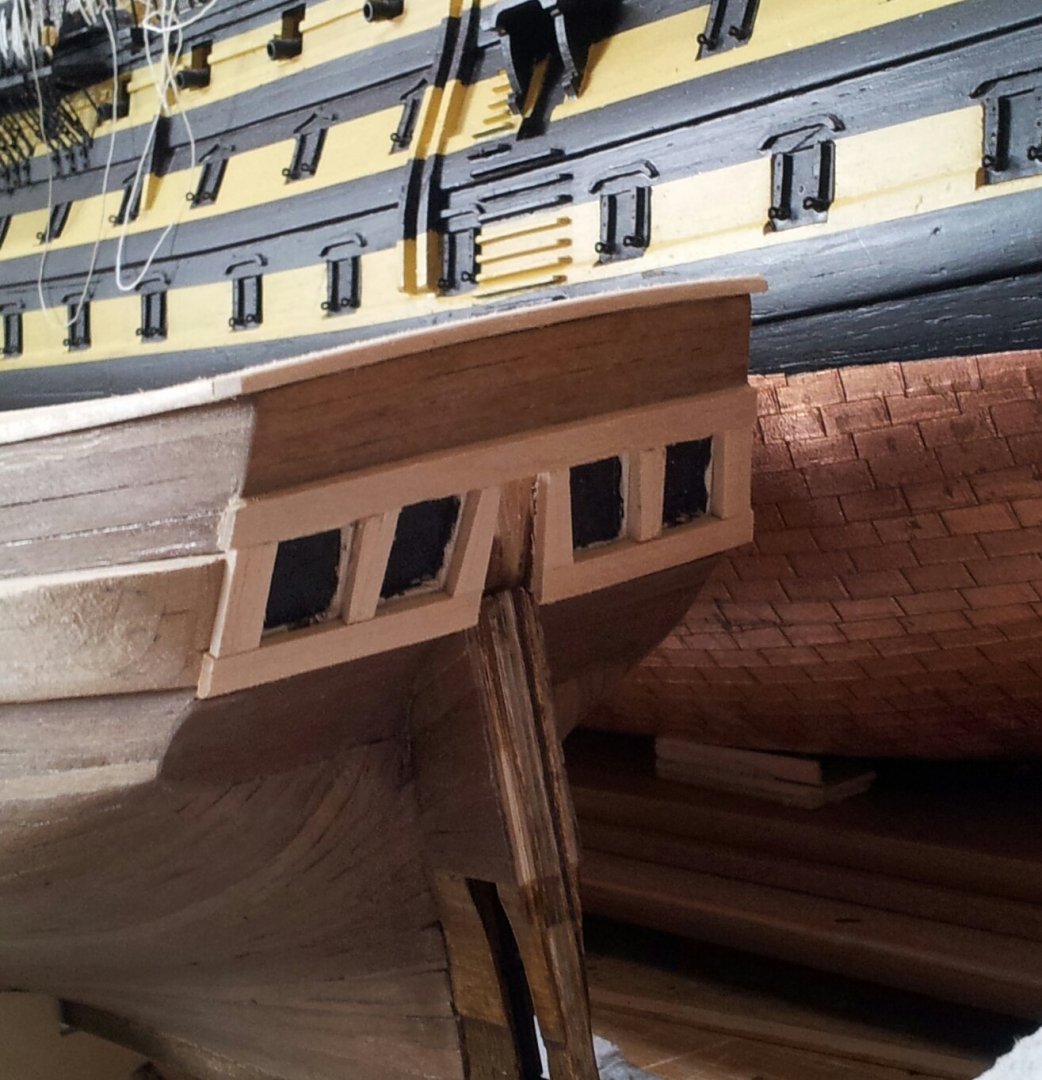
thanks for looking in and comments/ likes everyone- sorry Emmet moved from masts back to hull😁. Got the stern windows in at last and added name (looking at pic too much of an gap between the two middle R's i think). also made a new barrell for the windlass and replaced the ply caps on the masts with solid wooden ones. comparison with tops and caps supplied and an overall view showing work so far. take care all Keith

-
Wait till you start sanding the shroud protector/ ice bumper when you come to it😉just go nice and steady- at this stage sandpaper wrapped round a piece of wood might be better for the final finish. Keith
-
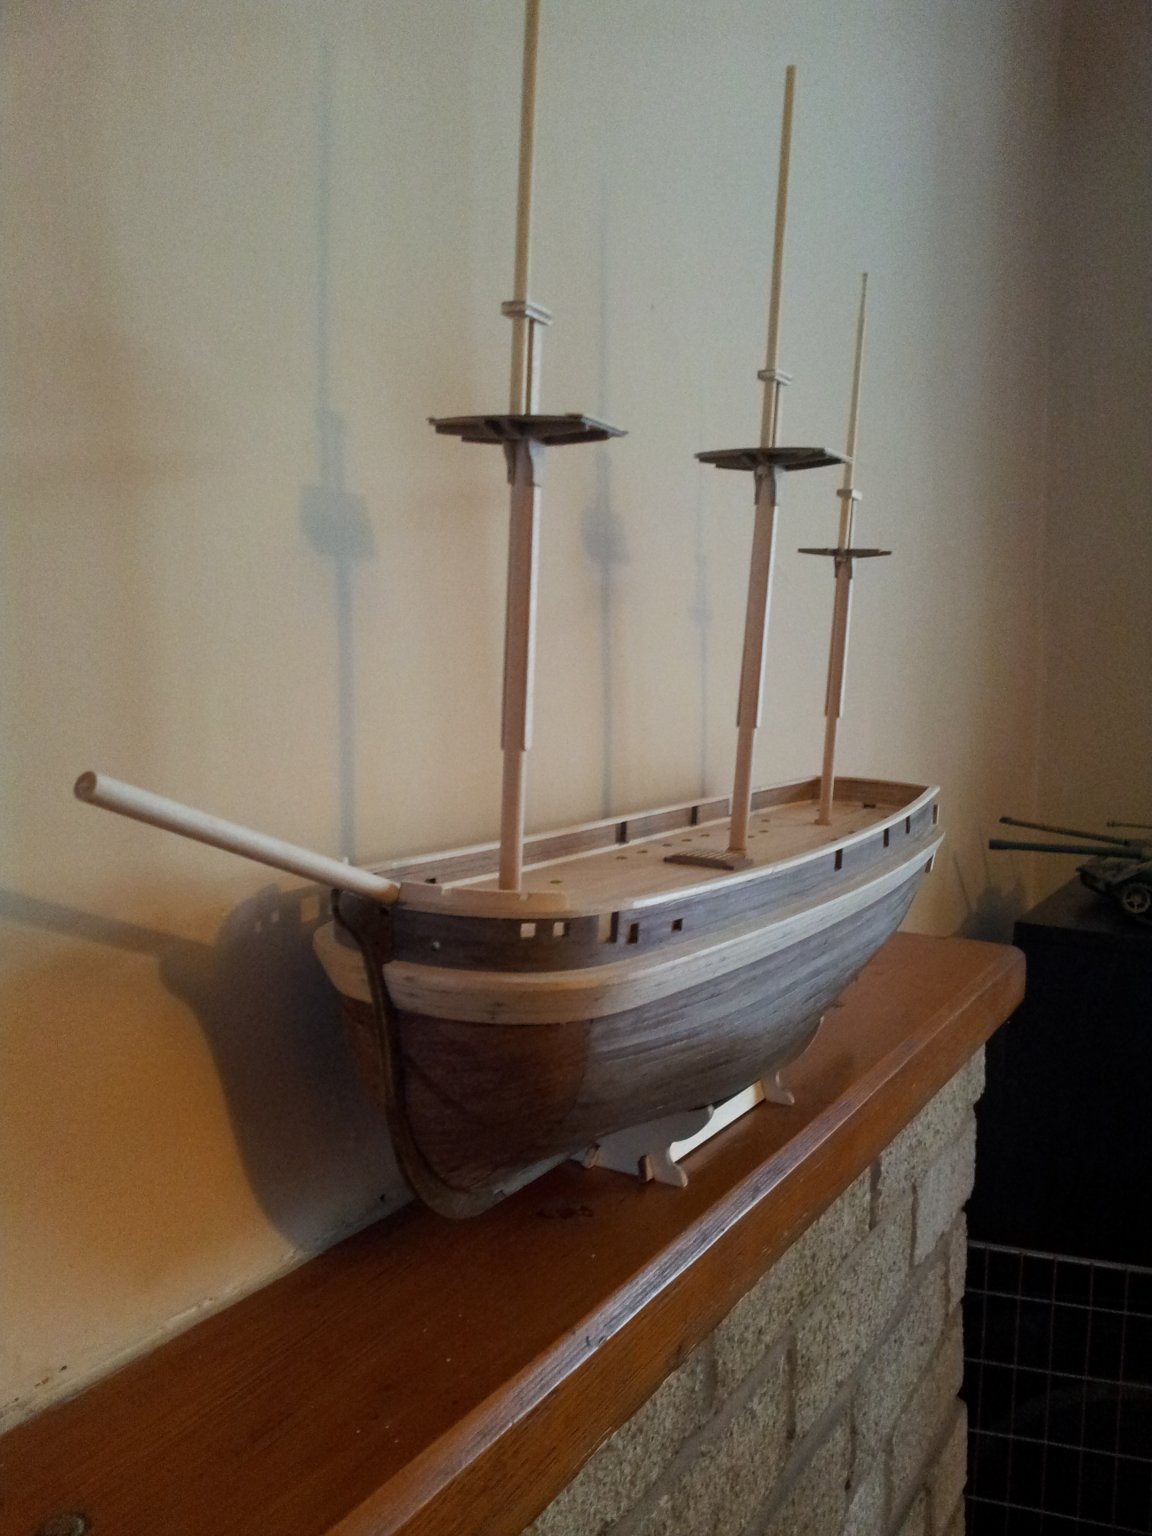
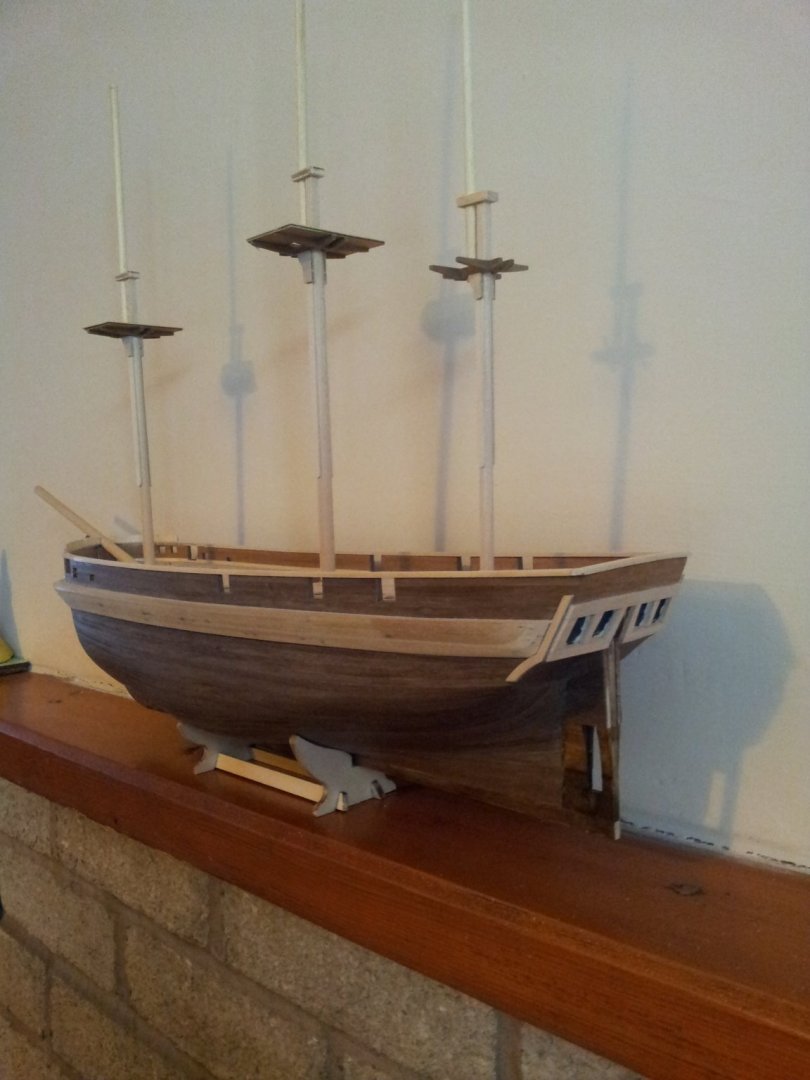
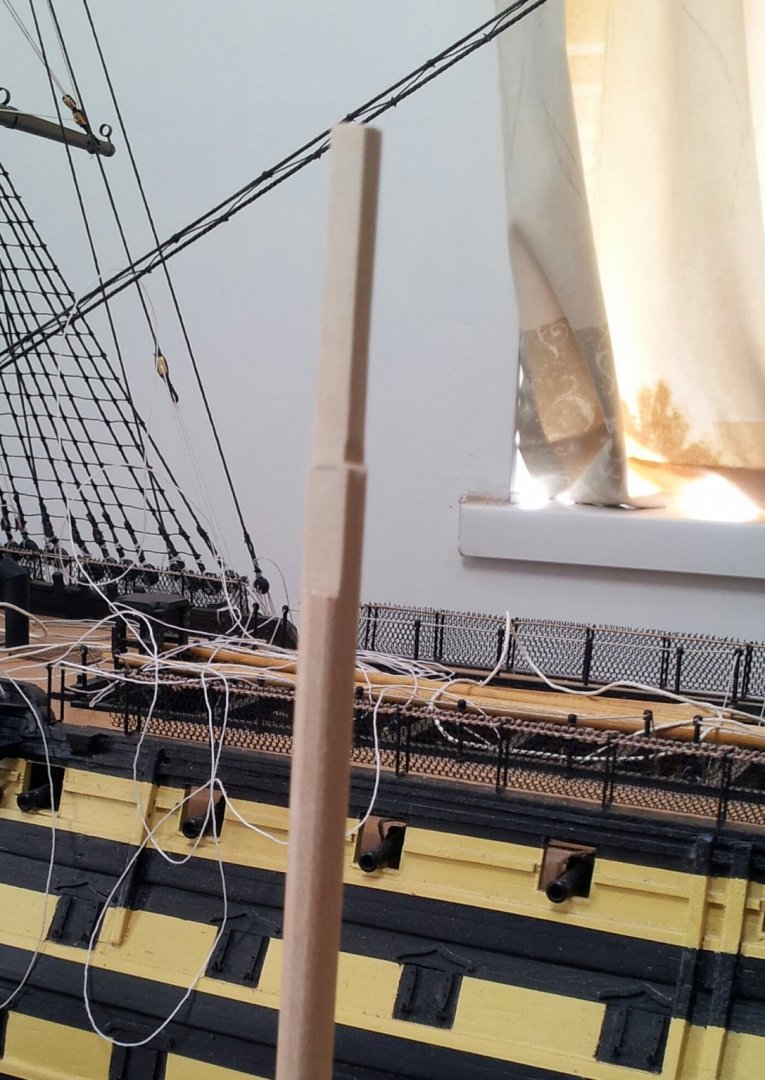
fantastic Keith- much appreciated - going to be interesting and small😁. Been working on the masts and some of the stern today- this is my take on the mizzen mast- decided to do the hounds in the same fashion as topgallant hounds on later style masts but with no royal. also cut topmasts for fore and main to length using measurements from lees 10th class frigate- starting to get something that's HMS Terror looking😊 take care all Keith


-
yep what keith says - check my victory log and you will see the topping lifts and parral beads Keith
-
Thanks keith- i noticed those on draughts shown by you and online and wondered where they went! i thought they were maybe mounted on the bulwarks as early examples of jarvis winches. never seen them shown on any illustrations for ships either naval or mercantile on the mast tops- the quandary wrapped in an enigma that is terror continues🤪- yes would love the details and measurements thanks- hopefully be getting the other laptop back monday so will add pics showing tops and topmasts ( the tops and mastcaps arn't actually glued in place yet and most likely wont be til much later so plenty of time to add extras😁😉. Keith
-
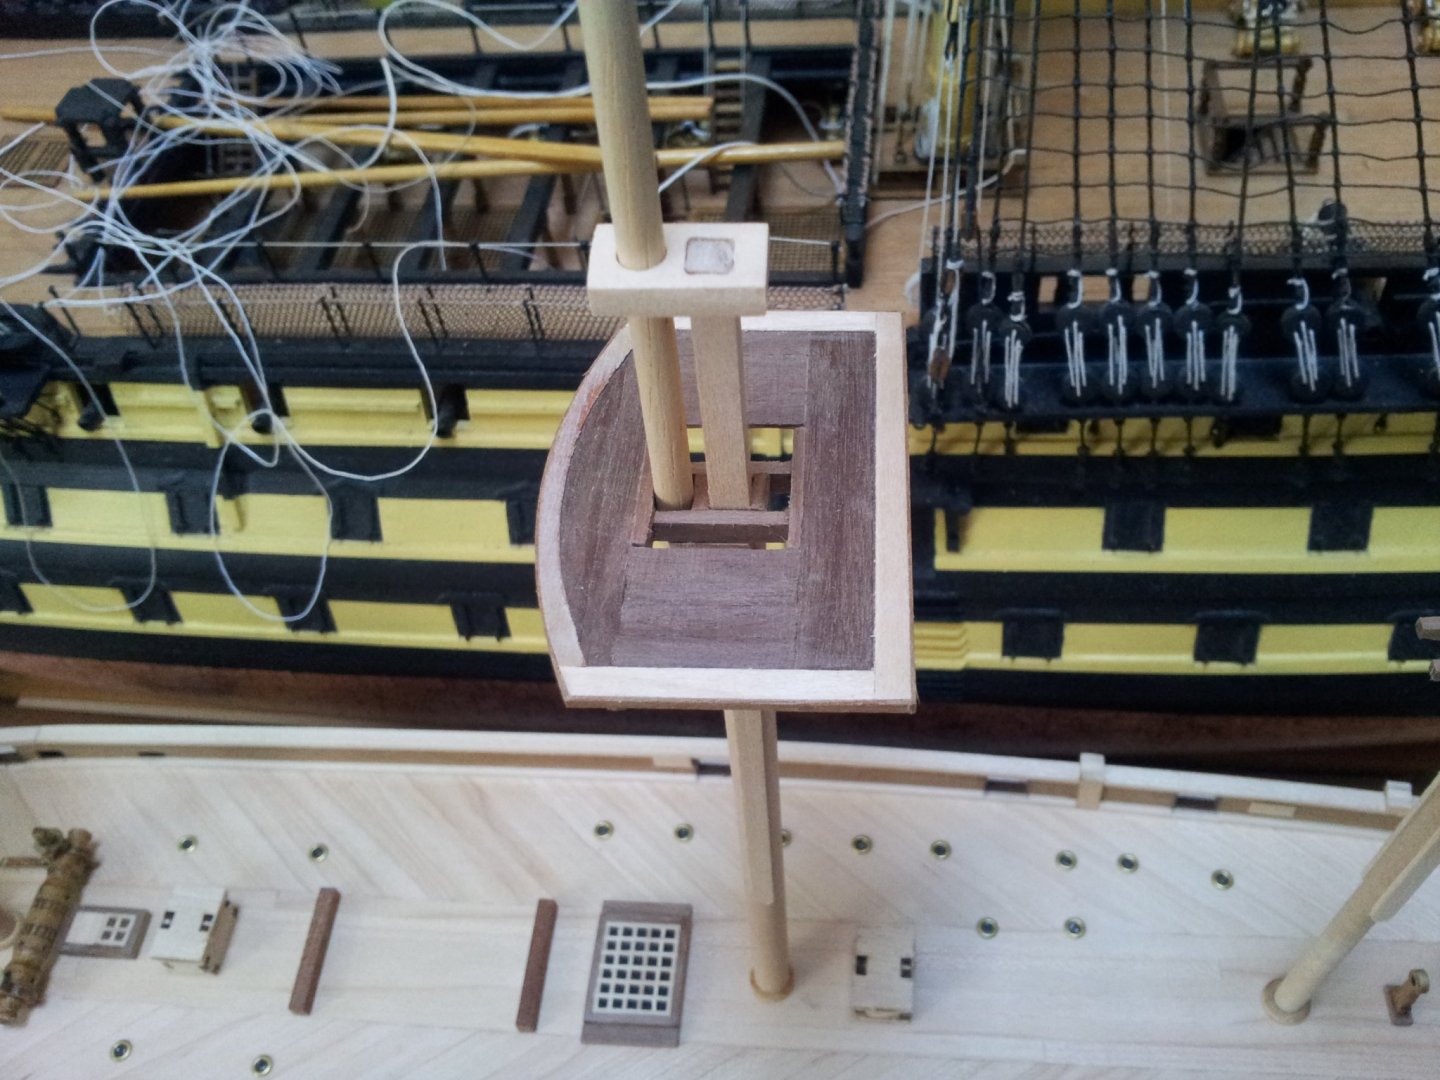
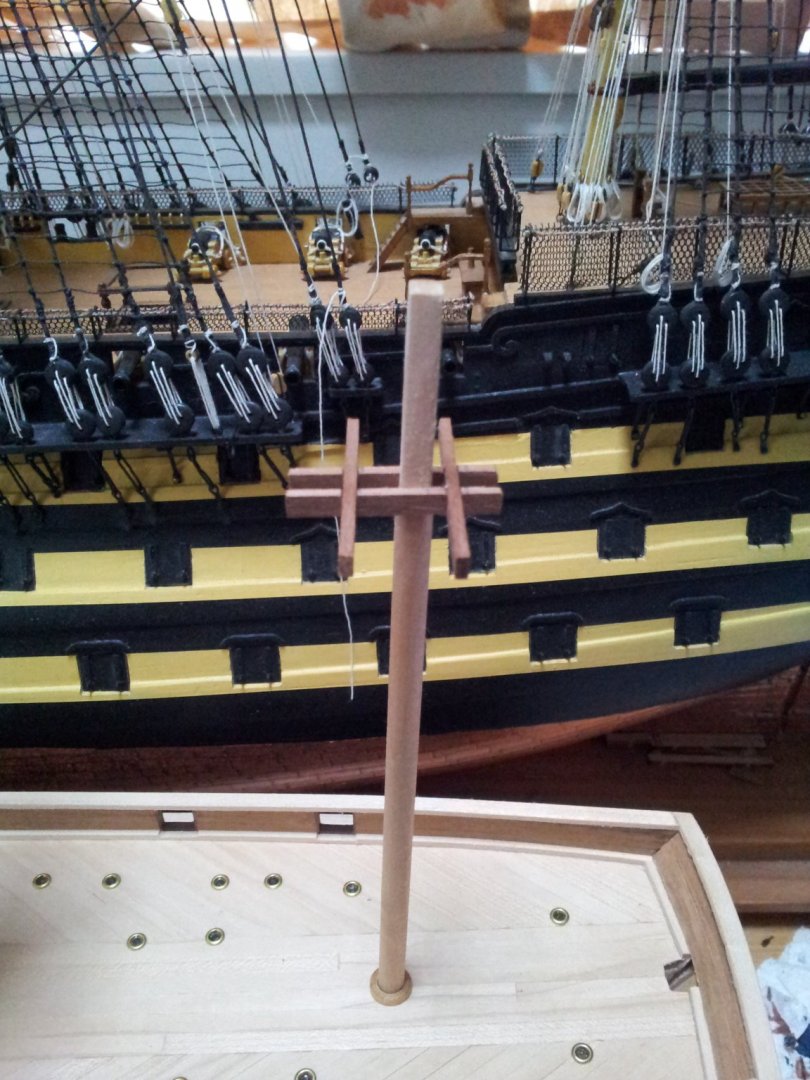
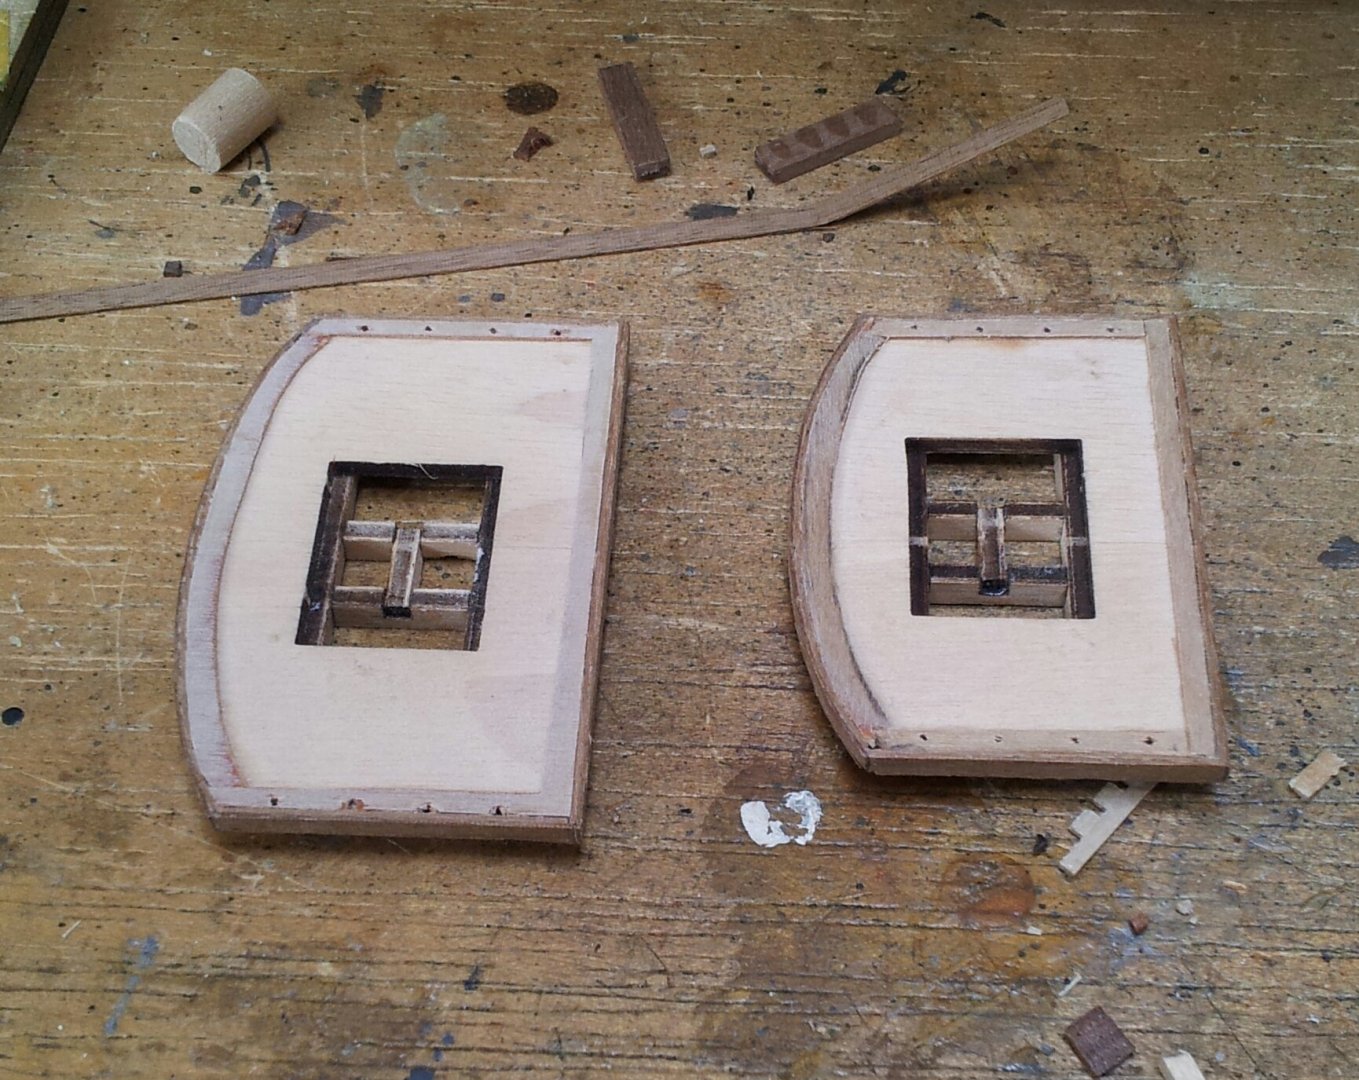
thanks for likes and looking in everyone along with comments- managed to lever the laptop off the son🤪 the replacement tops and trees for mizzen in various states of construction- still need to taper underside of trees on fore and mizzen. Also rebated the transom so the windows had a bit of a gap behind them and replaced ply sprayrail on bows with 5x2mm planking. take care all Keith

-
ohhhhhhhhhhh myyyyyyyyyyyy goddddddddddddddddd- glad i didn't spot this beastie before i got my billings vicky- one word - awesomeeeeeeeeeeeeeeeeeee😉 Keith
-
Hi Emmet i left a reply to yput question in terror log- computer has gone for repair so might be delays of a day or two with replies at the mo. keith
-
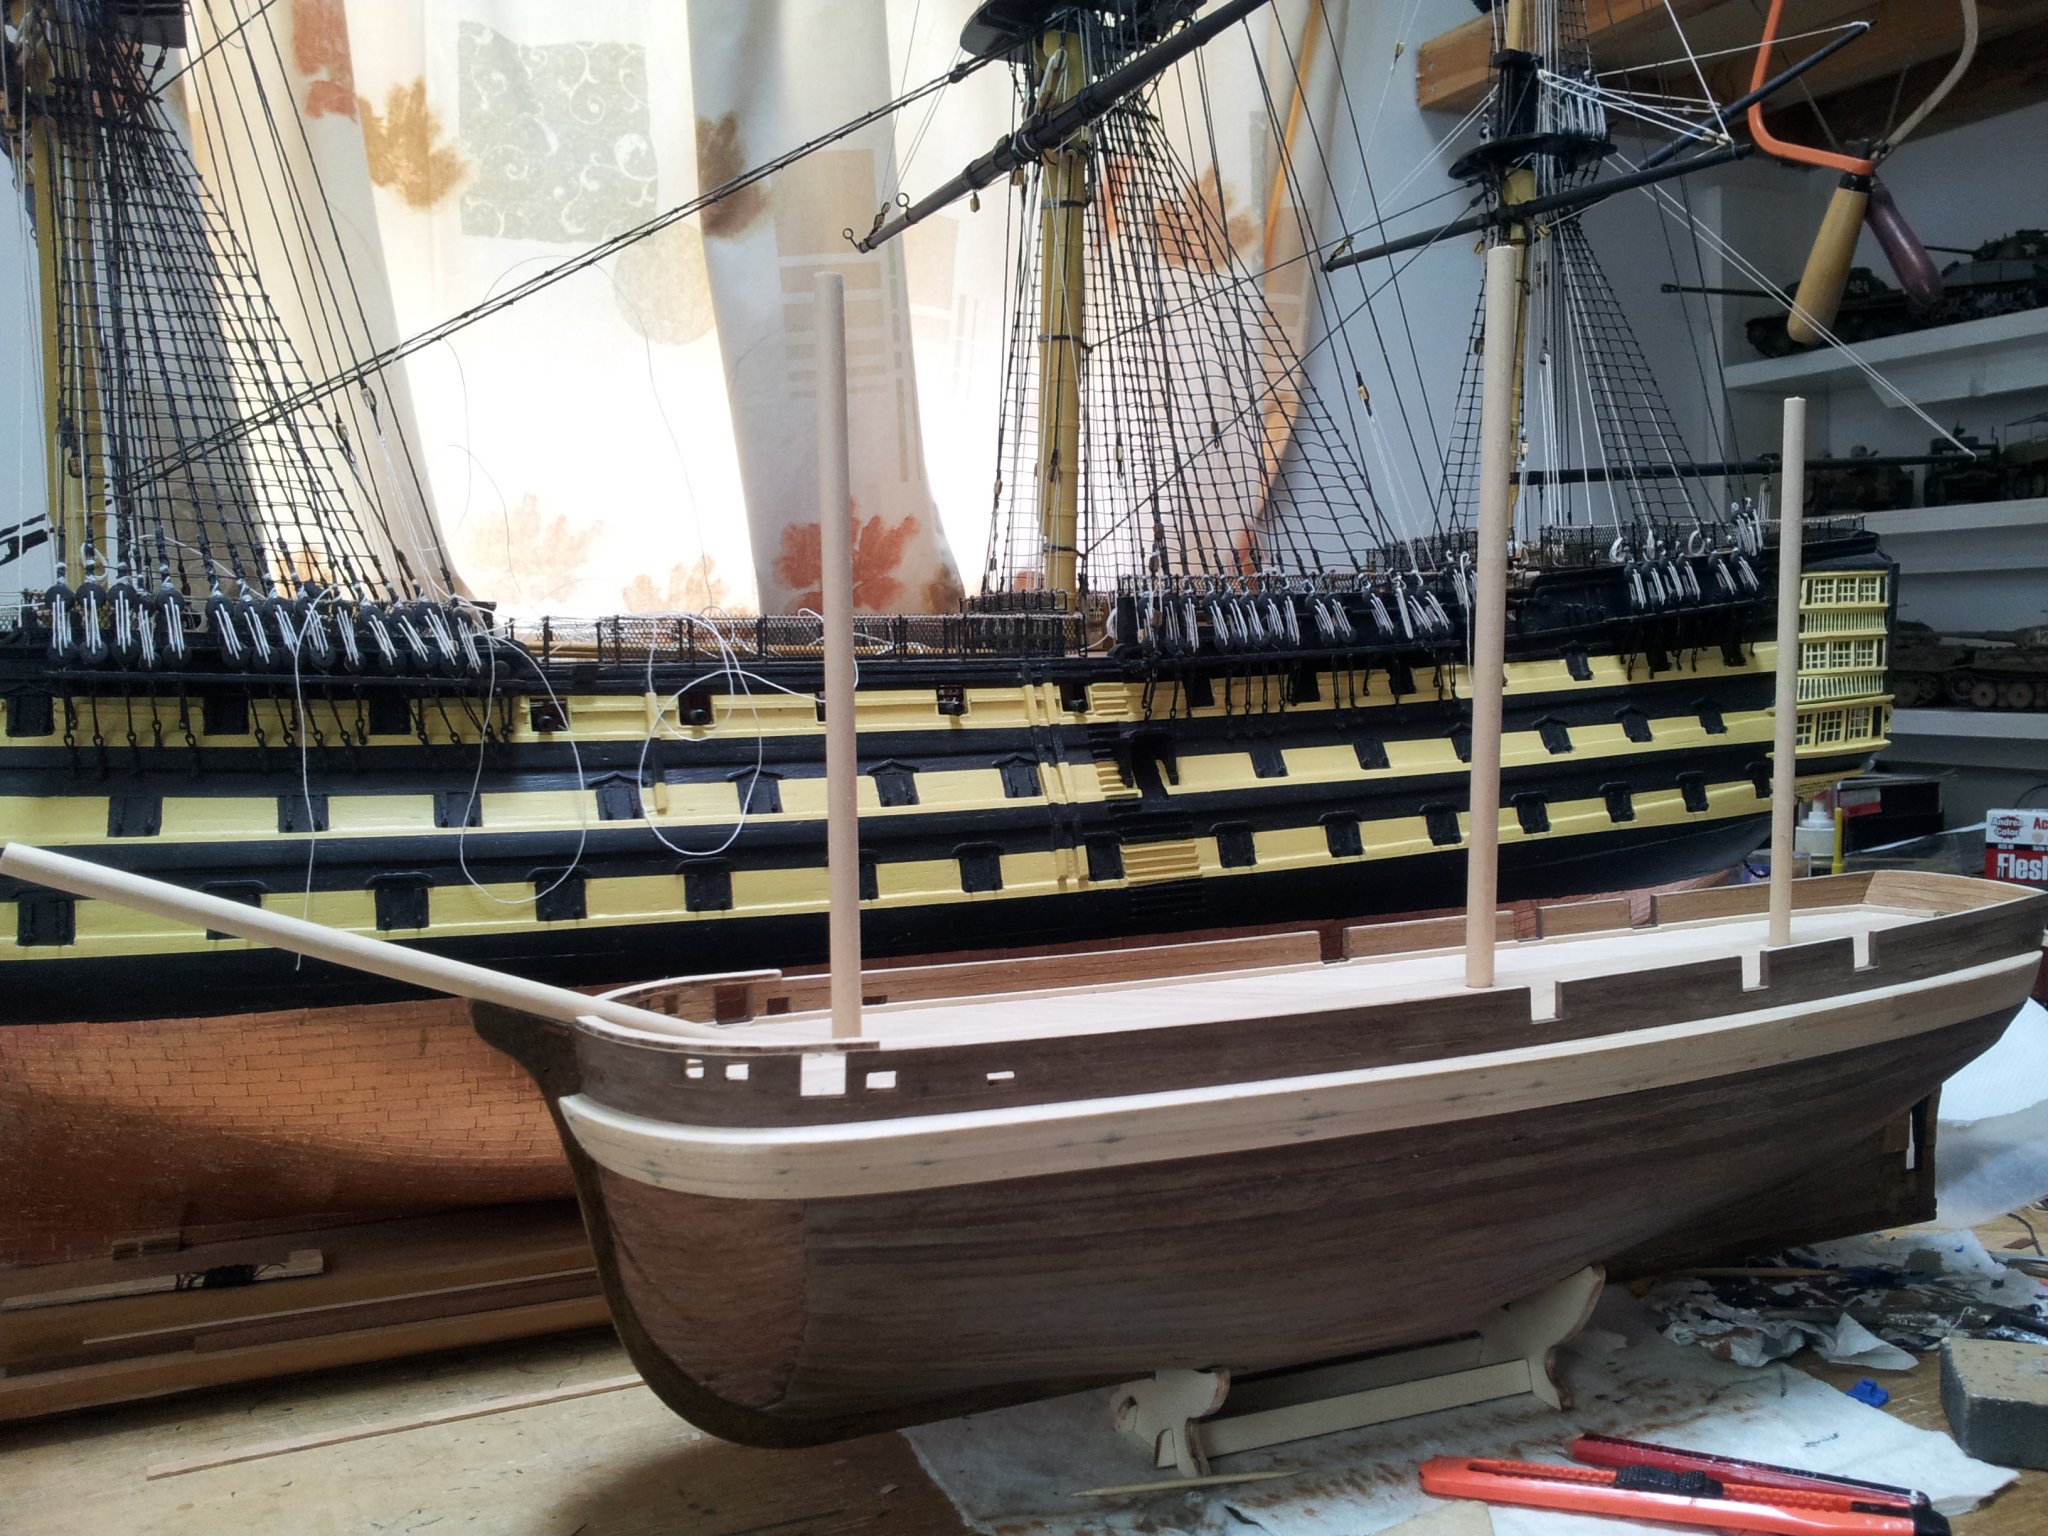
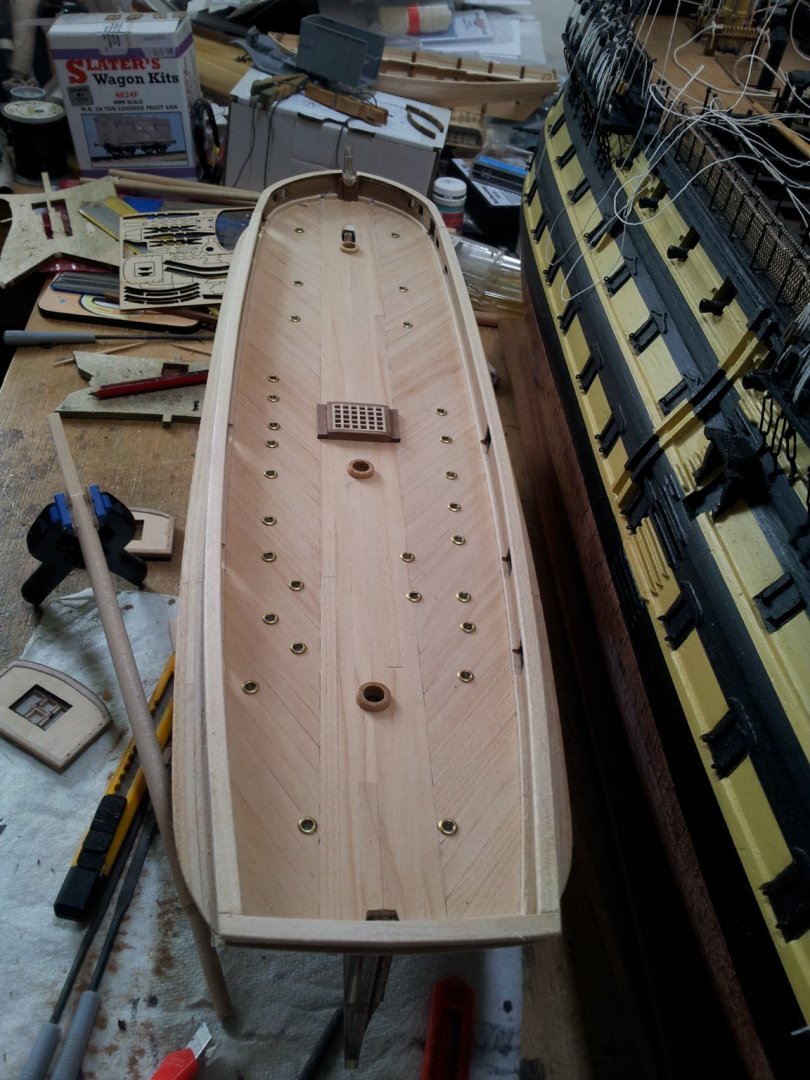
LOL it can be a bit mind boggling on first glance through the book Keith, Hi Emmet- the pin holes are so small they nearly disappear after sanding- i planked the bows like that as terror had second planking- i terminated planks along the runs as the shape of the hull dictated to avoid excessive bending- also a lot of the pins are acting like clamps beside the planks- computer has gone belly up (pinched sons lap top for this so posts will be apart!) started to shape the masts- built the tops supplied for fore and main but altered them as in the following pic. also got the mainmast squared for the cheeks and bibs. also a shot of the fore mast with the top tried out- to square them roughed them with a craft knife till roughly squared then sanded with a sanding block til the top was a comfy fit. also got the sunlights in the deck and the hatch for the chain locker in place. used humbrol clear windows for the glazing. take care all keith P.S. since posting this have started to scratchbuild new tops for main and foremasts as occre have thecross trees butted right up against the mast- hopefully will have comp fixed and get some pics on the log.
-
first don't panic! look at the references and simplify them as necessary- yes chain necklace for the futtock shrouds (well spotted😁), terror would have had a jib boom and dolphin striker, but not a flying jib boom (havn't rigged victories yet)- basically use the occre references for building the masts but account for iron bands and the chain necklaces. Keith
-
you could cut the head off a panel pin and glue it with the point sticking out the bottom of the mast- when aligned right you can use a little pressure to drive it home- luckily with the book there are loads of diagrams explaining- also if you go to the hms trimcolee website there are some good pics including a nice one of under the top with the blocks for the yard truss. Unfortunately there is no quick way of learning the jargon though there are plenty of dictionaries for sea terminology so wouldn't be surprised if one for free on google somewhere. Keith
-
even if coppering her bottom i would add the second planking layer still as you will get a ridge which you shouldn't have- there should be a waterline marked on the plans somewhere- if not it will be a few mm beneath lowest part of mainwhale- i used self adhesive copper tape on my victory (luckily H.M.S. Terror had hers removed due to lack of shipworm in the arctic). Keith
-
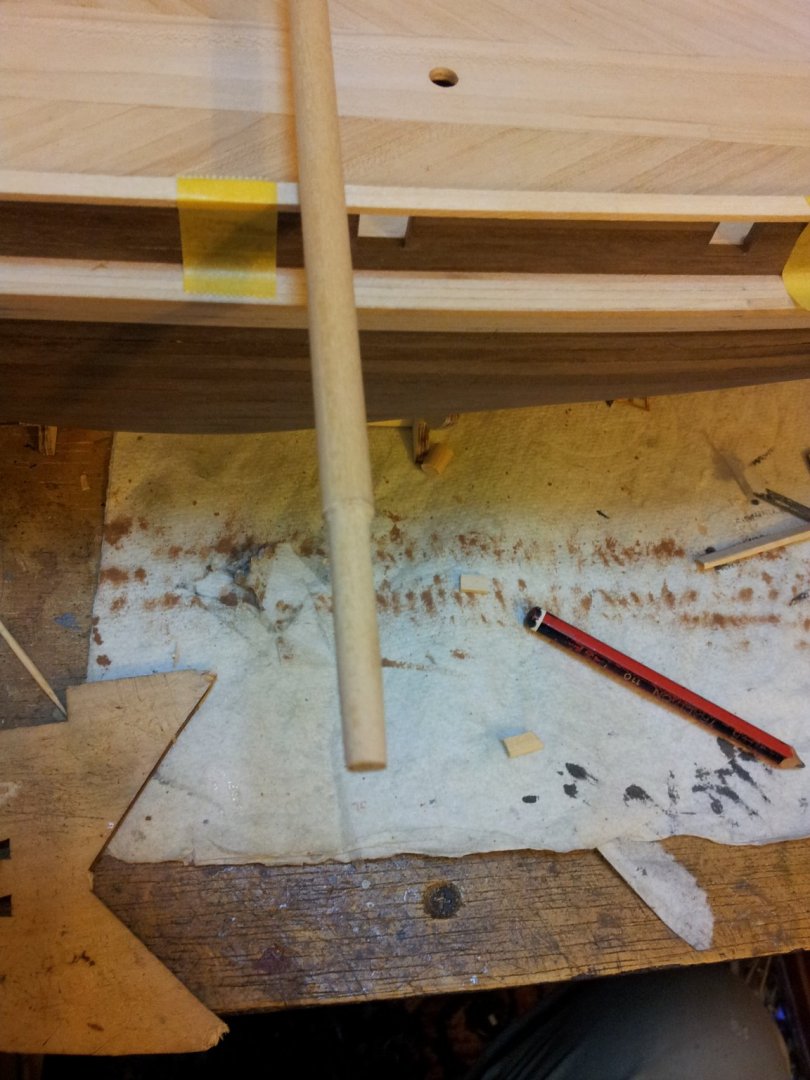
i have been there in the past myself Keith where i went a bit too far opening holes for masts out- i glued battens down the length of the mast below decks on the model in question to pick up the slack (why i went about it this way on terror 😁). Keith
-
if using a 2nd planking layer, just so long as 1st planking is smooth no filler will be needed Emmet Keith
-
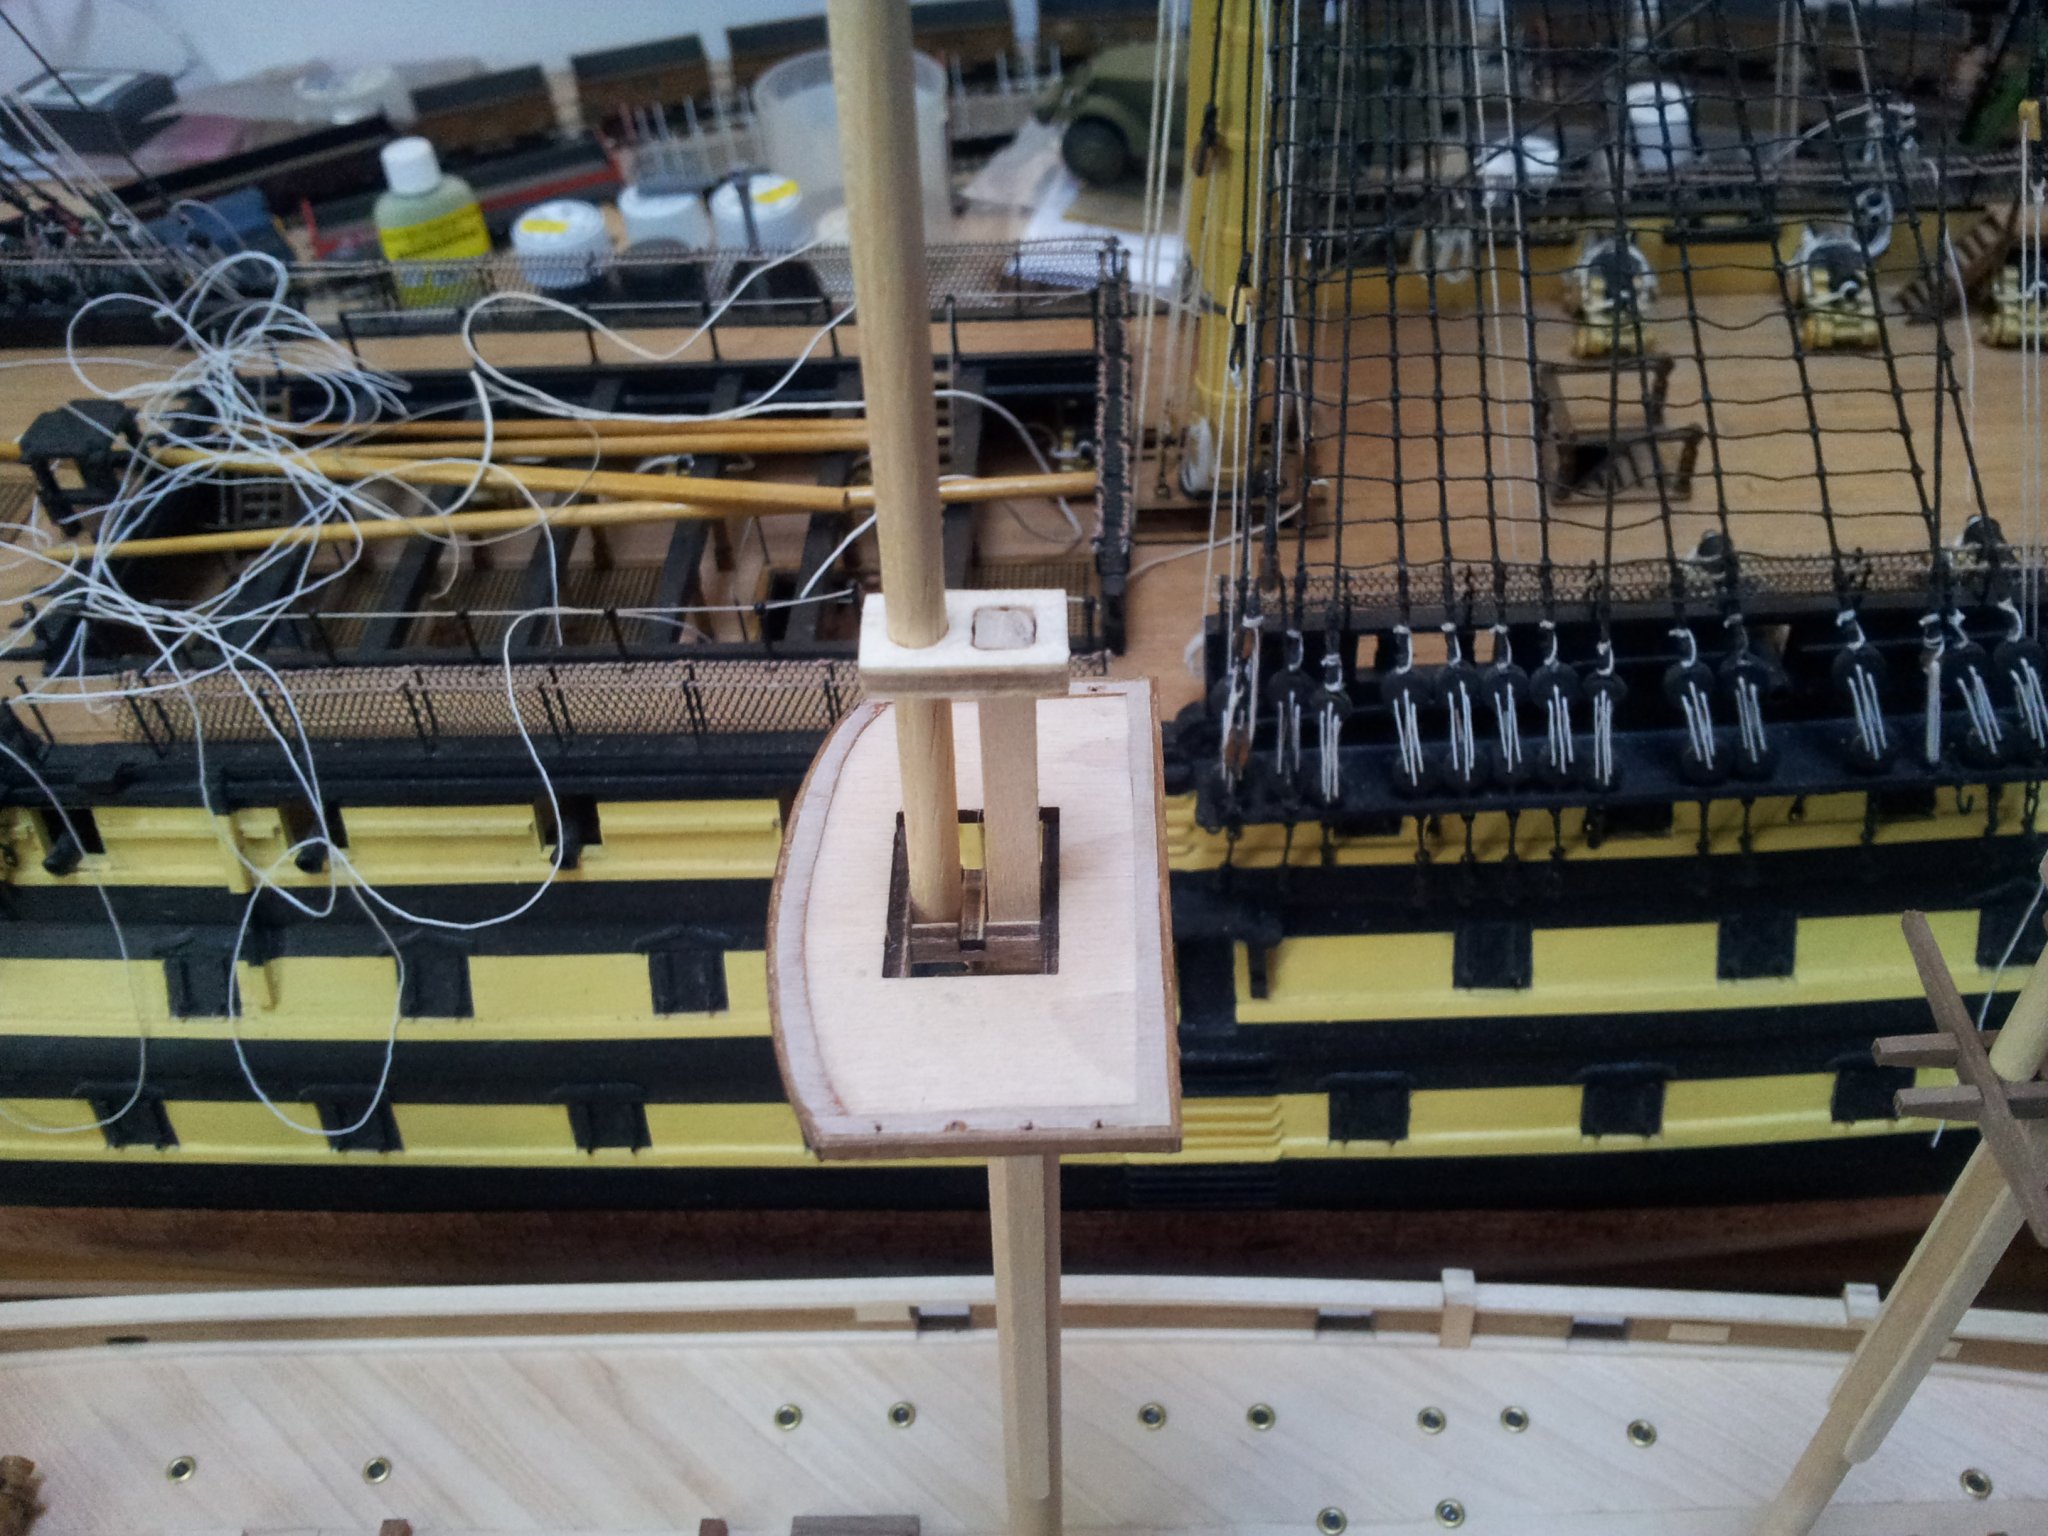
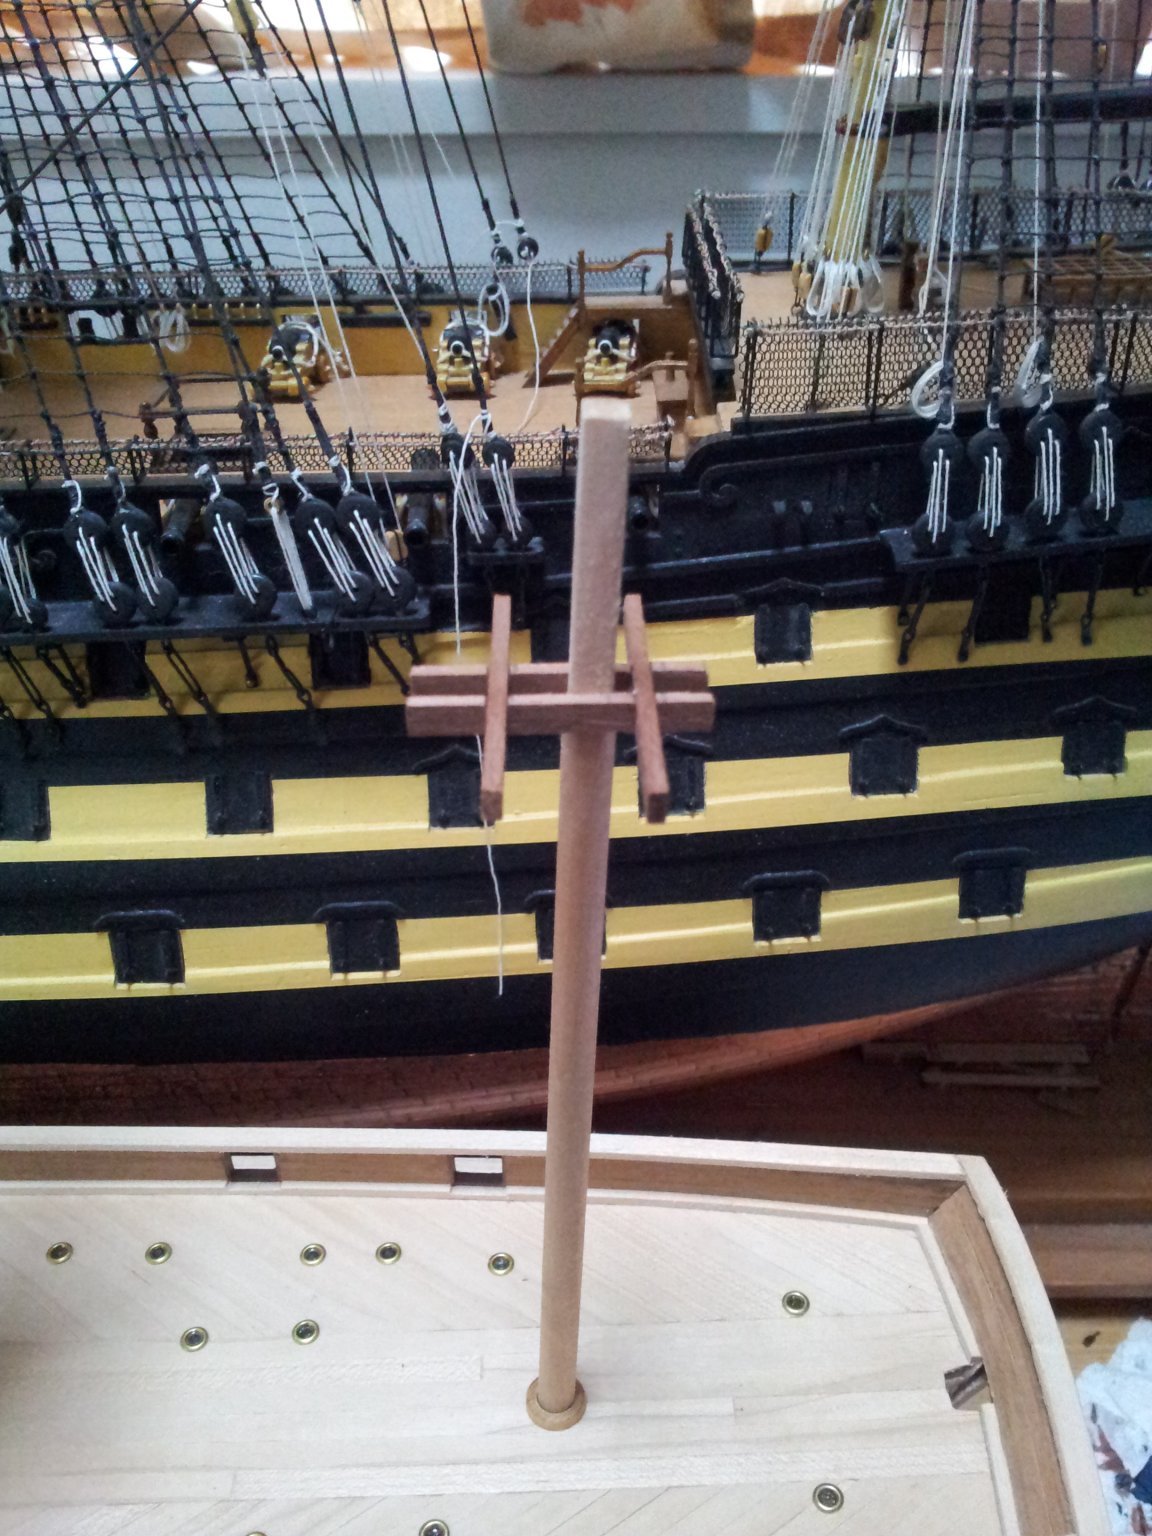
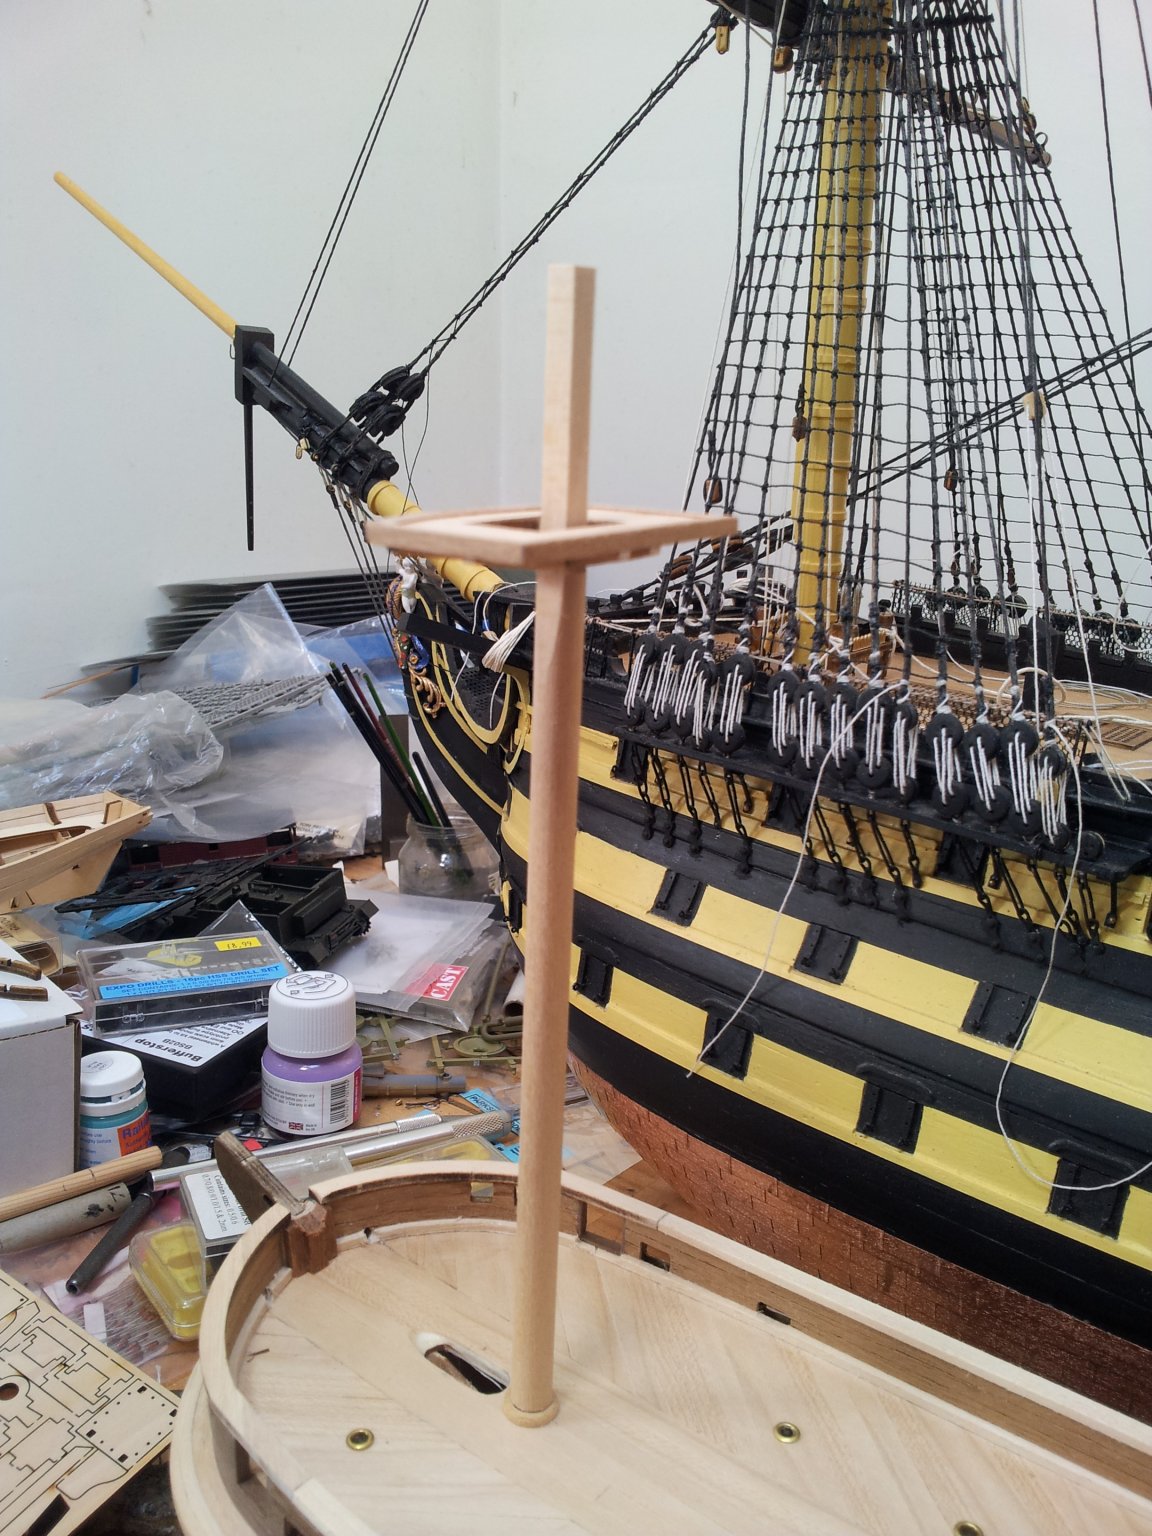
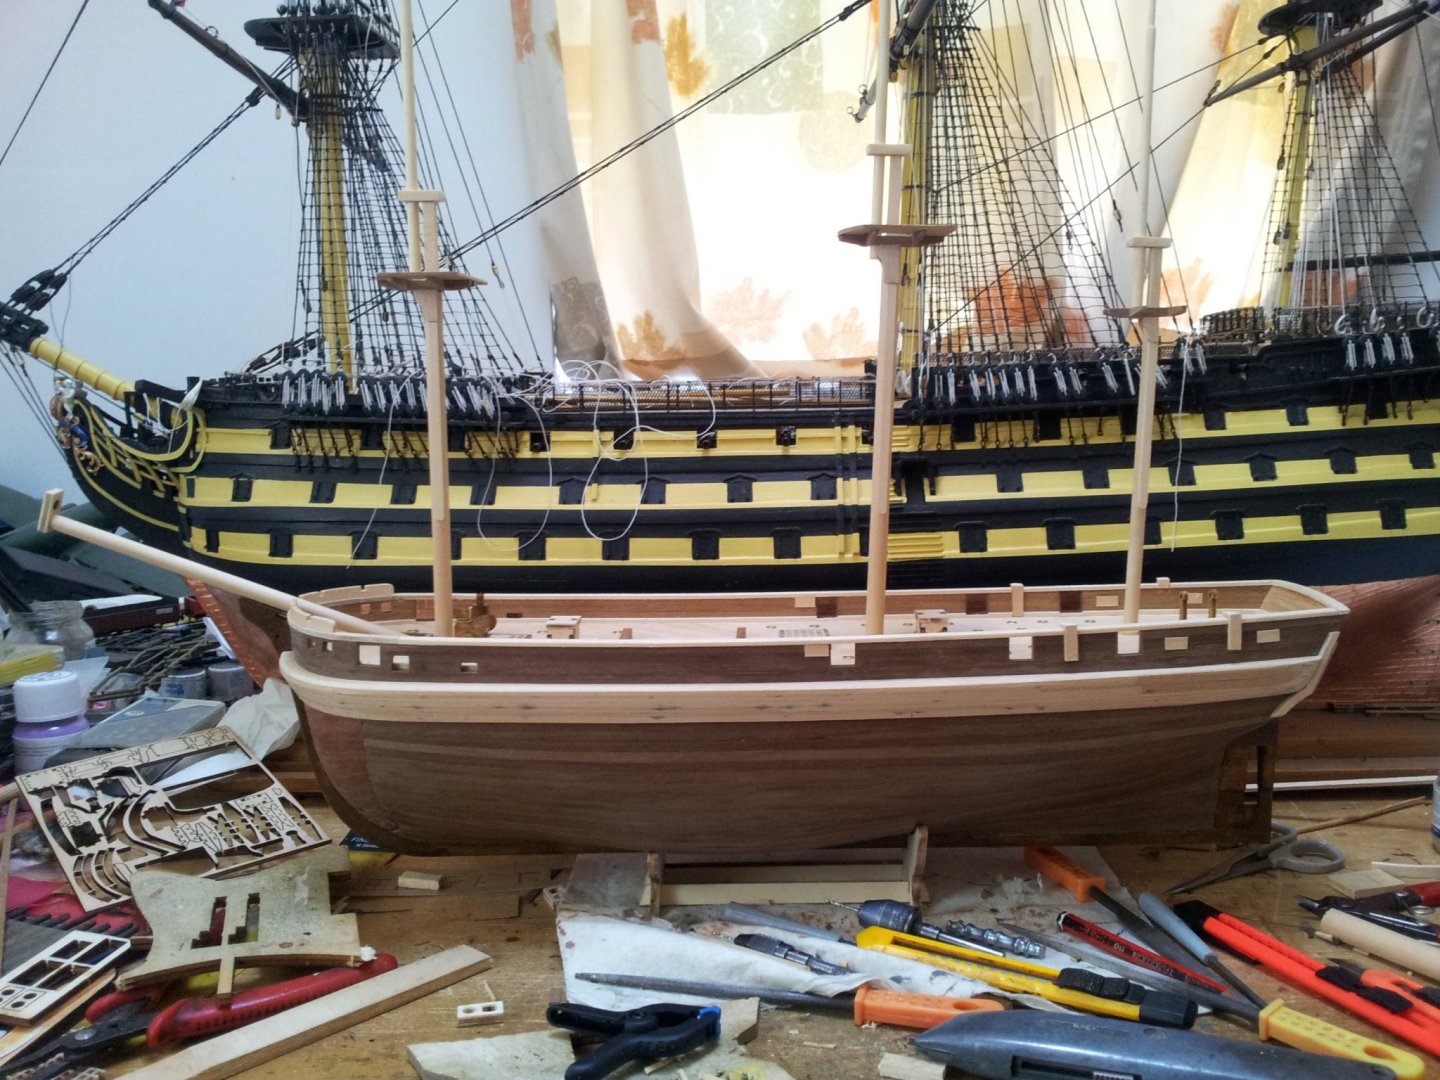
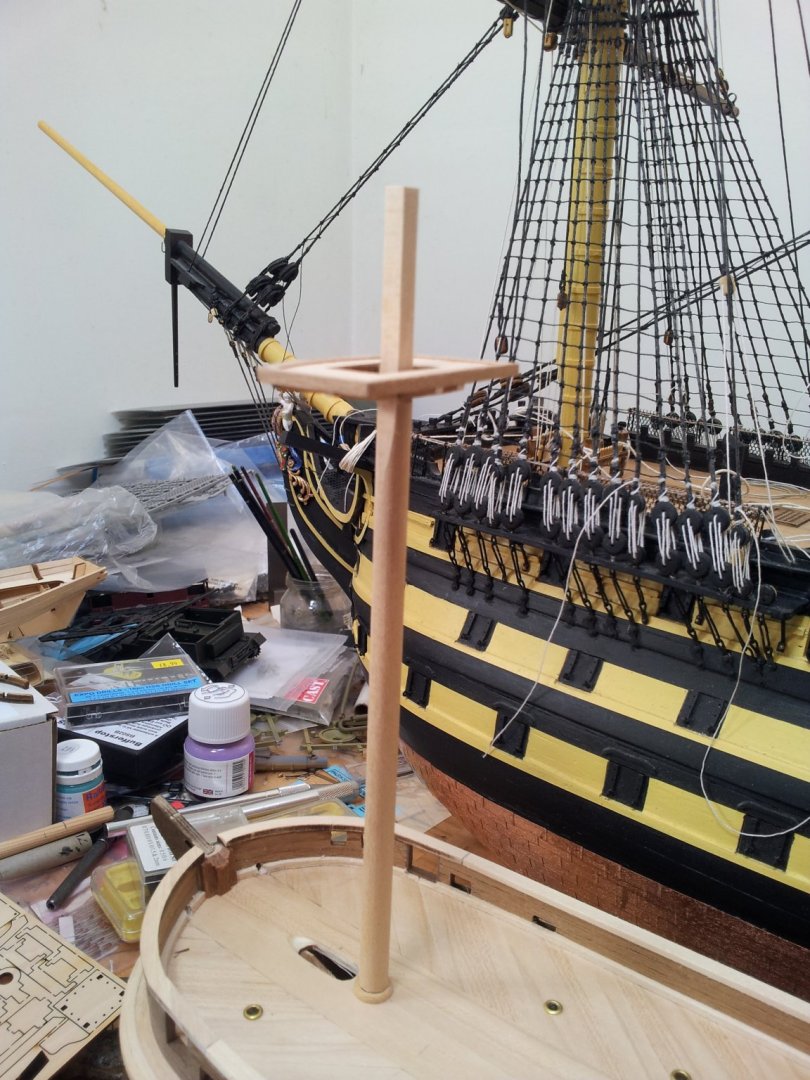
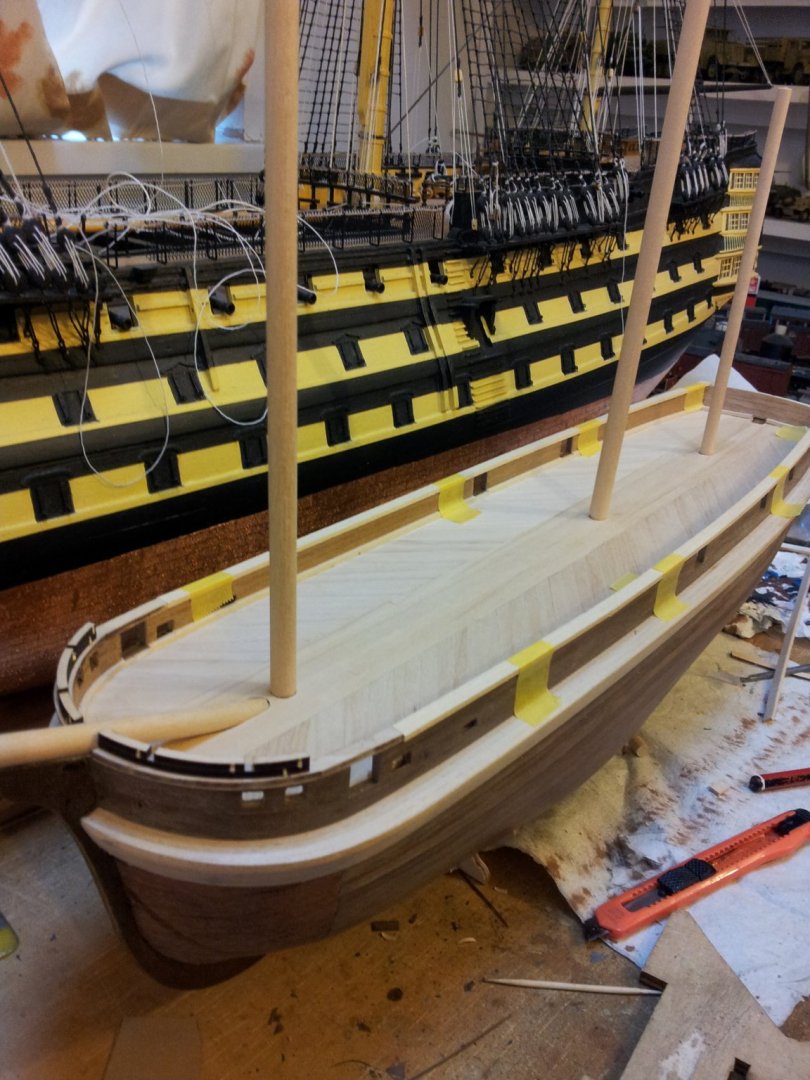
Thanks for looking in everyone, sorted out the masts using the admiralty dimensions and they look about right- also got the capping rails on the bulwarks ( used the 5x2 mm as opposed to the 6x2 mm they instructed). because i upped the diameter of the fore and main masts i had to step them from deck level down to where they slot into the frames as these were meant for the 6 mm dowel not the 7mm and 8mm now used. take care all Keith

-
thanks for looking in and comments everyone- just a little session in shipyard, and got the entryways on the bulwarks lined with walnut and planked some of the stern. have fun all. Keith
-
that is correct keith yes- i cut a piece of scrap dowel to size indicated and when put in situ it just didn't look right so out came mr lees book! the wierd thing is the dimensions for the topmasts and topgallant masts were about equal to the admiralty order (in the case of the topmasts bang on). Keith
-
been doing some research using lees masting and rigging and the closest match regarding mast dimensions on the admiralty order for 1839 are from a 10th class frigate (keith s kindly gave me the mast diameters from his plans) according to lees the dimensions are= foremast (from deck level) = 48' 6" diameter 22" mainmast= 53' 6" diameter 24" Mizen mast= 43' 6" diameter 18" so 7mm dowel for the bowsprit and foremast, 8mm dowel for the main and will use the 6mm for the mizzen. compared to occre plans they got it about right for the mast lengths , but you need to add on the measurement for the mast below decks where they run into the frames. Keith
-
another one down the ways well done and great job Keith
- 109 replies
-
- 1
-

-
- Vanguard Models
- Flirt
- (and 1 more)