clearway
-
Posts
2,239 -
Joined
-
Last visited
Content Type
Profiles
Forums
Gallery
Events
Everything posted by clearway
-
 it will be easier doing it occres way, i added another frame in the bows and planked fully but the plating will cover it all. the only thing i would recommend is staggering the frames the planks end on as they arn't long enough to plank the hull, even missing the bow section! Keith
 -
Ty Emmet and welcome back, just double checked the plans and the top of the galley stove should be on the same level as the top of the bell so will drill down through the deck as well as the hatch and adjust to height. before i move on much further though i am going to have to tackle the chainplates which i am still figuring out but no surprise will look nothing like occres instructions😉 Keith
-
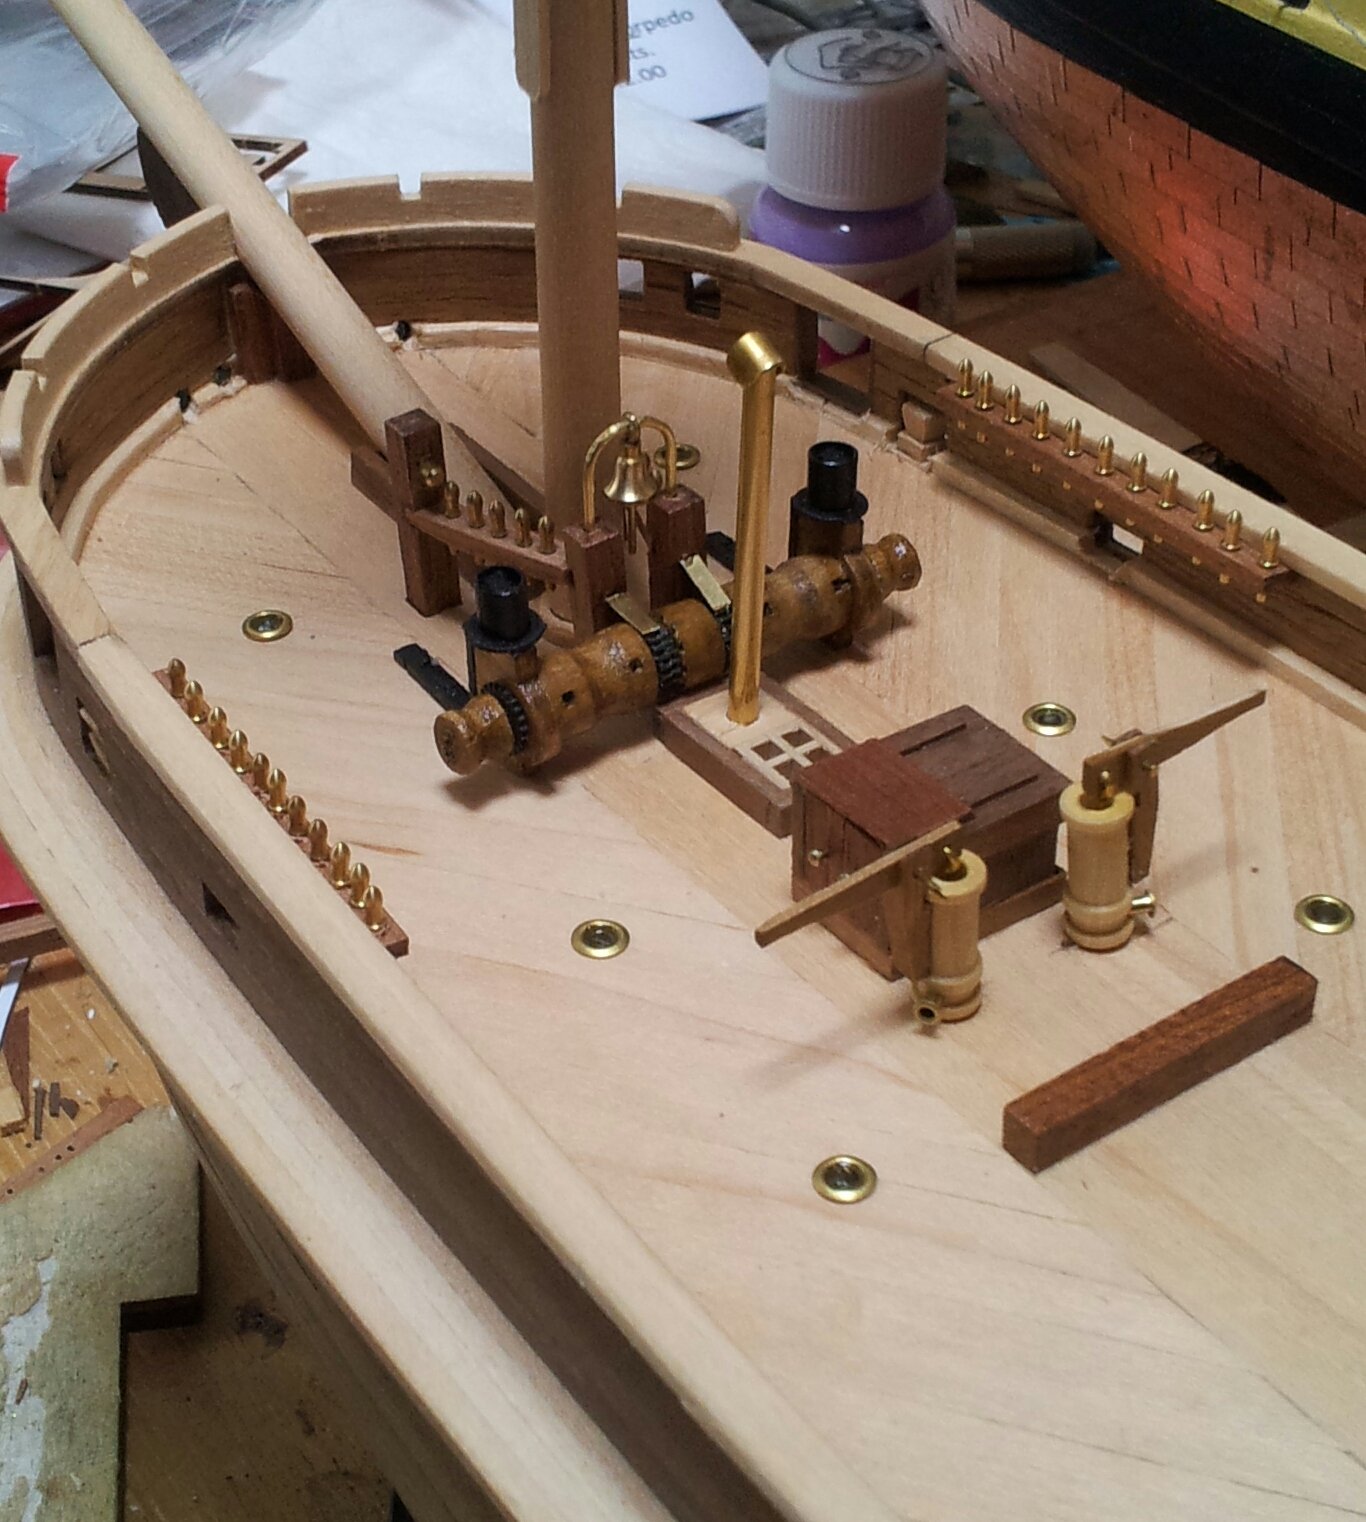
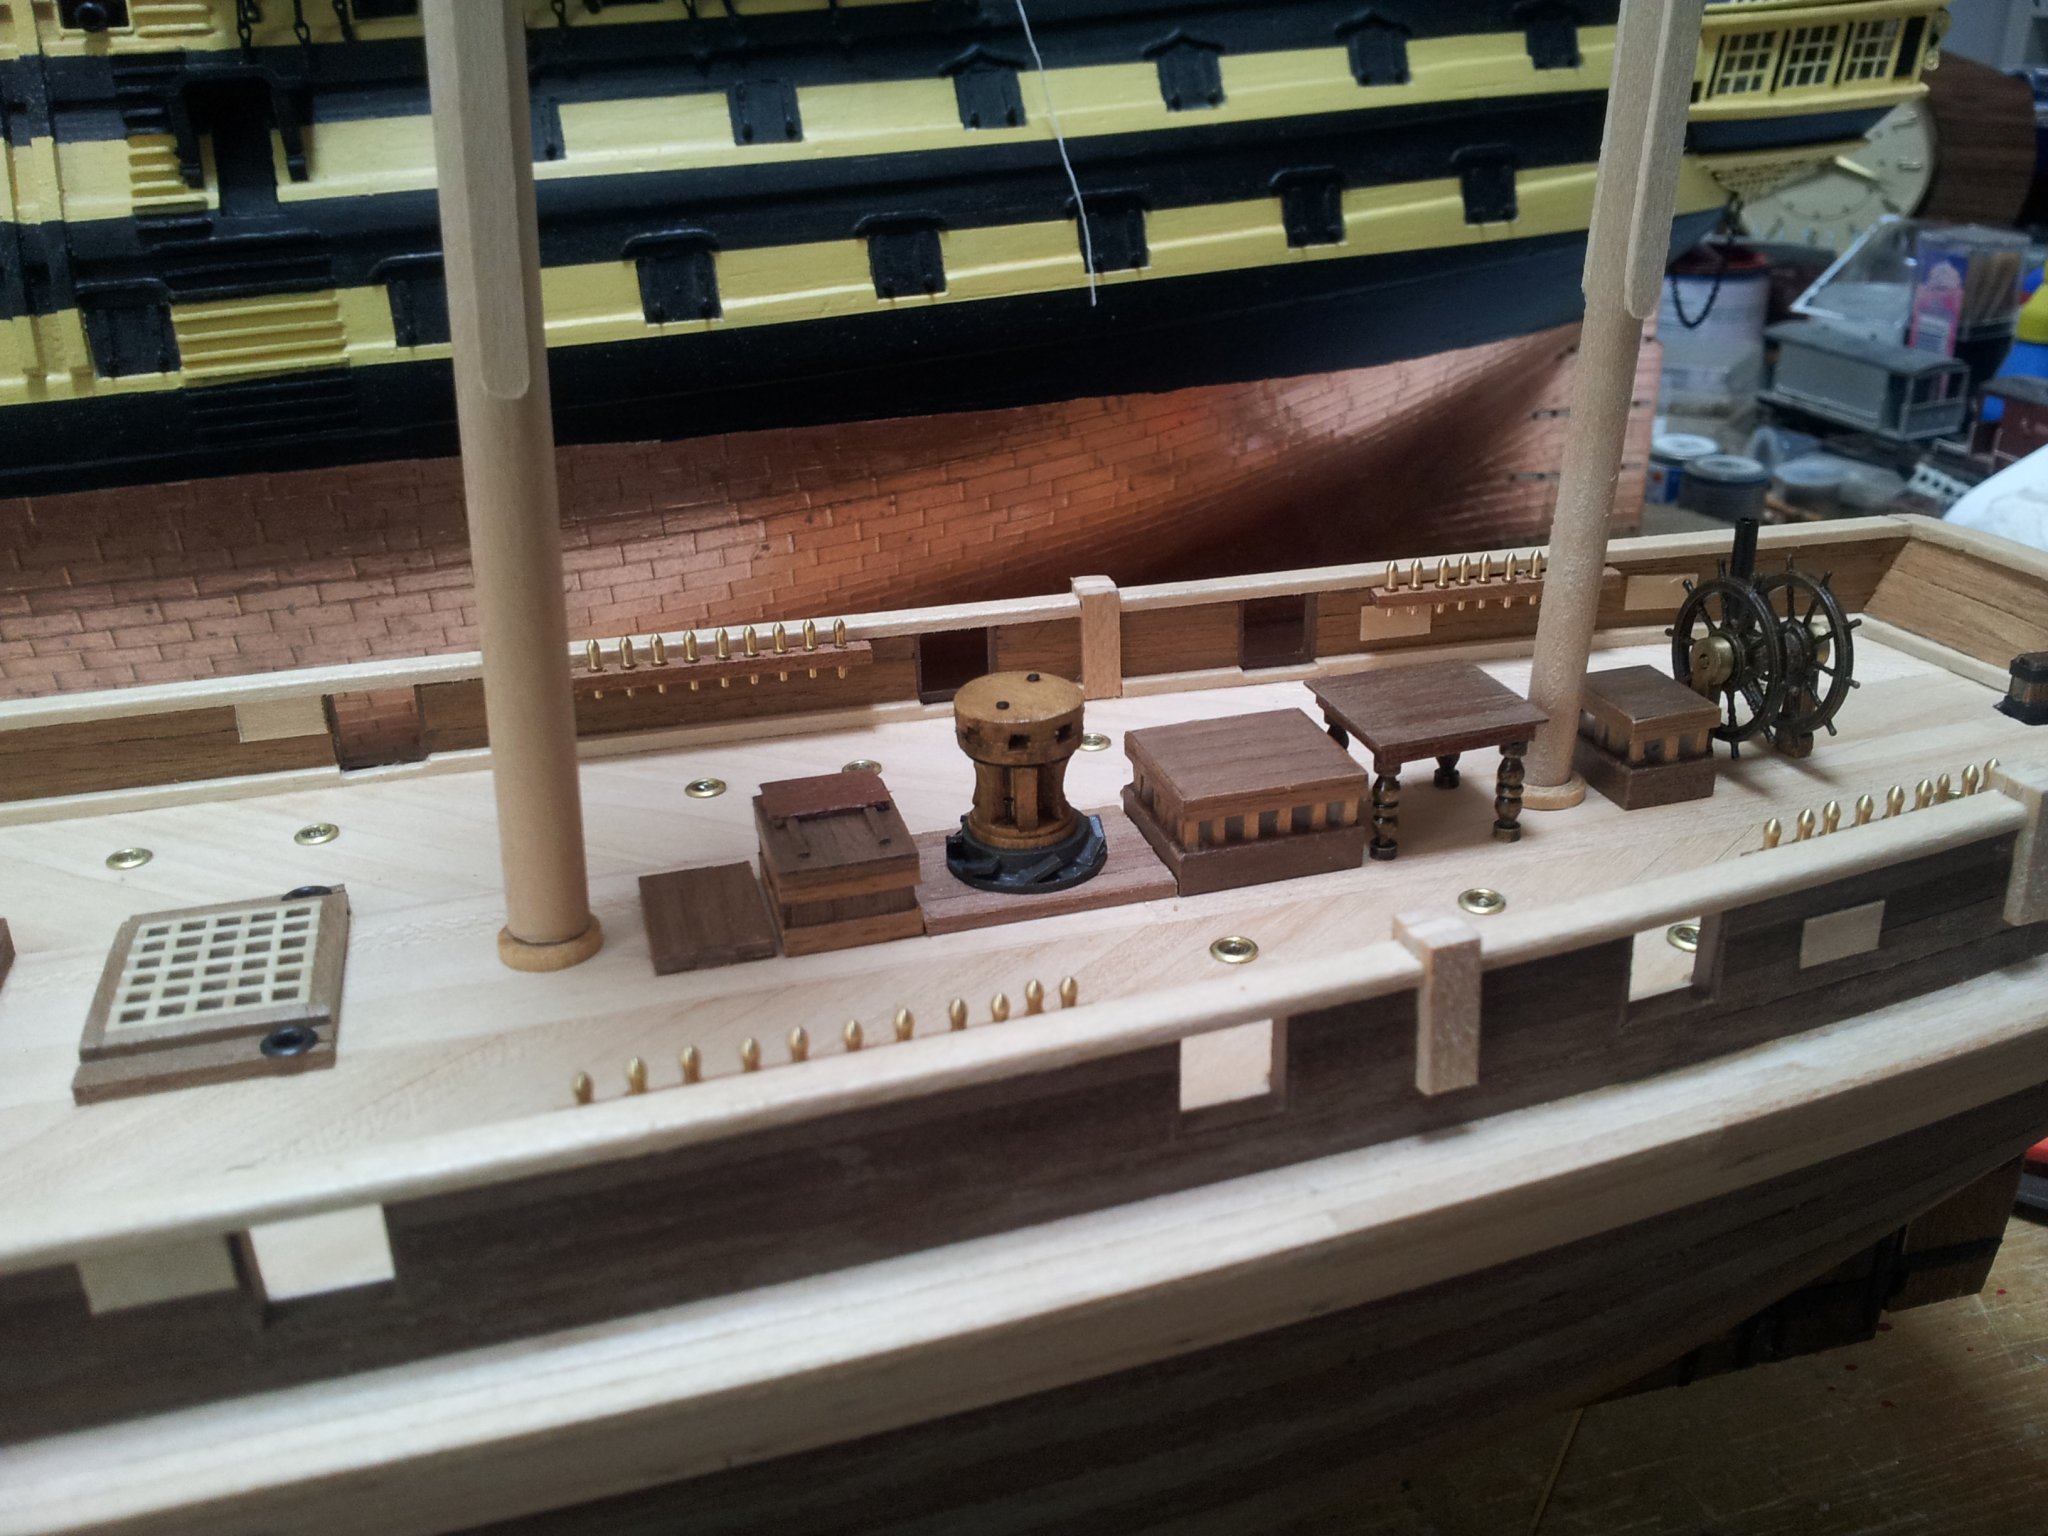
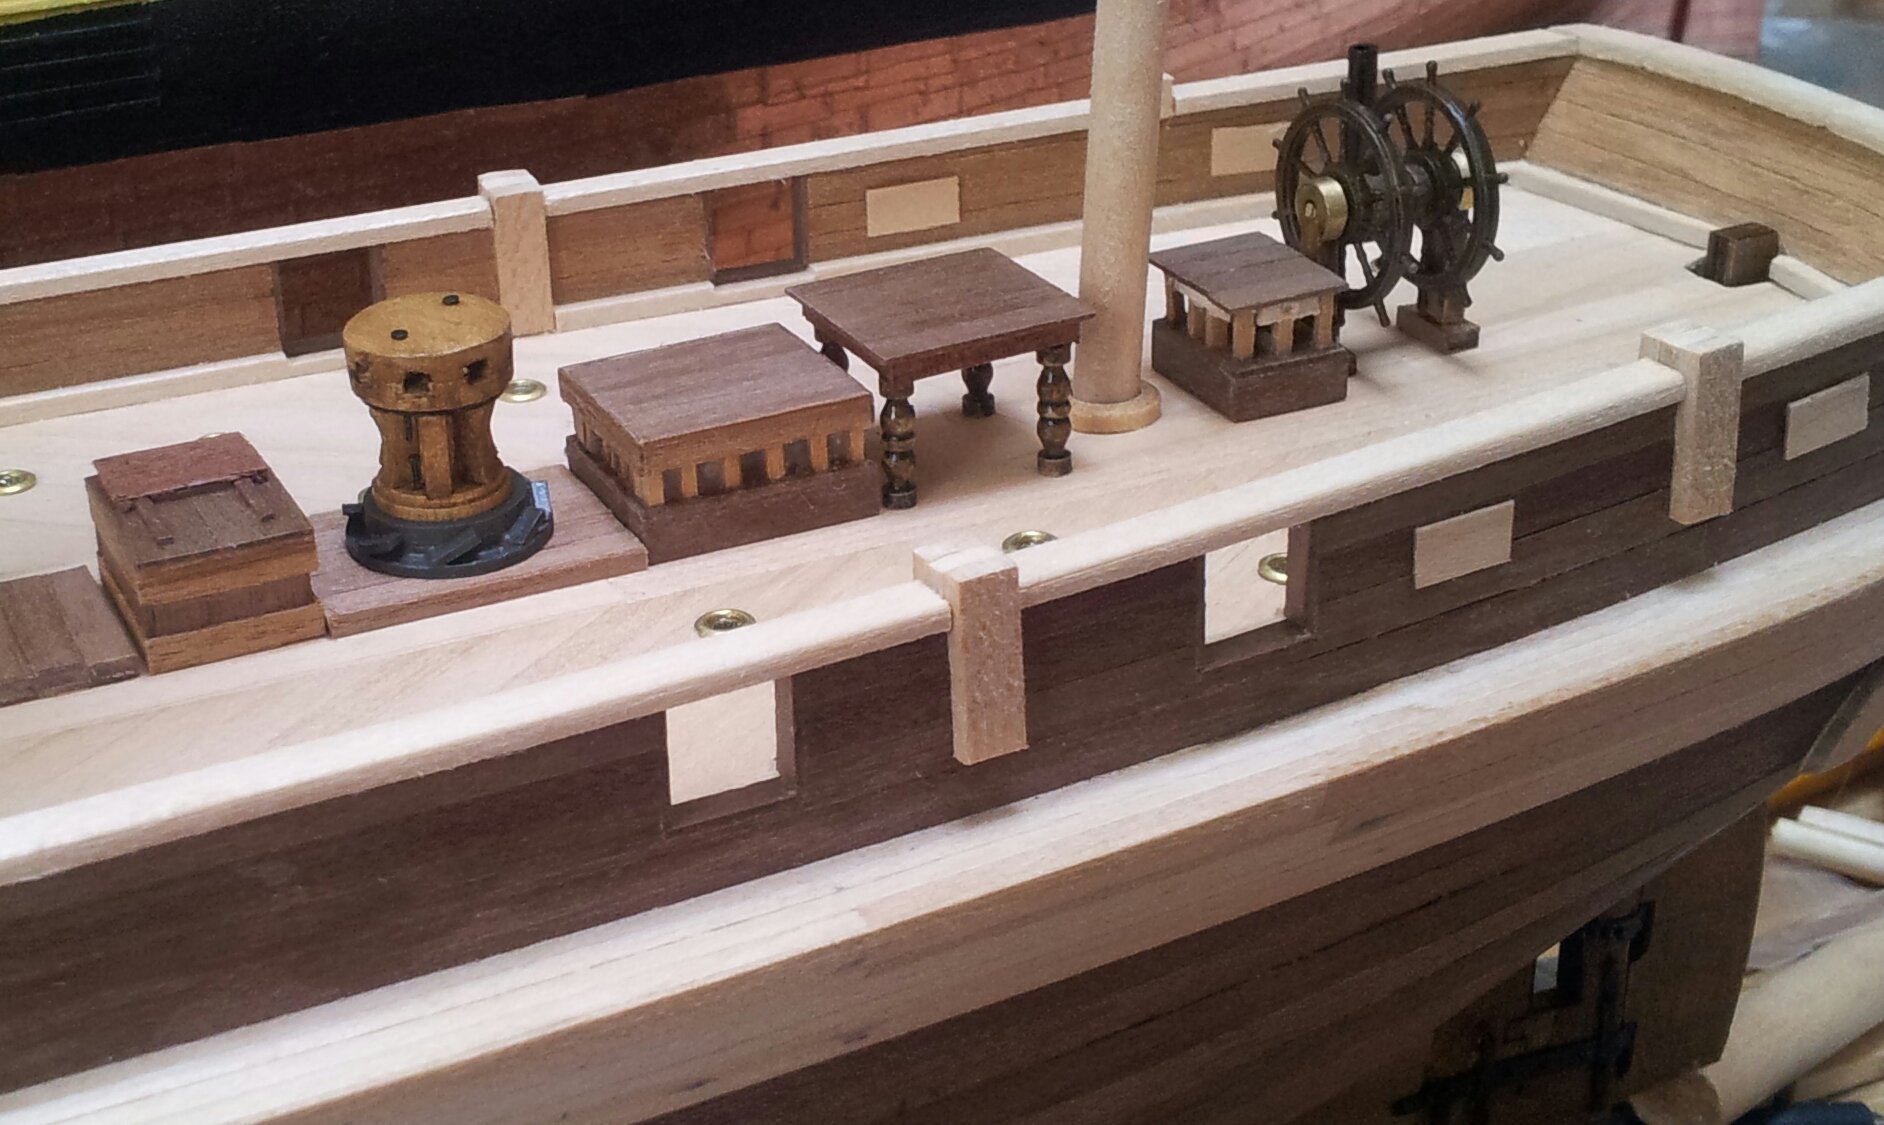
Ty for the comments, likes and views as always everyone (glad you like it geowolf😁). Today the belaying pins were fitted along with the ships bell, i suspect the bracket should be more square but i like the curved top. The bell is actually a billing boats one out of my bits box (never throw anything away). also replaced the galley chimney with one made from brass tubing with a more accurate screen on top (on the plans i have seen there are not any ridges on this and it looks a lot taller than occres). Also finally got the windlass fastened in place and the accomodation hatches and galley grating glued in place, starting to look nice and busy around the foremast area🙂. The elm tree pumps are amati fittings but not really right style so might have to scratch build a couple, but they do look nice🤔. OMG actually back into work tomorrow albeit part time for now after 5 months! take care all. Keith

-
seeing that takes me back to when i first started building billings kits, basically all they done was mark the wood out for you, I was going to buy the billings l'etoile years ago but didn't bother, however did buy the dusek le belle poule which after checking the contents looks like a fantastic kit and will be a lot easier than your beastie😁 Keith
-
<<<<<pops head round door takes one look, shakes head and books you in for some serious therapy🤣
- 322 replies
-
- 5
-

-
- enterprise
- caf
- (and 1 more)
-
Ty keith, it's the way i have always done them for the reason you suggest about being a stronger fit (can be a bit nerve racking drilling down to your nicely planked deck and going for it with a square file though). for a first time build yours is pretty outstanding to be honest and you have done good to spot the mistakes you have. Keith
-
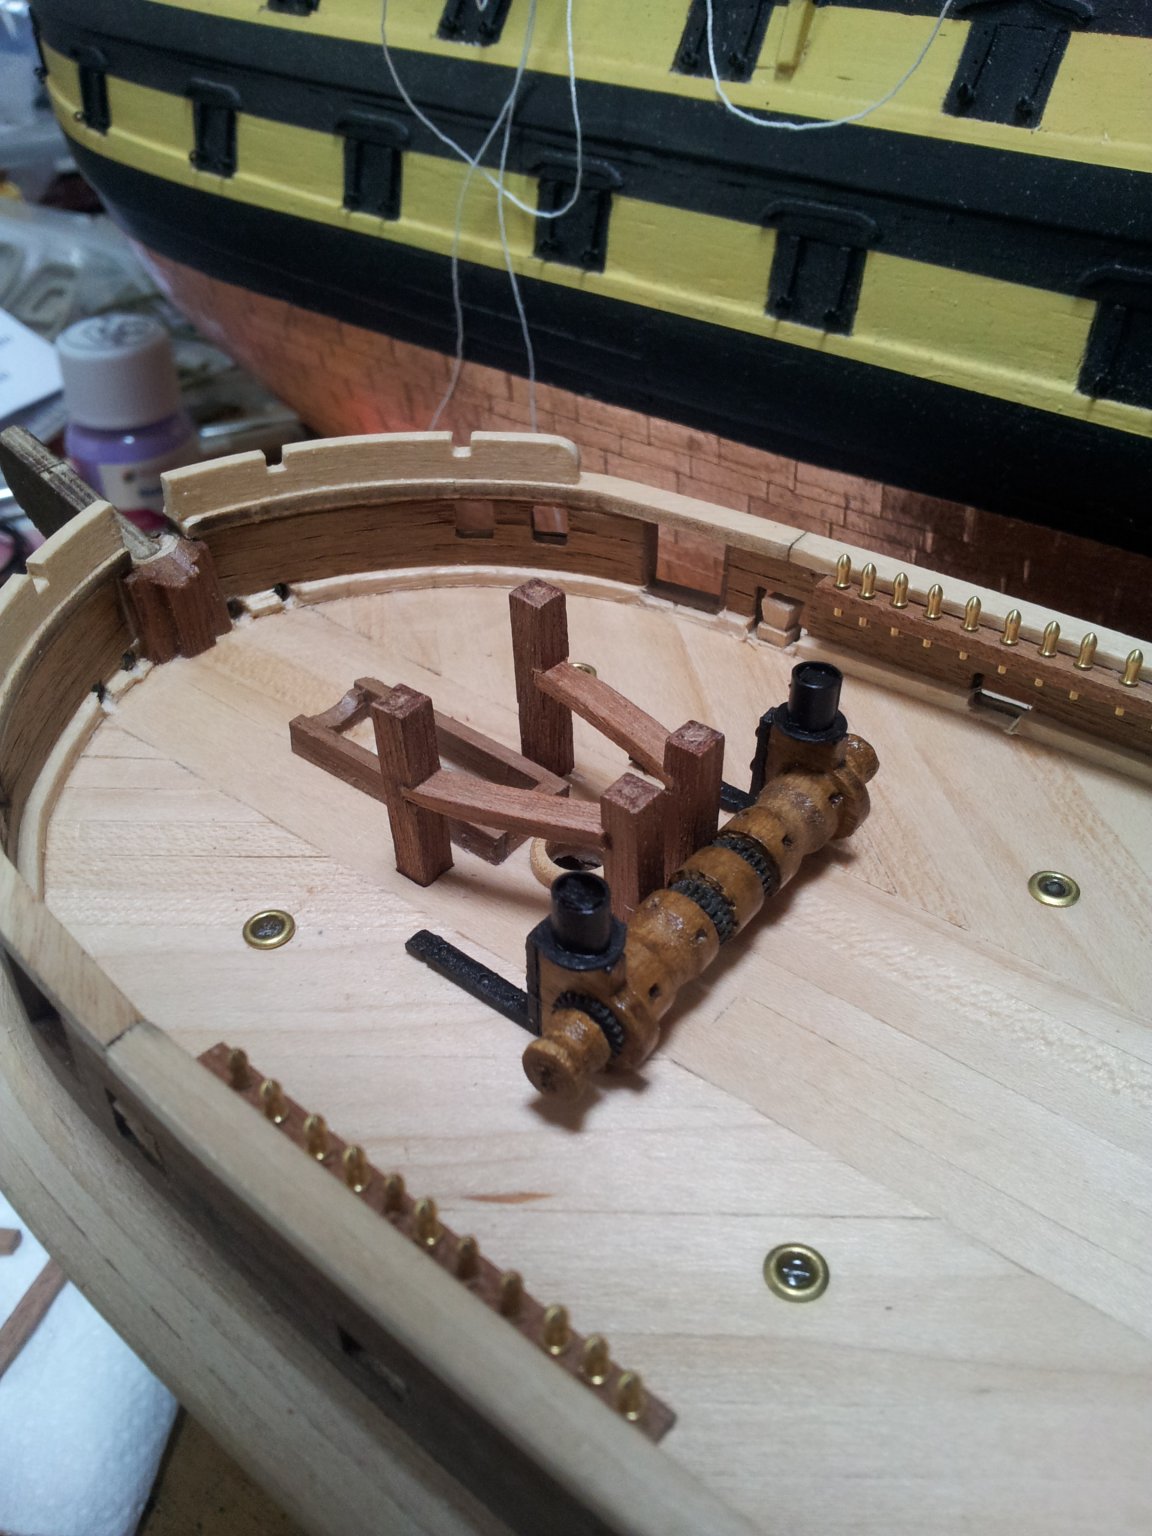
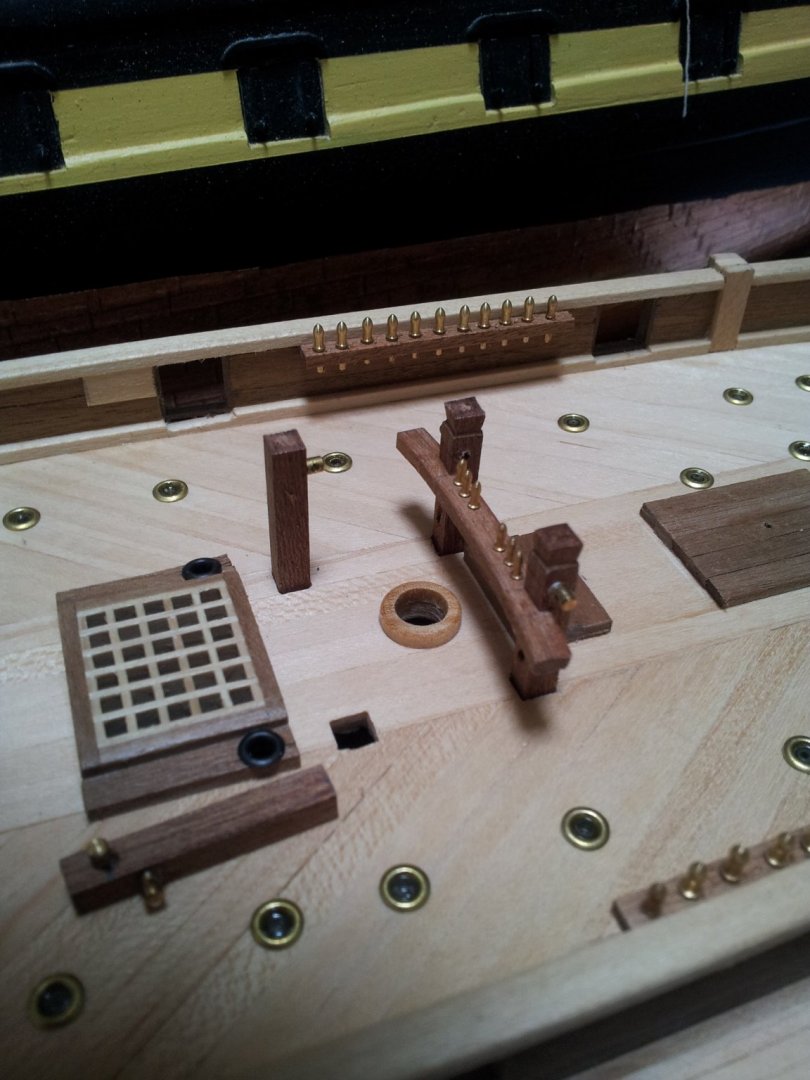
ty to anyone who has looked in, back to remedying the works of fiction that are occres pumps/ fife rail assemblies🤨. the fore fife rail and pawl posts are glued together, but only dry fitted to the square holes drilled/filed in the deck also got the holes in place for the main fife rail/ winch/ pump posts, the timber was curved by soaking and then bending while using a clothes iron to steam it to shape (don't let the admiral know😱)! take care all Keith
-
occre are based in spain so they have always been metric, u,k, has been metric since 1970 but feet and inches are still used all the time! If it looks good just leave it as you are the admiral. in this scale 4mm = 12inches or thereabouts so 6mm = 18" which is hell of a width of plank in full size!
-
my son has always woken with the sunrise which in mid summer here is around 5 a.m. 😱, was good in winter though with 9am awakening😃. he still does it now but at least he has grown up and we don.t have to get up to keep an eye on him! Keith
-
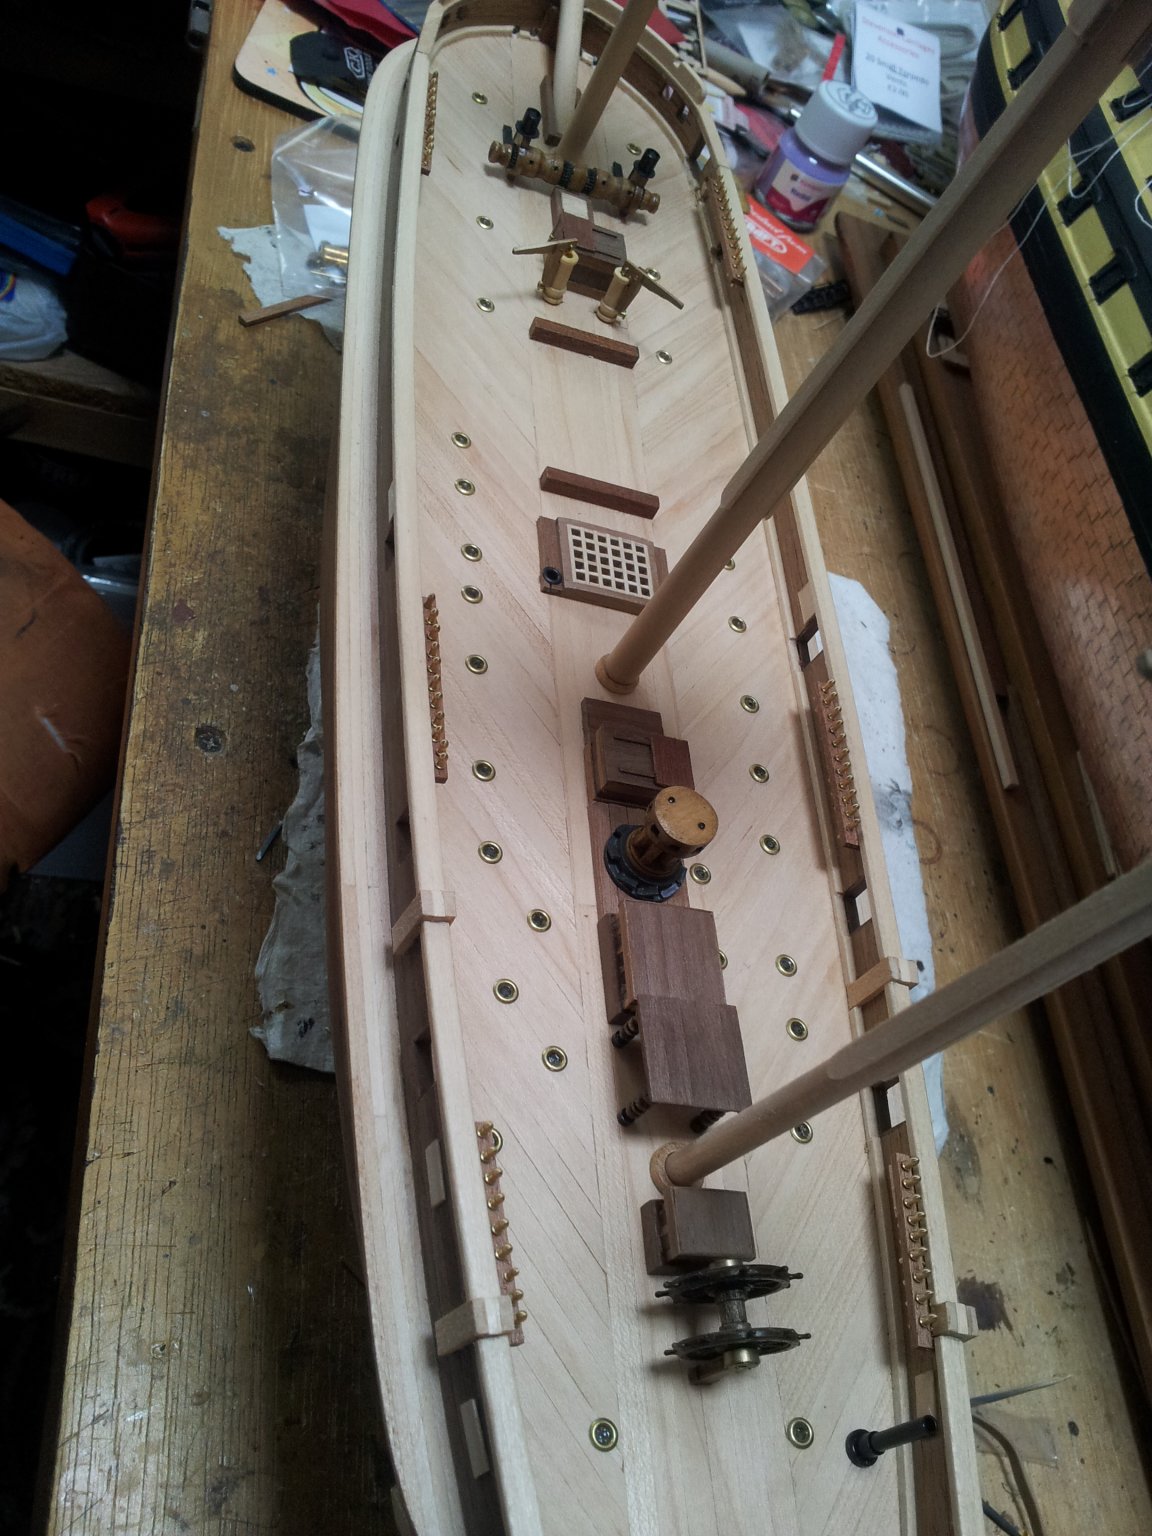
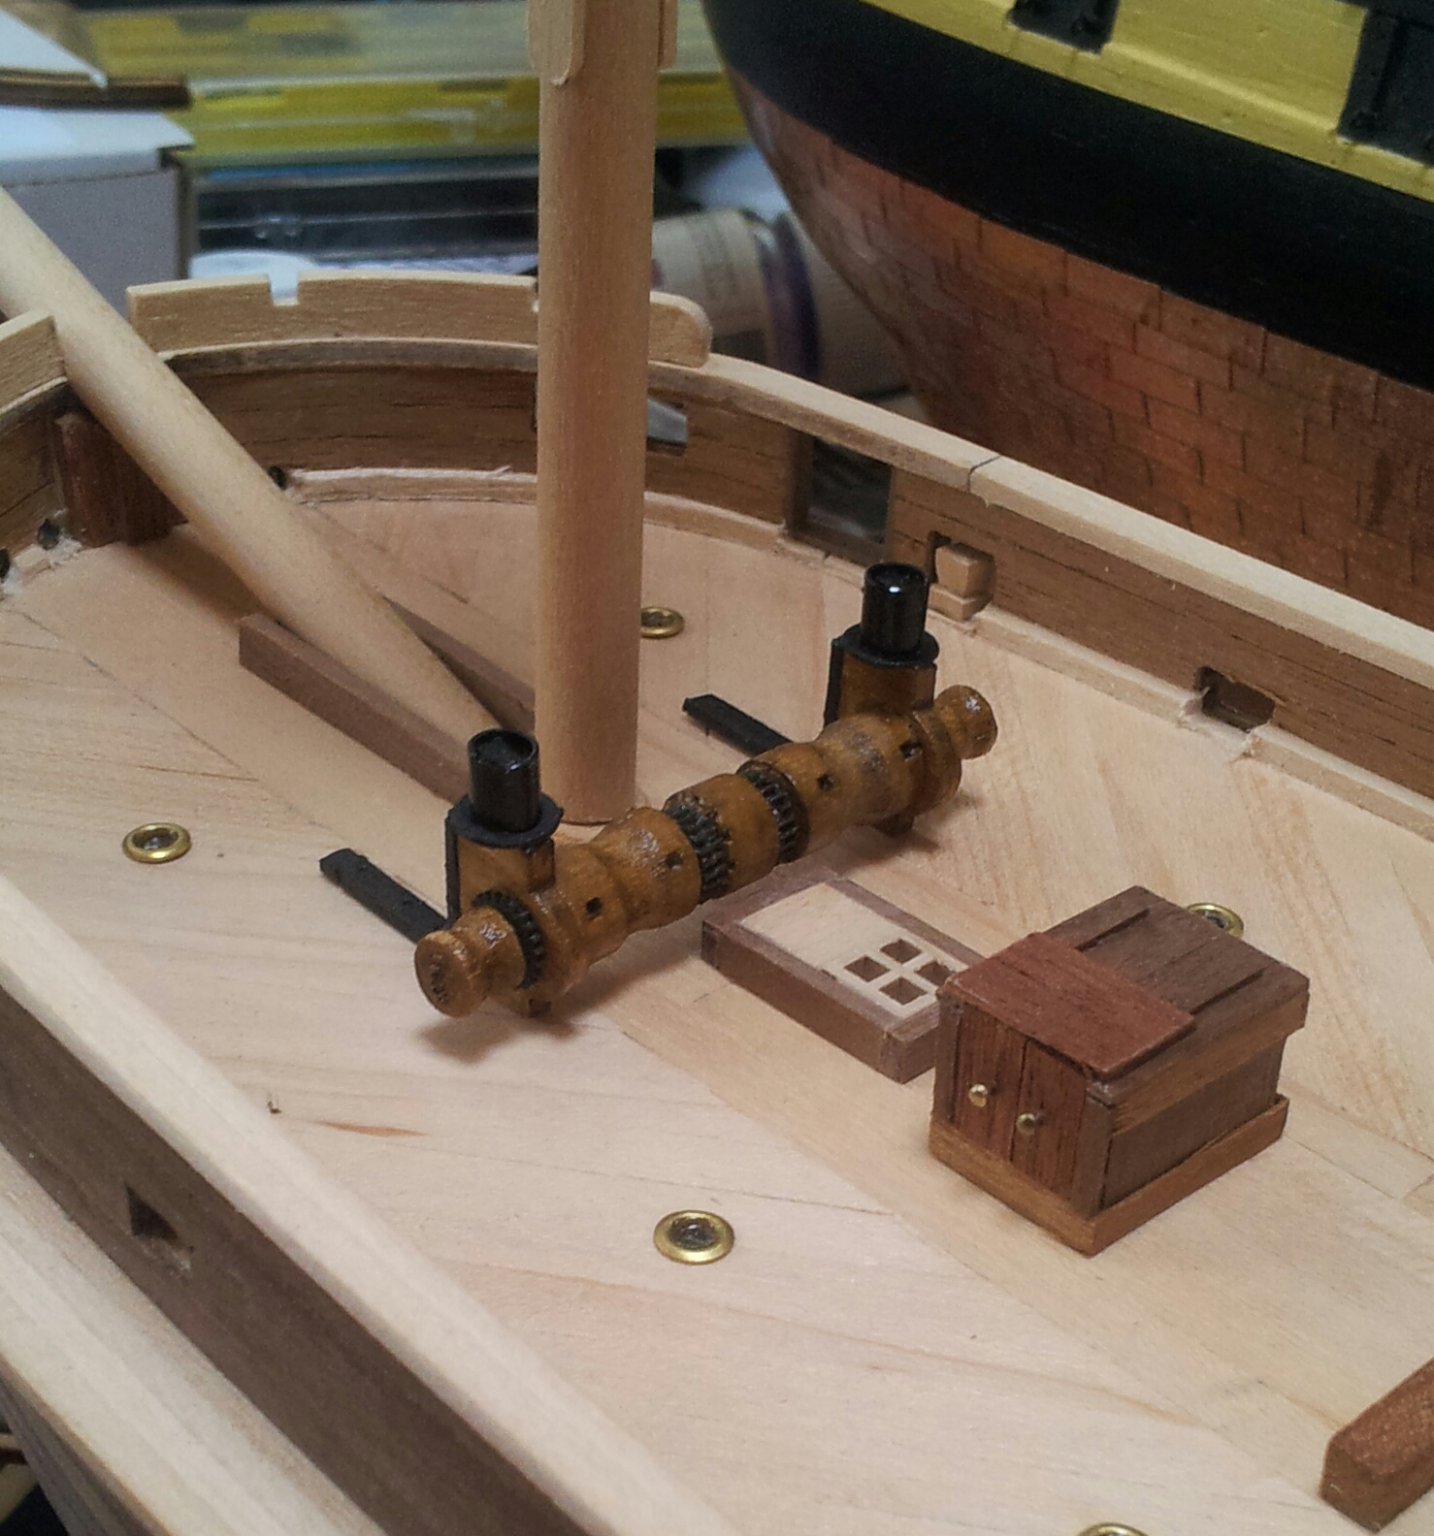
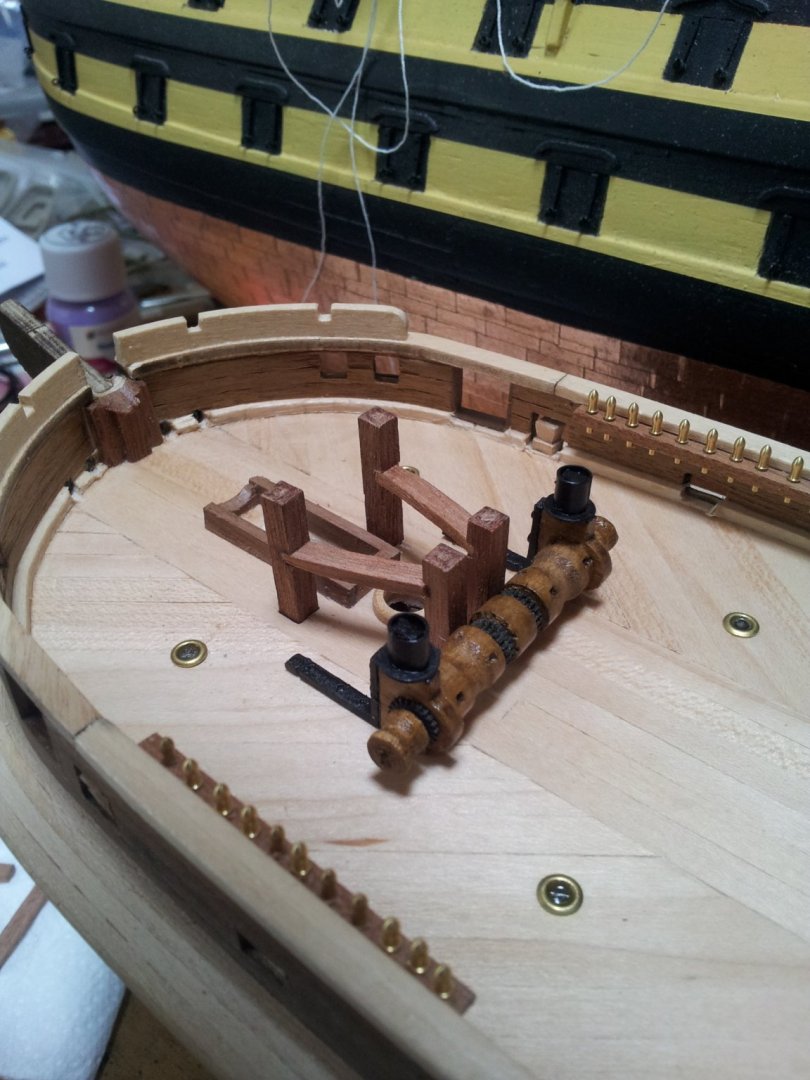
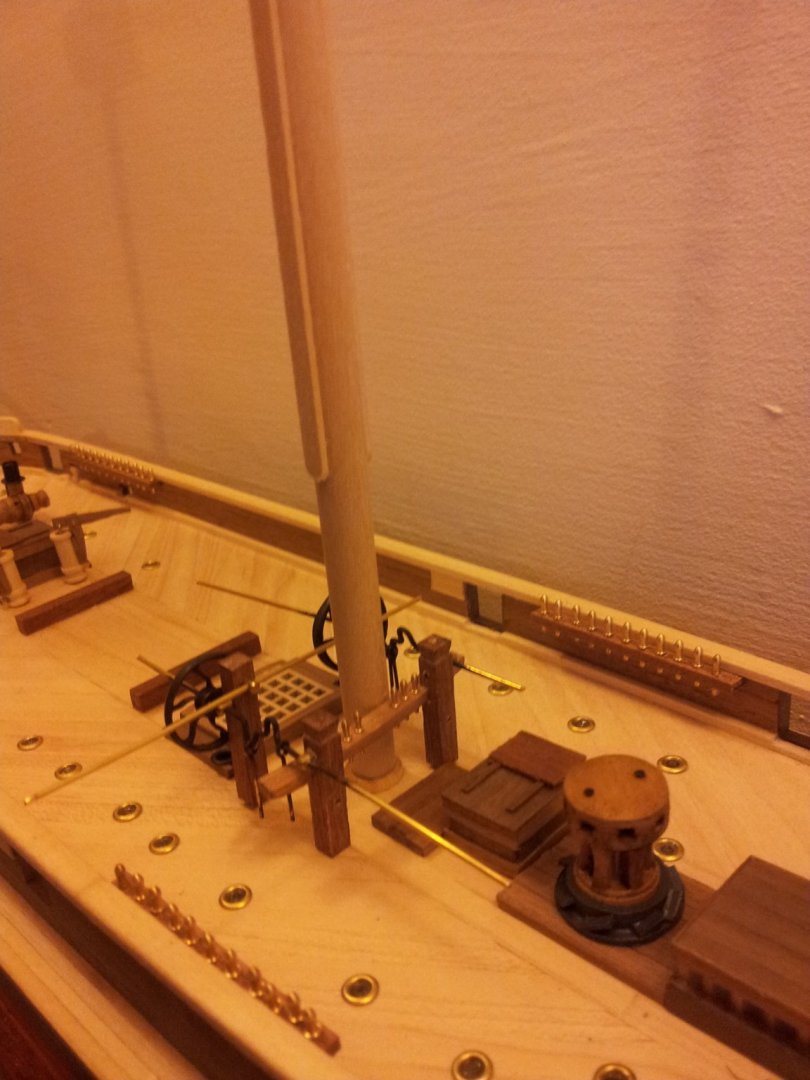
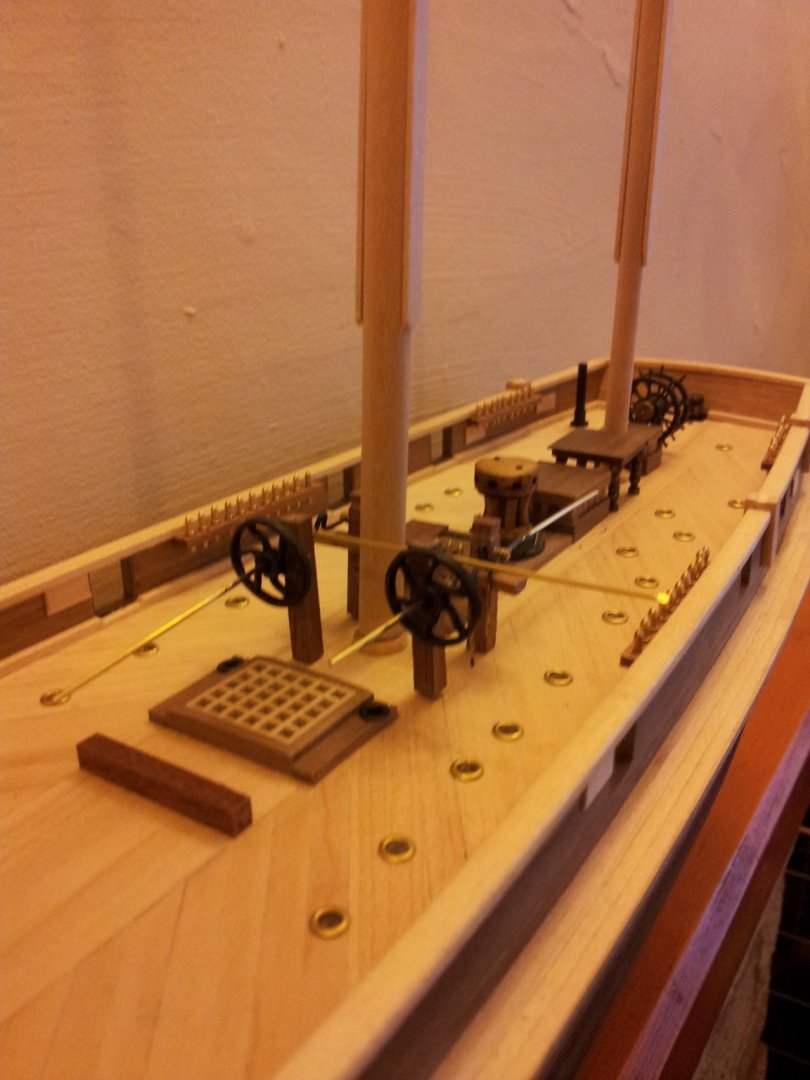
thanks for looking in everyone, been working on model railway stuff last few days as a rest from shipping, but started on the mainmast fiferail and massey pump assembly/ brail winchfor main jeers. everything just test fitted at the mo with no glue. the posts will be morticed into the decks. take care all Keith
-
if wanting to fit scale width masts like me and keith s (7mm diameter fore mast and bowsprit, 8mm diameter main and mizzen at 6mm) then now is the time to make the holes in the deck and hull wider, mizzen is o.k. as kit states 6mm for all three. Keith
-
Holystoning was used to smooth the decks to rid it of splinters as the crews on earlier vessels were actually barefoot so it was a safety practice to avoid splinters. However we are talking royal navy here so "swabbing the decks" would most likely have been carried out until they were in the icefields i would have thought so a little light weathering maybe but don't go over the top. As an aside i am not sure if the royal navy did this but a lot of wooden fishing vessels used to use linseed oil on the decks to preserve the wood which was done every year until costs curtailed the practice in the 1970's (in the west cumbrian fishing fleet anyways) Keith
-
oh how we forget the basic nightmares we were faced with years ago when you had to cut everything out because laser cutting didn't exist😱. nice fix though kev. i have two open fires so my used/ scrap wood is cremated- however need to make sure you have really finished with it! Keith
- 322 replies
-
- 5
-
-
- enterprise
- caf
- (and 1 more)
-
thanks for the likes and looking in everyone- still space at the bar rkwz, and thanks- what you have done with the airfix victory is pretty cool too m8😉 Keith
-
at which point did you say what have i done to myself🤔😉, should be a great build though. Keith
- 322 replies
-
- 2
-
-
- enterprise
- caf
- (and 1 more)
-
Welcome to the "little terror" club as keith s calls them. ouch someone didn't like the parcel! luckily the part that snapped isn't critical as there are more formers that fasten into the last frame on the stern Keith
-
yes i agree the supplied planking is very thin, that is why i used some 0.5mm walnut to 2nd plank mine. sometimes eureks moments happen when you spend time away😉 Keith
-
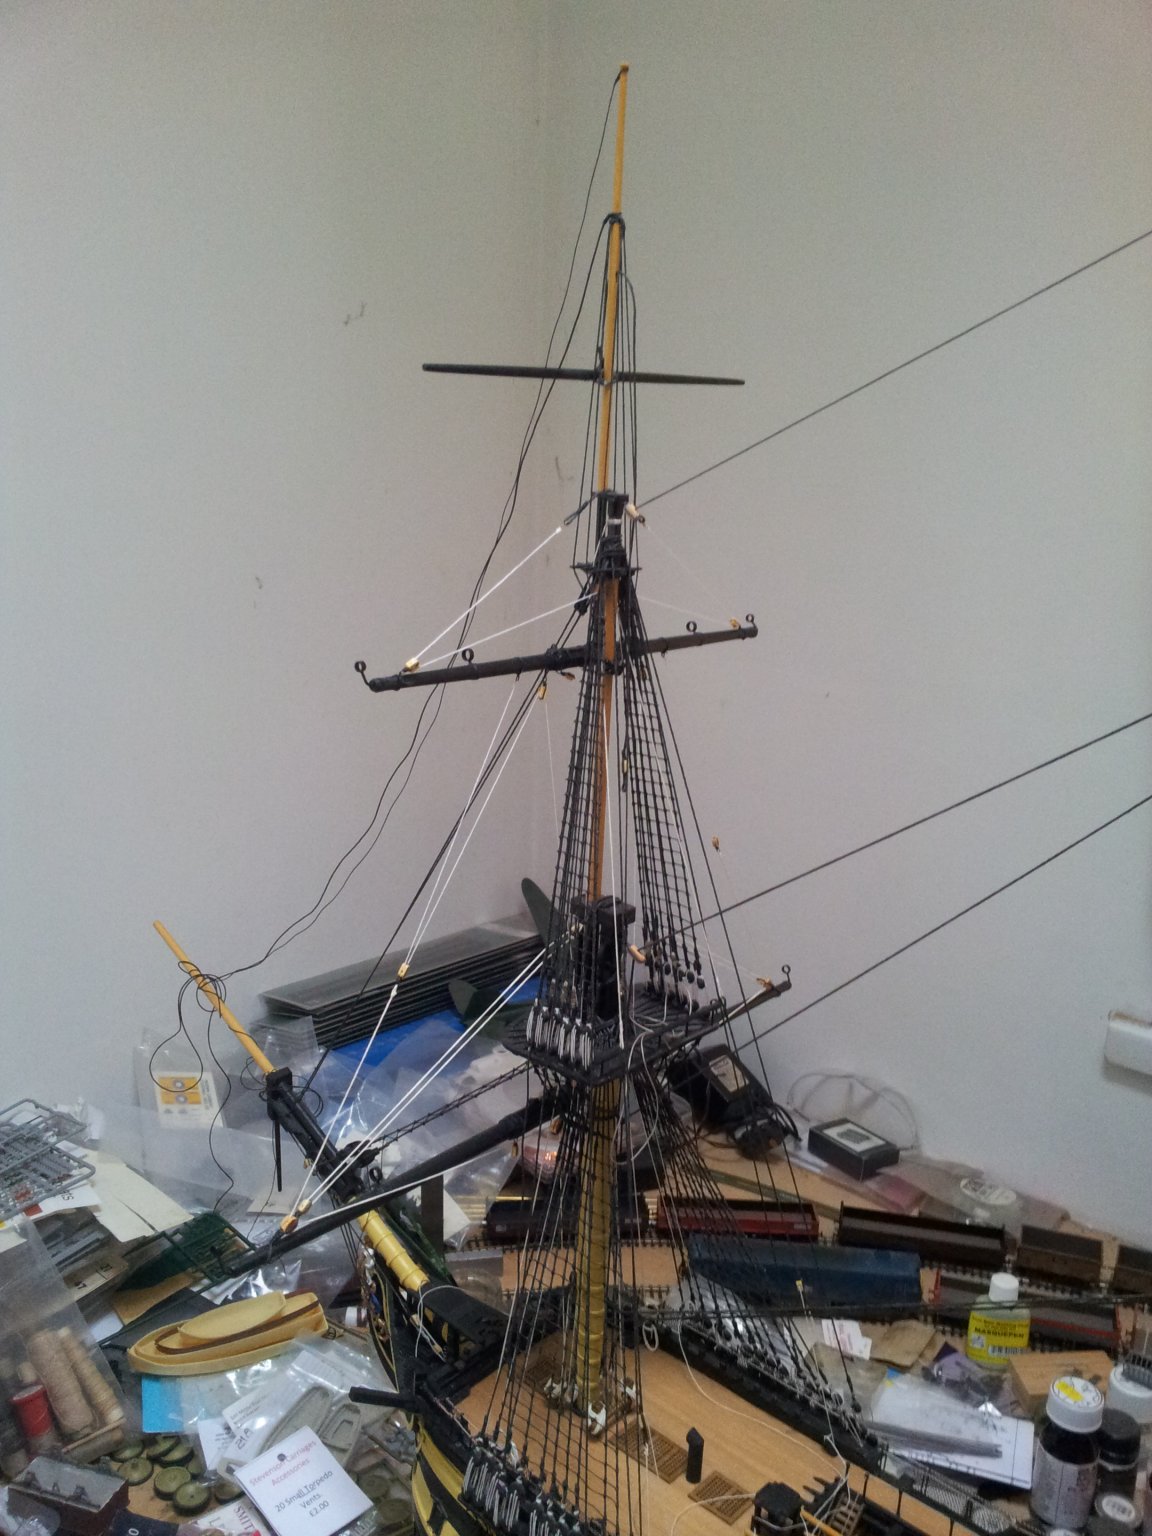
back with vicky (terror sidetracking me)! bent the topgallant yard to the mast and fitted the truss, will need to add the blocks for the lifts and clewlines and the tye halliard next. take care all Keith

-
welcome back dominic looks good, in a moment of madness i bought the trumpeter 1/200 and its hugeeeee🤔, wont start it til i finish my victory though. Keith
-
you might be able to tidy it up when the capping rail is added, you can always cut out planking and replace it. Keith
-
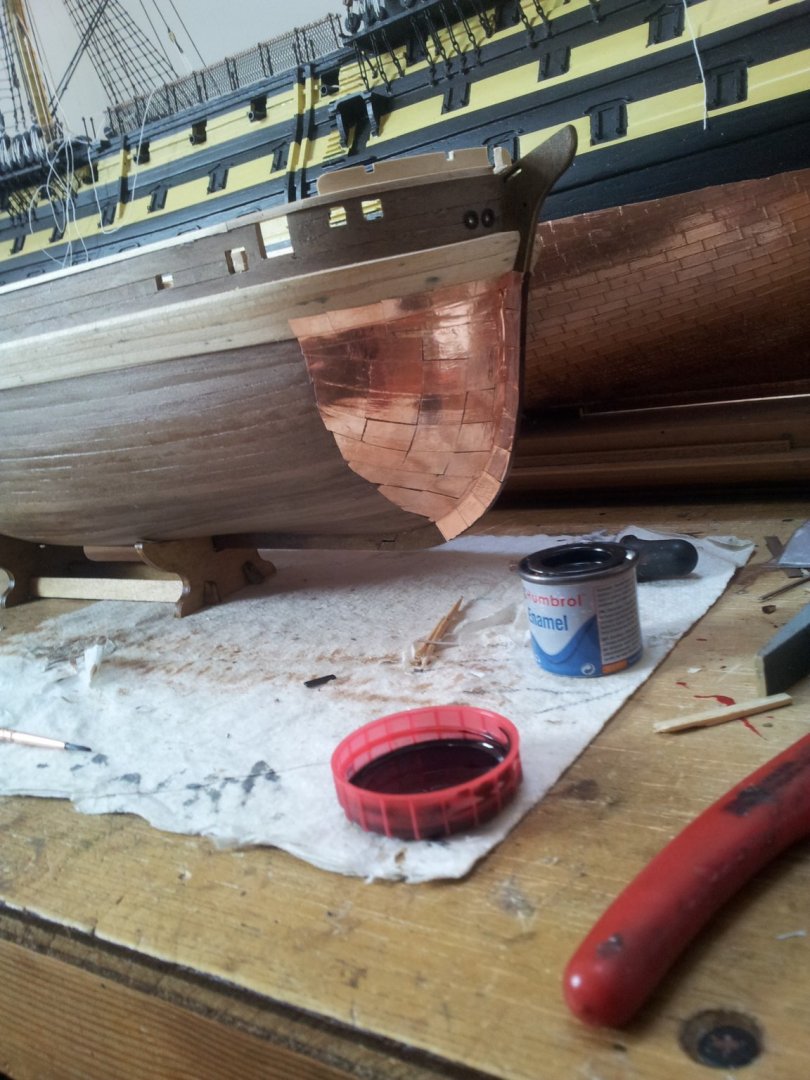
Thanks for the likes everyone. sounds like you have a bit to keep you occupied emmet! on the good news front boss has decided to try and reboot the company so i will be back in work from next week under the partial furlough scheme🙂. on the shipyard front a lot has happened on terror in the comps absence! bow plating added and painted (used self adhesive copper strip in the end), pin rails added to bulwarks, rudder and prop in place and skylights finished + added some brass eyes to the anchor hawsepipes in the bow. take care all Keith


-
Thanks for likes and views folks -sorry for delay in answering Emmet- comp on blink again!! it's hard in hot weather to find the get up and go to chop firewood! Hopefully will be able to wrestle this laptop off the son later and post some update pics. keith
-
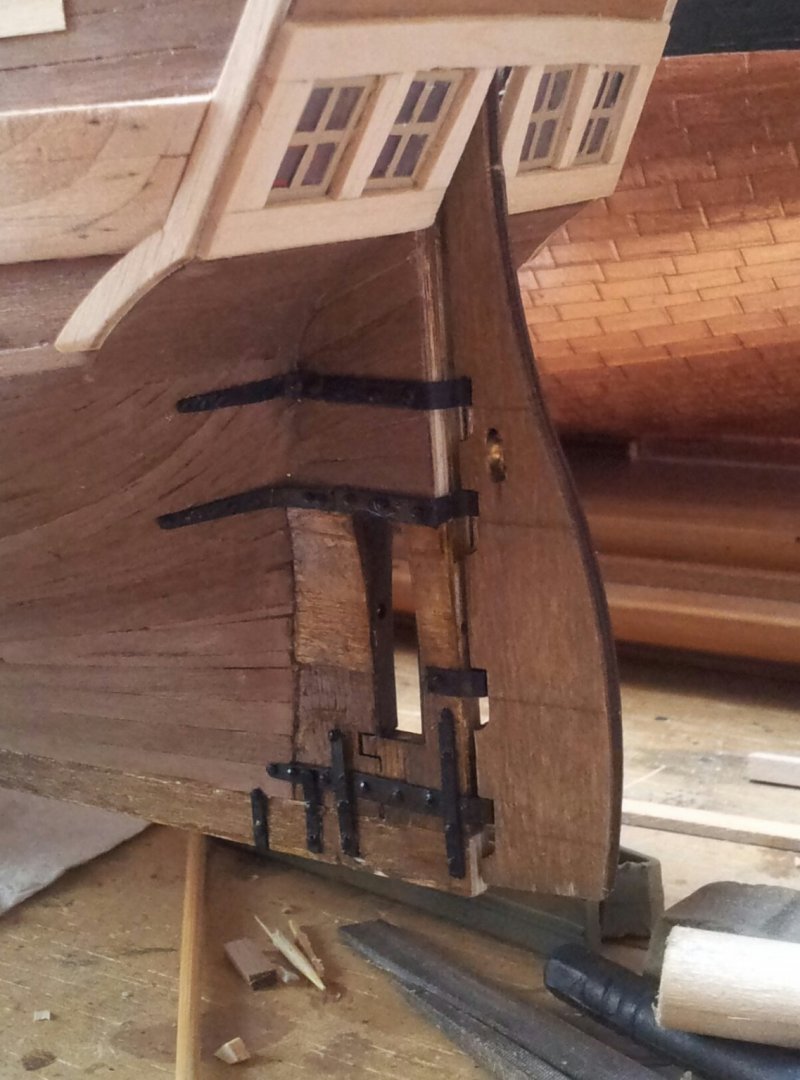
thanks for looking in everyone, back in the shipyard and now have the strengthening straps and gudgeons on the sternpost, also got the glazing in the larger skylight and painted the brass bollards on the windlass. the rudder is just resting in place, i have put a pulley wheel for lifting it but still need to add the pintles. take care all Keith


-
ouch Emmet at least it missed the buildings! you will have a nice supply of firewood though😉 Keith