clearway
-
Posts
2,238 -
Joined
-
Last visited
Content Type
Profiles
Forums
Gallery
Events
Everything posted by clearway
-
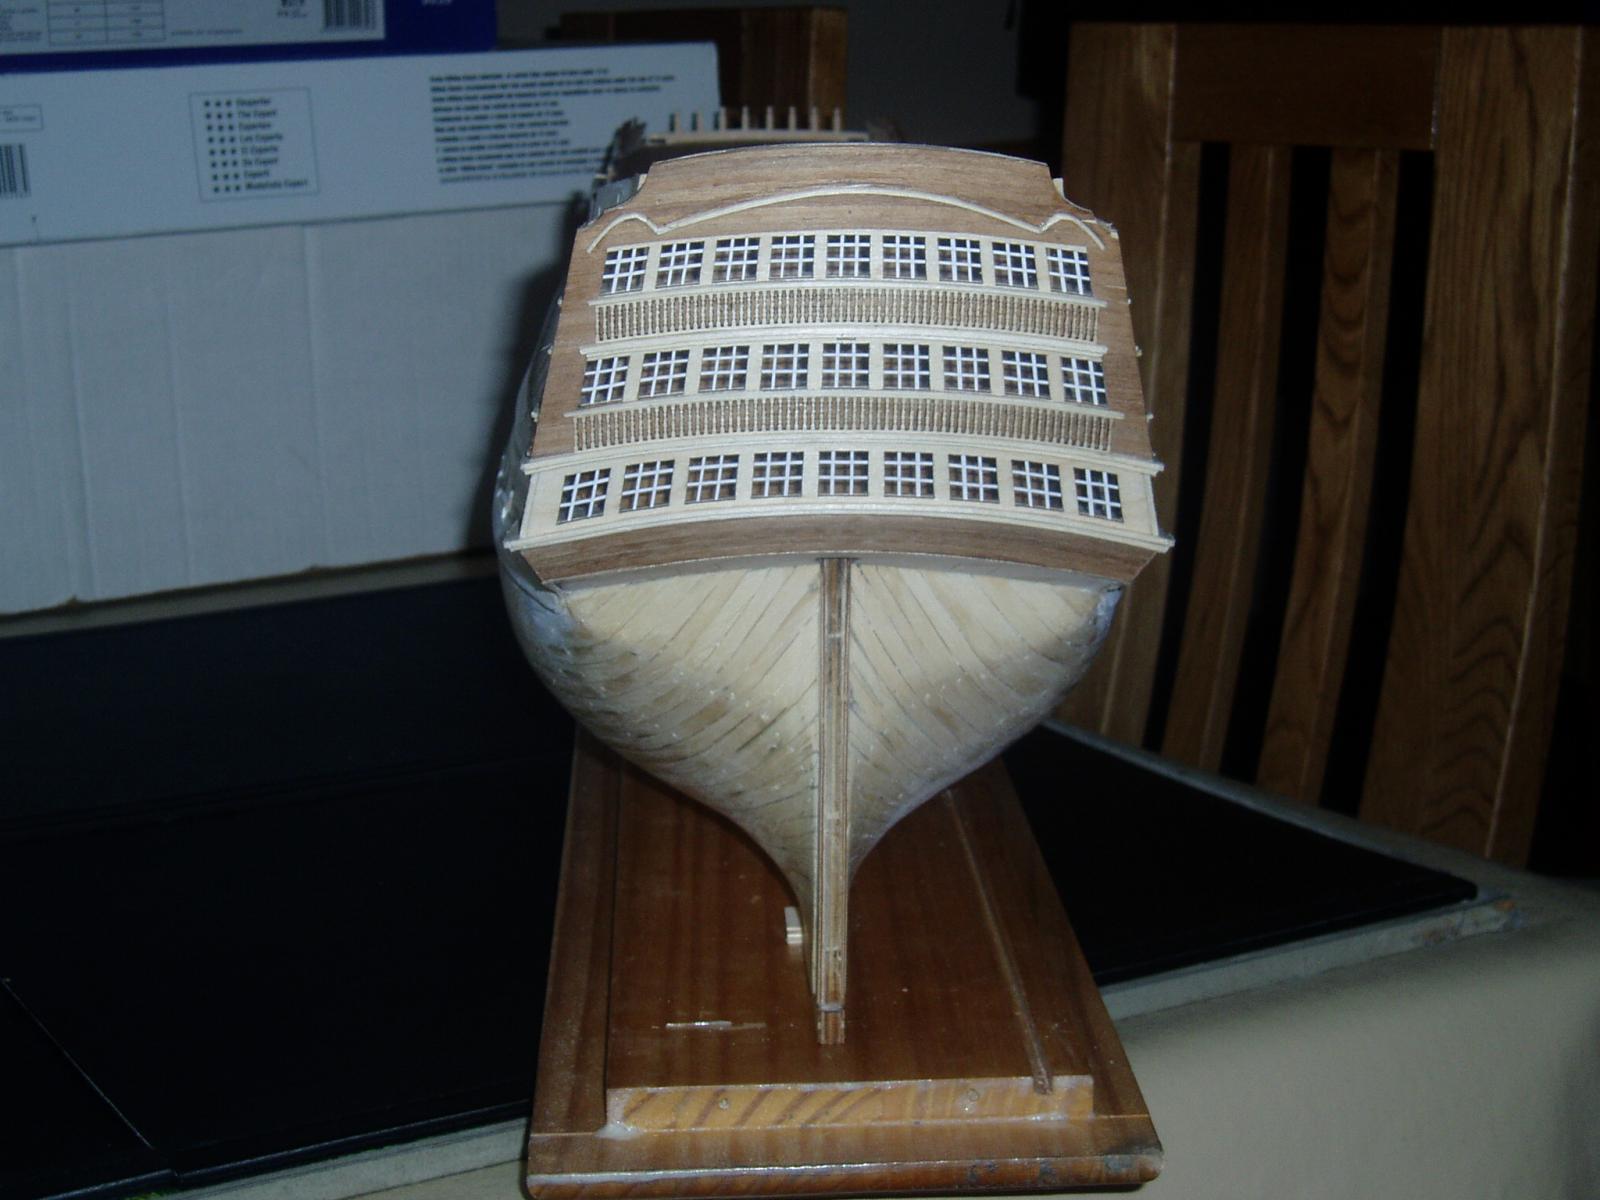
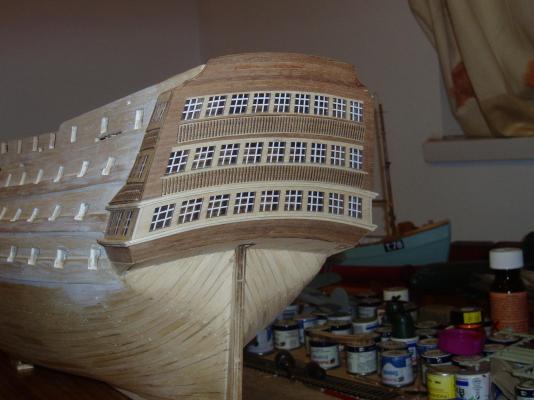
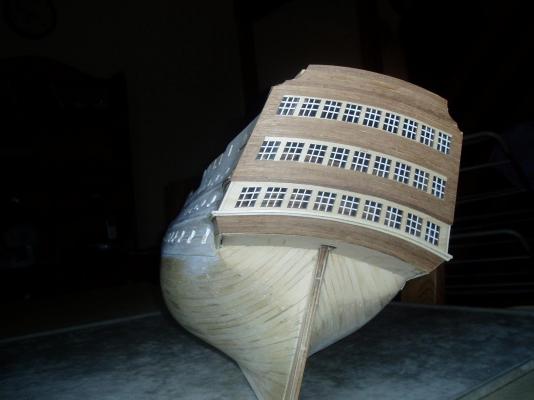
 Ty guys- yet more timber added today- must admit this was one of the areas i was dreading when i first started the kit- especially when i found billings hadn't provided any etchings for the windows. Keith
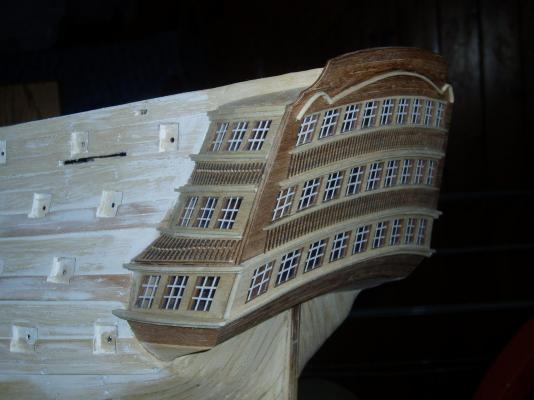
-
coming along nicely- are you fitting internal lighting so you can see any of this once the decks are all in place? Keith
-
Hi there- another Mary Ann builder here (there is a pic in gallery of kit built models)- nice work so far with her. Keith
-
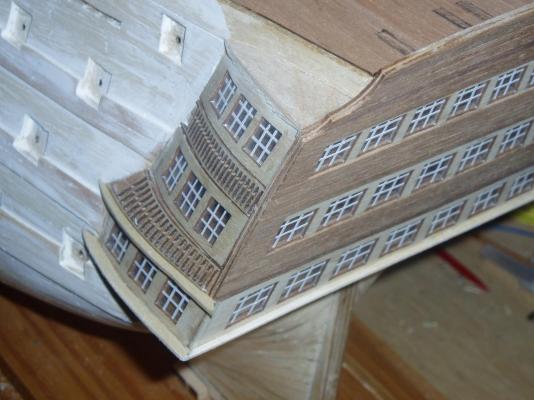
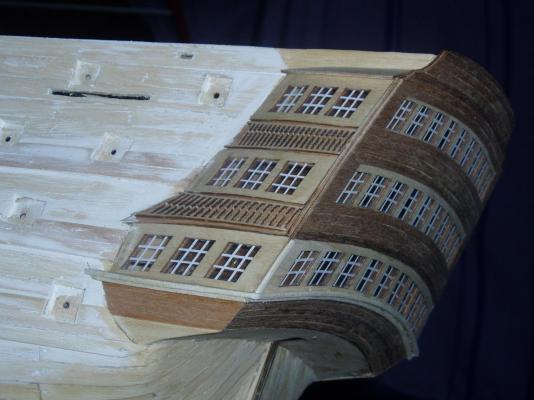
Ty Foxy- i am going for the olde black n yellow for the colour sceme- thinking about using humbrol linen (matt 74) as this is a really subtle yellow. Back to the build- not much done due to being press ganged by the mother in law to repair her fence today , but here is some more stern details added. Keith
-
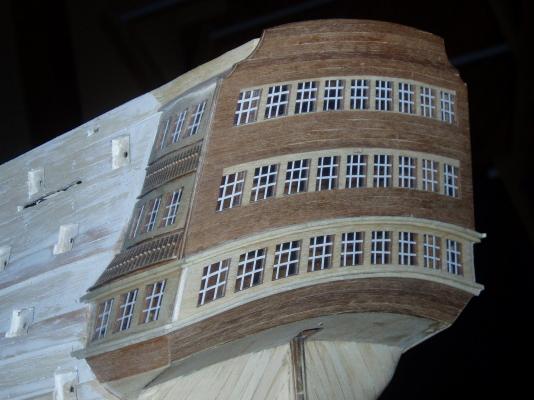
Ty Lawrence, i will be painting the stern galleries- as much as it pains me as i like all the wood effects! I have loads of spare veneer from other builds so used that to plank the stern and quarter galleries it just happens to be a nice colour contrast and as mentioned will be a shame. Keith
-
I will probably just add a door made out of veneer onto the base plywood so you still get a slight recessed look. To be honest Botd there will be that much detail on the finished model 99% of people won't even be really aware! Keith
-
Ty Geoff- just wish billings had provided better decoration detail for the stern as already mentioned earlier. Keith
-
Looking really good and nice fix on the mast- love the lighting. Keith
-
more rails applied to the stern- once glue has hardened will sand back to correct profile. Keith
-
you found extra bits on the castings you were not sure about earlier in the log- sorry for any confusion caused. Keith
-
Looking good so far- i nearly bought this kit myself, but settled for billings offering instead. Keith
-
looking good there Keith
-
Hmm the mystery deepens- will prolly just add a door meself.
-
Lol Boyd and thats just in the summer- Roll on Autumn- sigh. Ty Foxy pull up a chair- snacks are an optional extra Keith
-
We may have to use modellers liscence for the door situation methinks Boyd!
-
Saves on wasting timber Boyd and in our household is in plentiful supply!- hope the weather other side of Irish Sea is better than the Cumbrian side m8
-
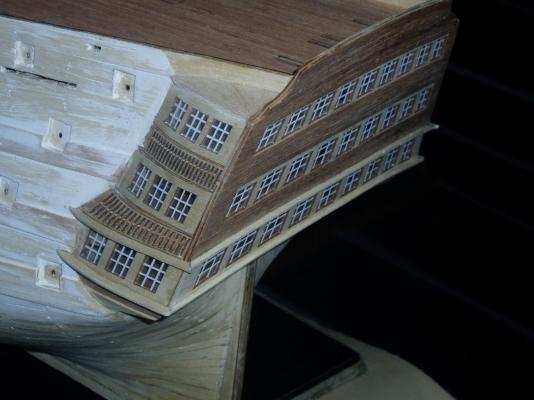
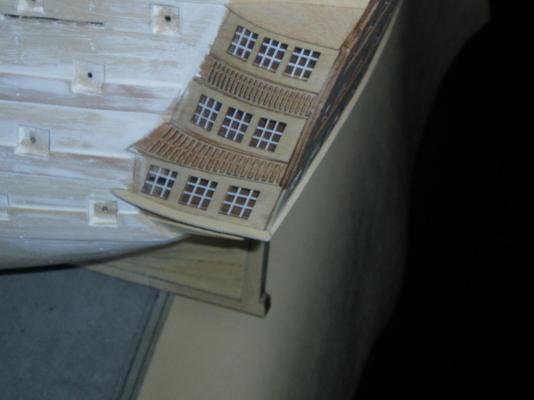
Ty all for the comments and likes- appreciated, bit of a nightmare bending wood in two different directions. I used cardboard (cereal packet) to make templates for the pieces round the quarter gallery. Keith
-
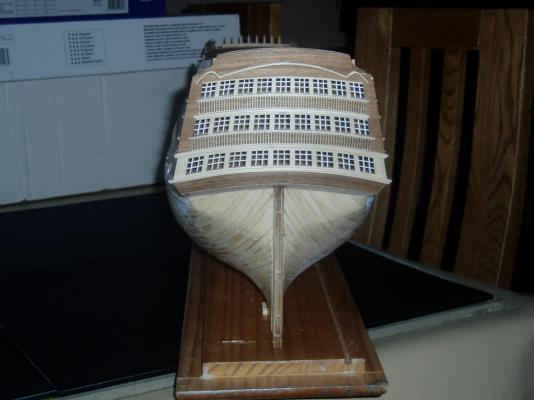
Got more timber placed around the stern and roughly sanded back- still needs smoothed off and cleaned up. Cut the pieces from a sheet of lime wood as the billing timber isn't that good. Keith
-
Hello Boyd looking good- the door issue has been puzzling me too! Nice work with the ladders and decoration re-alignment too. Doing my quarter galleries from the bottom up- used strips cut from a sheet of limewood for mine- will hopefully have first lot finished ,sanded and photo's on my log soon. Keith
-
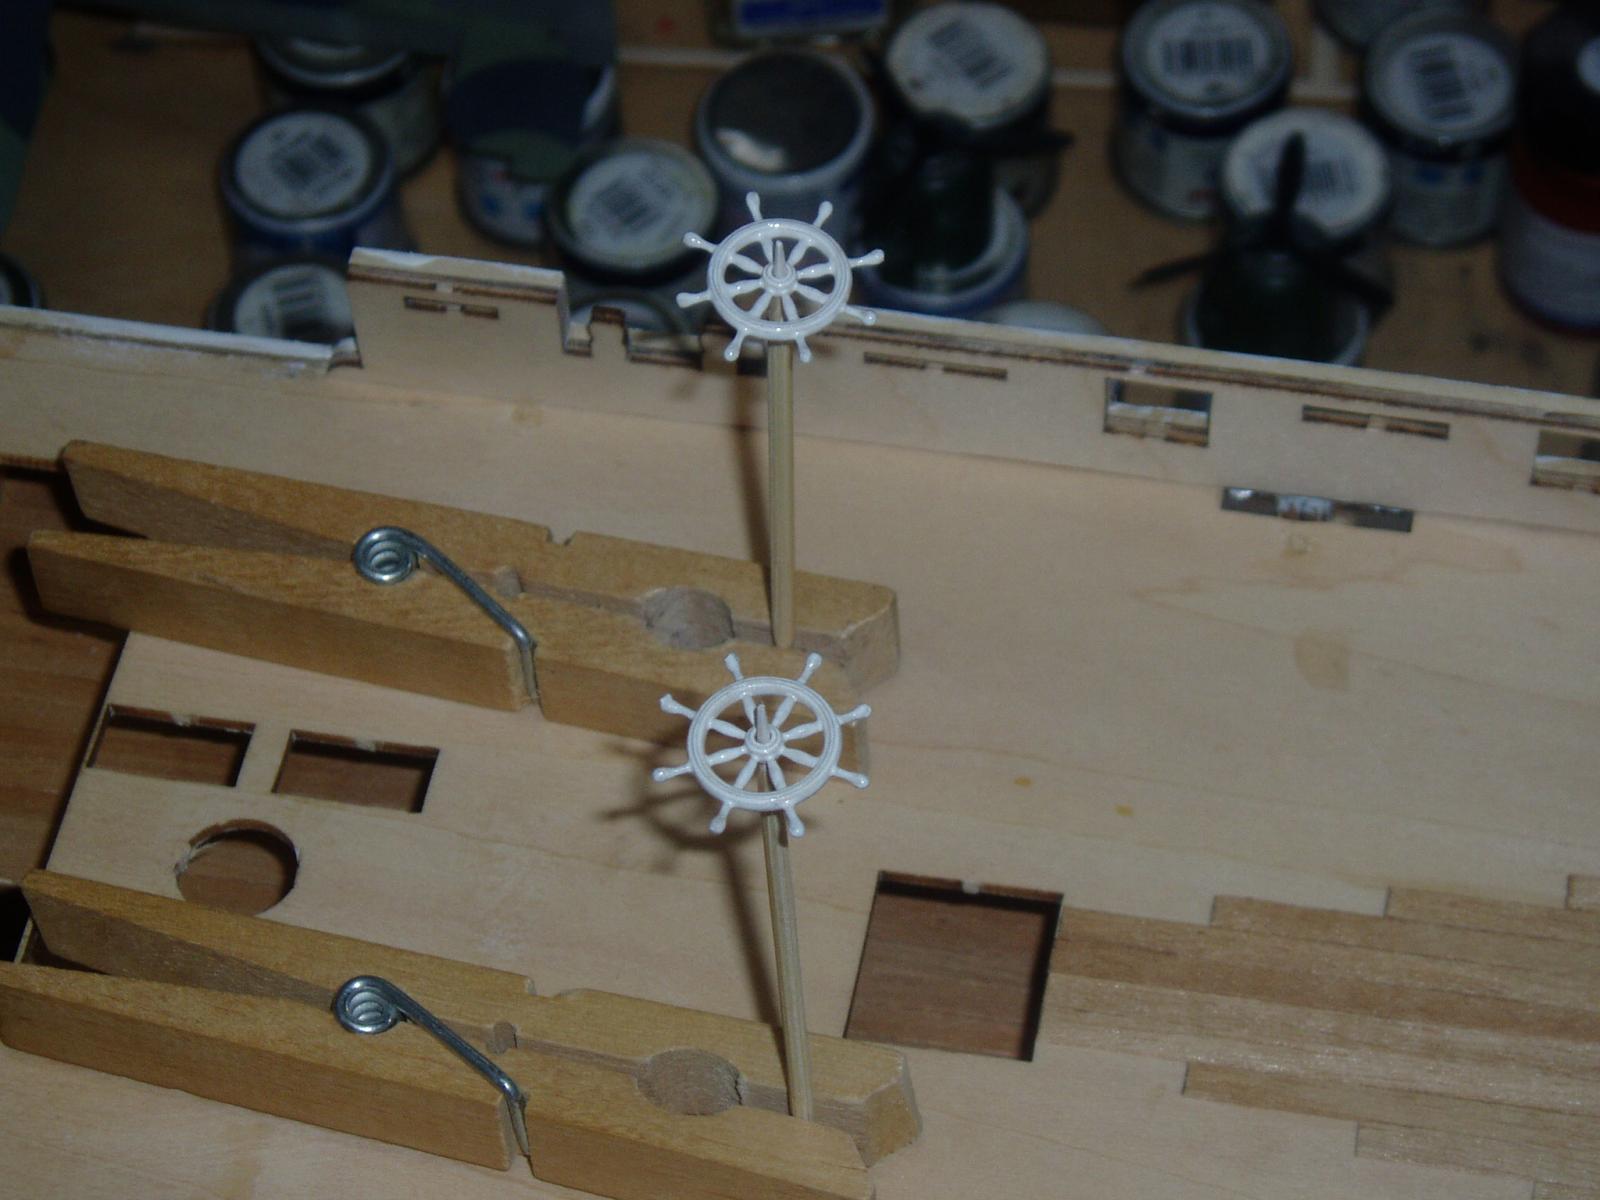
Wooden Ship's Wheel - moved by moderator
clearway replied to RandyEvers's topic in Wood ship model kits
You can prime with white primer and use wood stain on metal castings as per the photos attatched.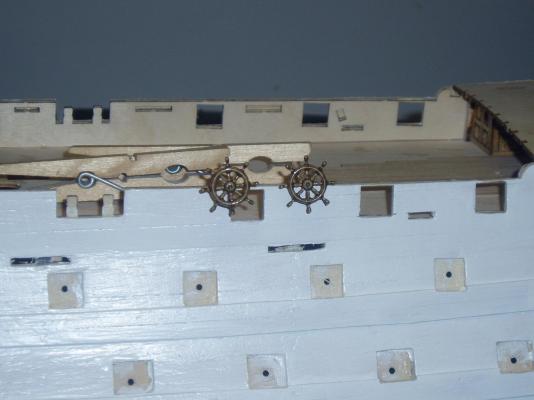

-
Ty for the link Jerry- nice cutty model and your Victory looks amazing . Keith
-
Ty Geoff- still a lot of detail to go and not sure how to go about detailing the ornamentation as the billings laser-cut stuff is just plain with no detail except for the outline! Was going to invest in the caldercraft castings but at 1/72 scale they will be oversize- will have to get some dimensions off some of the caldercraft victory builders on here. Seeing your Santa Maria is making me feel guilty about ignoring my AL Pinta. Keith
-
Beautiful use of different woods there looks fantastic. Keith
-
I nearly bought the heller victory myself. but settled for the billings one- if i had known about dafi's etch set i would have chose the heller kit- ah well! Keith
-
Lol Keith i used self adhesive copper strip cut to 15mm x 5mm tiles- worked out at around 3200. Keith