HOLIDAY DONATION DRIVE - SUPPORT MSW - DO YOUR PART TO KEEP THIS GREAT FORUM GOING! (89 donations so far out of 49,000 members - C'mon guys!)
×


Ian B
-
Posts
654 -
Joined
-
Last visited
Content Type
Profiles
Forums
Gallery
Events
Everything posted by Ian B
-
 Thanks , surprised more people don't do it..I am planning to do furled sails too.another less popular thing to do...
 -
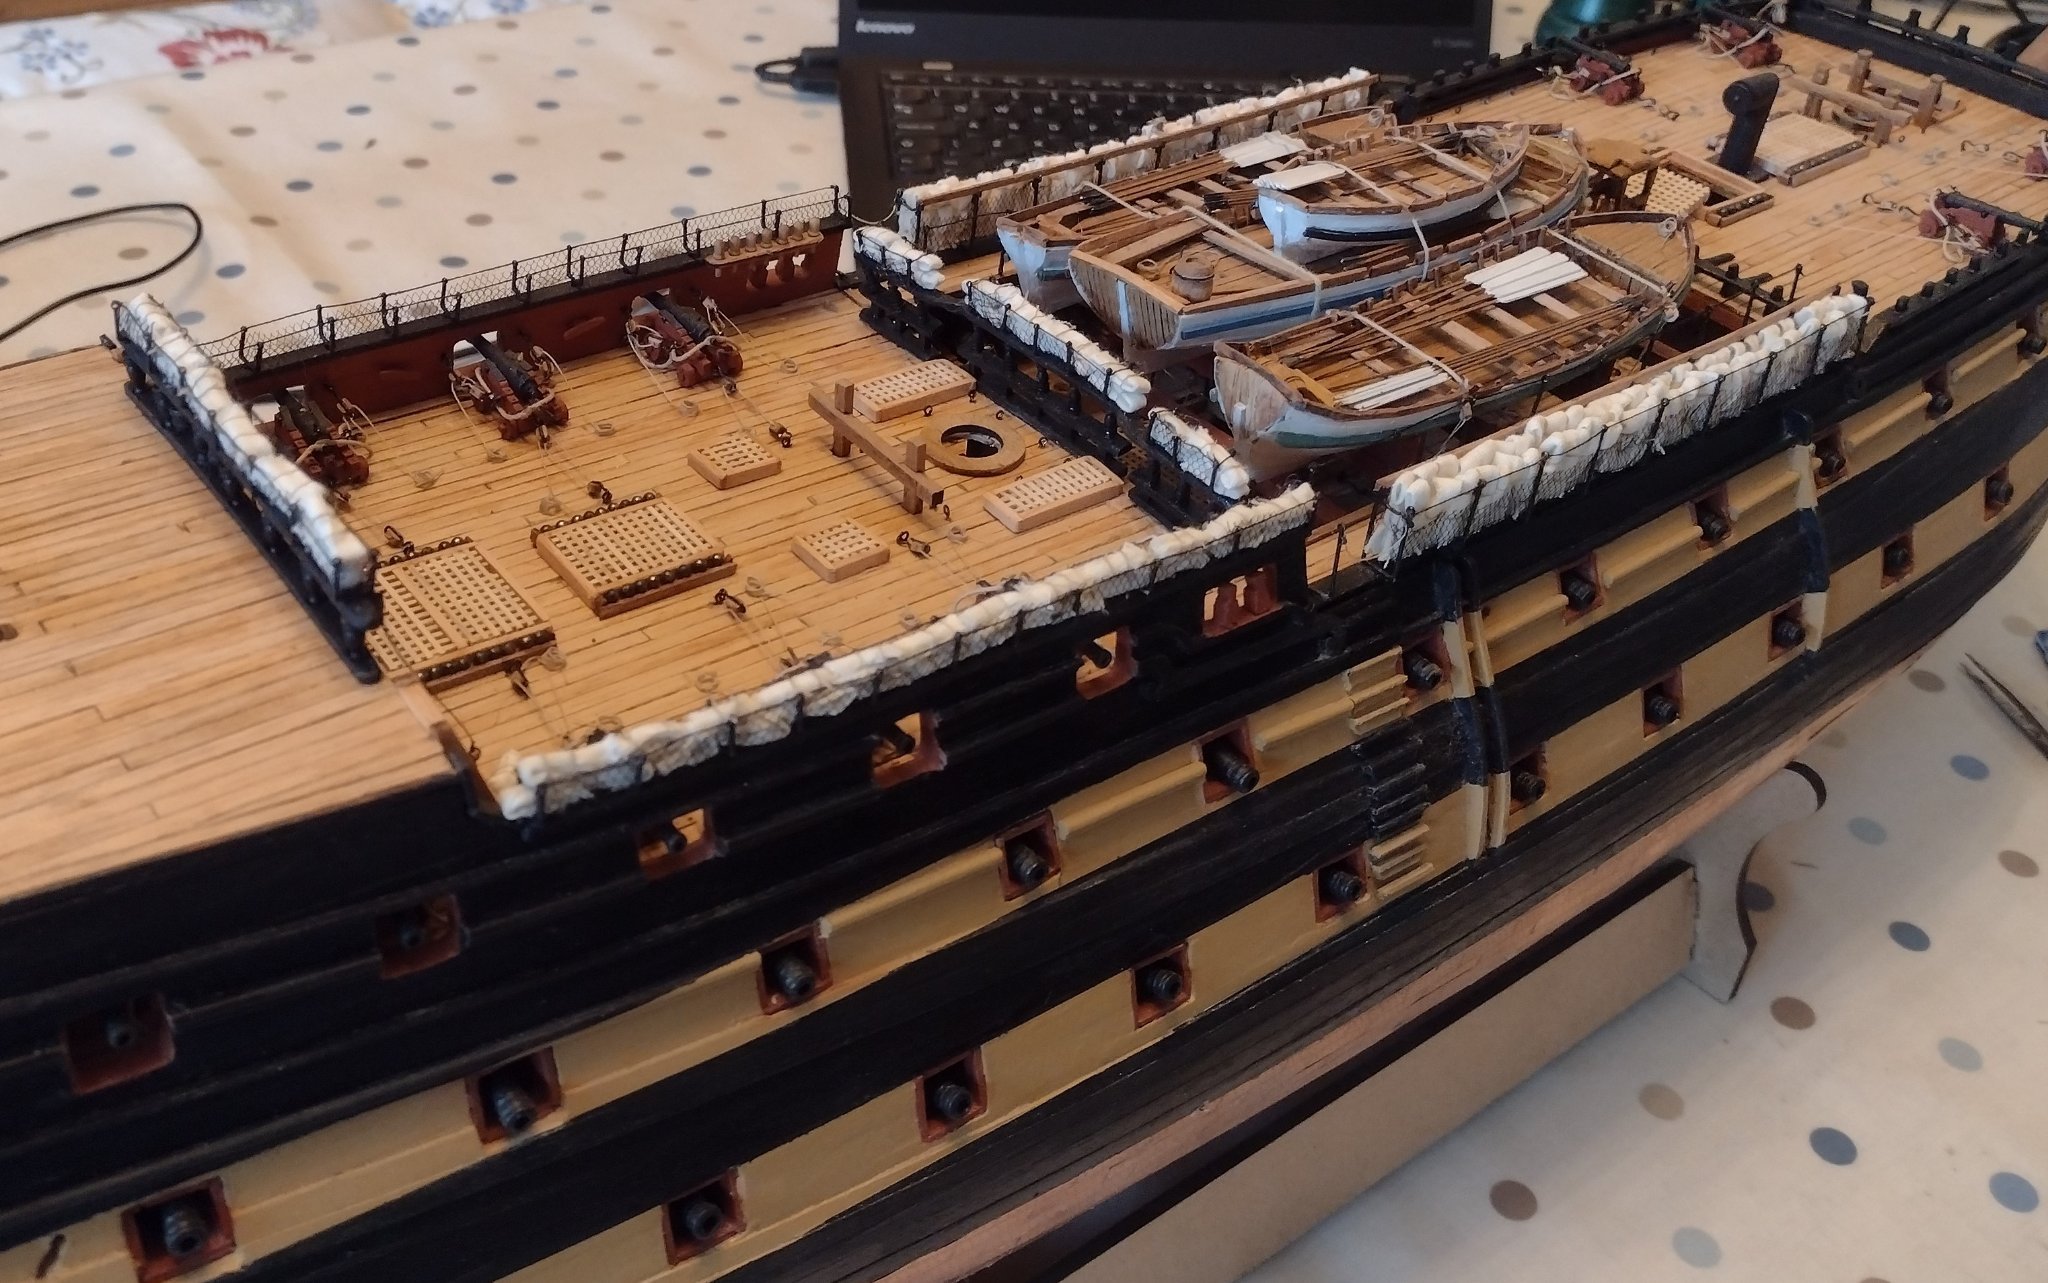
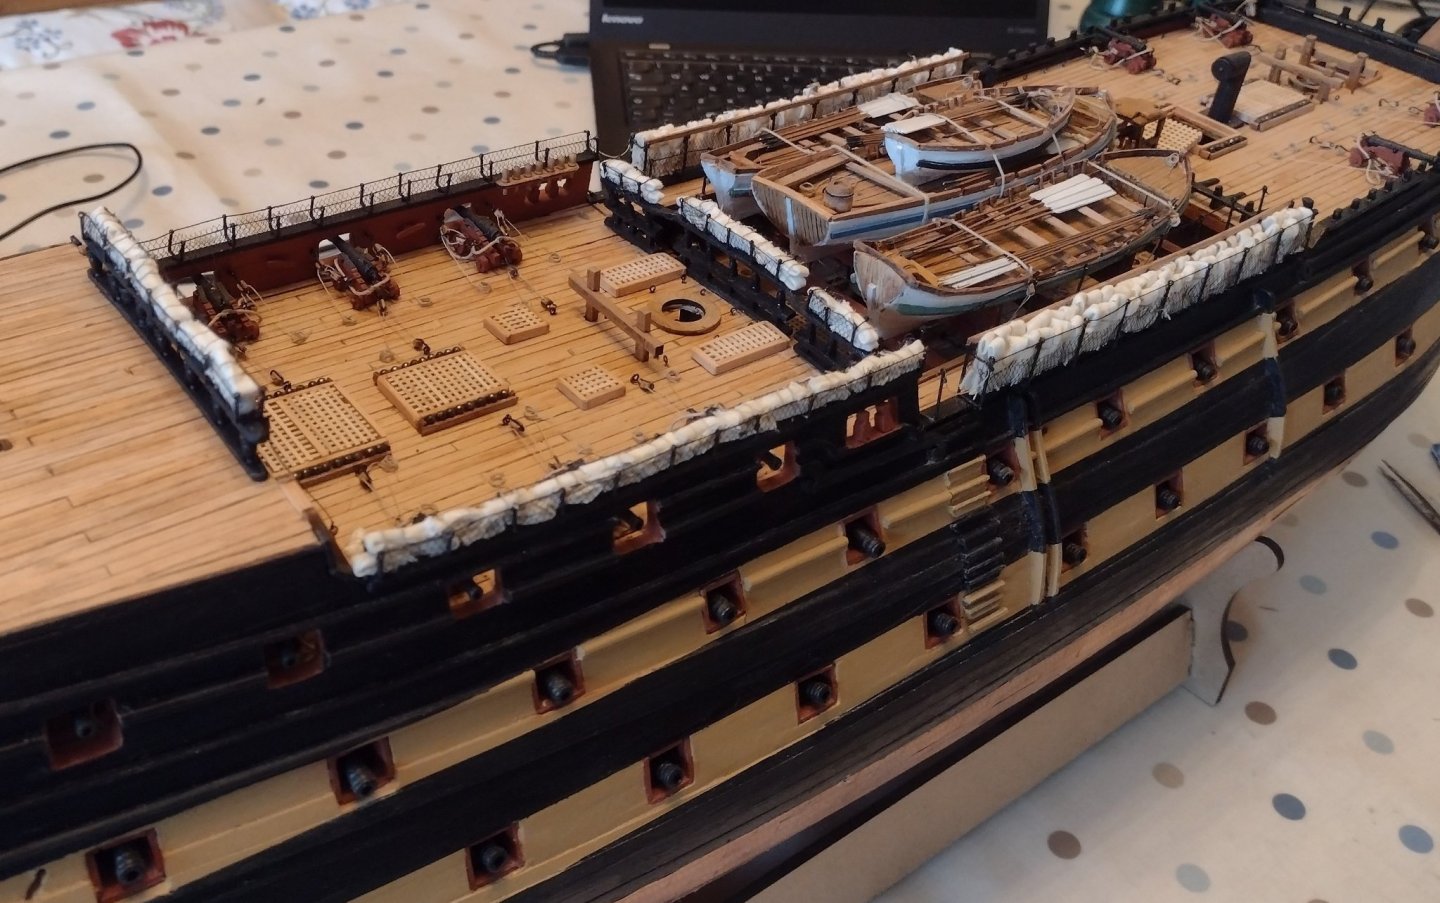
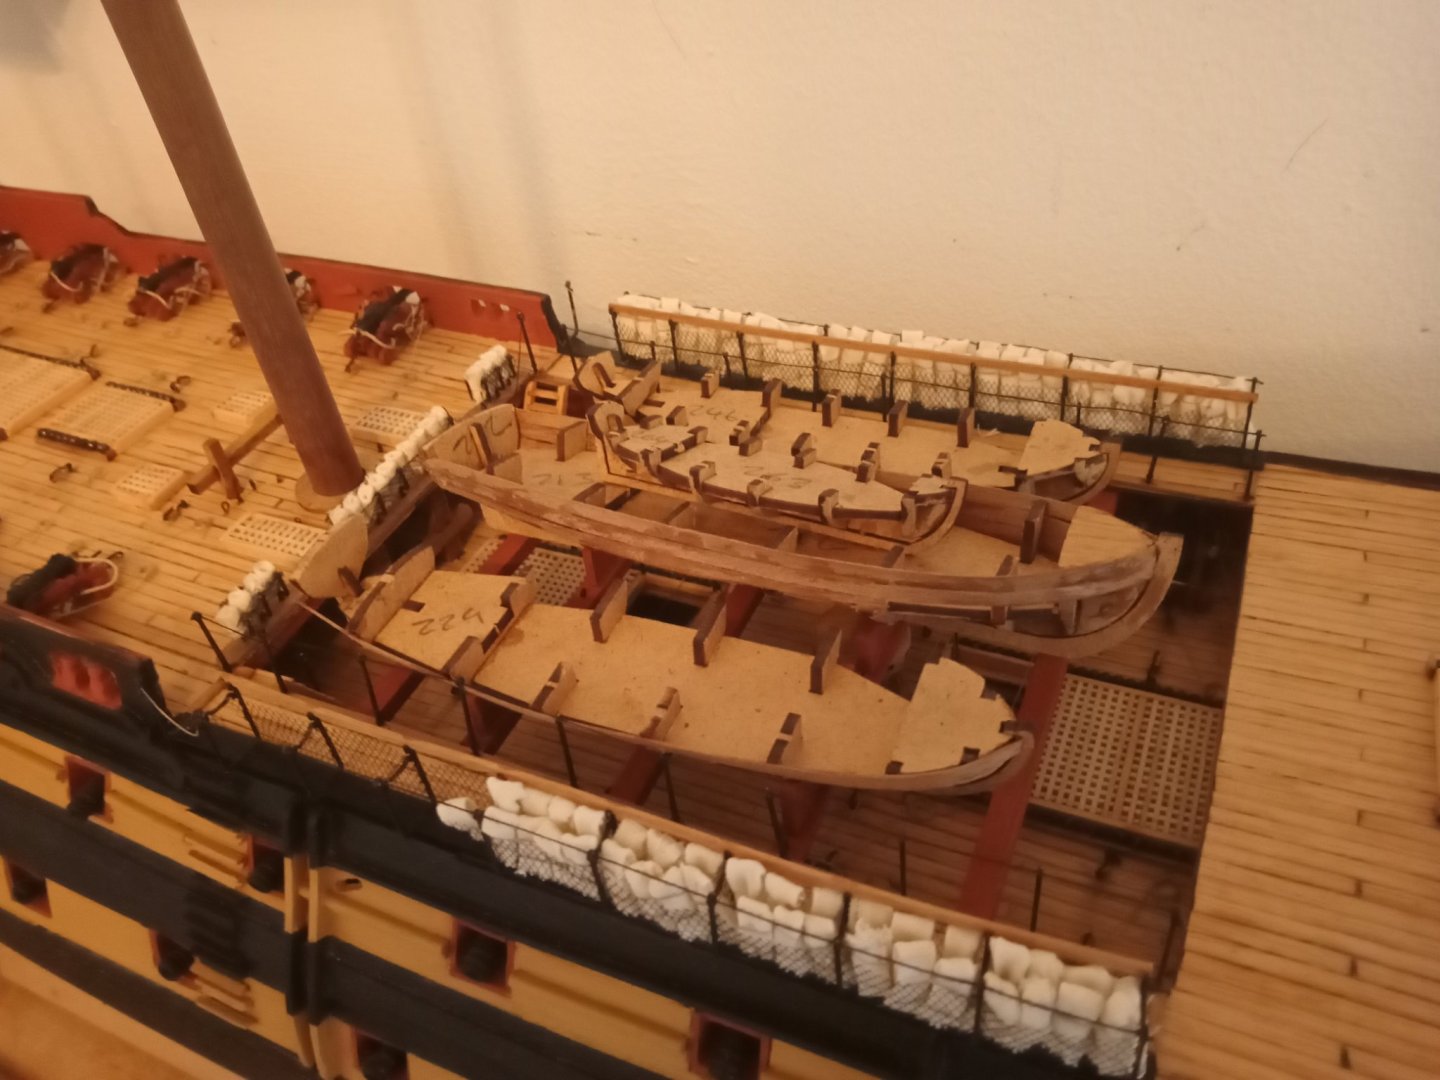
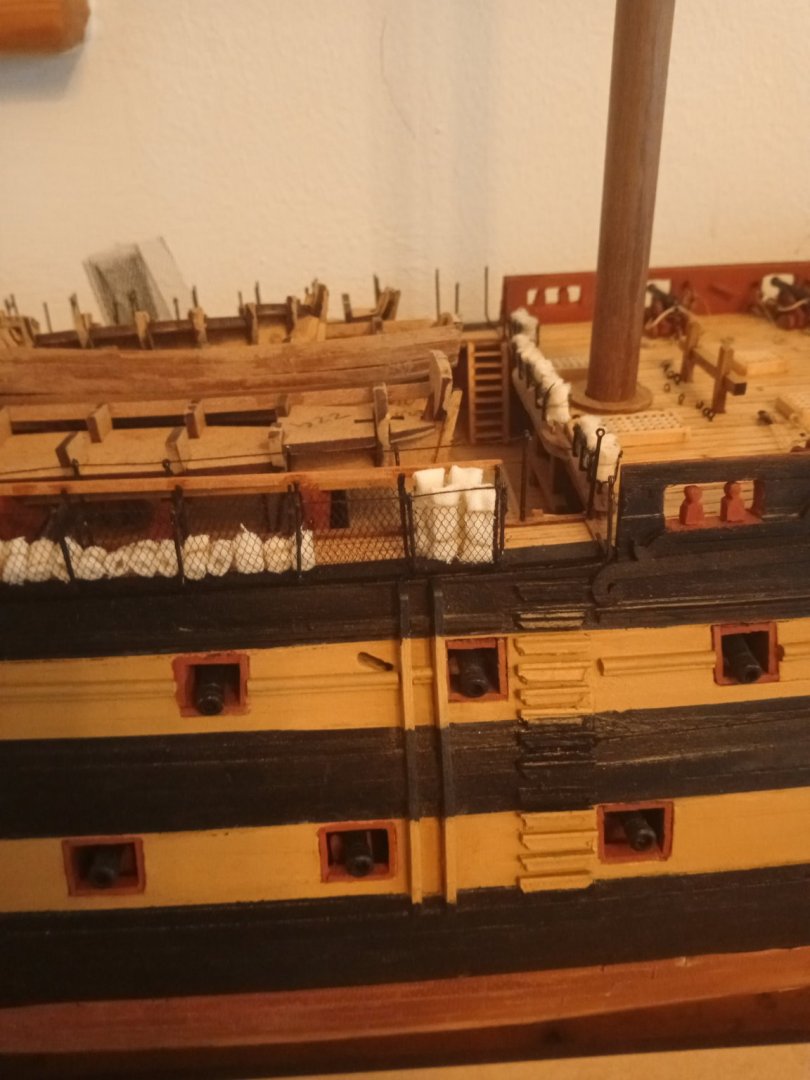
I'd not really seen anyone on here making the hammocks for the netting-- had a go-- and apart from tidying some twisted up ones very pleased..so I will finish doing them for the final model . I could not find a definitive on how they were stacked so I went for a simple ascetically pleasing..
- 12 replies
-
- 12
-

-
well-done Bill I can only echo your comments about building the Cheerful--- a great way indeed for upping our game, and trying new things, like you I got so much more from this build. Almost as if Chuck had us novices in mind lol --- only joking Chuck --I'd recommend this to anyone thing of branching away from a kit-- a super stepping stone
- 54 replies
-
- 1
-
-
- cheerful
- Syren Ship Model Company
- (and 1 more)
-
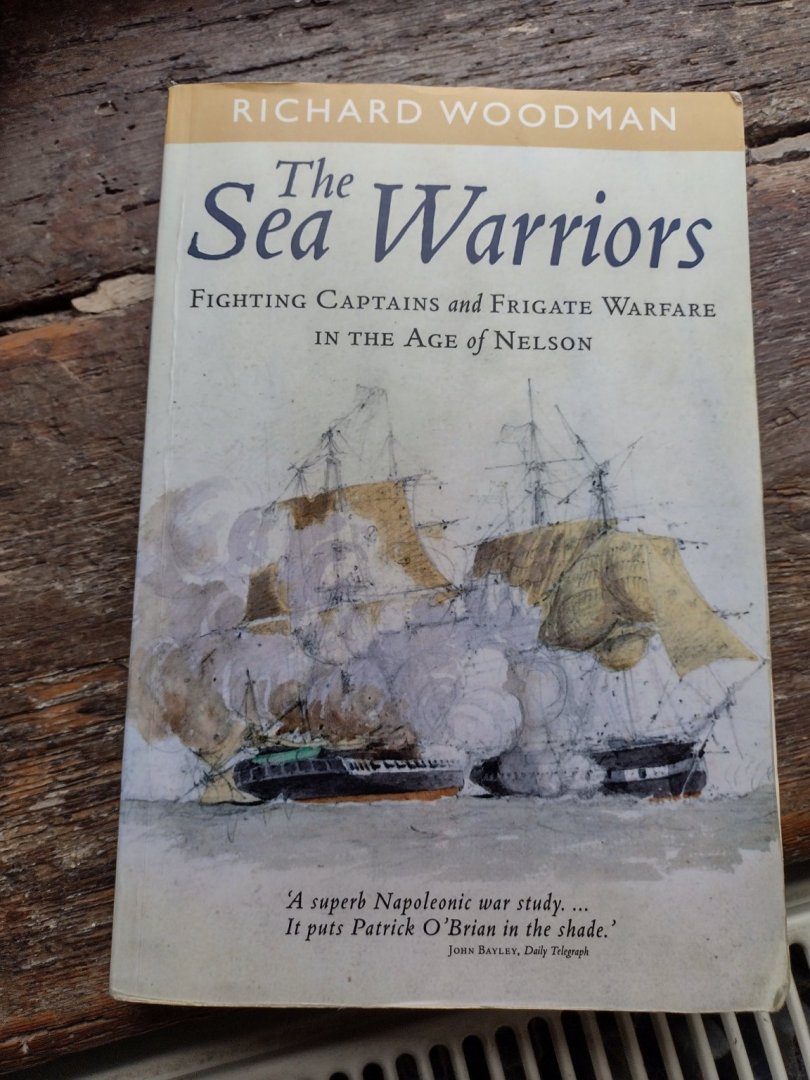
This is the best all round book on ships and battles of the period I have found and I have read many!-- it is a who's who of most of the ship names we see on here and what they did in a simple readable form
-
I have read both these, and they a very good read
-
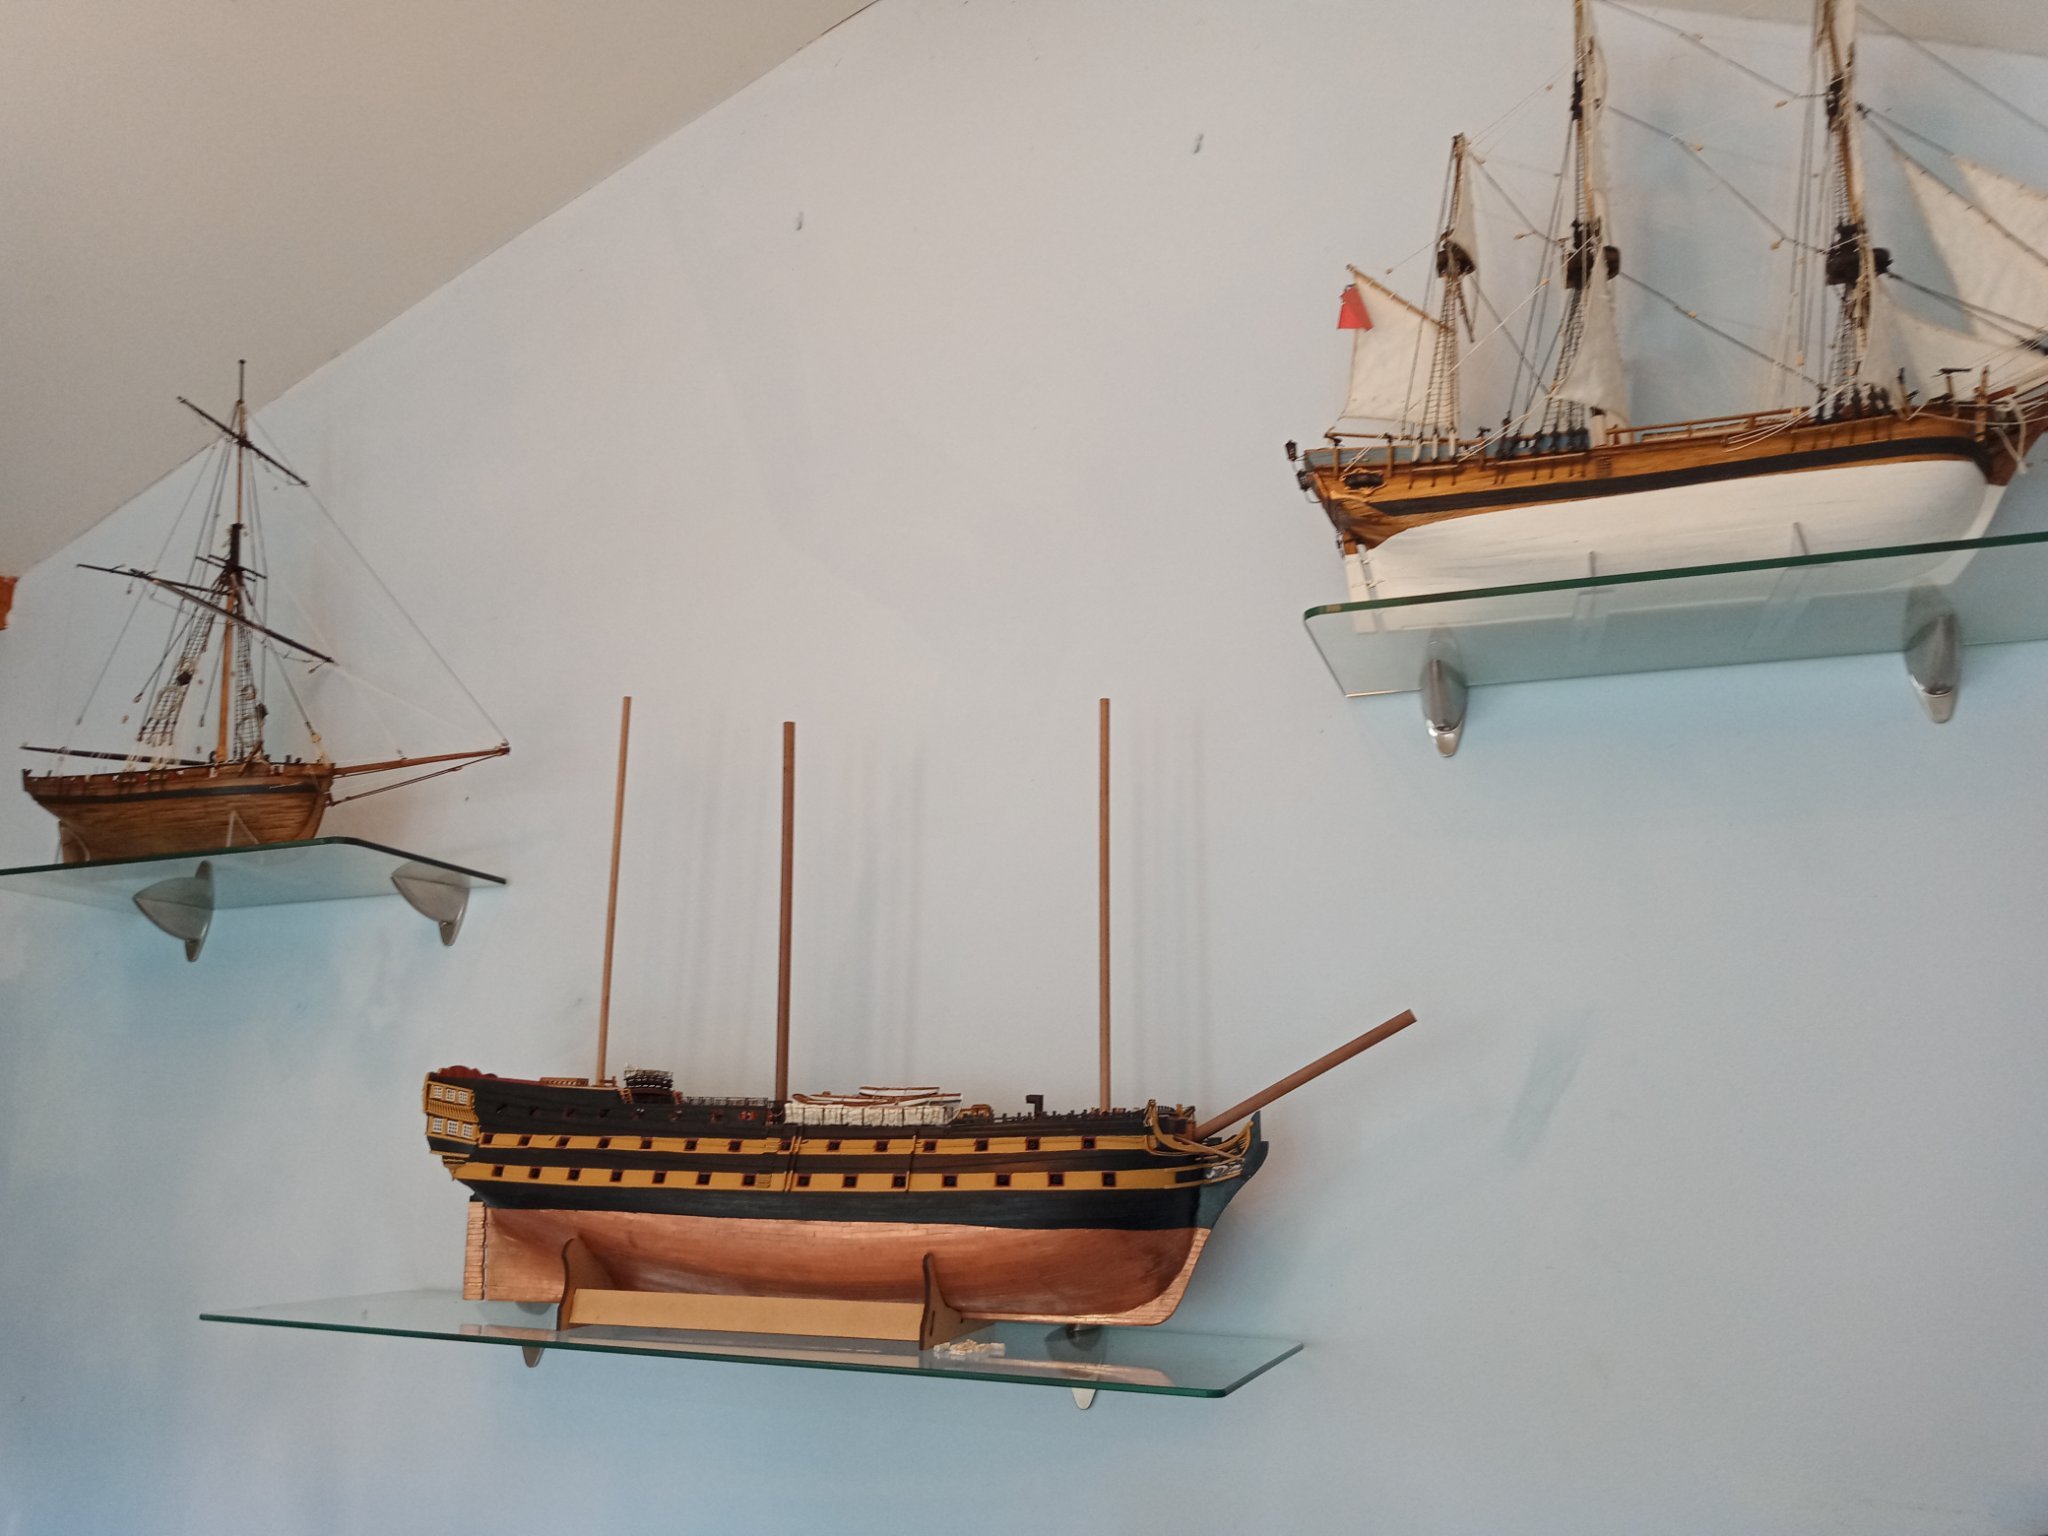
Its that age old problem, where to display everything we make looking forward to following this task.
-
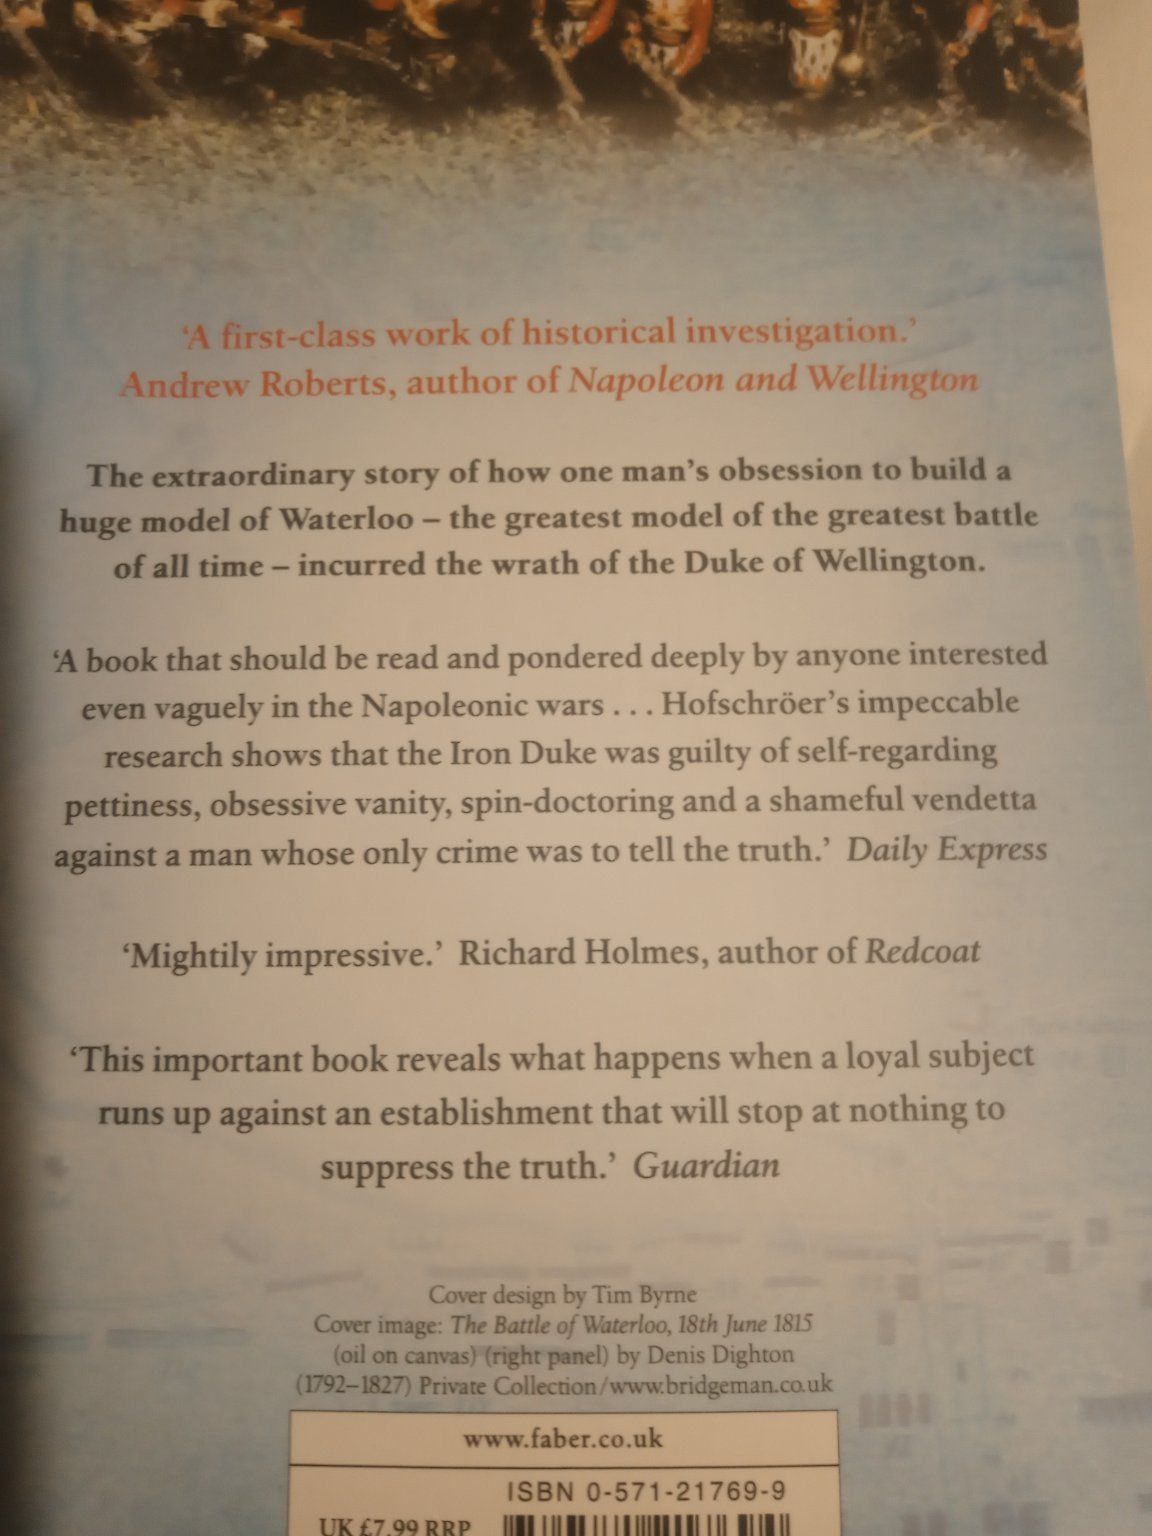
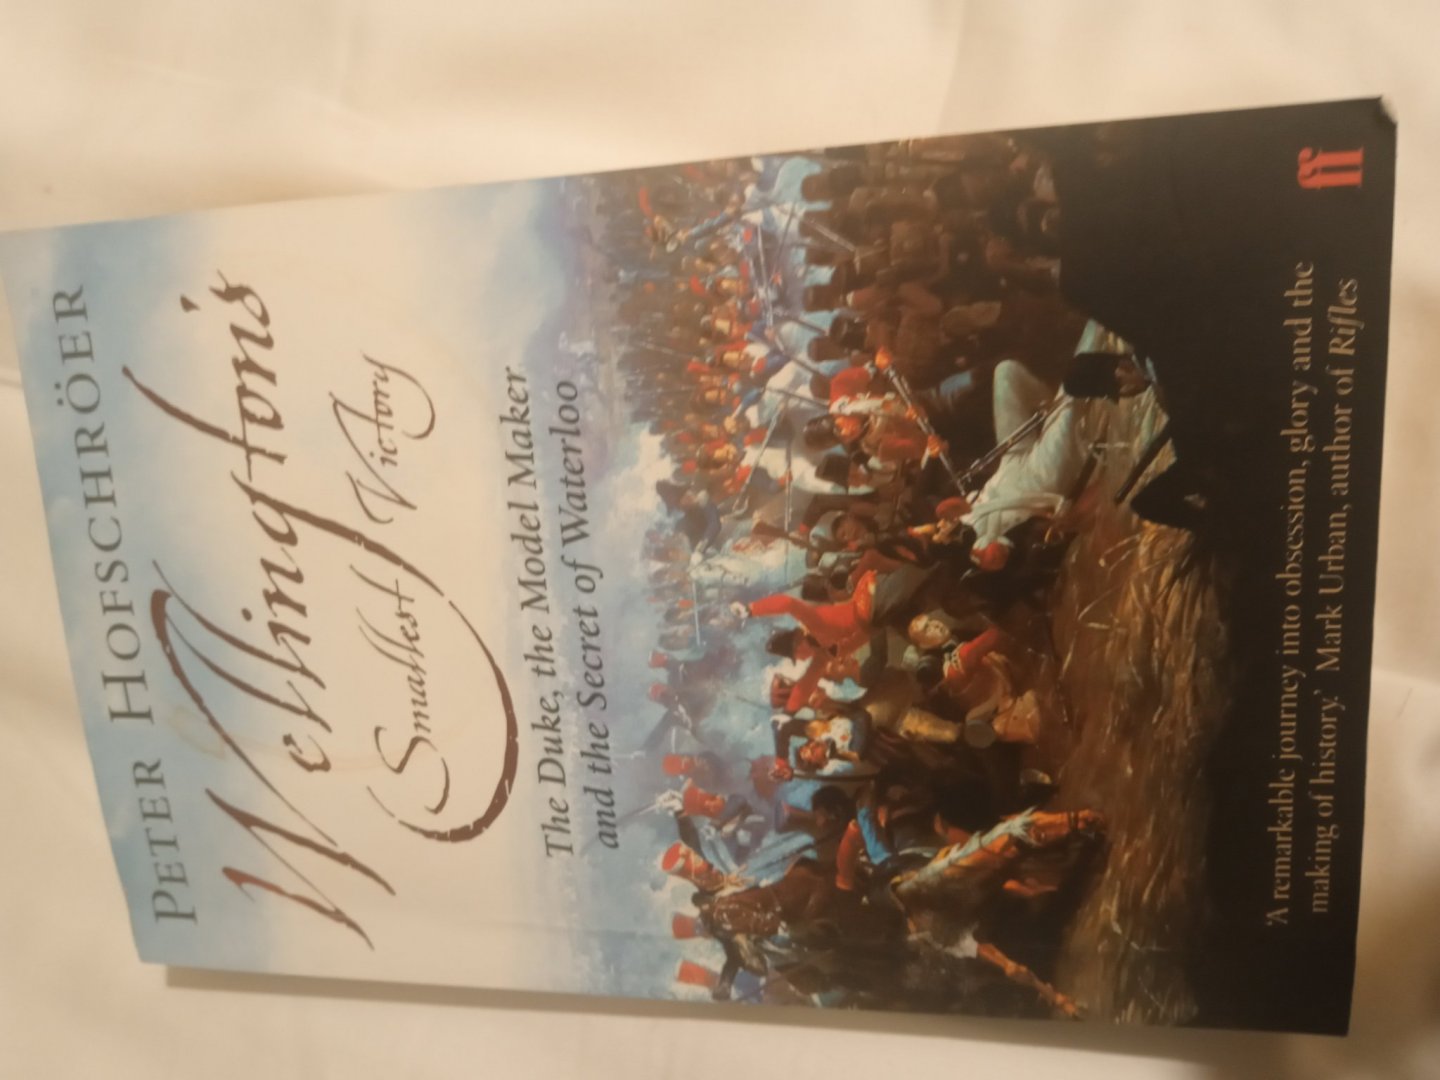
On Amazon they have 16 copies at £2 each plus postage ... Its worth a purchase even if you just look at the pictures LOL
-
Forgot to say--- you can see it in London-- well some of it
-
Hi, really enjoying this topic, super work. I thought Id share this unusual book-- it is on Amazon for almost nothing. A chap was commissioned to make a model of the whole battle 190,000 figures-- Wellington didn't like it as it showed he was being a bit economical with the truth about the Prussians and certain individual in his official dispatches-- The first few chapters are slow but the rest is a fascinating read.

-
I have just bumped into this build. What a great topic and super paint job,I have never seen this ship before-so unusual , --- I shall be following along --might even do this myself at some point, I have never done a plastic/PE ship
-
looking good-- keep it up
-
I always make a clear stand for all my models, the glass shelves help too.... will have one when finished..

-
Thanks, I am definitely want to do a Mig 15 because not long ago about a year I had a jet circling quite low over the house and after 5 minutes or so I went to look and is was a 2 seat Mig 15 just in a low holding pattern. I have no ideal why as I was living in the heart of the west country with no airfield for at least 30 _+miles..... I was like a kid with excitement-- my better half -'so what ,another noisy plane'? LOl
-
Hi Dan I have not made a model plane in 30 years!!! So tempted to do this kit.
-
I like the trolley idea-- you can add loads of copper piping etc to detail the engine .. and possibly create some open fuselage access panels for the engine bay?
-
Just made my first small 'kit boat' with PE and it has wetted my appetite so looking forward to following you, perhaps when I finished my current wooden build I shall do this kit too
- 225 replies
-
- 6
-
-
- I Love Kit
- Hood
- (and 2 more)
-
Hi I haven't for this one. I suppose I should have , I did for my others ..so deep joy to come in the headrails lol
-
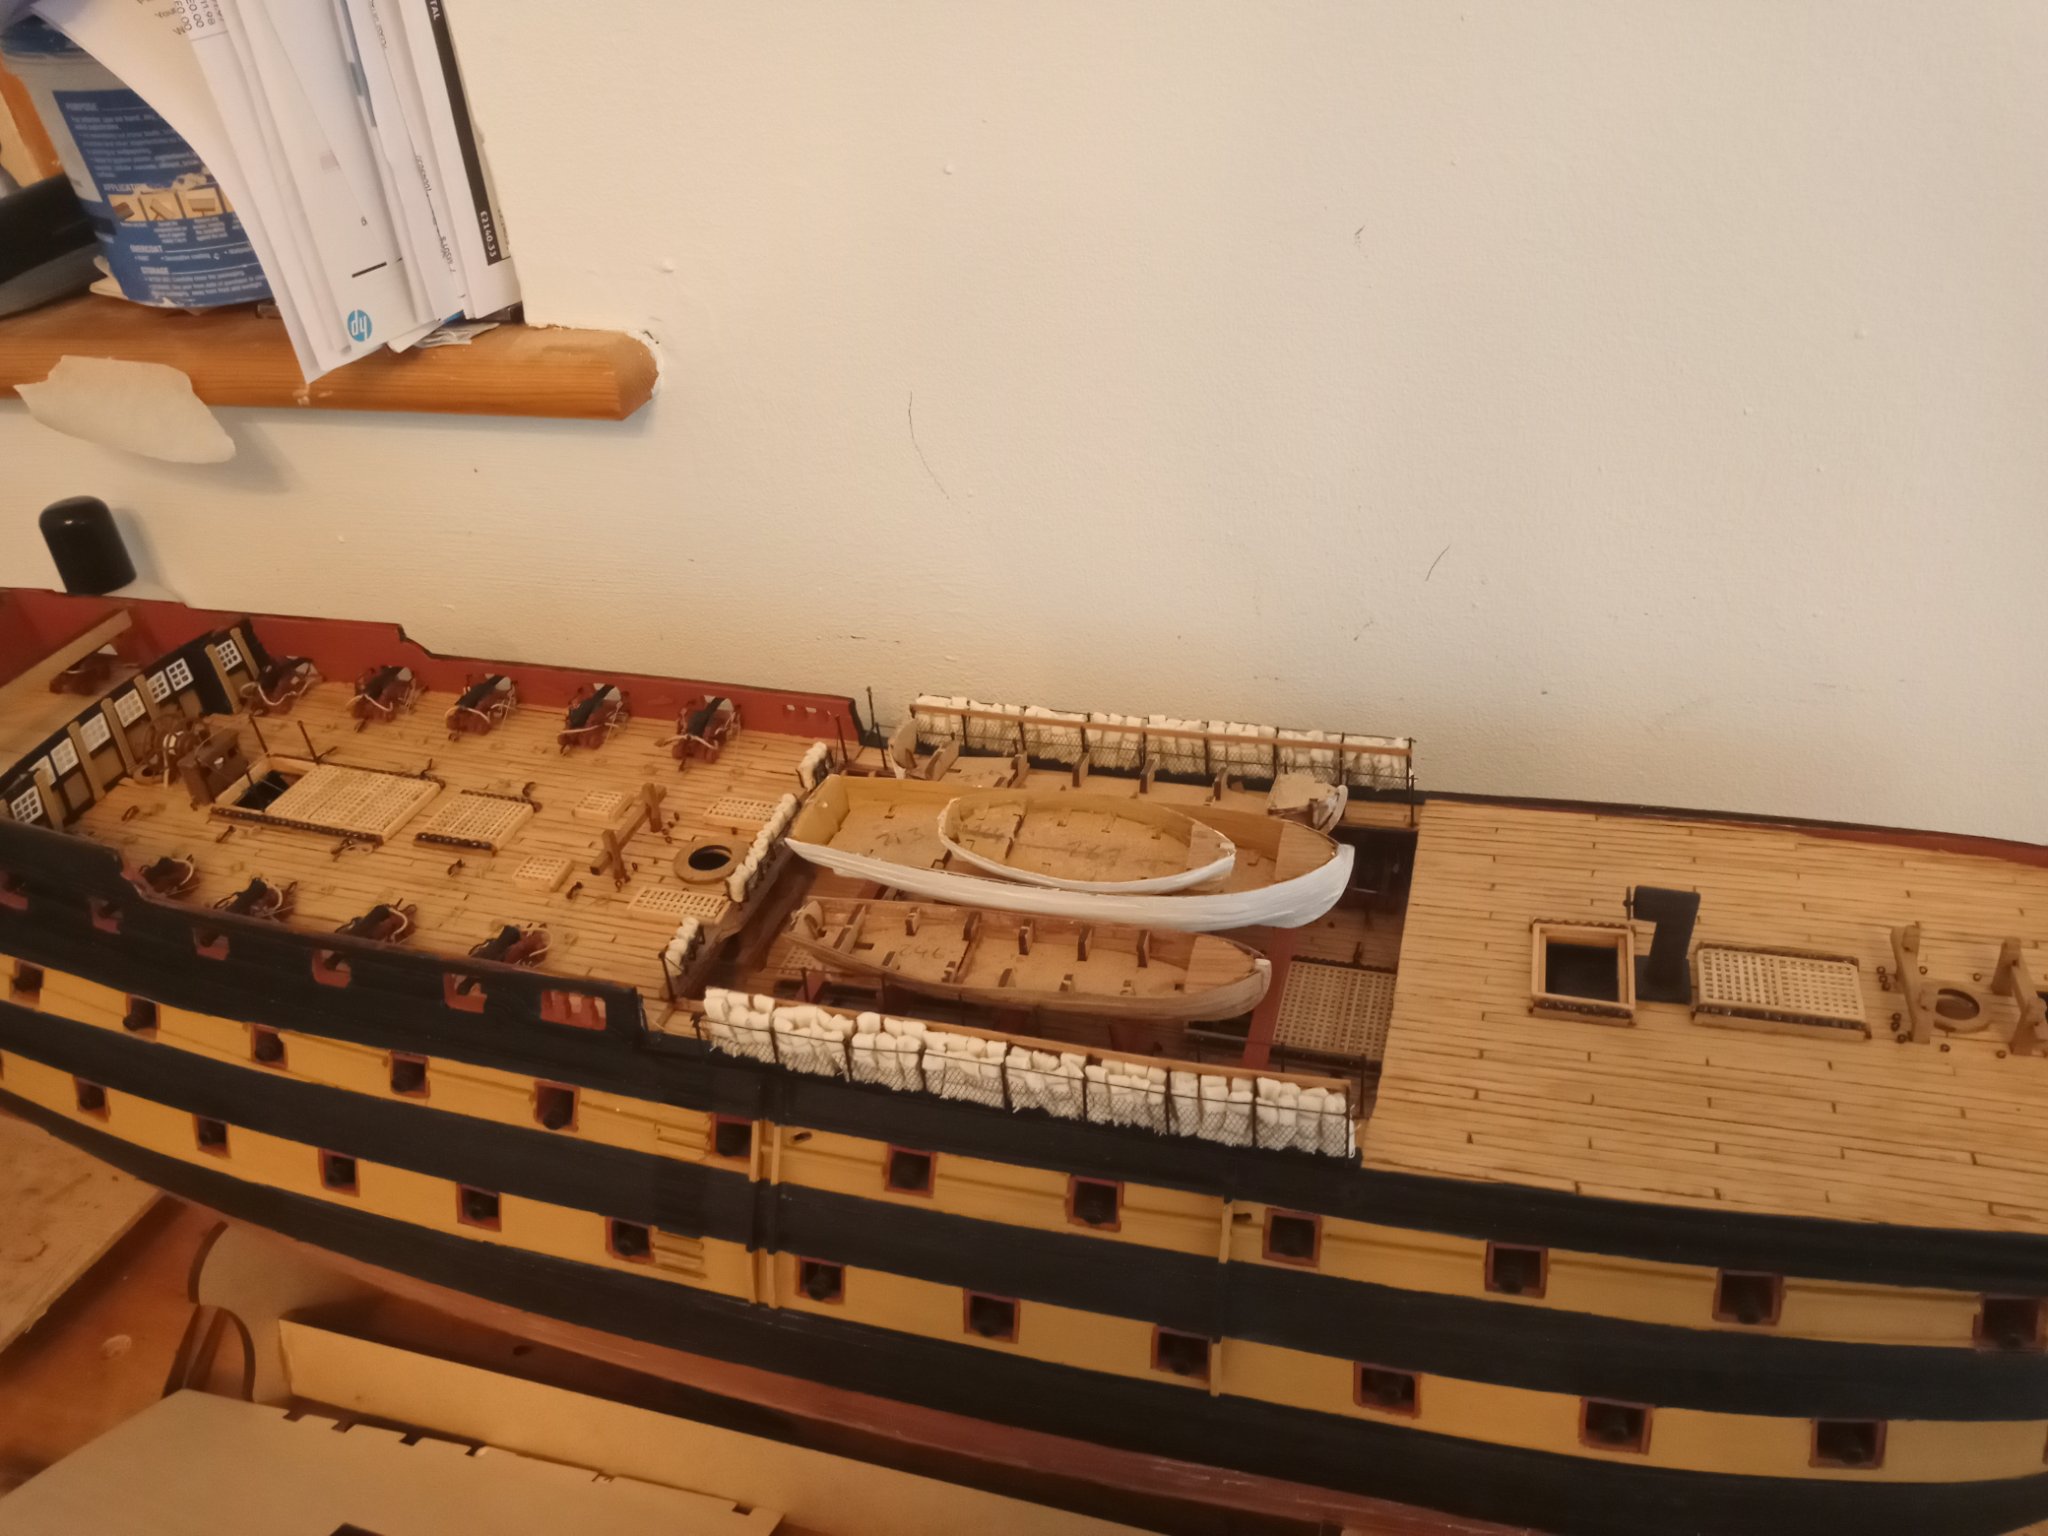
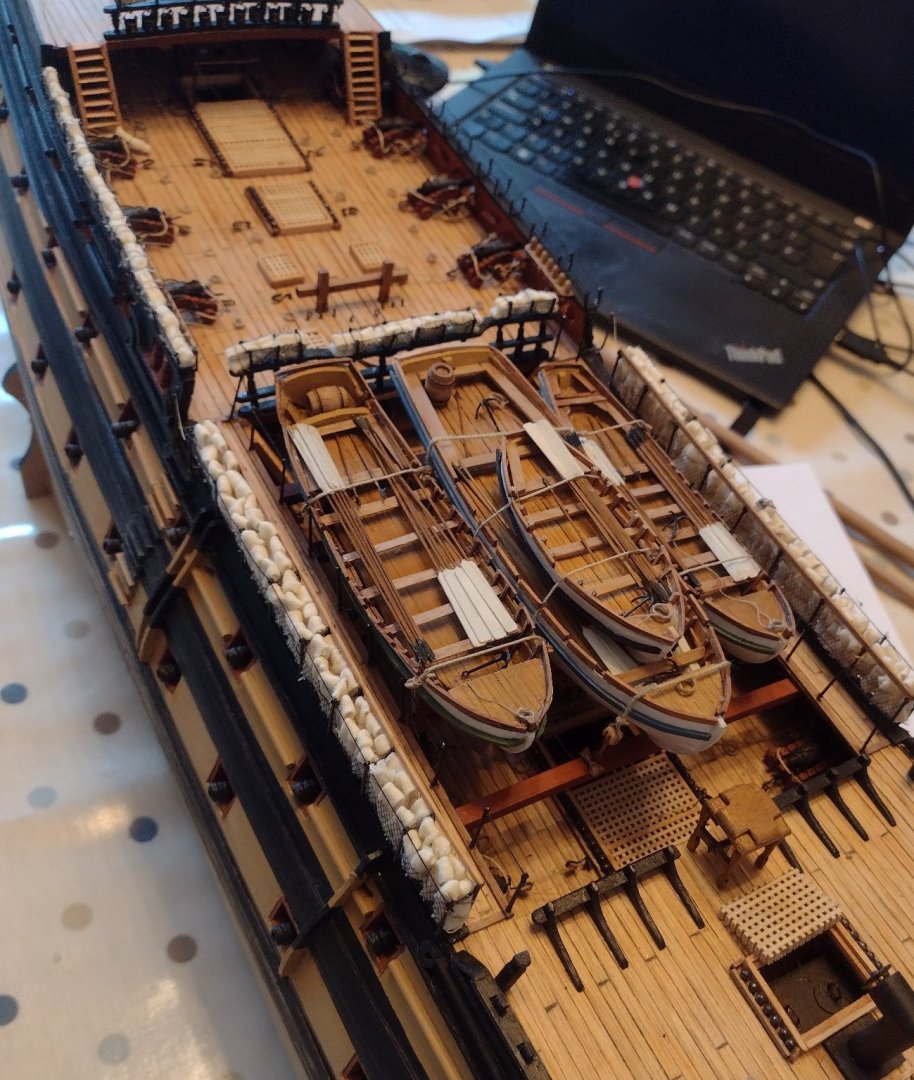
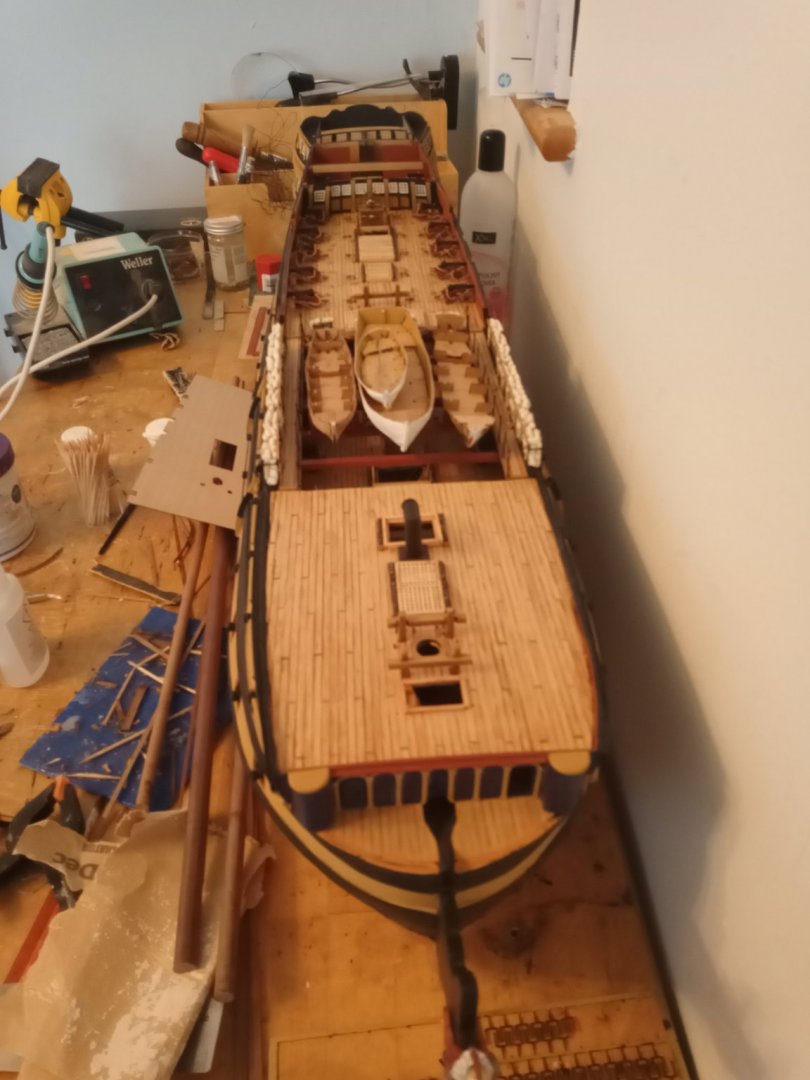
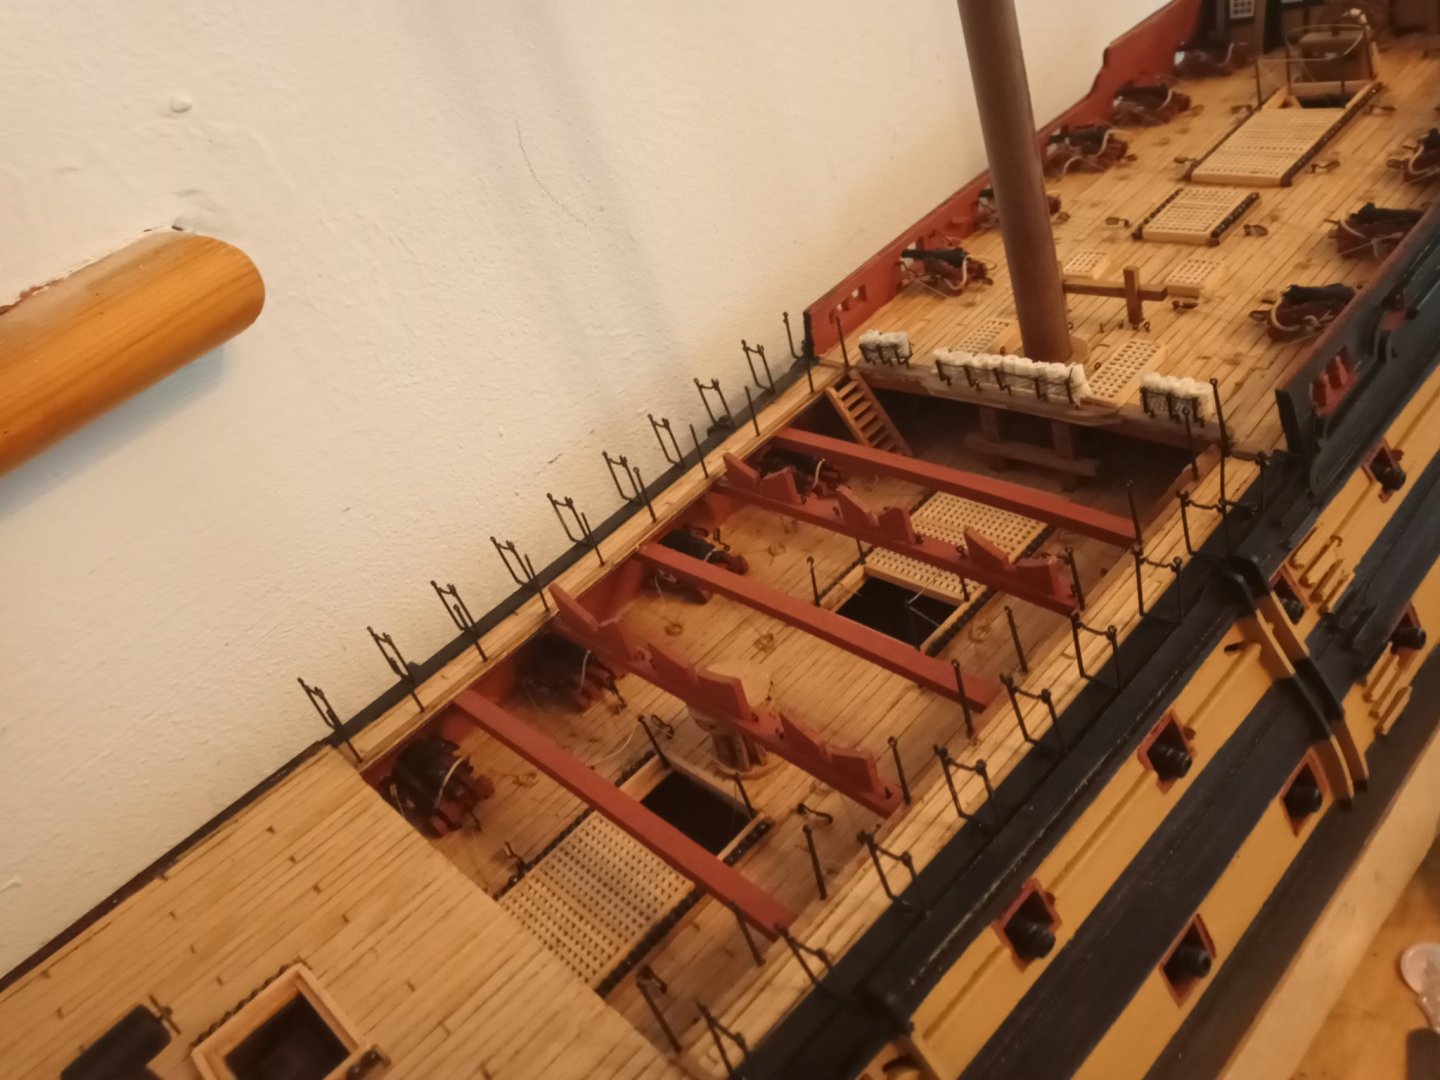
I'm just working from the stern to the bow, and doing the jolly boats at the monument--The hammocks are just placed in for now.

-
She is really looking the business, I'm just a few steps behind on the same build so your log is a great help ... keep up the fab work..
-
This is a very timely topic, I am just about to tackle this problem myself. The instructions gloss over the detail but show where to attach the deck rings for the tying down. Tim's picture above gives me a good idea how I might do it,
-
tried some rolled long ways and folded? which looks best--tempted to do long ways-- not so many to make lol
-
Thanks for the pictures, very interesting how they seem so large laid out on deck like that. I worked out roughly how big a real one would be--rolled it up and tied it around--- looks OK,,I am sure someone knows better
-
Hi, sorry there is no link
-
Hi I am just fitting the hammock netting to my HMS Vanguard build… I want to add the hammocks.. are they stacked vertically in the small nets? What about the large double nets that run parallel to the boats? I couldn't find a build that had done it--- so couldn't steal-- I mean be inspired by someone elses work