


hof00
-
Posts
1,622 -
Joined
-
Last visited
Content Type
Profiles
Forums
Gallery
Events
Posts posted by hof00
-
-
-
6 hours ago, Reub said:
Thank you very much.
yes. I think i will sink them into the waterways as not to accidentally drill through the thin bulwarks as they have already been varnished and would be a pain to fix up.
kind regardsHi there,
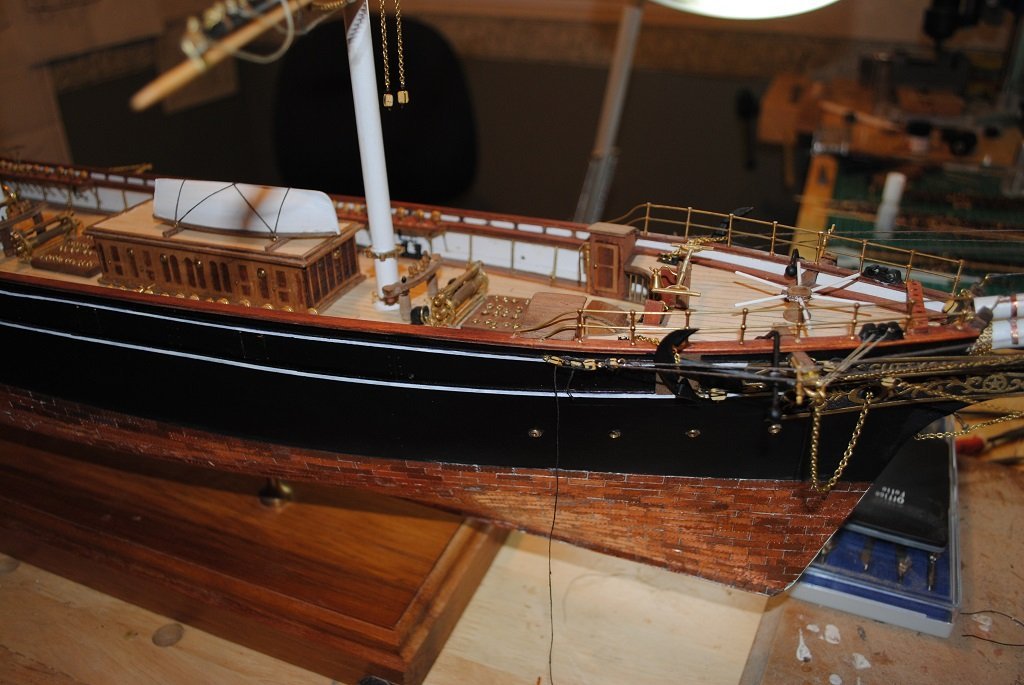
The Channels attach on the 1st Rail (Monkey Rail?) above the Deck so, if pinning, they will not be pinned directly to the Bulwarks. The top of the Rail and top of the Channels are flush.
(My experience anyway.... 🙂)
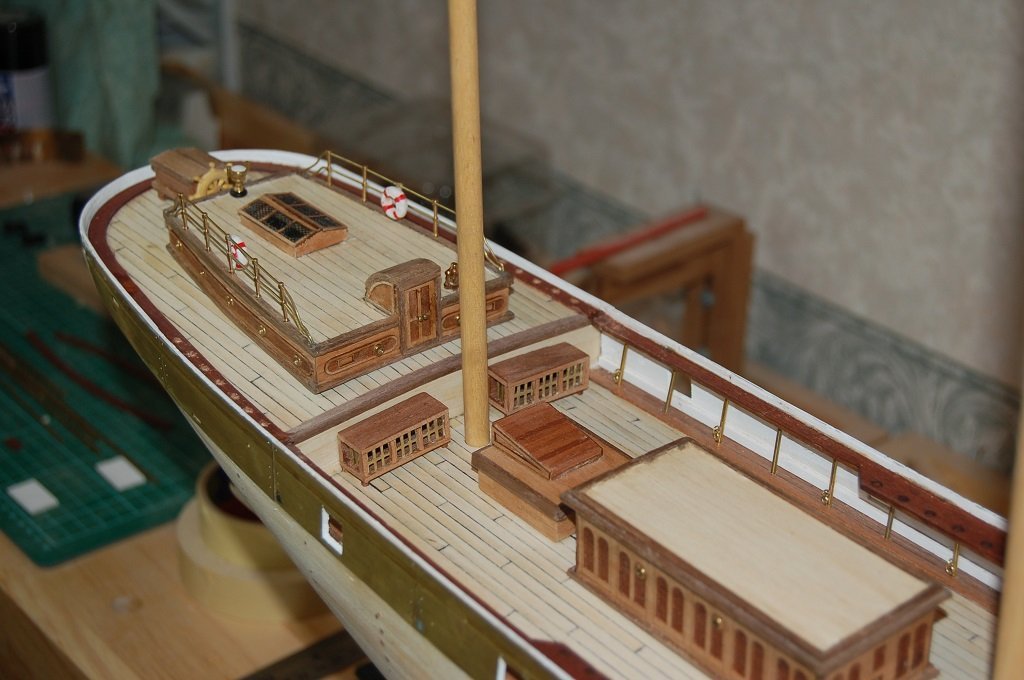
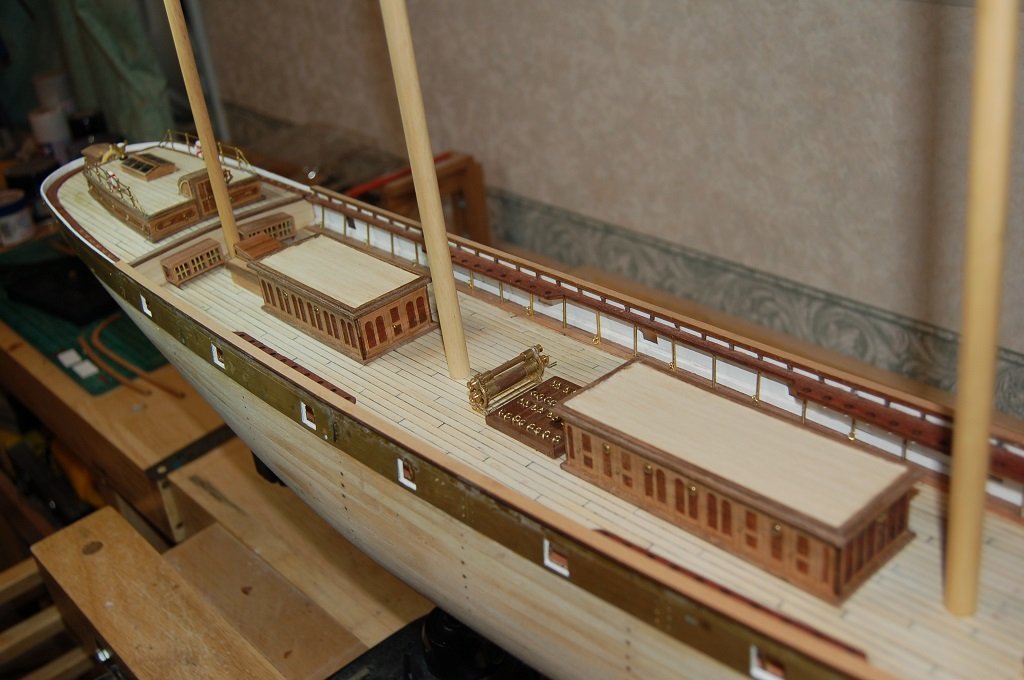
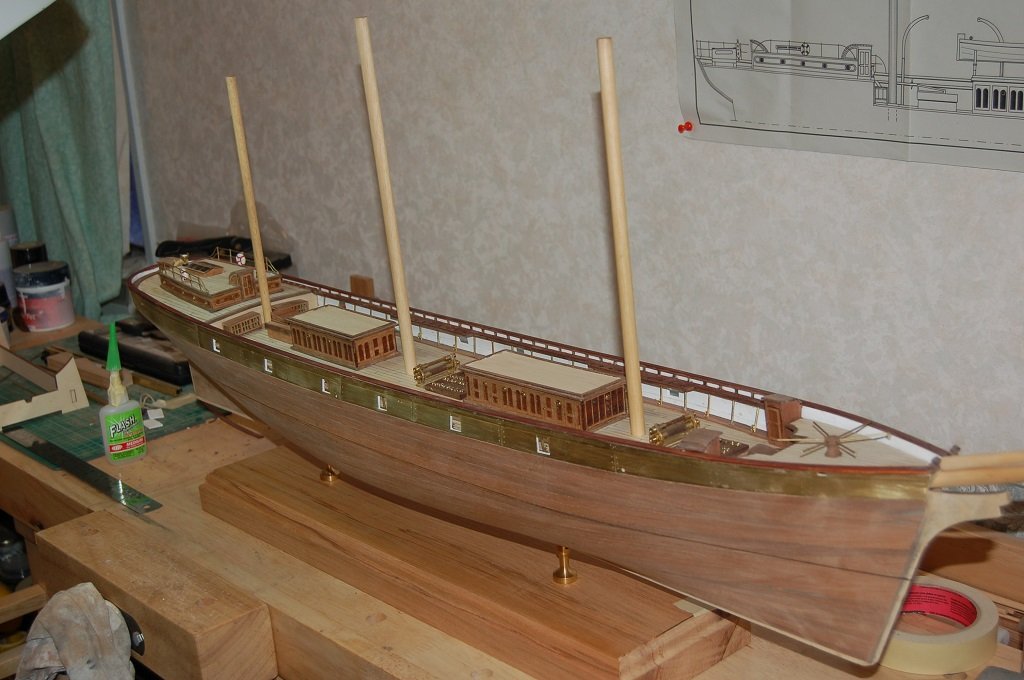
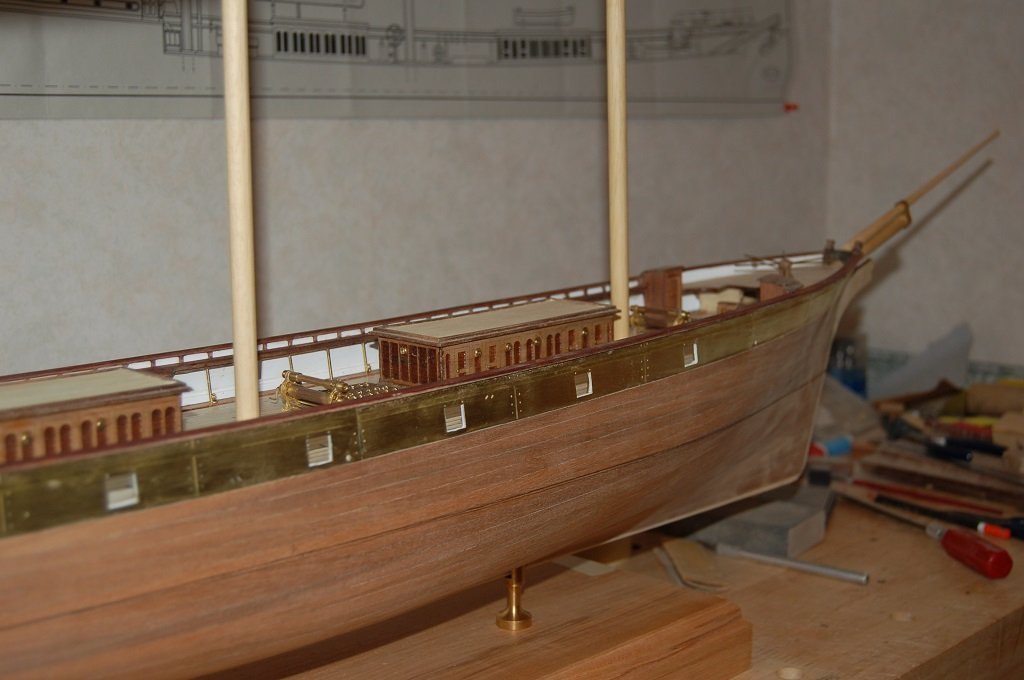
A few photos of the Mantua version under construction attached showing Channels.
Cheers....HOF.
- VitusBering, LEGION 12 and Reub
-
 3
3
-
One other thing that comes to mind,
When you get around to making the Channels, I found the best way for myself to get a consistent hole spacing for Deadeye Strops was to "Template" these things.
If you want to have a look, my CS is on this site under HOF00.
Anyway, I think I have rambled on enough for one day.... 🙂
Cheers....HOF.
-
Sorry, maybe to clarify,
The Wood part, Channel, can also be used to secure the Deadeye Strop with a drop of CA.
This should be ample to take the Shroud tension with the Strop also fixed into the Waterway.
(Pins for securing the Channel can be made from Planking Pins, Drill a small hole on the Bulwark side of the Channel but not completely through. Keep the Pointy end of the Pin to mark the location on the Bulwark, remove the Channel, drill holes for the Pins, test fit and when happy, CA of wood glue or both.)
Anyway, you are probably well aware of "Pinning" stuff.
When I built my Mantua version the Mizzen Deadeye Strops were wound together immediately below the Deadeye and CA'd.
The twisted Strop provided more contact area for the CA through the Deck.
Inboard Deadeyes/Chainplates and Channels were something unique to me at the time. 🙂
Cheers....HOF.
-
1 hour ago, Reub said:
Good day all.
while waiting for the final coat of varnish to dry, i went looked ahead in the instructions. by the looks of it, the deadeye chainplates are connected to the bulwarks by only glue. This troubles me somewhat because will the glue alone be able to support the tension of the shrouds? any ideas how to improve the structural integrity of the the deadeyes chainplates. further more, the mizzen mast deadeyes seem to be inserted into the deck and also relies on glue alone to keep it secure. Thoughts?
Regards
.thumb.png.912a09f021da638ad17ed28ee9b0170c.png)
Yup,
You could insert Brass Pins in a few locations along the length of the wooden Chainplates and pin to the Bulwarks using CA.
I am also assuming that the Deadeye Strops are wire? Dill holes in the Waterways to accept the Strop ends and CA.
Do a "Mock-Up" with scrap "Off-Ship" and see how it goes first.
Cheers....HOF.
-
Forgot to mention,
I'll follow along with interest!!
Cheers....HOF.
- VitusBering and Reub
-
2
-
Very nice!!
Although I have made the Mantua version, I have this kit in storage for "Someday. 🙂"
How did you get on with the single POB? (The material is quite "Hefty" in thickness.
Are you planning Sails or "Bare Bones?"
Cheers.....HOF.
- Reub and VitusBering
-
2
-
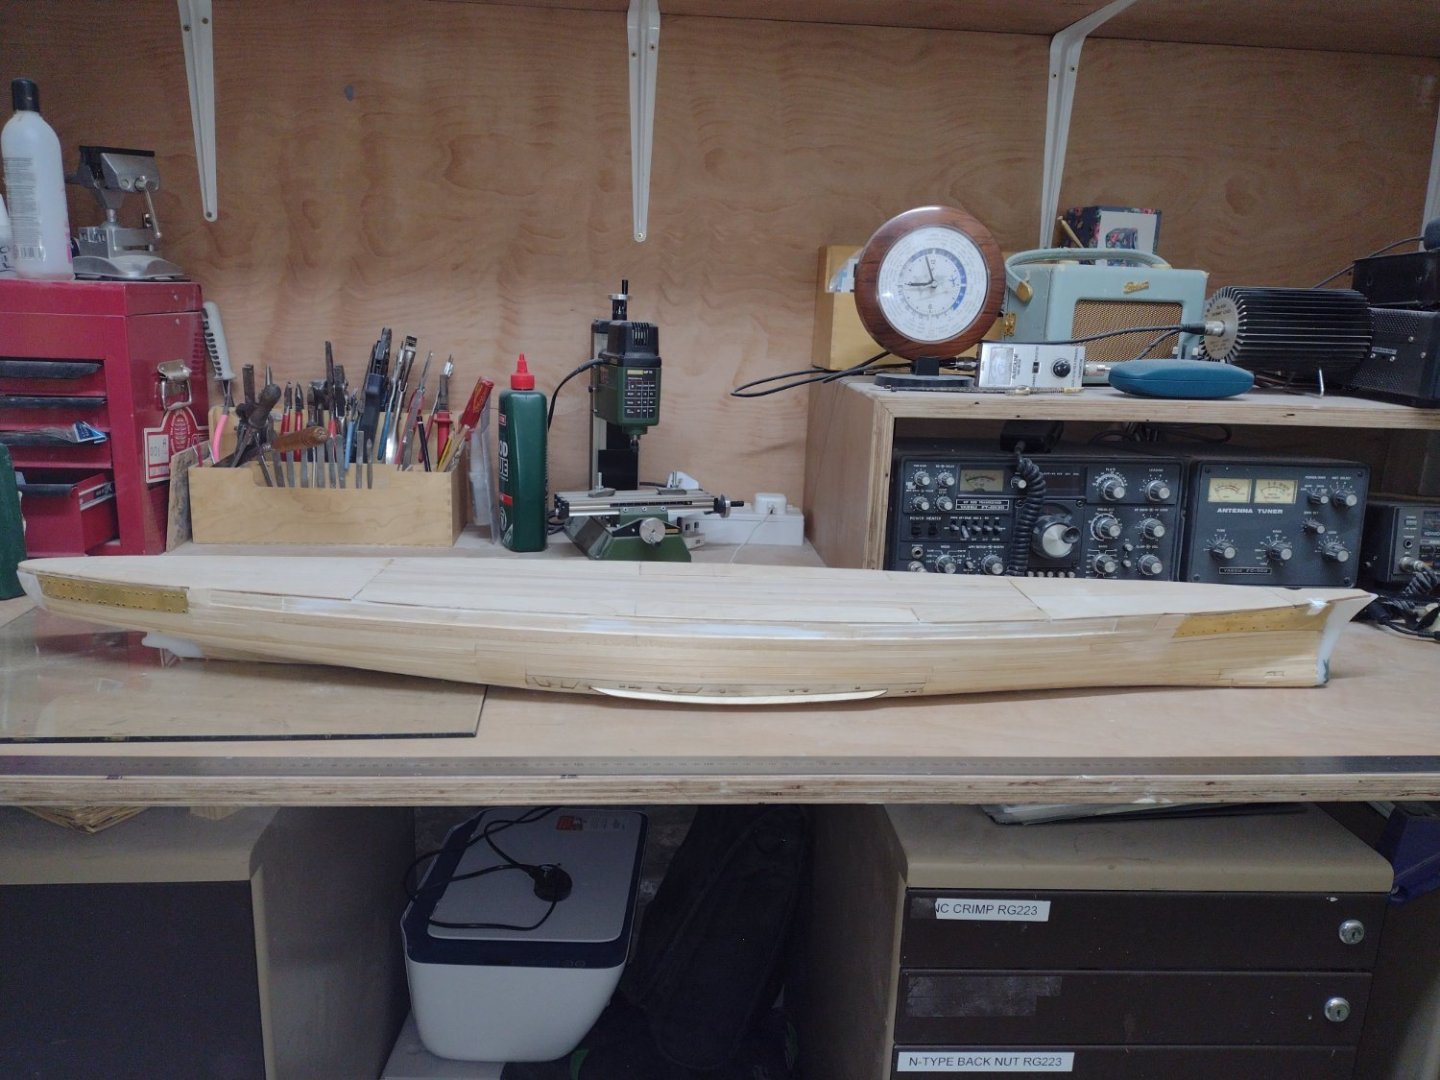
12 hours ago, Ian B said:
second planking done--- now limbering up my sanding arm---sand, fill, sand, fill, sand, fill, sand, fill 🤪🤪🤪
Nice!!
One luxury that Amati provide over the "Partwork" is the Portlight/Stern Grab Handle PE.
Enjoy the filling & sanding!! 🙂
Cheers and Regards,
Harry.
-
Hi there,
Your Bismarck is looking good!!
There are a few build logs for this here, some are Amati but essentially the same as the Partwork thingy.
rvchima,/ted99/ianb and myself.
Mine is almost finished, have a look at the build log under HOF00
Anyway, I hoe you can secure all 140 parts/issues. (Ebay or similar)
Happy to offer advice/assistance.
Cheers....HOF.
- VitusBering, Canute, Keith Black and 1 other
-
4
-
9 hours ago, Ian B said:
A bit more sanding then should be ready for second planking
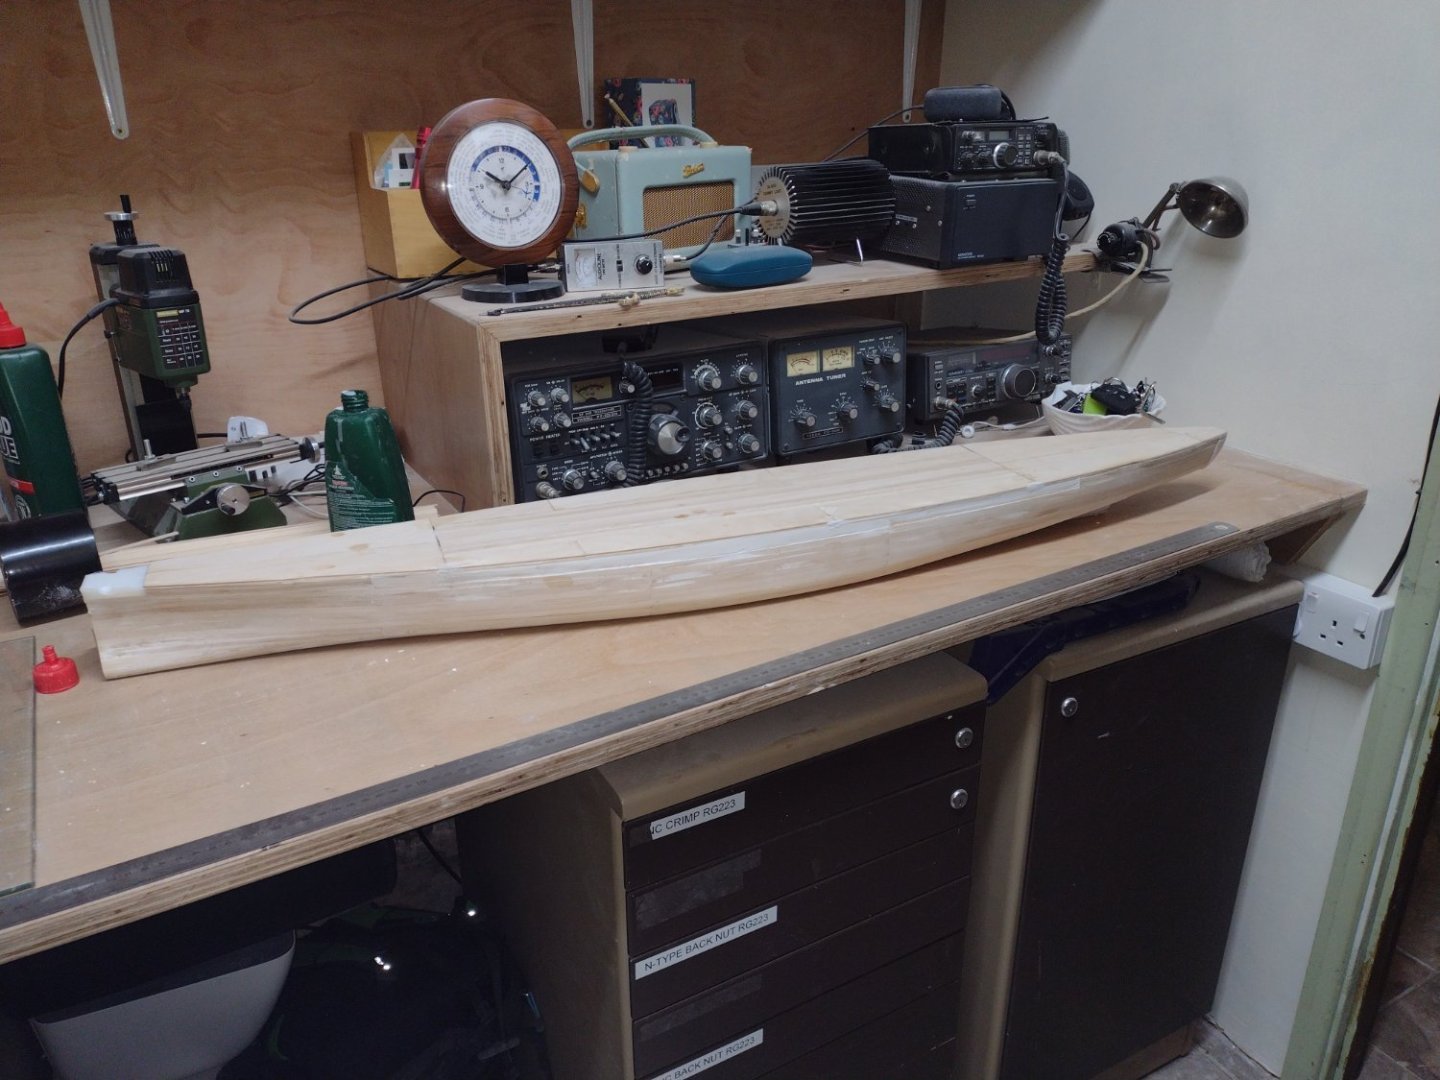
Looking really good!!
(Nice workshop space also. 🙂)
(HOF is still struggling with the Main Deck Railing but I think that my solution is working, I'll post soon also.)
Cheers and Regards,
Harry.
-
6 hours ago, VitusBering said:
Thank you all again for your kind words and support. I will re-name this build log to append the abandonment and will start a new one when it gets properly under way.
[edit] I am unsure how to change the build log title. The only action available seems to be to delete the log. I'll try messaging one of the moderators to see about other options.
Hi Chap,
Sorry to see this abandoned.
Couldn't agree more with the two comments above so have no sage advice as it has already been said.
On a positive note, I am really looking forward to your next buildf log, I hope this will be soonish!!!
Cheers and Regards,
Harry.
-
9 hours ago, VitusBering said:
Thanks George - though I'm leery of using CA in any form on the ratlines. I've used it on shrouds and on seizing and I really don't like the look of it.
I do apply it very sparingly but it does seem to sort of crystallize for lack of a better description.
I am going to experiment off-ship with Harry's suggestion of clear nail polish but I suspect that will leave quite a sheen.
It is what it is designed to do, after all ;-).
I think I may be able to counteract any shininess with paint - we'll see.
Hi Chap,
I found no perceptible "Sheen" with Nil Varnish at all.
It penetrates the thread and sets up very quickly. You only require a tiny drop for each knot.
You should find that the individual Ratlines remain flexible, i.e they droop slightly between the Shrouds.
I think I mentioned prior that if there's an error, you should be able to remove the offending thread twithought having to rework entire Shroud Gangs.
Cheers....HOF.
-
No worries.
A long time ago, i tried the diluted White Glee, personally, I was not happy with the result.
Give the Nail Varnish a go and see what you think.
(Off ship for experimentation.... And Unscented. 🙂)
Cheers....HOF
-
On 4/3/2023 at 1:14 PM, VitusBering said:
Ok, shrouds are tied off, and thank you all for your help. Now, though, I think I have more questions.
I am about half way up the ladder on the port side mizzen lower set of shrouds, and the ratlines actually look pretty good so far.
However, I've also been reading around this site and found that an overwhelming number of folks say to not use CA on the ratline ends - or, frankly, anywhere visible. I think I agree, I've used CA to seal the deal on seizing and I am not happy with the result. But, done is done.
I don't want to use CA on the ratlines but I don't know how to thin PVA.
I do know I'm supposed to use water but... is there a magic ratio? What should the resulting consistency be?
Also, too... should only the end knots (currently single overhand) be daubed with adhesive or the clove hitches as well?
Hi Chap,
I use clear Nail Varnish on my Ratline knots and Siesing. (Cheap and the bottle lasts for ages.)
In my mind, CA for these is just too unforgiving, not to mention the "Bulk" of the stuff when it dries.
(Unscented 🙂)
(Try off-ship perhaps?)
If there is an error itis Faily simple to remove.
Cheers....HOF.
-
Nice!!
Seems to be a bunch of my countrymen, (New Zealanders), starting out. 🙂
It'll be interesting to look at other offerings in the future.
Cheers....HOF.
- Old Collingwood, Egilman, Canute and 4 others
-
7
-
-
3 minutes ago, Old Collingwood said:
Morning all, sorry this build has slowed down - life sure has a way og getting in the way of our hobbies (that keep us sain) I have struggled with my teeth all my life based from my fear of dentists, and boy have I suffered due to it, at the moment I have a few very painful absecess's giving me real grief - that kind of pain and throbbing where you feel your heart beat through the pain. Trouble is over here there are very few dentists who will treat you through the Free NHS service, so I am having to self heal myself.
I want to try to take my mind of the pain with my modeling but its so destracting.
I will be back you can guarantee that.
OC.
Hi Chap,
Good to see your posts at the very least!!
I was wondering where you had got to. 🙂
Look after yourself and get someone to prescribe some Amoxicillin perhaps?
Cheers and Regards,
Harry.
- Canute, Egilman, Edwardkenway and 2 others
-
5
-
3 hours ago, VitusBering said:
Thanks Harry! Running rigging and braces will definitely be after standing rigging and ratlines.
Starting from aft - that wouldn't have been my first choice but when I think on it, it makes sense.
I am not sure what works for me, by the way -- I've never really done this before.
I did build this kit almost 40 years ago but it was, quite frankly, a mess.
It looked OK but only to a naïve eye.
I'm glad you folks are here and so willing to share expertise, I couldn't do it without you.
This model is not destined for a display case, either. Oh, I'll do my best and it will most definitely be better than the last but I have lot of notes about what to do and, more importantly, what not to do next time.
That being said, I am having more fun doing this than any other hobby I've ever tried.
So... onward and thank you again.
Sorry Chap,
By saying "Aft and up" I mean working from the Bow and working "Aft." 🙂
(I hope the Yards don't get in the way too much.)
Cheers and Regards,
Harry.
-
4 hours ago, VitusBering said:
Now the fun begins in earnest.
I'm unsure whether to start on ratlines or standing rigging first.
Looking good!!
My opinion for Rigging order, and my opinion only....
- Shrouds/Ratlines - Aft and up
- Standing Rigging - Aft and up
- Running Rigging
- Pendants/Braces
Entirely up to you.... 🙂
(More importantly, whatever works for you.)
Cheers and Regards,
Harry.
-
-
13 hours ago, targa4403 said:
what a great idea. I know exactly what you mean. How many sheets did you require for this task?
Hi Targa,
I have the many Stanchions, double/single, easy to space and drill, but, having pre-painted, all the tny holes are partially clogged. I don't have a drill bit small enough and a pin is too large.
So, out of sheer frustration I made the Eduard order, for Trumpeter but should be fine for Amati, same length, etc.
The Hull is about 2.5m both sides inc. so how many sheets? I don't know. Enough for 2.5m?
I guess I'll see when it arrives.
(Apologies for hijacking your thread, Ian.)
Cheers and Regards,
Harry.
.
-
11 hours ago, Ian B said:
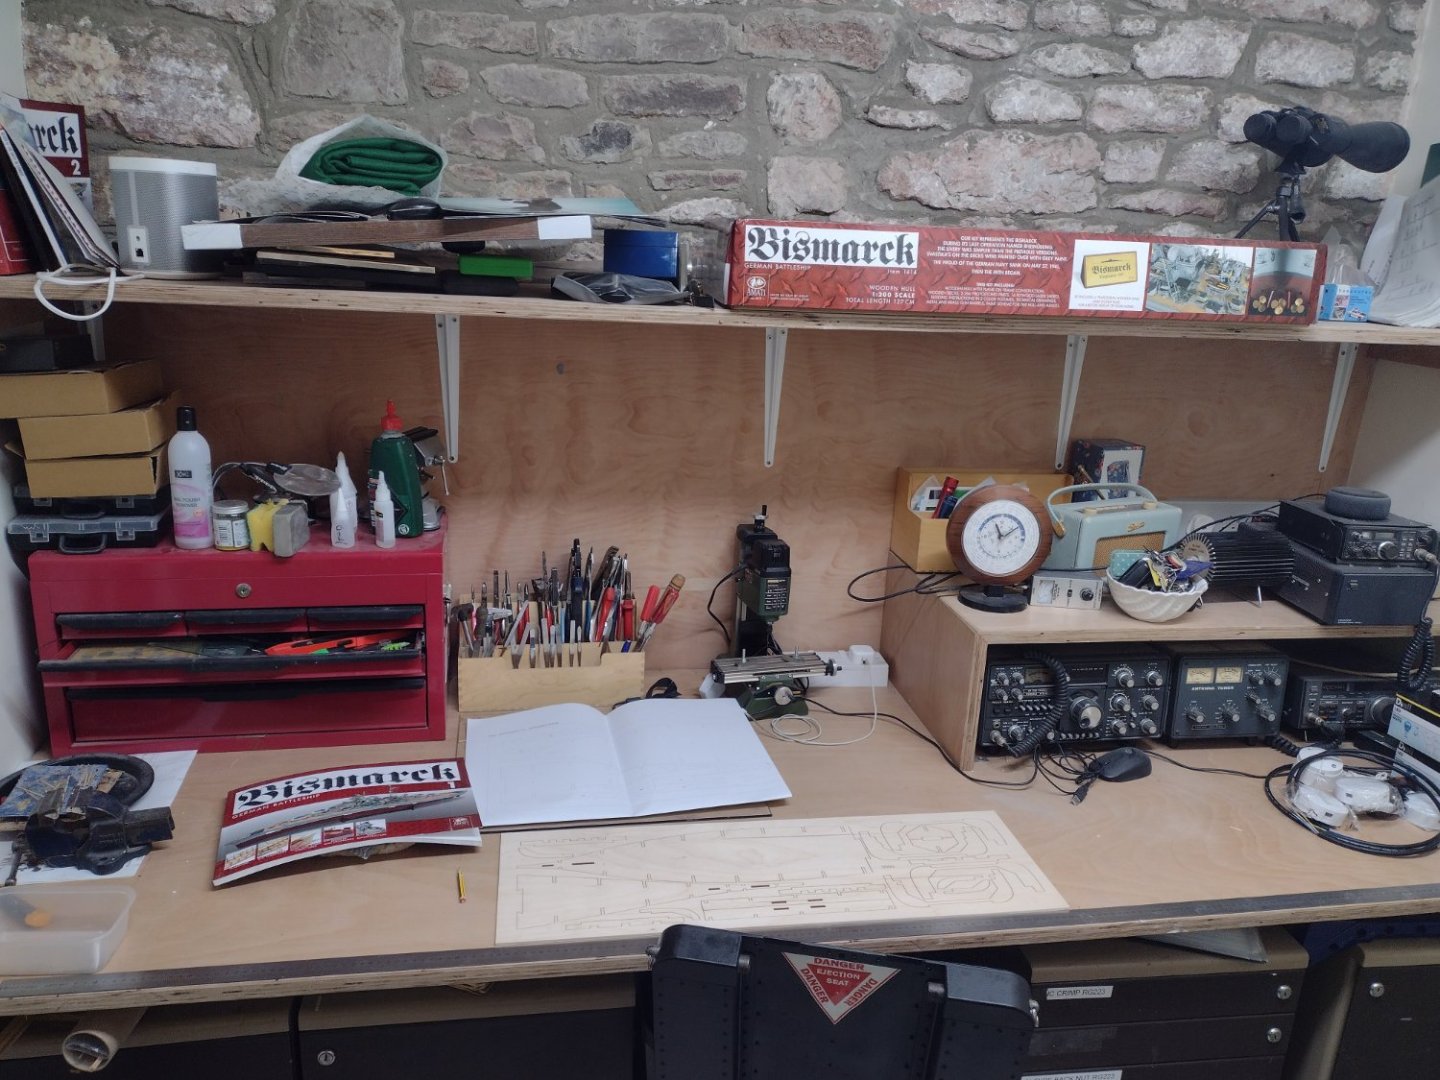
At last the waiting is over for me, my new workshop is ready, my last build complete, the corner of the dinning room and the table has been returned to my long suffering Wife, so a fresh start all round
") .
.
I have watched @hof00@ted99 @rvchima and @Joe100 builds and comments now its my turn LOL
So let the fun begin
Nice one Ian!!
I'll be following your build with interest.
(Ps. I'm still struggling with the Main Deck Rail Stanchions and provided "Thread."
I have ordered the Eduard 1/200 Chain Link Railing from Super Hobby out of sheer frustration. The photos of this stuff look good anyway. I will post my experiences when I receive this in two - four weeks, hopefully....)
Cheers and Regards,
Harry.
-
7 hours ago, Canute said:
Harry, hope you have a small powered drill. Doing it with just a pin vice may be excruciating.
Thanks Ken,
Yup, I hear you!! 🙂
I have my Pin-Vise.... I feel that I have better control and the holes are only about 1.0 - 2.0mm deep.
Cheers and Regards,
Harry.
-
9 hours ago, Ian B said:
Happy drilling lol 🤣🤣
Thank Ian,
A 0.5mm drill should cut it, I'm thinking I'll need a few more Drill Bits perhaps.... 🙂
Cheers and Regards,
Harry.
- mtaylor, Canute and VitusBering
-
3
.png.5affcecf44220d8fa656548bbb2b6e8c.png)


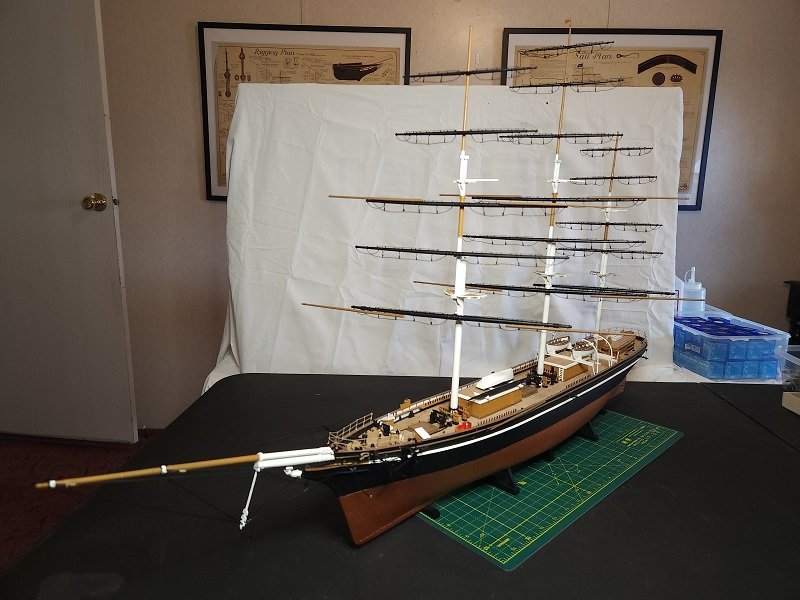
CUTTY SARK by Reub - Artesania Latina - 1:84
in - Kit build logs for subjects built from 1851 - 1900
Posted
Very nice indeed!!
Good progress also.
Cheers....HOF.