MORE HANDBOOKS ARE ON THEIR WAY! We will let you know when they get here.
×


Piet
-
Posts
3,568 -
Joined
-
Last visited
Content Type
Profiles
Forums
Gallery
Events
Everything posted by Piet
-

Fokker Dr.I by Mike Dowling - FINISHED - Artesania Latina
Piet replied to Mike Dowling's topic in Non-ship/categorised builds
So I stayed away a few days and you are close for the test flight. Looking very nice Mike. Them guns look really business wise. Nice work on it. Cheers, -
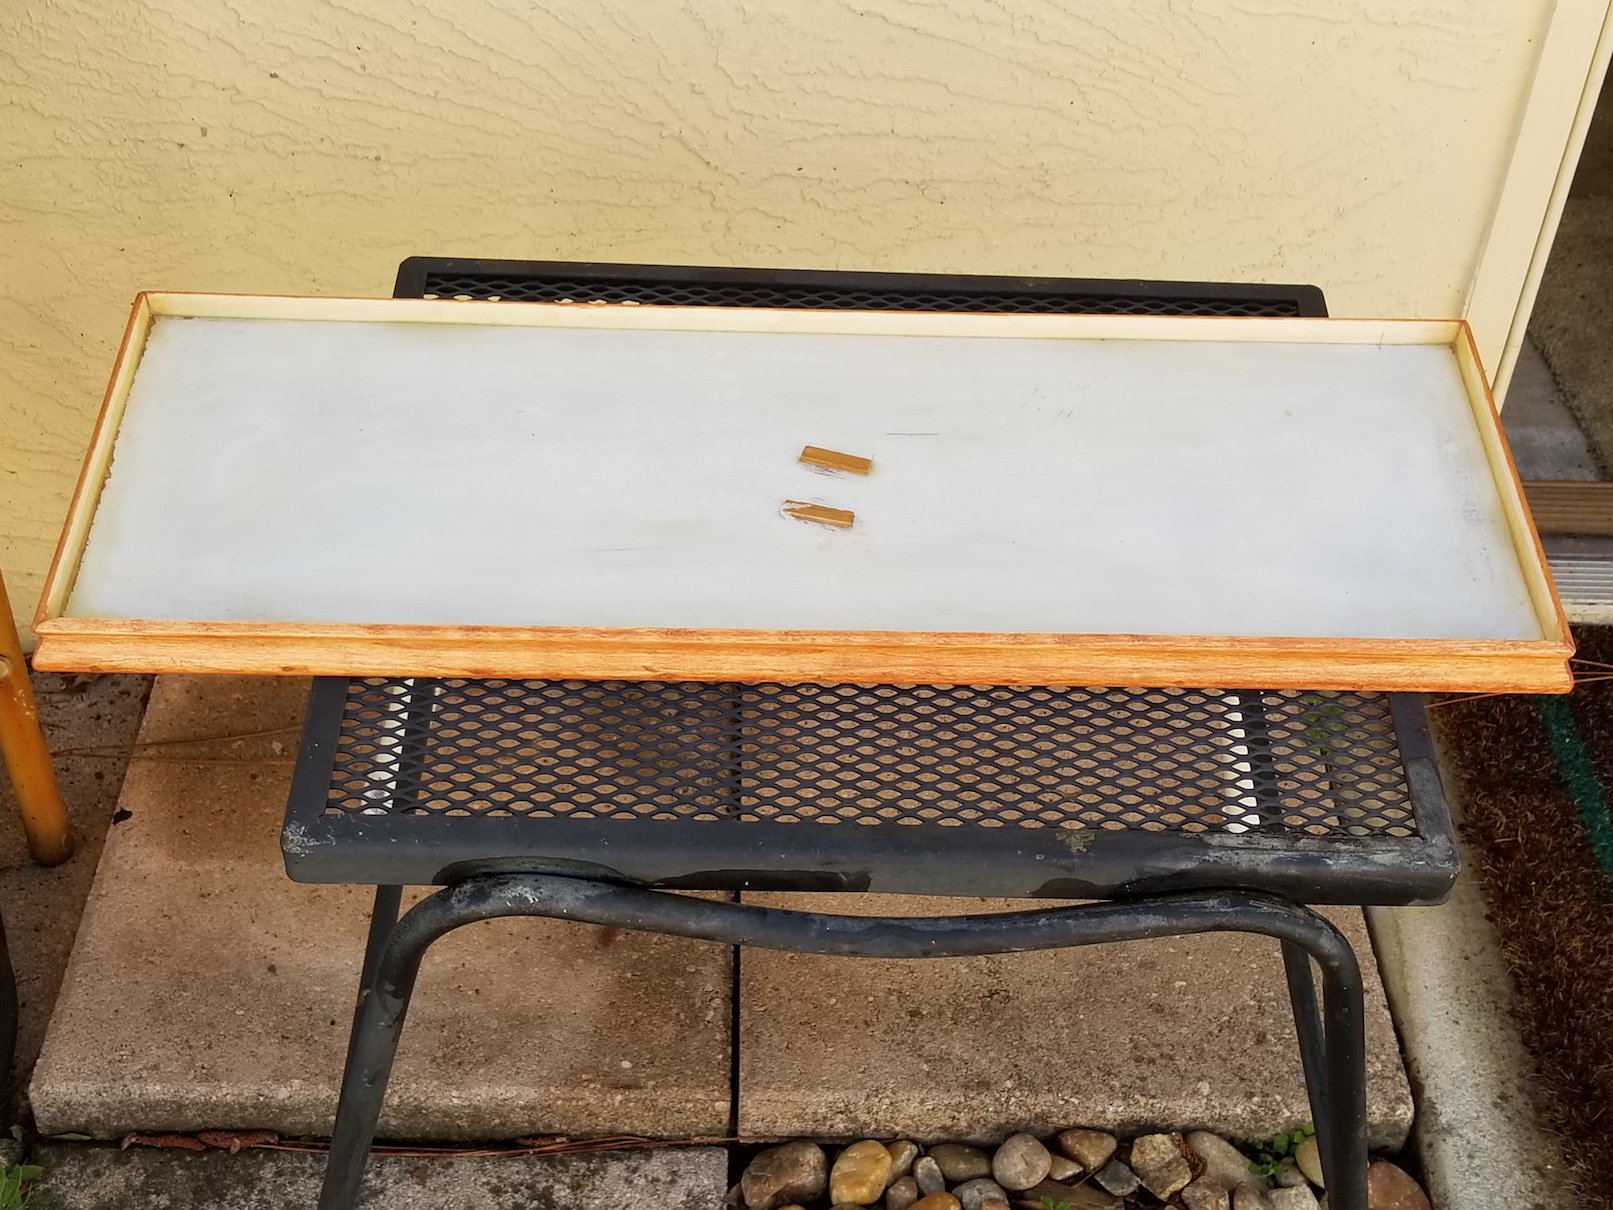
Thanks Carl for your great suggestions. In hindsight I should not have cemented the lower hull part to the upper part. Removing part of the lower hull crossed my mind but with a finished model that would be impractical. Too late now though for all that but I have figured a way around the dilemma. Your suggestion about the filler is part of the fix, your brain waves must have hit me when not looking Brilliant minds think alike I was about to go to the home improvement store this morning to buy a piece of 1/4 inch of wood when on a whim I rummaged through my stash of "stuff" and found the backing of a cabinet made of composite material of 3/16 inch thickness thick. Being not a 1/4 inch that I wanted the ship was still a tad to high so I gauged a rounded groove into the base for the lower hull to lay in, removed some material from the bilge keels and presto I now have close to 1/4 inch to the waterline. This will reduce the volume of the polymer sea quite a bit and will come up to almost the edge of the molding, exactly as I was aiming for. I can also add a few more pieces of filler to reduce the volume. With a translucent sea and the whitish foamy water next to the hull the red lower portion will most likely not be visible. So, tomorrow I'll glue and nail the inserts to the base, measure again how many fluid ounces of polymer I need and go to Hobby Lobby to buy it. I also found the solution for the yucky looking maple stain on the molding I have some walnut stain and tried it on my test piece to see how that would look. I like it, the orangy maple brightened the walnut, so I applied the walnut stain to the diorama molding. Below is a picture of the result. That dark spot is not a blotch but the shadow of my hand taking the pic and the light looking portion is from the light reflaction outside the garage. It really looks very good.
- 378 replies
-
- 9
-

-
- java
- pacific crossroads
- (and 2 more)
-
Yes Carl, I have also seen similar methods. One is using a clear caulking compound over a blue painted base. It's cheap and effective. The problem I have is that red painted lower part of the hull. We can see it when looking at it sideways. The frothy water around the sides of the hull may hide it but no guarantee. The polymer stuff at Hobby Lobby is meant for projects like this and a translucent pigment in it will certainly hide it. In addition to that they also sell a product especially made for dioramas like in model railroads. This stuff can then be put on top of the polymer sea to final shape waves and the frothy stuff. I do expect having to use some added polymer paint to dress it up better. Blue and yellow come to mind, the yellow is to make green and yeah, some white too. This morning I mixed up a small batch of resin and brushed that around the inside corners to seal it. After it had hardened I poured 3 cups of water in it, which is about 110 liquid ounces. I set the model in it and the water level came up to the black waterline and is 2 mm below the edge of the molding. Just about perfect for what I have in mind. The only problem is the amount of polymer, it aint cheap I could nail some thin planking to the base to limit the amount, just thinking right now mind you. If I go that route I'll paint it white as well and then with a dark blue polymer paint to give me a little boost from below, even though the sea polymer will be opaque. Like I mentioned before, it'll be an experiment for me but with all the thinking and talking to a few folks who have used this polymer in rather thick applications, I am gaining some confidence in it. I have also put 2 coats of maple stain on the molding, Not very happy with the covering of it. Even with the Minwax pre-stain application the Minwax stain didn't penetrate as well as I expected and is blotchy in spots. I'll play around with it some more and if need be I'll remove most of it and use thinned down oil-based paint on it, like glazing, to show the wood grain. First I was going to use an oak stain to match the O19 display board but this model is primarily dark I thought to brighten it up a little with a lighter stain. First I'll try some things before doing the drastic stuff. Here is how it loos like as of this afternoon. Doesn't look all that bad in the photo. Cheers,

- 378 replies
-
- 9
-
-
- java
- pacific crossroads
- (and 2 more)
-
Your cod looks great and the net should look "lumpy" as you have it. It's been working catching fish and is normally not layed out nice and neat. Cheers,
- 378 replies
-
- 5
-
-
- t78 norden
- billing boats
- (and 1 more)
-
Boring for sure - - - but look at the results, just outstanding. Cheers,
- 1,306 replies
-
- 7
-
-
- syren
- model shipways
- (and 1 more)
-
Love the outdoor shots Dave, she's looking awesome. Cheers,
- 742 replies
-
- 4
-
-
- constitution
- frigate
- (and 1 more)
-
Great looking gun deck Mark. Sorry to hear about the minor tackle snafu. It's amazing though what a good night's sleep can do, clear the fog. Cheers,
-
Good advice, thanks fellows. Yep, I have been thinking about the sealing business too. When washing off some of the glue I noticed a leak in several places. I have some fiber glass material left over from building the O19. Plenty of resin stuff. You'd think that the Tite Bond glue would be enough but I'm not taking any chances. Did some more work on the base this morning. I set the nails a little and filled the dimples with wood filler, had lunch and then sanded everything down - smooth. I needed to go over it again adding some more putty. Tomorrow I'll finish the molding. Then I'll do the "water proofing" of the inside of the base. After that's cured I'll measure what the volume is so I can buy that polymer stuff with the blue coloring. Staining the molding will come whenever. Cheers,
- 378 replies
-
- 7
-
-
- java
- pacific crossroads
- (and 2 more)
-
Thanks very much gents for your kind words. Yeah, Denis, it took some real delicate maneuvering with the paint brush. Fortunately for me, My hands are still rock steady and by supporting my painting hand with my non painting hand it worked out. Even do some spots left handed. When running my aircraft repair business way back when, I have worked a lot with epoxies, resins and urethanes but not this polymer stuff. In a way it works similar and can be poured in thicker layers. A lot will be experimenting on my part. The base layer should not be much of a concern, it's the finishing of the sea's surface and the area around the hull that'll be a challenge. We'll see how how it all comes out. Another challenge will be the guns discharging their grenades. I bought a bag of really good looking beansprouts yesterday to make an Indonesian salad with. Gwen likes it too, so this morning is spend time in the kitchen. This dish is called "sambal taygeh." For the afternoon I wanted to glue the molding pieces to the base but all my glue had dried up due to lack of use and had to run out to get a fresh bottle of Titebond. I did manage to glue and nail the two long sides though, before beer thirty Tomorrow we'll do the side pieces. After that's done I can fill the "tub" with water to see how many ounce it holds so I have a measurement to go by when buying the polymer stuff. Cheers,
- 378 replies
-
- 9
-
-
- java
- pacific crossroads
- (and 2 more)
-
Caught up with you Denis. Great progress and I hope you van figure out how to proceed with the spiral stairs, They give the boat a level of class. If not, that your regular stairs will also look awesome. Keep plugg'n at them my friend.
-
Fokker Dr.I by Mike Dowling - FINISHED - Artesania Latina
Piet replied to Mike Dowling's topic in Non-ship/categorised builds
Yes! That's the way to go Mike, it's looking marvelous. Any rib-stitching on the wings? Done my share of them, still have the needles. Cheers, -
Catching up with you JesseLee, fantastic progress my friend. Ratlines are looking pretty good. Cheers,
- 1,306 replies
-
- 8
-
-
- syren
- model shipways
- (and 1 more)
-
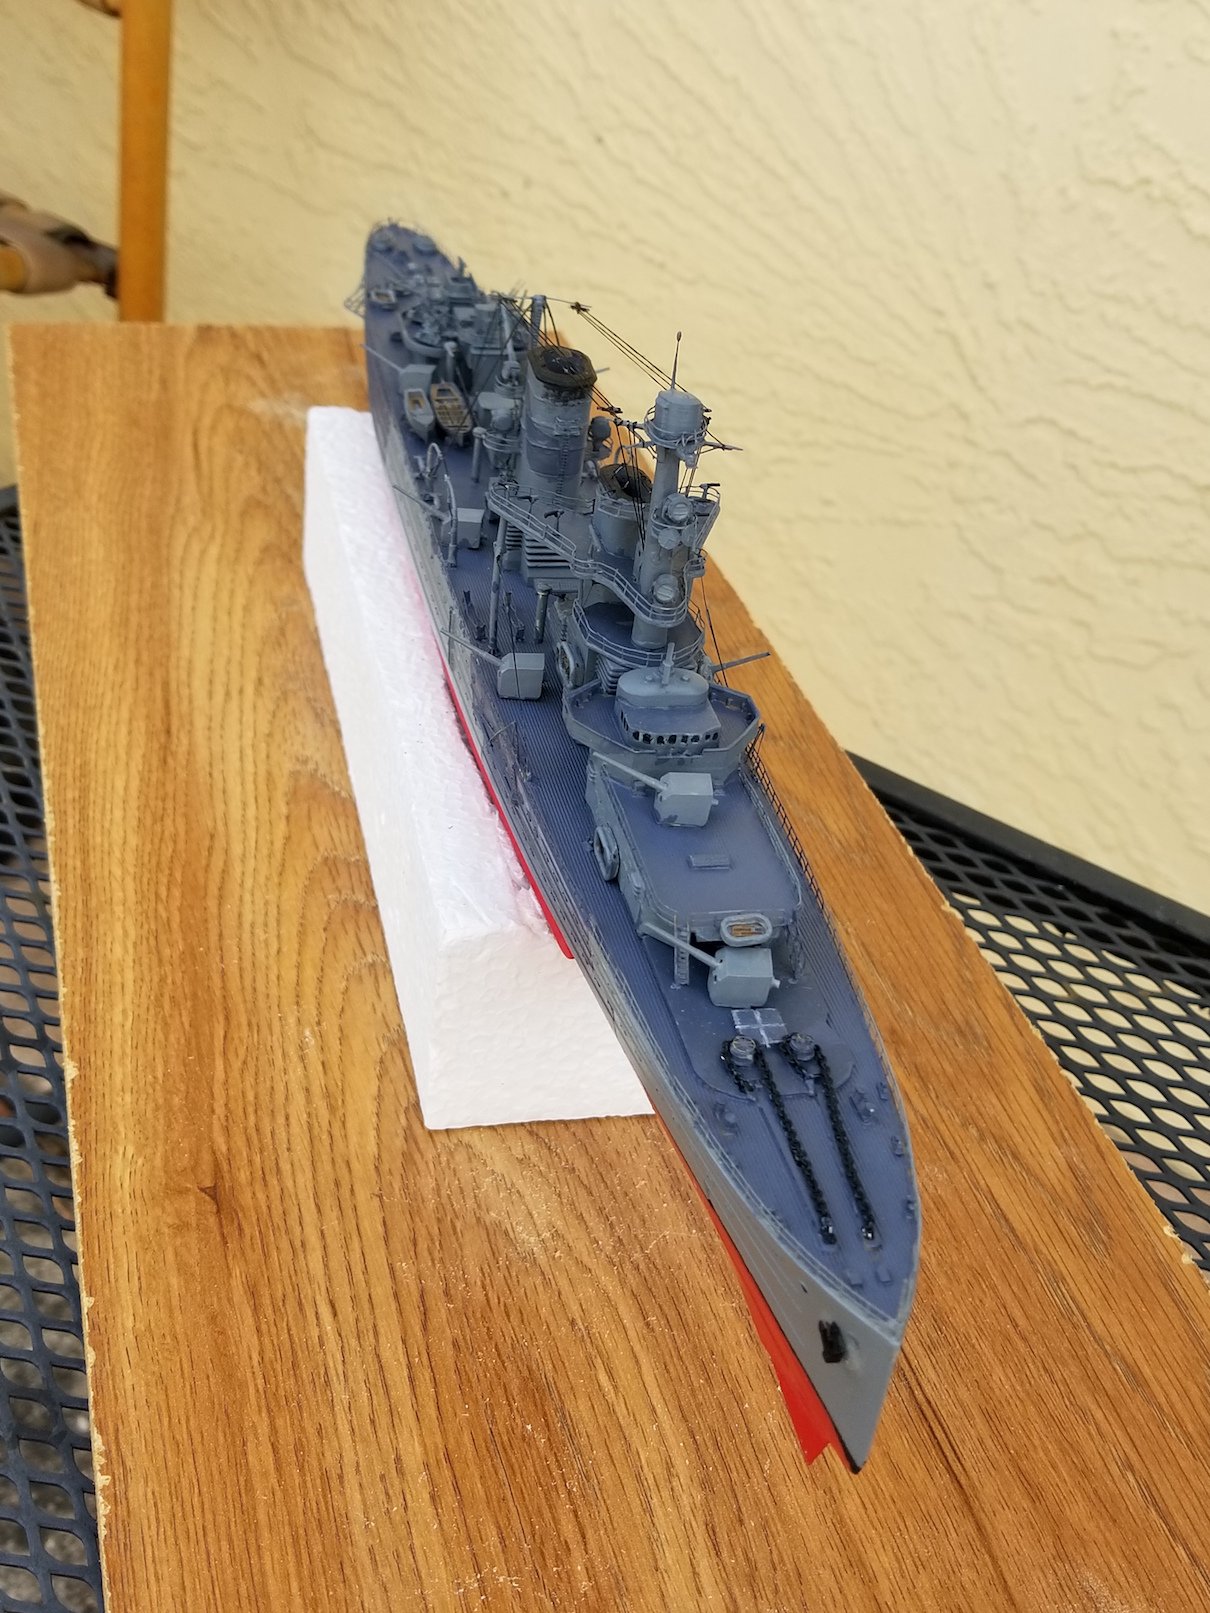
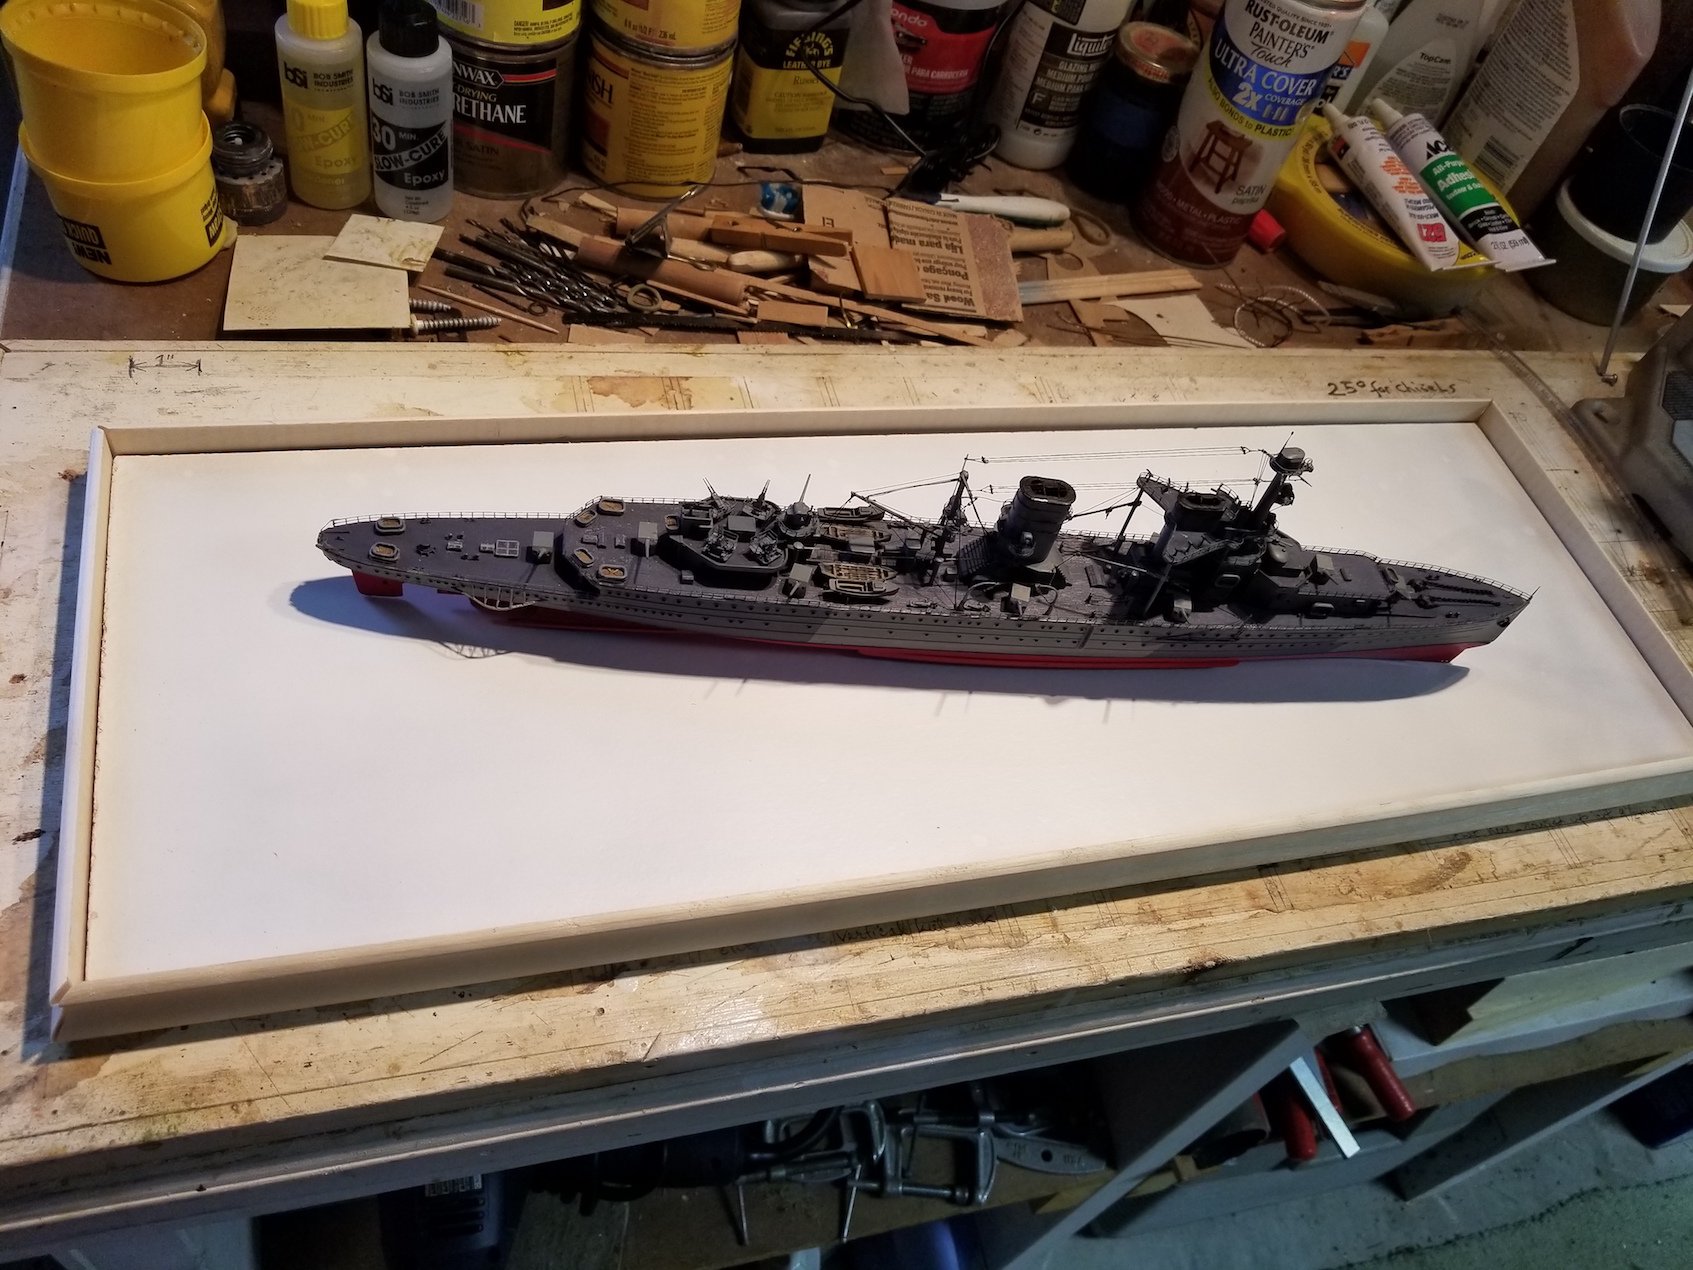
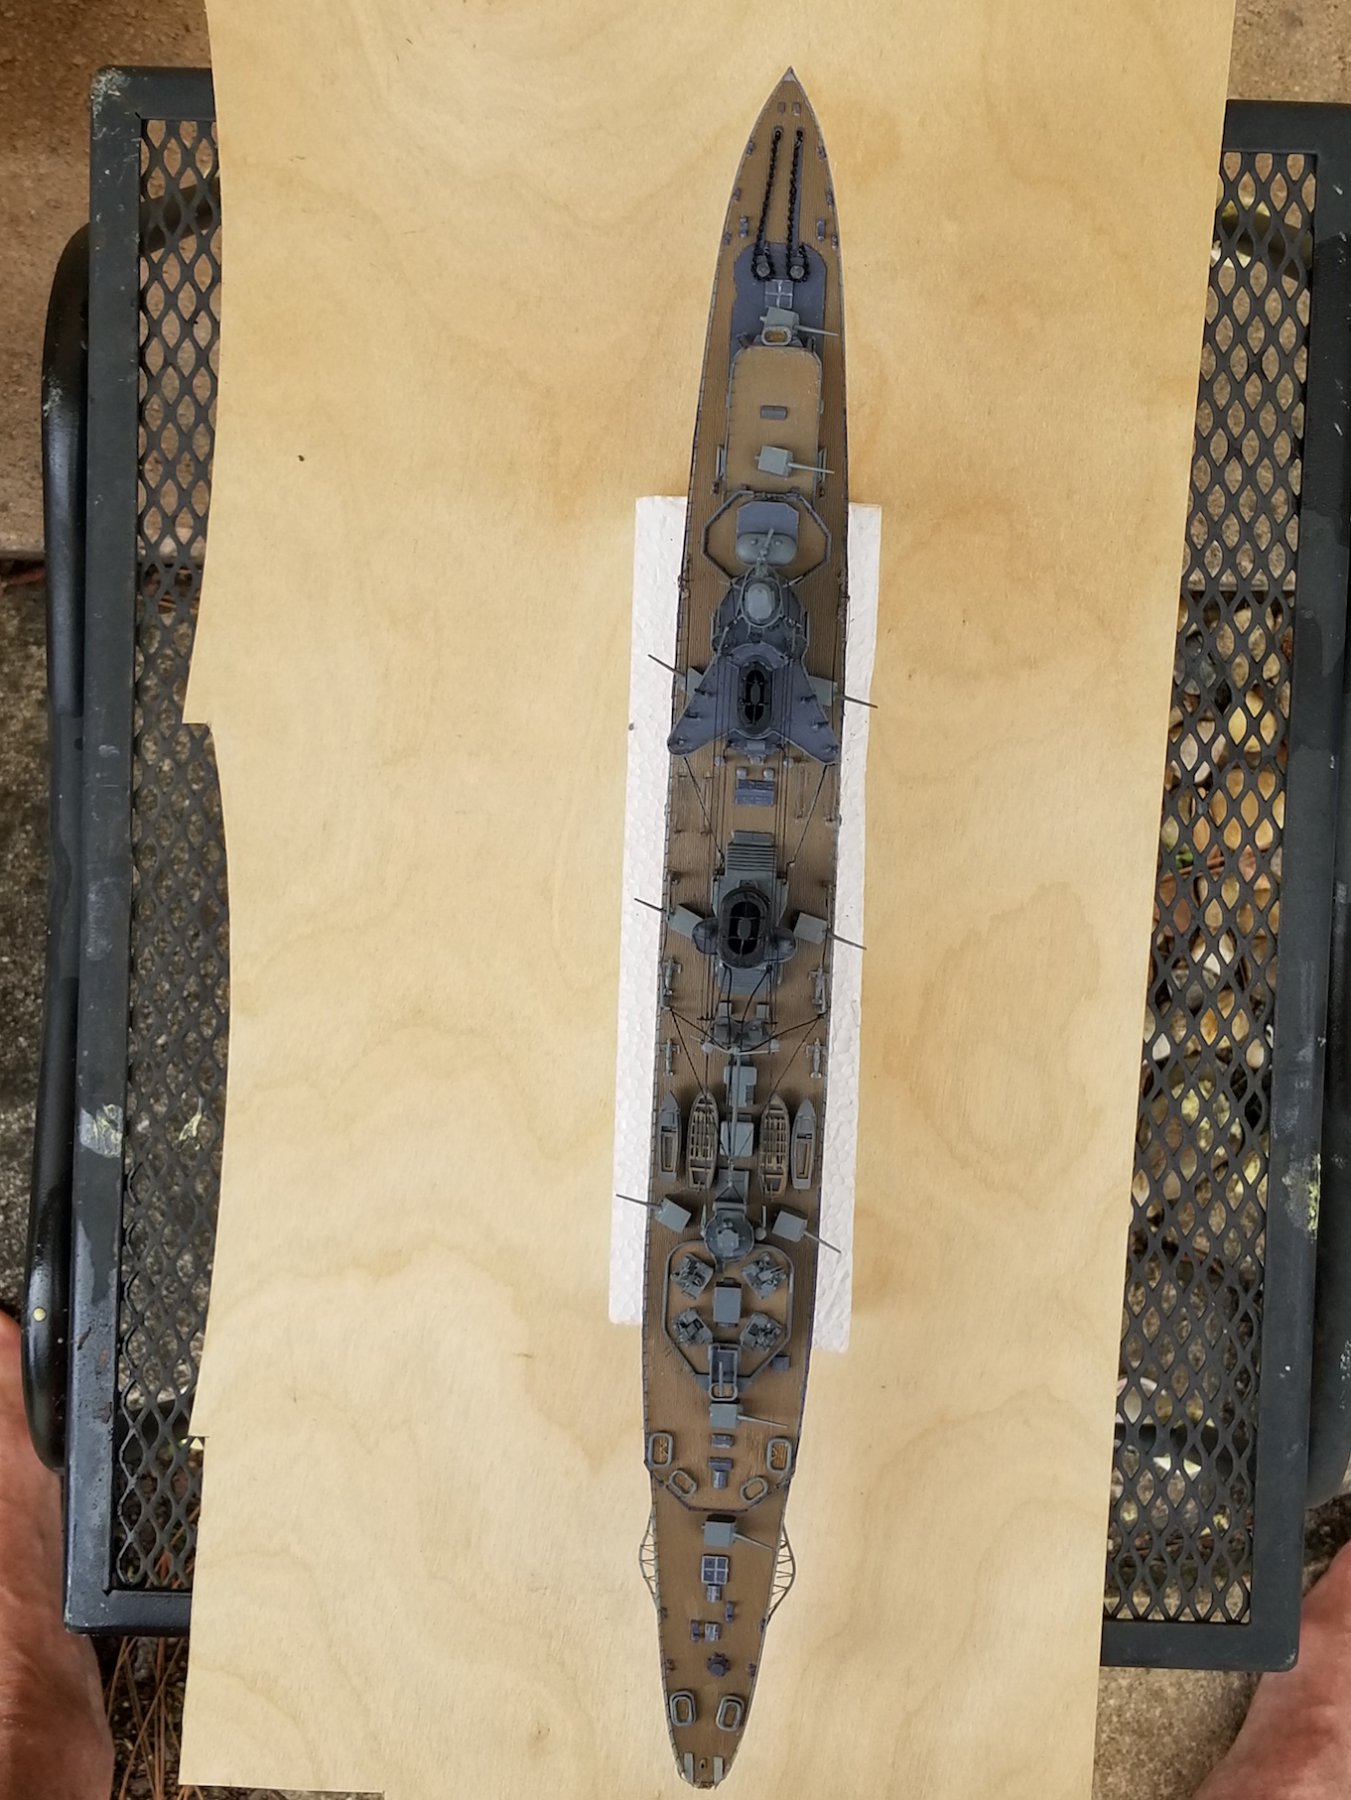
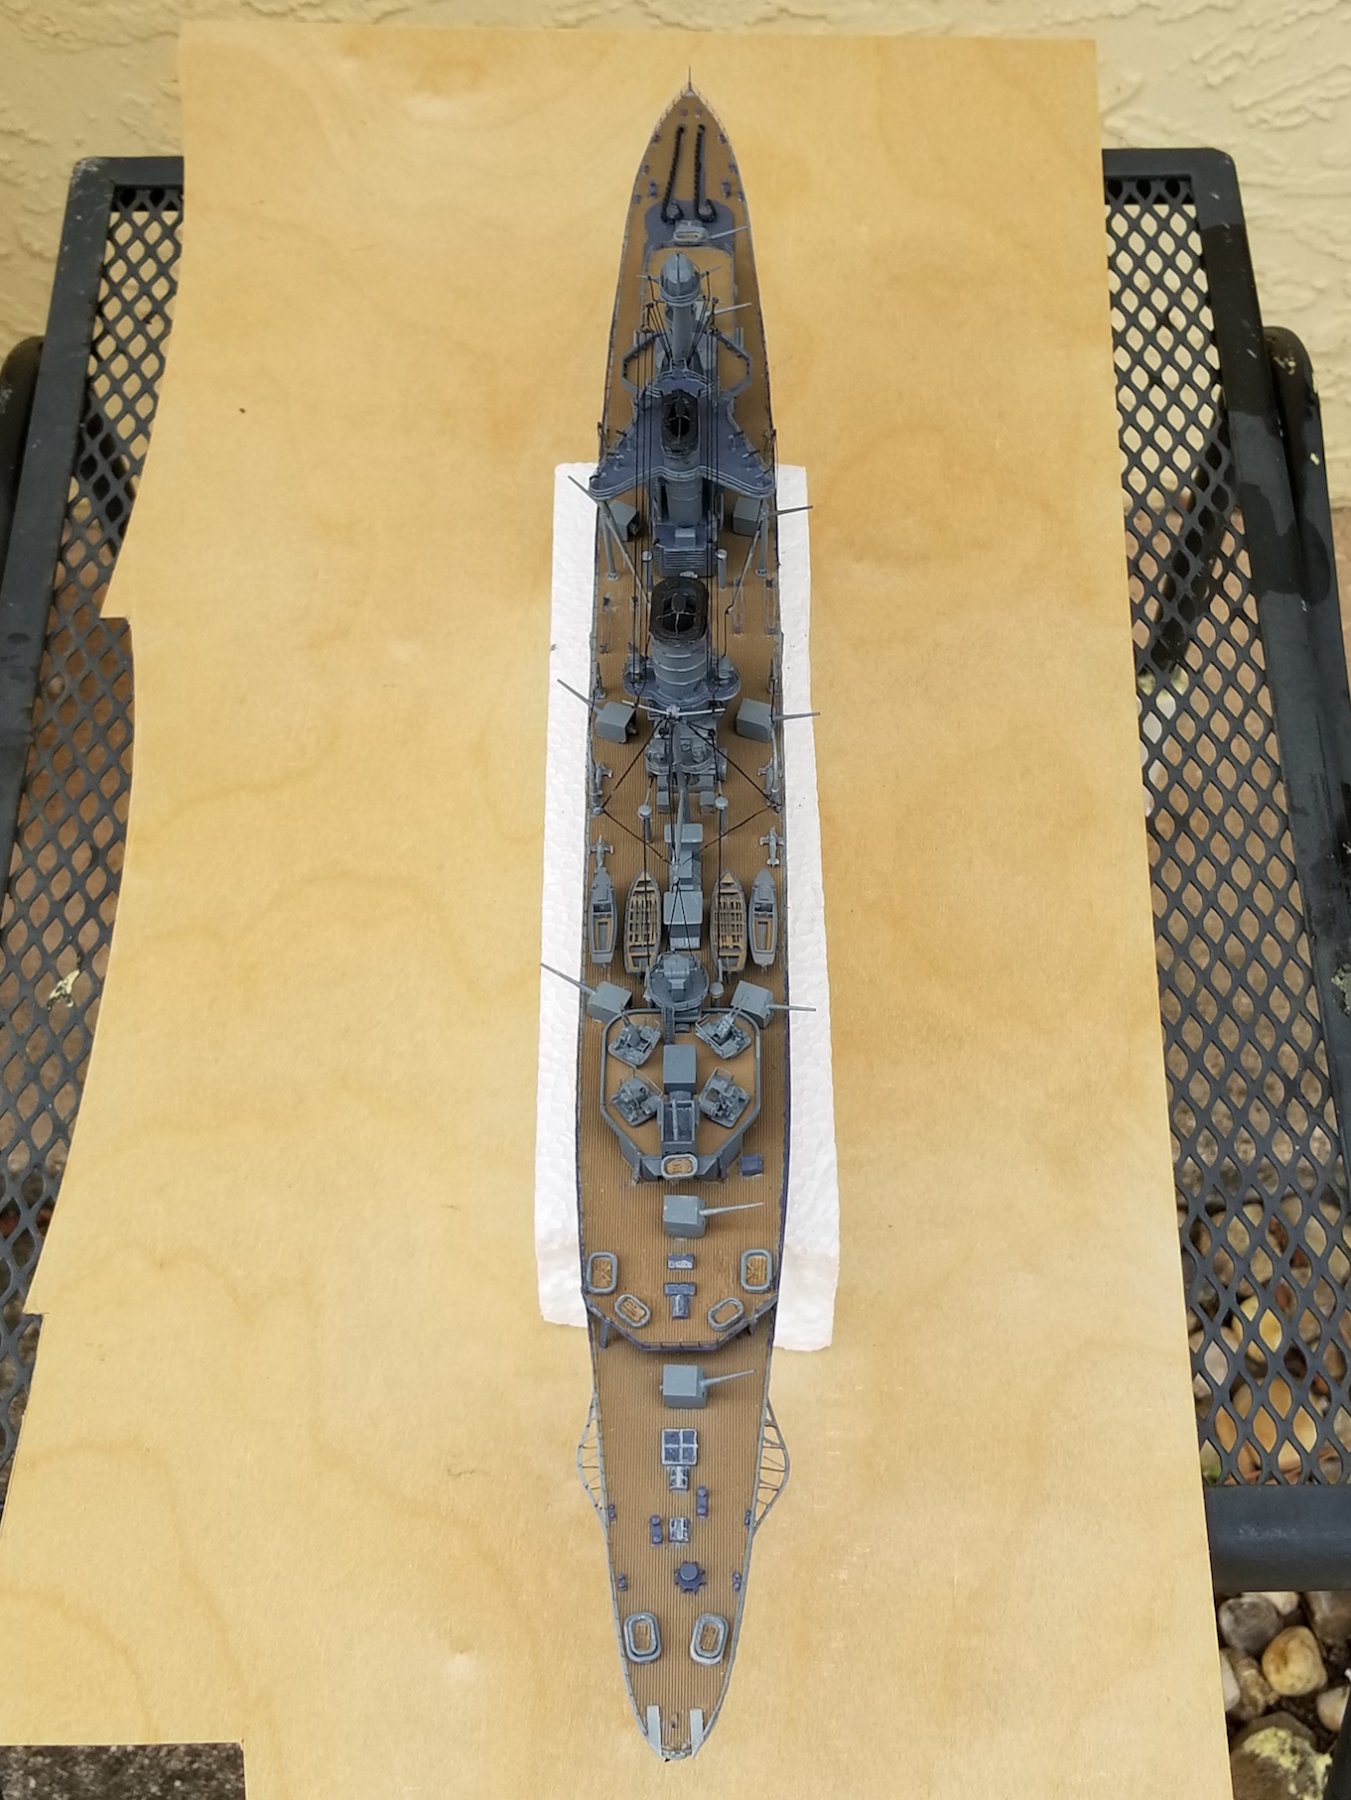
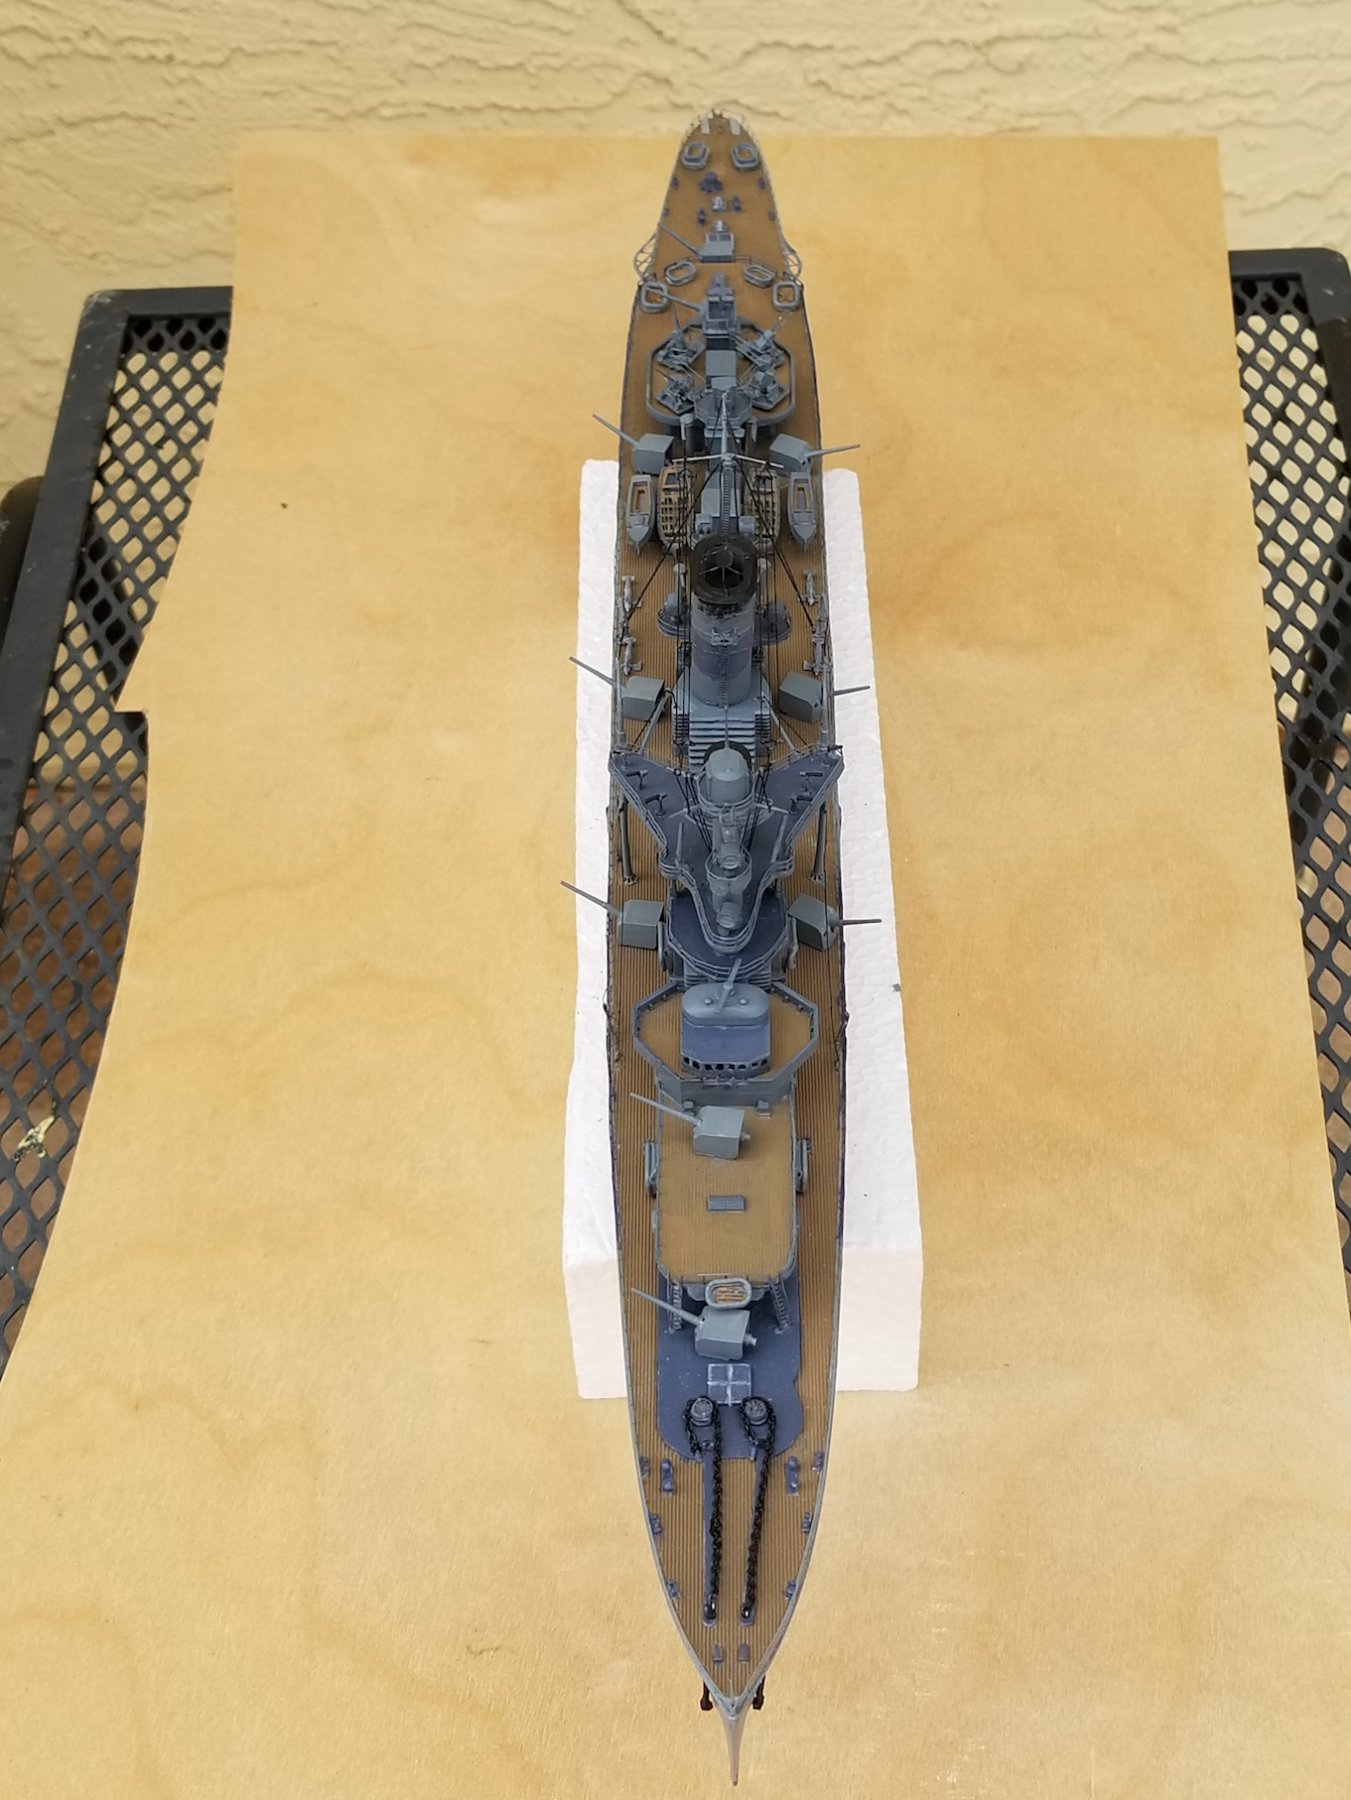
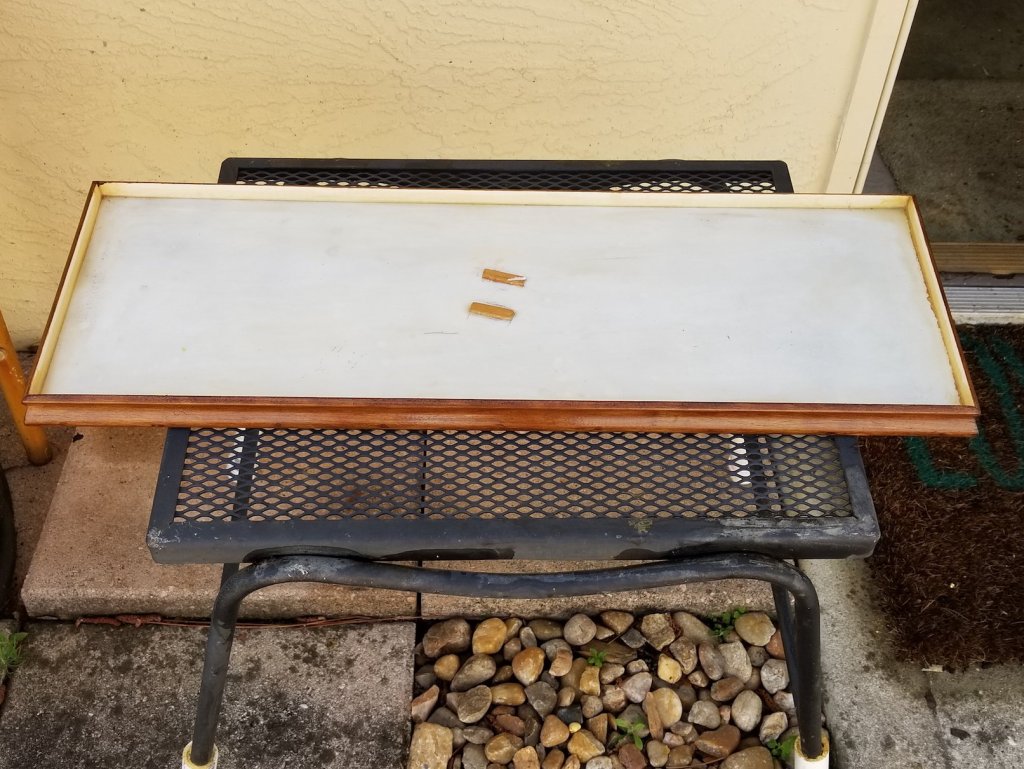
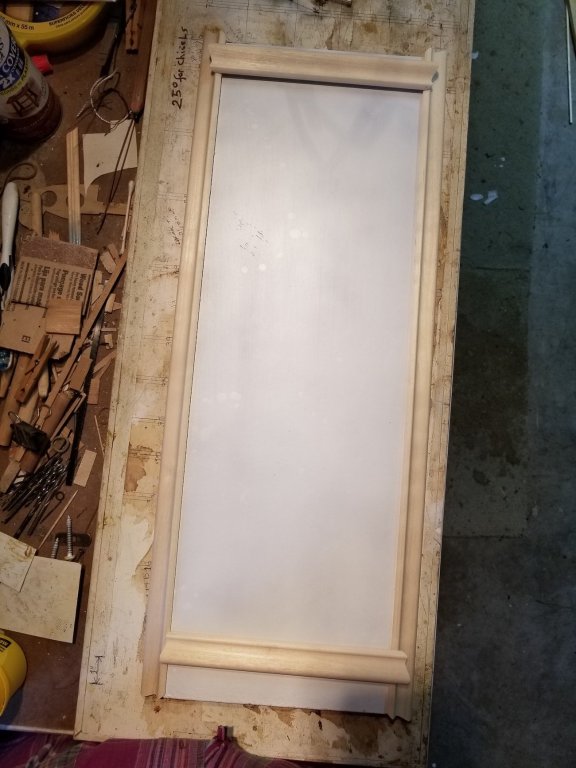
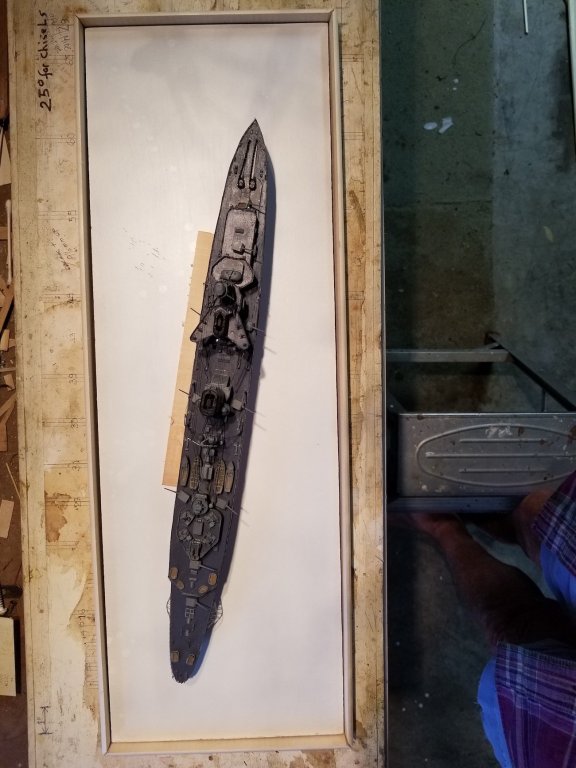
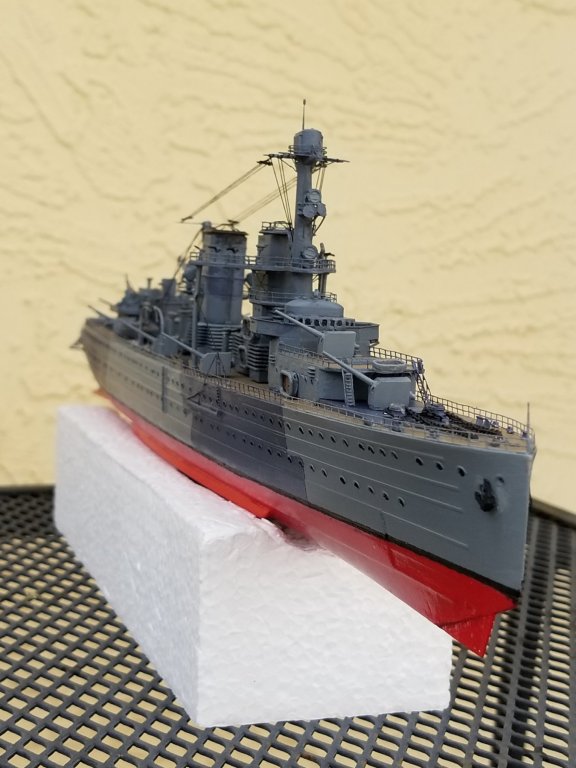
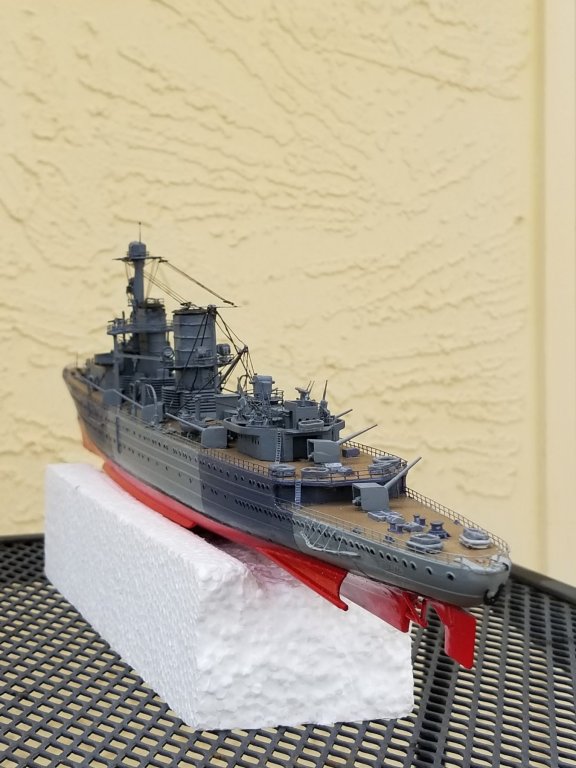
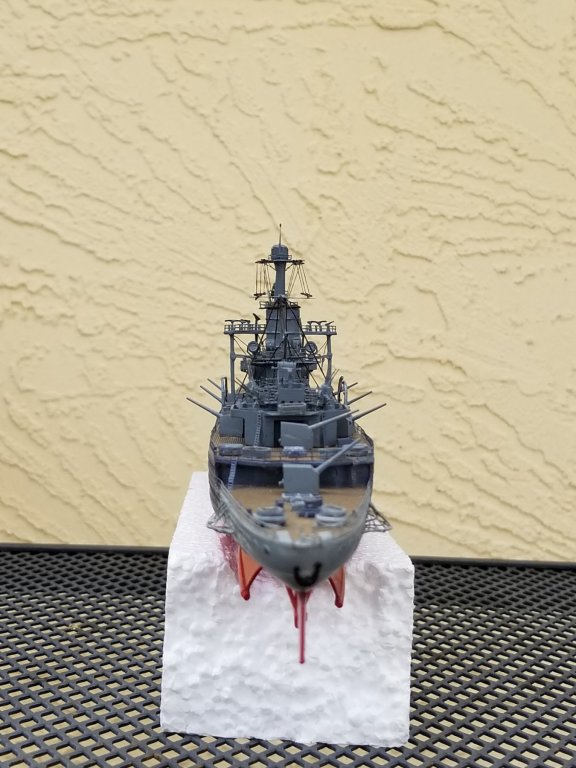
Hello all, Here is an update to the "Java" build. Beris Mulenko from "Pacific Crossroads" gently informed me that I made an error with the deck paint. Sources in the Netherlands told him that the deck was painted in dark grey paint for camouflage purposes. Thus, no matter how much I like that wood deck color I have to go by what the ship looked like in 1942 to keep it authentic. So, we put the ship back in the dockyard and called up a bunch of painters and a lot of paint and proceeded to paint all the deck areas. The paint job came out very good and it should stand out against the blue sea. I made a start with the diorama base a few days ago. I used a 1/4 inch thick cabinet door for the base, 28 inches long by 8 inches wide. I am using the same molding for the sides as I used for the O19 model display base, except I removed 1/4 inch from the bottom part of the molding. After the molding is glued and nailed to the sades it'll make a tub of 1/2 inch depth. I am using brass trim nails for it to lend some support for the glue as i did with the O19 display board. I had to buy a few additional clamps that can open up to clamp the side molding to the base plate. For the side pieces I'll have to rely on the nails to secure the molding to the base as the glue cures. This is as far as I got. Next order of business is the polymer sea material. HobbyLobby sells the stuff for about $30 a pint. I also need the blue coloring material to mix it into the polymer to make it opaque. They also sell a polymer material to make the waves and other water features such as the shell splashes, bow wave, the turbulent water at the hull sides and stern. Like I mentioned before, this'll be an experience for me, a first time effort and hope it comes out okay. Okay, here are a few picks. Hr. Ms. Java with her decks painted dark grey. Hmmm, she does look more war like. The base of the diorama with the molding pieces loosely placed along side and on top of it. It's a very simple molding material that I'll stain in maple. Here I have st "Java" on the diorama base as I like to display her. Another view. Cheers,


- 378 replies
-
- 13
-
-
- java
- pacific crossroads
- (and 2 more)
-
Fokker Dr.I by Mike Dowling - FINISHED - Artesania Latina
Piet replied to Mike Dowling's topic in Non-ship/categorised builds
Nice looking wing Mike. Cheers, -
Great progress Marcus and a nice looking wheel. Cheers,
-
Thanks for your kind words Lawrence, really appreciate it. I'll be visiting your new build for sure. Cheers,
- 378 replies
-
- 4
-
-
- java
- pacific crossroads
- (and 2 more)
-
Nice work Denis. Cheers,
-
Thanks for showing it John. Brings back memories of the few I was lucky to visit. Yes, Marcus, your shutters and doors do look really Dutch, nicely done. Cheers,
-
Fokker Dr.I by Mike Dowling - FINISHED - Artesania Latina
Piet replied to Mike Dowling's topic in Non-ship/categorised builds
Yes Mike, just like the Camel with the exception to do the fuselage 3/4. Leave one side open, that'll give you enough viewing area for the entire inside. The plane looks really nice. Cheers, -
HMS ROYAL KATHERINE 1664 by Doris - 1/55 - CARD
Piet replied to DORIS's topic in - Build logs for subjects built 1501 - 1750
Indeed very beautiful work Doris. I'm speechless. Cheers,- 1,035 replies
-
- 5
-
-
- royal katherine
- ship of the line
- (and 1 more)
-
Tough break Denis, keep o plugging, something good will show up. Cheers,
-
Fokker Dr.I by Mike Dowling - FINISHED - Artesania Latina
Piet replied to Mike Dowling's topic in Non-ship/categorised builds
I started going through your log day before yesterday, yesterday and caught up now. This sure brings back memories from a previous life when I owned and operated an aircraft repair business. Yeah, repaired quite a few damaged steel tube fuselages and wooden as well as metal rib, fabric covered airplanes. We never made much money but I had a lot of fun, especially test flying them after they were put together. As a matter of interest the more modern steel tube fuselages do not have the bracing anymore. Some more high performance aircraft had diagonal tubing welded instead though. You are doing a bang-up job Mike. Hope you don't mind tagging along. Cheers, -
Now them's some super nice looking shutters Marcus. Yeah, we had a pair in ceramic painted in Delft blue but unfortunately the girl was dropped and broke in many small pieces. All we have left is the little boy. Gwen is going to buy a replacement pair. Cheers,
-
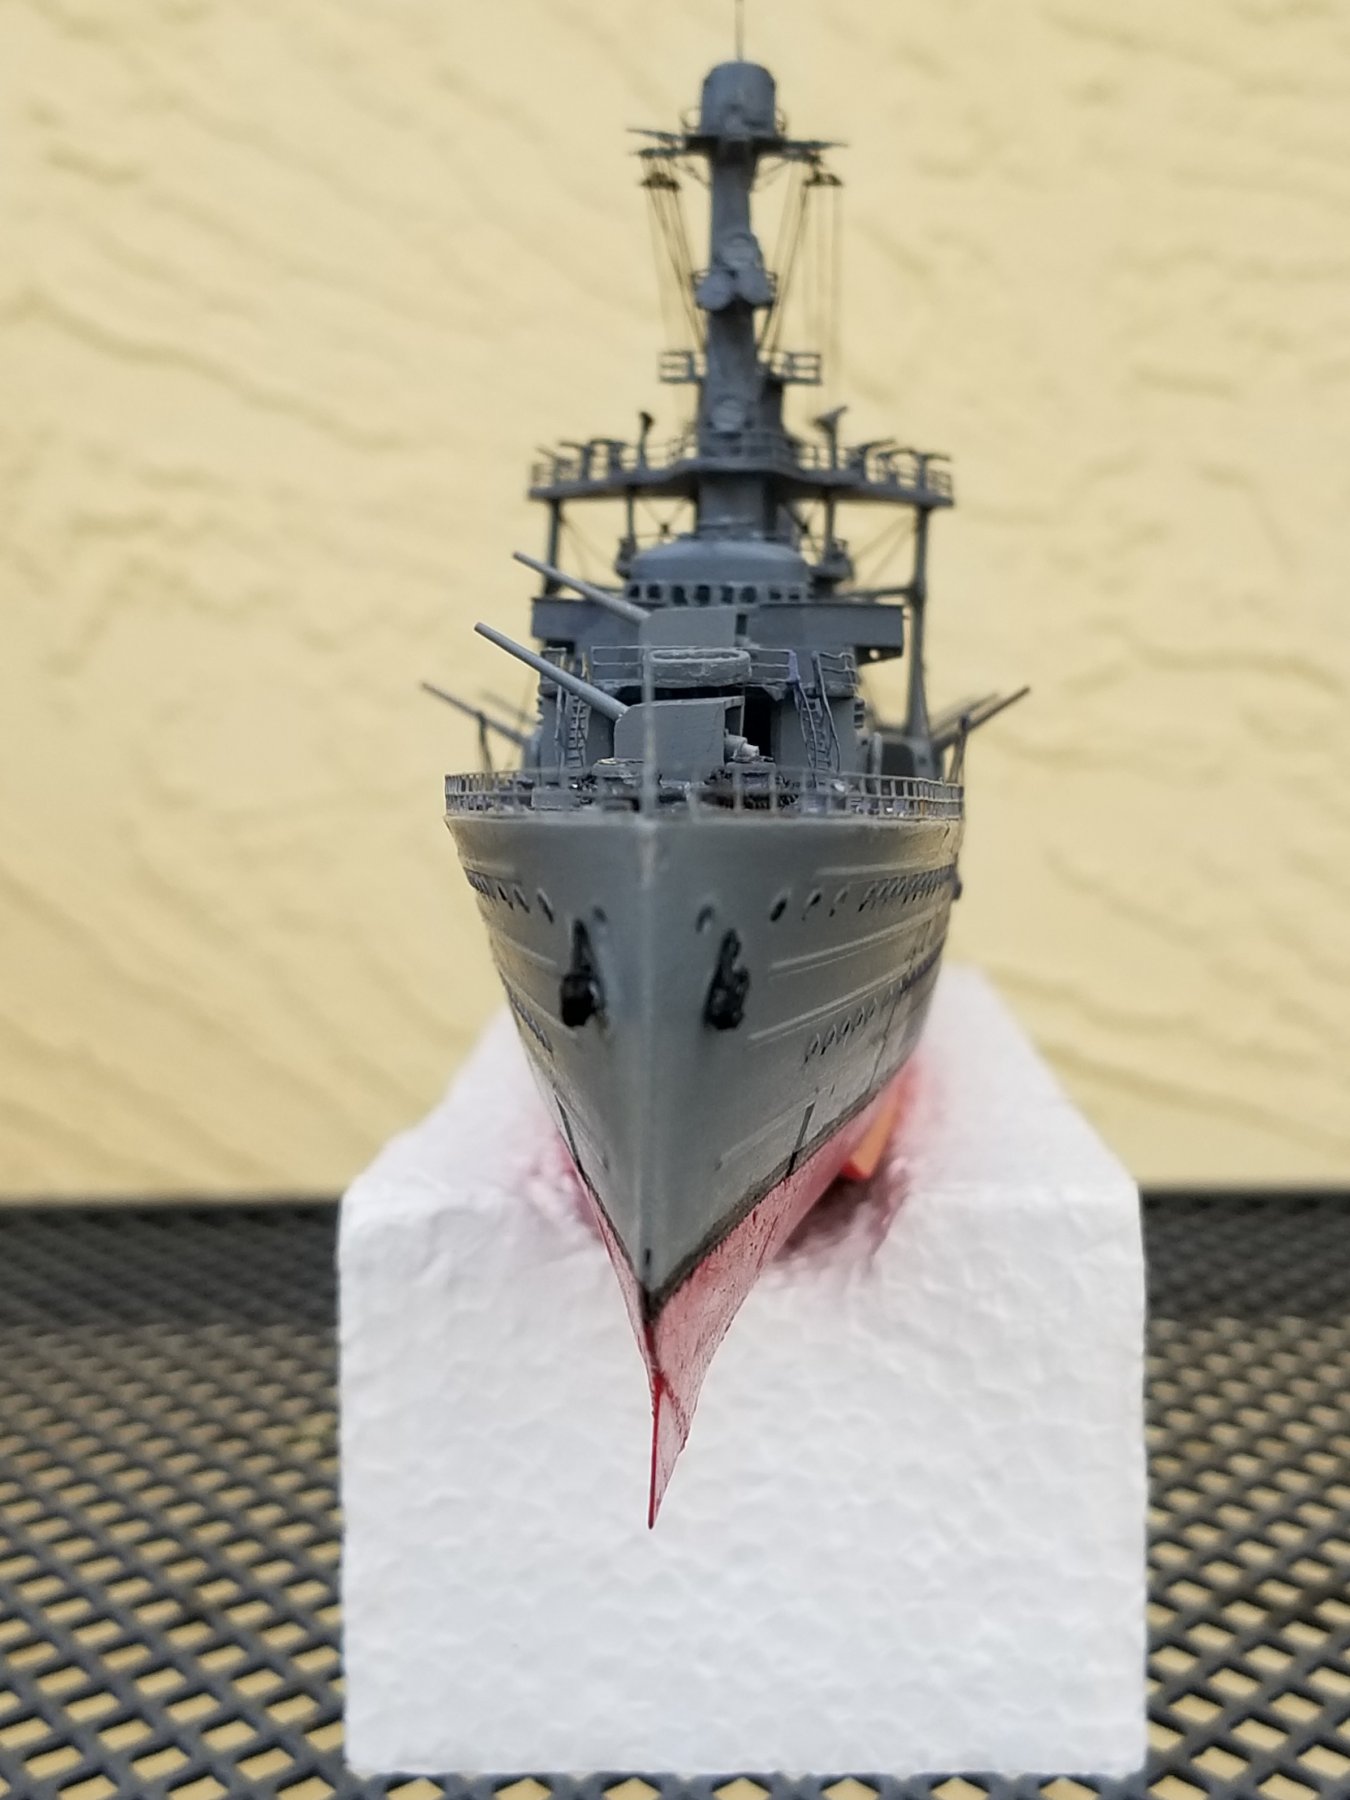
Thanks very much gentlemen for your kind comments and suggestions, I'll try to remember them for the future. Thanks also to all who clicked the like button. Yeah, Dennis but I'll wait making a new one when the ship is securely in the sea, that way I won't accidentally brush against again. Well, I have completed the model and am about to start with the diorama base. This will take a little while because it's all new to me. For now I like to post a few pics as "Java" looks like as of today. Cheers,


- 378 replies
-
- 19
-
-
- java
- pacific crossroads
- (and 2 more)
-
Hope the test works well for you, good luck. Cheers,