Louie da fly
-
Posts
7,990 -
Joined
-
Last visited
Content Type
Profiles
Forums
Gallery
Events
Everything posted by Louie da fly
-
 This is probably true. Not only does the leather (not rawhide but tanned leather) protect the face of the planks, but it also helps hold them together. With regard to this, see https://history.stackexchange.com/questions/38925/anglo-saxon-law-banning-sheepskin-covered-shields where sheep's hide is forbidden as a covering for a shield. The generally accepted explanation for this is that sheepskin is inferior to cowhide. I don't know about the Vikings, but the Anglo-Saxons had a plentiful supply of cattle, as the excavations at Hamwic (now part of Southampton) demonstrate. Steven
 -
Those bolt ropes look very good, and that's a very nice decoration on the sail. Have you any idea what the significance of the key is? Steven
- 175 replies
-
- 2
-

-
- hanse kogge
- shipyard
- (and 1 more)
-
He's a great example of the Strine wire flife. Funny, I didn't have any trouble understanding him . . . "Cooper" is from the same root word as the word "cup" - originally a cooper made barrels and cups. The street Coppergate in York (UK), where they found a large number of Viking artefacts is the Street ("gate" - a doublet of the word "gait") of the Coopers. Steven
-
I've never seen a "staged" mast like that. I wonder what evidence the kit manufacturers have to back it up. The cog itself is looking very good. Whatever problems you may have been encountering, you seem to have progressively triumphed over them. Steven
- 175 replies
-
- 3
-
-
- hanse kogge
- shipyard
- (and 1 more)
-
And the "Good Ship Lollipop" was an aircraft - a DC2, if I remember correctly . . . Steven
-
You might be interested in the seams used to join fabric in recovered Viking garments - see https://nokkvidr.wordpress.com/make-it/sewing-fabric/techniques/flattening-seams/ Might help you choose how to join the panels in your sail. Steven
-
Very nice work, Silverman! The level of detail is amazing - both figures wearing undershirts beneath their tunics, and the knot in the belt of the second one, the purse on the first one's belt - I take my hat off to you sir! Yes, that's me in my Byzantine kit - based on contemporary representations. The photo was taken at Easter quite a few years ago - so that's the cool part of the year Down Under. But in summer it can get up to 40 degrees C - basically you just get used to it. Steven
-
Rather than this . . . Nice armour - shame about the hose . . .
-
Beautiful work, Silverman. Very convincing. But as those of us who've worn them know, maybe the hose should have been a bit baggy at the knees? (or is the fabric cut on the bias?) Seriously, though, I'm extremely impressed by the clothing on these figures. You've really made it look real. Can't wait to see it all painted. Steven
-
Interesting idea. From personal experience with the real thing, round shields with central bosses are a bugger to stack - they seem to develop a mind of their own. Unless you tie them together somehow (and I have no idea how), they're liable to roll around the deck and get in the way and have people fall over them. If each of them has a guige (shoulder strap) and it's tied/buckled around its own thwart, perhaps that would work? Steven

-
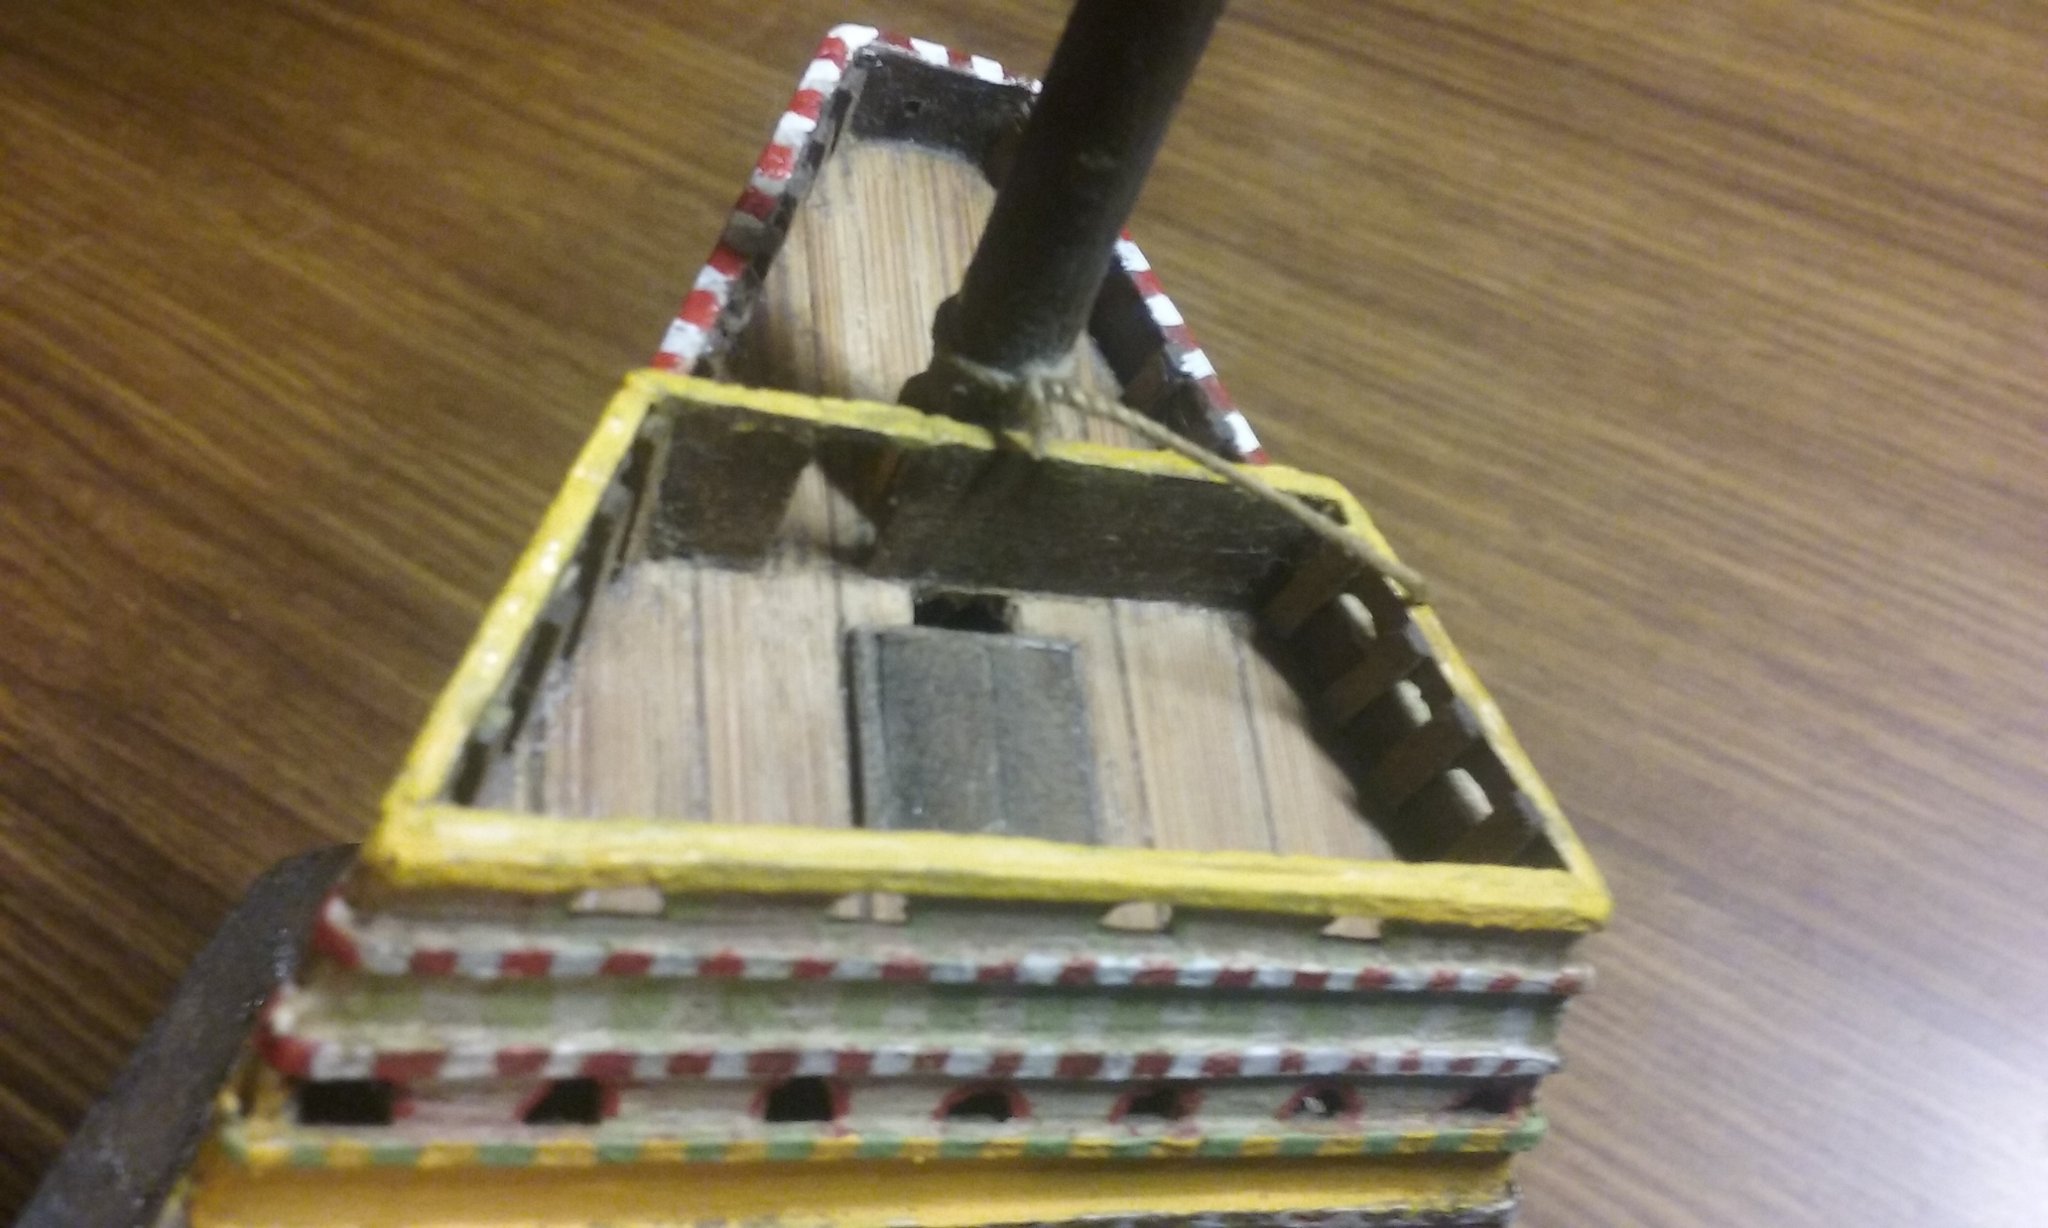
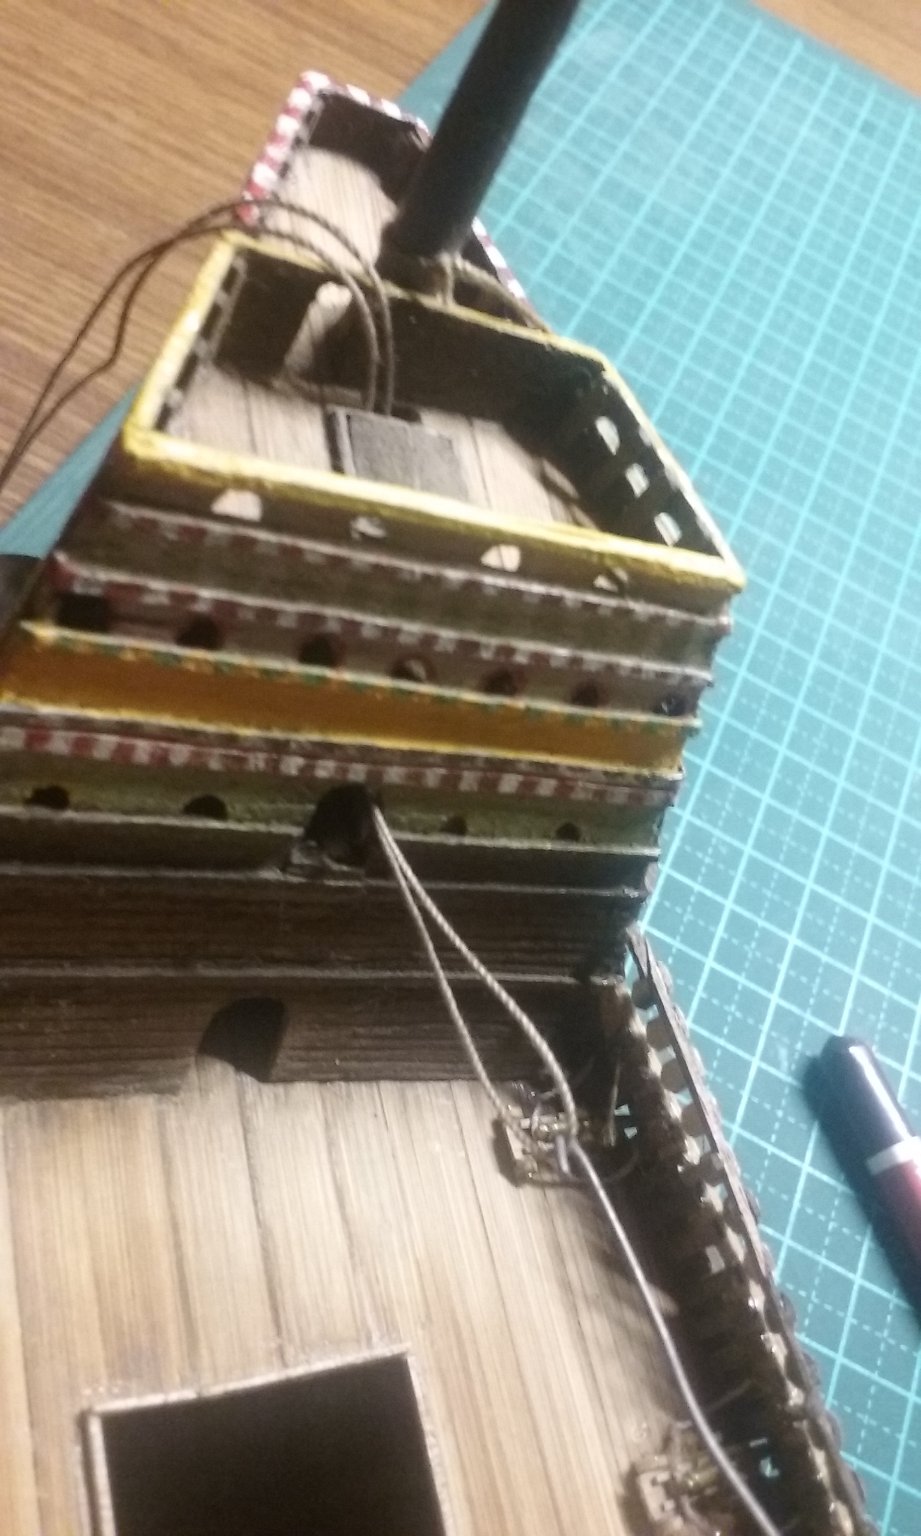
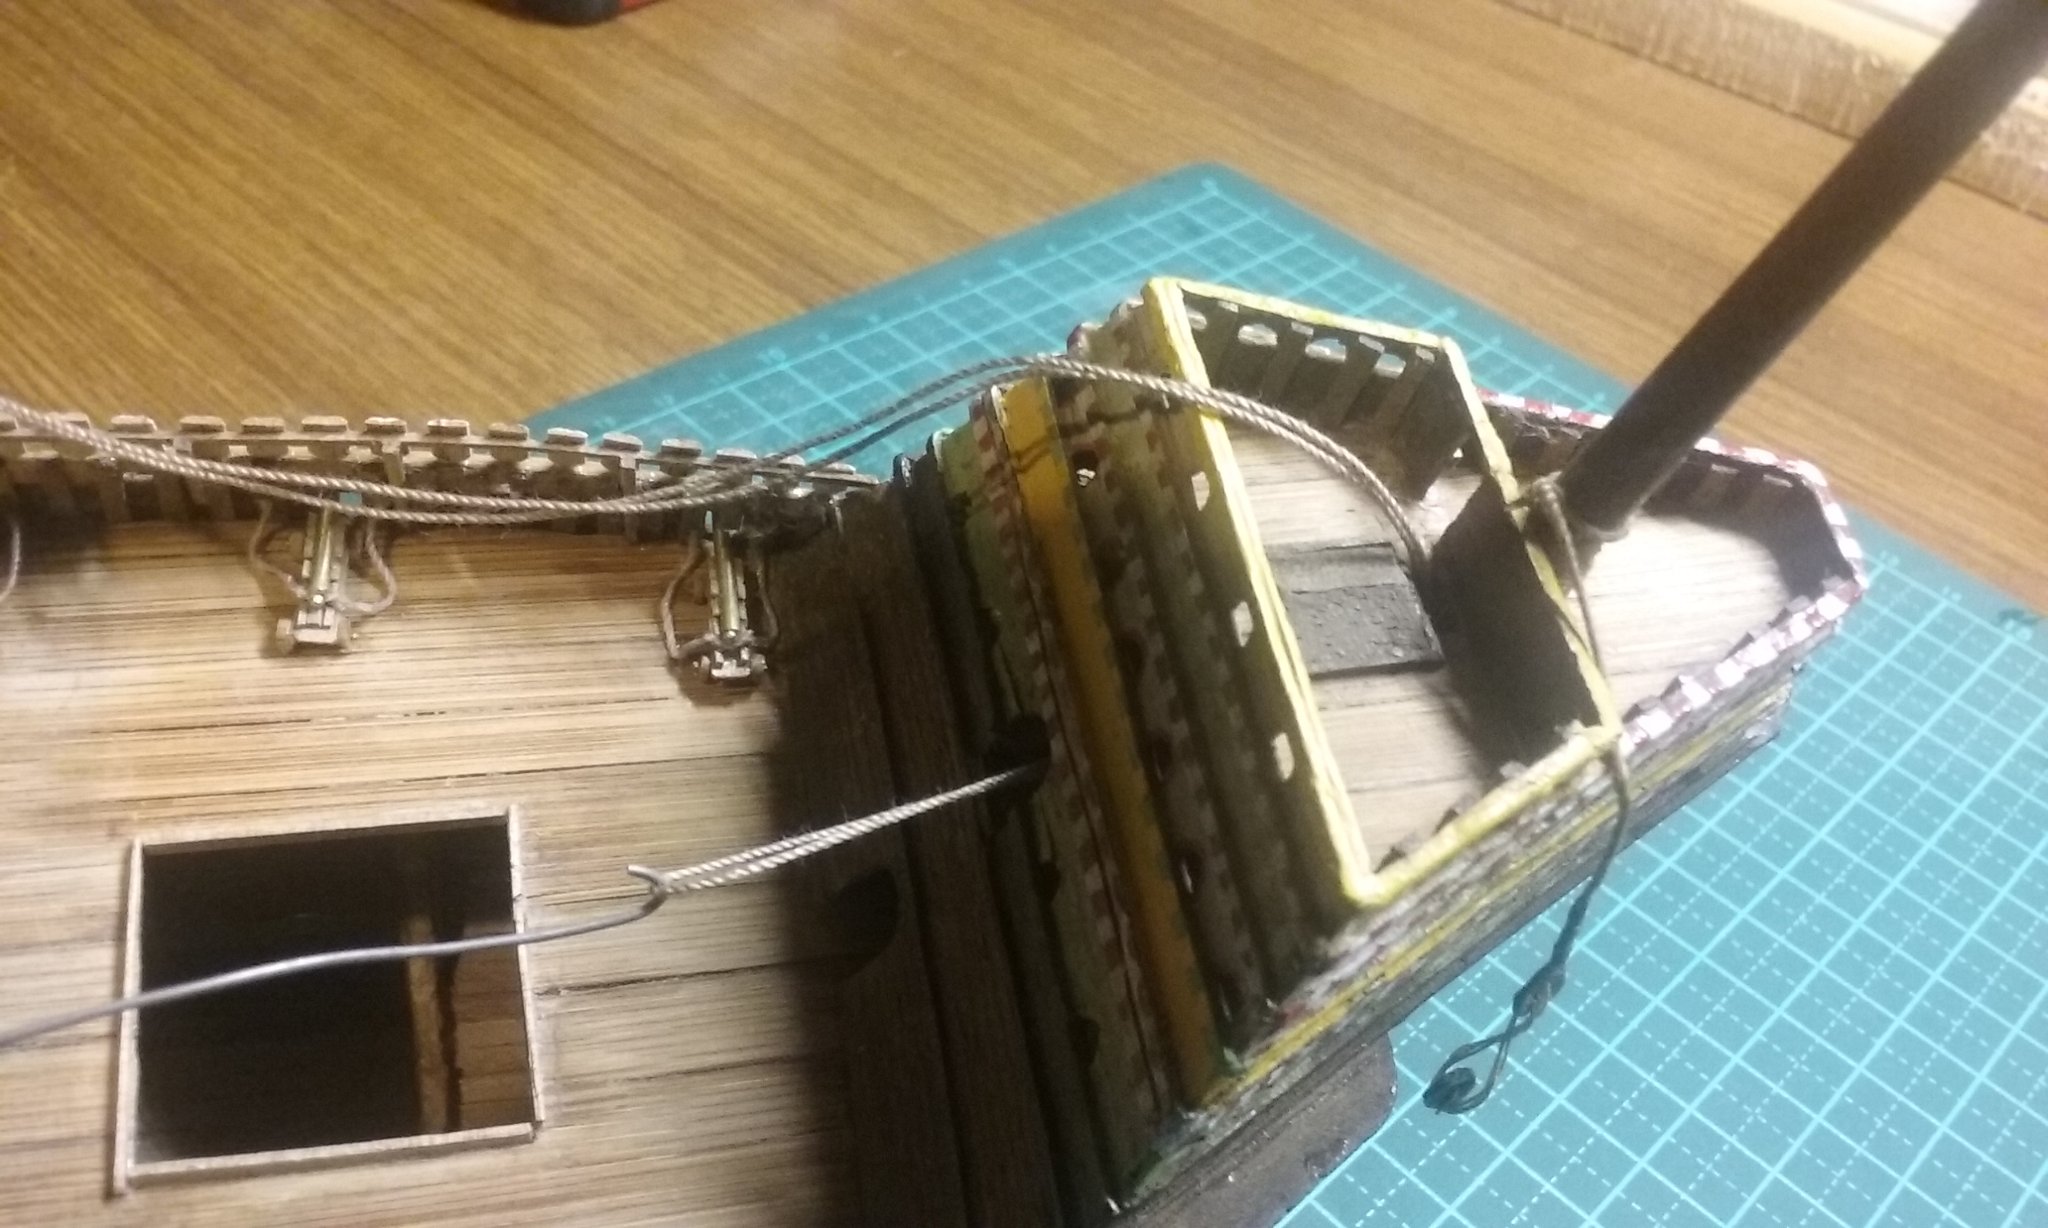
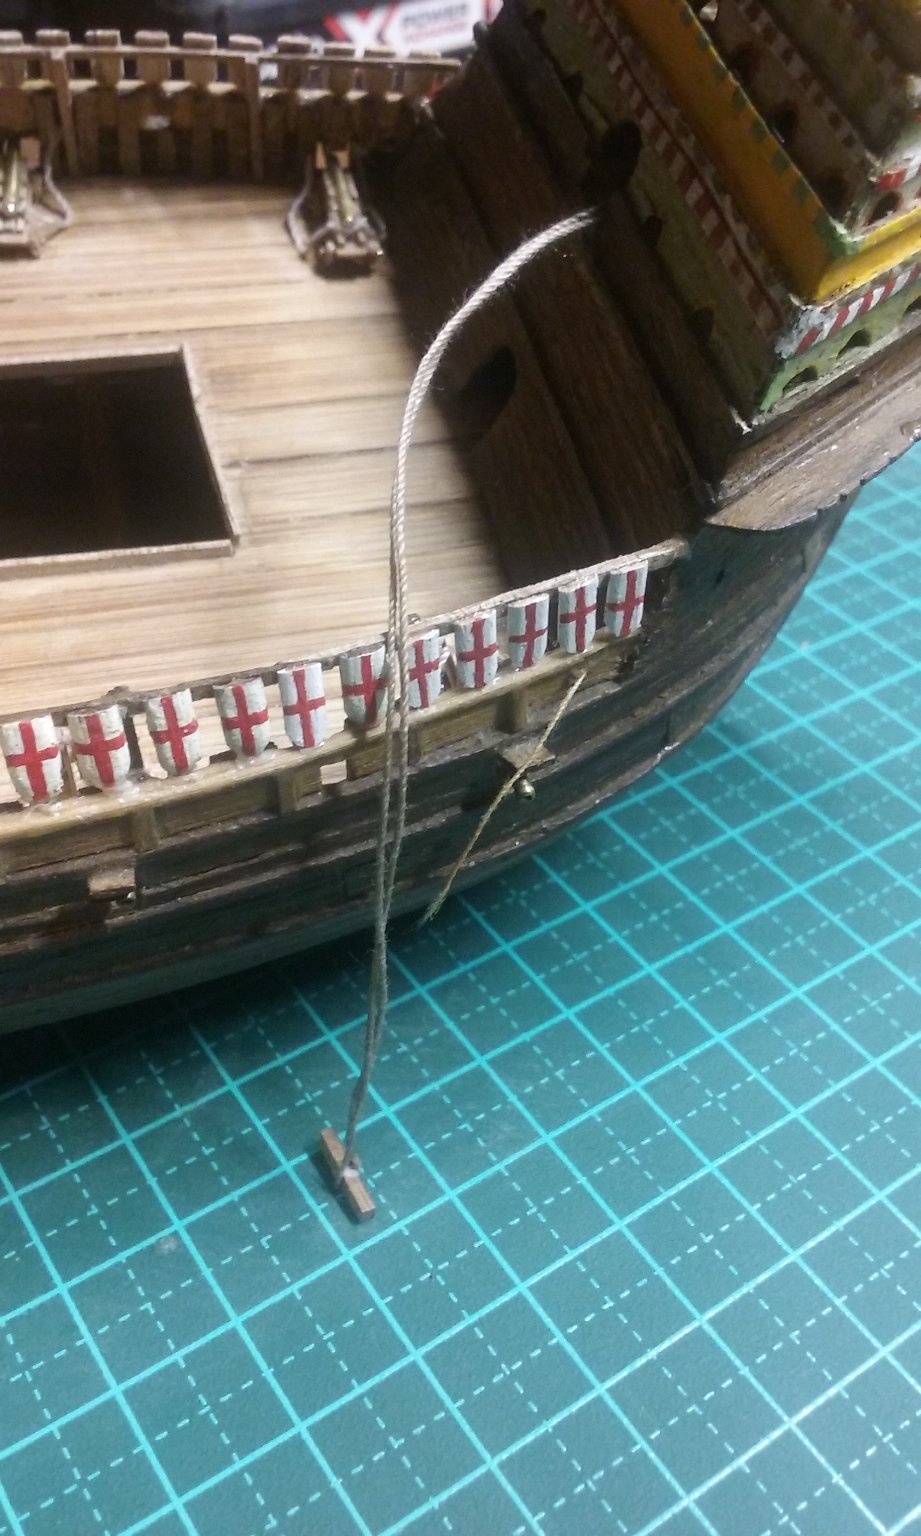
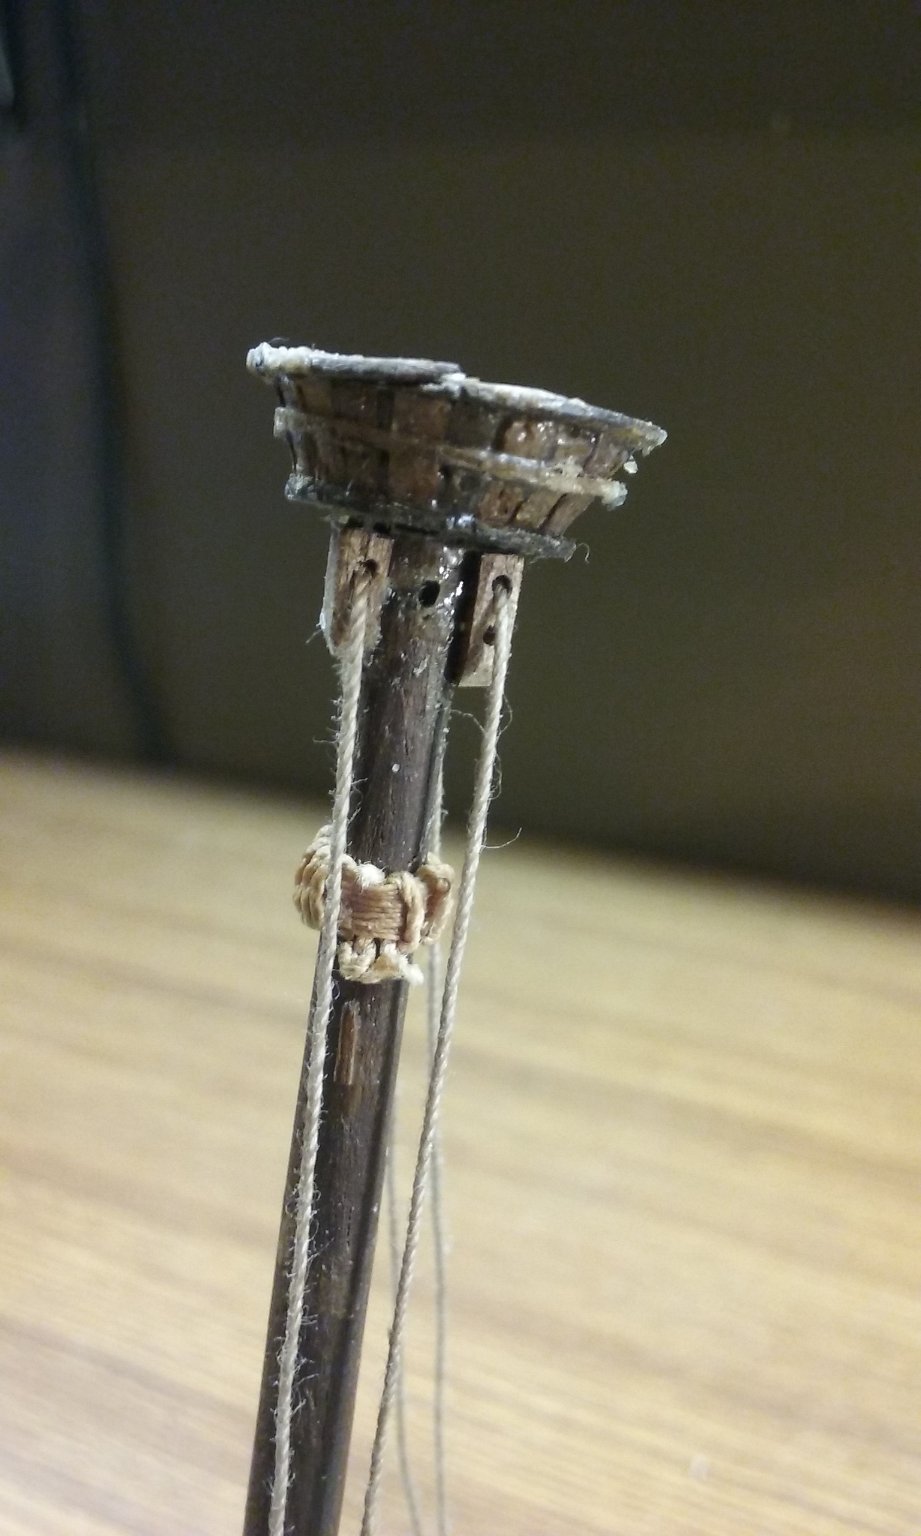
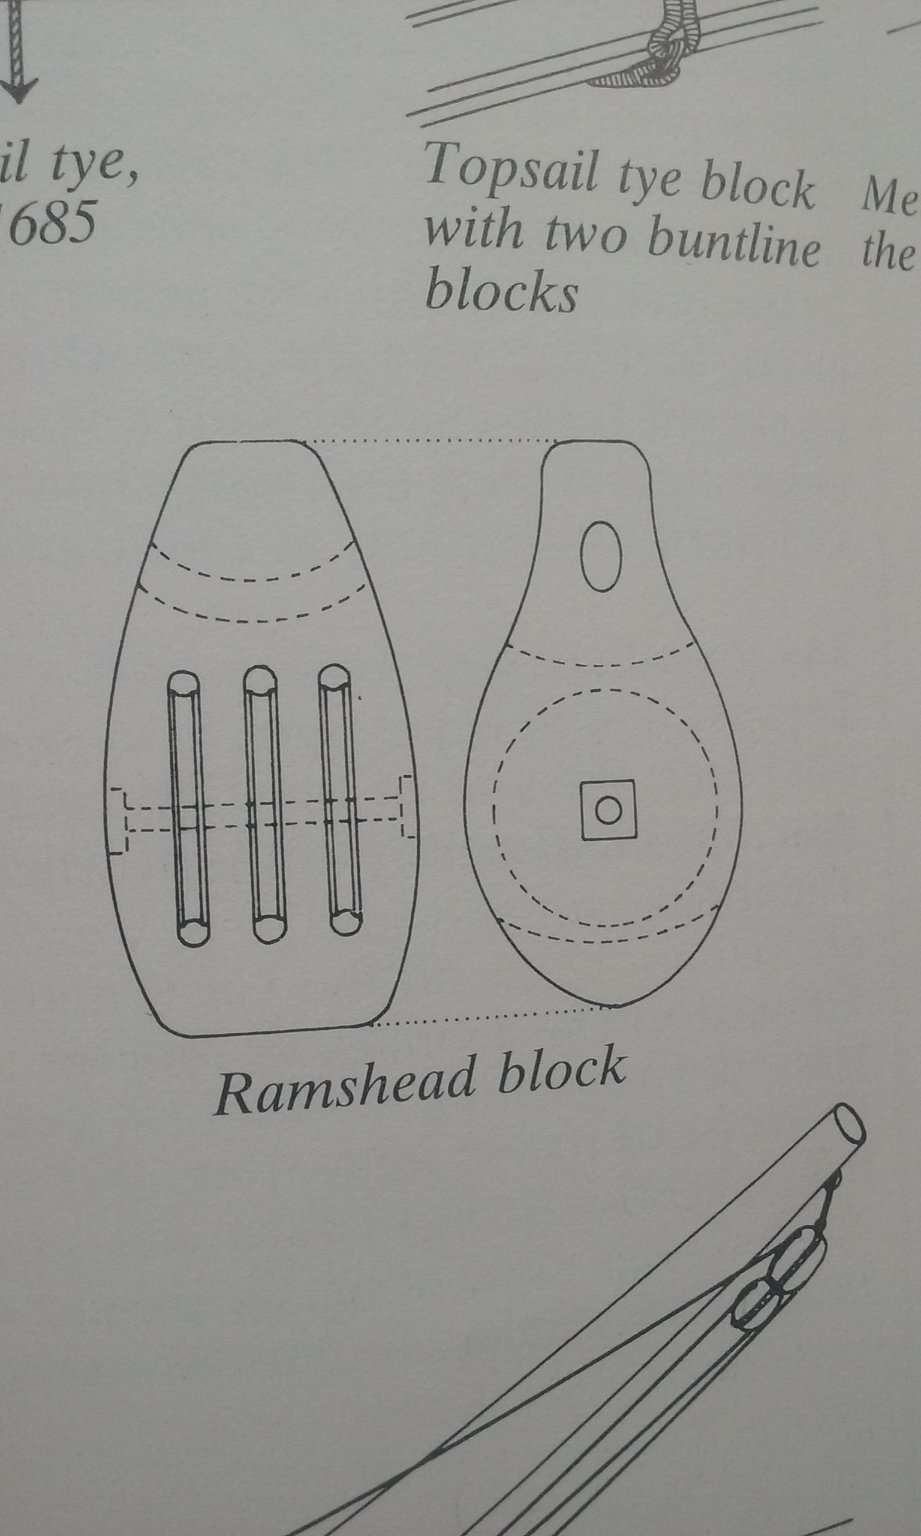
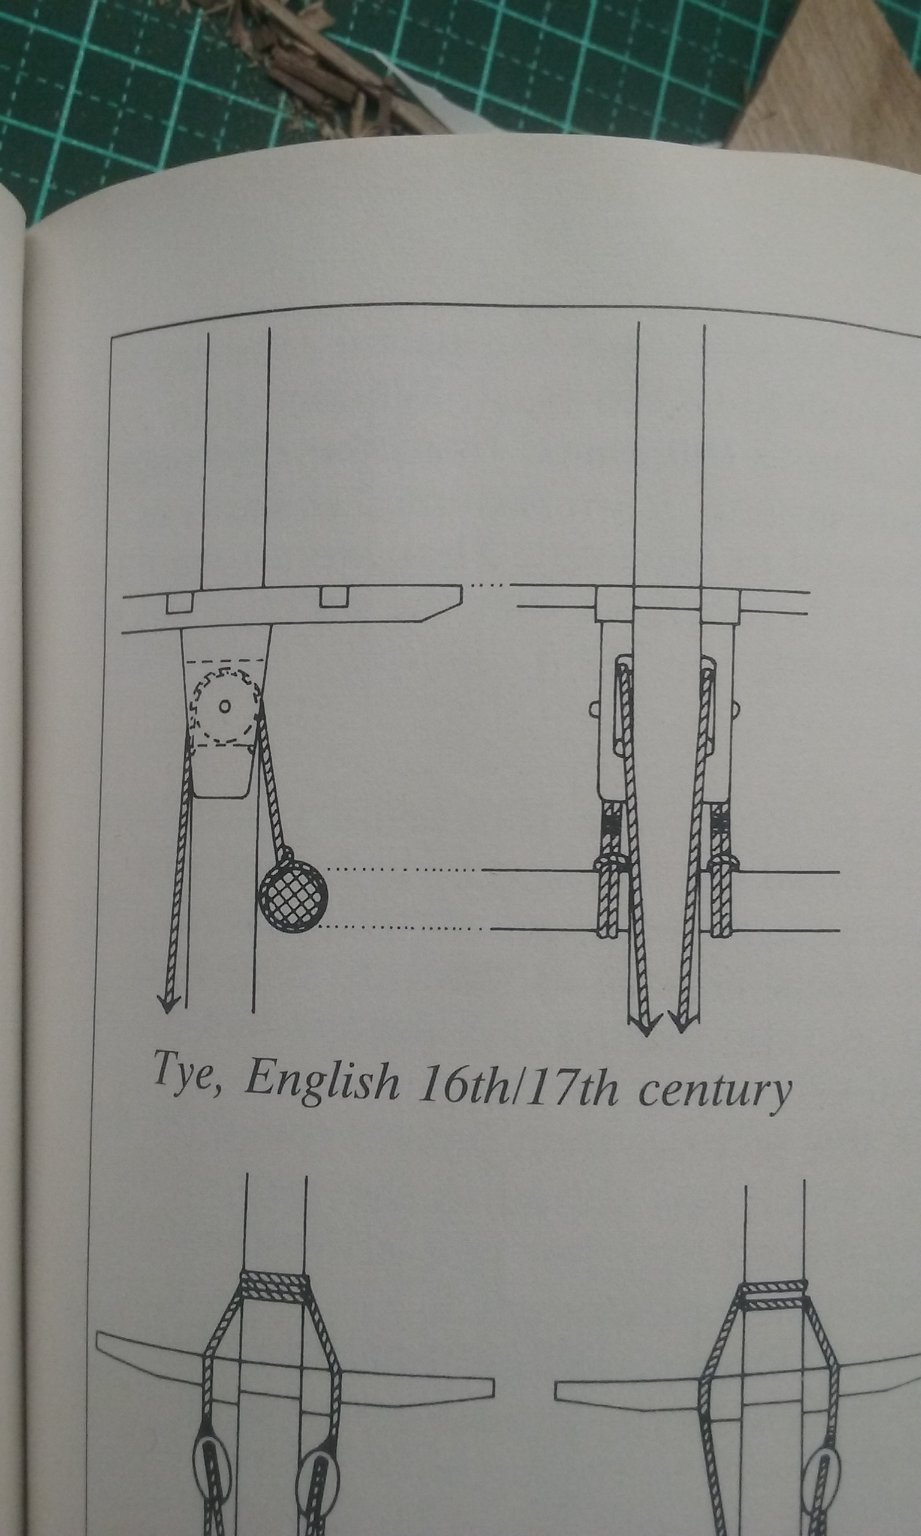
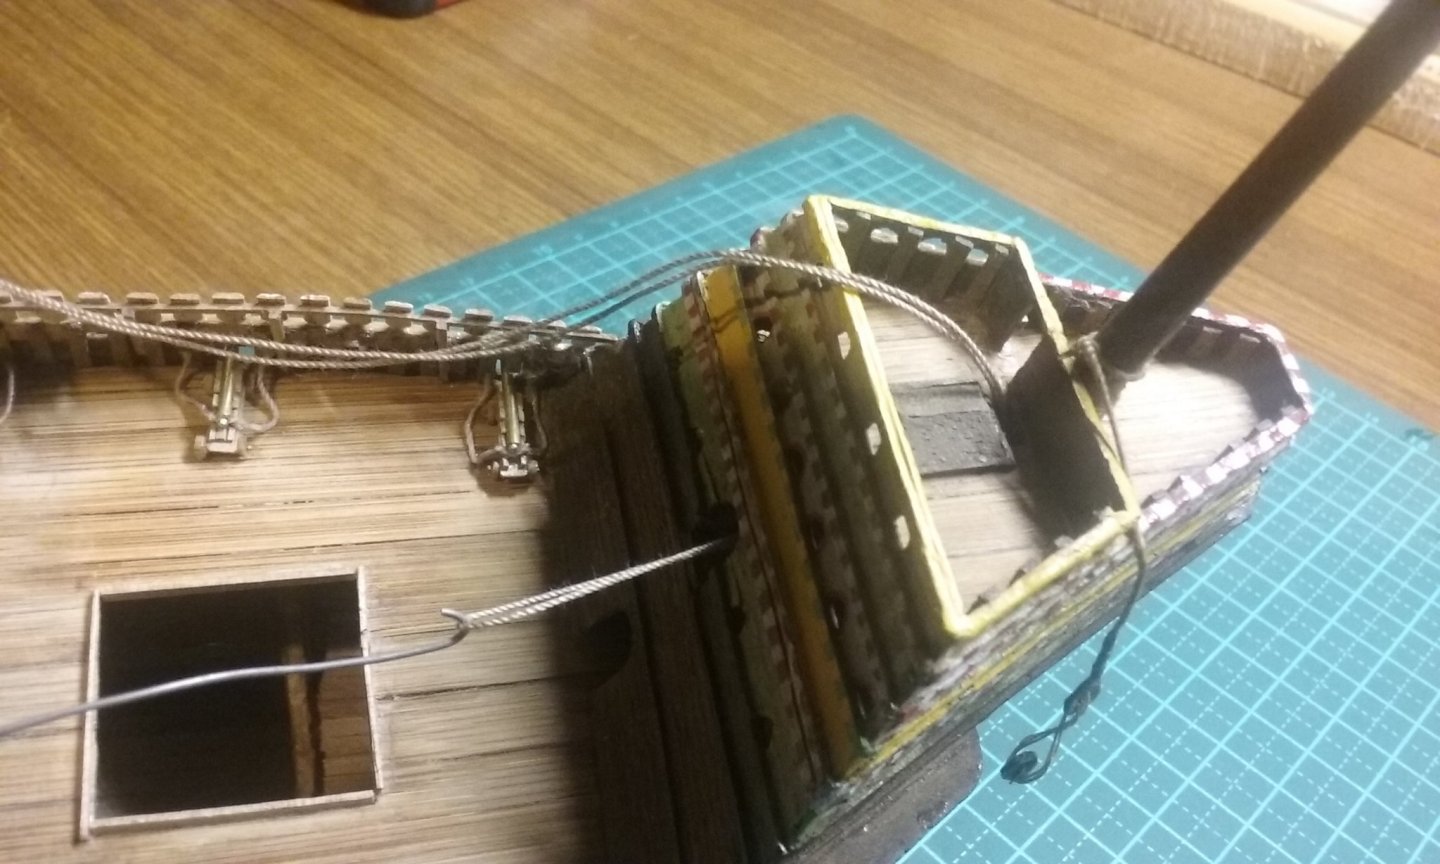
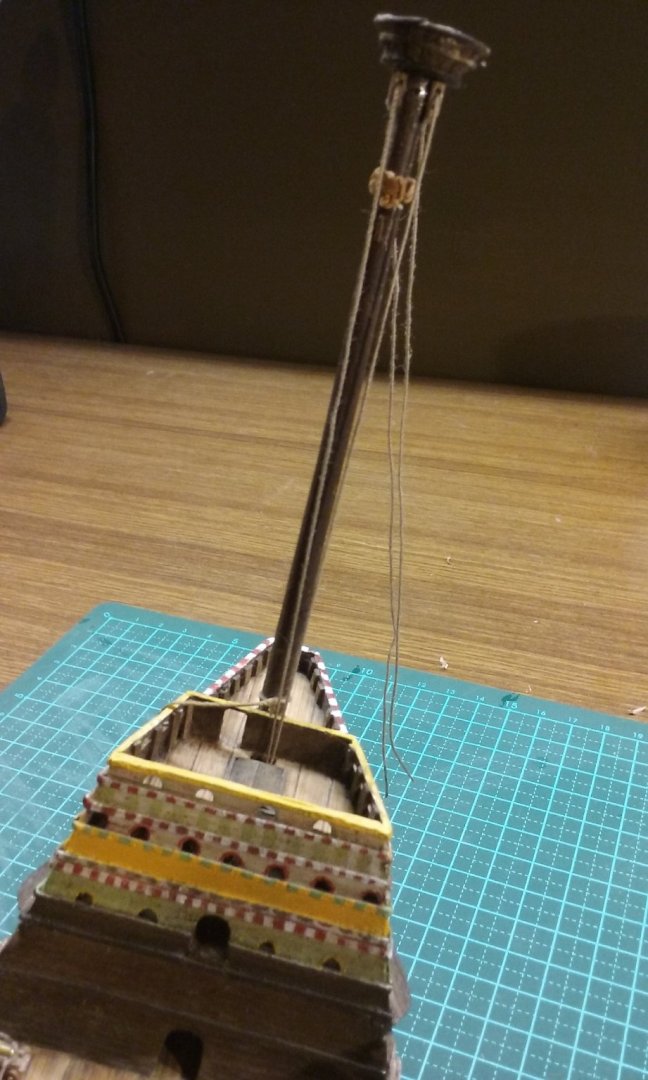
For the foremast I realised there just wasn't enough room on the forecastle for the knight and a capstan - so I've cut a hole in the forecastle deck to lead the ties down to a supposed knight and capstan conveniently hidden belowdecks. Then the problem was to lead those ties down and fix their ends belowdecks. So, I led the ties as a loop through the hole in the forecastle deck and made a wire hook to grab the loop and pull it out through the "doorway" at the break of the forecastle. I got the inspiration for this method from C.S. Forester's Lieutenant Hornblower (where a gunner uses it to repair an unbushed cannon). And then I put a bit of wood through the loop and glued it in place. Then slid the piece of wood through the "doorway" and glued it in place on the inner deck. Next I put cheeks with sheaves on the foremast and threaded the ties through them. Needs a bit of tidying up. You can see the hole in the mast where I'd originally intended to put a single tie - until I did some reading and realised they were always double. A bit of filler will fix that. And I've been working on the stand. Not finished yet, but well on the way. Dry fitted. Steven


- 740 replies
-
- 13
-
-
- Tudor
- restoration
- (and 4 more)
-
That's pretty much what Woodrat decided to do with the mast on his Frumious Hulc. Steven
- 179 replies
-
- 2
-
-
- longship
- Helga Holm
- (and 1 more)
-
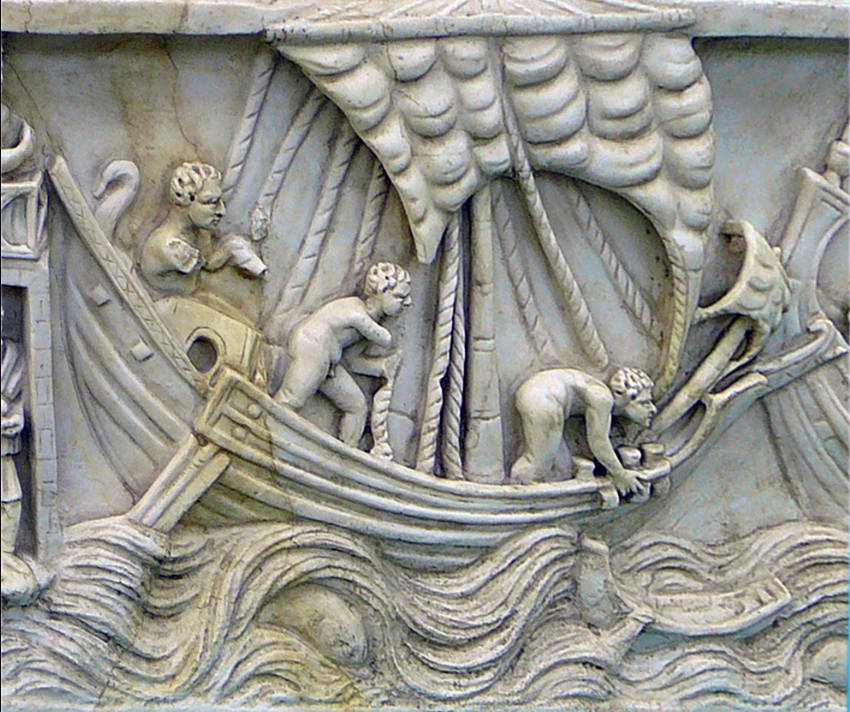
I think I've found evidence to support your crew's choice of clothing . . . Steven
-
That should make it very secure, Dick, and your take on it seems very logical. Steven
- 186 replies
-
- 2
-
-
- keelless
- reverse clinker
- (and 4 more)
-
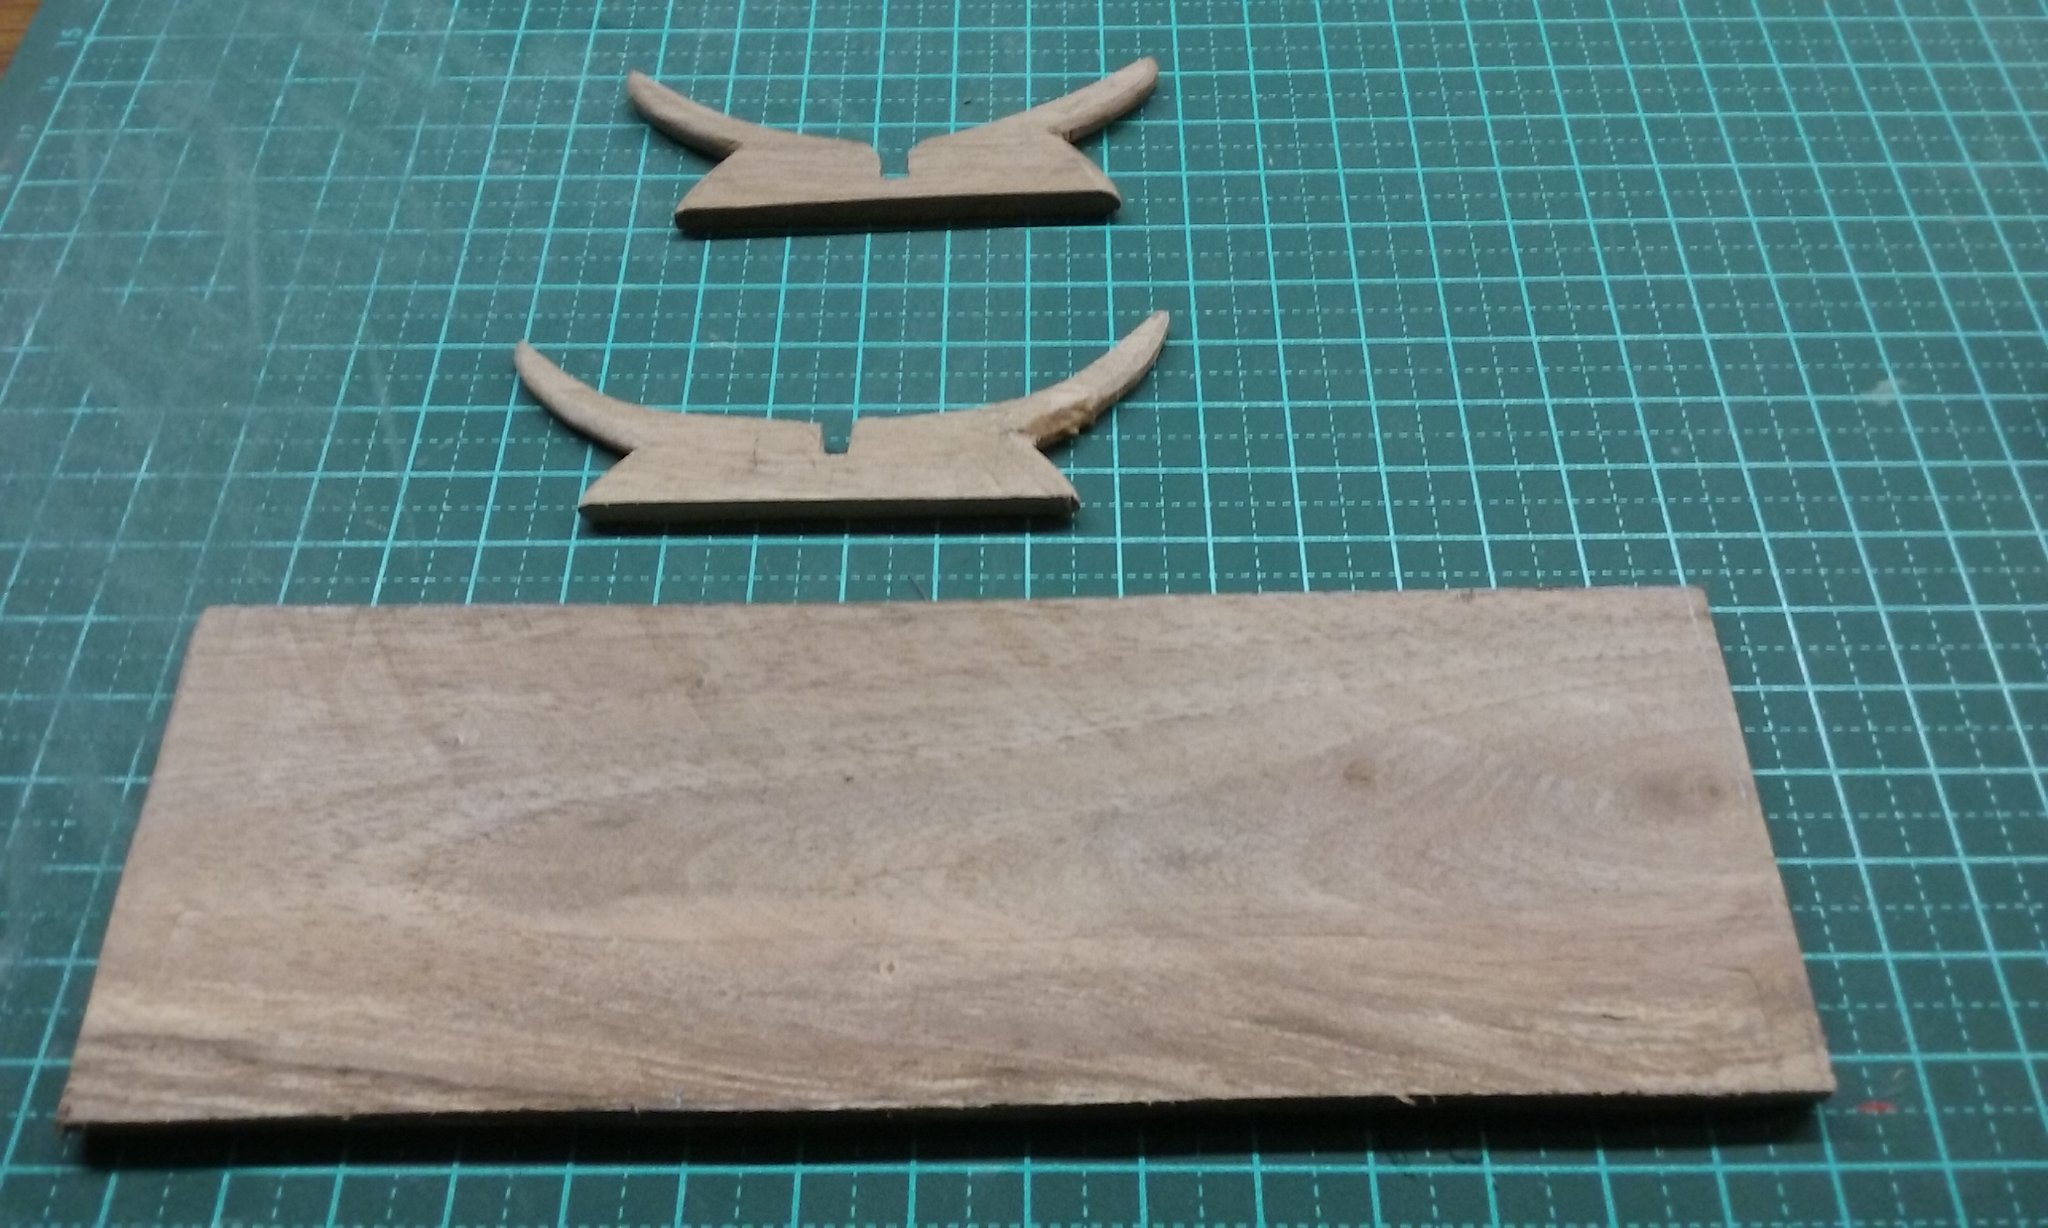
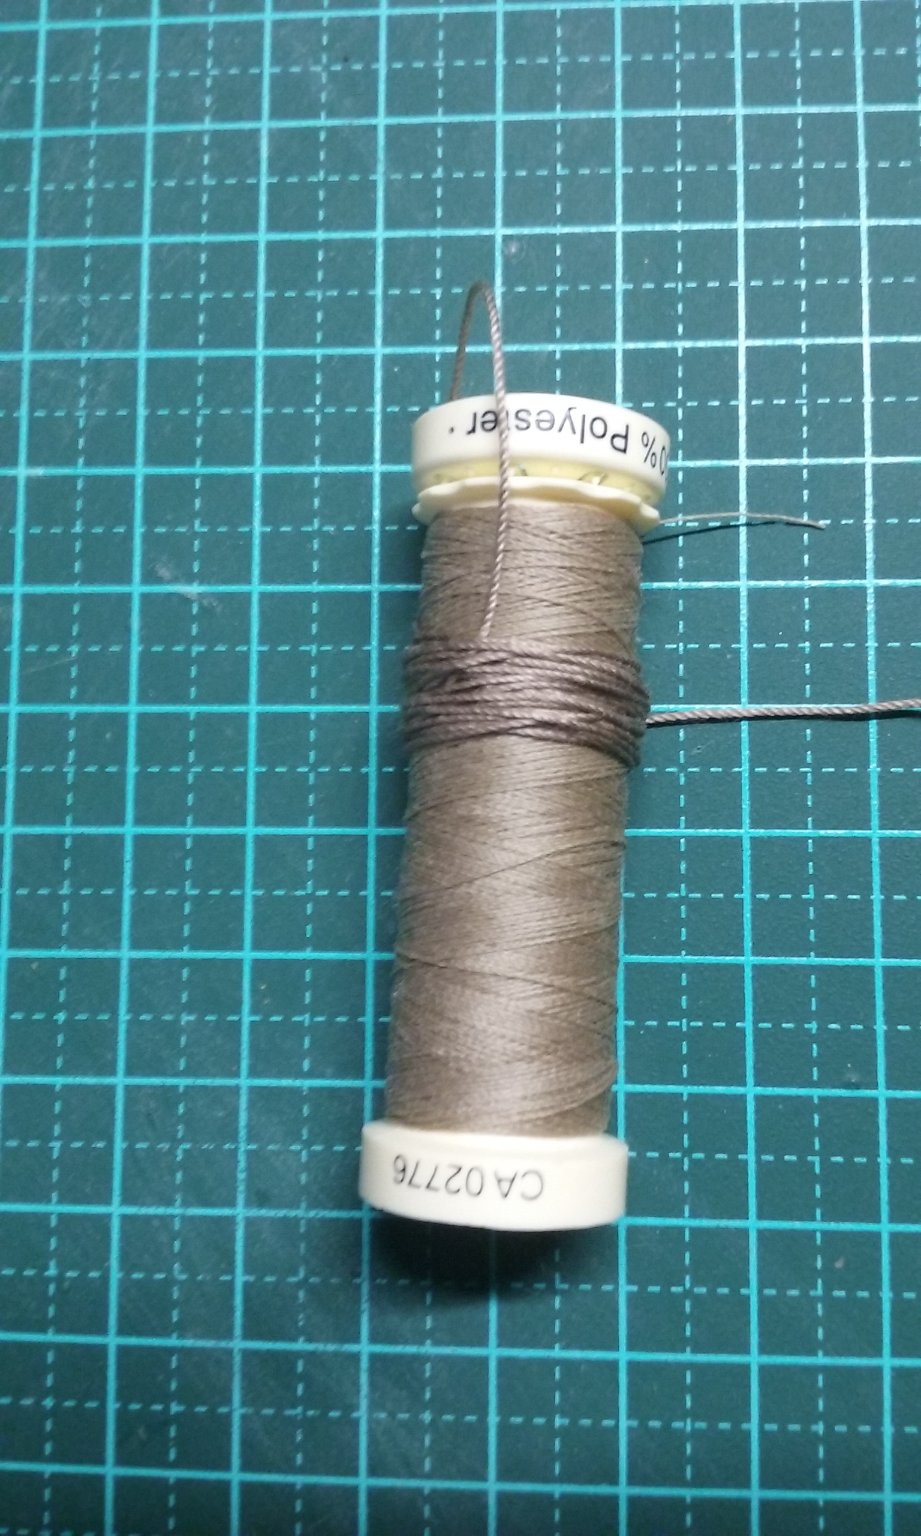
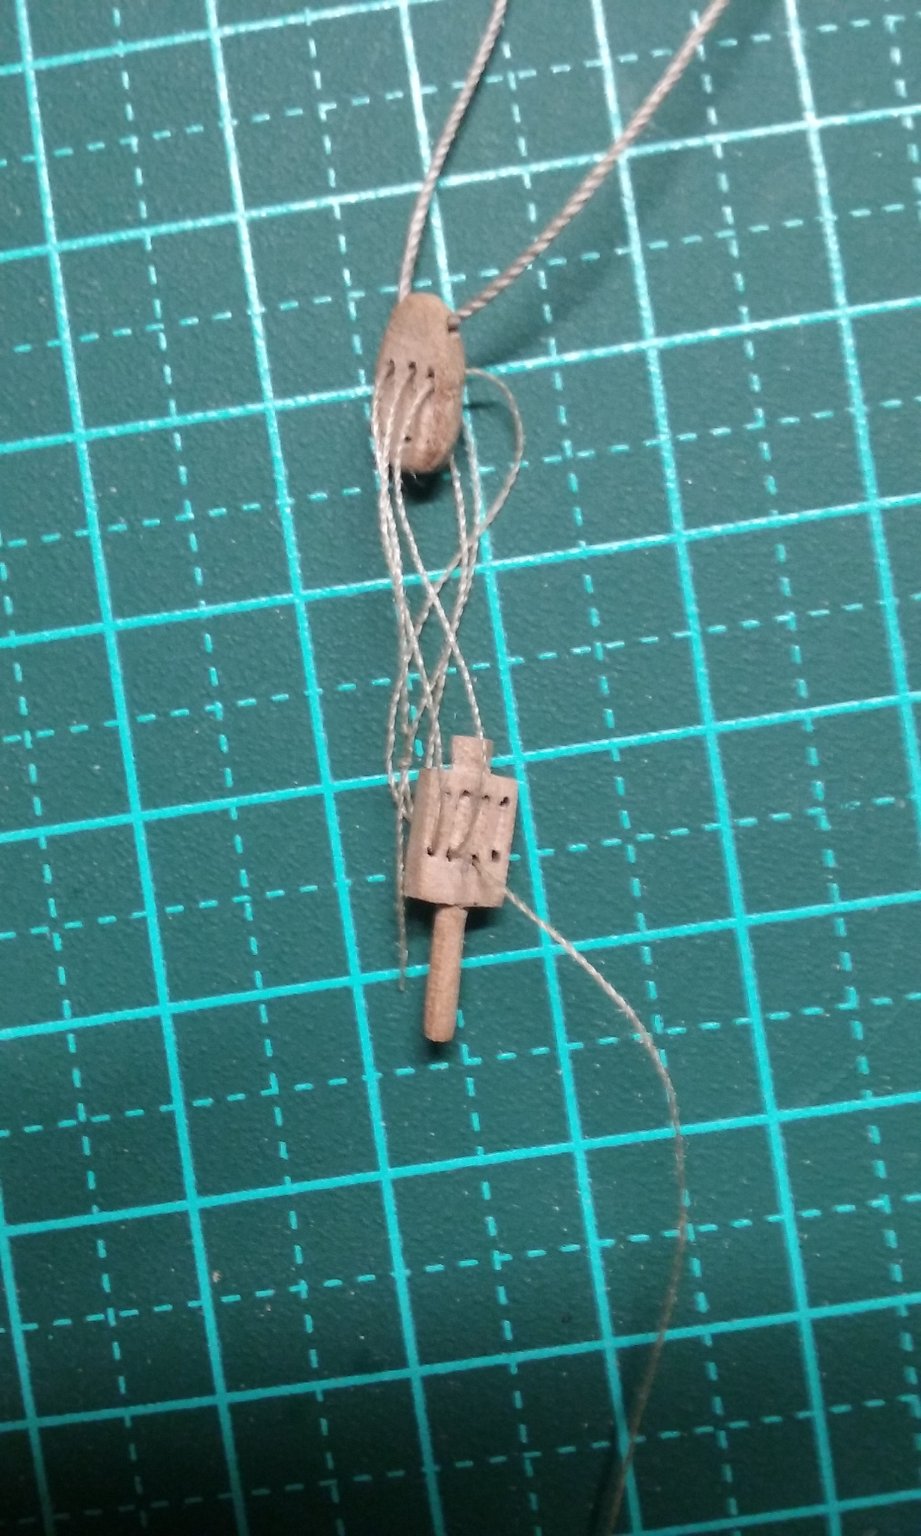
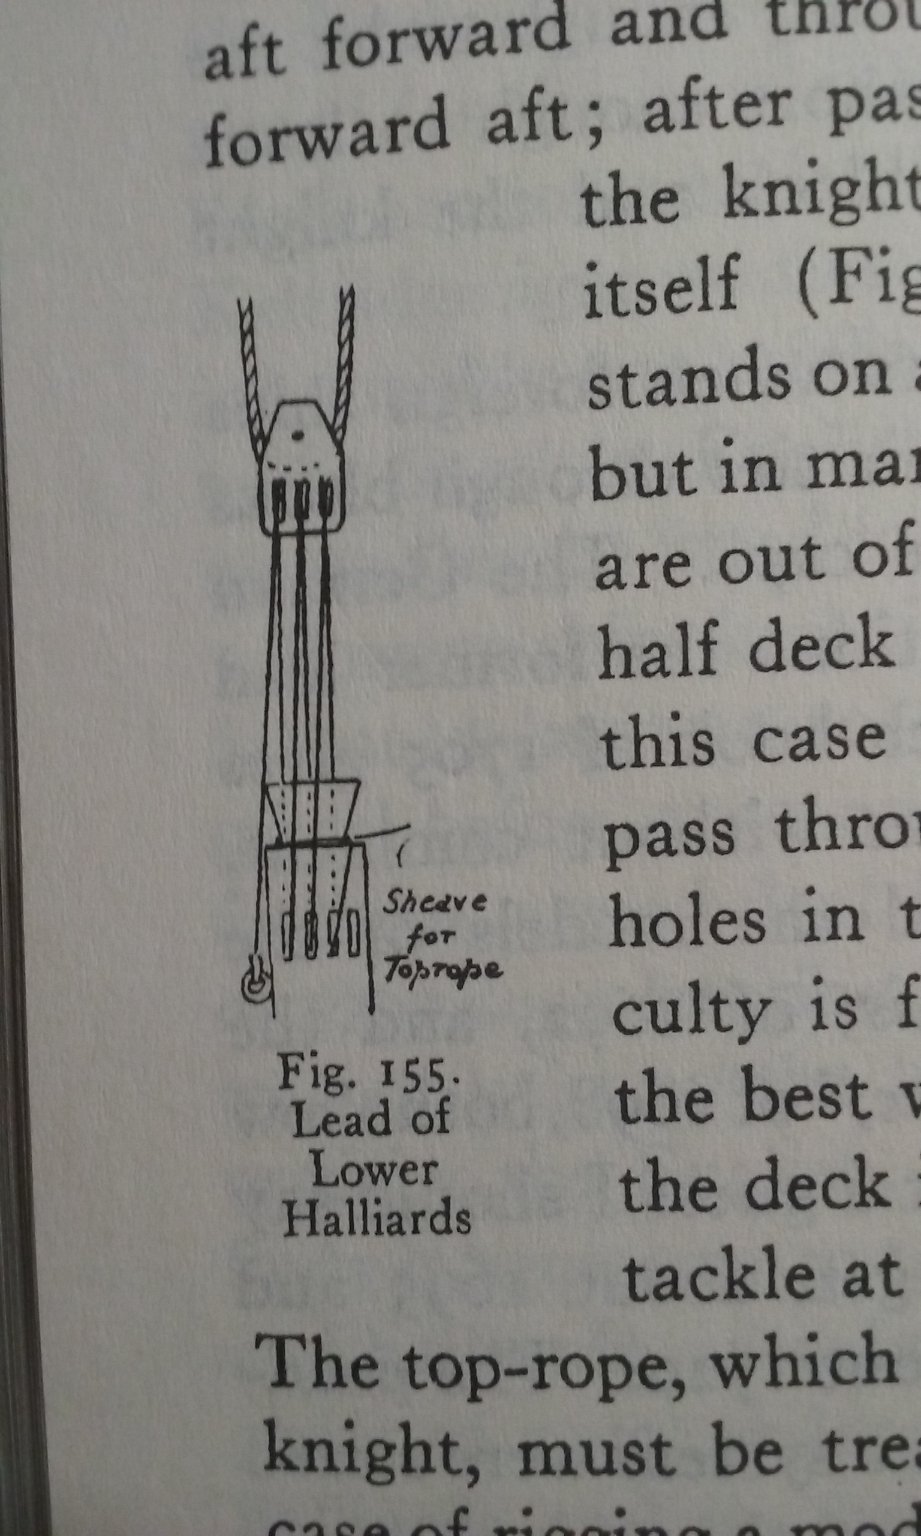
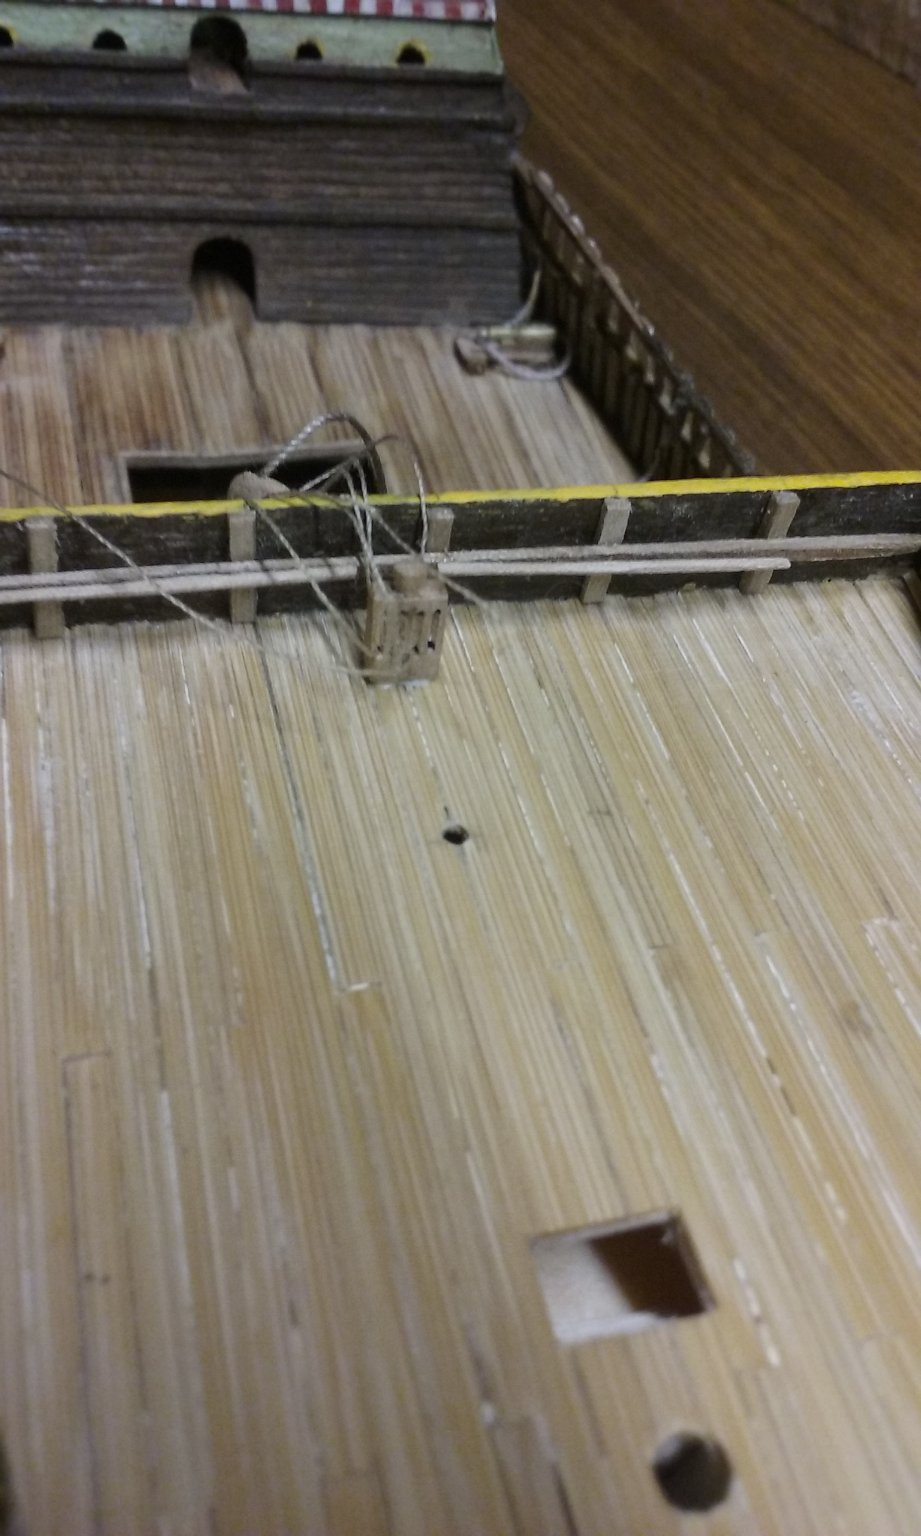
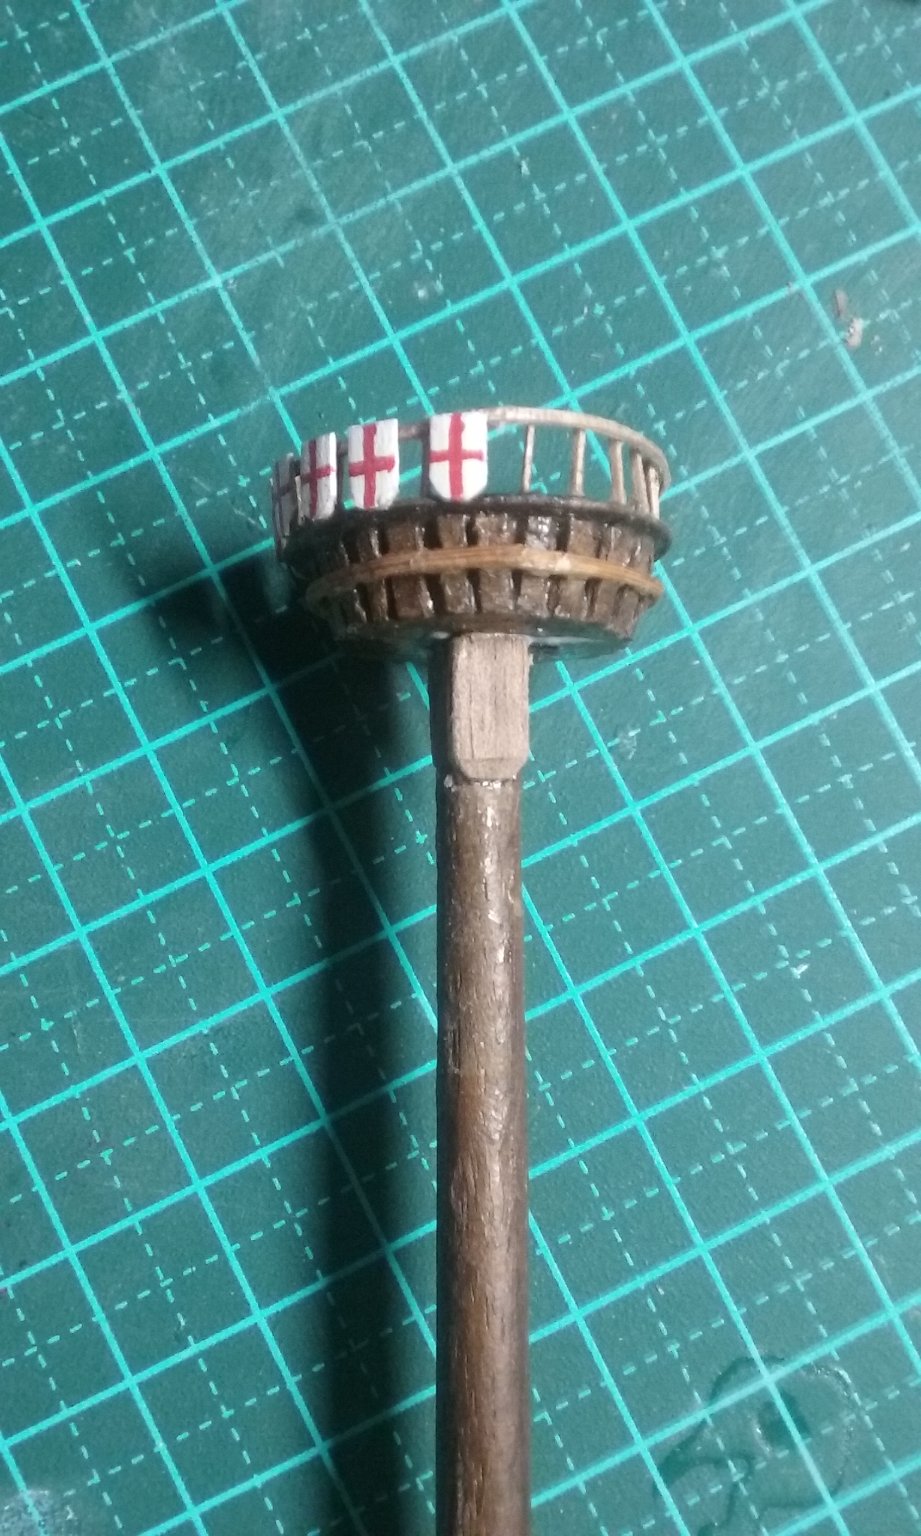
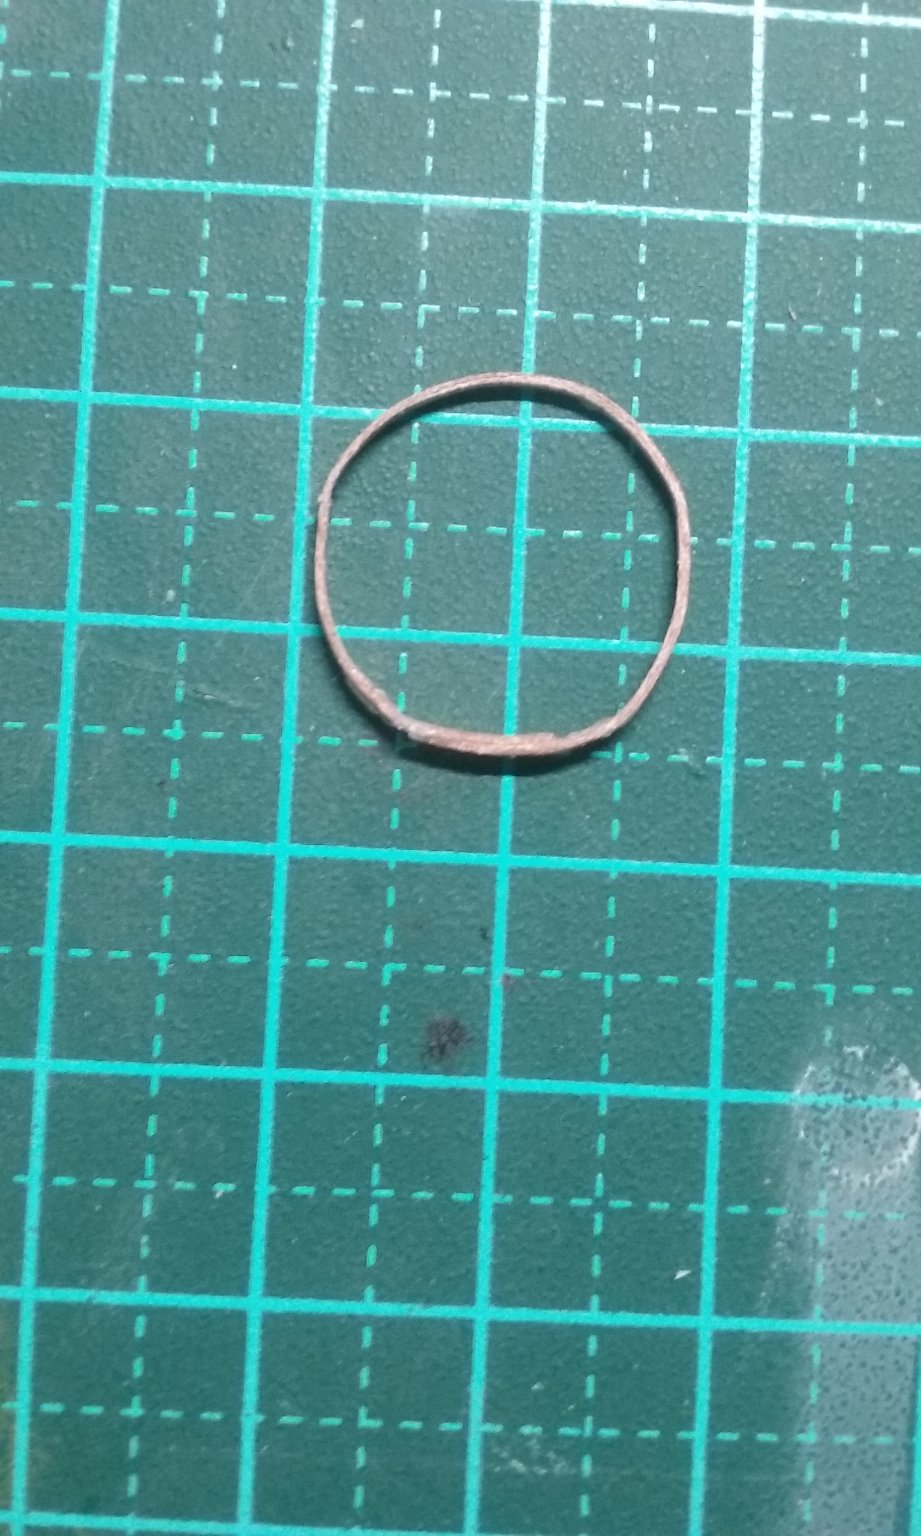
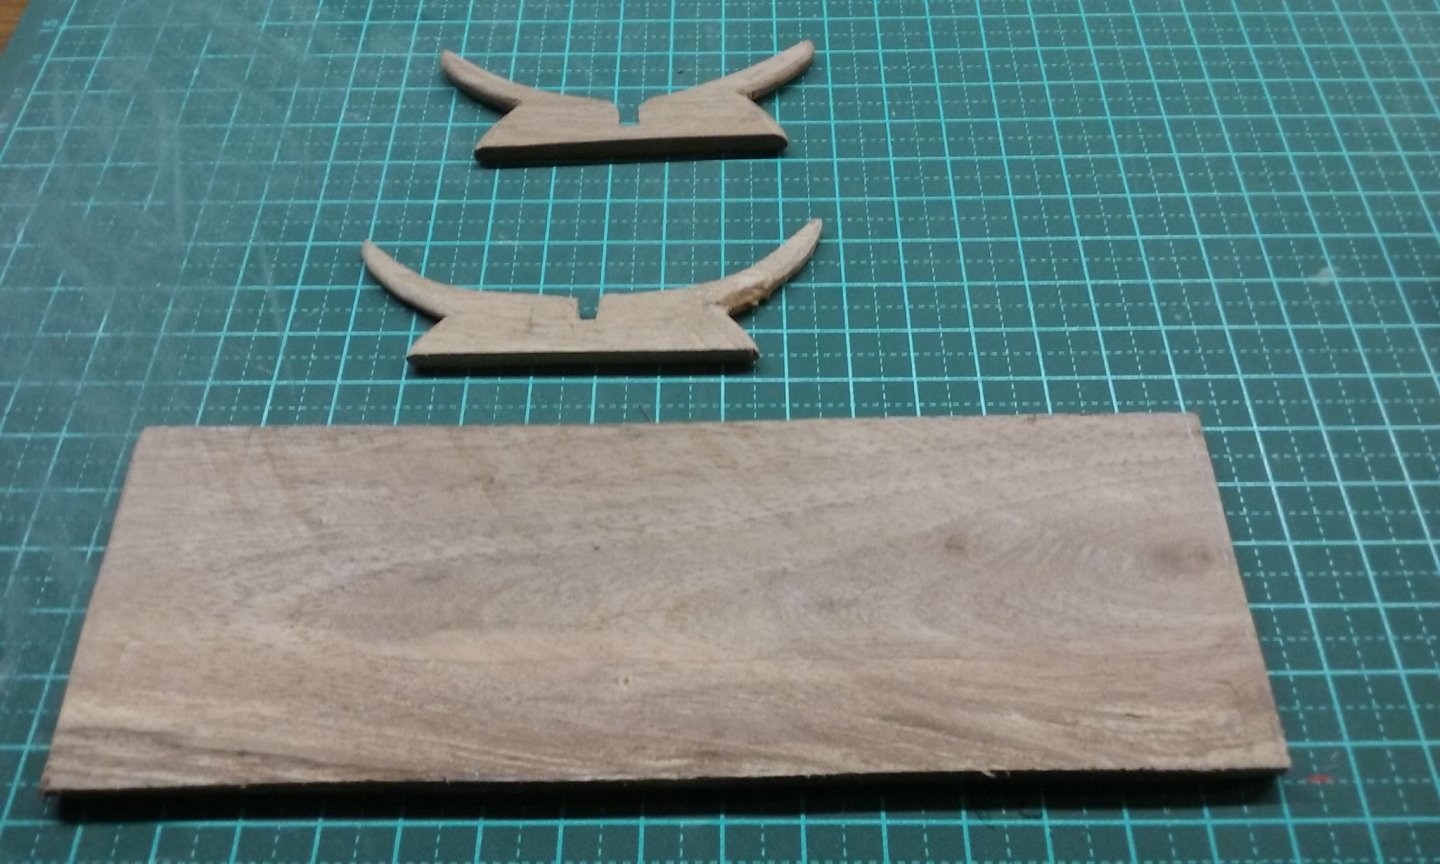
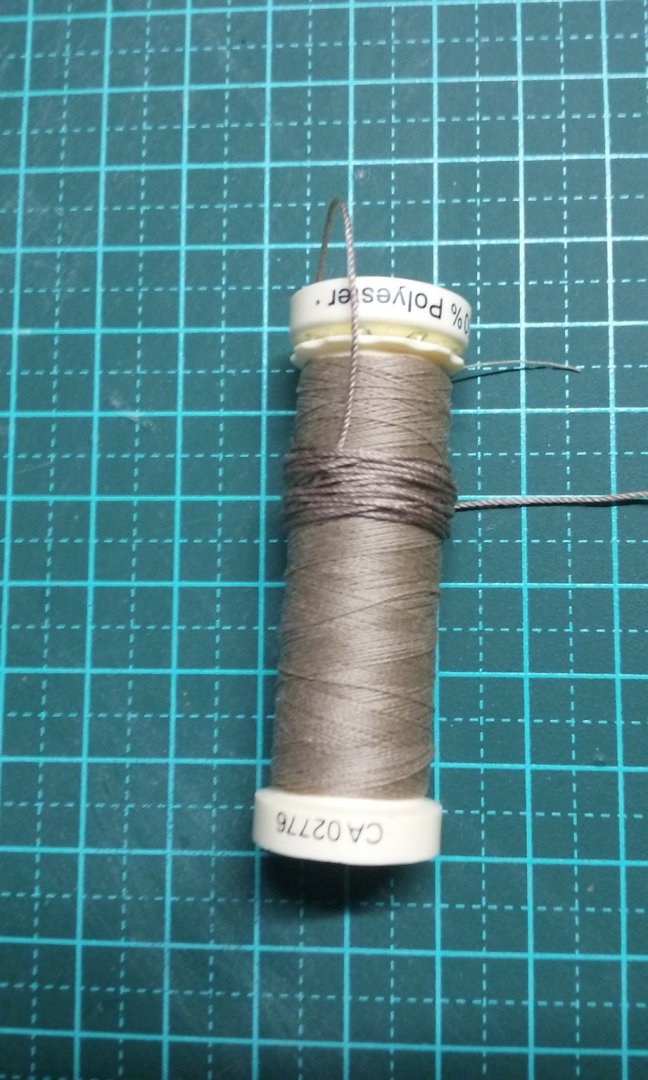
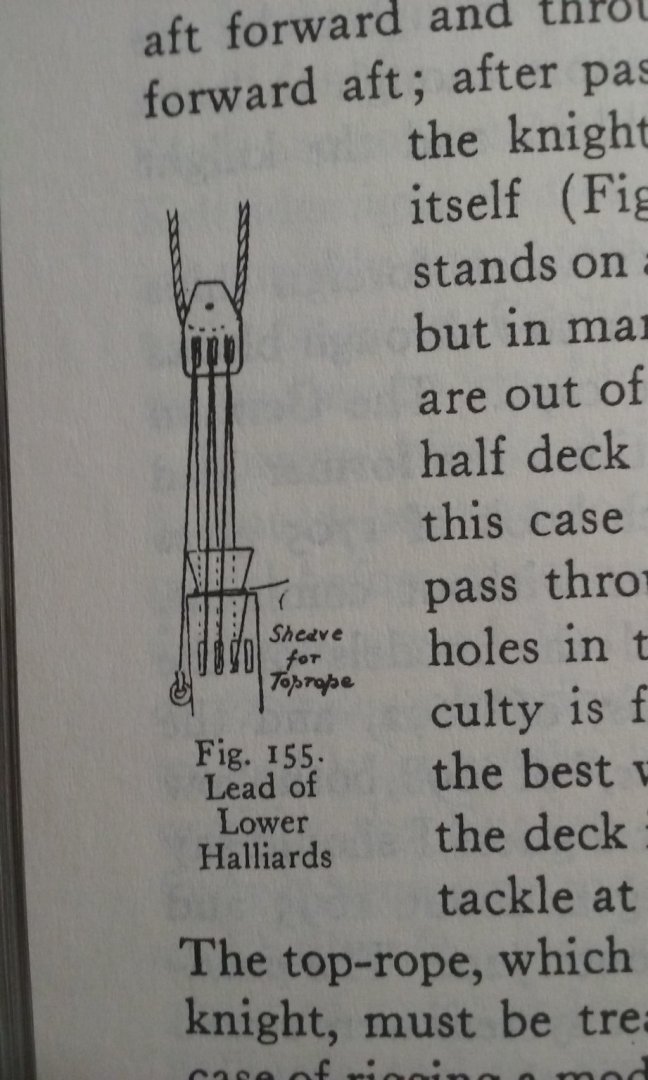
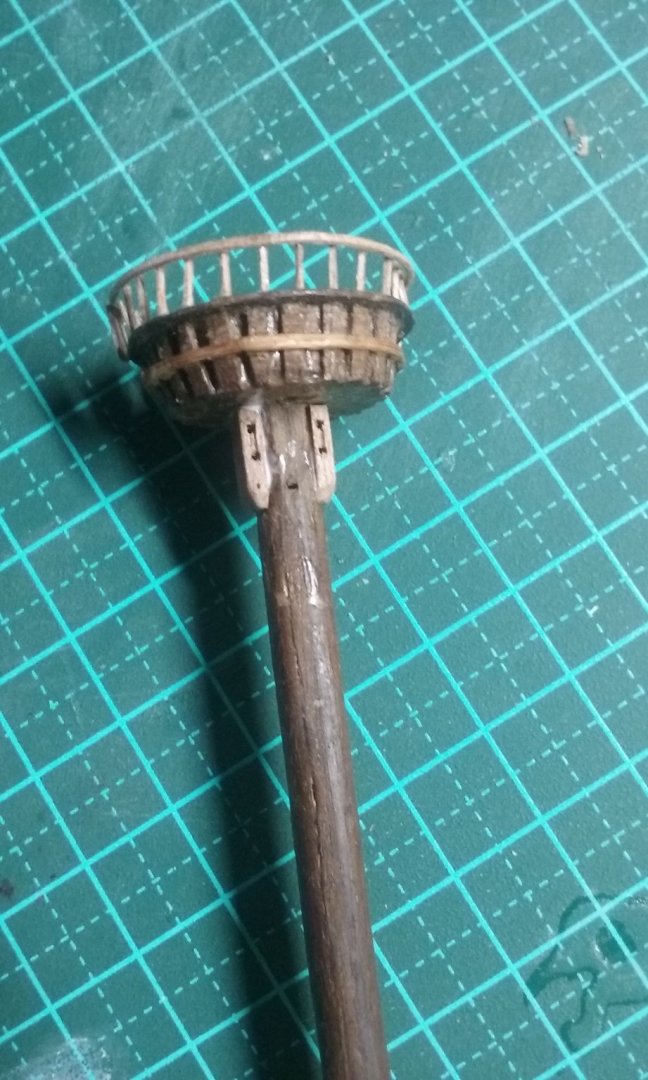
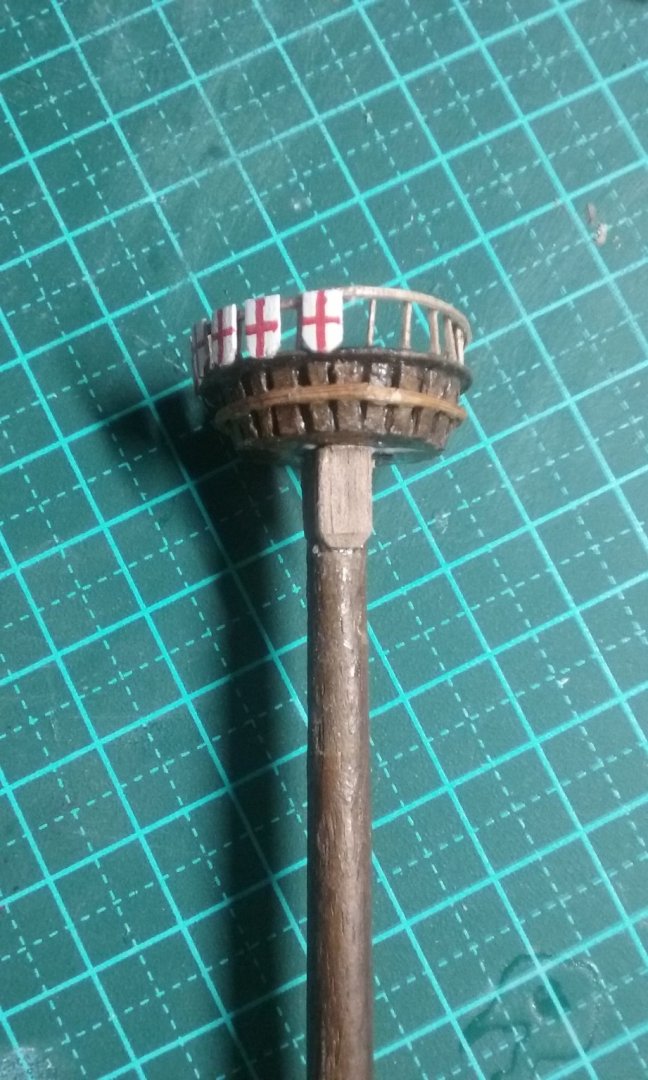
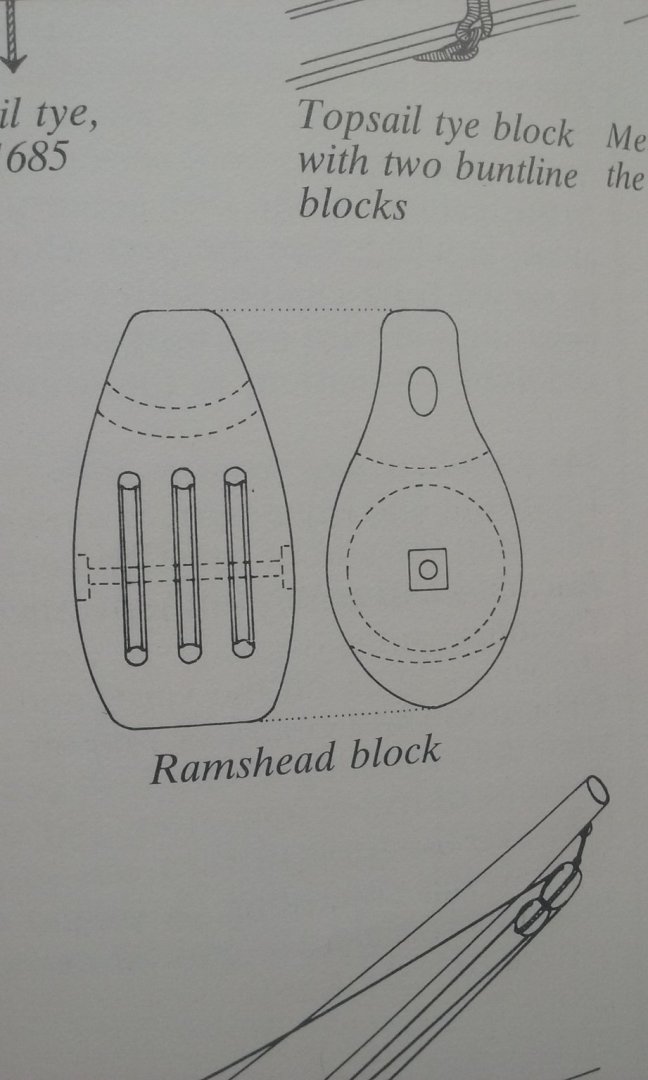
I've been doing some more fiddly things. Funny, my list of things to do seems to expand - even as I'm crossing items off it more suggest themselves to me. I had to dye some thicker thread for the halyards etc to match the thin cotton I'm using for the lanyards - a mix of brown, tan and green fabric dye. I've wrapped a length of the thicker thread around the reel of the thinner thread. I'm pretty happy with the colour match And I decided the knight needed four sheaves instead of three, as the Lomellina (the ship I copied the knight from) was quite a bit smaller than the Great Harry. I followed the outline in The Rigging of Ships in the Days of the Spritsail Topmast. Though it deals with ships of maybe 100 years later, a lot of things seem to have already been in use considerably earlier. And also Wolfram zu Modfeld's Historic Ship Models. Here is the knight and the "ramshead" block that goes with it. And I added cheeks with hounds (sheaves) to the mainmast for the halyard ties. Again I'm in a bit of a quandary. The idea was to keep the restoration as close as possible to the original model, but as I hadn't bothered myself with the halyards it had no cheeks or hounds on the masts - in fact it didn't even have crosstrees and trestletrees to support the tops. And rather than being looped around the top of the mast, the tops of the shrouds were just glued to the sides of the mast. So to put halyards on, I needed to make the ties and cheeks and hounds. And to add the cheeks I had to remove the shrouds that were already in place and I'll have to re-glue them in position - to the sides of the new cheeks. I've stopped short of adding trestletrees and crosstrees - otherwise it just gets too far away from the original. And here's the railing for the foretop, made out of a thin sliver of wood curved in a circle around the lid of a plastic bottle. I'll be putting it on in due course.


- 740 replies
-
- 12
-
-
- Tudor
- restoration
- (and 4 more)
-
Need some (lots) help...
Louie da fly replied to Moab's topic in Metal Work, Soldering and Metal Fittings
I used a hand drill and a mini-hacksaw, sawing gently back and forth. https://modelshipworld.com/topic/12426-henry-grace-a-dieu-great-harry-by-louie-da-fly-scale-1200-repaired-after-over-50-yrs-of-neglect/page/4/ The first results were a bit rough but as I got more practice "I got better" (like John Cleese after being turned into a newt). -
Hi Tallyho and welcome to MSW. Have you decided on a model to build? Steven
-
Bienvenu à MSW, Francis! Have you decided on your next maquette? When you start making your model, make sure you also start a build log for it. The instructions are here: https://modelshipworld.com/topic/24705-before-you-post-your-build-log-please-read-this-starting-and-naming-your-build-log/ It not only shows a pictorial record of your progress but it is also a very good way obtain advice and encouragement from other members - they are very friendly and helpful. Steven
-
Hi, from an absolute rookie from Barcelona
Louie da fly replied to BCN-Modeller's topic in New member Introductions
Welcome to MSW Pascual. Yes the Palma Nova looks like a good kit to begin with - an interesting vessel that should teach you many of the important shipmodelling skills, without being too complicated, but will be something to be proud of. Yes, starting a build log is a great way to get advice and encouragement, and the people here are very friendly and helpful. Good to have you aboard. Steven -
Welcome to MSW! You've made good choices with those kits. They should build your skills without overwhelming you, as a larger more complicated model would. And you'll have something very worthwhile at the finish. Yes, make sure you start a build log when you begin your model/s. It's a great way to get help and encouragement, as well as a record of the build itself. The instructions are here: https://modelshipworld.com/topic/24705-before-you-post-your-build-log-please-read-this-starting-and-naming-your-build-log/ Good to have you aboard. Steven