Louie da fly
-
Posts
7,986 -
Joined
-
Last visited
Content Type
Profiles
Forums
Gallery
Events
Everything posted by Louie da fly
-

17th century English merchant flags
Louie da fly replied to Louie da fly's topic in Nautical/Naval History
Thanks everyone for the answers. Very interesting. I'd thought those would be the flags flown, but didn't know if they were confined to warships. Chuck, interestingly enough I'm trying to find out for someone whose ancestors were colonists in 1684. Steven -
That pretty much says it - does anyone know what flag/s would have been flown by an English merchant ship in the 1670s-1690s? Steven
-
That's such a great idea! And the vessel looks just right being supported by the book. It'll probably be something most people miss on first inspection, and you can perhaps enjoy the "Aha!" moment as they realise the book really is about the ship.
-
Having worked with sheet metal myself, I'm very interested in how you went about shaping the hull. Fascinating project!
-
Welcome to MSW, Halvor! I see you've already begun your build log. That's great. Make sure you put up plenty of photos, and don't be shy about asking questions. The members here are very friendly and helpful. Steven
-
I think that's a good creative solution that could well have been used at the time. Steven
-
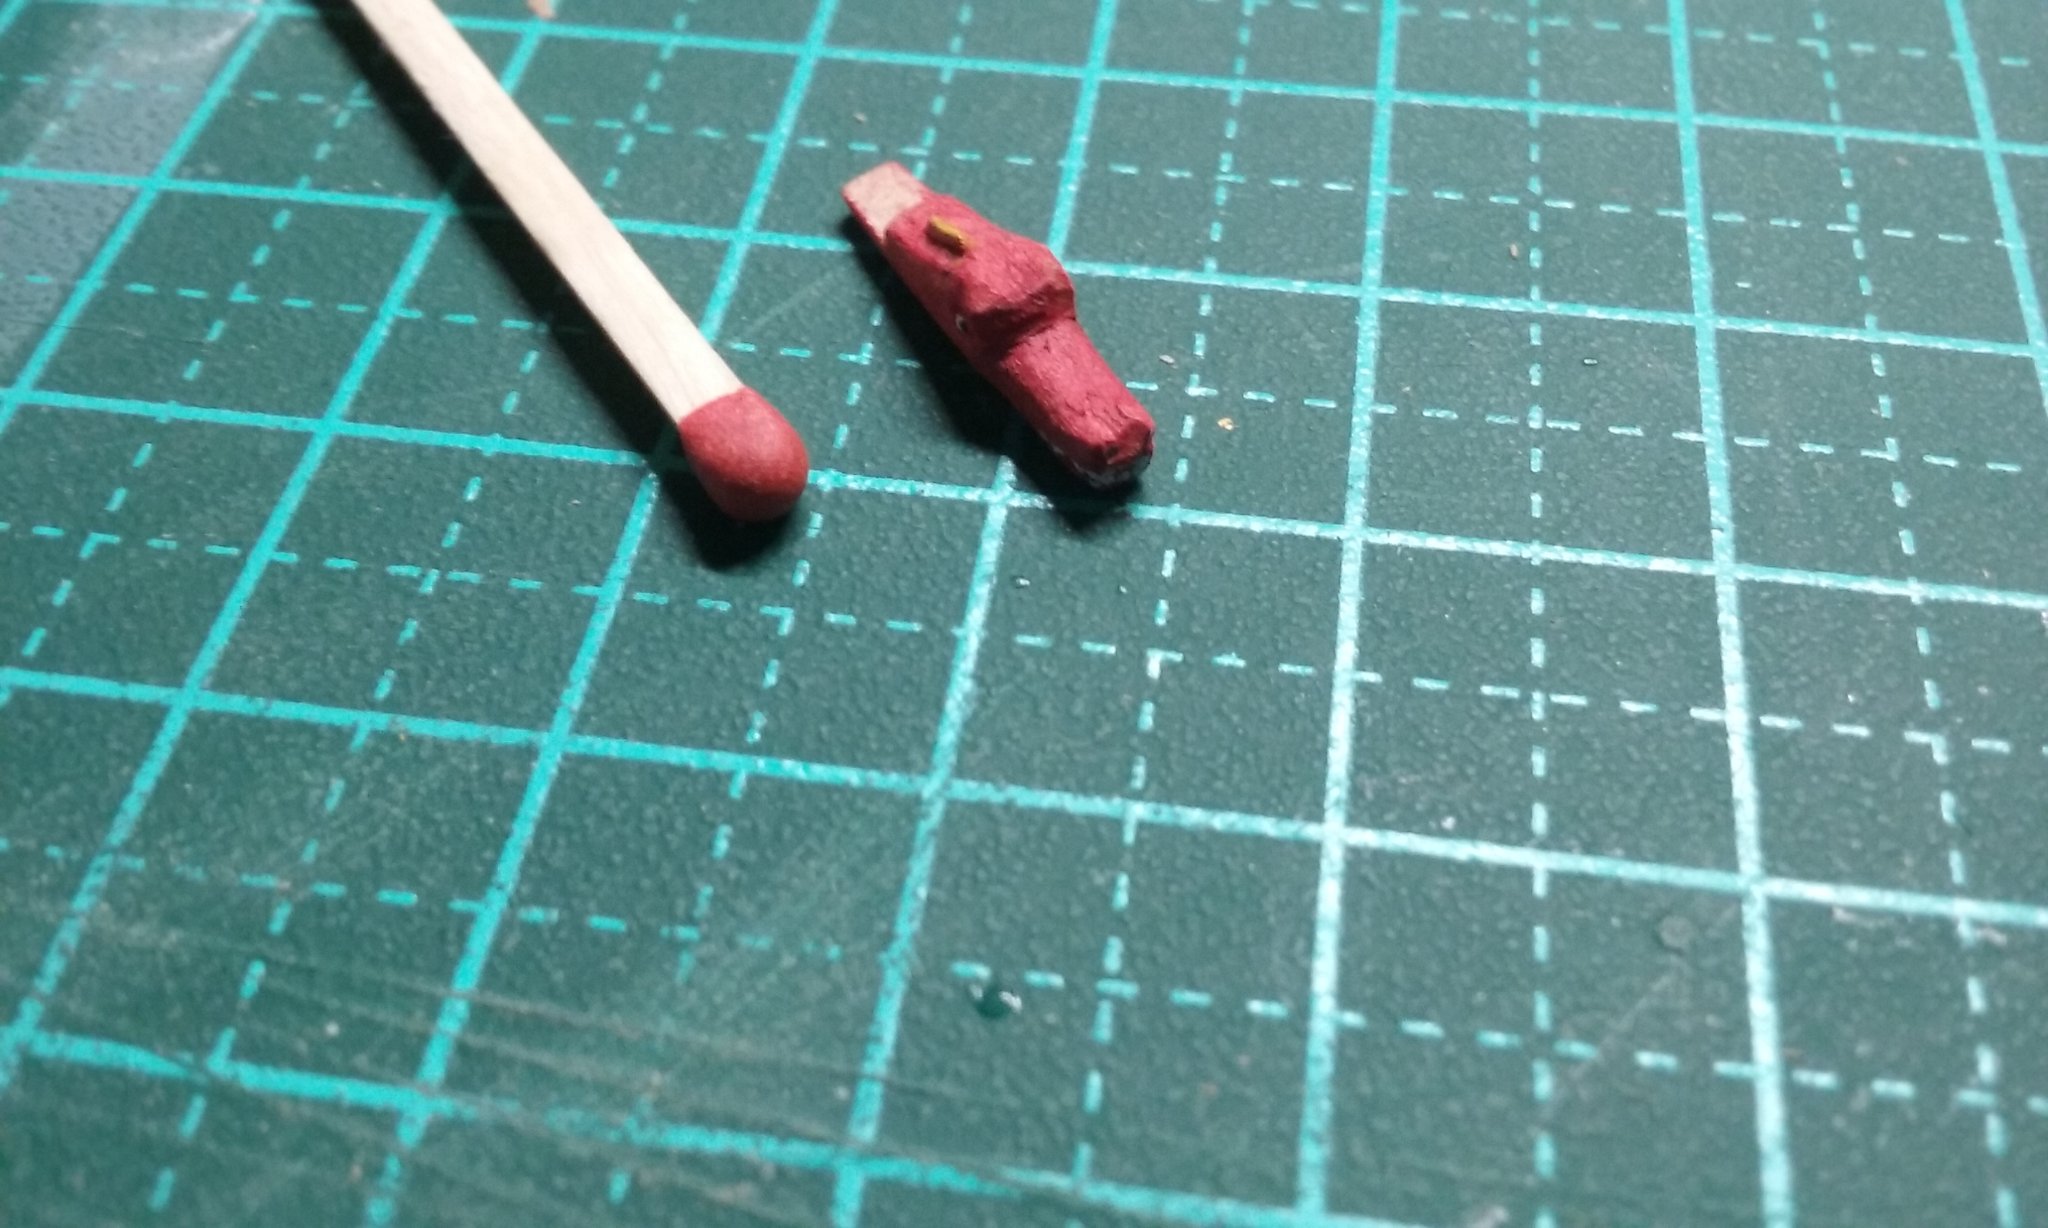
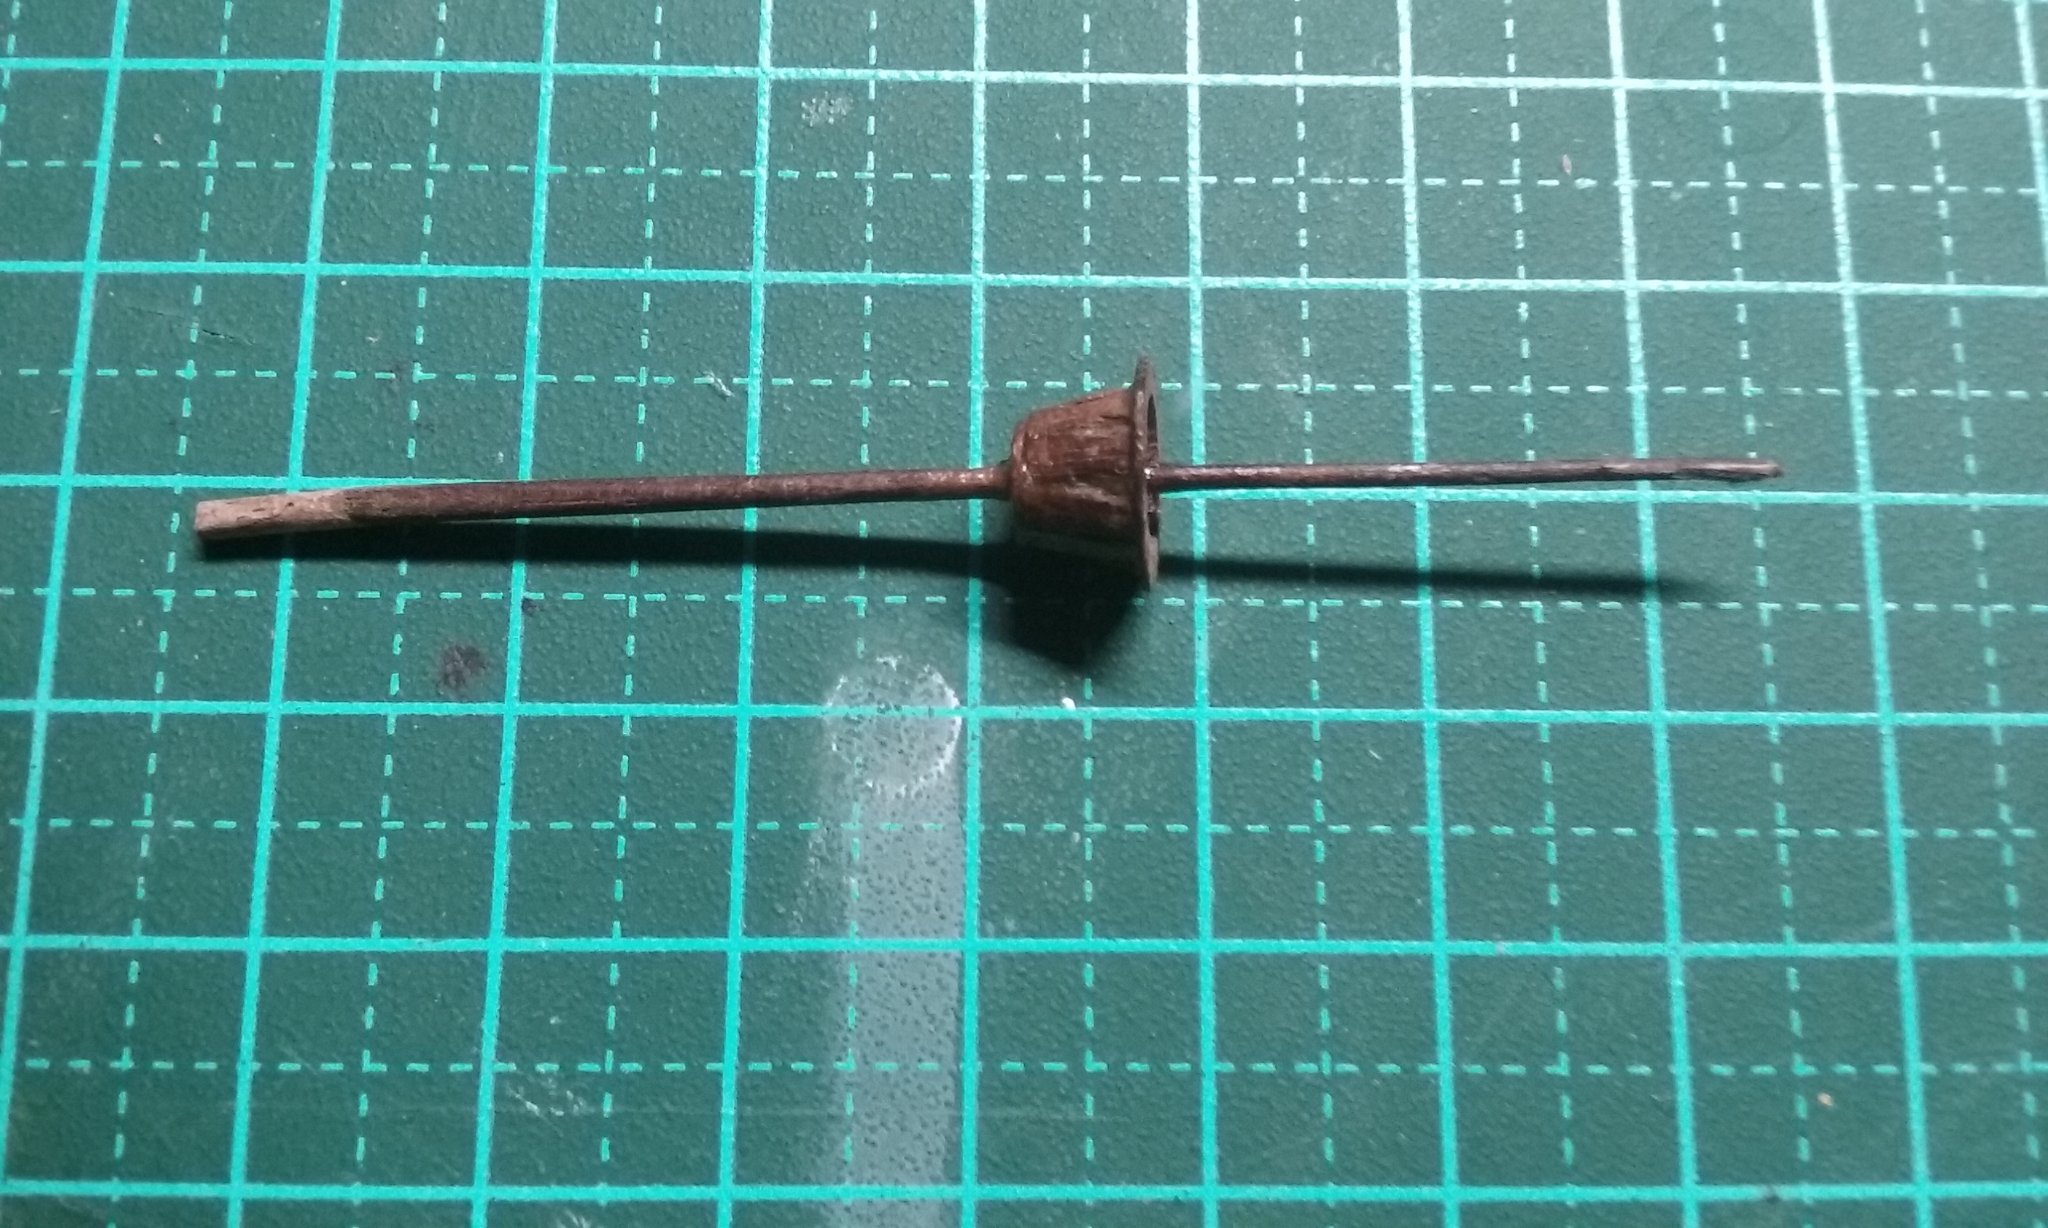
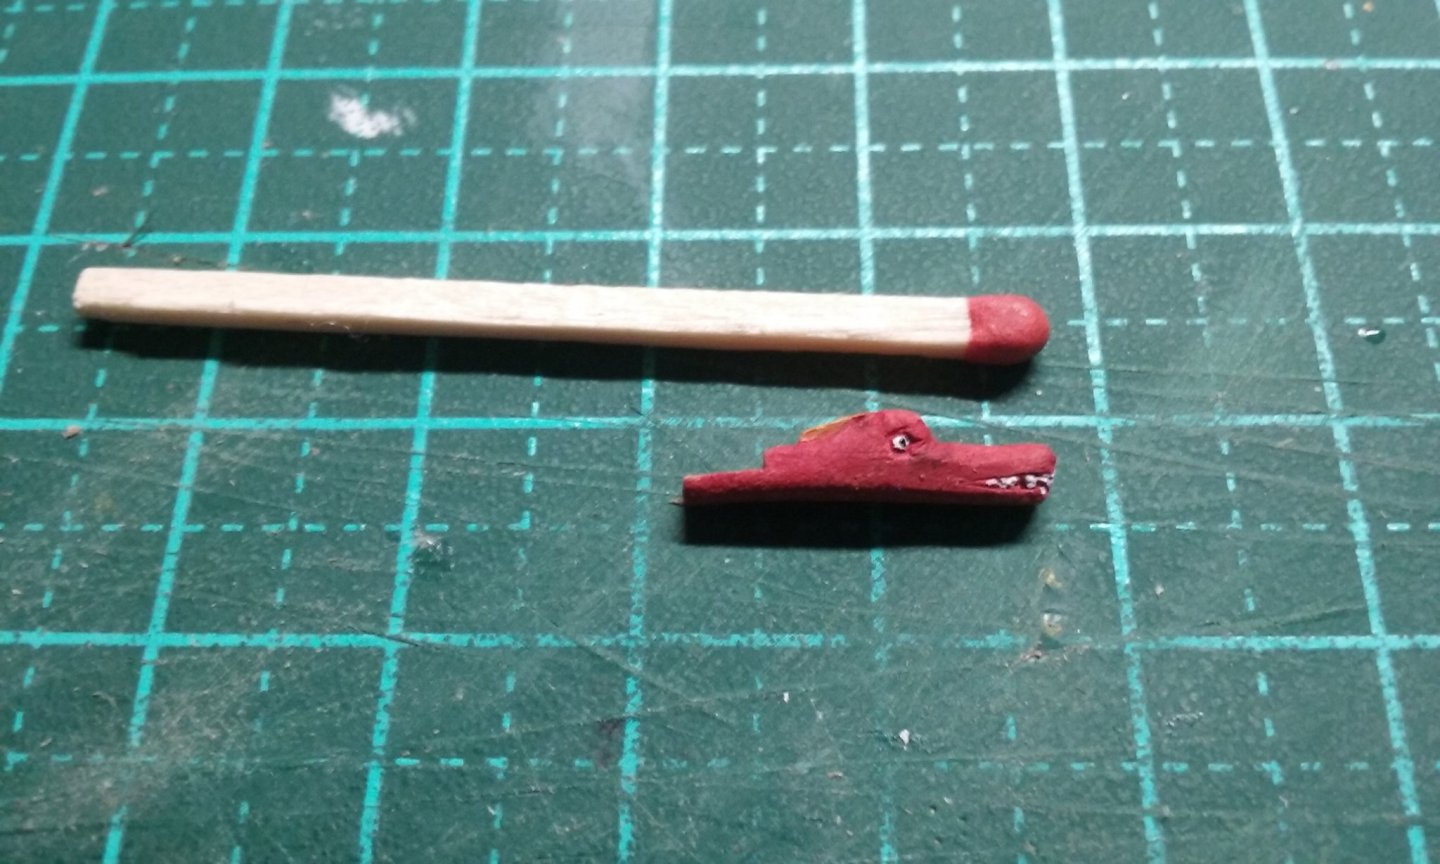
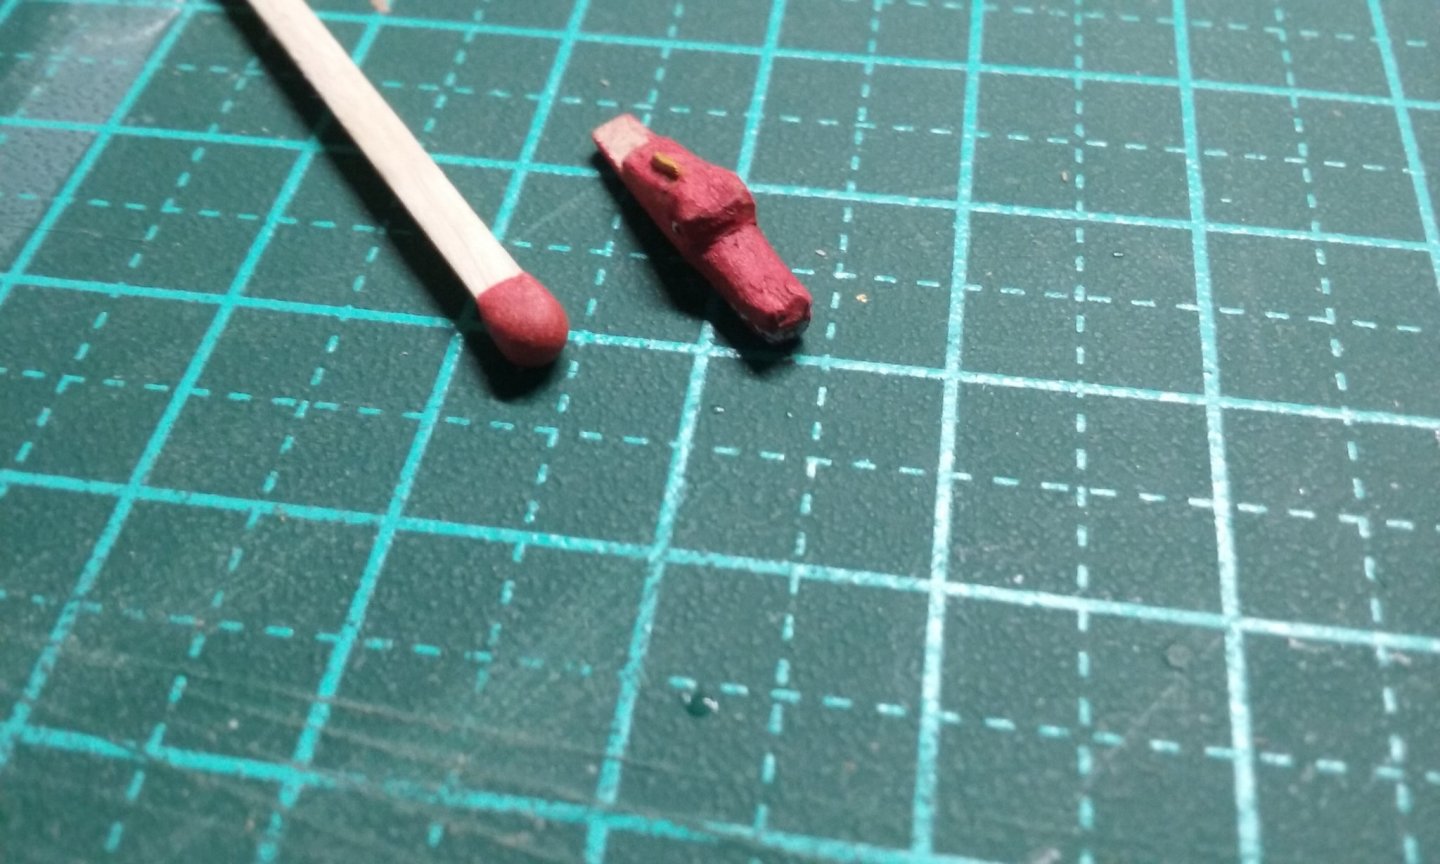
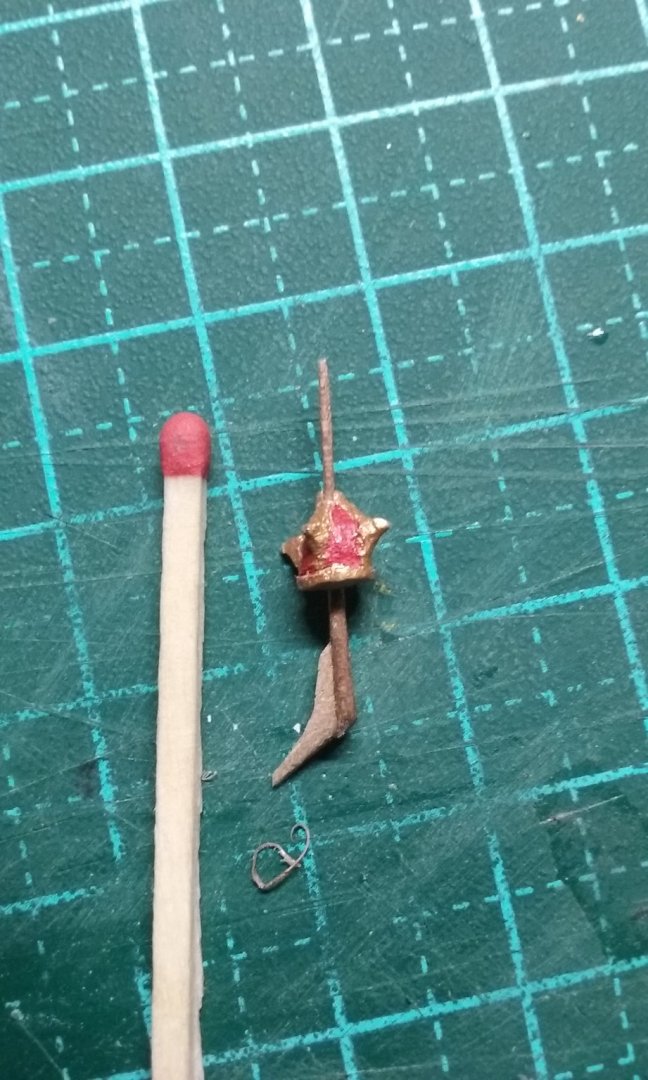
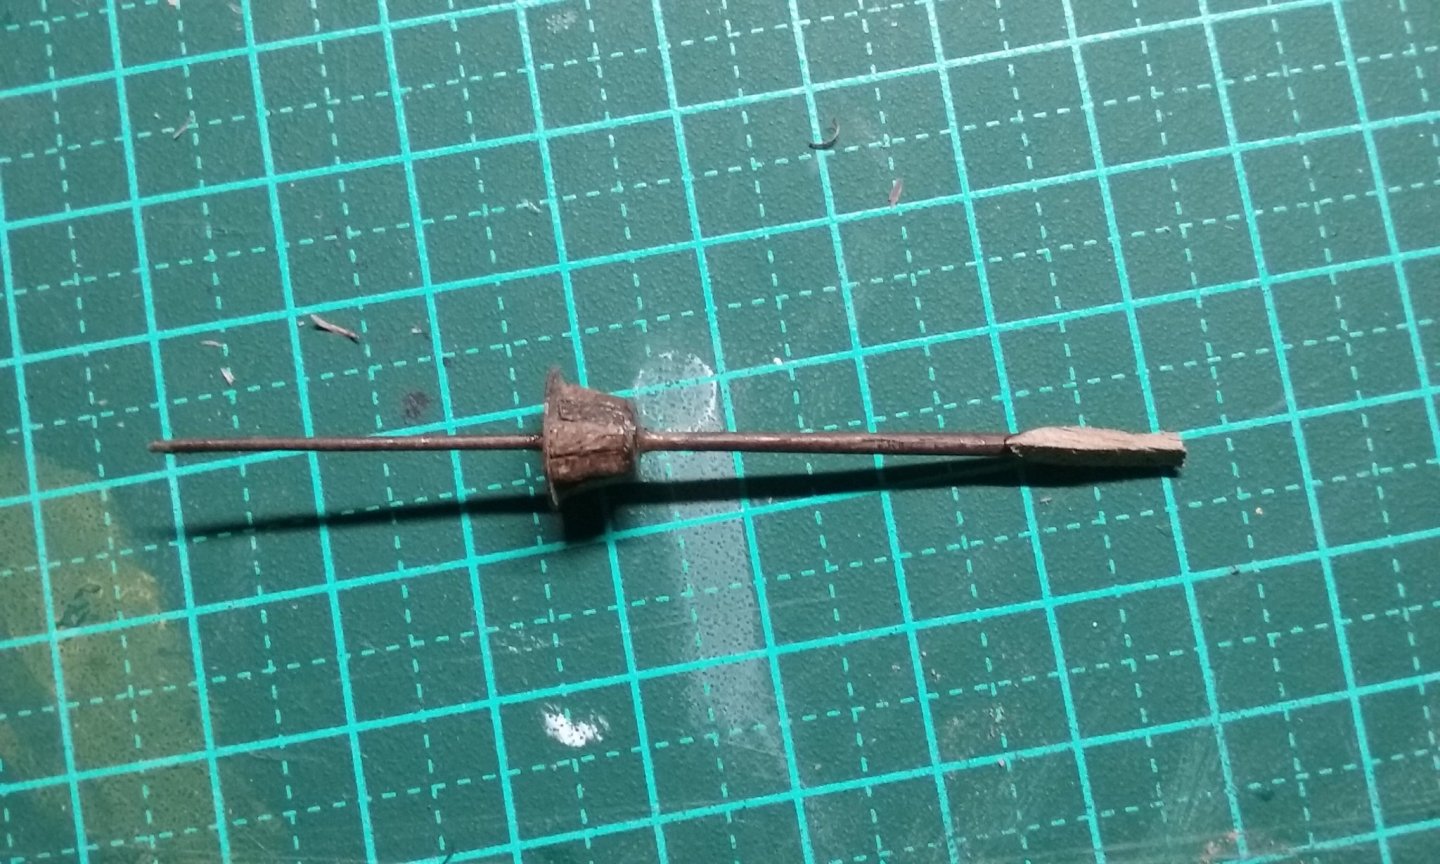
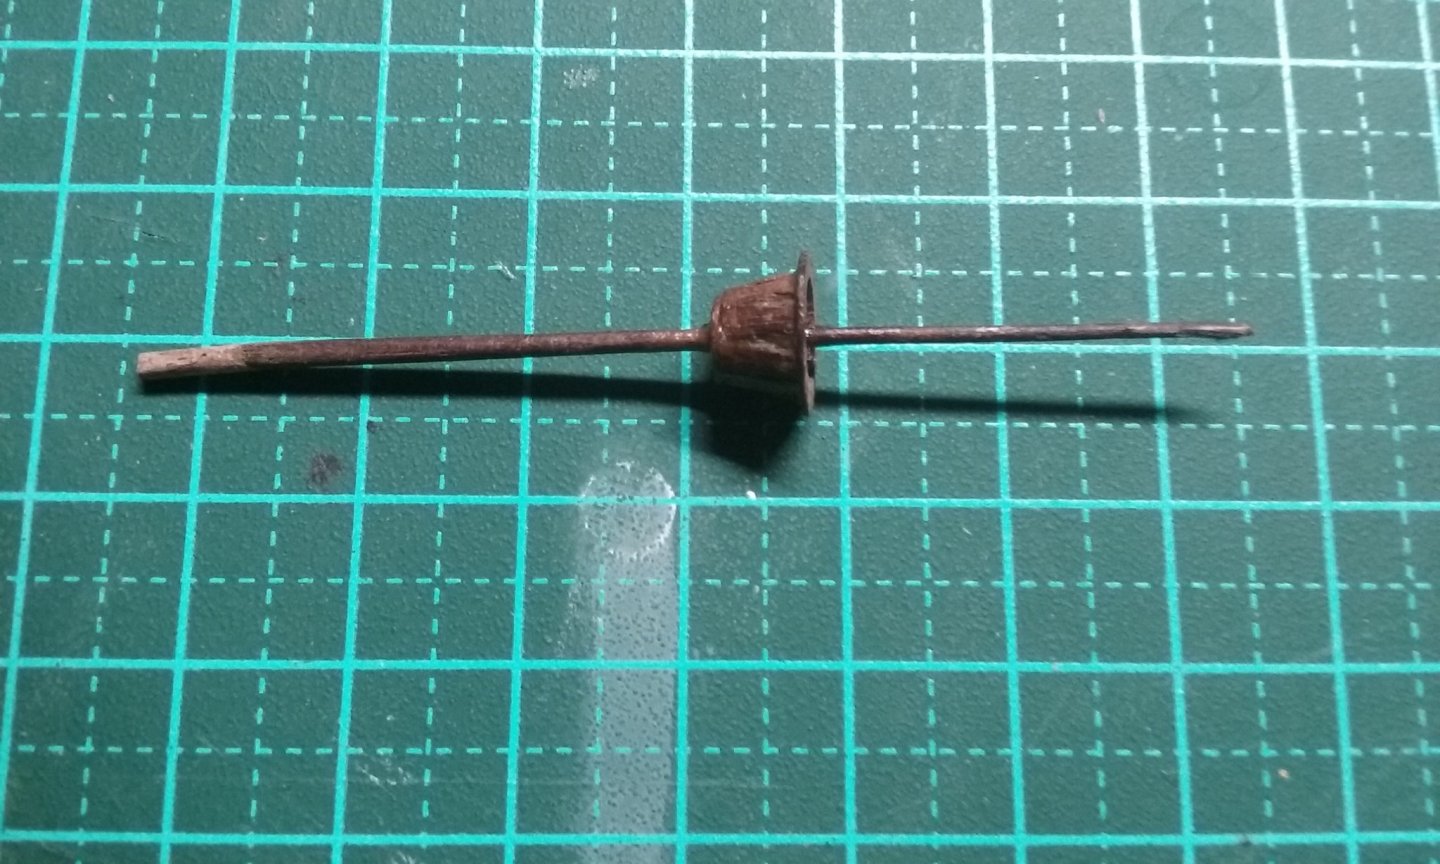
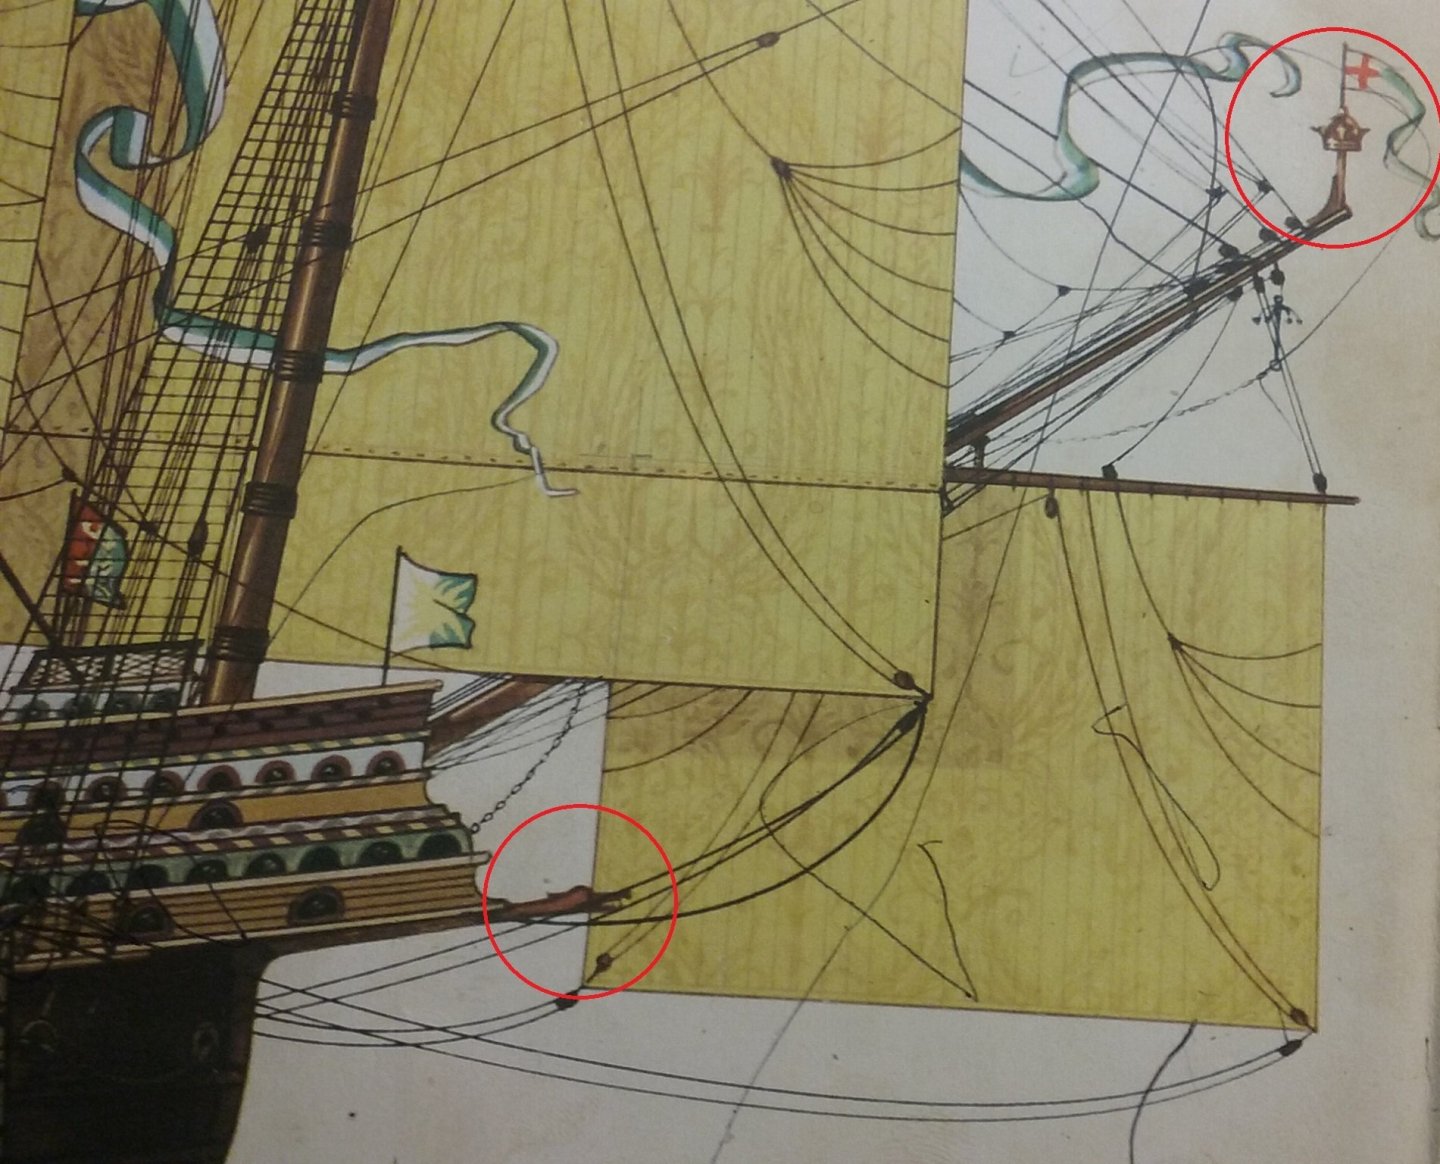
Onto fiddly bits. Here's the picture in Björn Landström's book The Ship I originally worked from, showing the dragon figurehead and the decorative crown and flagpole on the bowsprit: I'd already carved the dragon-head - now I've painted it: Very happy with the crazed look on his face. And here is the flagpole/crown assembly I made a mistake - the fore topmast had snapped off just above the top and I was intending to just glue it back onto the remaining stub. Then I forgot what I was doing and removed the stub. So I had to reconfigure the topmast by adding an extra bit of wood to replace the stub . . . and carve it to shape. I wouldn't have needed to do any of this, if I'd remembered what I'd originally planned Steven
- 740 replies
-
- 16
-

-
- Tudor
- restoration
- (and 4 more)
-
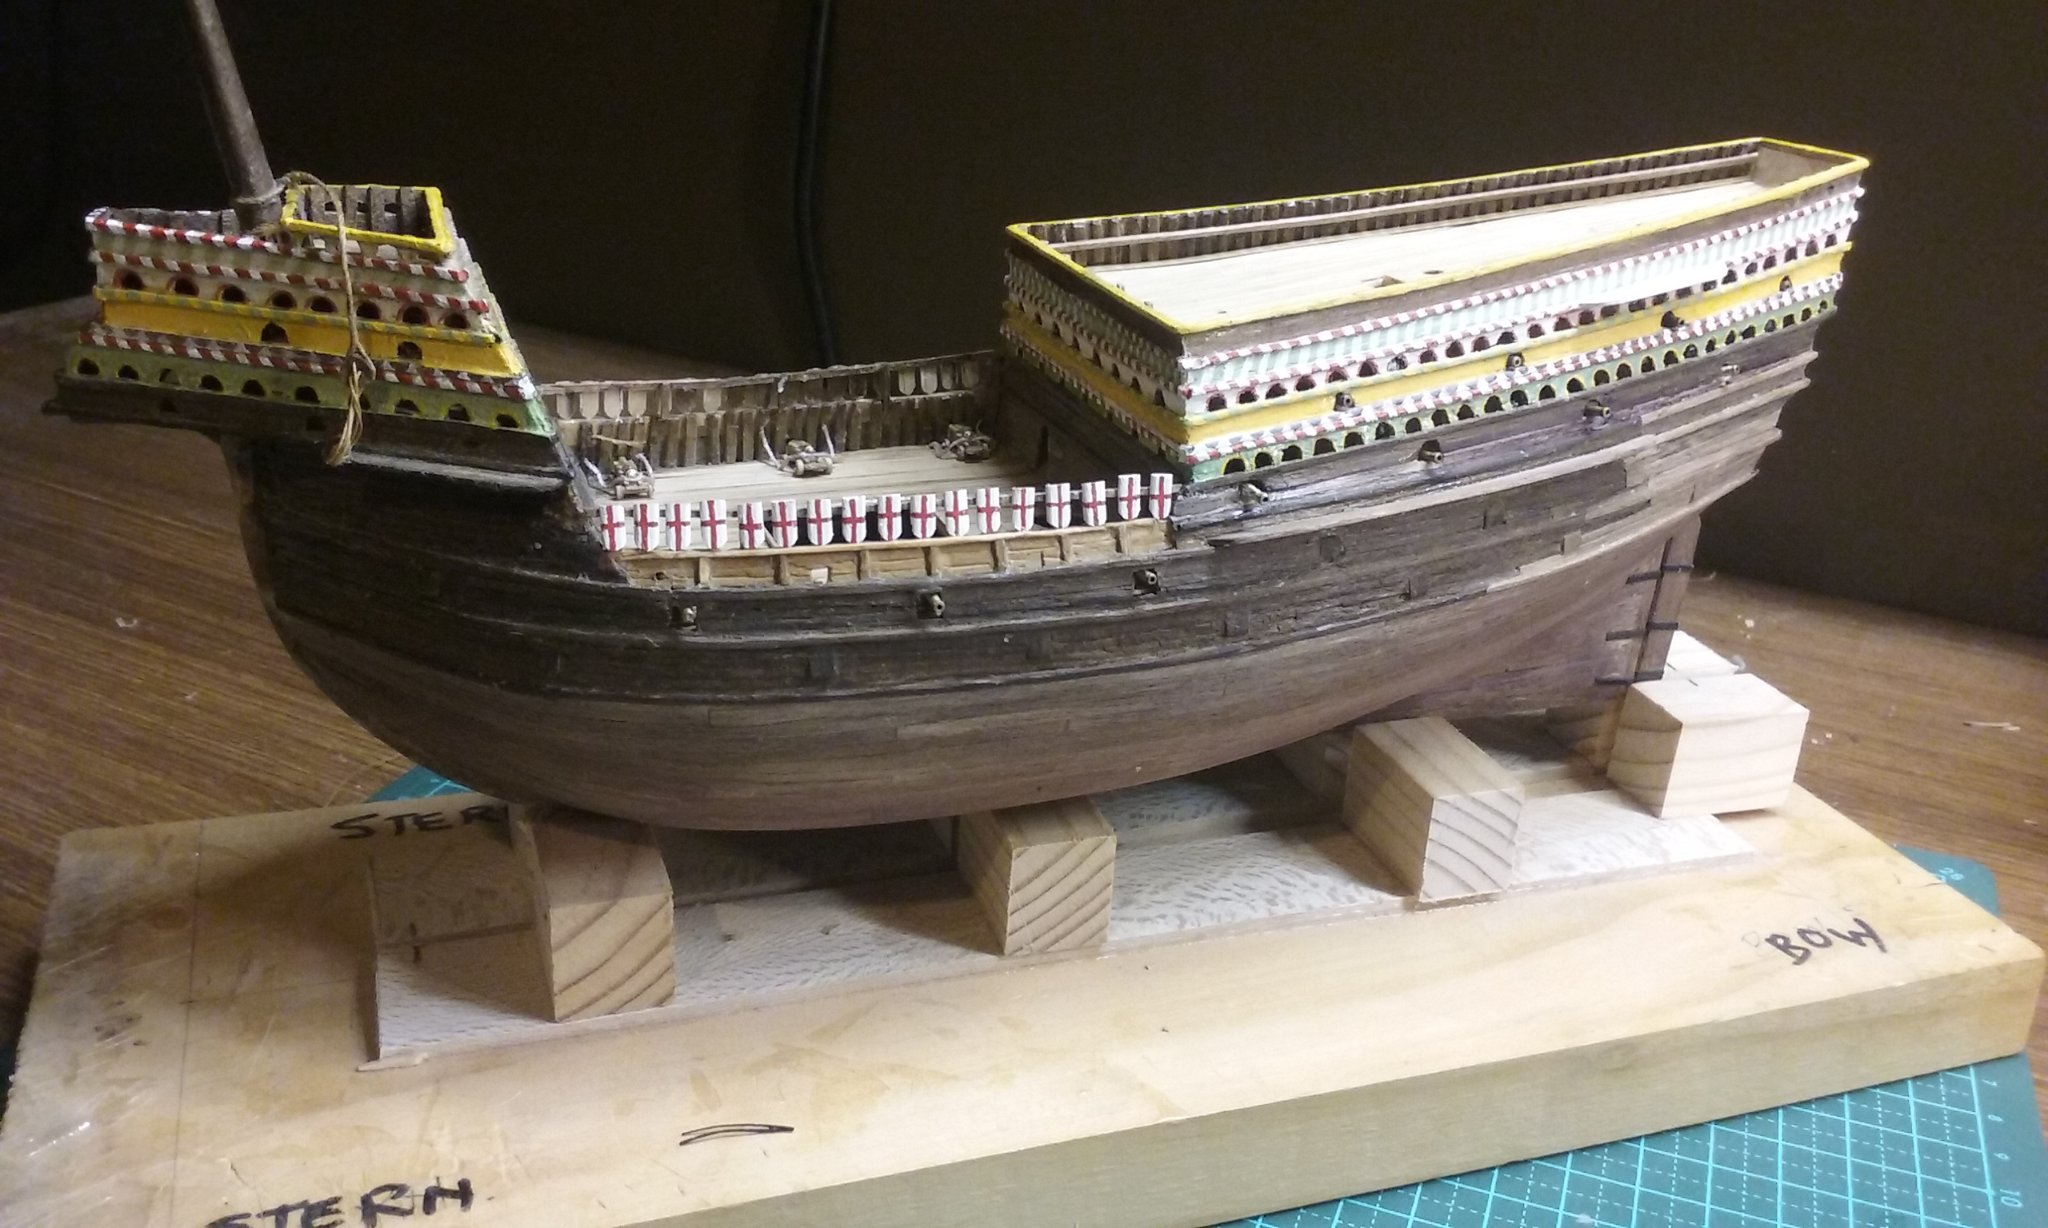
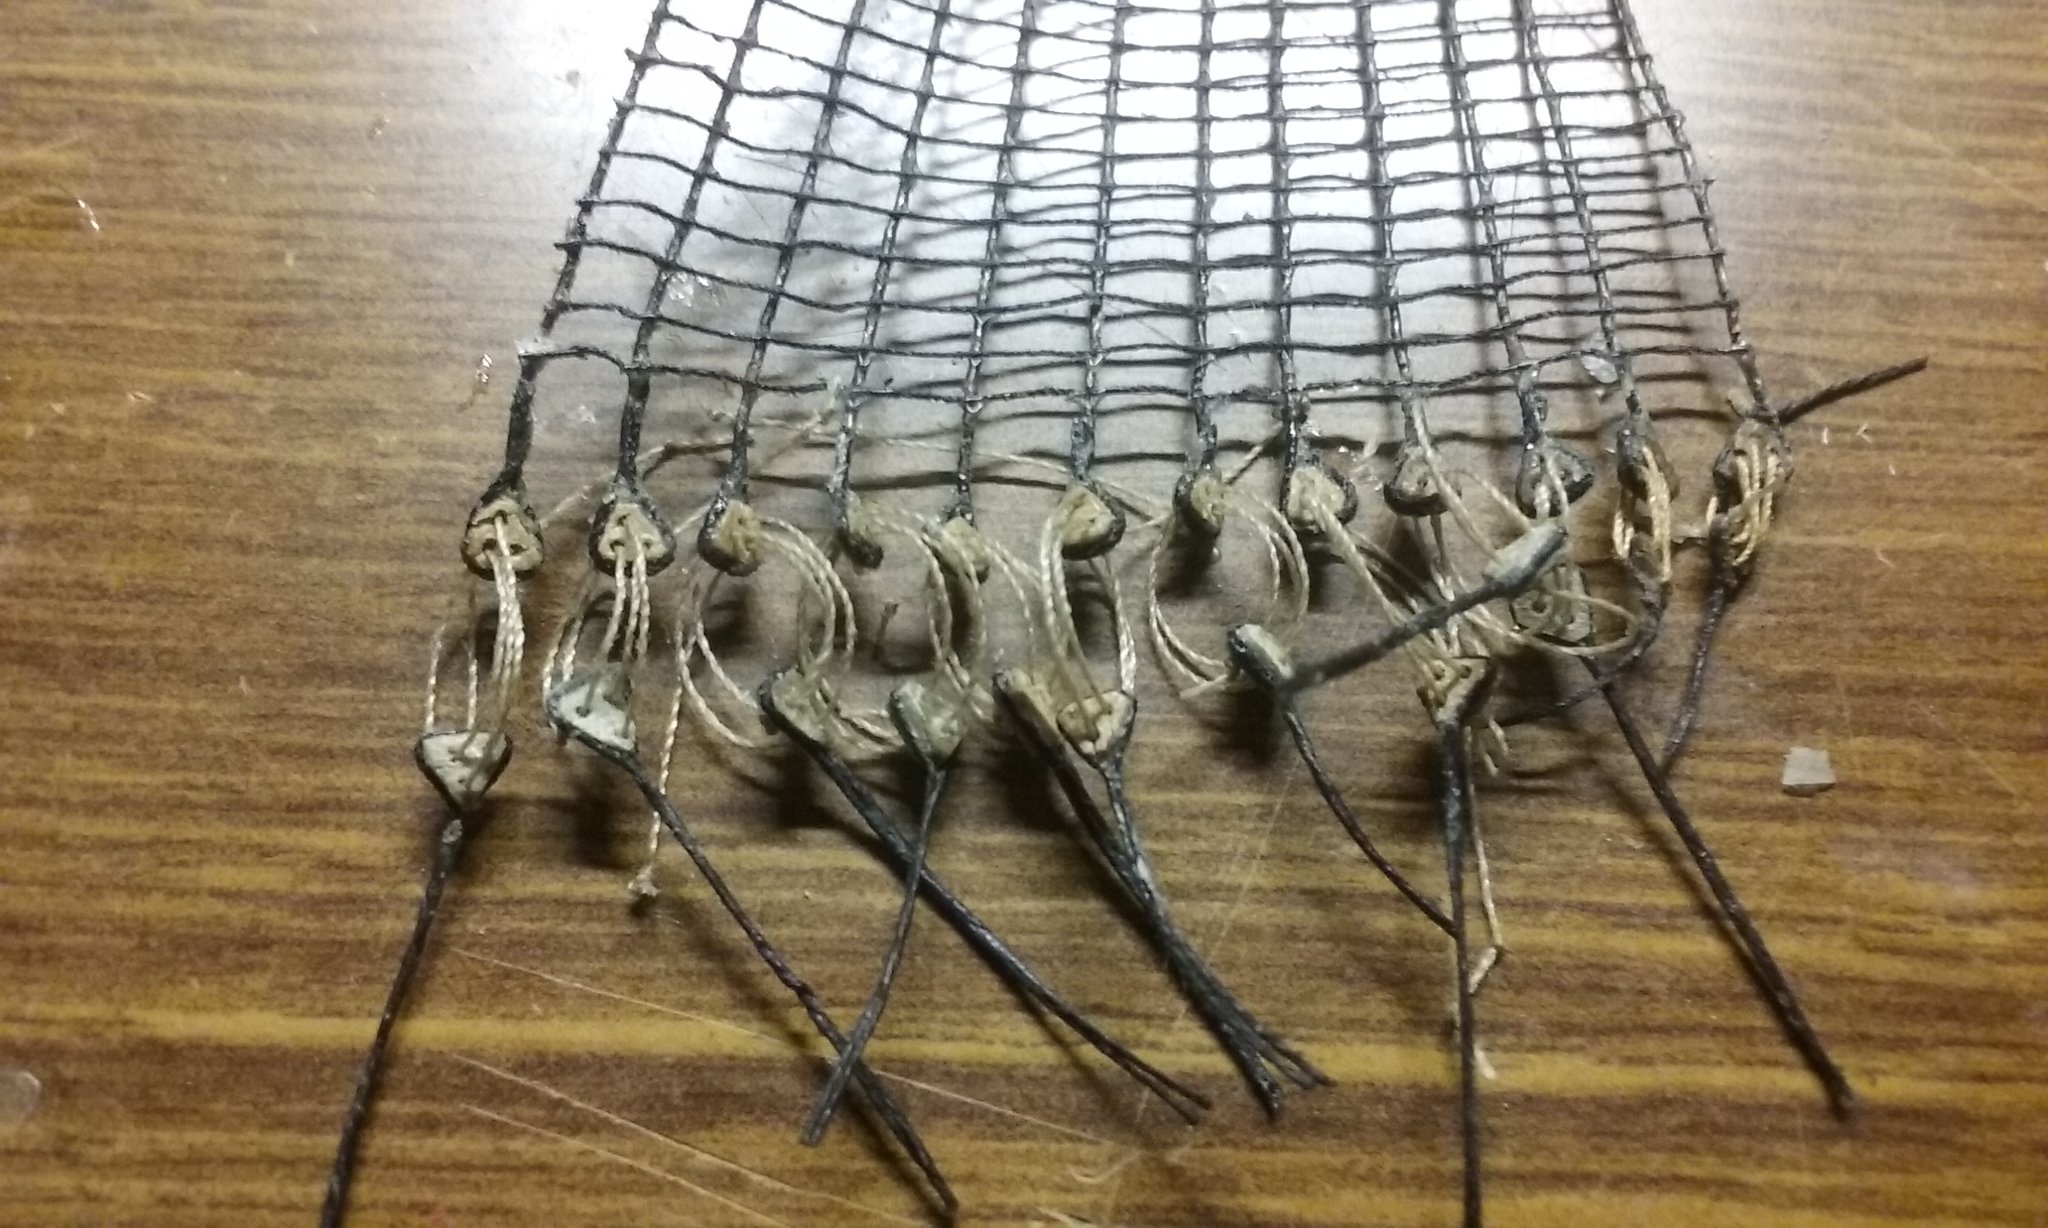
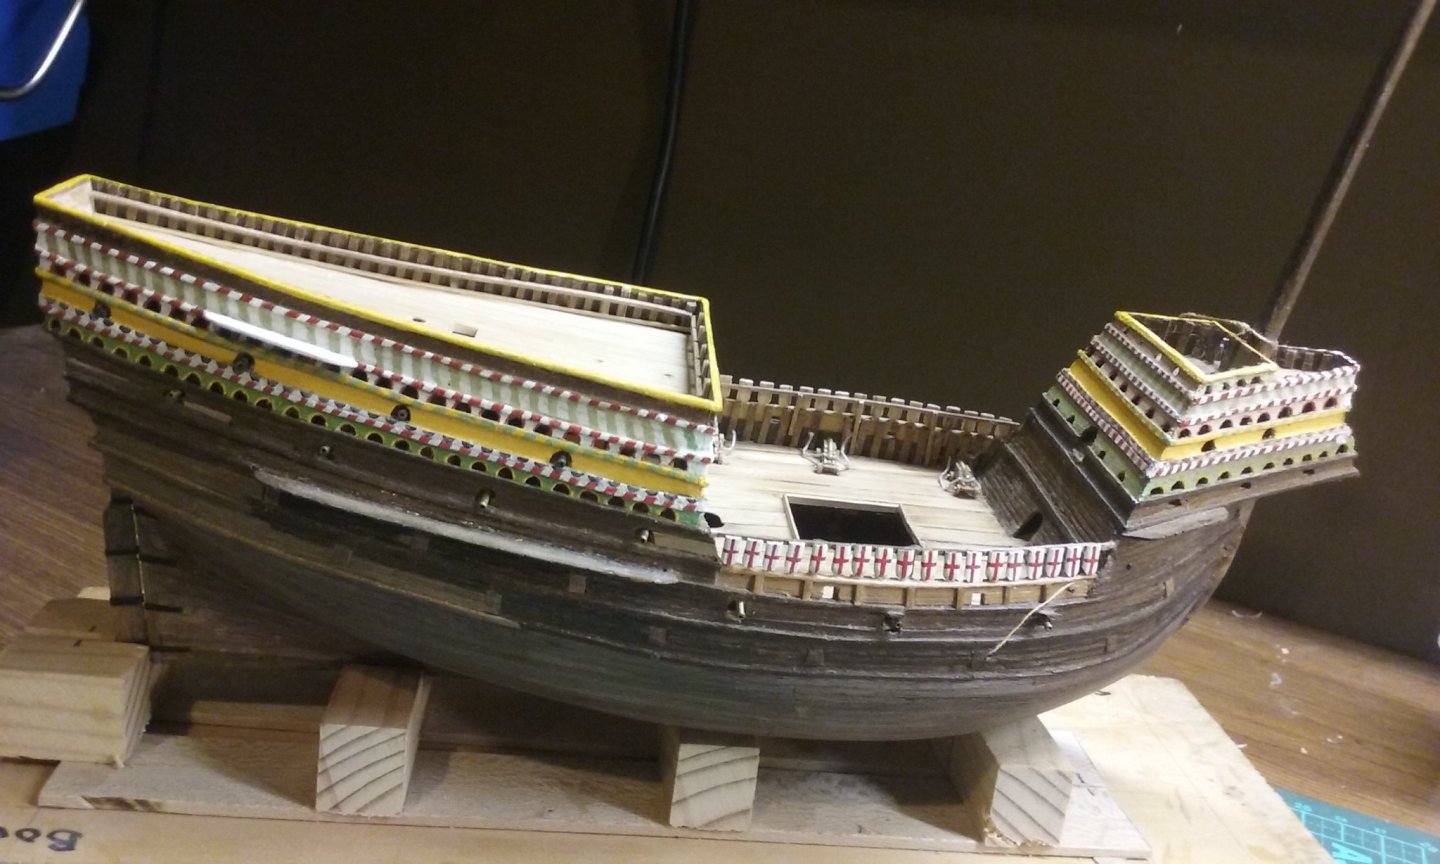
Well, I discovered that all those nice shields I made a while ago were ok for the rails on the tops but turned out to be too small to go on the railings at the sides of the weather deck. So I had to make a whole lot of new ones. So there's been a bit of a delay while I did that. But now I can happily say they are all finally in place. And another small milestone. When I first made the model I'd put the lower starboard shrouds in place on the main and fore masts and added the ratlines (glued, not tied, in place) - but I hadn't done anything about the deadeyes - I'd put that off till later. Well, now it's "later", and I find I really made problems for myself doing it that way. I've made deadeyes for the main shrouds and put in the lanyards. I've intentionally left the lanyards with some "play" in them so I can adjust them when I attach the deadeyes to the channels. It's all a bit (as we say in Oz) "a*se about face" and once these two sets of shrouds are done I'll be doing the rest more conventionally. As I mentioned earlier in this log I'm not bothering with making chains - when I first built the model I didn't even know chains existed, and at 1:200 scale I feel it's all a bit too much. So thick thread will take their place. I've hit the wall a bit with knowing what to do next, so I made up a spreadsheet with a list of all the things I can think of that still need to be done, then shuffled the items around - obviously, the masts have to go in before the stays can be added etc etc - until they made a fairly logical sequence. I think this will help. Steven


- 740 replies
-
- 14
-
-
- Tudor
- restoration
- (and 4 more)
-
Well, it's a very attractive piece of wood - and much more likely to be a good representation of what was actually used than a smooth, machined piece bought from Bunnings(!) Steven
- 186 replies
-
- 1
-
-
- keelless
- reverse clinker
- (and 4 more)
-
What were your first tools as a child?
Louie da fly replied to FlyingFish's topic in Modeling tools and Workshop Equipment
I was working on the Great Harry when I was about 17. I'd just changed the scalpel blade so it was nice and sharp. I knocked something off the table (I'm still just as clumsy today) and it bumped on my foot. I looked down on the floor, thinking 'I don't remember having a bottle of dark purple ink on the table". Oh. The blade had landed point first on the big vein that feeds blood to the toes. So sharp I didn't feel any pain. A very nice clean cut. Just needed a band-aid. Steven -
I don't have much to add to Cathead's excellent set of links, except to refer you to representations of Viking sails on contemporary runestones at https://modelshipworld.com/topic/24335-gokstad-viking-ship-by-bigpetr-148-card-cca-900-ad/page/4/?tab=comments#comment-776214 Your pavesades (shield rails) and oarports look very good. Steven
-
What kind of wood is that? It looks like it might be off a fruit tree. Steven
- 186 replies
-
- 1
-
-
- keelless
- reverse clinker
- (and 4 more)
-
What were your first tools as a child?
Louie da fly replied to FlyingFish's topic in Modeling tools and Workshop Equipment
I have my Dad's old bench vise and his "rivet snap" (https://www.model-engineer.co.uk/forums/postings.asp?th=119369) which I used to get a lot of use from when I was into re-enactment and made mediaeval helmets, but is really no use for ship modelling. Steven -
Blast! Hope you get a chance to get back into it soon. Steven
-
Haven't seen any progress for awhile. Is anything happening on the carrack front? Steven
-
That's looking very good, EOL. The fake ribs work well. I hope you still have some skin on the end of your fingertips after that sanding. The extra image is at the end because you didn't allocate it a place in the text, and you have to delete the original picture from the group of uploads at the bottom and the one at the end of the text before it will go away. Don't ask me how I know . . . Steven
-
Lateen yards – inside or outside of the shrouds?
Louie da fly replied to catopower's topic in Masting, rigging and sails
Precisely. One of the ropes on the vessel below is a halyard. But are the others shrouds or backstays? Or what? (rhetorical question - no answer needed). I must say, Wefalck's contributions have got me thinking about issues relating to lateens that I hadn't considered before. Steven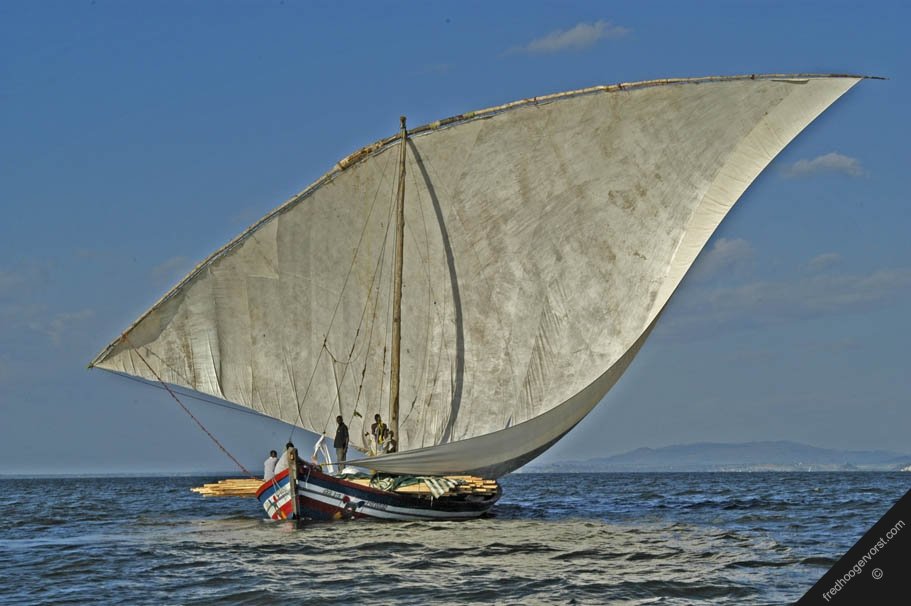
- 14 replies
-
- 2
-
-
- lateen rig
- washington galley
- (and 1 more)
-
Like the water cooler in a modern office. Or in the Australian army in WWI they had water wagons made by J. Furphy and Sons. Though it's now dying out, the Australian word "furphy" is even today used for an unfounded rumour. Steven
-
Lateen yards – inside or outside of the shrouds?
Louie da fly replied to catopower's topic in Masting, rigging and sails
Wefalck, merci beaucoup pour la référence. Though I'll accept that a lateen on a small vessel can be used without shrouds, larger ships seem to need them. I don't know that there's really a difference between a lateen with or without shrouds. Steven- 14 replies
-
- 4
-
-
- lateen rig
- washington galley
- (and 1 more)
-
That's beautiful work, Derek.
-
Greetings from the shores of Lake Michigan!
Louie da fly replied to Jayhawk's topic in New member Introductions
Welcome to MSW, Jayhawk. When you get started on your model, you should also start a build log. The instructions are here: It's a great way to get help and advice as you go through your build. The people here are very friendly and helpful. Good to have you aboard. Steven -
Welcome, Derek! Do you have a build under way at the moment, or one planned? Steven