HOLIDAY DONATION DRIVE - SUPPORT MSW - DO YOUR PART TO KEEP THIS GREAT FORUM GOING! (Only 51 donations so far out of 49,000 members - C'mon guys!)
×


Louie da fly
-
Posts
7,987 -
Joined
-
Last visited
Content Type
Profiles
Forums
Gallery
Events
Everything posted by Louie da fly
-
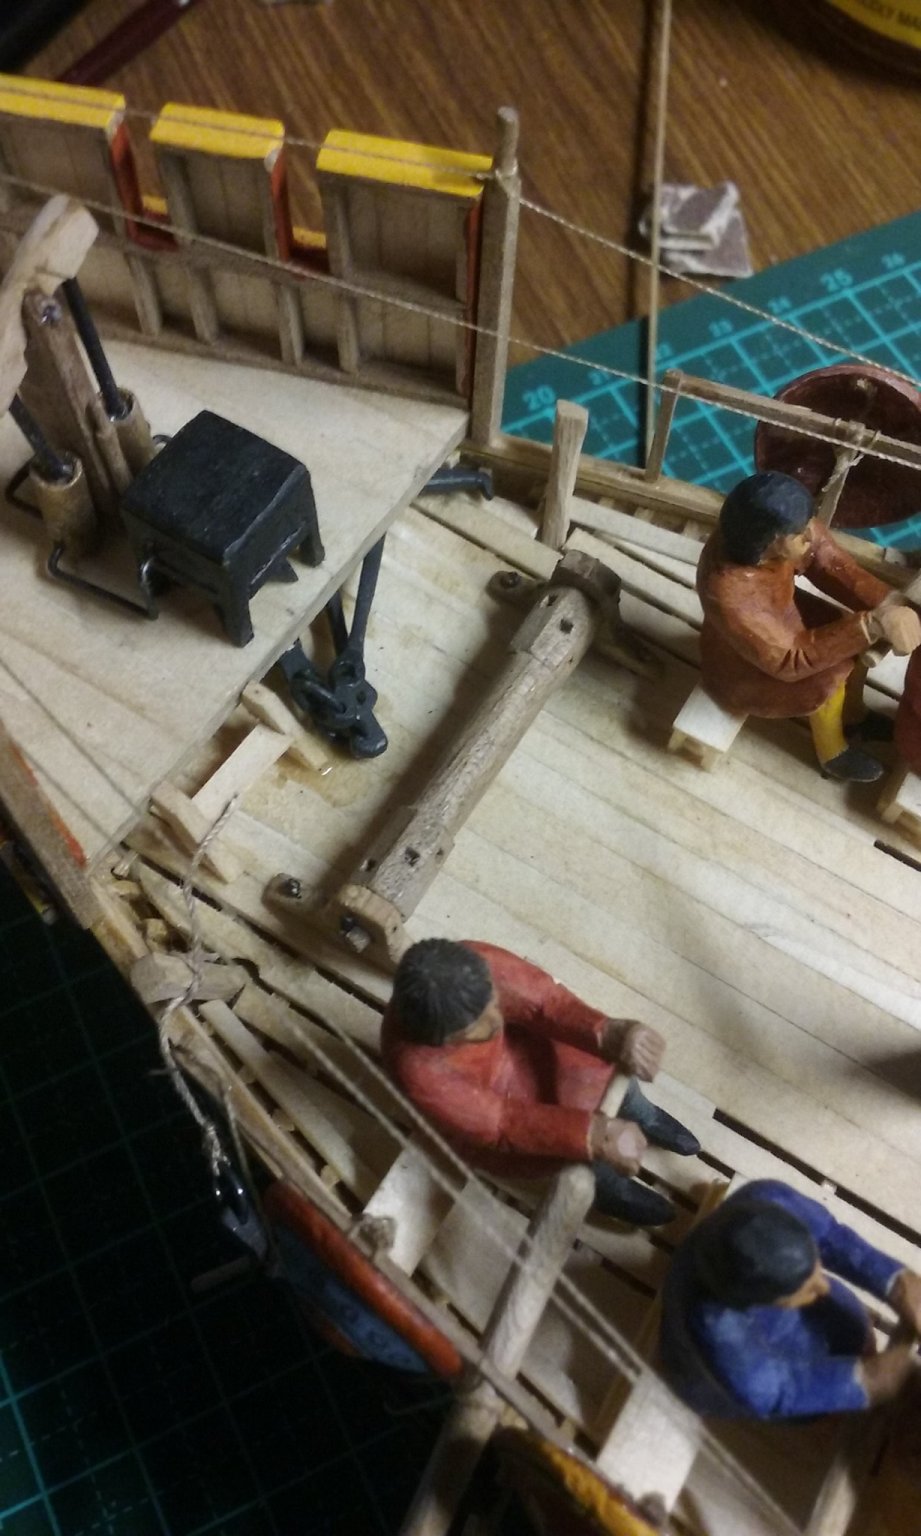
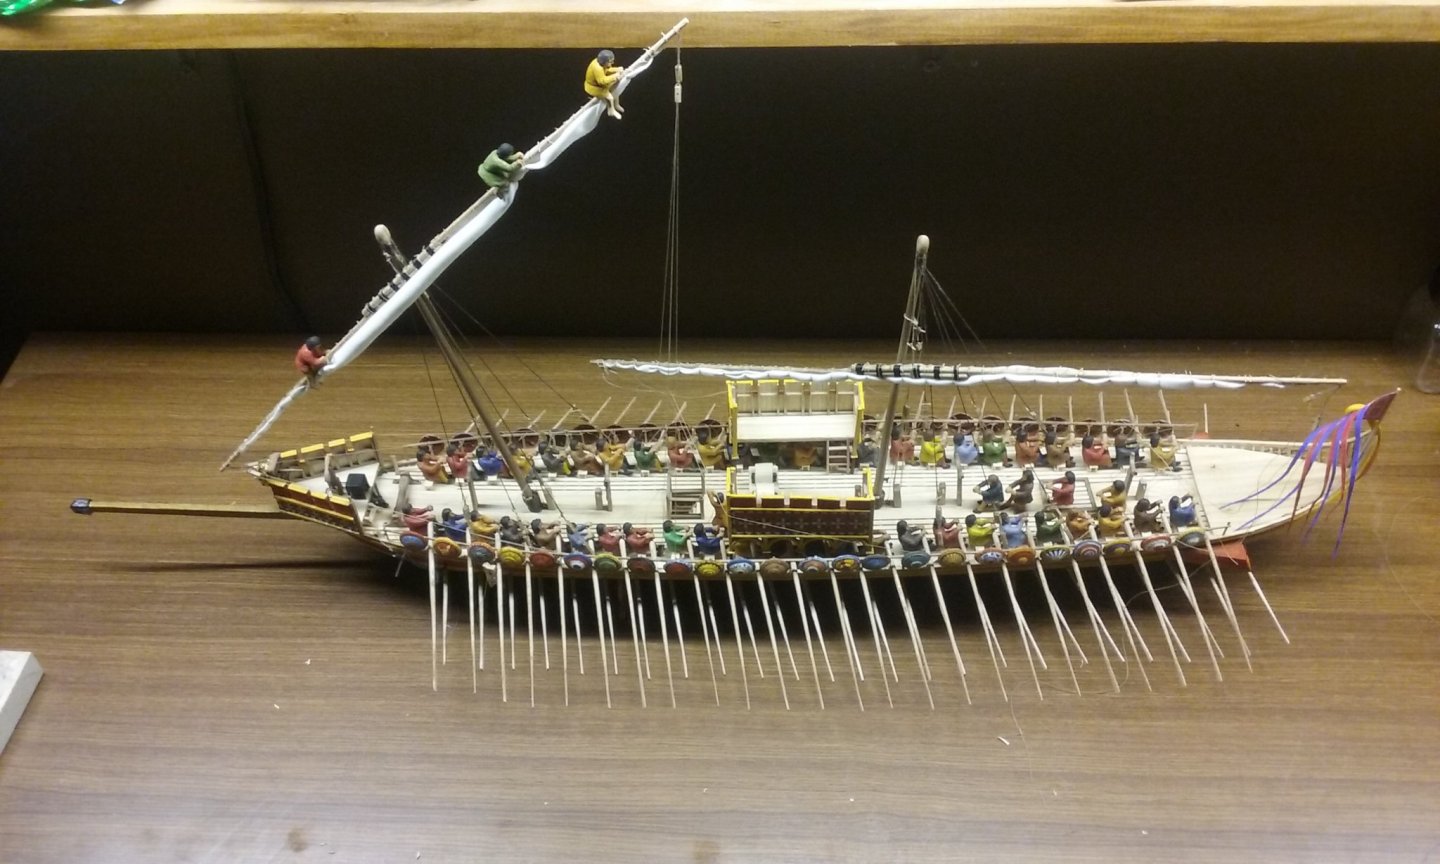
 Apart from the awning over the poop deck and the steering oars, everything's pretty much done except for the fiddly stuff. Mark, the anchors ranged from 47 to 67 kg (103 - 147 pounds). Probably two or three people could haul one up without a windlass, but this isn't something I'm qualified to comment on. Any ideas on whether this is too heavy to be hauled up by hand and would have needed a windlass instead? But yes, it could certainly be used to raise and lower the masts as well.
-
But (and I'm really showing my ignorance here) it would only be one anchor, right? You only raise one anchor at a time? So perhaps one anchor cable is wound round the windlass from the anchor, and down a hole in the deck (in the photo below it would be aft of the windlass) to the cable locker below the deck. And the other anchor cable goes directly to the cable locker through the same hole? So to put the anchor cable on the windlass, the cable would first have to be untied from the anchor, wound around the windlass and then re-tied to the anchor? (having trouble getting my head around all this).
-
Looking good. I agree about the little stands supplied with the kits. A while ago one of our members spent a long time restoring a big model of a steamship for a museum. The ship had turned turtle on its stand and crashed to the floor, with horrible results. Anything that can be done to avoid that is worthwhile in my book.
- 35 replies
-
- 1
-

-
- english man o war
- revell
- (and 2 more)
-
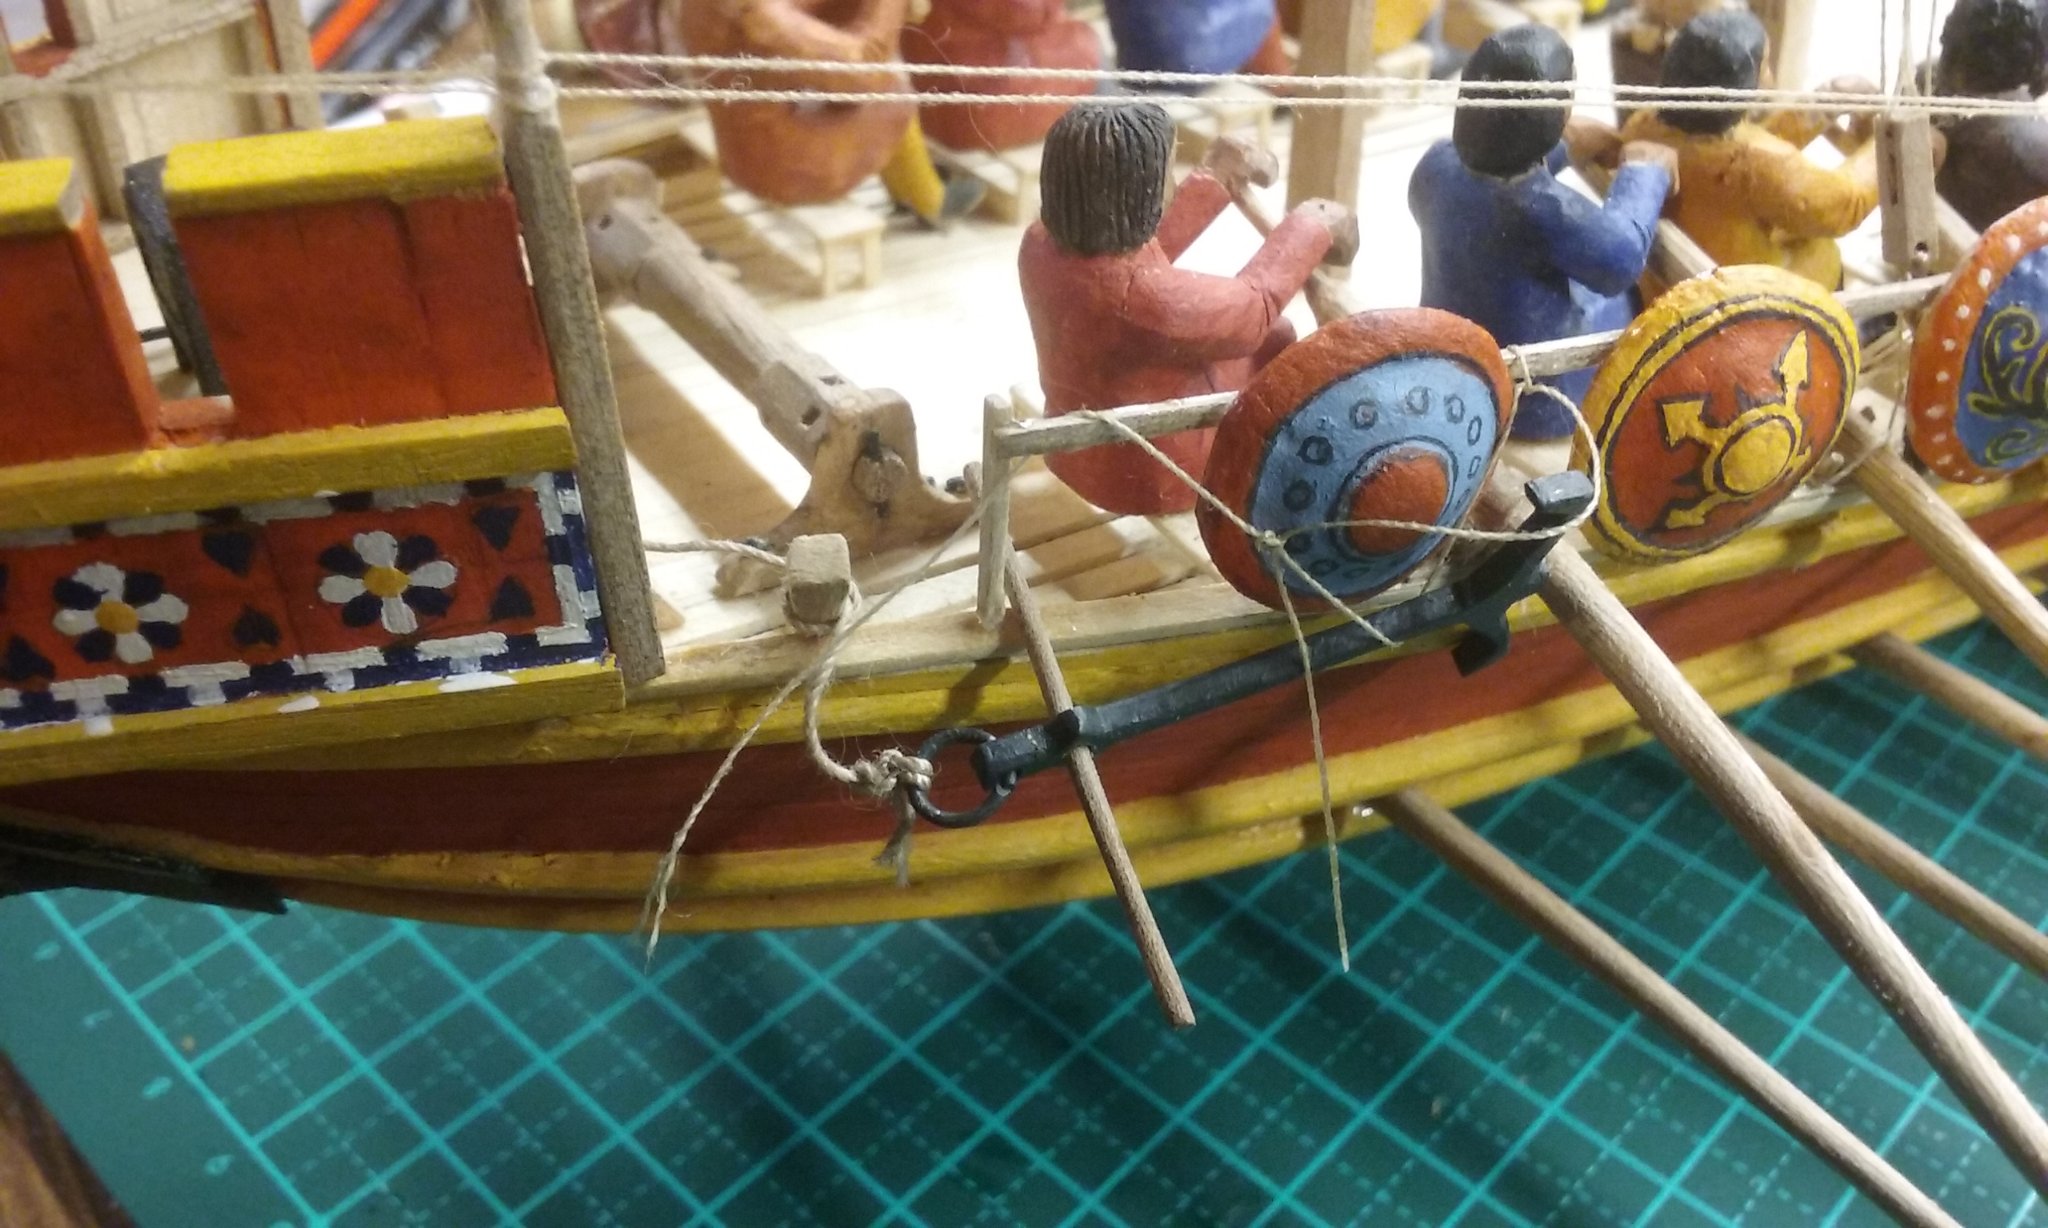
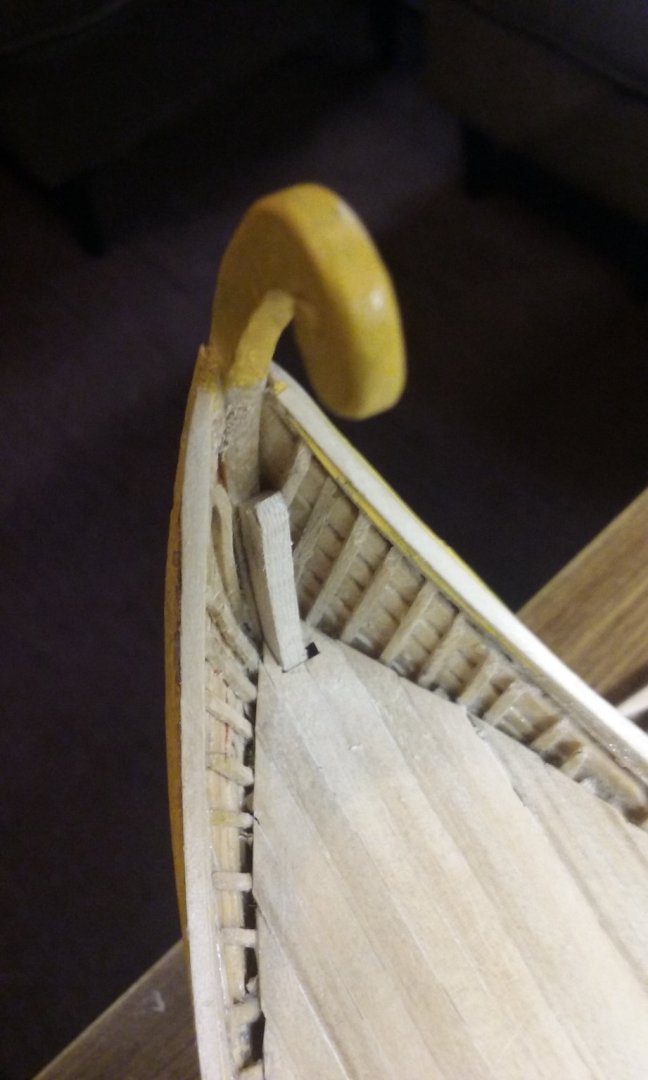
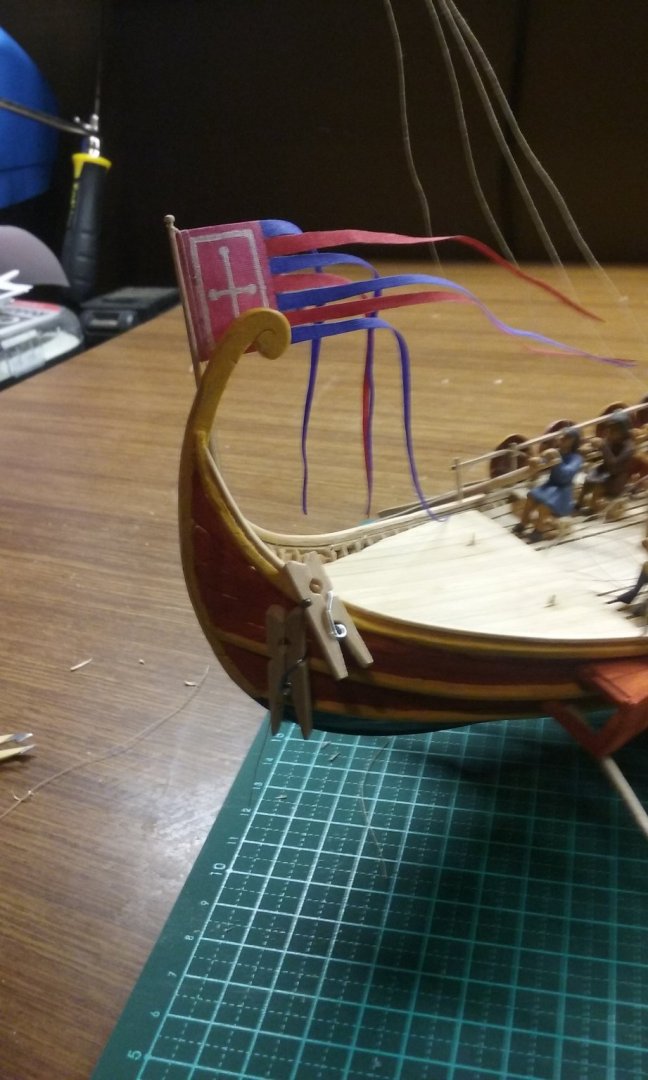
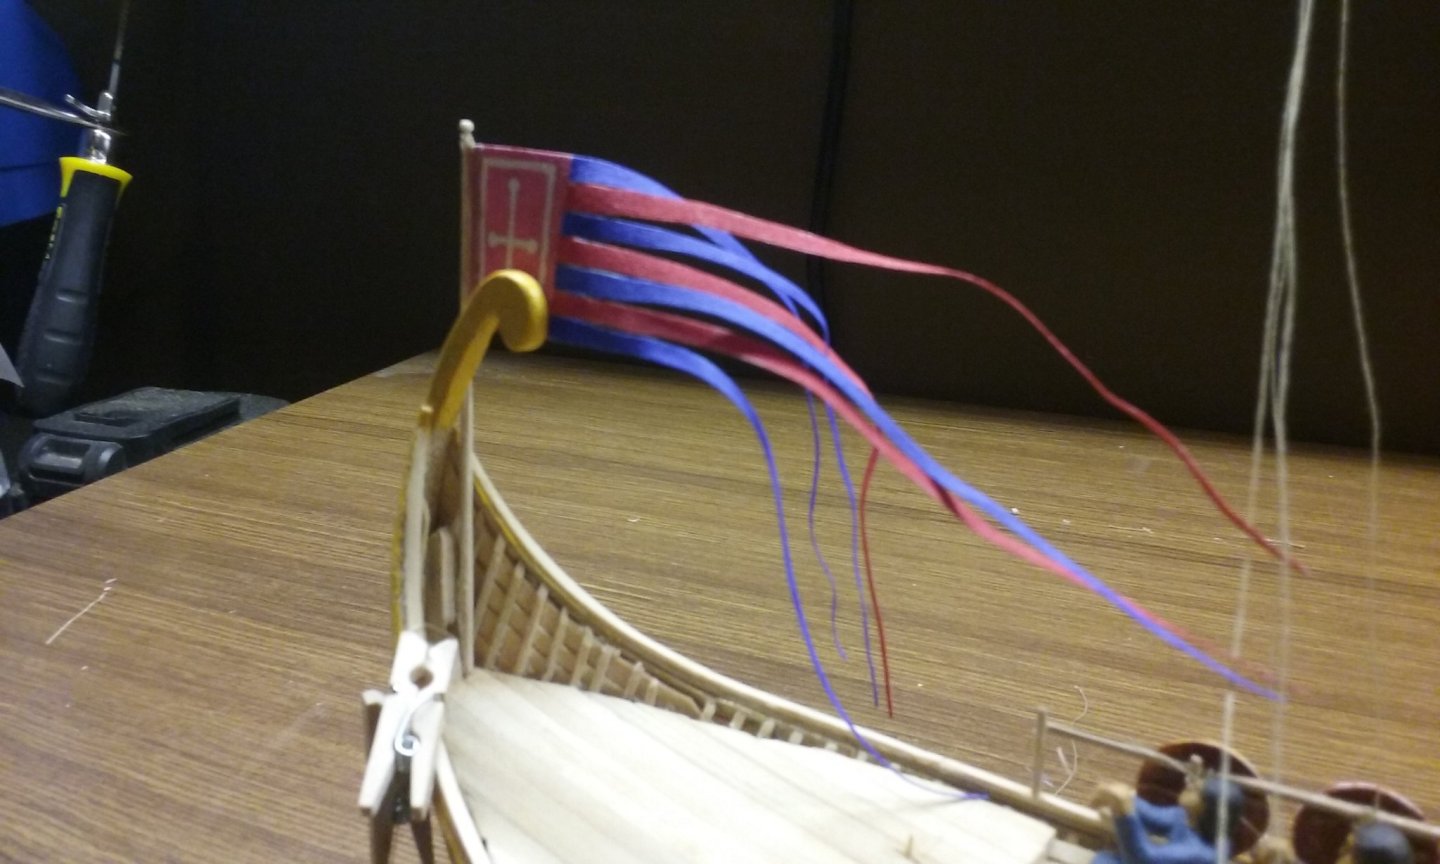
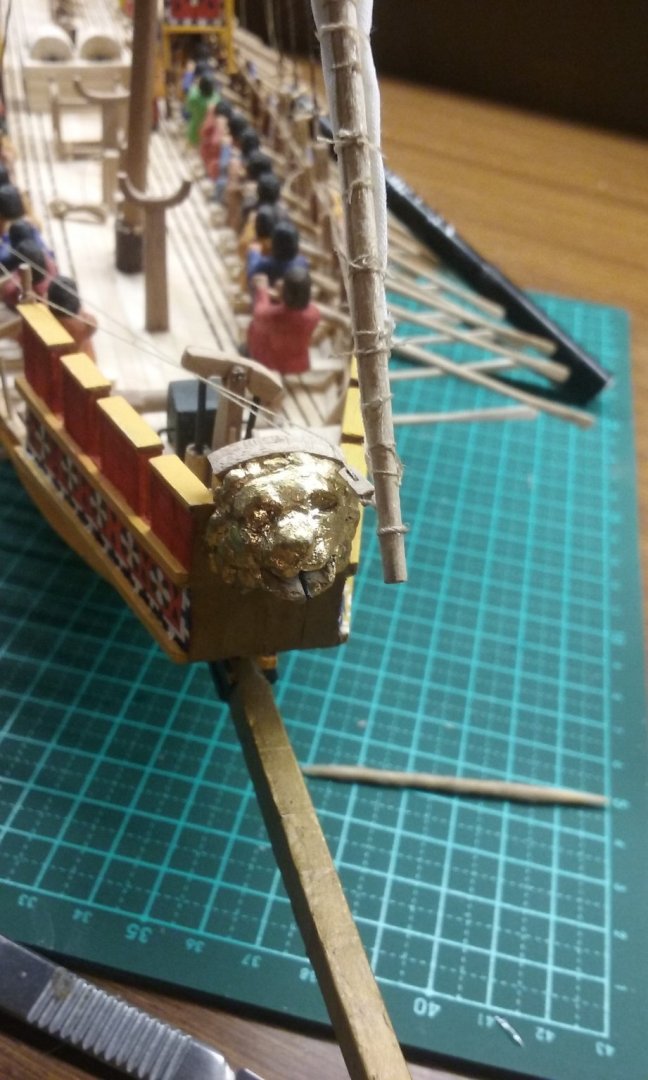
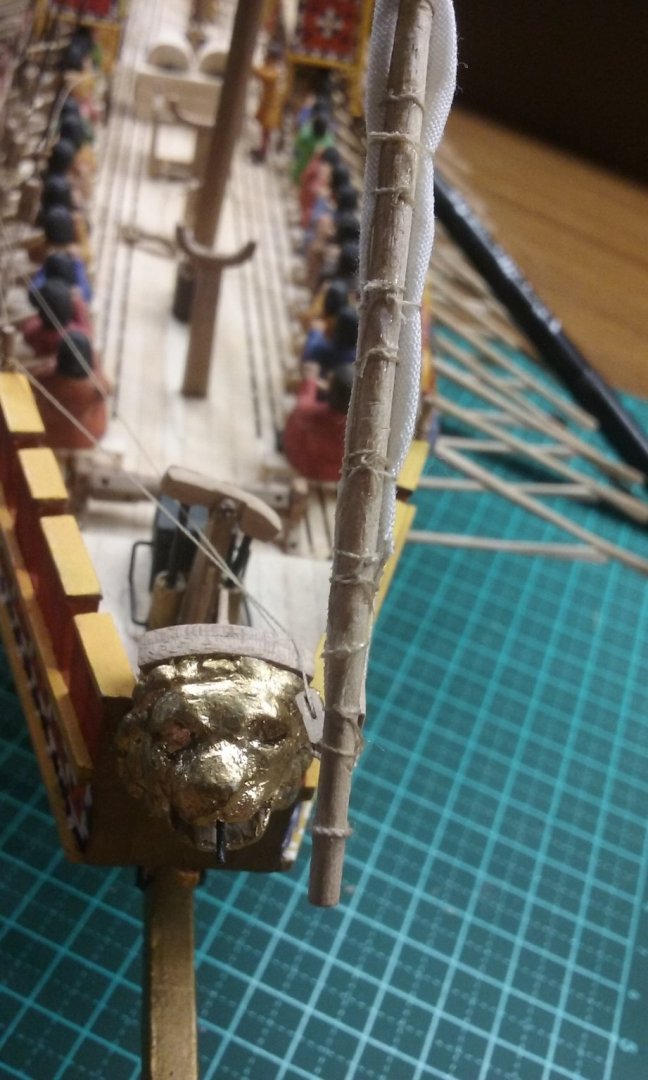
Well that picture certainly suggests the bowsprit was used to cat the anchor. Probably a block would be ok -it all depends on having a block that's robust enough to take the forces involved, and they may not have been all that big. Anchors were fairly small at the time - Byzantine ones were made individually by a blacksmith, hammer-welding individual bits of bloomery iron together to make a whole, and I'm sure the same would have applied in Northern Europe. (I've got quite a bit of information on the anchors from the Byzantine "glass wreck" of c. 1025, found at Serce Limani if you're interested). As far as I know, grapnels on chains attached to the bowsprit didn't come into use until about the 1440's. A number of early 15th century representations show a pennon or flag attached either directly to the bowsprit or to a vertical "flagpole" attached to it - but I think a modest sized cog like yours wouldn't have had one.
-
Oh, wow!
-
Looks very good. That's going to be a superb model. So the layers on the mast fish are the grain of the timber? Or do I still have it wrong and the fish itself is made of plywood? I take it if you stain it again it won't change anything - that the different colours will still be obvious? I had a look at the red painted fish on the Sea Stallion and because it's a fairly subdued red it actually looks pretty good.
-
That's looking very good, Christos. I do know how you feel making all those oars . . .
-
That's a very good figurehead indeed. Very much in the spirit of the Viking carvings of this type that have been found in archaeology, and well carried out. Regarding the eyes, most seem to have just been carved into the wood, but there is one, by an unknown artist modernly known as the Academician because of the sophistication of his work, that has little metal plates (probably silver) as the eyes. Not suggesting you try for this level of result at home kiddies, but it does support your idea of making the eyes different.
-
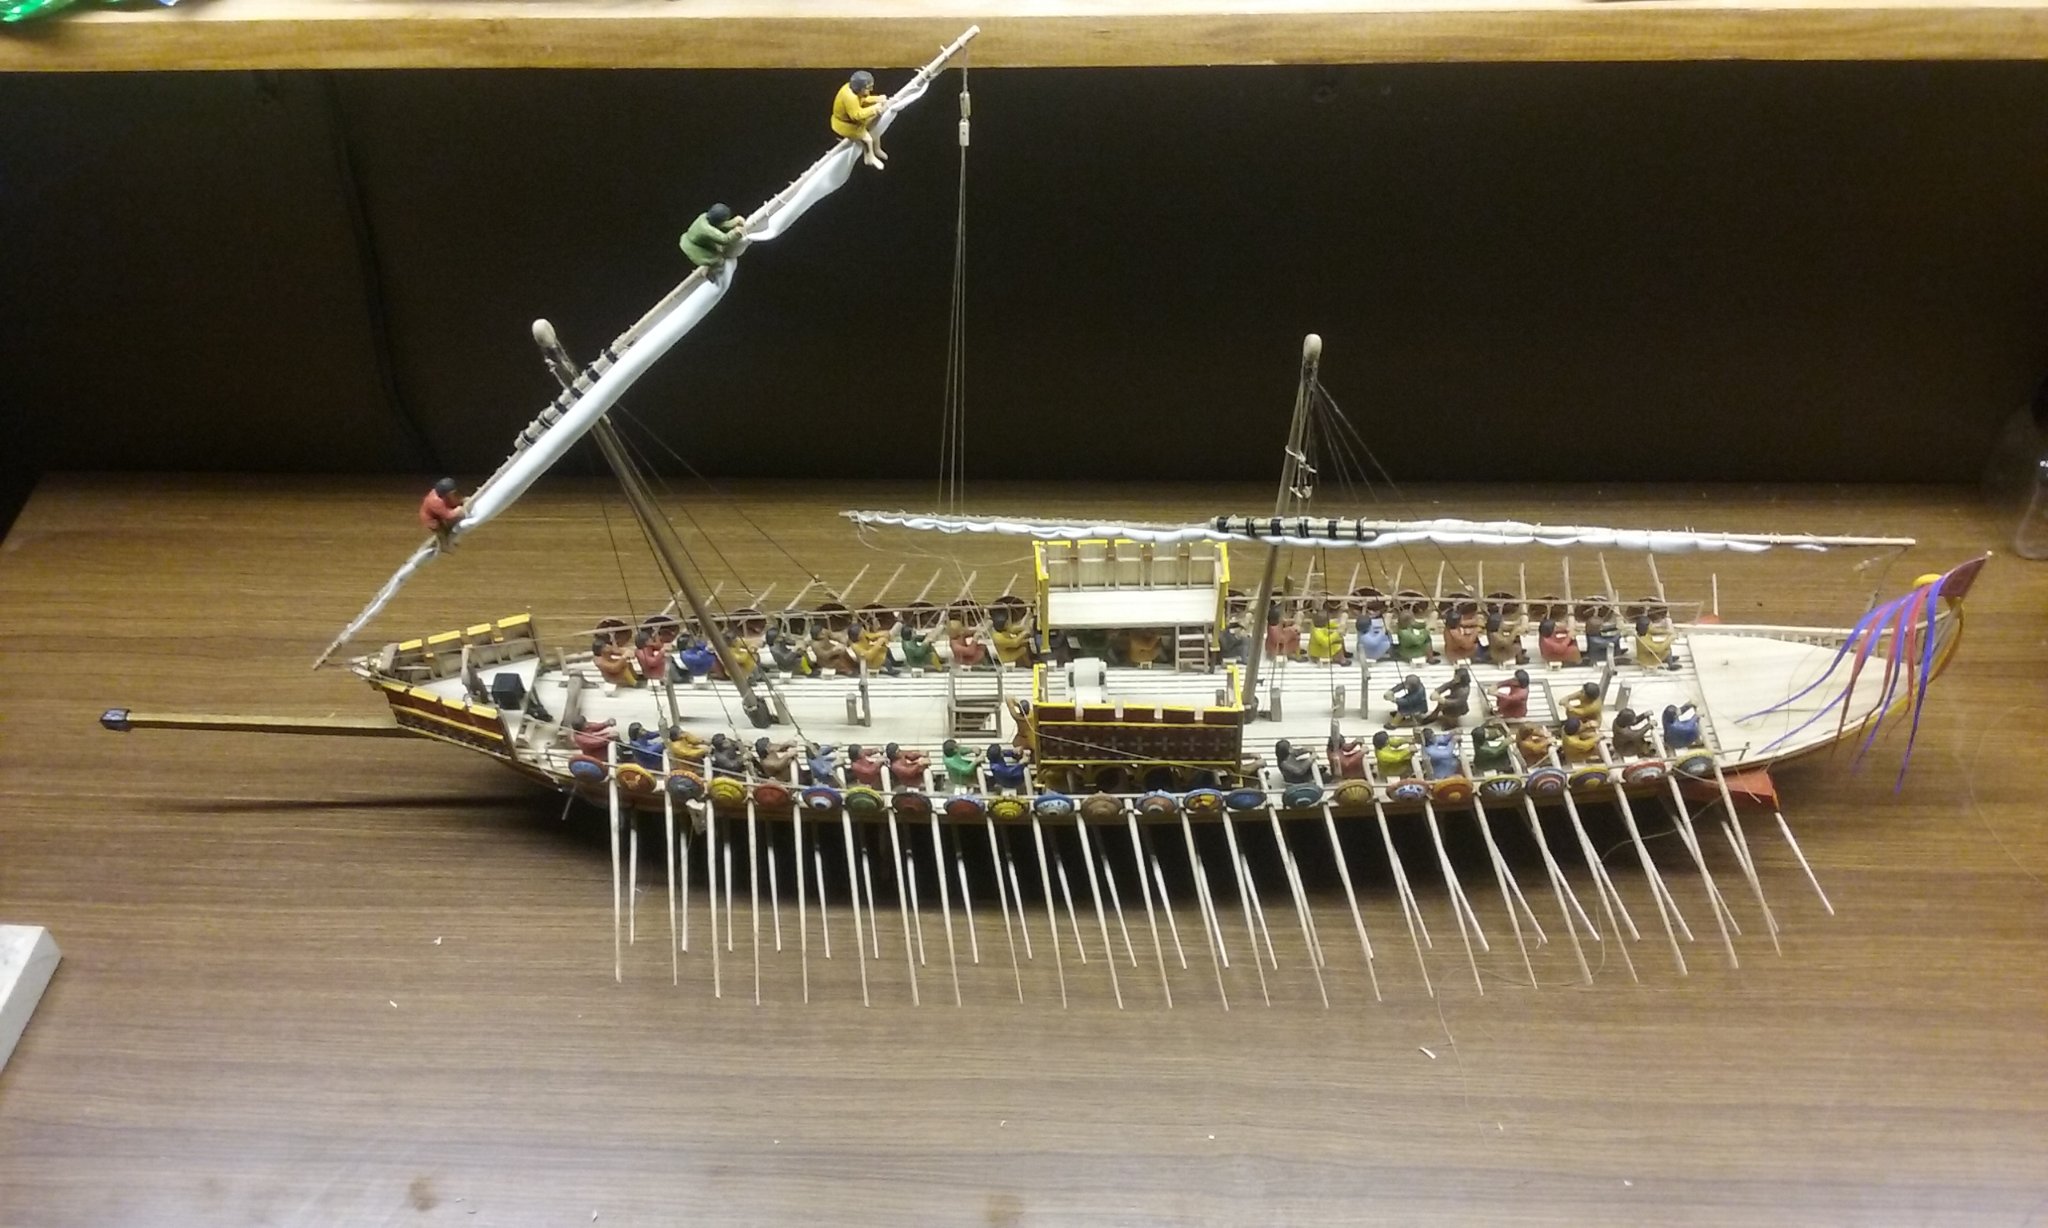
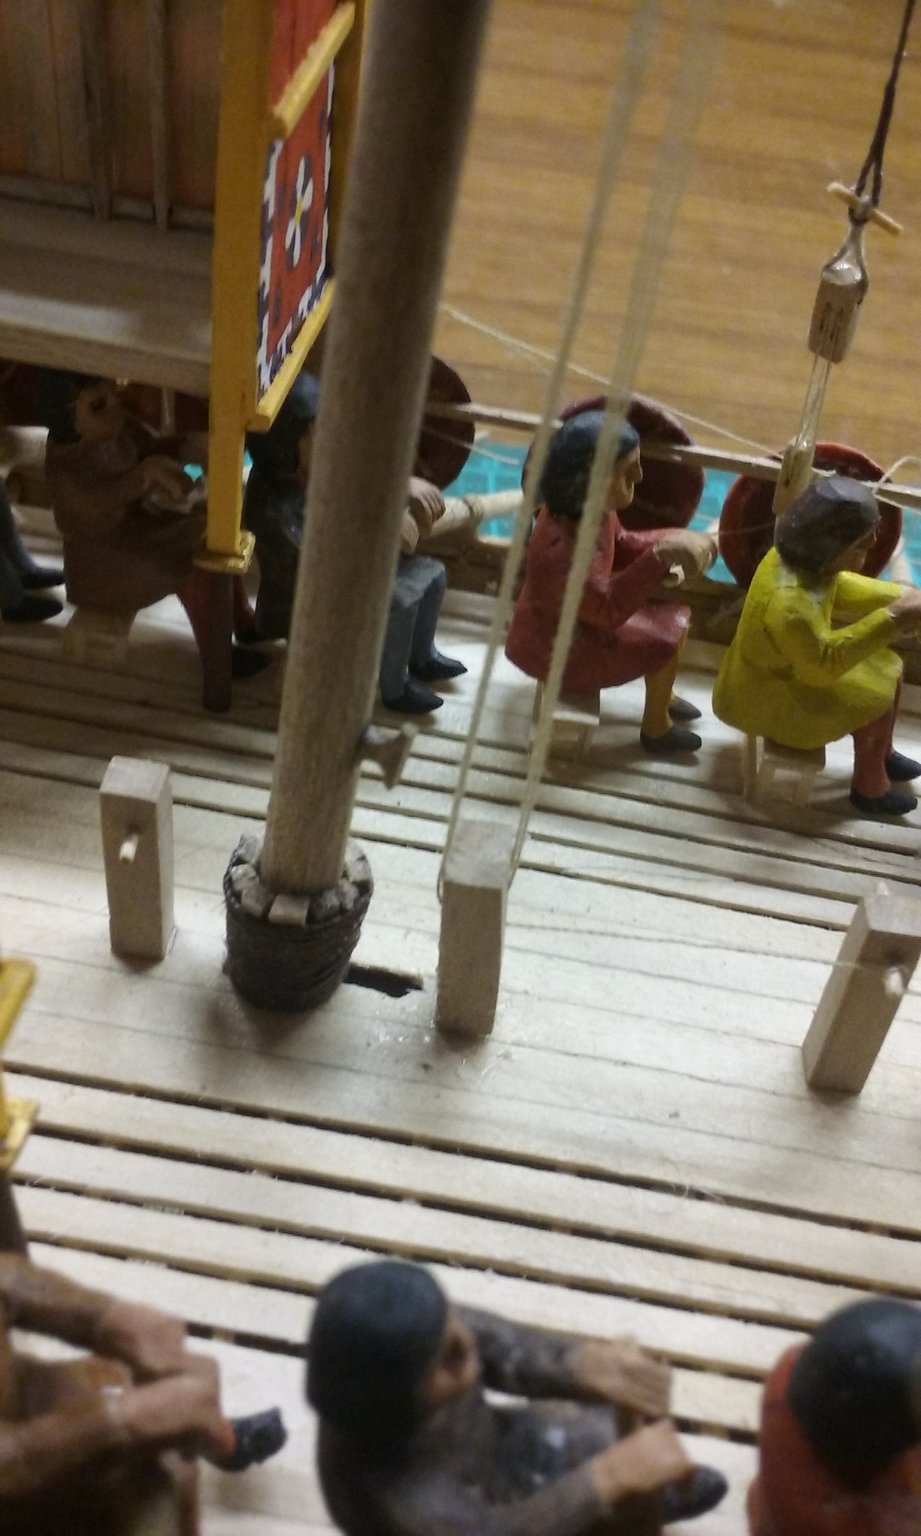
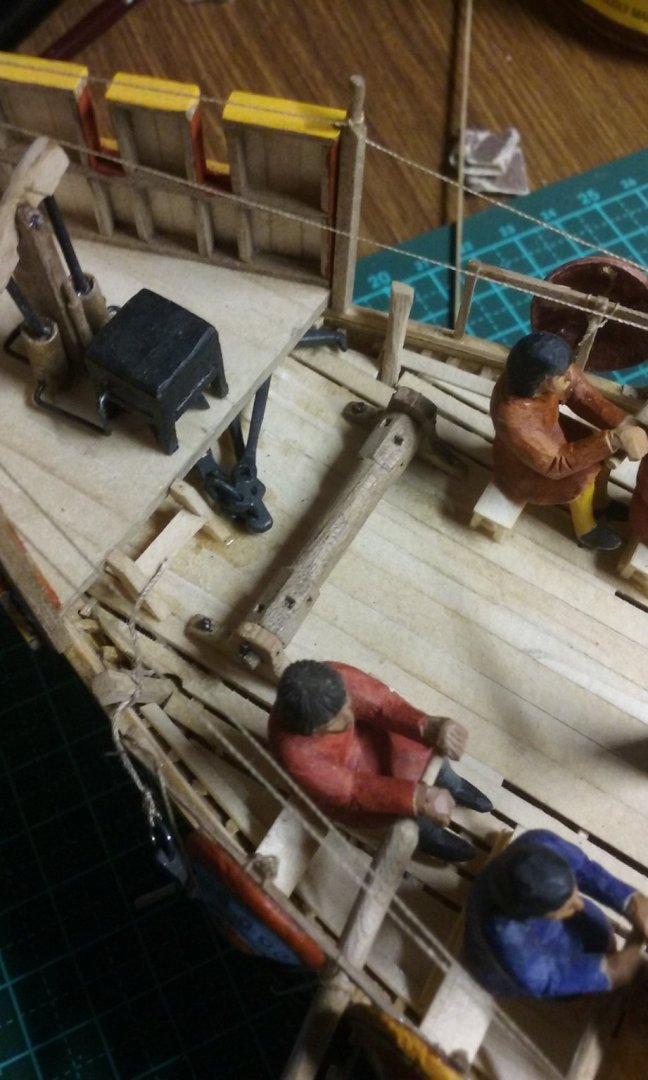
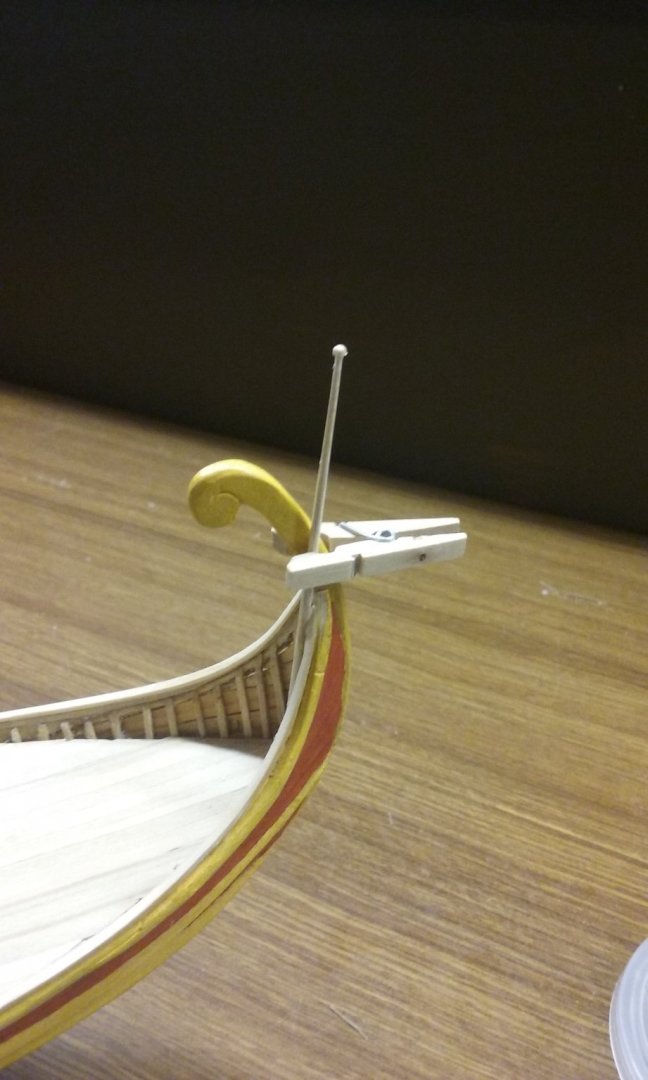
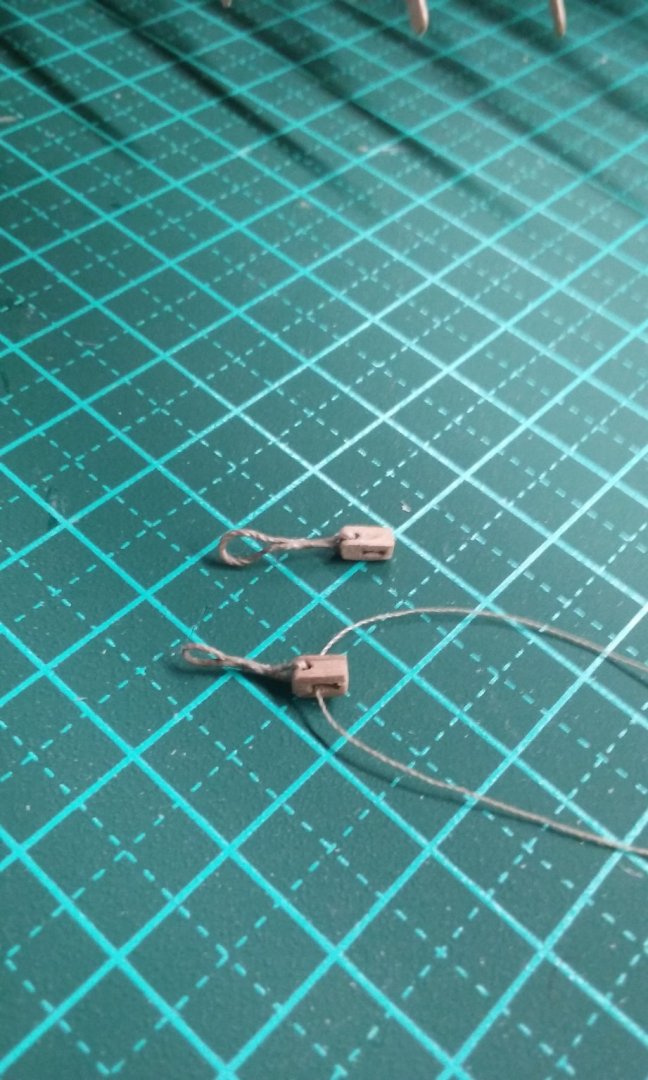
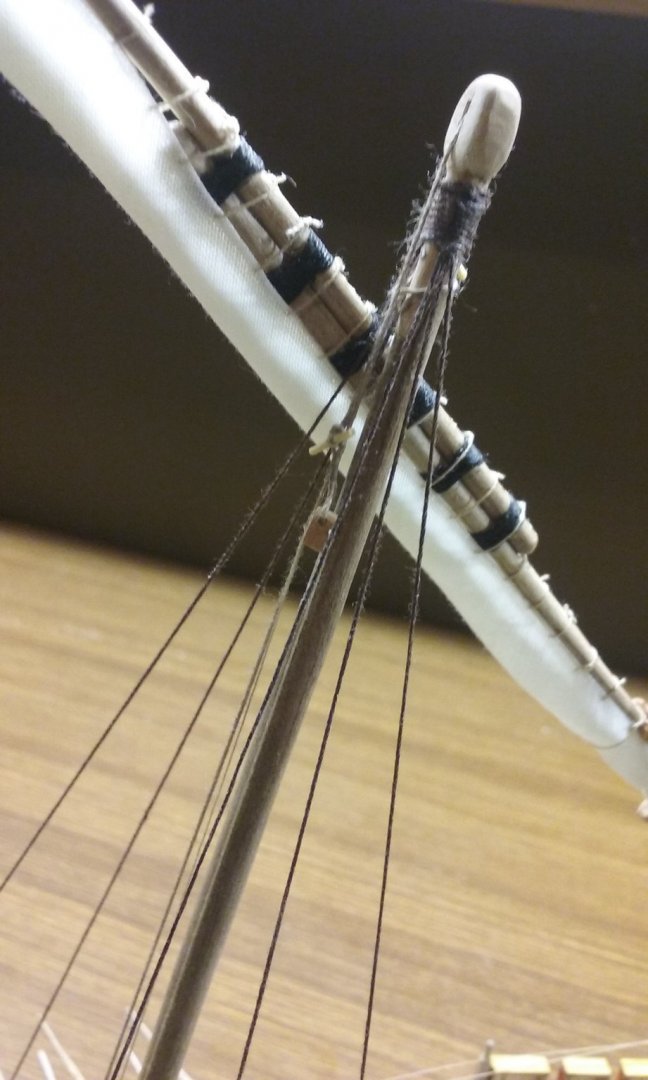
I'm rather uncertain about the arrangement for the anchor cables on my dromon. I'm working on putting the anchors in place. Here's a test placement (disregard the way I've tied the rope that fishes the anchor - it's just to keep it in place for the time being). I'm not sure what I need to do with the anchors and windlass - are the anchor cables supposed to be attached to the windlass when the ship is sailing, or is that only for when she's raising the anchors? And if the cable isn't attached to the windlass when under way, what should it be attached to? Should it be tied to (say) the peribolos (pseudo-cathead) and then coiled on the deck? Or what? I suspect this isn't the way anchors were dealt with in later ships and that may introduce uncertainty, but any advice or suggestions would be greatly appreciated.

-
I'm working on putting the anchors in place. Here's a test placement (disregard the way I've tied the rope that fishes the anchor - it's just to keep it in place for the time being). I'm not sure what I need to do with the anchors and windlass - are the anchor cables supposed to be attached to the windlass when the ship is sailing, or is that only for when she's raising the anchors? And if the cable isn't attached to the windlass when under way, what should it be attached to? Should it be tied to (say) the peribolos (pseudo-cathead) and then coiled on the deck? Or what? I suspect this isn't the way anchors were dealt with in later ships and that may introduce uncertainty, but any advice or suggestions would be greatly appreciated.
-
I'd second Jeff's recommendation of a magnifying headset. I use it for all fine work. I wear my normal glasses underneath. It's very good for seeing details I otherwise wouldn't, but it did take a little getting used to. The paintwork is looking very good, at least from the photos. Keep at it. You'll get there with time and patience.
-
Thanks everybody. Sceatha, I might just leave it as is. As I've already installed the ropes, I might do more harm than good trying to wax them (wax on - wax off!). It's a shame about the fluffy texture, but it shows up more on the photos than in real life.
-
Looking very good indeed. I like the "weathered" look, particularly of the castles. She looks like a ship that's a workhorse rather than a luxury yacht and has been worked hard.
-
Yes, I'd agree with your assessment. Your solution - fixing the stay to the beakhead knee - is better from a structural perspective.
- 756 replies
-
- 2
-
-
- galleon
- golden hind
- (and 2 more)
-
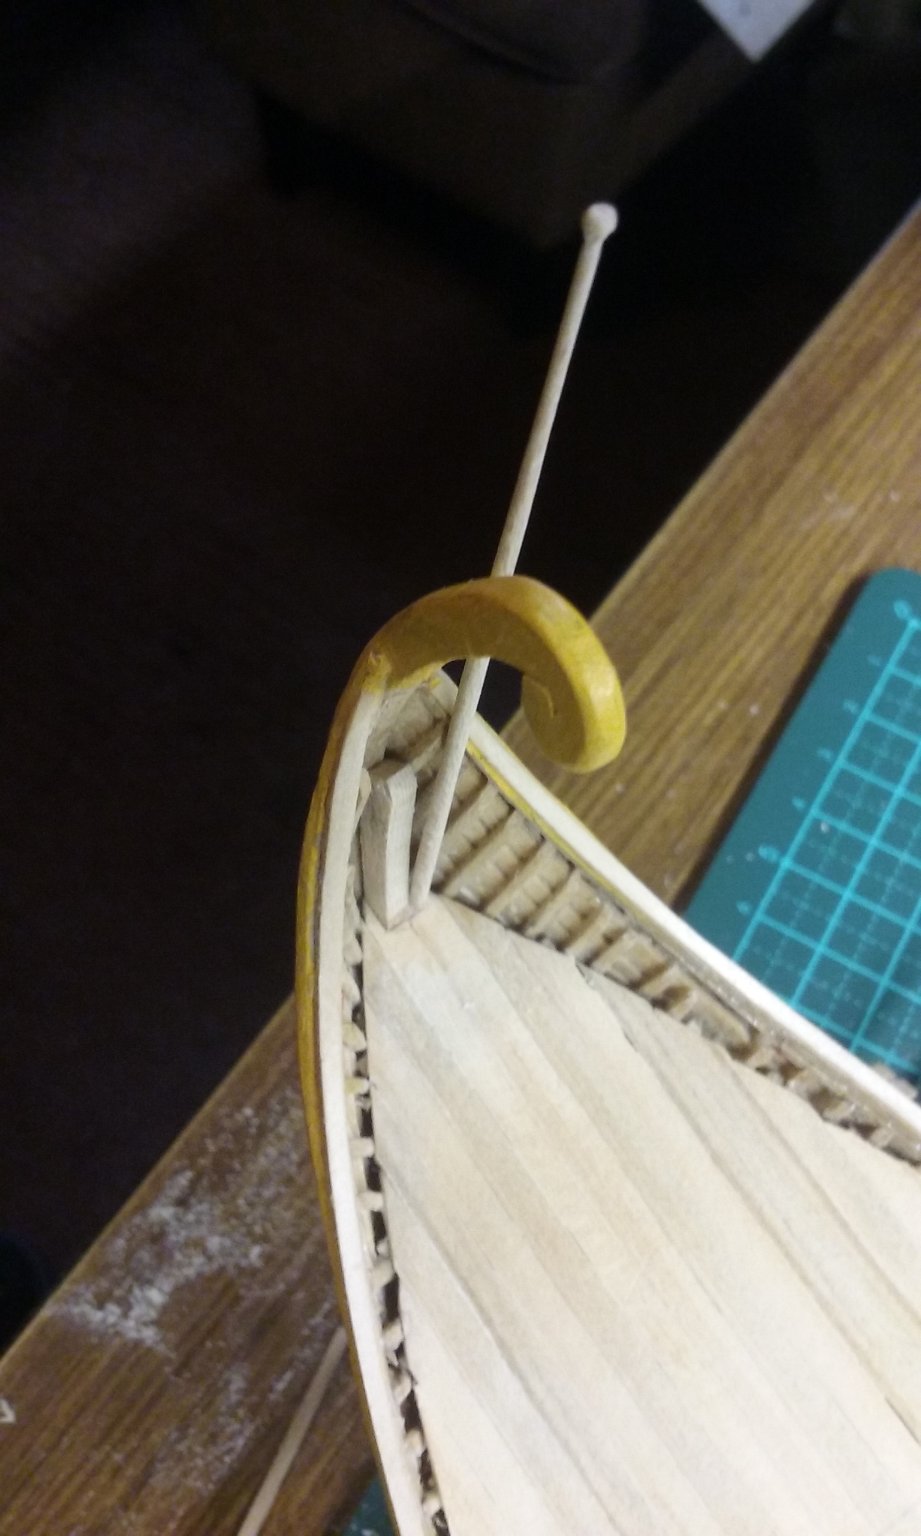
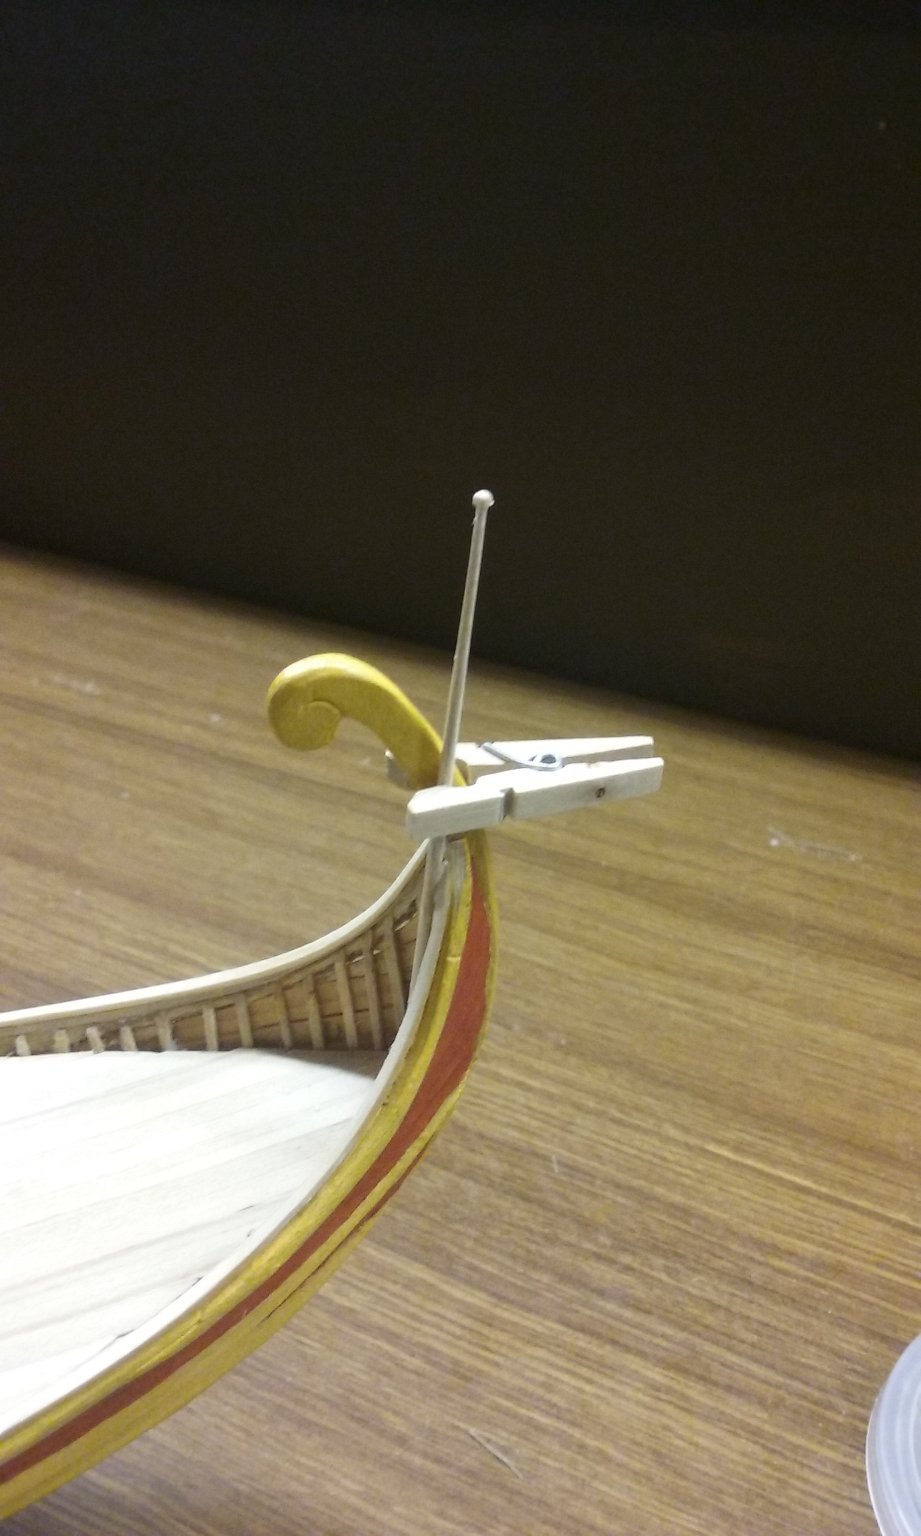
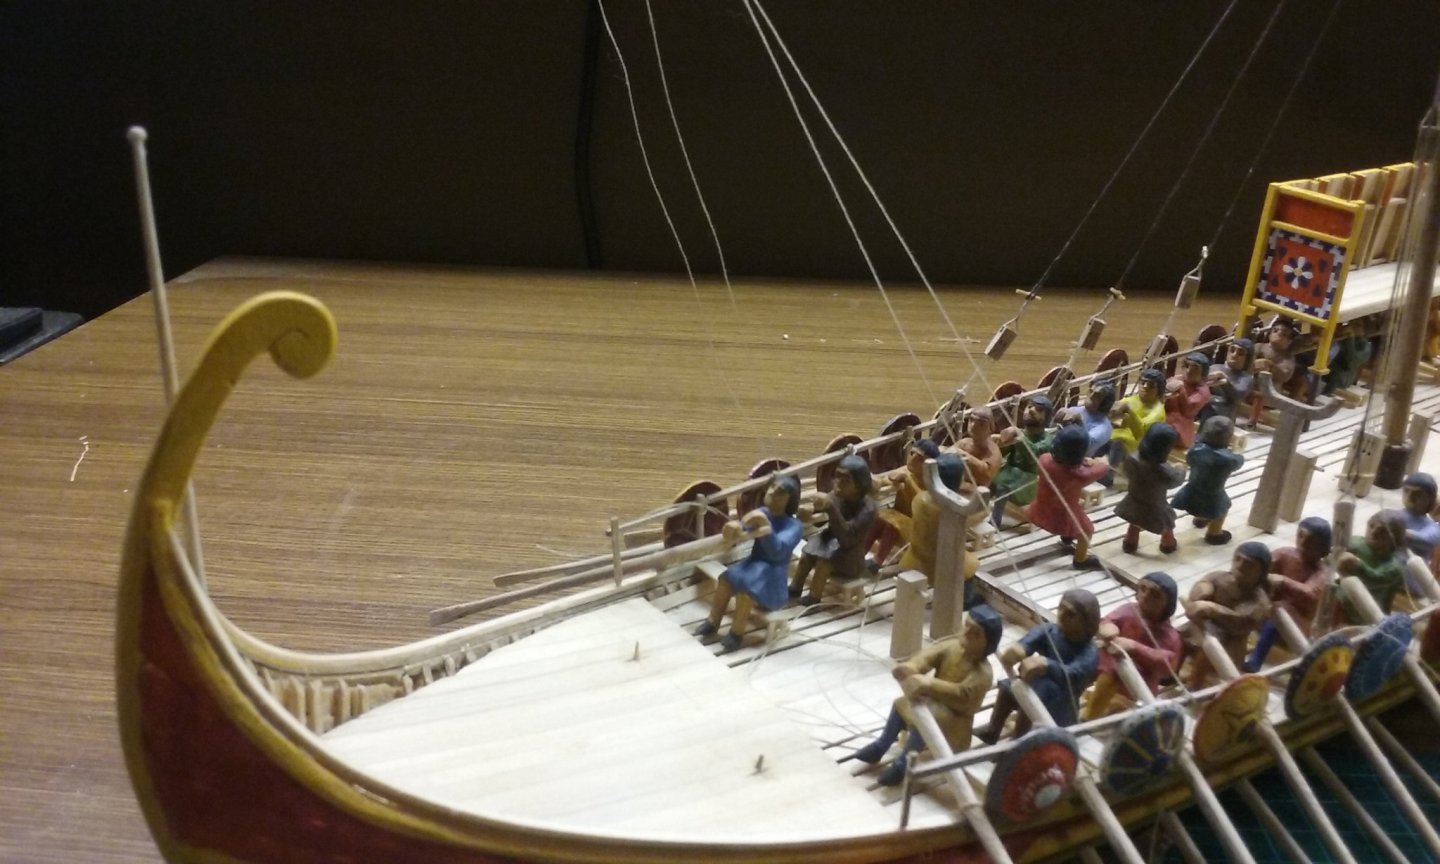
Hmm, I'll have to do some thinking about that. I've already (unfortunately, as it now turns out) used beeswax on the shrouds. We'll just have to see how they last. In the meantime, I've made a flagpole, cut a hole in the deck for it and installed it. Note that the flagpole had to go one side of the ship's "tail". The flag is cotton fabric which I painted with acrylic, so thickly that it's been integrated into the fabric itself. That gave it the stiffness that allowed me to introduce some "flutter" into it. and some more work on the rigging. Coils of rope for the "free ends" of the shroud tackle (left) and the halyard tackle (right - hanging on the mast crutch) Blocks for the halyard trusses (which hold the yard to the mast): and I added an eyebolt to secure the tackle for it on the foremast. But when I tried to make a hole for an eyebolt for the after mast . . . . !!! I cut a new piece to fill the gap - allowing for a hole for the second eyebolt. I'm letting it dry then I'll put in the eyebolt. In the meantime, here's the tackle for the fore halyard truss - the fixed end tied to the eyebolt and the free end attached to the cleat on the mast. Just waiting for the glue to dry. And here's the upper end of the tackle, showing the block in place.


-
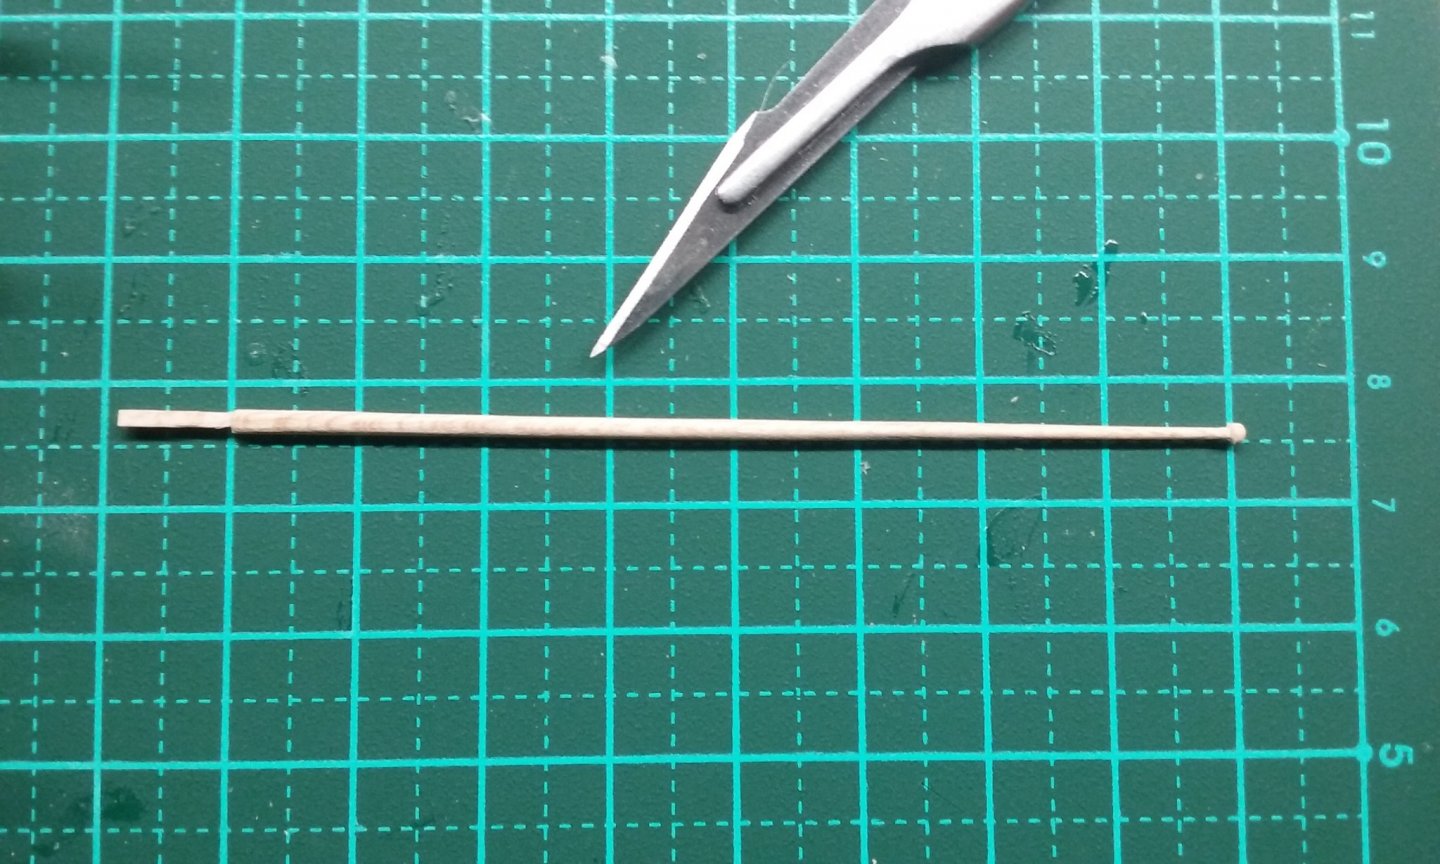
Nice realisation of a delicate piece of equipment (the boat's first thole-pin). What are its dimensions?
-
Honestly, it's not obvious from the photo. So the manufacturers supplied plywood for the oars? I'm a little surprised at that. I'd have thought it wouldn't be that hard to do it with solid bits of wood.Or were the oars lasercut from plywood sheets along with the frames etc?
-
And this is a Turk's head (for obvious reasons) Very nice work so far. The mainstay problem is annoying, though. Is it supposed to be fixed to the foredeck? Maybe instead you could attach it to the lower end of the foremast? It should still do the same job (I think - not an expert with rigging).
- 756 replies
-
- 2
-
-
- galleon
- golden hind
- (and 2 more)
-
I fired a repro 17th century matchlock once (friends of mine re-enacted the Thirty Years War). I was told "lean in to the weapon - a true musketeer has no eyebrows". A different time during a public display one of these guys (they were firing with powder only - not ball) forgot to take his wooden ramrod out of the barrel before he fired. It went into the chest of the guy on the other side and exploded into a thousand pieces within his chest. He was in hospital for a long time. The police put it down as "accidental". Both these guys were good friends of mine. The perpetrator was devastated (of course so was the victim).
-
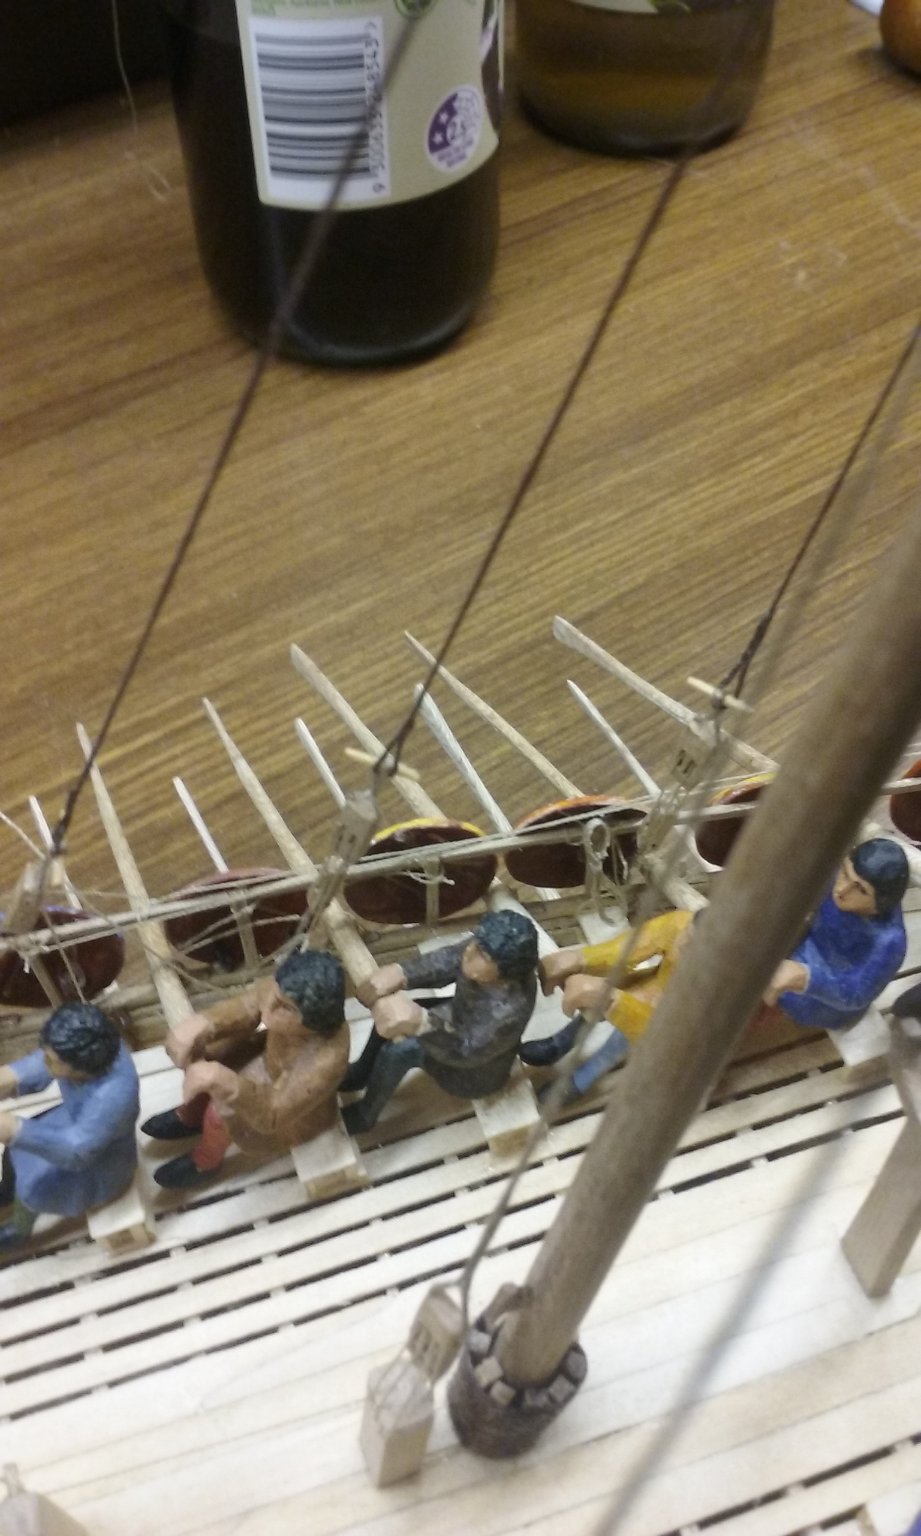
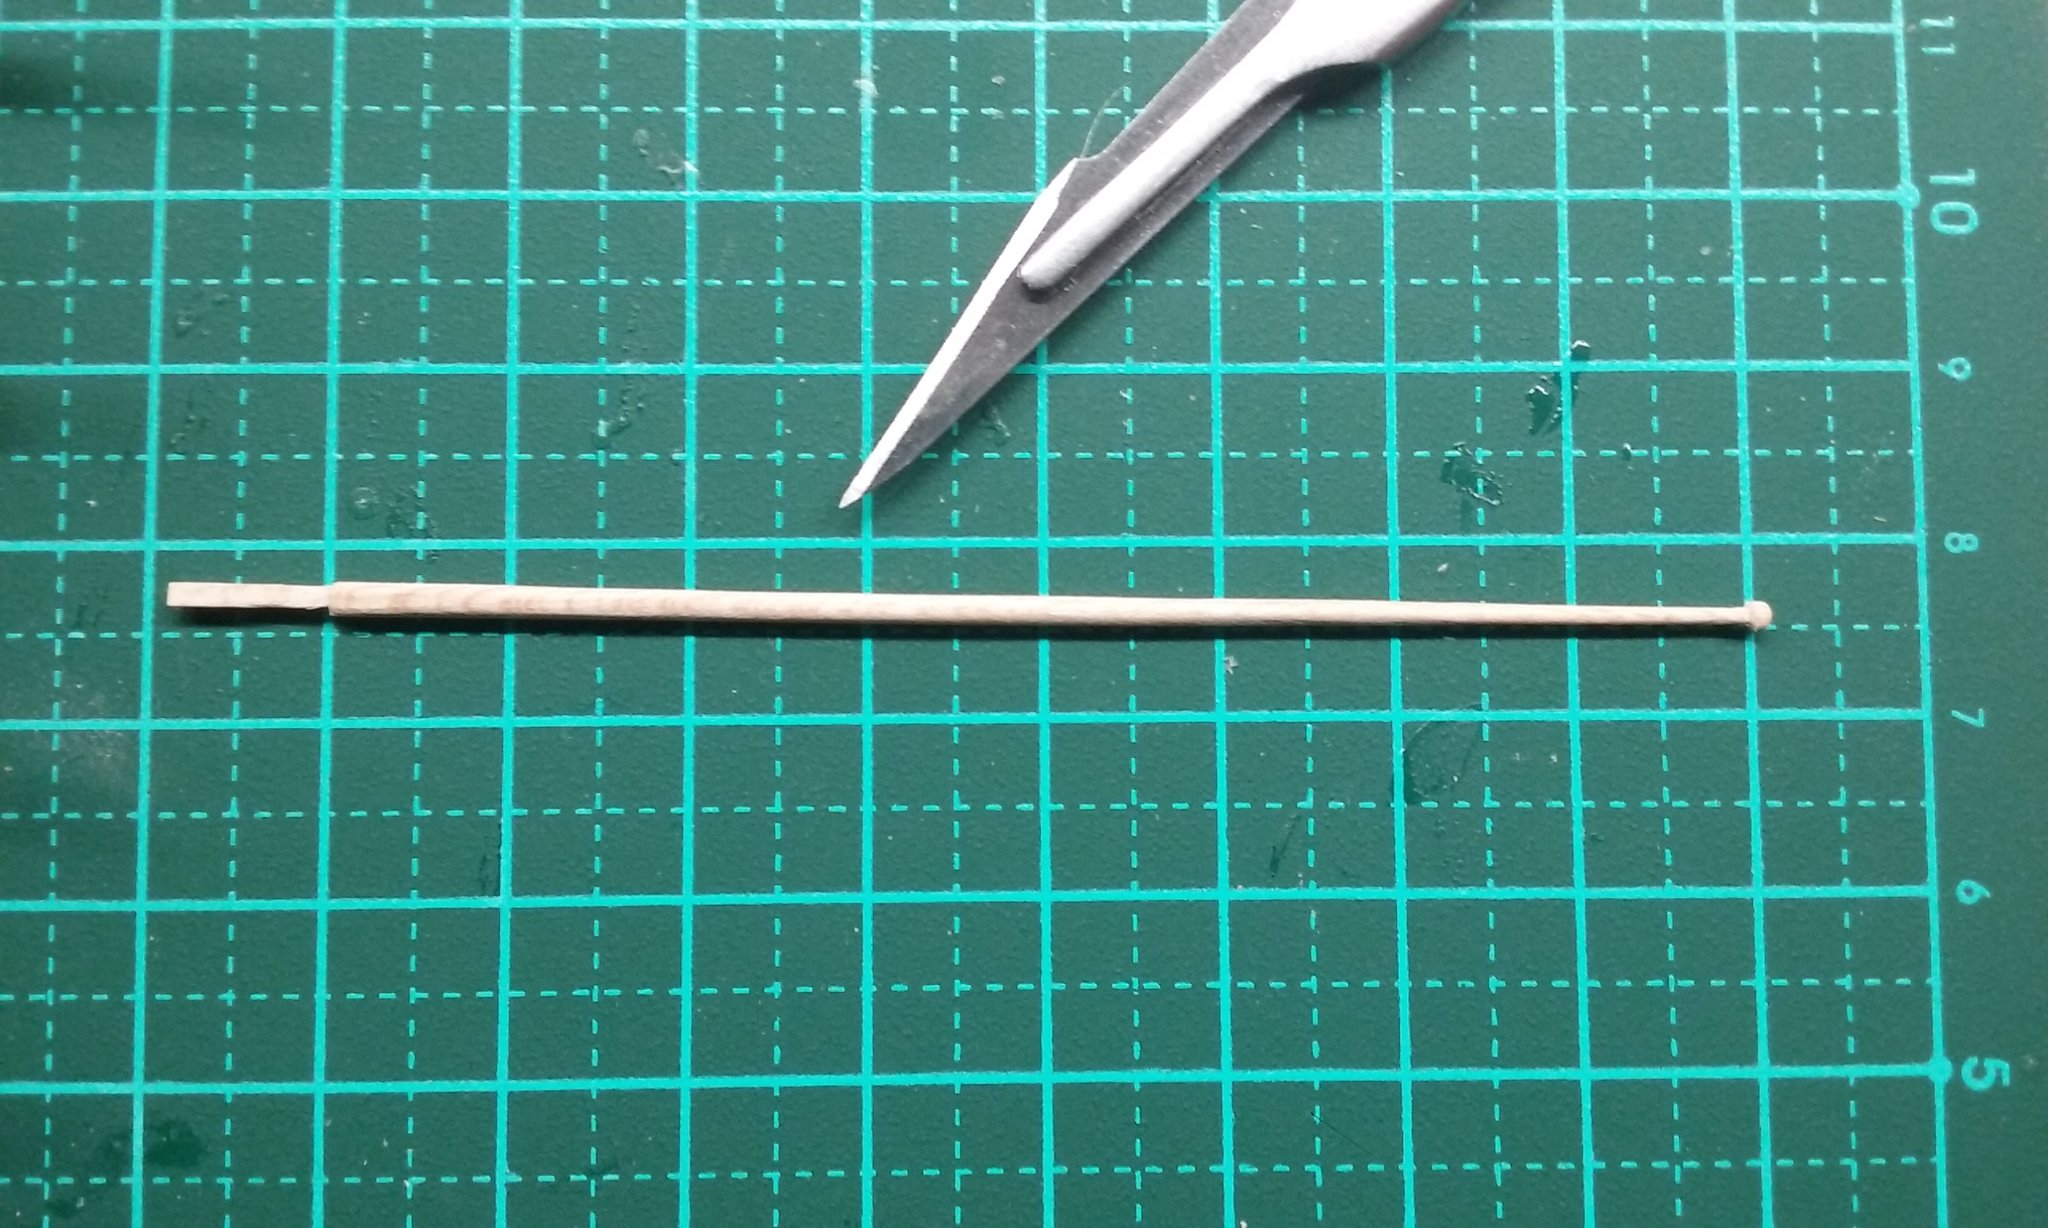
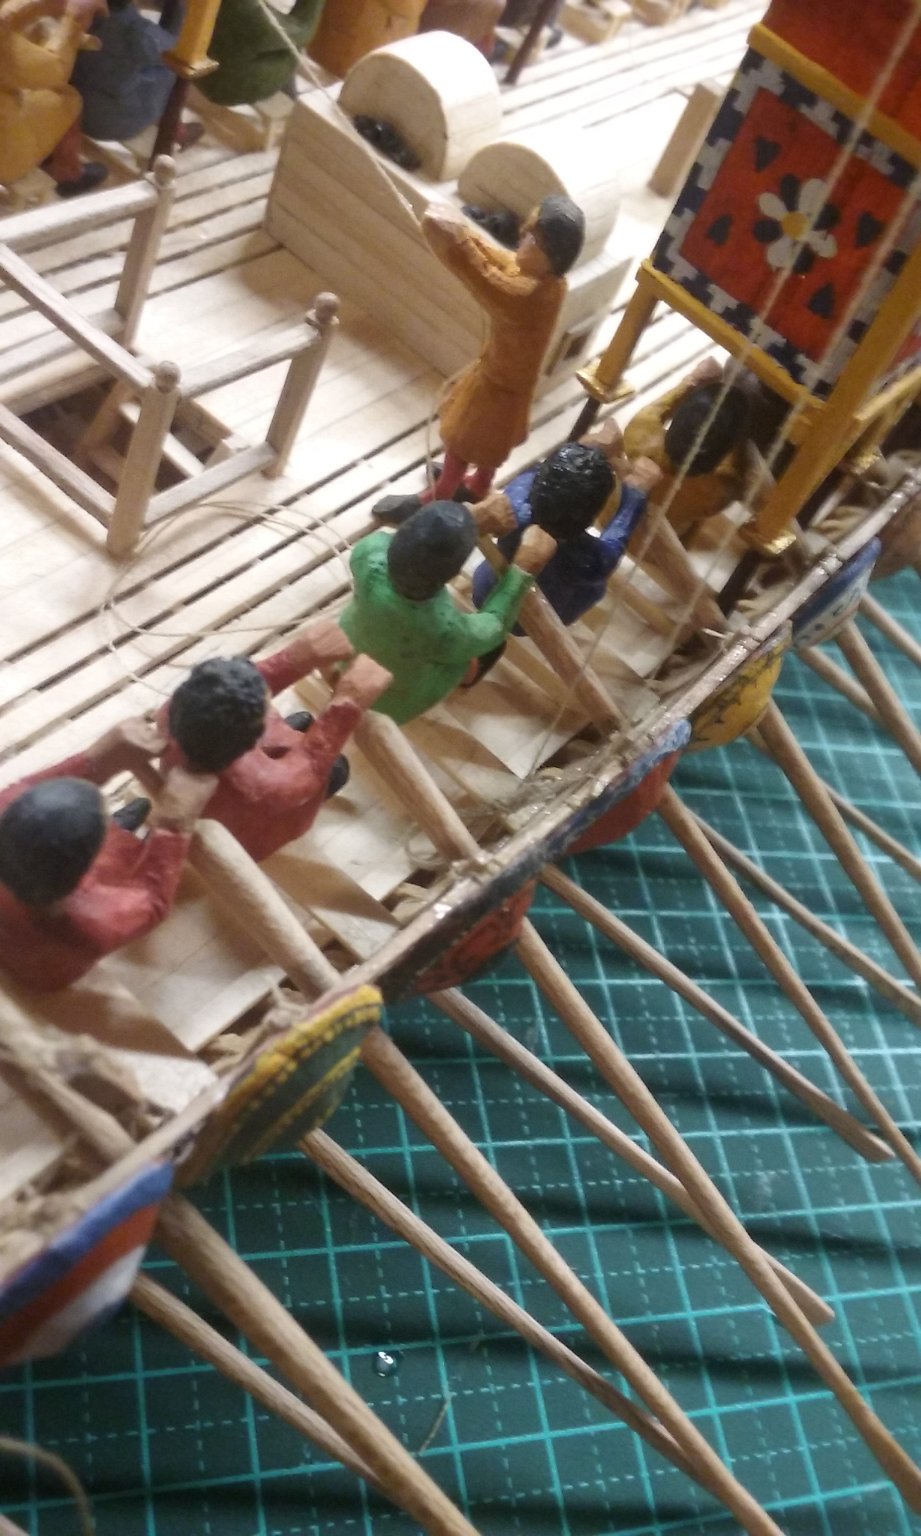
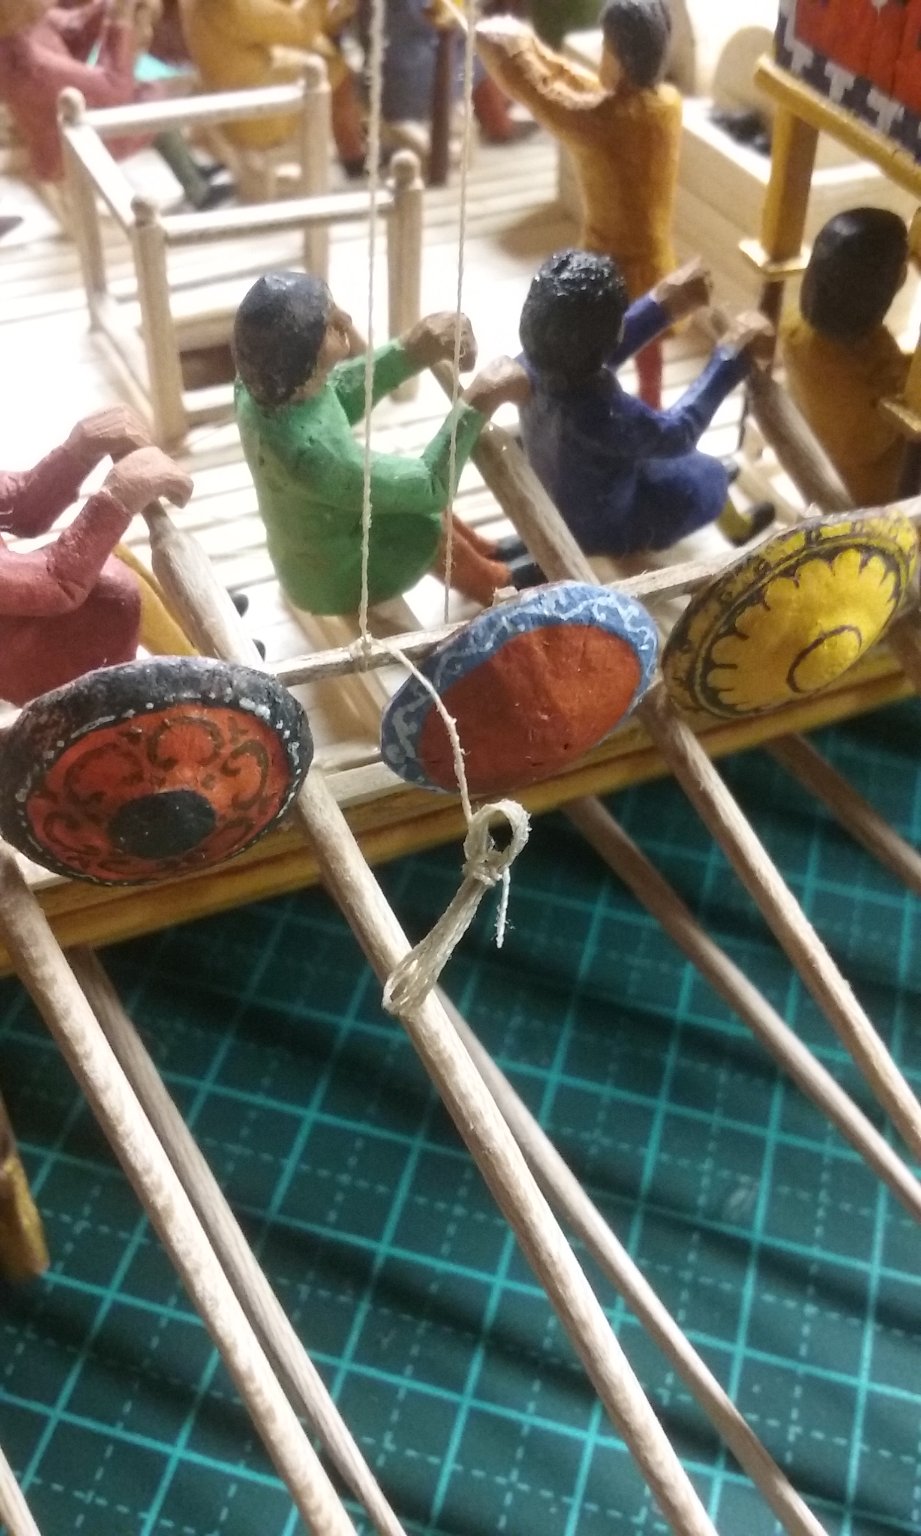
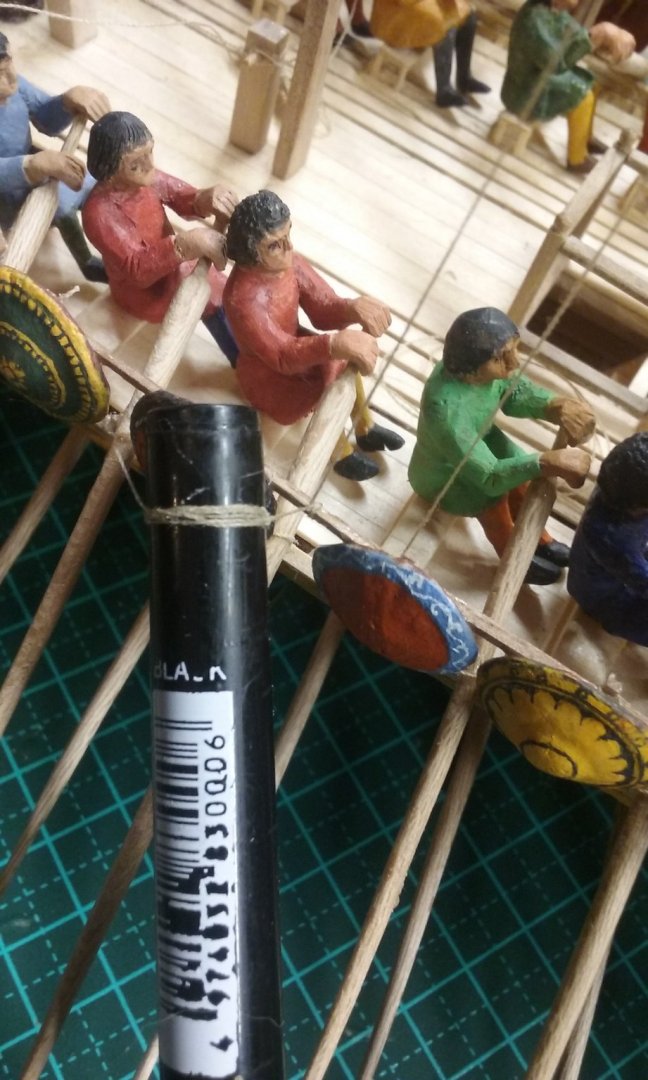
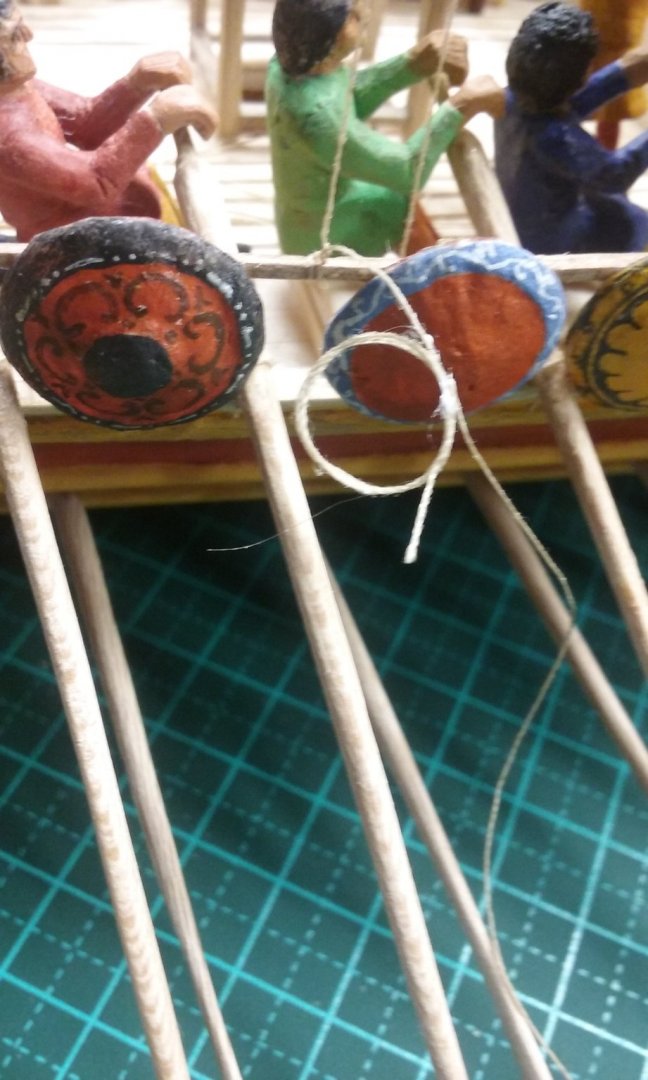
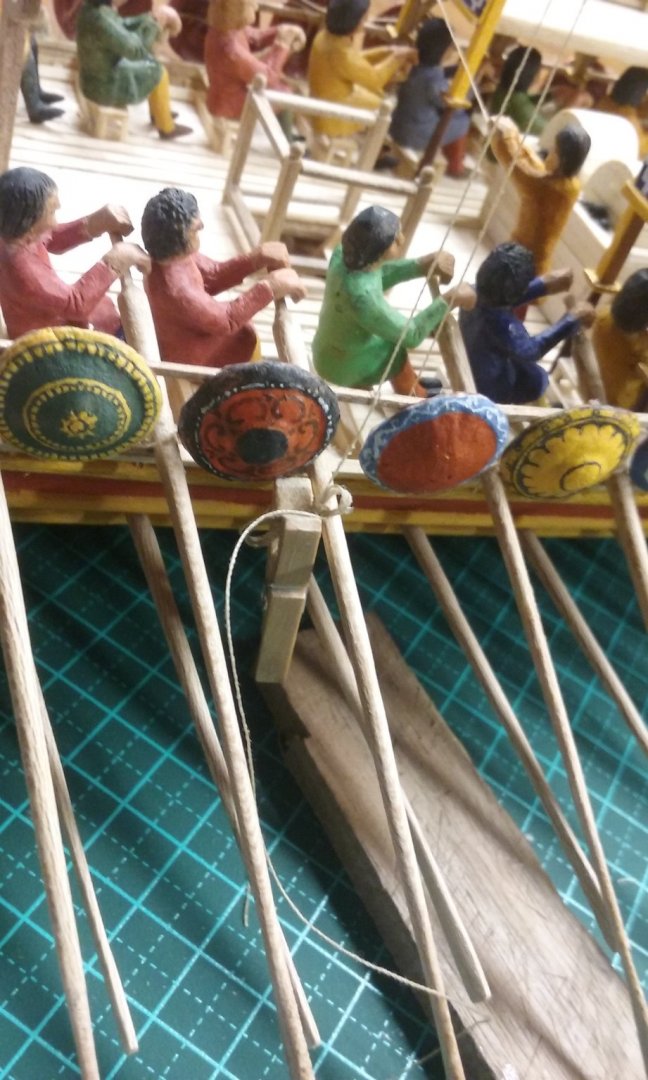
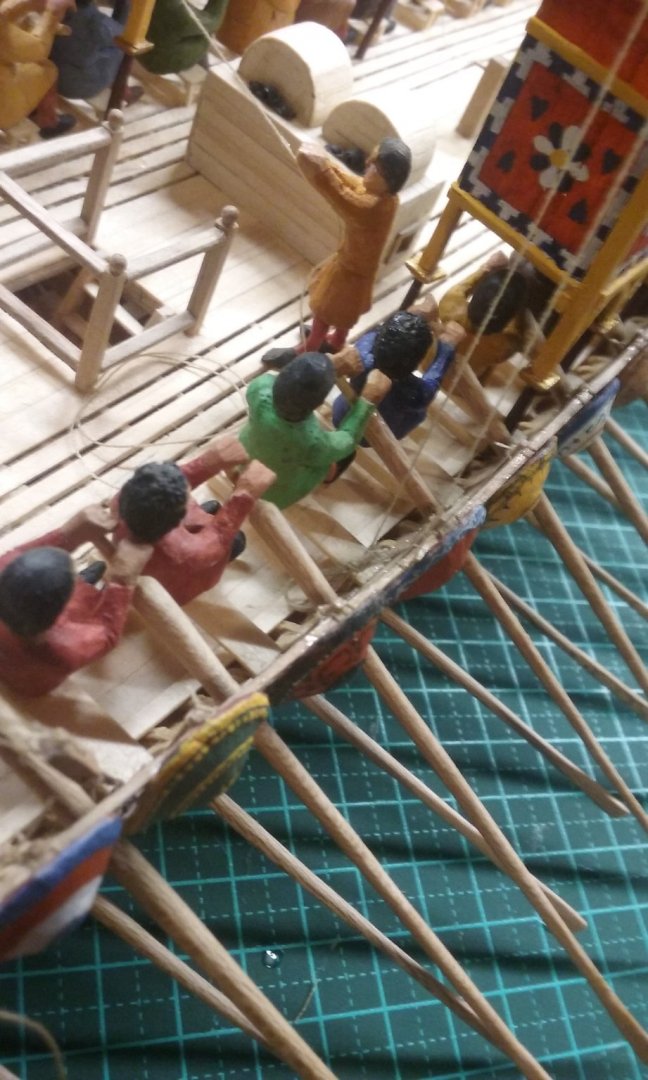
I've been looking at what happens to the free end of the ropes for the blocks etc I've been working on so far. Normally there'd be a coil to take up the surplus rope at the end. I've tried making a coil copying a technique used by others on MSW but it's pretty difficult if I'm making it out of the surplus rope at the free end. I think it's probably better to just make separate coils and attach them to make it look like they're part of the main rope. Wrapping the free end around the end of a pen and gluing the coils together (later I had to remove the grey hair that had somehow got itself mixed up with the coil). Then I added an extra bit of cord to simulate the bit that winds around the coil to keep it in shape. And a clothes-peg to hold it all together till the glue dried. And the coil in place next to the oarsman in green. Note also the free end of the vang being held by the standing crewman. My understanding is that it would just lie there on the deck until the operation was over, then be coiled up properly. And another bit of housework - the free ends of the robands and gaskets were sticking out at all angles - a combination of the springiness of the cotton thread and the presence of random dabs of the glue I used to hold them to the yard. They should be hanging down under gravity. So I've started glueing them in a "natural" position. The left-hand photo is "before", the right-hand isn't so much "after" as "during". The 5th and 7th ties from the end of the yard show the difference. A lot to do here - it'll take a while.


-
This is beautiful work, and I'm impressed with the well thought-out solutions to problems of design. I'm really enjoying following this build. And it looks like the solution to attaching the yard to the bipod mast is well under way, as well.
-
Both of those are possibilities. The only thing I can think of is to do some testing on a piece of scrap - try waiting different lengths of time between coats, try thinner coats - see if it has any effect. If your temperatures are in the 90's there shouldn't be any problem with "extended" waiting times because of temperature, so you can probably dismiss that one as a factor. Other than that, I'm stumped. Maybe something wrong with the paint itself? (I'm assuming the primer and the paint are compatible?) Paint's not my strong point. Maybe others can help more.
-
That's looking very good, mate. Such a beautiful, elegant ship - I have no idea why anybody would want to do Gokstad after seeing this. I don't think there's any real need for stanchions under the thwarts. They're sitting on a beam - that should be enough. The thwarts/benches on one of the Yenikapi galleys from Istanbul were slotted into the hull (the wreck contained a wale with slots in it approx 900mm apart just at the right height for the benches - and they found quite a few of them, as well. They were just planks). Yes, but that may have been done as part of the burial, though the shield fittings were the genuine article - the bosses were good steel ones and there were holes around the rim which were probably where the thread/lacing was to hold the (probably leather) shield rim on. However, I have serious doubts about shields being on the sides of a ship except for display or battle (and possibly not for battle either - except as they rowed toward the enemy. Once contact was made I'd assume everybody would pick up his shield and fight with it in his hand).