MORE HANDBOOKS ARE ON THEIR WAY! We will let you know when they get here.
×


Louie da fly
-
Posts
7,985 -
Joined
-
Last visited
Content Type
Profiles
Forums
Gallery
Events
Everything posted by Louie da fly
-
 I've enjoyed following this build, Chris. And you've done a superb job on it.
- 179 replies
-
- 5
-

-
- shipyard
- wütender hund
- (and 1 more)
-
I'm not sure I agree - I think this really is worthy of being in a museum! Looking forward to seeing the oars.
- 158 replies
-
- 2
-
-

-
- byblos ship
- Egyptian
- (and 1 more)
-
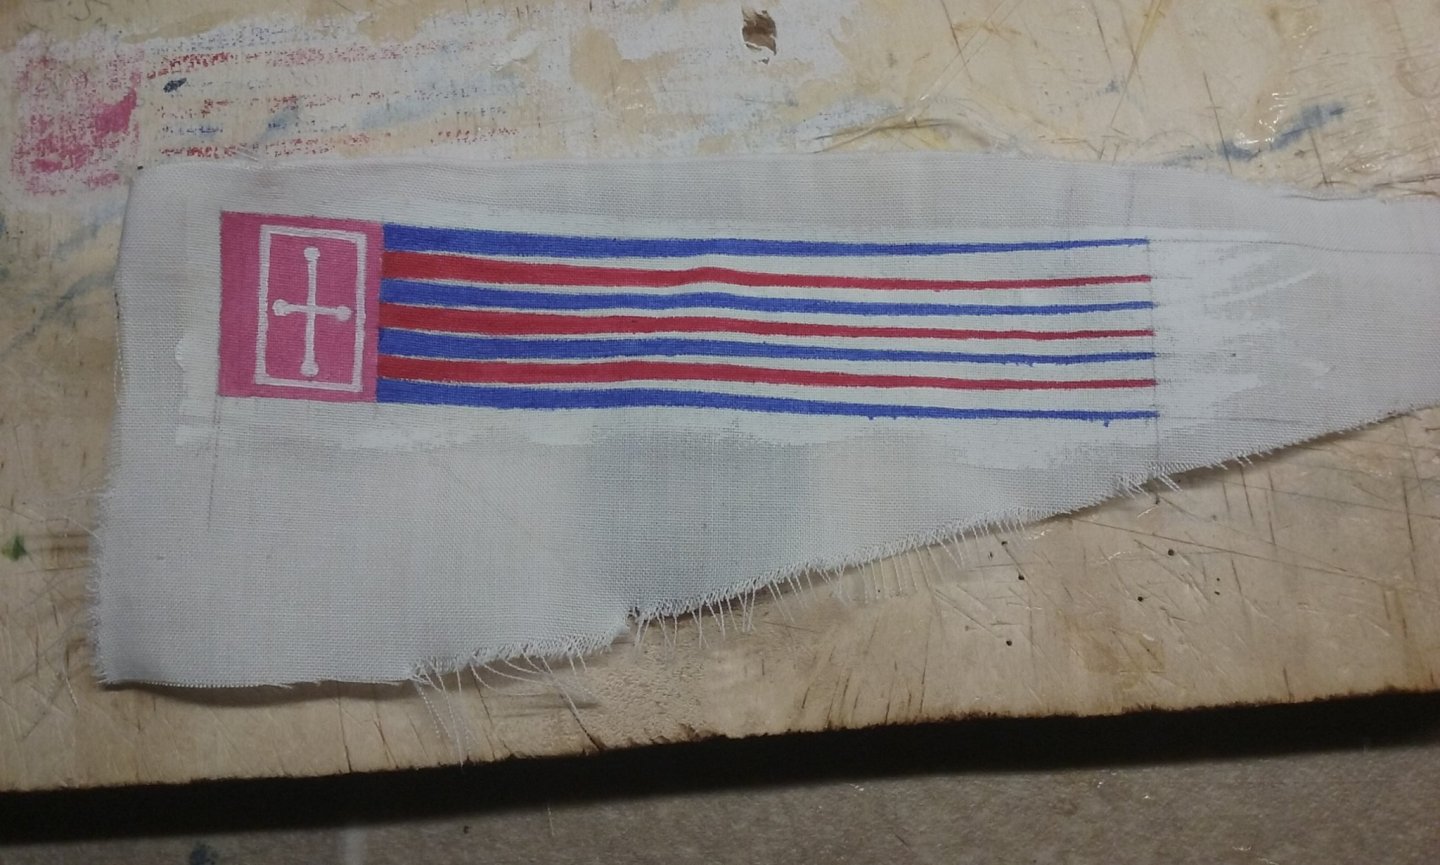
Beautiful work, Robert. I find it interesting that one of the flags included in the kit is that of the cinque ports https://en.wikipedia.org/wiki/Cinque_Ports - I know she's not based on a "real" ship, but it's nice that the kitmakers have added a little detail which gives some indication of her port of origin.

- 165 replies
-
- 2
-
-
- english galleon
- revell
- (and 2 more)
-
Very nice, Christos. That's a very elegant hull and the oφθαλμοί are very well shaped. It came as a surprise to me when I learned that these eyes weren't just painted on - they were separate items added to the hull - see https://www.petersommer.com/blog/archaeology-history/ships-eyes-bodrum and https://nautarch.tamu.edu/Theses/pdf-files/Nowak-MA2006.pdf
-
ASlrWnt2C asking permission to come aboard
Louie da fly replied to ASlrWnt2C's topic in New member Introductions
Welcome to MSW, Paul. If you did a plastic Bounty, no matter how long ago, you'll find that the skills you developed back then will still be there (if perhaps a little rusty) for your plastic Constitution. However you'll probably find (as I did) that encountering MSW changes your viewpoint of what is possible - and desirable - in your model. Yes, certainly start a build log. The instructions are here ; Have fun with it. Looking forward to seeing your progress. -
No worries. Note also that the copper nails are almost invisible.
- 74 replies
-
- 2
-
-
- mantua
- thermopylae
- (and 1 more)
-
How are sails fixed to yards?
Louie da fly replied to Louie da fly's topic in Masting, rigging and sails
That's what I'd have thought. And there needs to be enough free end not only to grab hold of, but to stop the knot from pulling through and undoing itself. I've endeavoured to do it this way on my dromon, but I have to say it looks a little strange - possibly because I haven't seen any other models where it's been done. And the thread (cotton sewing thread) doesn't act like rope - it is considerably stiffer and has a mind of its own - sticks up or out when it's supposed to hang down.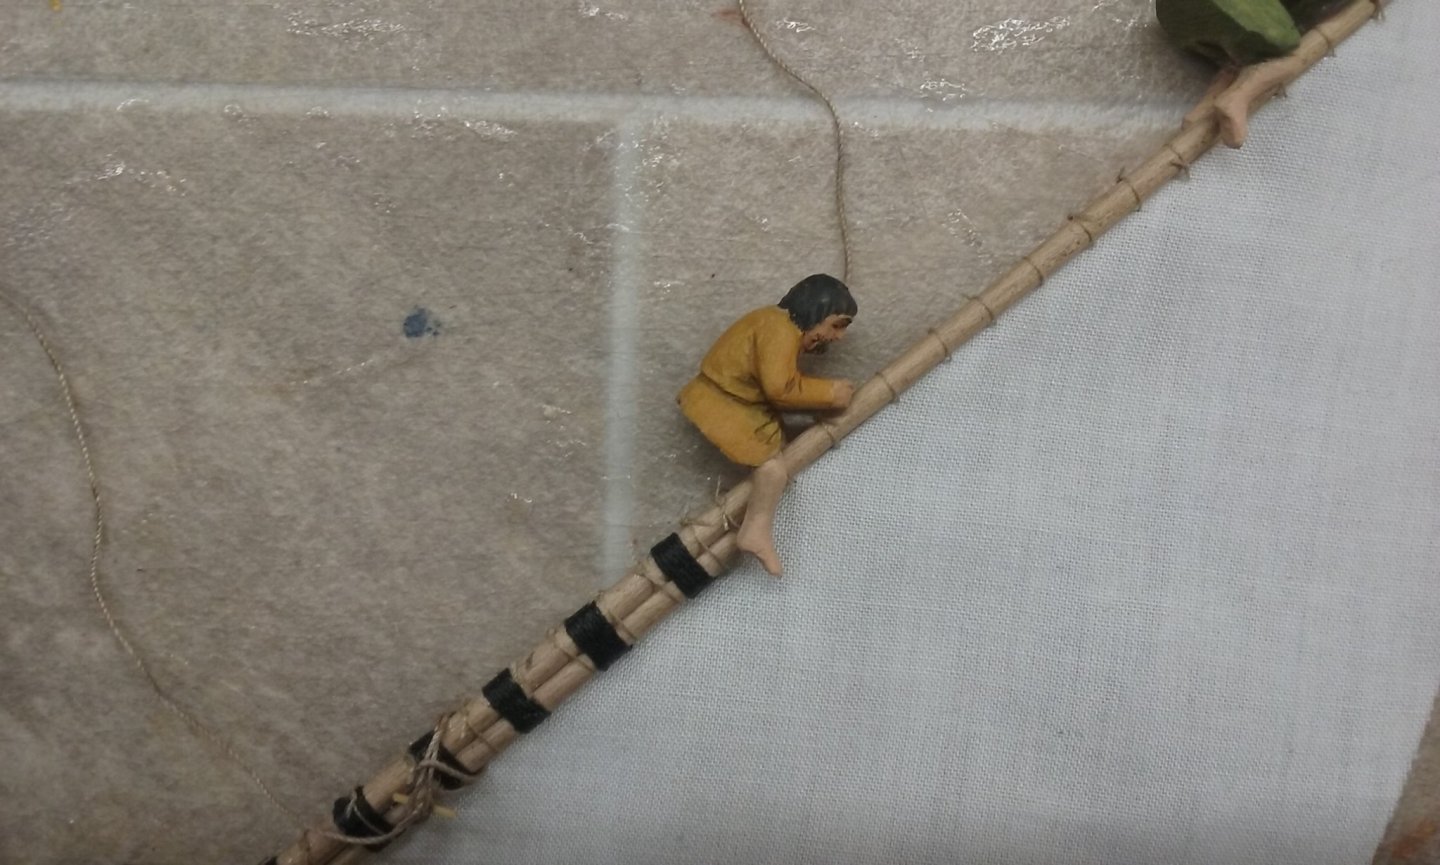
-
Here are some images of coppered hulls after they've been in the sea for awhile (both from the Constitution). Note the first picture shows a new sheet of copper being added to older ones, so you can see the difference a bit of immersion makes. It might be good to paint the underwater hull to resemble these, after all that work you've done to make the "coppering".
- 74 replies
-
- 2
-
-
- mantua
- thermopylae
- (and 1 more)
-
Hi, I hope this is the right place to put this. It's occurred to me that it would be helpful to have a pinned thread in this sub-forum with links to the directions for new people on how to start a build log, both for kits and for scratch builds, and also for the advice on what are the best kits for beginners. https://modelshipworld.com/topic/24705-before-you-post-your-build-log-please-read-this-starting-and-naming-your-build-log/ https://modelshipworld.com/topic/8-before-you-post-your-build-log-please-read-this-starting-and-naming-your-scratch-build-log/ https://modelshipworld.com/topic/18657-new-to-ship-modelling-but-what-do-you-build-first/ These items are already available on the forum, but I think it would be good if it was immediately available to new people who (naturally enough) make "New Member Introductions" their first port of call, so they don't have to search for them.
-
Hi Broat, and welcome to MSW. Looks like you're well on the way with your Constitution, and the experience you already have should stand you in good stead. Working in wood is different from plastic - the biggest difference being in the hull - in plastic it's pre-made - usually you just have to glue the two halves together (I've made a fair few plastic models, and I found I had to change gears when I moved on to wood). On the other hand, it's by no means impossible, and the tutorials on planking (probably the most daunting part of it all) are very good and helpful, and reading the build logs I've found is also of great assistance. Timber is a lot more forgiving than plastic - if you mess up you can always just cut another piece and start again. I'd highly recommend you start a build log for your Constitution - it's a great way to get help and advice - and encouragement - from the members here. The instructions are here: If you've already taken photos of your progress up to now, you could include them as a "post-dated" log to bring things up to date. If not, just start from where you are. There are also a whole lot of sub-forums on the Home Page for your questions on all kinds of subjects - plans, building and planking a hull, fittings, masts and rigging . . . I've found everybody here to be very friendly and helpful, from the veriest newbie to the demigods of ship modelling (several of whom are members). And there is no such thing as a stupid question. And have fun with it! That's what it's all about, after all.
-
Wonderful work!
-
I'm up against a similar problem with my dromon. Fortunately I have a forecastle the hawse can be stored under, but the space there is limited, and I have to find room for a number of anchors stacked in a pile as well (Byzantine anchors were very light and they had to use multiples). I think just coiling the hawse on deck where you can find a space is probably not only the best, but probably also the historically correct answer.
- 179 replies
-
- 5
-
-
- shipyard
- wütender hund
- (and 1 more)
-
I agree wholeheartedly, Dick. It would be a shame to obscure that beautiful planking, and a black hull wouldn't show that elegant shape off anywhere near as well.
-
It's always difficult to work out a realistic shape for a ship based almost entirely on contemporary pictures. Did they shorten the thing to fit on the town seals? Almost certainly. But how much? What's a sensible shape for a merchant ship? I know I used to think of carracks as much tubbier than they really were, based mostly on contemporary pictures. It was quite a surprise to find how relatively narrow a "round" ship was.
- 186 replies
-
- 2
-
-
- keelless
- reverse clinker
- (and 4 more)
-
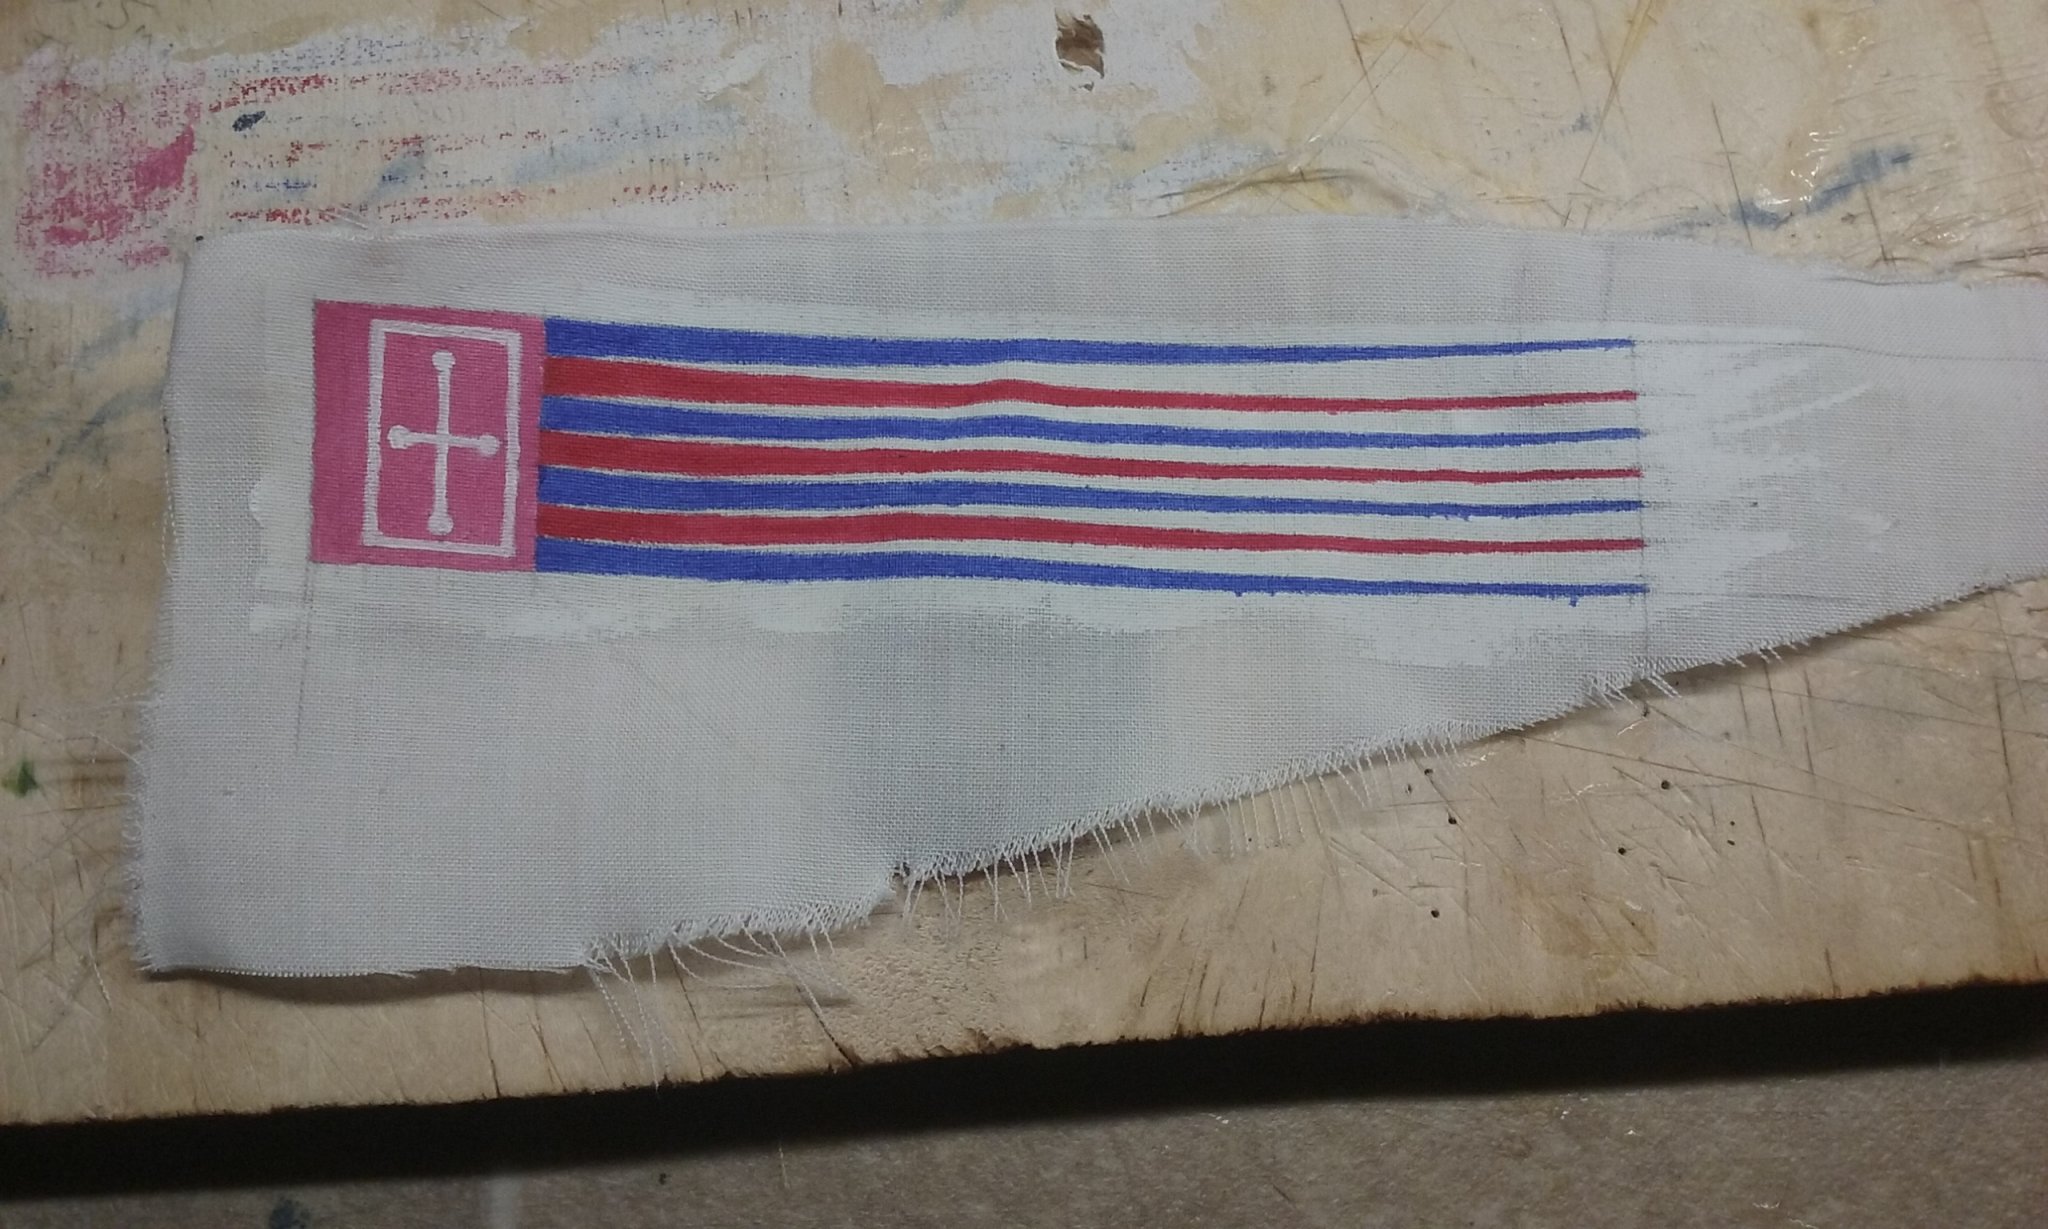
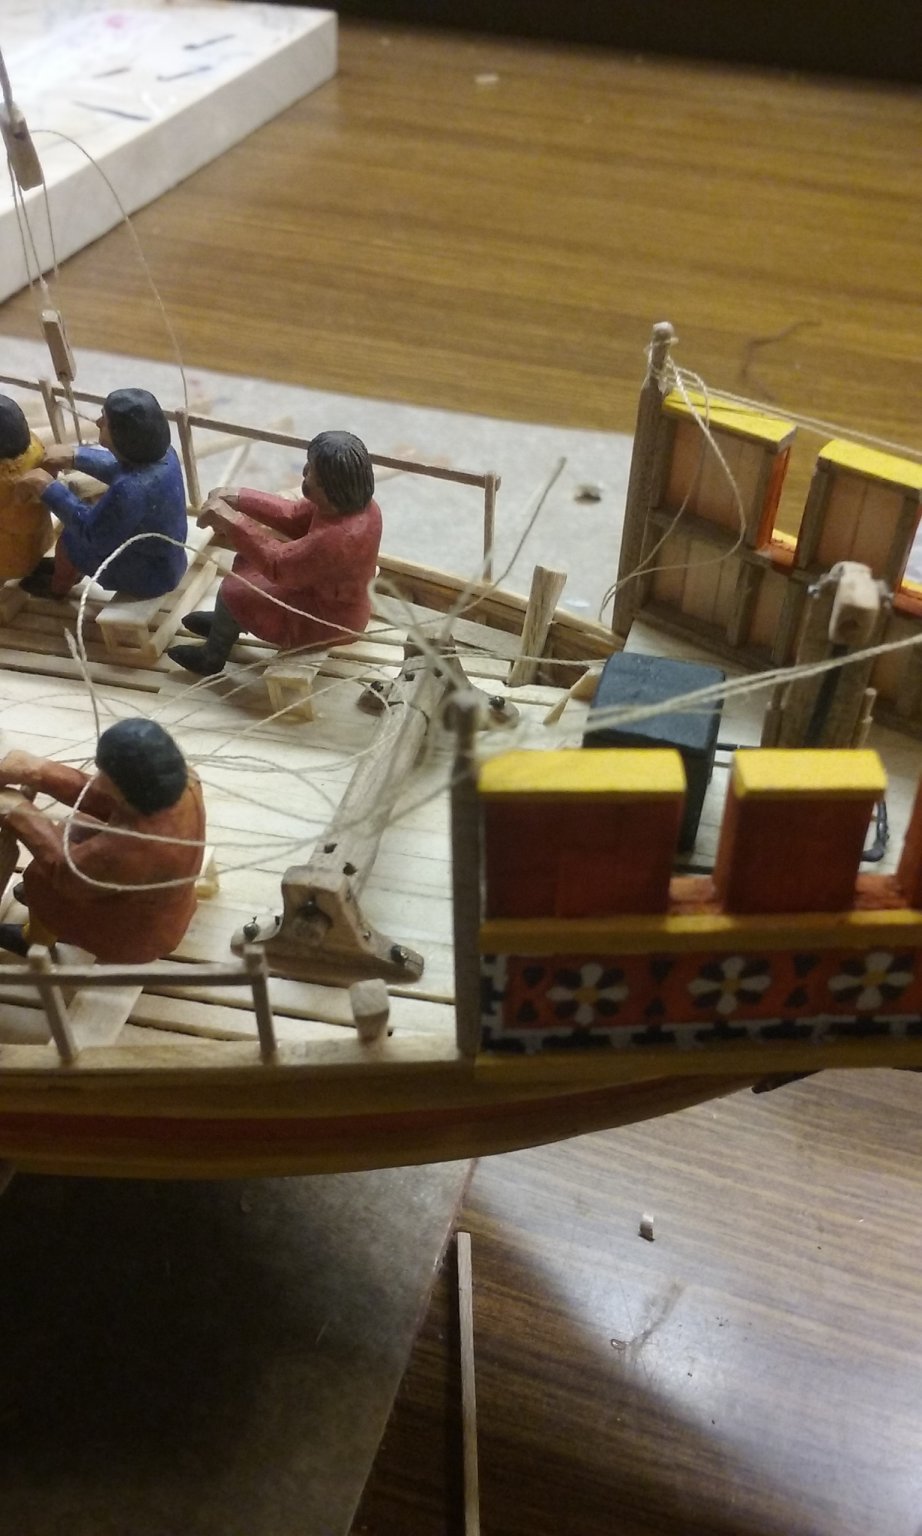
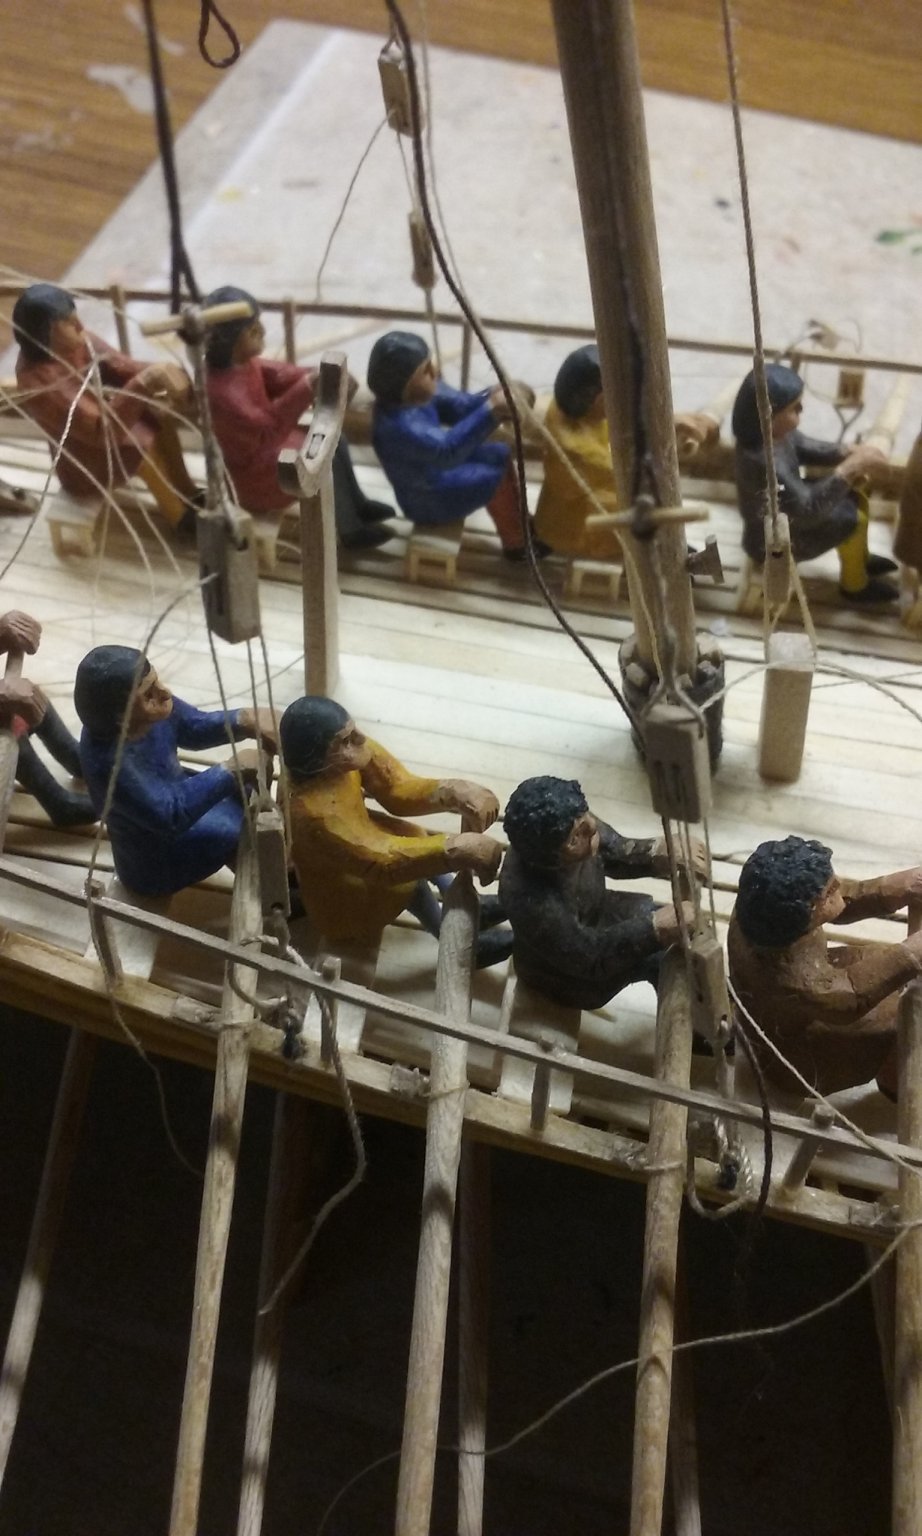
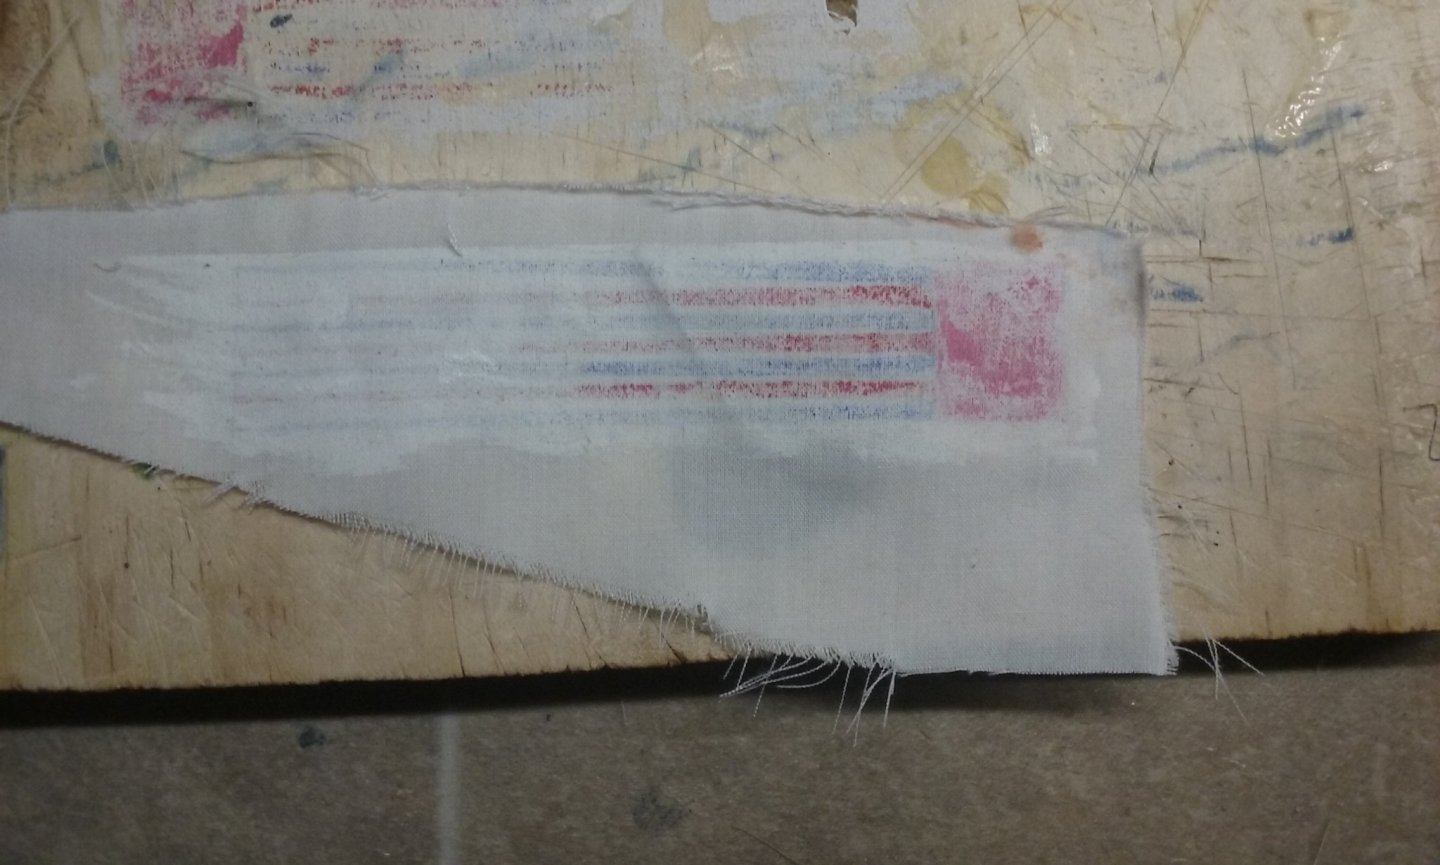
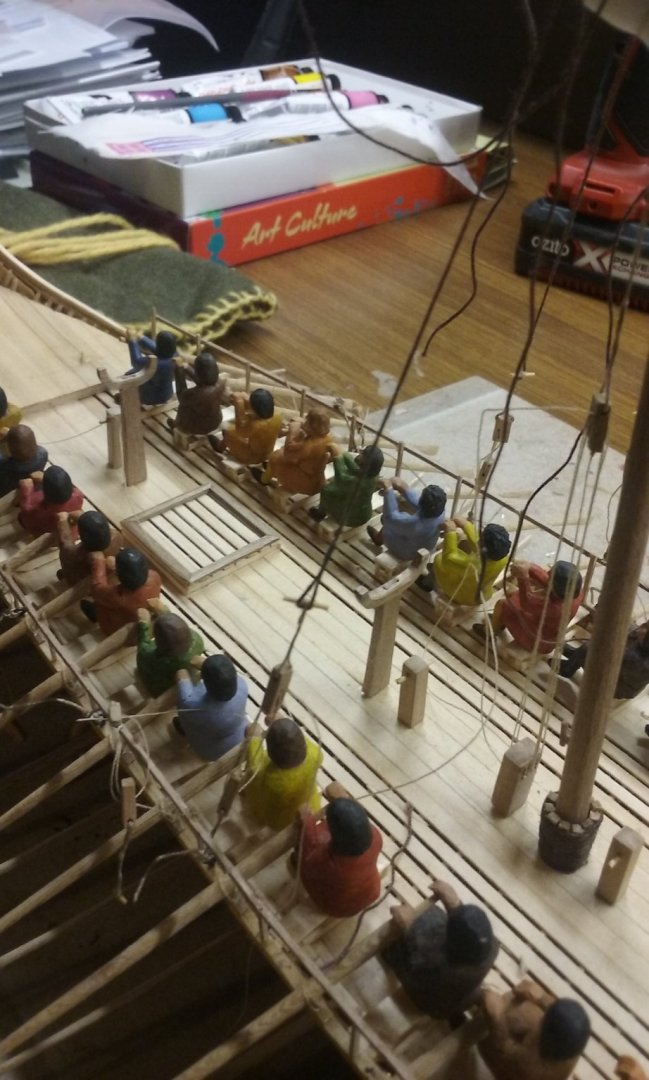
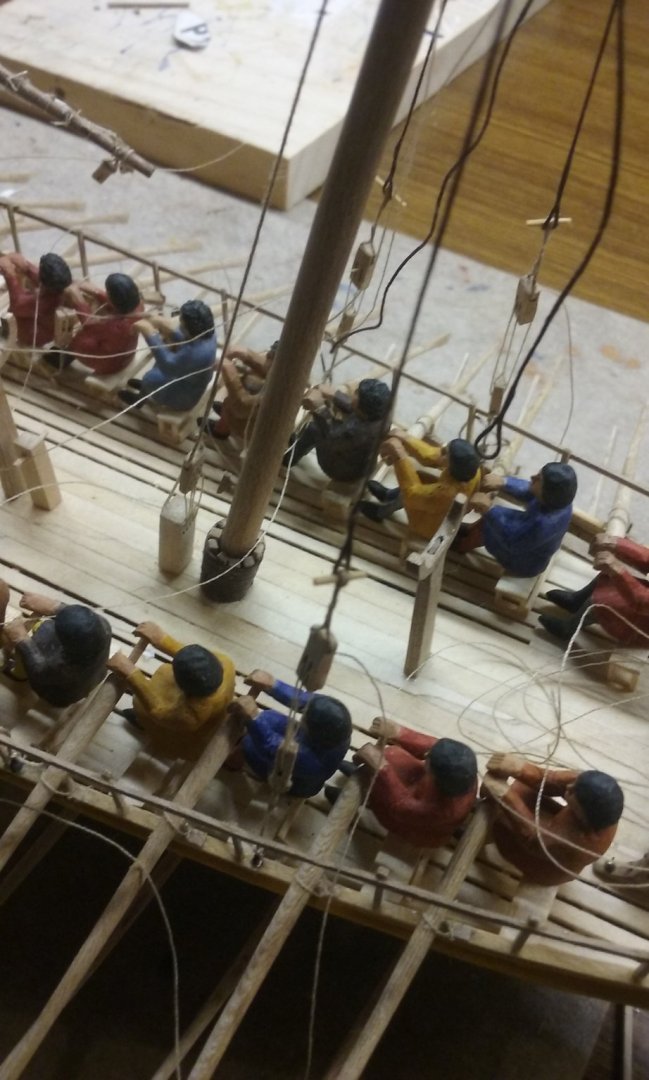
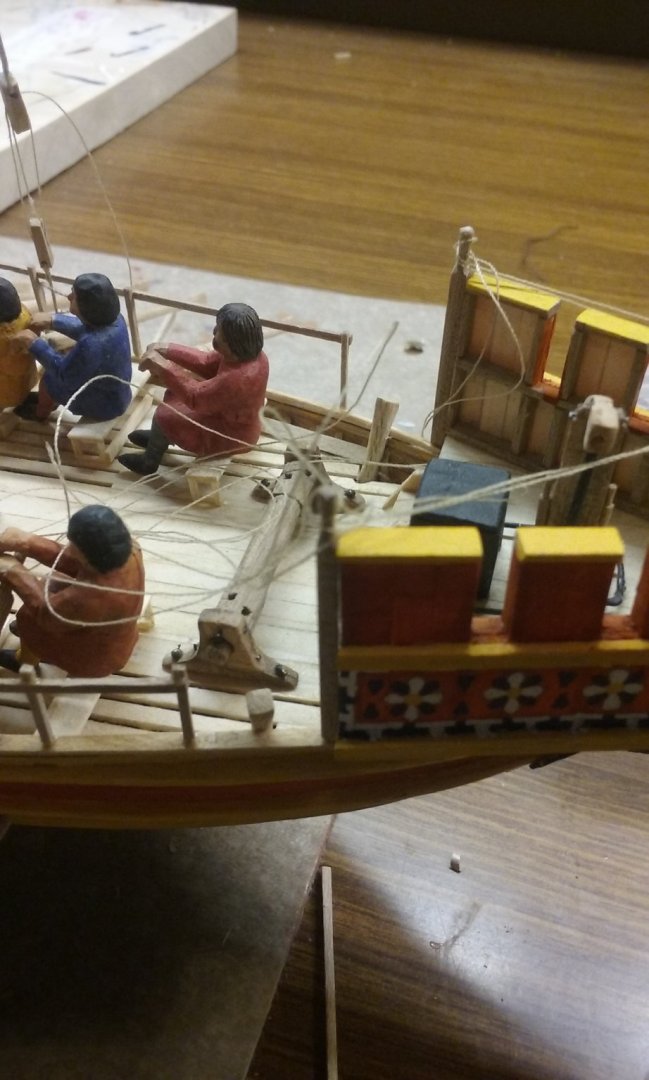
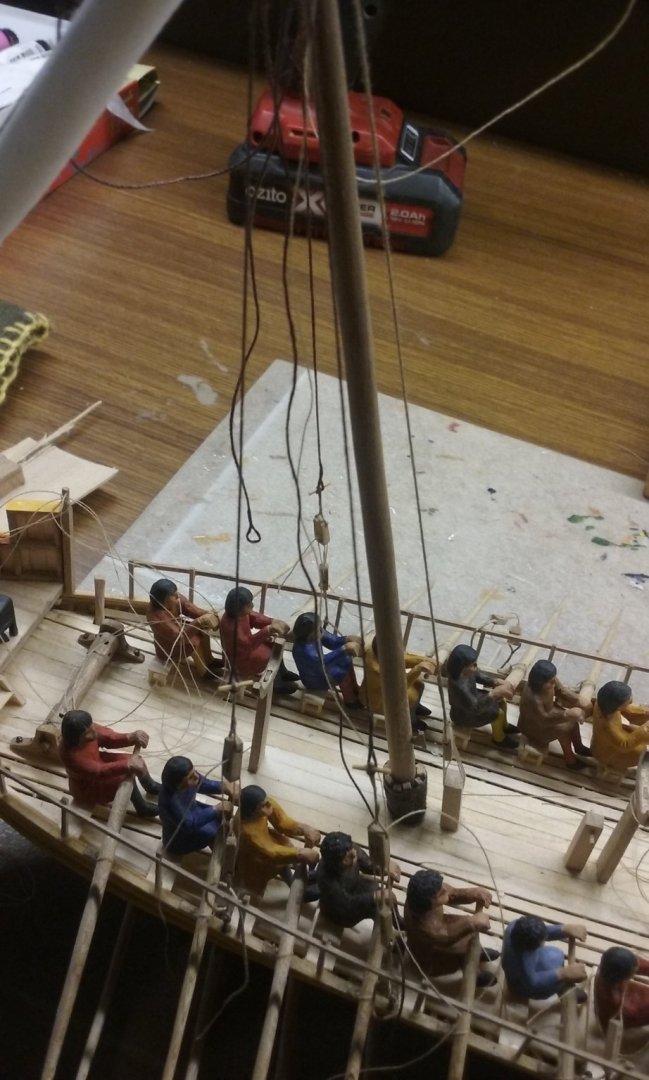
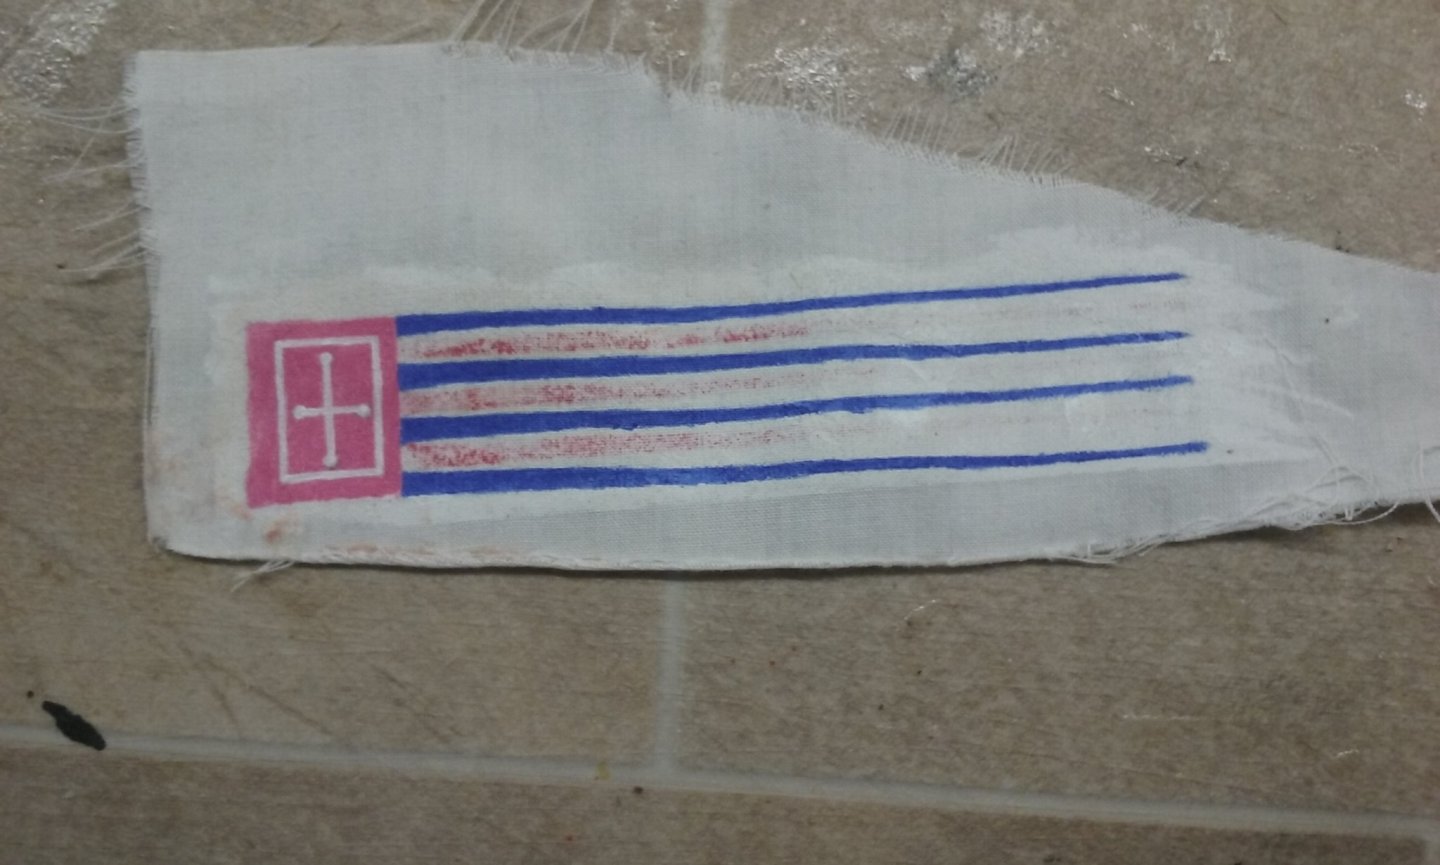
Starting on the shrouds. Because this is a mediaeval Mediterranean lateener the shrouds are fixed to the hull with pairs of blocks, not deadeyes, and they are attached to the blocks with toggles, for quick release. I've also been working on the belaying points for the tacks. To allow the tacks to be belayed near the lower end of the yard, but also to enable them to be pulled back aft of the mast so the yard could be pulled the behind the mast to the other side I'd originally intended to add modern style "open" fairleads. Mainly because I couldn't think of any other way to do it. But looking at modern lateeners, I found they tended to use a much simpler system for belaying - just a vertical wooden rod, basically. I adapted this for the fairleads,using what amounts to a sort of bollard - put a loop around it and it can act as a fairlead and a belaying point as you choose. You can see them sticking up from the "battlements" just at the after end of the forecastle. And here is the banner still in progress. One side finished: And because I put down a coat of white first, I have to paint the other side as well, to cover up the white. A bit of overlap past the outline of the "tails" but that's intentional - this will be cut off when I trim them to shape.

-
Cathead, I think your post above will be valuable to anyone who takes on - not only this, but also other model kits. One thing I'm particularly impressed by is that you've put the time and effort into working out what went wrong and why - that some of it was the fault of the kit's inadequate instructions and some was your own assumptions - particularly when it doesn't really matter any more because you've already worked out how to remedy it and moved on. But that you've shared this information and your conclusions with all of us is a tremendous boon. It's good that you're now in a position to (once you've fixed it) leave this planking issue behind and carry on with more interesting and enjoyable aspects of the build. Keep up the good work, mate. This is one of the better logs to follow, simply because you are doing this extra work and explanation as you go - we all hit problems, but it's very good when the nature and cause of the problem and how it was overcome are explained.
-
I stand corrected - I thought you were making her without sails! She looks brilliant without them, anyway, but there's a particular beauty about the shapes of the sails of ships of this period. It must be something to do with the proportions - a beauty that such vessels as clippers just don't have.
-
I've been enjoying following the progress of the framing in your longboat. Beautiful work - take a bow, sir!
-
A-a-a-a-h I love it! Just wonderful all this careful work to restore a prized model.
- 71 replies
-
- 3
-
-
- great harry
- henry grace a dieu
- (and 3 more)
-
A very interesting vessel, Kondzik. Looking forward to your progress on this one - I have a weakness for lateeners. But I don't know how you guys manage to make things in card. It all looks too difficult. I take my hat off to you.
-
I've visited the Victory twice - once in 1973 and once in 2009. I missed the Warrior - we had a choice and decided on the "harbour cruise" - a mistake in retrospect. And the Mary Rose had just been locked away while they built a new building to display her in. But they compensated by displaying an enormous number of artefacts found on board, so we didn't miss out completely. The redback is pretty much equivalent to the black widow - apparently a variant of the same species. The red mark varies from individual to individual - sometimes it's not very obvious. They're pretty tiny - about the size of the pic above. We see them a fair bit. They like to hide in dark crannies - there's an old song called Redback on the Toilet Seat. I had a mate who woke up with redback bites all over his stomach (it'd been in his bed and must have panicked). He got sick but survived ok. But apparently you can die from anaphylaxis - the poison is more powerful than that of the funnelweb, but doesn't act as fast - 15 minutes for a funnelweb. Then there's the white-tip, whose bite makes your flesh rot, though recent information suggests that's not true after all . . . You sure you want to come here?
-
New Topic for new member
Louie da fly replied to Jerry Sturdivant's topic in New member Introductions
Hi Jerry and welcome. You can probably best find an answer to your question by asking it here: https://modelshipworld.com/forum/16-masting-rigging-and-sails/ Make sure you start a build log when you begin your schooner - it's a very good way to get help and advice, and we get to see another beautiful model in progress. Instructions on how to start your build log are here: I hope you get your question answered. Are you holding off completing the model till it's answered, or is it just one of those things "Yeah, but why . . .?) -
Wa-a-a-a-ay outside my comfort zone (anything not powered by the wind is an Instrument of the Devil ), but I'm sure someone will be able to help. Starting a build log is certainly the way to go to get help and advice - and encouragement.The instructions are here. Welcome to MSW. That's a nice build you've got there.