

Elijah
-
Posts
1,310 -
Joined
-
Last visited
Content Type
Profiles
Forums
Gallery
Events
Posts posted by Elijah
-
-
-
Beautiful model, wow!! Very clean, nicely done.
-
Looking very nice! Seems like a fun kit!
-
Thanks all!
Actually, the classes themselves are full time. We start at 8 in the morning and end at 5, five days a week. We also have some really nice boats in the works! There's a folk boat that only has the stem, keel and transom done and then there's a small trawler that we'll be lofting in the near future.
- Canute, Egilman, Ryland Craze and 4 others
-
 7
7
-
Thank you, that's a good idea Mark. I don't have a wood burner but I'll find some way of marking it.
Egilman, fortunately this is one of those few places!
-
-
Greetings!
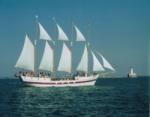
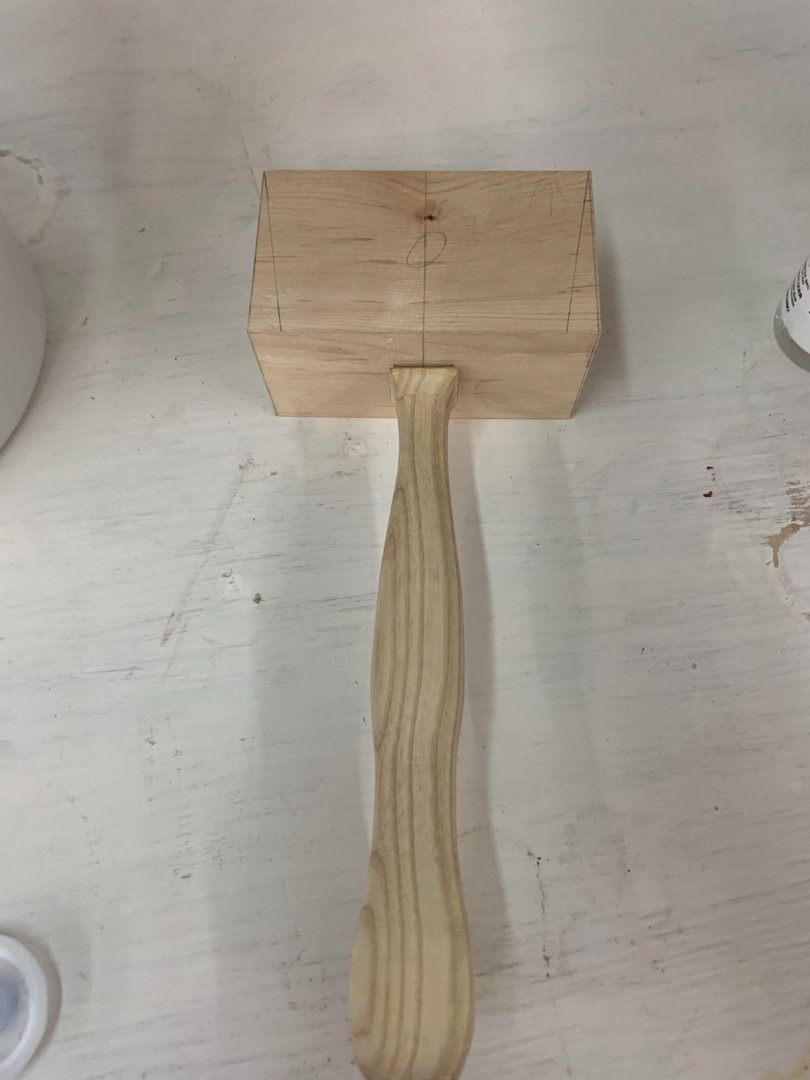
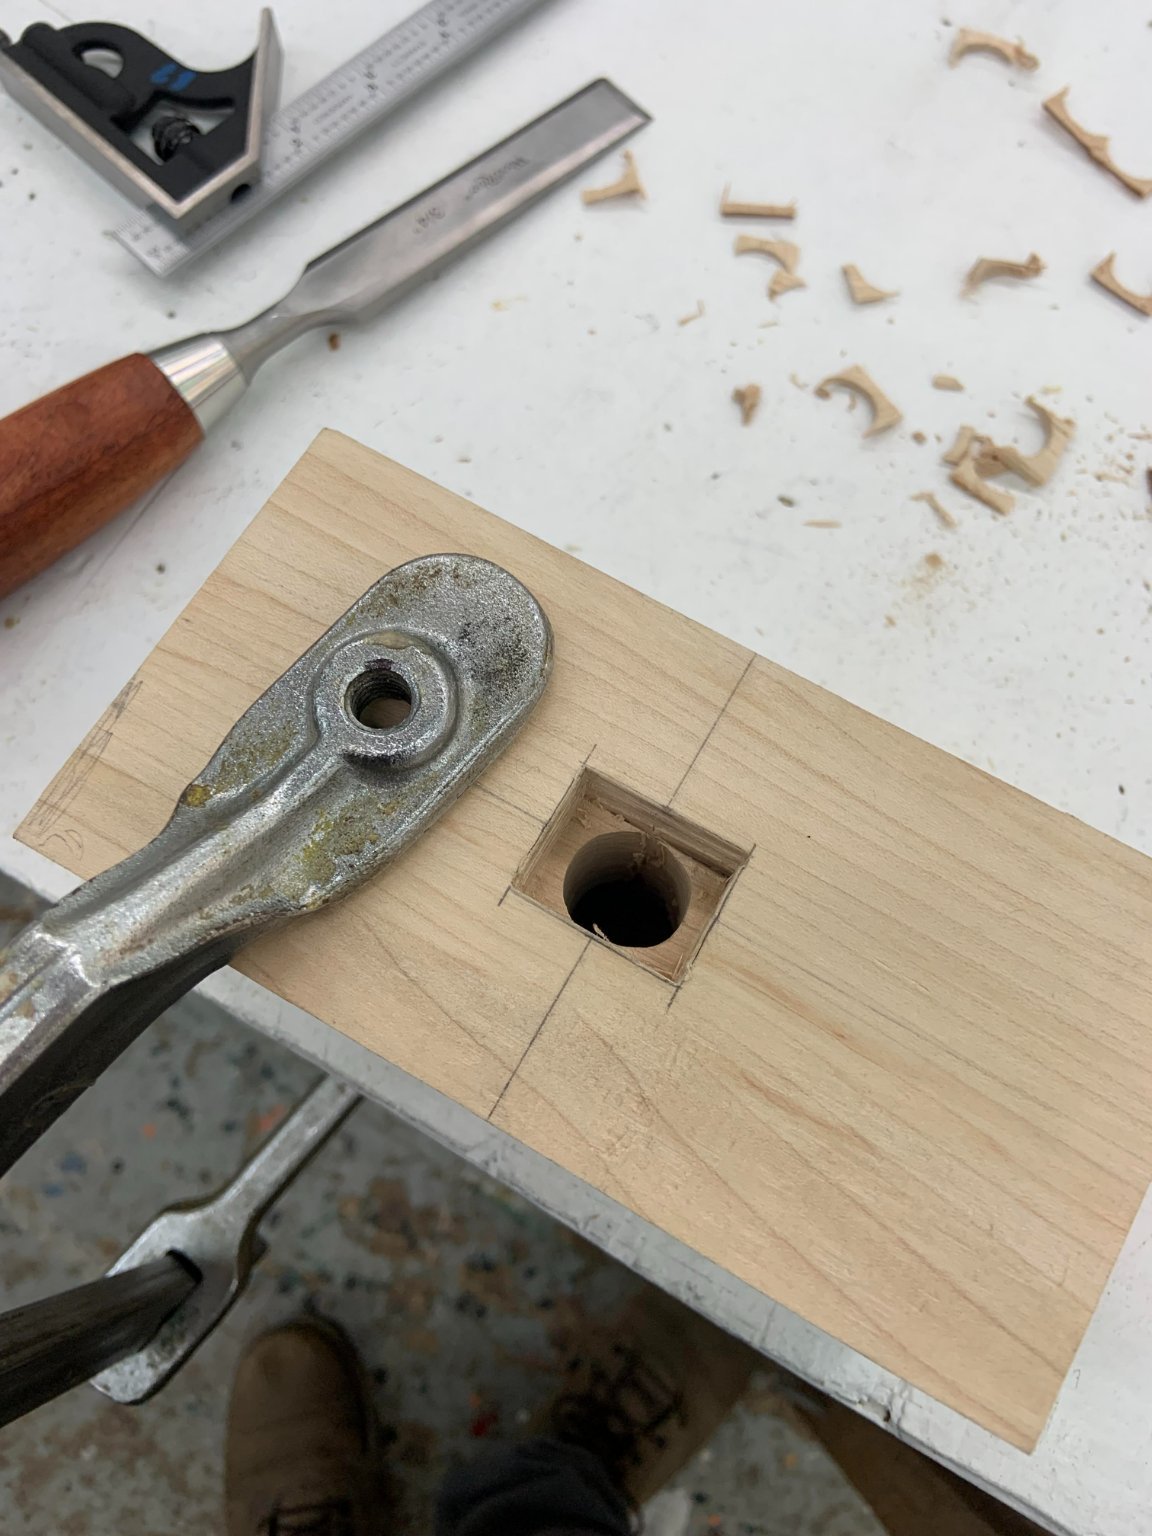
I've recently started school at the Northwest School of Wooden Boatbuilding, I thought I might post a project from the curriculum. This mallet was both a practice project to learn mortise and tenon joinery, but also to create a useful tool to use through the year.
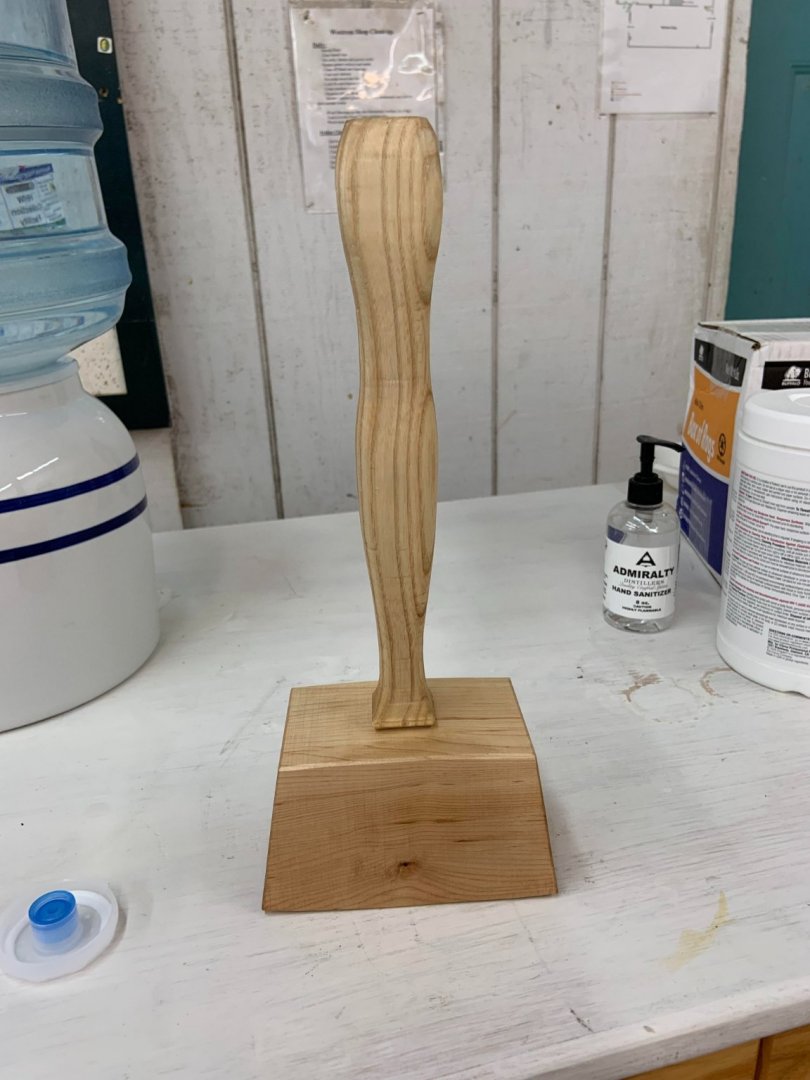
I started with the handle by making a template, cutting the template out, and then using it to transfer lines to cut on the band saw. I cut the handle and then shaped it using a spokeshave, chisels, scrapers, and a little bit of sanding. There were marks left by the saw, but I decided not to fuss over it too much and I decided to live with them.
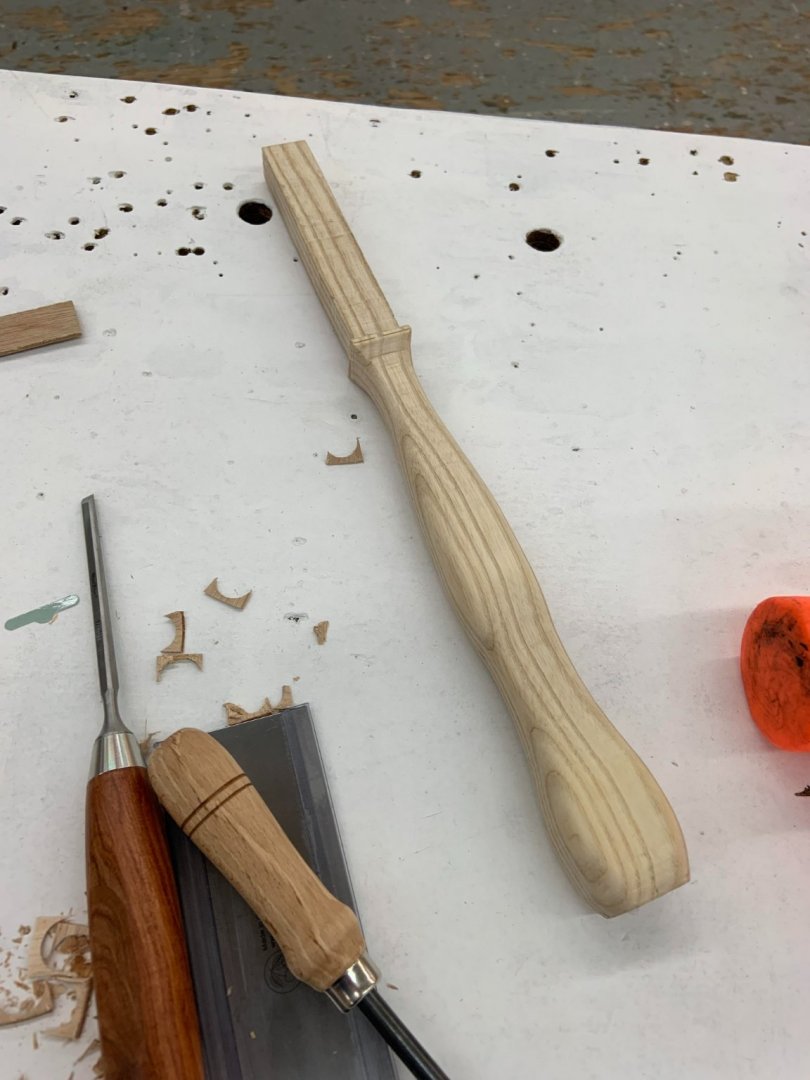
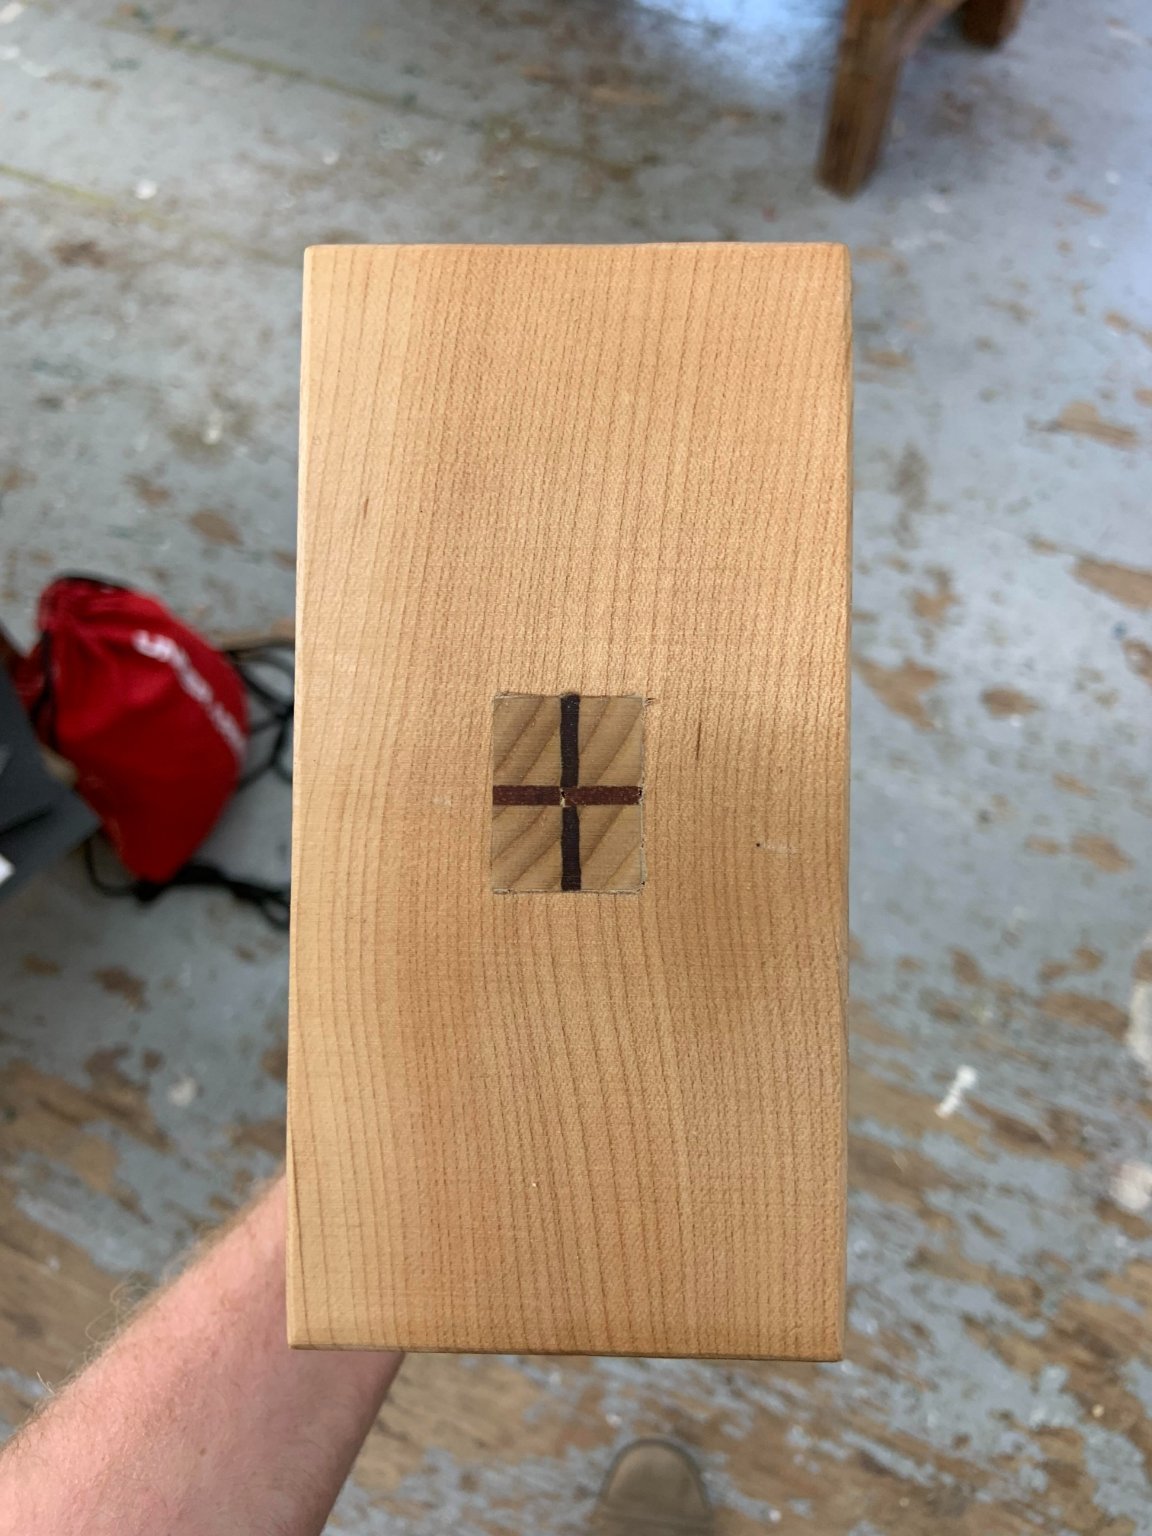
The mallet head was made from a solid maple block, and I drilled a hole before laboriously chiseling out the inside to create the mortise.

Once the mortise and tenon fit, I marked the mallet head for beveling the faces to an appropriate angle.
Then I cut the excess wood off, rounded the top and bottom, cleaned the faces and fixed the head to the handle using wedges. I chamfered the edges with a small chisel. Once that was done, I applied a light coat of beeswax orange goop finish. I don't remember the proper name, but it smelled nice!
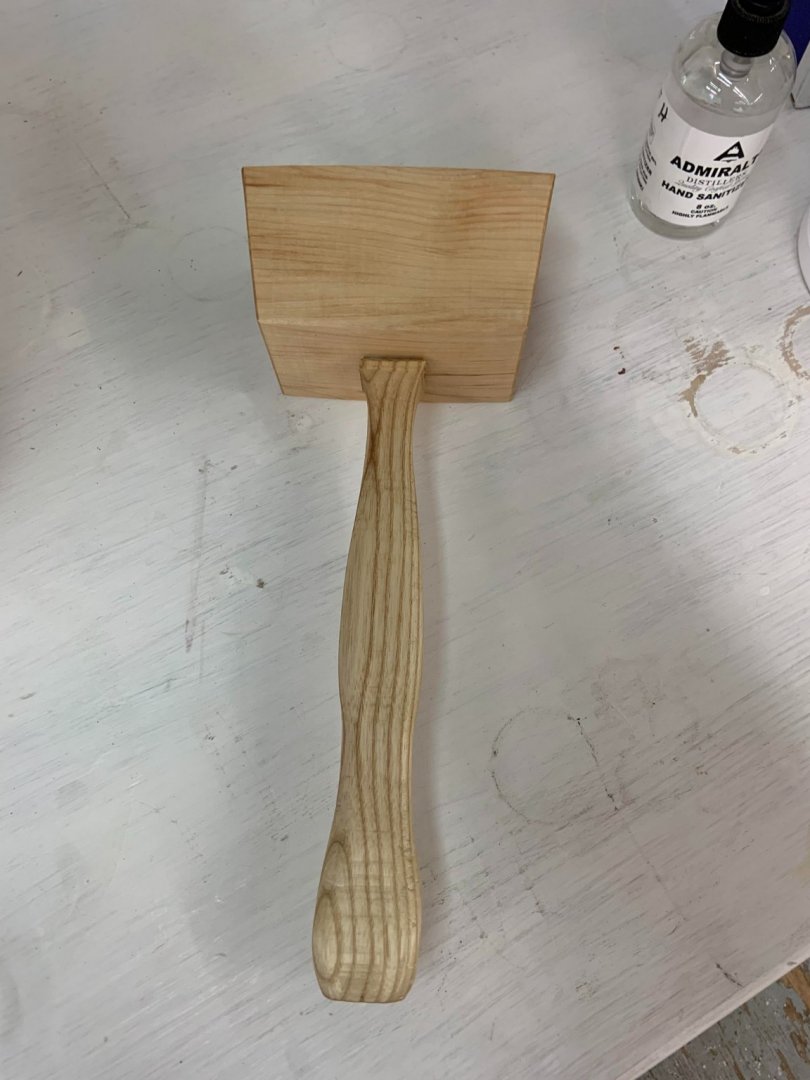

Even though I didn't use any glue, it's quite solid and very satisfying to use!
- gjdale, Duanelaker, Roger Pellett and 14 others
-
16
-
 1
1
-
Thank you very much Steve, Doc and Mike!
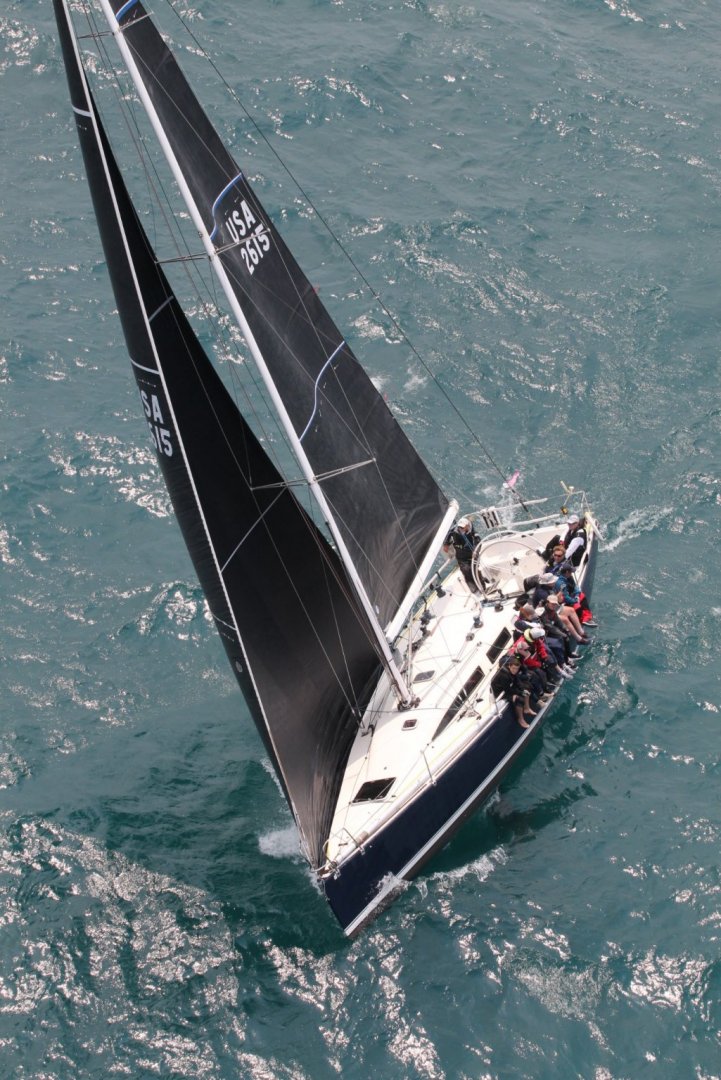
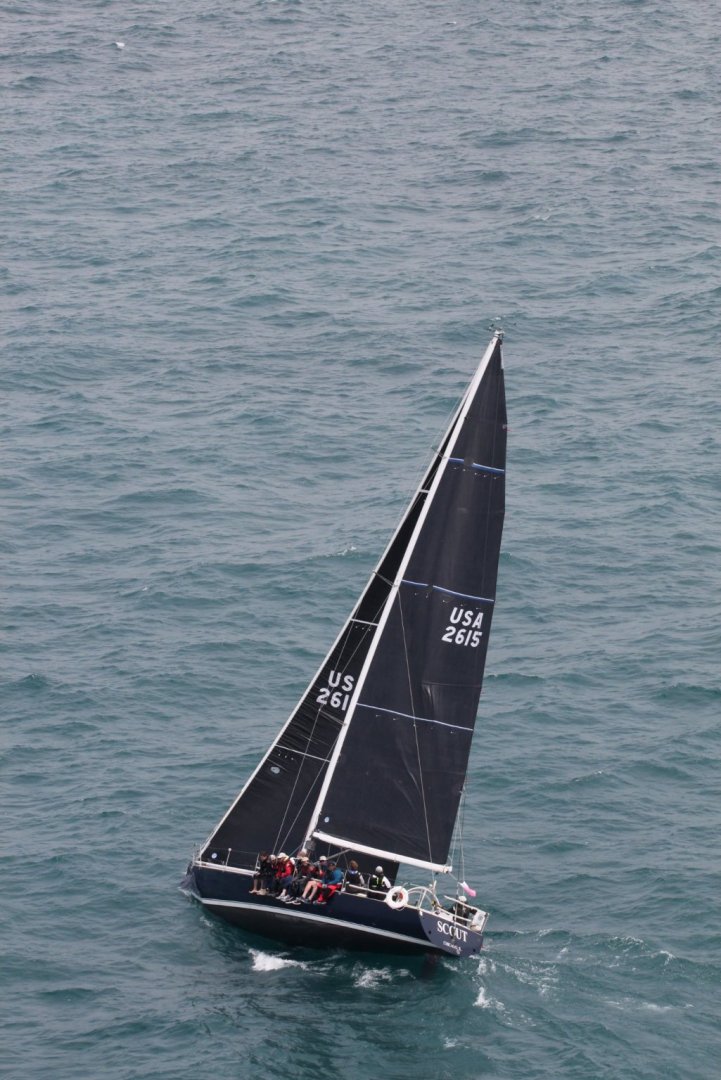
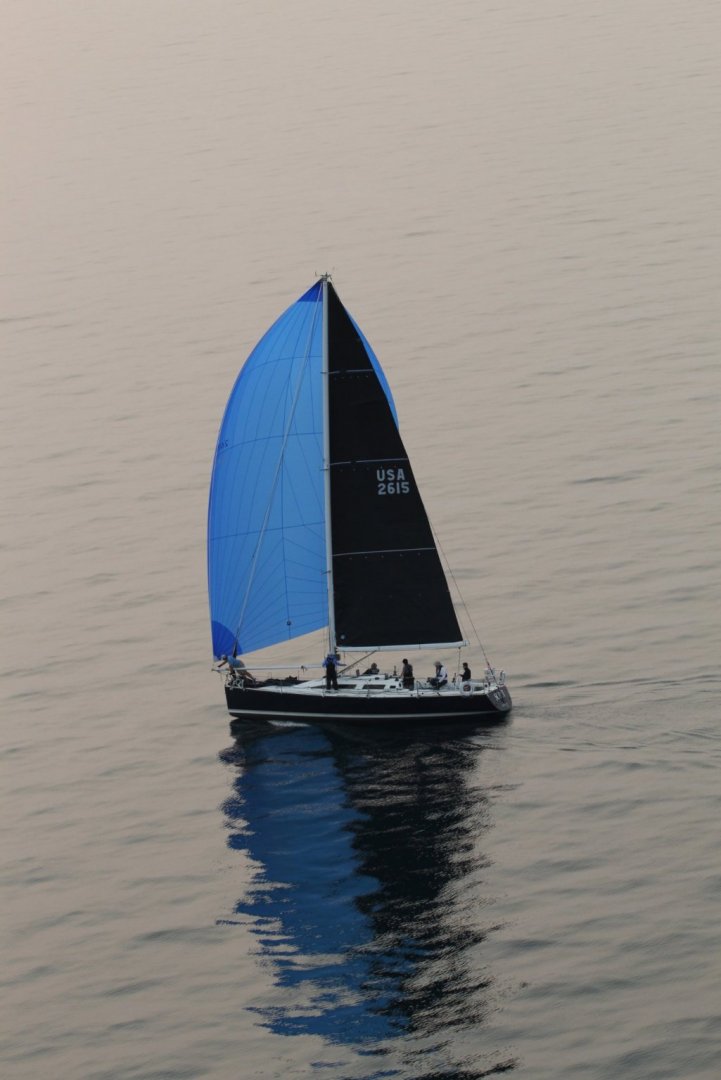
I will say, it's been quite eye opening how difficult it becomes to get stuff done as you get older. I just hope I can make it to Manitowoc next year! I haven't gotten much done in the way of building since my last post, but I did do the Mac race so here's a couple photos of our boat taken by the helicopter guy who flew over us, (credit to him/her) . We raced in section 4 and unfortunately placed 10th out of 11, but it was still a lot of fun!
-
Excellent work Bob, and I’m glad your health is improving!
-
So after a chaotic few months of school (let’s be realistic, they were all chaotic this year) and graduating and getting a job, along with a bunch of other stuff, I have finally made some progress on the Philadelphia!
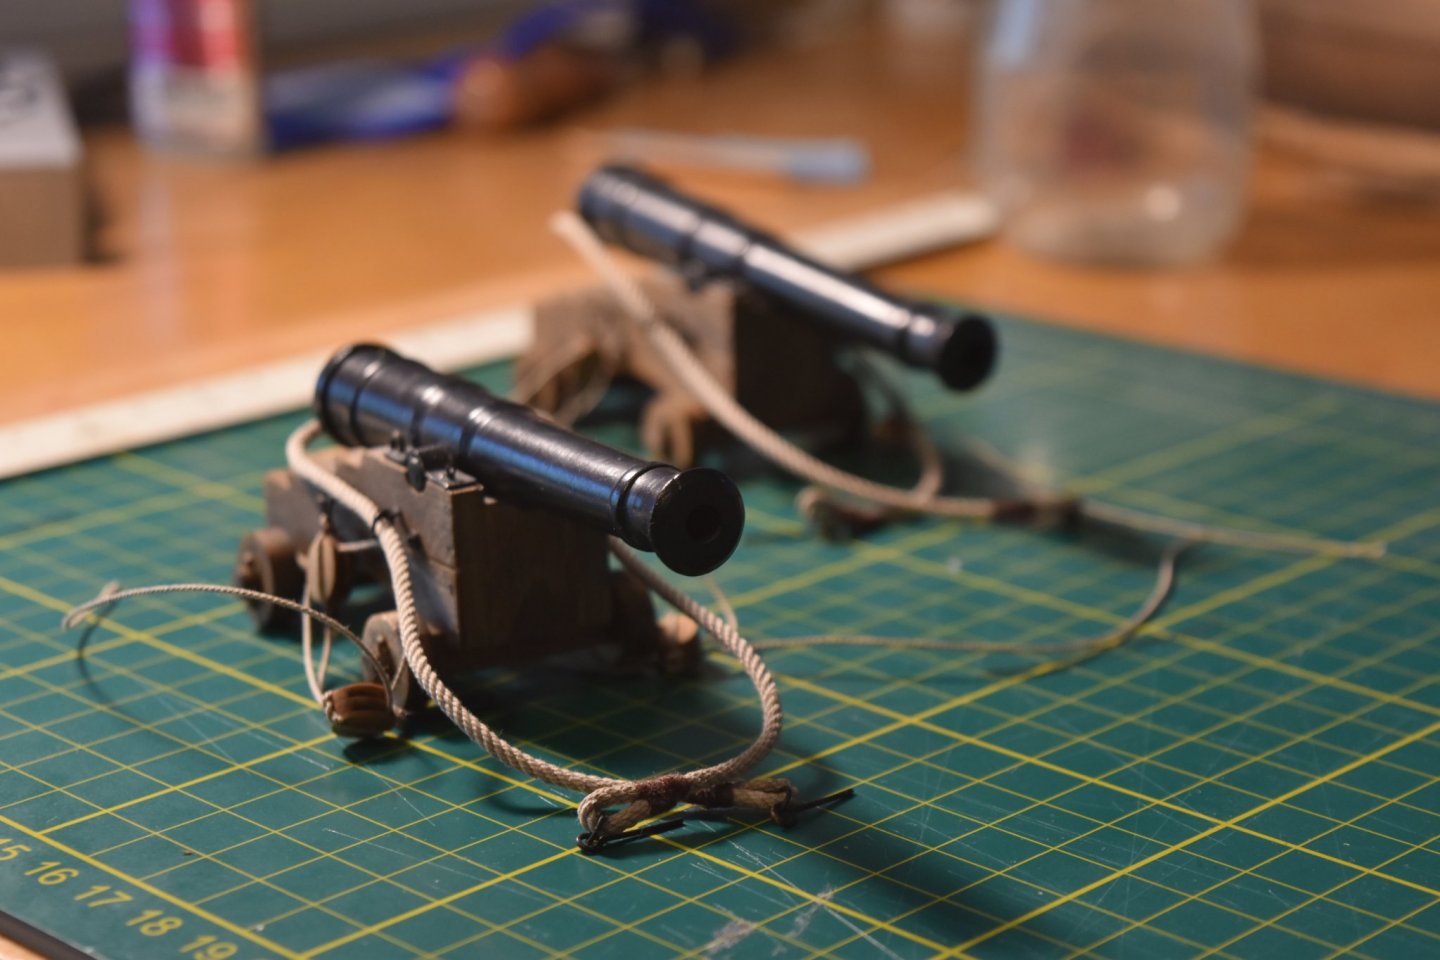
The first order of business was finally finishing rigging the cannons. I got the tackles rigged, but I haven’t done the final assembly because I’ll be installing them a little bit later, but at least the rigging portion is done. I still haven’t figured out how exactly I’ll mount them, but now I’m leaning towards Kurt’s dowel idea.
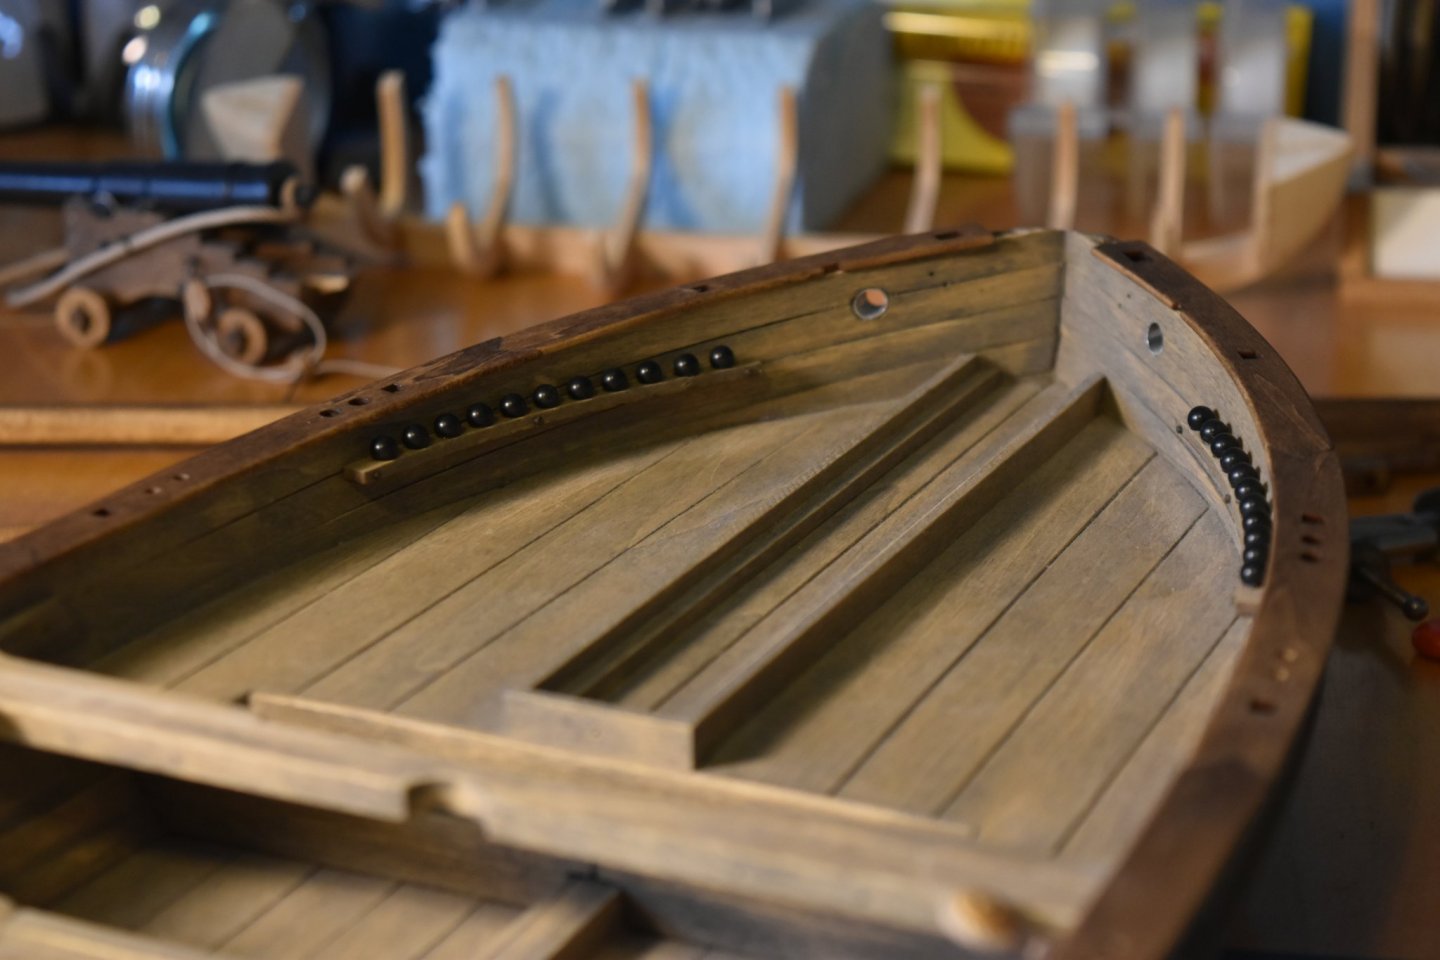
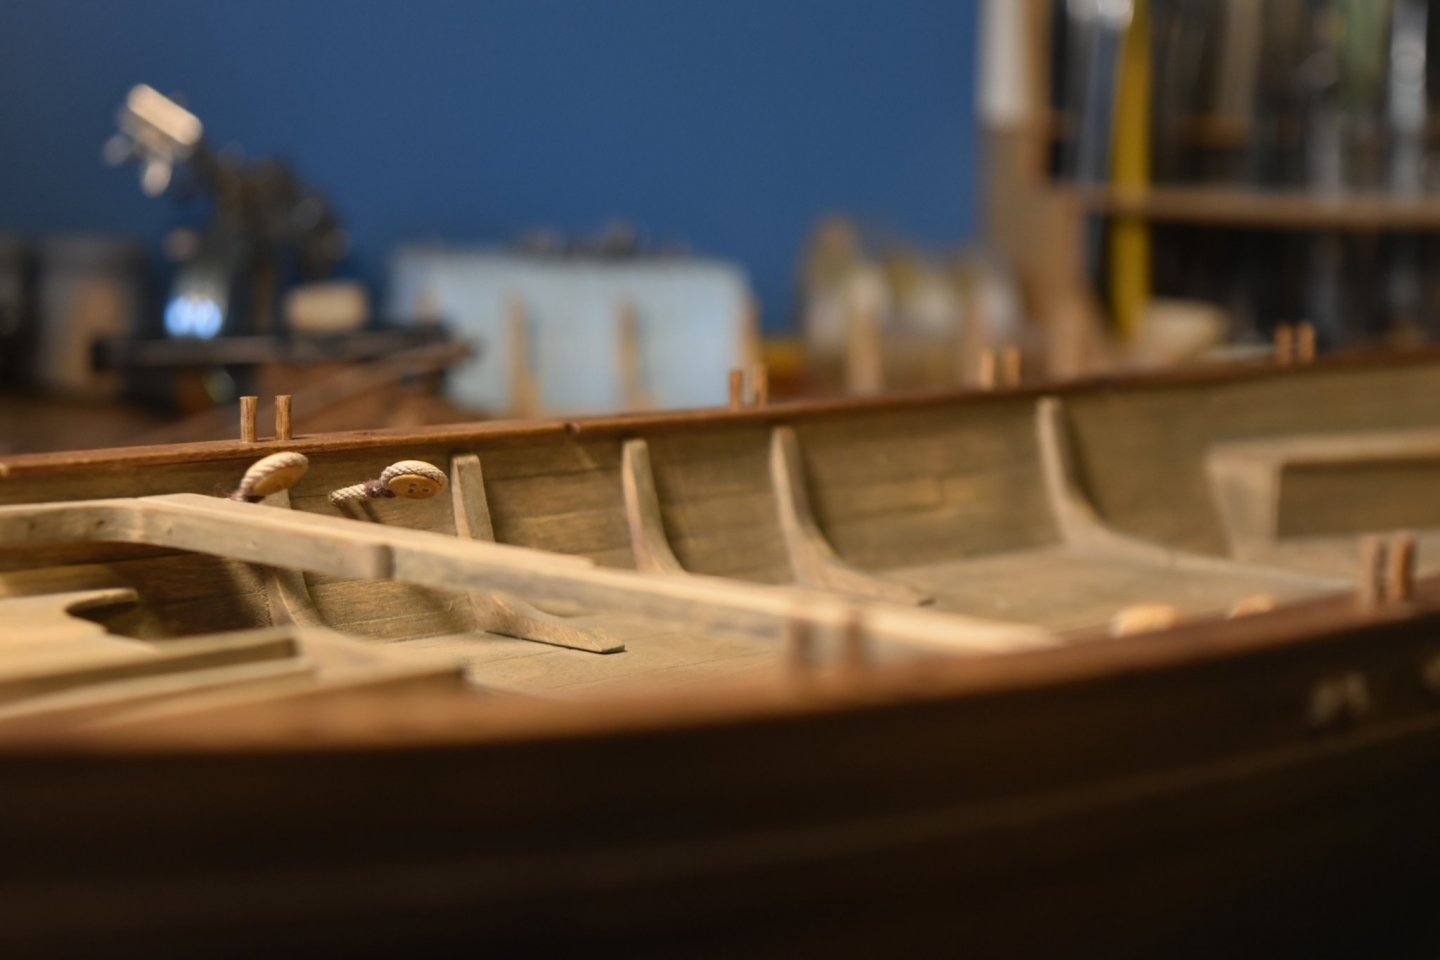
After that, I decided I was tired of looking at the broken shot rail, so I added the cannonballs which resolved the issue.
At that point I was in the mood to finish things, so I finished the hawse pipes. I’d been avoiding them for ages because I had been nervous about the glue joint, but it really was nothing to worry about. I painted the photo etch parts before adding them to the model, but I left the underside bare so as not to have a glue-on-paint joint.
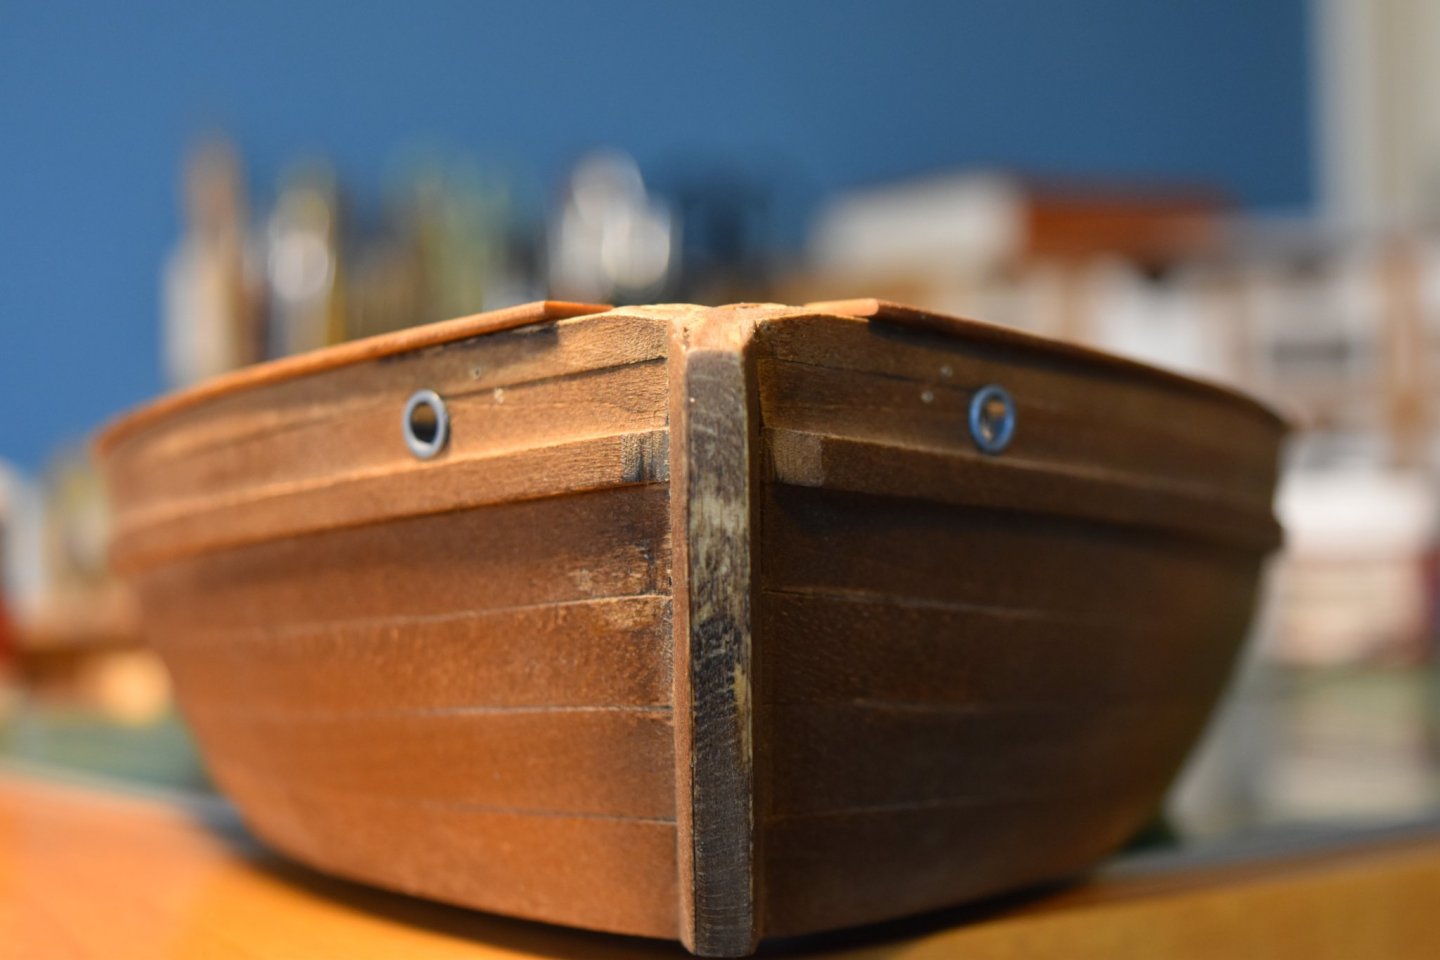
I then added the catheads and mooring bits, which really changed the character of the bow.
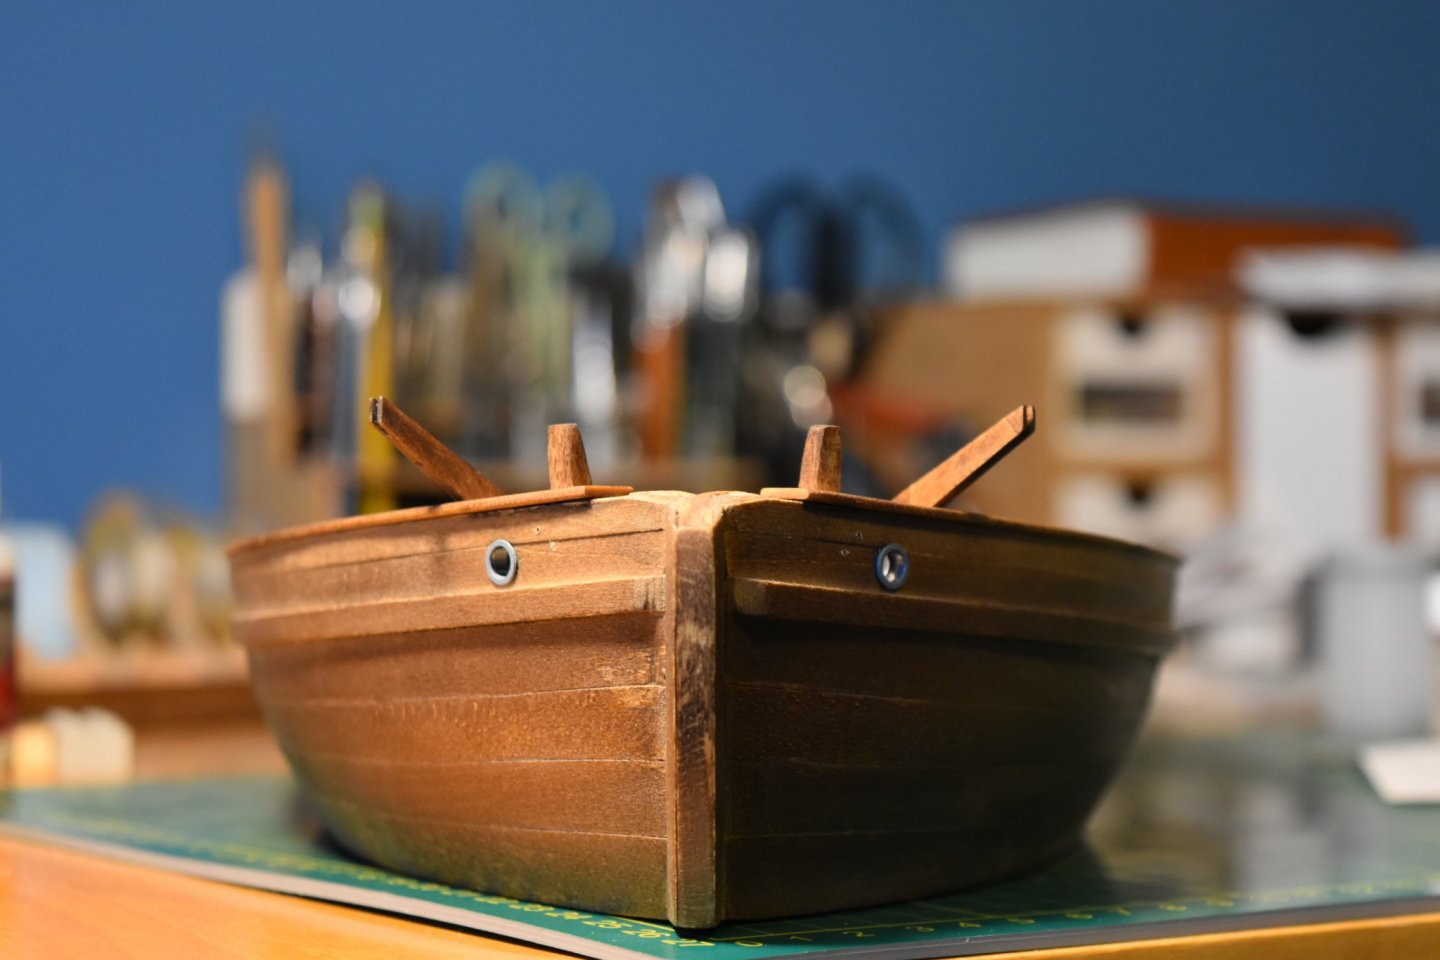
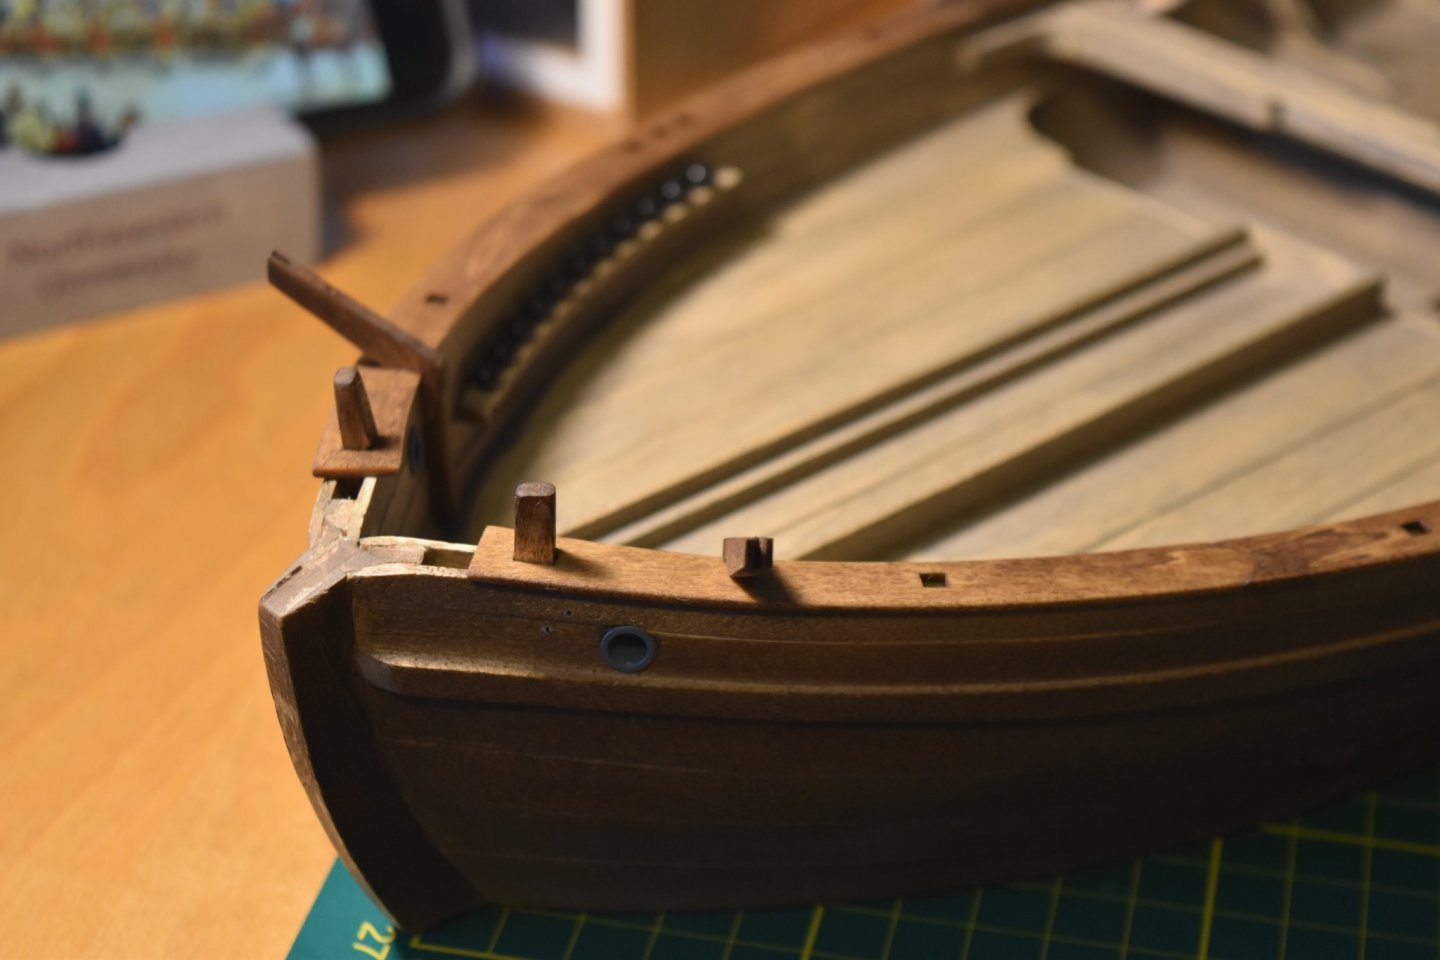
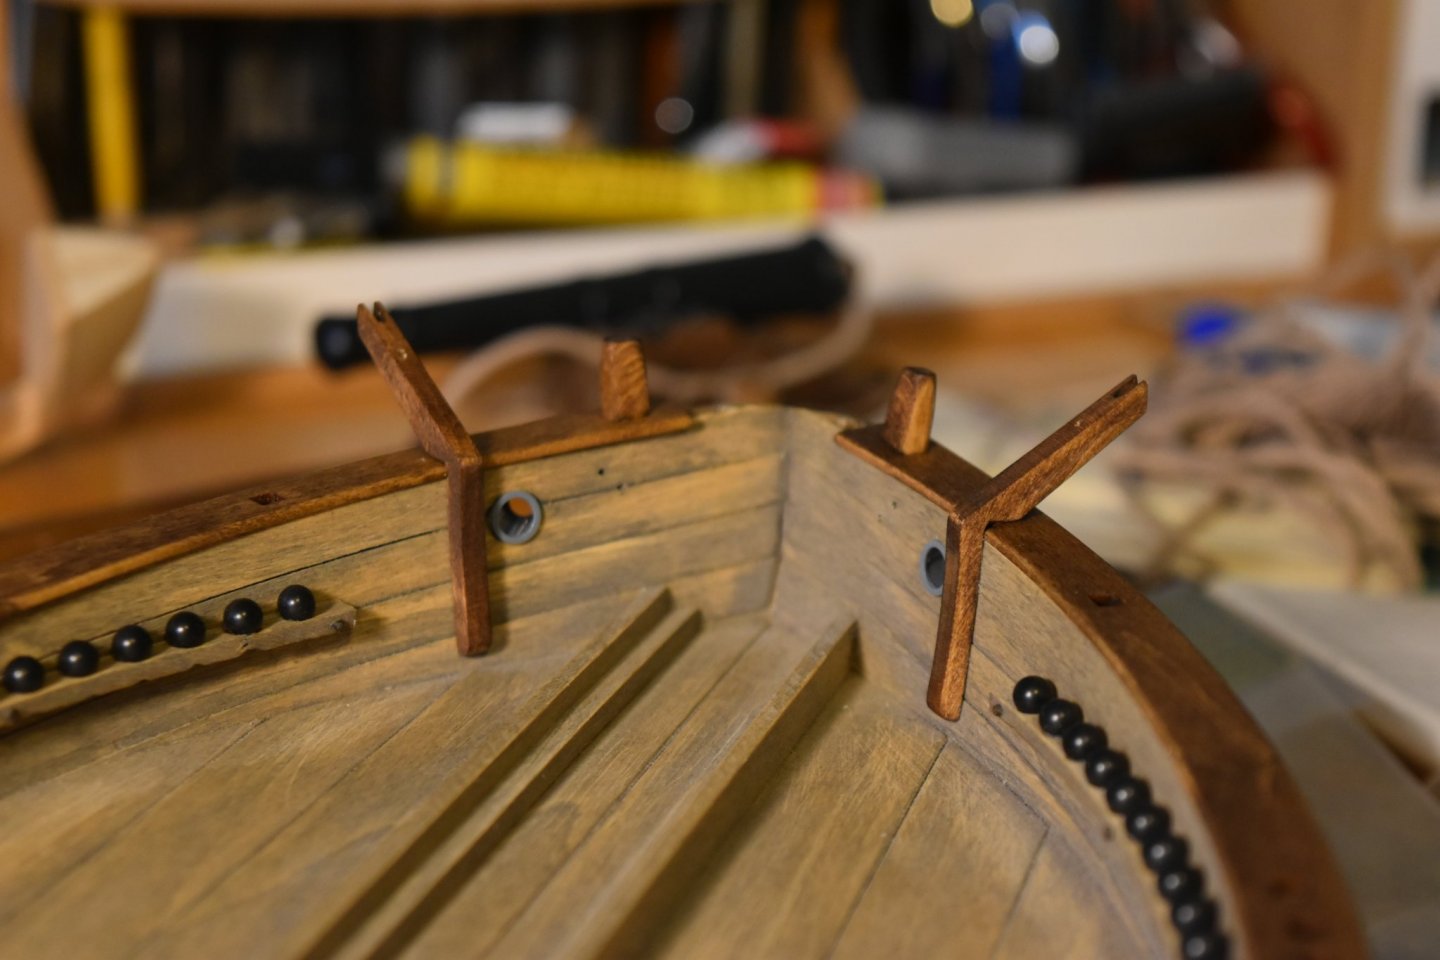
Finally, I made the thole pins. These were a bit tricky because I had to maintain them at an even height above the rail, but there are several obstacles inside the hull which forced me to cut some of them shorter than others. I used a small piece of wood as reference for all the heights, and when I needed to shorten a piece I just placed it upside down and marked the amount of wood above the reference height as a way to know exactly how much to cut off.
Anyway, that’s where I’m at now. I’m very eager to try to finish this before I leave in the fall, but we’ll see if I can do it. I’ve spent most of this build preparing parts to go on without actually adding them, so for the most part, the rest of this should pretty much be a matter of rigging. I have to be extra sparing with my line now because Chuck is no longer making it, so I may reconsider my plans for having sails, but we shall see. Alright, that’s all for now!
-
-
Looking very nice Bob!
-
-
Beautiful work, it's like seeing the series all over again!
- Keith Black and Saburo
-
2
-
I don’t have the tackles rigged yet, but thinking ahead, I’m wondering how I’ll secure the guns to the model. The instructions suggest using pins and Kurt’s articles suggest using a small wooden dowel. I’ve tried looking through a few logs on here and I haven’t been able to find any other method. Any advice? Right now I’m leaning towards the dowel, but I’d rather have something a little less visible if possible.
- Canute, Ryland Craze and EJ_L
-
3
-
Ooh, looks fun! If there were two mortars, where was the second?
-
Wow, I see, the likeness is uncanny! 😂
- Keithbrad80 and Overworked724
-
1
-
 1
1
-
She makes for quite a lovely porcupine. Never seen Hellraiser.
-
Very fine craftsmanship Nic, she looks immaculate.
-
-
-
Excellent work Bob, she's looking great!
-
Did you come up with that trunnel process on your own?
-
Nice job with the surgery, I see you reinforced the inside, good thinking!


Glory of the Seas 1869 by rwiederrich - FINISHED - 1/96 - medium clipper
in - Build logs for subjects built 1851 - 1900
Posted
Very impressive rigging work!