HOLIDAY DONATION DRIVE - SUPPORT MSW - DO YOUR PART TO KEEP THIS GREAT FORUM GOING! (Only 36 donations so far out of 49,000 members - C'mon guys!)
×


captain_hook
-
Posts
685 -
Joined
-
Last visited
Content Type
Profiles
Forums
Gallery
Events
Everything posted by captain_hook
-
 Very nicely done. The Robotime dioramas are all crowded and stuffed with things. But I guess that is what gives them the spirit.
 -
Wow, that is a lot of stuff.
-
Very nice. How many troops will be included? Are you going to paint every soldier included in that diorama in representative way? That will sure be very time-consuming.
-
Absolutely stunning! What will be the overall dimensions of the village if I may ask?
-
Congratulations for finishing your first model. And a very clean build too! Nice displaycase as well.
- 49 replies
-
- 1
-

-
- sherbourne
- caldercraft
- (and 1 more)
-
You‘re doing a great job. Nice rigging as well.
-
@merchen: Hallo, das sind echt wunderschöne Modelle, vor allem die Schnitzereien sind eine echte Augenweide. Da dies ein englischsprachiges Forum ist, haben wahrscheinlich einige der Teilnehmer Probleme mit der Übersetzung der Texte und lesen dann nicht mehr weiter. Die Bilder und Berichte sind hier zudem (vielleicht irrtümlich?) in der Kategorie Allgemein / Behandlung von Holz eingeordnet, da gibt es generell nicht so viele Beiträge und Besuche. Besser wären sie im Bereich „Eigenbau“ (scratchbuild-models) oder der Gallerie aufgehoben, da ist die Resonanz deutlich größer. Falls es Probleme mit der Übersetzung der Texte geben sollte, helfe ich gerne. Viele Grüße und nochmals ein großes Kompliment.
-
non-ship review 1:24 Istanbul diorama - OcCre
captain_hook replied to James H's topic in Non-ship kit reviews
Occre has some nice trams, that will be build into beautiful models. This diorama looks like a way to make them look even more beautiful. Thanks for the nice review and photos. Do you use a white card background to make the pictures? -
Very beautiful! You use an injection needle to drill the treenails? What is the inner diameter of that needle?
-
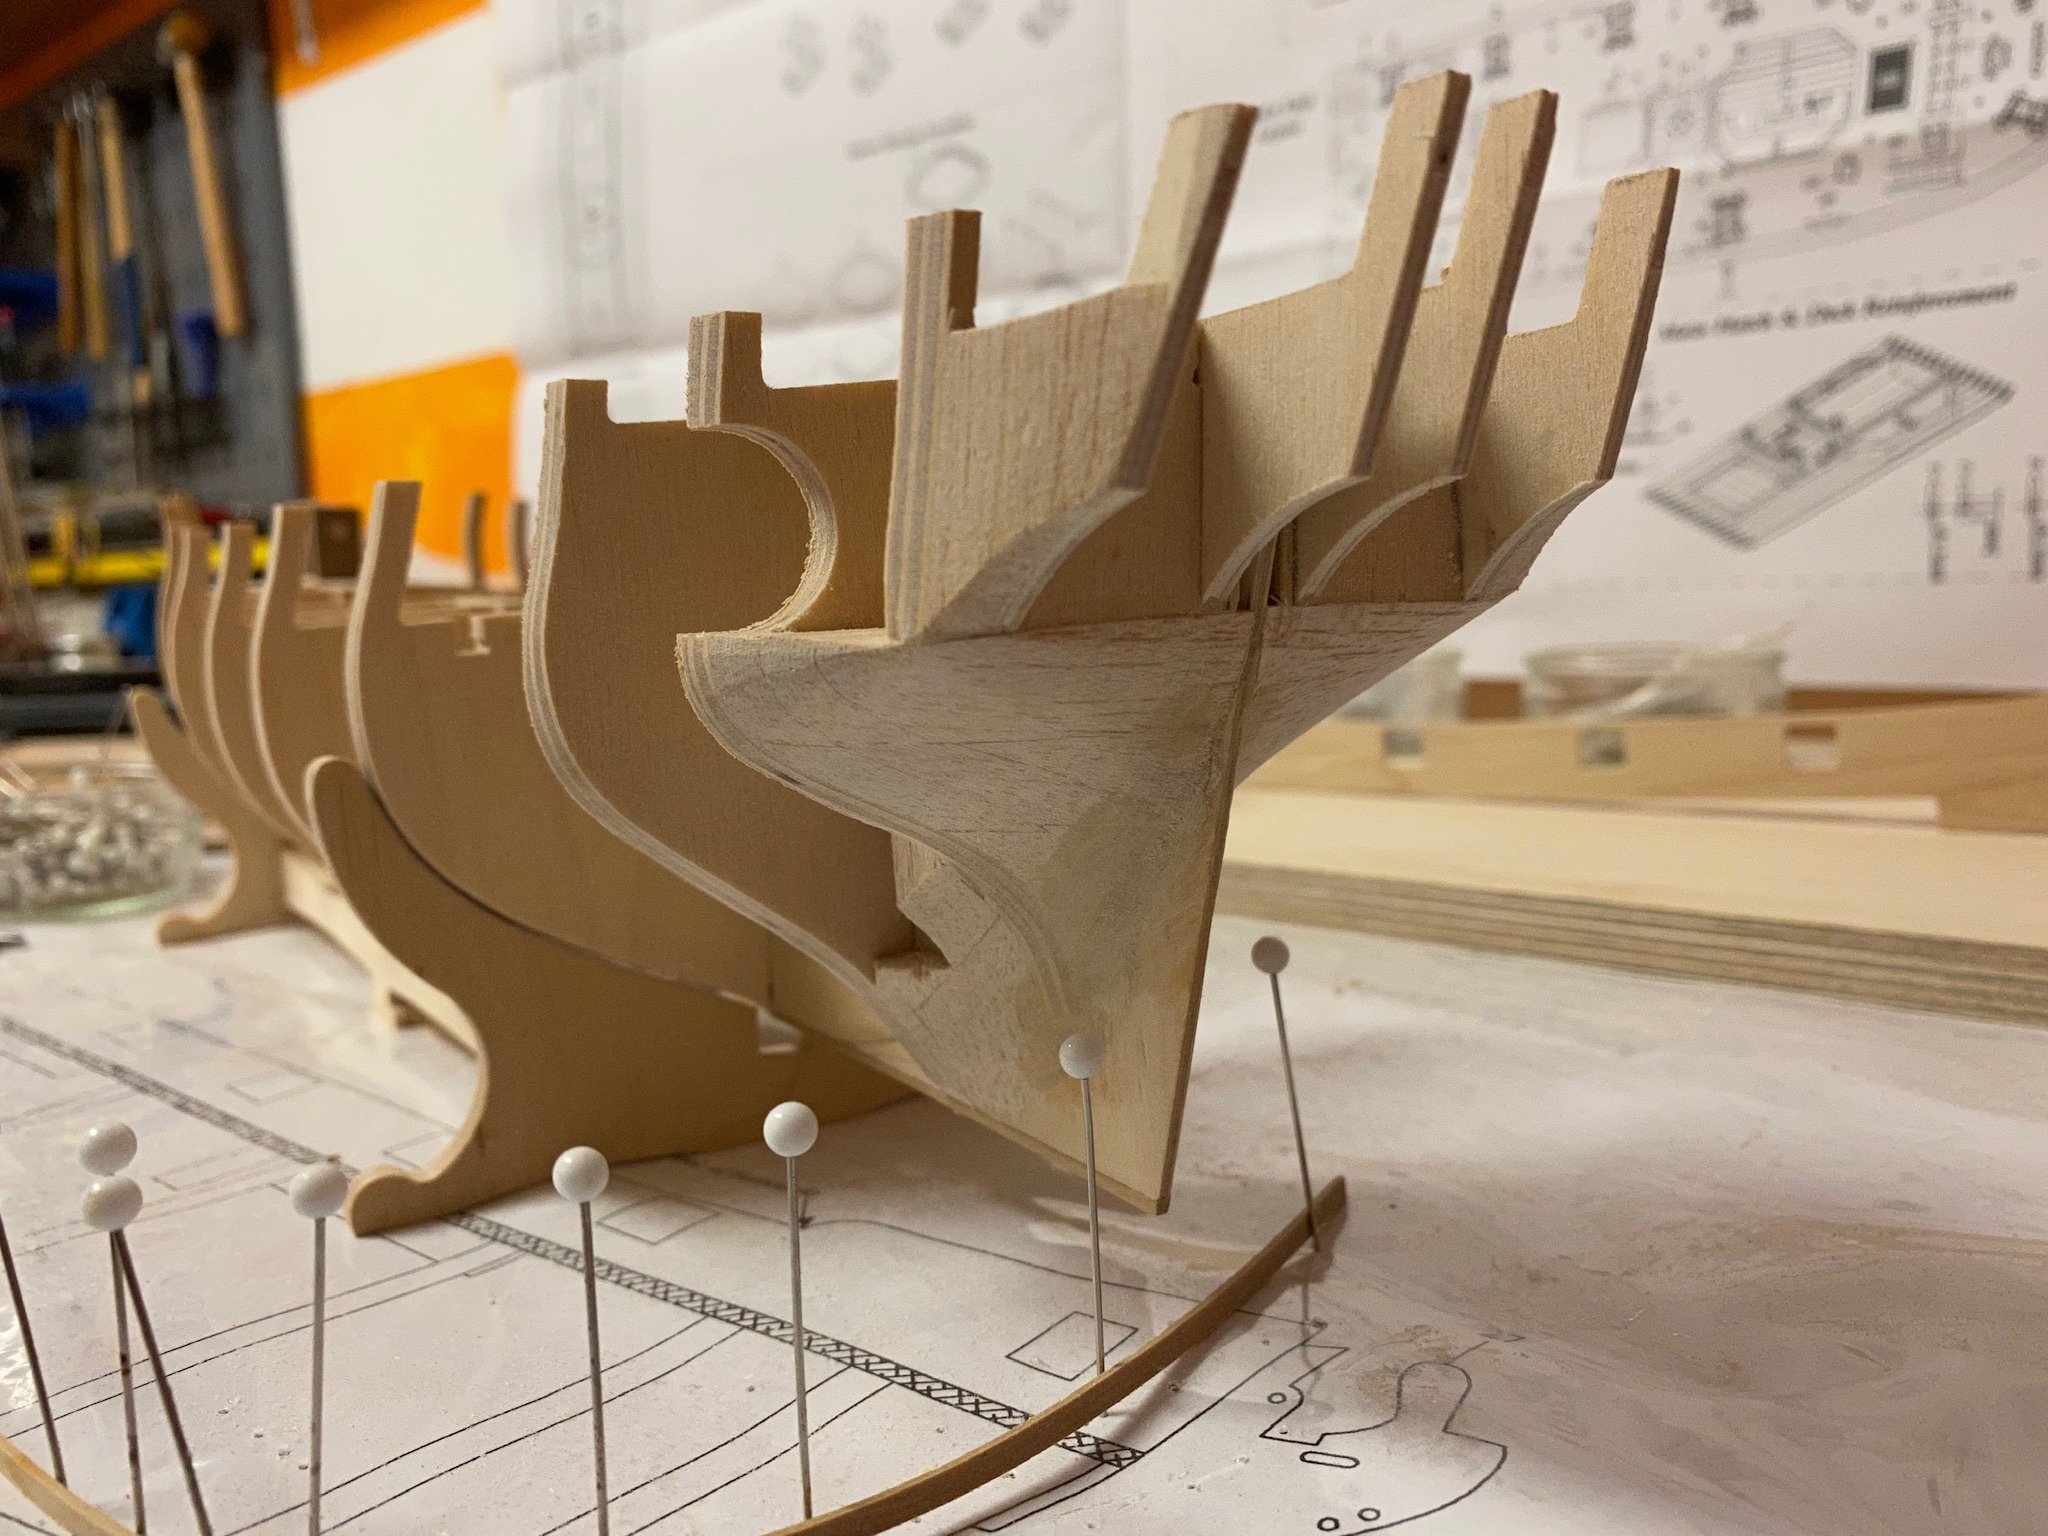
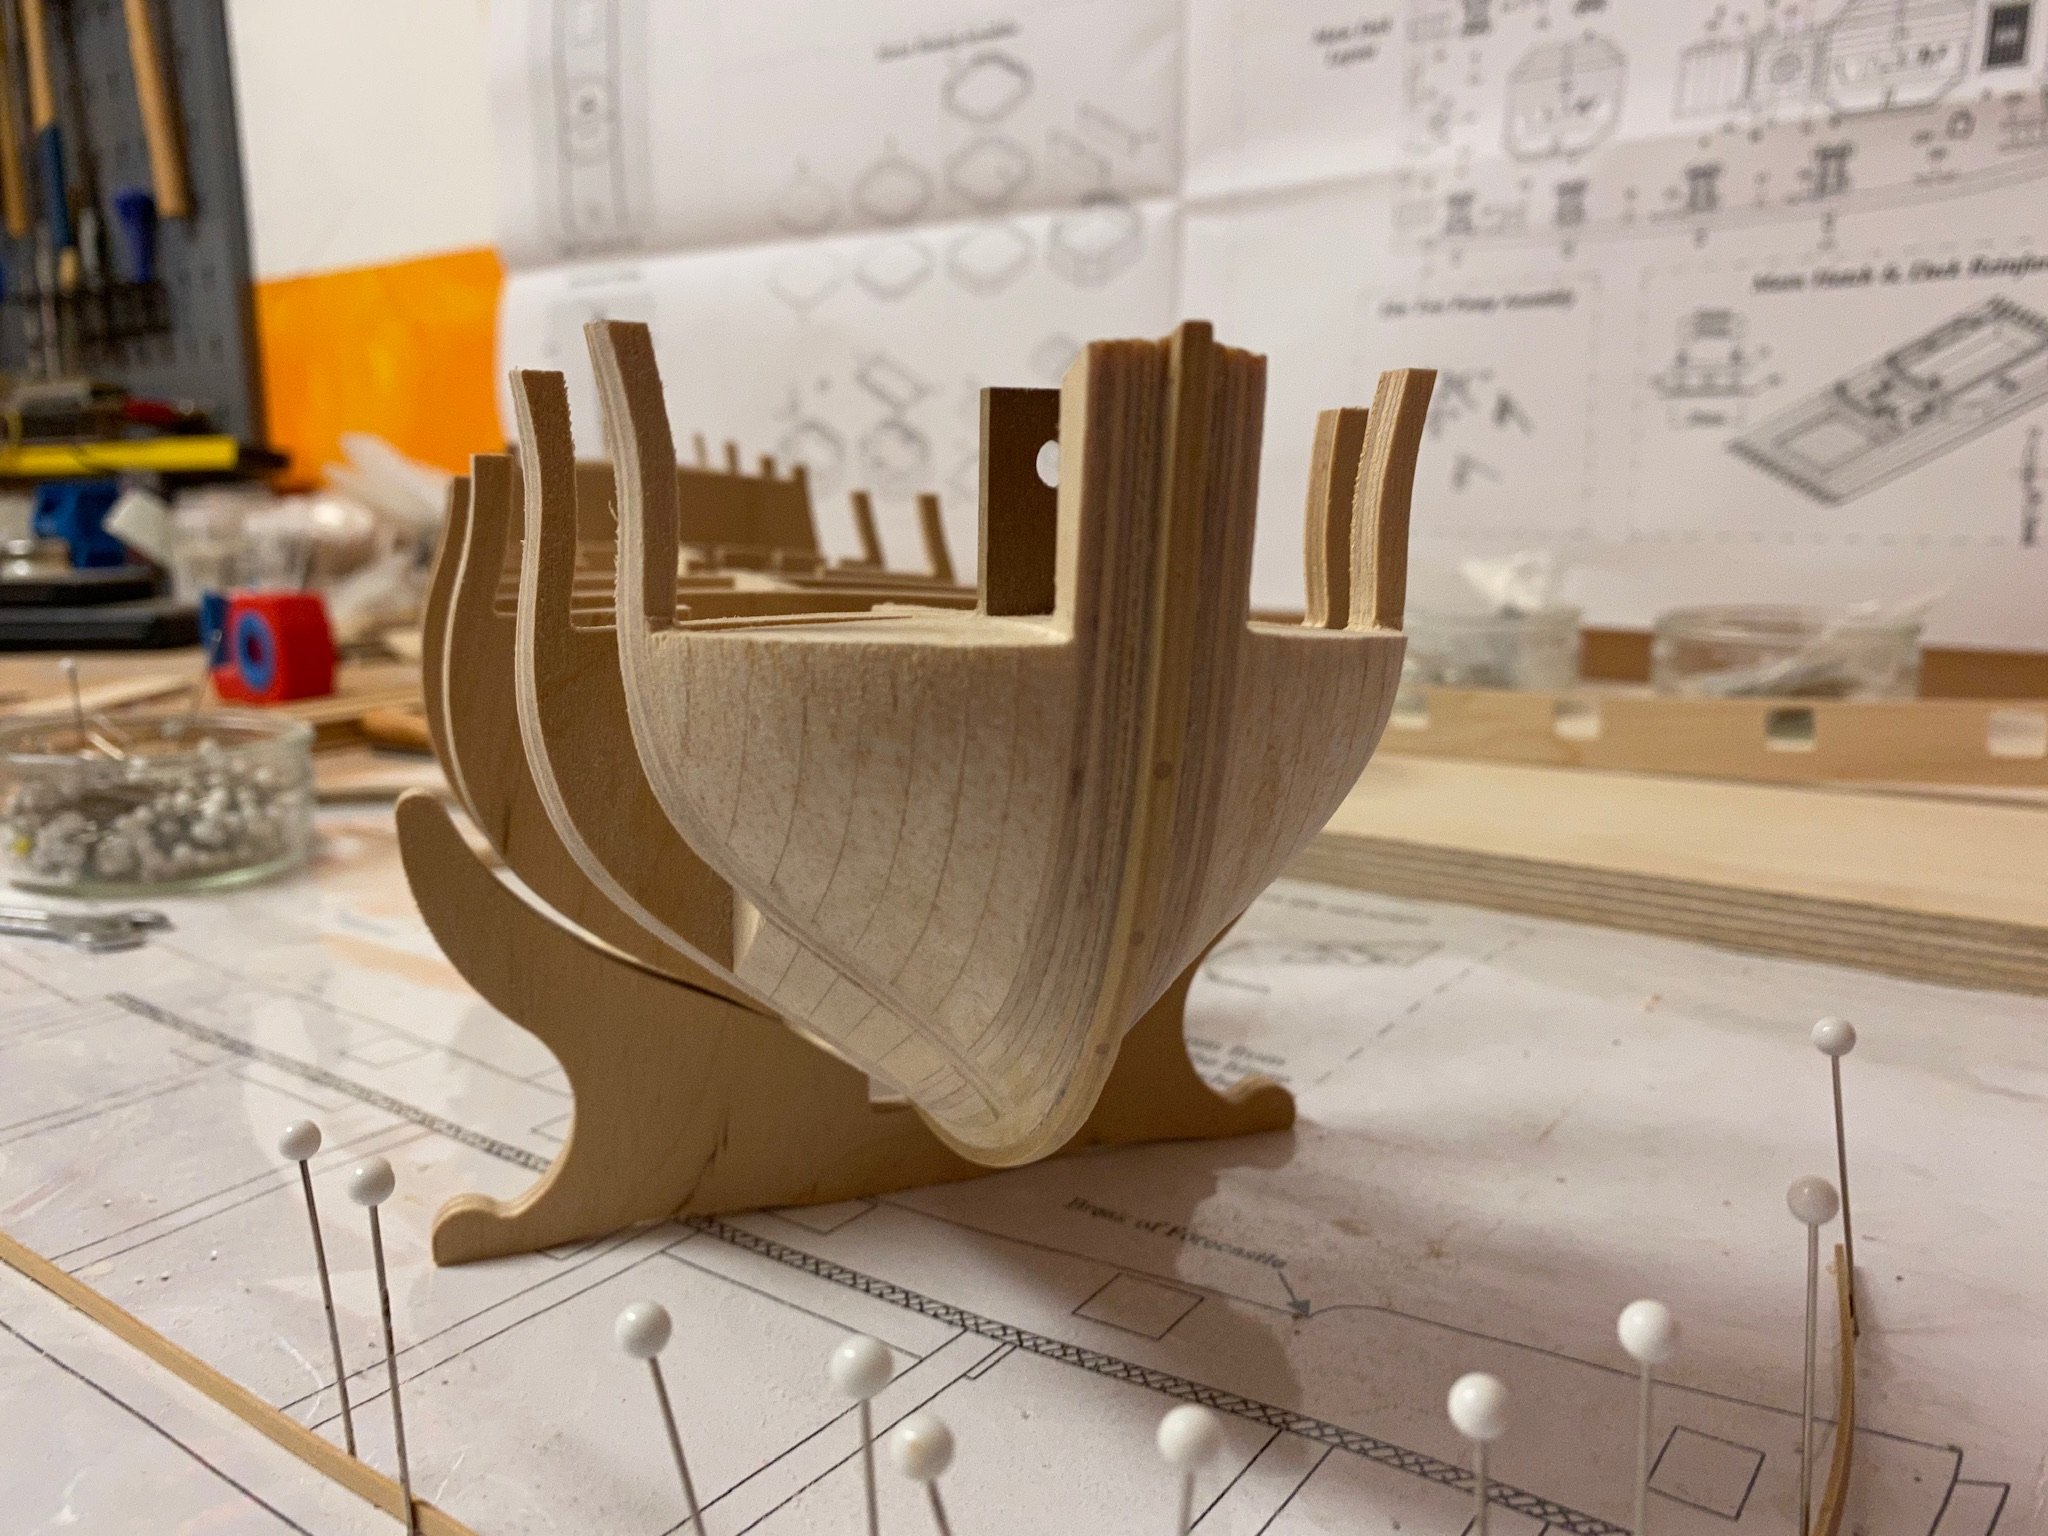
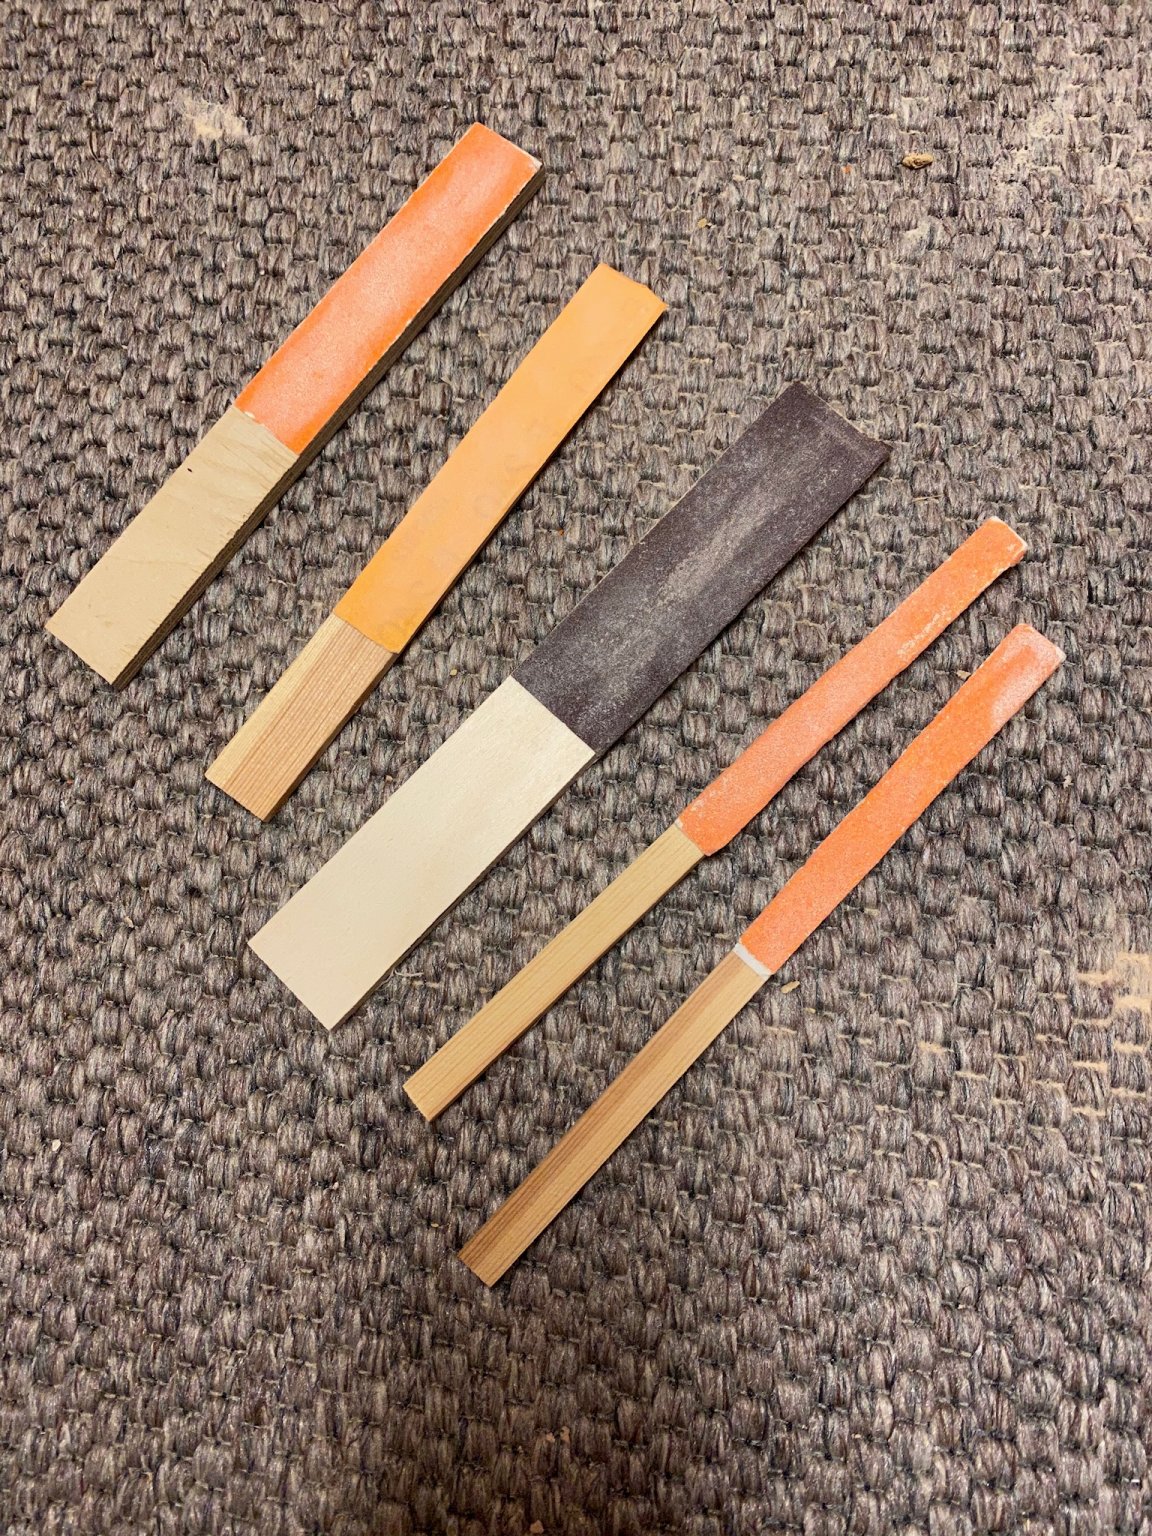
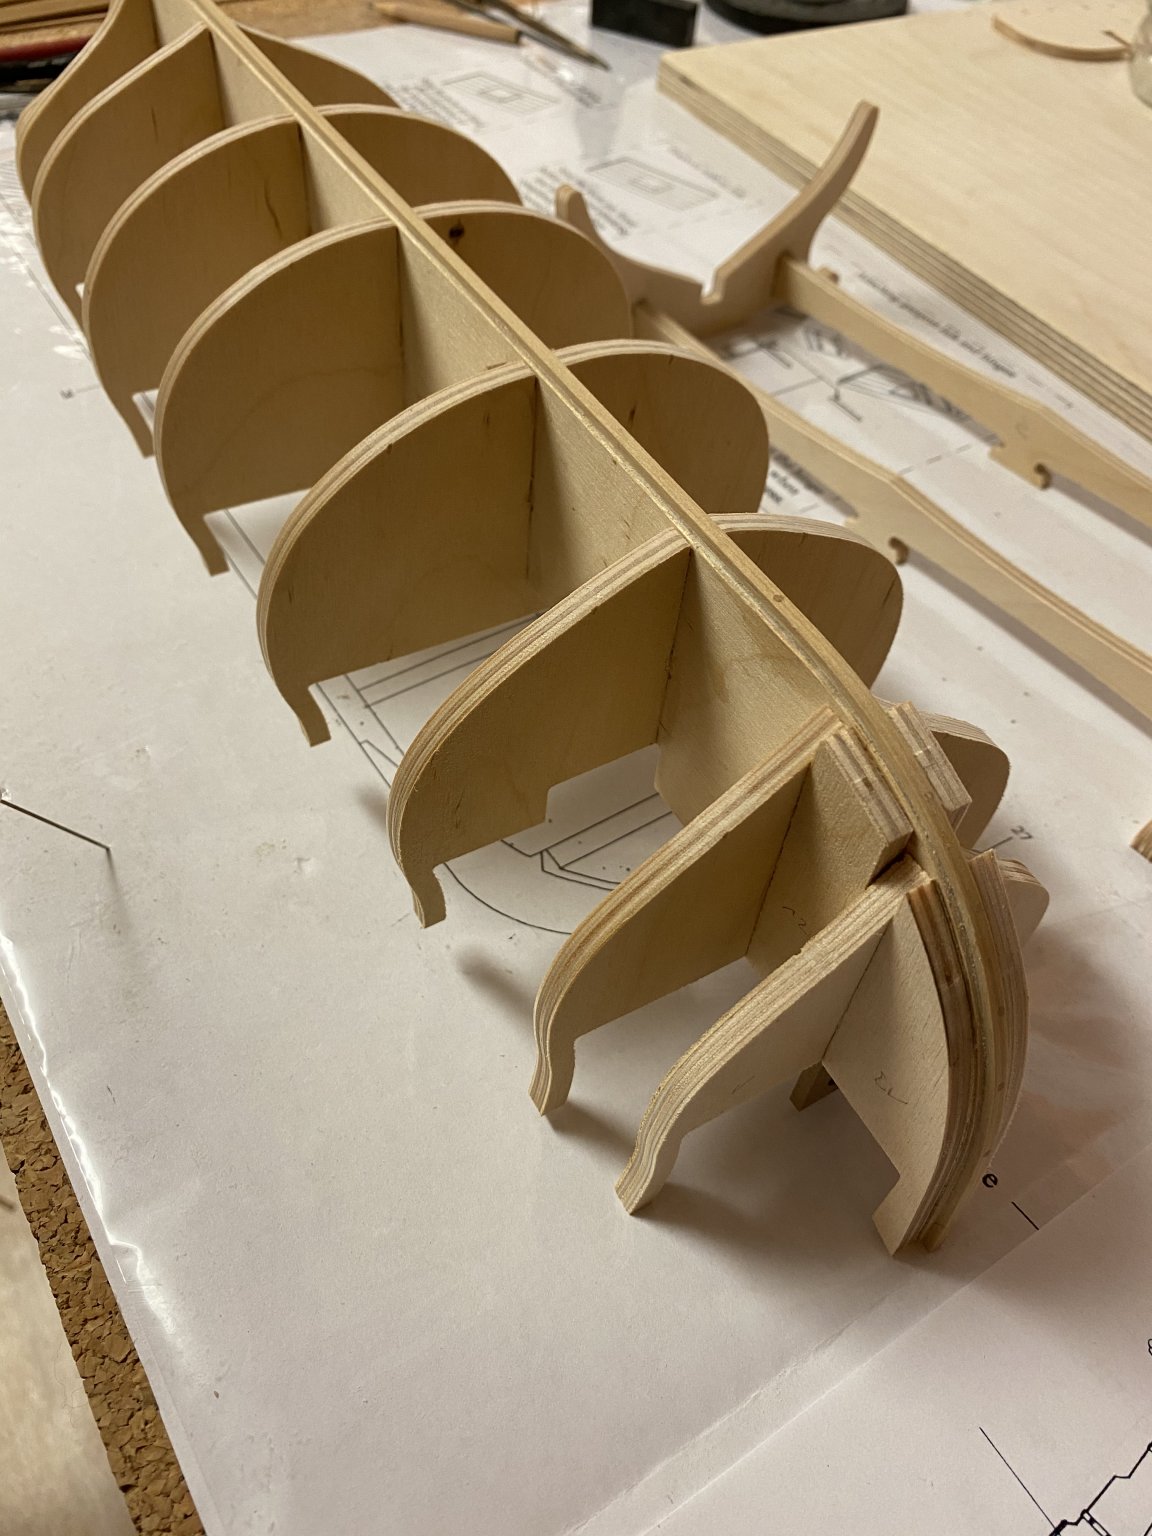
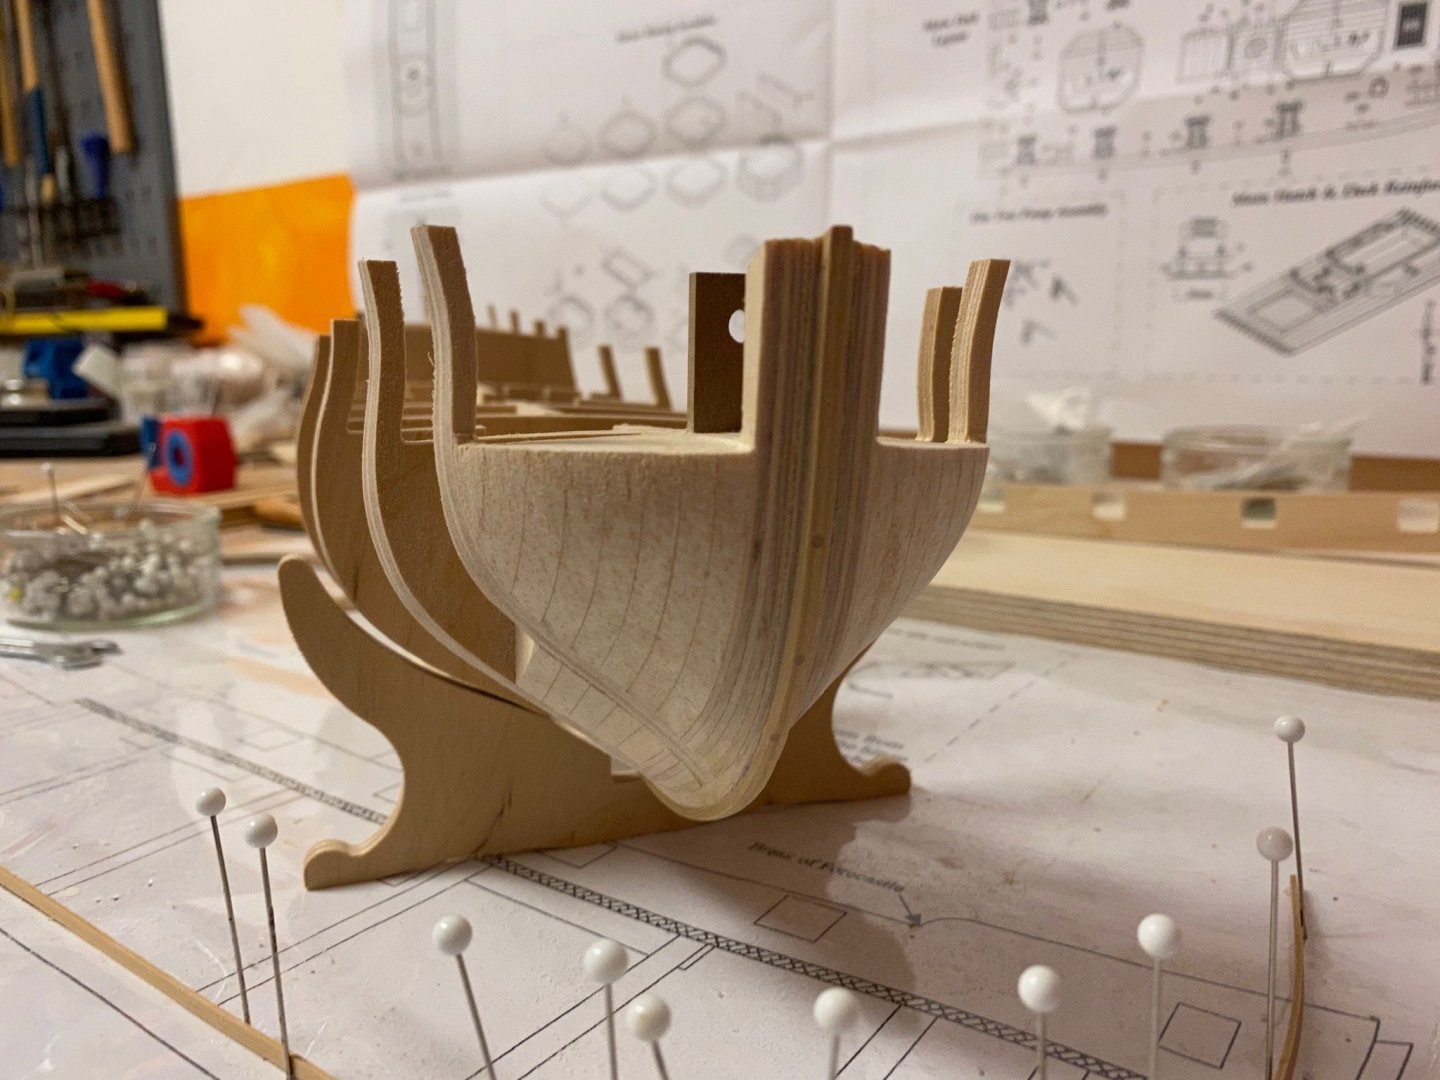
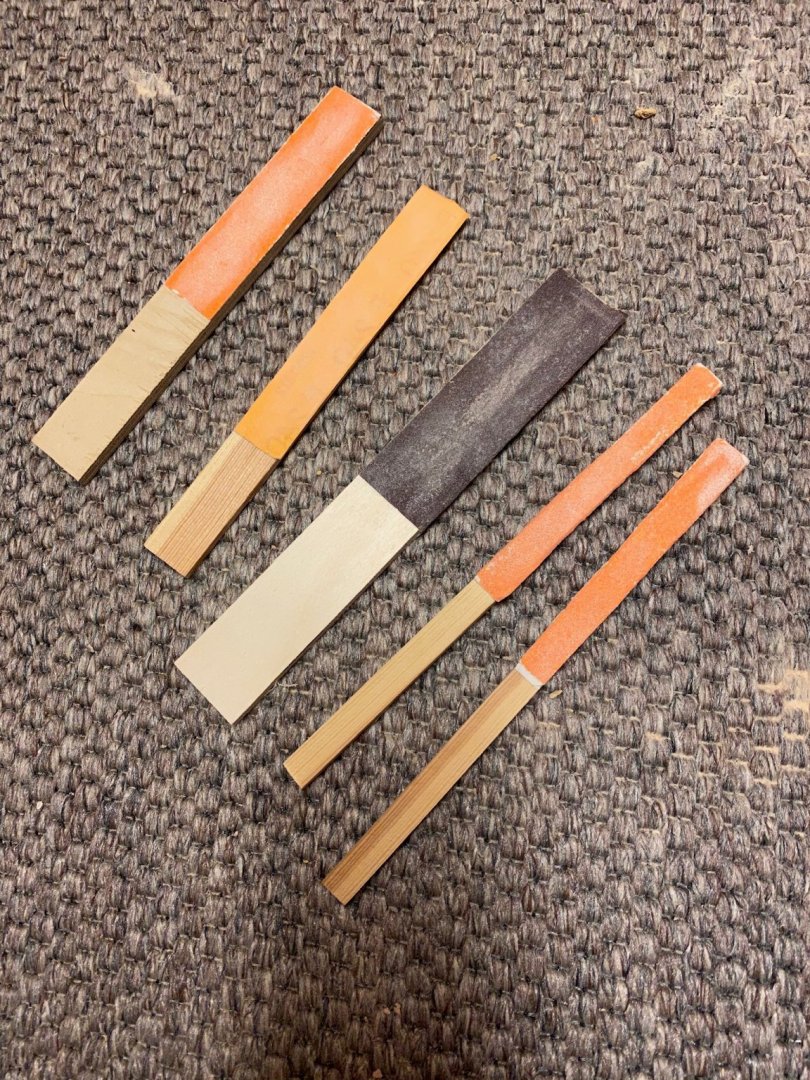
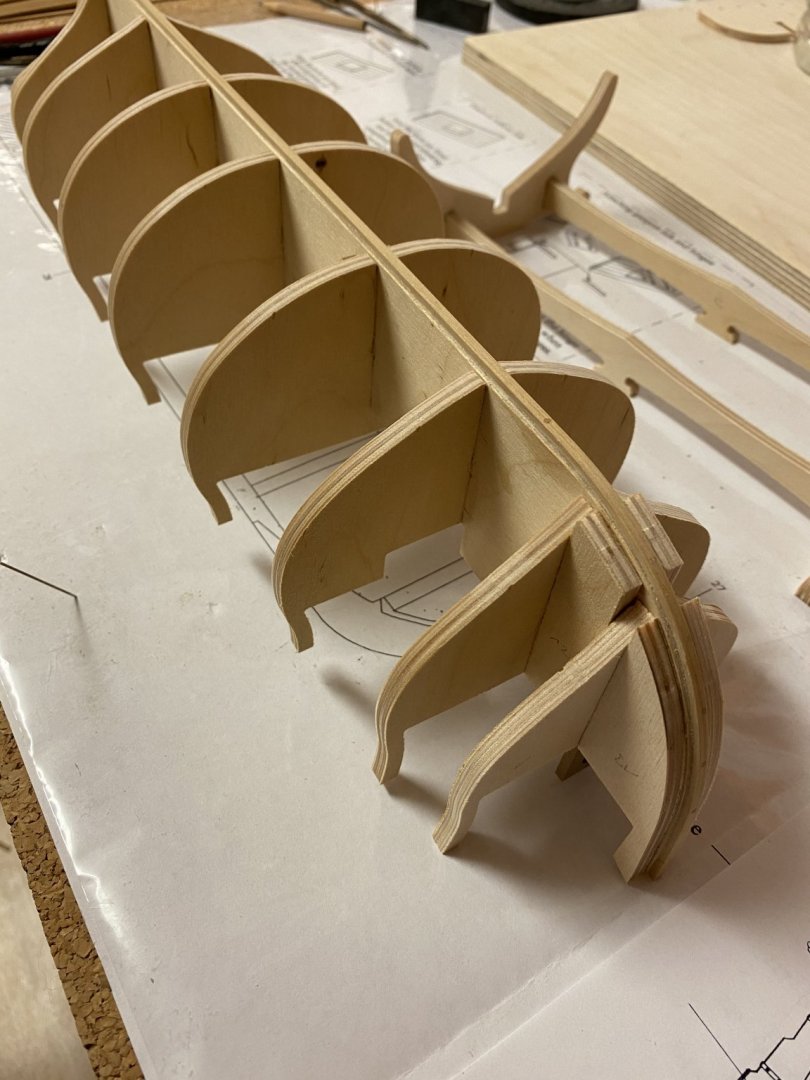
I added some balsa filler blocks where needed. They secure a smooth plank run and give more gluing surface. Sanded them to shape with a dremel and selfmade sanding sticks. They are all made of scrap plywood and double adhesive tape. Bevelled all bulkheads. The hull is now ready for the first planking. And I will have to clean up my workshop!

-
Nice idea. That will be a perfect rest for the boat. Does Byrnes ship their tools internationally?
-
Thank you Ryland, Mugje and JP. I hope it won‘t take another 3 years to build it.
-
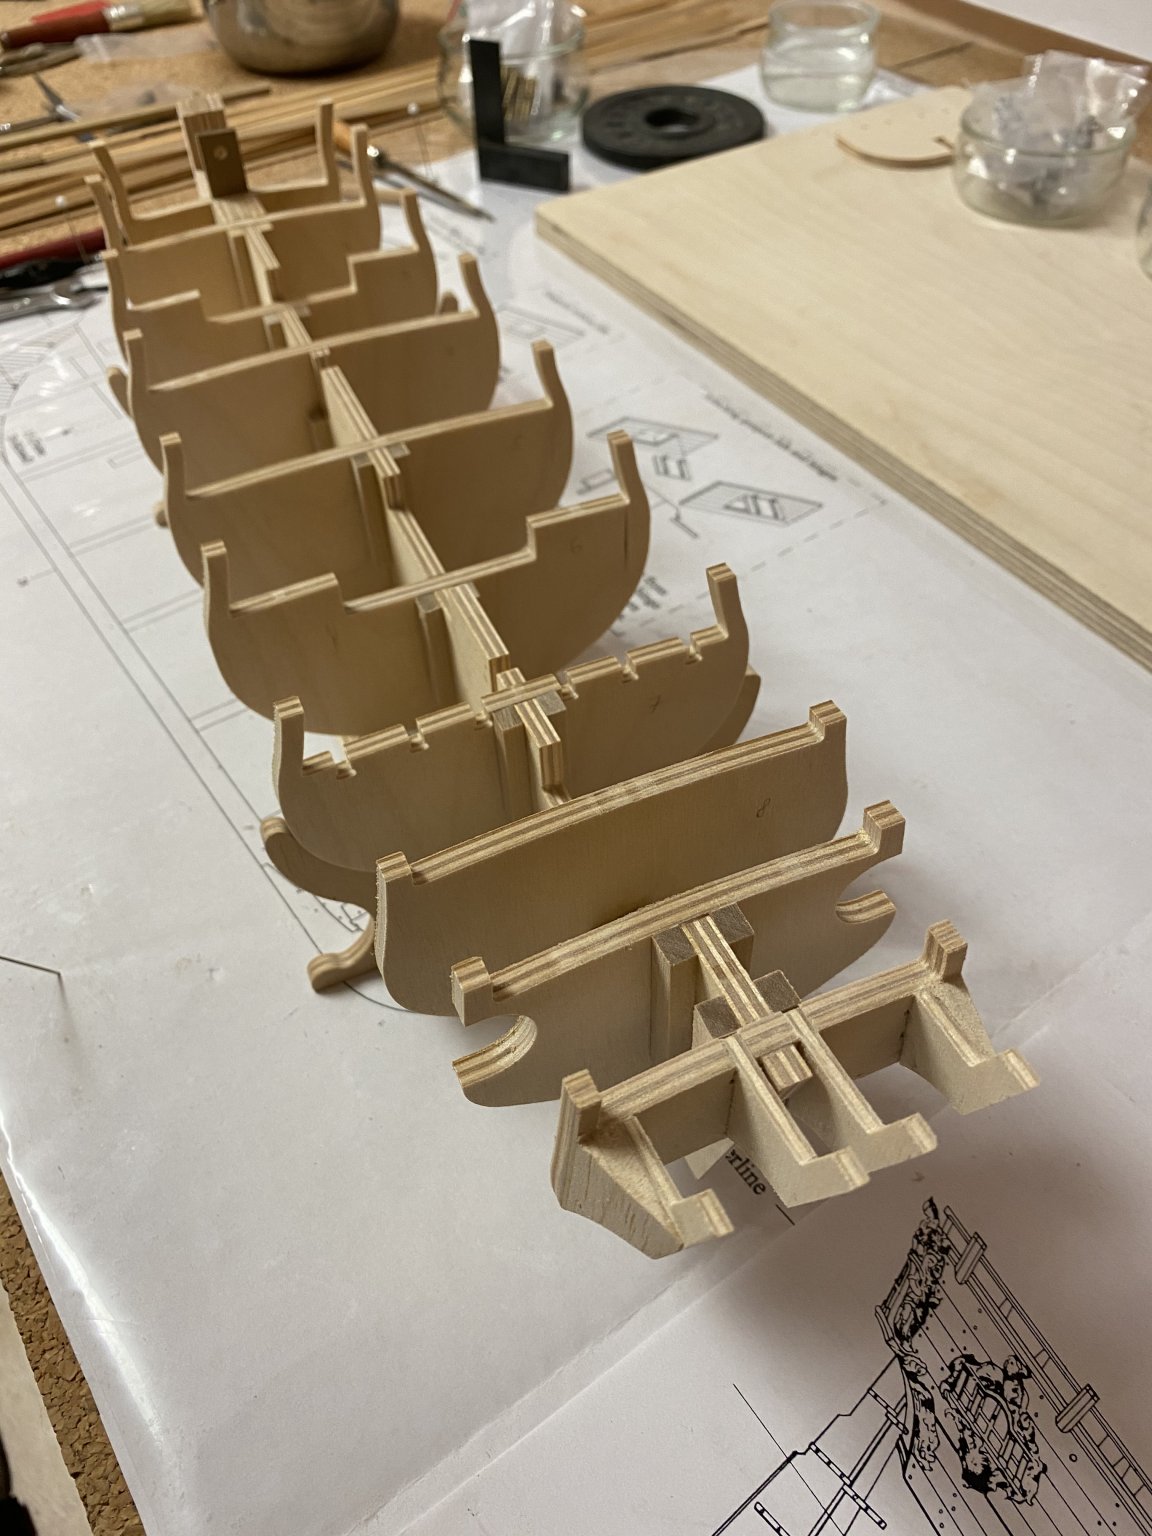
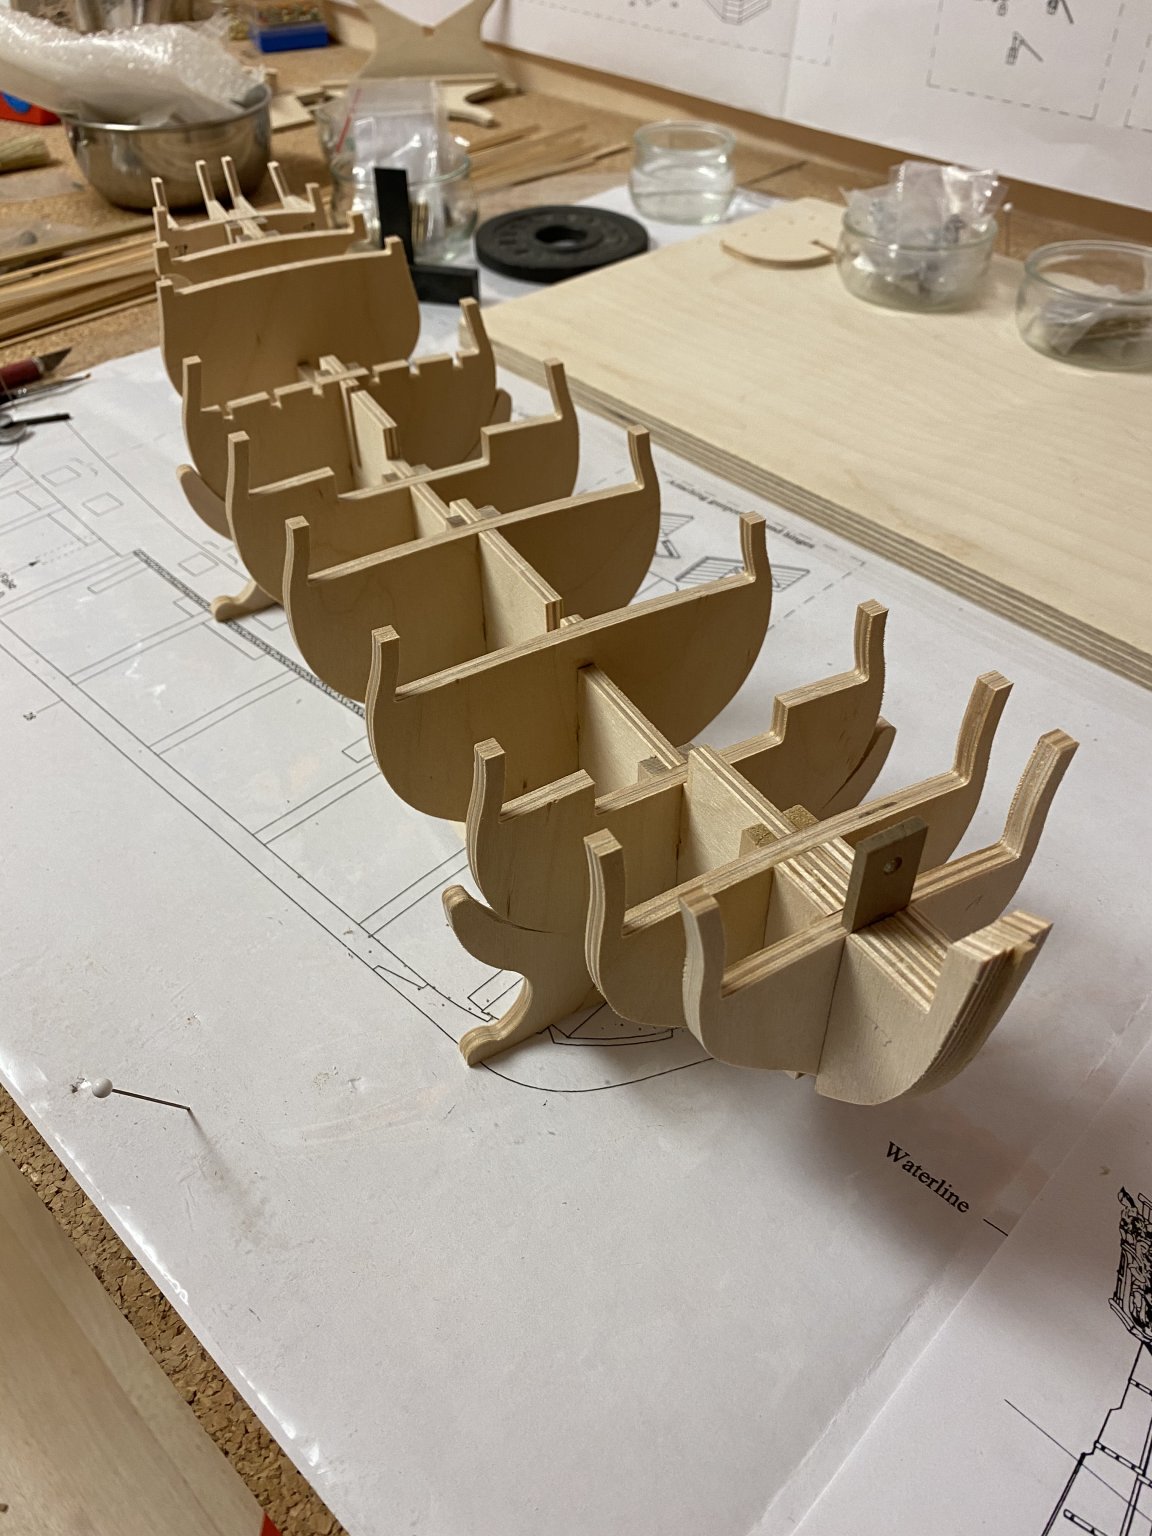
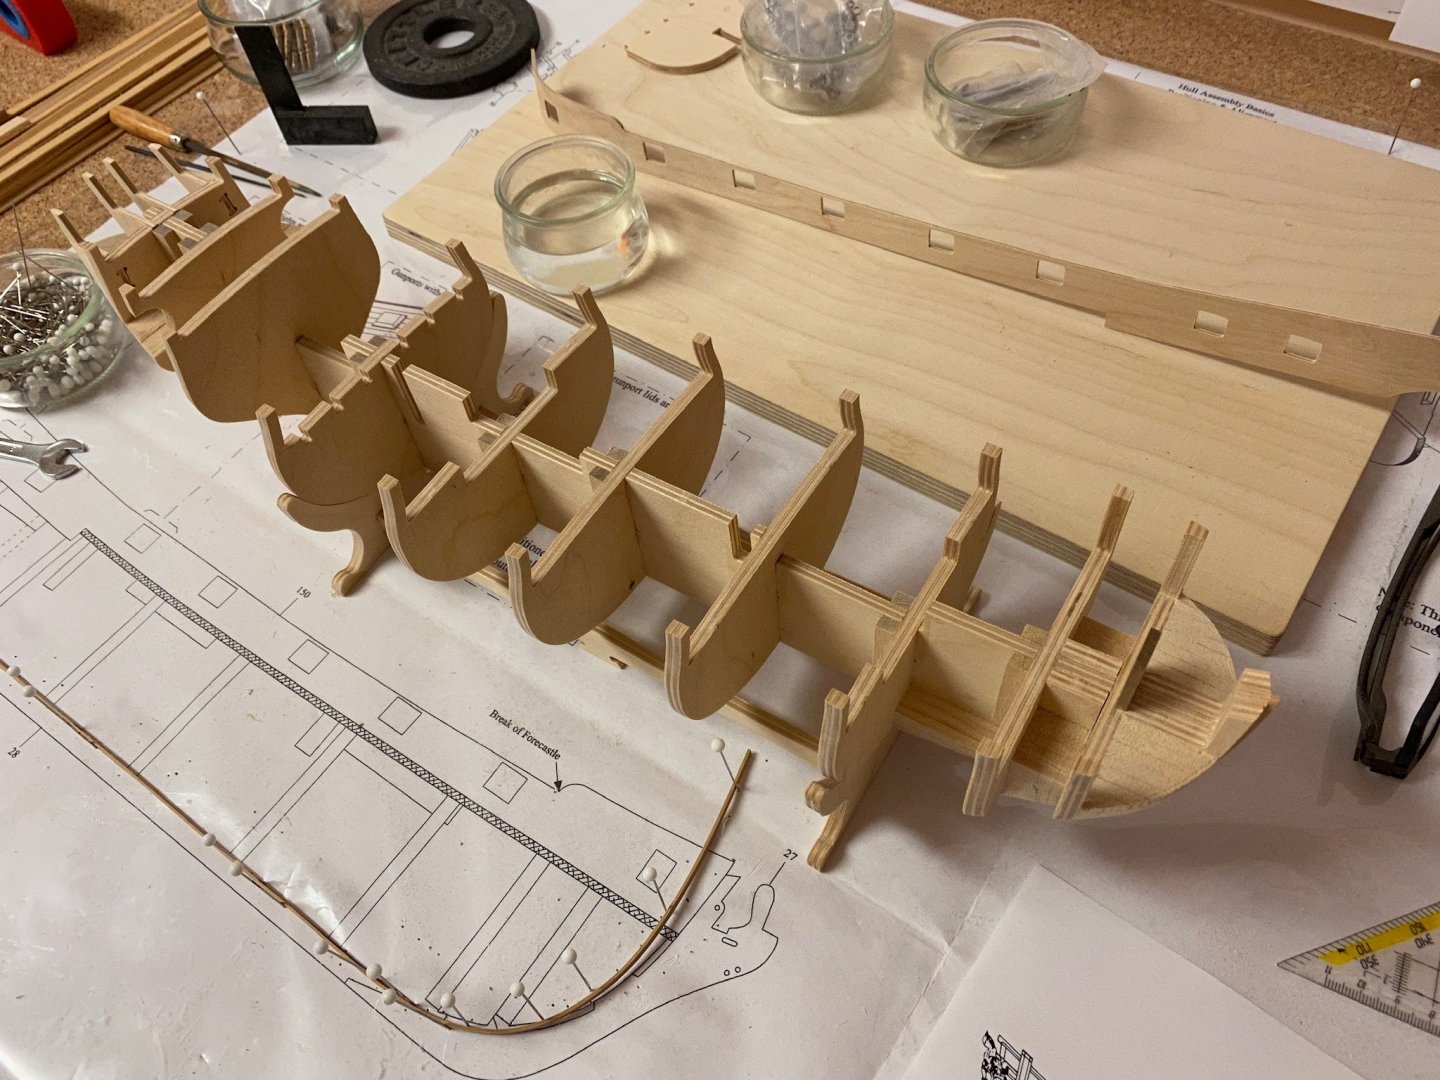
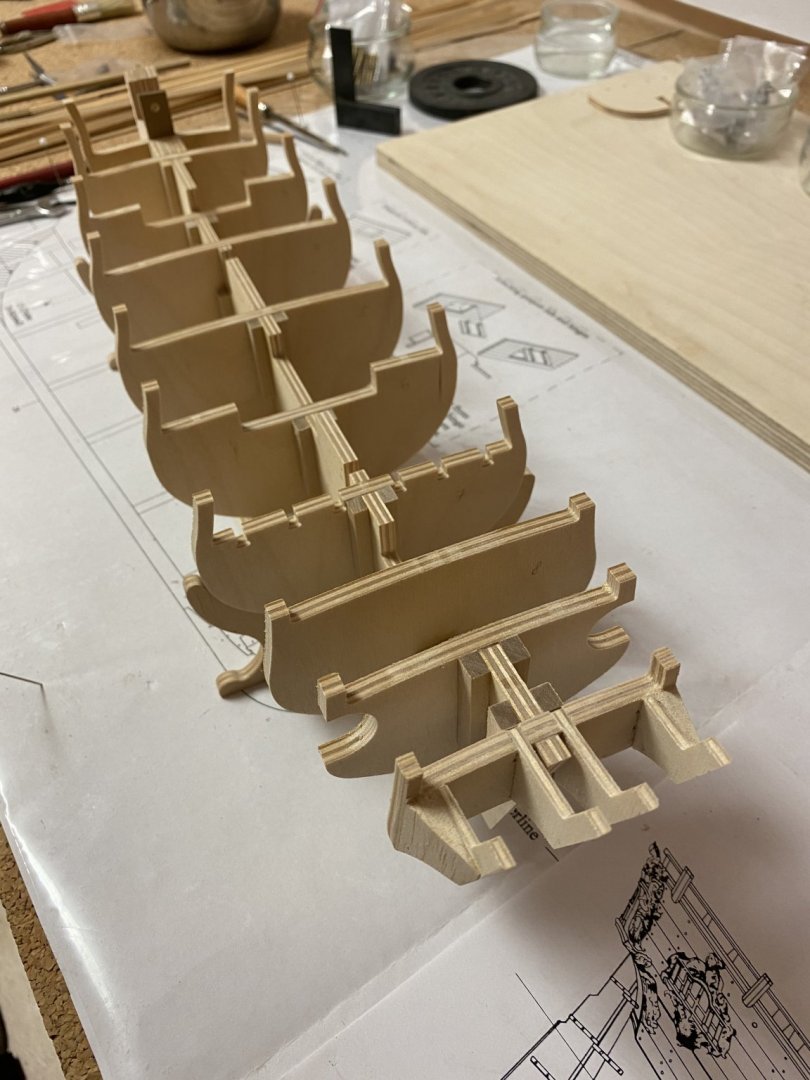
All bulkheads installed. The rabbit will make the first and second planking much easier. I will add some balsa fillers to bow and stern bulkheads to get a smooth run of the planking.

-
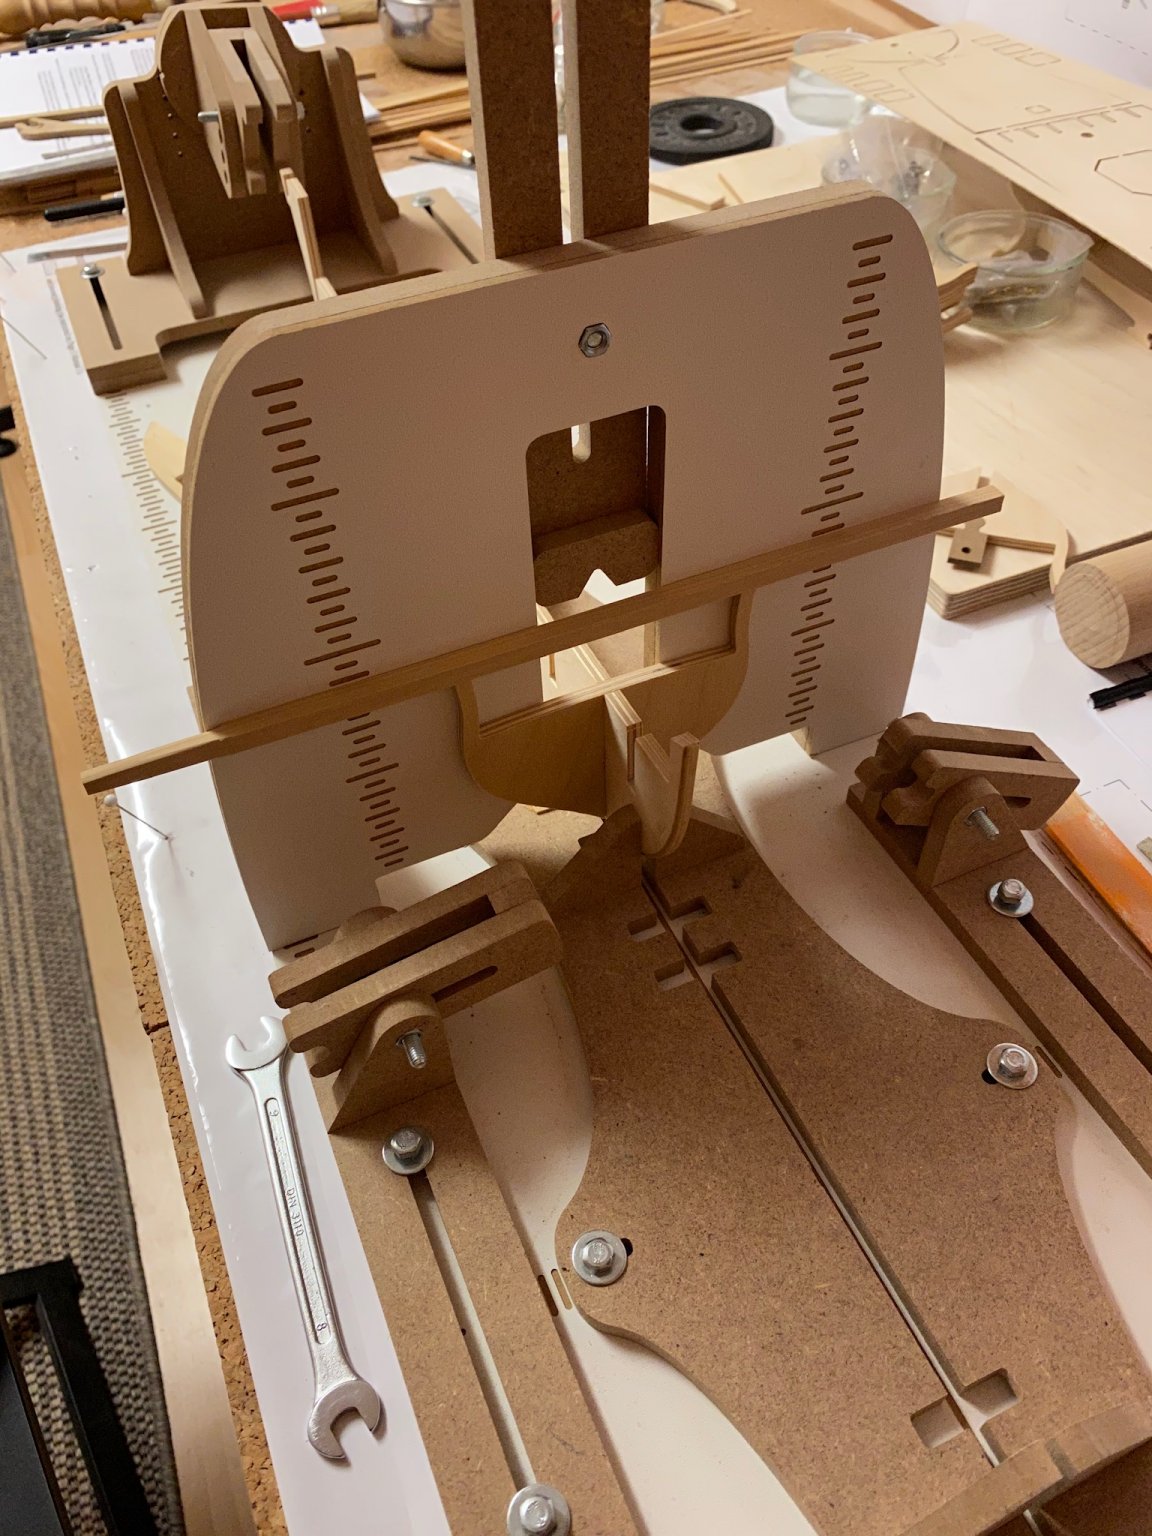
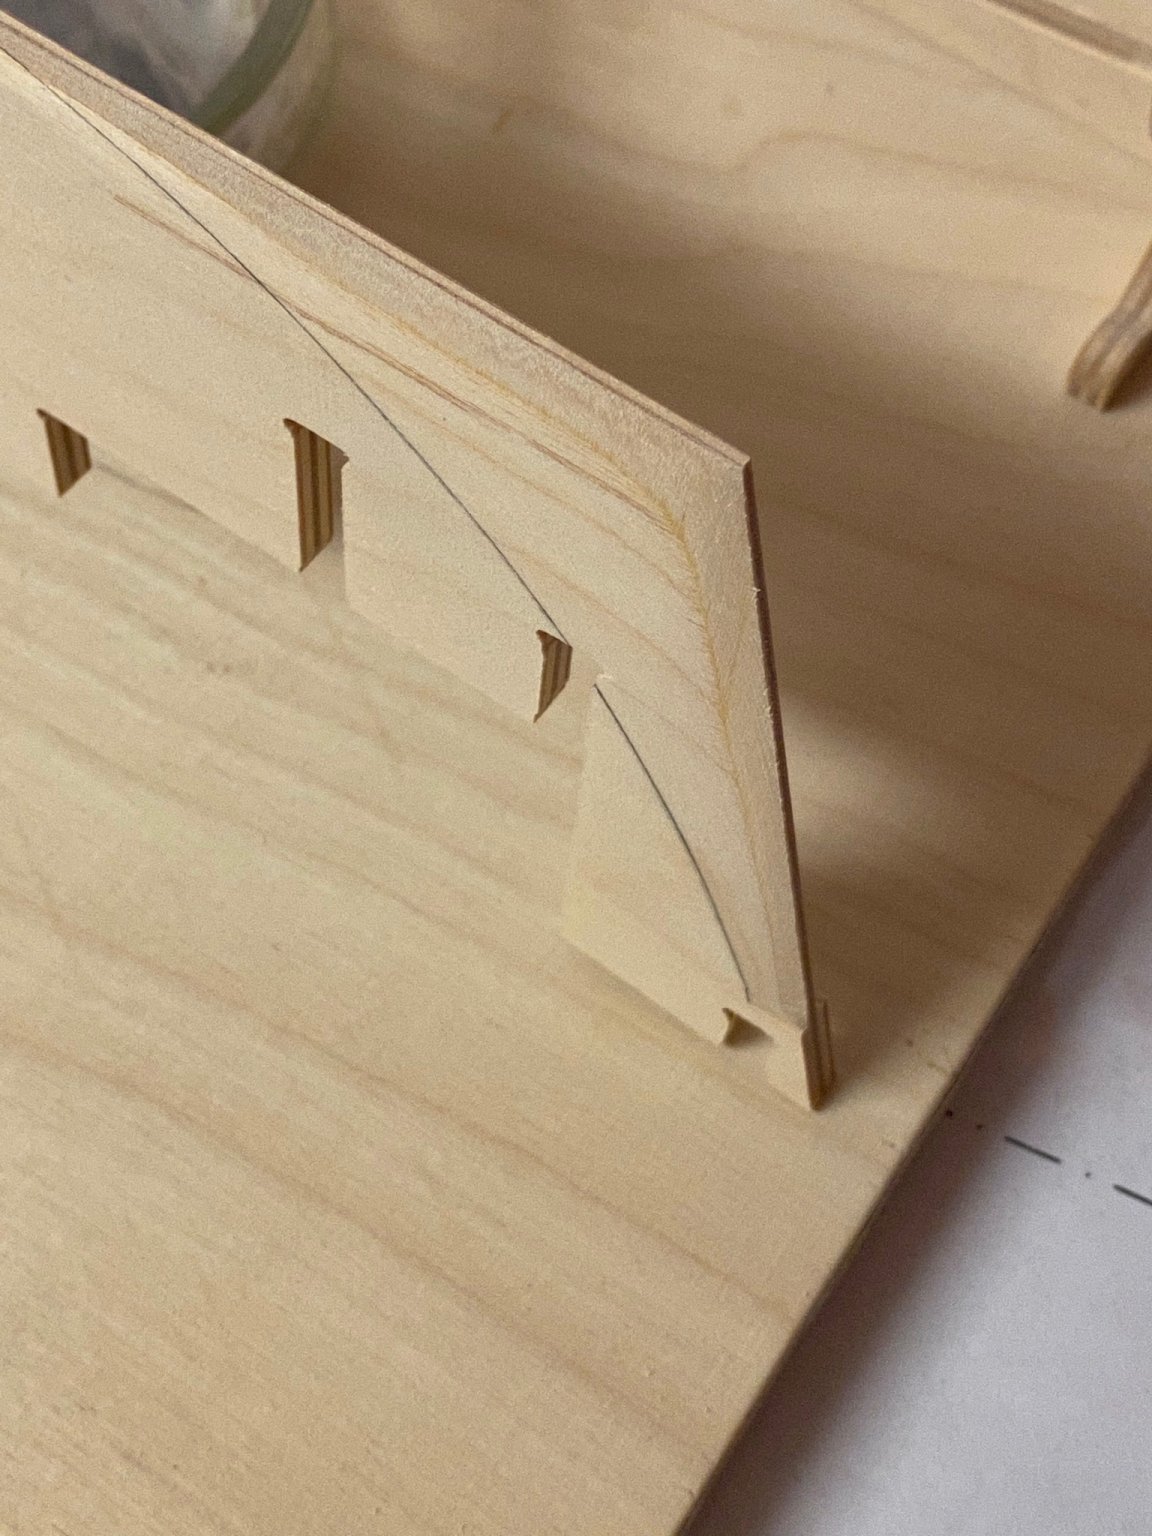
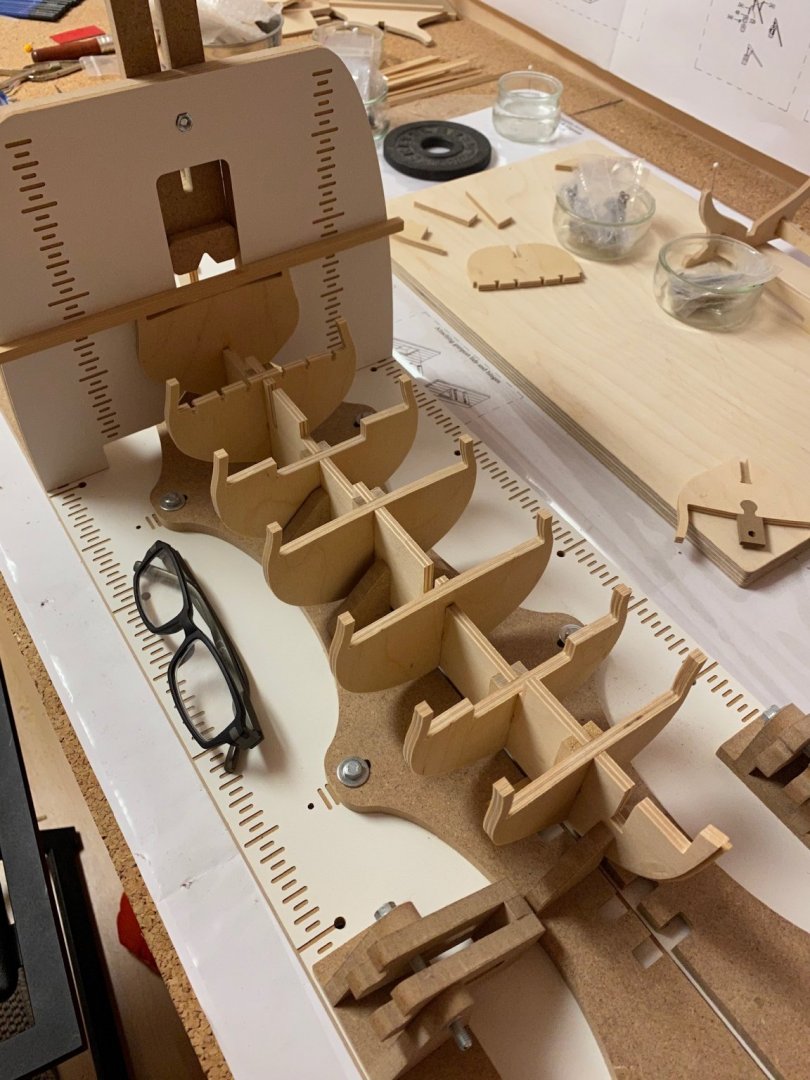
Thank you Phil. I added a rabbit and corrected the bulkheads so all sizes remain the same as before. After tapering the stern and adding a rabbit I‘m now ready to to glue all bulkheads in place. I will use an alignment-tool from Hobbyzone (that was obviously made for bigger models) for that.


-
Matthias from Berlin, Germany says Hello
captain_hook replied to victory78's topic in New member Introductions
Welcome to MSW! -
Very nice and clean!
-
kit review Kit Review - HMS ENTERPRIZE (1774) by CAF MODELS
captain_hook replied to kljang's topic in REVIEWS: Model kits
Thank you for the nice review and showing all the content of the kit. I only wonder about the lion figurehead, the contemporary painting shows a different one. -
Welcome to MSW. The Sherbourne is a nice little ship to start with.
-
Nice coppering!
-
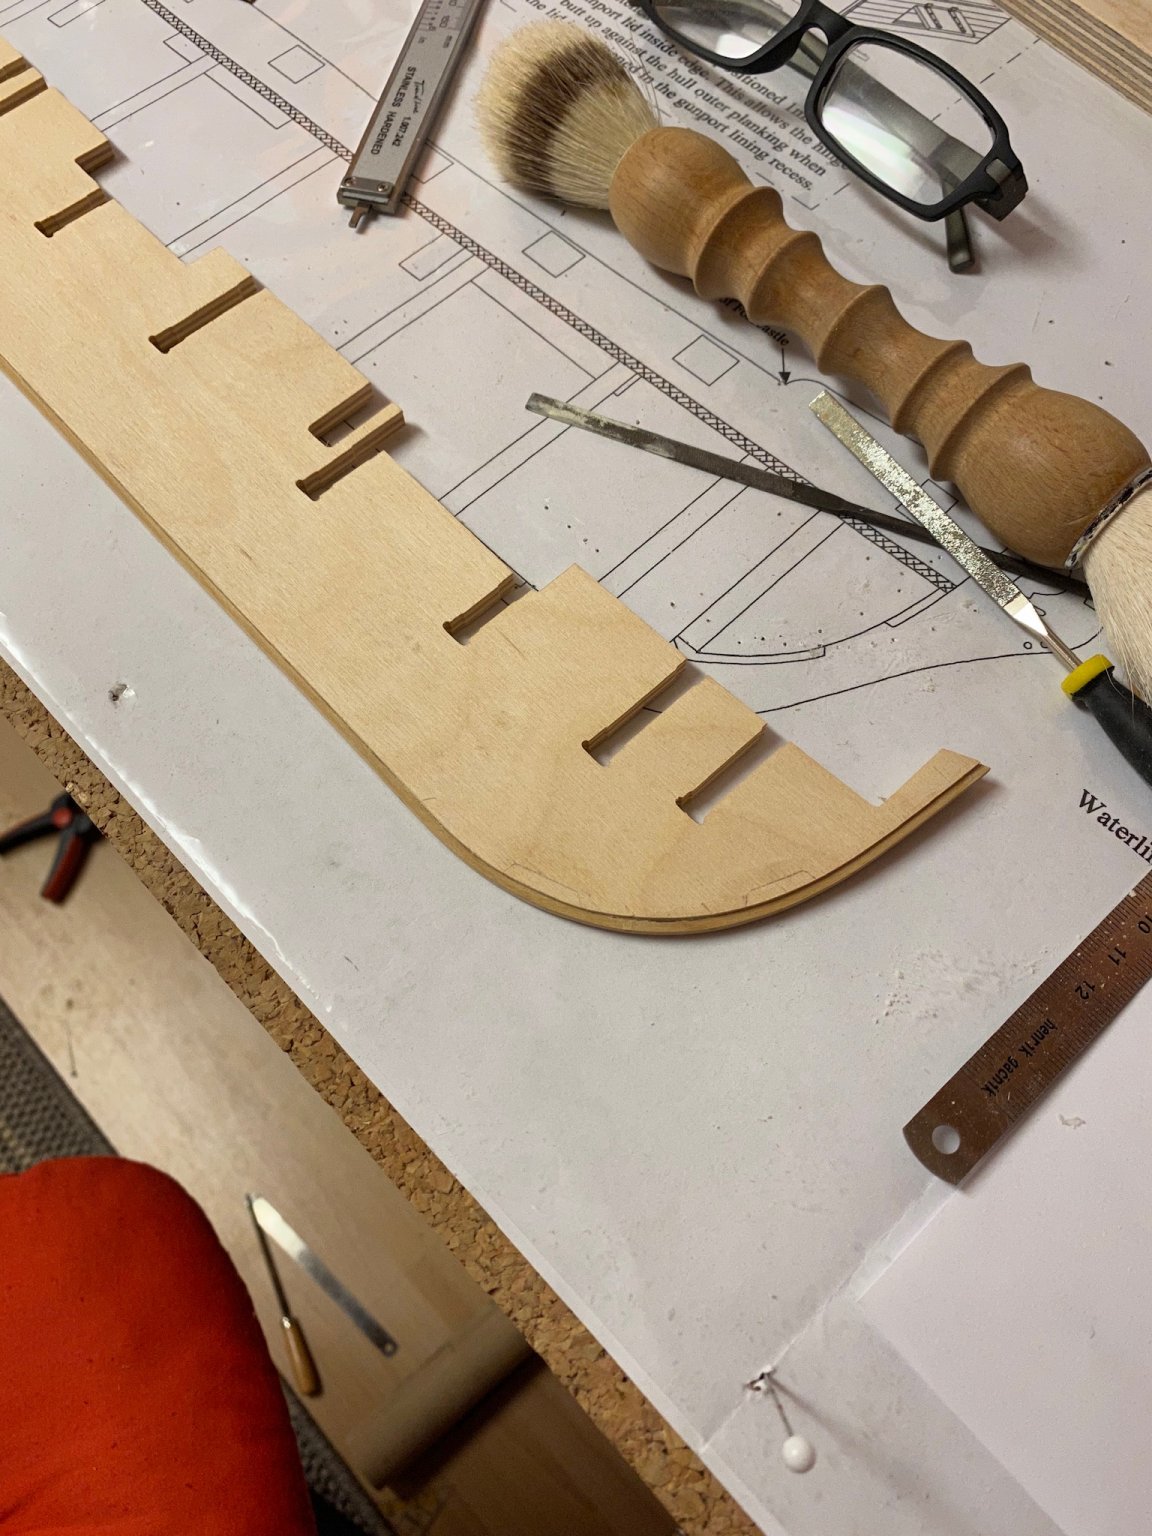
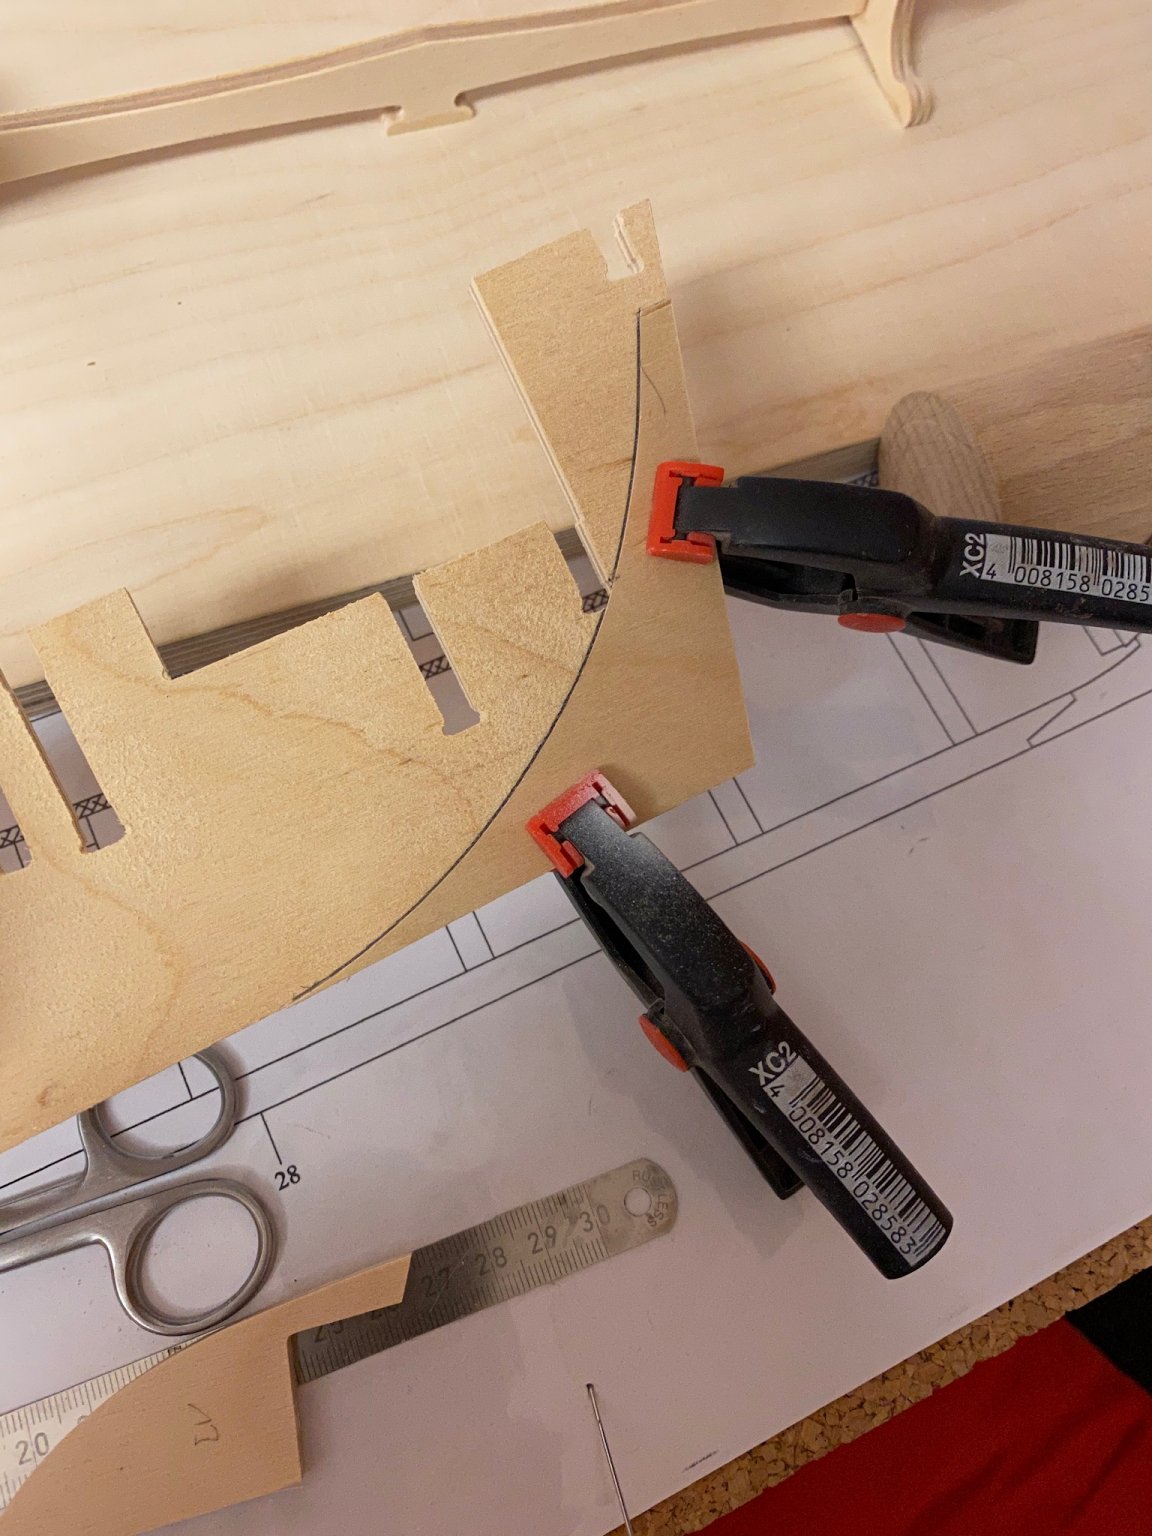
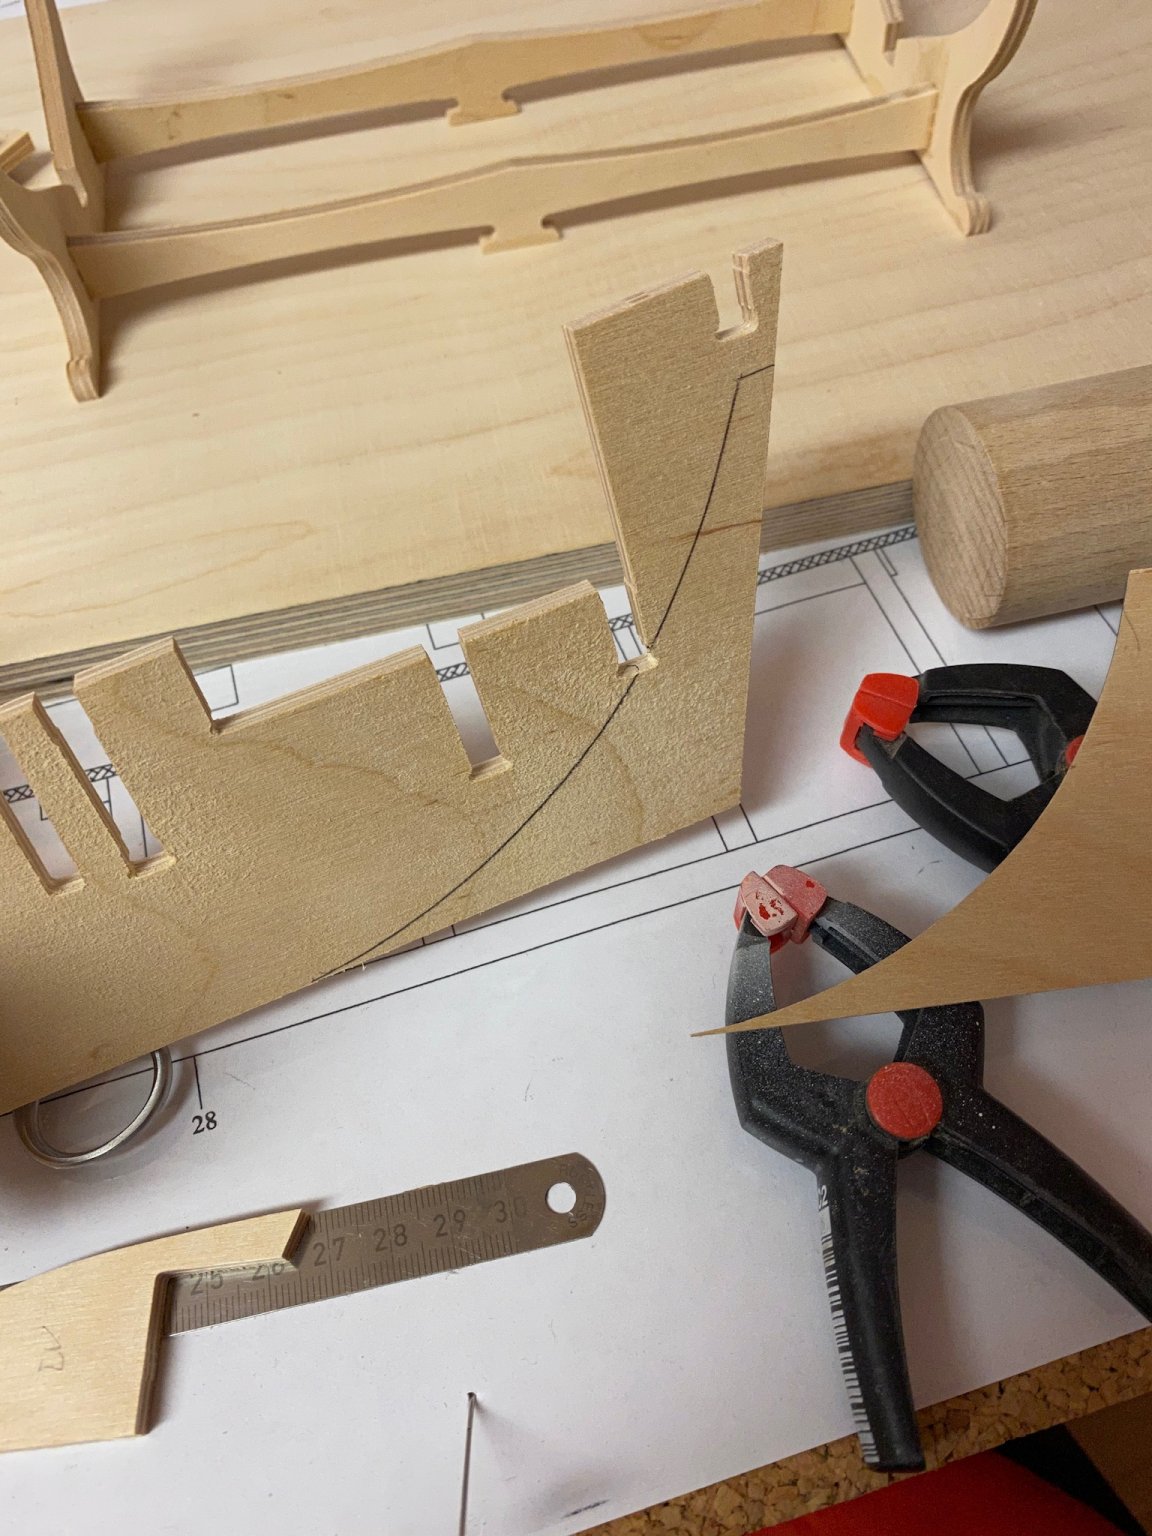
Actually I made the first step, tapering the stern to the bearding line. As the kit is designed with no rabbit I will have to improvise or think about some sort of bashing to add one. I made a template based on the plan and transferred the bearding line to the false keel. Then used a piece of plywood with sandpaper attached to it by double adhesive tape to taper the keel so it goes from 5mm to 2mm at the stern.


-
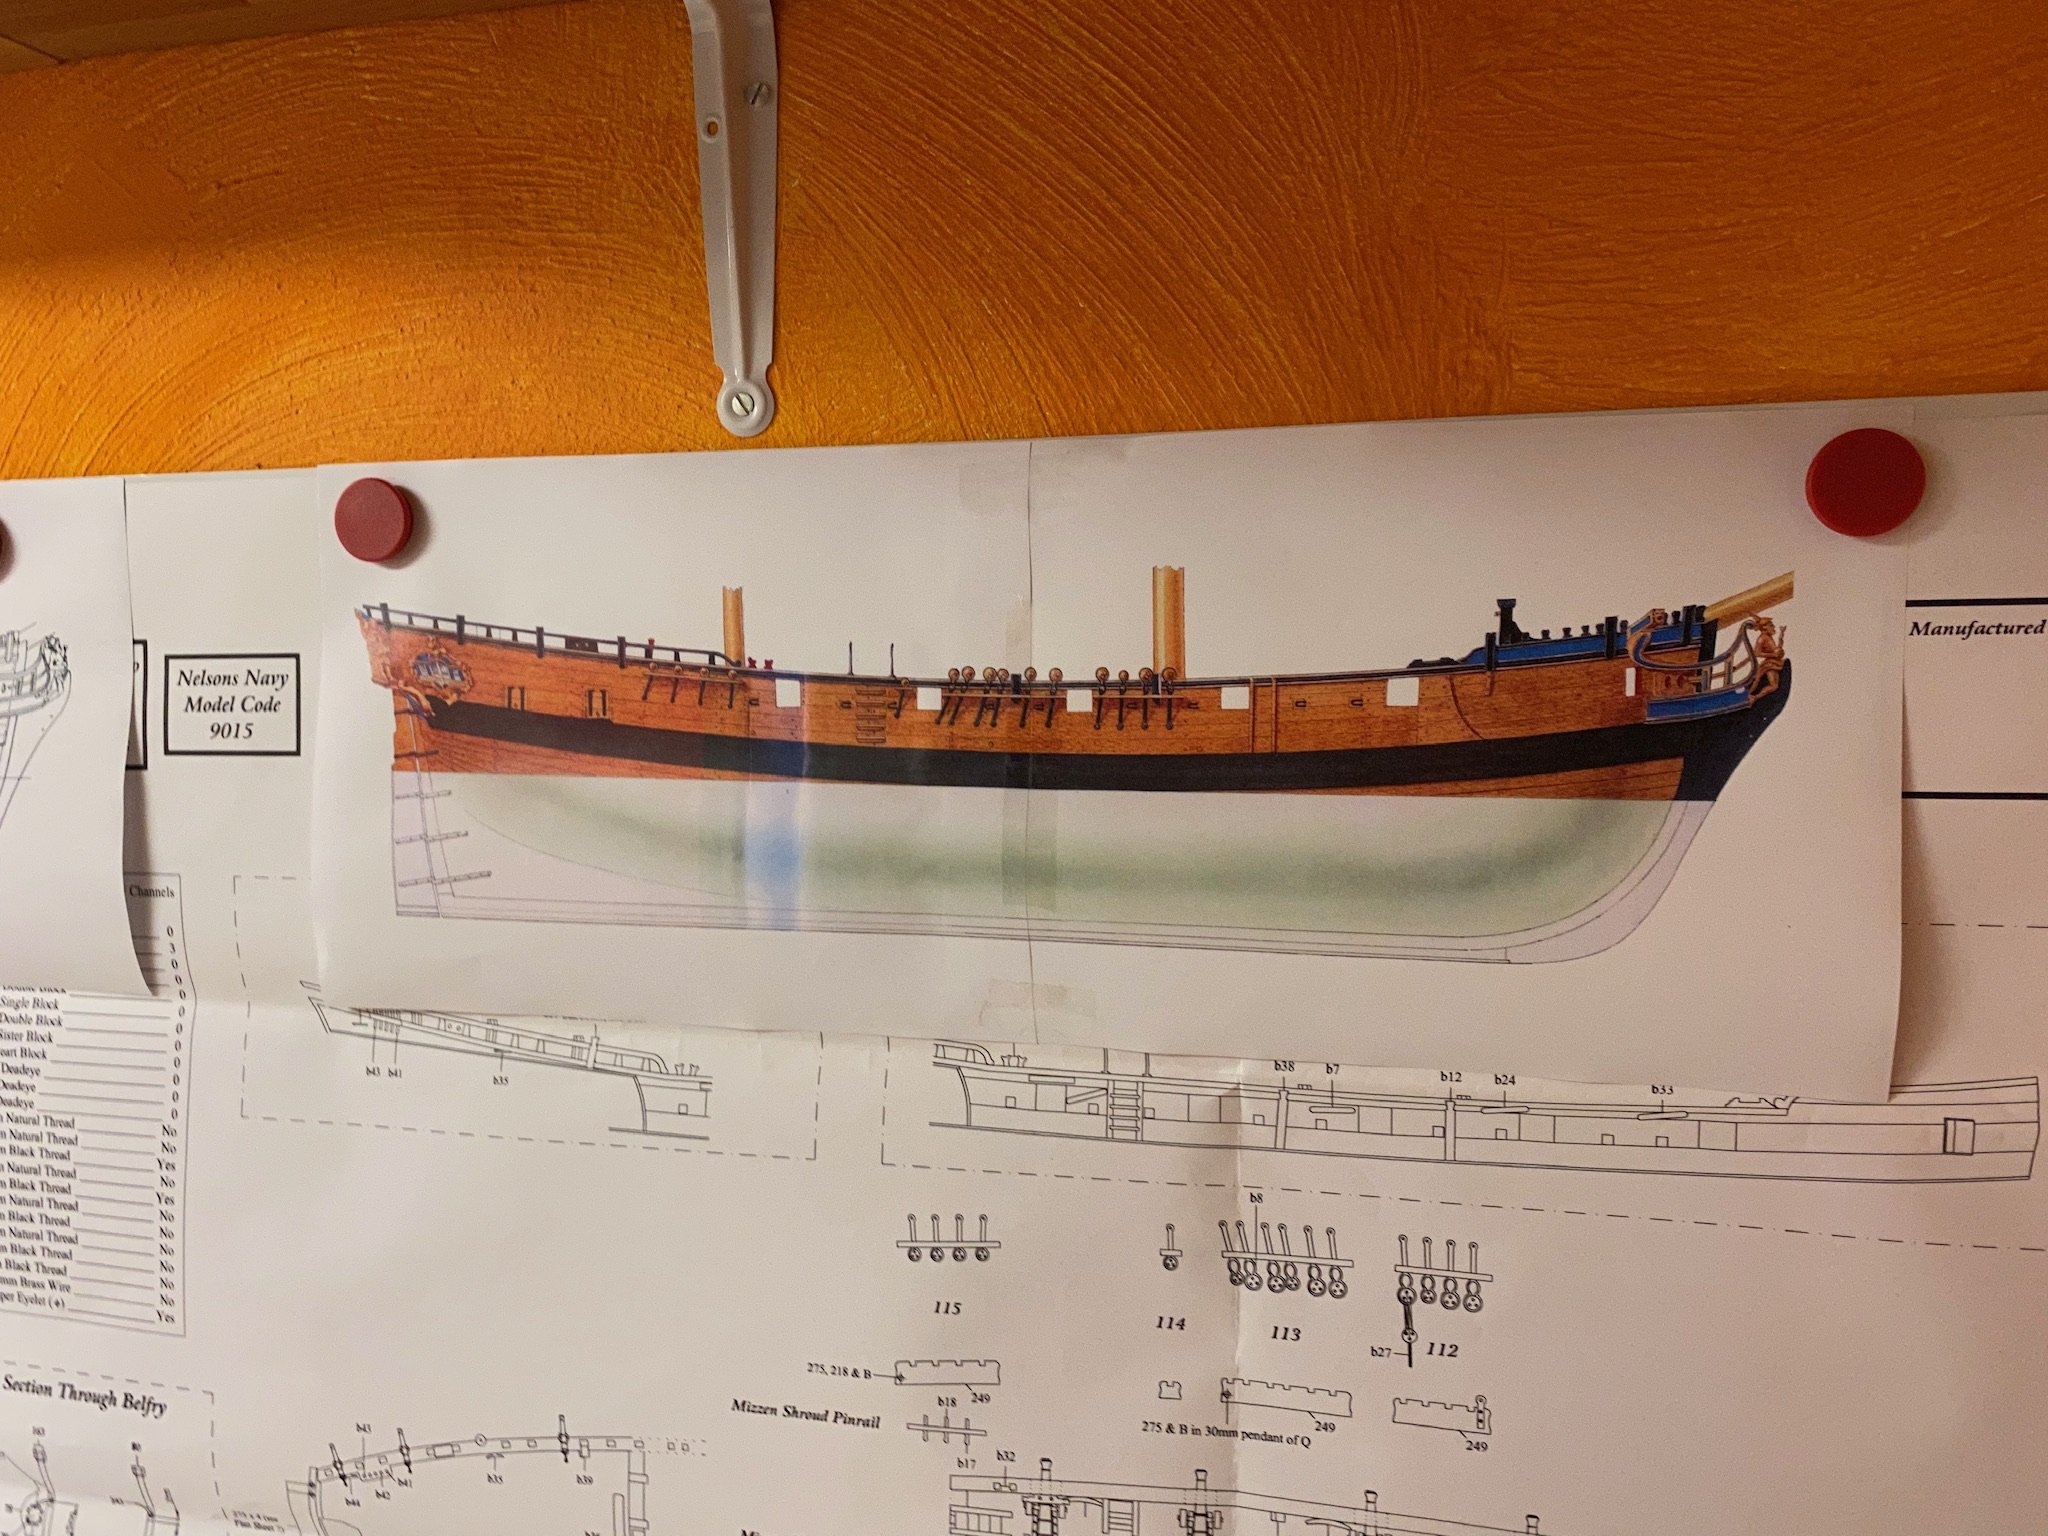
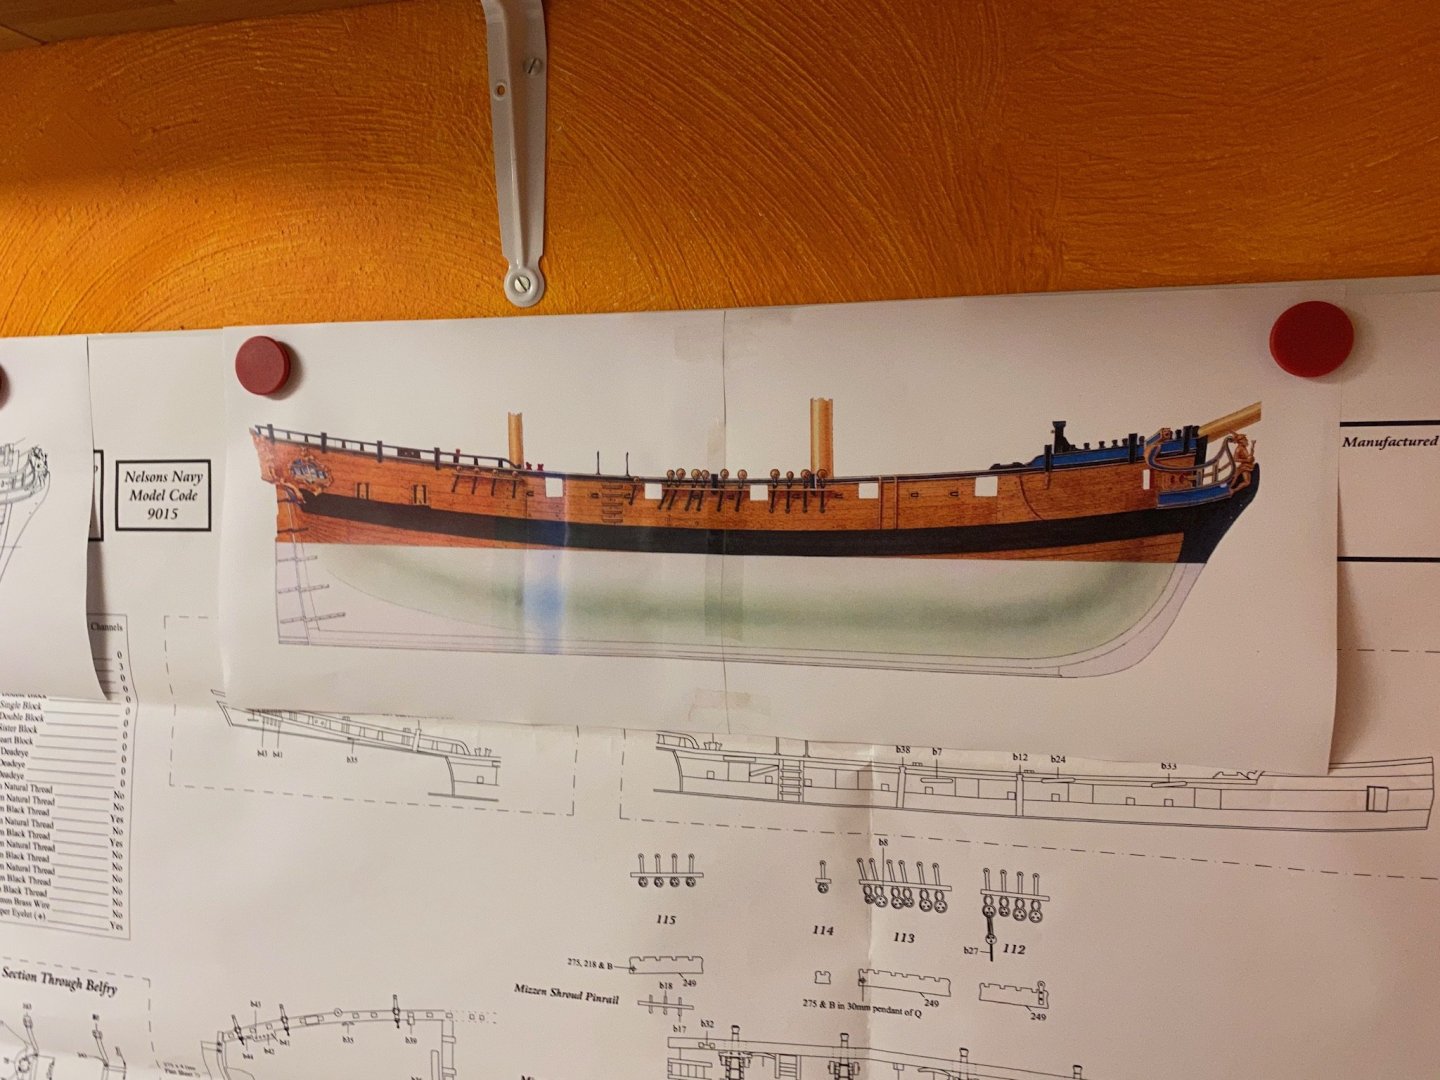
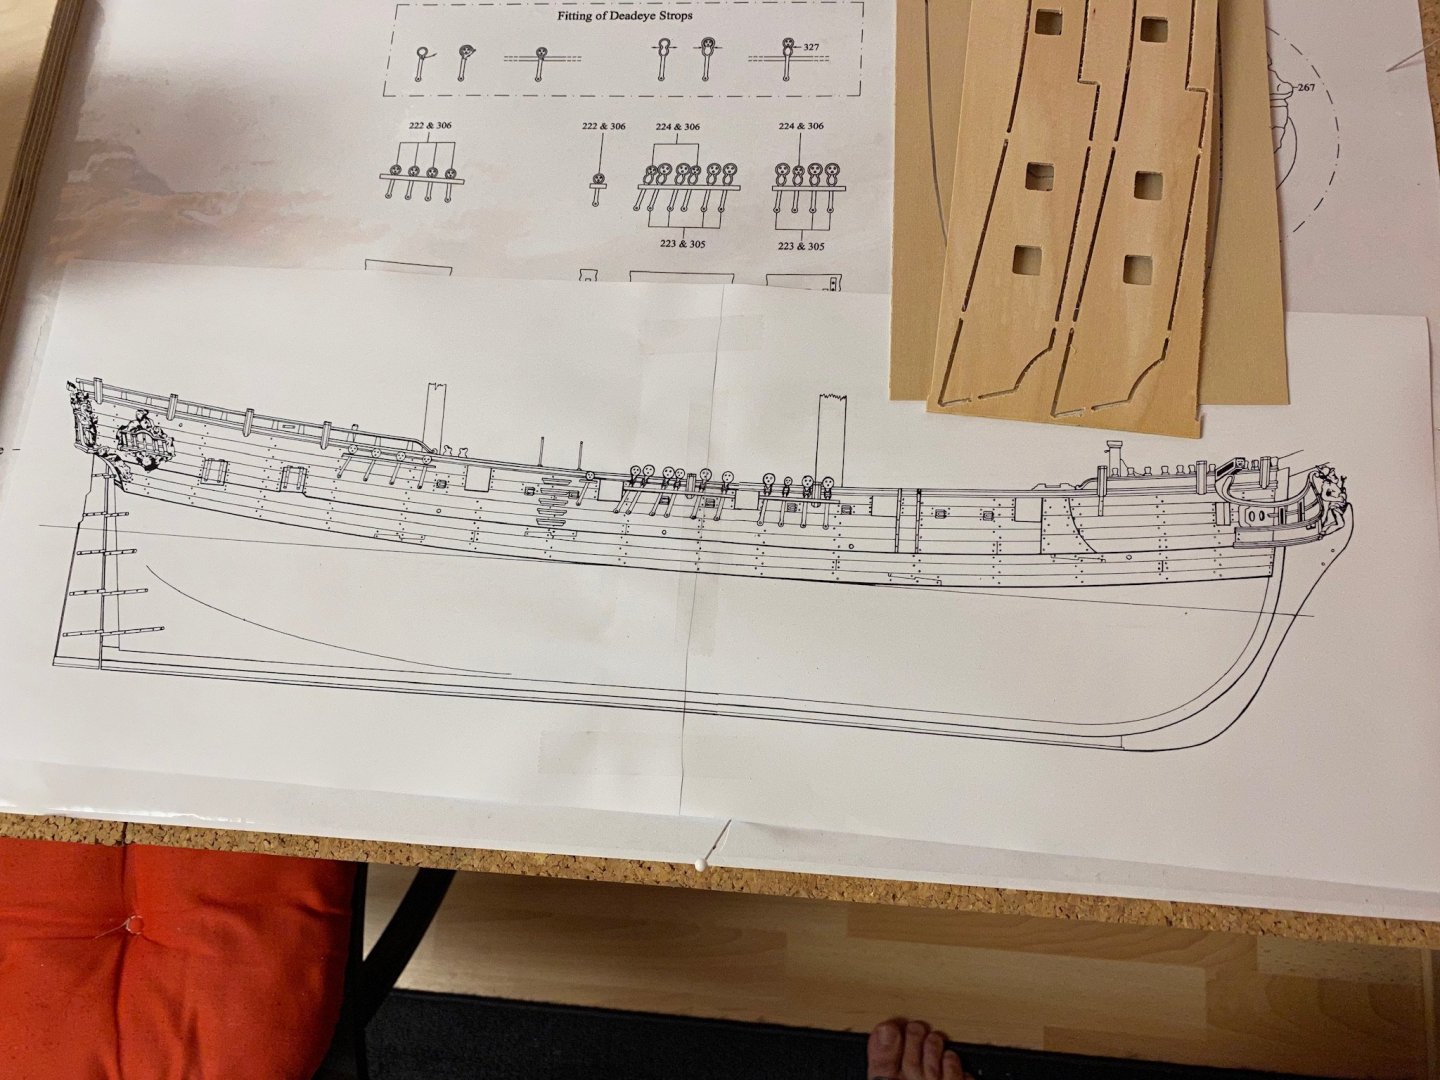
After studying the AOTS I‘ve already found some differences in the planking layout and the gunport sizes. I fear I need more time for preparation of this build than for the previous ones. I scanned the side-view drawing in the book, it is divided into two sections to match the size of the book. Then the two pictures were merged together with photoshop and enlarged it to match the size of the model. So I can use it for reference and hope that the AOTS book is a reliable source.
-
Beautiful model, very clean build!
-
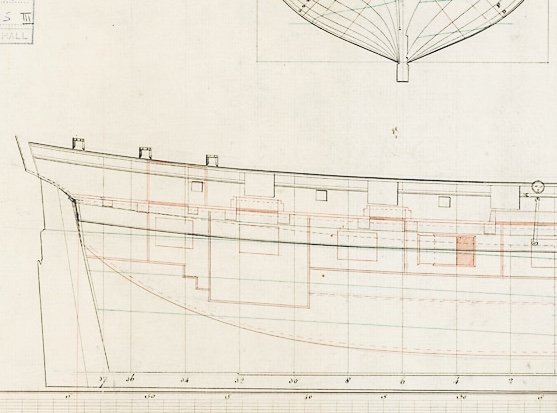
Nice work so far. As the hull below the waterline is supposed to be painted white you shouldn‘t worry about using stealers to much. If that is your first model the primary goal should be to finish it, because your second model will already look much better due to the high learning curve and as you continually lean things about ships and modeling you might get frustrated with your first model after some time anyway. My first model was the Ballahoo - I used it for a test build to see if ship modeling is a good hobby for me and I cared much less for planking than you do. I was very happy and proud when I finally finished it but today compared to my second and third build the Ballahoo look rather awful. Before you cut out the gunports you may check the position and make sure, that every gunport is equally distanced from the false deck. You can use a strip of wood as a guide to draw a line inside the bulkwards for reference. If you head for a more scale approach note that the left and right sides of the gunports are orthogonal to the keel while the upper and lower sides follow the sheer / run of the deck. So especially at the bow and stern they look more like parallelograms, like seen on the NMM Sherbourne plan.
- 34 replies
-
- 1
-
-
- lady nelson
- victory models
- (and 1 more)
-
Hello and welcome to MSW.
-
Hi from15 nm west of Hamburg / Northern Germany
captain_hook replied to Oboship's topic in New member Introductions
Hi. Welcome to MSW.