-
Posts
675 -
Joined
-
Last visited
Content Type
Profiles
Forums
Gallery
Events
Posts posted by captain_hook
-
-
-
- John Cheevers, JpR62, oneslim and 2 others
-
 5
5
-
- oneslim, Tigersteve, Jim Rogers and 3 others
-
 6
6
-
-
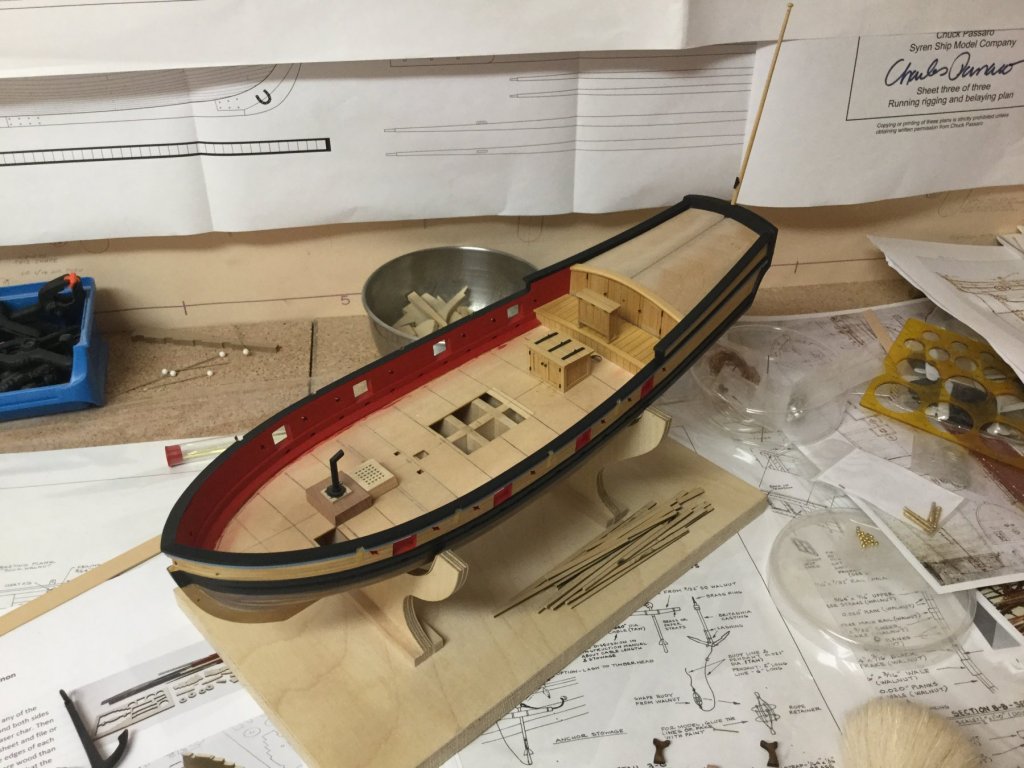
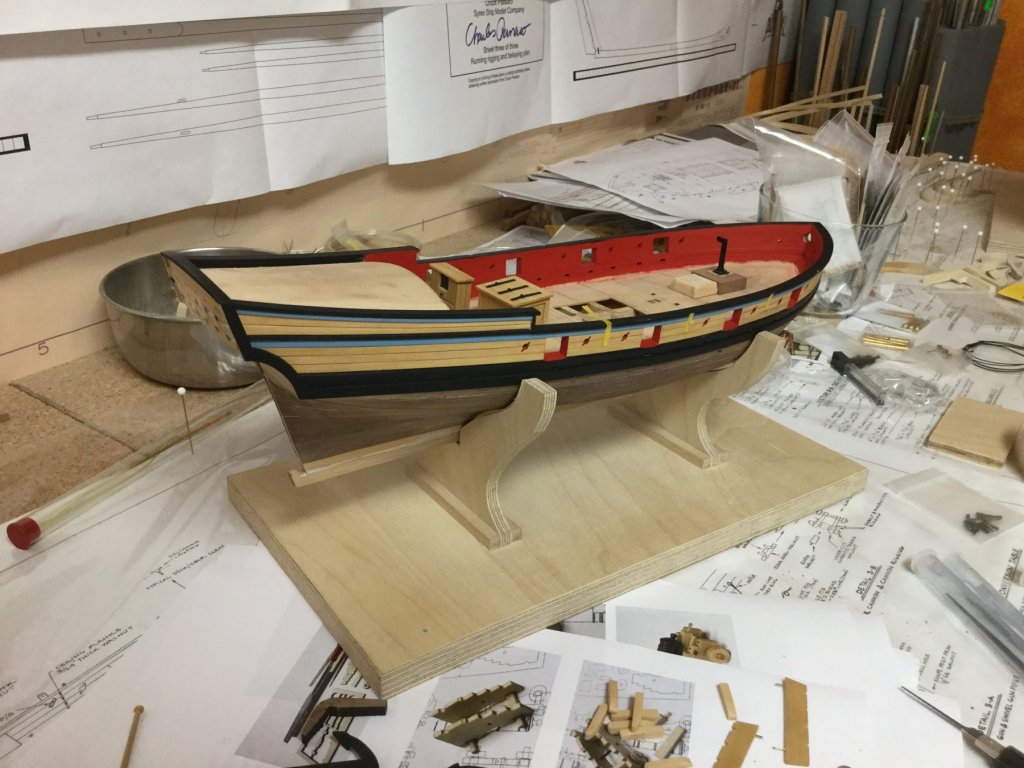
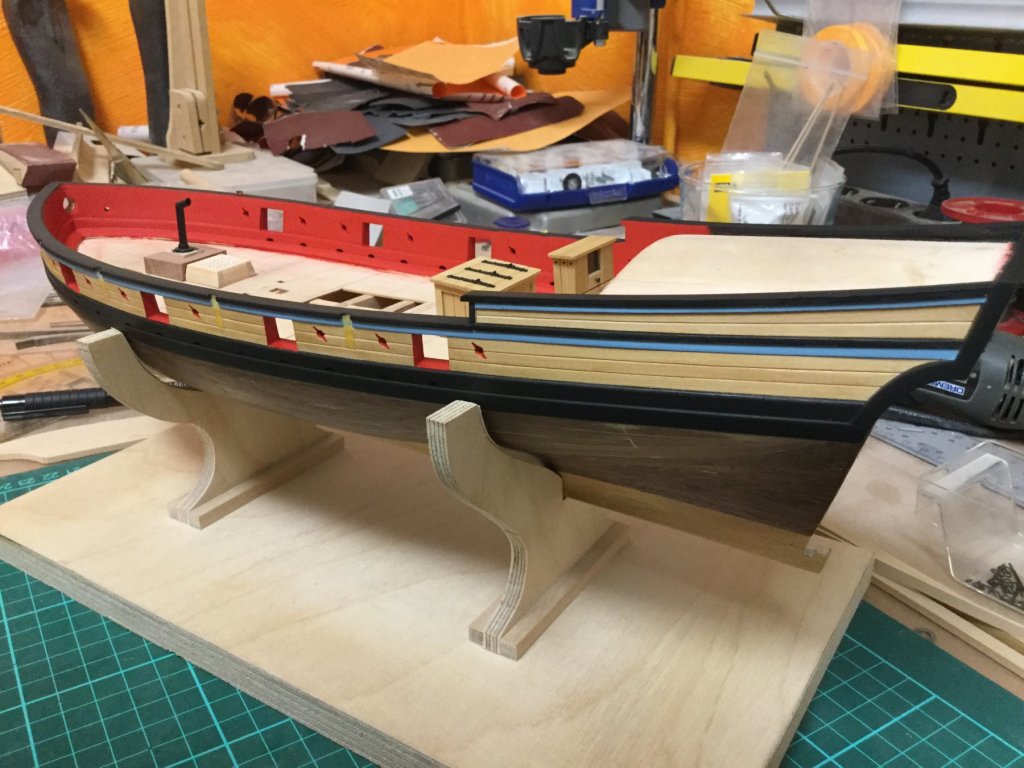
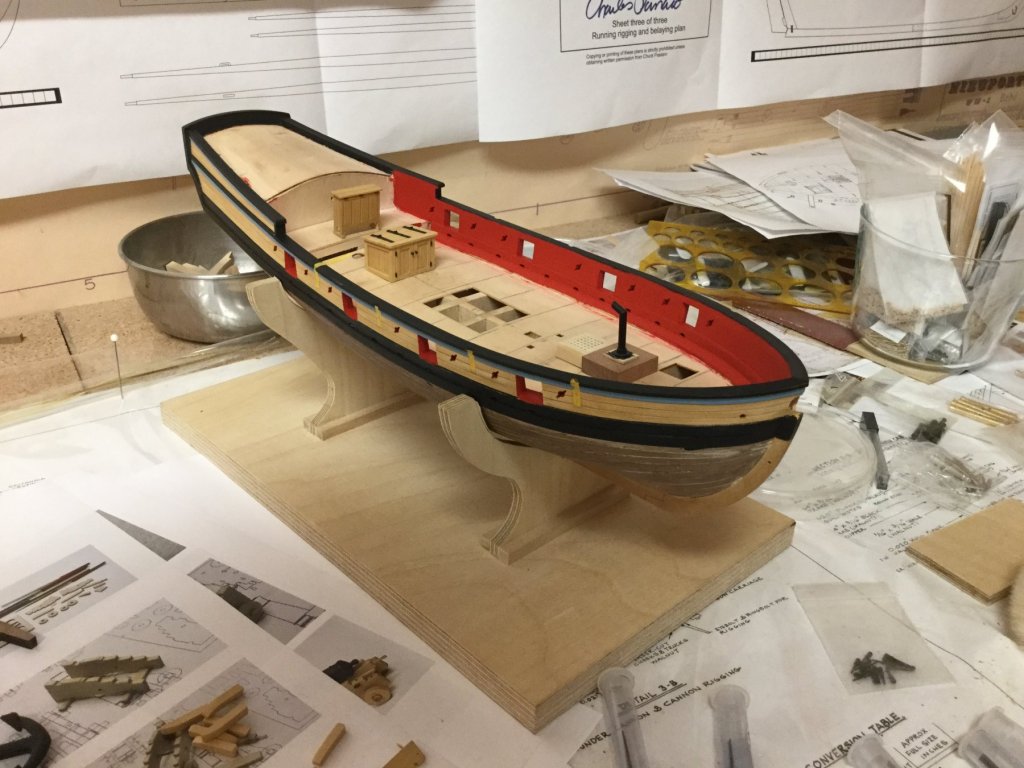
The ship then needed some color. I started to give some areas several coats of thinned color. For the red I used a mixture of 66% Tamiya XF-7 red and 33% vallejo dark vermillion red. In my opinion the tamiya is the best (red) acrylic colour available but covers bad even after several coats. But mixed with vallejo it covers well after two or three coats.
- captgino, Tigersteve, John Cheevers and 4 others
-
 7
7
-
- JpR62, Ryland Craze, lmagna and 1 other
-
 4
4
-
-
Hello everyone,
may anyone help me please. I’m going to build a 1/48 scale british revenue cutter and having trouble to identify the correct size of a 3-pounder gun. Most scale guns seem to be oversized. I remember a 3-pounder gun having a gun barrel length of about 5‘ , is that correct? That would be about 30mm for the correct size of a scale 3-pounder barrel in 1/48 scale - equal to a 6-pounder gun barrel in 1/64 scale.
-
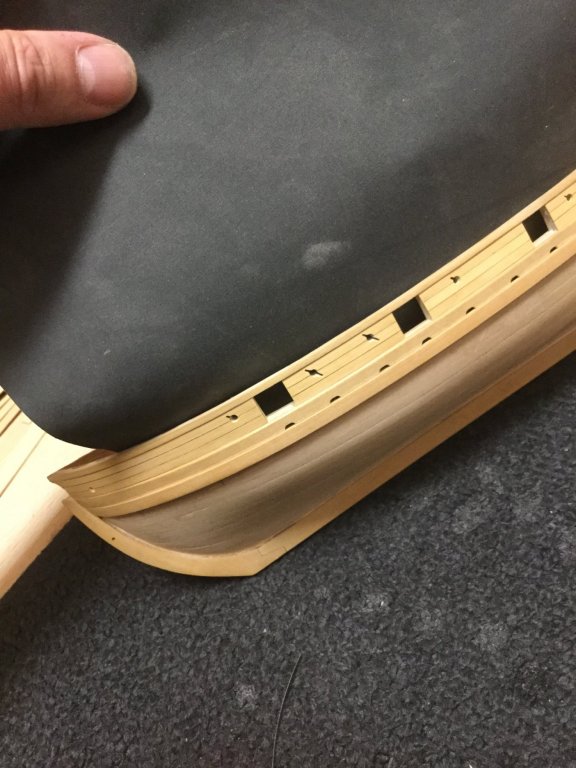
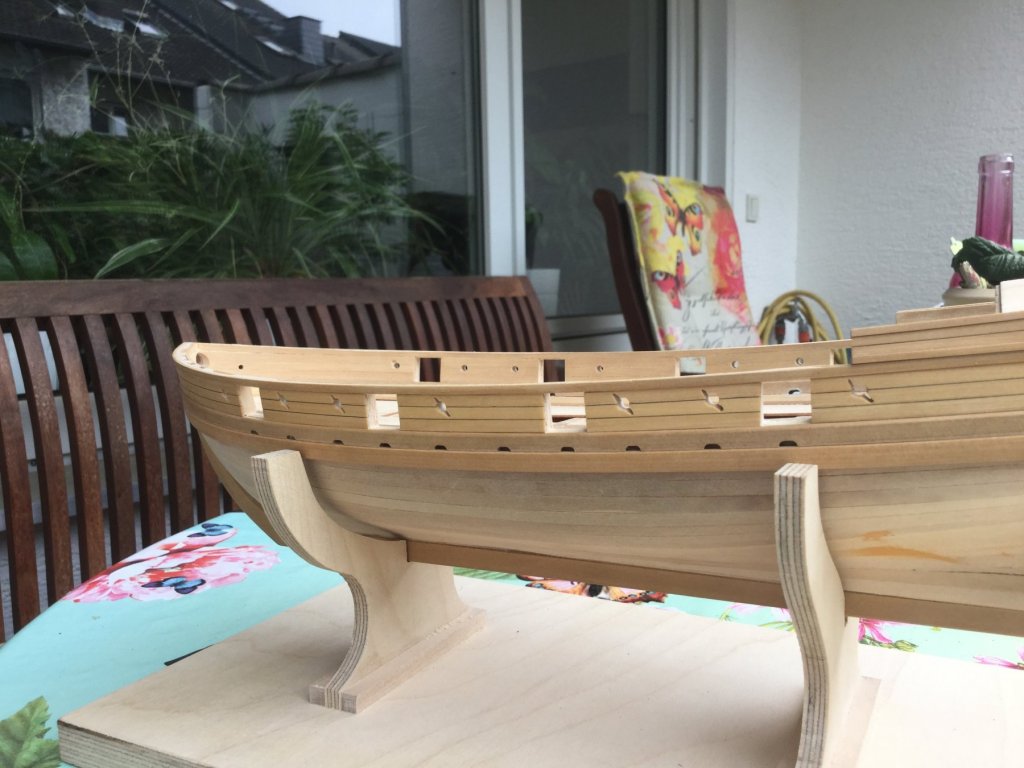
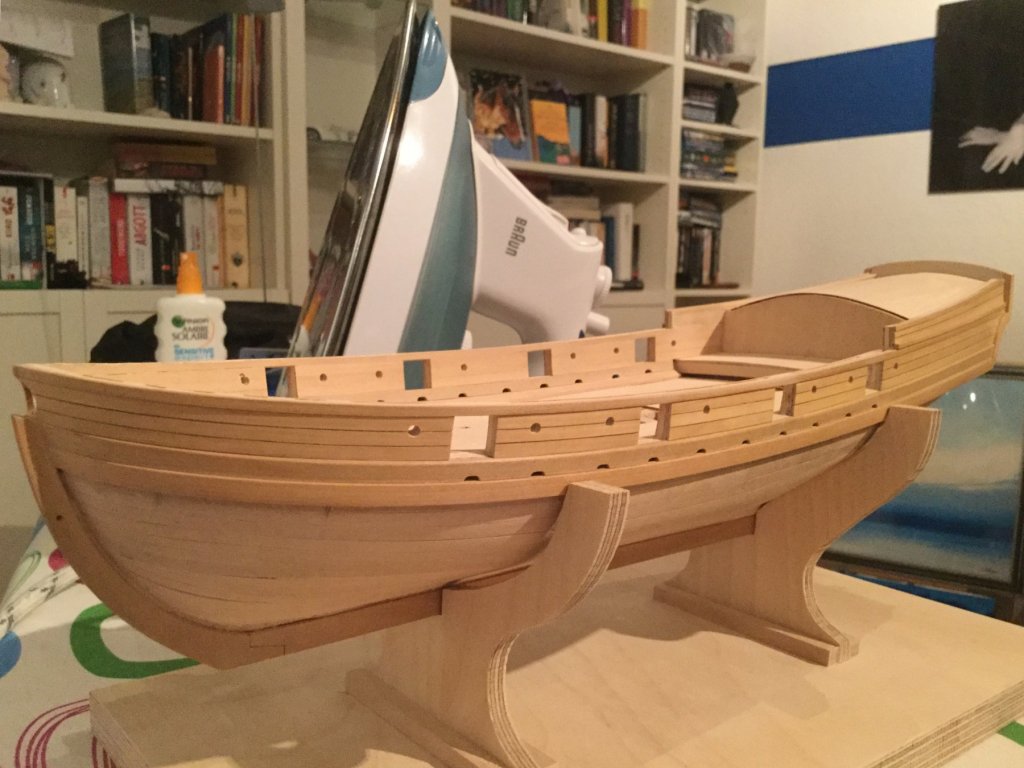
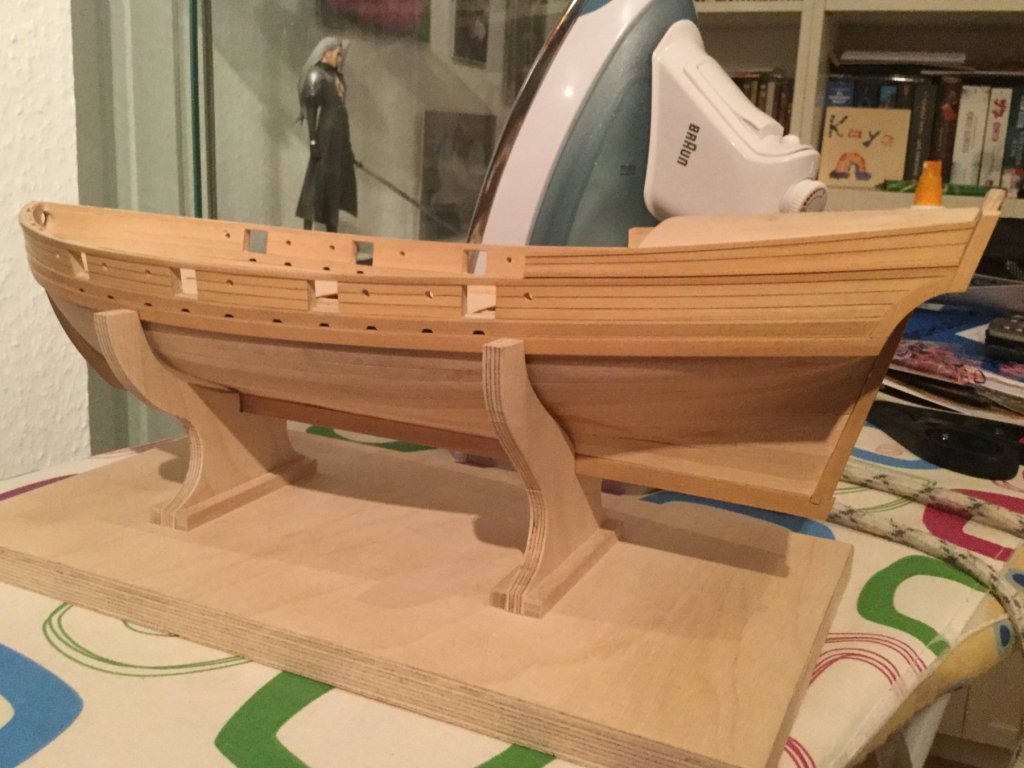
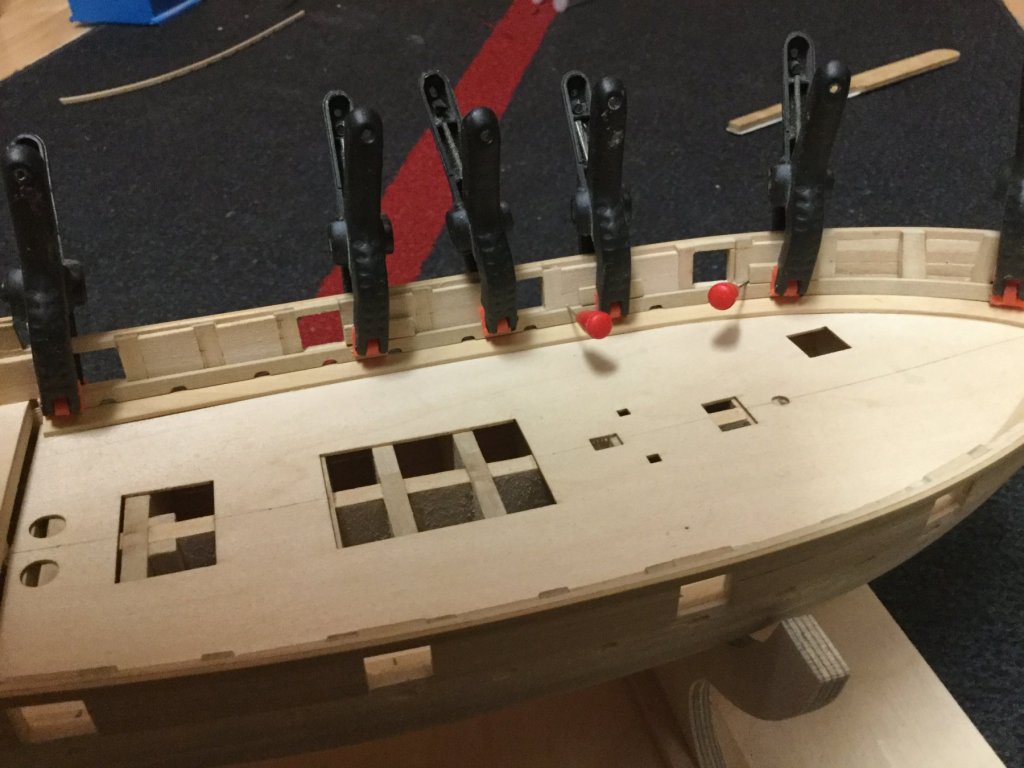
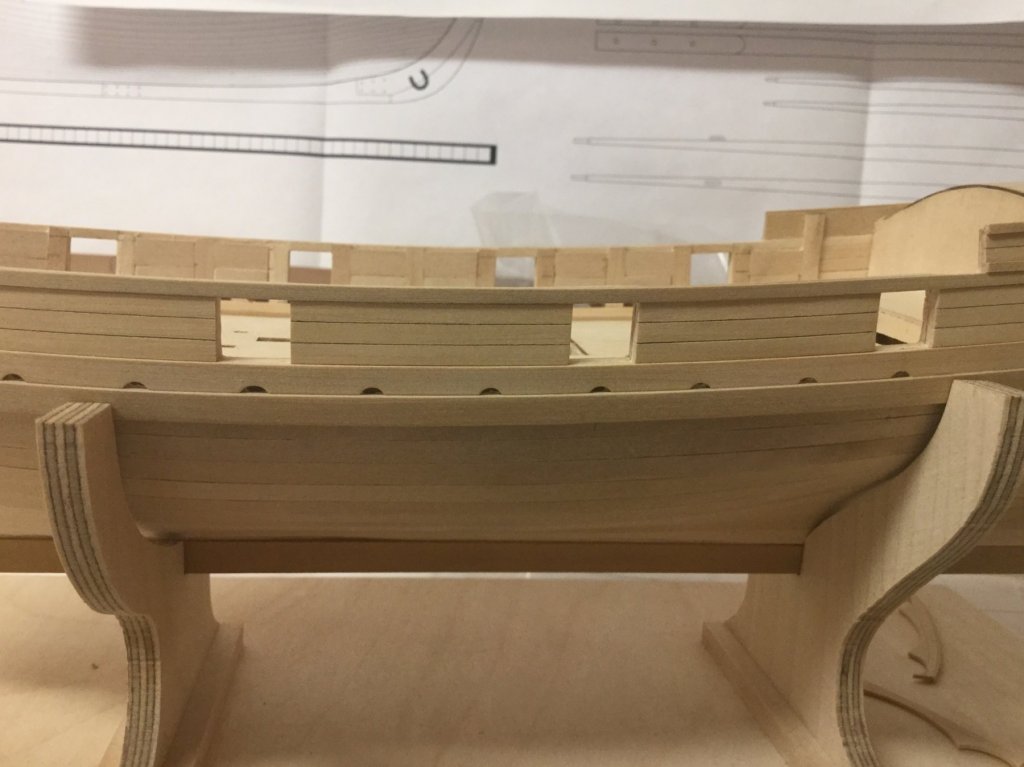
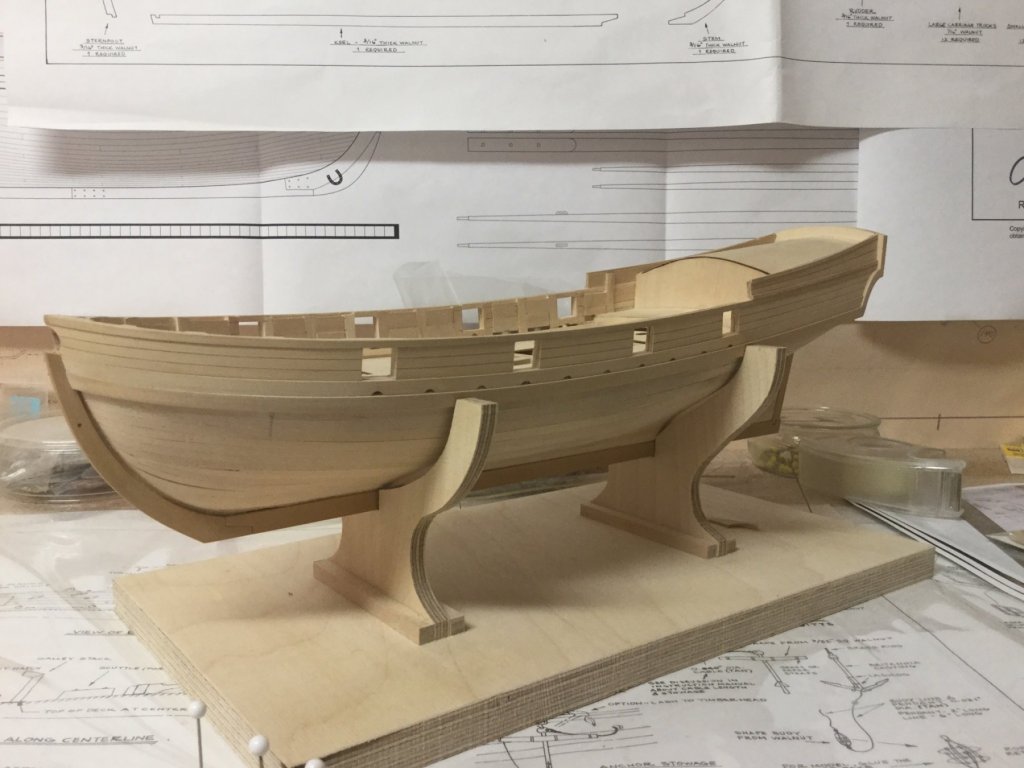
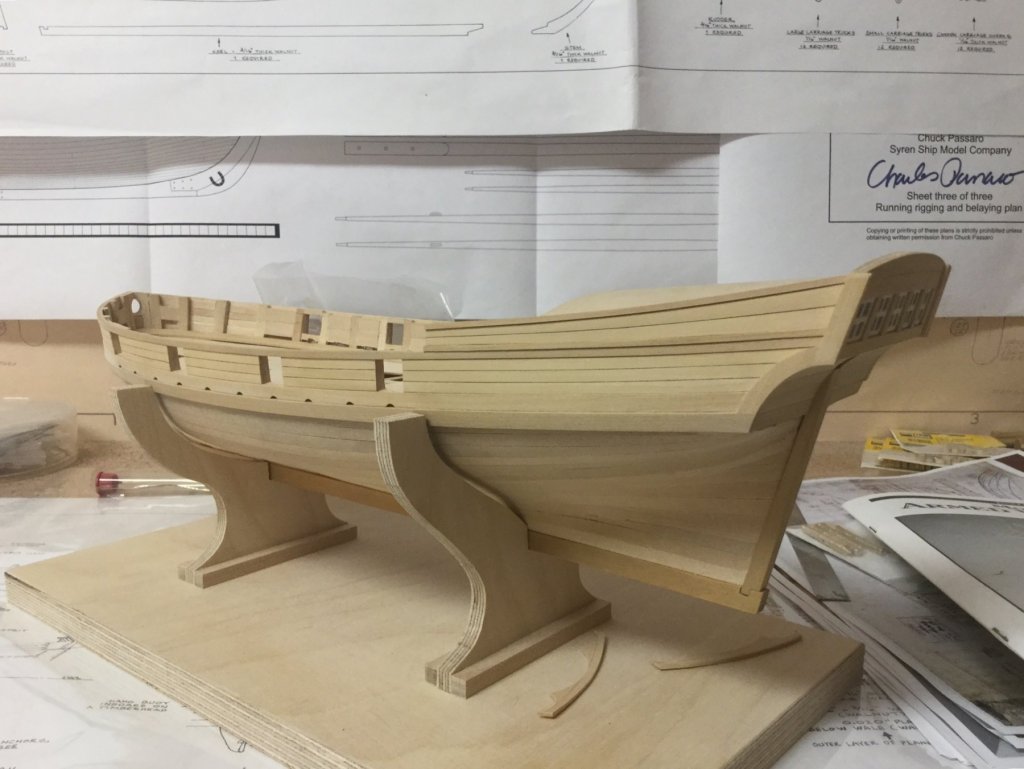
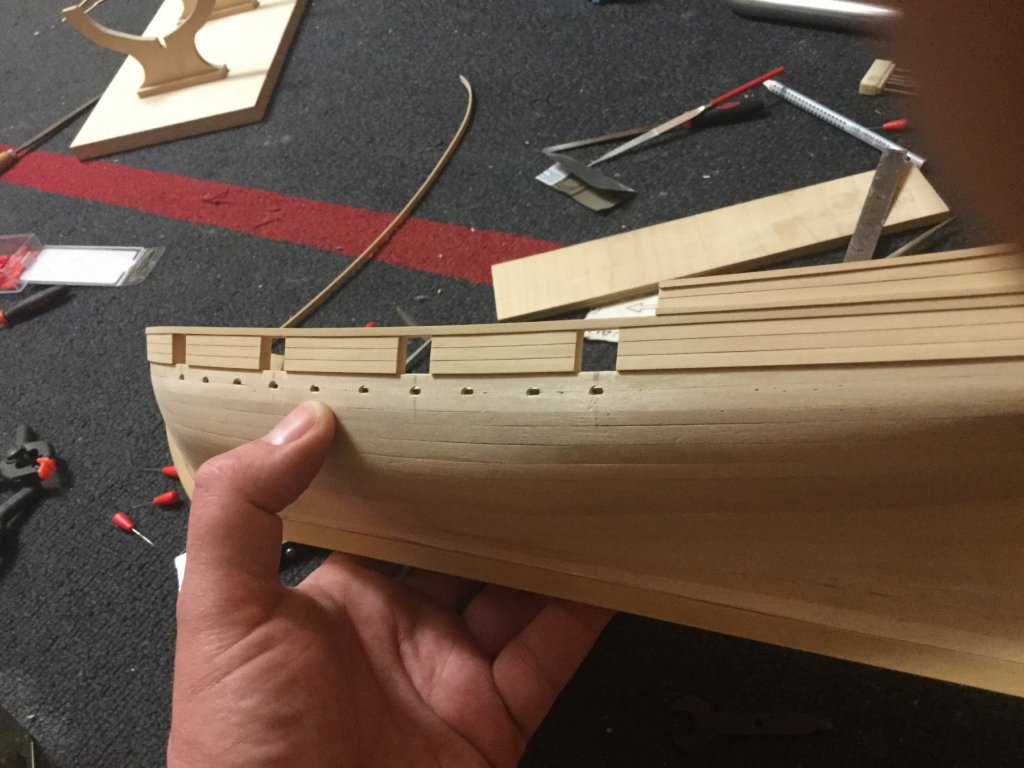
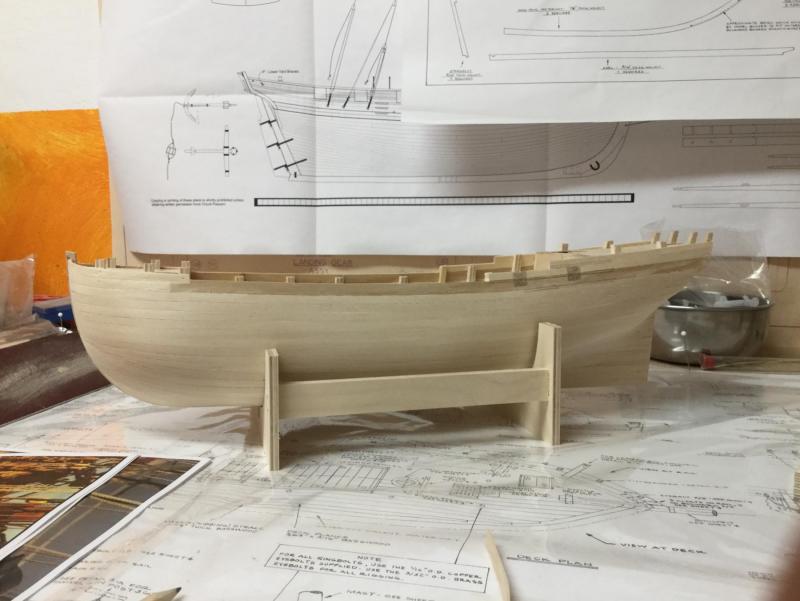
The stem part is not fixed yet, I wait with that until second planking is finished. Cut the round holes of the sweep,ports in both sides. Used a 1,5mm drill to drill basic holes and then finished the holes with a needle file to prevent the wood from breaking and to secure the holes are in the middle of the chaulking. Don’t know if I should also cut the spikes of the sweep ports because I‘m afraid the boxwood will split or break. Put on a coat of clear vanish to protect the wood. As I‘m going to paint the area below the wale flat white as suggested in the manual I will use walnut supplied in the kit for the second planking to save boxwood for the deck. Will start with second planking next weekend. BTW. Sorry for the iron in the background of the picture.
- JpR62, glennreader, Tigersteve and 4 others
-
 7
7
-
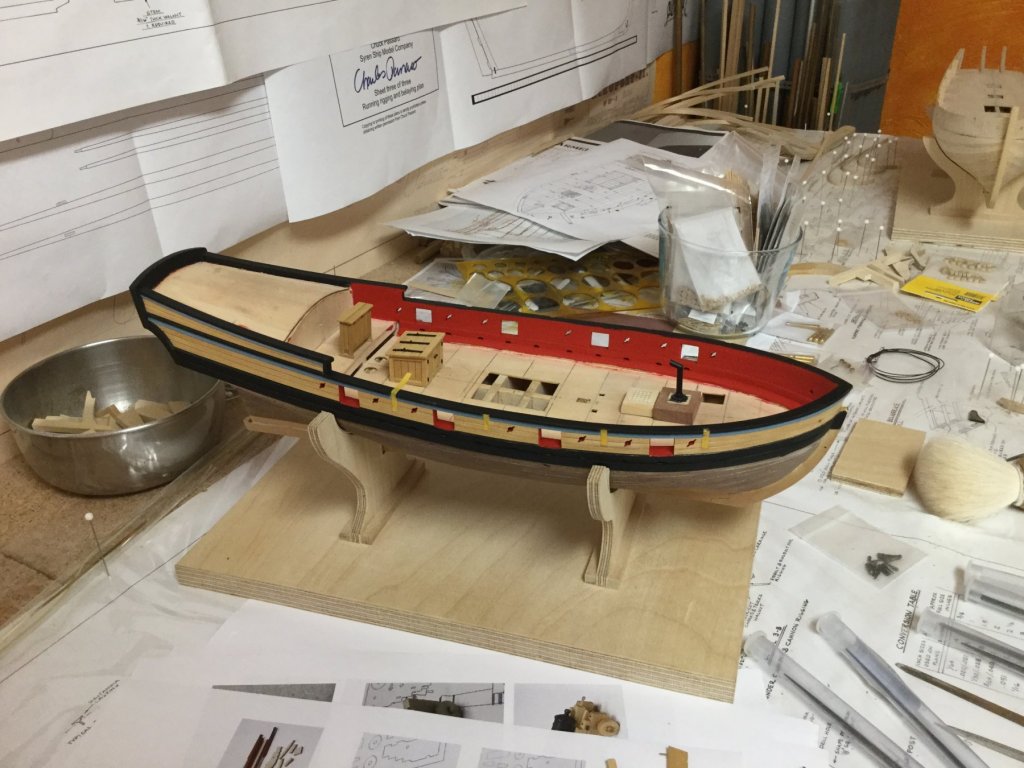
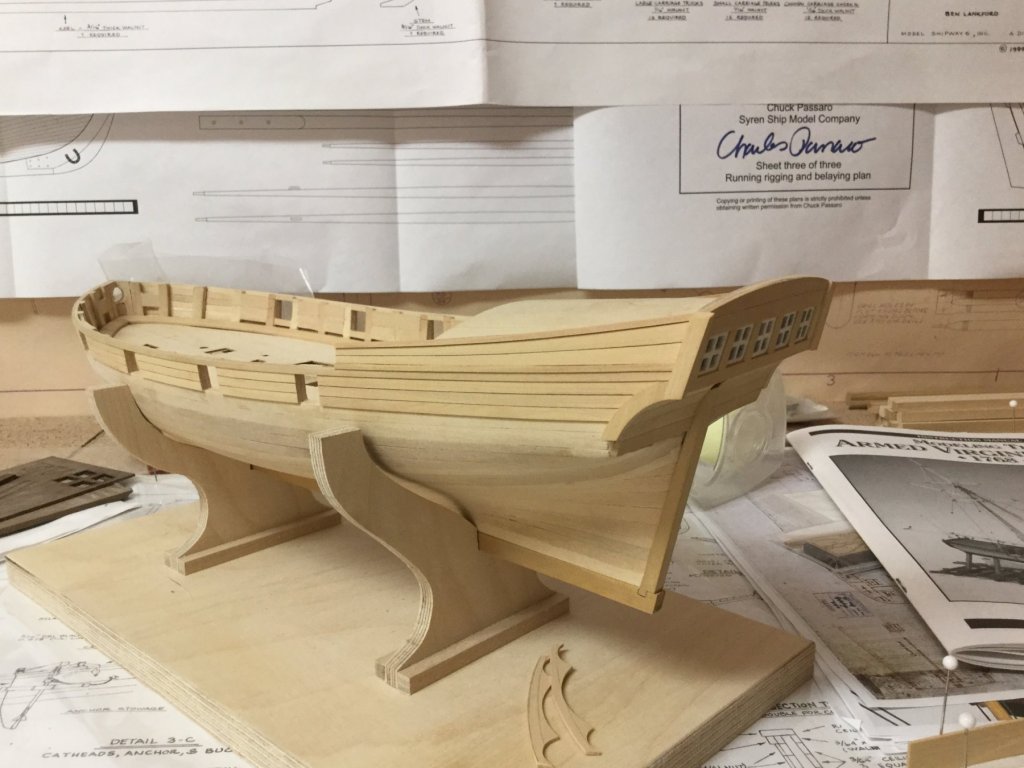
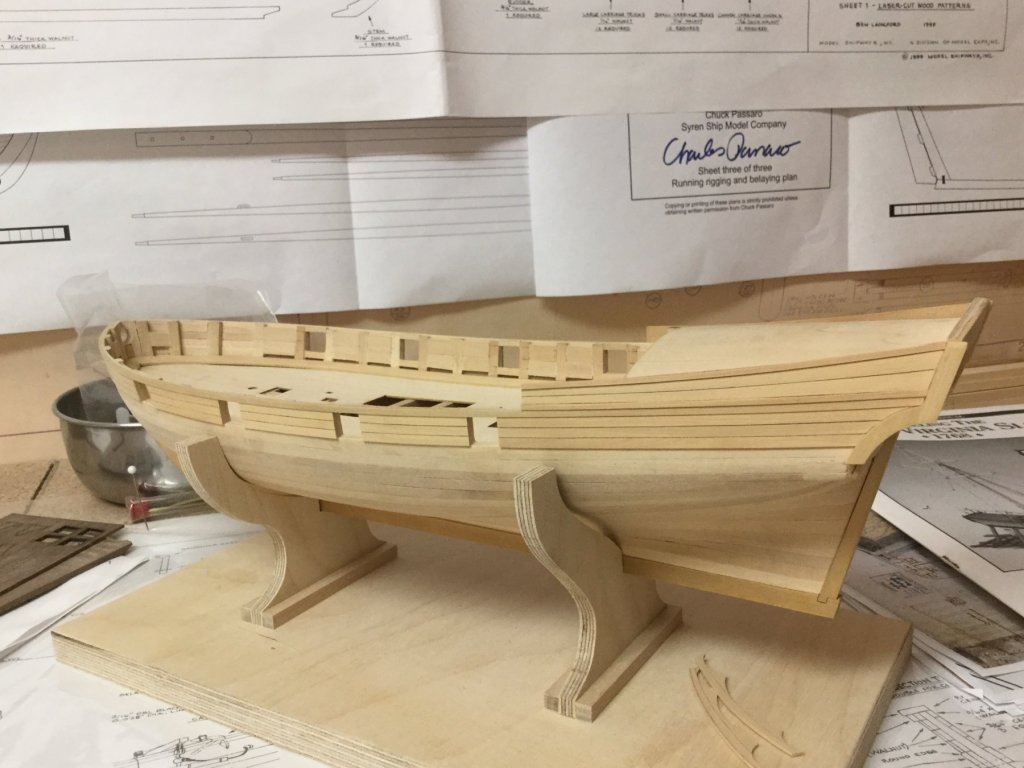
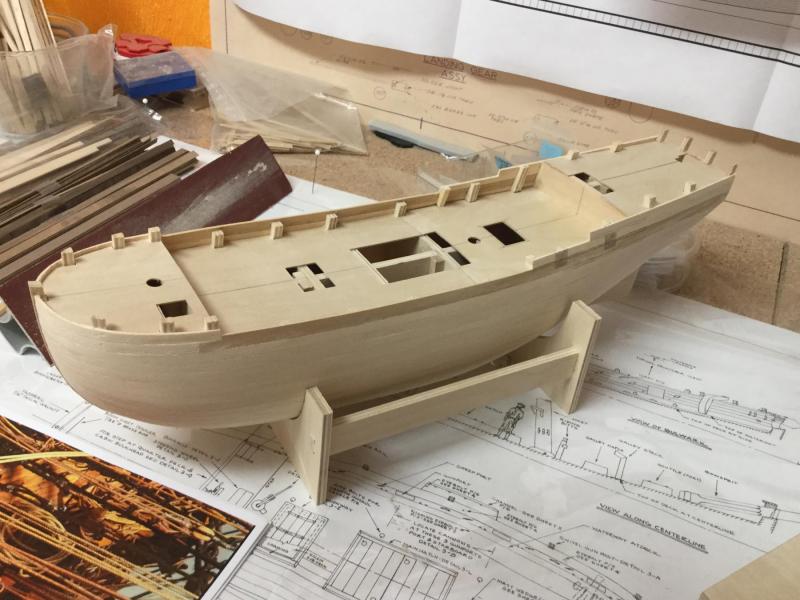
Not much progress so far. Did some rebuilding because I was not satisfied with the outcome. I lowered the cabin sides so they look more like the plan. Made the openings for the water more look like the ones in the plan. Will cut the sweep ports next, still a little afraid of that. Sorry for the bad image quality, sun was drowning already, don’t realized the time.
- russ, John Cheevers, Ryland Craze and 4 others
-
 7
7
-
- Ryland Craze, egkb, John Cheevers and 6 others
-
 9
9
-
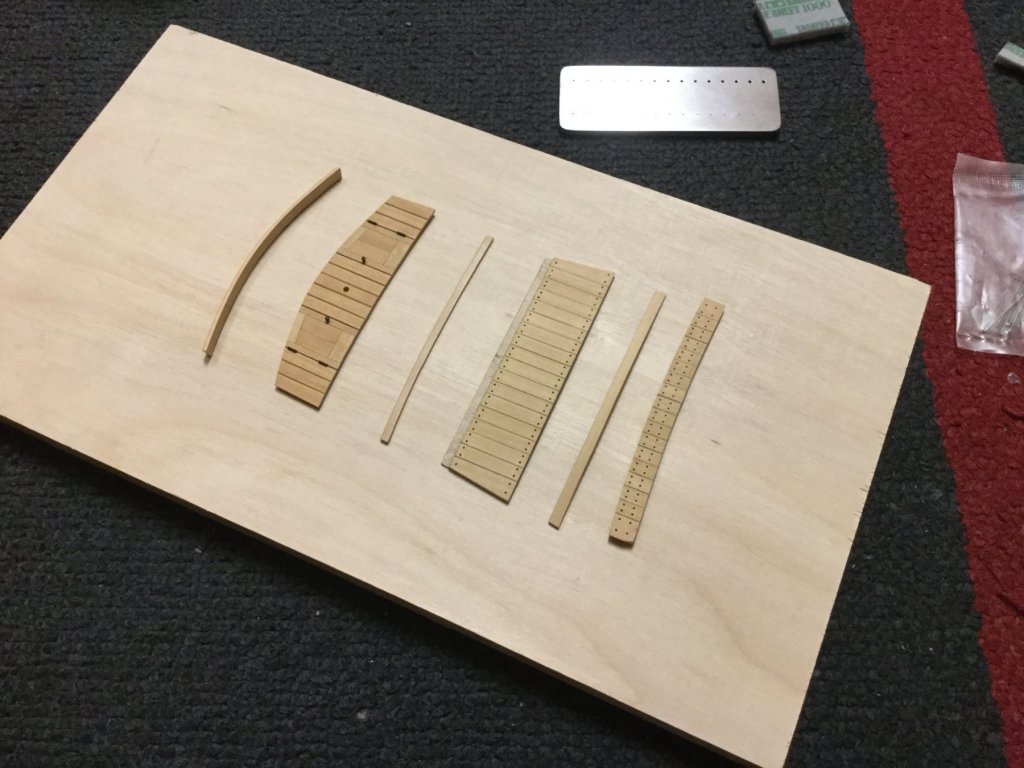
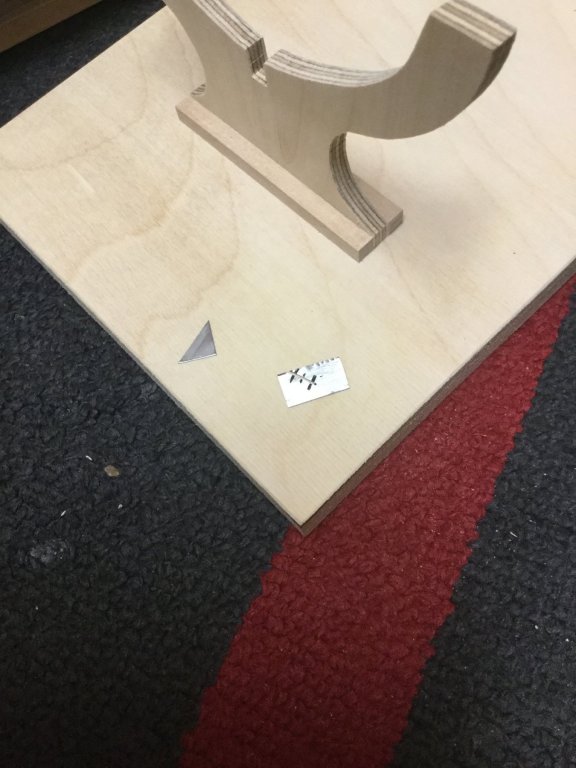
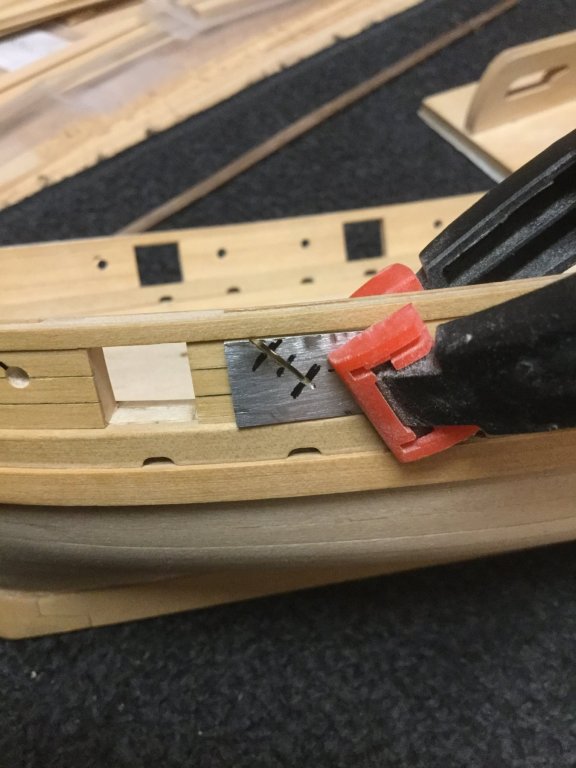
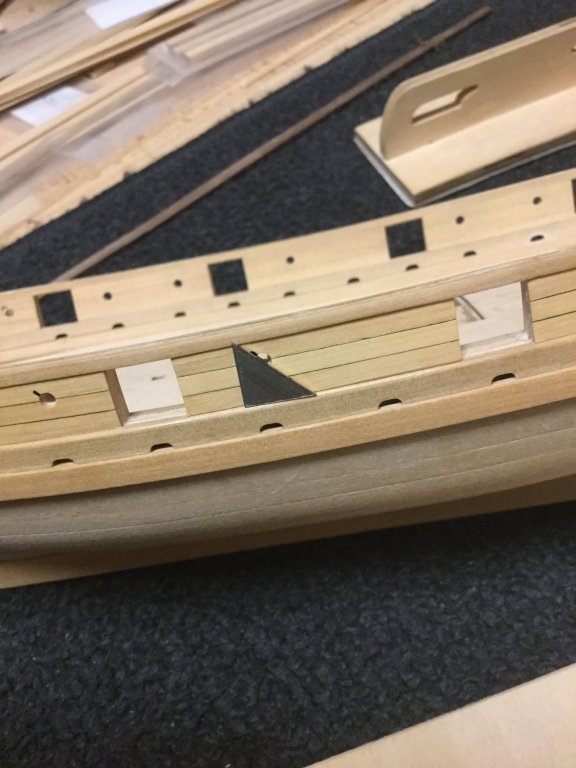
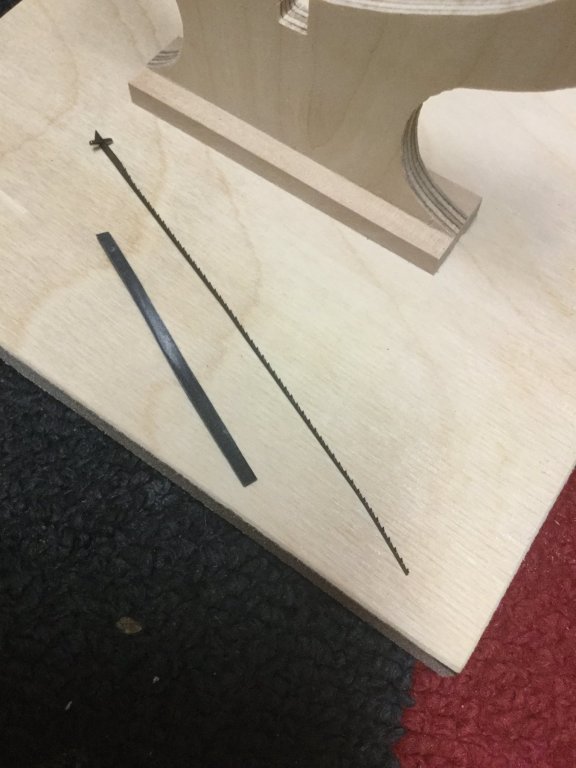
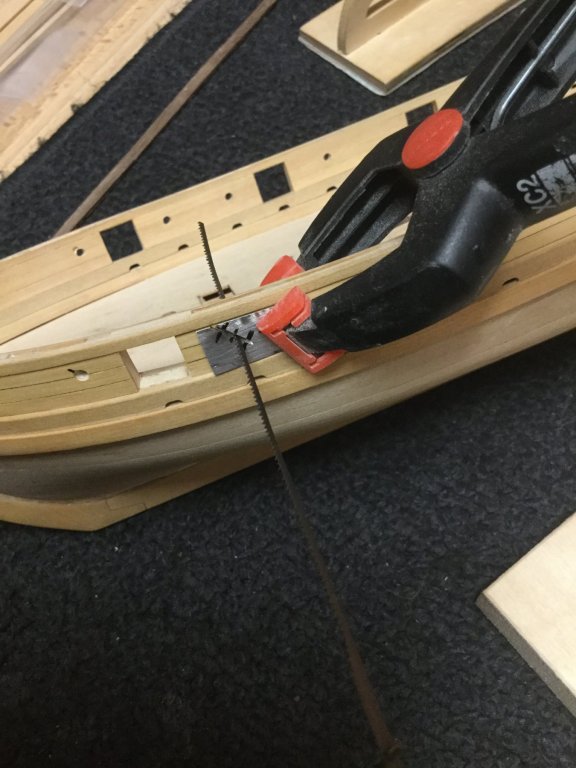
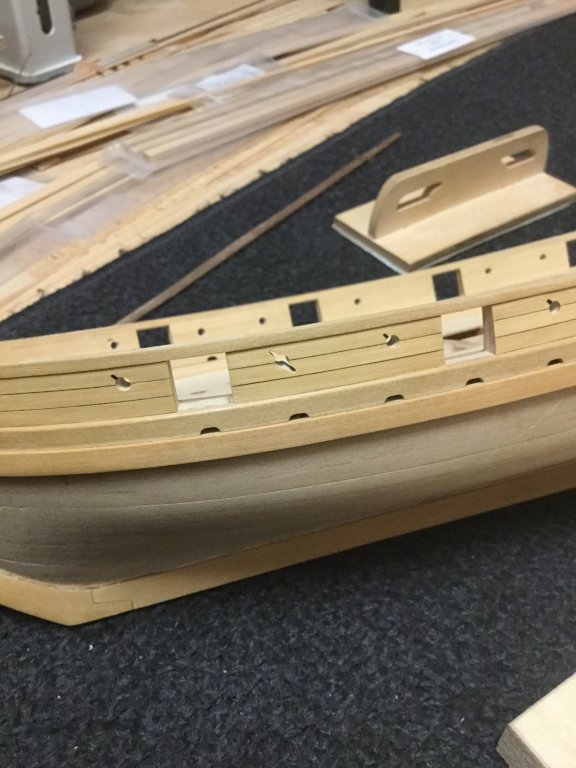
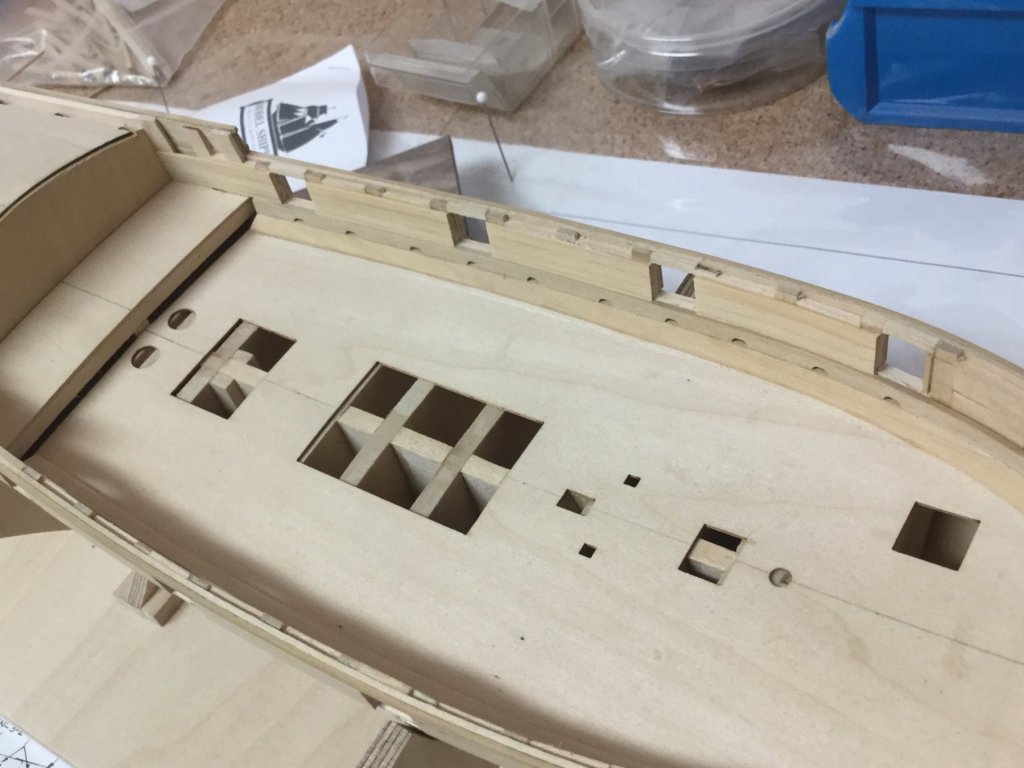
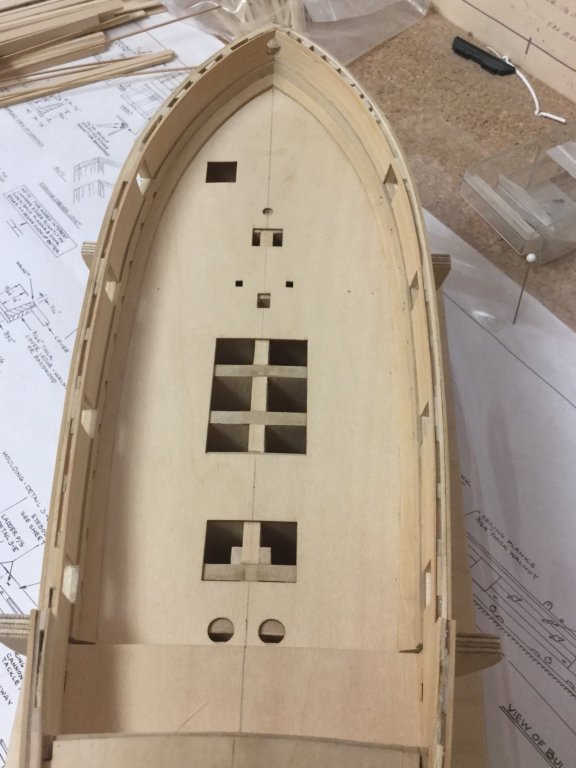
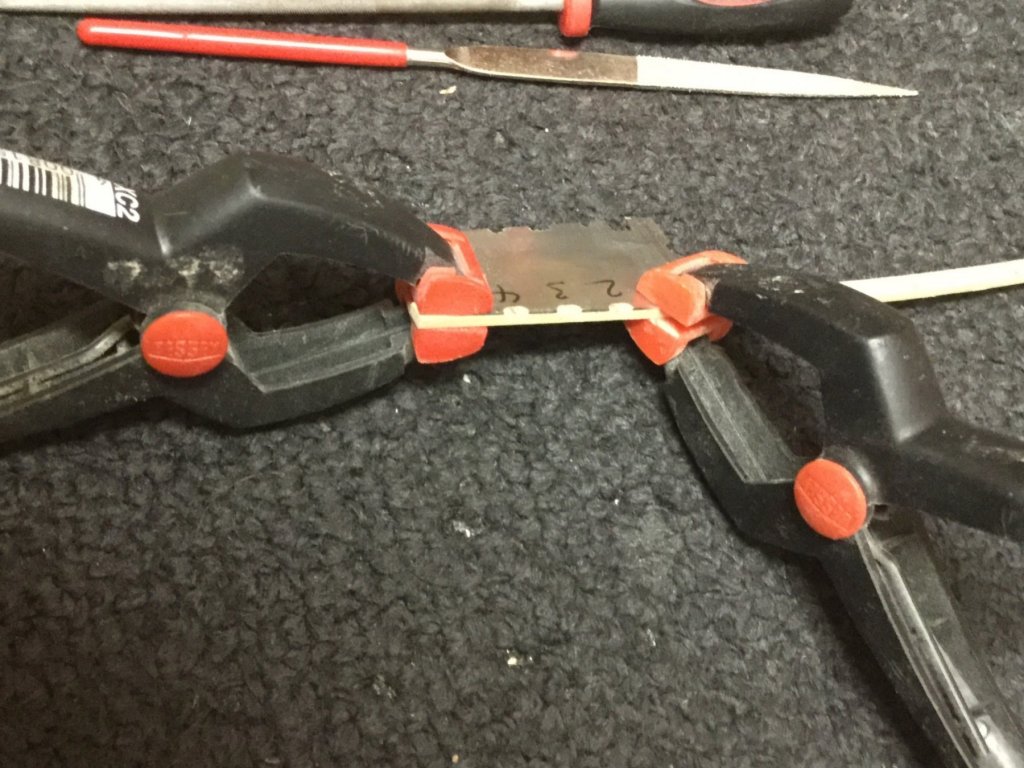
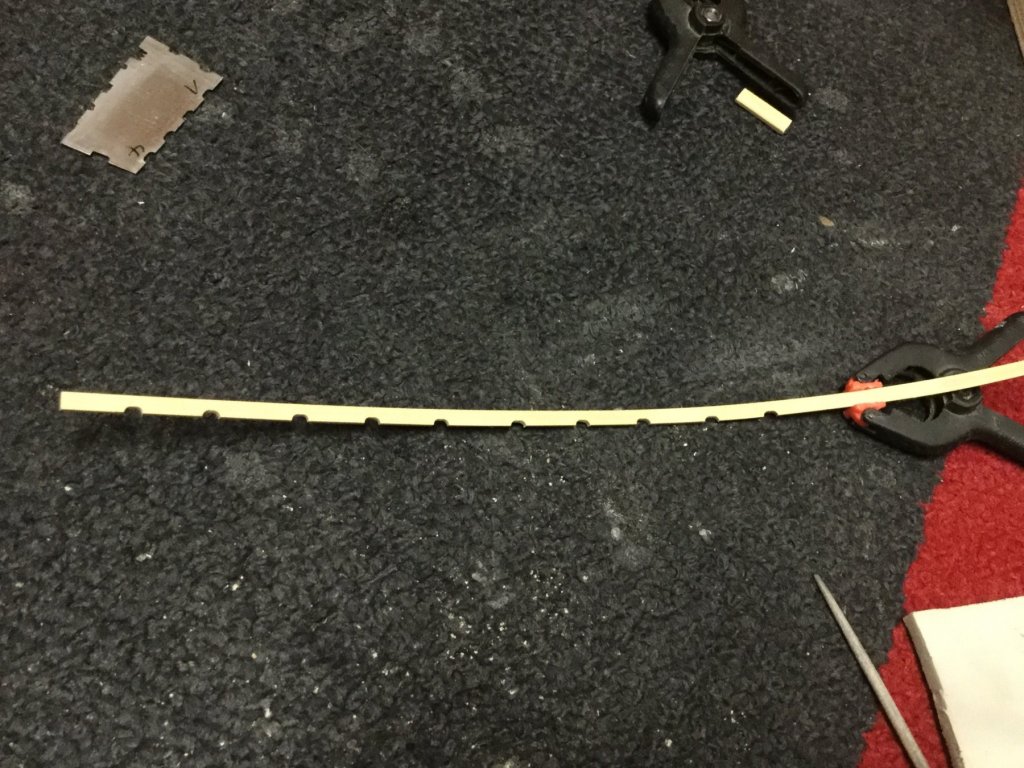
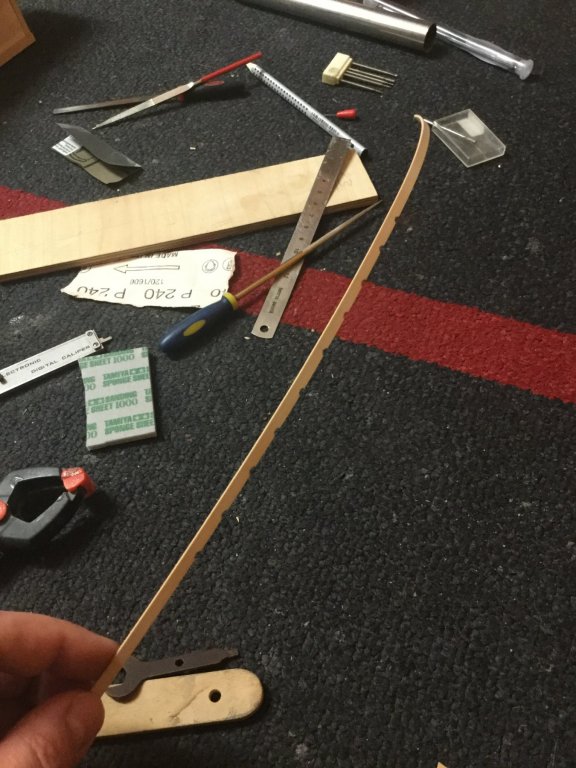
Started to plank the inner side of the gundeck. I may cut the sweep ports prior to planking the rest of the ship. So if the planking is damaged I have to redo the section or to paint the outside like proposed by the manual. To cut the scuppers I first marked the positions of the scuppers on the strip, made a template for the scupper out of stainless steel (0.5 mm), fixed that template onto the strip with two clamps and then cut the scupper with a needle file within the scupper-template. Dry-fit looked not to bad.
- GuntherMT, Tigersteve, CiscoH and 8 others
-
 11
11
-
-
-
- alde, JpR62, Tigersteve and 4 others
-
 7
7
-
- cog, russ, Ryland Craze and 6 others
-
 9
9
-
- Jim Rogers, Ryland Craze, JpR62 and 5 others
-
 8
8
-
-
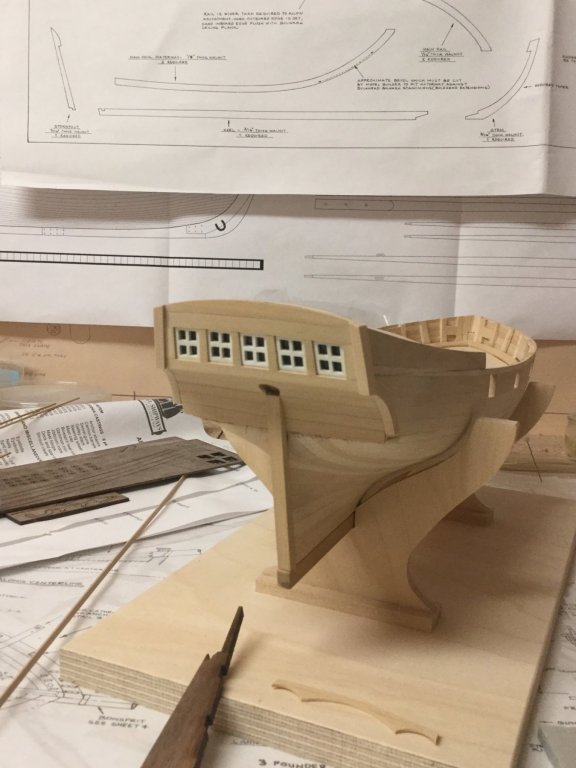
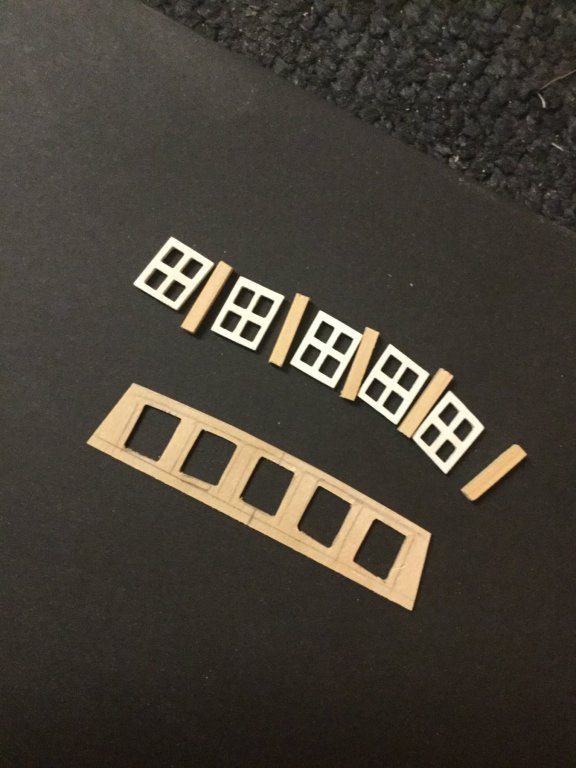
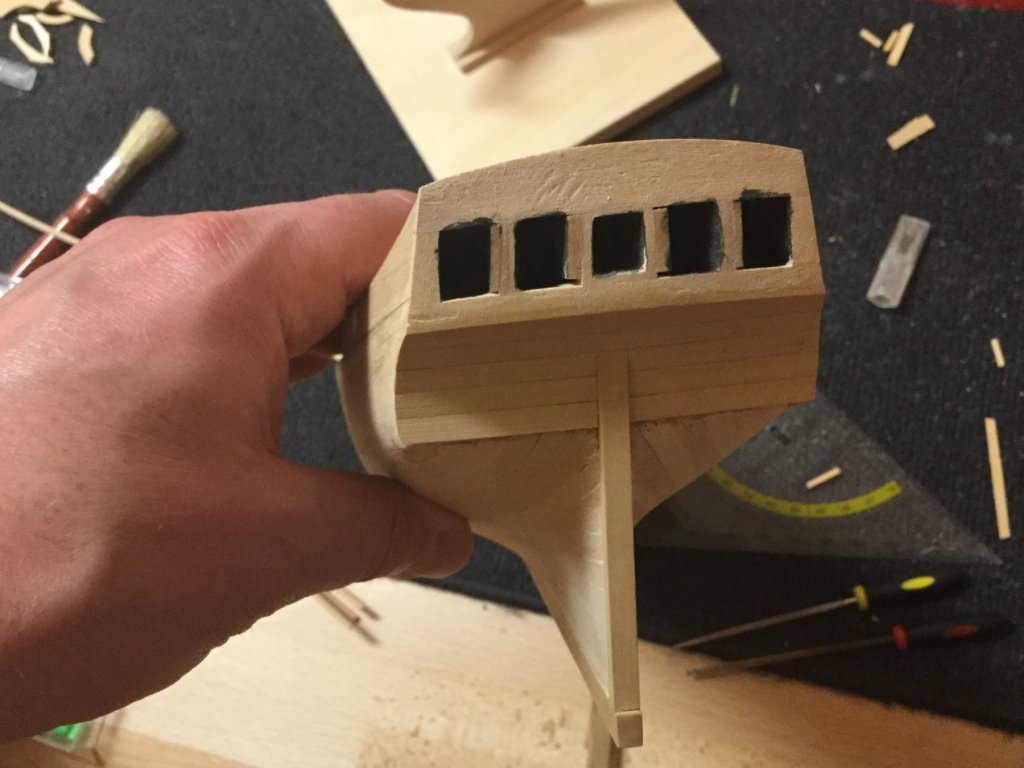
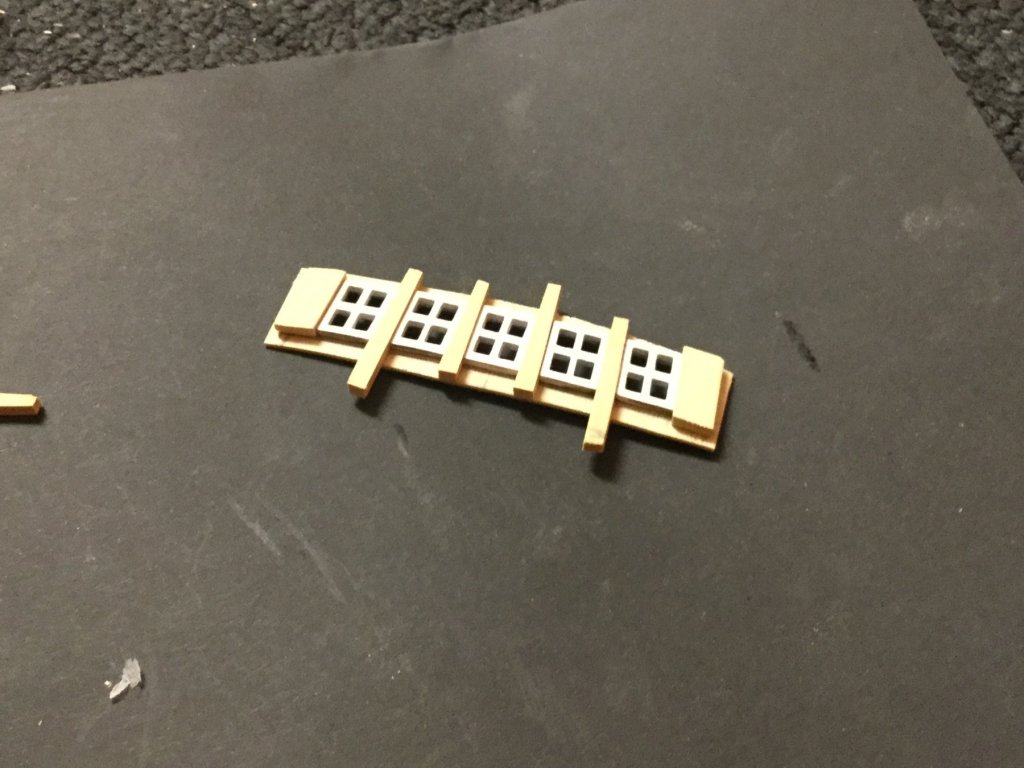
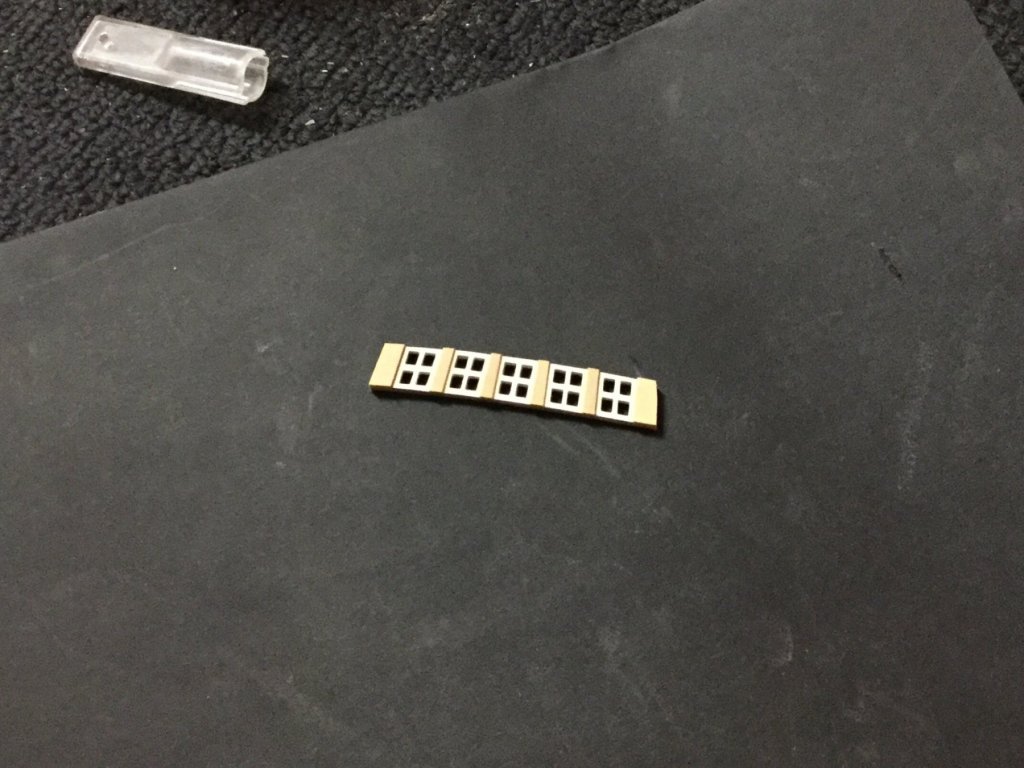
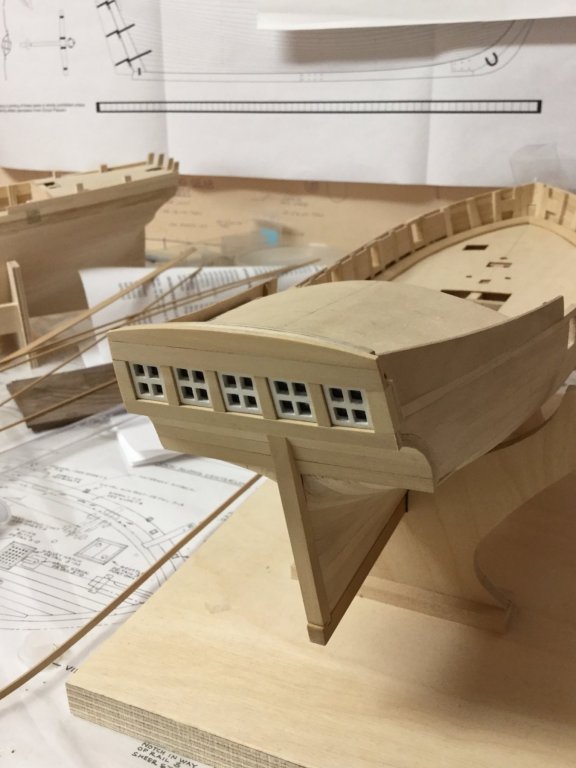
Quite some time has passed since my last Update. So busy with my professional self-employment. Anyway, I thought some time about the cabin windows, wasn‘t pleased with the kit-supplied solution. So I decided to add a fifth window - a rectangle one - in the middle of the inner ones. The windows are separated by equal boxwood stripes so the lower edge of the windows stay parallel to the lower edge of the plank running at the bottom of the cabin.
- Tigersteve, lmagna, Jim Rogers and 5 others
-
 8
8
-
I ordered several times from Jason at Crown Timberyard, each times great quality. But have heard that castello from wood project source is of good quality as well. I have looked for a castello source here in germany and even in the rest of Europe but haven't found any yet. There are several sources for swiss pear but none for castello :-(
-
- GuntherMT, cog, zoly99sask and 3 others
-
 6
6
-
- cog, Ryland Craze, GuntherMT and 2 others
-
 5
5
-
- egkb, GuntherMT and zoly99sask
-
 3
3
-
I have to move the first planking to next weekend. I bought the HM Brig Supply Kit almost 5 years ago when I was new to the hobby but have left the box in the shelf since then. Two weeks ago I discovered the plywood bulkheads and keel parts had started to warp and I decided to build the skeleton and at least first plank that ship prior to the AVS to prevent the parts from further warping. I will do the 1759 version as shown on the NMM plans. So I had to change some parts and prepare another hatch. Maybe I will start another build log for her but building two ships in parallel is way too much stress, especially when it comes to continue two build logs. Turning back to the AVS...
- glennreader, GuntherMT, Seventynet and 1 other
-
 4
4

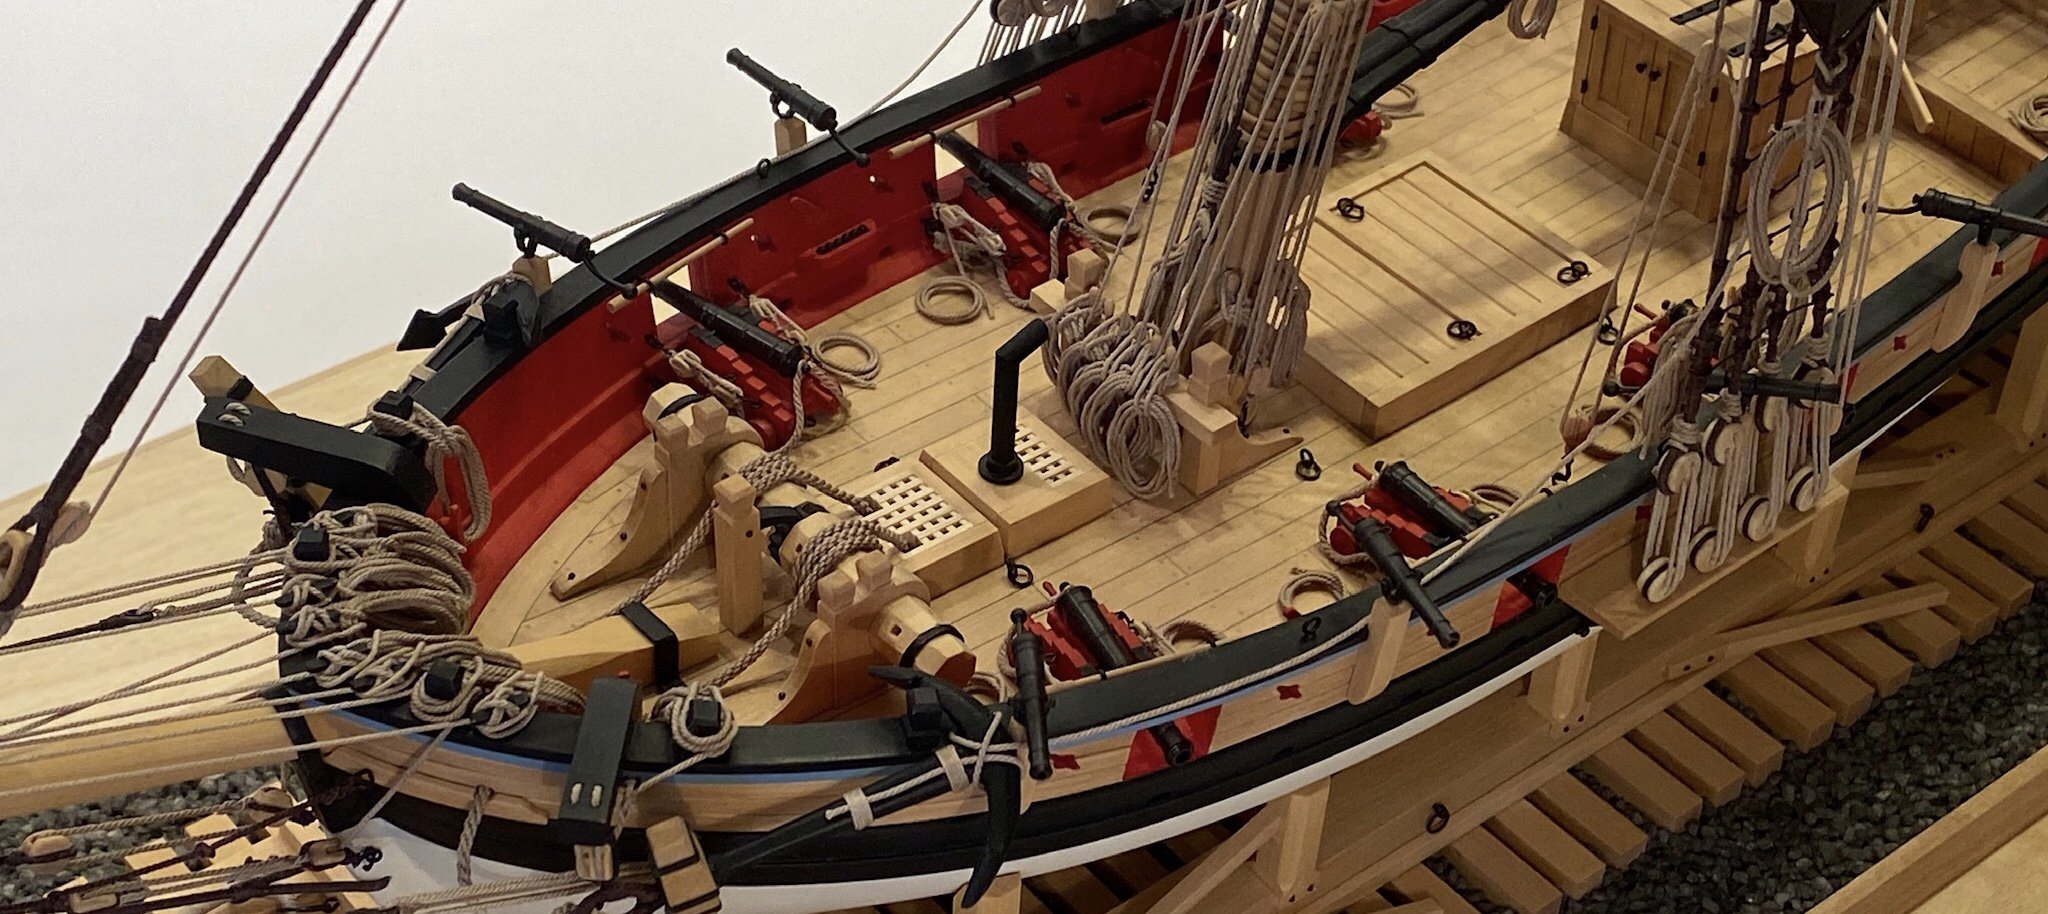
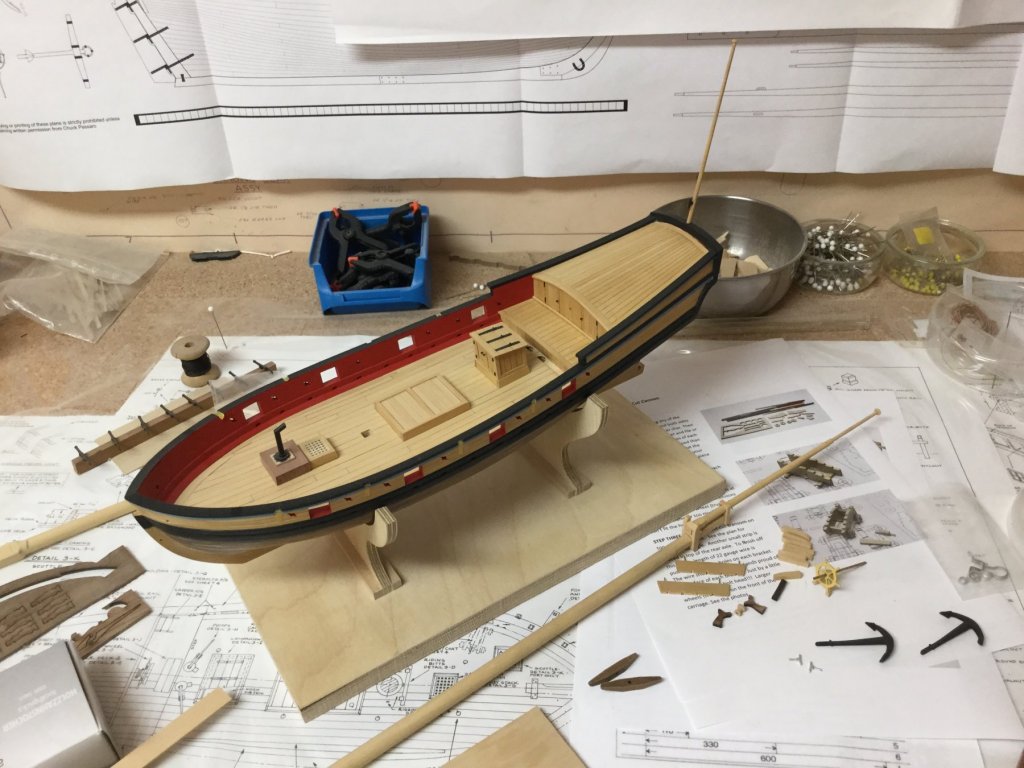
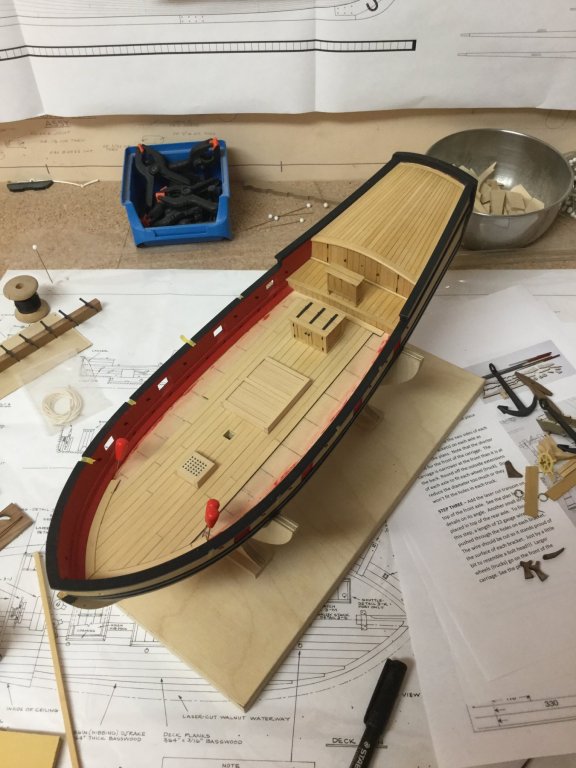
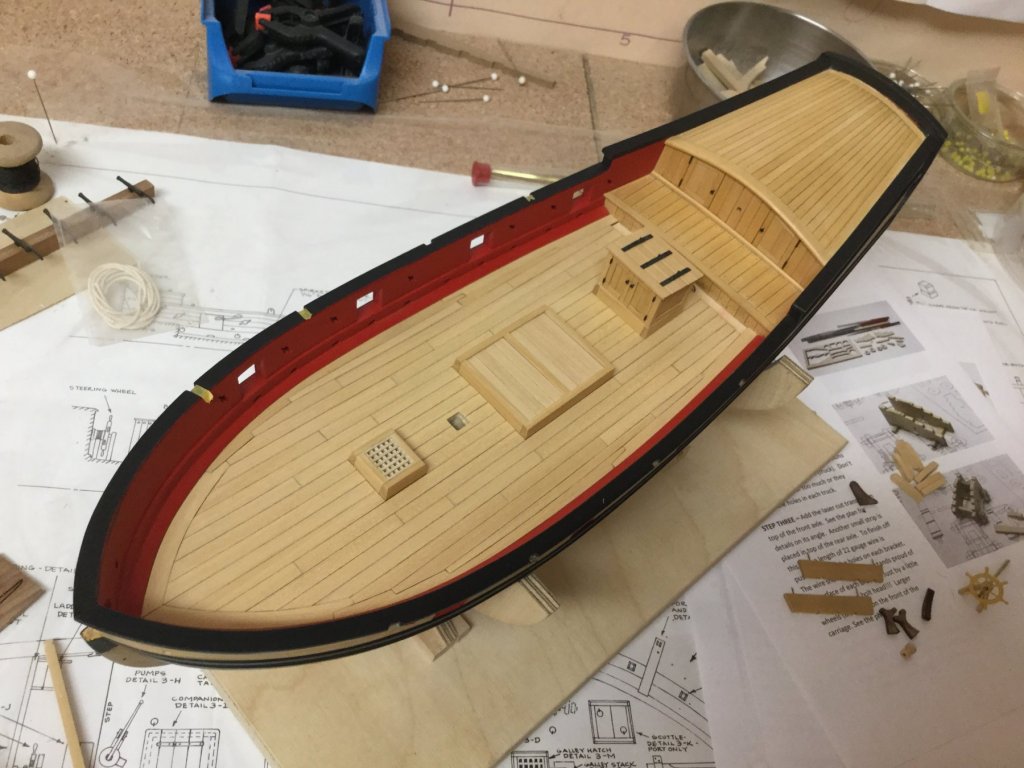
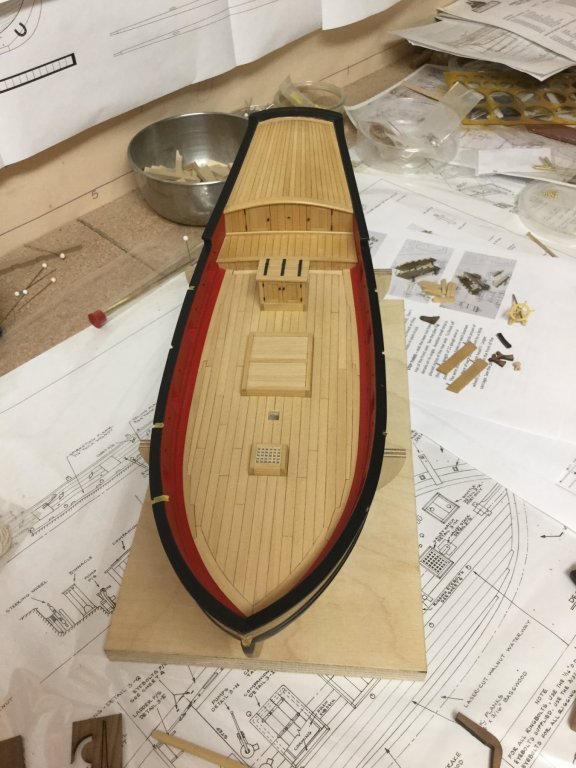
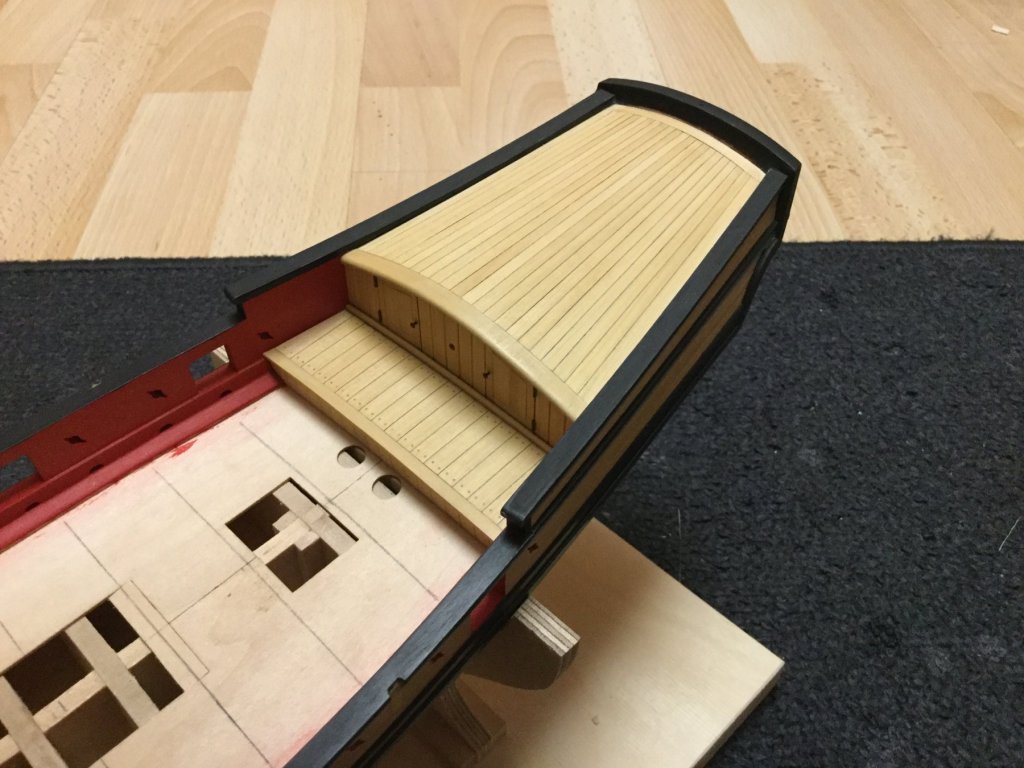
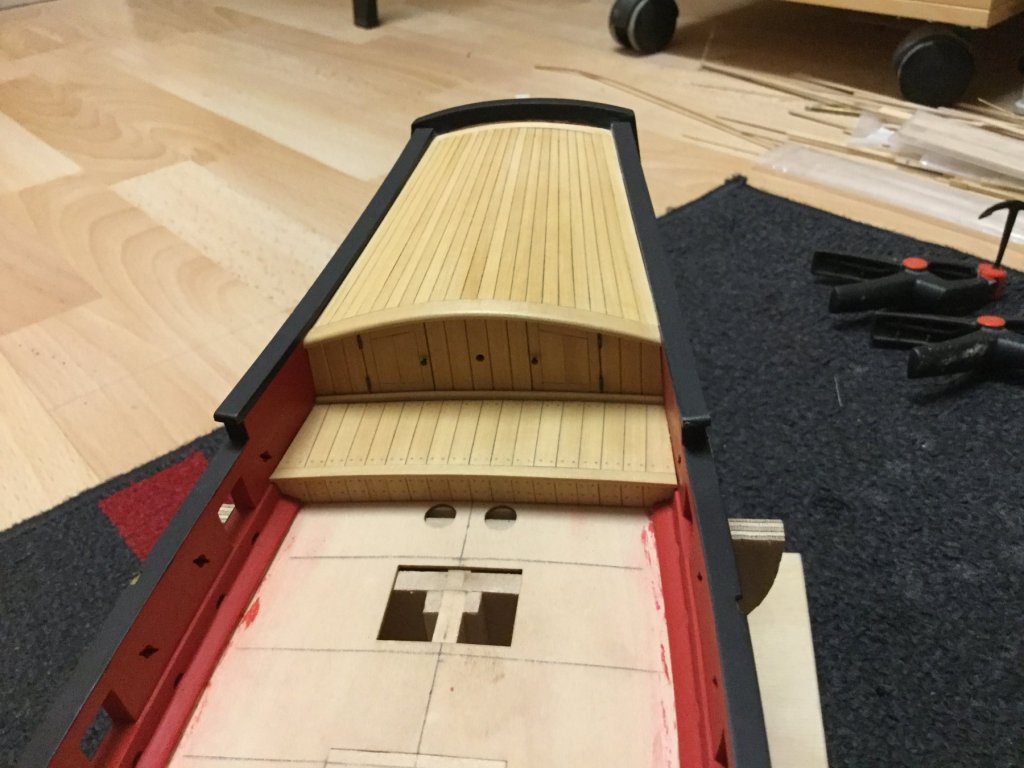
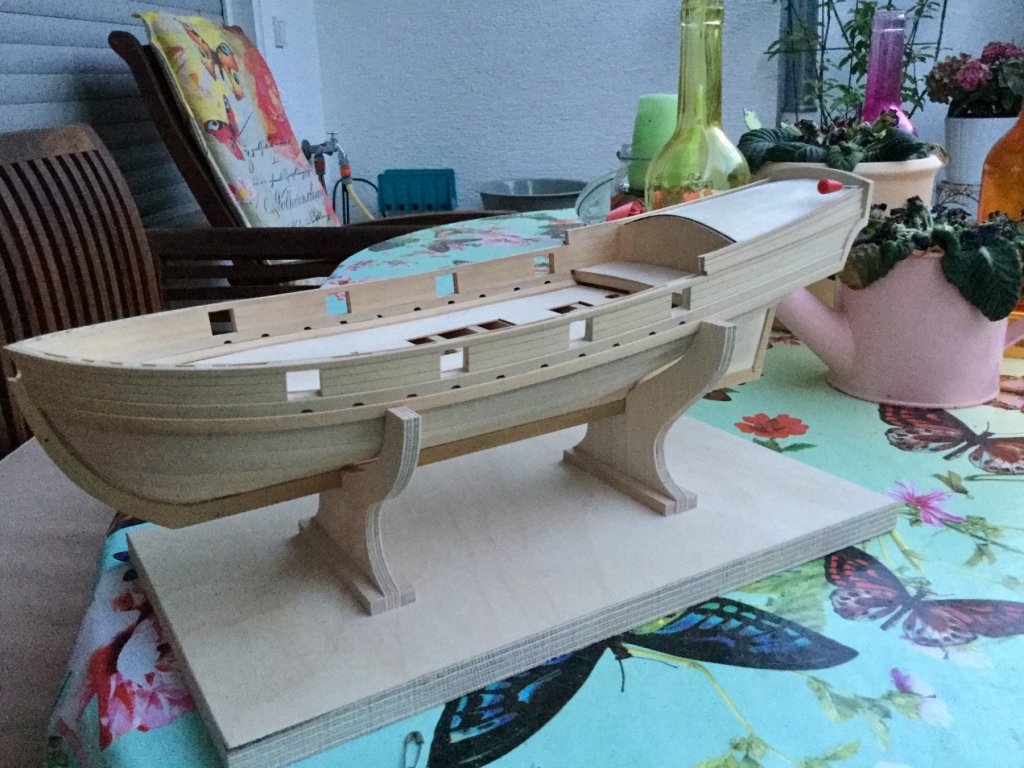
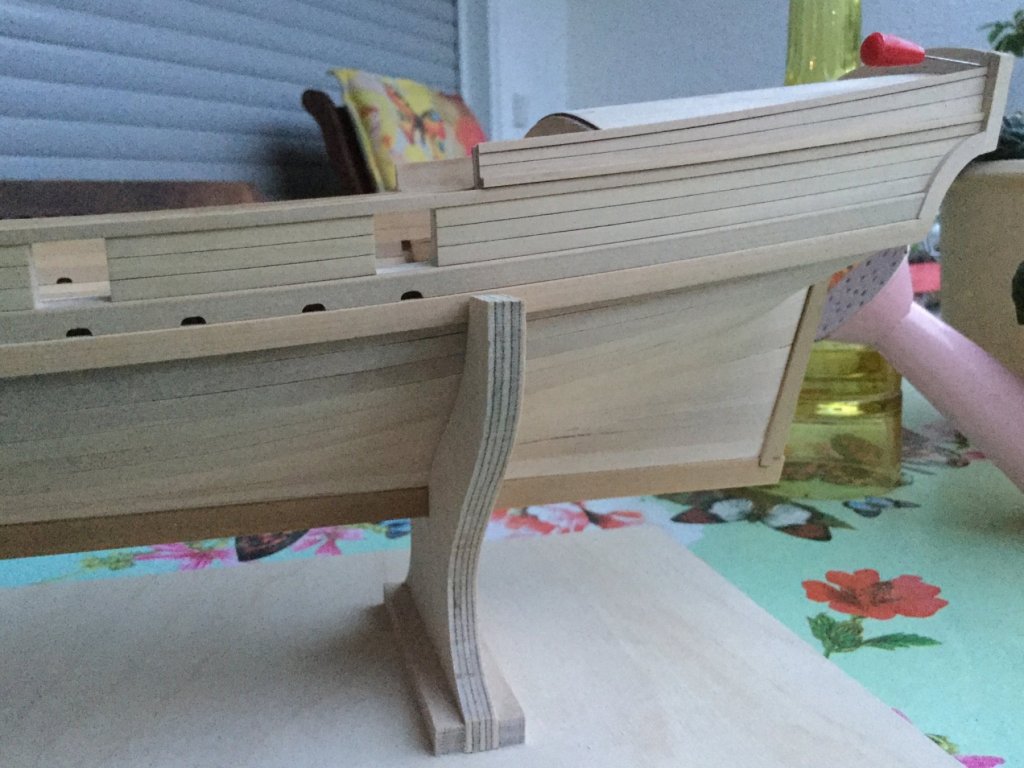
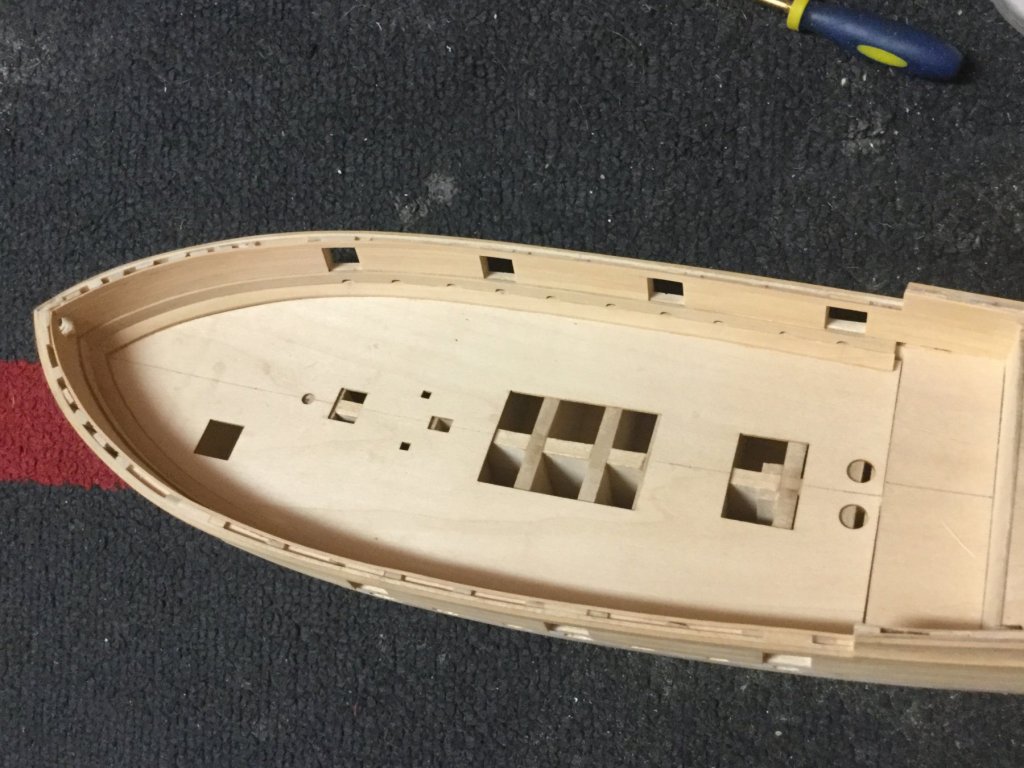
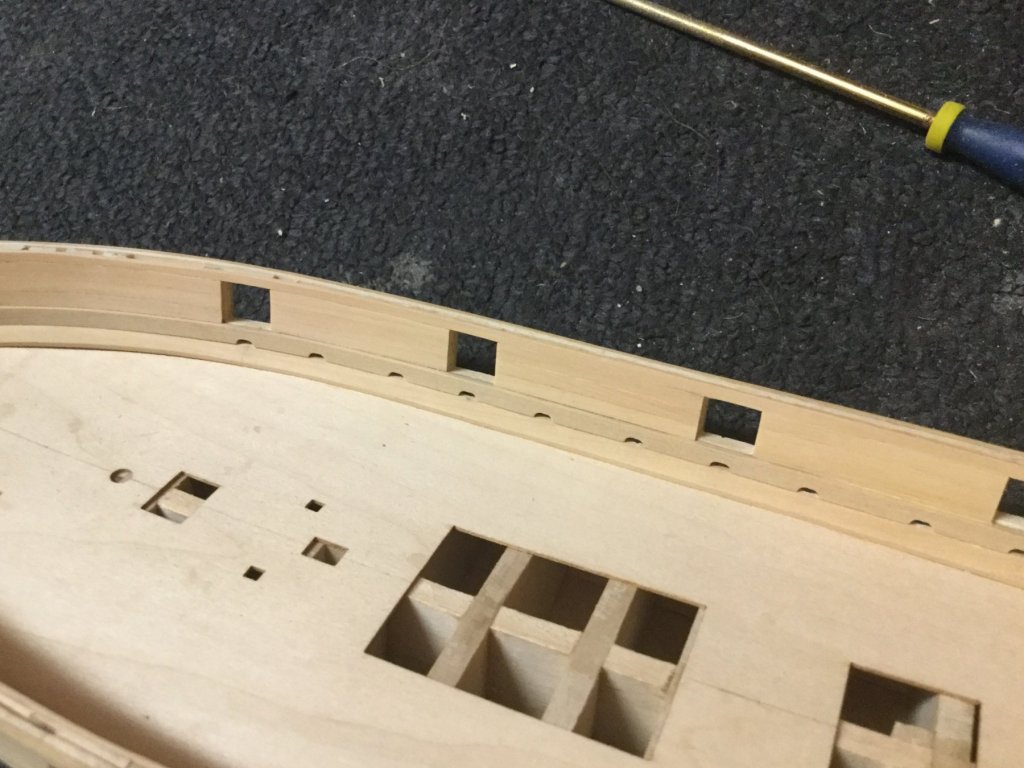
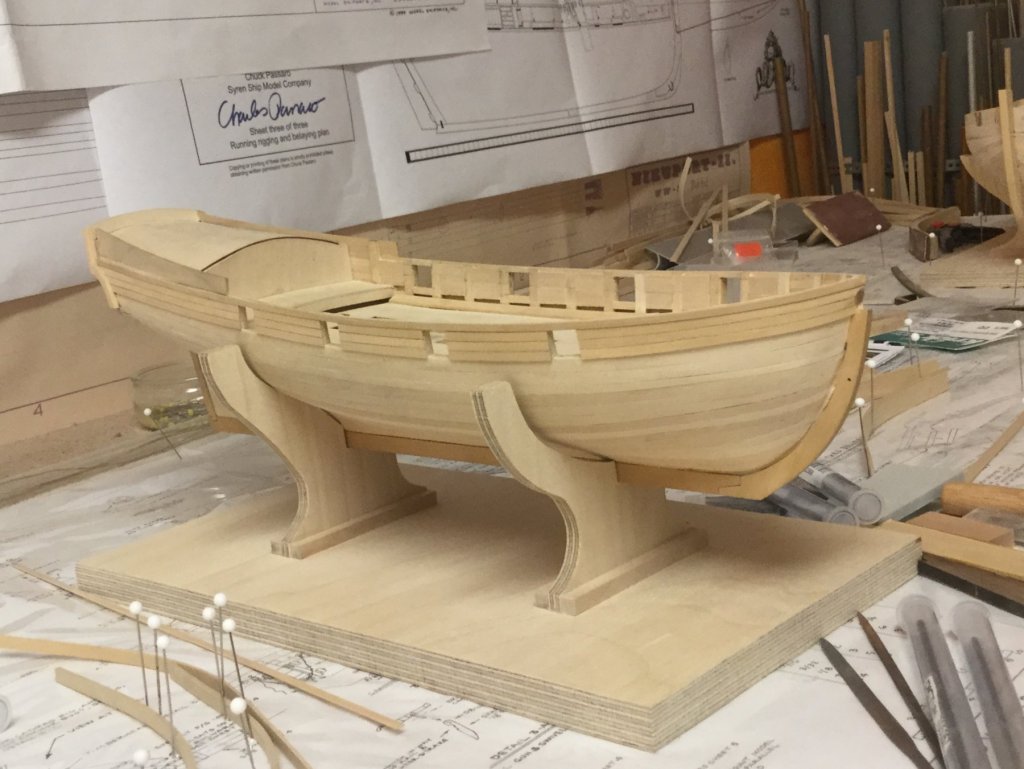
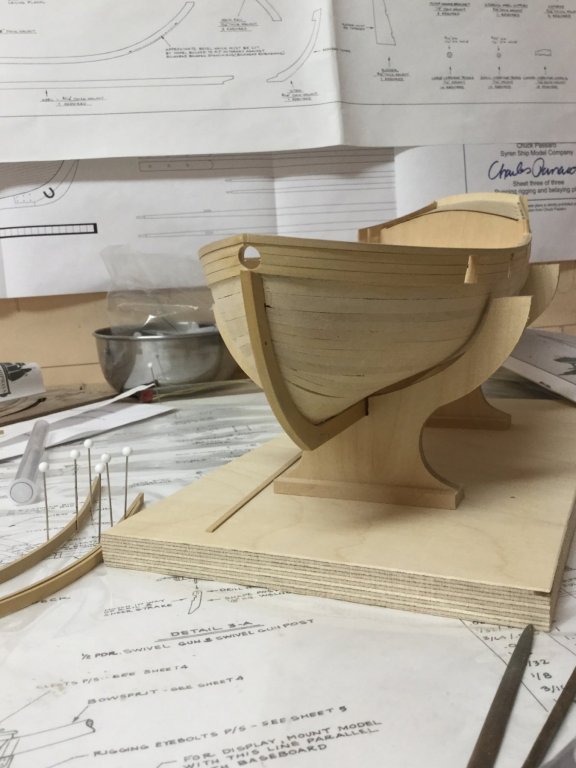
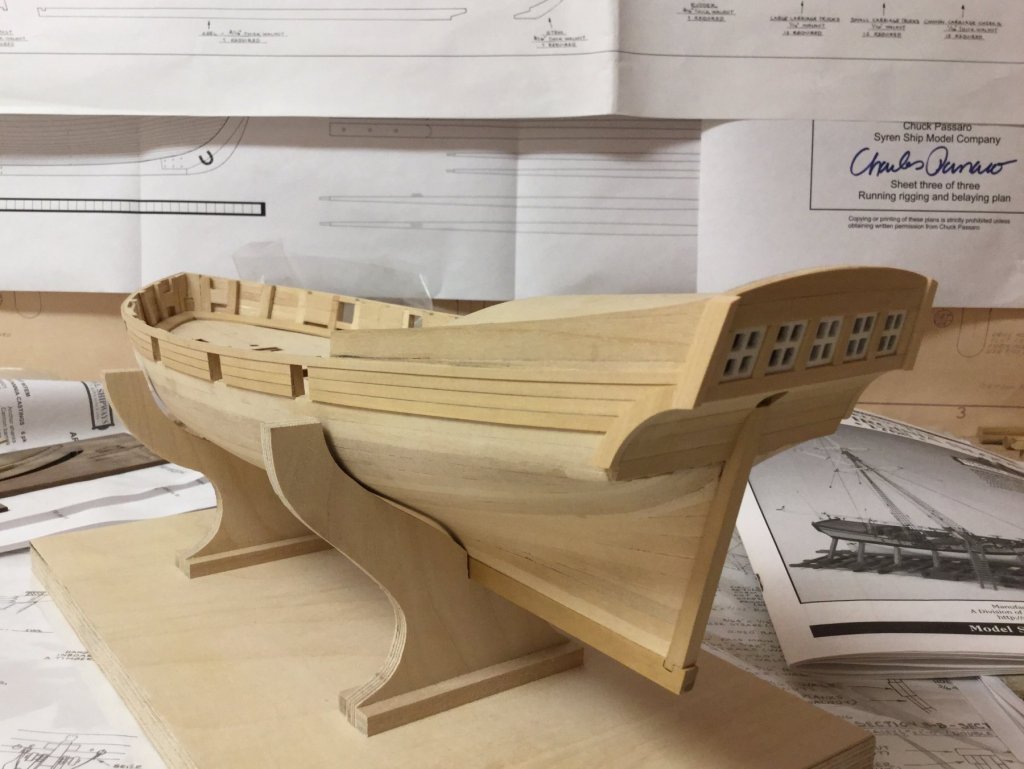
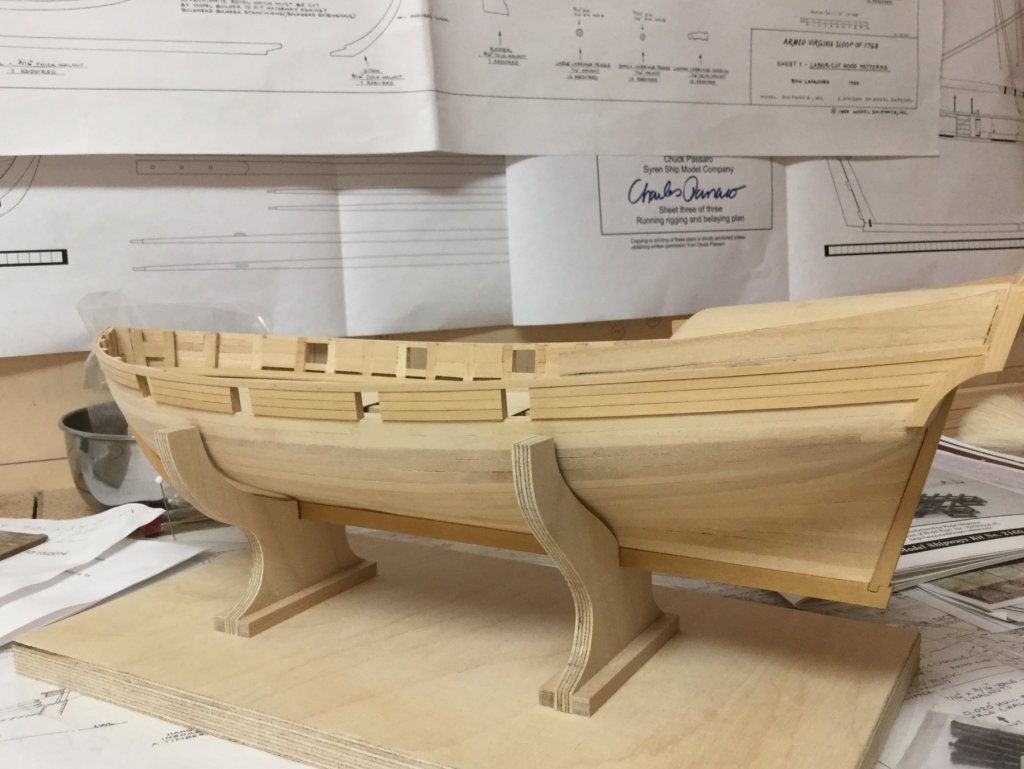
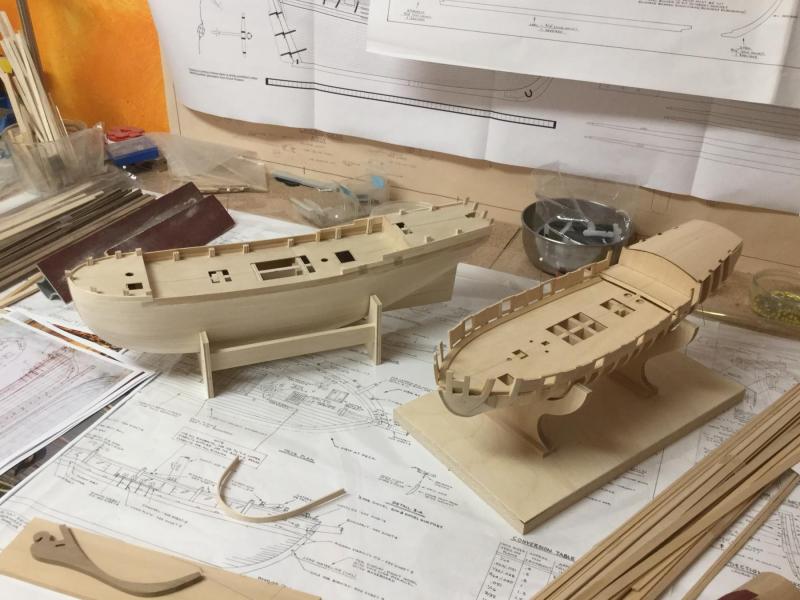
Armed Virginia Sloop By captain_hook - FINISHED - Model Shipways - Scale 1:48
in - Kit build logs for subjects built from 1751 - 1800
Posted
Thank you very much for the nice words. I finished the mast and the bowsprit and dry-fitted them on the ship. It is curious to see such a large mast on the small hull.