

captain_hook
-
Posts
675 -
Joined
-
Last visited
Content Type
Profiles
Forums
Gallery
Events
Posts posted by captain_hook
-
-
-
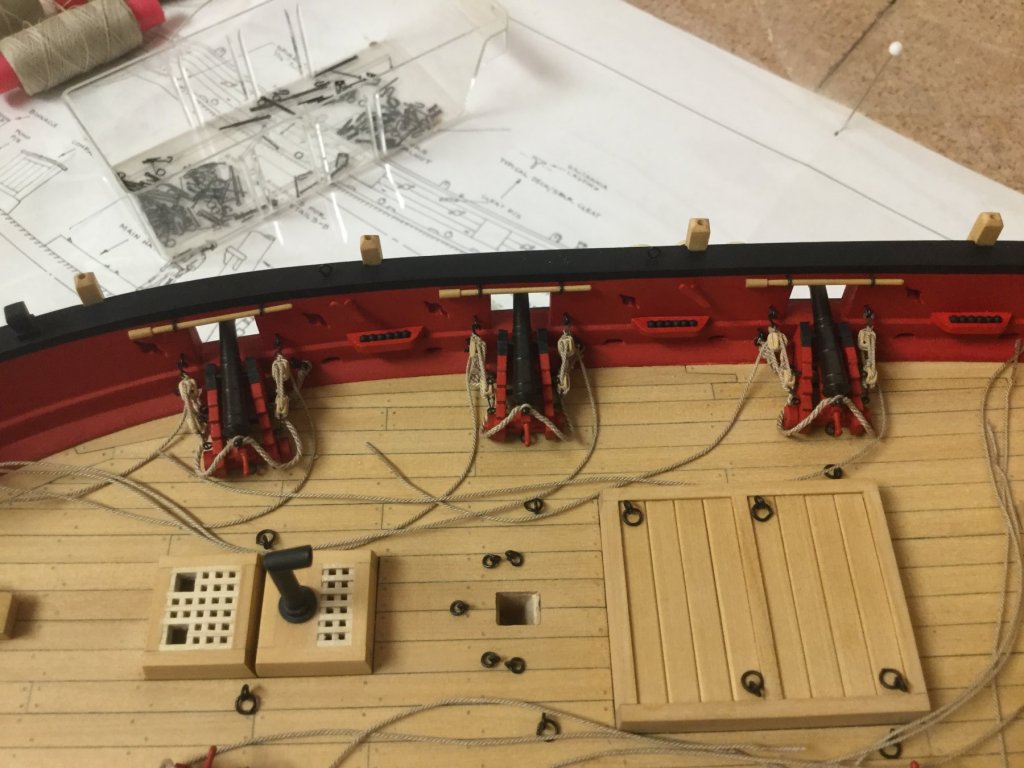
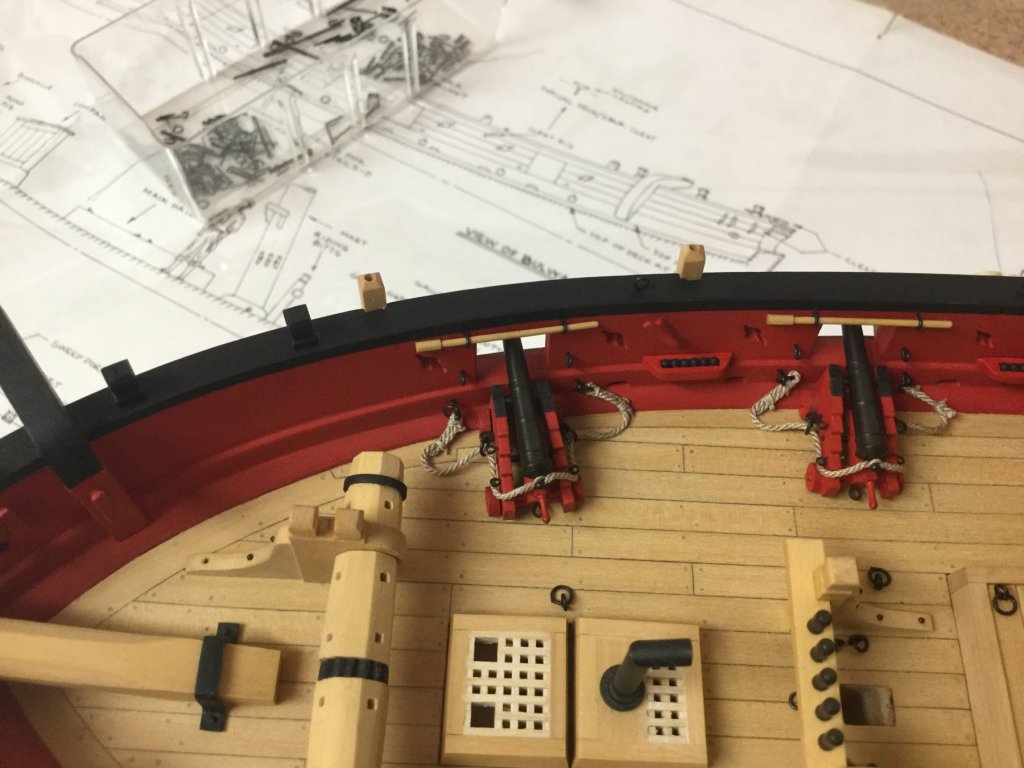
You have made nice progress, looking very good. In my opinion the more easy way is to cut the tackle about 1 cm after last passing through the block and glu it directly onto the deck. Then make a separate rope coil and glue that onto the tackle‘s end. I find this way more appropriate to make sure all rope coils are of equal size and position next to the gun.
-
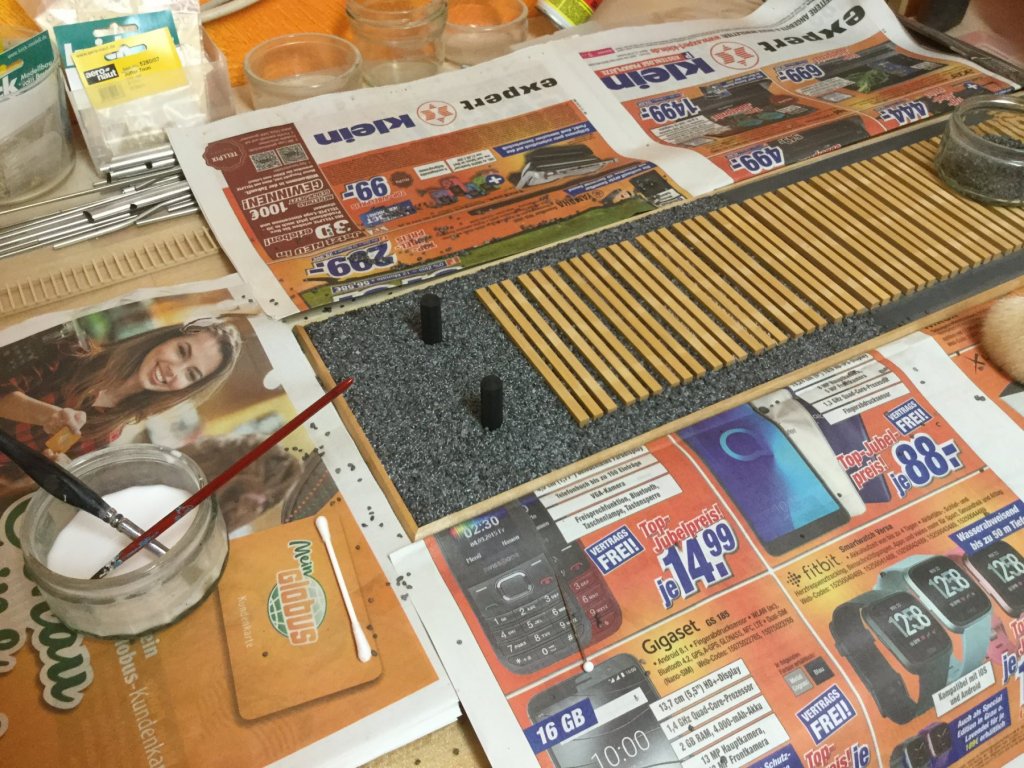
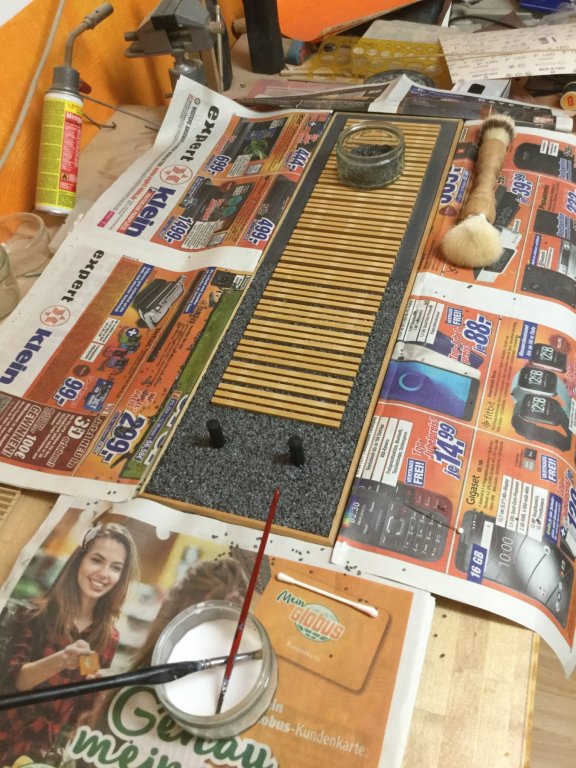
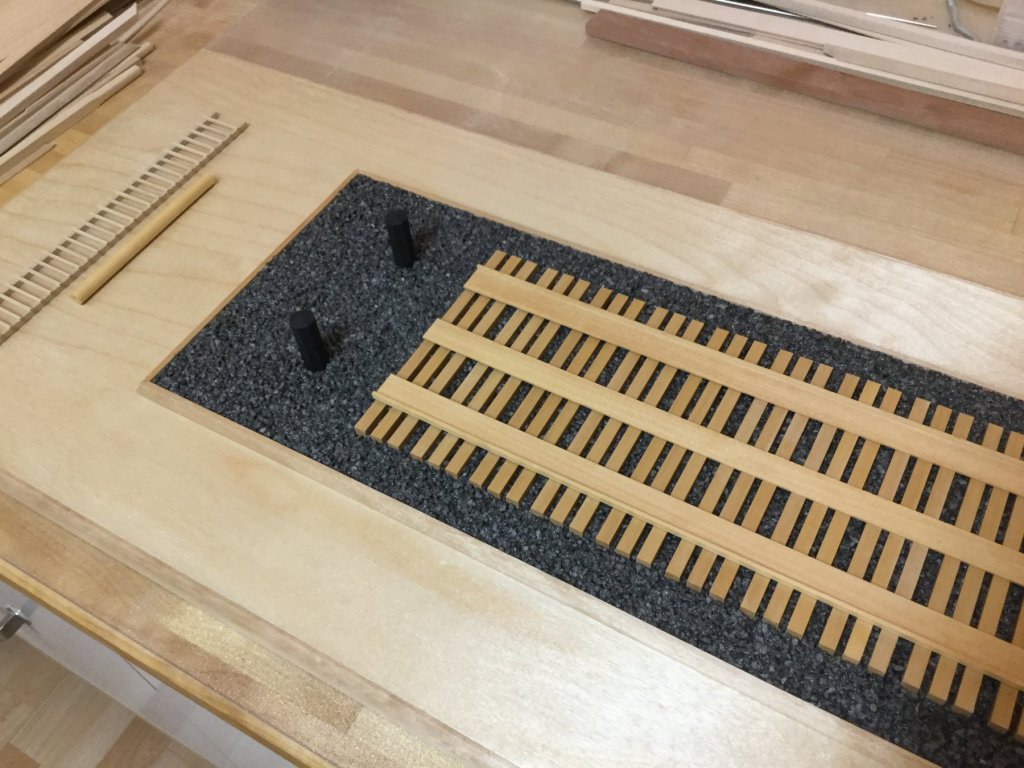
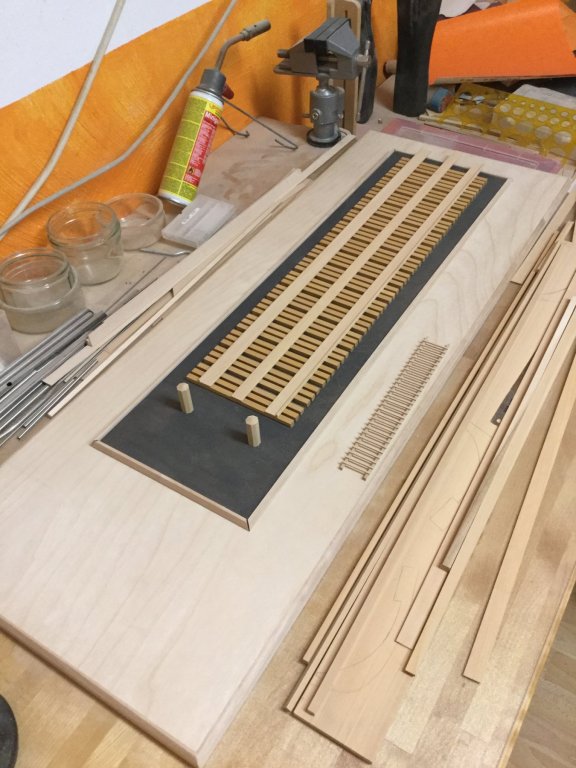
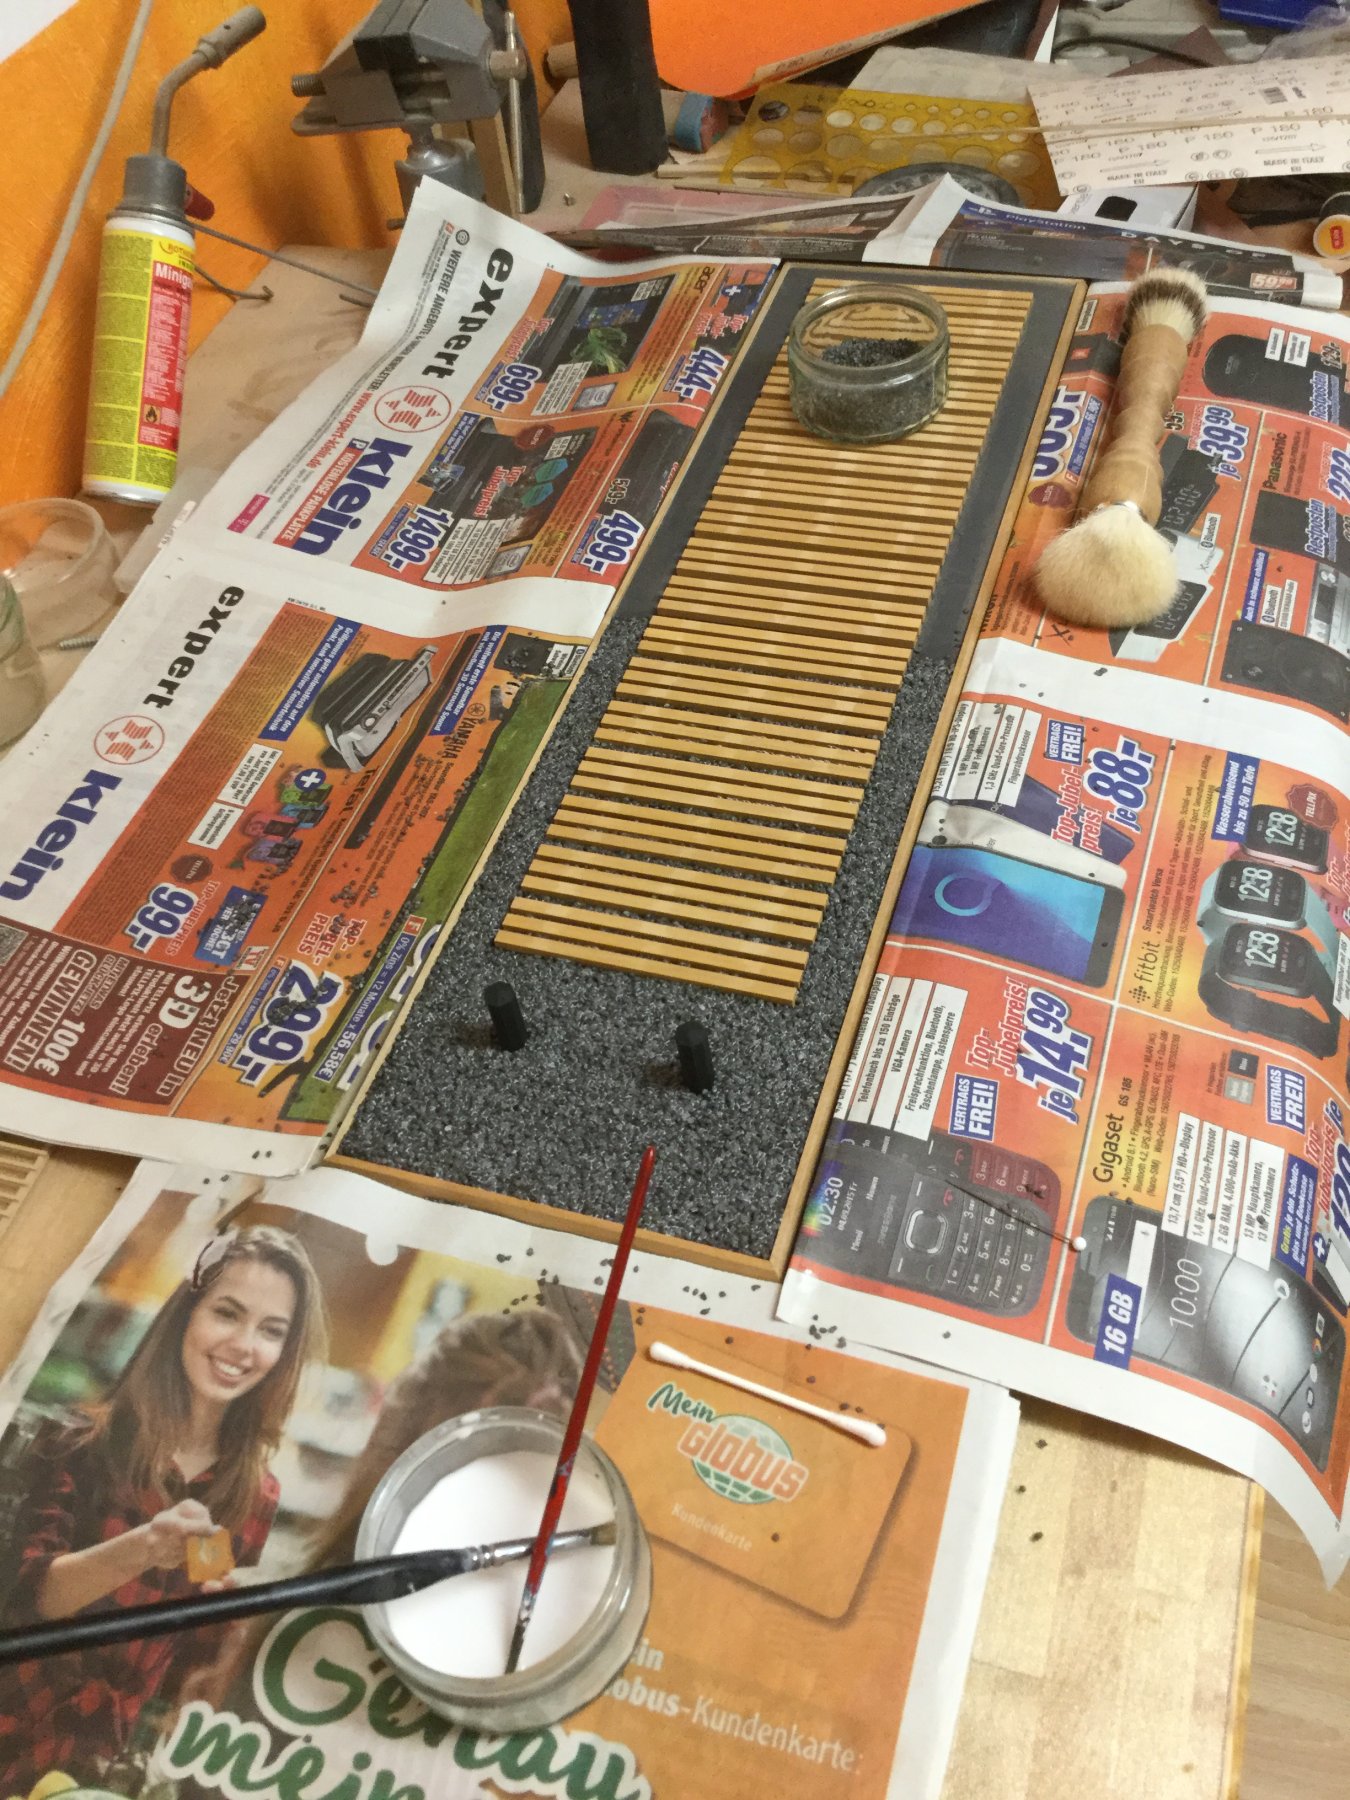
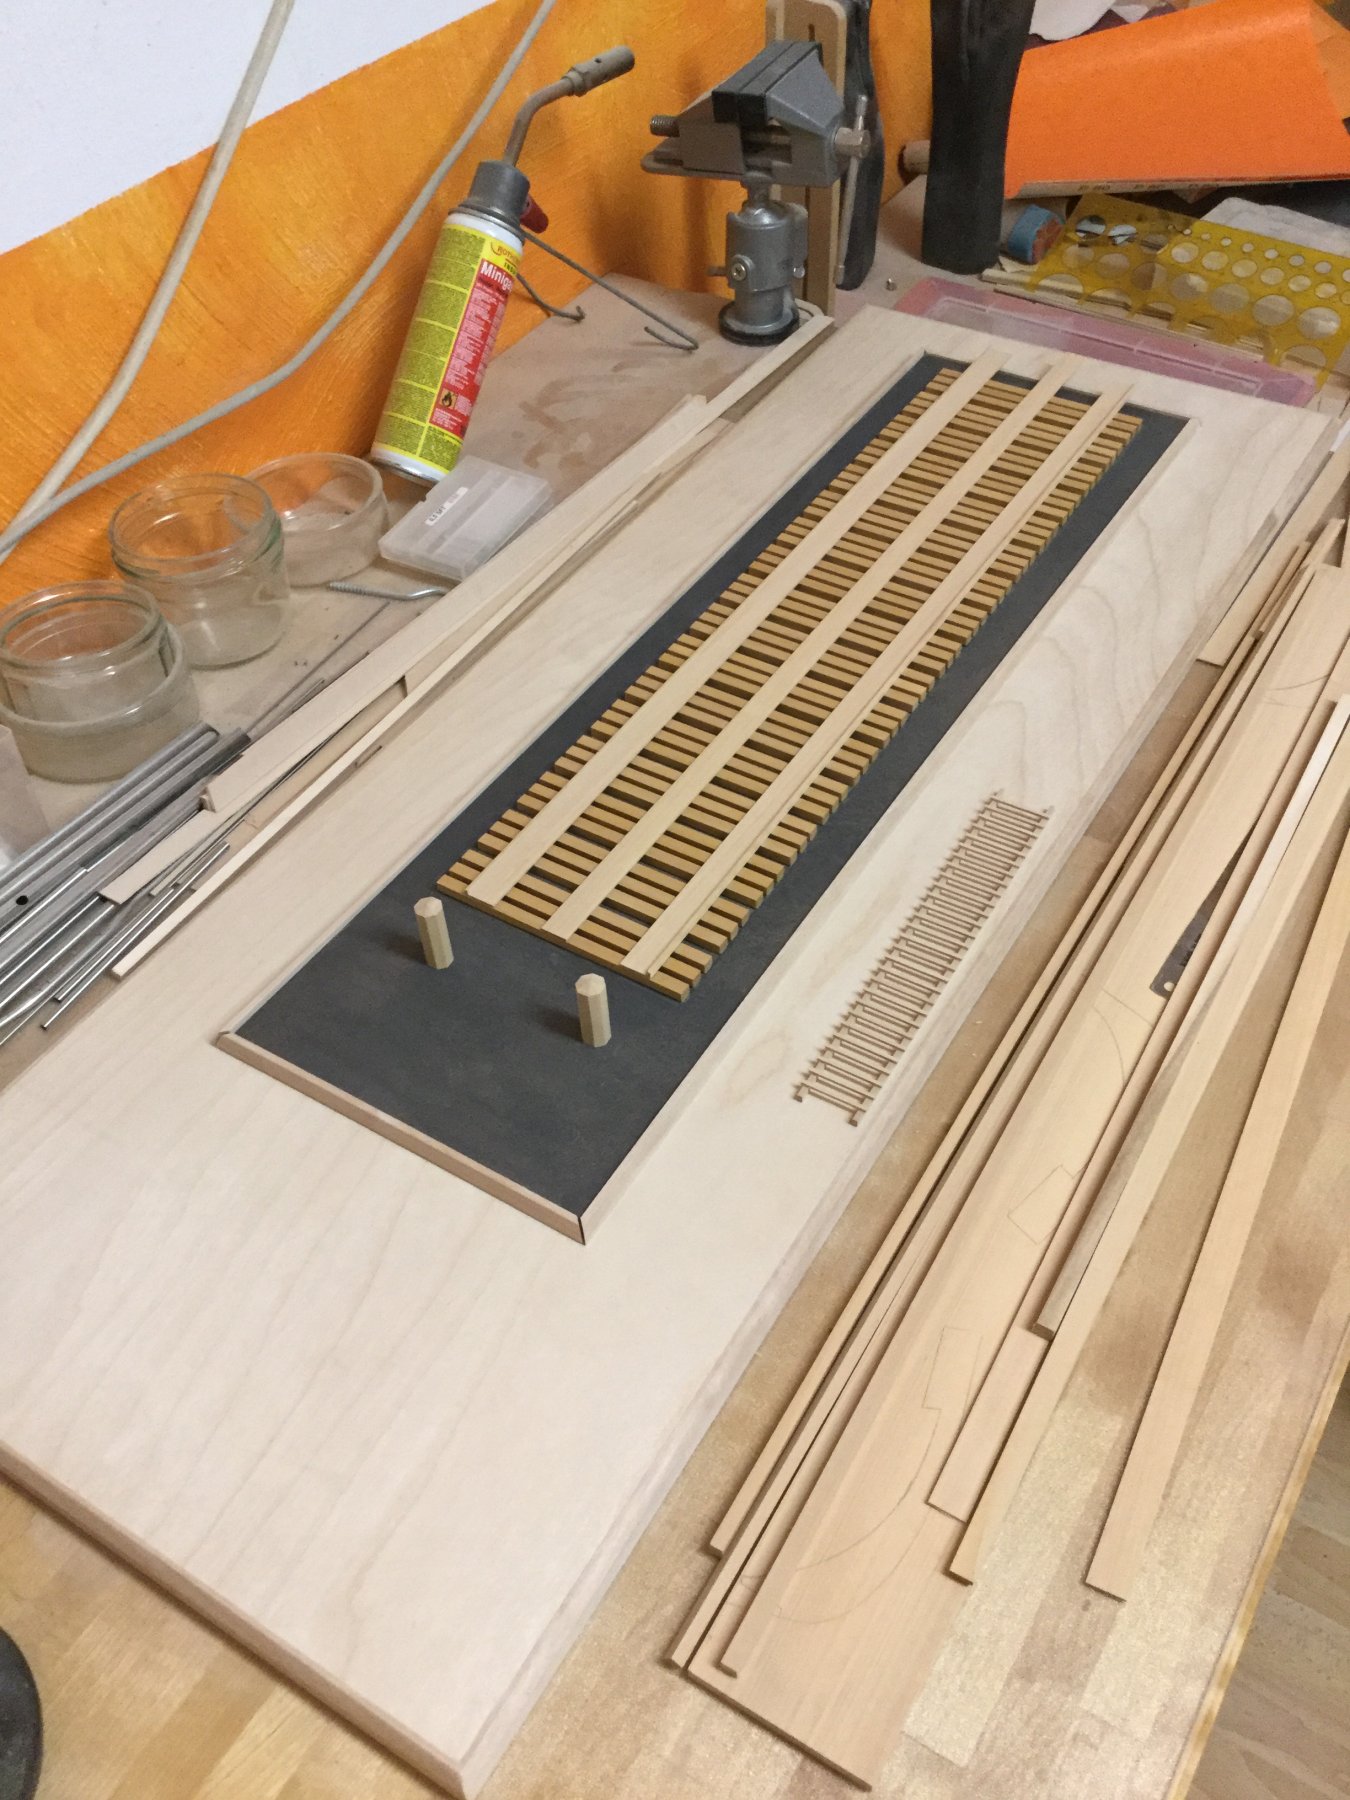
The gravel is glued with with white glu dilluted with water (50-50). I first brushed a thin coat, then strewed the gravel onto the base. Used a brush to cover the gravel with dilluted glu to fix it permanently. It has to dry at least for several hours. Then I can move on to the second part, the carriage.
-
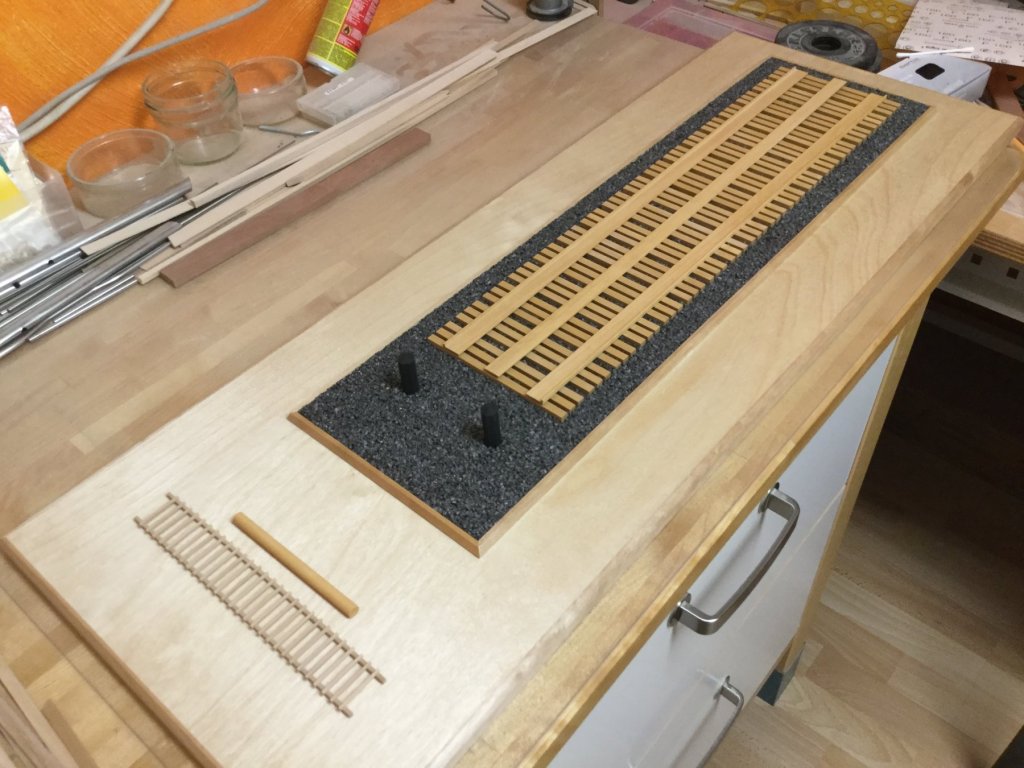
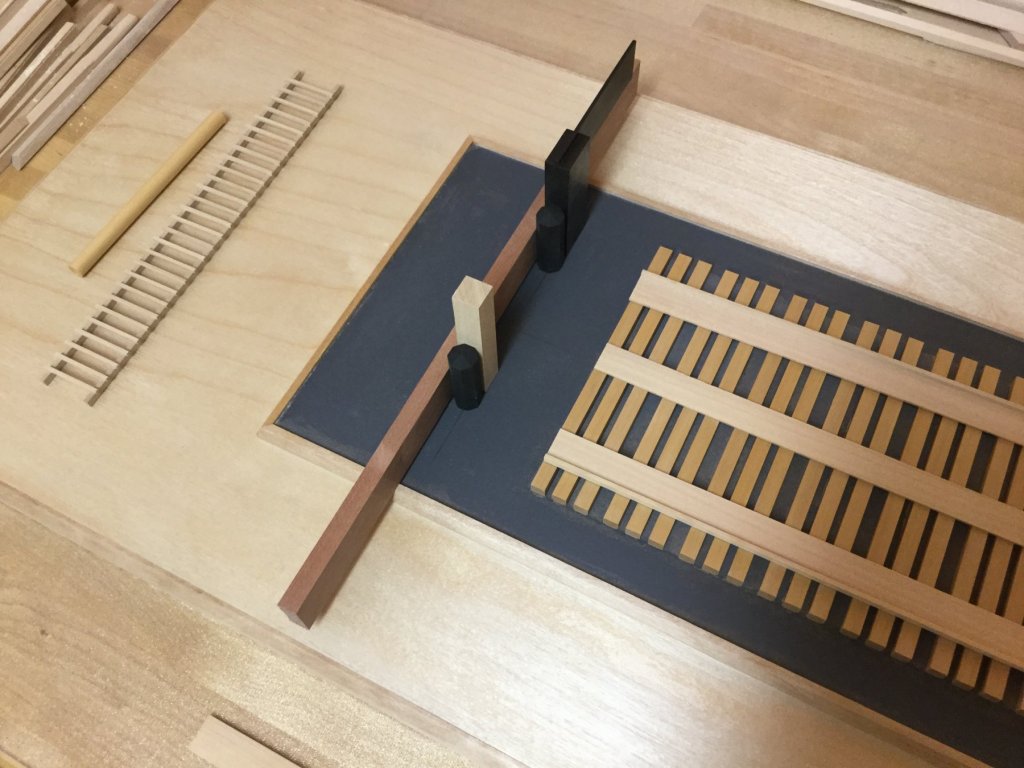
Only small updates. I have painted the base with satin varnish, installed the 4 cover stripes and two octagon bollards painted black.

- Tigersteve, Sea Hoss, JpR62 and 7 others
-
 10
10
-
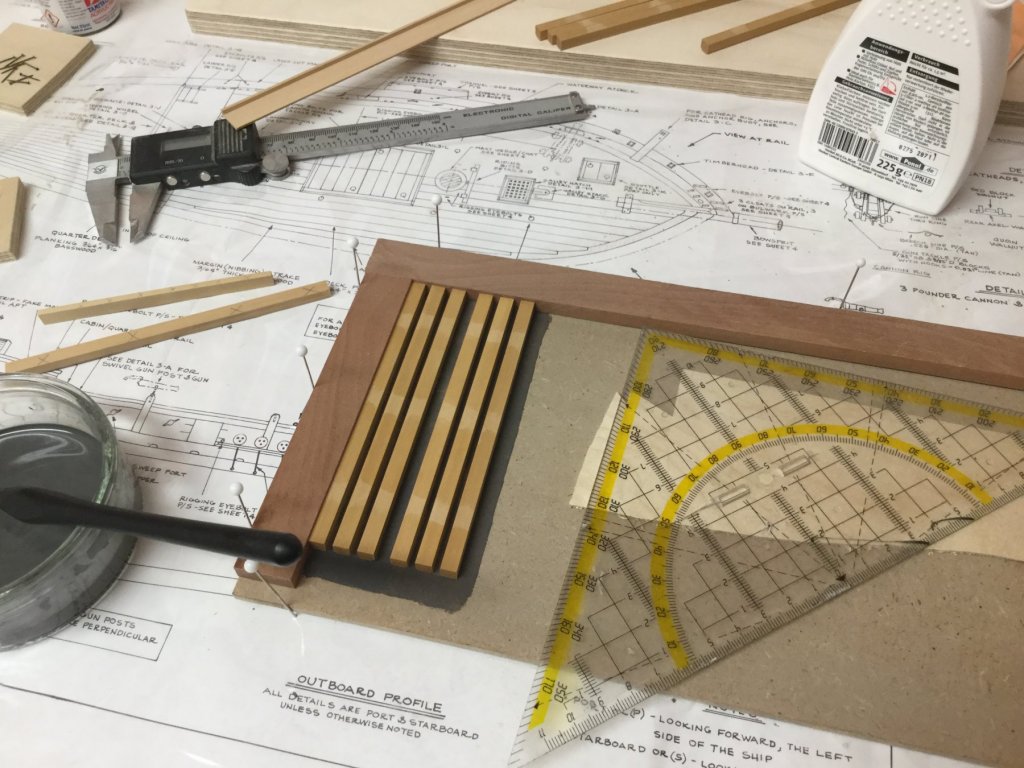
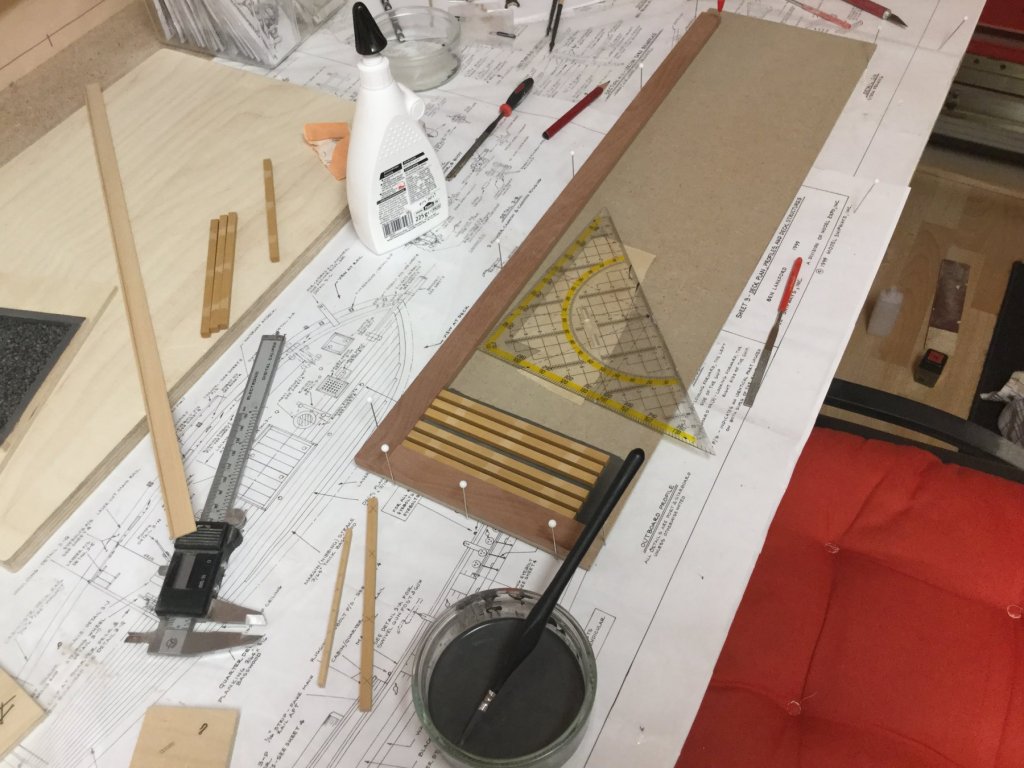
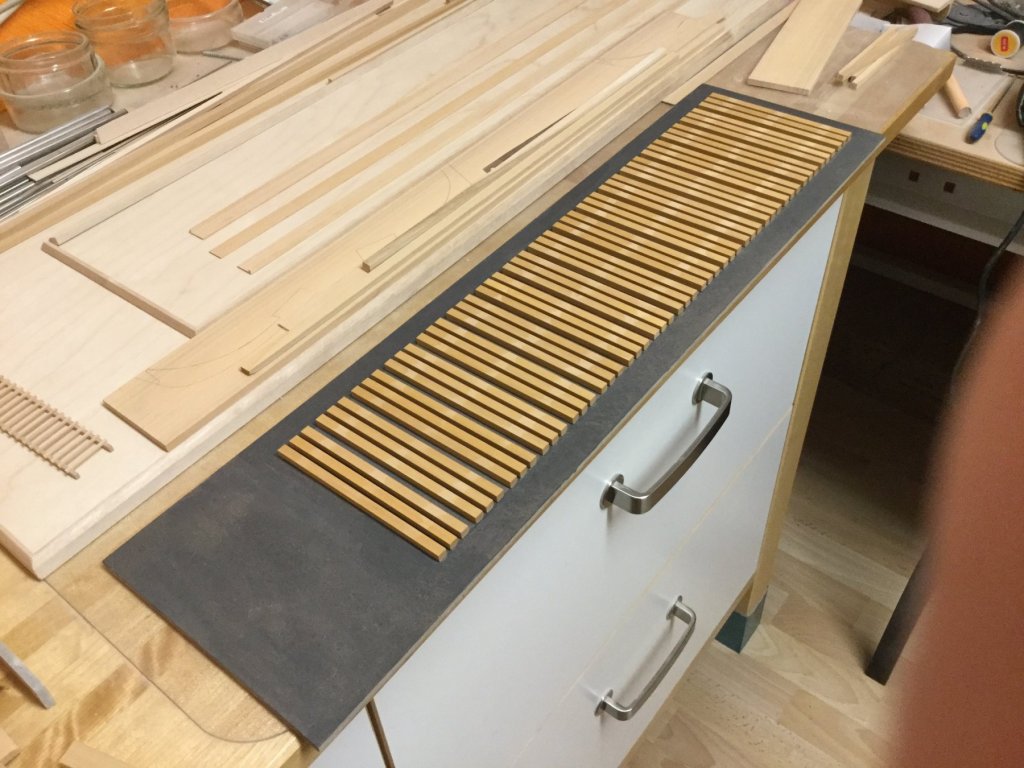
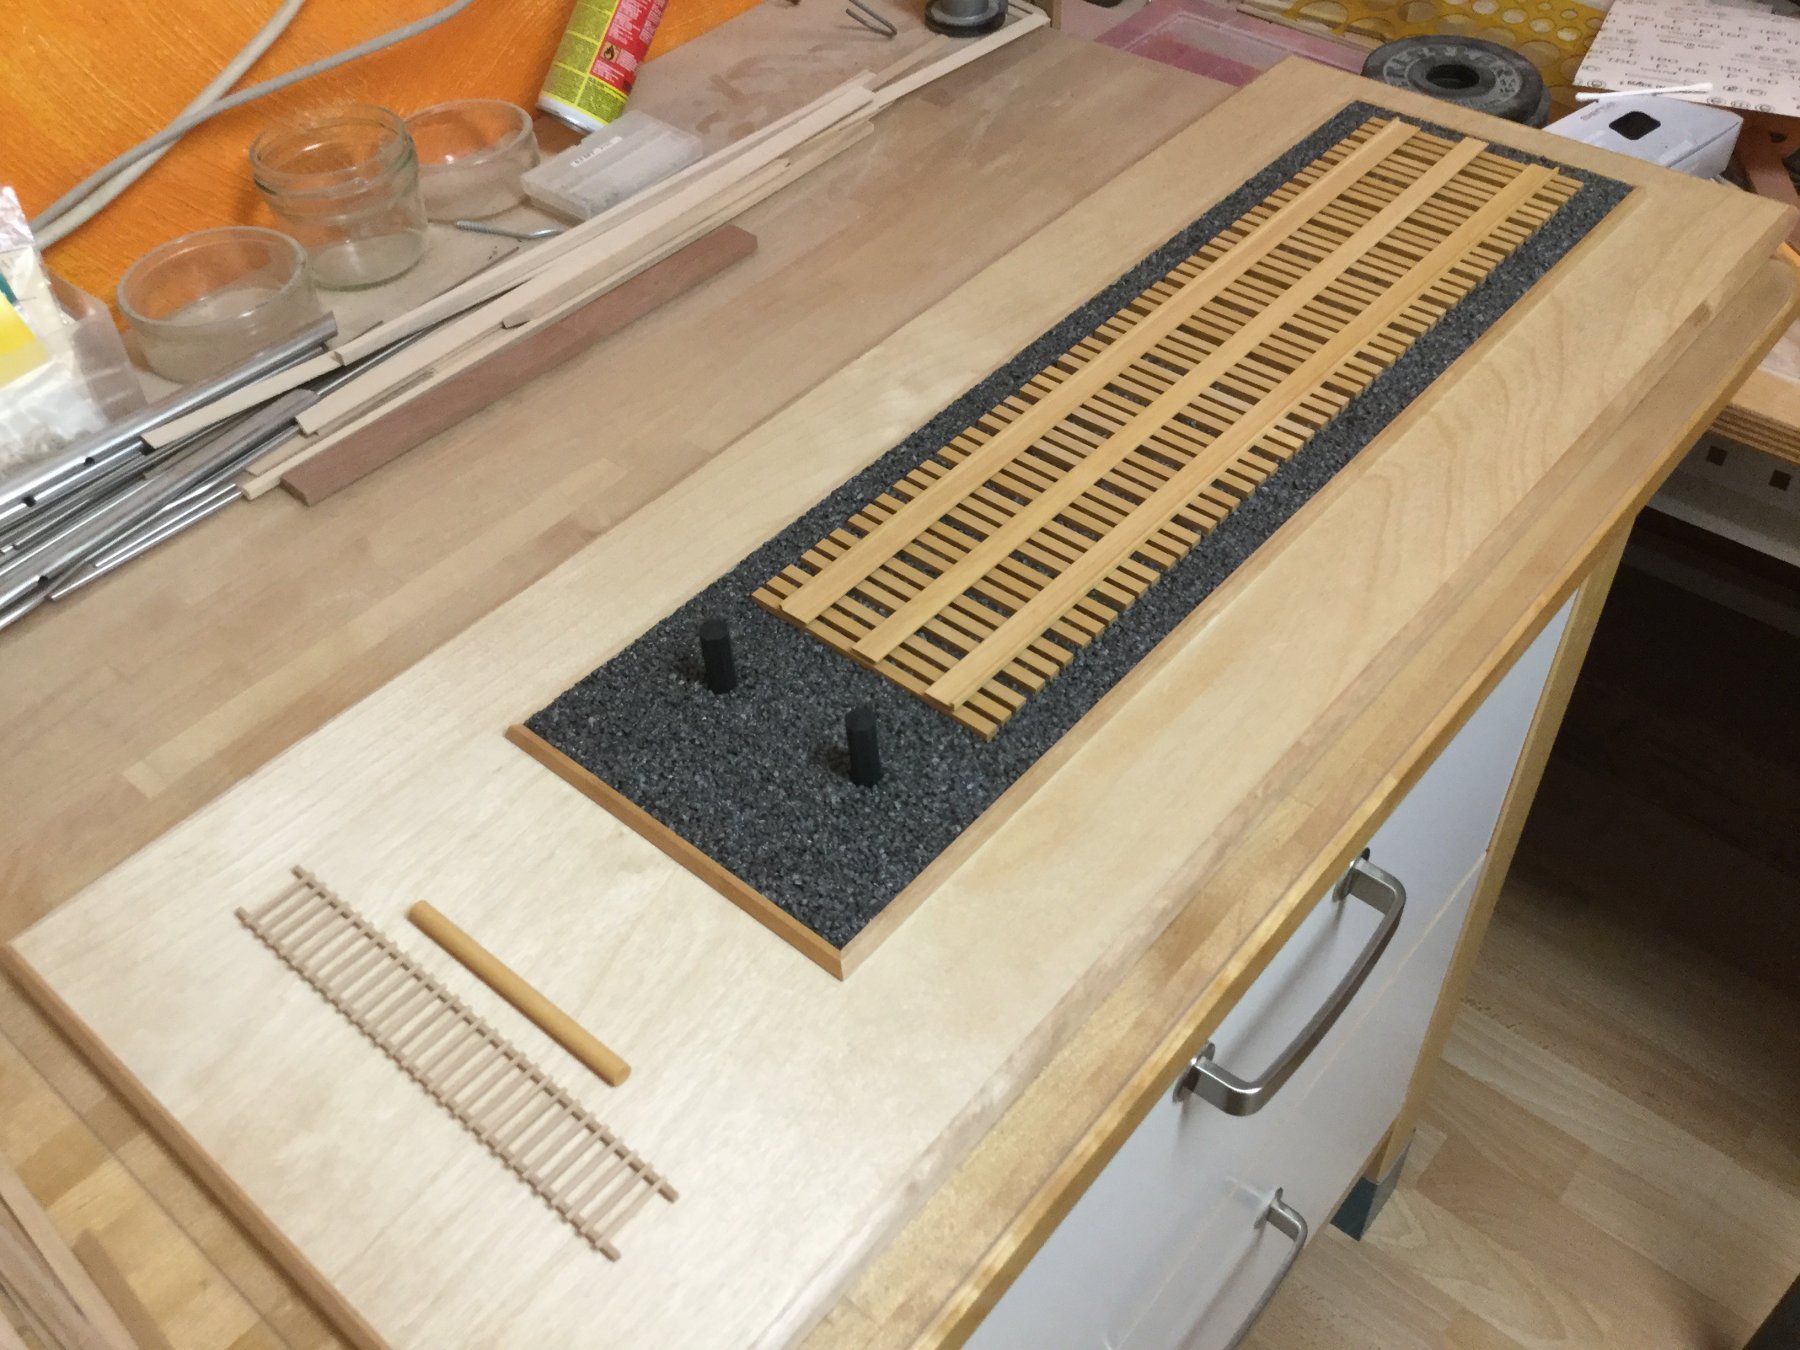
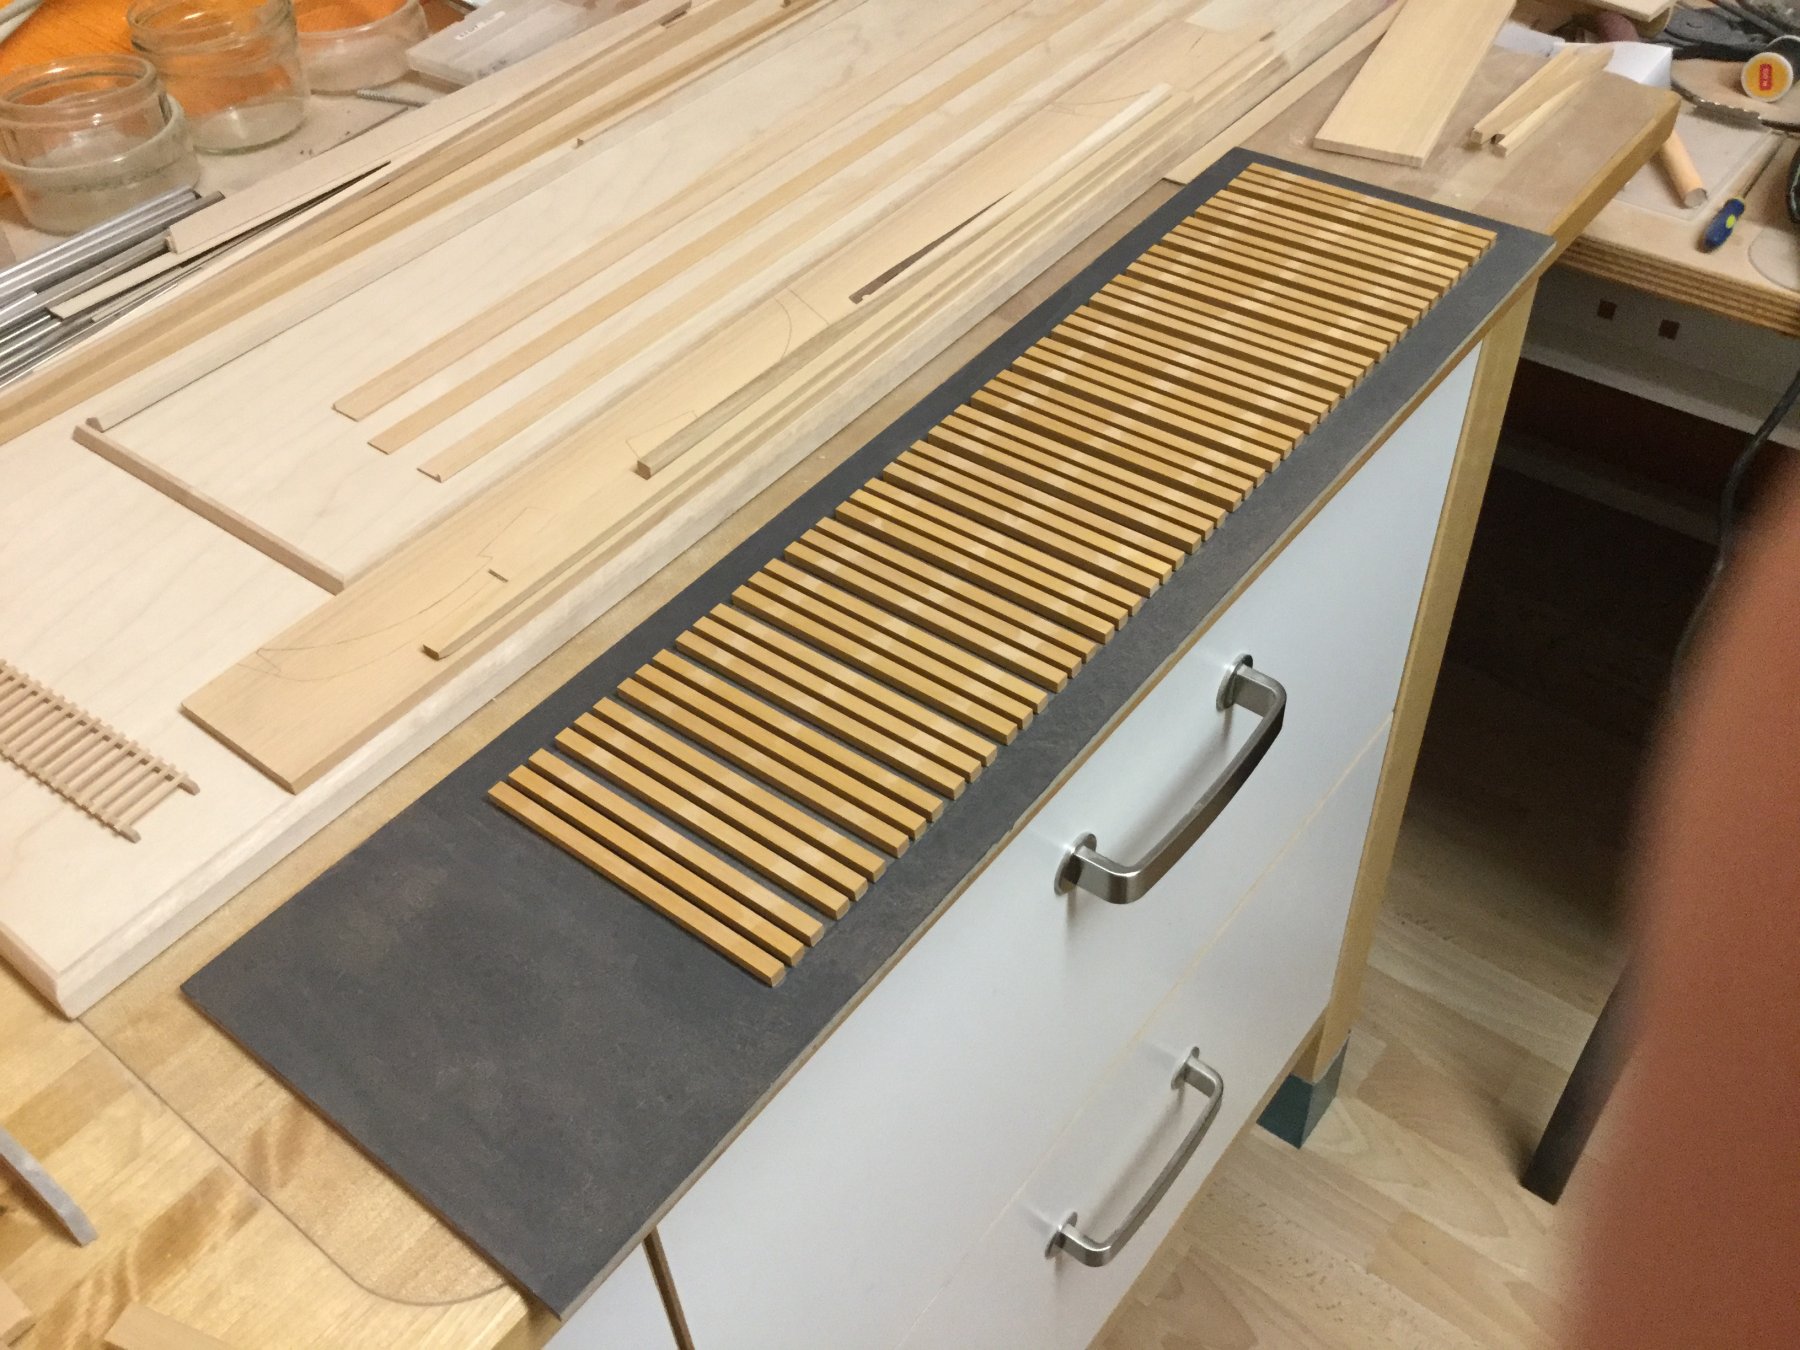
Before I will get to the final chapter - the rigging - I have thought some time about a more realistic launchway and have made a start already. Next step will be gluing the launchway onto the board, cover the sides with the prepared birch strips and cover the painted area with grey gravel (1,2 - 1,8 mm).
-
A beautiful model and truly a piece of art!
-
Hello,
it seems that the pre-cut plywood sheet does not support a correct gunport alignment. This may be a kit-fabrication mistake because I have seen this in some sherbourne builds before. AFAIK the distance between gunport bottom and false deck should all be the same. I've modified a picture from a recent post (red line) so you get an idea of what i mean. In comparison another picture of the sherbourne I build three years ago. If you follow the plank below the gunports, you see that all gunports are lined up (purple line).
Best regards,
Andreas


-
-
-
-
-
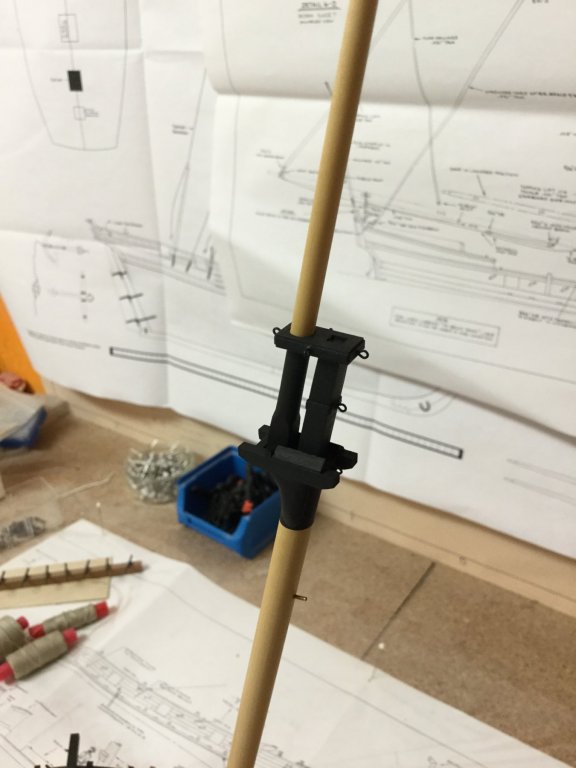
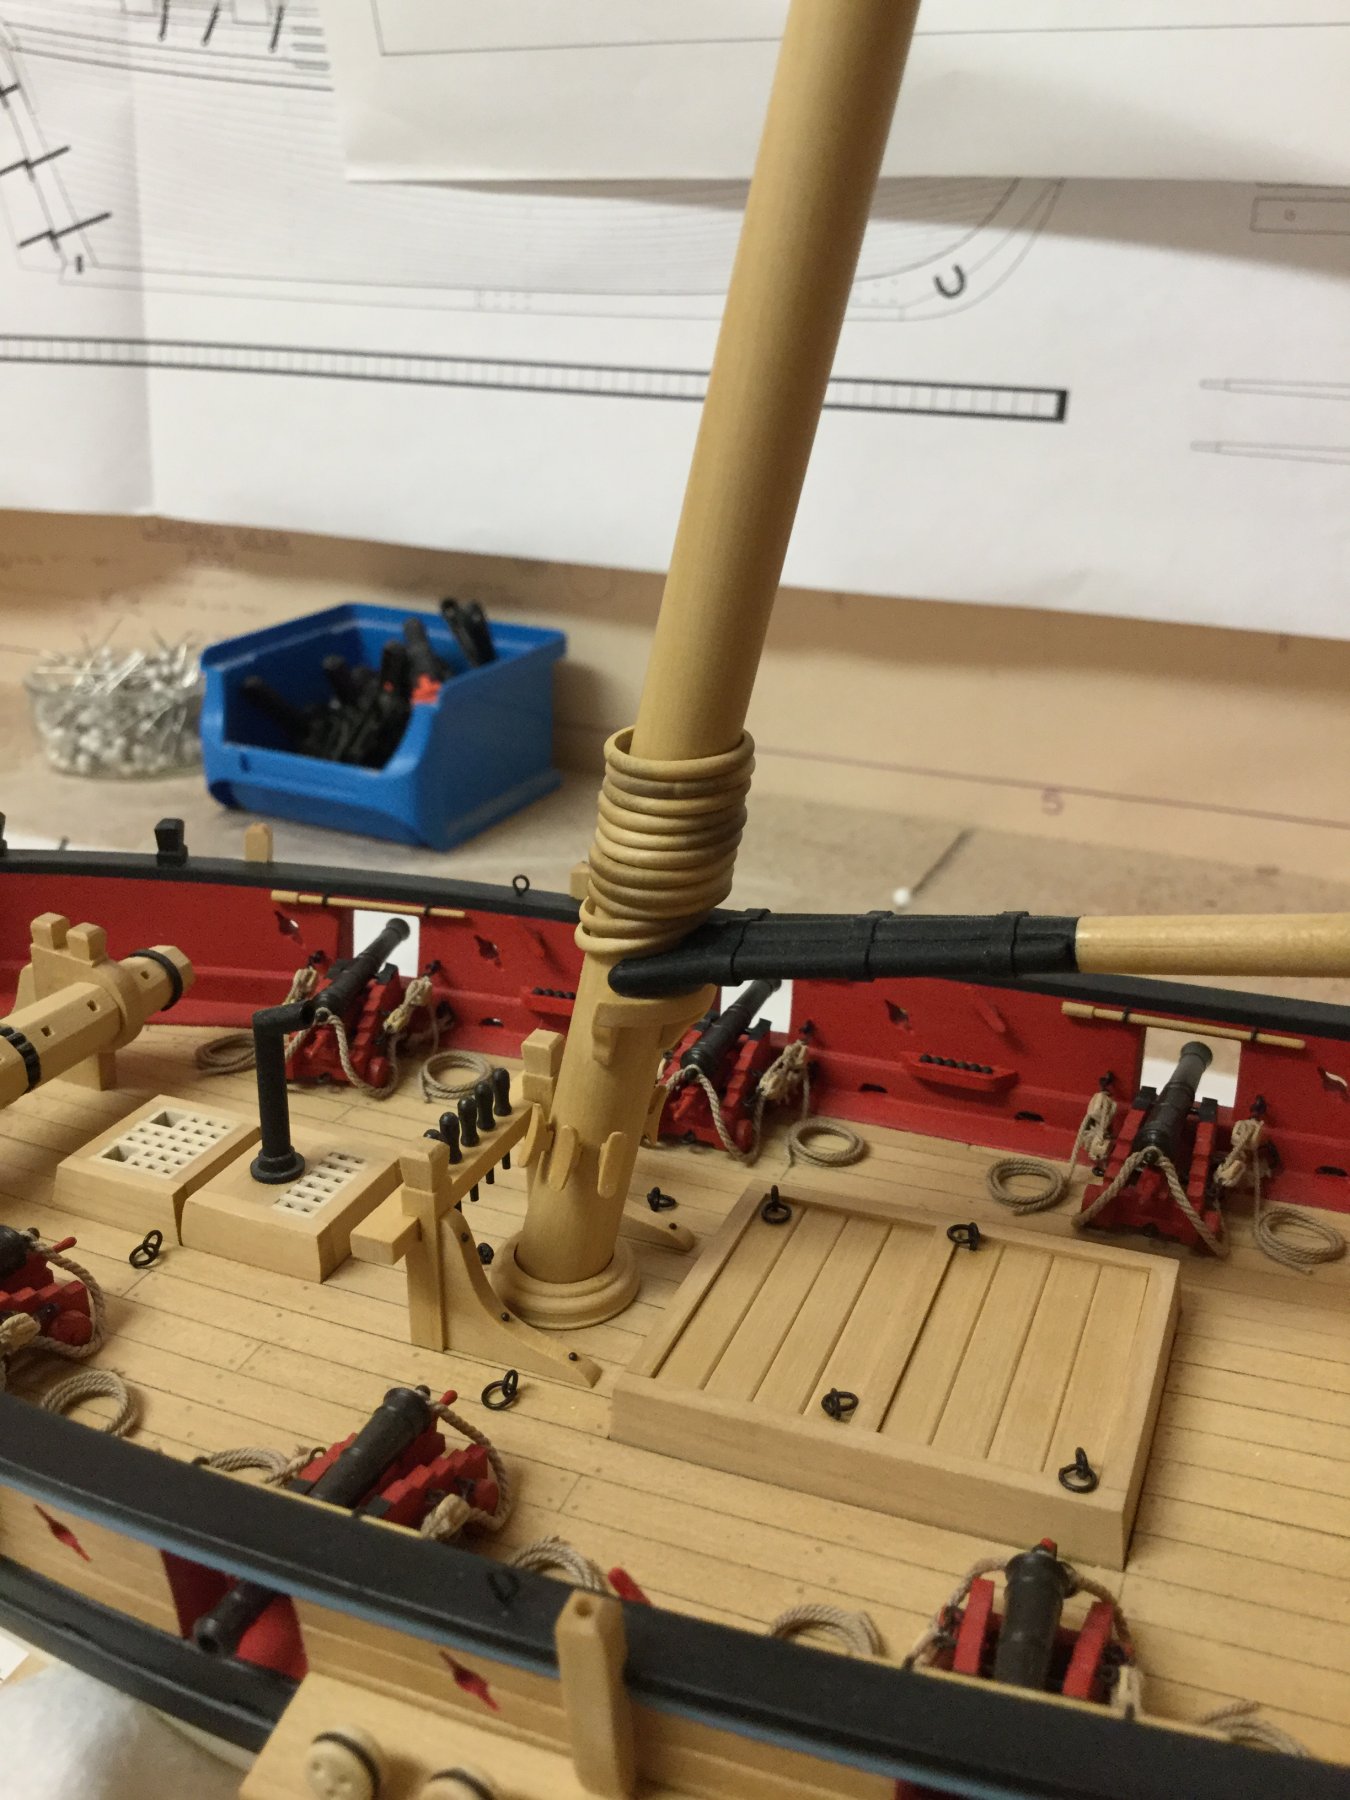
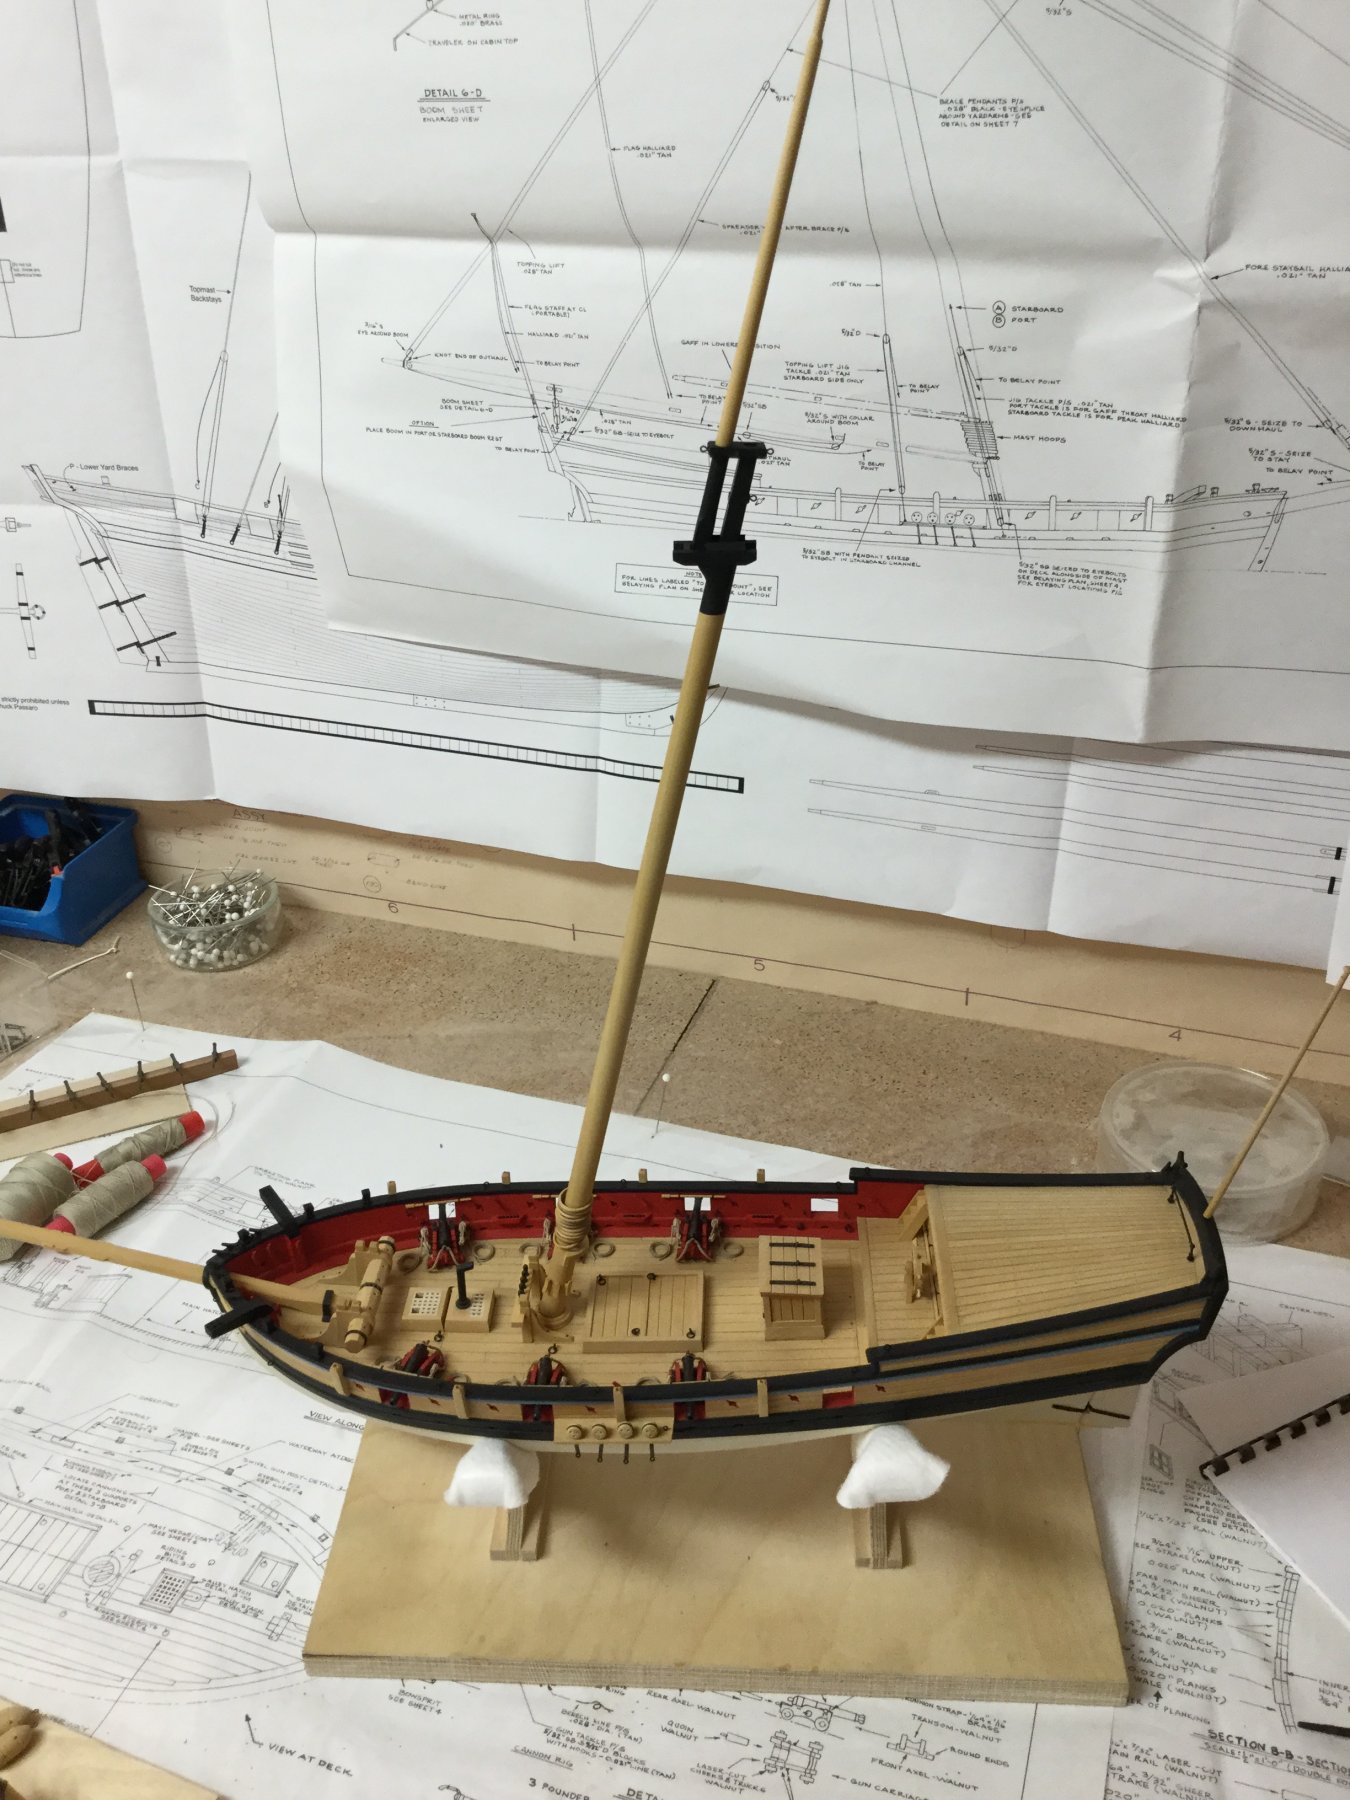
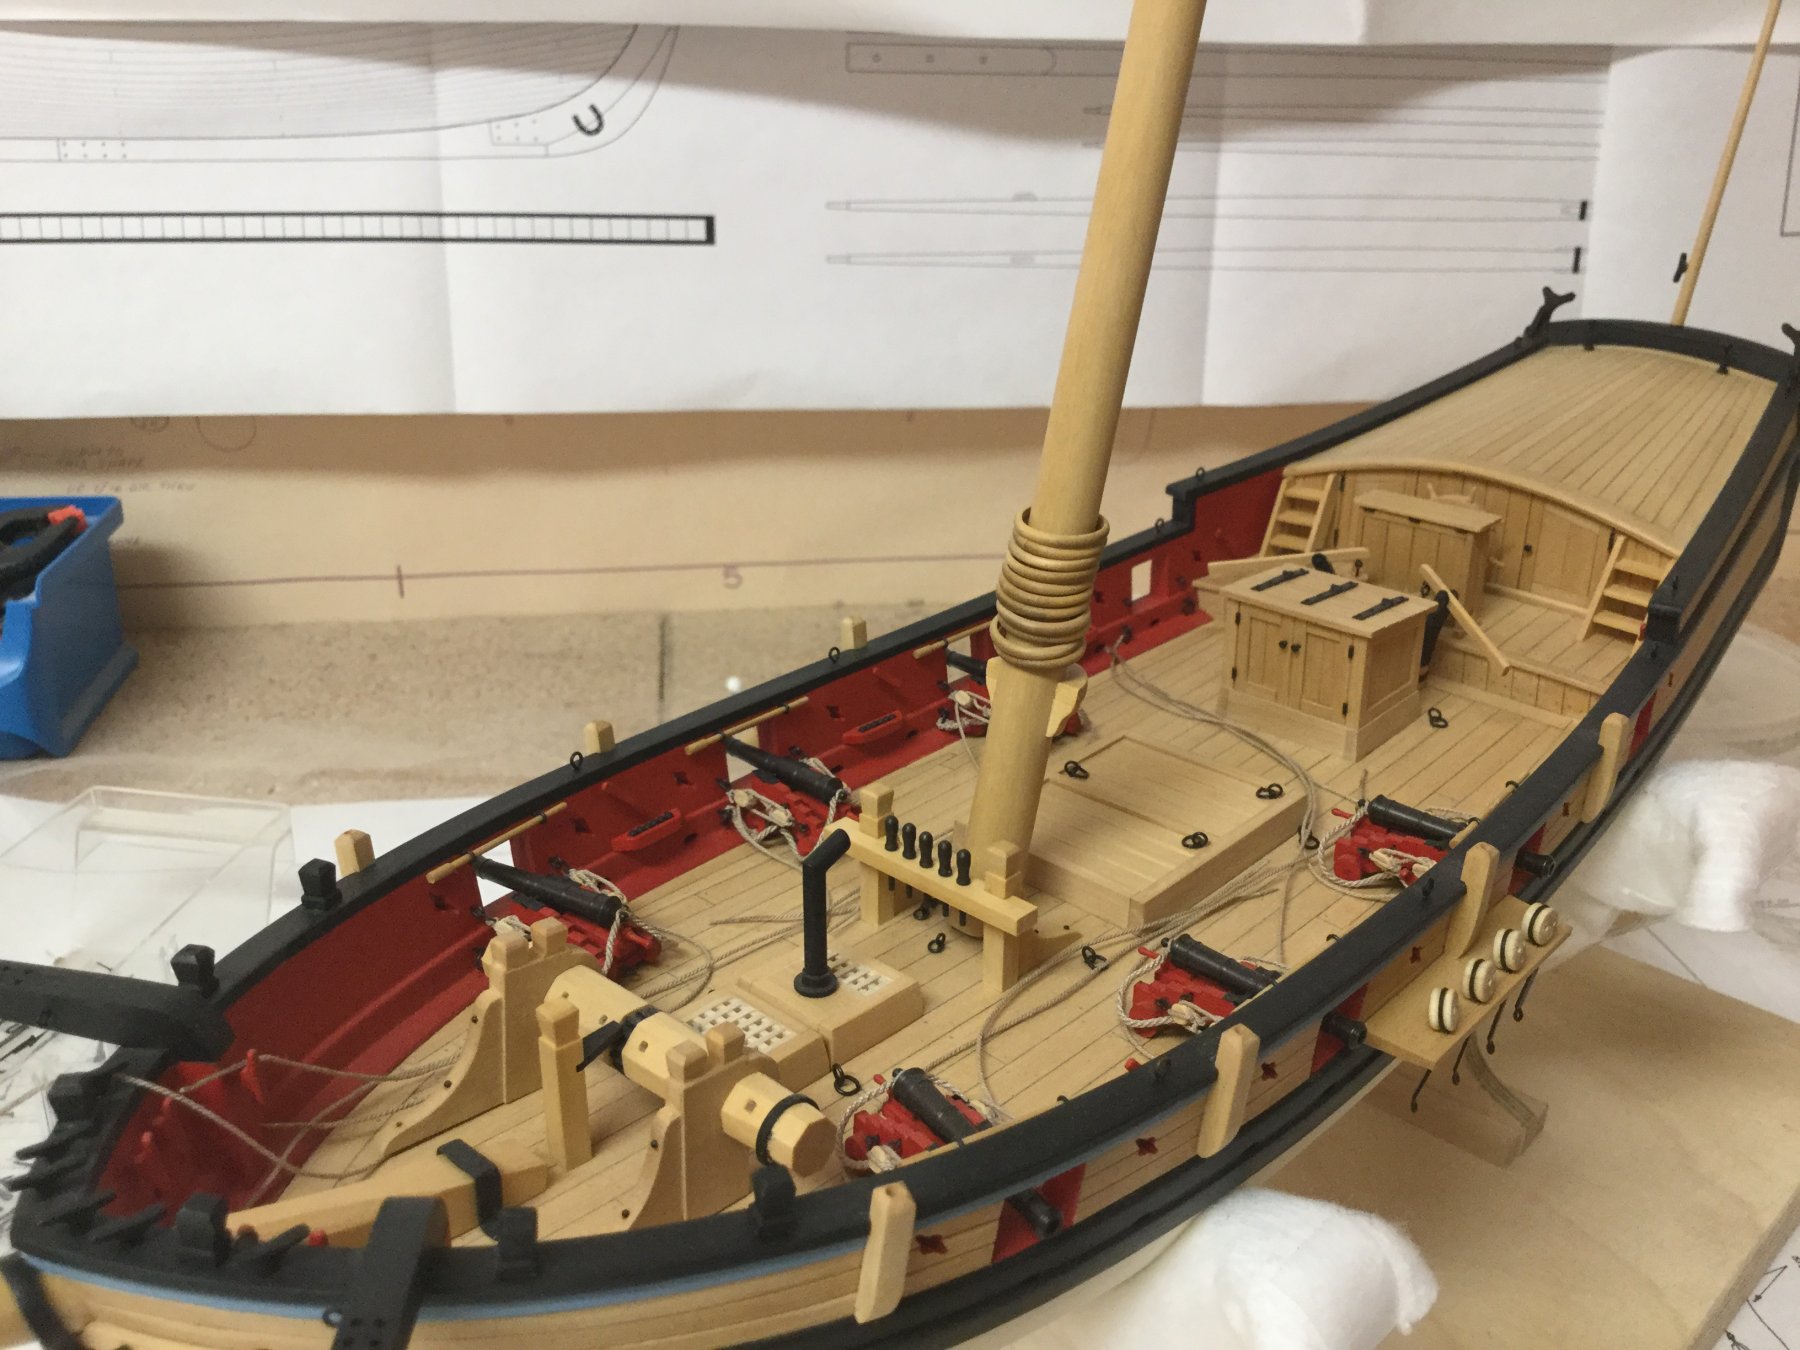
Thank you very much for the nice words and the likes. Been working on the mast today, added wooden clamps and redone the mars so that it stays parallel to the deck. For now all parts are only dry-fitted.

-
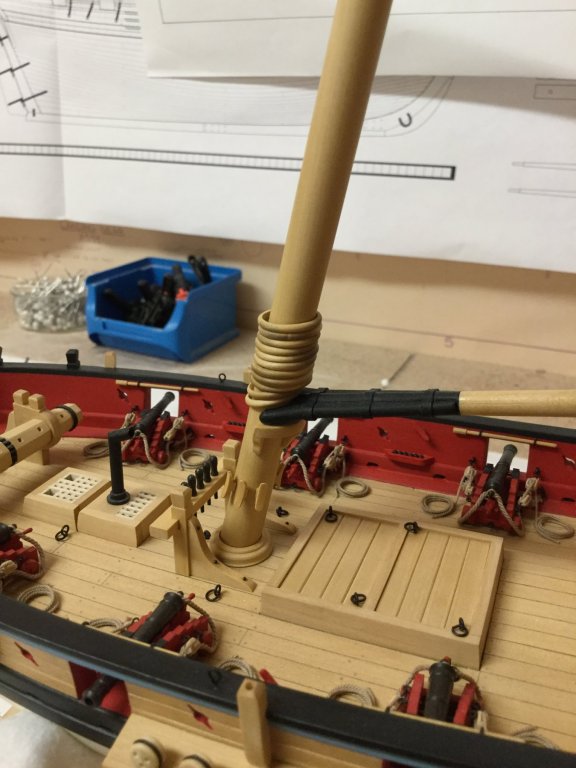
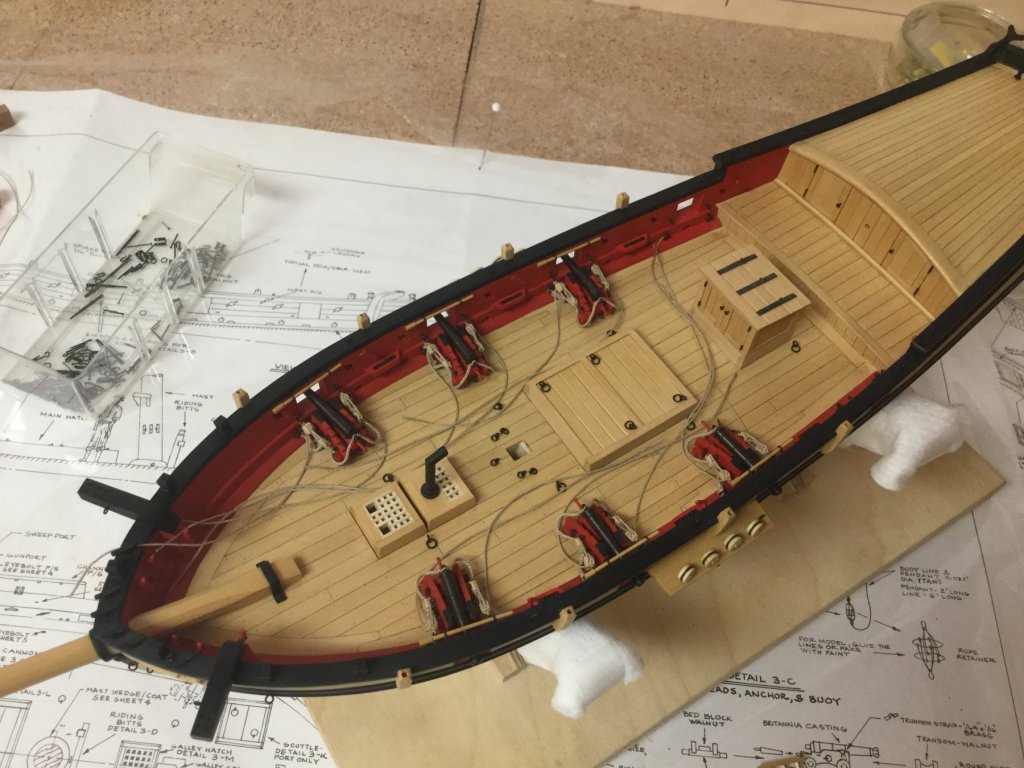
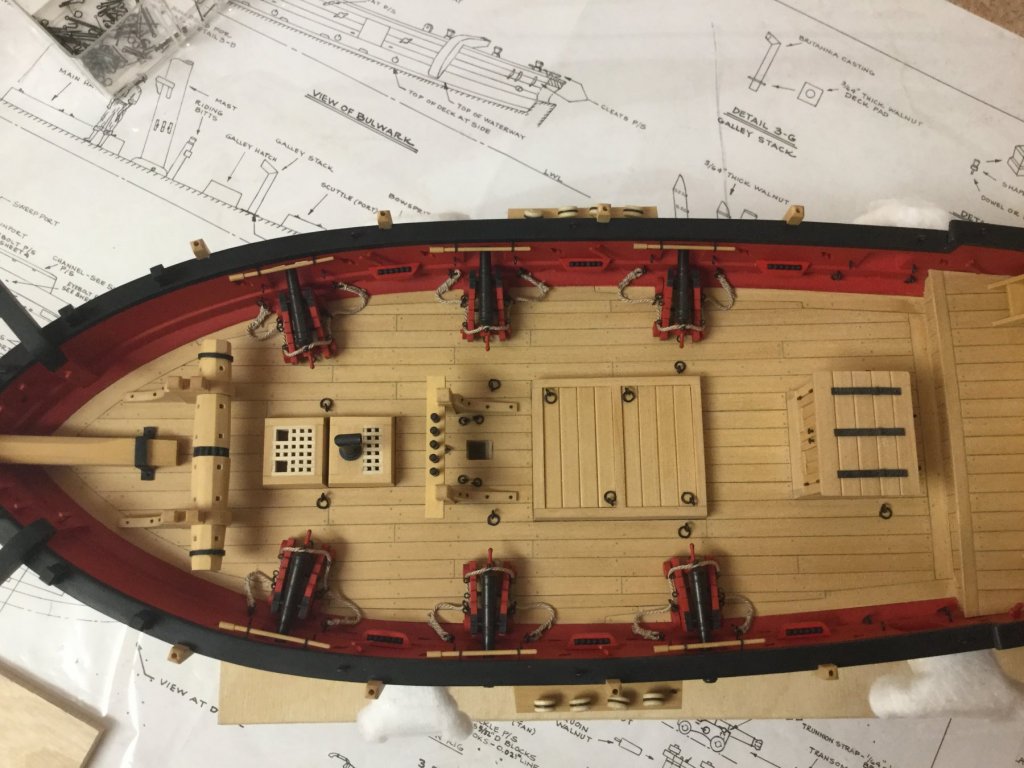
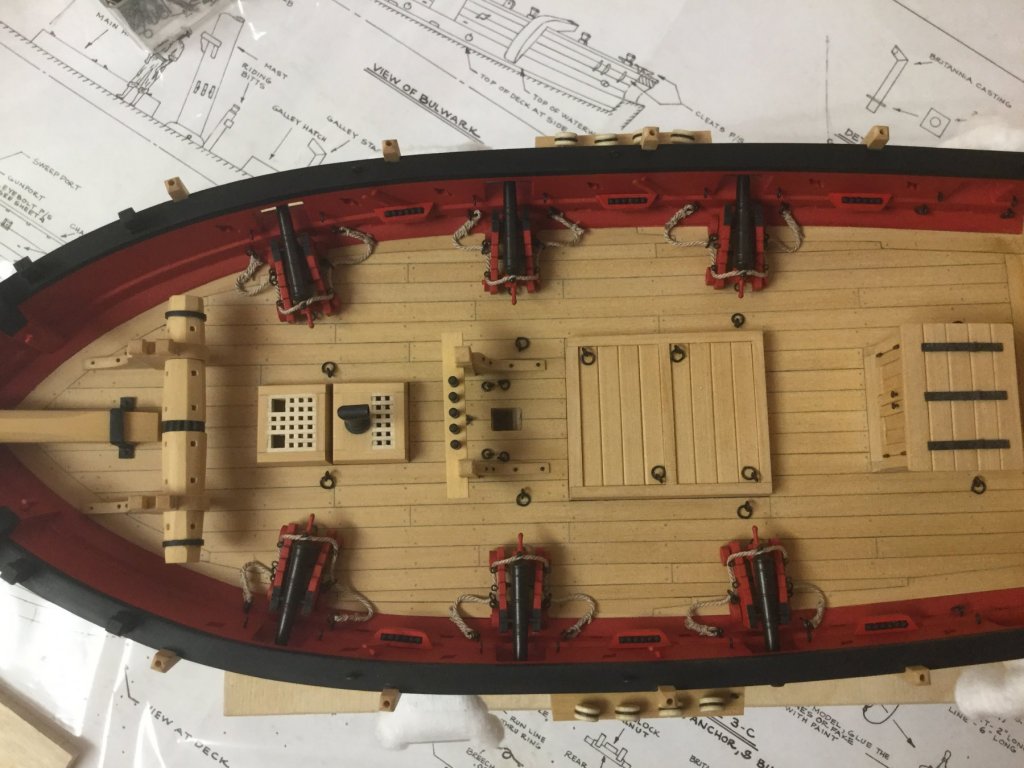
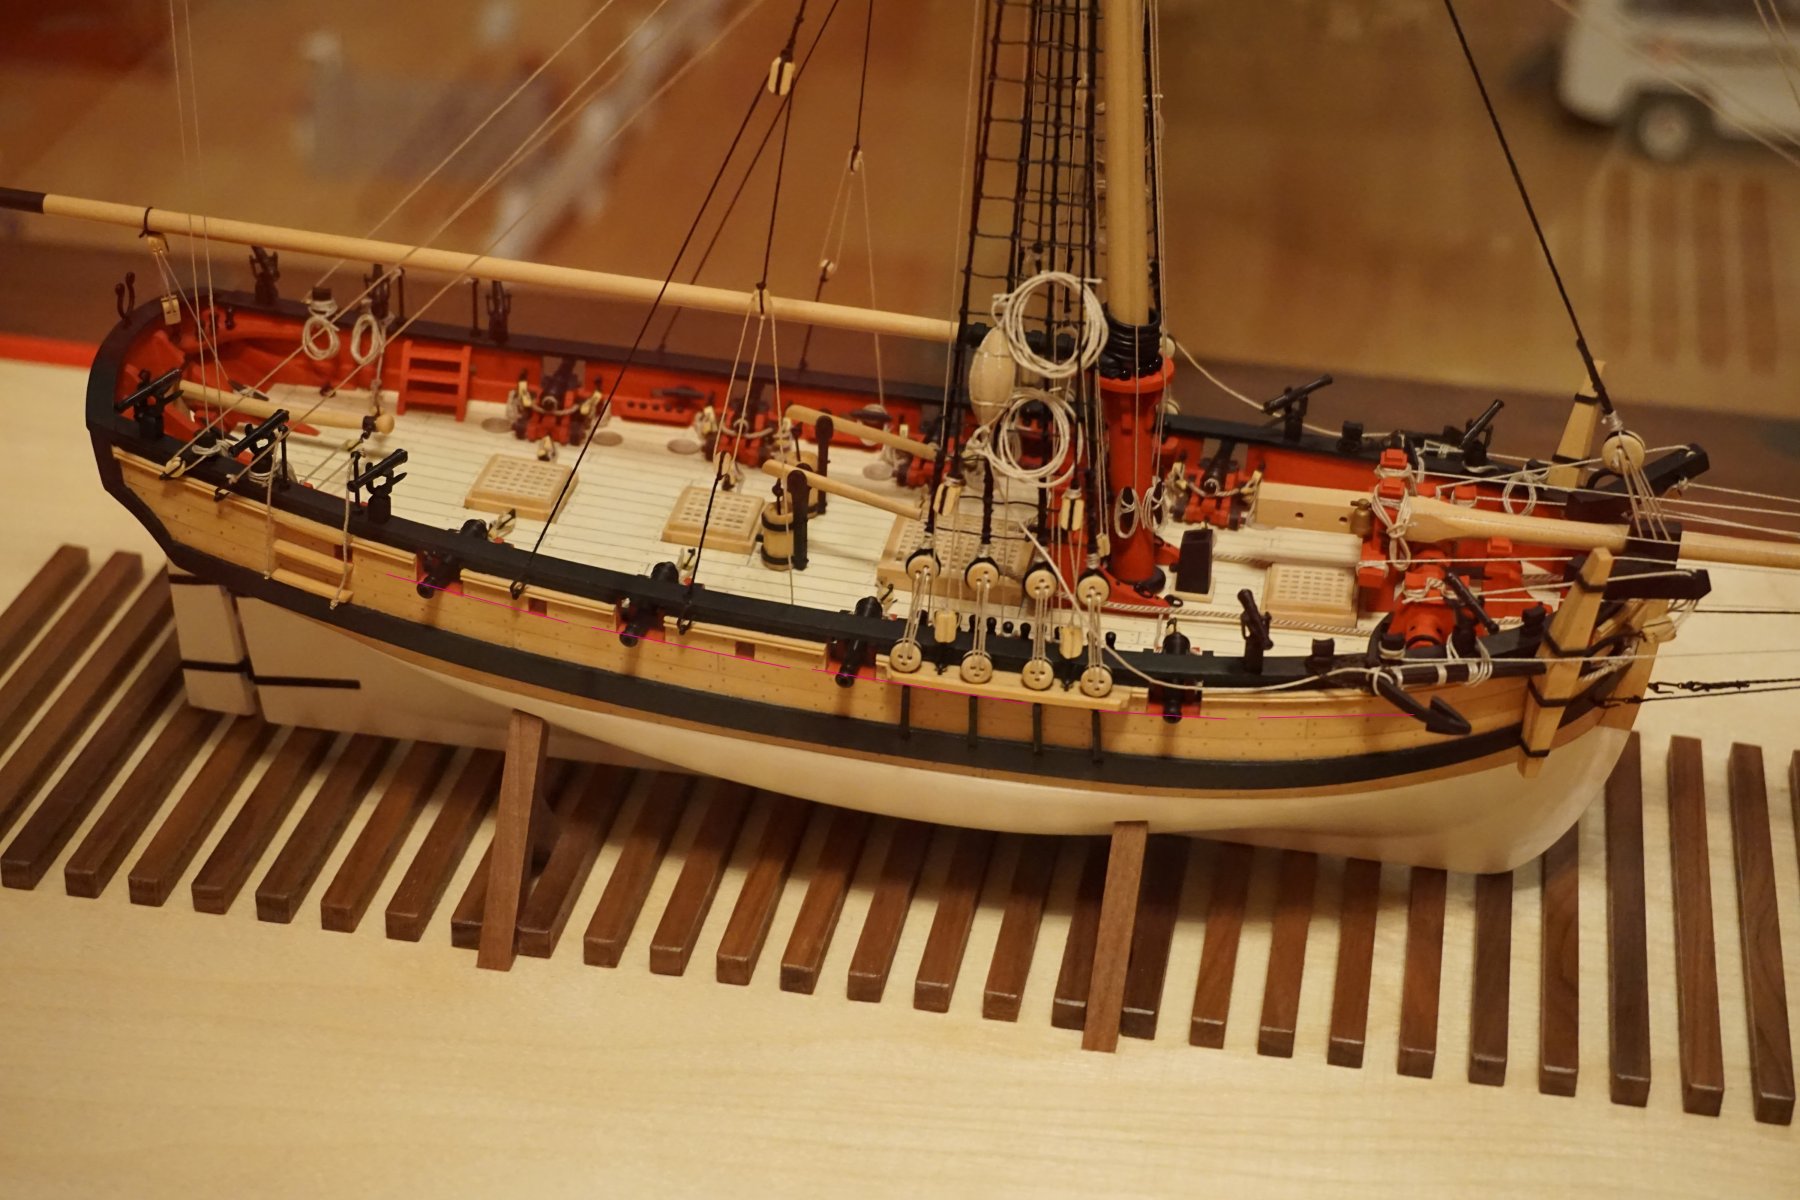
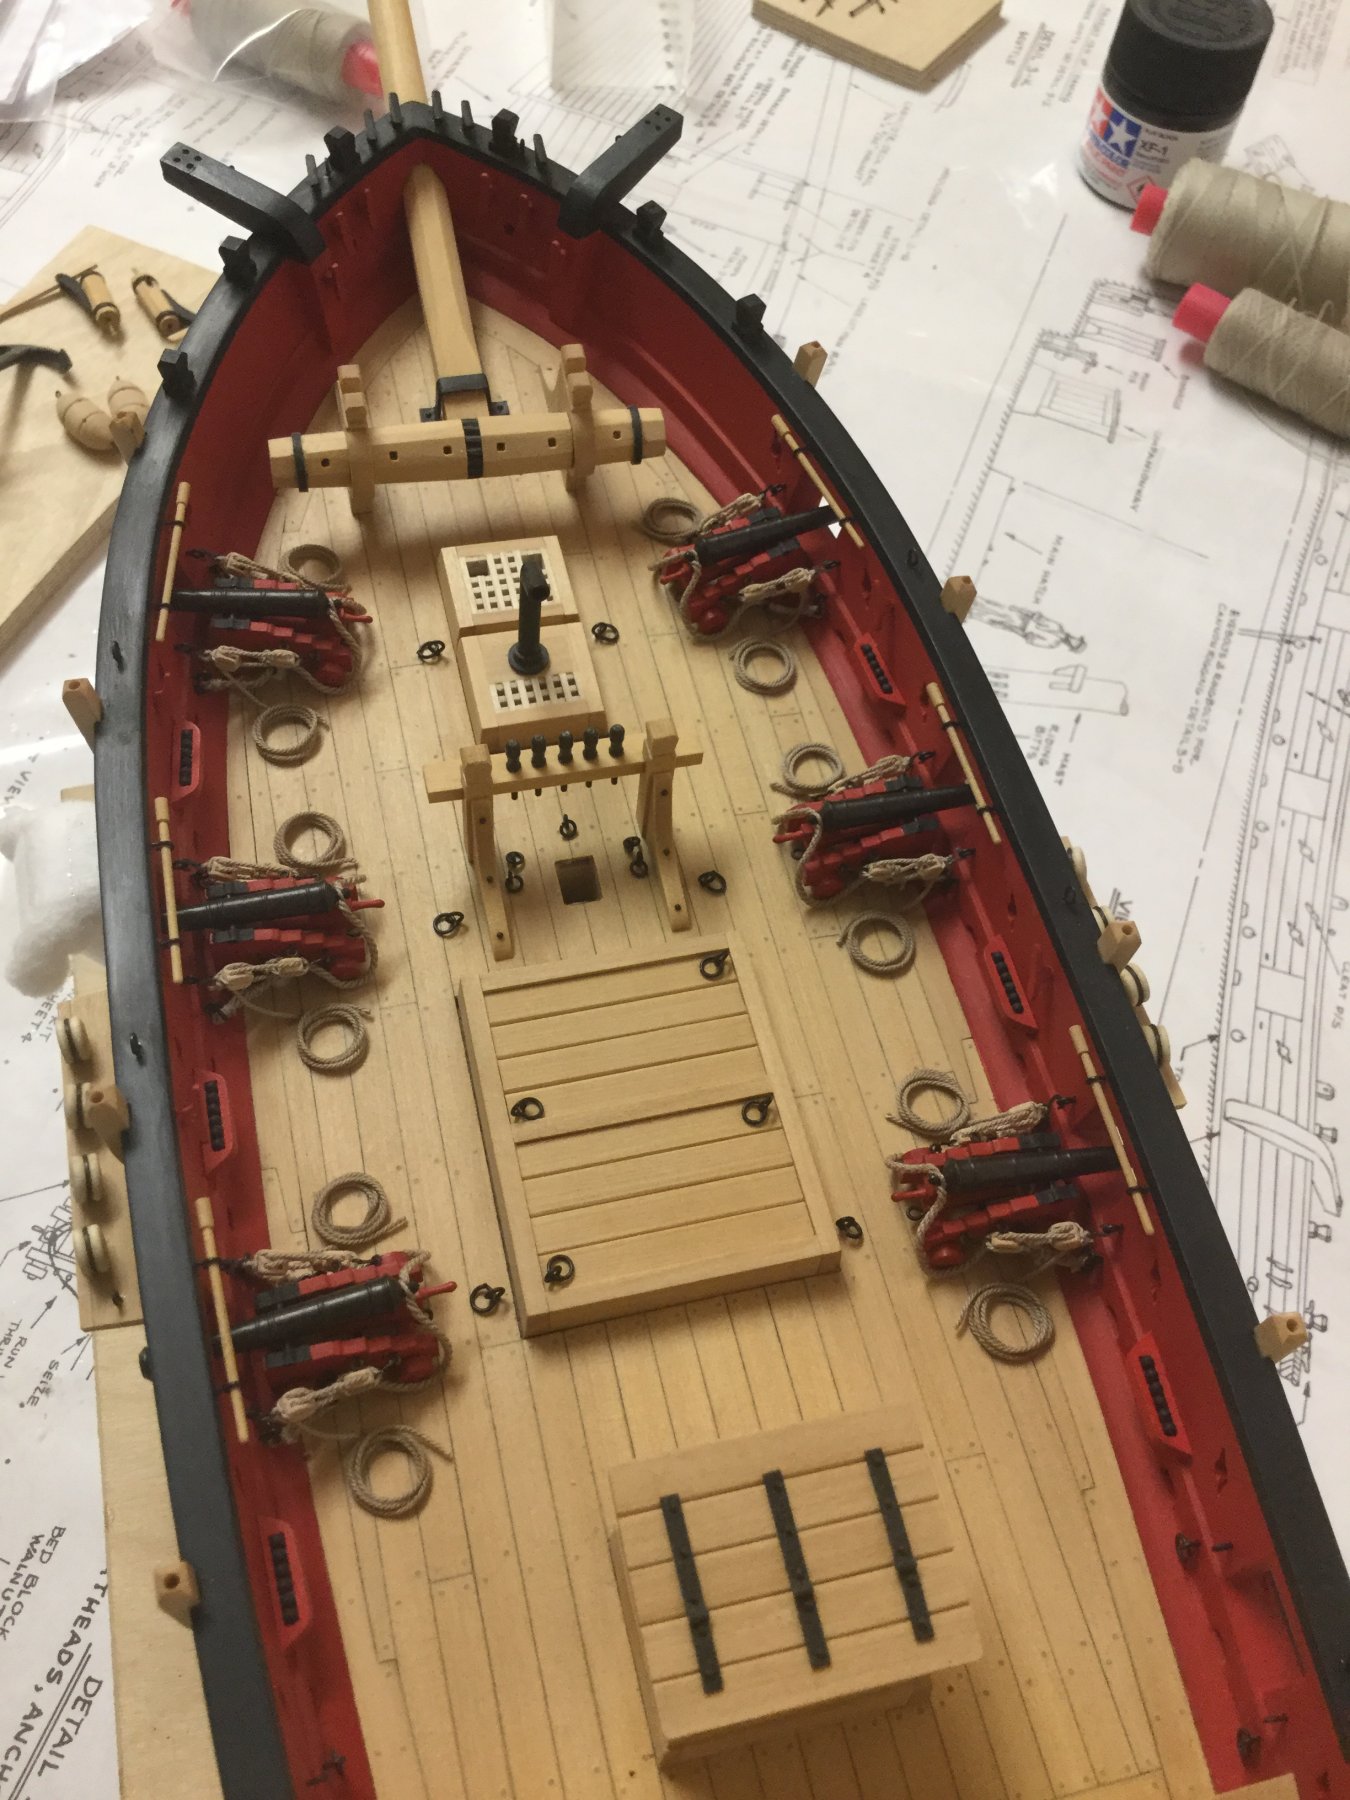
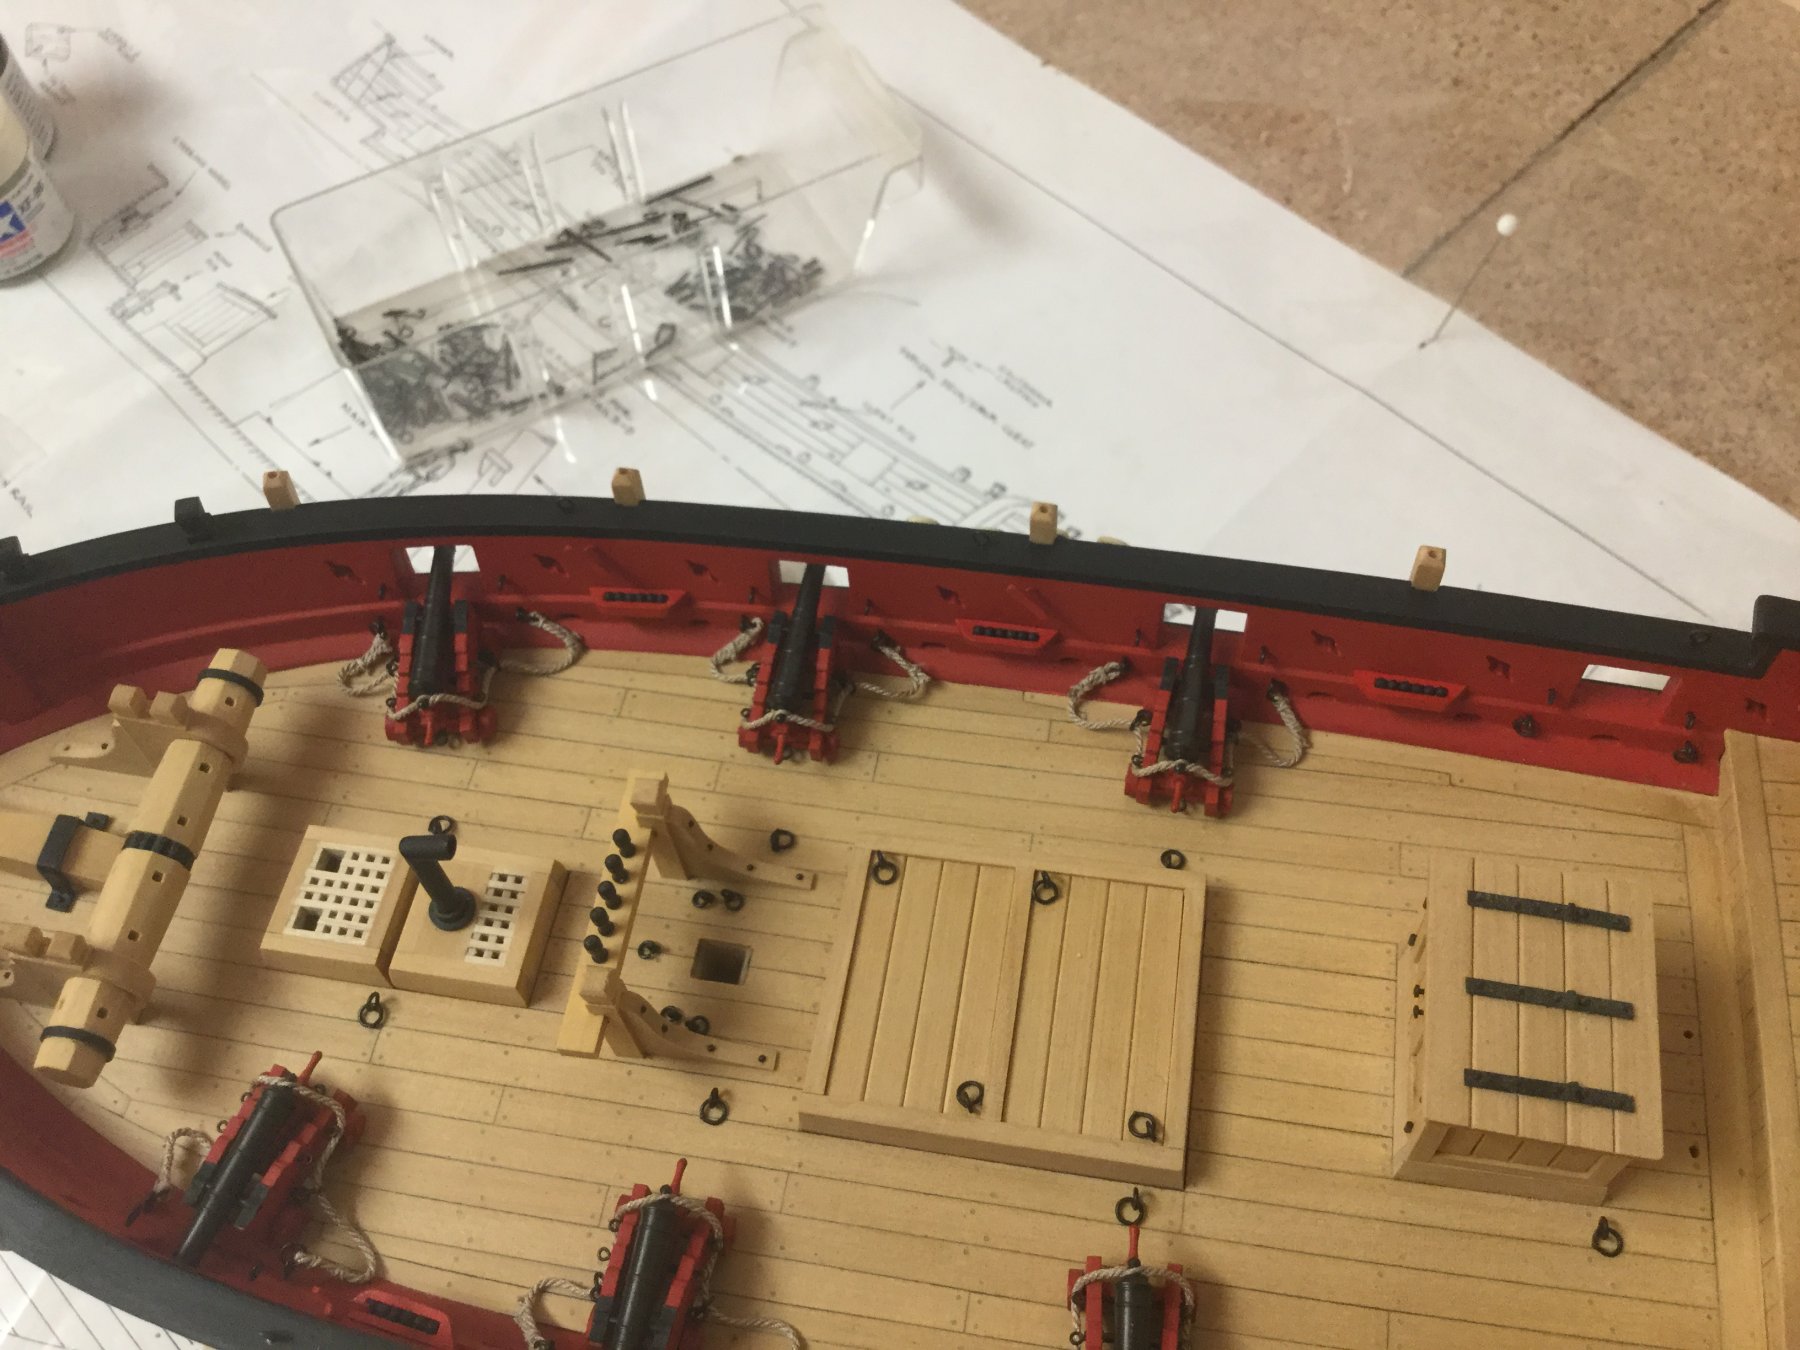
Finally the gun rigging is complete. A mast? We don‘t need it. ATTACK!!


- GrandpaPhil, oneslim, bruce d and 10 others
-
13
-
-
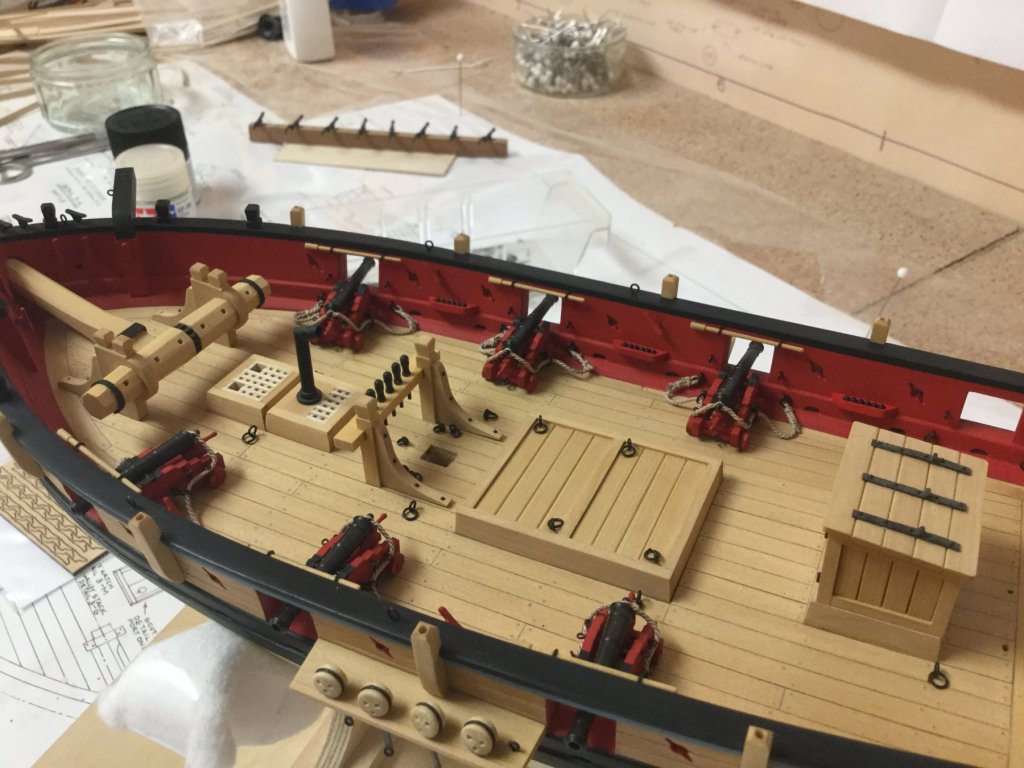
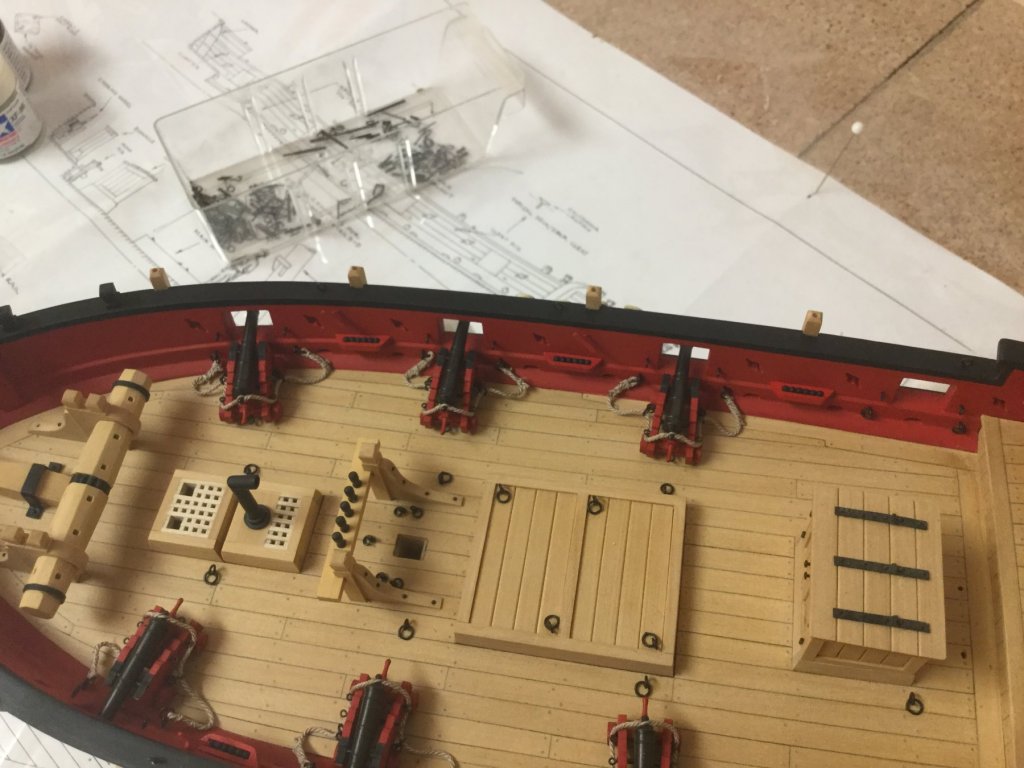
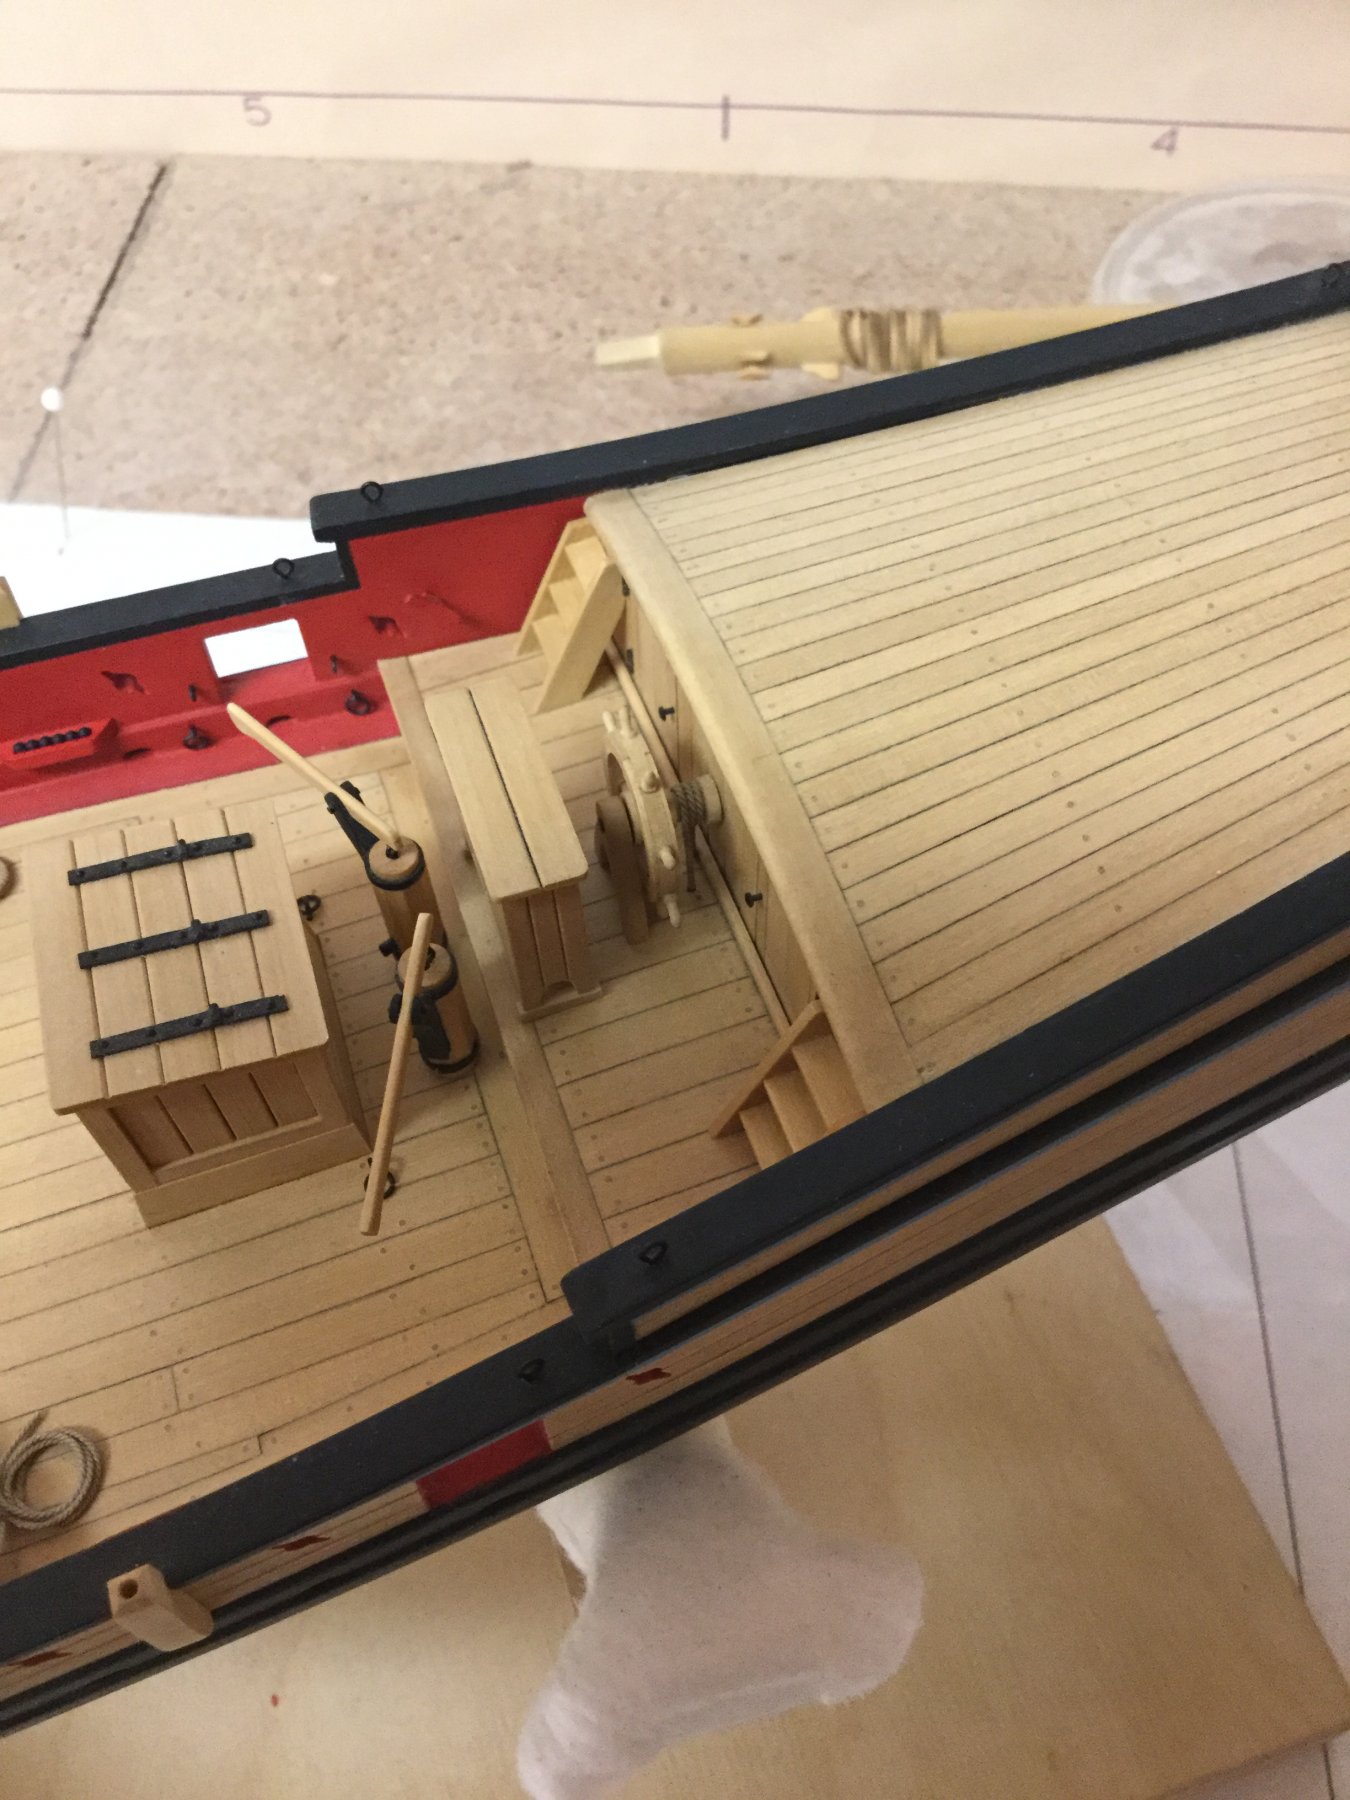
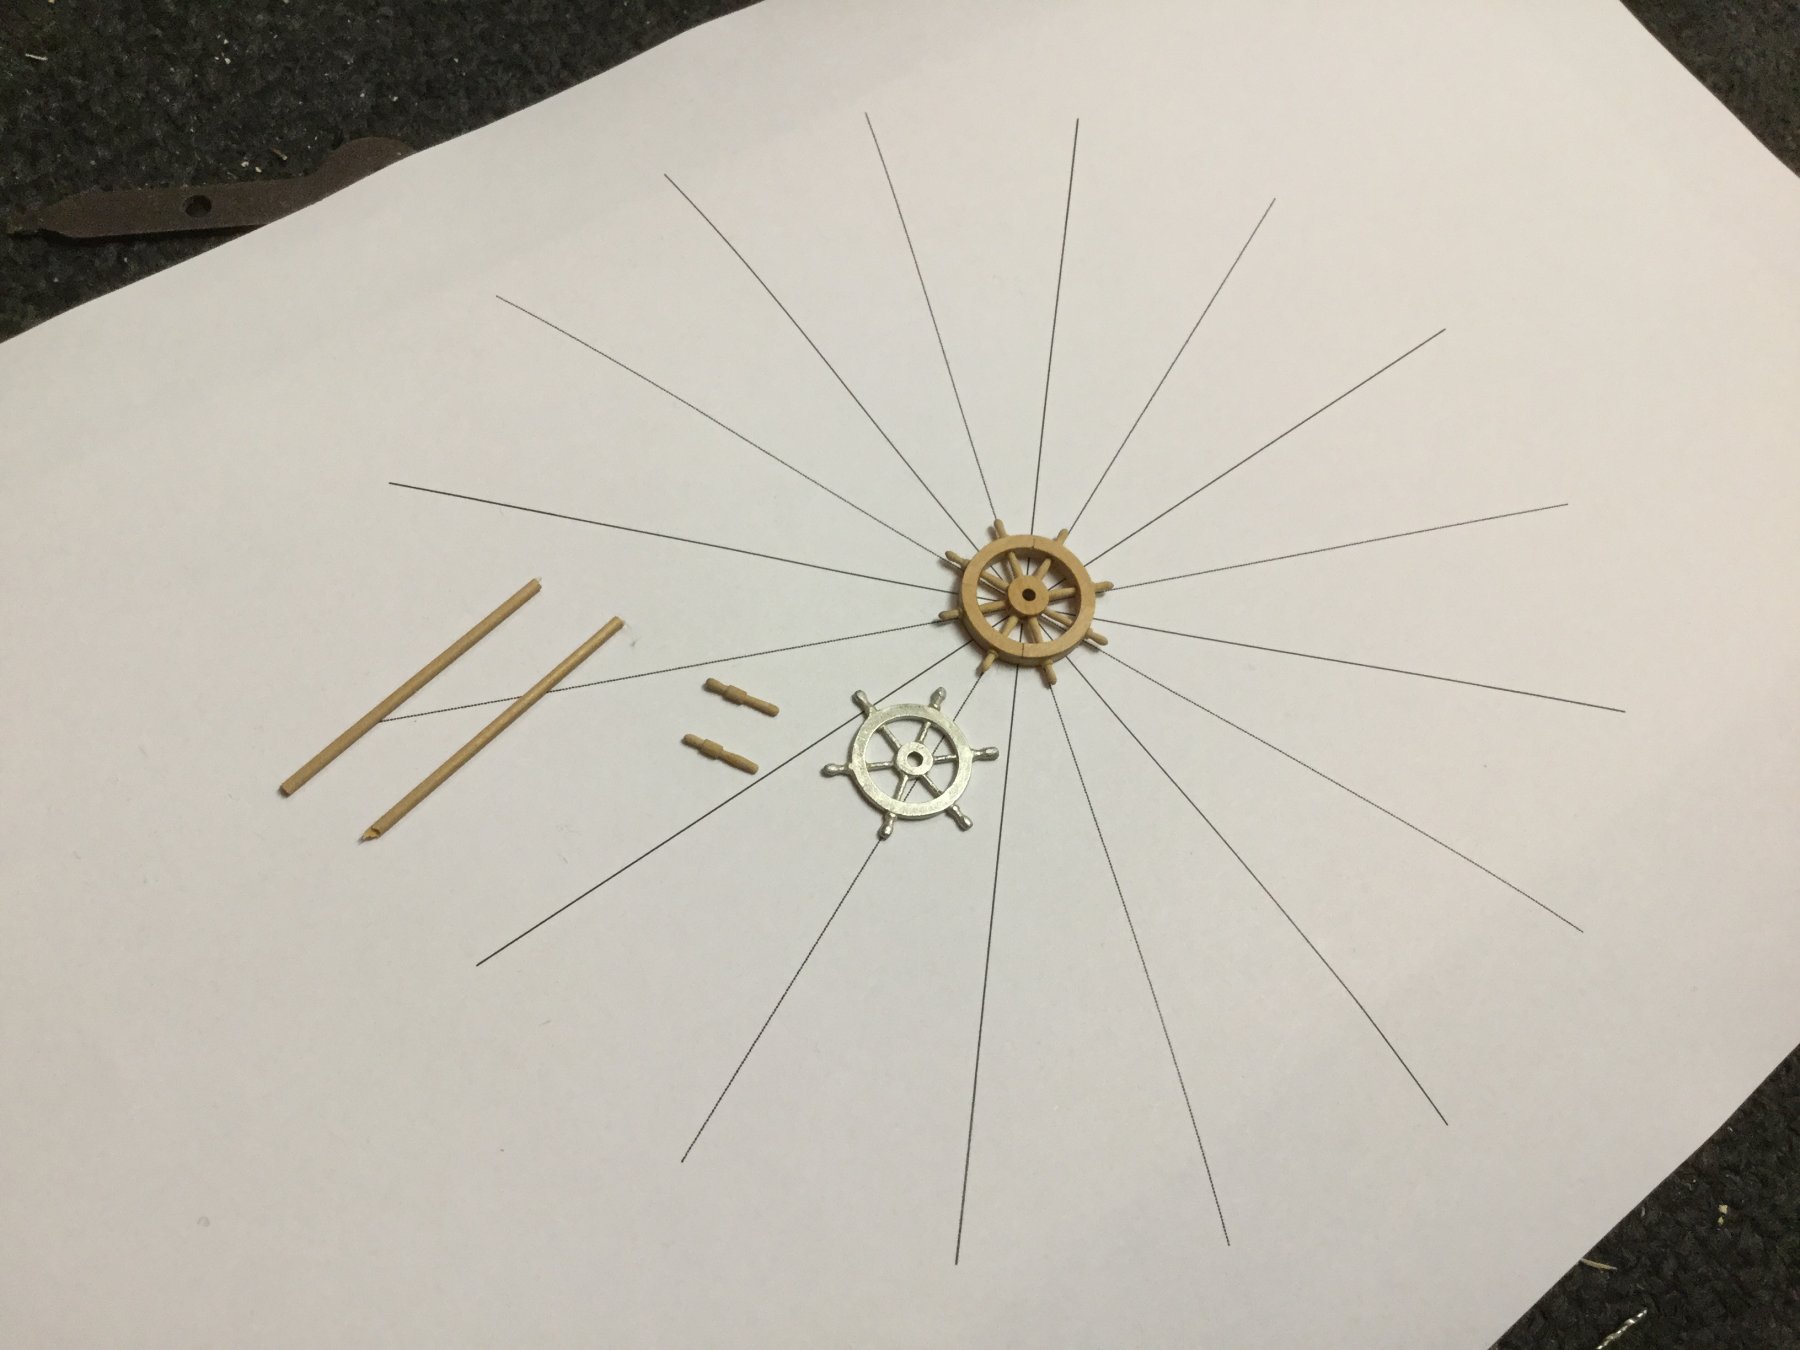
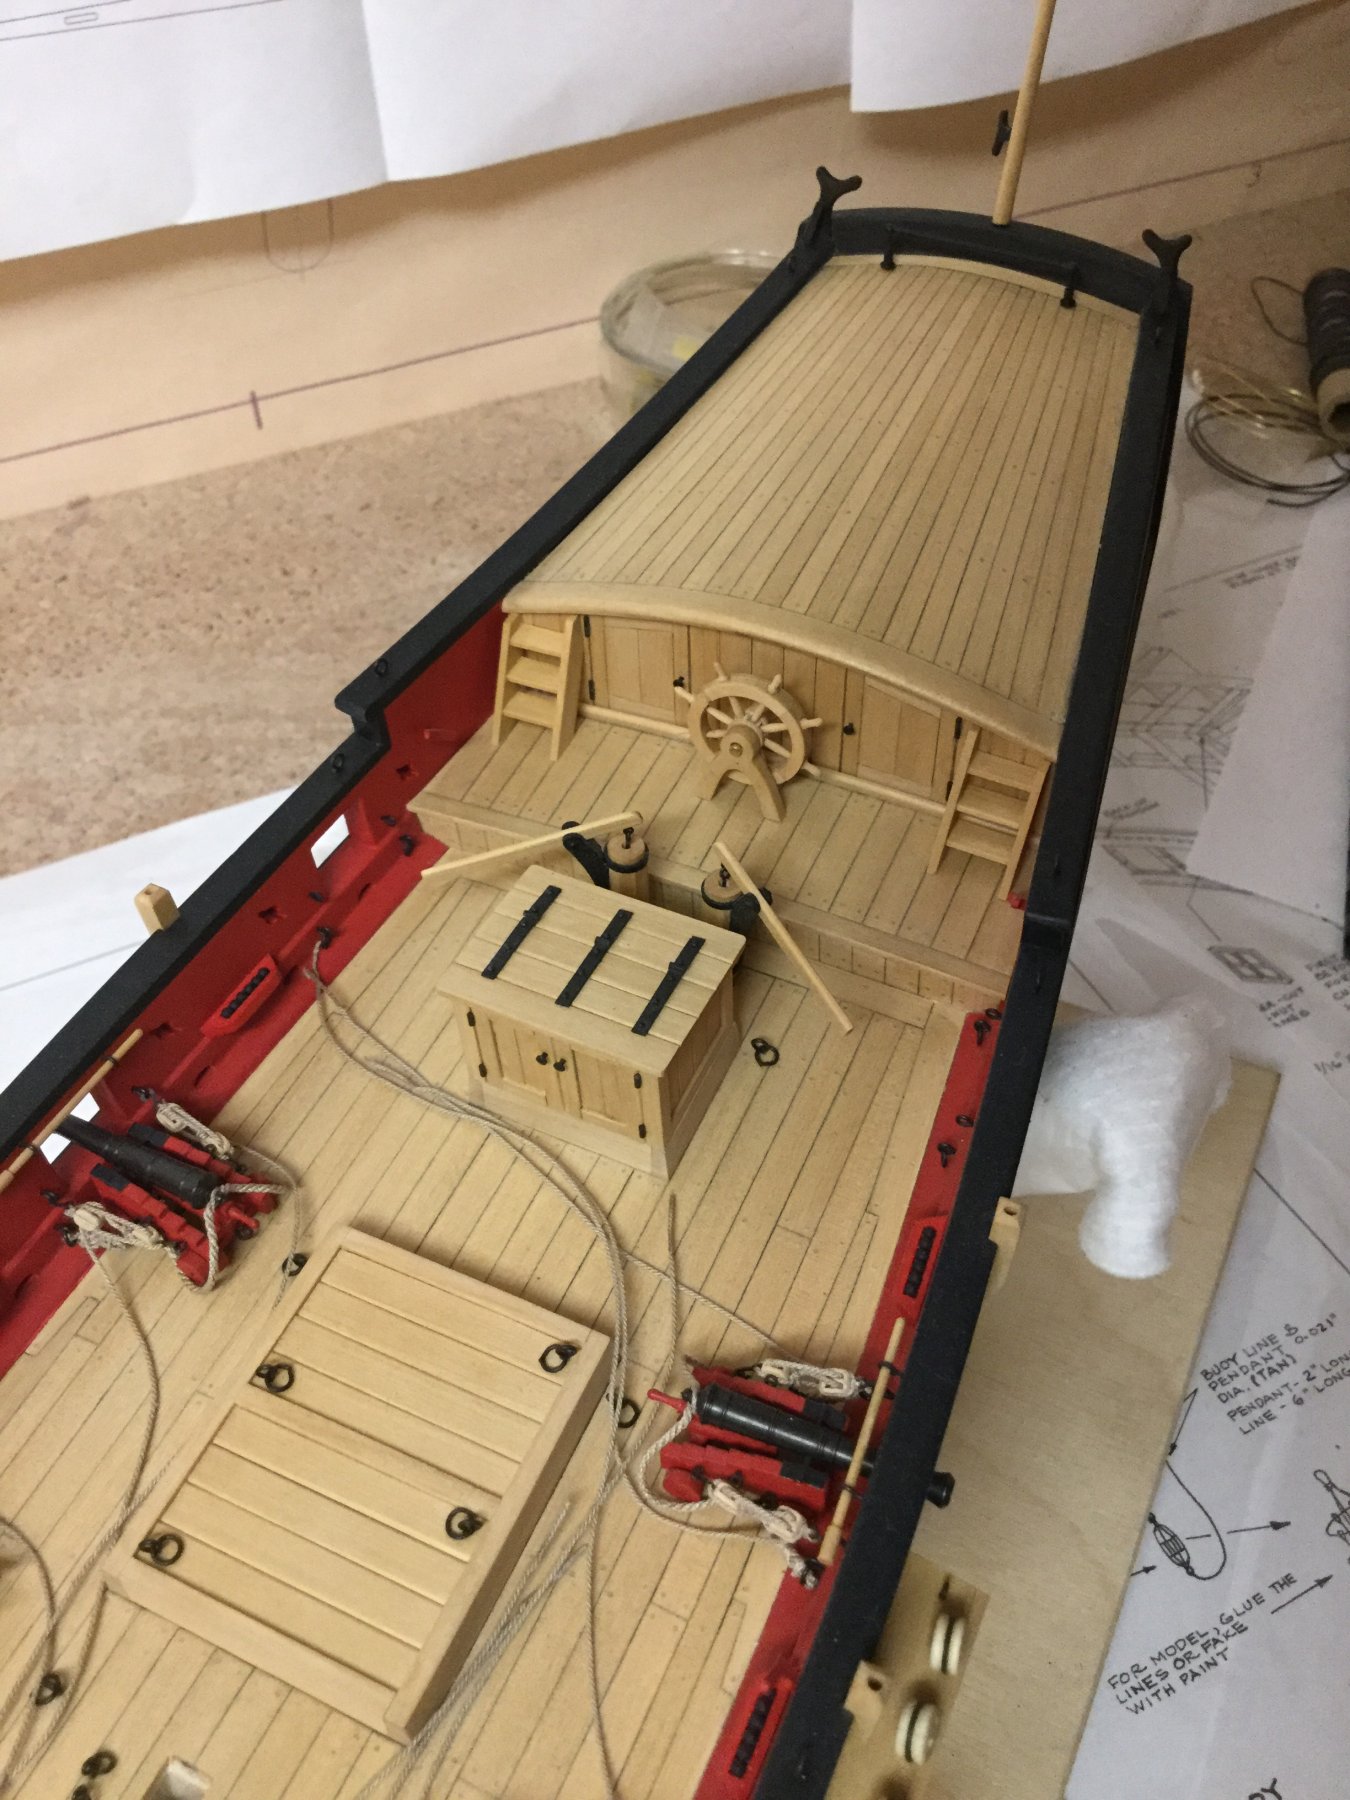
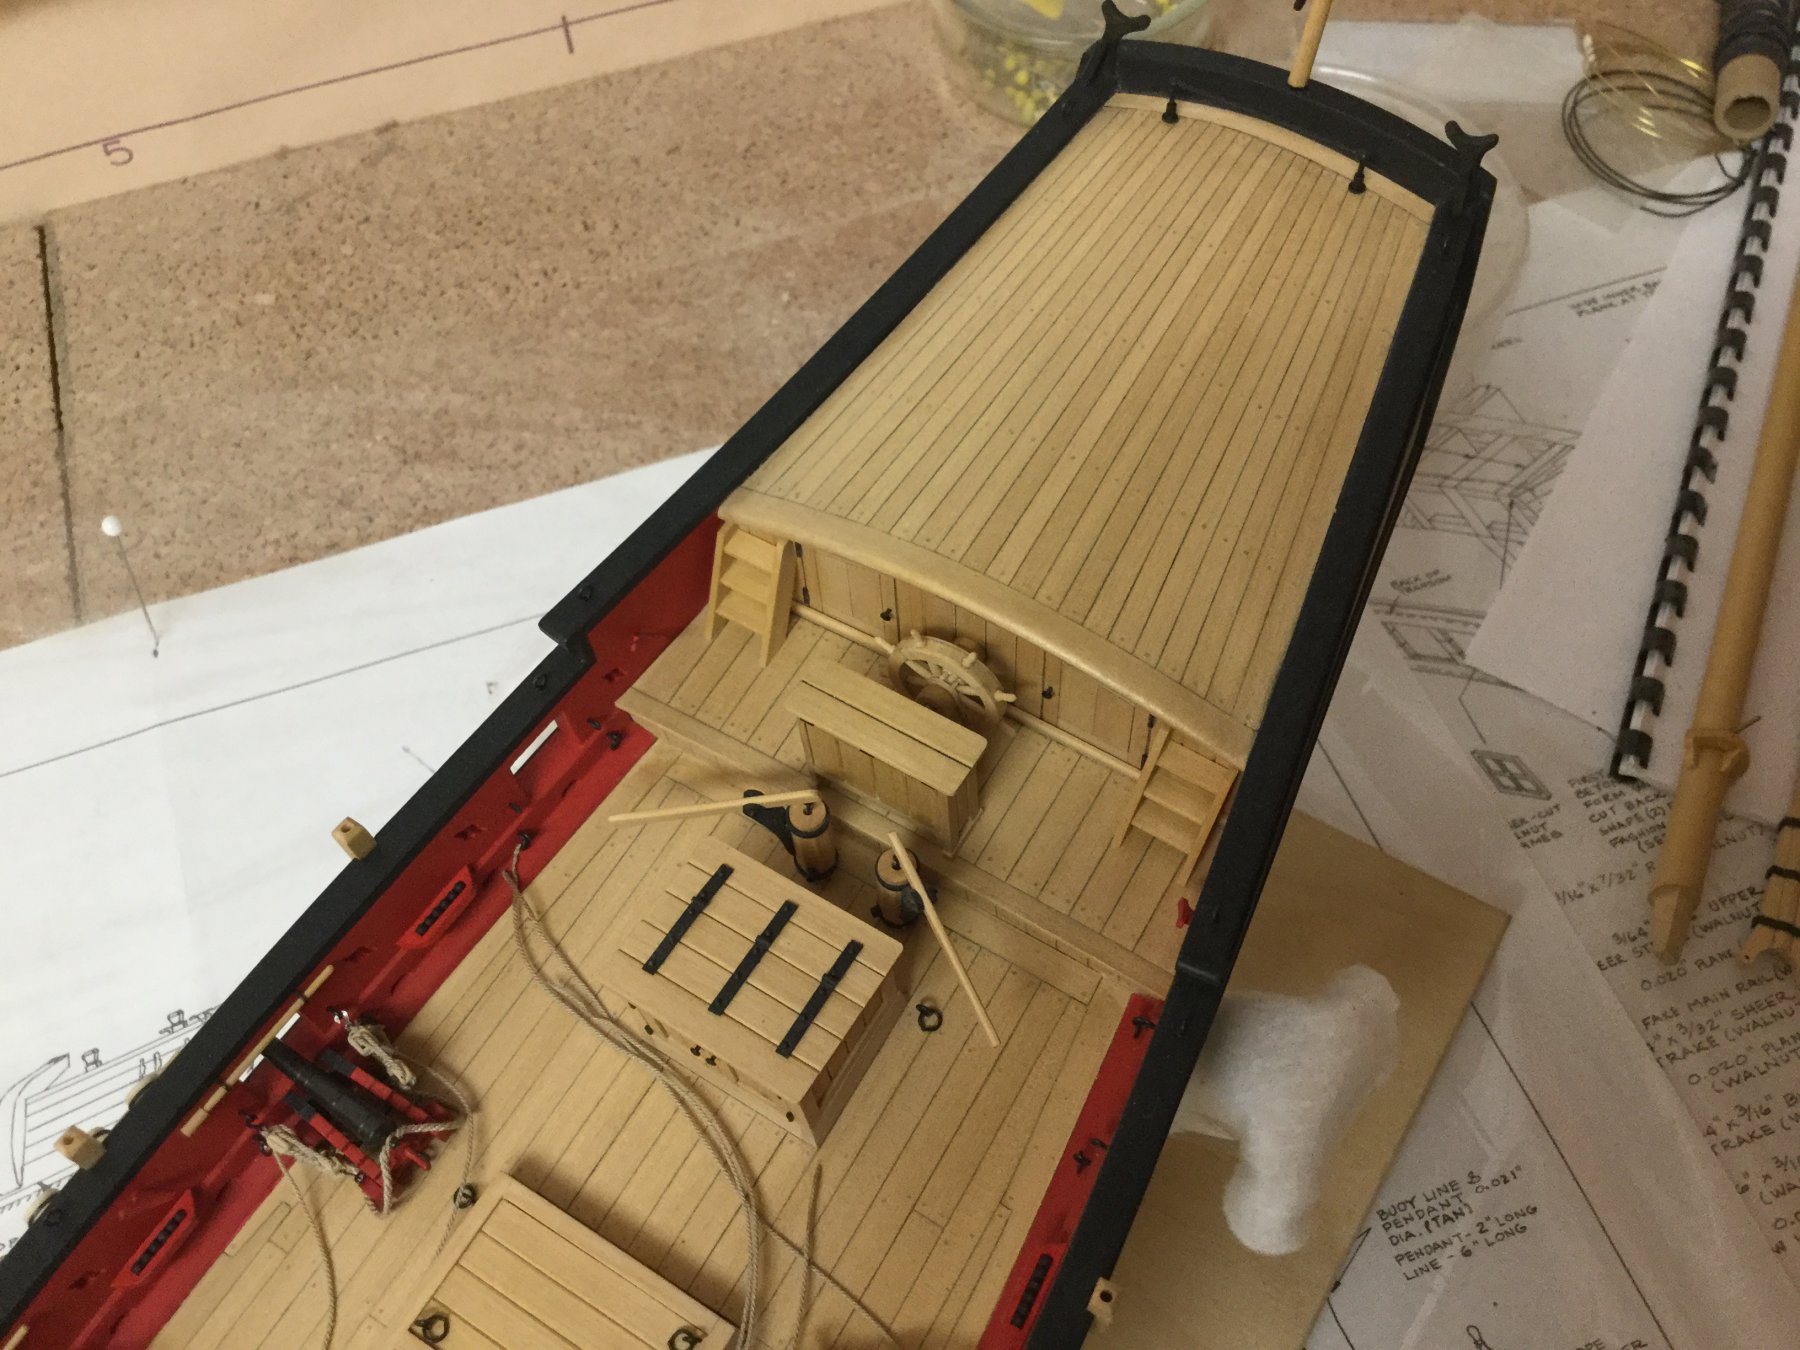
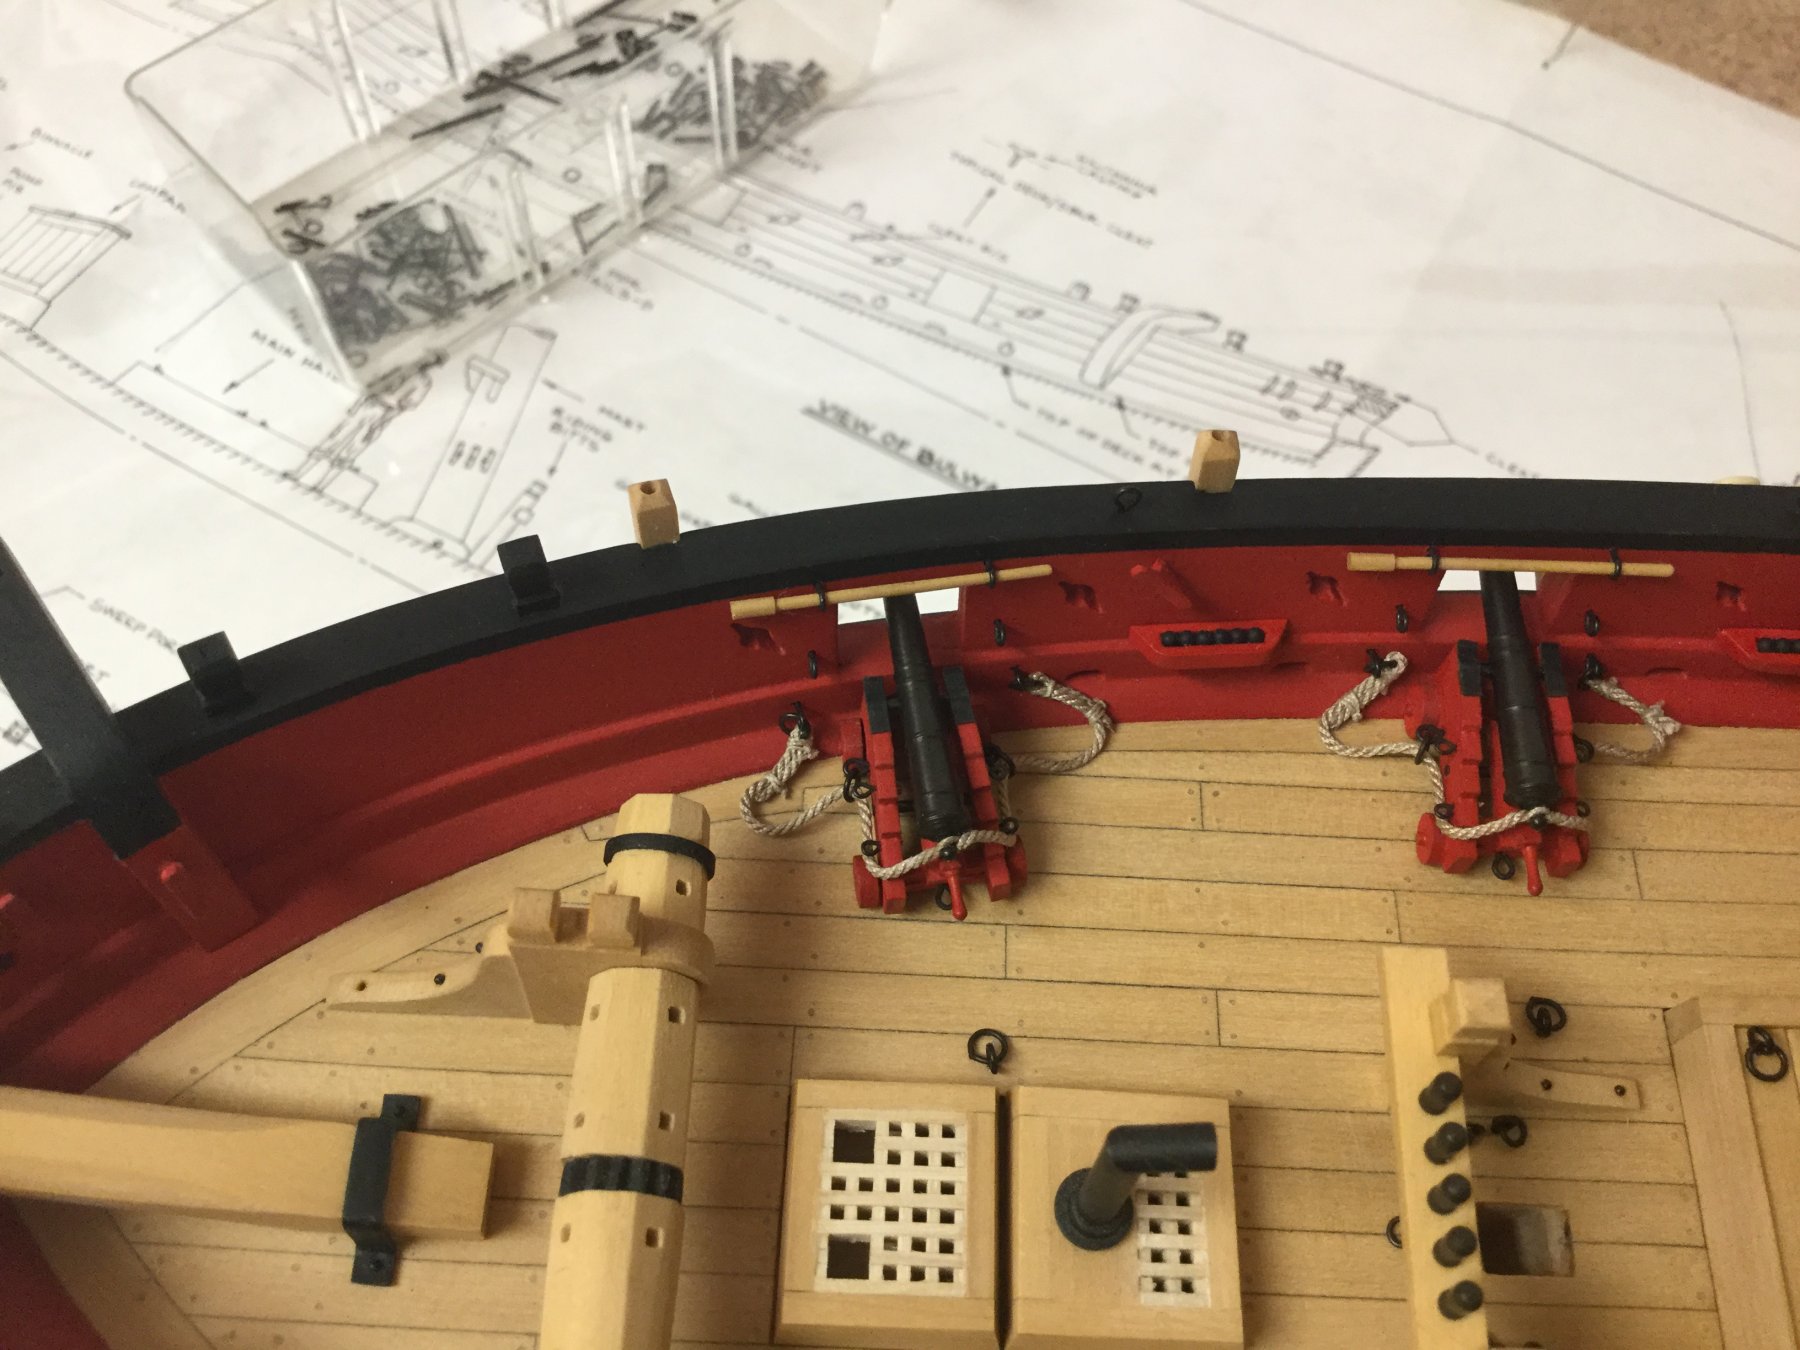
As I slowly move towards rigging, I thought about adding some last details to the hull before adding the mast. The supplied ship‘s wheel is made of britannia casting and I decided not to use it. So I made a 8-spoke 23mm ship‘s wheel scratch build made of castello. It is a shame that it will be almost covered by the binnacle.


- lmagna, Adamjoyce1, oneslim and 13 others
-
16
-
Fantastic work, very impressive.
- mtaylor, Keith Black and FriedClams
-
3
-
Very good work. I especially like the authentic colour scheme. If you don’t mind me asking a question - what sort of blue colour do you use for decoration?
-
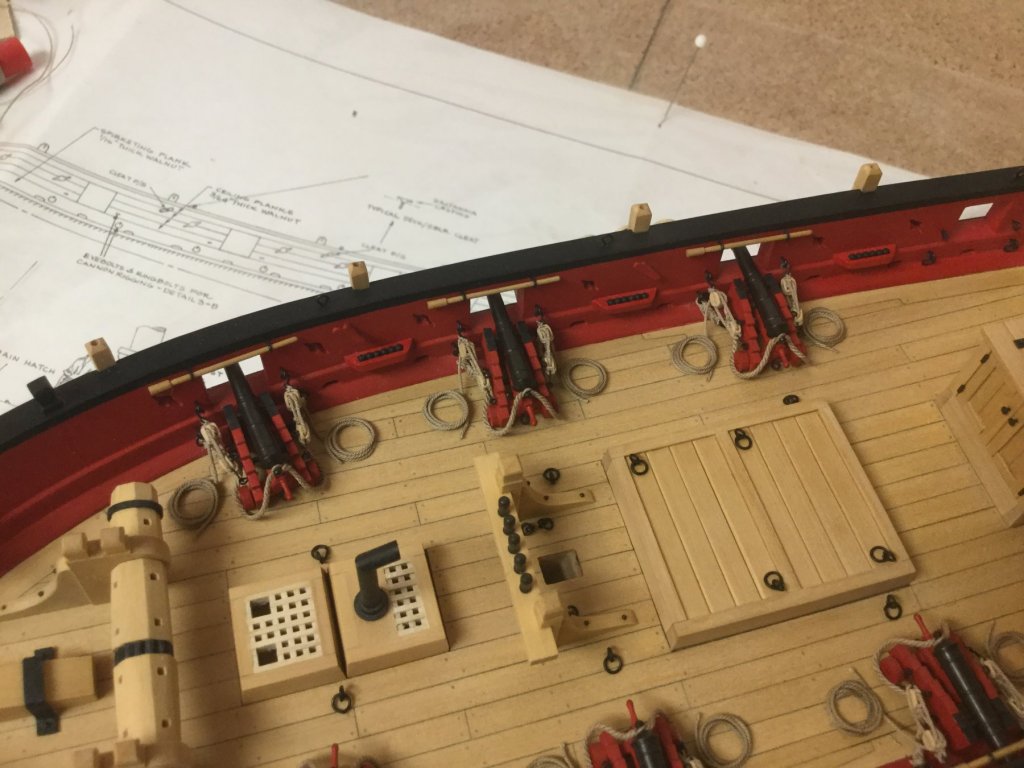
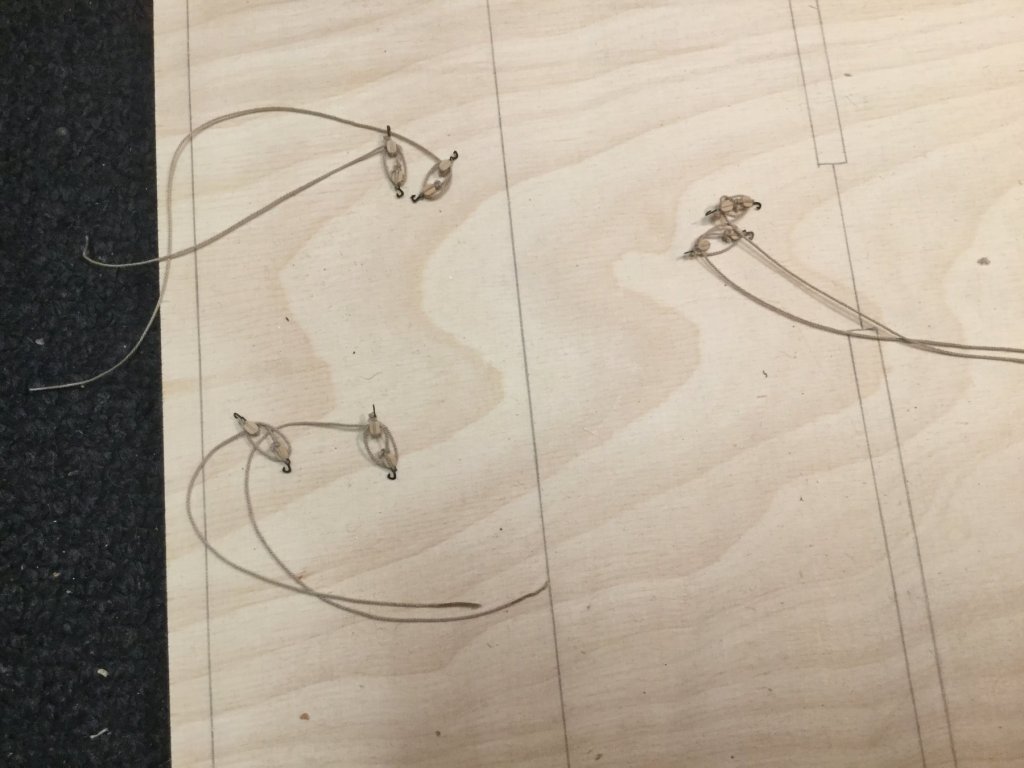
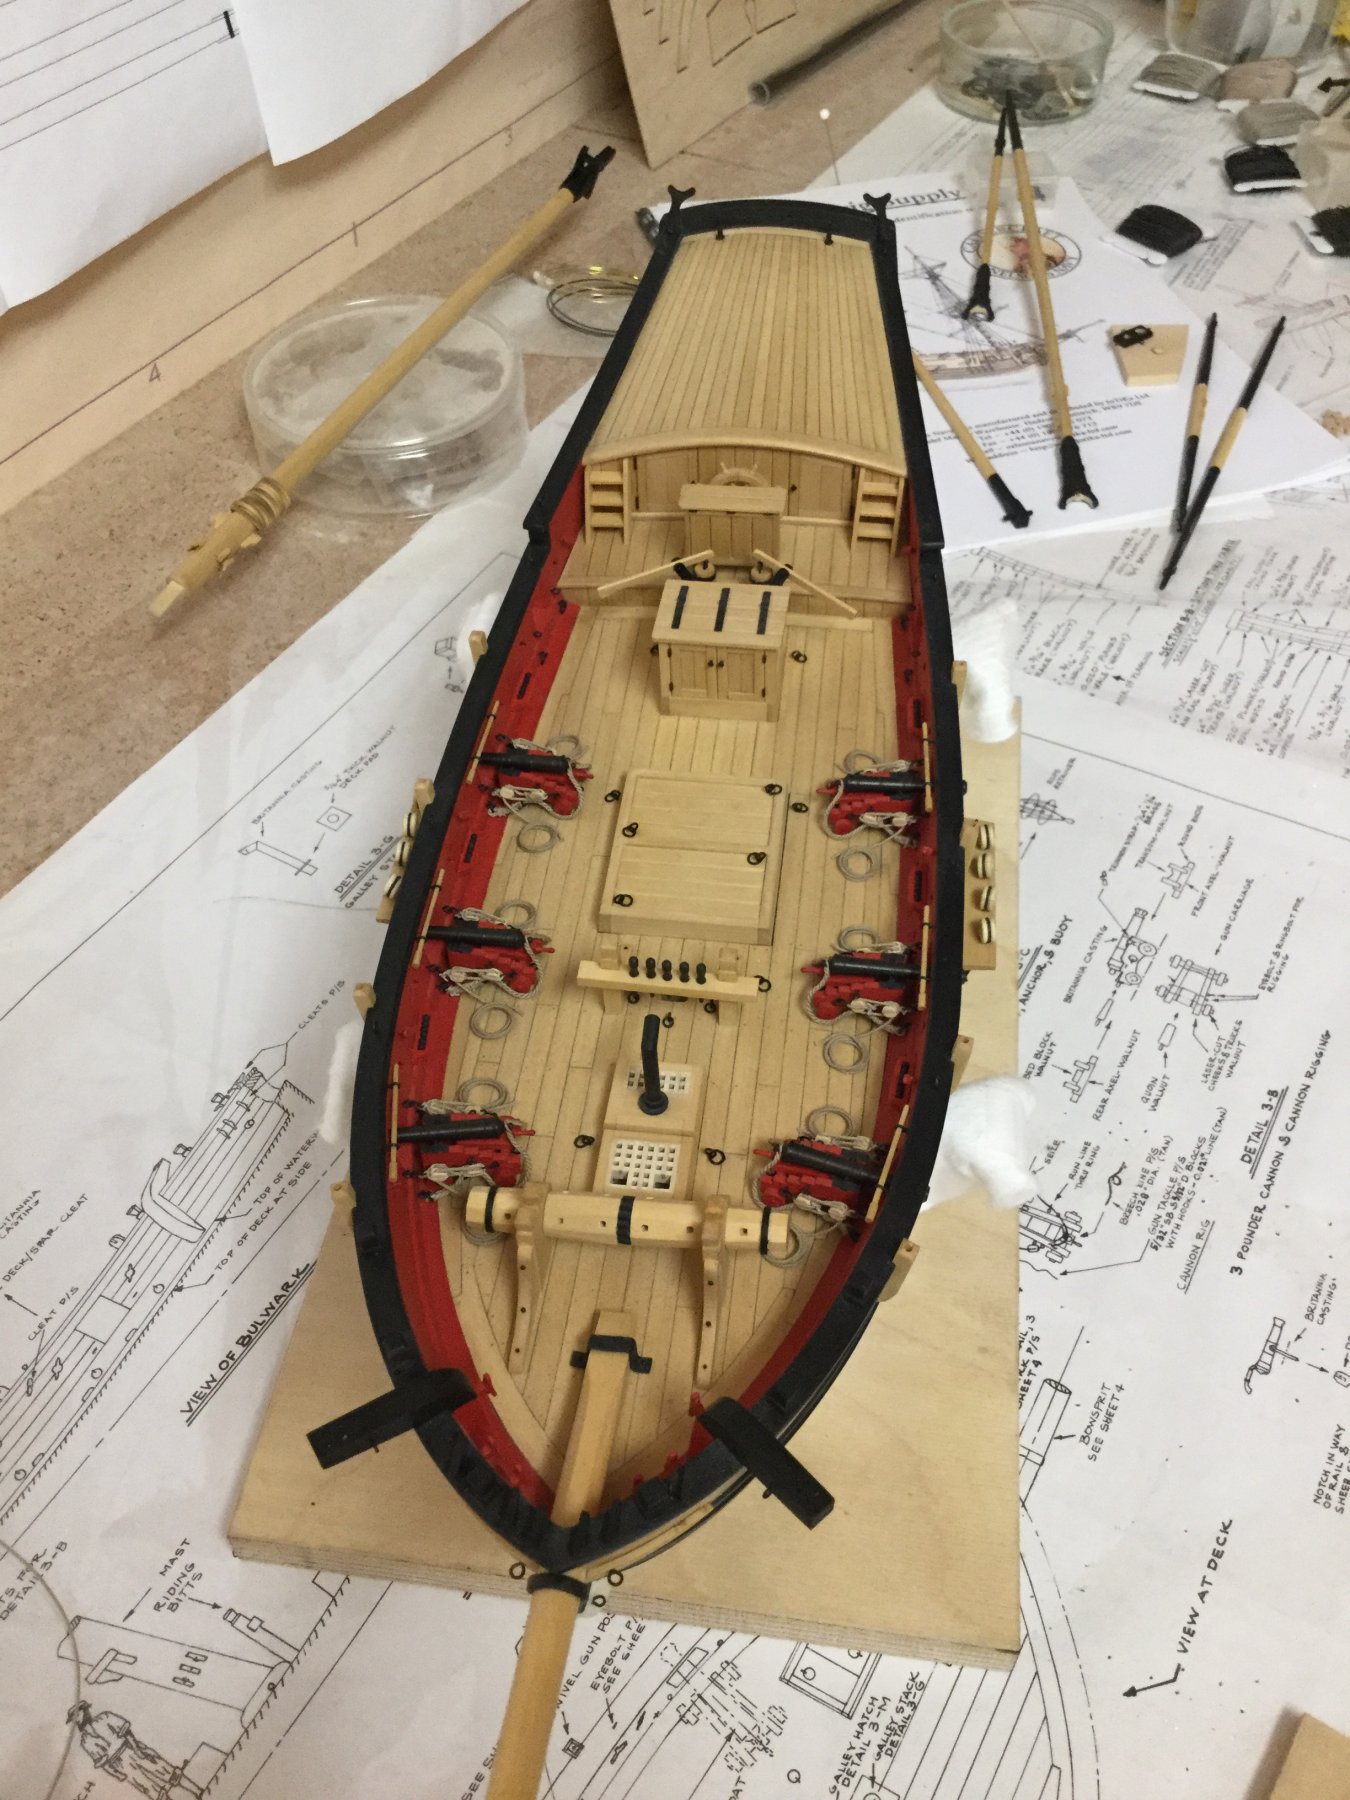
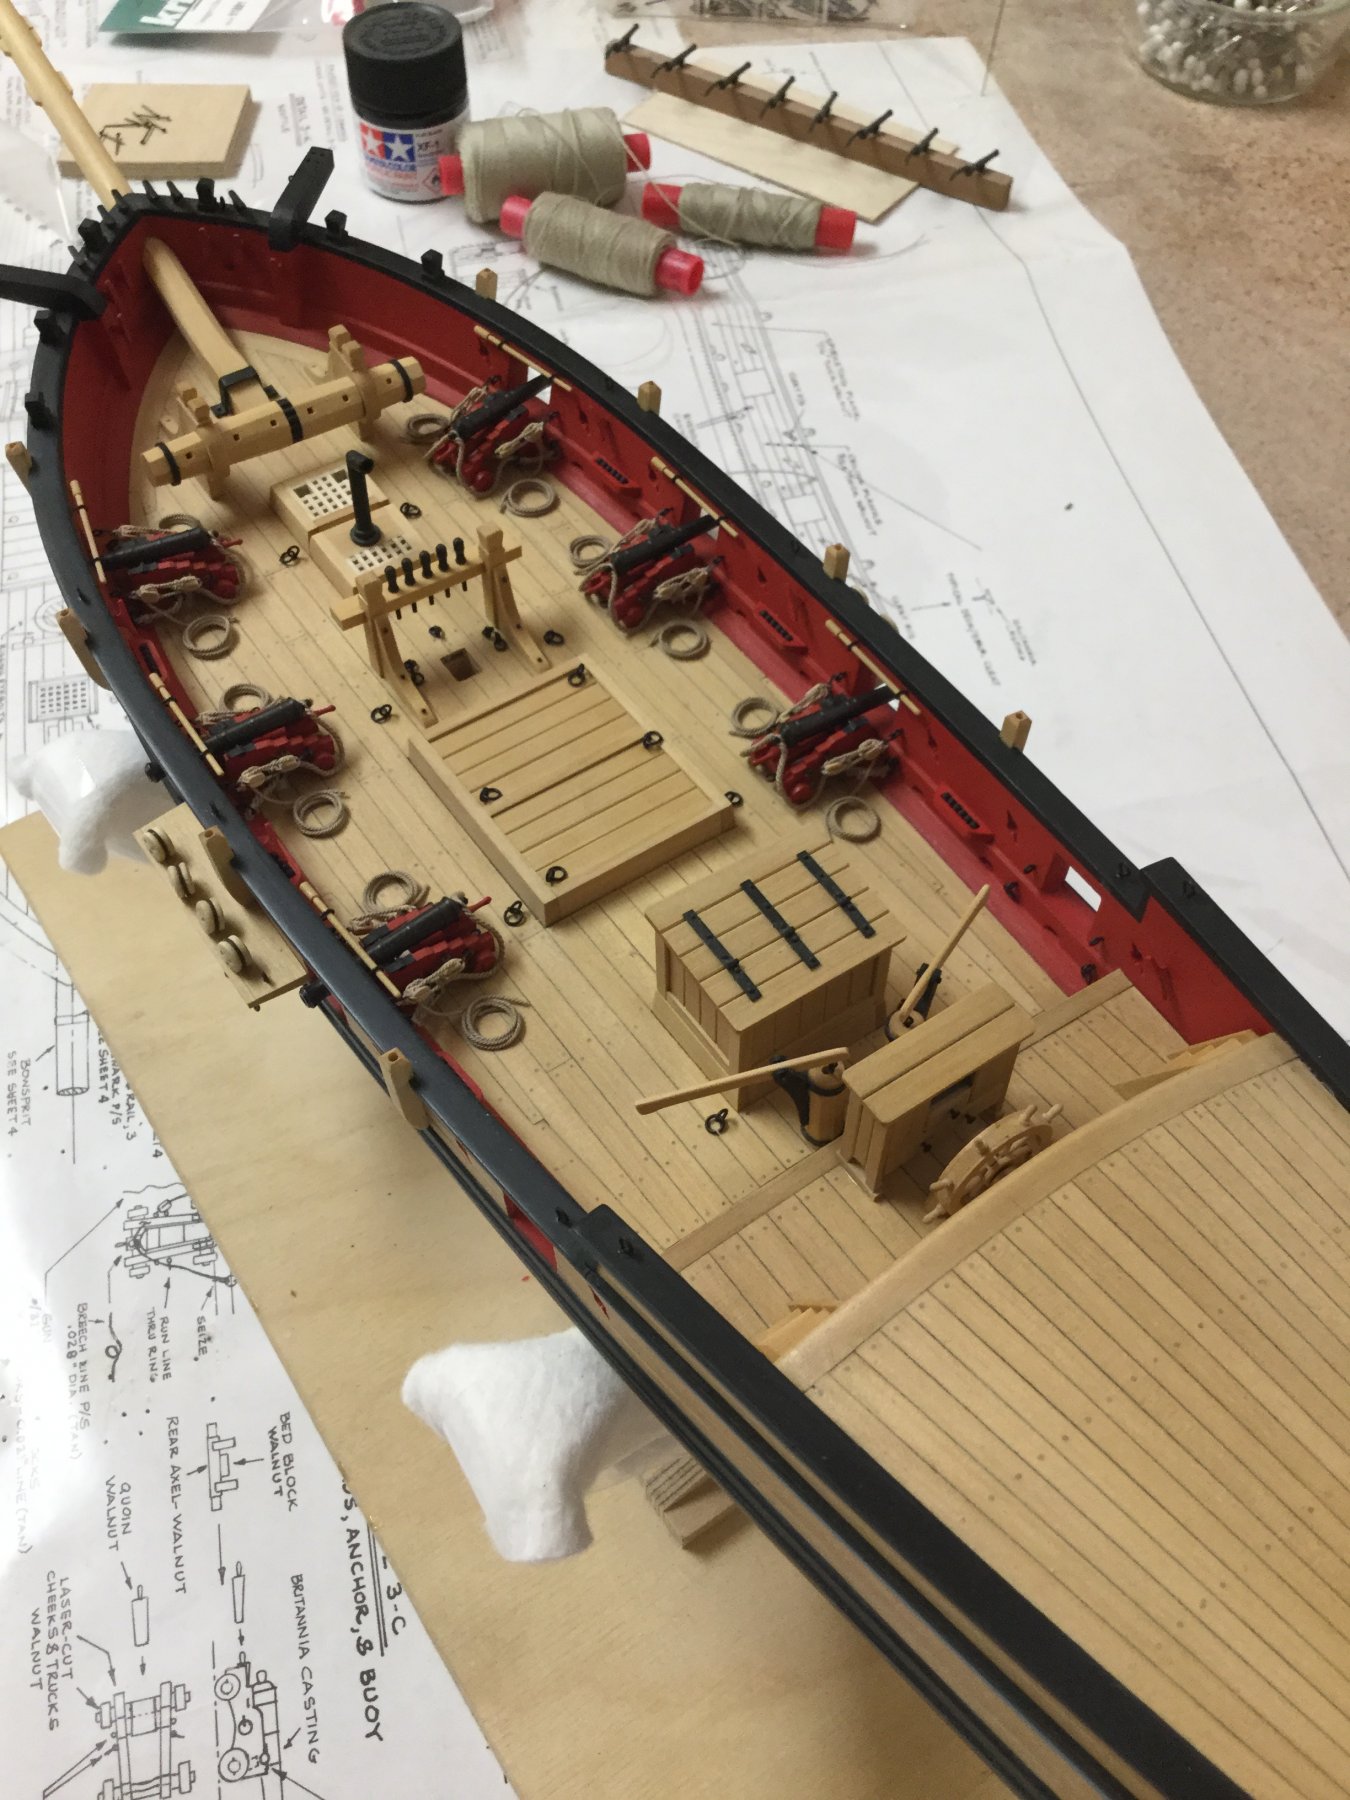
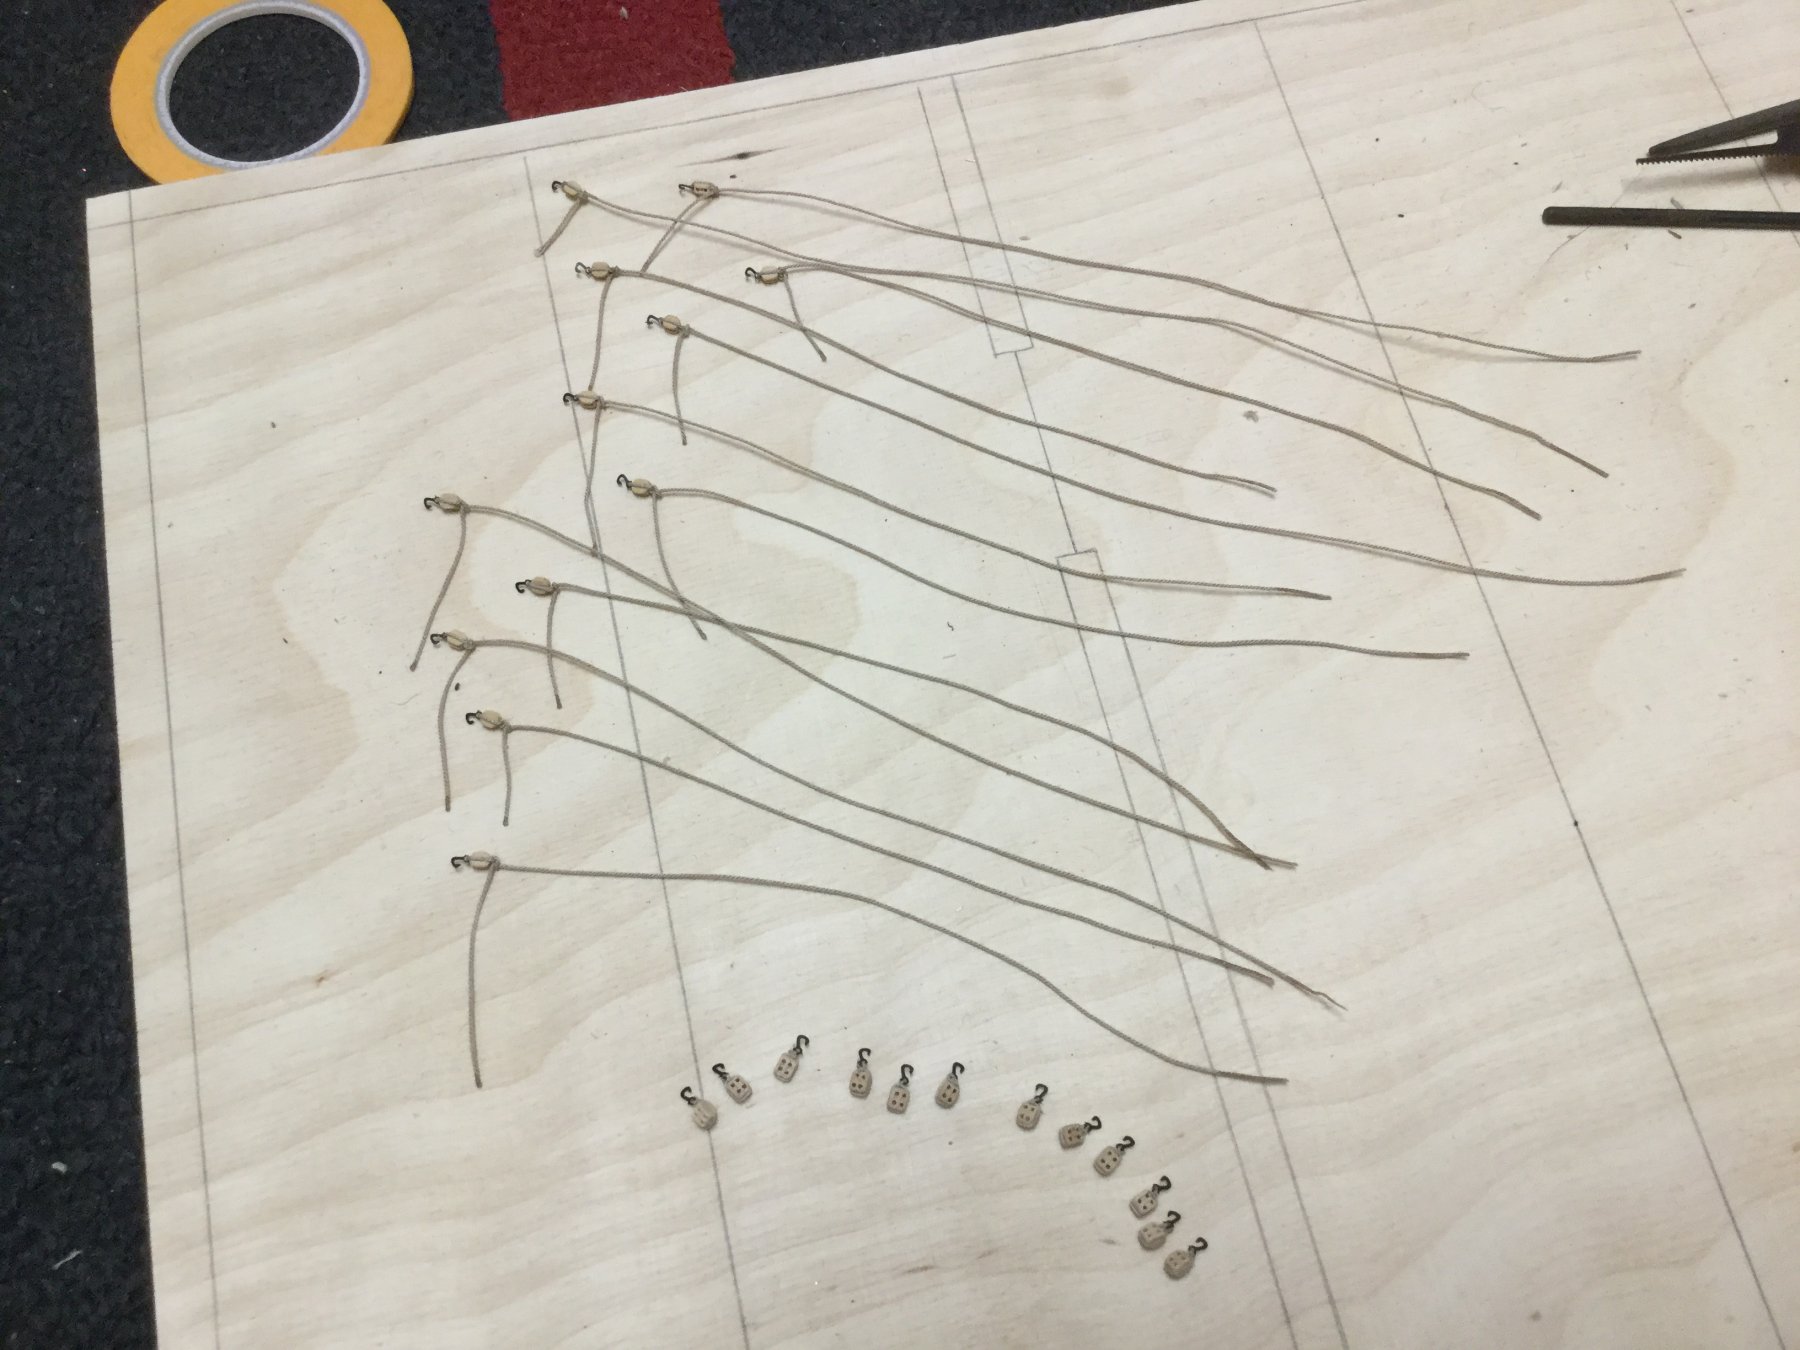
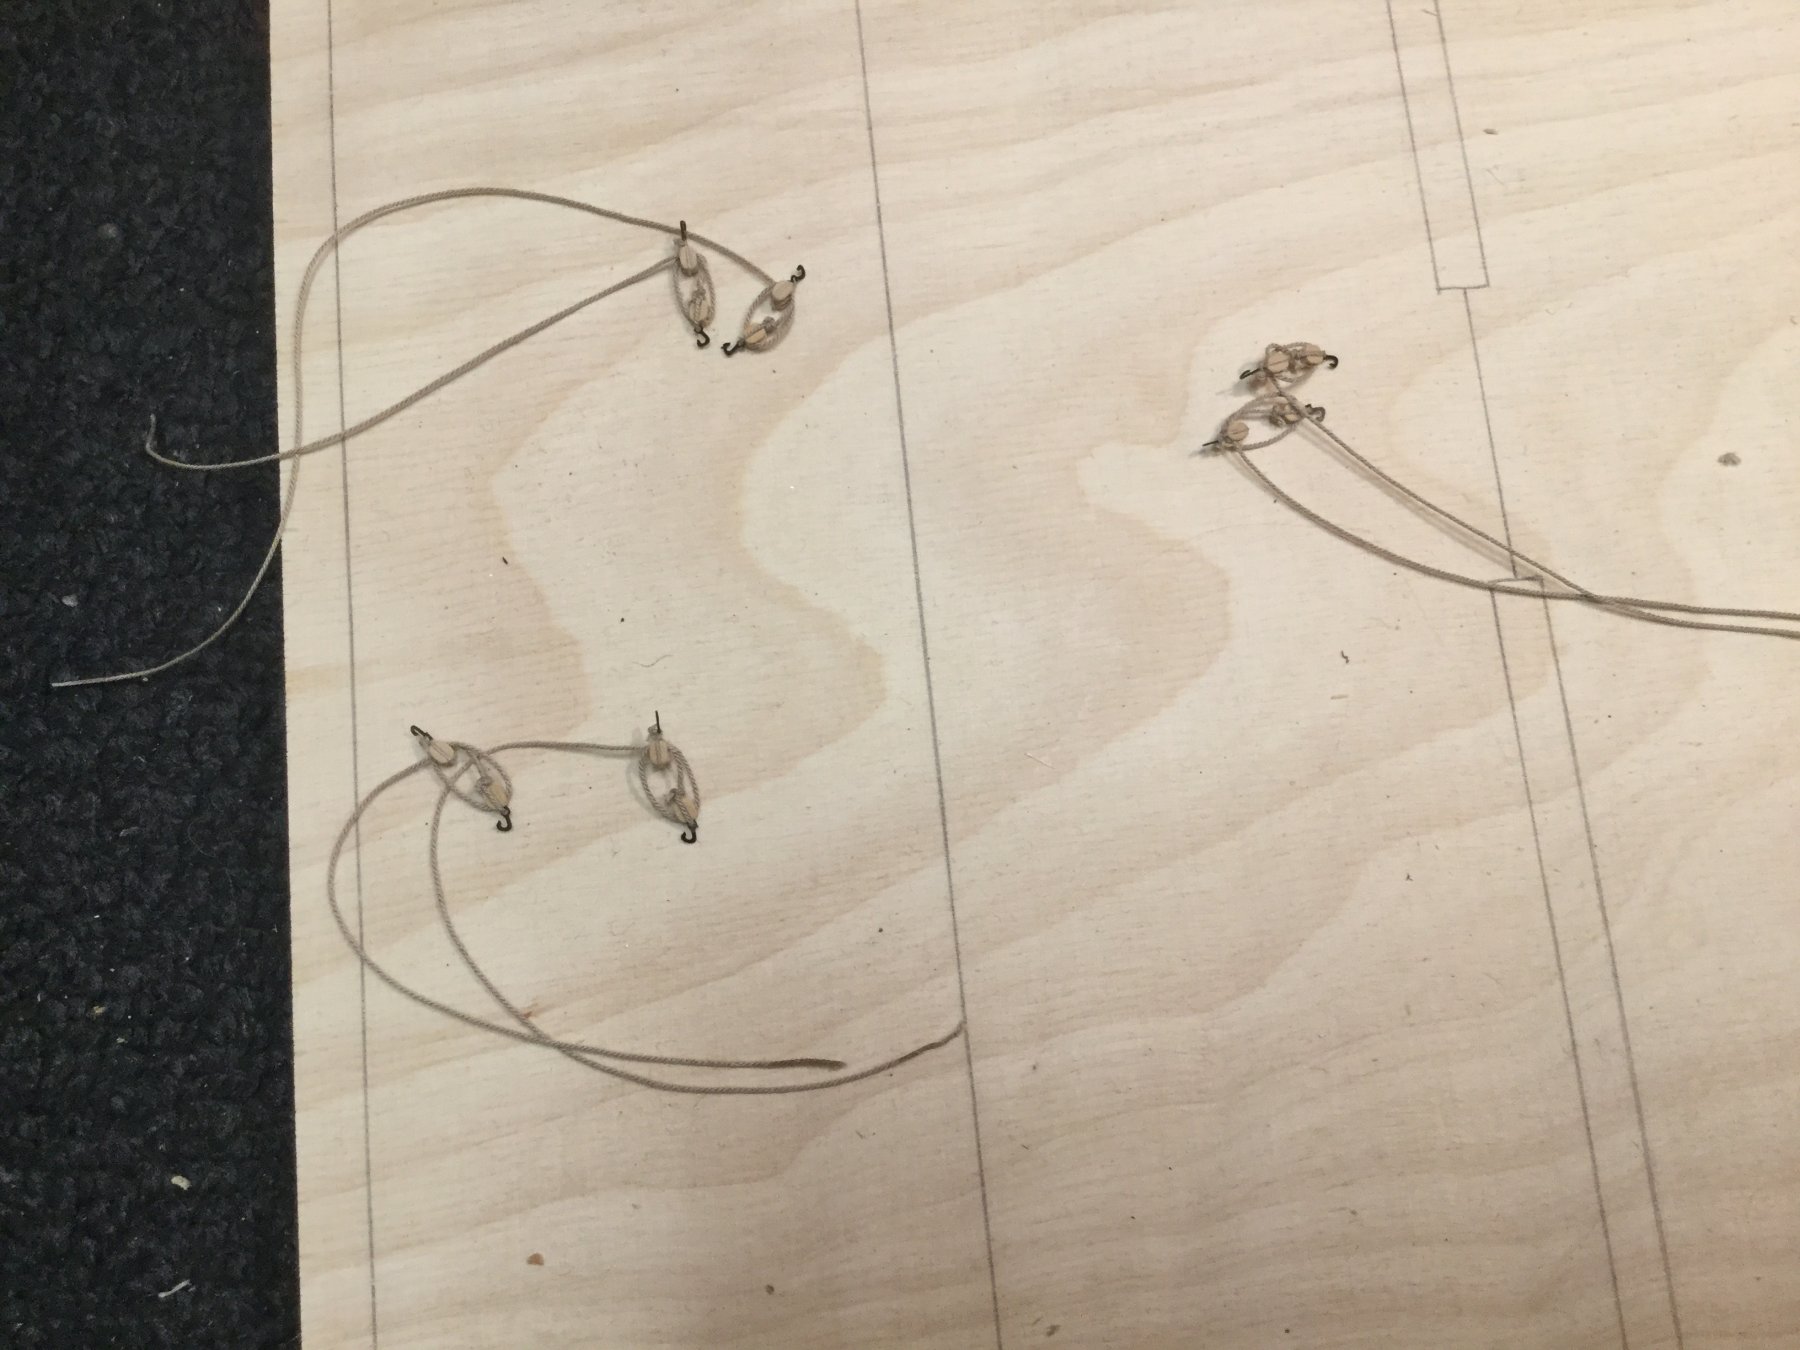
Thank you for the nice words and the likes. Rigging the guns is time-consuming, but at least I made all the gun tackles. I used syren 1/8‘‘ single and double blocks and 0.45mm rope for the tackles as well as 3mm blacked brass hooks. Will make the rope coils tomorrow if I find the time. Have to bring the breech lines to shape as well.

-
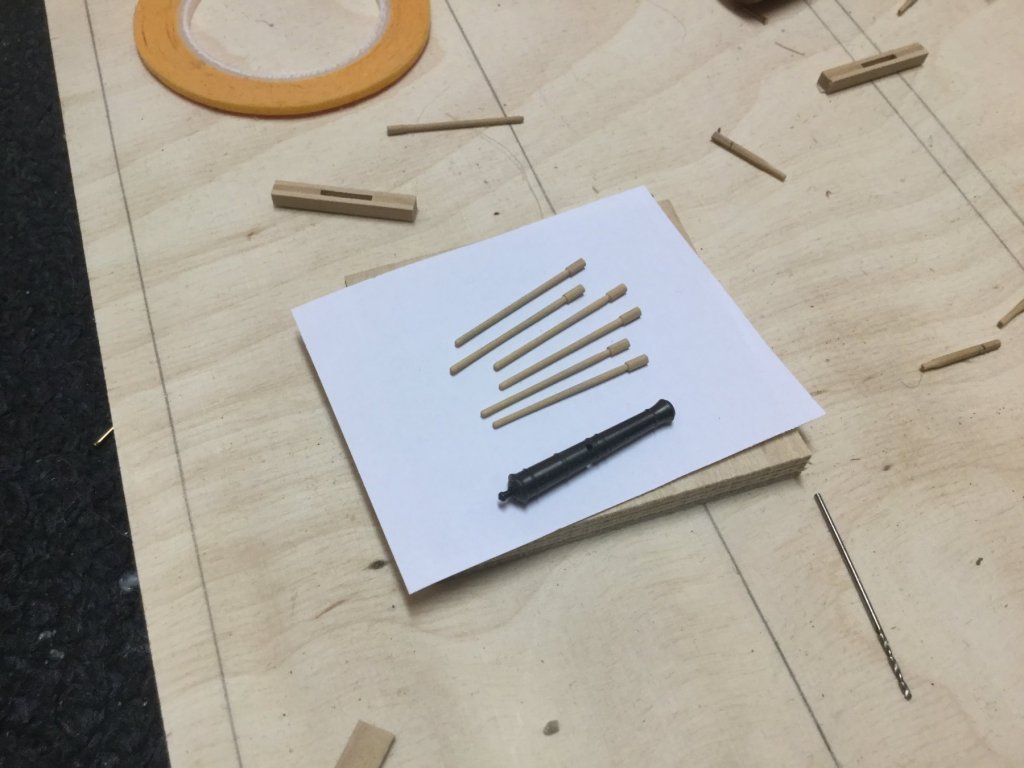
Thank you. The ramrod is only one of the tools to serve a cannon but it will represent all of them.
-
Added a ramrod to every cannon. It is made of a piece of 1/16‘‘ square stripes drawn through a 1,6mm hole drilled in a piece of stainless steel. Then tighten in a dremel and brough to shape with a needle file.
-
-
Nice progress you have made, your AVS looks great. It is interesting to see the AVS in a different colour scheme.
- BETAQDAVE, FriedClams and Altduck
-
3
-
Shot garland painted and installed.
- GuntherMT, Captain Poison, JpR62 and 13 others
-
16
-
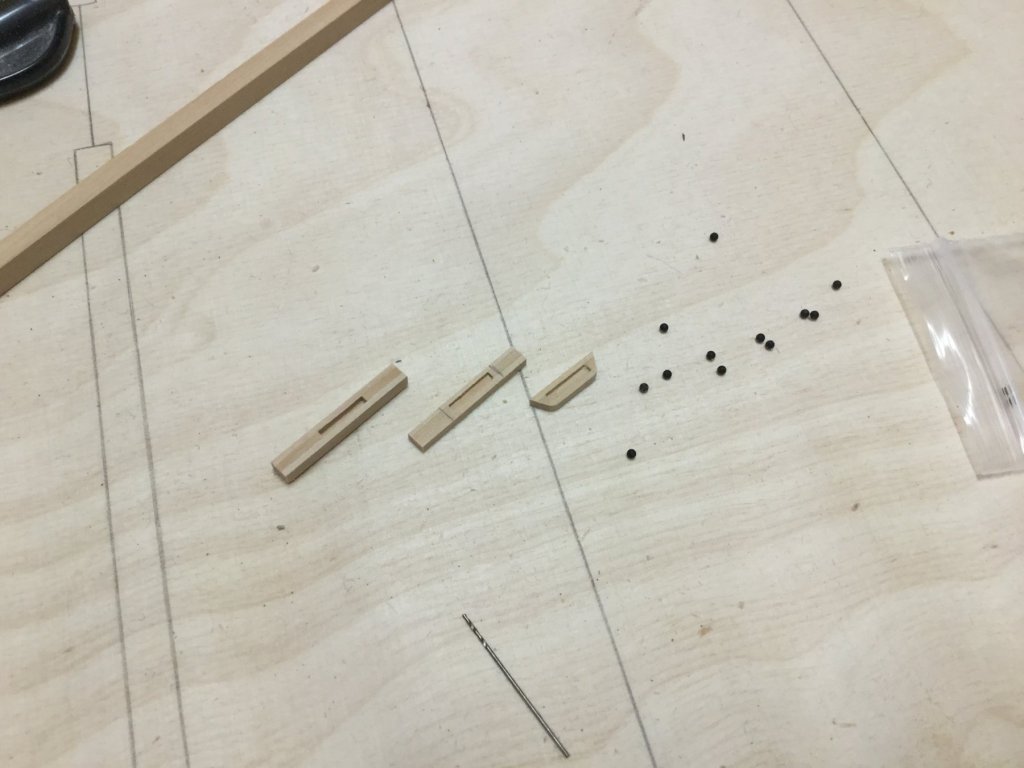
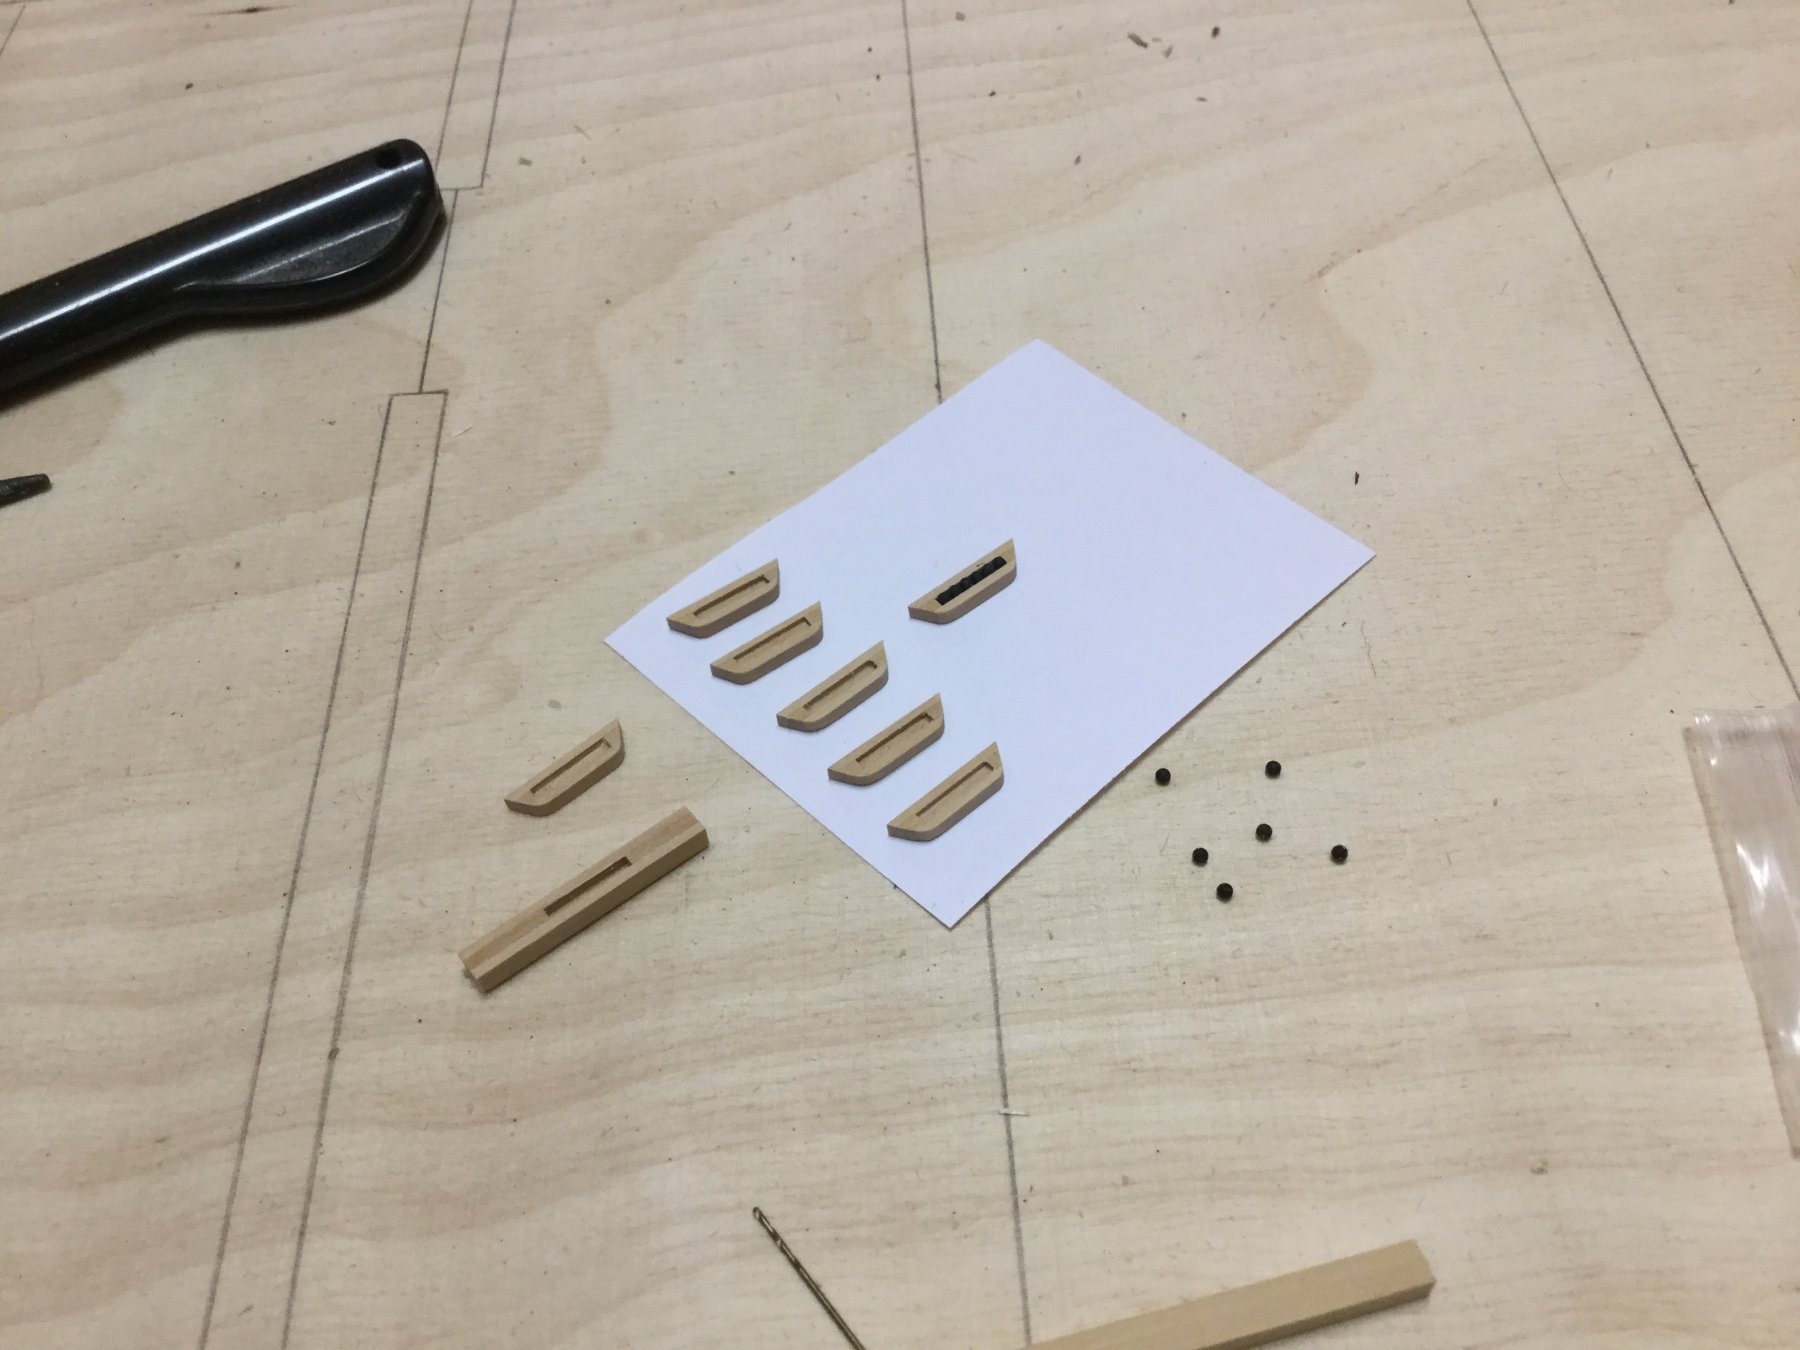
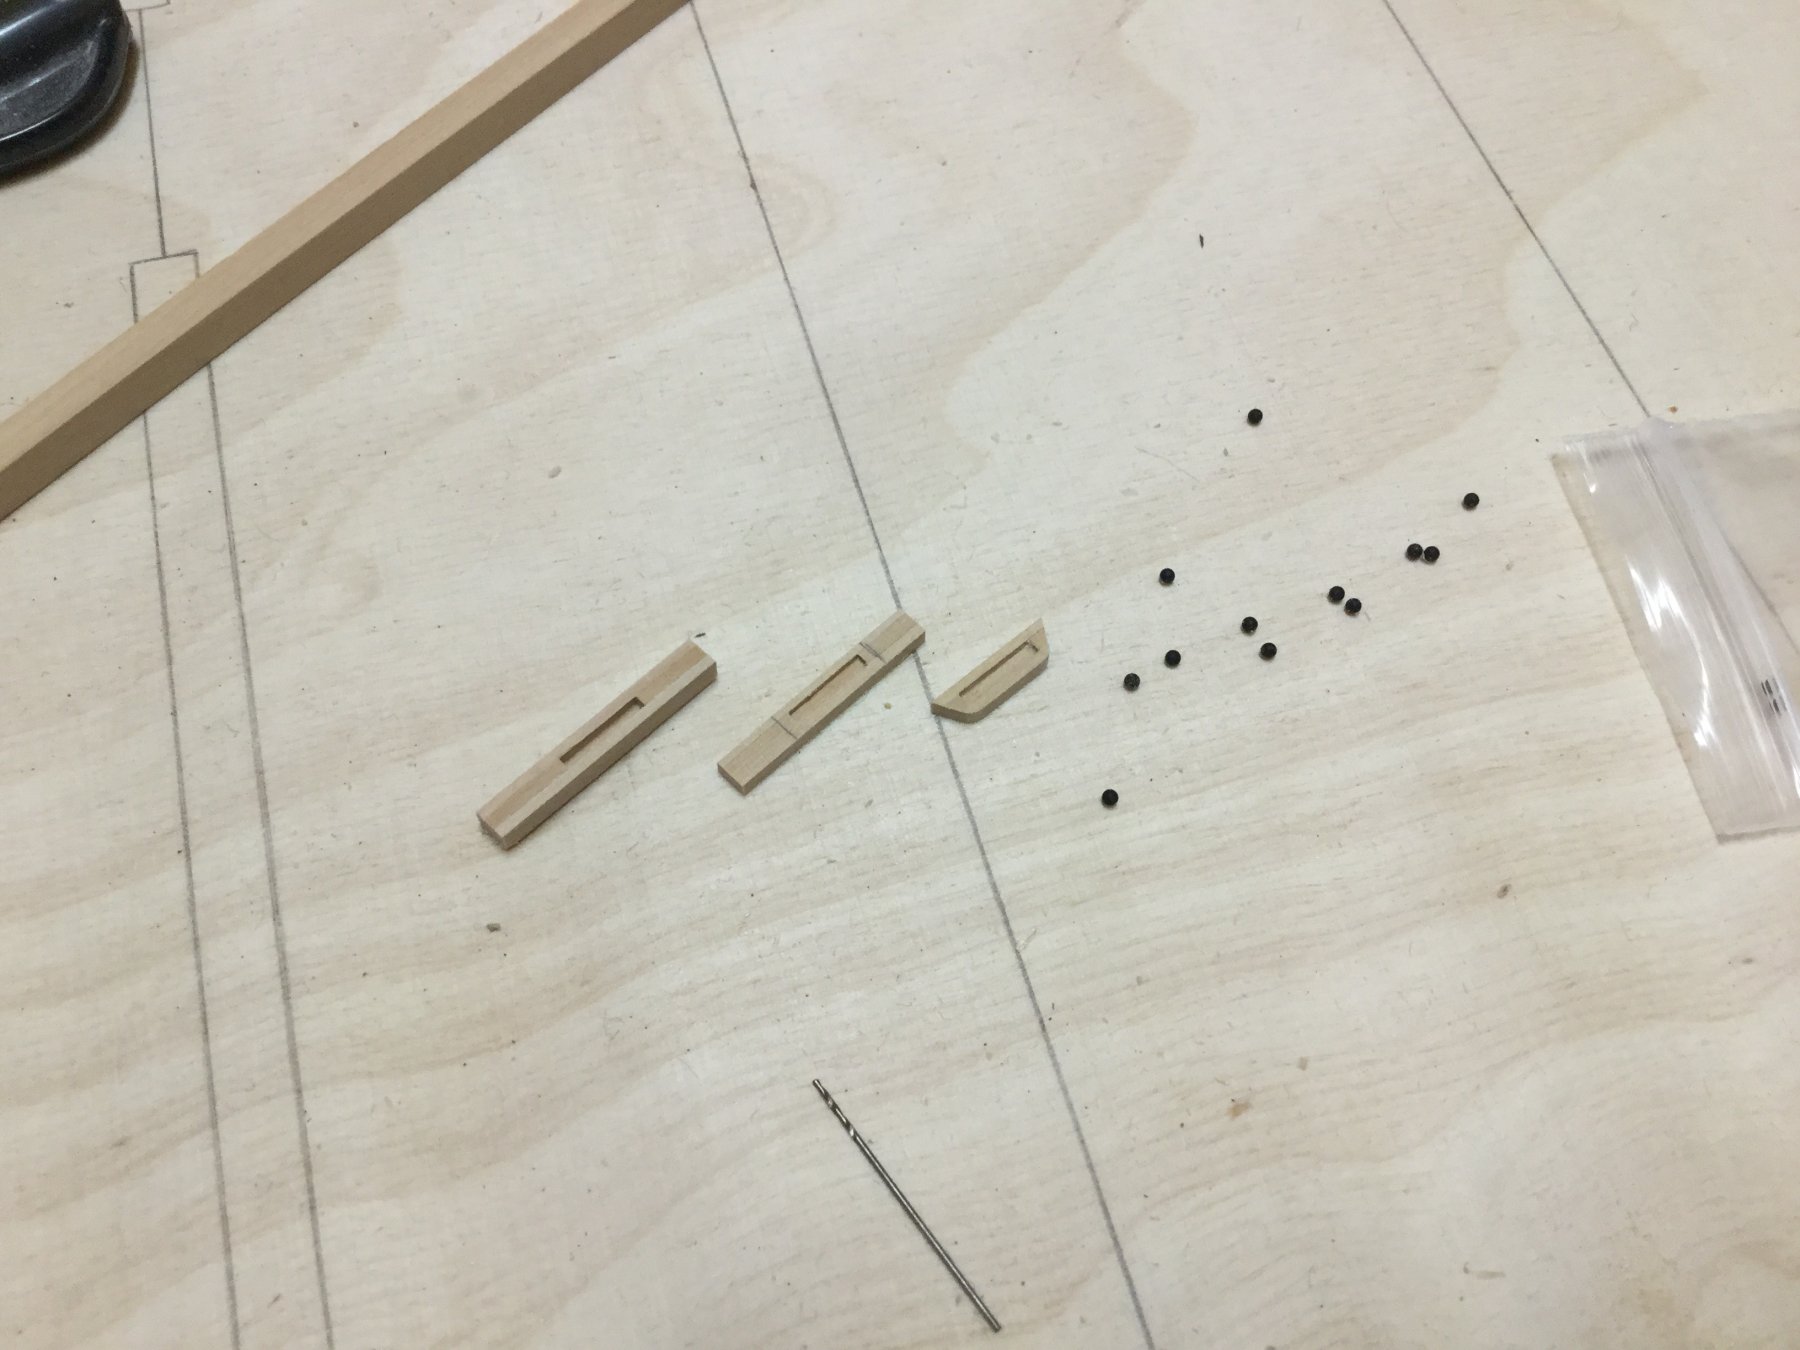
As I wait for some rope and fittings from Syren Company to arrive, I thought about adding a shot garland to each cannon. Since the 3-pounder cannonball has a diameter of about 6,5cm AFAIK 1,5mm steel balls may be a little oversized but a smaller diameter would be too small to recognize. The garland stores 6 balls each and is made of 1,5mm square stripes with addition to 1x3mm stripes glued to each sides. Then the space for the balls (9mm) is enclosed by 1,5mm square stripe pieces. Sanded both sides so the garland is only 2 mm thick in the end, then sanded a 30 degrees slope on each side and rounded the edges. Have to paint them red and installed them next weekend.

- Sea Hoss, lmagna, Tigersteve and 7 others
-
10


Armed Virginia Sloop By captain_hook - FINISHED - Model Shipways - Scale 1:48
in - Kit build logs for subjects built from 1751 - 1800
Posted · Edited by captain_hook
Thank you for the nice words and the likes. Some more work on the carriage. The two skids are made of three layers of wood and the lower front and rear sides are rounded. Nothing is glued yet only dry fitted. Next will be installing all eyebolts.