-
Posts
675 -
Joined
-
Last visited
Content Type
Profiles
Forums
Gallery
Events
Posts posted by captain_hook
-
-
This is a rigging beginner question, but I‘m going to despair on that. I have searched in different books and the internet but no technique seems to be accurate. I‘m searching for an adequate and universal way to attach cotton rope to wooden blocks. Shall I use knots (I.e. overhand) or some sort of splice and seizing? What is the best and more scale way for a model ship for rigging blocks?
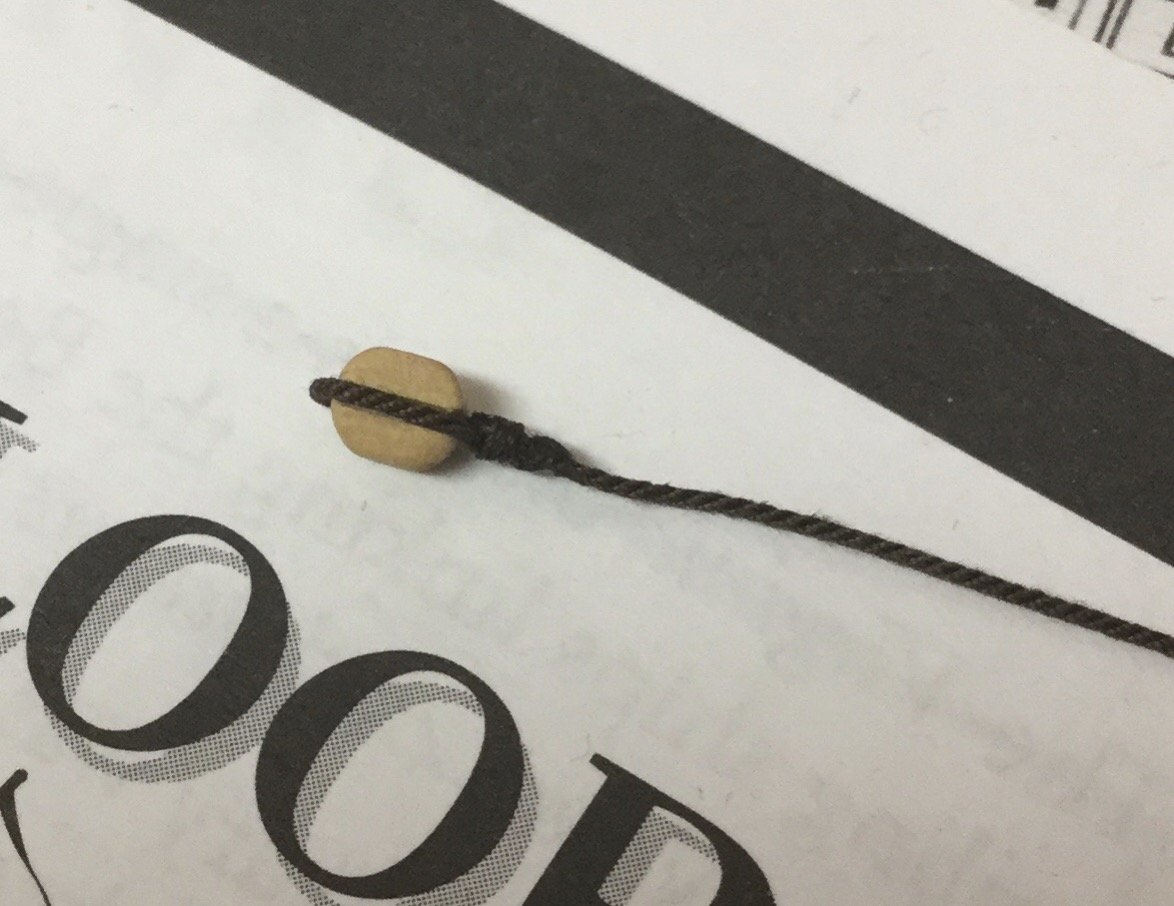
My best guess has been to lay the rope around the block, twisted both parts of the rope, put a drop of ca glue on the twisting and secured that with a thin (gutermann 50) cotton threat seizing around. A photo is attached.
Any better suggestions would be highly appreciated.
Best regards,
Andreas
-
Hello,
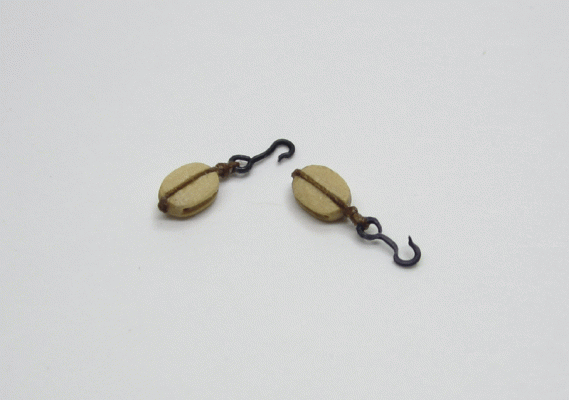
This is an old topic but maybe anyone can help. I‘m looking for a way to simulate a strop surrounded block with a hook attached without gluing both ends of the rope together at the back of the block. I quoted a picture of what i mean.
On 8/5/2013 at 11:43 PM, Chuck said:
Is there a way to simulate a continuously strop - maybe gluing the rope together like a ring, put that around the block and cover that spot with seizing?- mtaylor, Mirabell61 and BobG
-
 3
3
-
-
-
I forgot to mention: The AVS is a single-mast ship with a cutter-like rig.
-
Hello everyone,
I am in the process of rigging an armed virginia sloop and i wonder which part of the standing rigging (i.e. shrouds) were actually partial or full size served?
Best regards.
Andreas
-
@GuntherMT: That is surely another possibility I haven’t thought of before. But the mast can still be adjusted by the rigging for minor corrections.
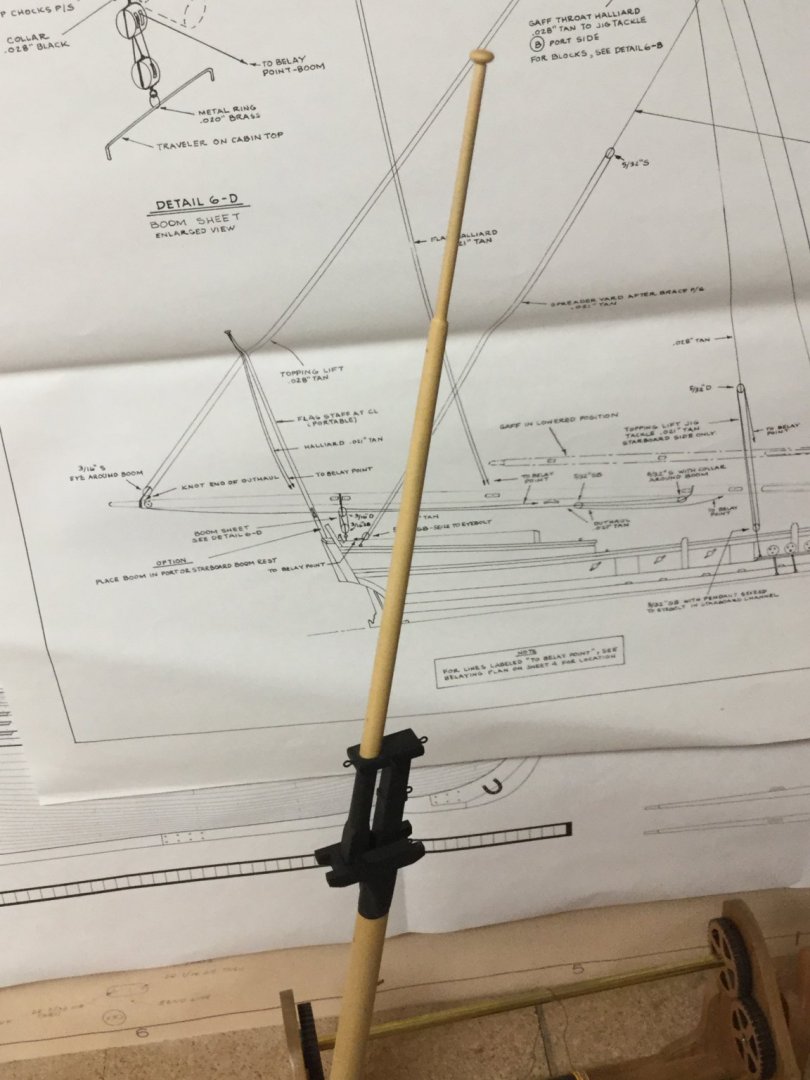
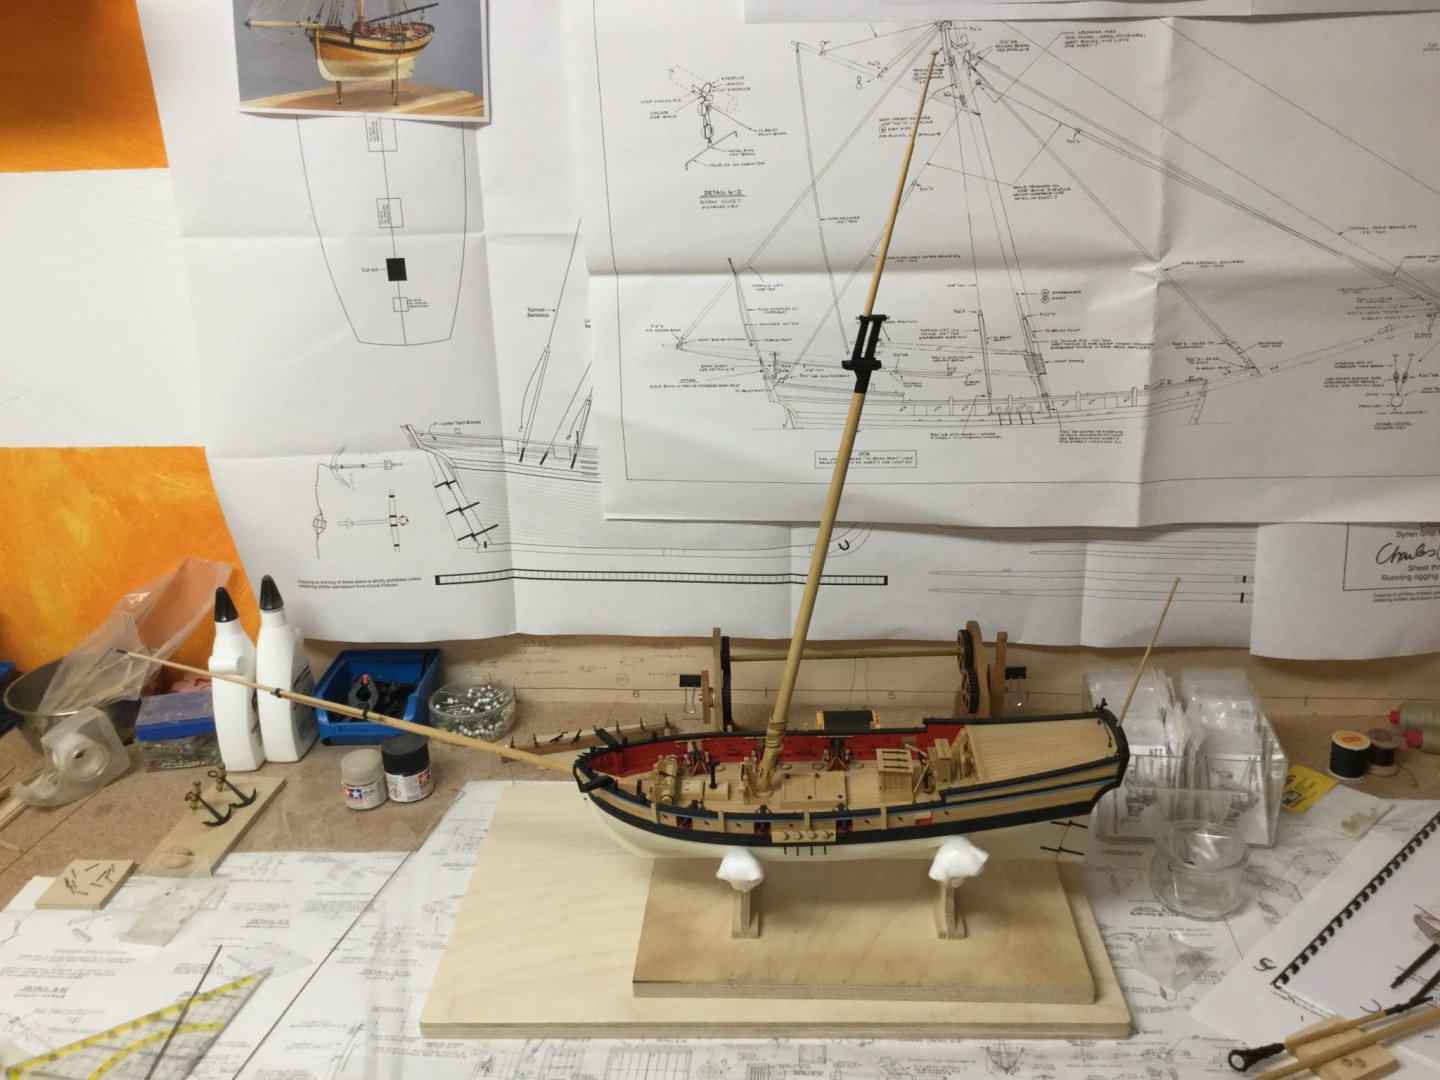
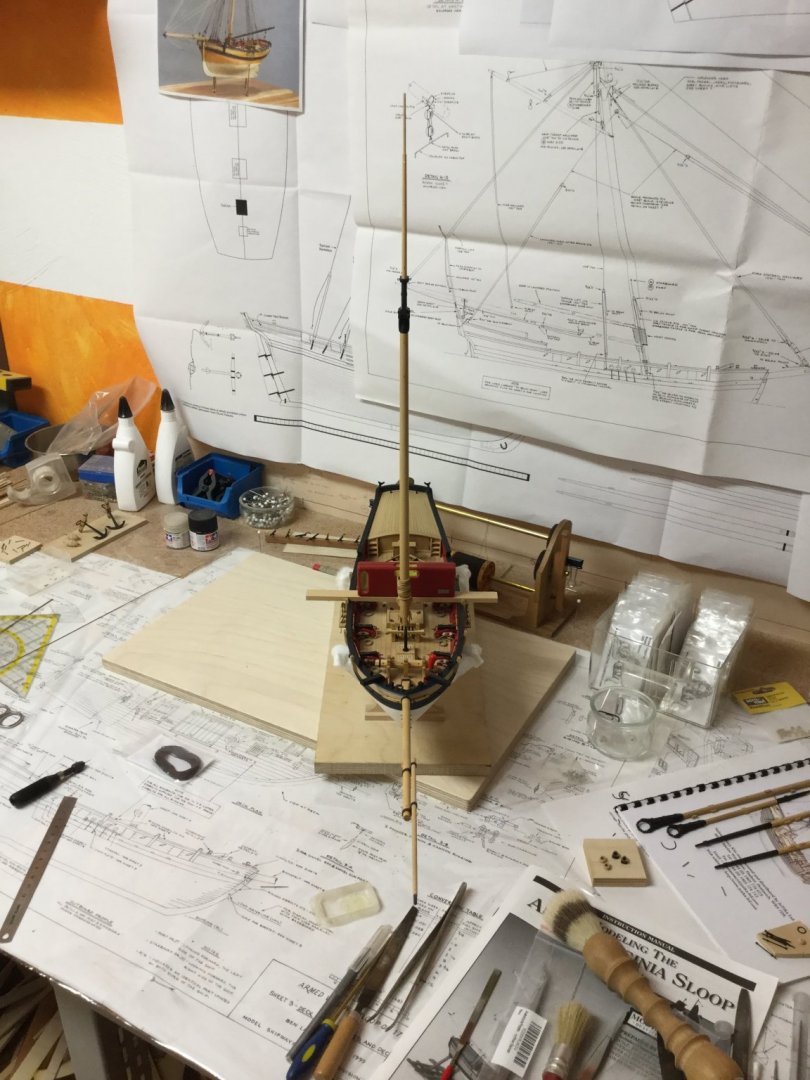
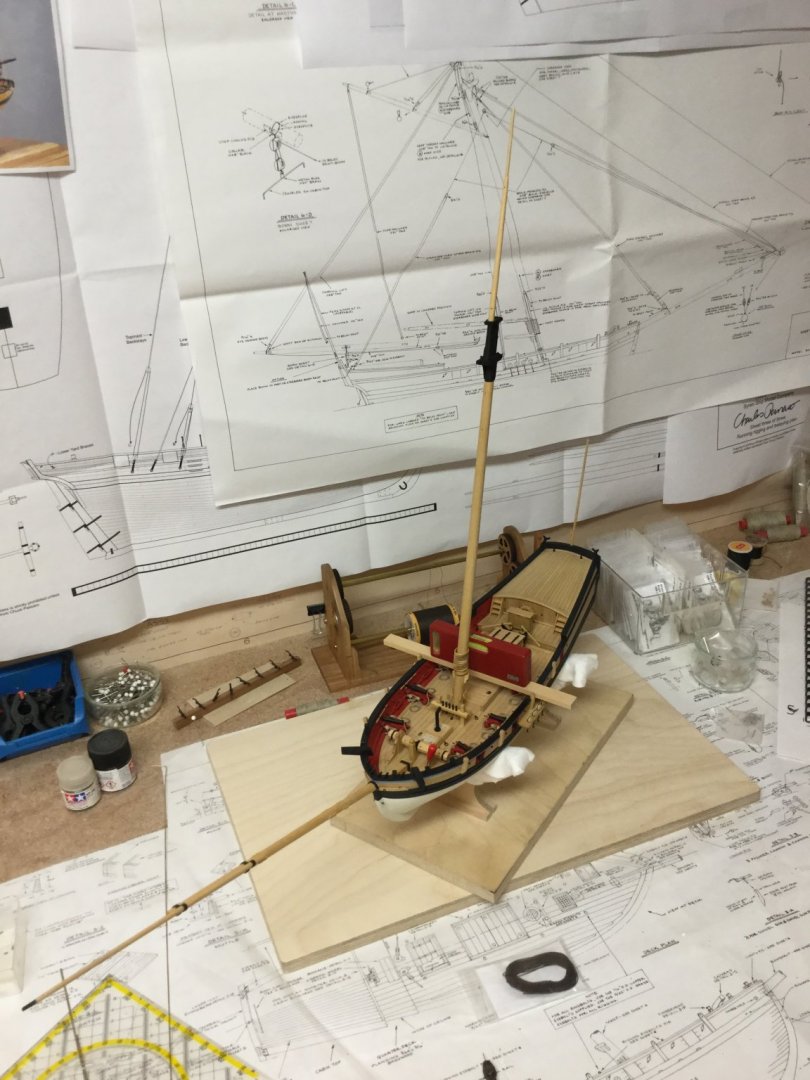
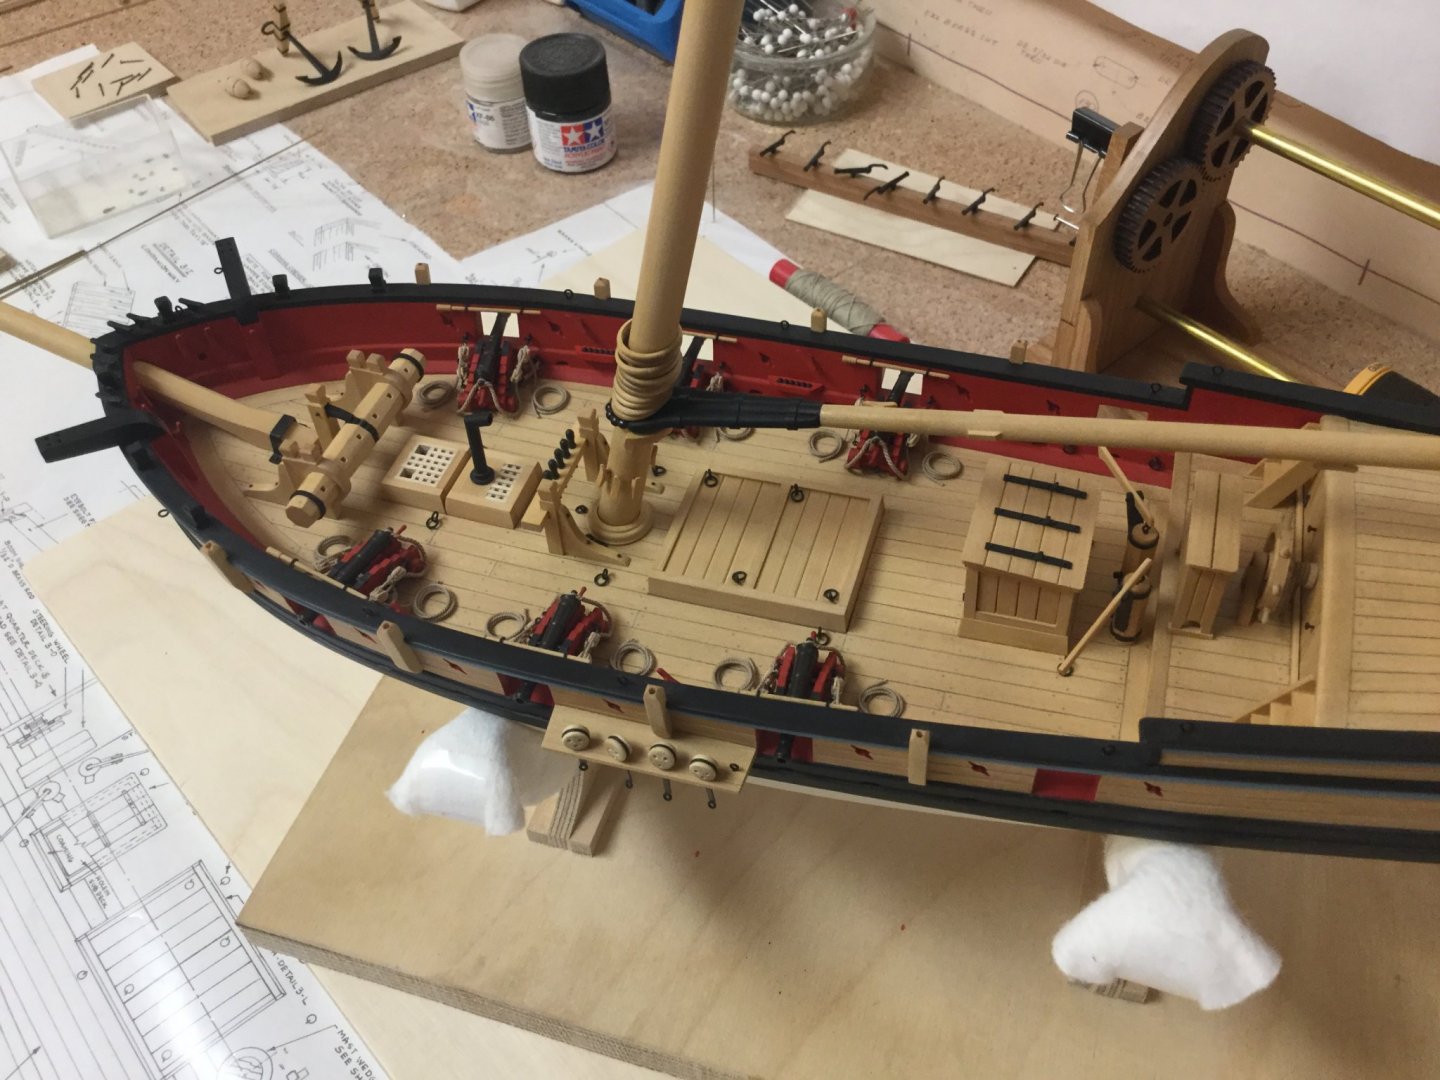
The mast is now fixed permanently, makes the hull look pretty small in comparison. I have to attach the boom and gaff next but will add some ropework before that so that I don‘t have to do that later when they are already glued in place. Then I will have to determine the order of rigging the ship.
- bruce d, GuntherMT, John Cheevers and 6 others
-
 9
9
-
It raises my hairs when I think of headrails and that I have to do them once I will begin building bigger ships. But you have done them very nice. Keep up the beautiful work.
-
-
-
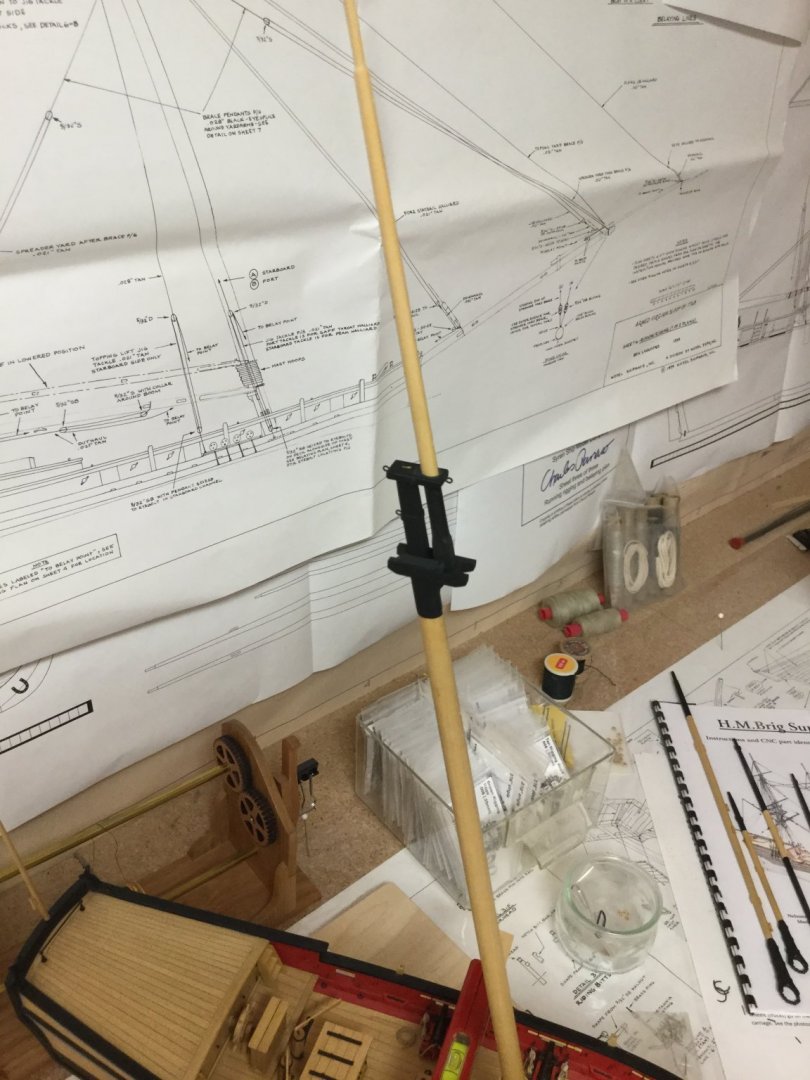
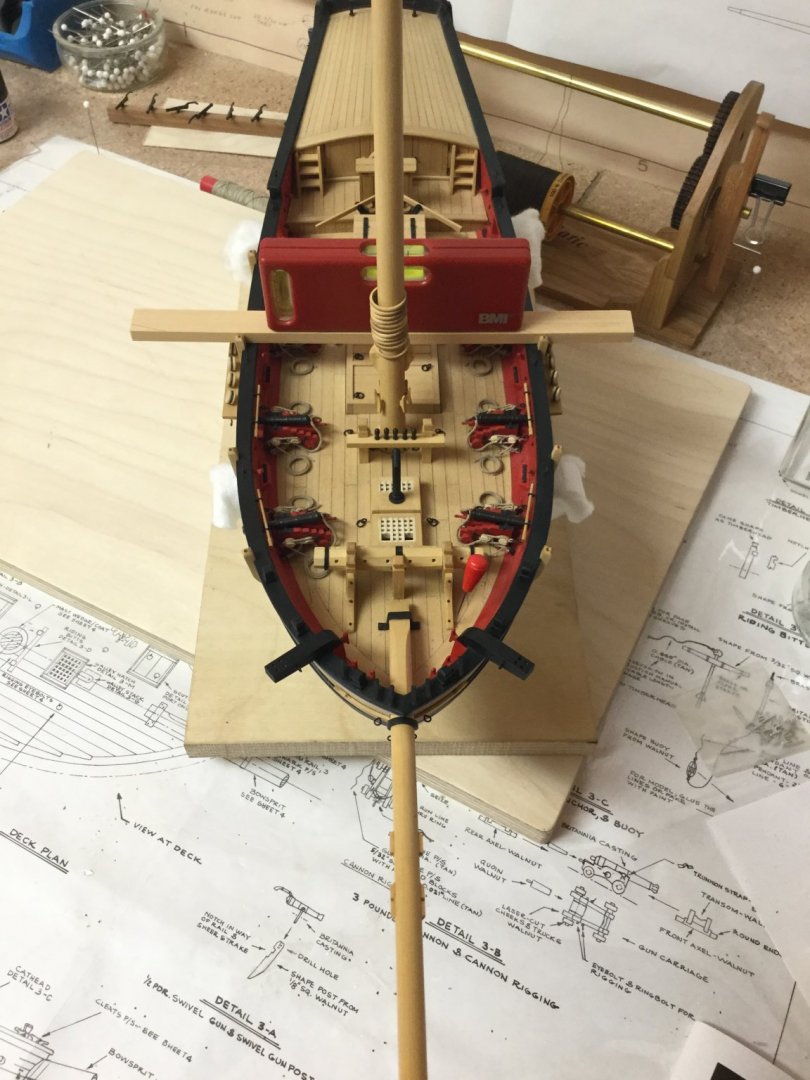
Today I finally glued the mast in place. As I tried to put it in place I developed some sort of obsession whether it was upright or not - starting to mistrust my perception. Sometimes when I look at that ship I only see mistakes. But in the end I gave myself permission to leave it as good as it was then. Hm, Hope the mast keep staying in place until epoxy is cured or I will end up checking it every 15 minutes.
- Tigersteve, Dubz, lmagna and 8 others
-
 11
11
-
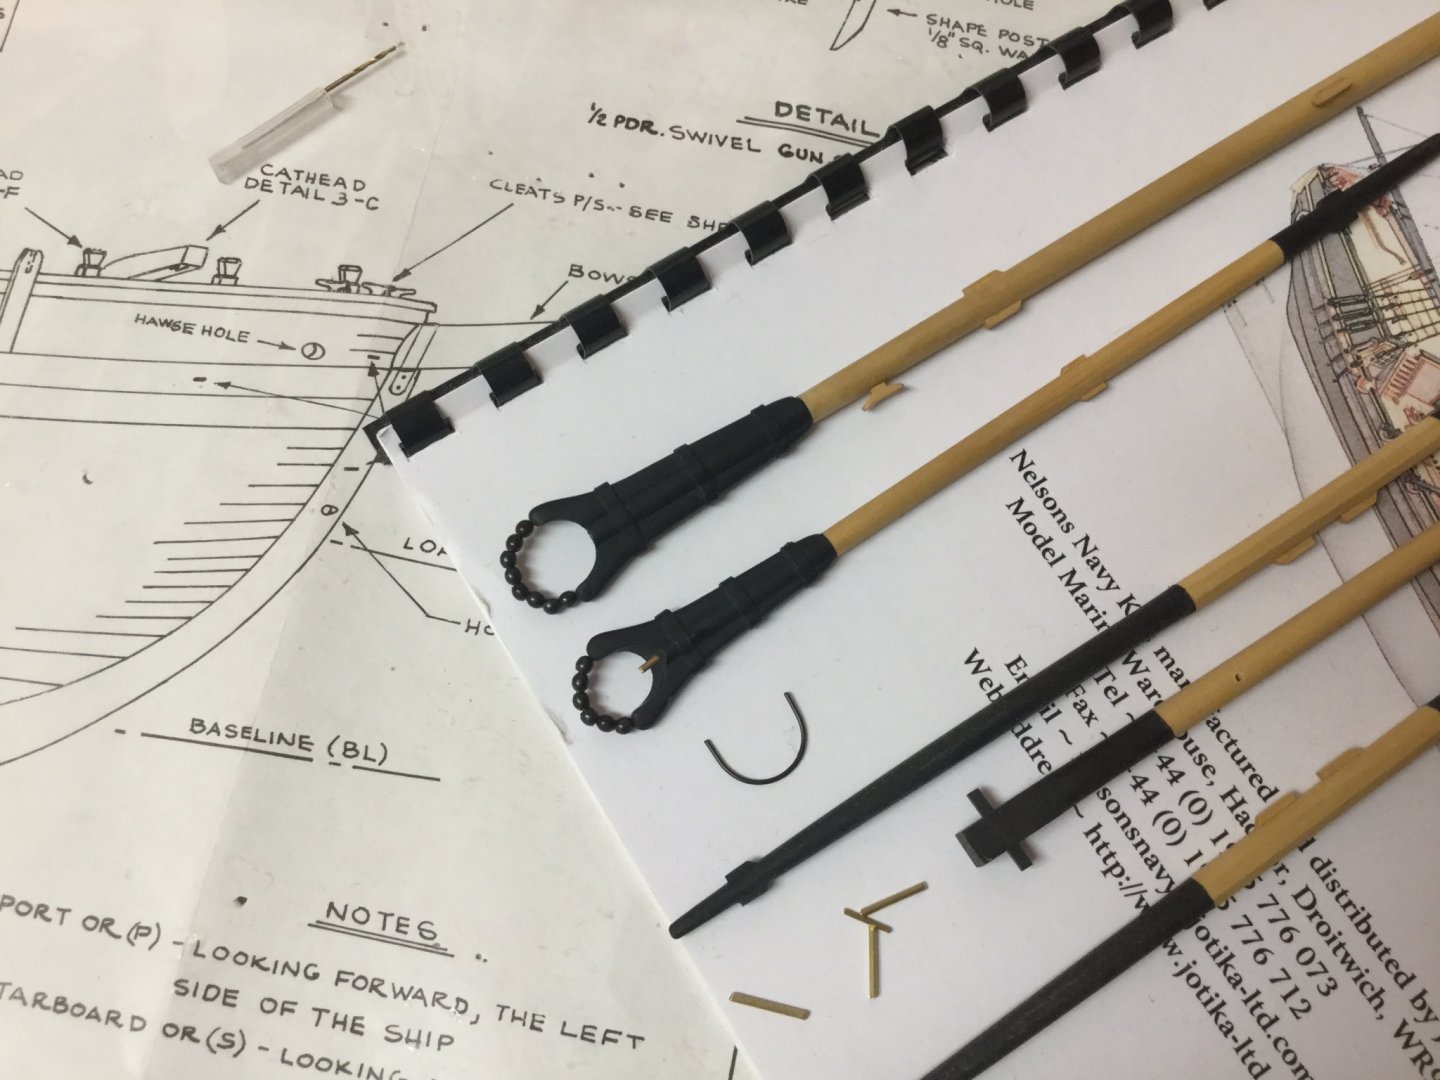
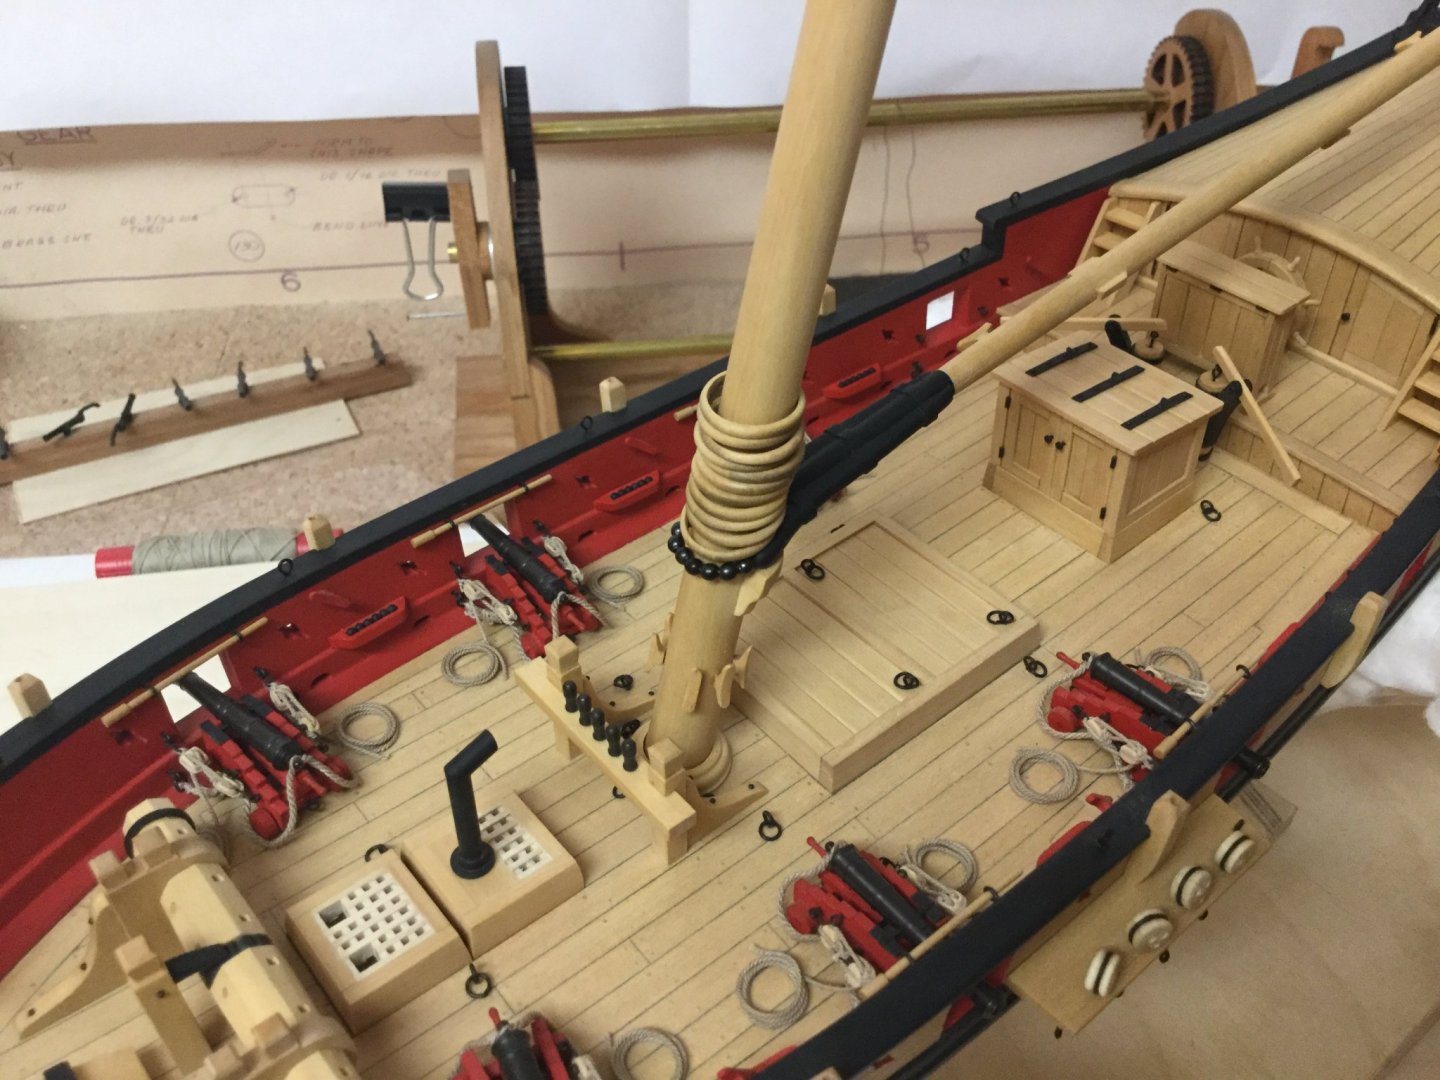
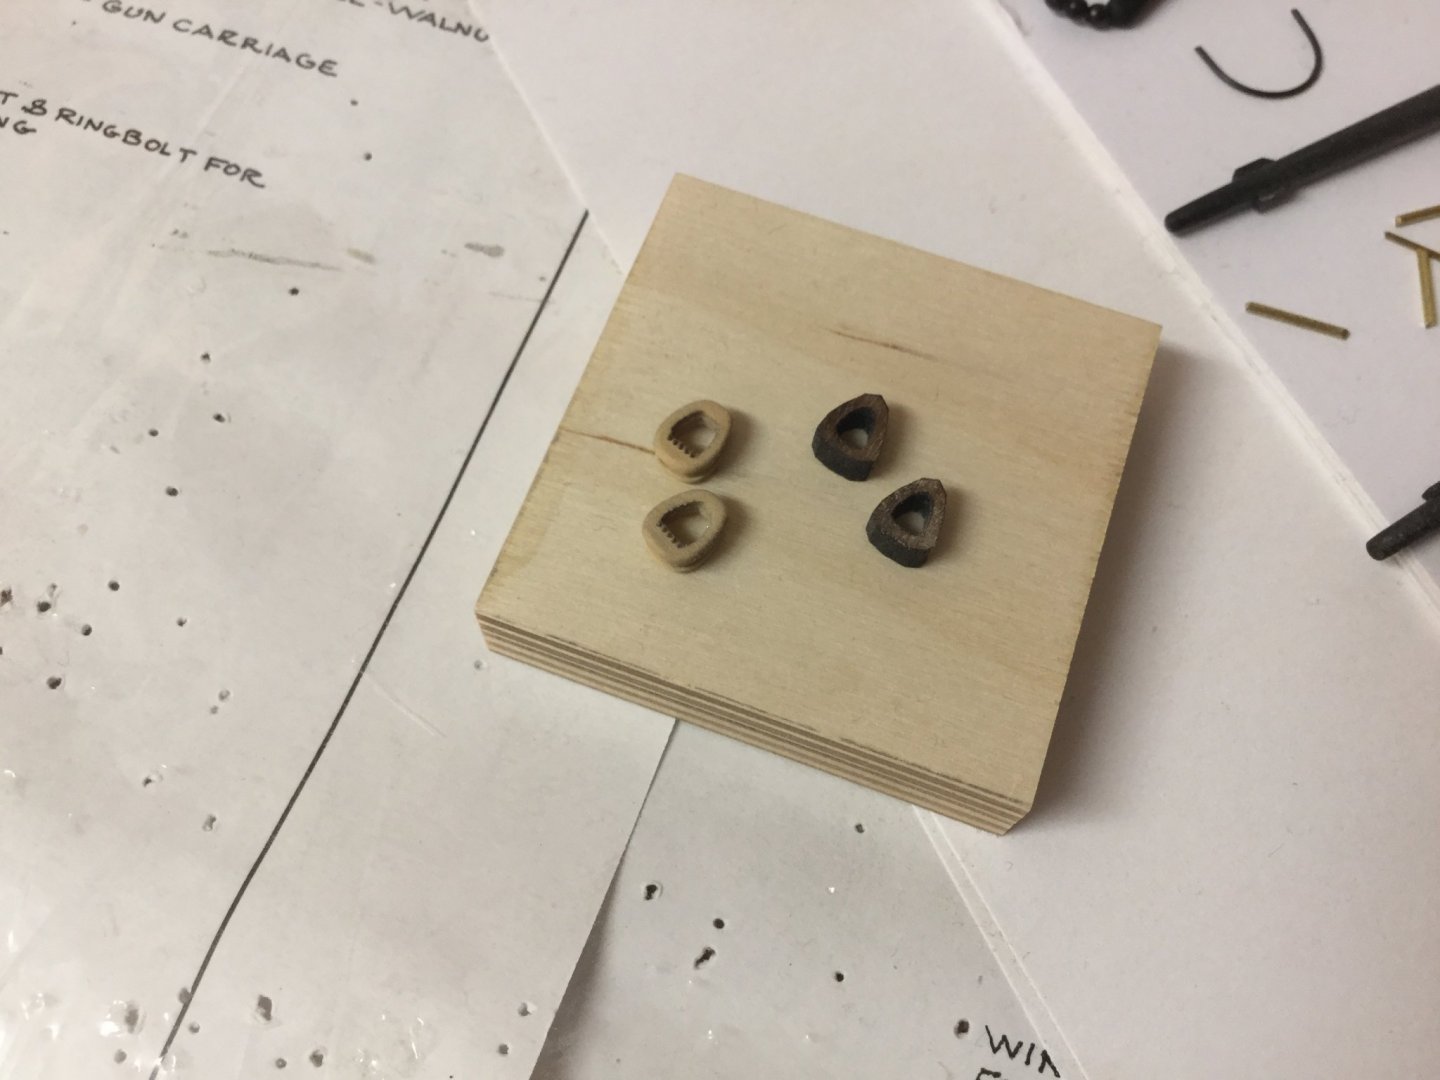
Some more updates. The small stuff takes lot more time than the major steps. I finished boom and gaff, simulated the rope parrel with blackened 0,7mm brass wire. Wanted to make some wood beads out of boxwood but decided to use the supplied brass ones and blackened them instead. That gives a nice contrast to the boxwood mast hoops. Assembled two closed hearts from syren that match the size of the kit-supplied ones. In comparison the two supplied walnut closed hearts.
- GrandpaPhil, Dubz, JpR62 and 8 others
-
 11
11
-
-
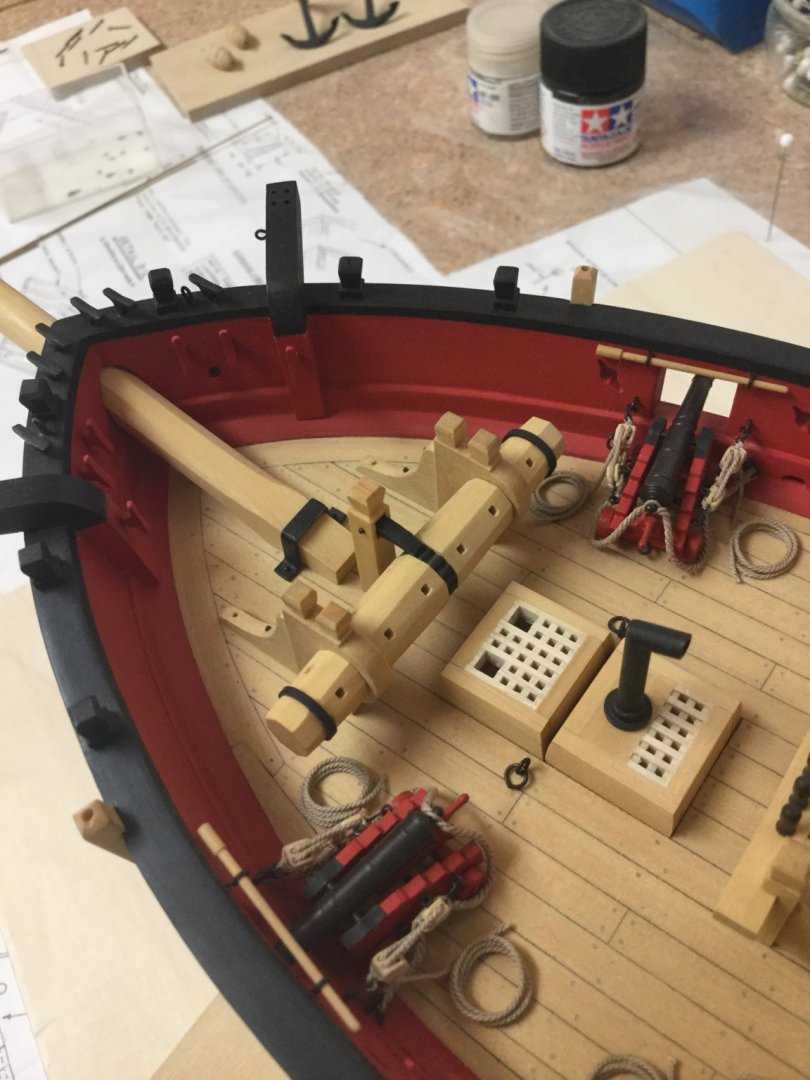
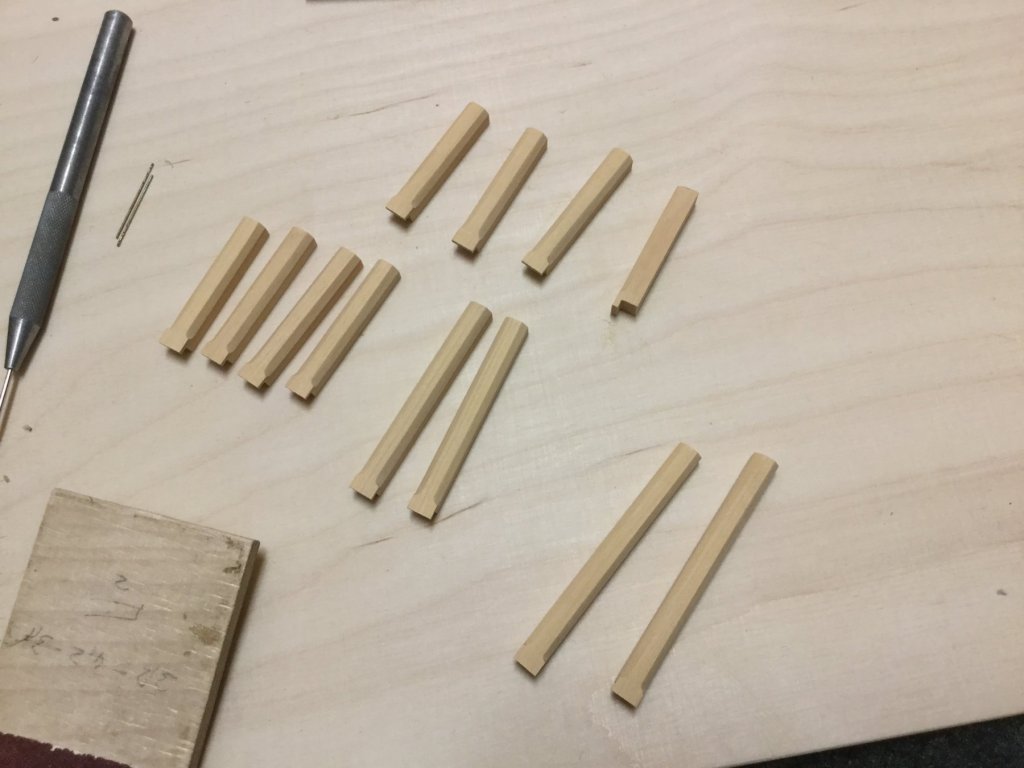
Summer break has passed. Because of high temperature during the last weeks the humidity in my workshop has been so high that even white glue wasn‘t drying in time. So I took a break from building, but now back to work. The stopping mechanism of the windlass was done today. I copied the one Chuck Passaro used as a part of the bowsprit step for cutter cheerful. Basically three layers of boxwood with the iron part fixed inside with two pins on each side and brought to shape with a needle file.
-
A really beautiful ship. Incredible work to be proud of.
- mtaylor, Keith Black and billocrates
-
 3
3
-
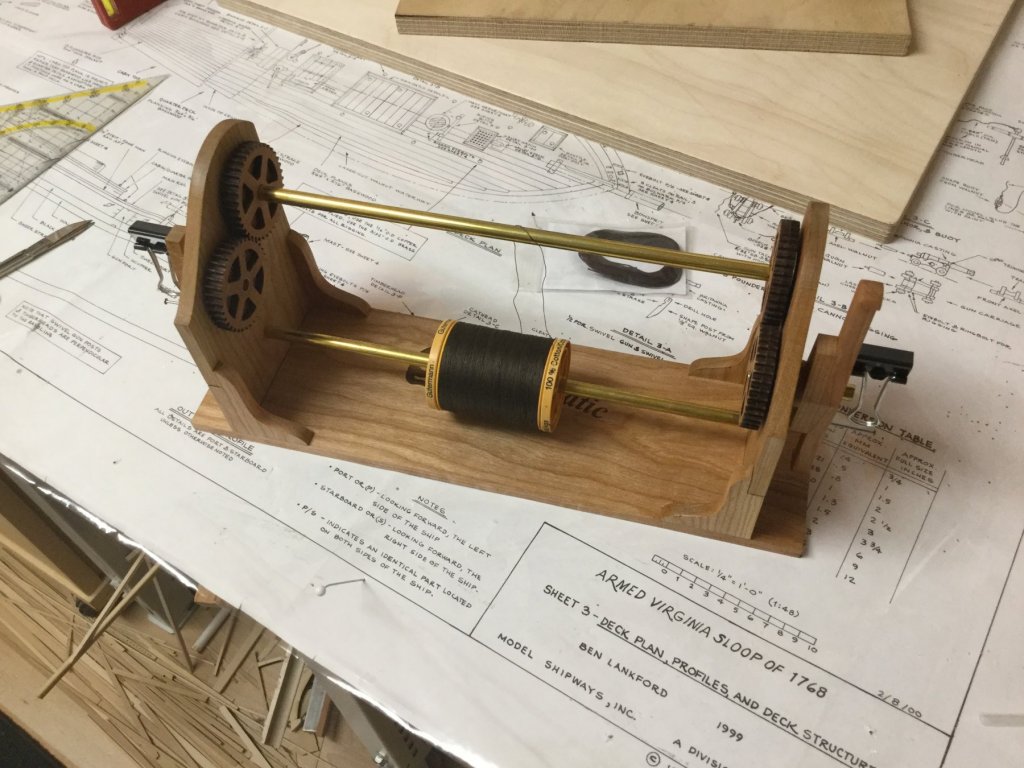
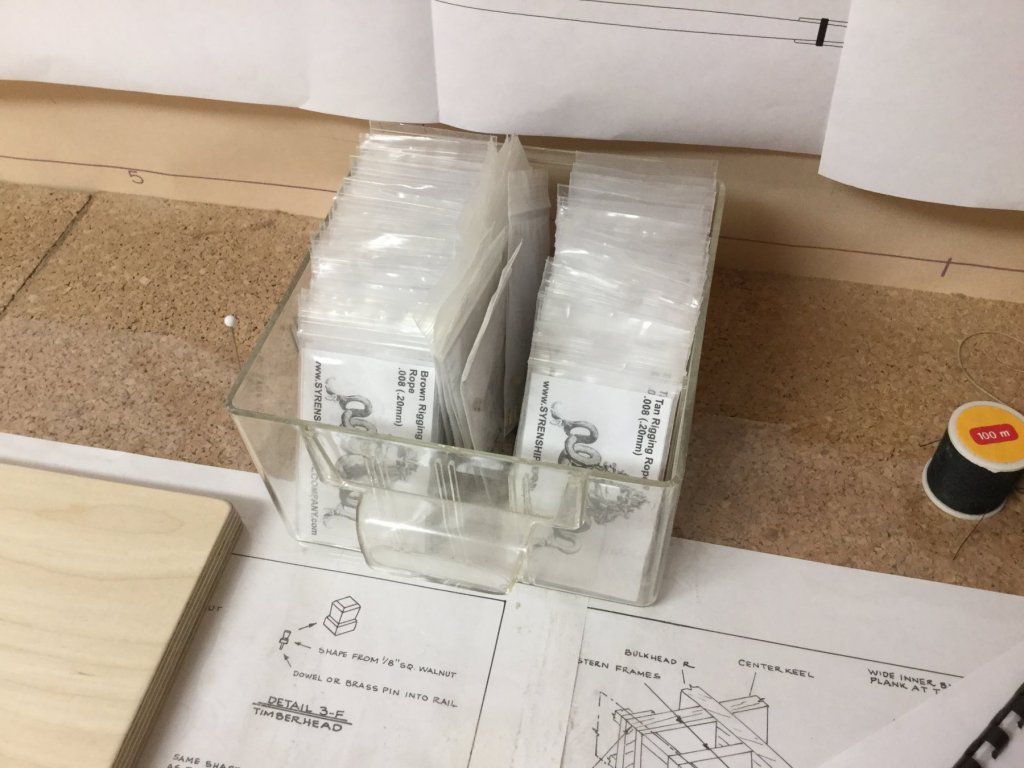
The summer holiday has passed and I have assembled the syren serving machine. I am a great fan of any kind of tool and the serving machine is a simple but very useful tool. Ordered some guterman dark brown cotton threat as well, it will fit the syren standing rigging rope very well.
It is a pity that over the last years almost all modeling related hobby stores in Germany have disappeared. I remember a store in almost every shopping mall 20 years ago but nowadays they are all gone so I have to order almost everything I need from Amazon et al. But I think this is part of a more complex problem that only a few people left to accept a lot of time and patience for example to build a model ship (and a lot more modelling related like plastic modelling - I remember a lot of kits in hobby and toy stores but today only few kits are available there). Anyway I am very thankful that companys like syren are ,swimming against the stream‘ and provide useful tools, kits and assessoires to keep ship modeling alive.
- Dowmer, bruce d, Tigersteve and 4 others
-
 7
7
-
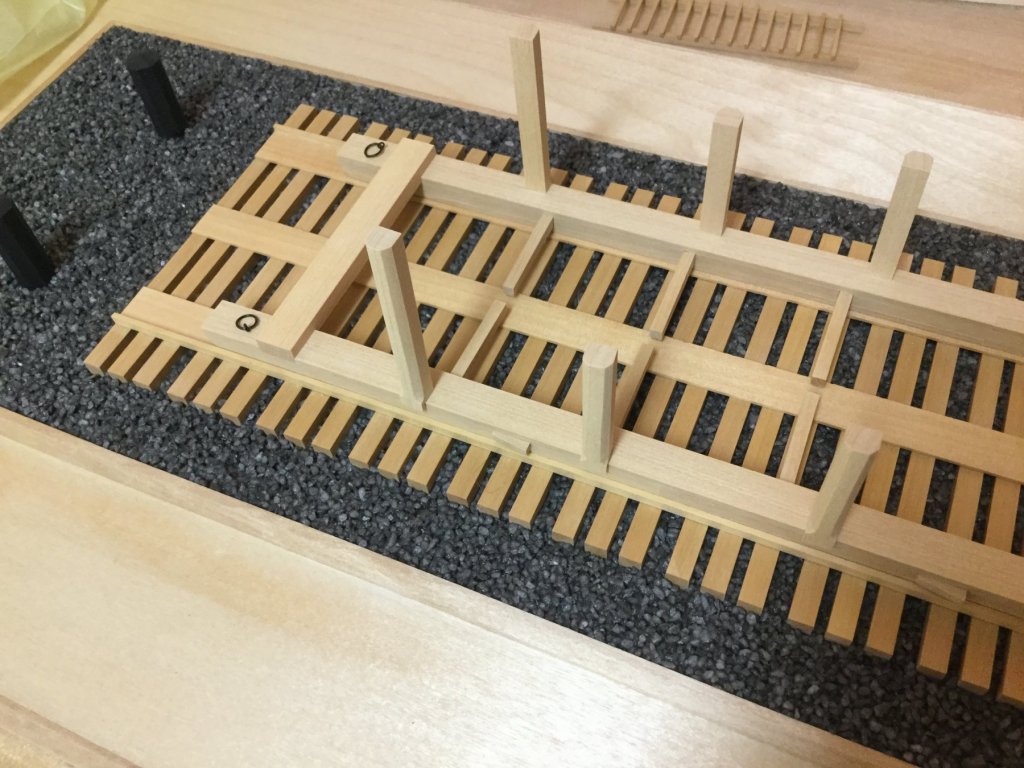
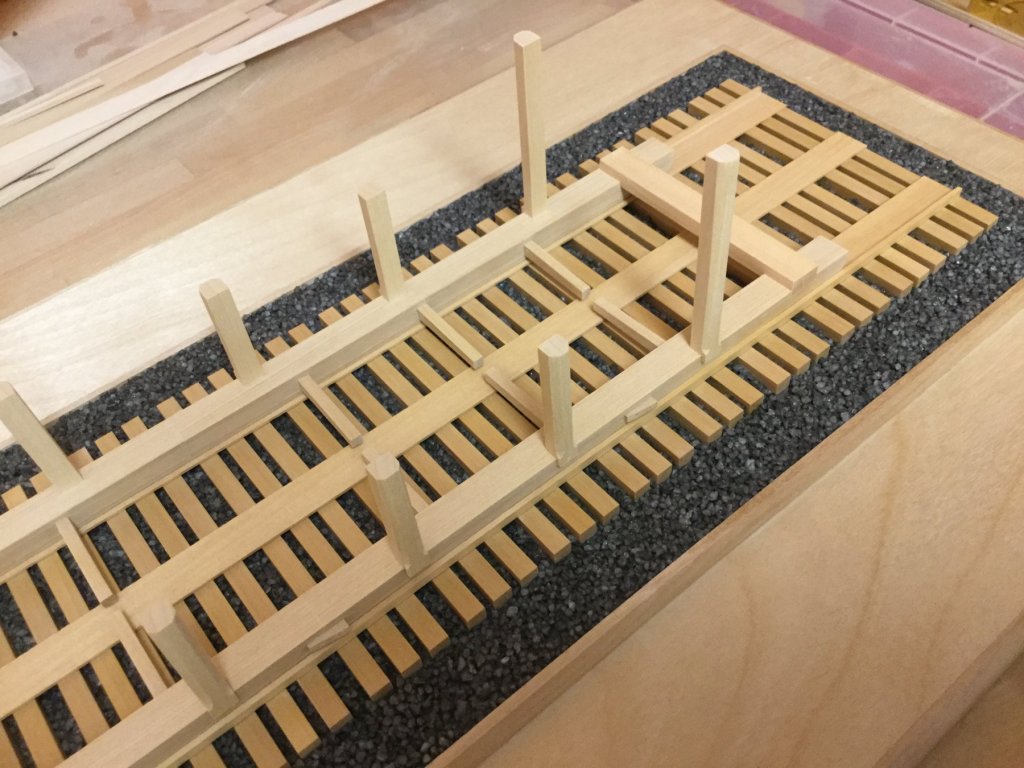
Next time I should think twice of releasing every crazy idea. Three weekends have passed and I have finally finished the carriage. A small ship like the AVS wouldn’t have used that complicated type of launchway but it was a good practice for future builds. Only some rope missing to secure the carriage to the bollards.
Next and almost final step is rigging. The kit-supplied rope is polyester so I decided to exchange it completely with cotton rope from Syren SMC - I wonder how many orders like that until Syren is out of stock. I need a ropewalk...
- Tigersteve, Dubz, Ryland Craze and 4 others
-
 7
7
-
-
And to bring the ropecoils to shape you may use dilluted white glue. That don‘t add to much shine to the coils after the glue has dryed. The right mixture may be 1/1 water to white glue but you may try that first with some spare rope - the consistency should be something like milk. You may soak the rope first, then form the coil around a piece of brass tube and leave it onto a piece of styrene or something with a smooth surface to prevent the coil from sticking to it. You can add more glue until the coils doesn’t soak that any more. If you have added to much glue, use a Q-Tip to wipe off the excess. Let it dry for at least an hour. This method works well with cotton rope but I haven‘t tried this method with polyester rope (supplied in the kit) before. Maybe someone can tell about his/her experience.
You may also check cdrusn89‘s Niagara build log (about Side 6), he documended his method very well with pictures.
-
The cannon rigging is truly time consuming, even with only 6 guns to rig. But you have made a good start already.
If you want to use smaller blocks and you have some issues to work with them this is the way I did my cannon rigging on the AVS. I used 1/8´´ blocks (single and double) and used a small drill to enlarge the pre-drilled holes. The Syren blocks I used are made of castello, so they do not tend to break as easily as the supplied walnut blocks when you enlarge the holes. You may use a very small needle file as well and a magnifiing glass is also of use if you are visually handicapped. You may add after market brass hooks to the blocks, so you only have to hang the finished gun tackle into the installed eyebolts on the ship and cannon.
I also used some superglue on the rope‘s end to make it stiff, so you can easily thread it into the block and it won‘t untwist or stuck inside. I first installed all cannons with the breach lines only and then added the gun tackles later, so there is no rope mess on deck. An more easy way to add ropecoils is to cut the tackle about 1 cm after last passing through the block and glu it directly onto the deck. Then make a separate rope coil and glue that onto the tackle‘s end. But this is only one possibility.
You may also check JpR62’s AVS build log for his method of gun rigging.
Anyway keep up the good work.
-
-
-
You have done a very good Job. And you’re right - family comes first. Thank you for all the nice castello you have supplied over the years and I wish you all the best.
- mtaylor, Jason, Ryland Craze and 3 others
-
 6
6
-
Hello Dwight, you shouldn‘t think about your model that way because you may get a bad attitude towards it and then it will get more difficult for you to get back on it. Although not every model looks clean, crisp or precise the same way they are all pieces of art with hundreds of hours spent into it.
- GrandpaPhil and Dowmer
-
 2
2

Attaching rope to blocks.
in Masting, rigging and sails
Posted
Thank you, this is an option I haven‘t thought of before. But it is also very time consuming. I‘m looking for generic technique that involves only the block and the rope that I want to attach onto it. Any suggestions? Thank you for the feedback.