


Bob Blarney
-
Posts
467 -
Joined
-
Last visited
Content Type
Profiles
Forums
Gallery
Events
Posts posted by Bob Blarney
-
-
This video is both off and on topic, but I think you'll like it anyway. Perhaps a pump drill is still available somewhere.
- garyshipwright, mtaylor, RichardG and 3 others
-
 6
6
-
I don't have my specs on, so I might have missed something above.
1. For all plans, have them copied and laminated. >>But if you're using them for close tolerances to scale, then check the copies to see that they are exactly the size of the original. (I found out the hard way with guitar plans, when the scale length was wrong.) <<
2, Buy a roll-up window shade that is large enough, and attach the copy to it, or replace the shade material with the laminated copy.
- thibaultron, Canute, Nirvana and 1 other
-
4
-
-
It looks very well built. Has Mr. Byrnes ever considered a 'rip fence' to be used on the sled? That could be useful for pieces that would fit on it.
- mtaylor, Canute and Seventynet
-
3
-
-
The slow speed is sometimes useful for other purposes, such as mixing stuff that has been sitting on the shelf.
-
-
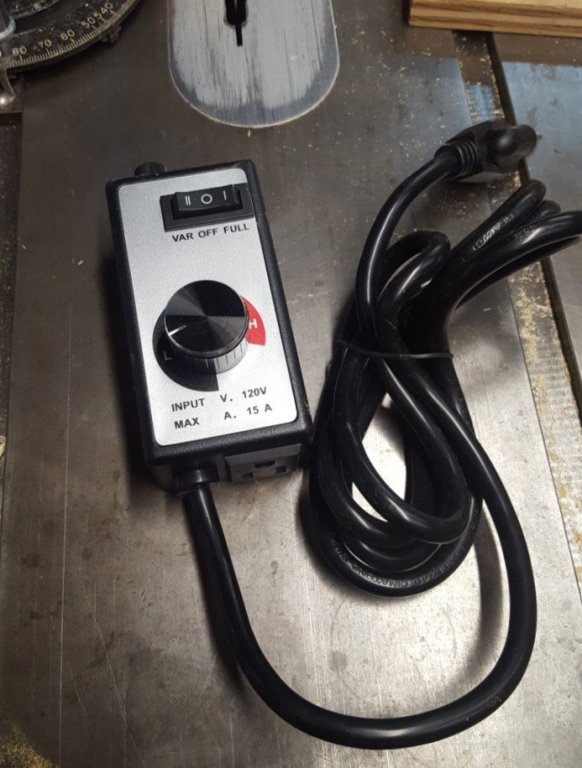
Perhaps a router speed control similar to this might work for you. It was $20US. I use it also to control the heat from a 1Kw electric blanket for bending hardwood.
Another alternative would be to scavenge the DC motor and control board from an exercise treadmill (often disguised as clothes racks). They're usually rated ~2HP and spin from ~50-5000 RPM. The flywheel-pulley is a common poly-V belt with ~8 grooves. I'm using such a motor on my 10x36 Midi woodlathe, and it's plenty enough power.
- aviaamator, mtaylor, druxey and 3 others
-
6
-
I'm happy that the dealer was sensitive to your needs.Definitely slack off the blade when done! I'm not familiar with that particular saw, but larger ones have an adjustment knob to set the tracking. Also, the wheels of a band saw must be co-planar, else there will be problems. This is checked by removing the blade, and backing off the tracking adjustment, and using a straightedge that spans both wheels when it is placed on the rims. Also, lumpy tires may cause the blade to jump. Finally, if the blade consistently cuts at an angle, the teeth may be dull on one side (but check the guide blocks first).
- mtaylor, Canute, Andi Little and 1 other
-
4
-
Hello, I'd like to offer my opinions for what they may be worth. I'm currently a lurker about modelbuilding - I haven't built since I was a kid. But I do have broad experience in woodworking, from acoustic guitars to camping trailers and home renovation. My experience with bandsaws is with the castiron veterans - 14" and 12" bandsaws from the 1940s and 1950s. So to me, some machines for scale modelers seem to be 'lightweight Lilliputian', but I'm not out to "diss" them - they should be made appropriate to the tasks and workshop spaces of modelers. With these caveats stated, here are my comments that I hope will be useful.
With respect to the saw's design:
1. The most significant problem that I see by viewing the pictures, is that the drive belt is inside the body. This can lead to unhappiness. Dust and chips can accumulate, and lubricate and wear away the drive and driven pulleys, thus leading to slippage of the belt and power loss. That 'toothbrush' on the lower wheel is only there to prevent buildup of dust on the tires of the wheel. My recommendation is to >always use the vacuum for dust extraction and clean the dust away at the end of every day<.
2. Re Blade tensioning: On industrial saws, there are gauges that attach to the blade to measure the stretching of the blade length (that is proportional to tension), but for smaller (12"-14") saws one method is to
a.) back off the guide blocks, place the blade on the wheels and take up the slack
b.) while turning the wheel by finger power (no electricity!) adjust tracking so the blade runs at the top of the crown of the wheels
c.) close the cover/doors, start the motor, and increase the tension until the blade just stops 'fluttering', and then increase tension just a bit more.
>>Do not energize the saw the with the covers/doors open and the blade fully exposed!<<
d.) after the tension is adjusted, then adjust the guide blocks (in the perfect world with a skilled operator, guide blocks/rollers are unnecessary.)
-
By the way, I have no argument with anybody about owning well-made and nicely finished tools. I never really understood what a handplane can do until I bought a Lie-Nielsen that was perfect right out of the box. By using it, I learned how a fine tool increases the enjoyment and learning of a craft. On the other hand, there's the budget issues when starting out, and there's also the satisfaction of making use of what's on hand and also making one's own tools. One learns by doing all of these things.
In short, instead of just following 'Live well within your means', one should 'Live well, within your means.'
-
-
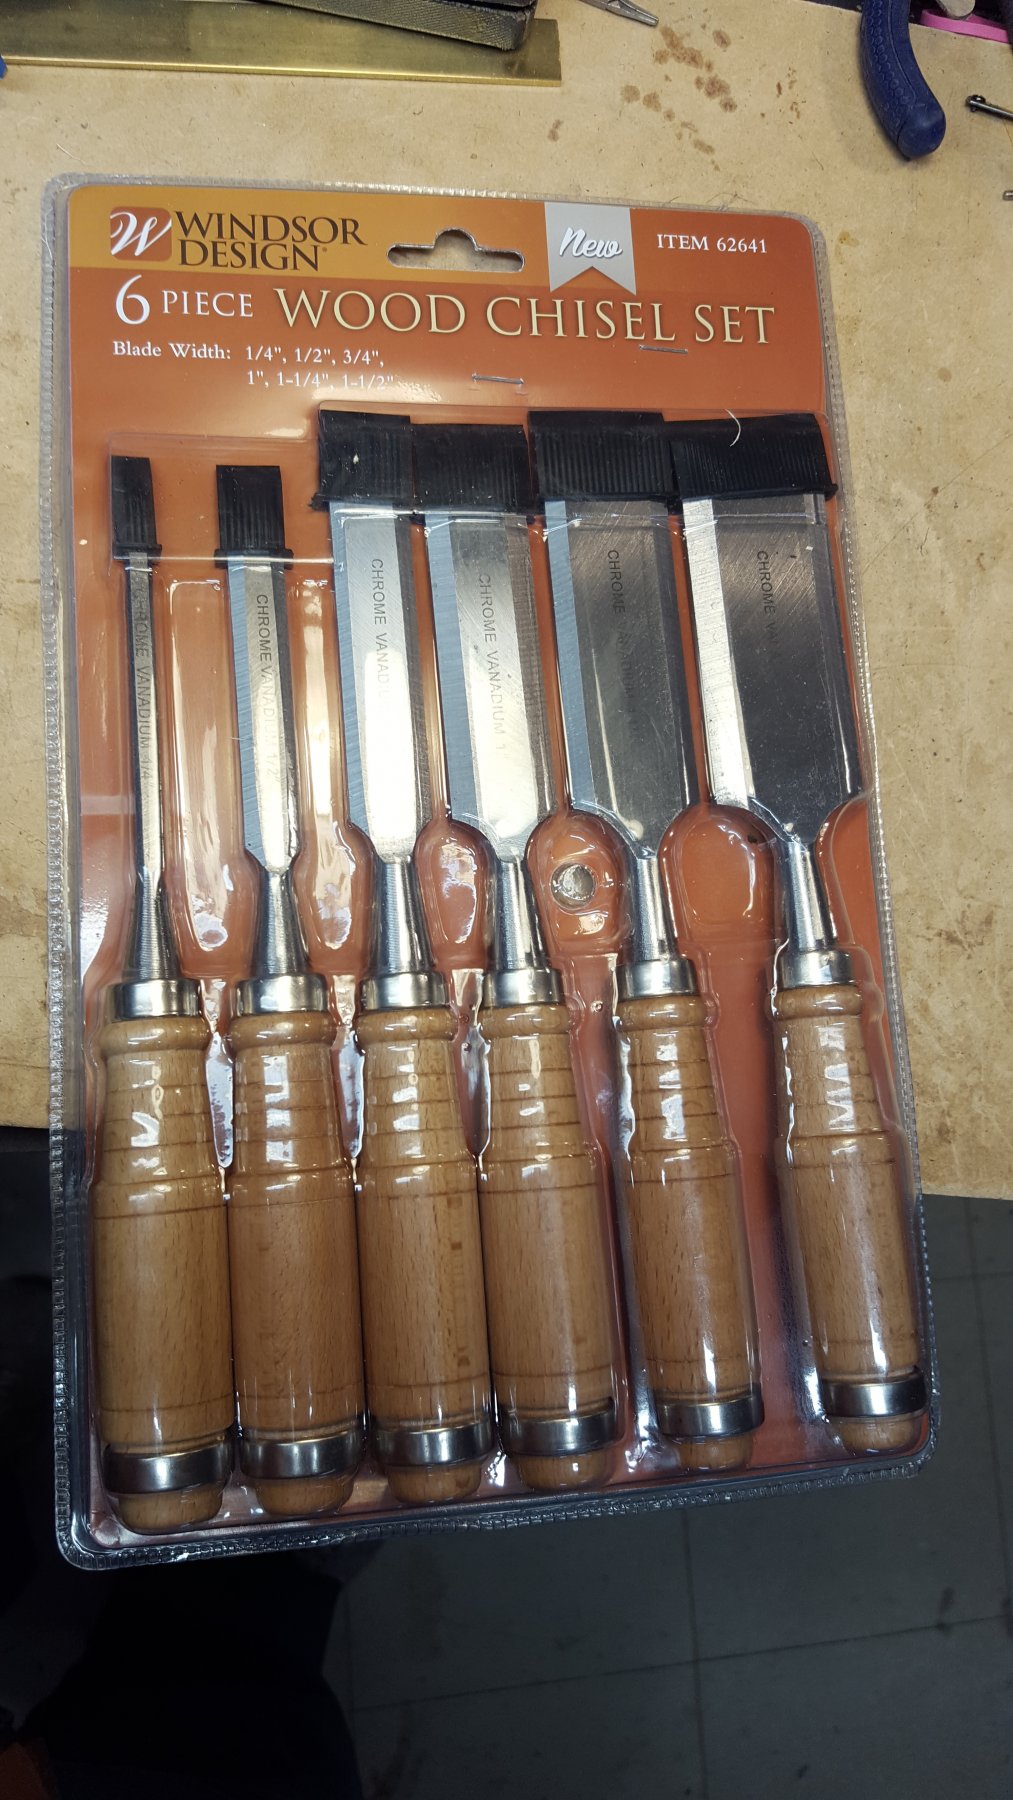
I think people are making too much of the brand-name chisels. They should be of a length suitable to your hand and the width to need. It's more important that they're ground and sharpened correctly than what the brand name is, unless they're very very cheap chisels. I've had a set of Marples (now Irwin) Blue Chip chisels for 25+ years, and they weren't too expensive. And I have several old Stanley Sweetheart chisels that I found in yard sales that are quite nice.
Your old chisels are probably perfectly acceptable so long as they haven't been burned by a torch- and if they were burned by grinding too hard and fast then they can be reground with a less aggressive wheel (aluminum oxide = white) and occasionally dipped in water. Then it's time for honing, and you can use silicon carbide autobody paper on glass (scary sharp method) until you can acquire diamond or hard stones.
And heck, you could make a set of miniature chisels for modeling from a handplane blade, by hacksawing out strips to desired widths, and then cleaning them up with file, and embedding them in shopmade handles. For small handheld tools, I bore a hole in a champagne cork, and glue in a brass tube (flattened if needed), and then epoxy the blade in place. It works for me.
- vaddoc, Roger Pellett, Canute and 5 others
-
8
-
3 hours ago, lehmann said:
Grizzly tools has a small oscillating sander for hand or bench use. I was thinking of making a thickness sander with it. Seems to be well made (not a toy). Reasonable price and doesn't take up much space.
That's an interesting tool for modelers who have with limited work space. You could stack up some MDF pieces to make use of the entire length of the cylinder.
- Canute and Chuck Seiler
-
2
-
Often, a 'box within a box' is a reliable method. The model would be supported in a box so that it does not move around. Then that box is placed inside another, with 75-100mm of loose soft dunnage around all sides of the inner box, e.g. styrofoam peanuts (I've used popcorn with success!).
-
There are several that can suit your needs. The choice will probably come down to the space that is available in your bench or work space. I prefer this one because it is more versatile, and has a large table that allows for construction of fixtures and jigs. But for small work, a benchtop drill press is also a versatile machine that shouldn't be discounted.
Ridgid ZREB4424 3/8 HP Oscillating Edge Belt/Spindle Sander
-
-
6 hours ago, wefalck said:
If your power-drill does not have a speed-control, you can hook it up to a plug-type dimmer, which can be bought quite cheaply. Make sure that the dimmer is rated sufficiently. I think most dimmers are rated at 300W. Wall-type dimmers can be obtained at much higher rating, but you would need to construct a box for it.
It seems to be all a lot of effort for a make-shift tool, when you can buy a small wood-lathe (such as the PROXXON DB250), which is much more precise and versatile, for around 200€ new and perhaps less used.
Wefalck's suggestion for using a lamp dimmer is a good idea that I would implement even if a drill has a variable speed trigger, because the dimmer would provide easier and probably finer and smoother speed control. Just remember to lock the drill trigger at full speed.
-
For this purpose, a diy lathe using a drill should work well, so long as it is aligned and the stock is supported. Cog has done a credible job of building one, complete with a live center that retails for about $15US. I assume that the tailstock can be moved closer to the headstock. The tailstock looks ok, although a bit beefier construction might be desirable.
Jagger's point about using a different wood species is valid, and it's true that splitting stock from a larger piece will yield a piece with the straightest grain. I don't own a froe (it's too $$ for my occasional need); instead I've use a chunky DeWalt Side Strike Chisel - DWHT16065 (~$10-12) that has a sharp edge on the side and that is made for heavy blows with a hammer.
-
Hmm, the board clamped in the vise is not optimal. If it is off-center from the drill, then bad things can happen - such as tearing the dowel apart.. Since you made a mount for the drill, so should you make a permanent 'tailstock' that can be easily clamped in the vise and is registered with the front edge of the bench, with the hole or bearing coaxial with the drill's chuck. To adapt to different diameters of dowels, make the tailstock hole 1 inch in diameter, and then make some collets with an eternal diameter of 1 inch, and a centered hole the same as you stock, e.g. 1/2 inch or 3/8, etc.
-
Surgical instruments often become magnetized simply by rubbing against one another. It's a damned nuisance when trying to pick up a surgical suture needle.
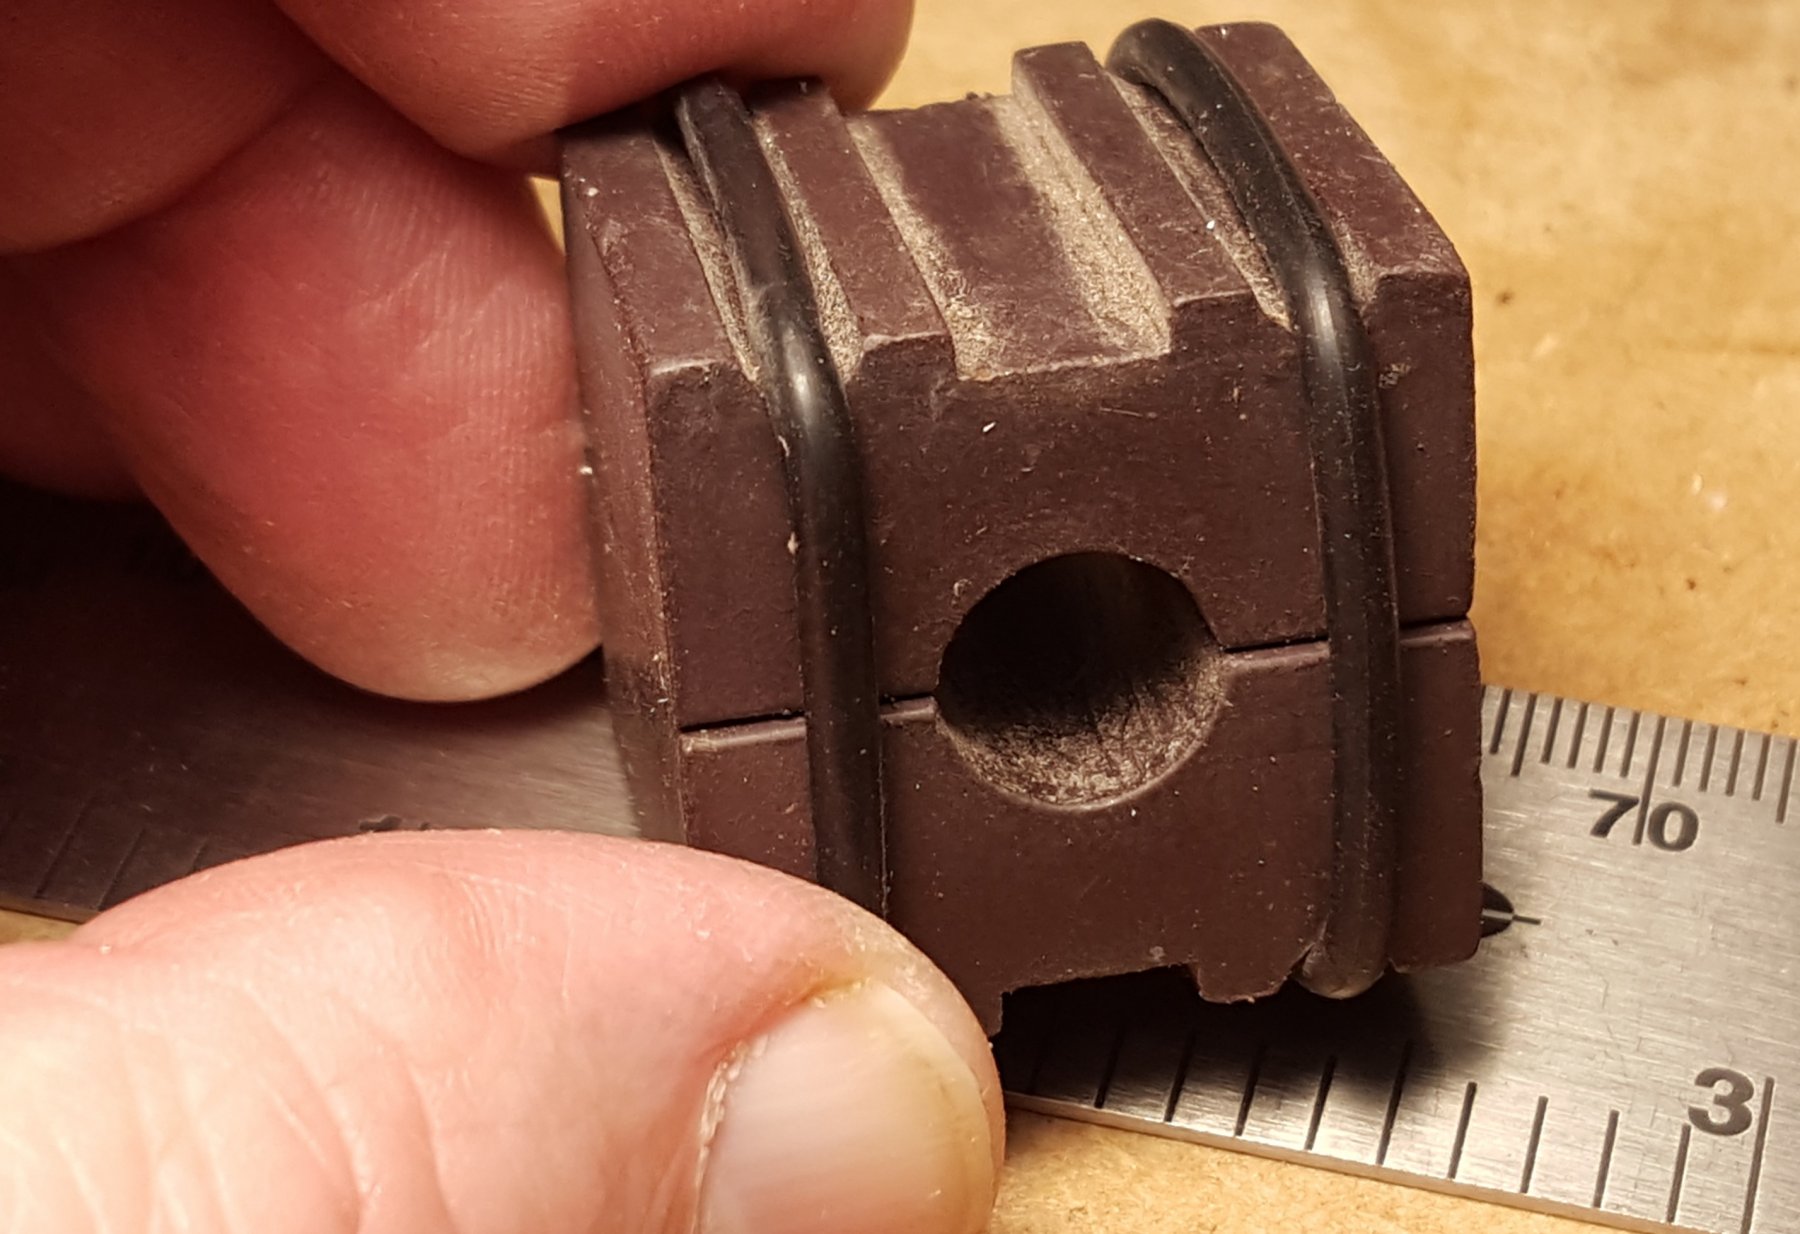
I can't remember where I found this (De-)Magnetizer widget. It consists of two rubbery magnets held against each other in repulsion by the squarish O-rings. To magnetize the tool, one inserts it back & forth in the hole. To demagnetize it, the tool is rubbed around the exterior surfaces. The magnets aren't very strong, so maybe you could cobble something together that would work for you.

-
hmm, I might mention that the snap-knife made by Stanley has a very useful feature. Instead of a wiggly click-stop mechanism that sets the blade's exposure, it has a knob that screws down to lock the blade tightly with no wiggle. I had a 9mm version that I've lost, and I hope that it will turn up. Maybe I put it in a 'safe place' - so safe that I can't find it. Also, it's possible to whet & hone these blades to a sharper edge, but I usually switch to a scalpel instead.
-
This works well. Just follow the instructions on the bottle. If you make a custom stick/handle and wish to reuse it, the cement can be softened and dissolved with spirits of naphtha, or xylene.

- Canute and Landlocked123
-
2
-
On 2/24/2018 at 2:14 PM, Moab said:
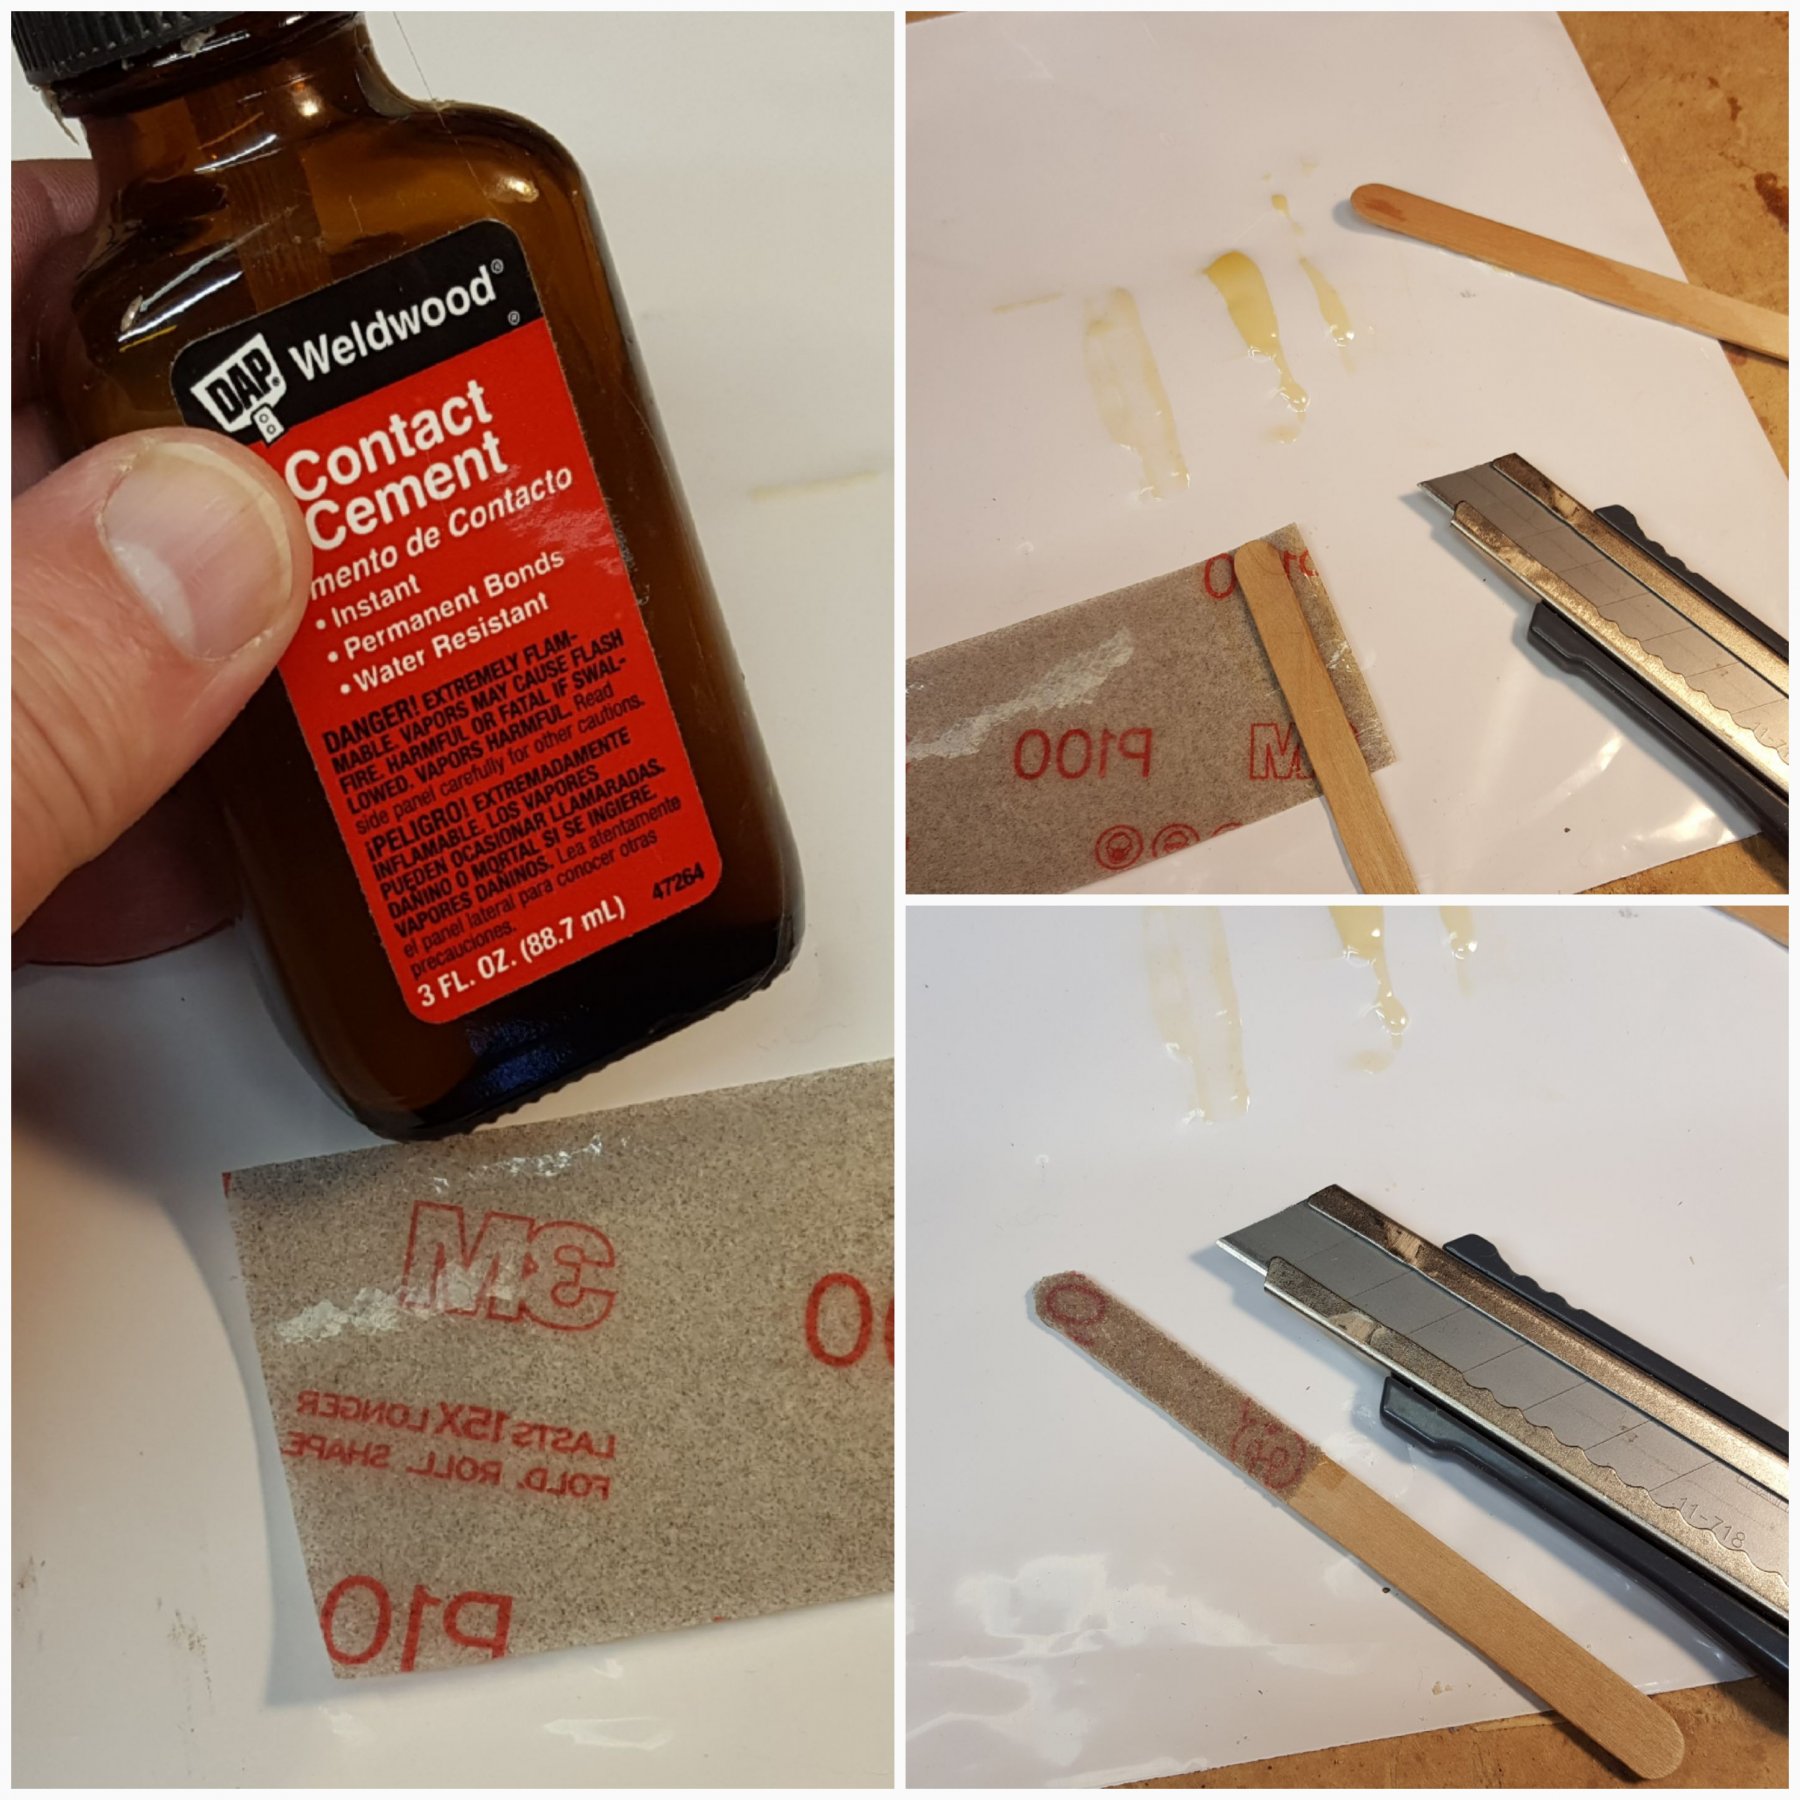
Thanx for passing along Bob. I've used them and they are excellent. The only problem I have with them (not really sure this is the brand it might be Norton) is that the they don't allow you to cut small pieces and glue them to a small piece of wood for sanding in small places etc. It has a backing that doesn't seem to allow this. I usually use white glue to do this since some of the pieces are relatively large and using ca doesn't seem to be cost effective. Not sure if anyone else has this problem and like I mentioned I'm not sure it's this brand....Moab/Allan
I doubt that white or most water-based glues would be adherent.
I'll glue up a piece with contact cement today and get back to you with the result. I'll use DAP Weldwood contact cement, as one would use it for gluing plastic laminate onto particle board for a kitchen countertop.
An alternative for attaching it to a stick would be to use two-sided woodturner's tape that is used to secure wood for turning on a lathe. It is pressure sensitive and gets a pretty good grip.

suggestions for drill
in Modeling tools and Workshop Equipment
Posted
At about 4' into this video, you'll see a precision pump drill press that uses the same mechanism as shown in the video above. There are also