ccoyle
-
Posts
10,350 -
Joined
-
Last visited
Content Type
Profiles
Forums
Gallery
Events
Everything posted by ccoyle
-
 Your images tipped me off to the fact that I glued the air search radar antenna on backwards. 😥
 -
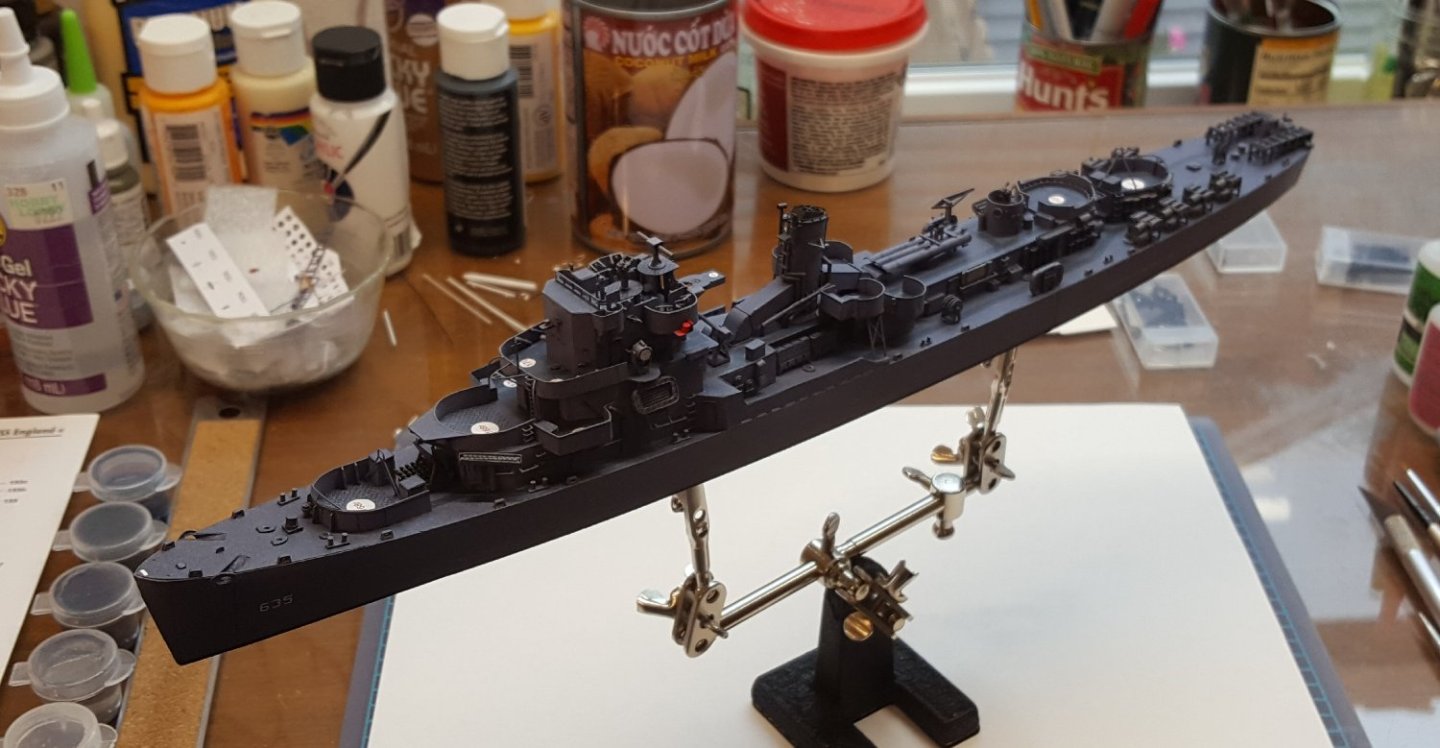
Step 24 is now completed. The jackstaff at the stern was the last addition. I had some problems with it. Problem #1 is that my cheap tweezers ka-pinged my first attempt into another dimension. Problem #2 was noticed when looking at some images online trying to figure out the placement of the stern navigation light -- turns out that I built the lower part of the staff structure wrong, resulting in a staff that is too short. But by that time, everything was rock-solidly secured with CA, so now it is what it is. Sometimes this model feels like "death by a thousand imperfections." I have now moved on to the mast, which with its numerous components is scary as all get-out. Not the least of the questions to be resolved will be the rigging, since there is no sort of step-by-step or color-coded sequence given for the spider's web of lines. Here is a shot of England in her present state:
- 331 replies
-
- 18
-

-
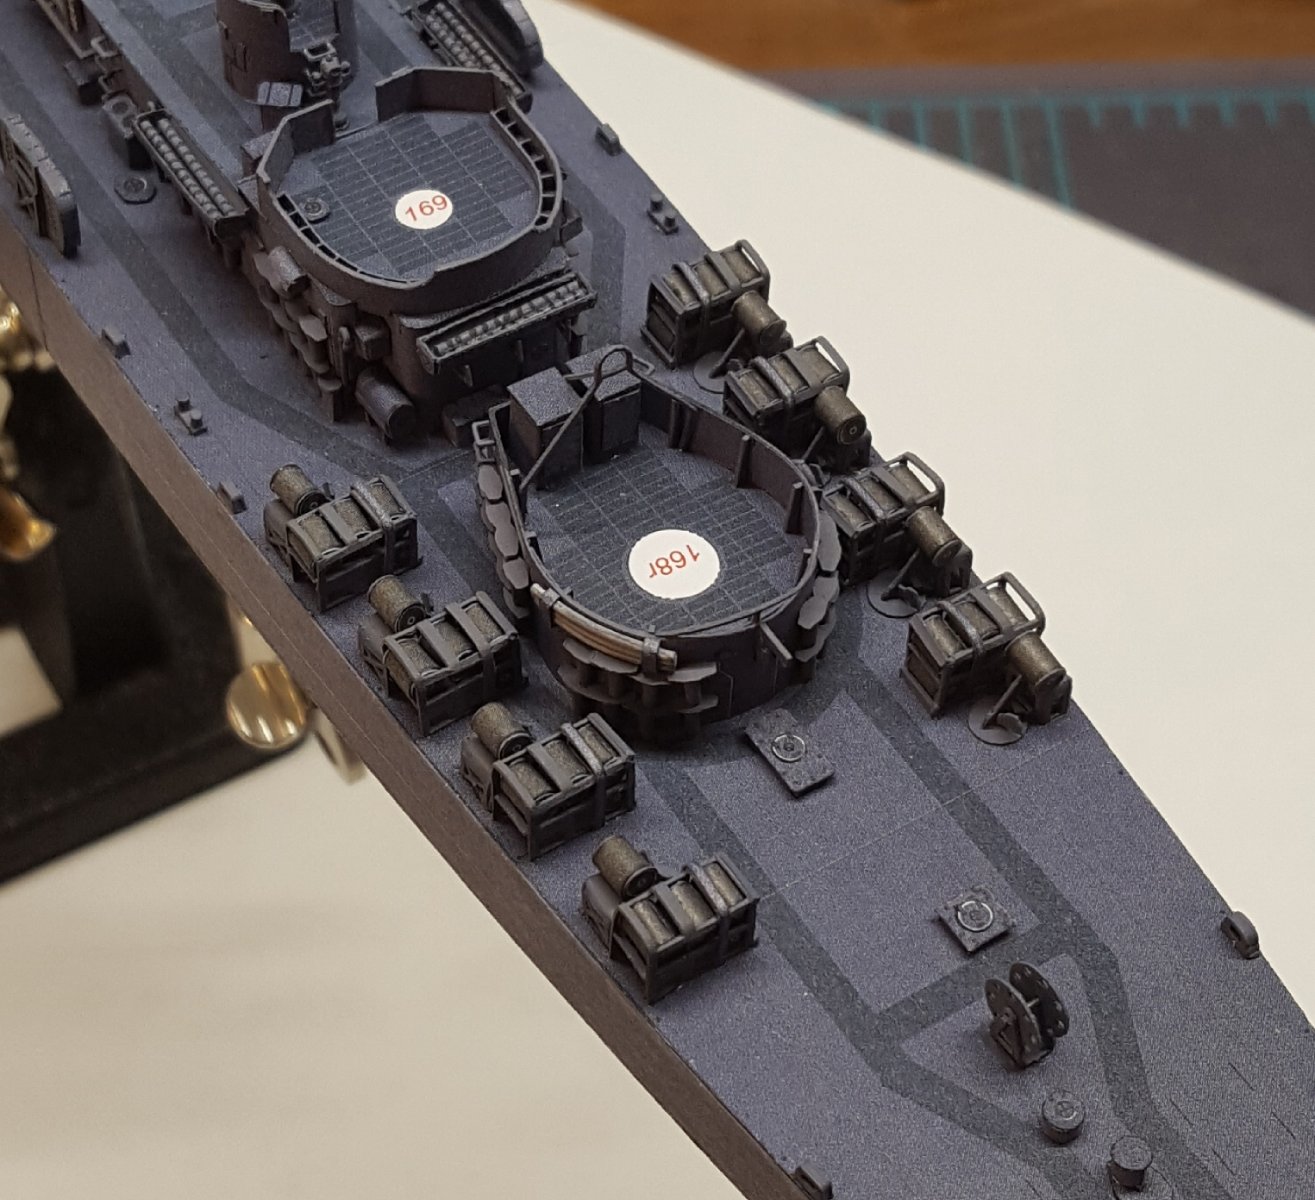
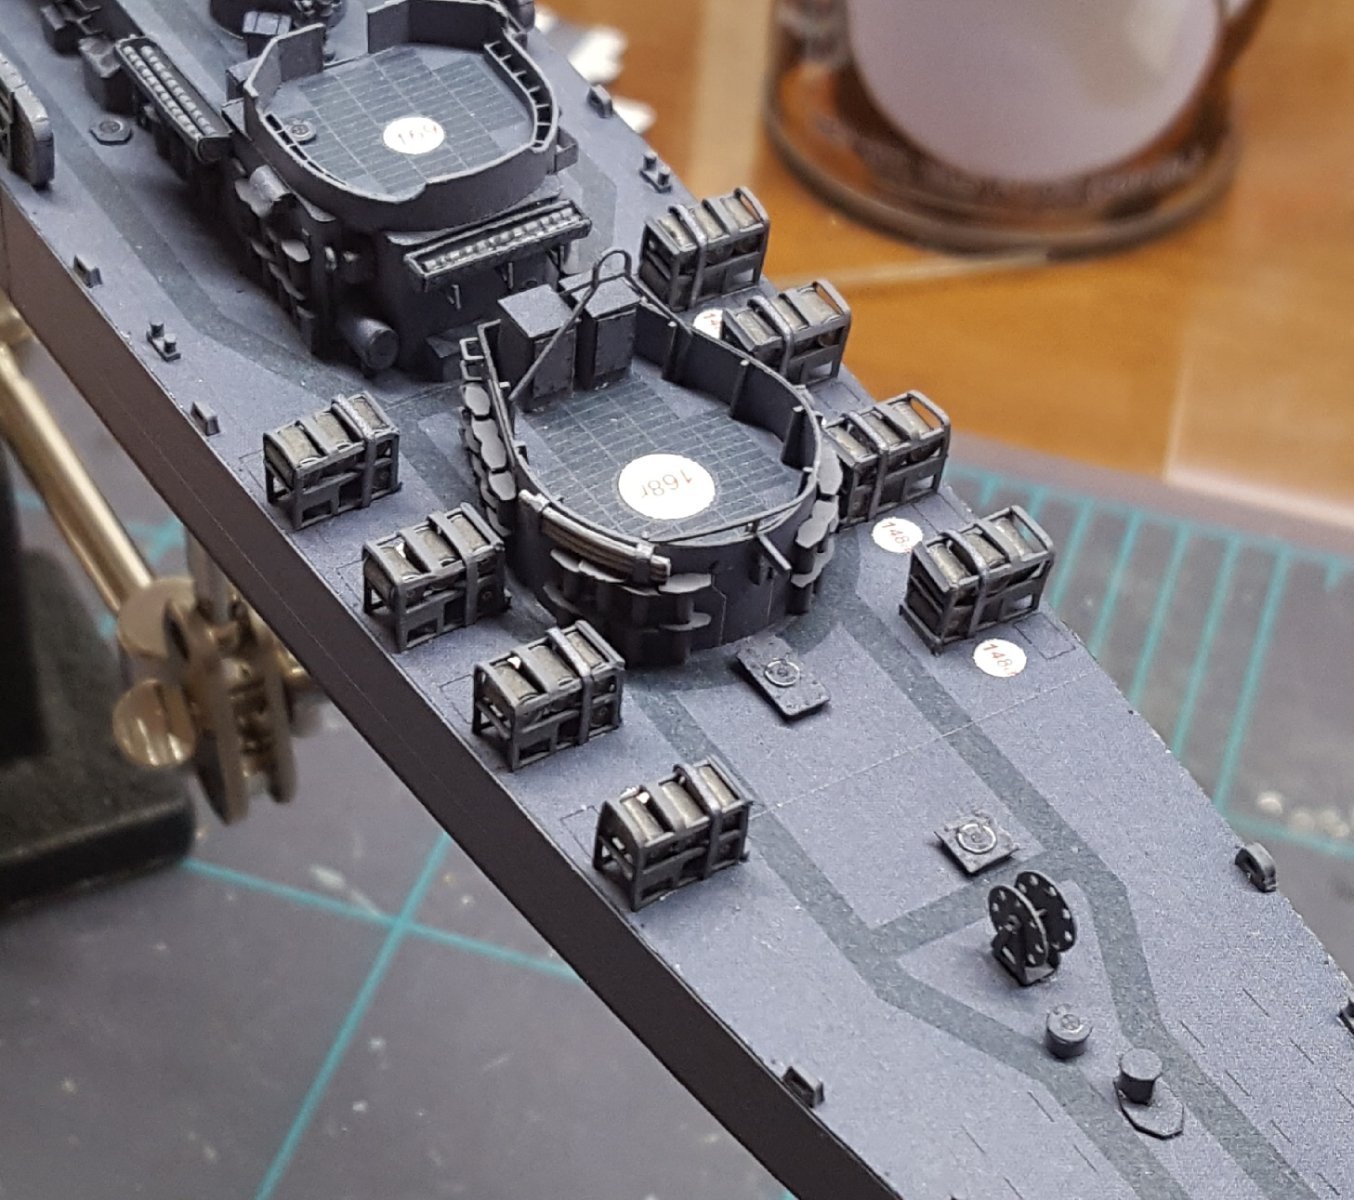
Stern racks completed. These were a real booger - I'll be happy to never build racks from card again 😬 I had two options: 1. Build them from the printed parts, which requires cutting out the spaces between frames, unless one wants to build simplified racks. 2. Use the laser-cut racks in the detail set. I tried both methods, and neither proved ideal. Both types of parts proved difficult to fold and did not hold a crease well. Ultimately I ended up using the laser-cut racks, but had to cut them into individual pieces (i.e. tops, sides, etc.) and then glue them together again -- very tedious. The "legs" on the racks consist of seven individual parts that must be added to each finished rack; the legs wrap around the racks and are nearly impossible to align correctly (some 'surgery' was necessary). So -- frustrating, but done. The cylinders are printed resin parts. PS: please don't notice that the port-side rack is placed slightly too far forward.
- 331 replies
-
- 19
-
-

-
Bristol F.2B WW1 Fighter by CDW - FINISHED - Eduard - 1:48 Scale
ccoyle replied to CDW's topic in Non-ship/categorised builds
It's a weird lay, to be sure, but one can't argue with success, and the F.2b was very successful.- 140 replies
-
- 10
-
-
Welcome aboard!
-
Very nice! Since this is really a build log, albeit in video format, I have moved it to the proper area. Cheers!
- 7 replies
-
- 2
-
-
- Winston Churchill
- Billing Boats
- (and 1 more)
-
Looking very neat!
-
F4U-1A Corsair by DocRob - FINISHED - Tamiya - 1/32
ccoyle replied to DocRob's topic in Non-ship/categorised builds
Which looks great so far!- 160 replies
-
- 11
-
-

-
Welcome! I'm still trying to figure out whether "martimous" is an unfamiliar adjective or a derivation of "Marty Mouse." 🤔
-
Take care, Bob! Hope your surgery and recovery go off without a hitch!
-
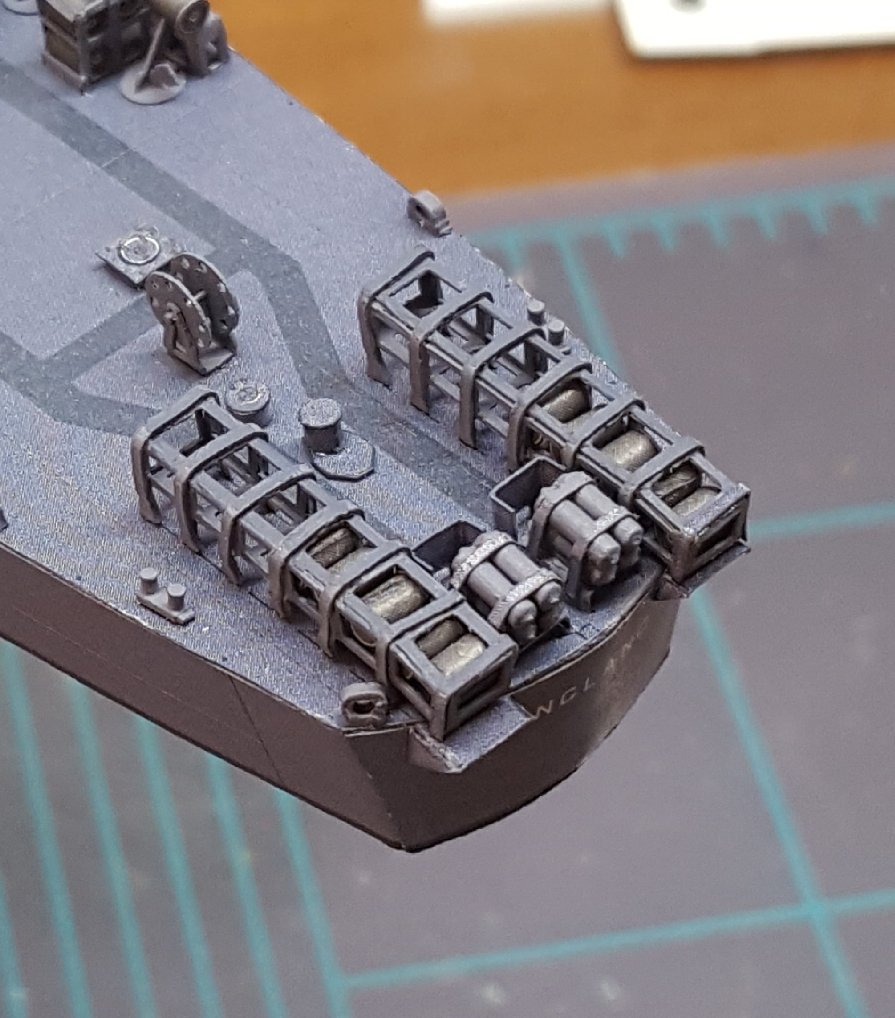
Finally got around to finishing the rest of the K-gun racks. Whew, what a slog! And as long as one doesn't look too closely, you can't tell how kind of misshapen they are -- laser-cut card details don't fold very neatly. 😬

- 331 replies
-
- 21
-
-
-
Welcome aboard, Bruce!
-
On Hold - Nakajima Type KO 3 by CDW - Answer - 1:33 Scale - CARD
ccoyle replied to CDW's topic in Non-ship/categorised builds
I have all of those kits -- sort of. I have the D-9 in the 2019 'Papagei Squadron' recolor. -
On Hold - Nakajima Type KO 3 by CDW - Answer - 1:33 Scale - CARD
ccoyle replied to CDW's topic in Non-ship/categorised builds
Yes, Neil is a paper wizard. -
On Hold - Nakajima Type KO 3 by CDW - Answer - 1:33 Scale - CARD
ccoyle replied to CDW's topic in Non-ship/categorised builds
I haven't printed any models in quite some time, but I recall having acceptable results with whatever ink jet printer I had at the time. I also recall that while using the highest DPI setting gave marginally better print quality, it also used considerably more ink. -
New(ish) Ship Builder for a new(ish) challenge
ccoyle replied to Dowlking's topic in New member Introductions
Don't get too carried away -- my knowledge of Irish is extremely limited! 😉 -
Bristol F.2B WW1 Fighter by CDW - FINISHED - Eduard - 1:48 Scale
ccoyle replied to CDW's topic in Non-ship/categorised builds
Great picture! I love seeing what some of our members look like in the flesh. -
"Darth Coyle" strikes again. Or maybe that should say, "Come to the card side"? 🤔
- 30 replies
-
- 10
-

-
-
- small
- clinker built
- (and 2 more)