-
Posts
10,605 -
Joined
-
Last visited
Content Type
Profiles
Forums
Gallery
Events
Everything posted by ccoyle
-

What's a good kit for learning rigging?
ccoyle replied to Mark m's topic in Masting, rigging and sails
I agree with Allan. Those kits are on the 'stylized' end of the kit accuracy spectrum -- the rigging in particular is highly simplified. Also, as a beginner, you will find it much easier to take on the myriad number of small elements on a ship model if you steer toward larger scales, e.g. in the 1/48 to 1/64 scale range. -
I'm acquainted with Super-Hobby but have never ordered from them. They carry card models and usually have a good number of photos of the actual kits, something that most retailers don't usually do. I hope you have a positive experience with them.
-
Outstanding workmanship, especially at this scale. I like the muffin tin liners for sorting parts -- I might have to borrow that idea.
- 13 replies
-
- Dom Bumagi
- Admiral Nakhimov
-
(and 1 more)
Tagged with:
-

What's a good kit for learning rigging?
ccoyle replied to Mark m's topic in Masting, rigging and sails
Cutters are good projects for tackling the more advanced masting and rigging found on square-rigged vessels. They typically have only a single mast. so they are not overwhelming for beginners. There are lots of cutter kits to choose from, too. The armed Virginia sloop suggested earlier is not technically a cutter, but it has a similar rig, so it is a good choice as well. Your lobster smack project will have a simple fore-and-aft rig -- if you want to take that type of rig up a notch before taking on a square rig, then try a two- or three-masted schooner. Again, lots of such subjects in kit form to choose from. -
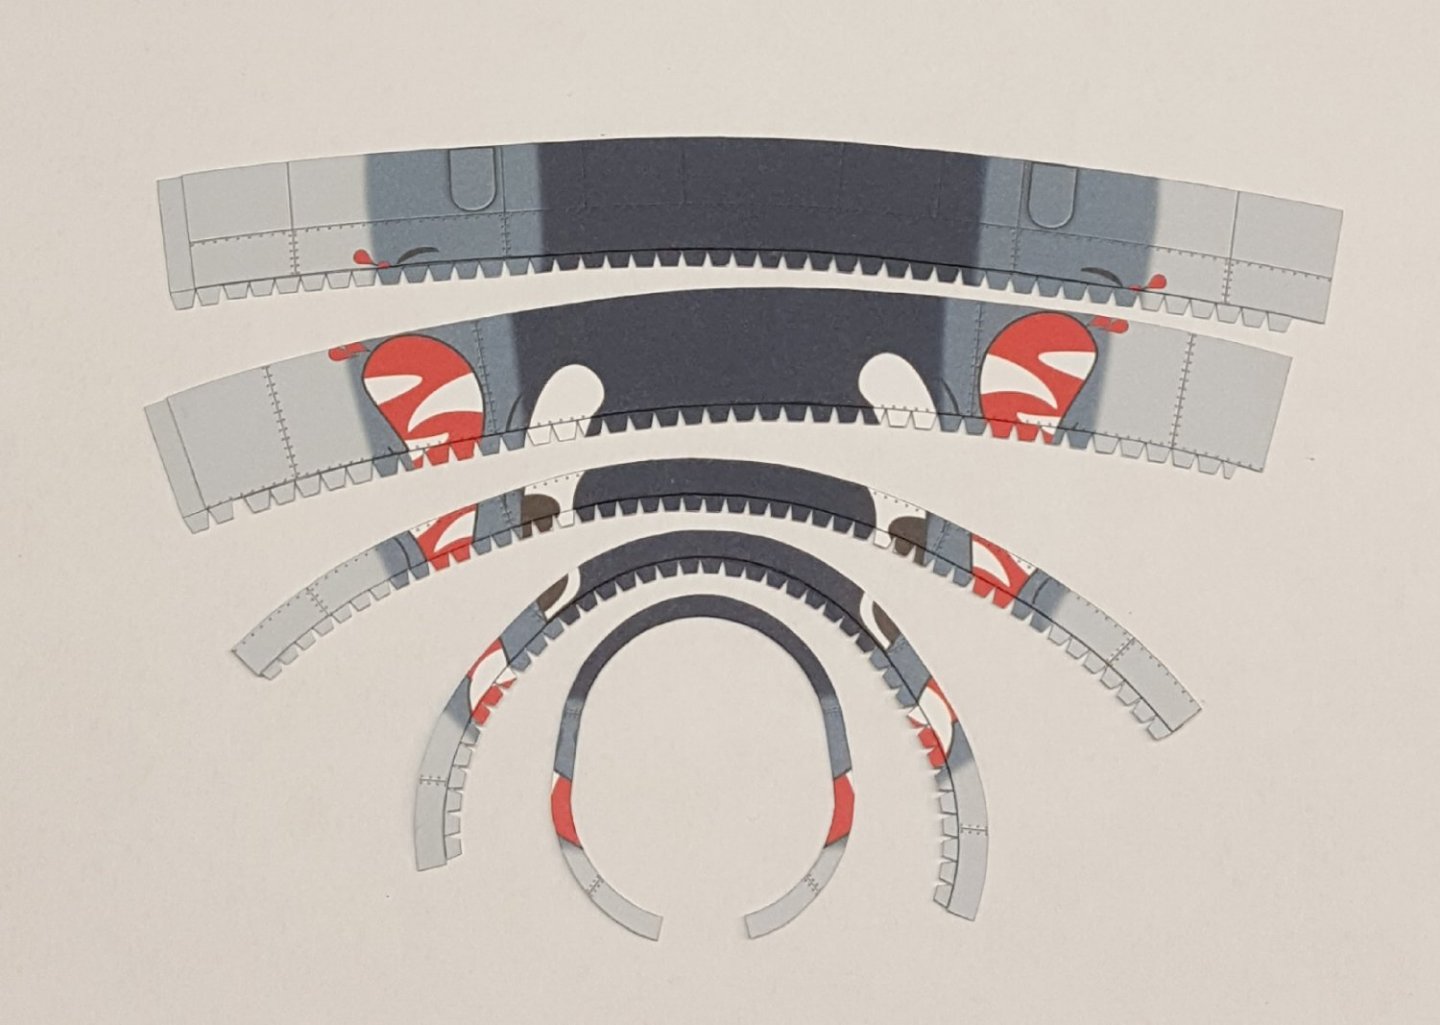
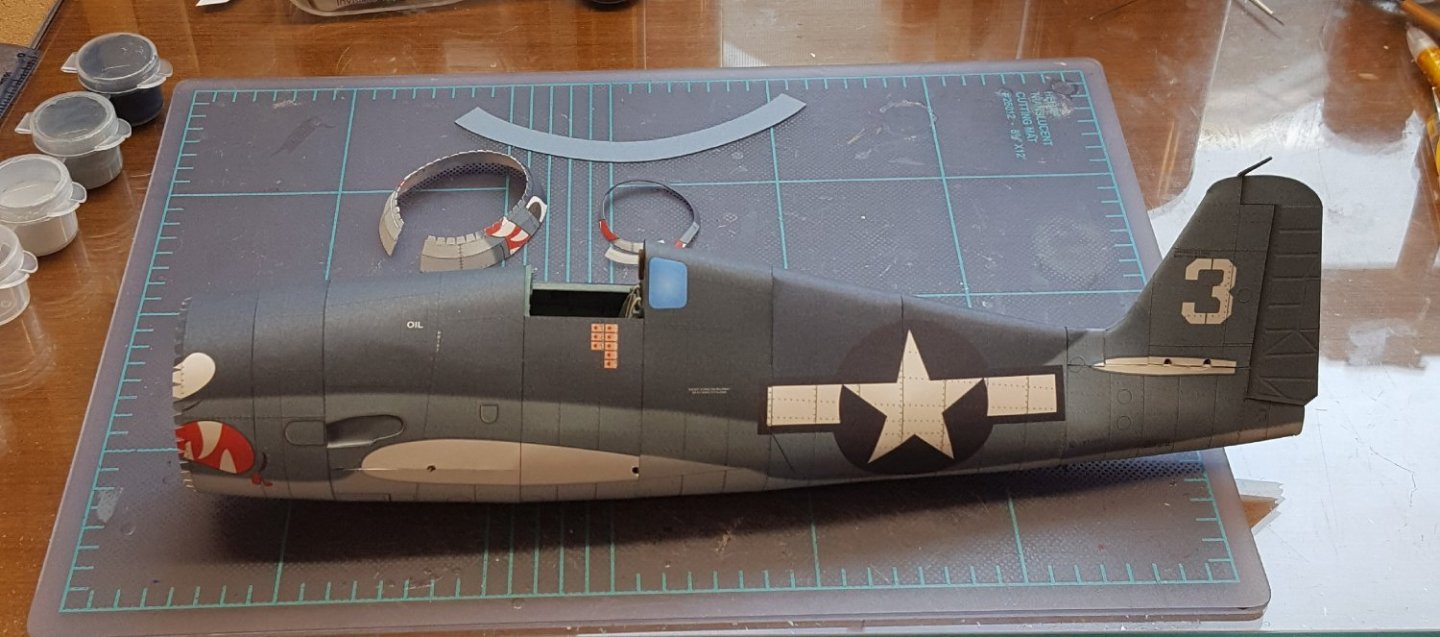
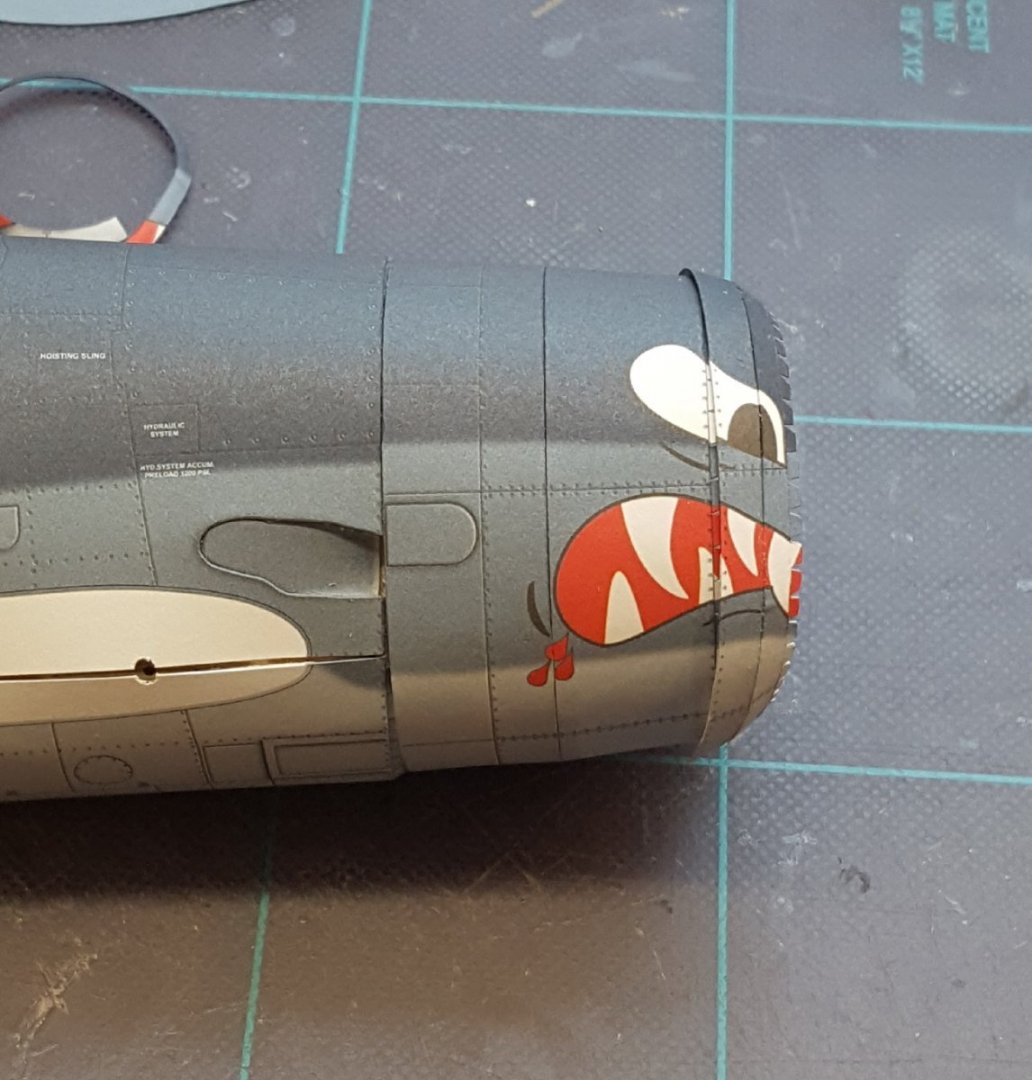
Started work on the forward fuselage. Here are the skin sections with their joiner strips attached. Each of these must first be pre-formed as close as possible to the desired finished shape. The largest piece (top) was then closed, gently conformed to the shape of the previous fuselage section, and then allowed to remain dry-fitted for 24 hours to permanently 'fix' its shape. Then the next section was closed, shaped, and glued to the first section. After the glue had set, an internal bulkhead was placed inside the resulting cylinder and glued in place. Here's the work so far -- the two fuselage sections are not yet glued together. In the previous photo,you can see the next two rings joined together in the background. The two forward-fuselage assemblies won't be joined together just yet -- both the engine and air intake need to be built first. But, I couldn't resist getting a feel for what the finished nose will eventually look like. Yep, it's going to look cool! In the photo, you can also see where I have added the optional recessed exhaust port. On photos of real Hellcats, there is usually a massive, dirty streak that arcs back from the exhaust port along the fuselage and over the wing root, as you can see in the photo below (from Wikimedia Commons): The kit printing doesn't have any weathering, but I am half-tempted to try adding this rather conspicuous detail. Cheers!
-
Yup. I have done both with and without. Don't hesitate to add them if that's the look you like. The one recommendation I would make is to steer clear of pre-sewn sails as these rarely, if ever, look 'right'.
-
Man, your 'model' is as big as my canoe I finished last year!
- 454 replies
-
- Union Steamship Company
- Stepcraft 840
-
(and 3 more)
Tagged with:
-

Attn: ALL LINDBERG Model fans! (Test your knowledge?)
ccoyle replied to BoSmith_12's topic in Plastic model kits
Try searching Scalemates. They have quite a few Lindberg kits listed. -
I used to have a hand-me-down example of this kit. I was surprised at how large the finished model would be. The nice thing about Baltimore Clippers is that they are striking but not overly complex subjects. The AL kit can also be spruced up quite a bit if you have any inclination toward super-detailing, and, as you have discovered, there is ample resource material on the type out there. Plus, since "Harvey" is a representative model and not any actual historical vessel (as far as I know), you have latitude to modify the design and name it whatever you wish. Enjoy!
- 36 replies
-
- Harvey
- Artesania Latina
-
(and 1 more)
Tagged with:
-
Looks like you're off to a great start. The hull looks very solid and straight. Is that per chance a PZL P.11 I spied on a shelf in the background?
-
A very convincing model, Richard. I'm going to have to remember the trick you came up with for straightening the bulwarks, too. Cheers!
- 23 replies
-
- card
- World of Paperships
-
(and 2 more)
Tagged with:
-
Let me be the first to congratulate you on a fine model!
- 91 replies
-
- Speedy
- Vanguard Models
-
(and 1 more)
Tagged with:
-
I missed the completion of this model somehow, but I'm glad that I didn't miss it entirely. It is a fantastic model!
- 39 replies
-
- Billing Boats
- Finished
-
(and 1 more)
Tagged with:
-
Welcome! I look forward to seeing the start of your project.
-
Welcome! The main disadvantage of older kits is degraded materials. Really old kits often had fittings that contained lead, which corrodes over time. Improperly stored kits may have dry, brittle wood or perhaps water damage. Other than that, many manufacturers have made efforts over the years to upgrade their kits, often by switching to laser cutting of components over die cutting (if a kit includes printed parts that need to be cut from a sheet, then it is really, really old) or adding pictorial instructions. Kits made in the last 20 or so years have really been made more user-friendly, and companies continue to innovate. Still, a skilled modeler can make do even with an older kit. The key for a beginner is to not bite off more model than you can chew, and it sounds like you are taking a cautious approach, so you're already off to a good start. Cheers!
-
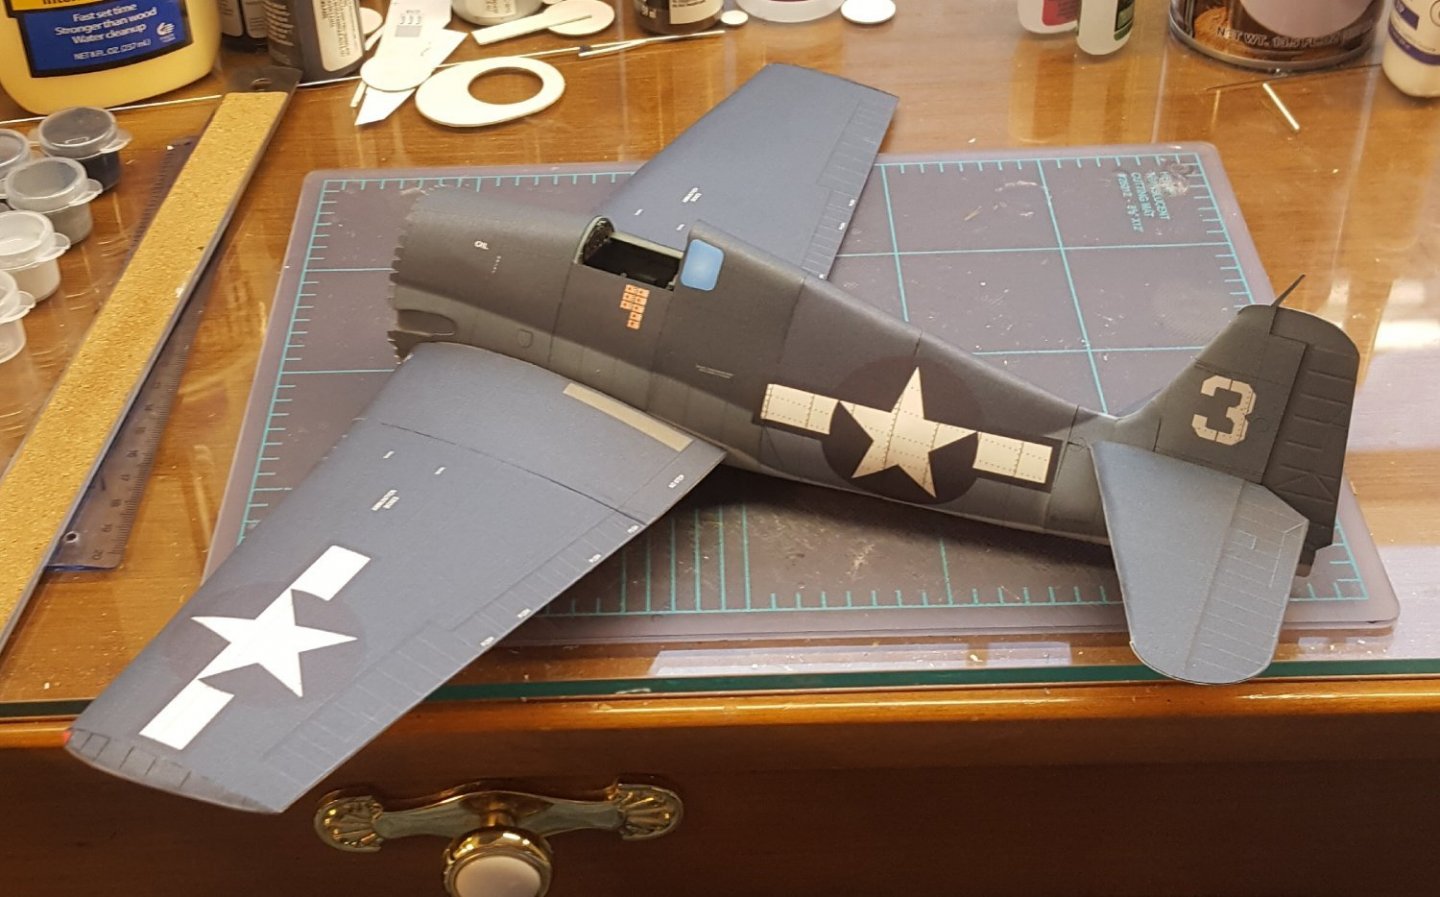
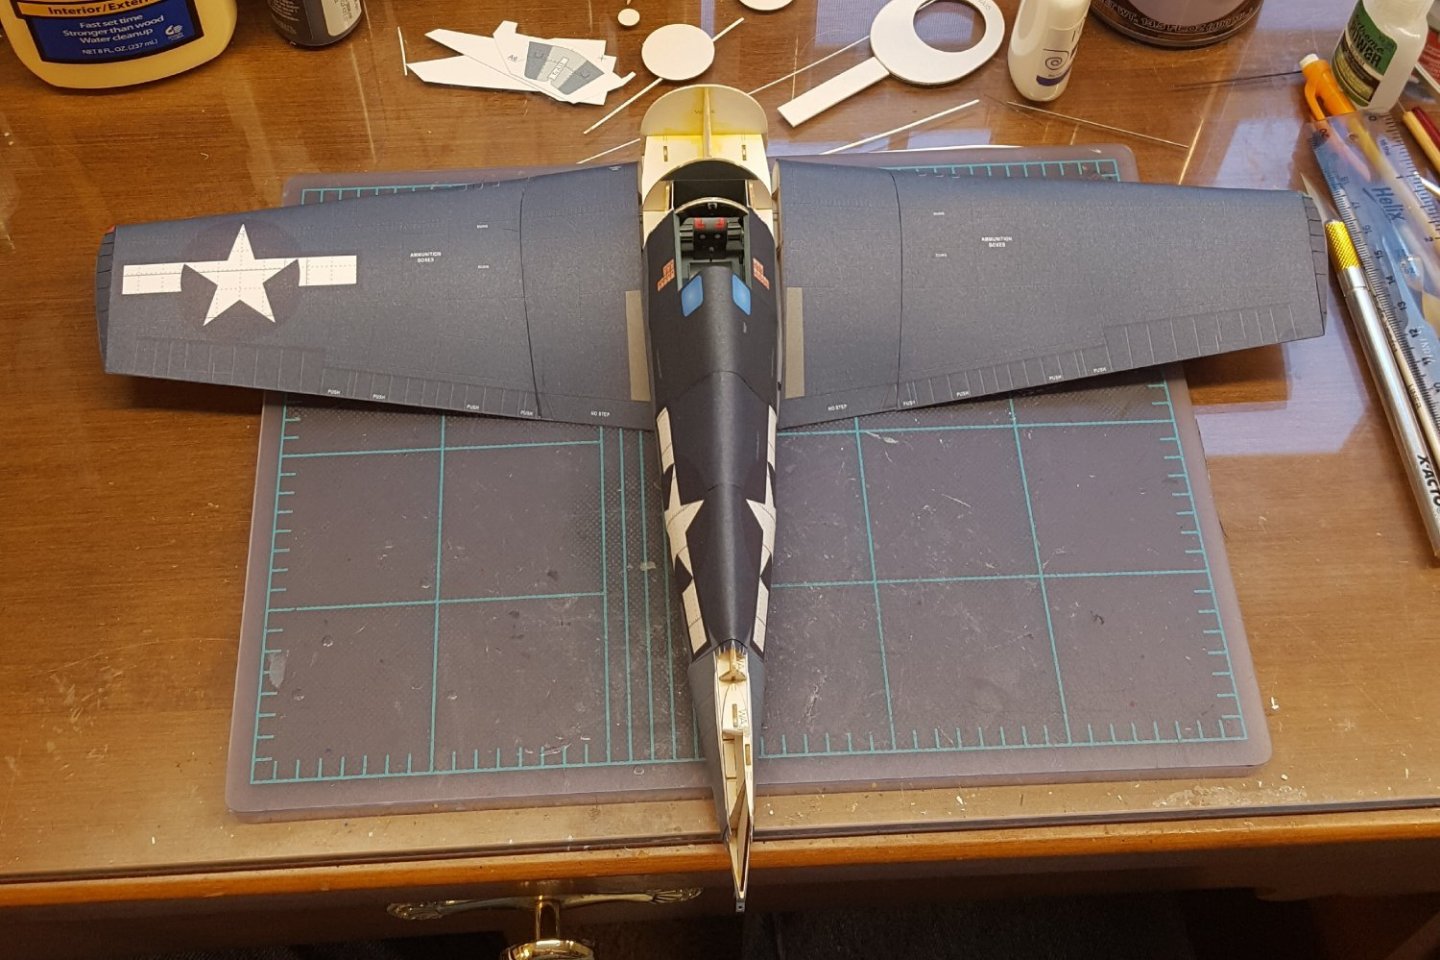
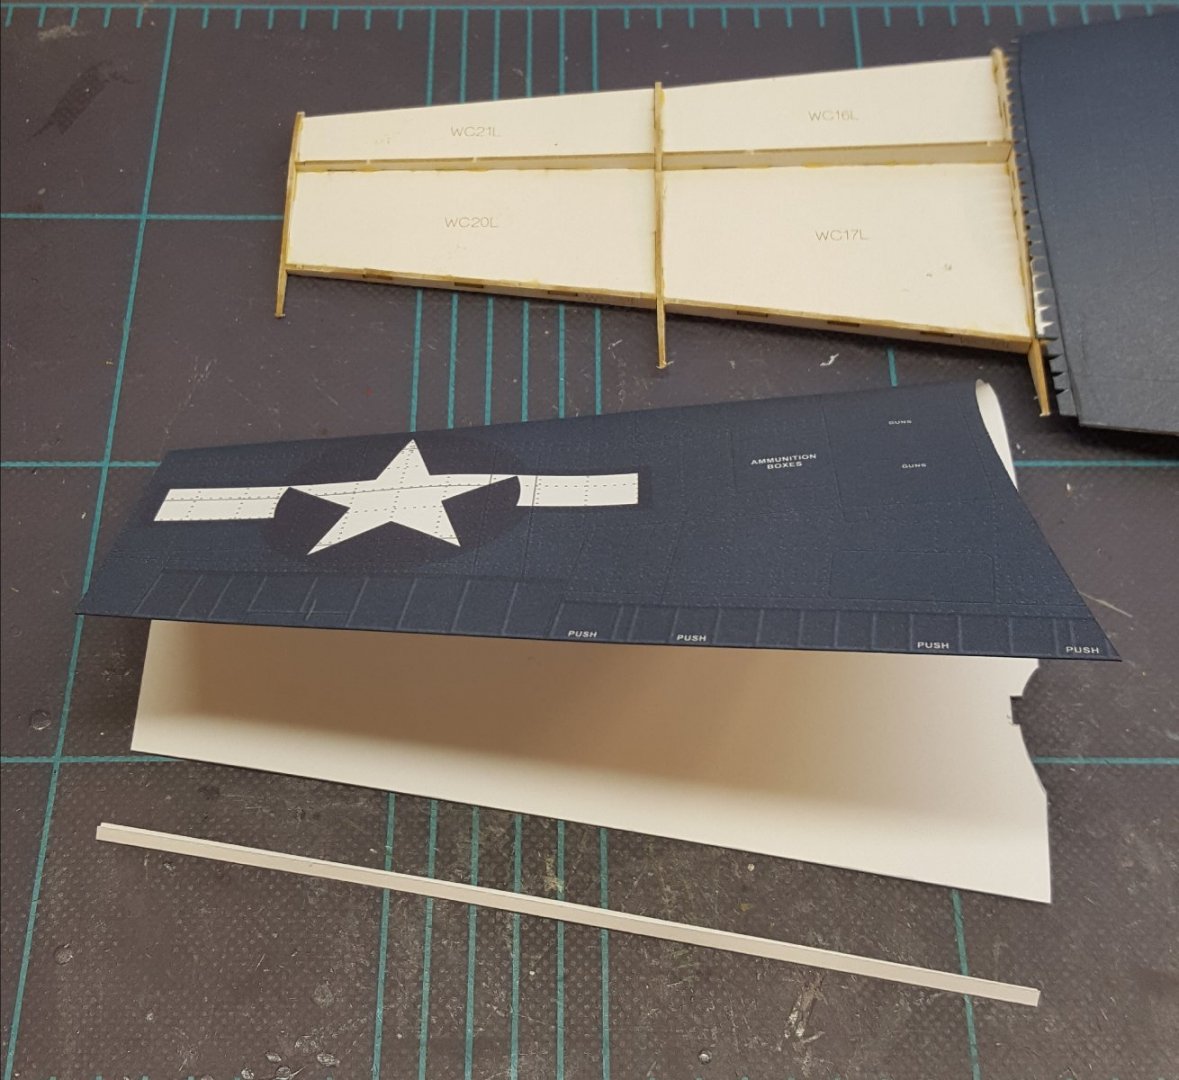
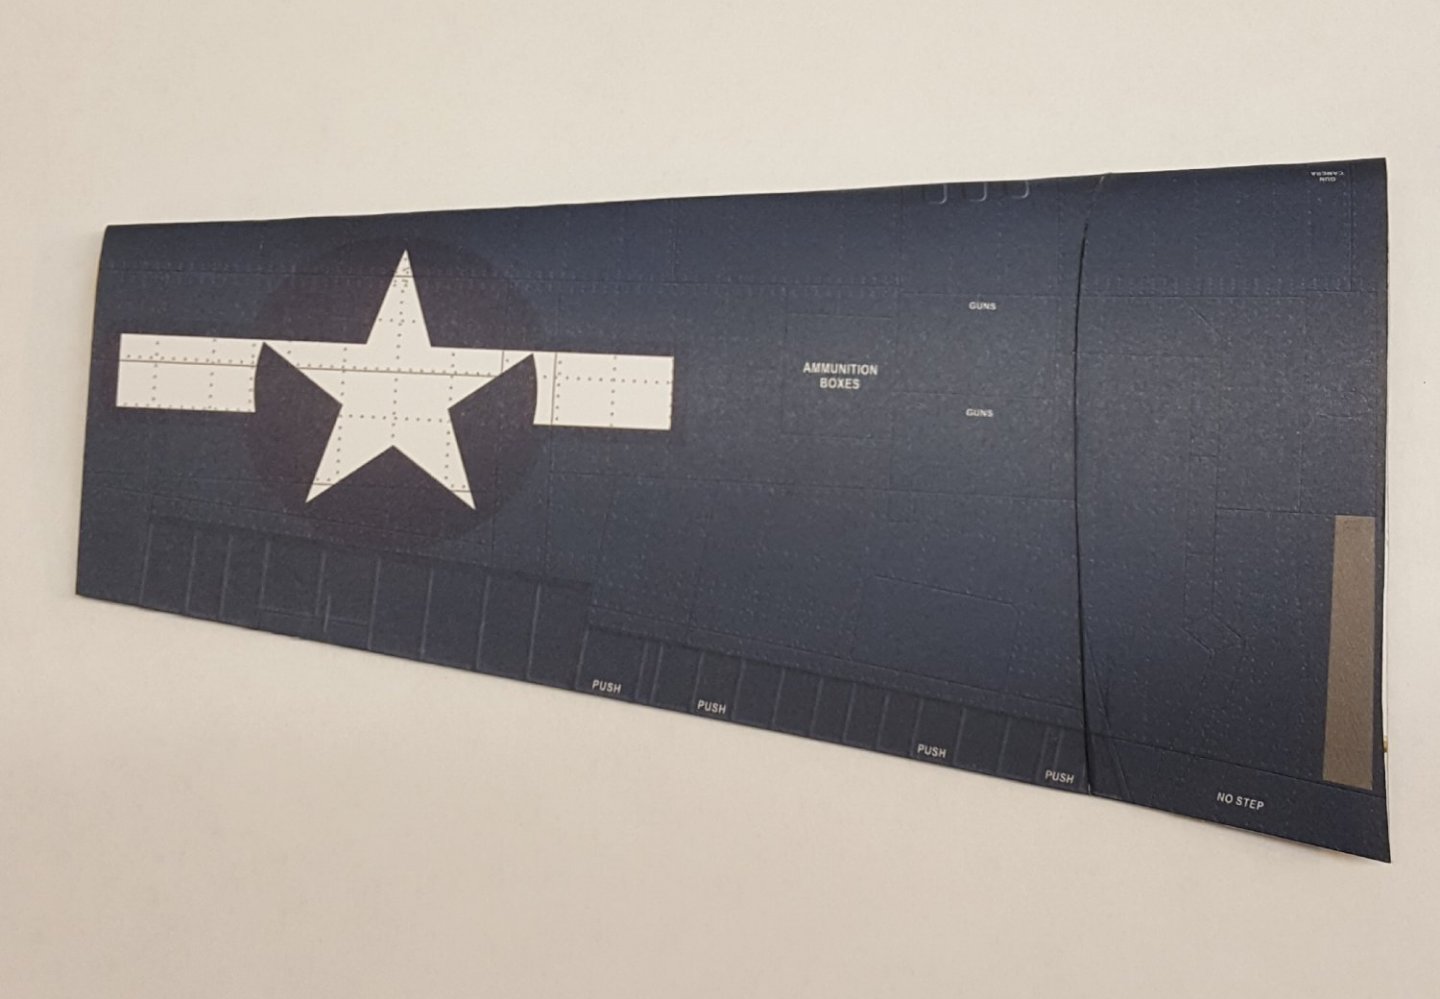
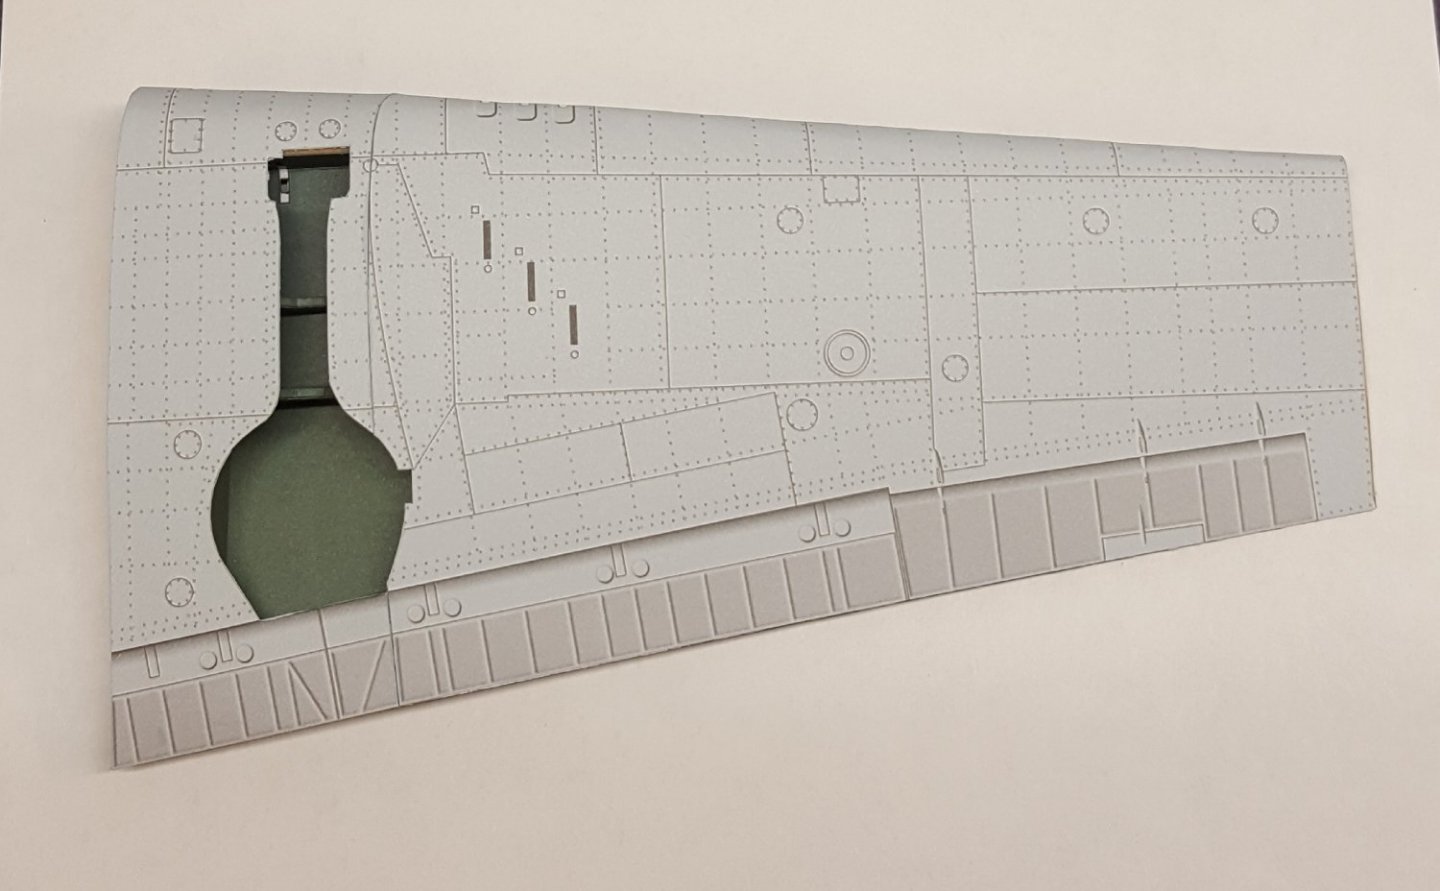
Small bit o' progress. Commensurate with the overall size of this beast, each wing is itself a large structure. But because it is bent, the wing sheathing is in three parts. Here we can see the inboard sheath already attached. When sealing up the trailing edge, it is easy to get too much glue along the seam; really, only the very edge itself should be glued. To avoid a potential problem, I use a folded joiner strip cut from scrap paper. The strip is attached about a half-millimeter in from the lower trailing edge. When glue is applied to the top side of the strip and the top half of the sheath is folded over onto it, the strip enures that only the aft-most half-millimeter of each surface gets bonded together. It makes a very nice seam. By using the edge of a ruler to press the seam together, I managed to avoid having to use my fingers and risk creating the dreaded 'starving cow' look. Ventral side. I'm pleased with this result so far. Still have the wing tip and then the other wing to do.
About us
Modelshipworld - Advancing Ship Modeling through Research
SSL Secured
Your security is important for us so this Website is SSL-Secured
NRG Mailing Address
Nautical Research Guild
237 South Lincoln Street
Westmont IL, 60559-1917
Model Ship World ® and the MSW logo are Registered Trademarks, and belong to the Nautical Research Guild (United States Patent and Trademark Office: No. 6,929,264 & No. 6,929,274, registered Dec. 20, 2022)
Helpful Links
About the NRG
If you enjoy building ship models that are historically accurate as well as beautiful, then The Nautical Research Guild (NRG) is just right for you.
The Guild is a non-profit educational organization whose mission is to “Advance Ship Modeling Through Research”. We provide support to our members in their efforts to raise the quality of their model ships.
The Nautical Research Guild has published our world-renowned quarterly magazine, The Nautical Research Journal, since 1955. The pages of the Journal are full of articles by accomplished ship modelers who show you how they create those exquisite details on their models, and by maritime historians who show you the correct details to build. The Journal is available in both print and digital editions. Go to the NRG web site (www.thenrg.org) to download a complimentary digital copy of the Journal. The NRG also publishes plan sets, books and compilations of back issues of the Journal and the former Ships in Scale and Model Ship Builder magazines.


