ccoyle
-
Posts
10,603 -
Joined
-
Last visited
Content Type
Profiles
Forums
Gallery
Events
Everything posted by ccoyle
-

Model from the Lancaster Maritime Museum.
ccoyle replied to Valeriy V's topic in Nautical/Naval History
Duke of Abercorn was launched in 1919 as TSS Curraghmore, renamed in 1930, and scrapped in 1935. This model suits your skill set, Valeriy -- you should build one! -
To use a phrase by Daffy Duck, "Da-rool, da-rool, da-rool!"
-
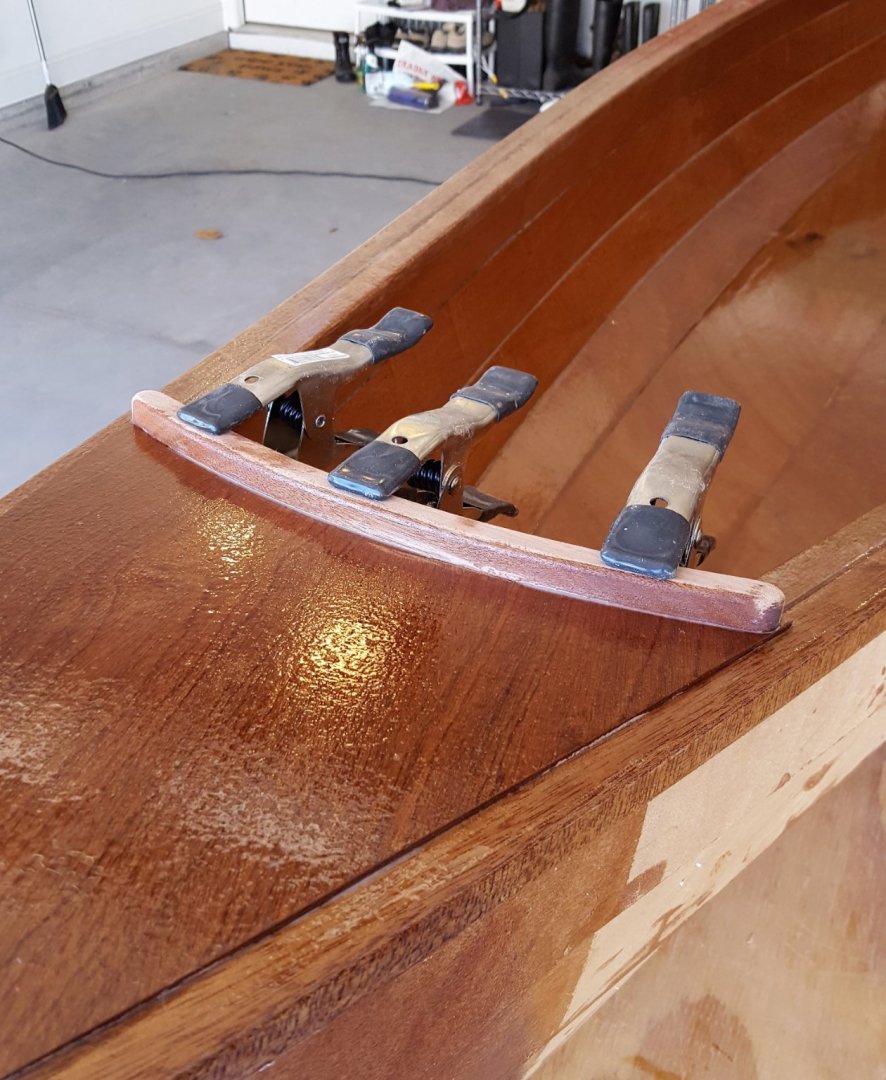
Forgot I needed to add the coamings. These were about 3 mm too long, so I used a sanding drum in my Dremel tool to take off the extra length and to round off the edges.
- 299 replies
-
- 17
-

-
Good luck! Interesting shop you have there -- very tidy, and with an enviable stash of plastic kits in the background!
- 25 replies
-
- 2
-
-
- Cutty Sark
- Artesania Latina
- (and 1 more)
-
A lot of old sailing workboat designs found second lives as pleasure craft, so I'm sure that taking liberty with the kit's rig and color scheme is not unprecedented.
- 27 replies
-
- 1
-
-
- Lady Isabella
- zulu
- (and 2 more)
-
Man, that is taking a Guillow's kit to a whole new level! All of the balsa-and-tissue models of my youth came to assorted sad ends. 😬
-
HM Cutter Alert 1777 by muratx - scale 1:48
ccoyle replied to muratx's topic in - Build logs for subjects built 1751 - 1800
Nope -- just didn't know what the "V model" was. Now I know! -
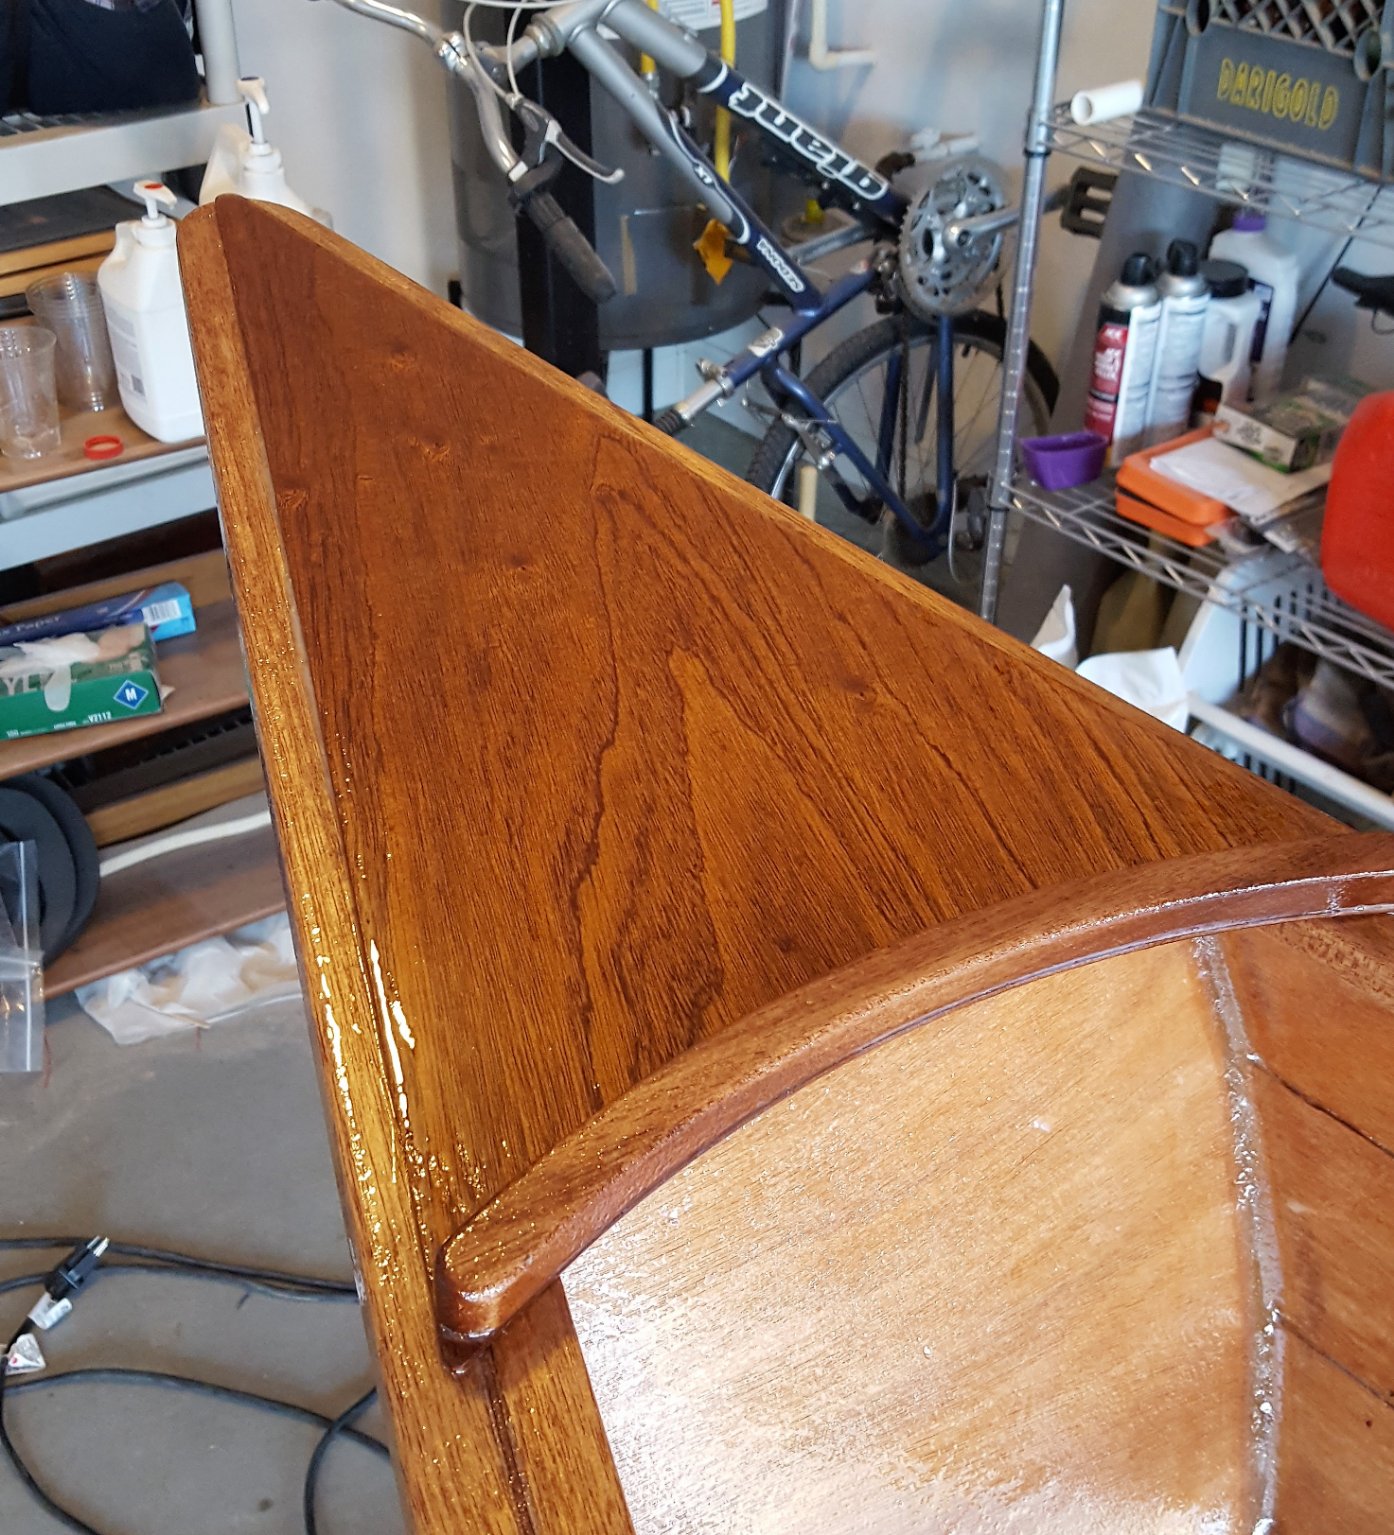
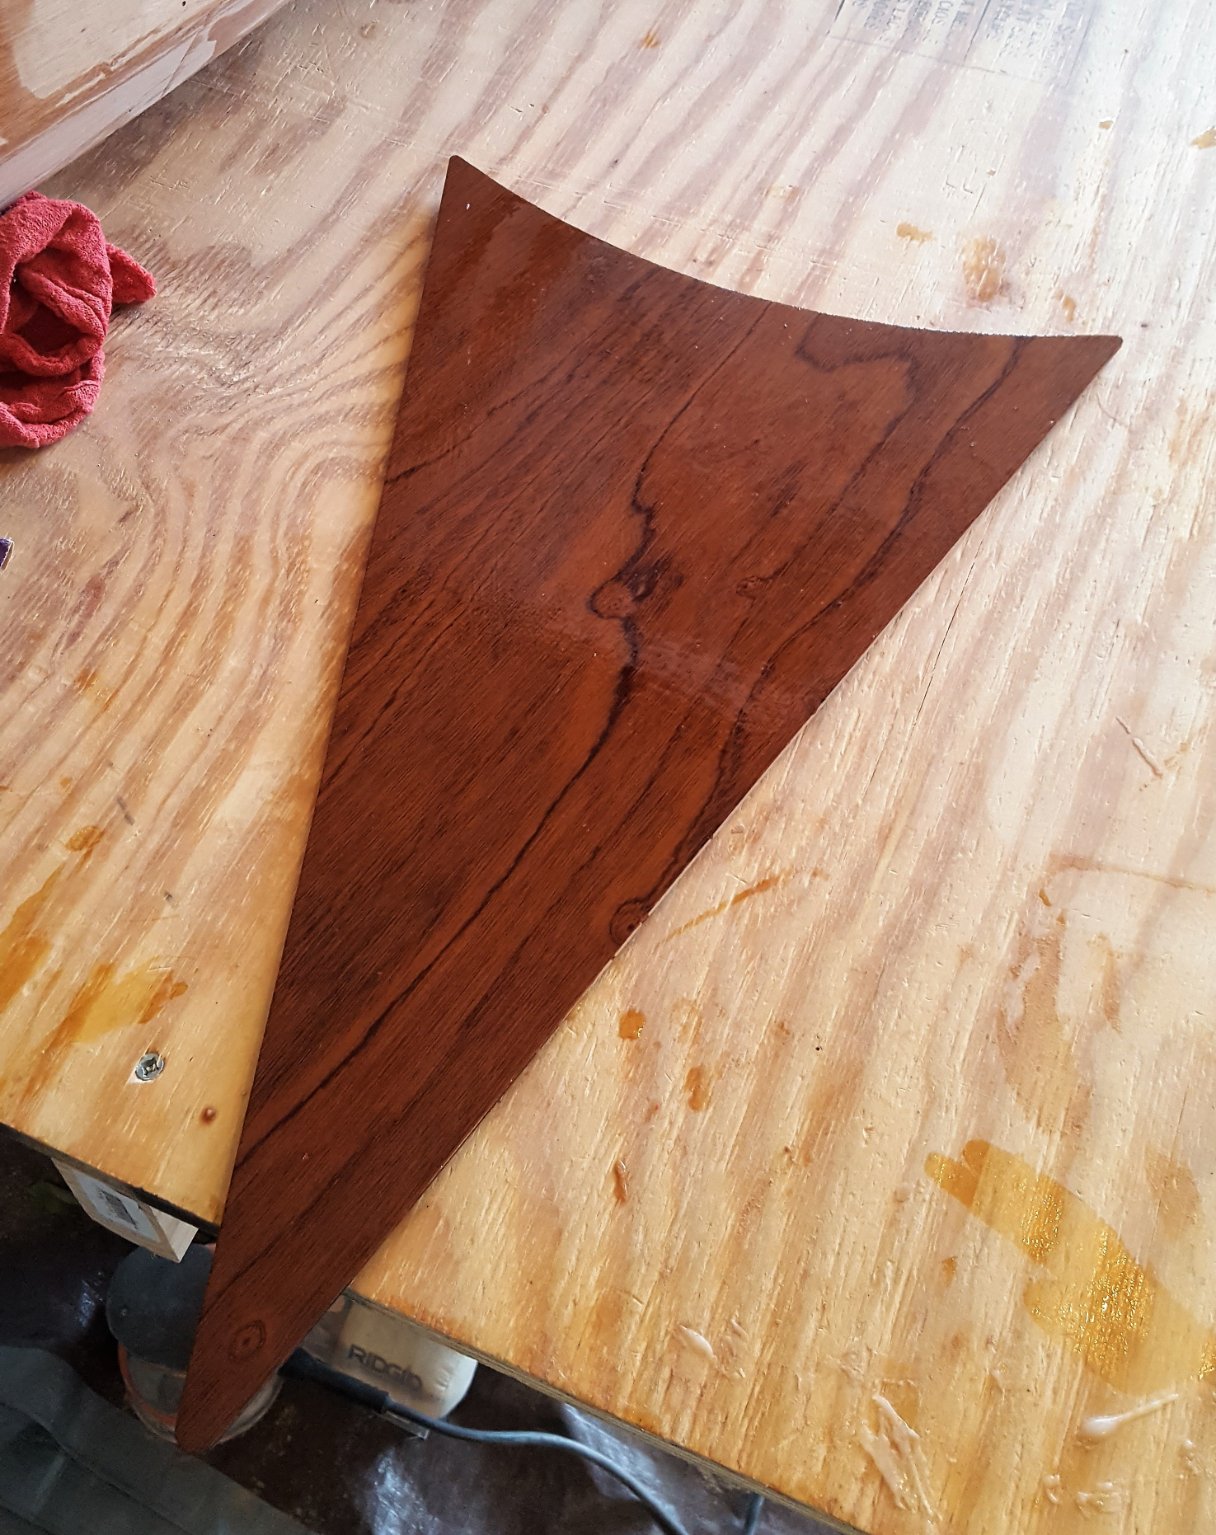
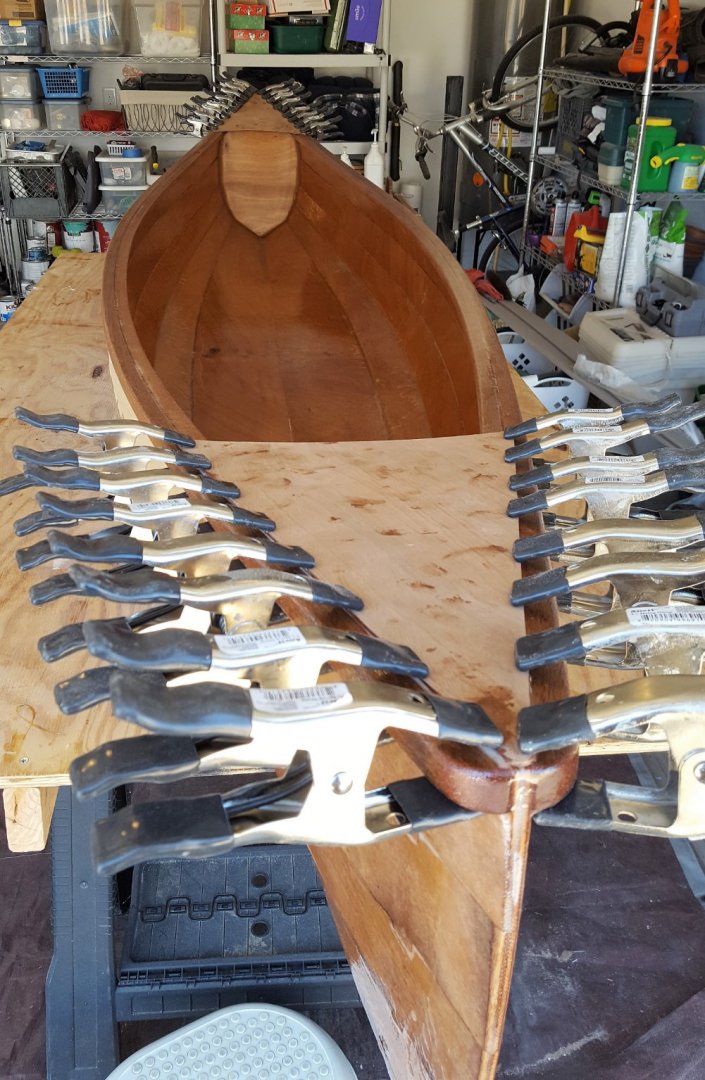
Today I applied the second coat of epoxy to all the interior surfaces using a roller. I also applied the first coat of epoxy to the rails (except for the exterior underside -- the reason for that should be apparent) and epoxied the decks in place. Tomorrow I will give the rails their second coat, along with the decks' first coat. I'll give the decks their second coat during the week sometime and then be ready for exterior epoxy next weekend.
- 299 replies
-
- 16
-
-
HM Cutter Alert 1777 by muratx - scale 1:48
ccoyle replied to muratx's topic in - Build logs for subjects built 1751 - 1800
Hello, Murat. It looks like you are using a set of kit plans as a source for part templates. Can you tell us about the plans? -
Hey, Steve. Build logs are the heart of our forum. You can read about how to set one up by clicking here.
-
Need plans and instructions for Virginia 1819
ccoyle replied to Phinatic74's topic in Wood ship model kits
Whom did you purchase the kit from? Model Expo will replace missing parts from kits. If it's a private transaction, you're probably out of luck. But -- we have plenty of members who have built that kit and may be able to help you out, especially if your post title is more specific and your question is posted in the correct subforum (hint hint). I took care of it for you this time around. 😉 -
Steve, start up a build log and show us what you've got so far. Your catboat probably has a relatively straightforward gaff rig, and we should be able to get you over the finish line. Cheers!
-
Sziggy, I'm not sure how you are adding attachments to your post, but you should use the file uploading link that shows up in the bottom-left corner of the reply window (example below) to upload pictures. Practically no one will want to view your photos by sequentially opening a series of downloads -- too time-consuming. My PC couldn't even open the files.

- 27 replies
-
- 1
-
-
- Ballahoo
- Caldercraft
- (and 1 more)
-
Nope. This one isn't even on my radar yet, but I like having it my collection so that I can take it out once in a while and flip through the pages. ☺️ Also, I prefer my warbirds with enclosed cockpits to have plastic canopies available for them, and to the best of my knowledge no one has offered one yet for this kit. Right now I'n slowly gring through my 2-for-1 PWS-10 build, coupled with my canoe project. Here is a link to a great build of the SB2U pre-war version.
-
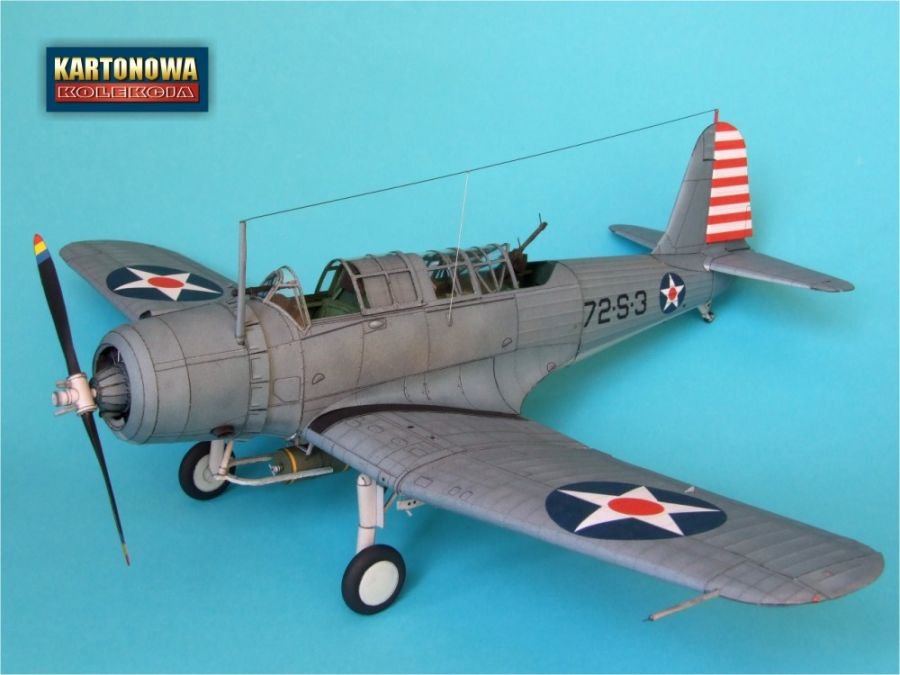
I approve of the SB2U. I have the 1/33 scale card version from Kartonowa Kolekcja, showing an example from VS-72 aboard Wasp in Feb 1942. KK published an earlier kit of the same aircraft in pre-war markings, but I missed out on that one.
- 241 replies
-
- 10
-
-
Santa Maria German model
ccoyle replied to Lizjames's topic in NAUTICAL RESEARCH GUILD - News & Information
Hi. We get this question on a fairly regular basis, which is why we created this topic. Please have a look at it, and enjoy your time at MSW. Cheers! -
Love it! I have a soft spot for the Flowers, having built the 1/100 scale card version from Modelik, which had something like 2000 or 2500 parts. I was pretty new to card as a modeling medium at the time, so it was an ambitious project, but I got it done. Heck, it would still be an ambitious project, even for someone with a lot of experience!
-
Be sure to check out Evan Designs. They're one of our sponsors and have a clickable banner on the home page.
-
Thanks! Didn't do much this past weekend thanks to the garage being too cold.
-
Unlikely. Duck hunting has never appealed to me. Doves are another matter.
-
Hi, Tom! I was born in Tucson while my dad was stationed at Davis-Monthan, but we moved when I was only two months old. Have never had the good fortune to ever get back there. Cheers!
-
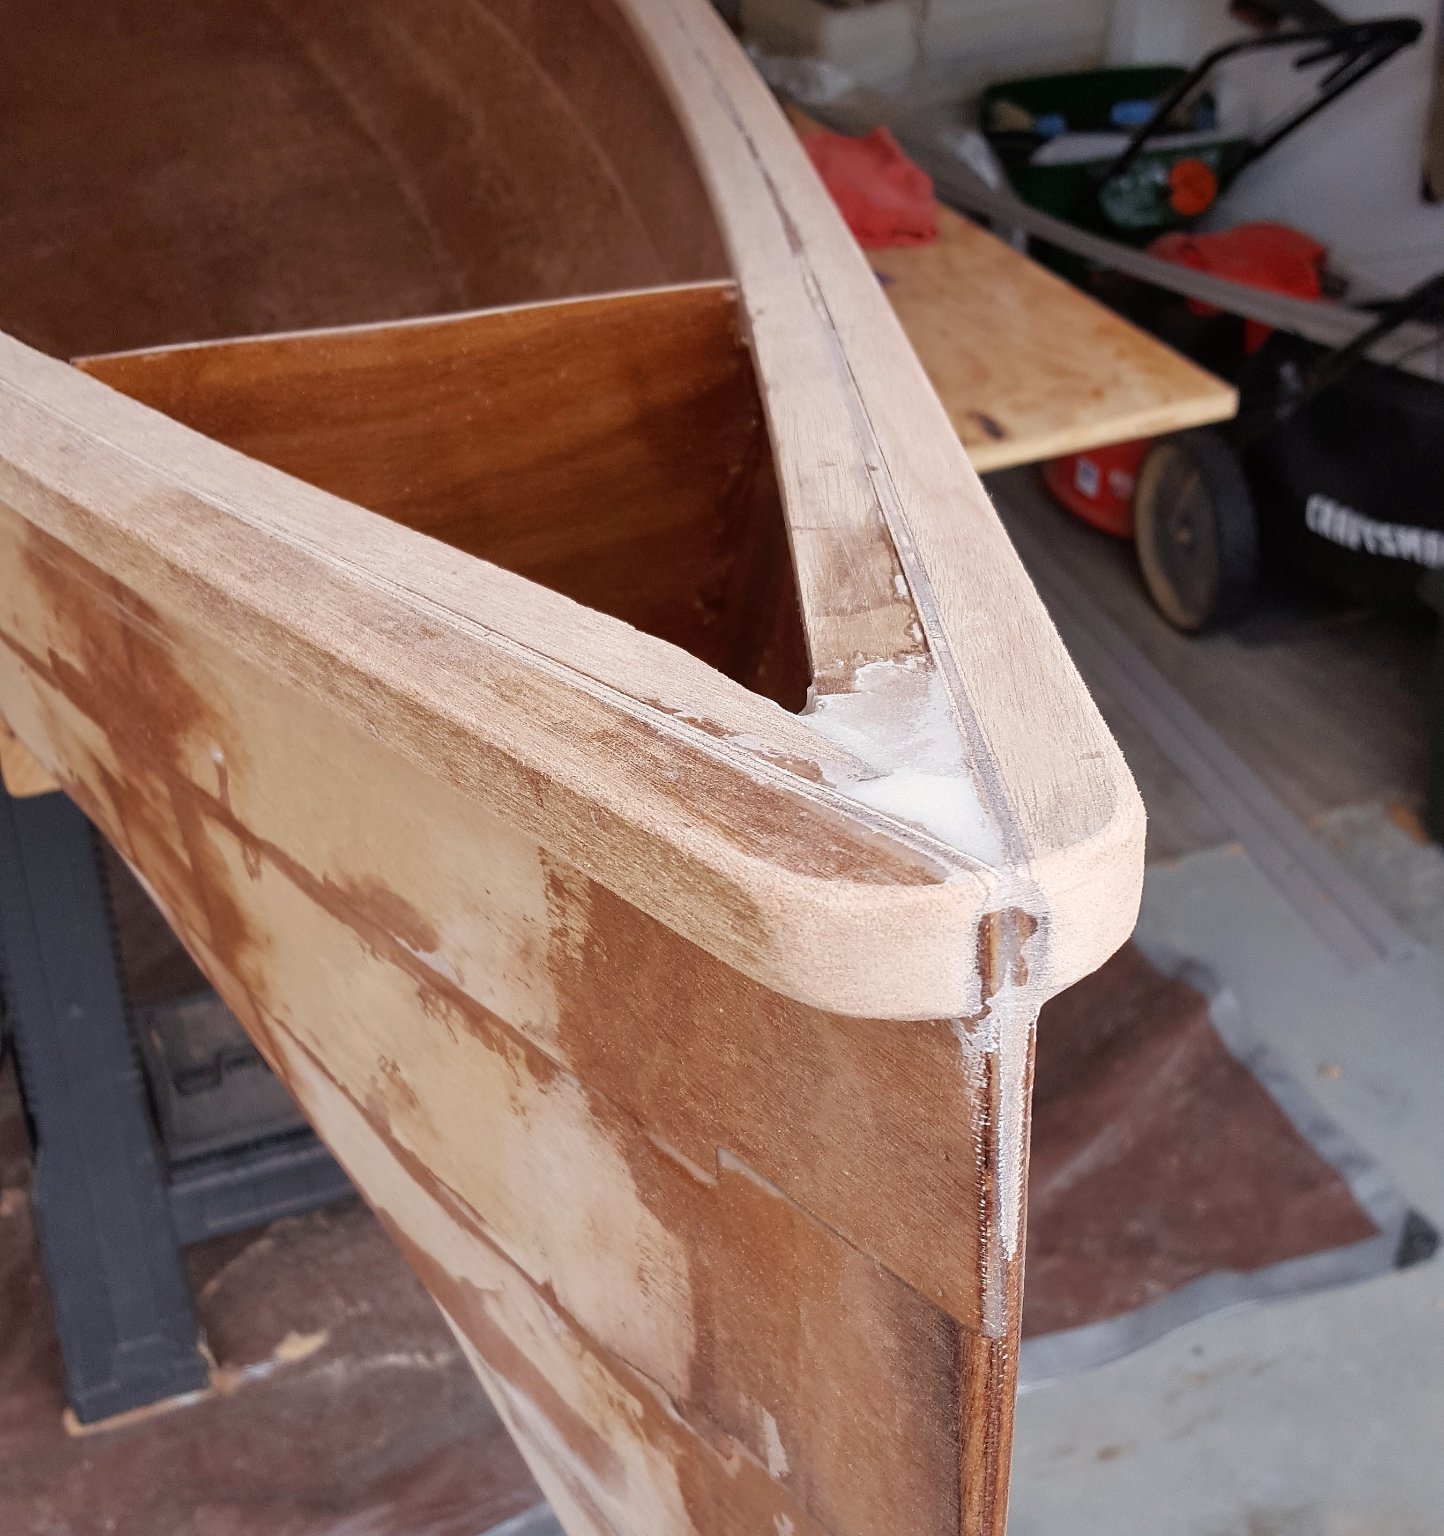
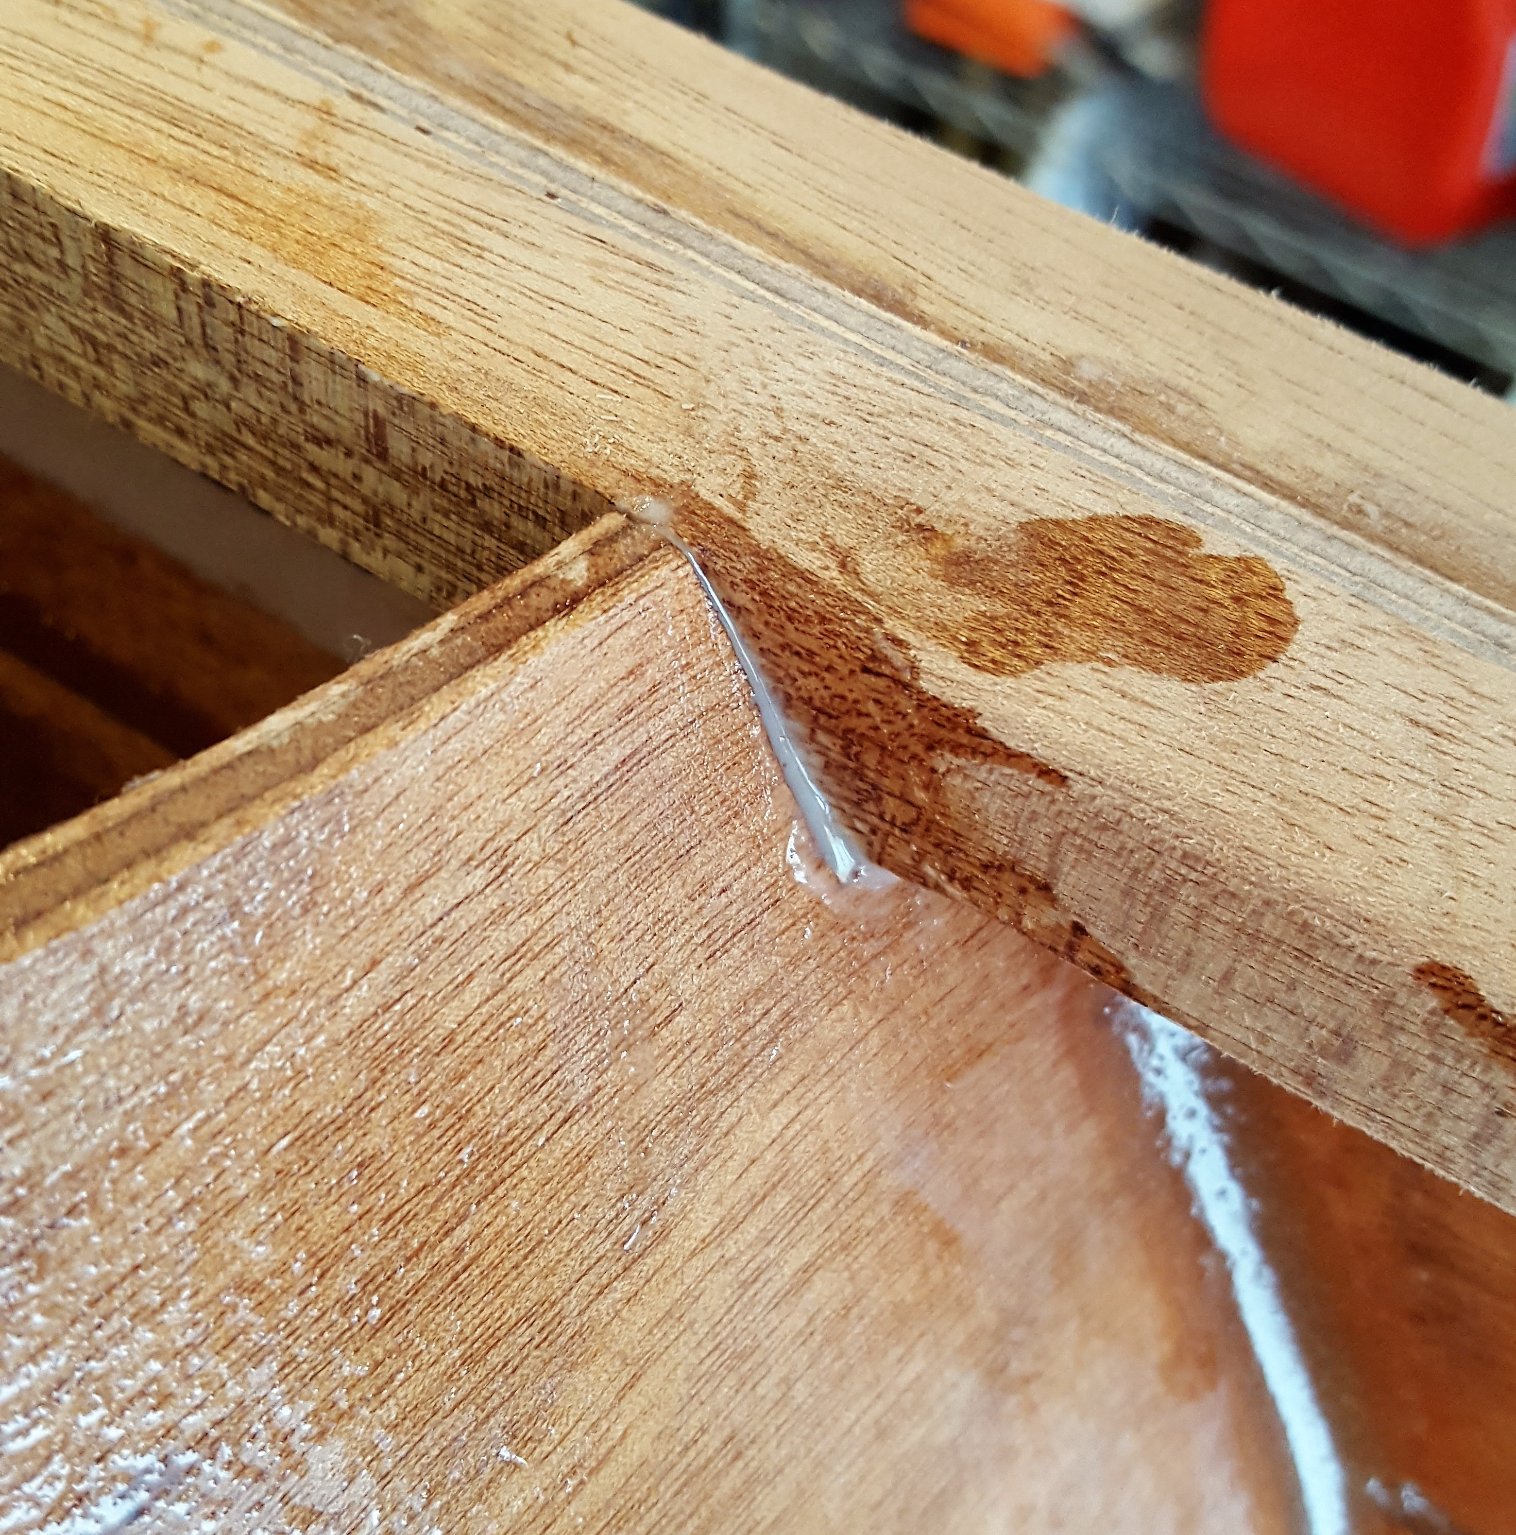
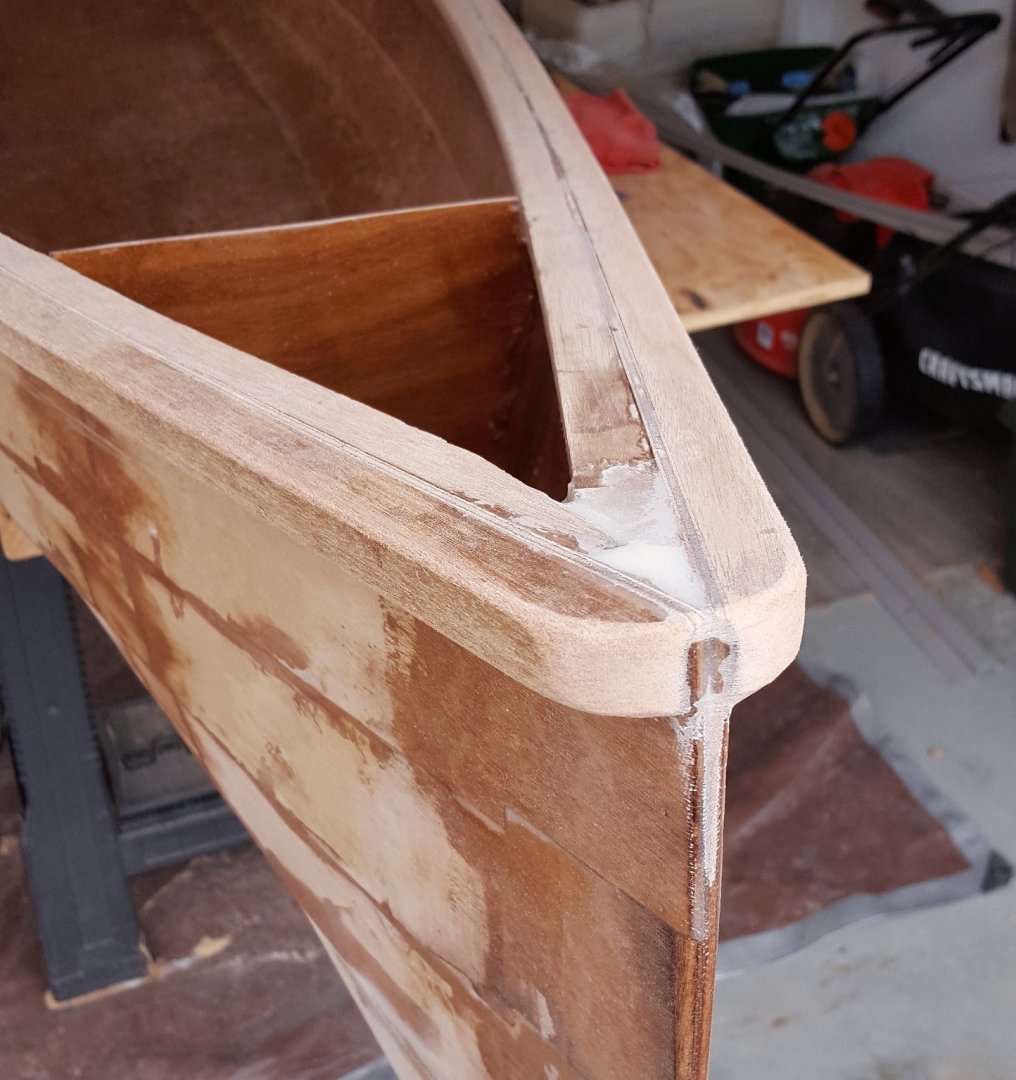
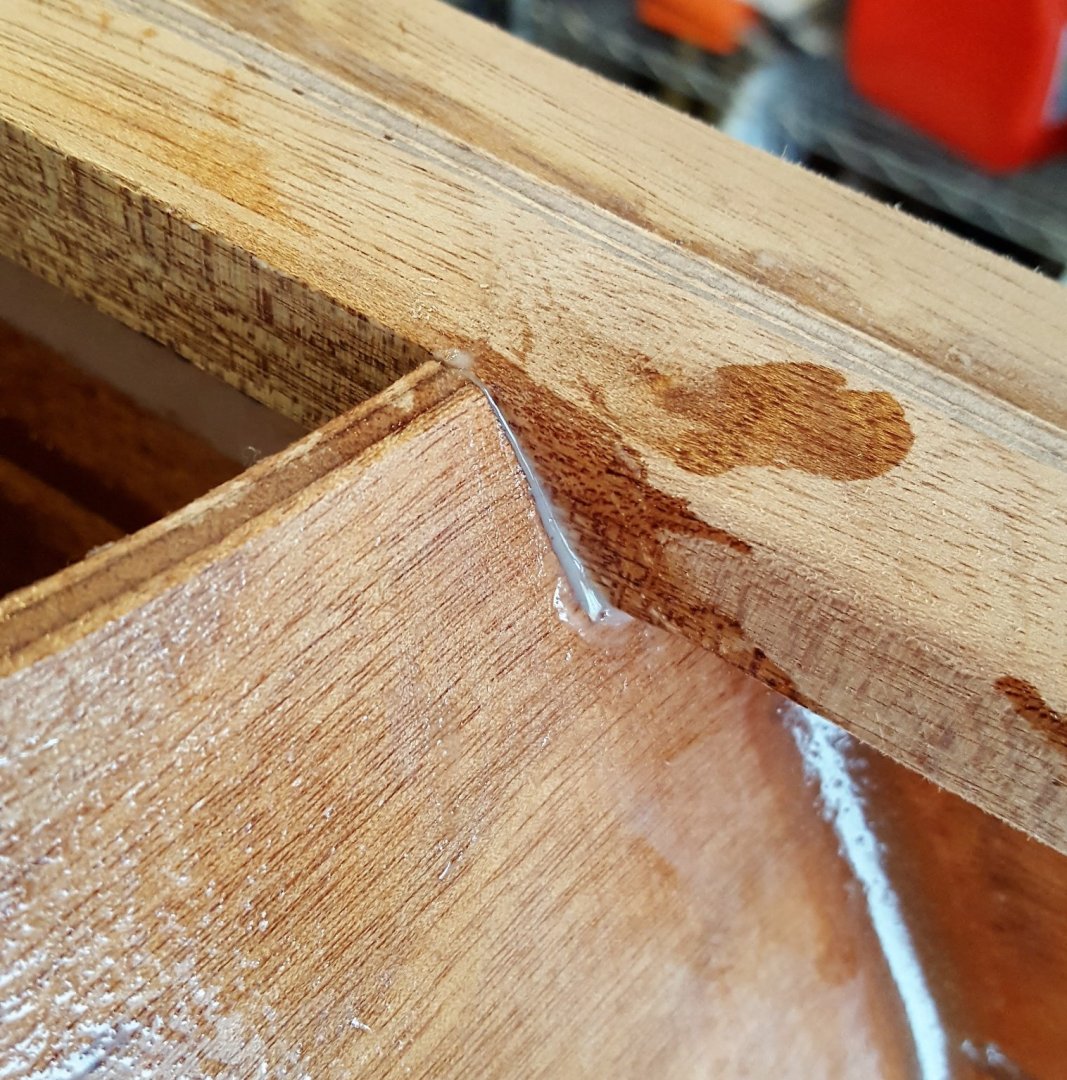
It was really cold in my garage today, so I only got a few little things done. First I rounded off the ends and rub rails... ...then filled in the gaps in the bulkheads around the rails... ...and applied the second coat of epoxy to the deck undersides. Next up will be massive amounts of interior and exterior epoxy work. 😬

- 299 replies
-
- 14
-