


ccoyle
-
Posts
10,173 -
Joined
-
Last visited
Content Type
Profiles
Forums
Gallery
Events
Posts posted by ccoyle
-
-
-
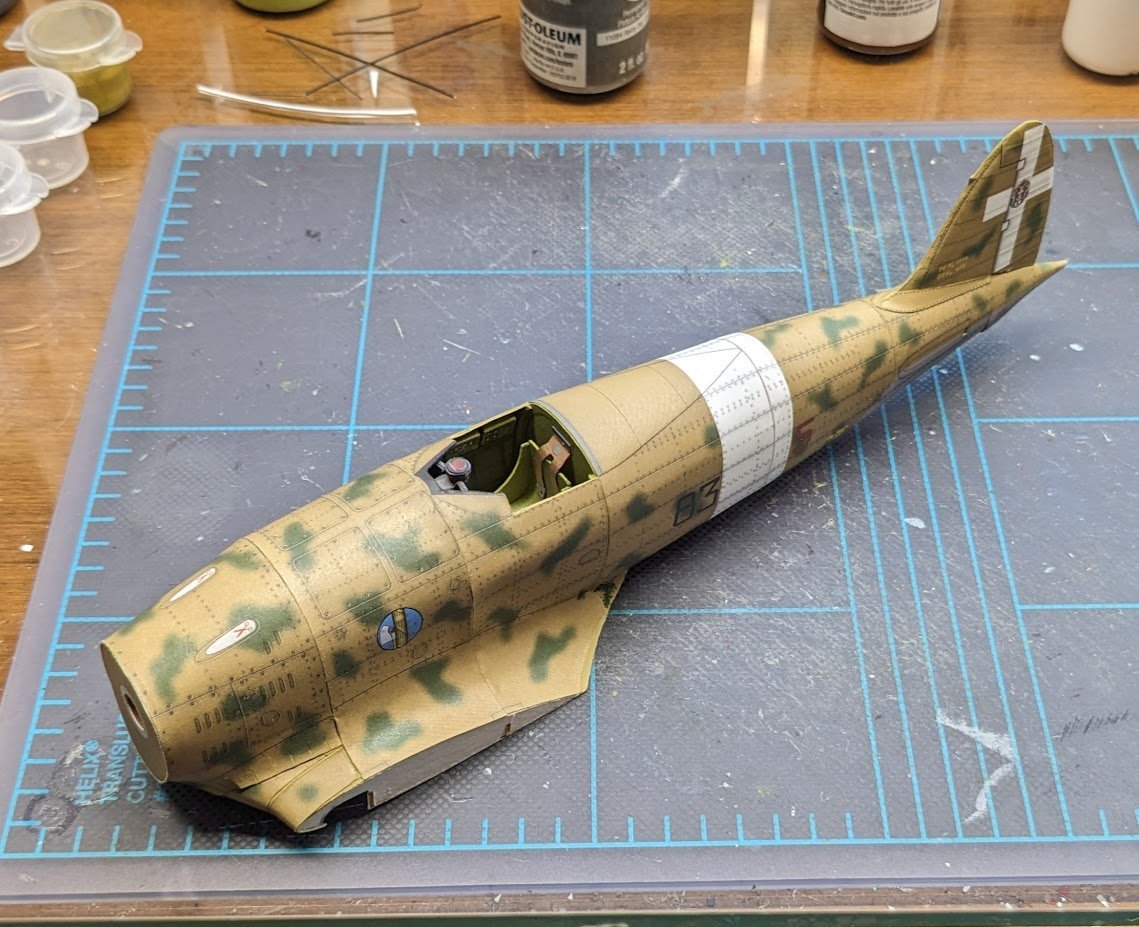
Vertical stabilizer added. I opted not to go for separate control surfaces.
-
-
At this point, it was safe to open up the cockpit again.
- Egilman, Baker, GrandpaPhil and 10 others
-
 13
13
-
Surgery
Here's the start of the left wing root repair.
And the finished repair -- maybe.

On to the right side.
And the finished right side. Since this gap went right through one of the green splotches, I had to fix that as well. I rather liked the effect -- it camouflages the repair -- a little.
So I decided to add some splotchiness to the left side. As usual, this looks better in real life and when one isn't deliberately looking for it.
I can move forward now!
-
Very nice result! Congratulations!
-
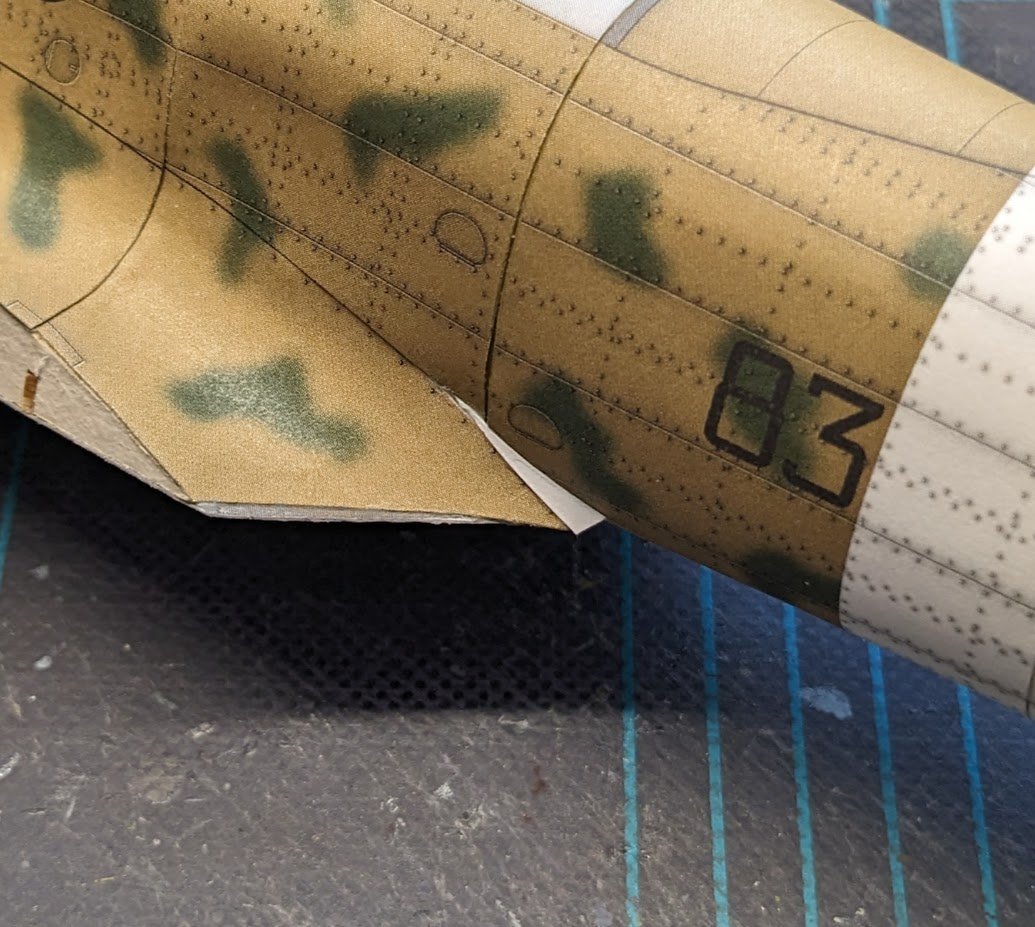
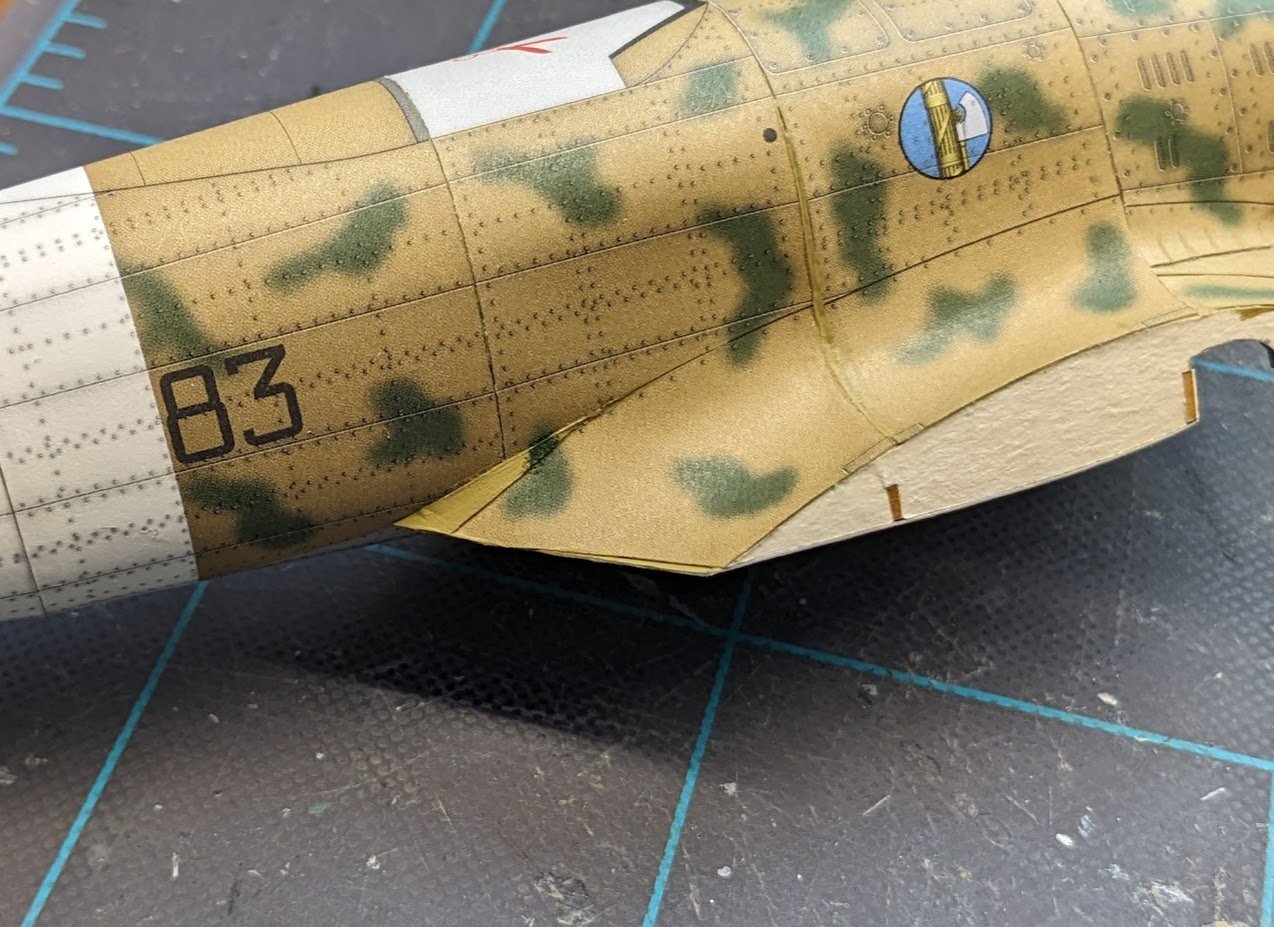
Well, I'm just having fit issues all over this model. As usual, I never quite know for certain whether these are due to my efforts or to inherent design issues (but I will observe that so far I have only successfully completed one out of three attempts at models designed by Mr. Paczynski).
As you can see in this photo, the upper and lower parts of the fillets, which are NOT separate pieces in this kit, are not going to come together neatly at the aft end of each wing. Some substantial surgery will be needed. I think this model is going to be more of an "artistic representation" than normal.
- AJohnson, Ryland Craze, GrandpaPhil and 8 others
-
7
-
 3
3
-
 1
1
-
-
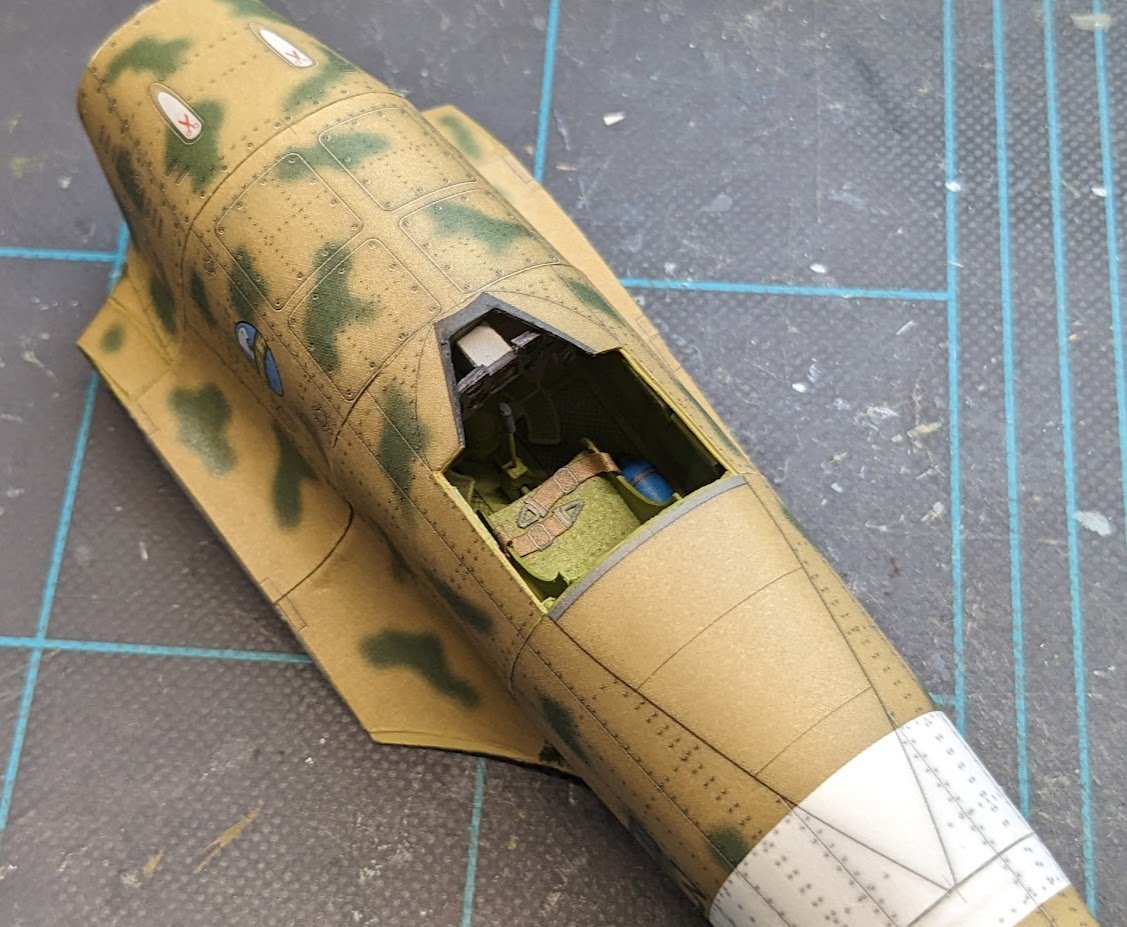
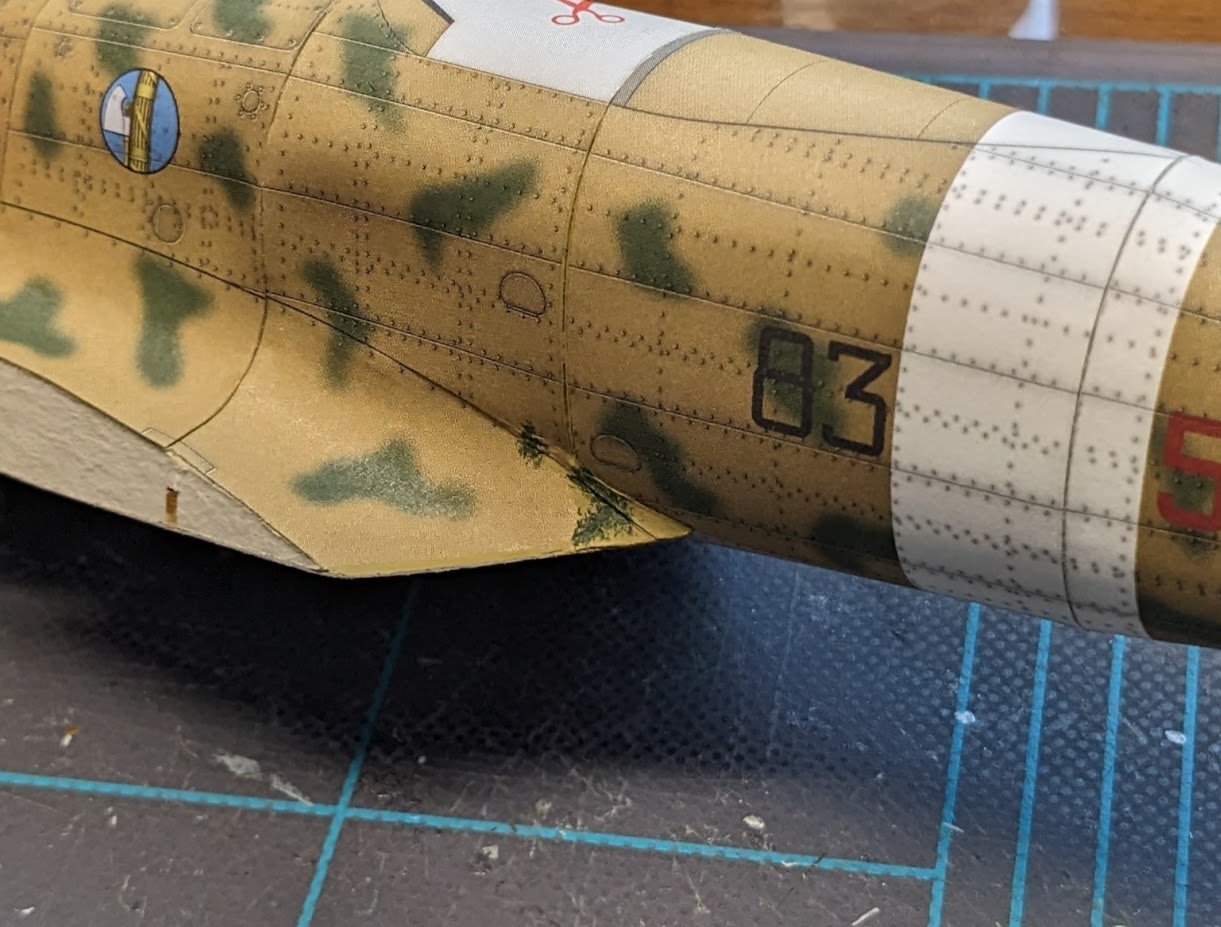
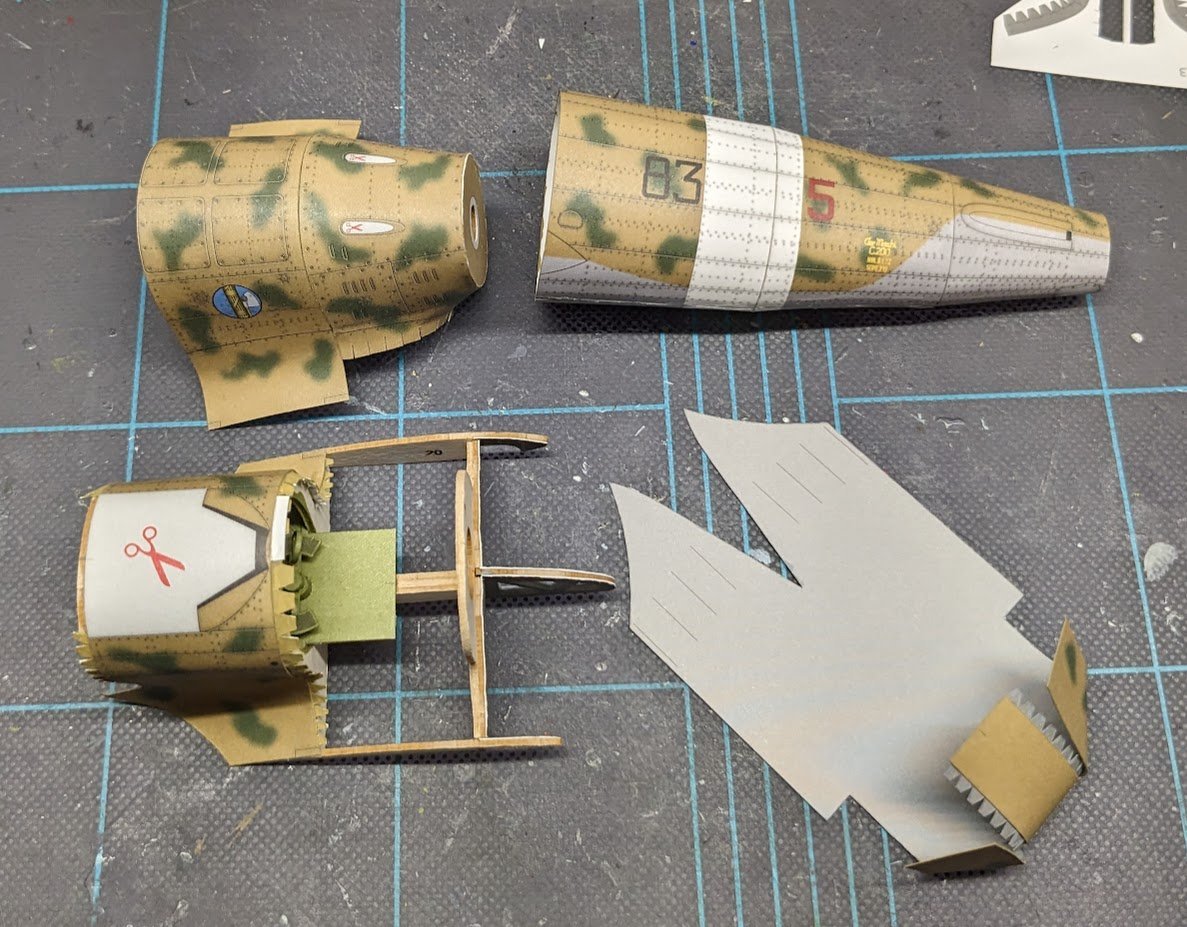
Well, as hinted at in an earlier post, the skinning of the forward fuselage poses quite the challenge. First we have the bottom skin added to the cockpit/fuselage frames:
Then the forward skins added -- the front part is not glued down yet in this photo. As you can see, this structure is going to have a few gaps to repair. It also has, despite my best efforts, a little bit of 'starving cow' action going on, but the camouflage scheme hides it pretty good.
To repeat what I said earlier, this is a very unusual fuselage + fillet design. I can't say I'm too fond of it. Having said that, this same model will probably turn up on one of the Polish forums looking like an absolute work of art and free of any errors! 😂
- Ryland Craze, AJohnson, Egilman and 9 others
-
12
-
-
Nicely done! Congratulations!
-
-
That's a really nice presentation, Jeff!
-
-
-
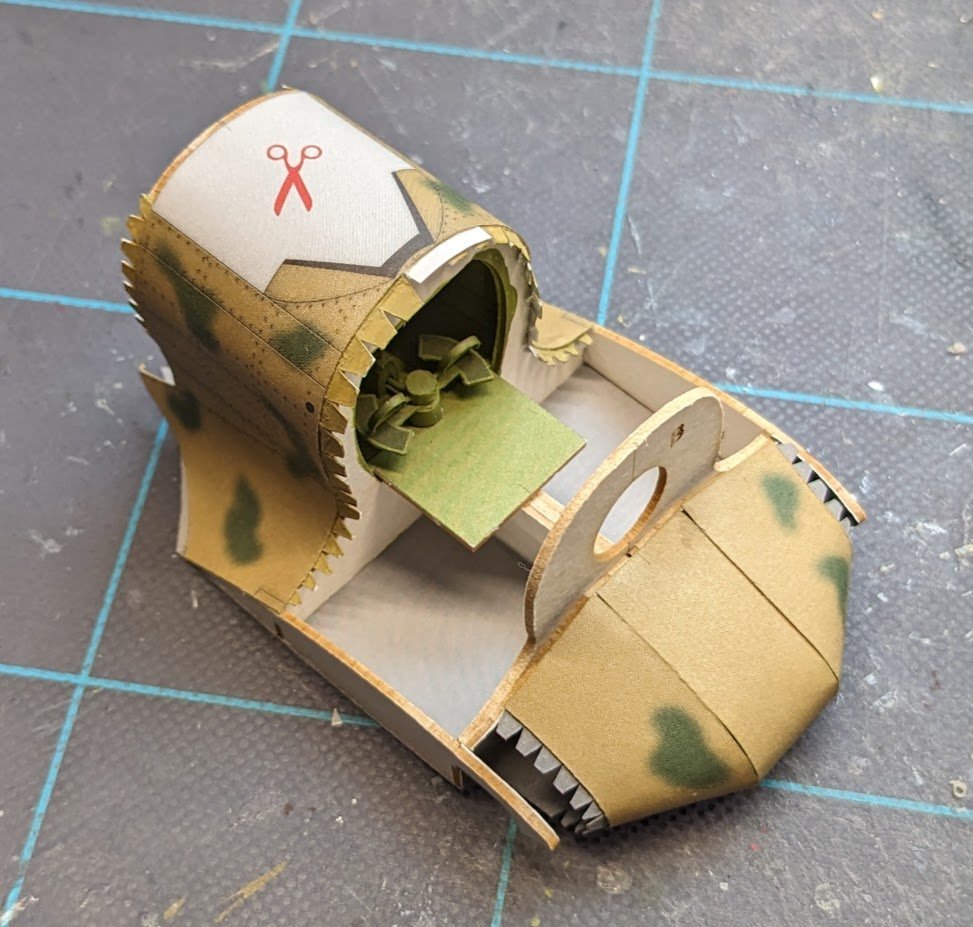
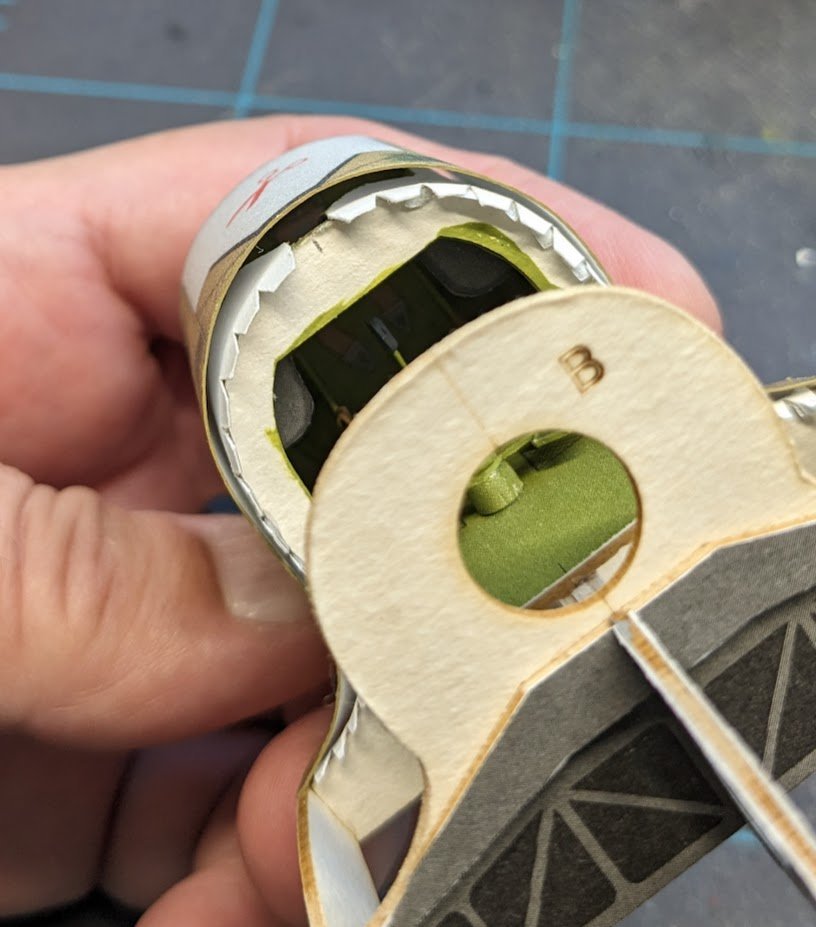
I have formed and glued together the front two fuselage skins. After dampening the forward opening, I temporarily inserted bulkhead A to help the skin dry into the proper shape.
- Tony Hunt, Haliburton, hof00 and 15 others
-
18
-
50 minutes ago, realworkingsailor said:
Would it be an idea to fill in the frame/wing filet area with some balsa and sanding to shape before wrestling with the outer skins?
Hmmm. 🤔 Might not be a bad idea. Of course, I don't have any balsa here, and the horse has already left the barn, but it might be something to keep in mind if I ever run into this again.
-
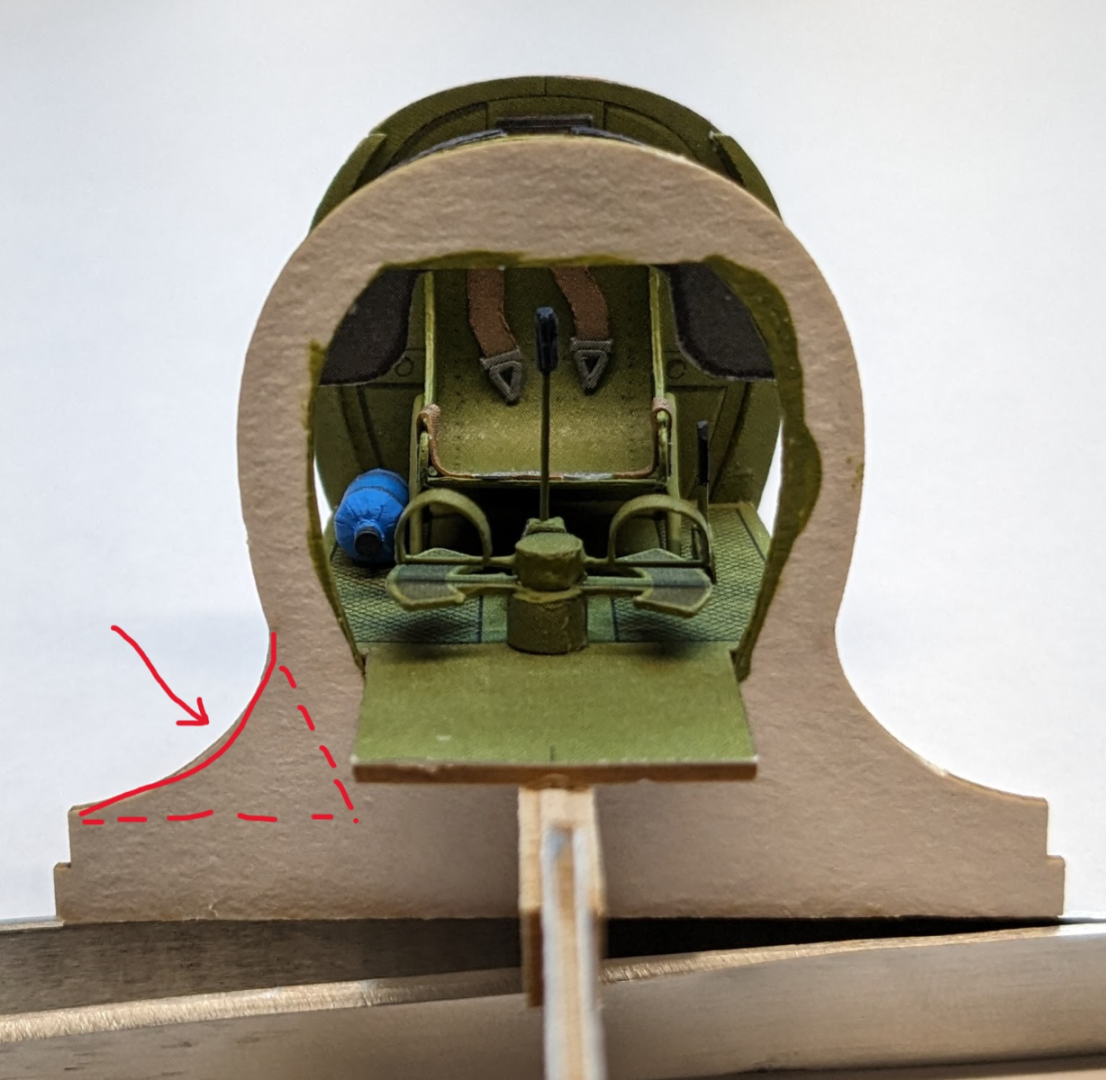
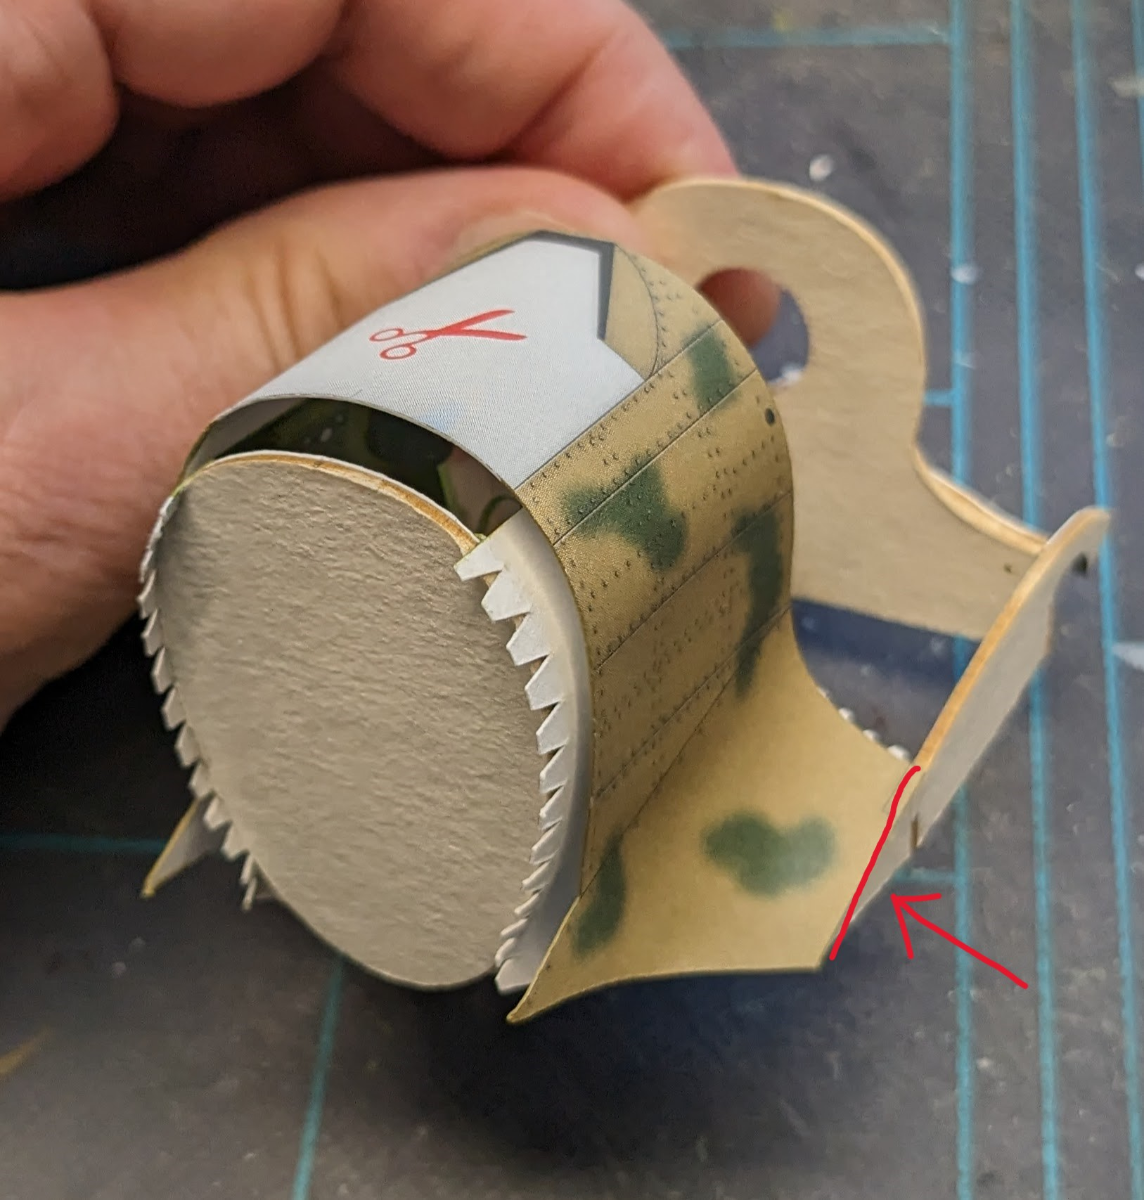
Okay, folks, here's an unpleasant lesson in card model designing. This particular design element is something I did not know about this kit in advance of its purchase.
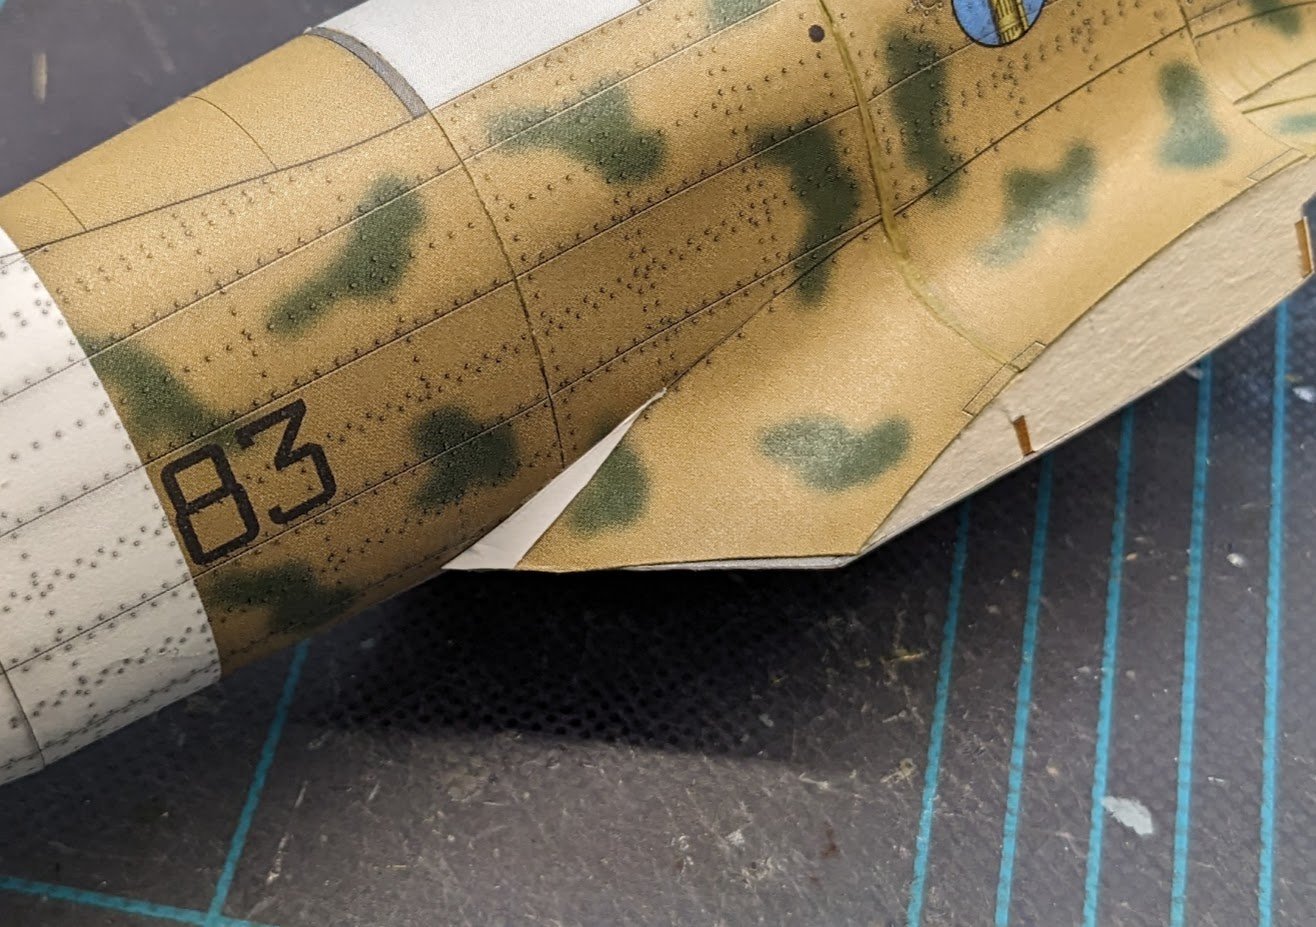
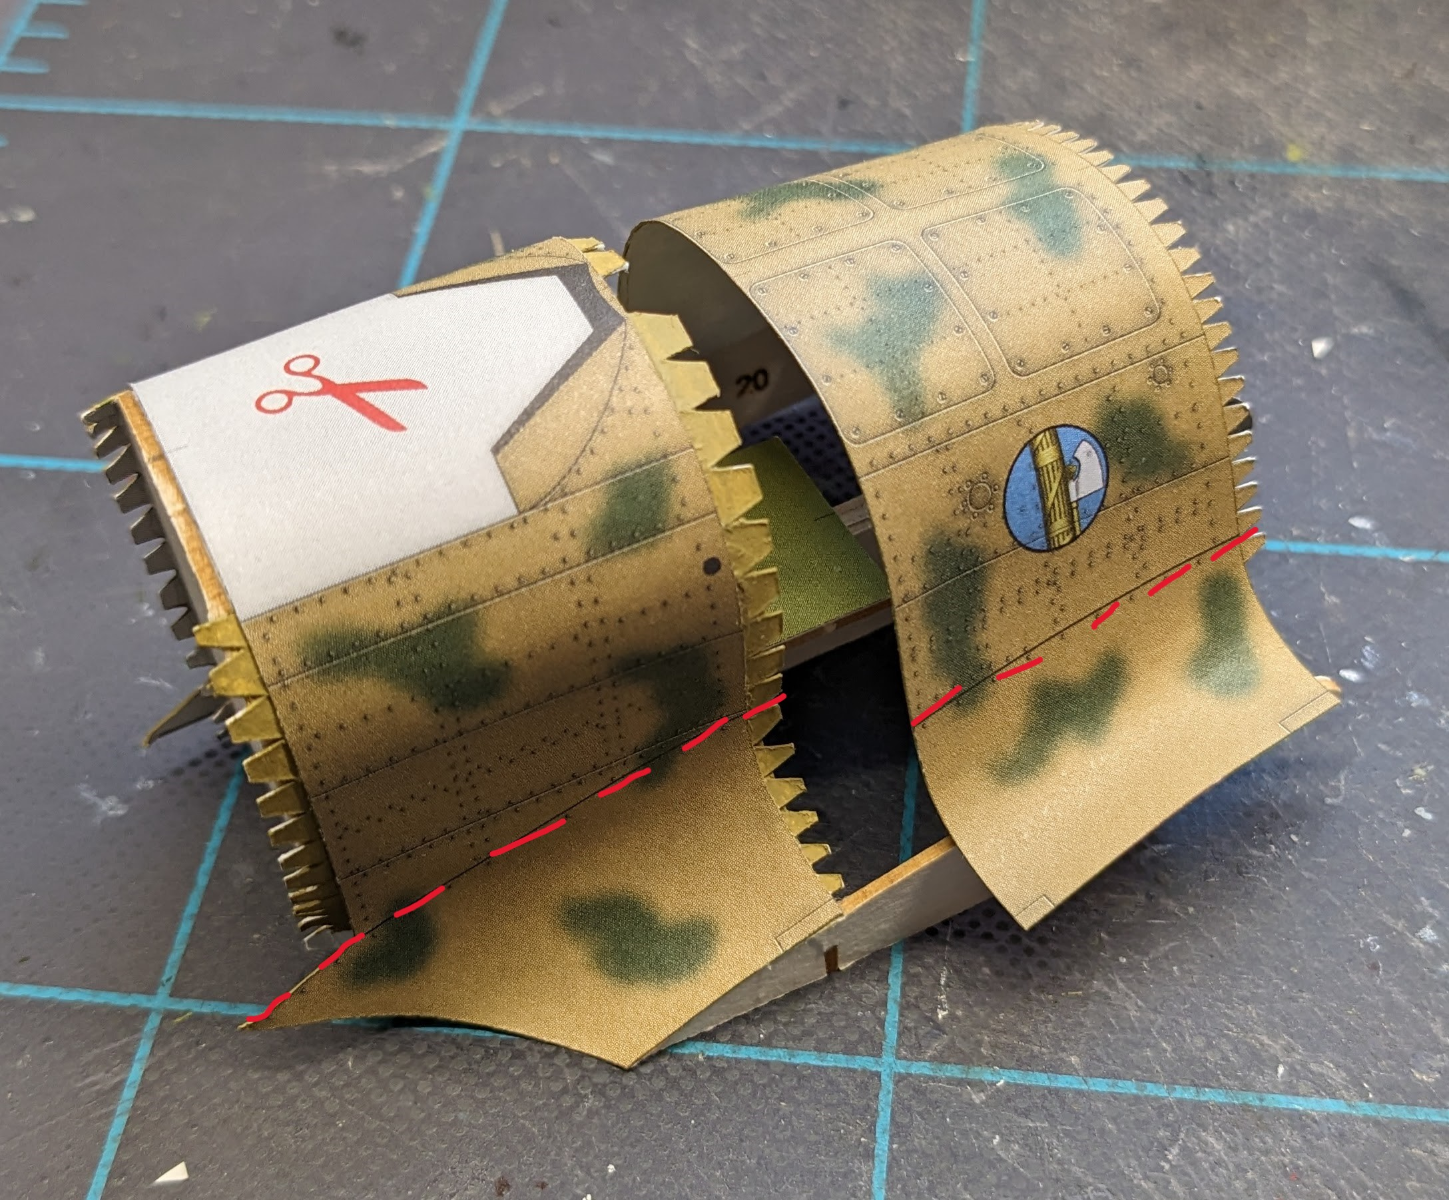
The outlined portion of this photo indicates the location of a wing fillet. I have done enough wing fillets now that they no longer intimidate me like they did back in the beginning. But this kit does fillets in a completely different fashion. In most kits, the fuselage is a roughly cylindrical structure coupled to a more or less straight wing, as indicated by the dashed lines in the photo. The fillet (solid line) is then added as a separate piece. But not this time.
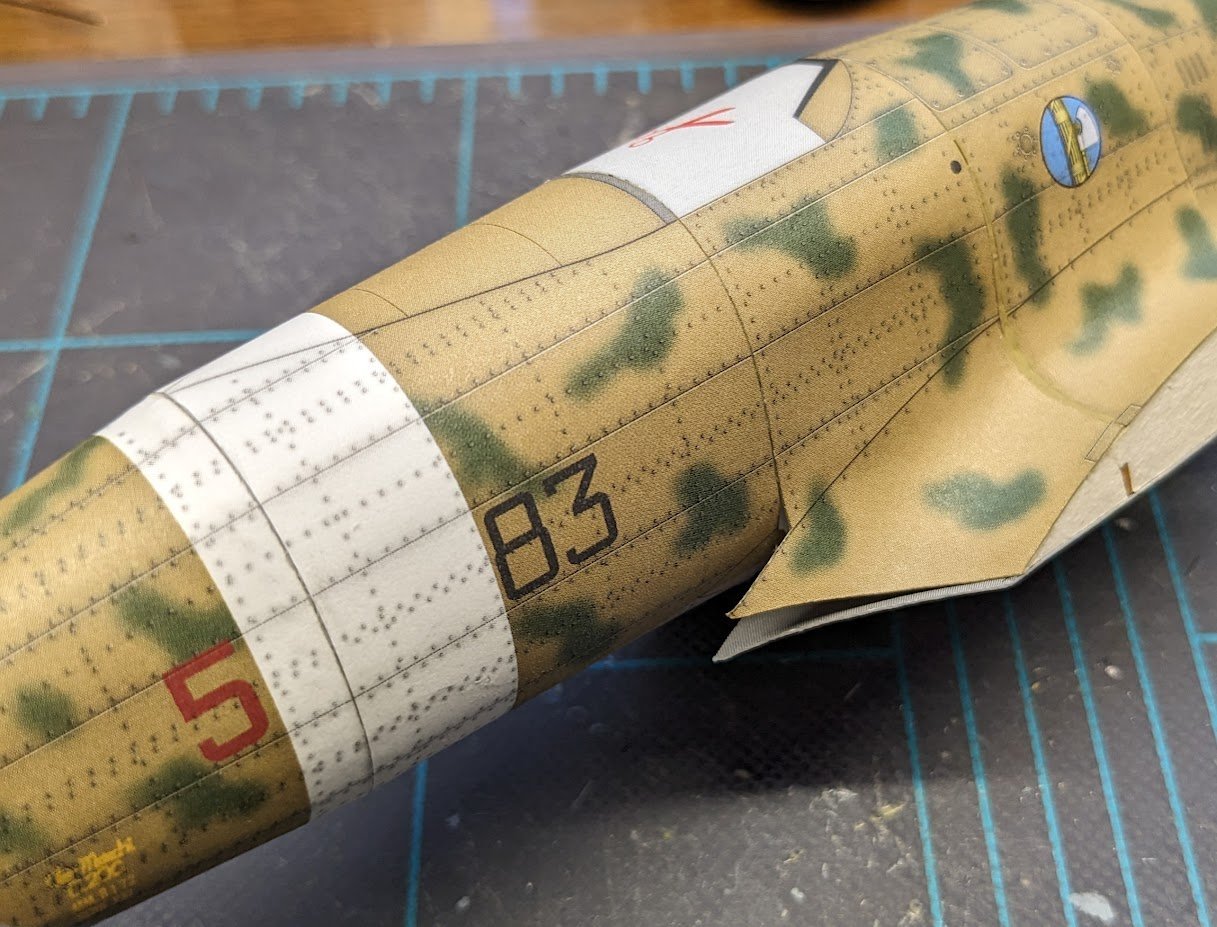
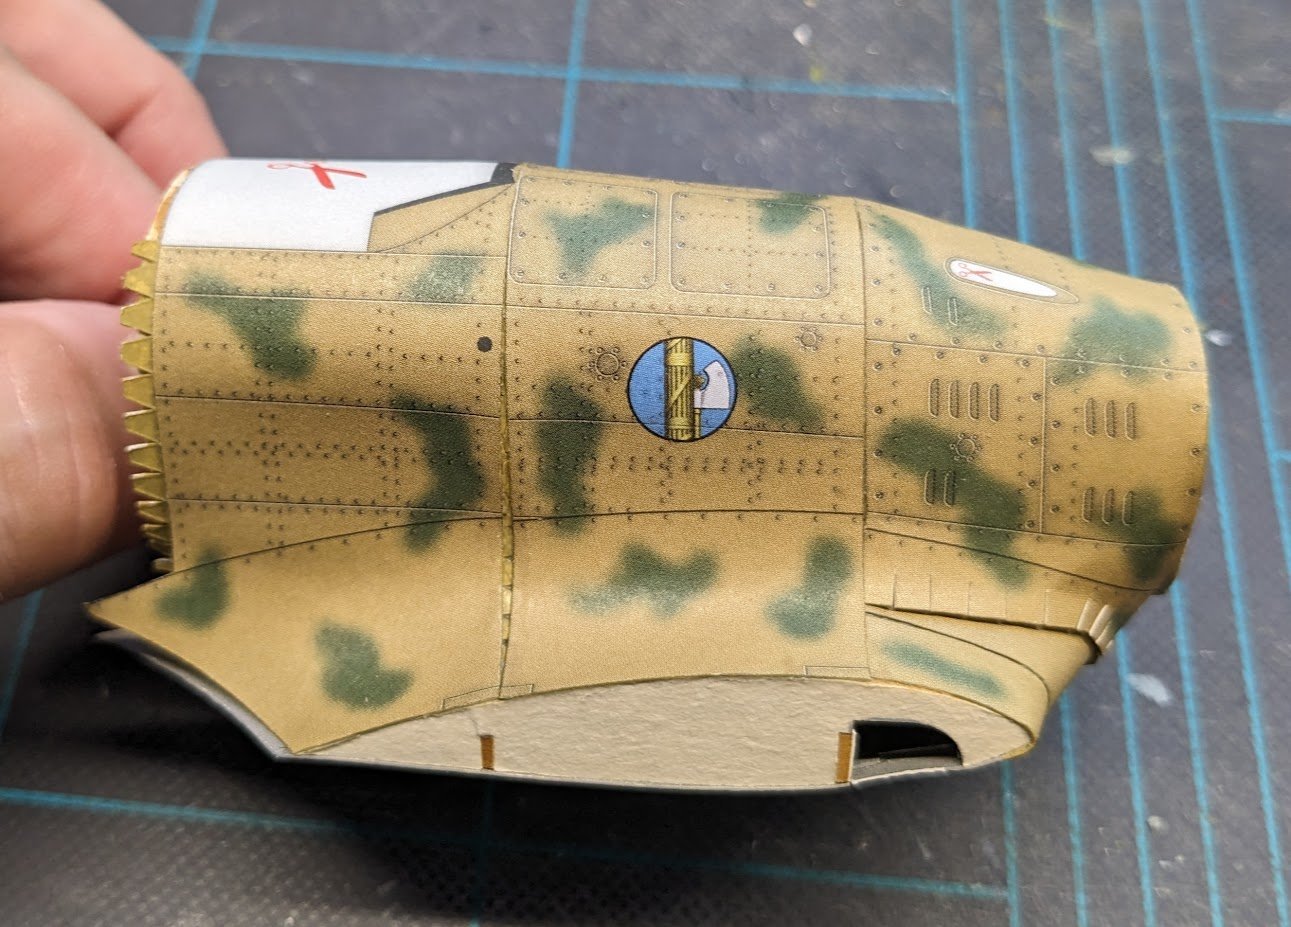
This brings us to the external cockpit skin (the inner skin posed its own set of difficulties -- I cut it into left and right halves to facilitate assembly, and the left half took three tries to get it on right). Here you can see that the fillet, instead of being a separate piece, is an integral part of the skin. This made shaping the skin quite a challenge, because first we have the inward curve of the fuselage, then the outward curve of the fillet. And to complicate things even further, the radius of each curve changes from fore to aft. 🙄 After much fiddling around and test fitting, I decided that trying to glue this skin on in one step was going to be a nightmare, so I started by tacking the left and right edges to their respective wing frames, which ensured the alignment of the piece (hopefully). At this stage, you can see that there was still plenty of slack to be taken up at both the back . . .

. . . and front of the skin.
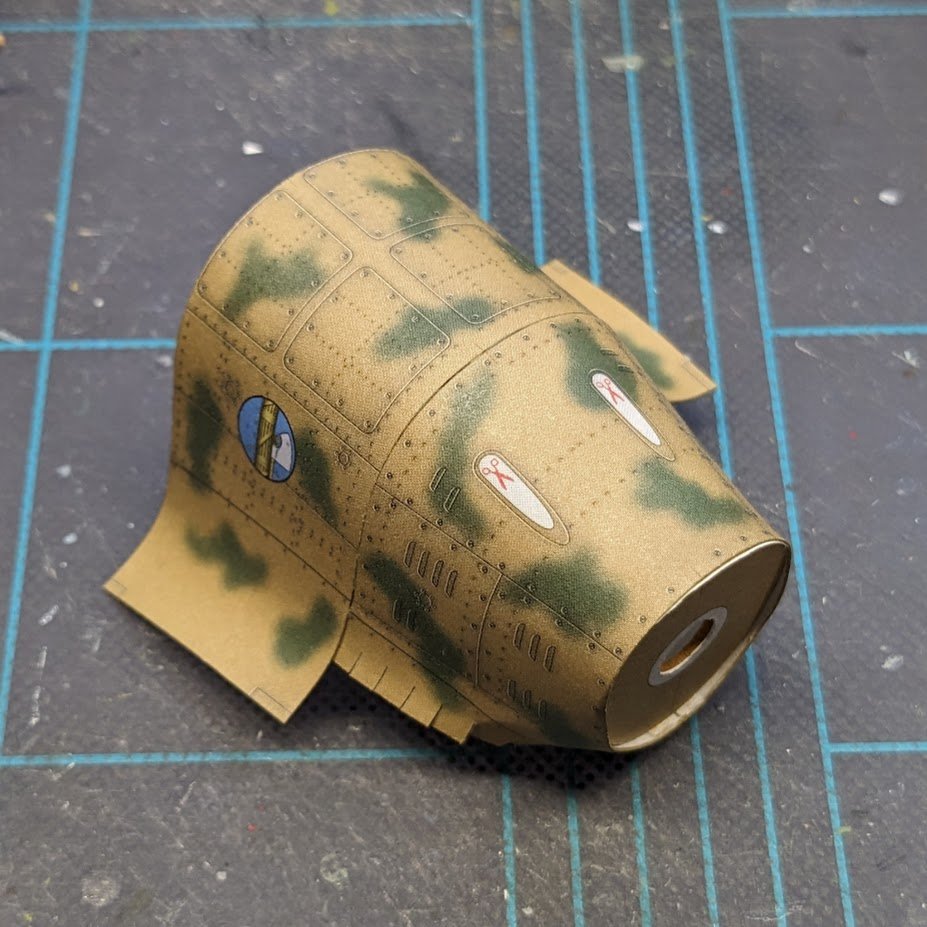
I then glued the front of the skin down, making sure the front and rear tick marks were lined up and pinching the skin down over its frames to eliminate the slack.

I did not glue the rear down yet, as I want to see how the next skin aft fits before securing it. The kit numbering suggests that the next skin forward is the next step of the construction sequence. The dashed line indicates the fillet that would be a separate piece in 99% of the card modeling world. The shaping of this part adds another challenge as the shape of the fuselage changes from cylindrical aft to a more squarish cross-section forward.
That's it for now!
-
Bruce, I somehow missed the finish of your model three years ago! It is a very fine model indeed -- I'm glad I got another opportunity to congratulate you on your achievement!
-
-
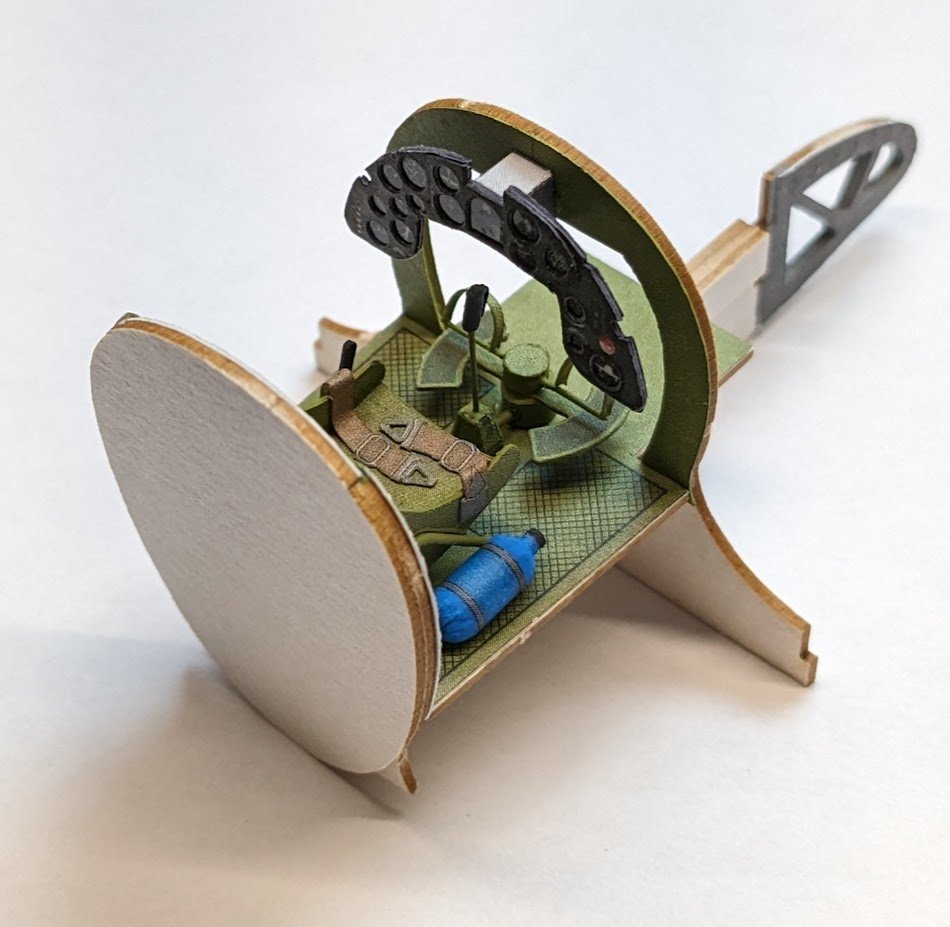
Work on the cockpit continues. Next up was the oxygen bottle with its dreaded petal structures at either end . . .
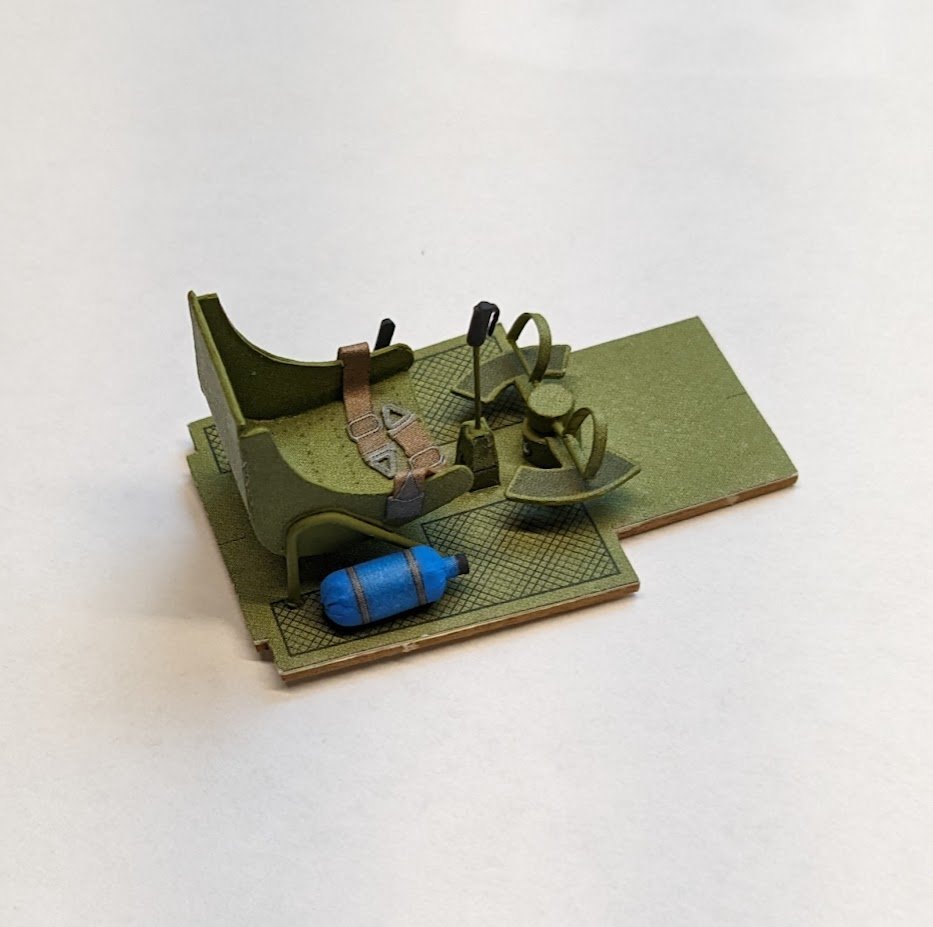
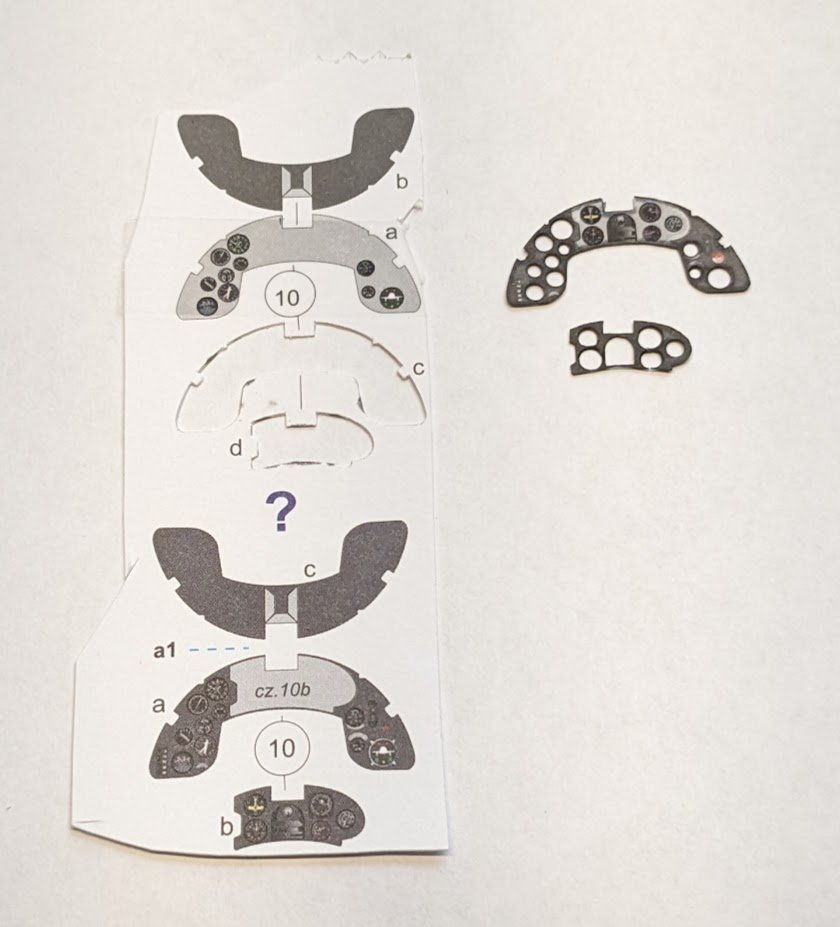
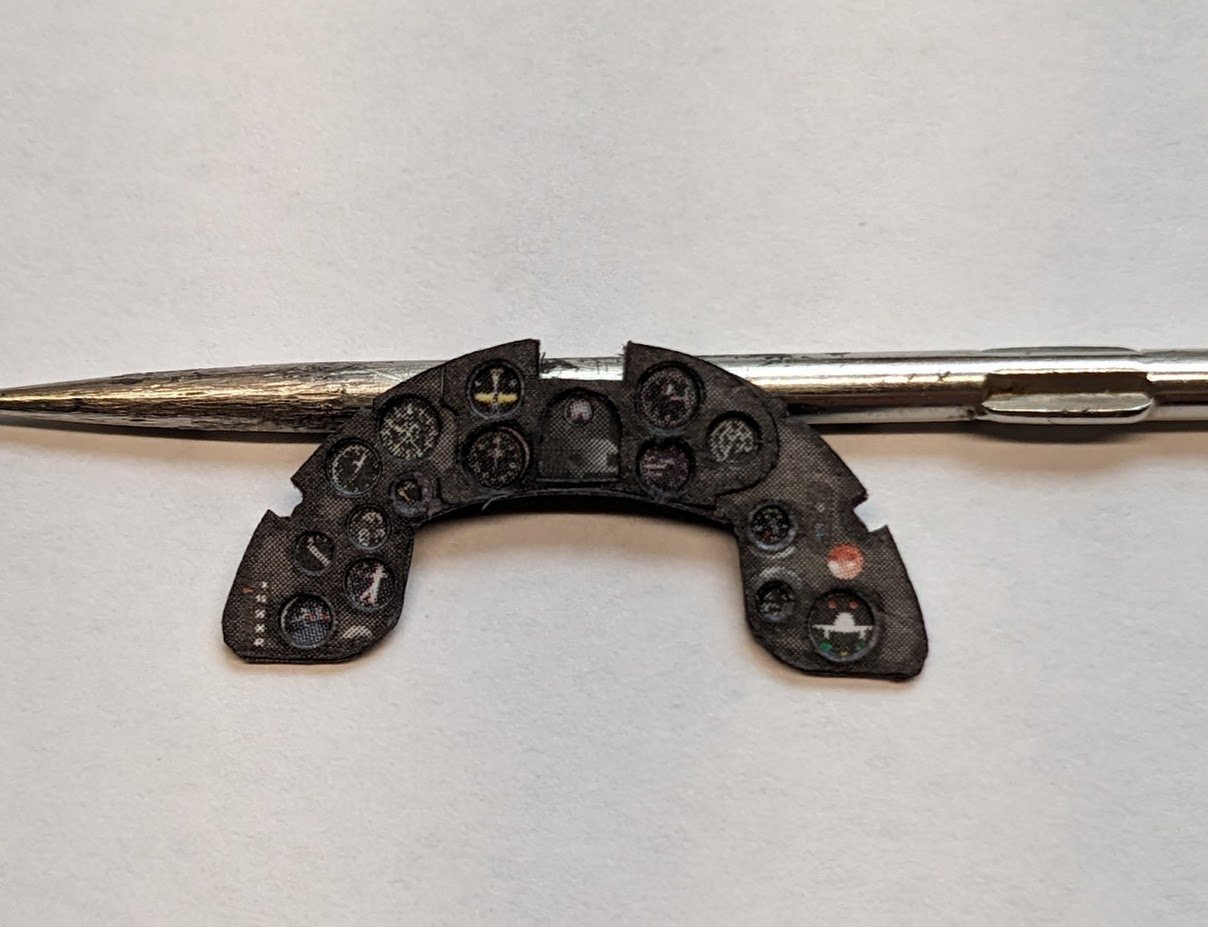
. . . followed by the instrument panel, for which there were two options -- a simplified version (bottom) and one that allows the builder to create recessed instruments. I chose the latter -- I would not recommend this option for anyone who doesn't have a screw punch. The instruments are 'glazed' with cellophane tape. The panels were brushed on their back sides with very dilute canopy glue and then allowed to get tack-dry before adding them.
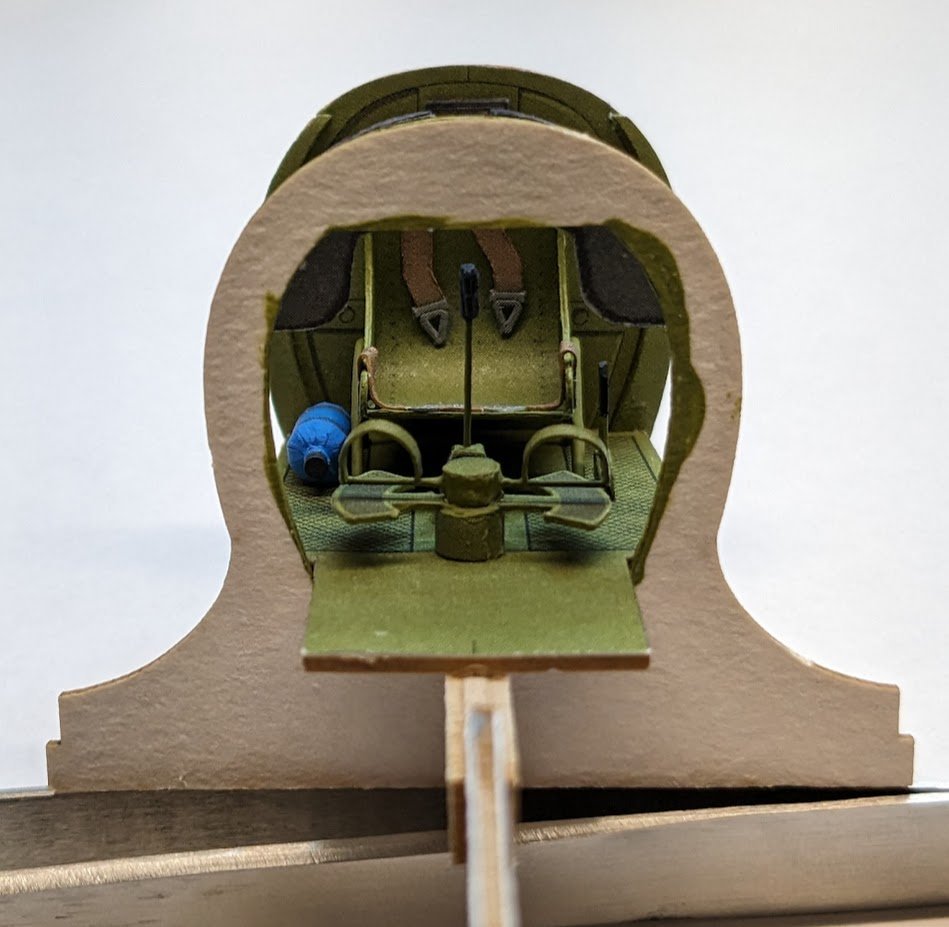
And this is the result:
Then it was time to put all of the interior cockpit bits together -- most of them, anyway. A few will wait until the interior skin is added.
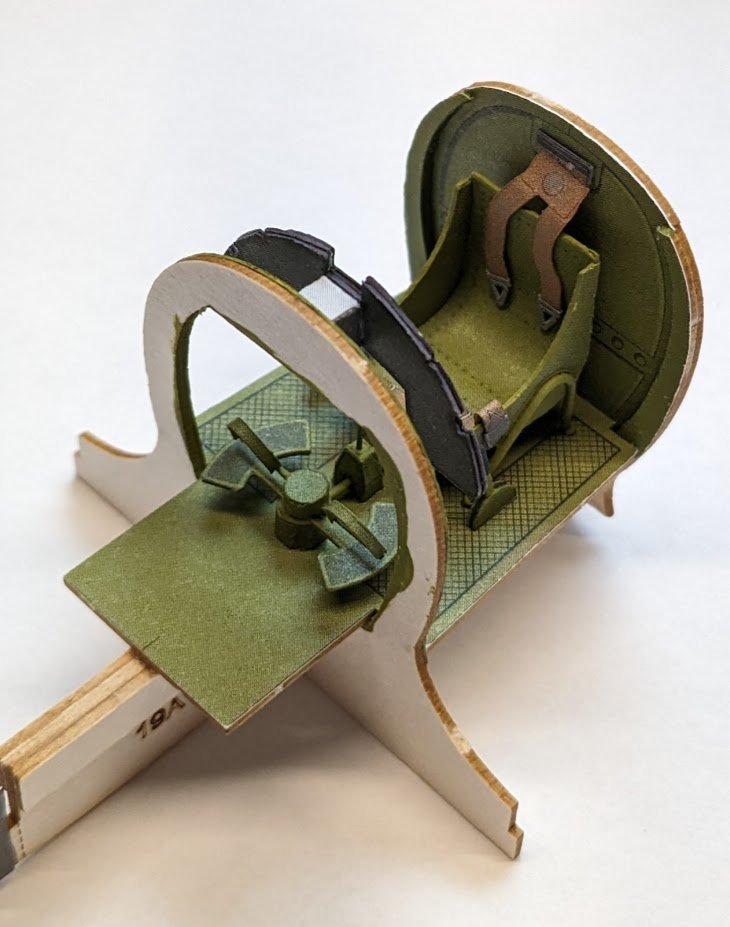
That's it for now!
-
-
Congratulations, Glen! Not only is this a fine model, but it's also the 1400th finished build log at MSW!
- Bryan Woods, Glen McGuire, Canute and 6 others
-
6
-
 3
3
-
I lived in HumCo for twenty years -- graduated from FUHS in '81 and HSU in '92, so I consider myself a Humboldt County boy in spite of my current Dixie address.
- Keith Black and mtaylor
-
2


Macchi C.200 Saetta by ccoyle - FINISHED - Modelarstwo Kartonowe - 1/33 - CARD
in Non-ship/categorised builds
Posted
Internal framing for the horizontal stabilizers added; skins cut out.
Scratch-made joiner strips added.
And voilà! Empennage completed.