


ccoyle
-
Posts
10,173 -
Joined
-
Last visited
Content Type
Profiles
Forums
Gallery
Events
Posts posted by ccoyle
-
-
Welcome aboard! That's a very nice first model you have made -- hopefully you were able to repair the damage?
- mtaylor and Keith Black
-
 2
2
-
-
Moin moin, Christian!
You can absolutely start out by scratch-building smallcraft, such as skiffs, prams, etc., if that's something that interests you There is a wealth of plans available for such craft both online and in books and magazines. Many of those plans can be had for free. Besides wood, card is also an excellent medium for such models. As just one example of what can be accomplished with card, some plans from a book, and a bit of determination, here's a picture of a Bolger sailing pirogue I built years ago.
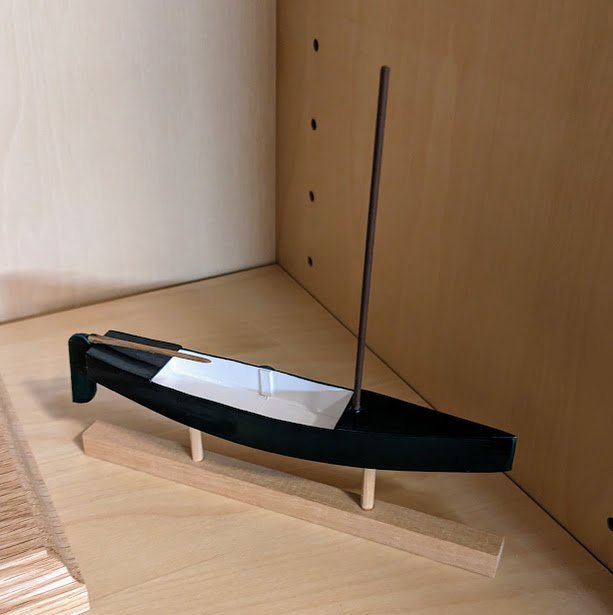
Good luck with whatever you choose!
- Keith Black, Macika and mtaylor
-
3
-
-
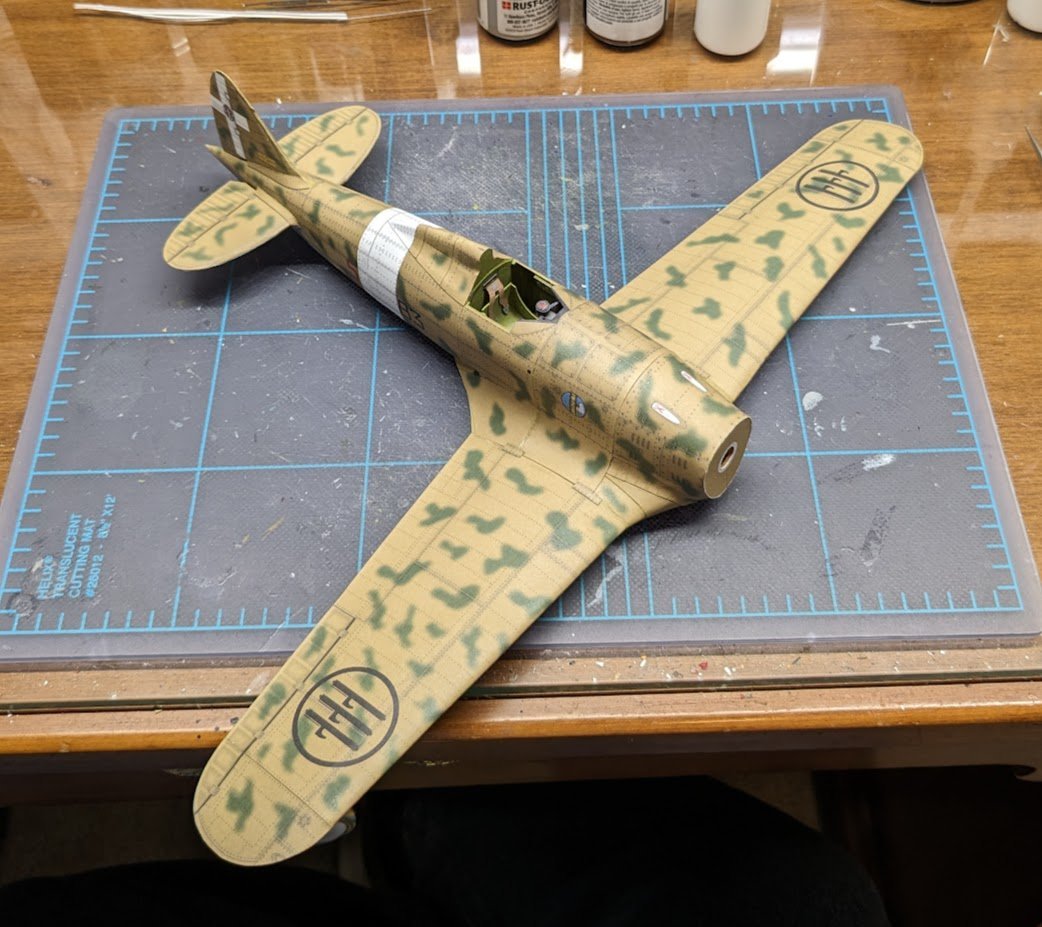
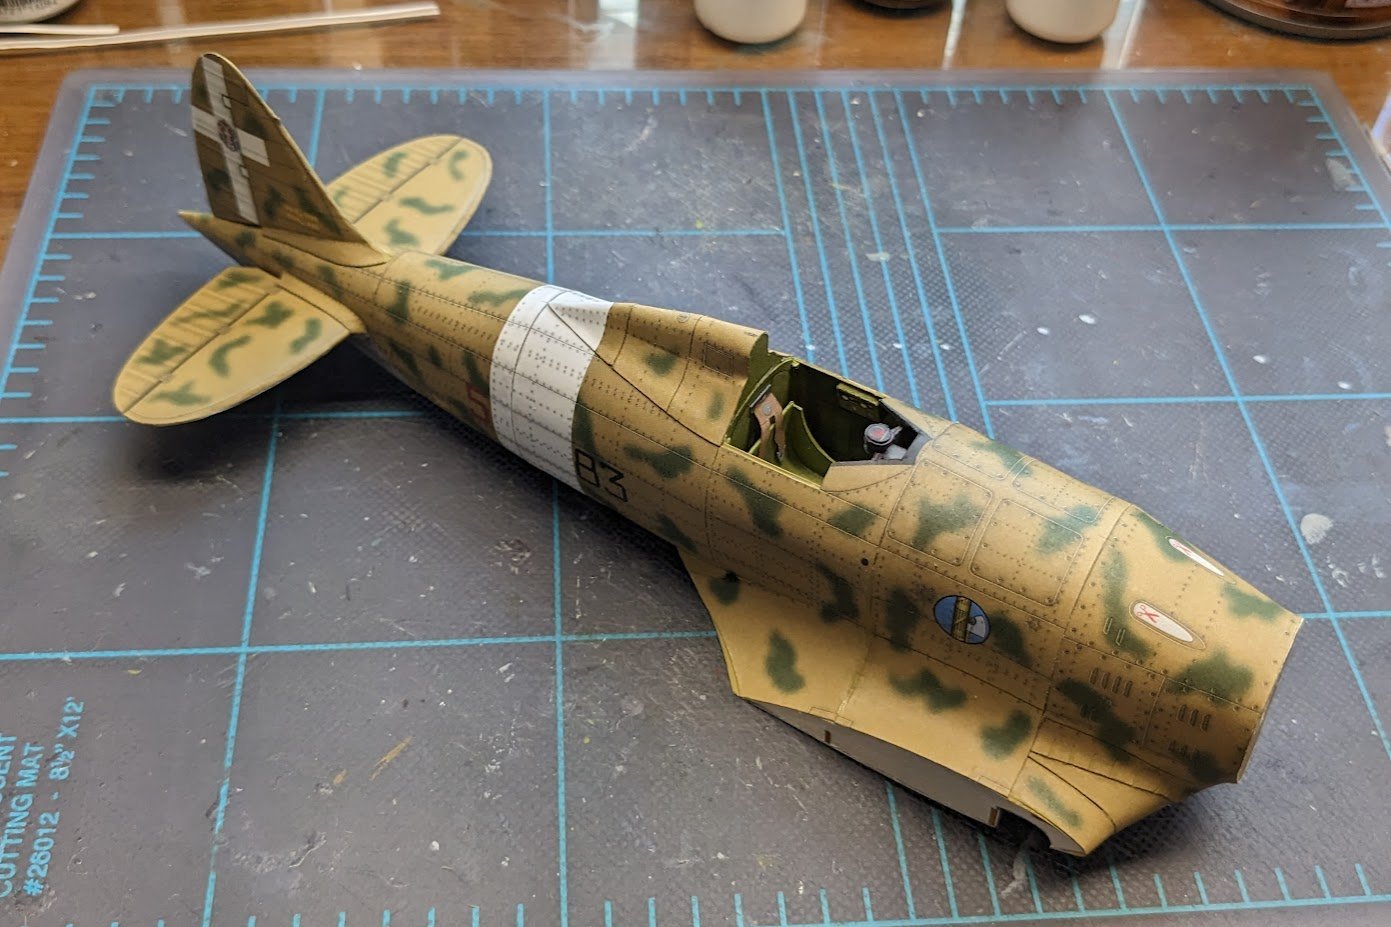
Got a few more bits added today.
The kit includes laser-cut gun barrels with cooling jackets.

These weren't the easiest tubes to roll, but I managed. After cutting out the recesses for the guns and installing them, I next added the wingtip navigation lights and gunsight reflector, then commenced with the windscreen.
The kit didn't come with a pre-molded canopy, so the windscreen had to be built up with separate panels. I still haven't found the perfect clear plastic for making canopies. In the past I have used overhead transparency film, which is too stiff. This time I tried using the transparent sleeve that the laser-cut gun barrels came in. This didn't prove wholly satisfactory, either -- too flimsy, in this case, but I made do with it, because I had no other options on hand. The finished panels are not perfectly flat, and that error shows up when light glints off of them, so the secret is to avoid viewing the model under bright lighting. 😬
This particular aircraft has a very odd "canopy" -- the sliding portion has only a single piece of glazing forward. To make the canopy, I started by adding the internal frame (there was no internal framing included for the windscreen), then layered on the glazing and external frame. The result is not terrible.
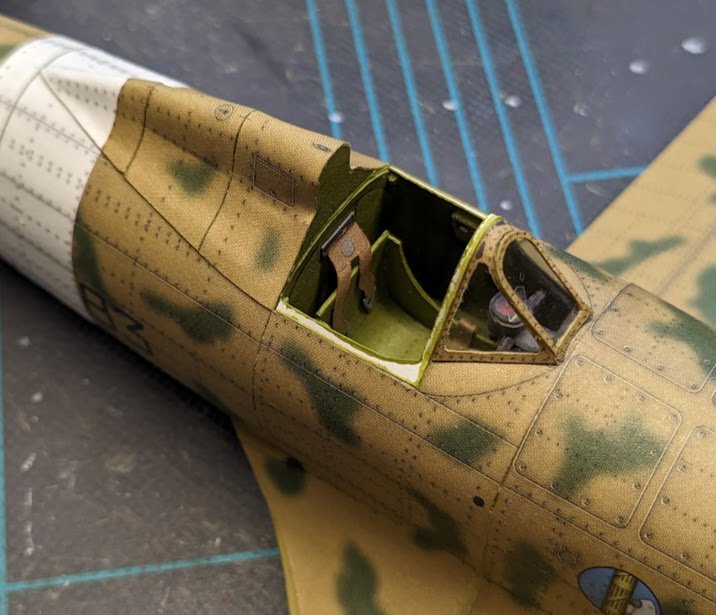
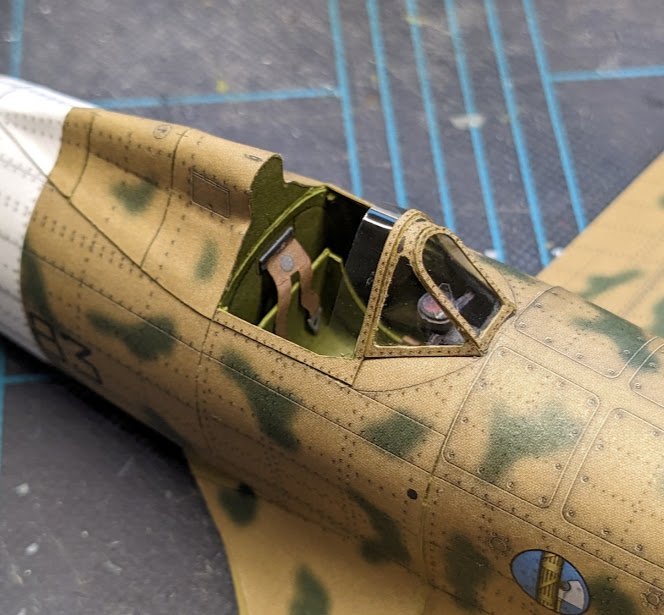
And that's it for now.
-
32 minutes ago, GrandpaPhil said:
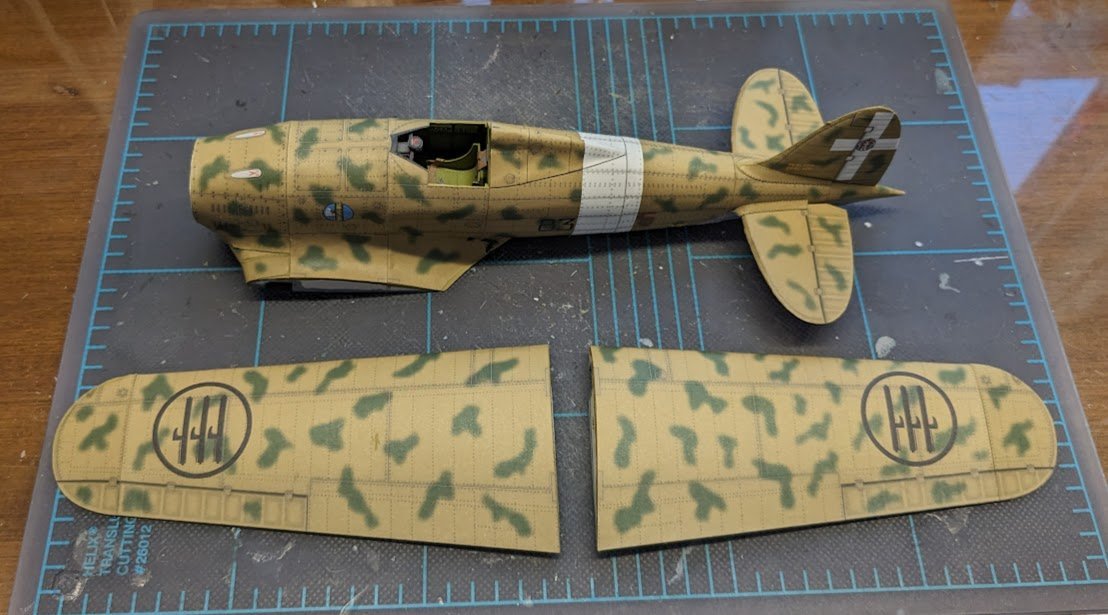
If you are concerned about the strength of the wing root joints,
Actually, I was concerned about the near-impossibility of getting the skins of adjacent sections aligned properly with butt joints. I find the seams of butt joints to be problematic at best. Anyways, the wings are on now!
- bruce d, GrandpaPhil, Ryland Craze and 14 others
-
10
-
 7
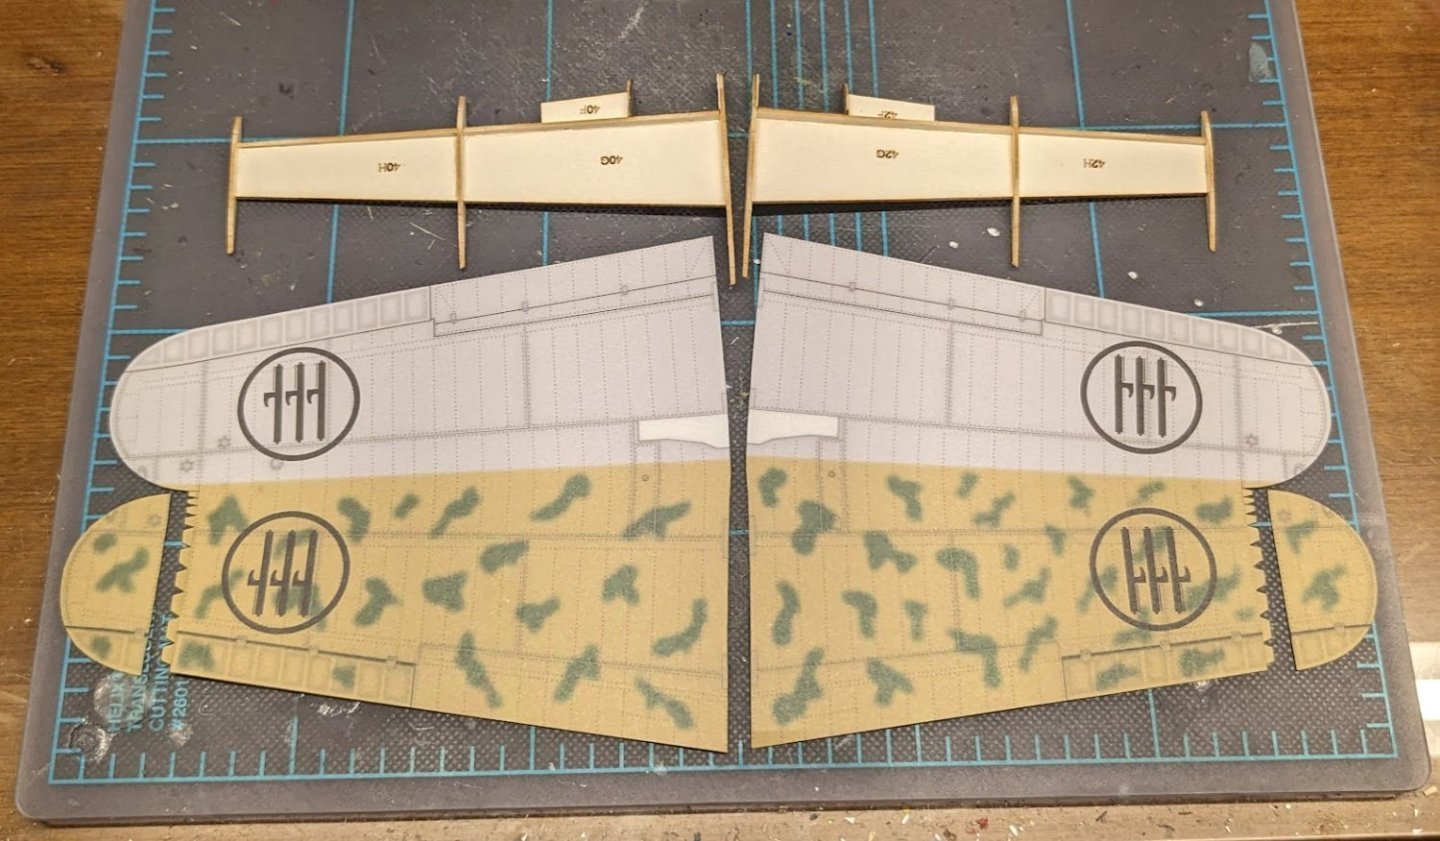
7
-
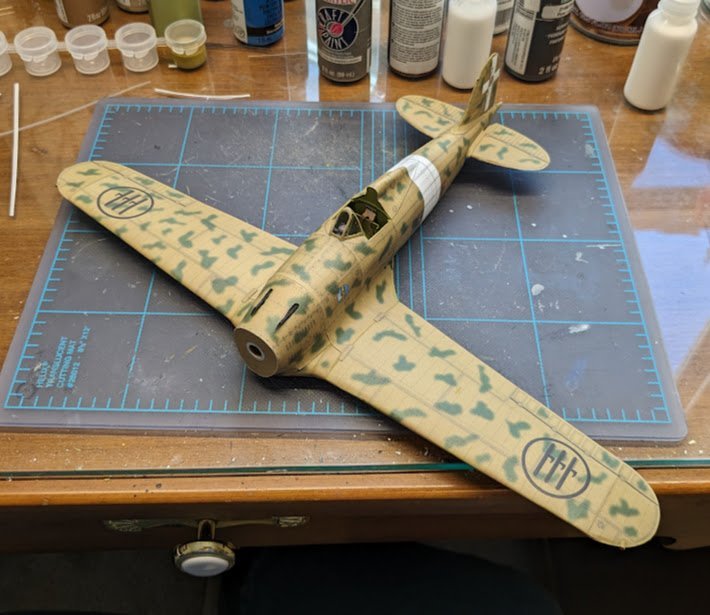
The wings are now skinned and ready to be glued to the fuselage. I added some sheathing to the wing frames to increase the gluing area, and I also sanded both wing roots and the fuselage to make the pending butt joints as tight as possible.
-
-
-
11 hours ago, ccoyle said:
Wing frames completed
On a side note, I would consider the framing in this kit to be "moderately beefy", that is, better than no framing at all, but not as good as it could potentially be with the addition of a few more pieces. To illustrate what I mean, compare the Saetta framing to that of Halinski's Bf-109E-4 kit.
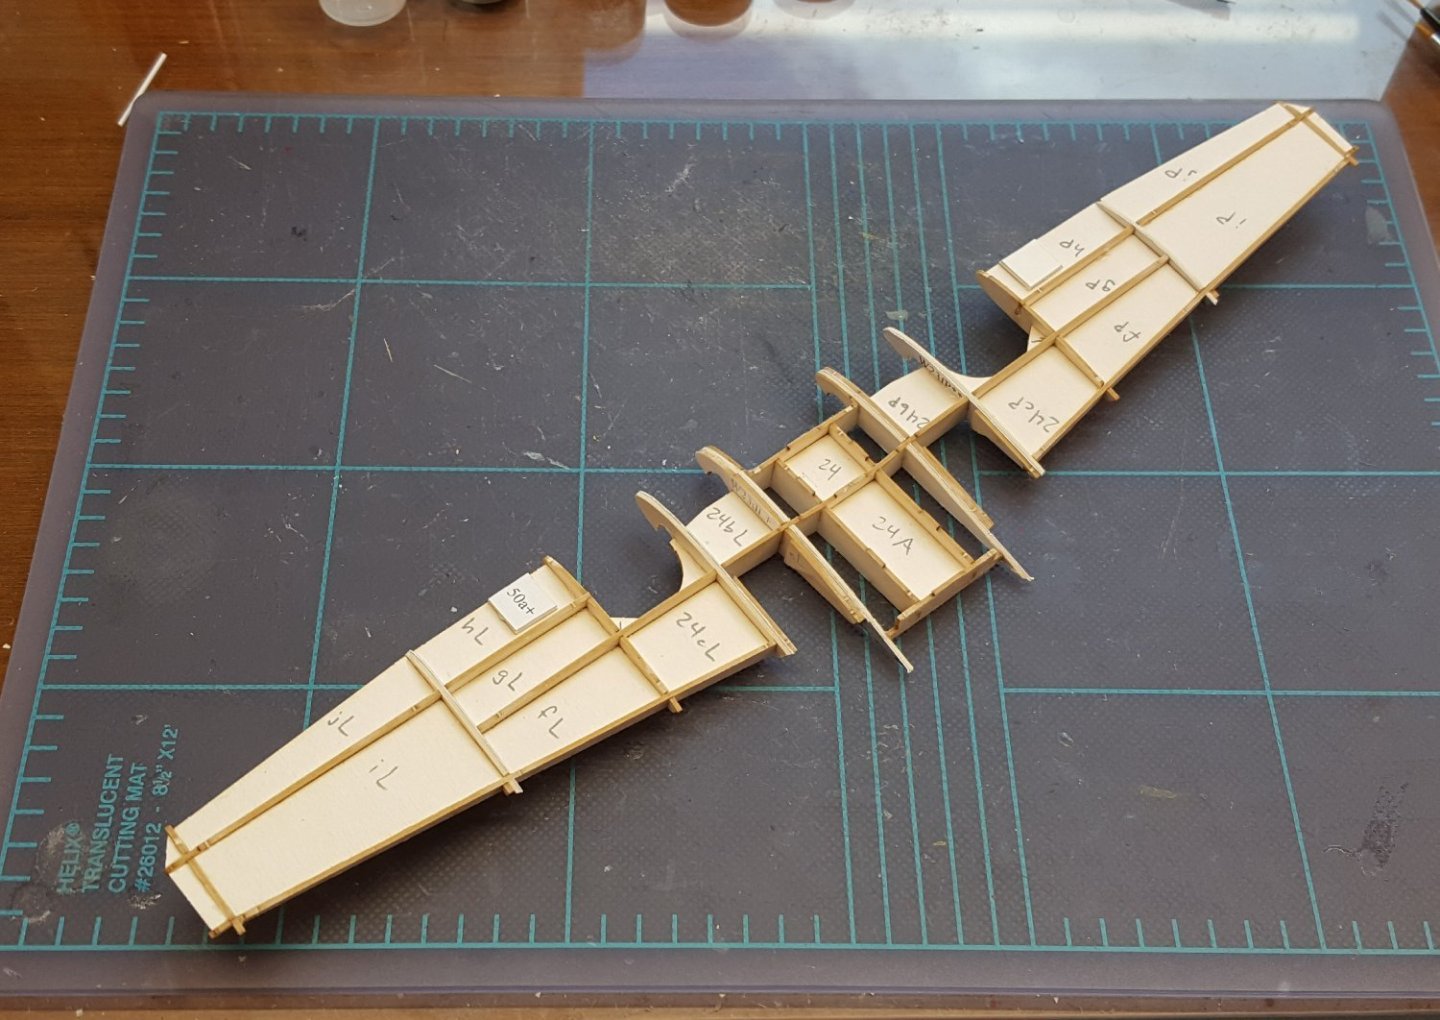
It's a pretty stark contrast.
-
-
-
Wow, Tomek, that looks amazing! And we should point out that interested buyers can obtain this kit online as part of a set that includes mast details, spars, blocks, and sails for under US $50. 😲 Not for beginners, obviously.
- GrandpaPhil and mtaylor
-
2
-
-
-
Your signature updates on all your posts.
- GGibson, mtaylor and Ryland Craze
-
3
-
-
1 hour ago, _SalD_ said:
Hi Chris, it's an HP 11C. The 11C was their scientific calculator, was the 15C for accounting?
I believe the 15C was the successor to the 11C. The accounting version was and still is the 12C -- it's popular with real estate agents because of its amortization capabilities. My dad taught electronics at a junior college and had put himself through college working at HP. He kept in touch with them over the years, and every year the top student in his program was awarded an example of the latest and greatest HP calculator.
-
Welcome aboard!
- AJohnson, Old Collingwood, mtaylor and 3 others
-
6
-
-
-
Here's something you don't like to see in your laser-cut frames set:
That's a lot of slop in that fit there (not glued yet), and it doesn't help that the kit has only a single wing-length spar, so there's further potential for misalignment inherent in the design. It's little things like this that signal the kit being a step down from say, oh -- a Halinski kit. But hey -- it's also much cheaper than a Halinski kit, so there's that.
-
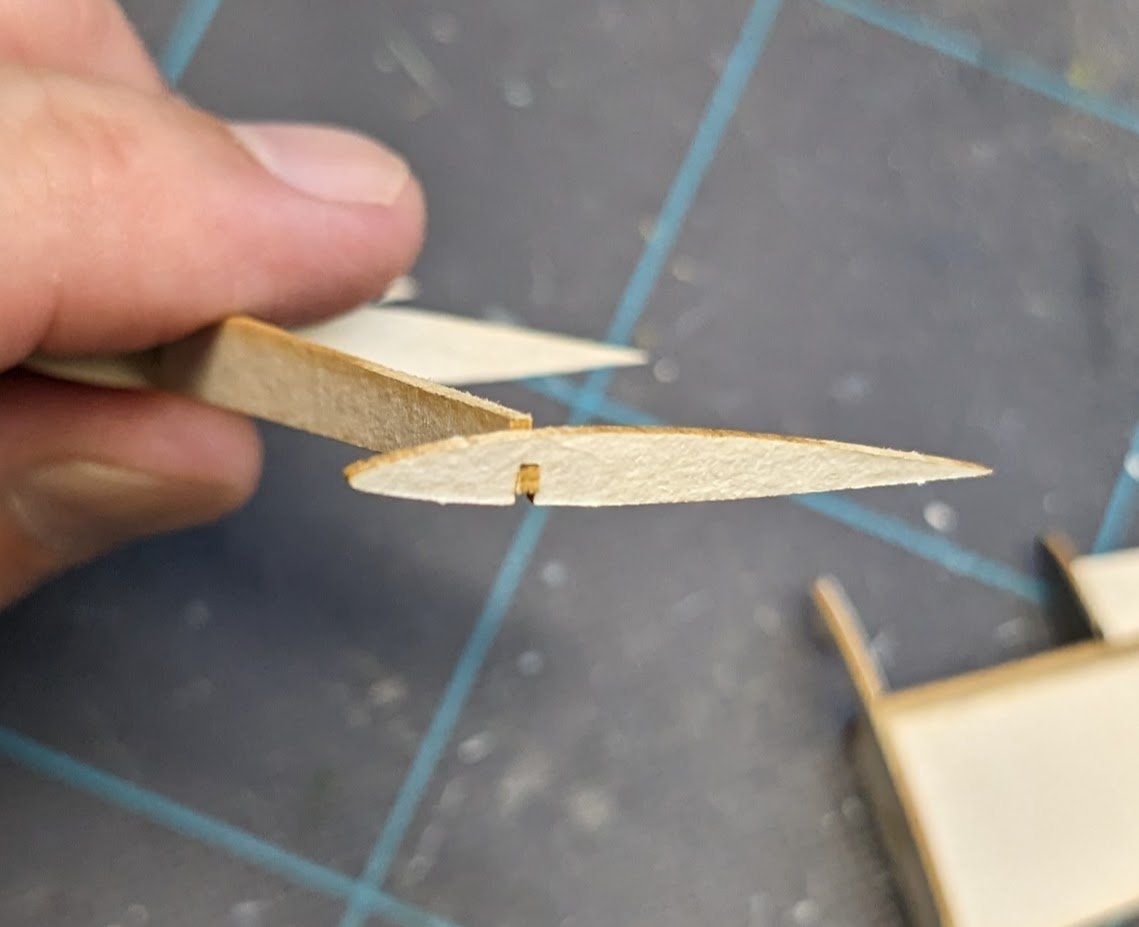
The dorsal hump behind the cockpit is no walk in the park. If you look closely at the internal frames, you'll see that there's multiple curves and sharp angles. There were also no joiner strips in the kit, so I added some from 20# bond.

I assembled the hump off the model.
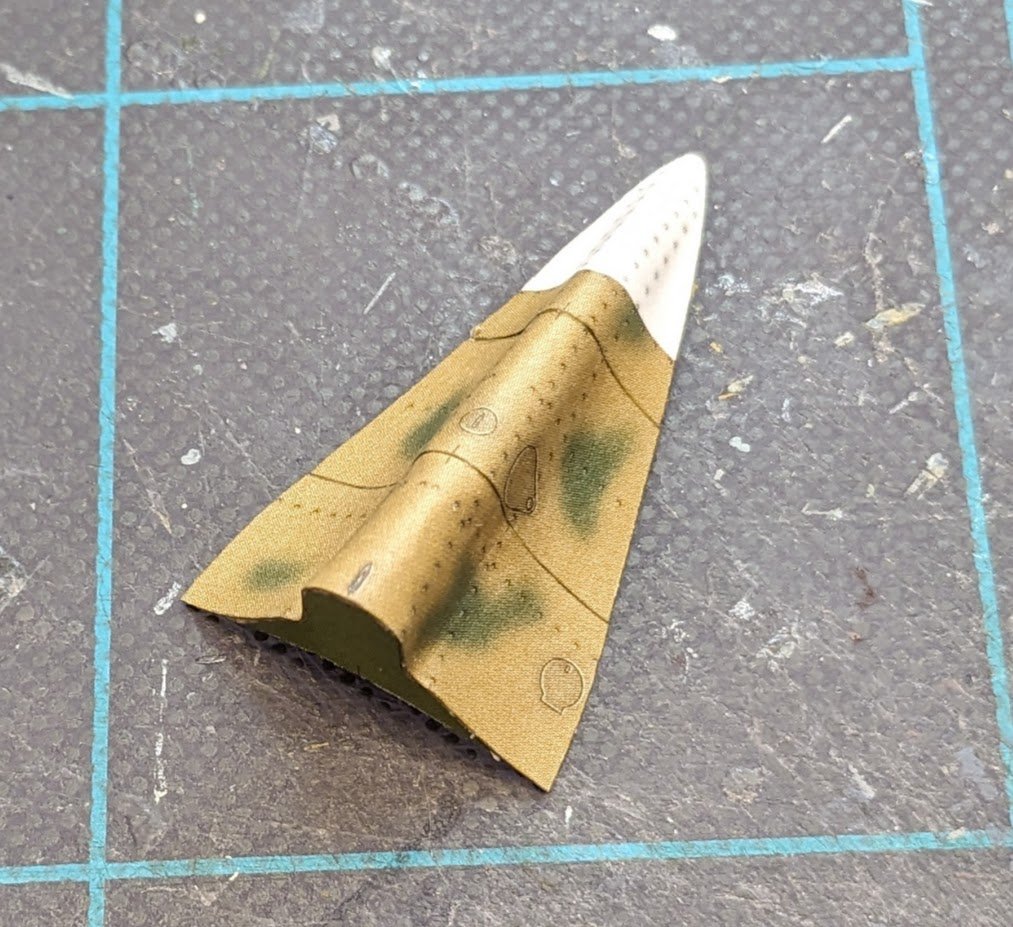
And here's the final result, which didn't turn out too bad IMO.
-
28 minutes ago, yvesvidal said:
is that you do not have to paint them
Which is part of the reason I choose to build in card. As much as I marvel at the realism achieved by some of our plastic modeler friends, I know it would take a long time and many less than satisfactory efforts to even approach that level of skill.


Fifie by Dsmith20639 - FINISHED - Amati - 1/32 scale
in - Kit build logs for subjects built from 1901 - Present Day
Posted
Very handsome!