


Angarfather
-
Posts
225 -
Joined
-
Last visited
Content Type
Profiles
Forums
Gallery
Events
Posts posted by Angarfather
-
-
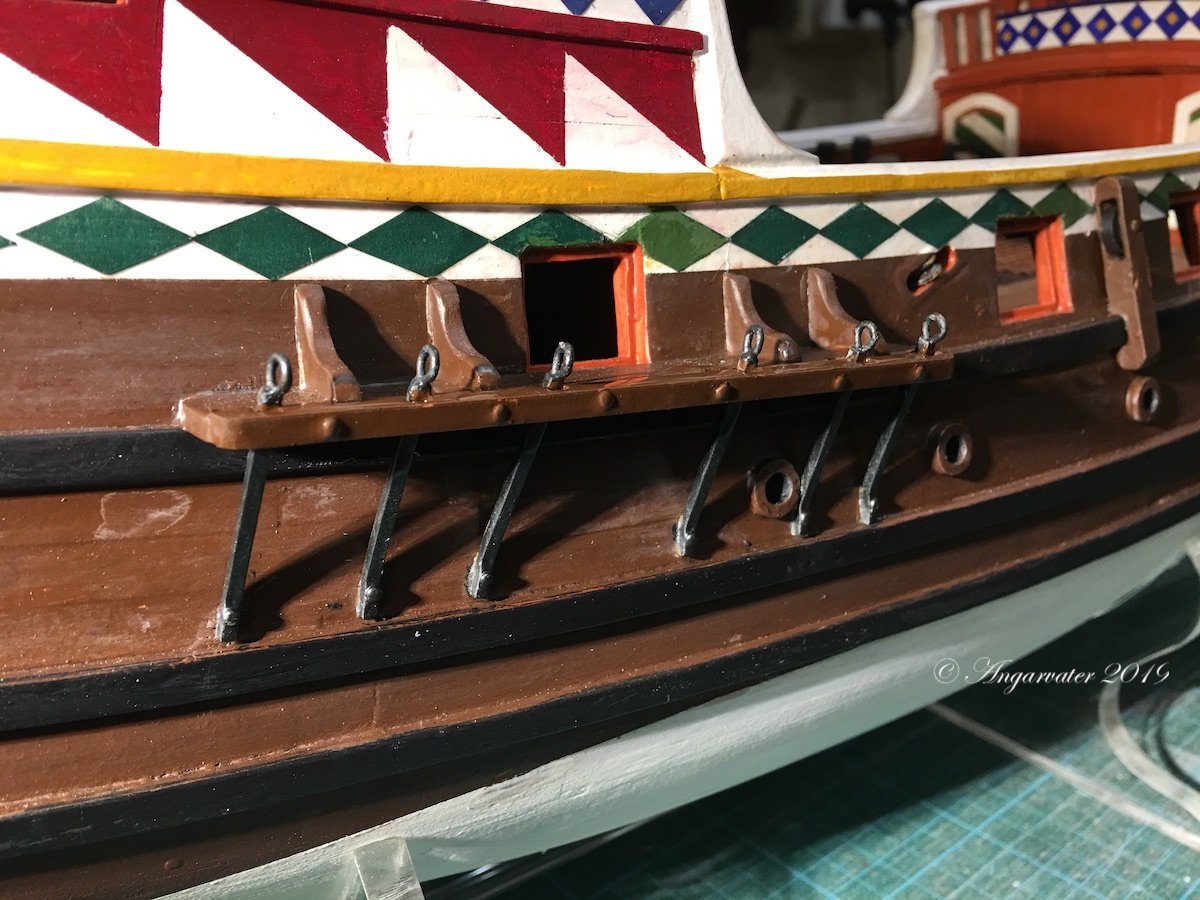
Next job on the Golden Hind was to make the channels.

I have made it from 2,5 x 2,5 mm bras,


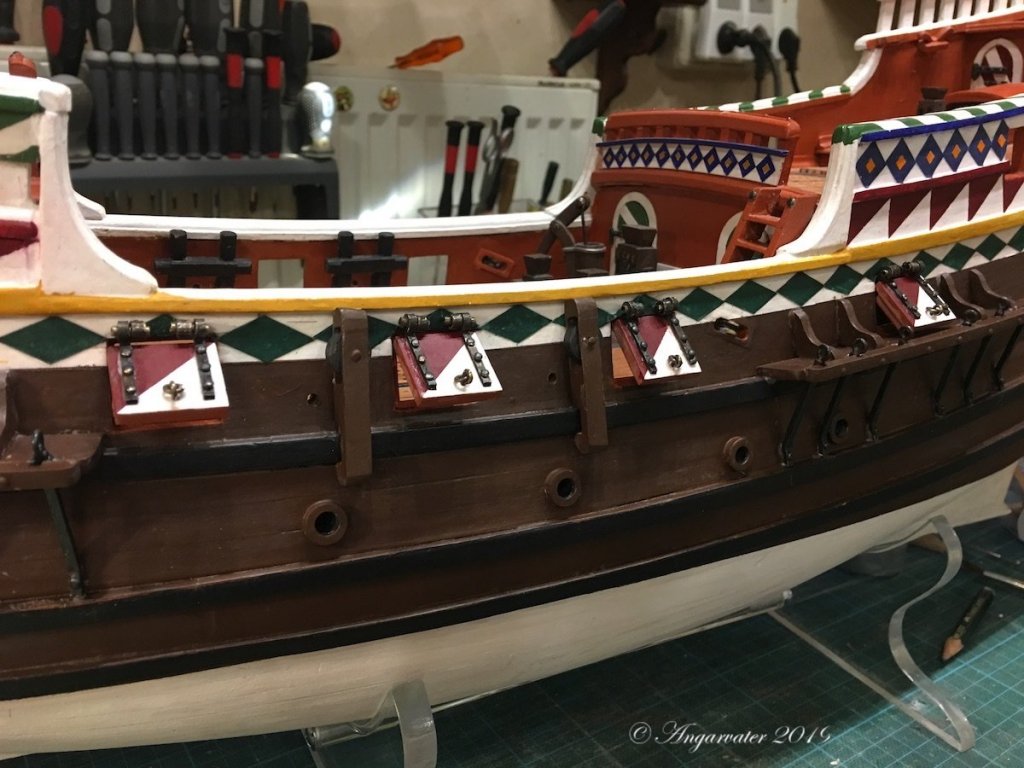
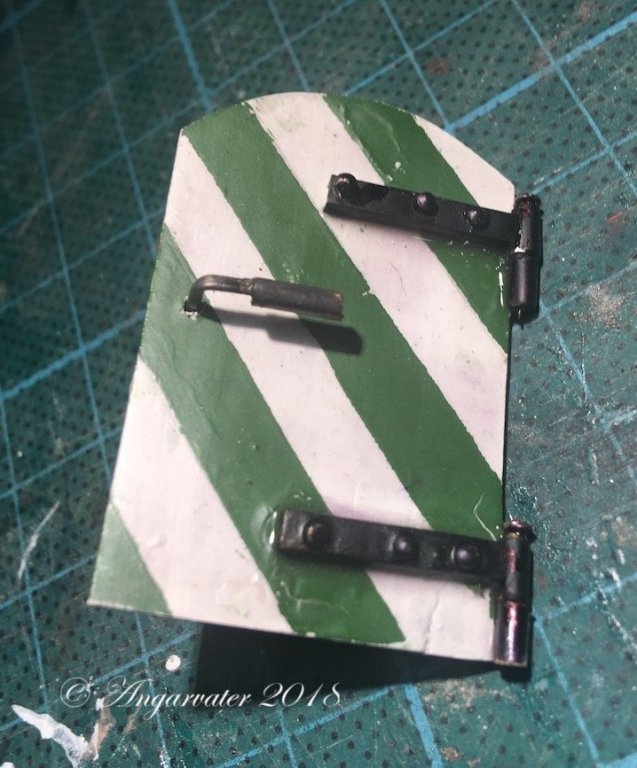
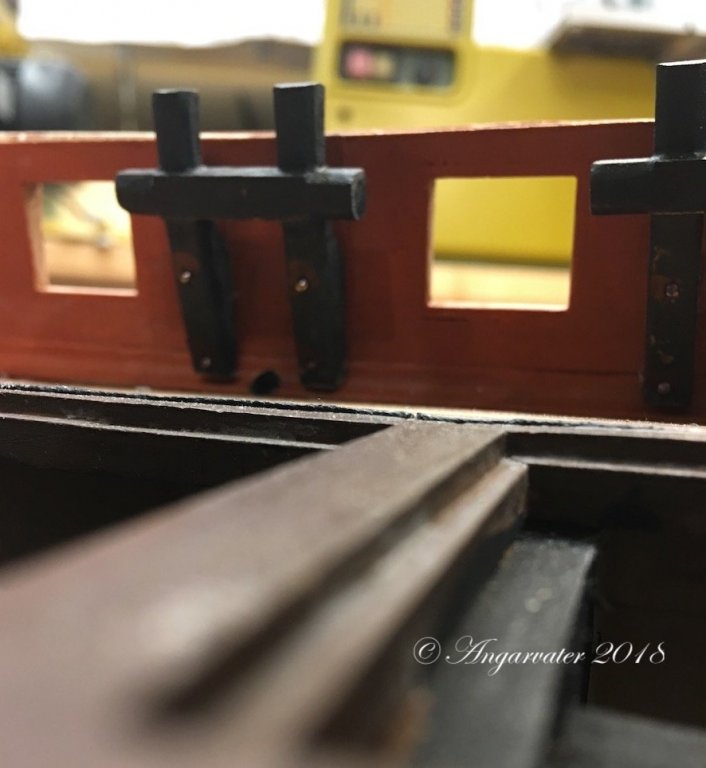
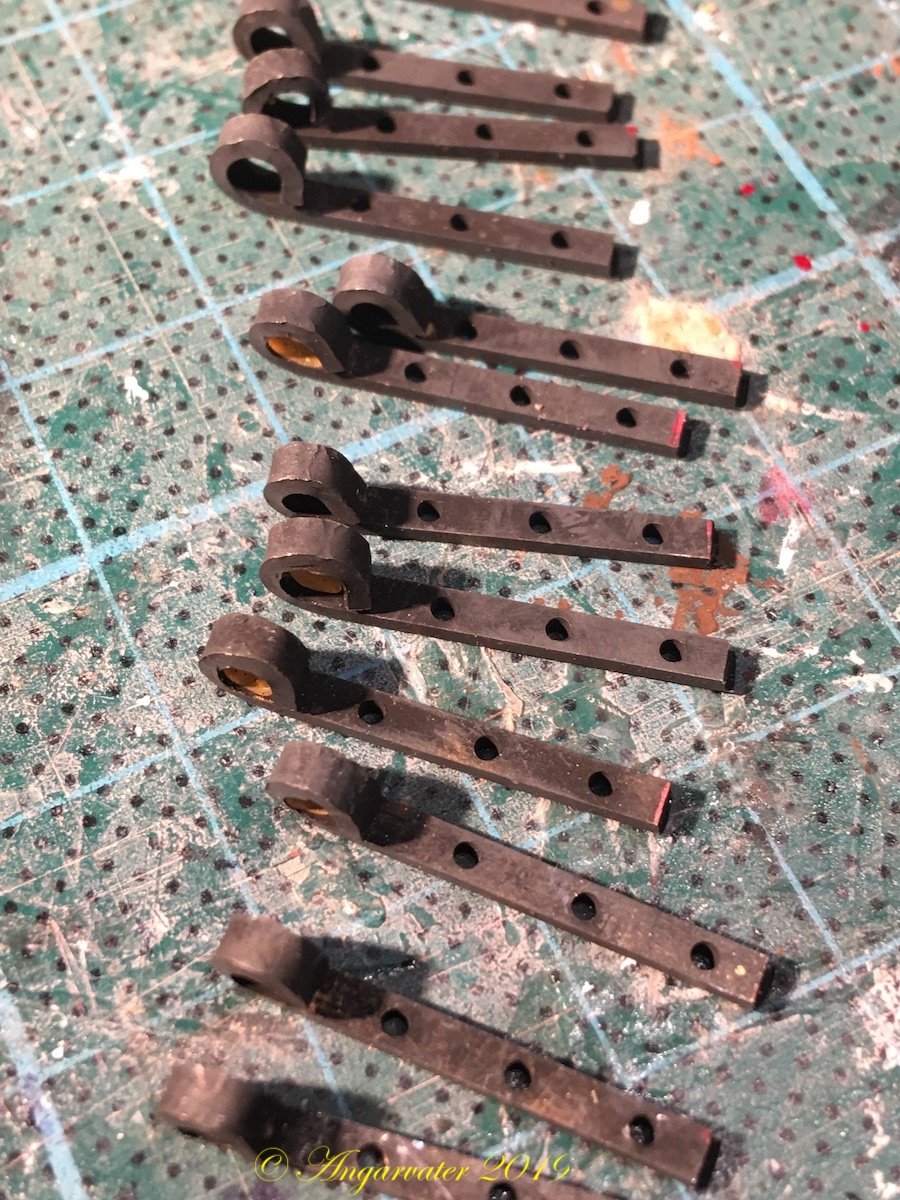
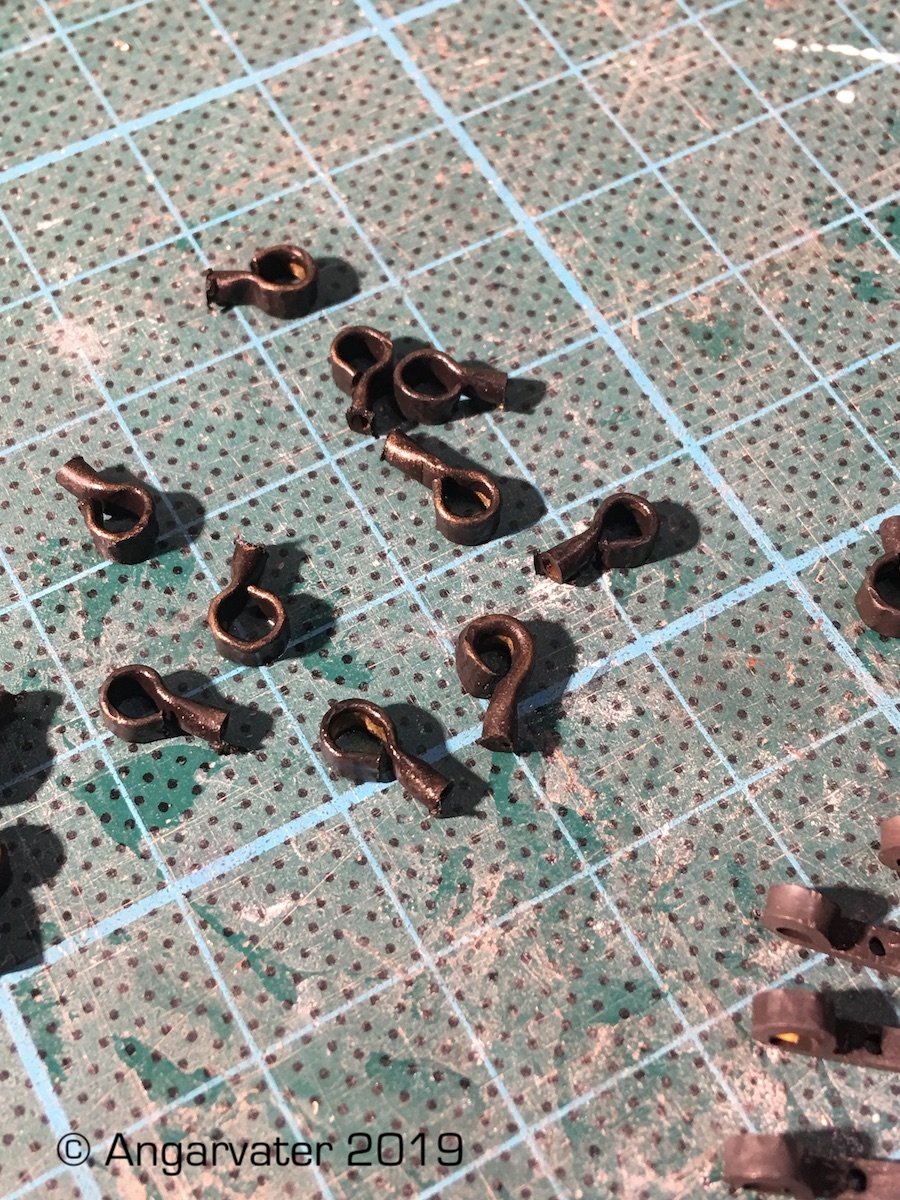
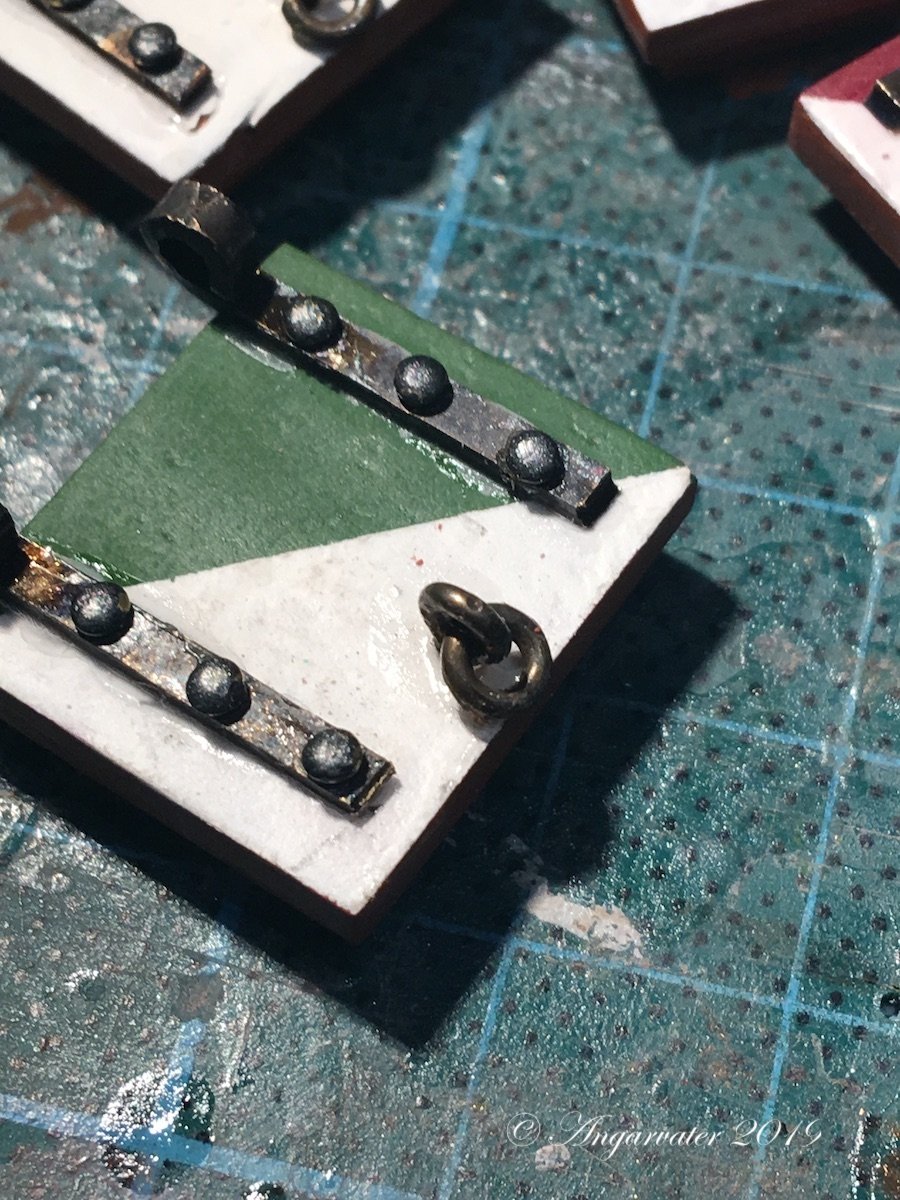
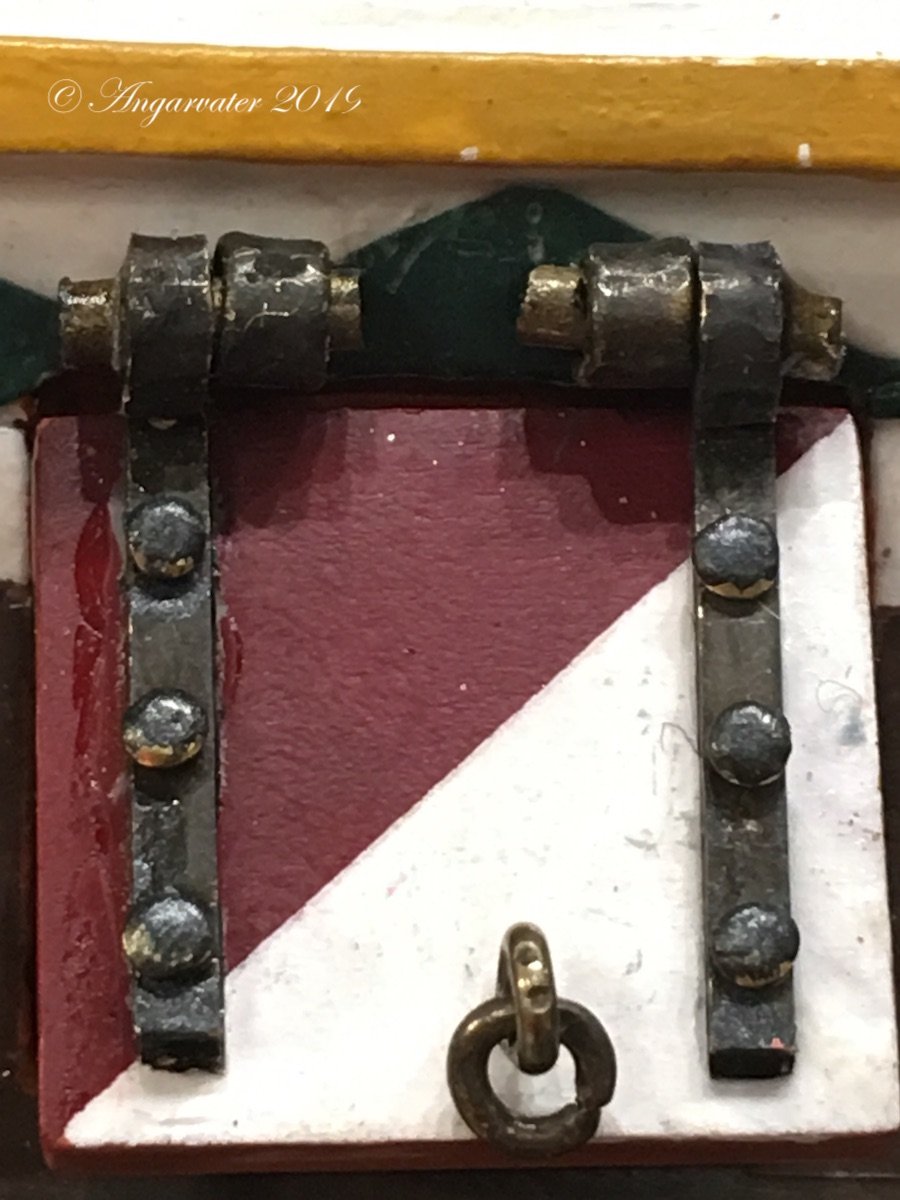
The gun port lids
For this parts I had to make a lot of parts
The parts of the hinges are from bras, burnished with Nerofor from Ballistol, a german Company


Cheers!
Hartmut
- Louie da fly, mtaylor, GrandpaPhil and 4 others
-
 7
7
-
-
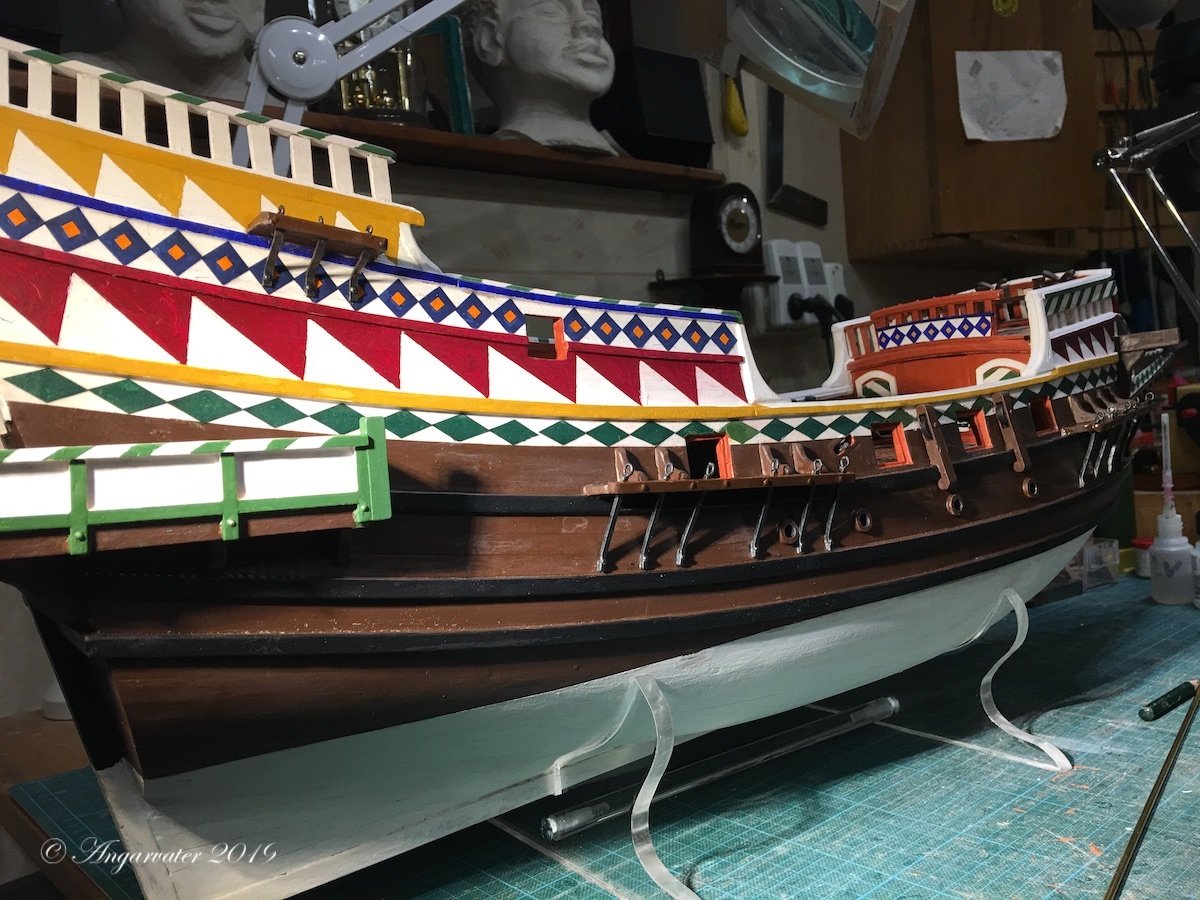
Hello again.
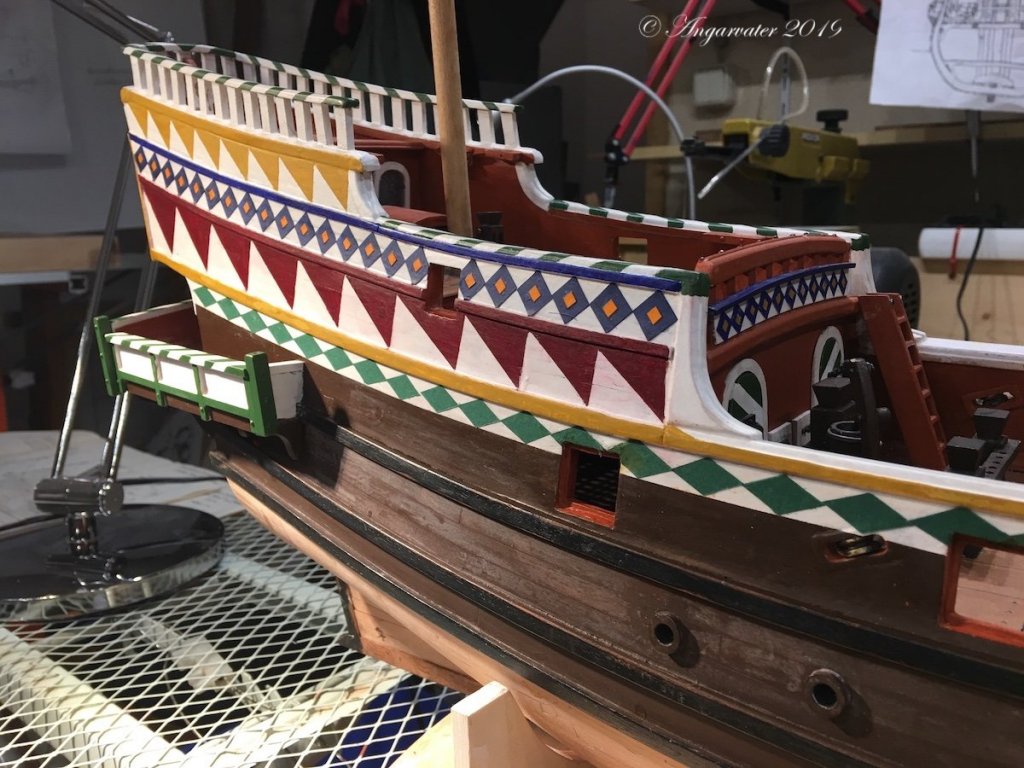
Here are some pics of Golden hind from today.


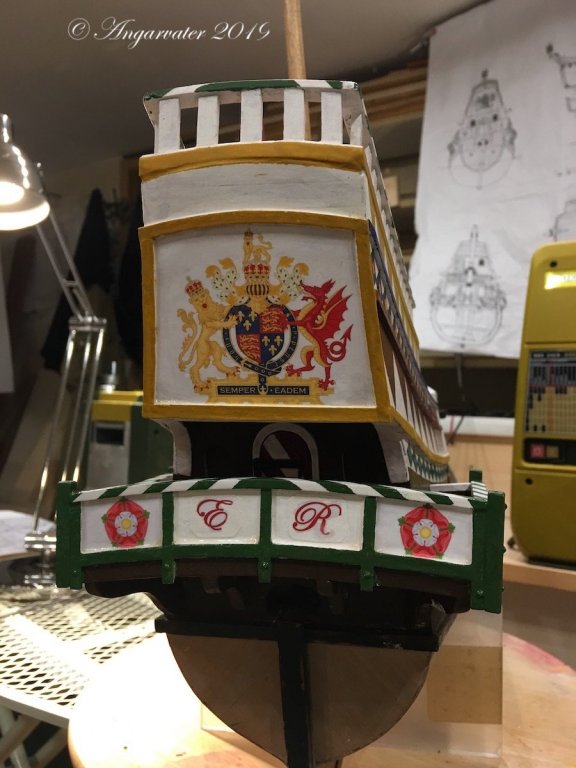
Cheers Hartmut
- mtaylor, KeithAug, paulsutcliffe and 6 others
-
9
-
Hello Maurice!
Yes I am fine and modelling is still a great pleasure. In the last time I have finished the Pinco Genovese and the Staatenyacht Utrecht. My current project is the Golden Hind on an old german plan by Hoeckel. I hope you are fine to.
Do you know something about Pete Coleman?
regards Hartmut
- Old Collingwood and Martin W
-
2
-
Hello BE,
your are doing an absolut amazing Job as everytime. Thank you for showing!
best regards
Angarfather
-
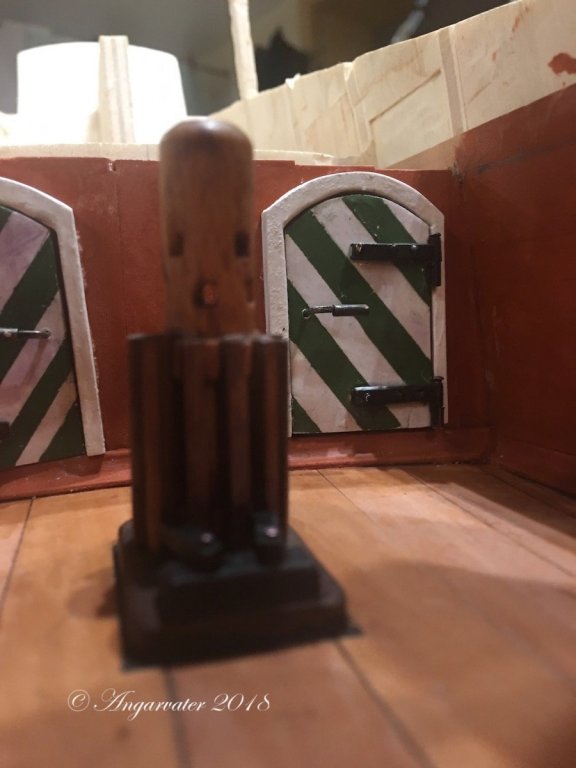
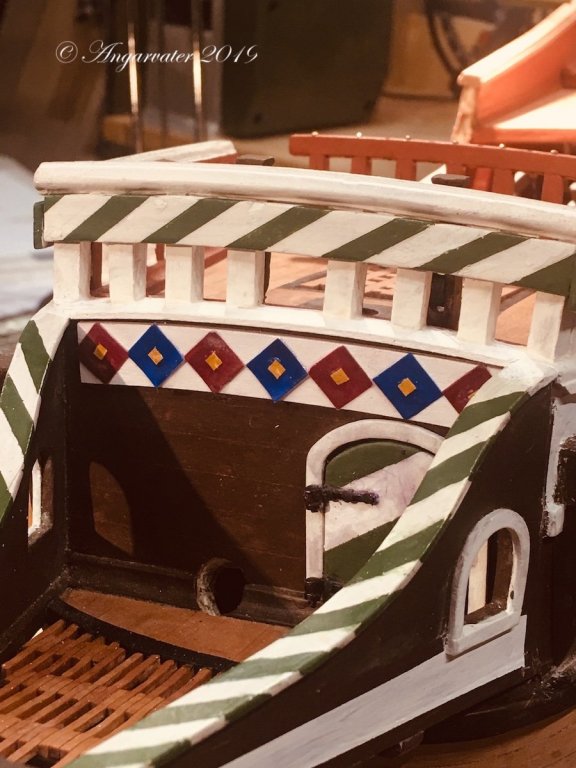
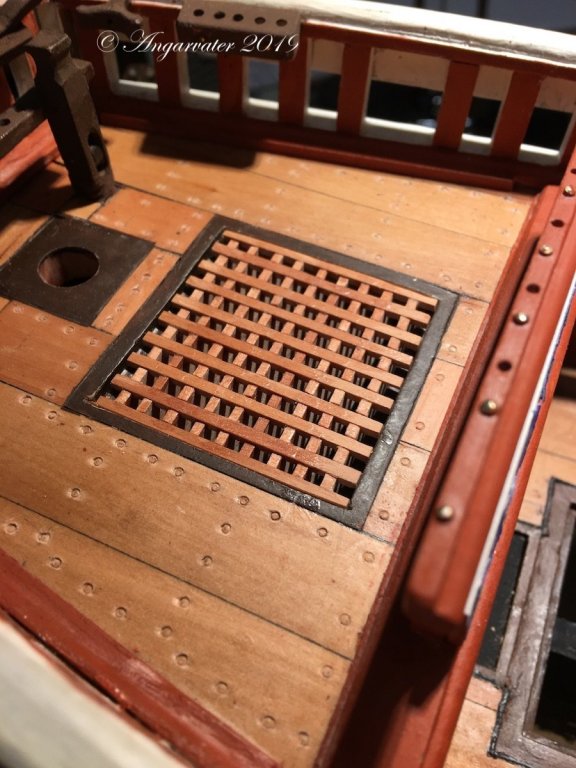
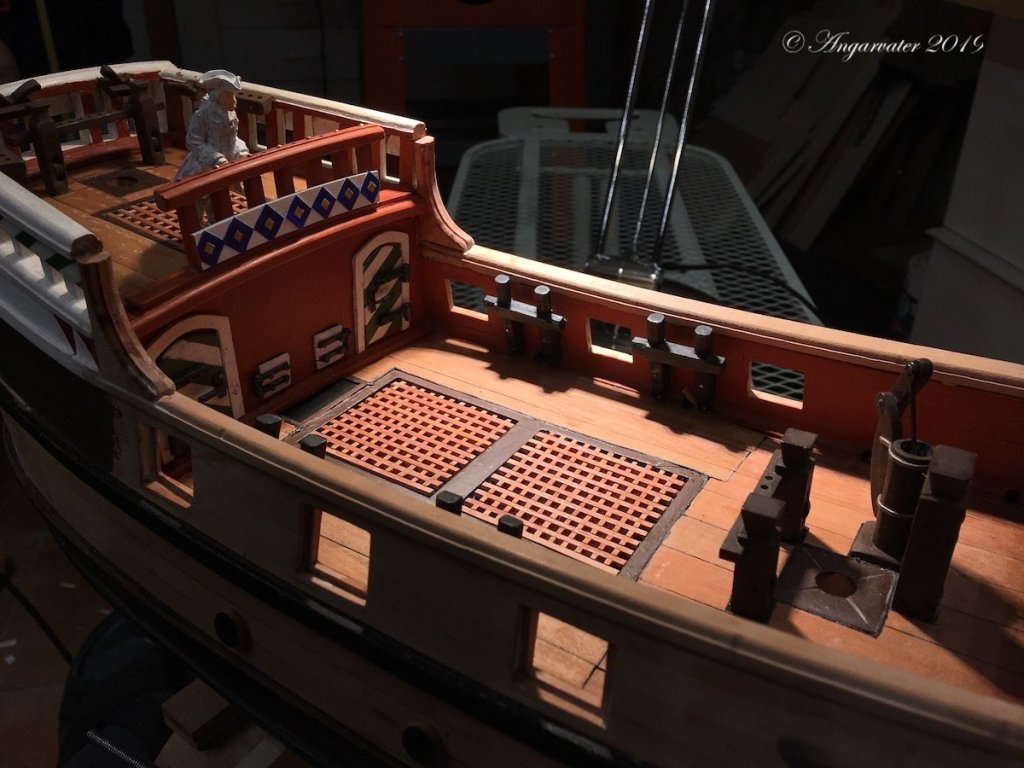
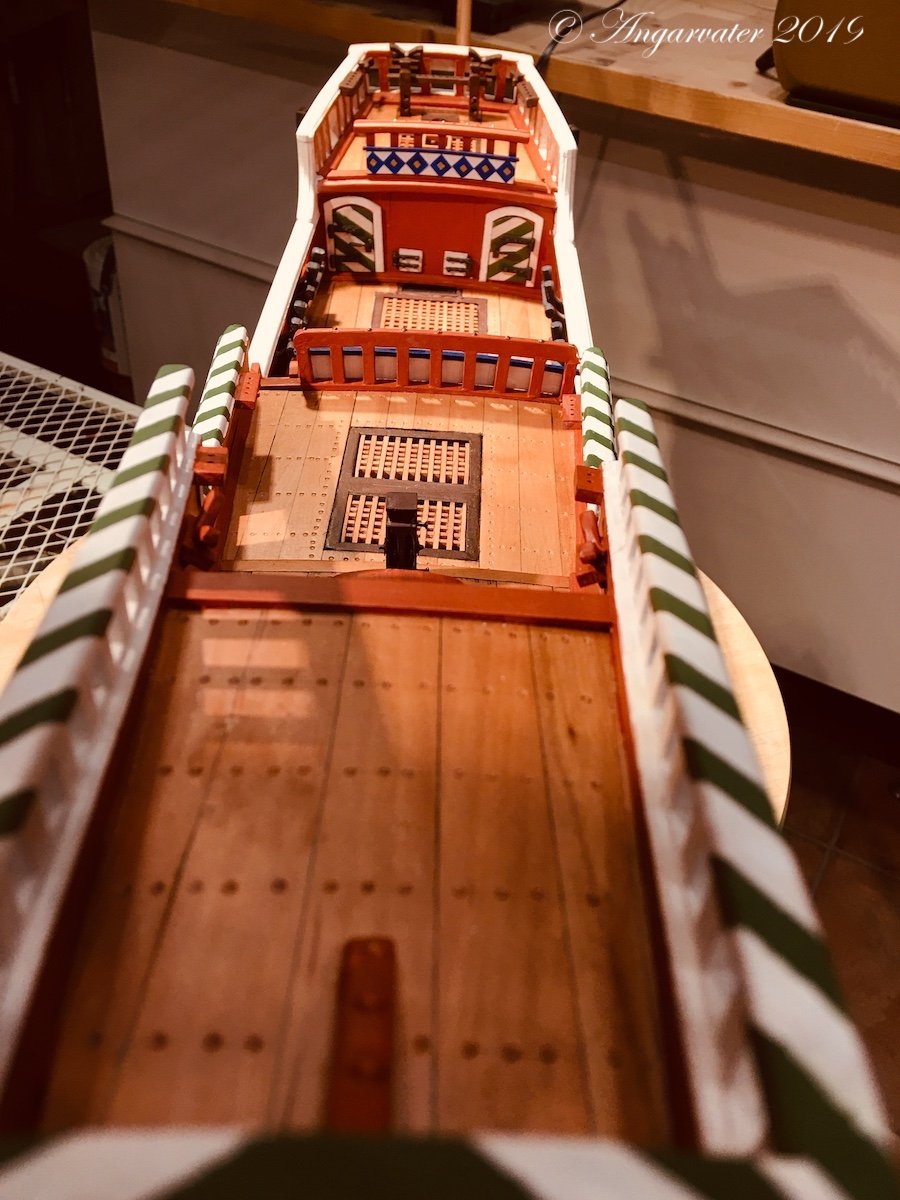
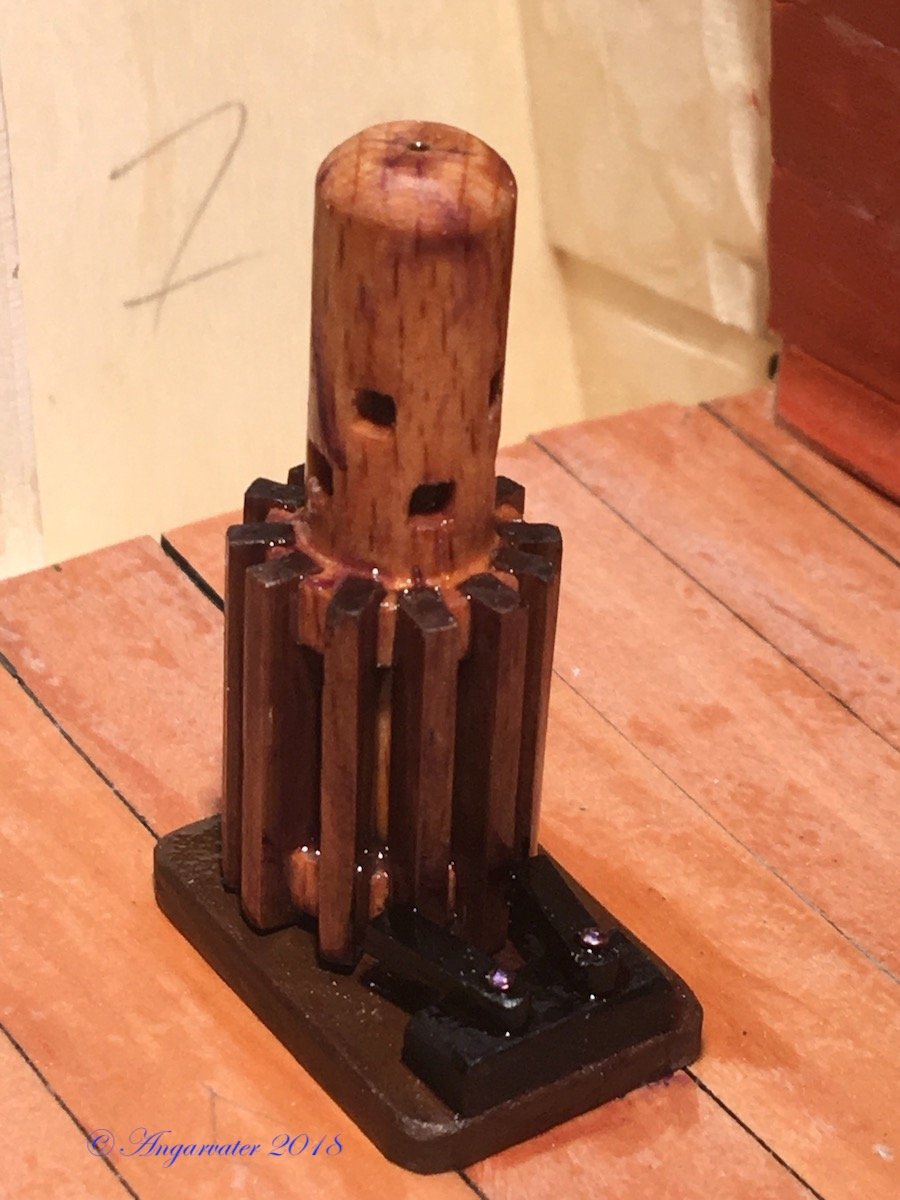
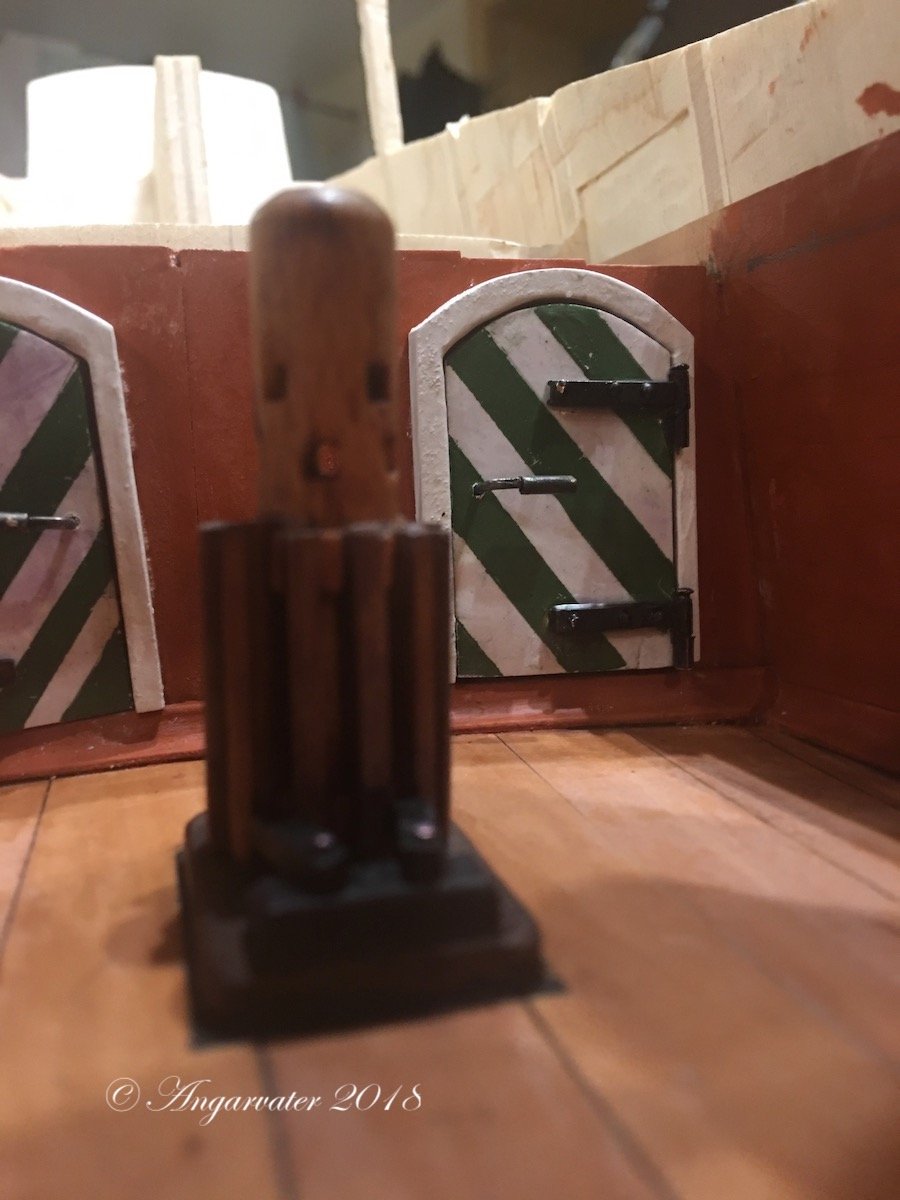
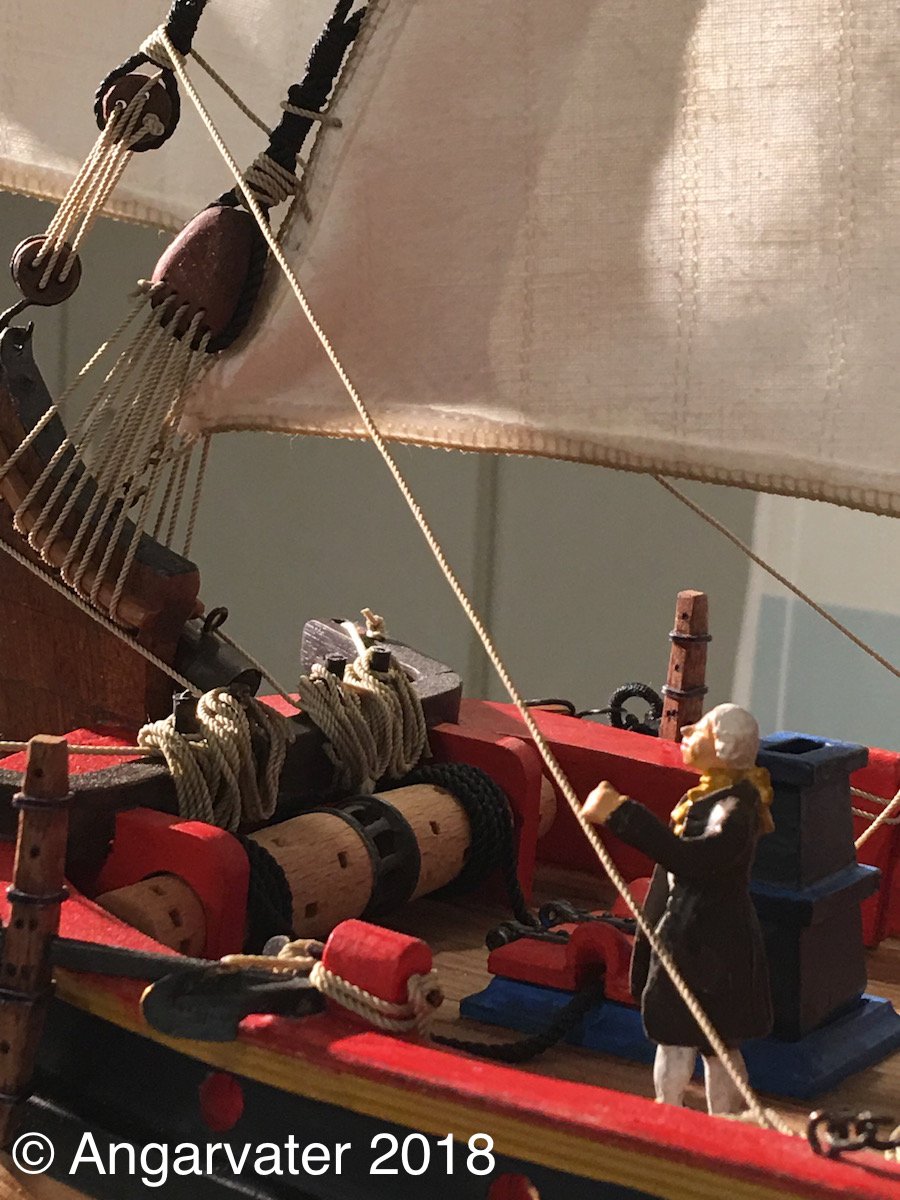
Hello again!
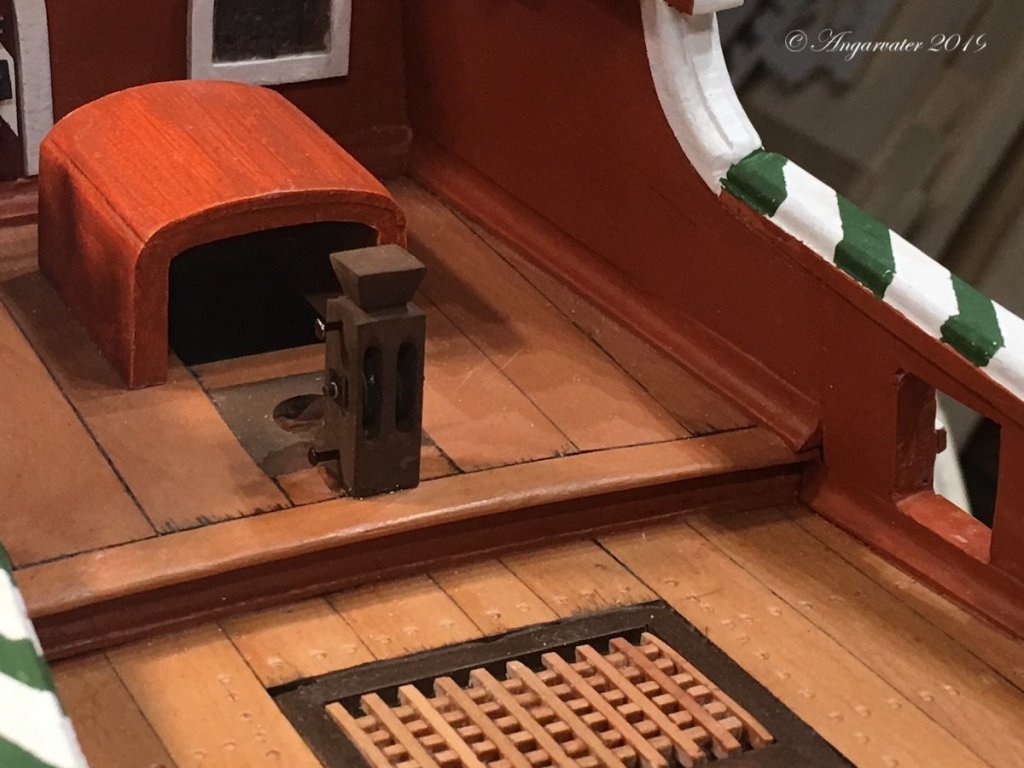
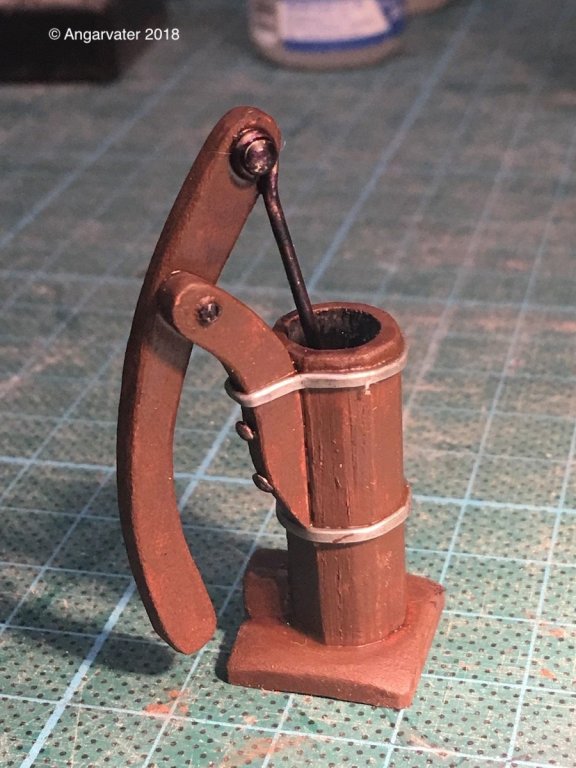
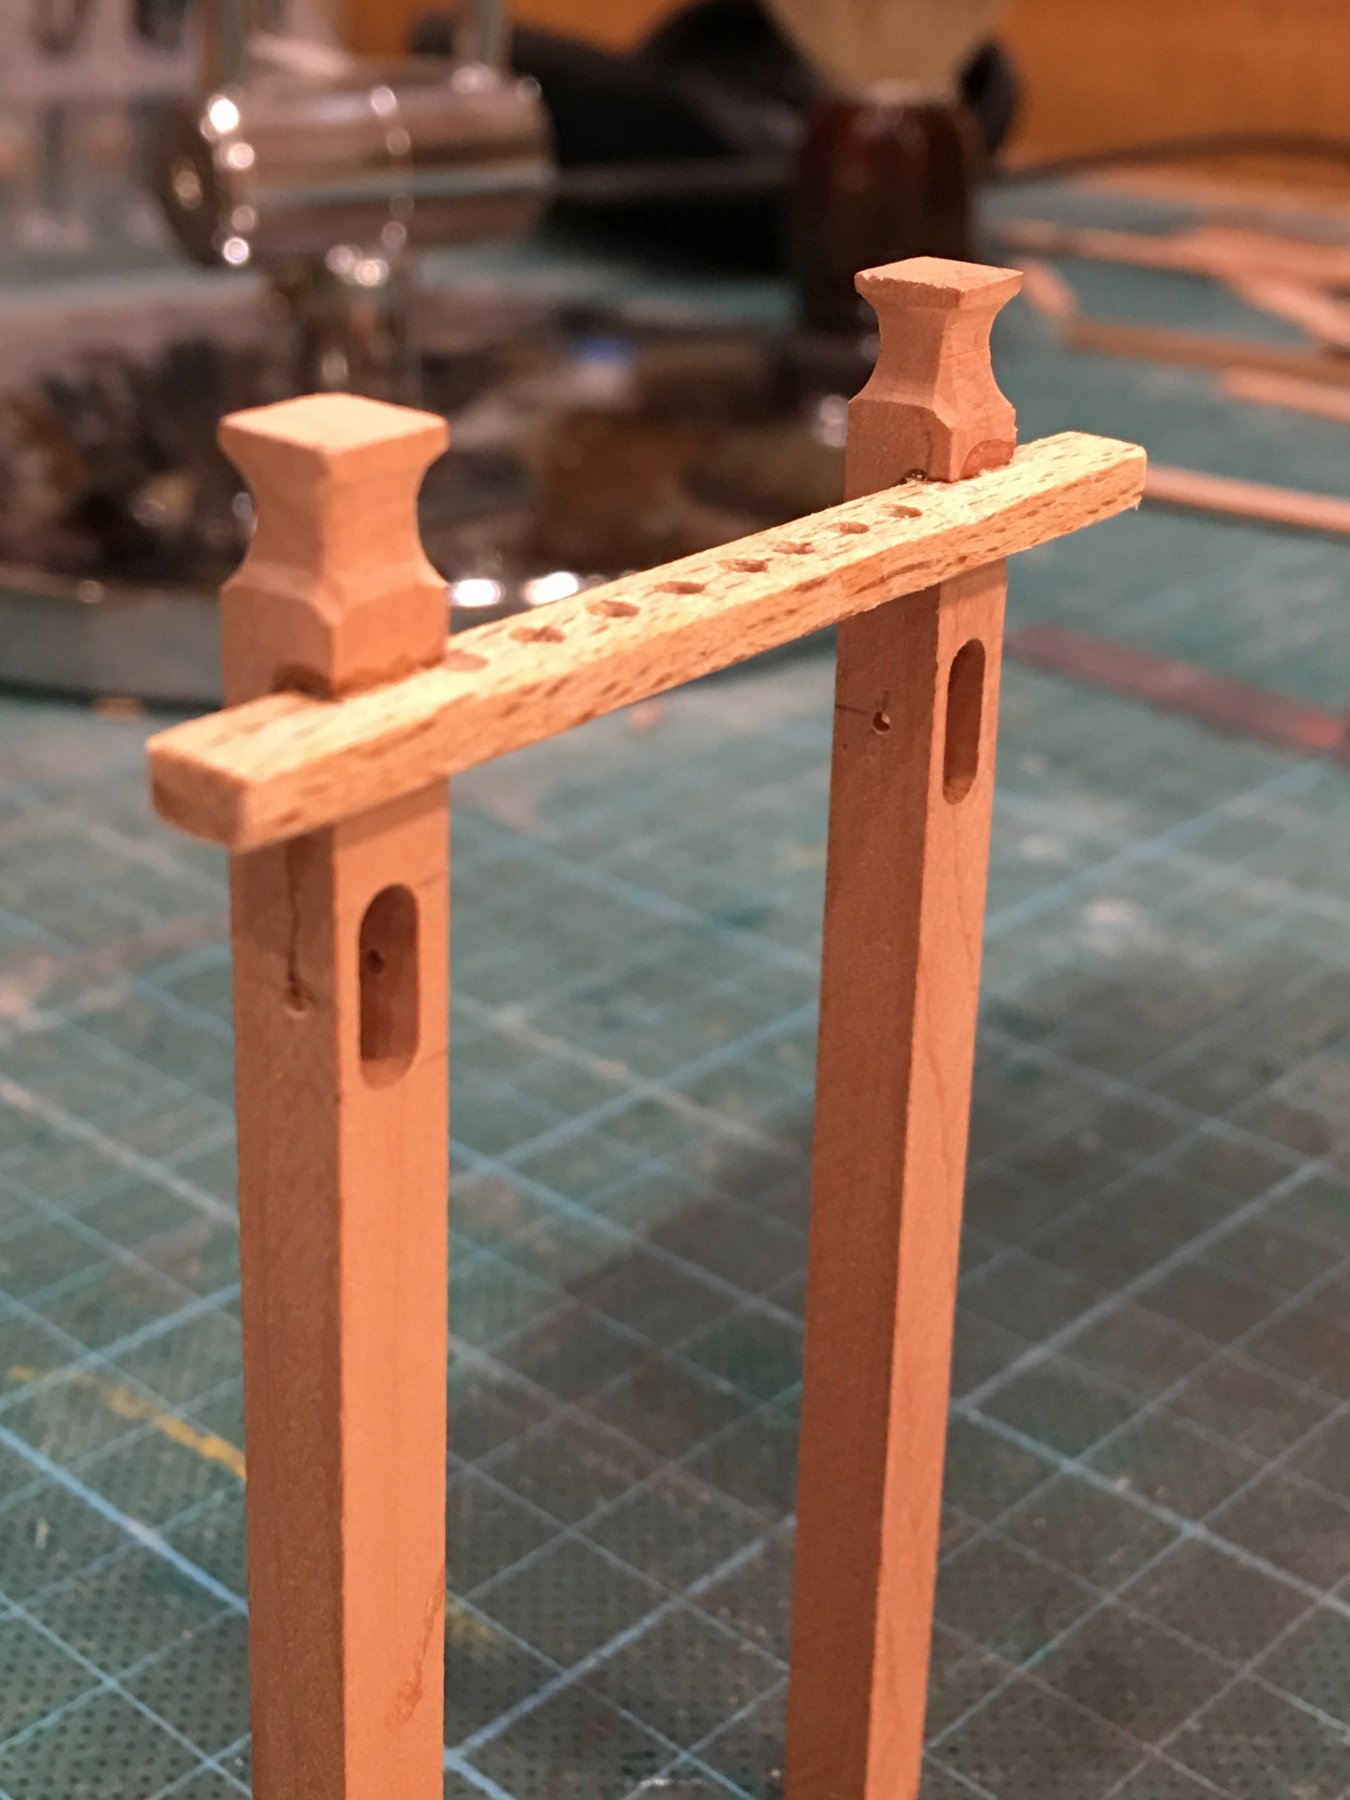
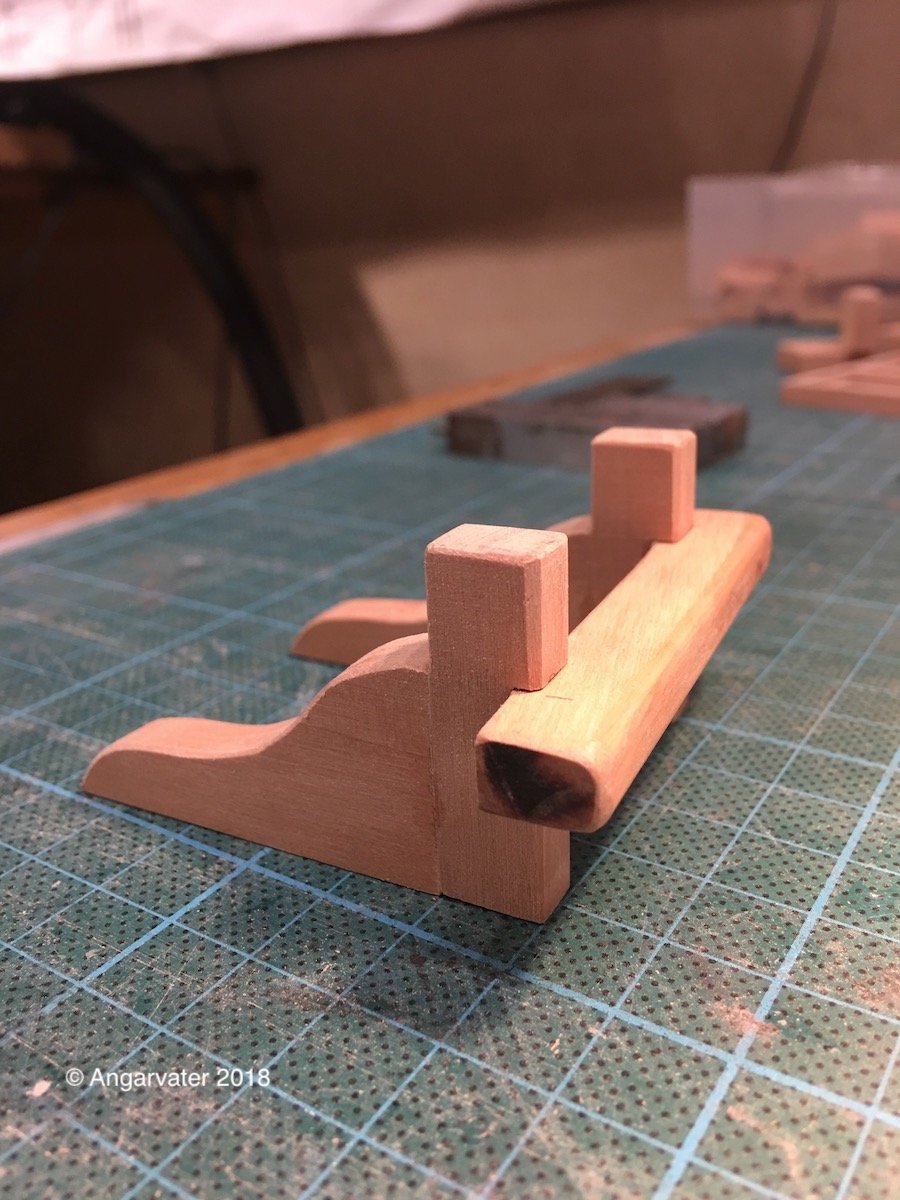
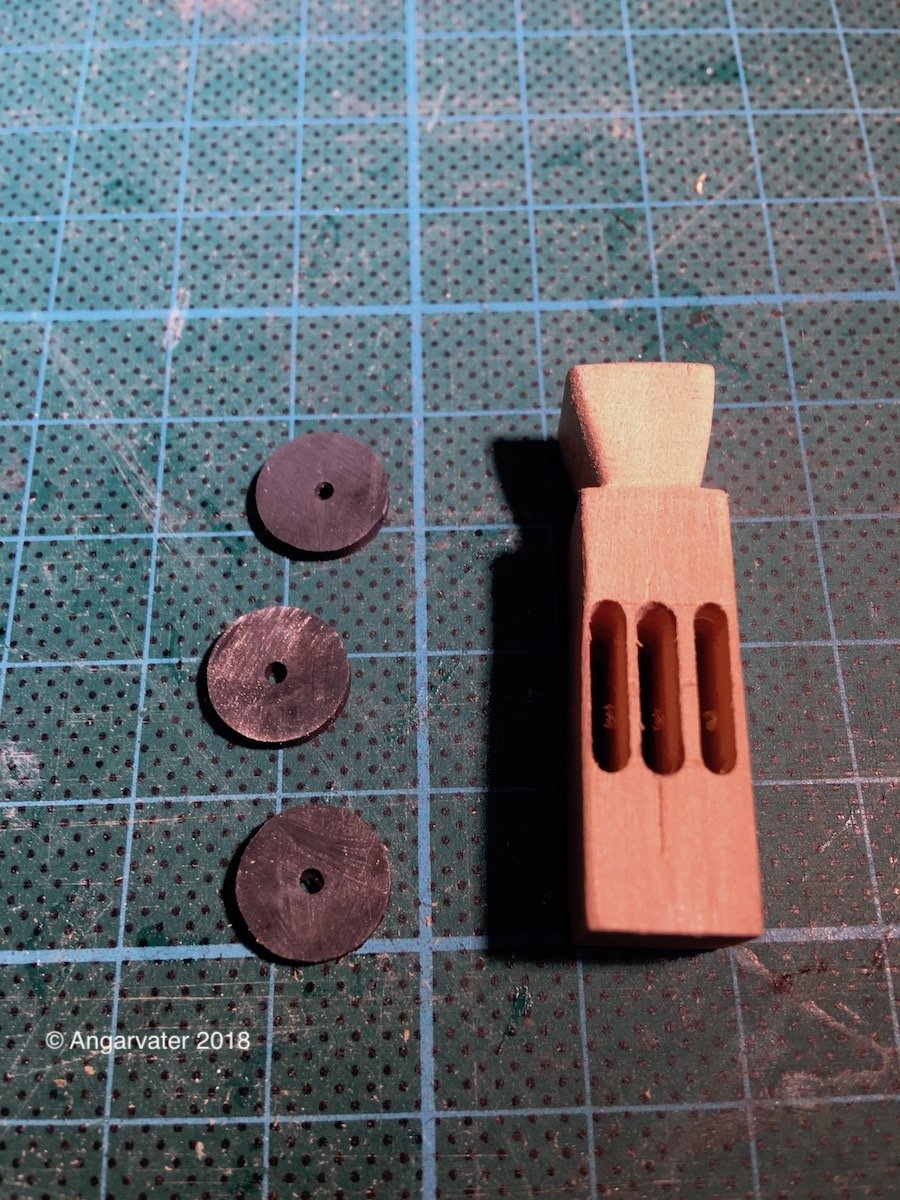
In the last weeks at first I have made some things like the pump, the capstan, some doors, gratings and than I modeled the fore castle. Here Are some pics.
.thumb.jpg.25ad7bd3ba43186e0a1ec0417fc0c866.jpg)

This was the G H yesterday evening

Cheers! Hartmut
-
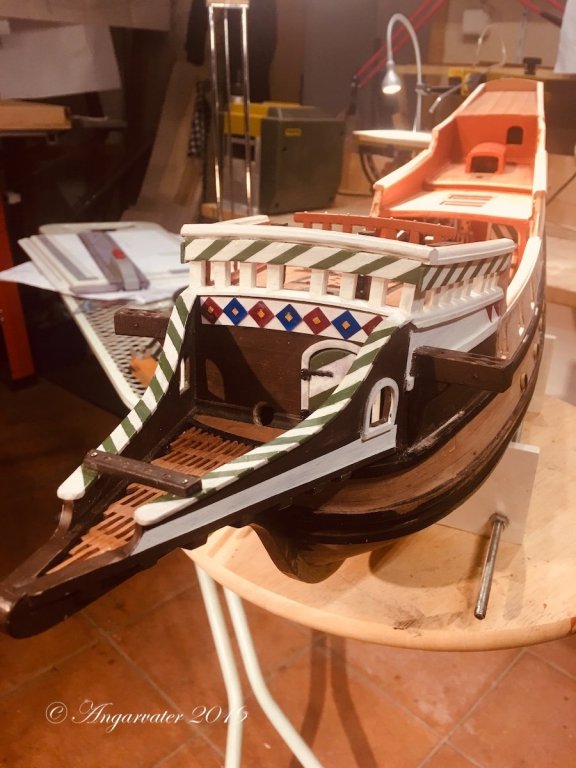
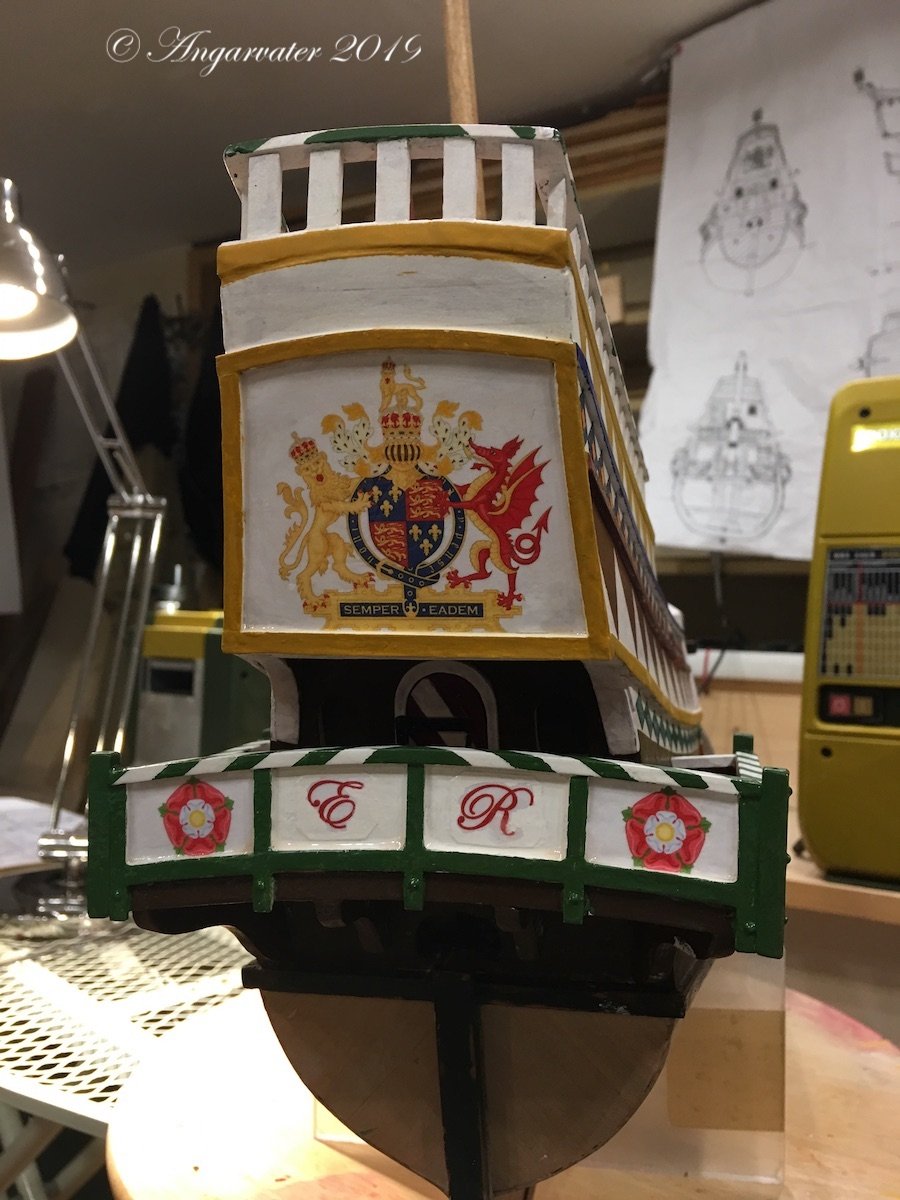
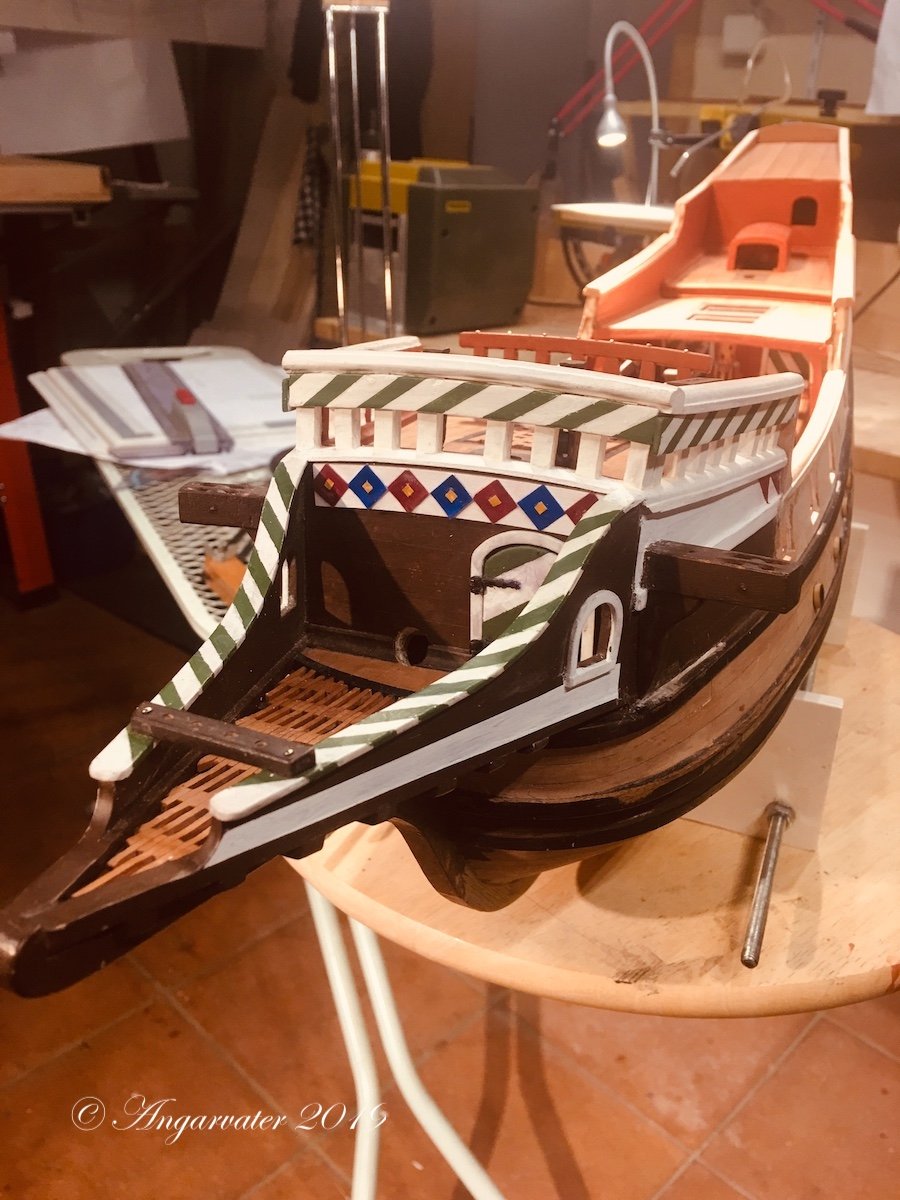
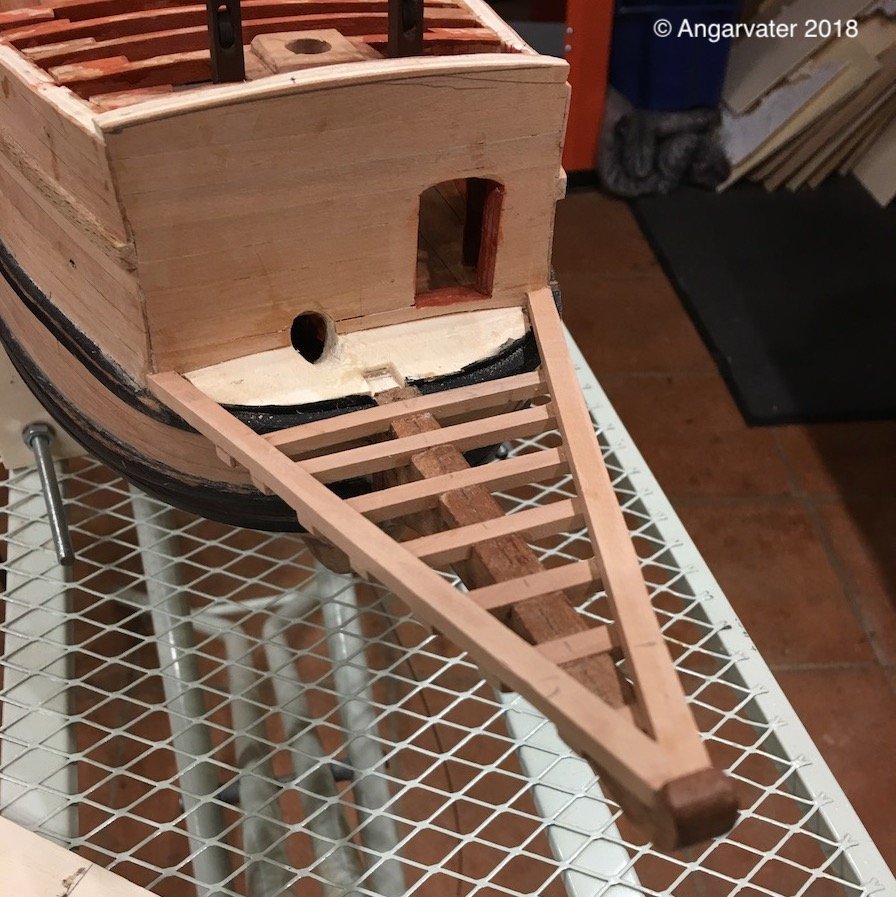
Hello guys,
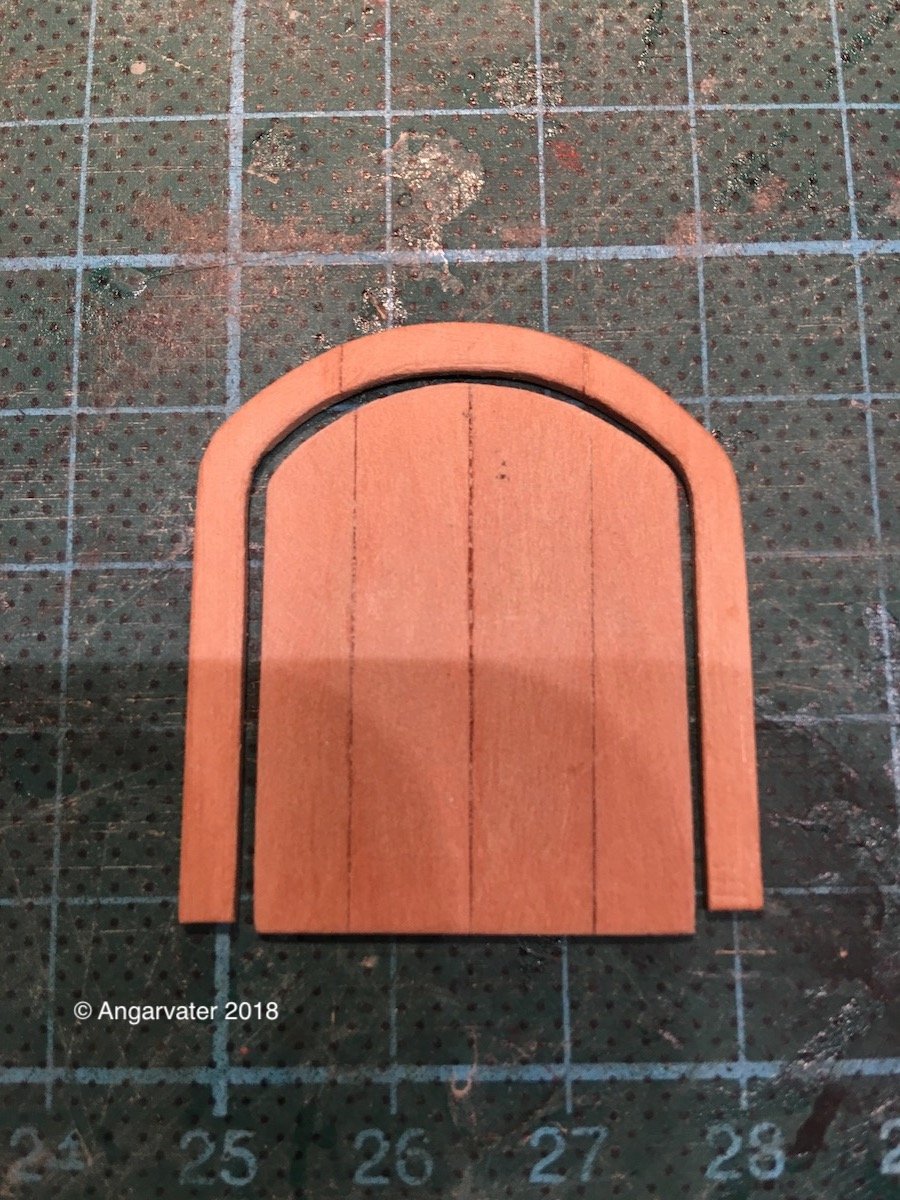
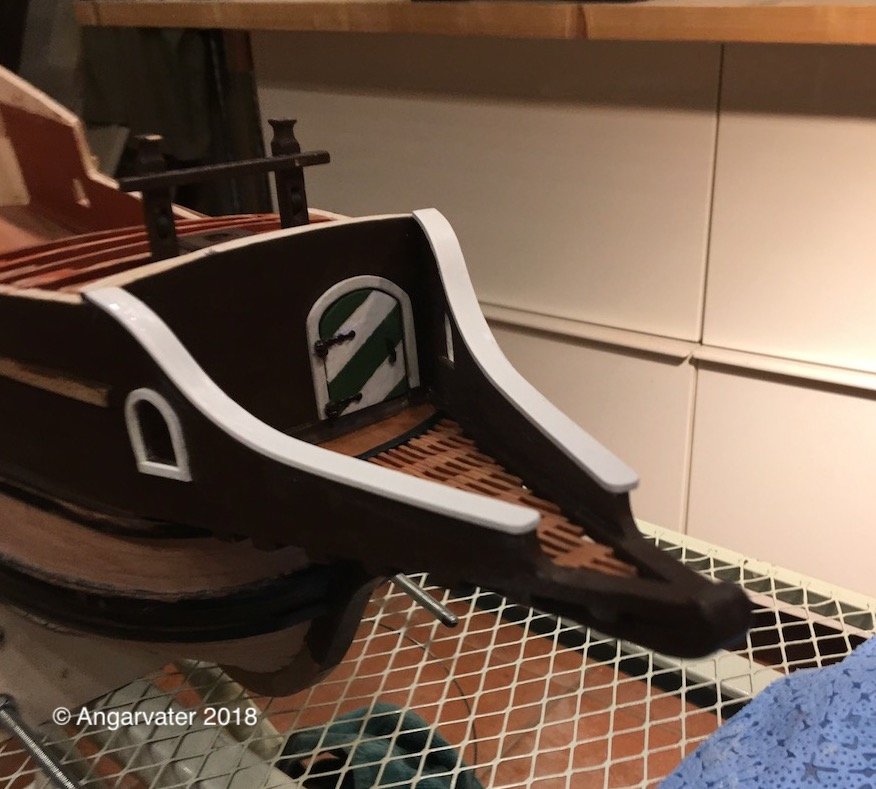
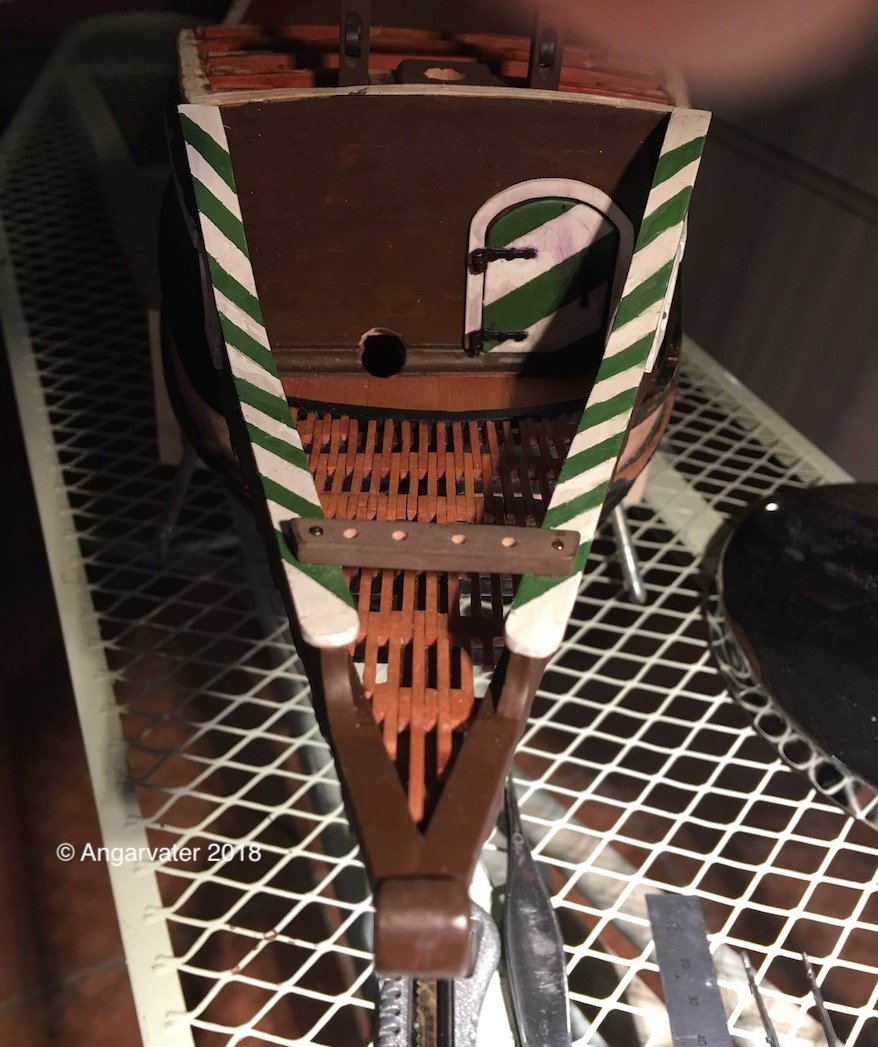
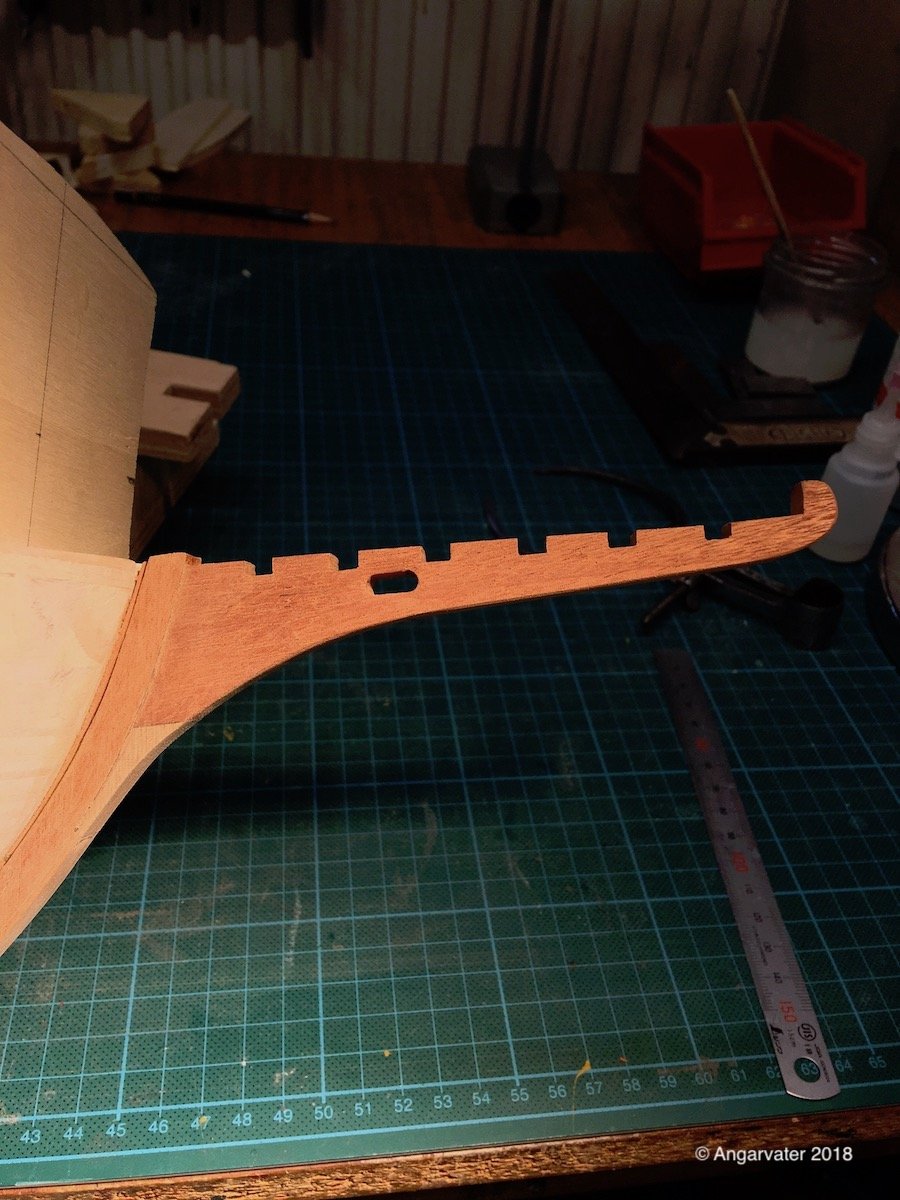
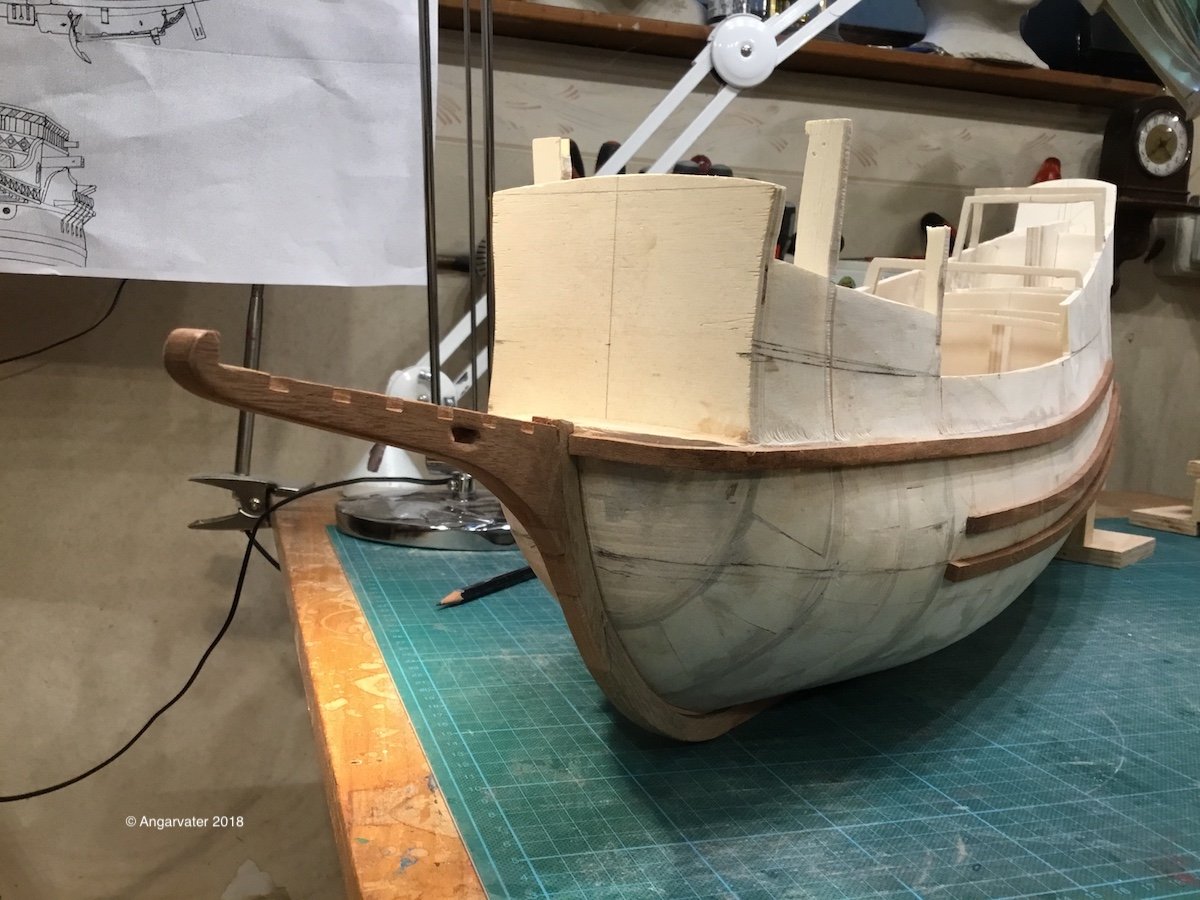
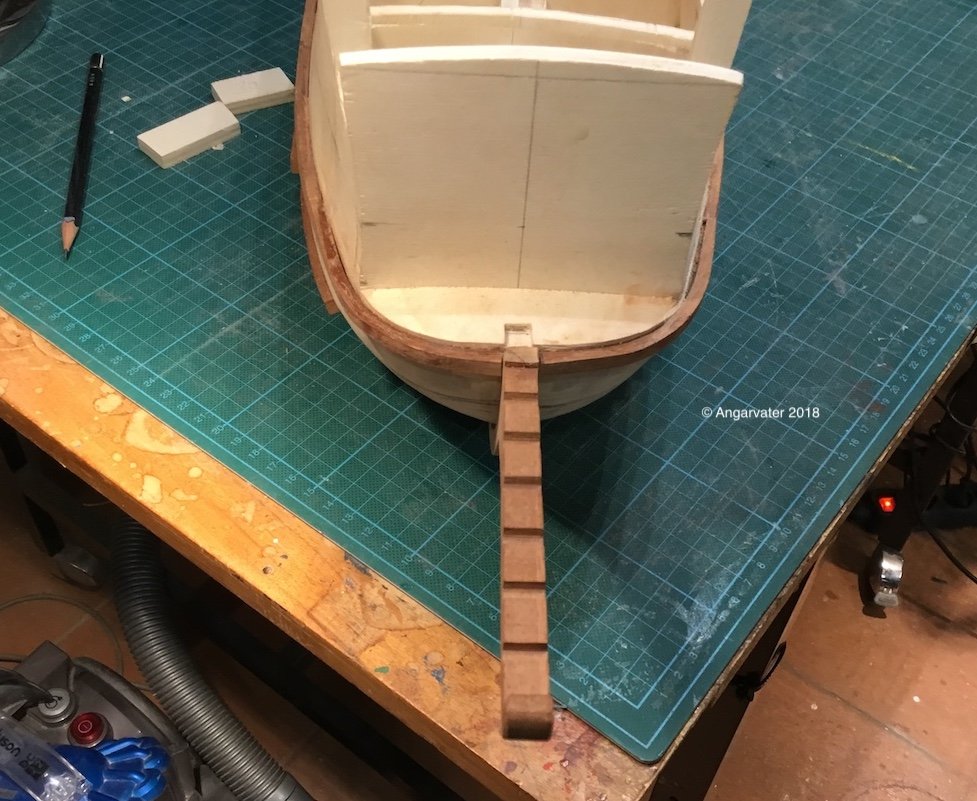
the last two weeks I have made the Gallion. Here are some pics. First the gallions construction. It is made in the same way as I know it from the mediteranien ships like my Pinco Genovese.

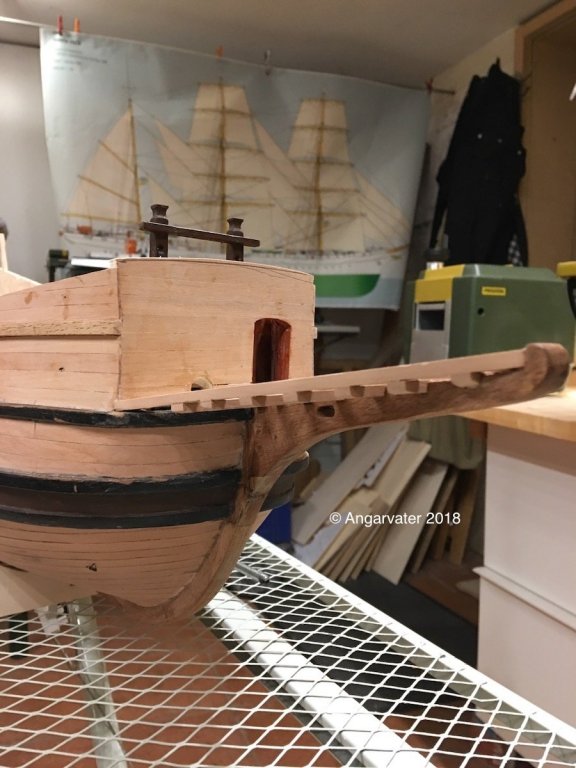
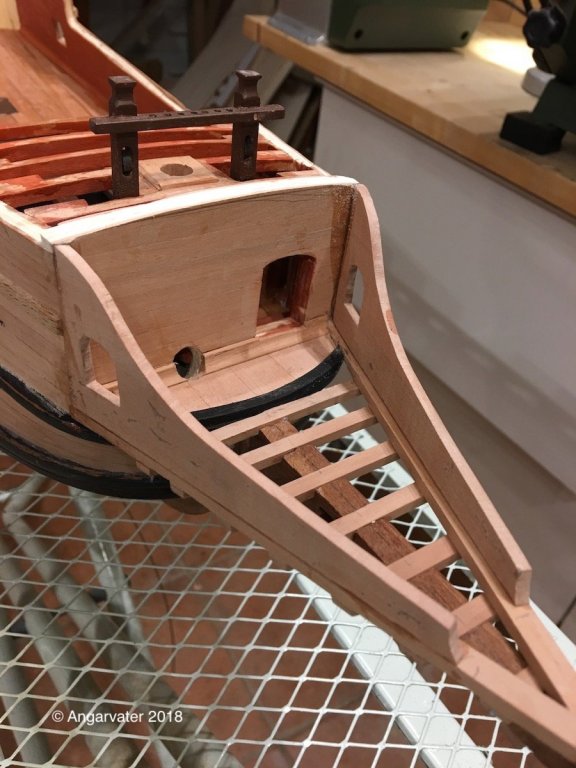
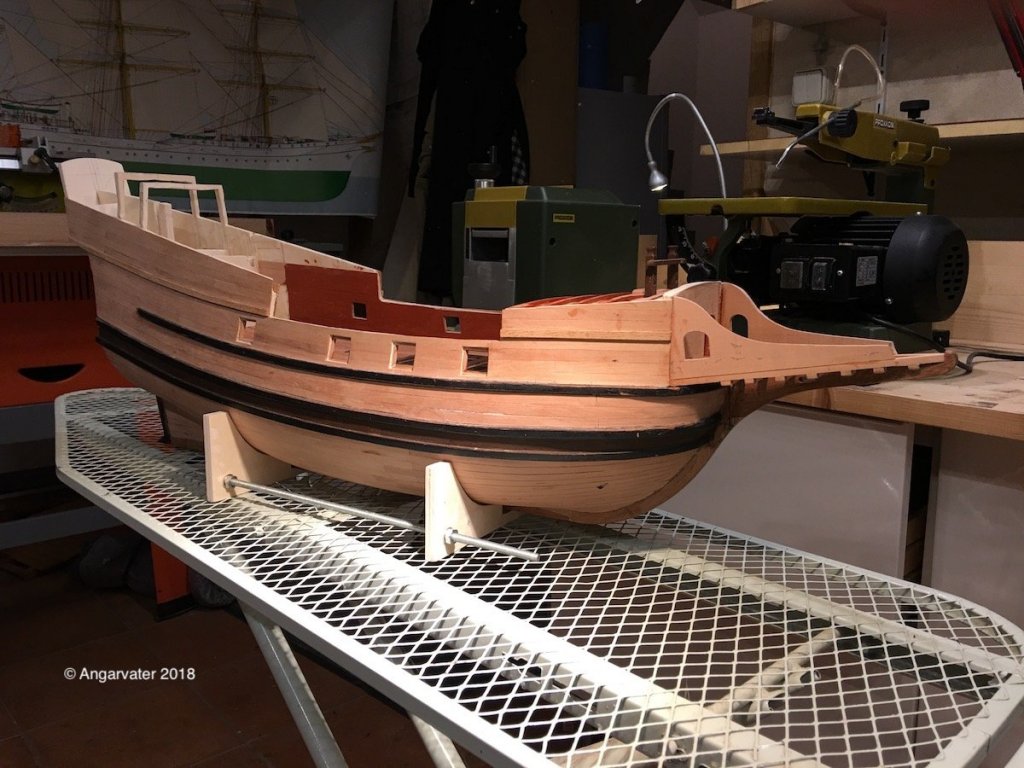
The grating of the gallion
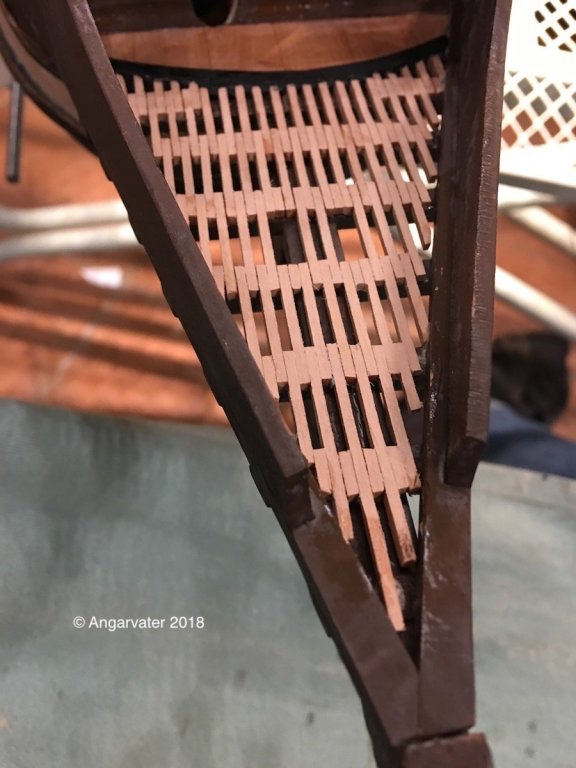
The door of the front
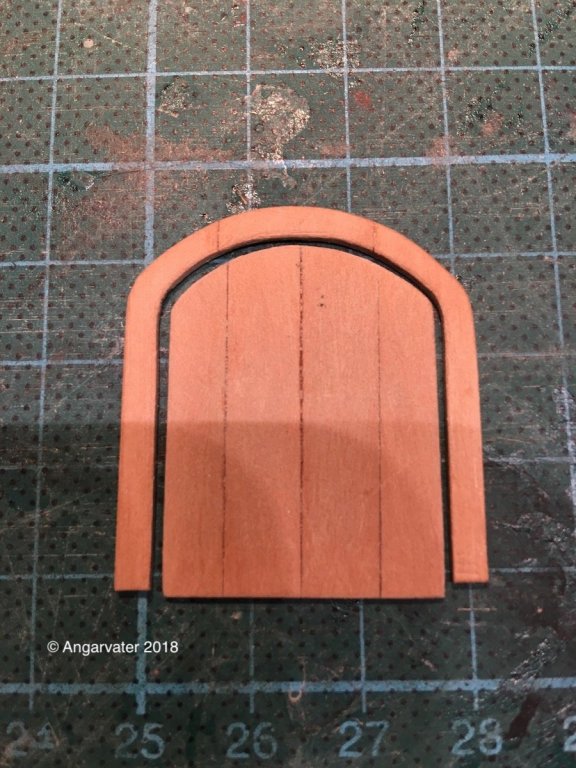


Cheers!
Angarfather
- davyboy, Piet, paulsutcliffe and 8 others
-
11
-
Hey, Omega!
Me and my family are very well. But the summer this year had been so warm that I was more interested in swimming, barbecue with friends and family as to sit in my dockyard. And there had been two wonderful journeys with my admiral to the Lofoten (north Norway) and to Denmark.
Best regards
Angarfather
- mtaylor, popeye the sailor, Piet and 1 other
-
4
-
Aye, Omega 1234
very amazing pics from your model.
When I was an boy I dreamed of sailing on such ships.
Best regards
Angarfather
- Omega1234, Piet, popeye the sailor and 1 other
-
4
-
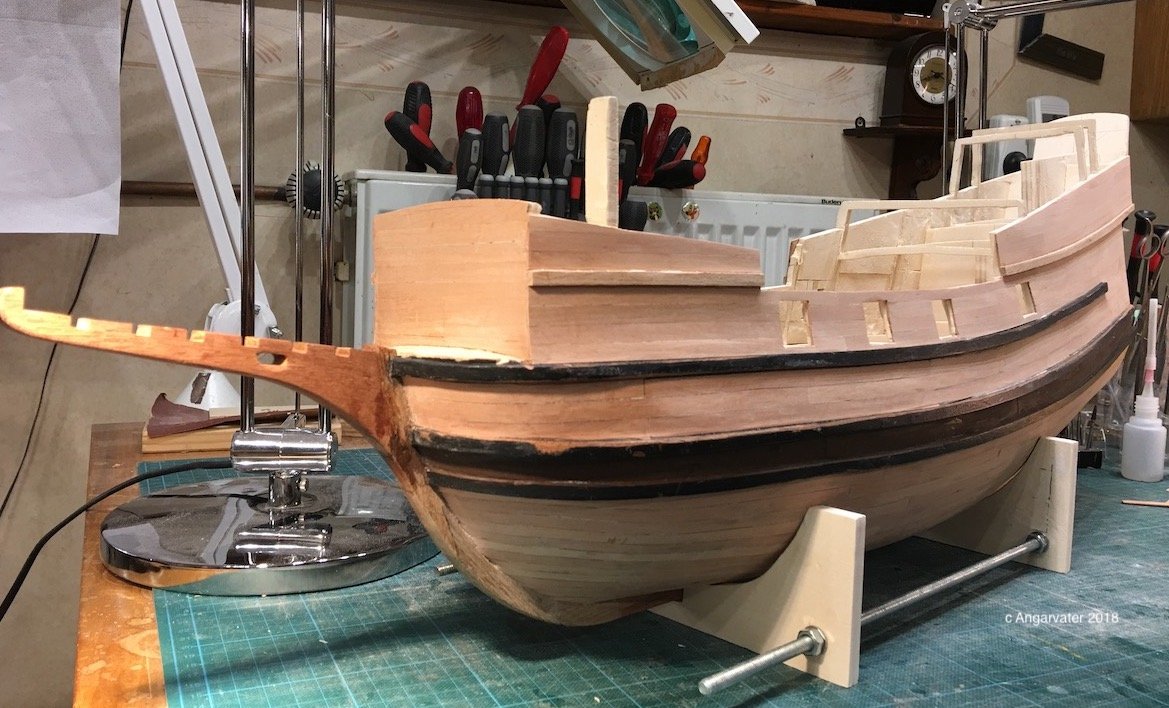
After finishing the out side planking I have made the planking of the main deck. The question was how wide the planks must be. The only binding information I found in the report of the wreck of the Mary Rose. Here is the plank width 50cm. This corresponds to 15mm in scale 1:33.

After this I planked the inside of the main deck and cut in the gun ports.

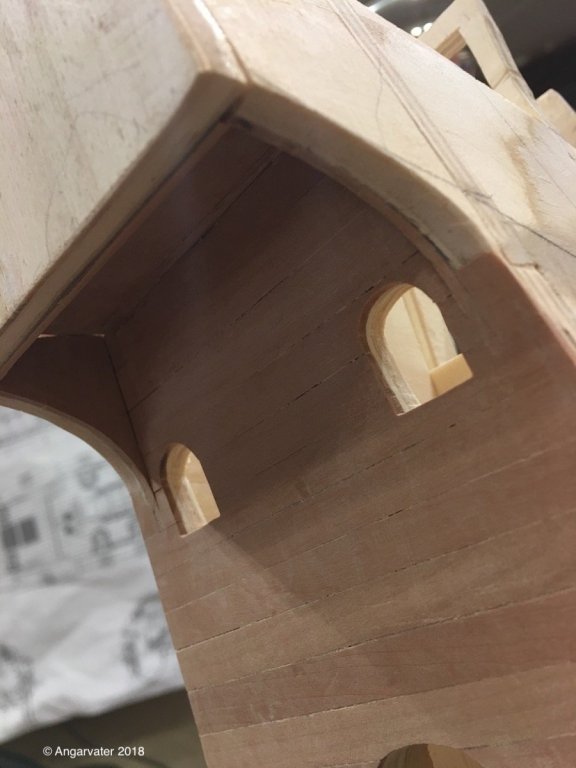
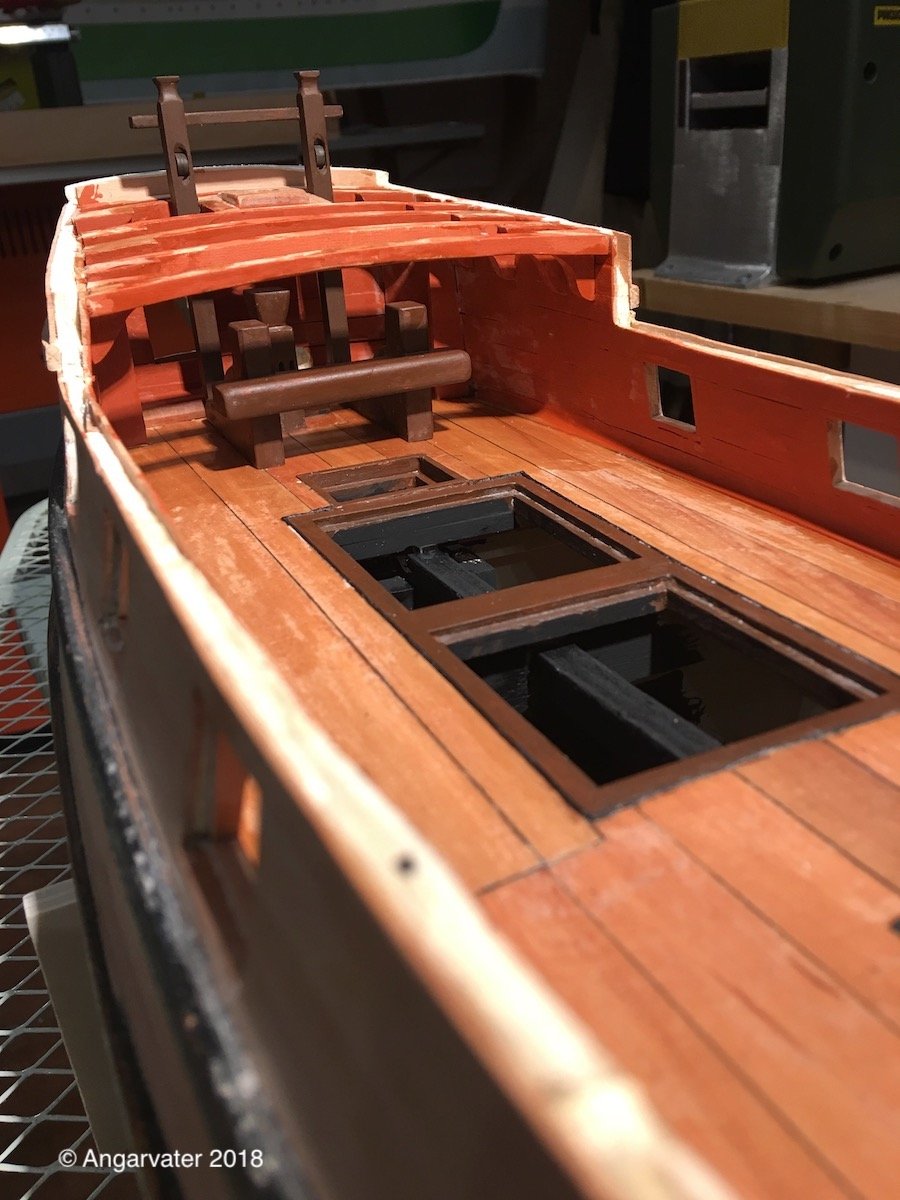
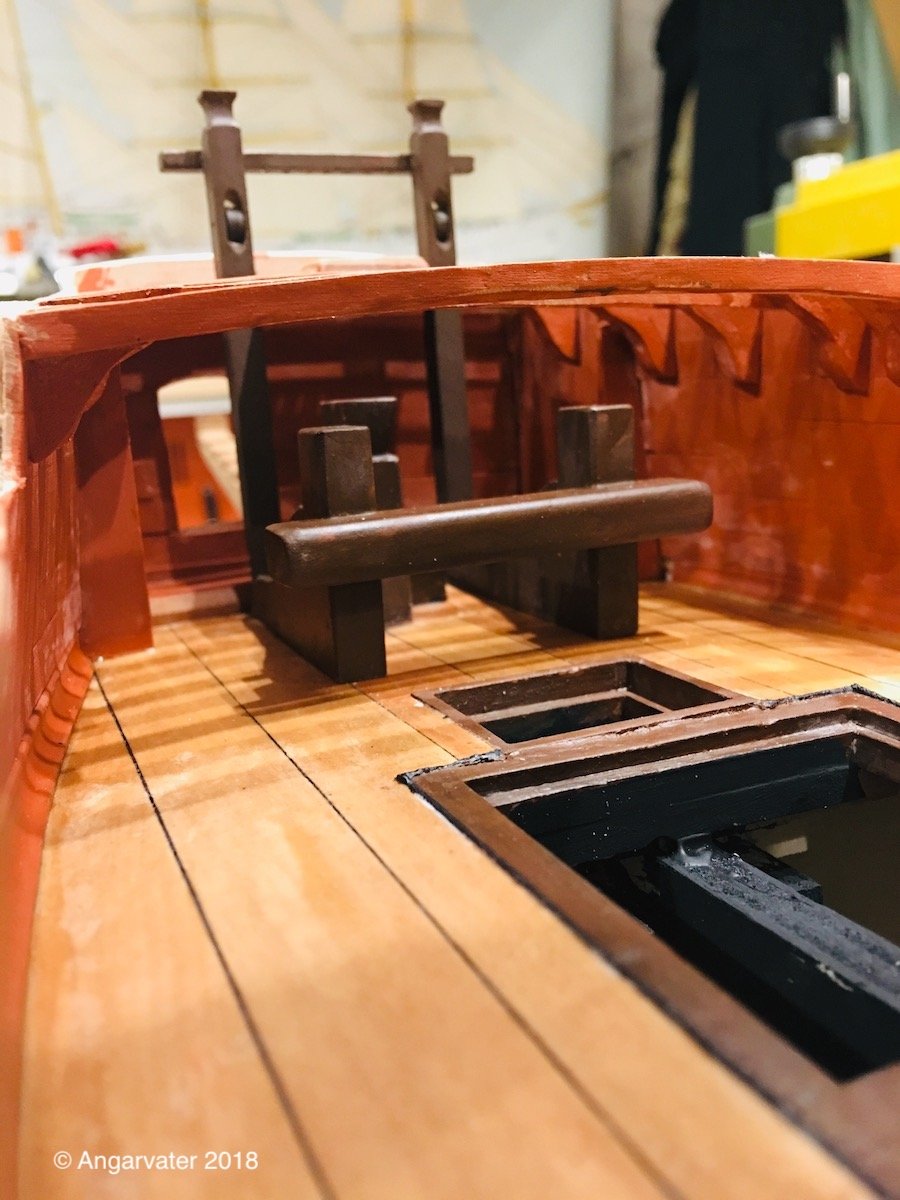
Next job was to make the fore castle. There were quite a few parts to do. There are deck beams, mast tracks, anchor and foremast bitt and another hatch. An other question was how to paint the walls inside. Because I didn't find a research result I did paint teh walls with English Red.
But see yourself here are a few pics.


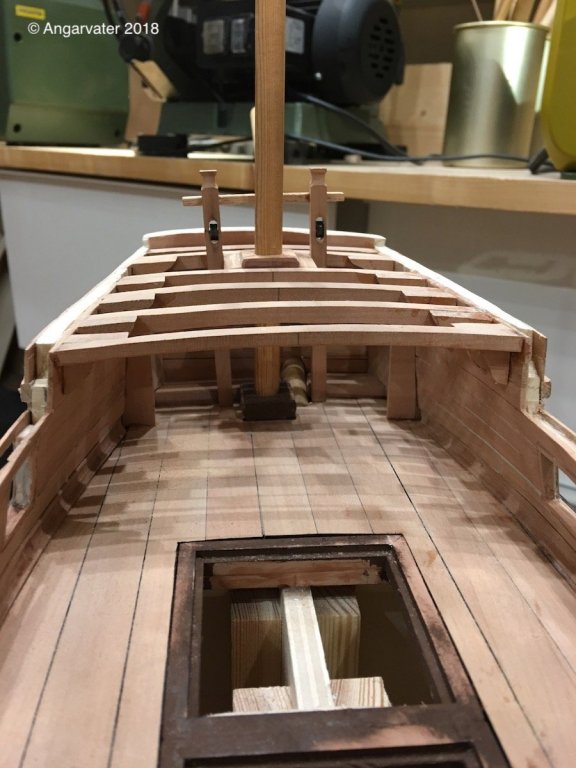


Cheers!!!
Hartmut
-
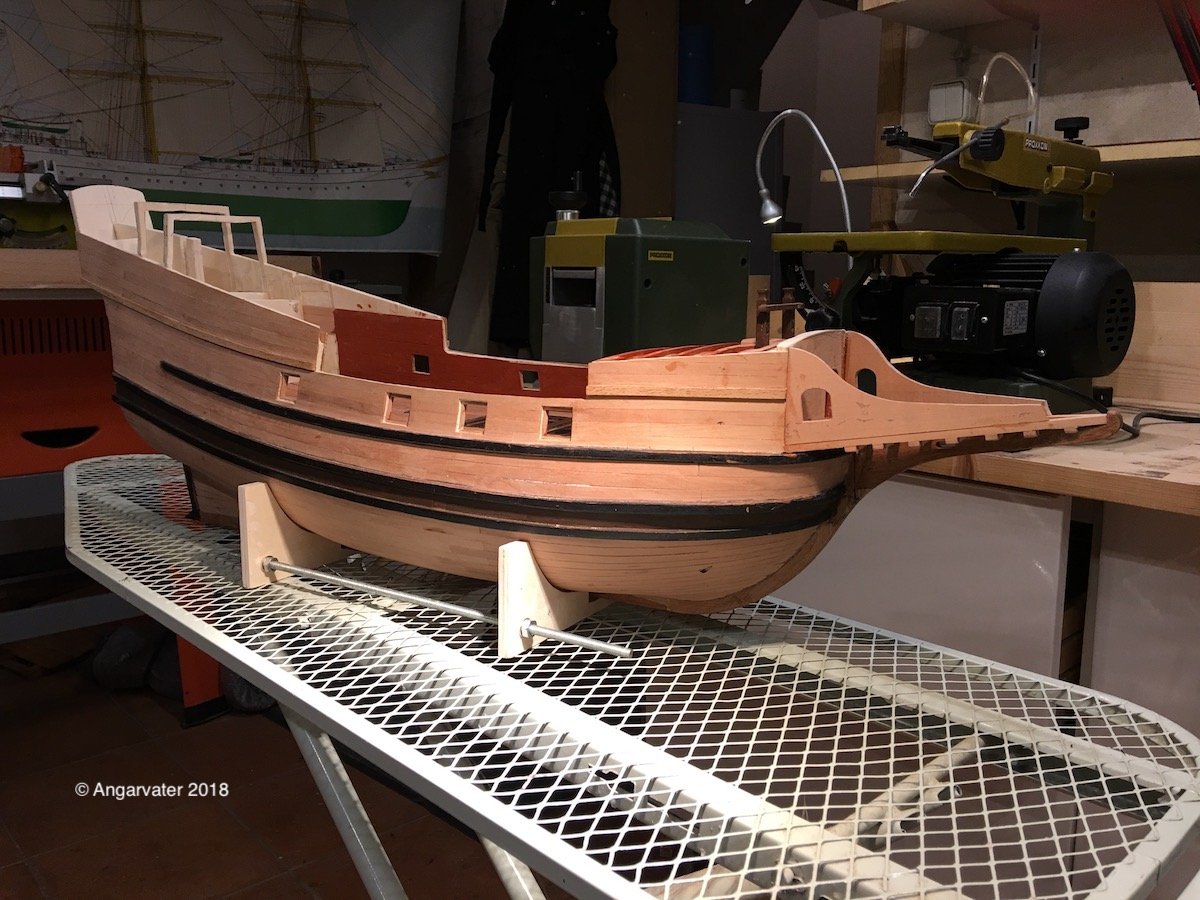
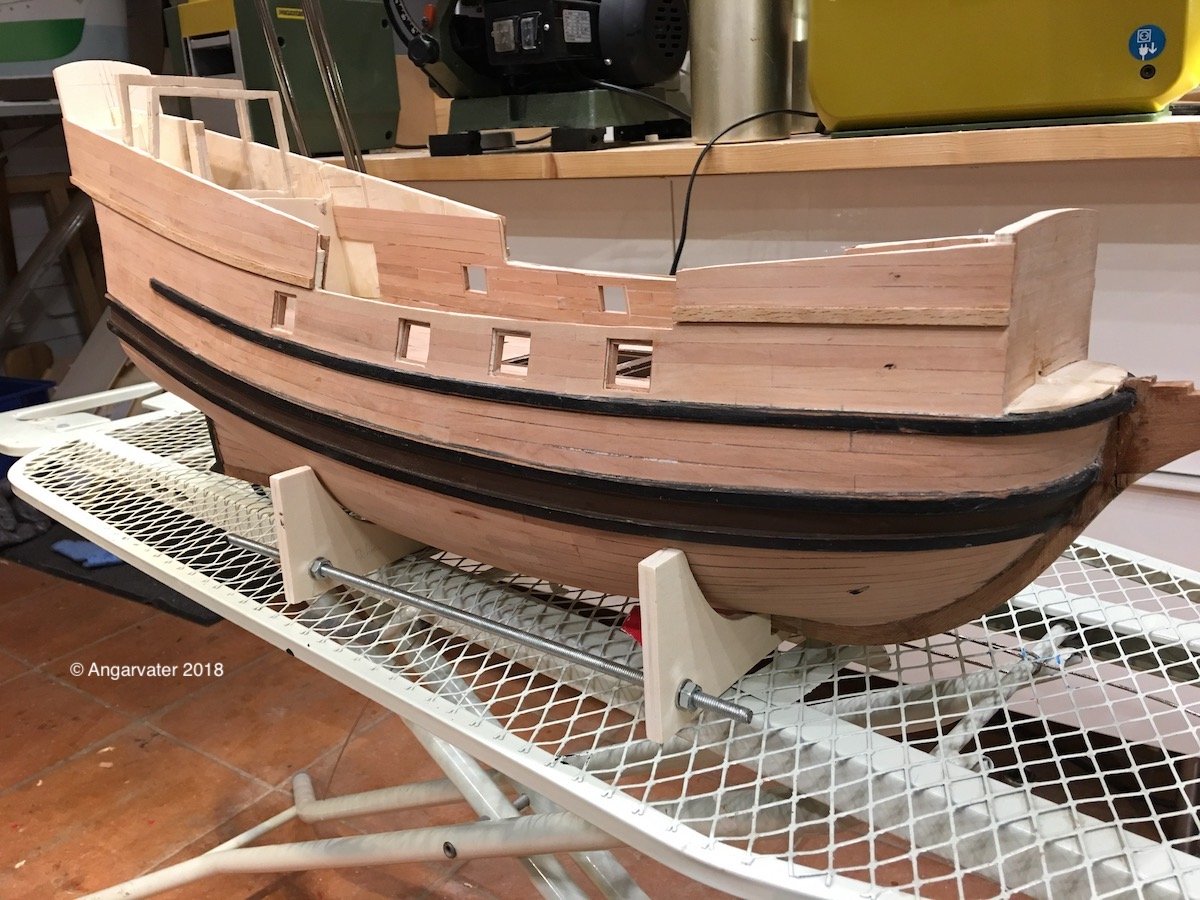
Hello guys!
The summer 2018 was to warm to stay in the dockyard for modeling. It was a good time for barbecue, swimming and lazing around with old friends sitting in the garden enjoying an ice-cold beer. And last but not least there were to wunderfull journeys together with my admiral to the Lofoten islands in Norway and the Møn Island in Danmark.
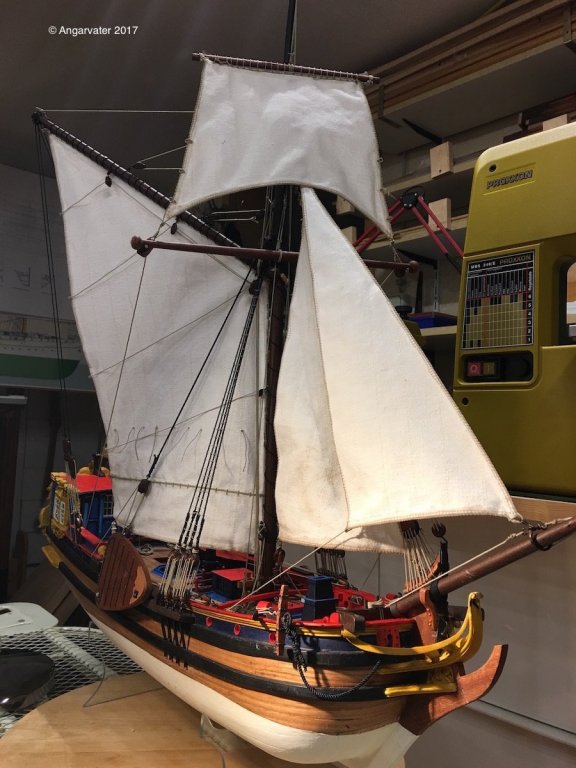
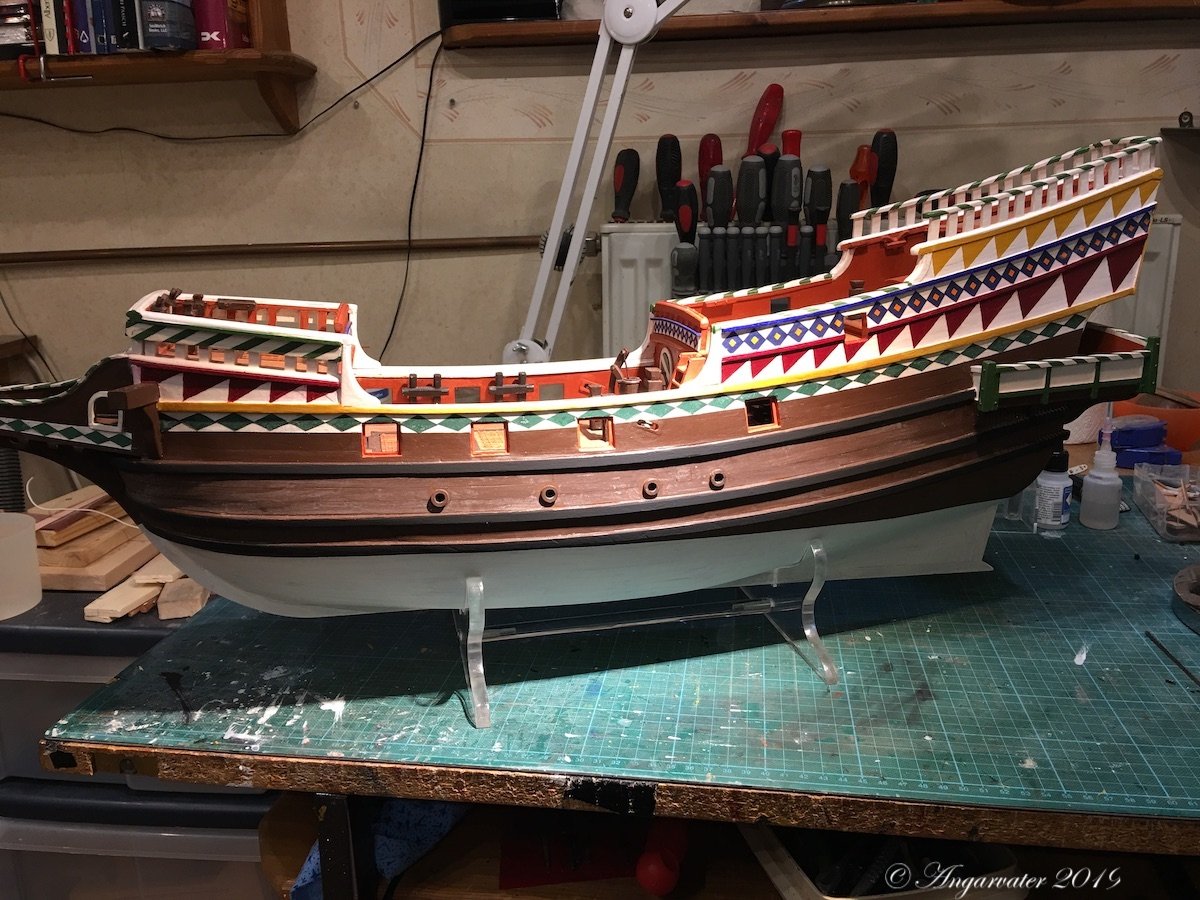
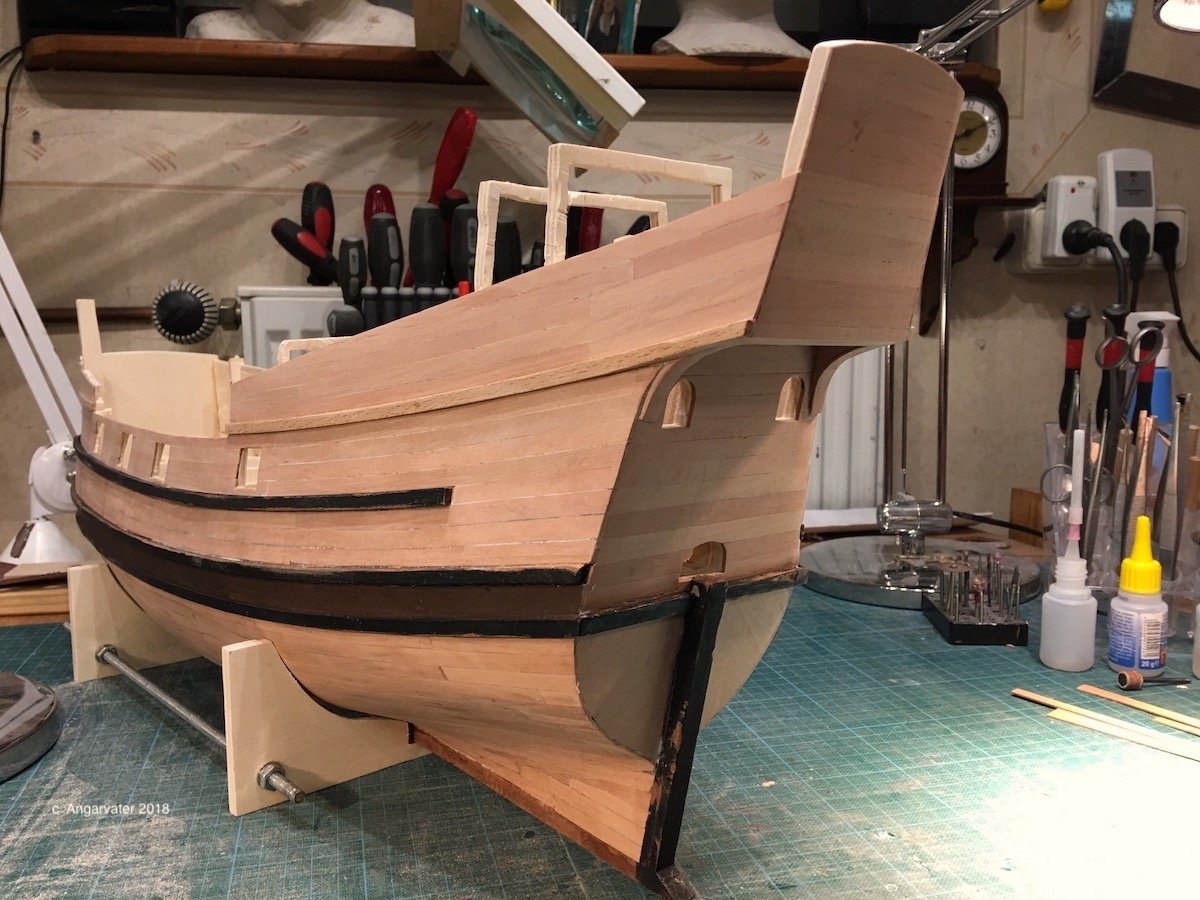
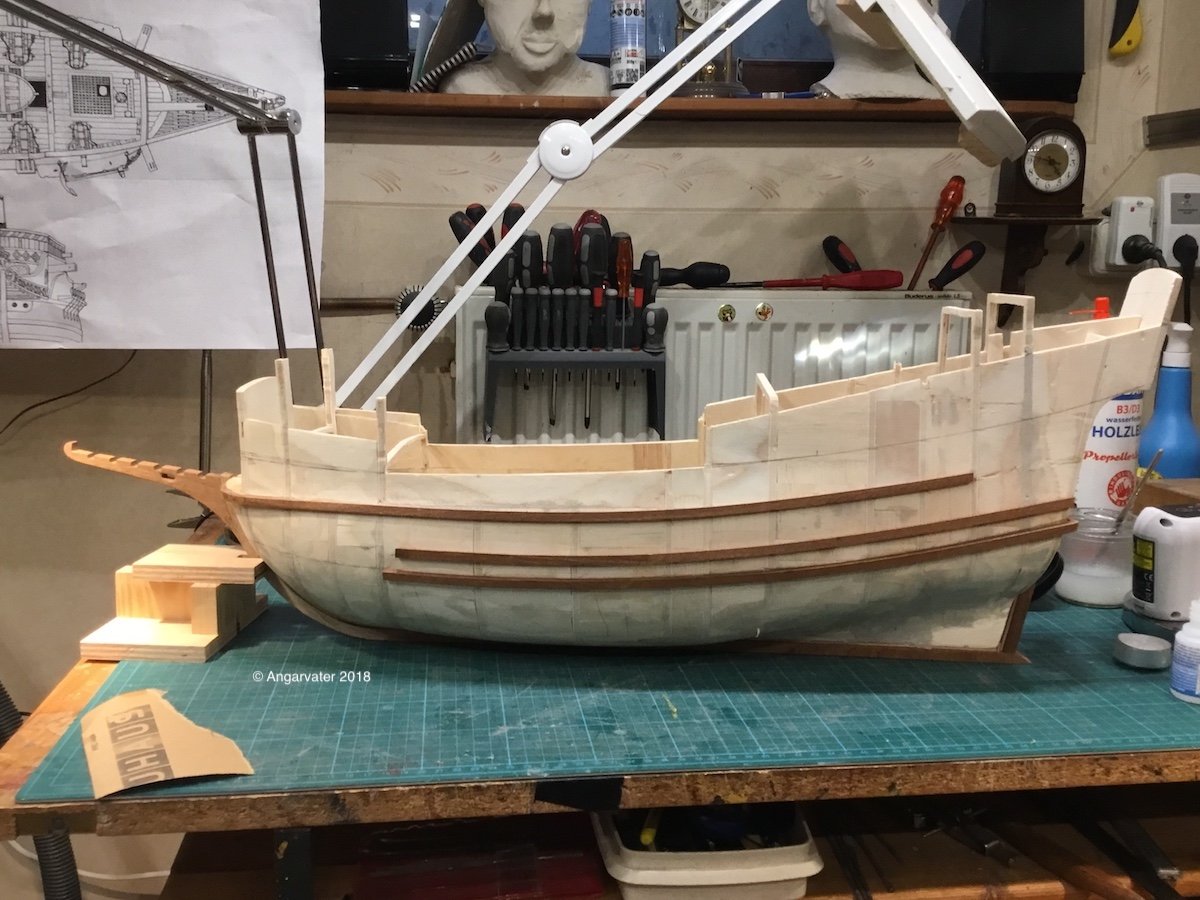
In the last two weeks the planking was done. Here are some pics of the Golden Hind today.

Best regards
Angarfather
-
Aye, Mates!
Many thanks for your kind words and all the likes.
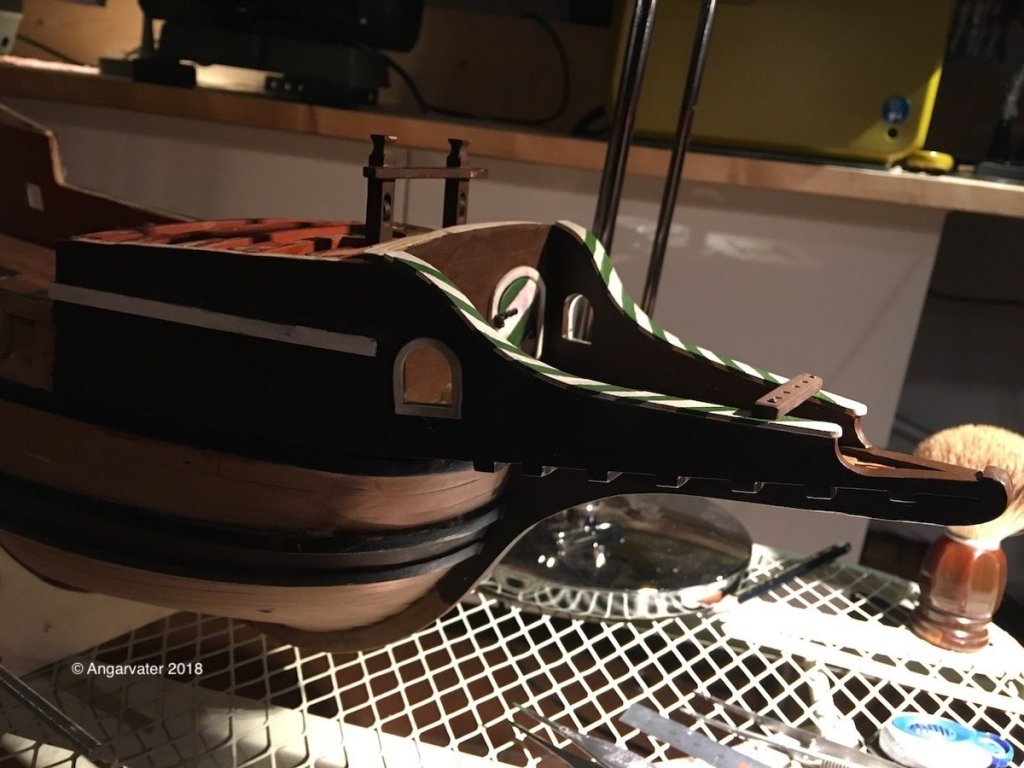
The last weeks was not so much time for modelling the Golden Hind. There had been many interesting job. Thats ok. Here are some pics from the last days.
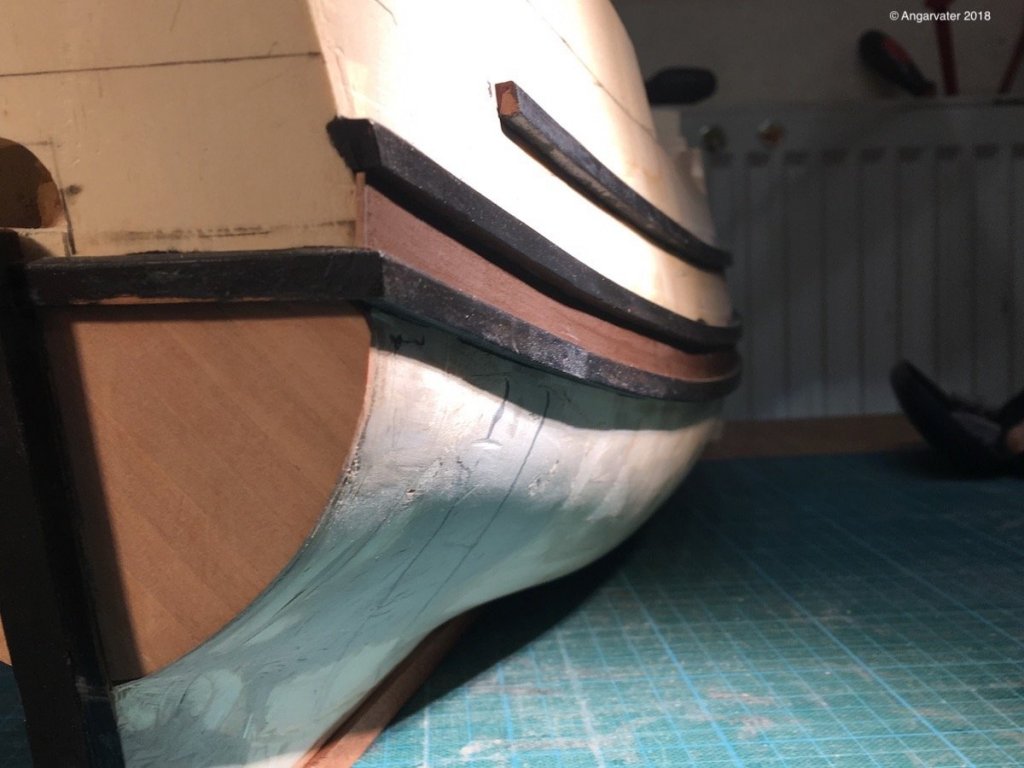
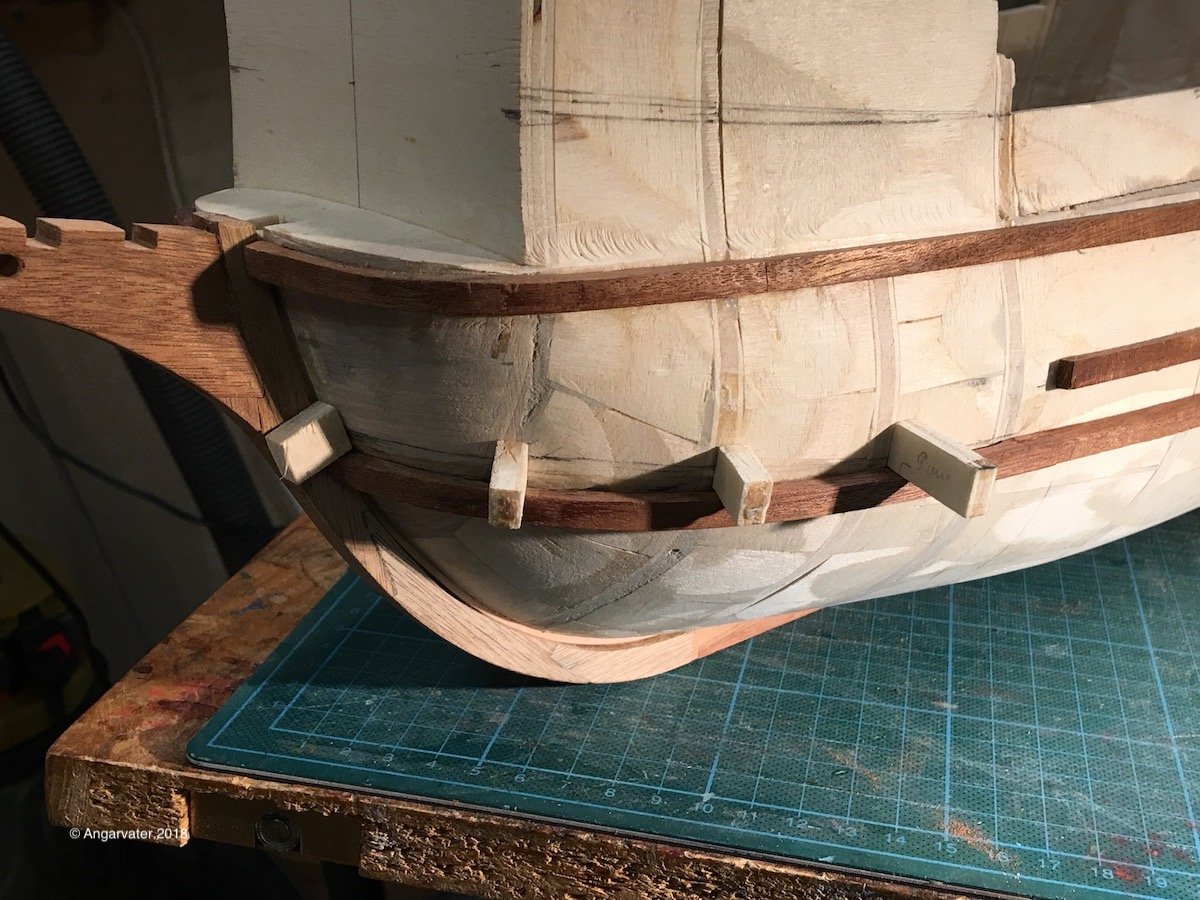
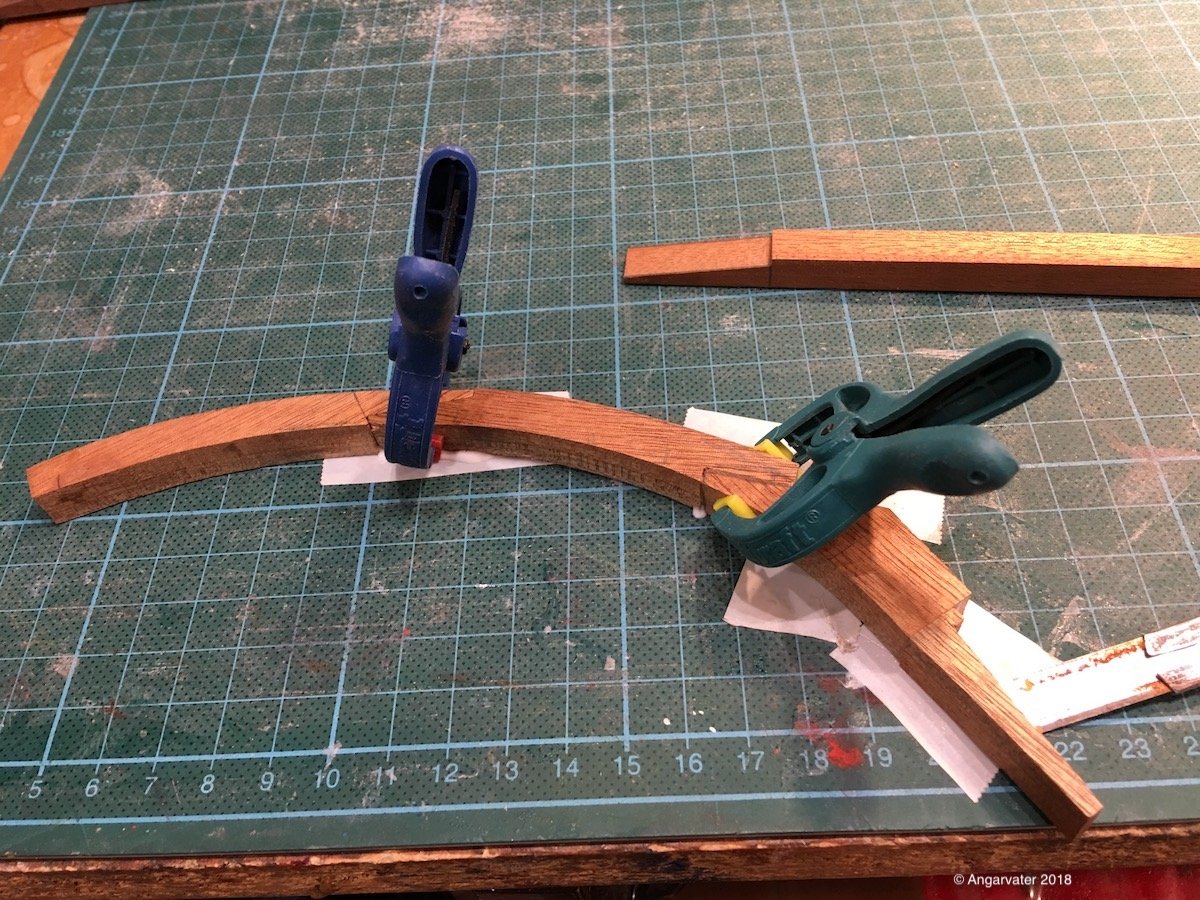
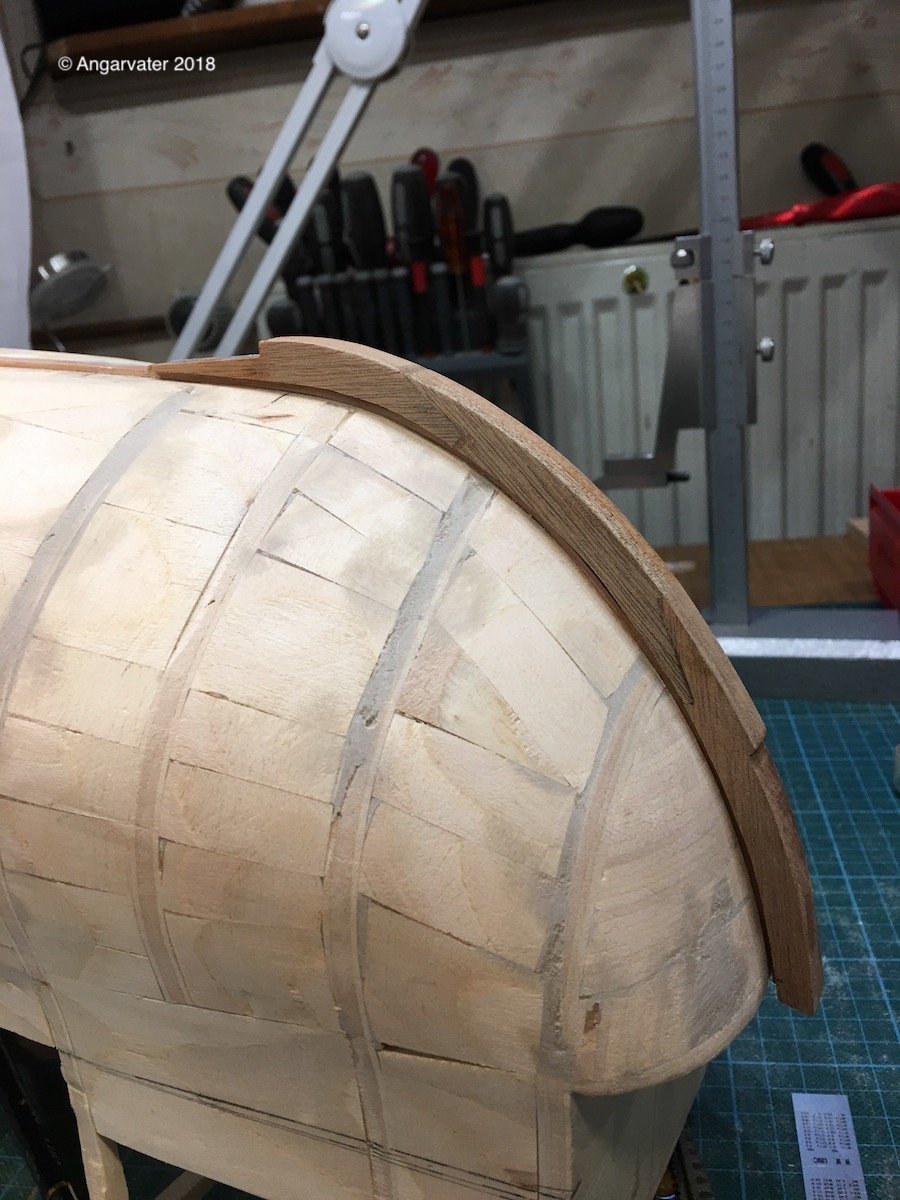
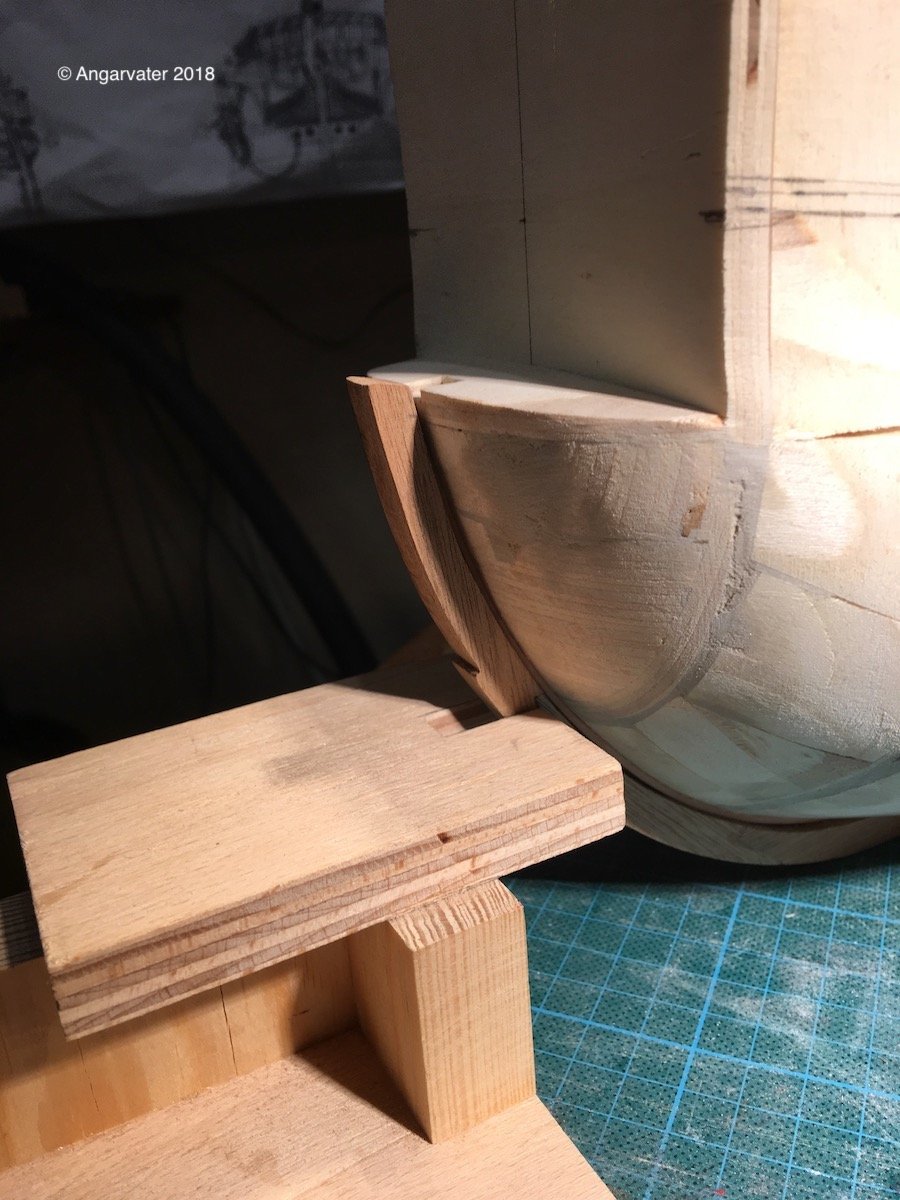
To finsh the wales in the bow I first did mount the upper and the lower wale. After this I use spacer blocks to mount the bow part of the wale in the middle

The last wale piece
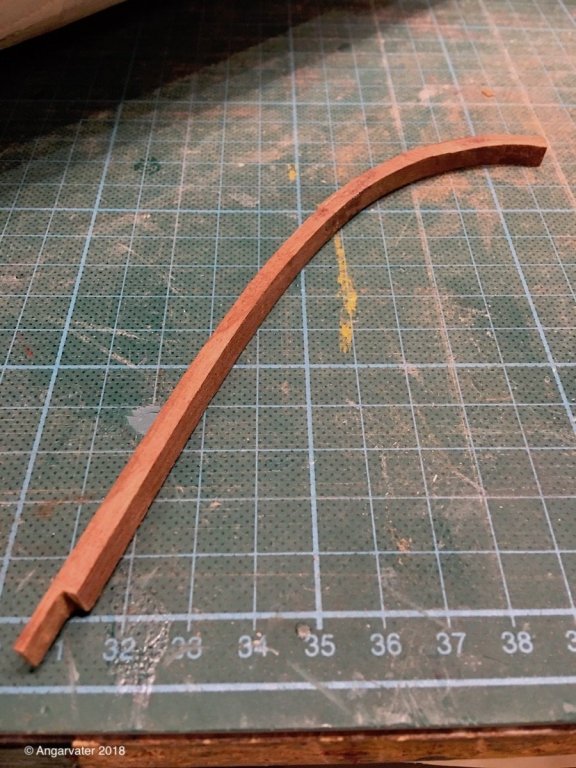
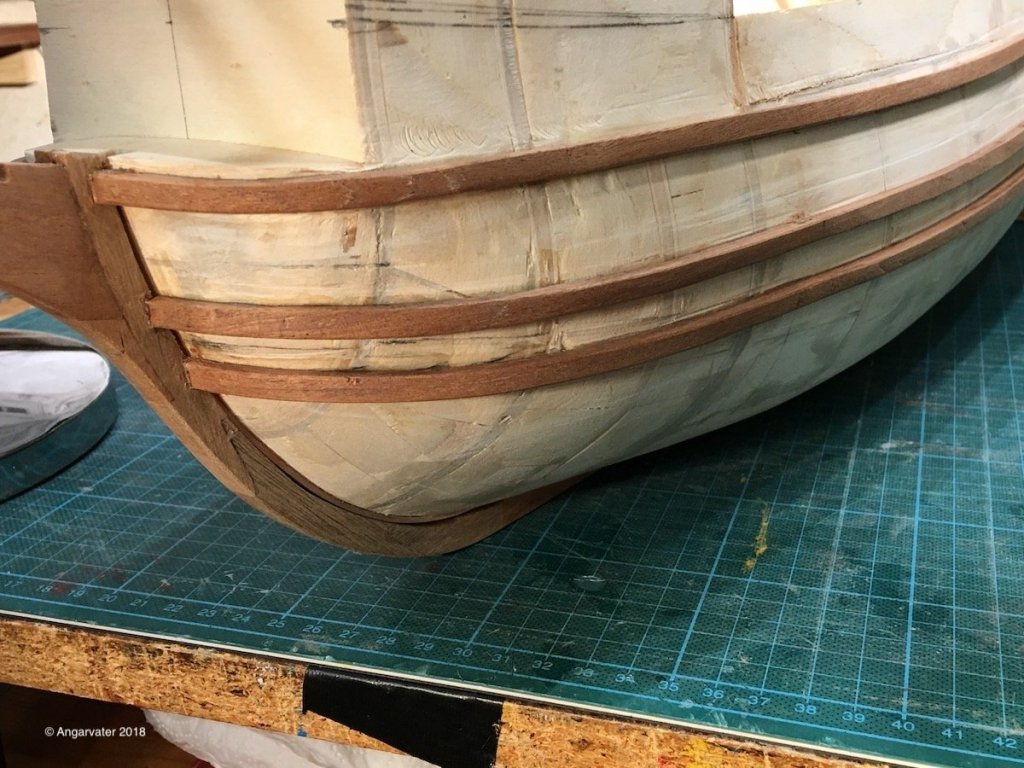
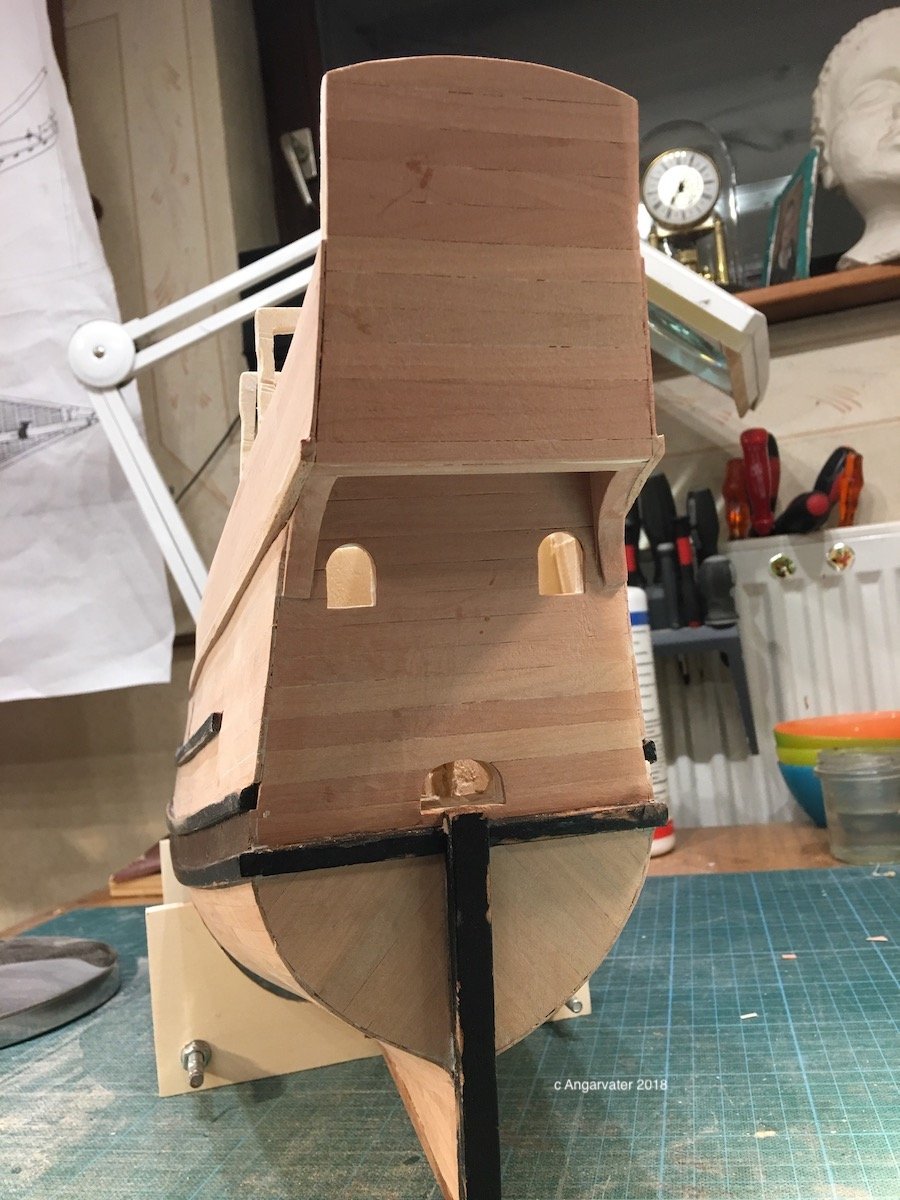
Next step was planking the space between the two lower wales and the stern.

Cheers! Hartmut
- Ondras71, Richard Griffith, Piet and 8 others
-
11
-
-
-
Hello Nils,
thanks for the wunderfull pics. from you amazing modell.
Cheers Hartmut
- Piet, Mirabell61, mtaylor and 2 others
-
5
-
-
-
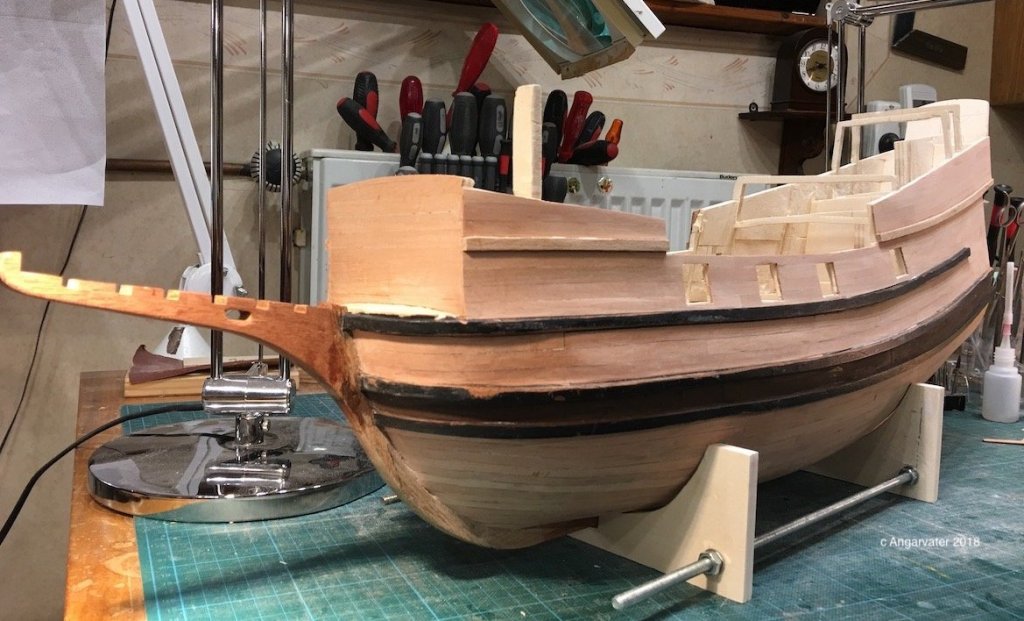
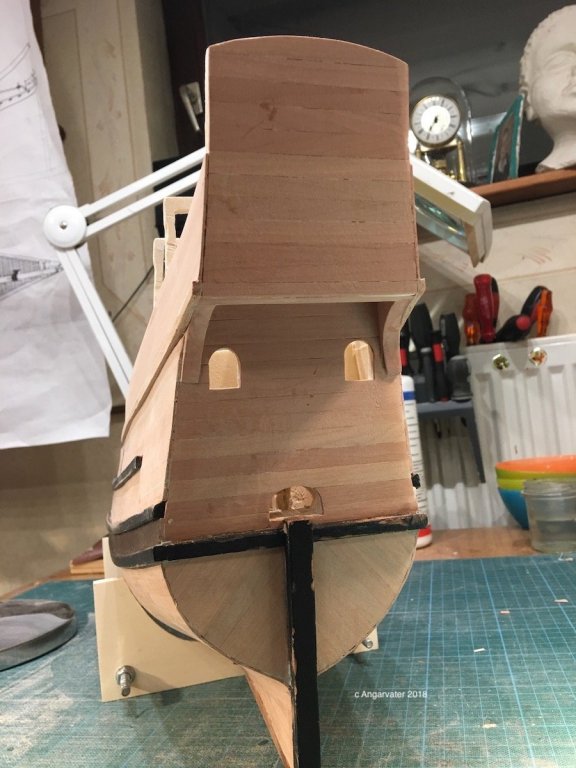
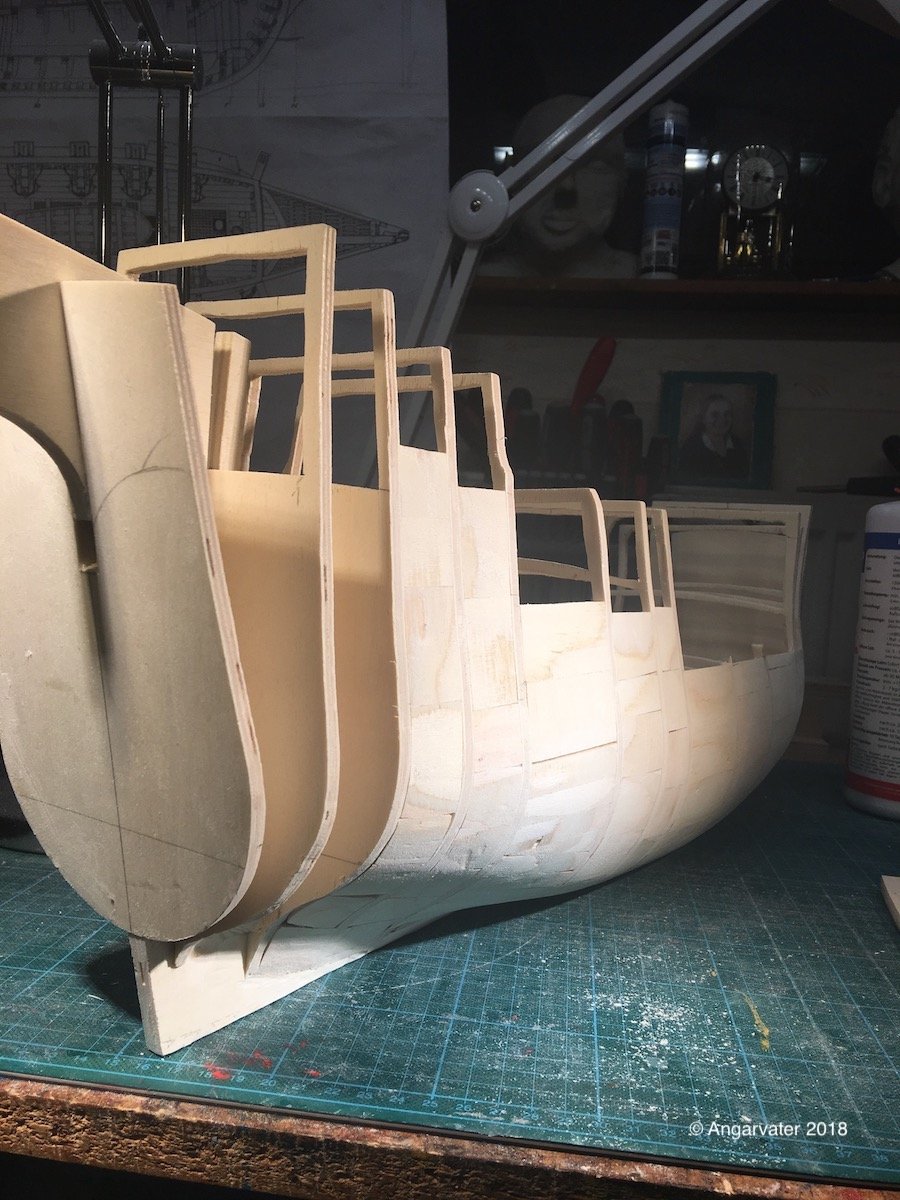
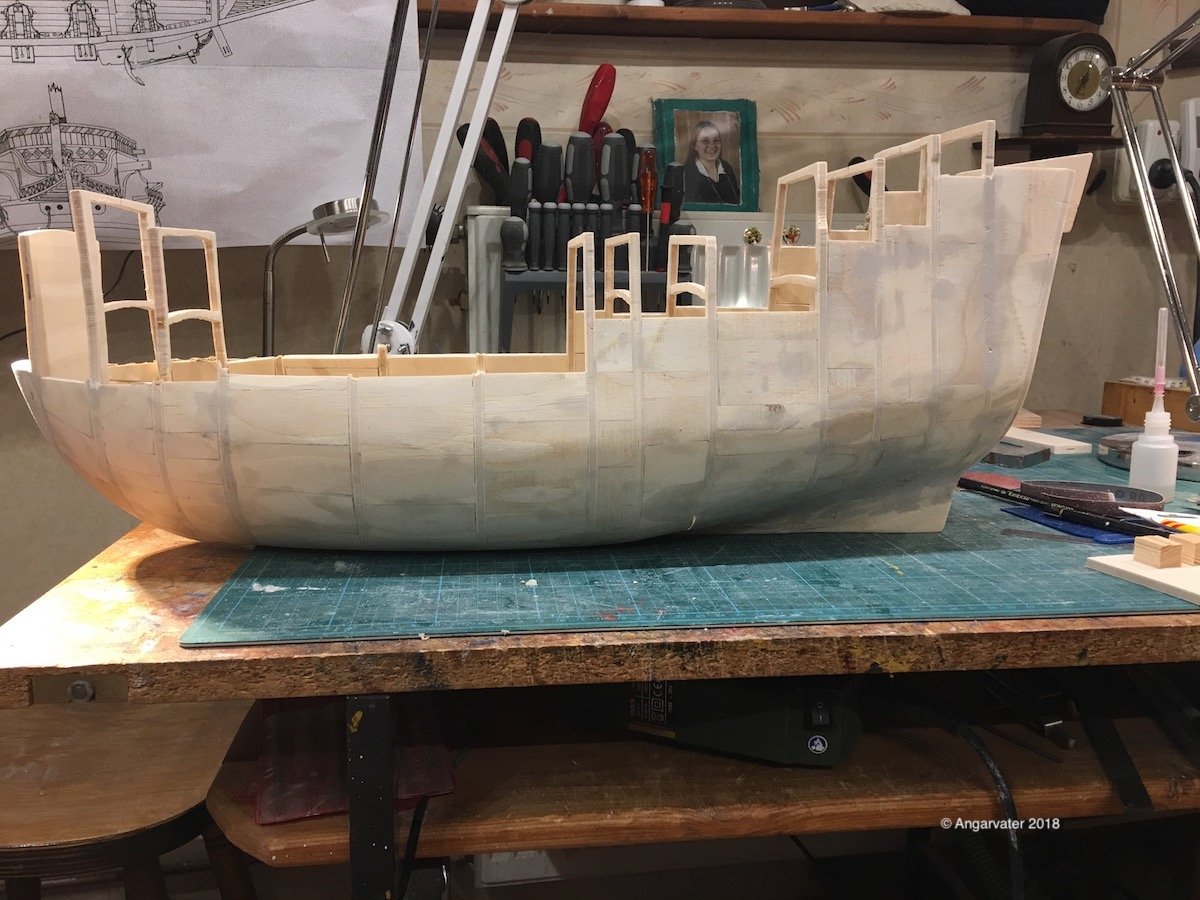
Aye, Mates,
many thanks for your kind interest in my new project.
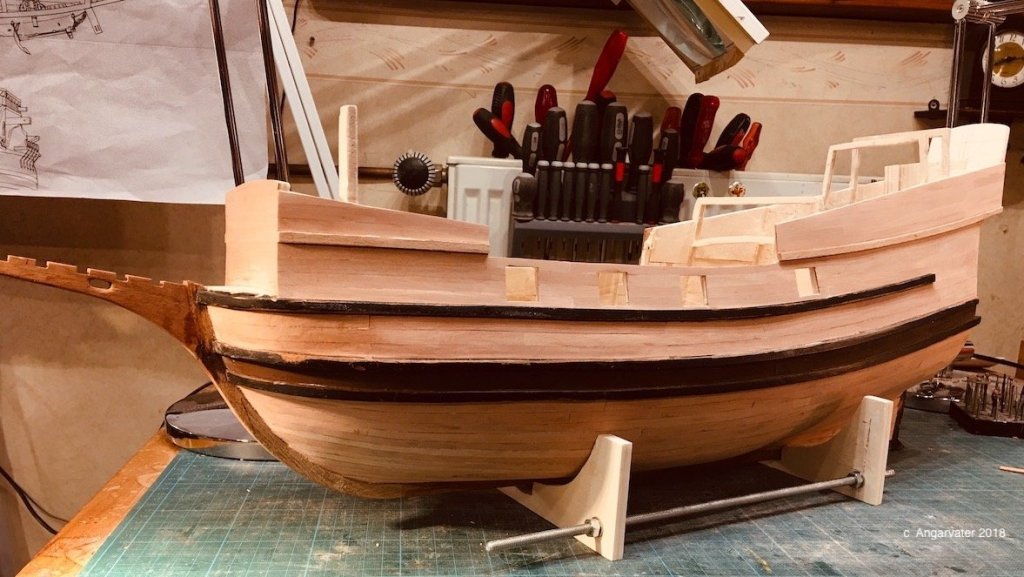
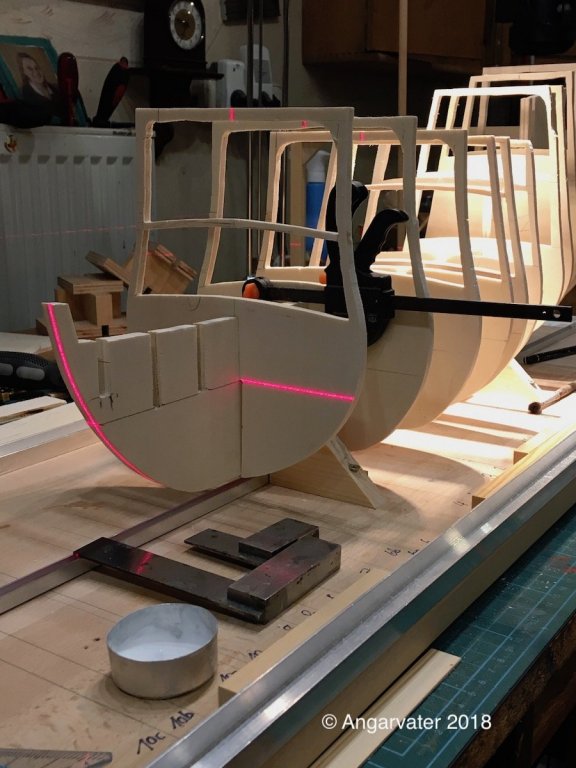
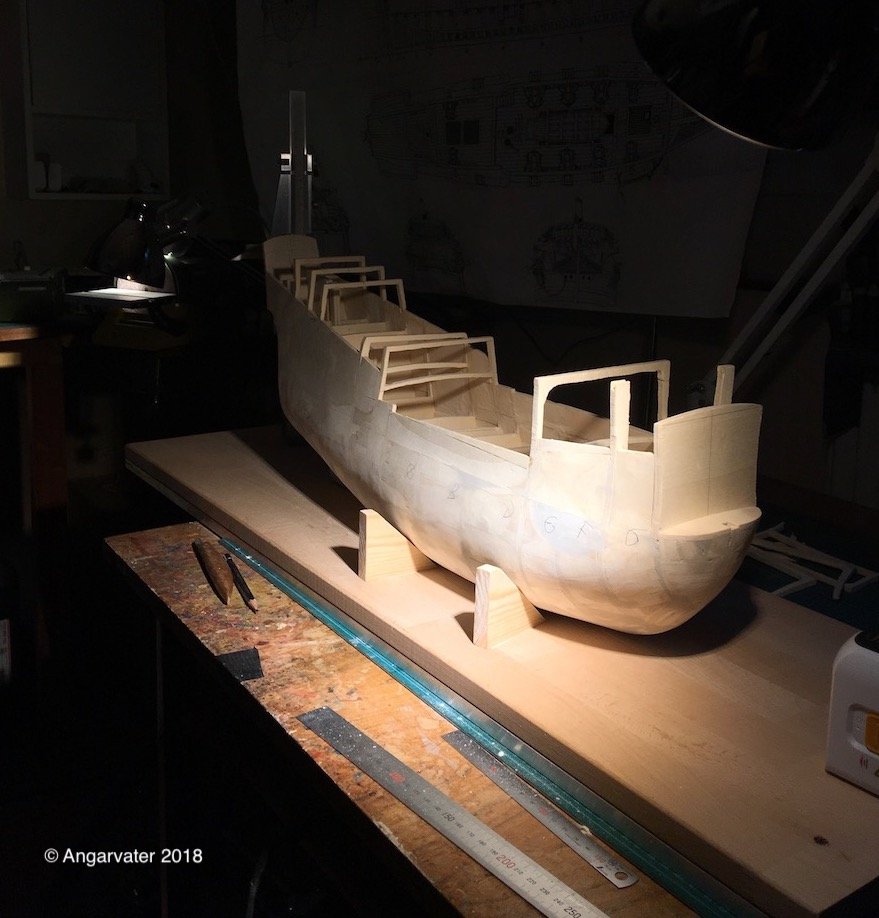
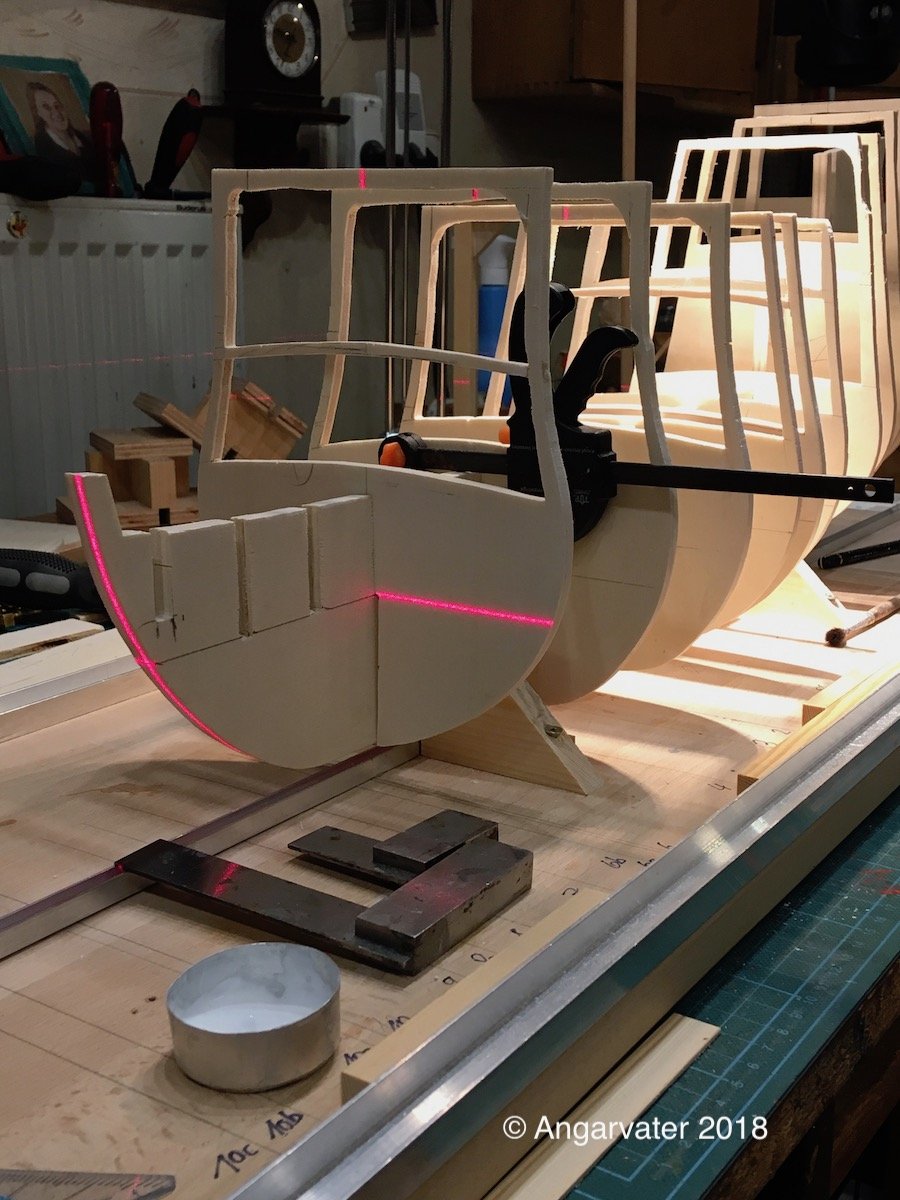
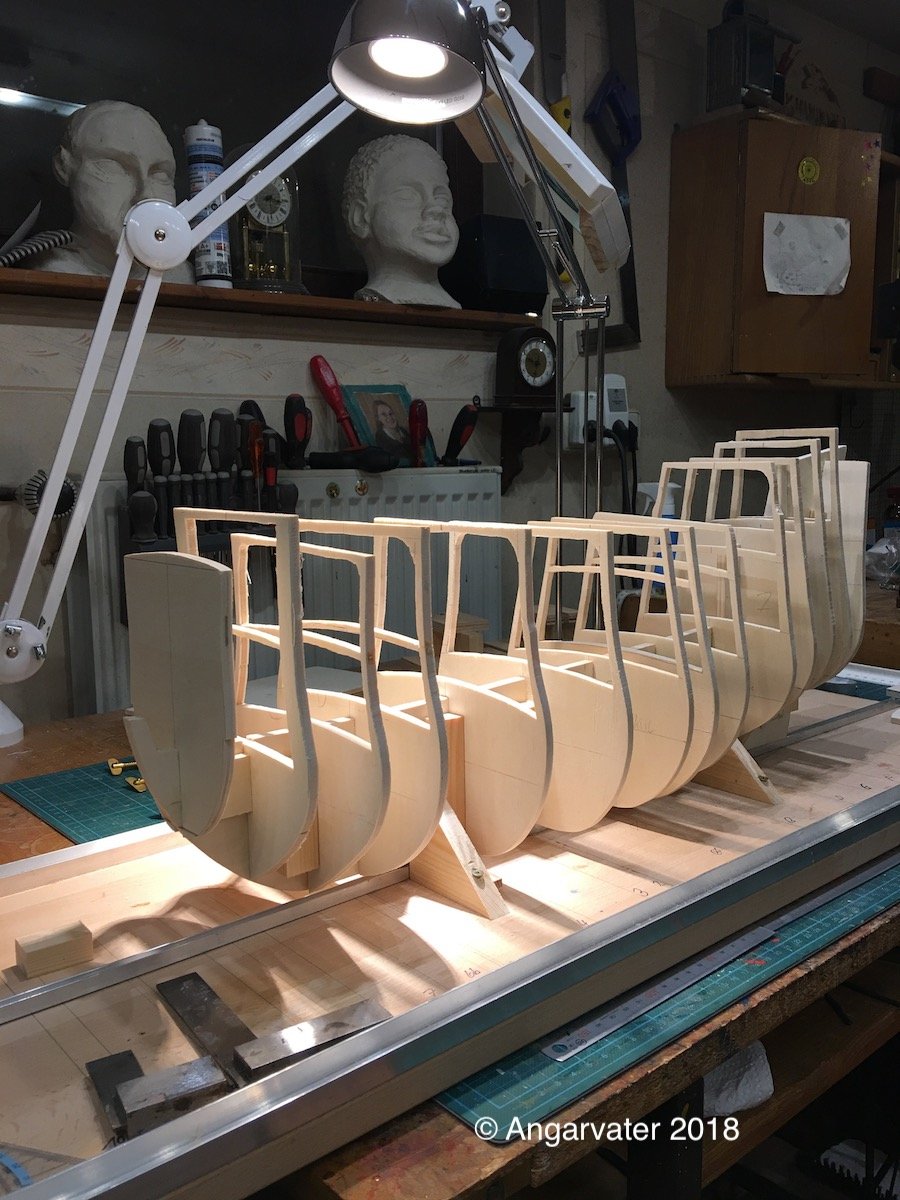
I am building the hull in an unusual way. Instead of a first planking I glue in plywood between the bulkheads. Than I had to sand it into its shape. Here are some pics from this way.
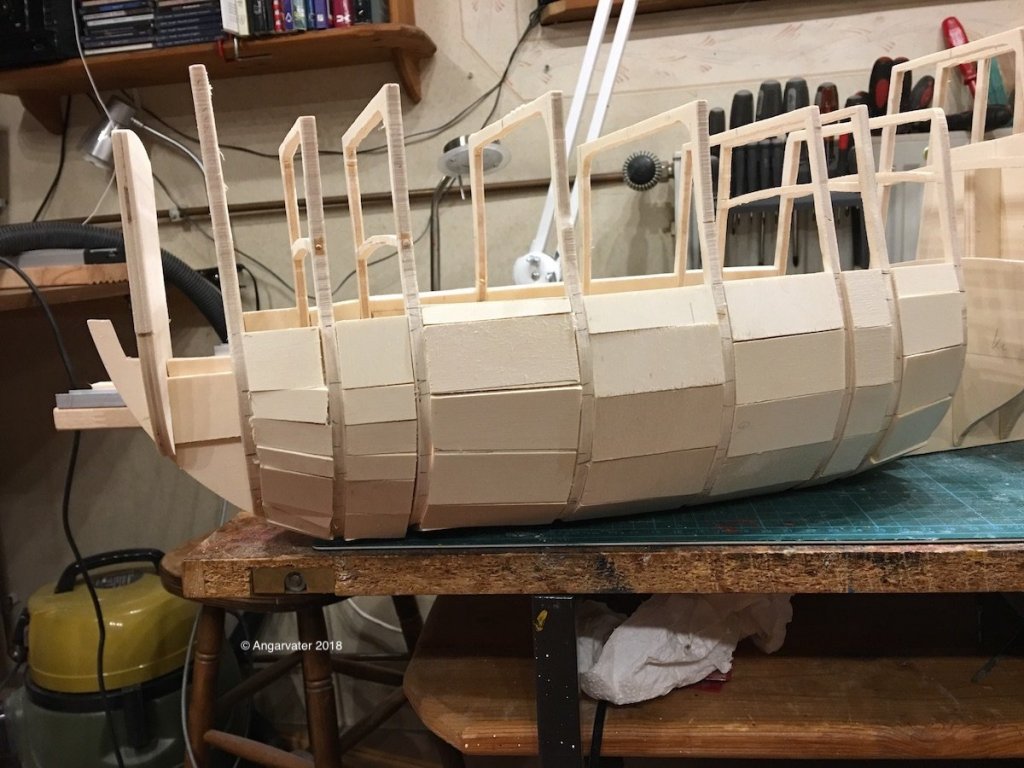
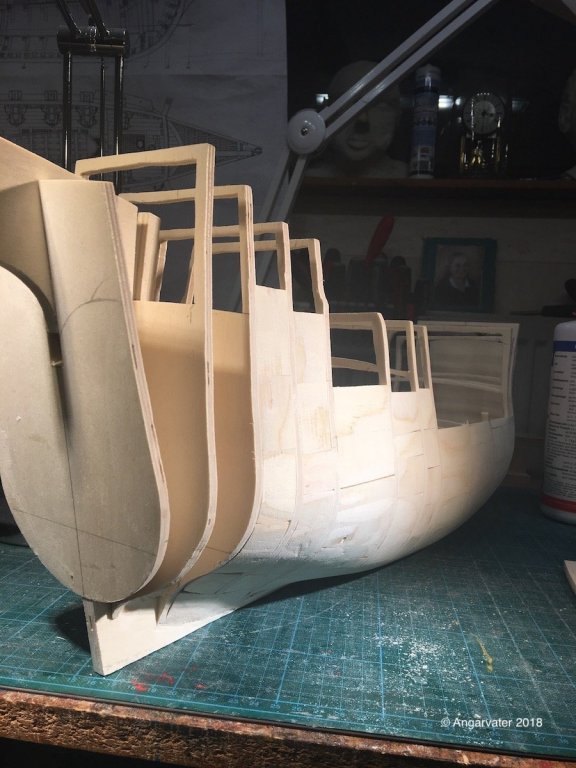
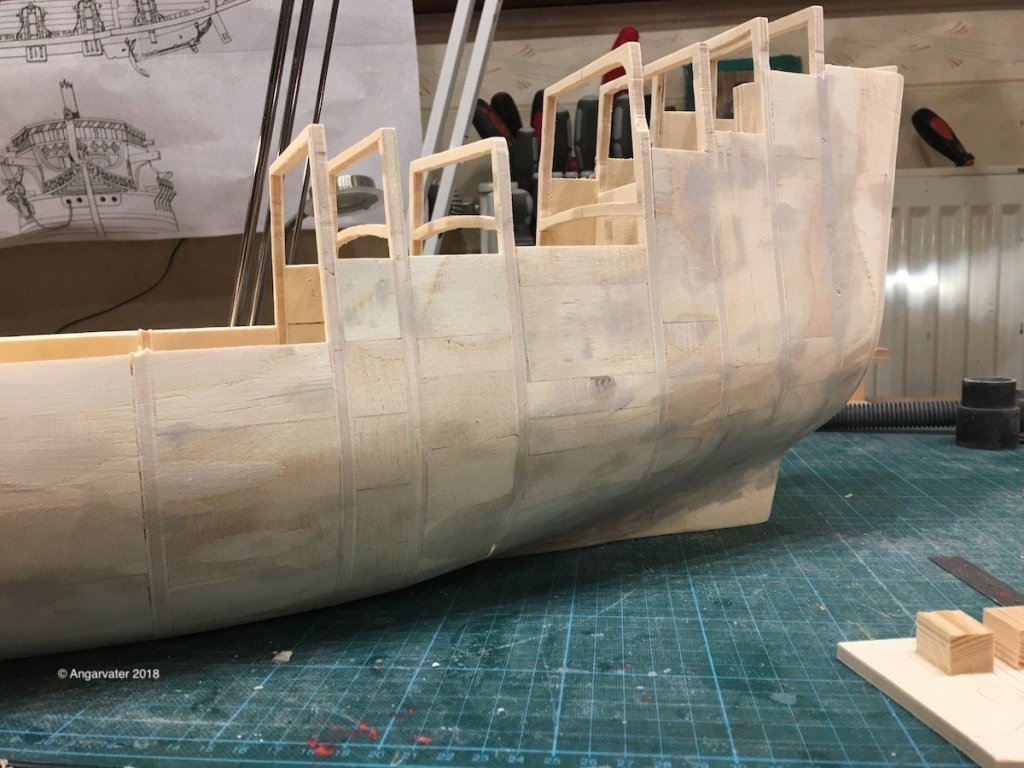


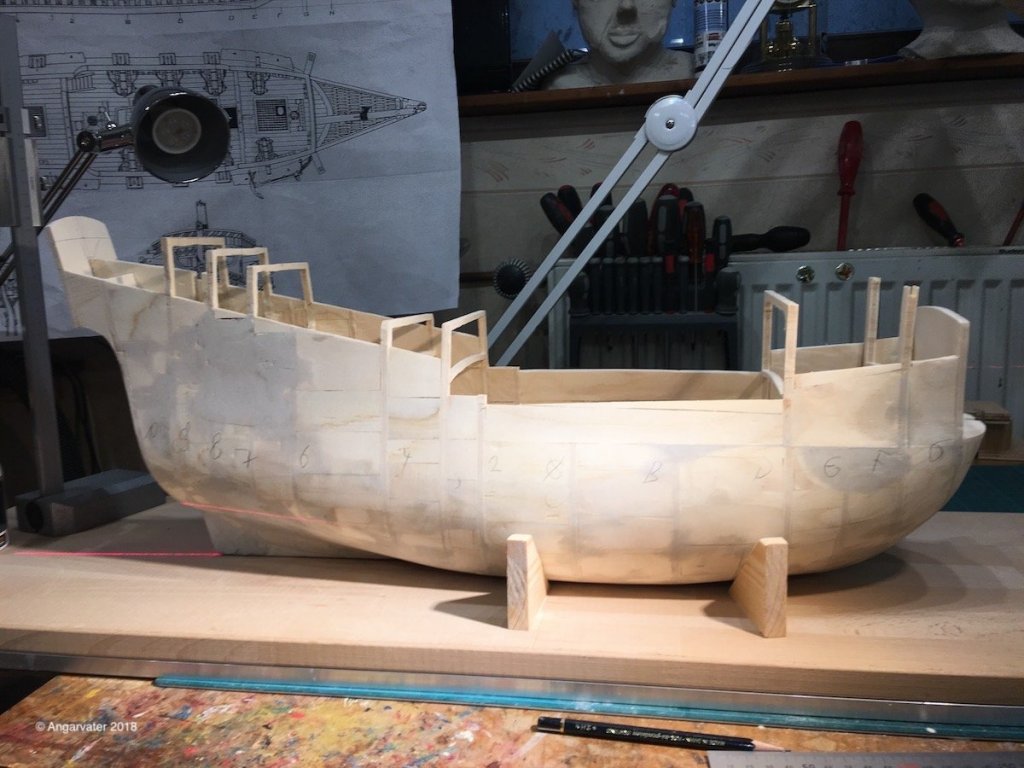

This construction results in a very stable hull. Next. I'll plan the material for the wales, the keel and the deck beams. I still have a few pieces of mahagony that will work well for that. The planks I will make from pear.That can look pretty good together.
Cheers Angarvater
-
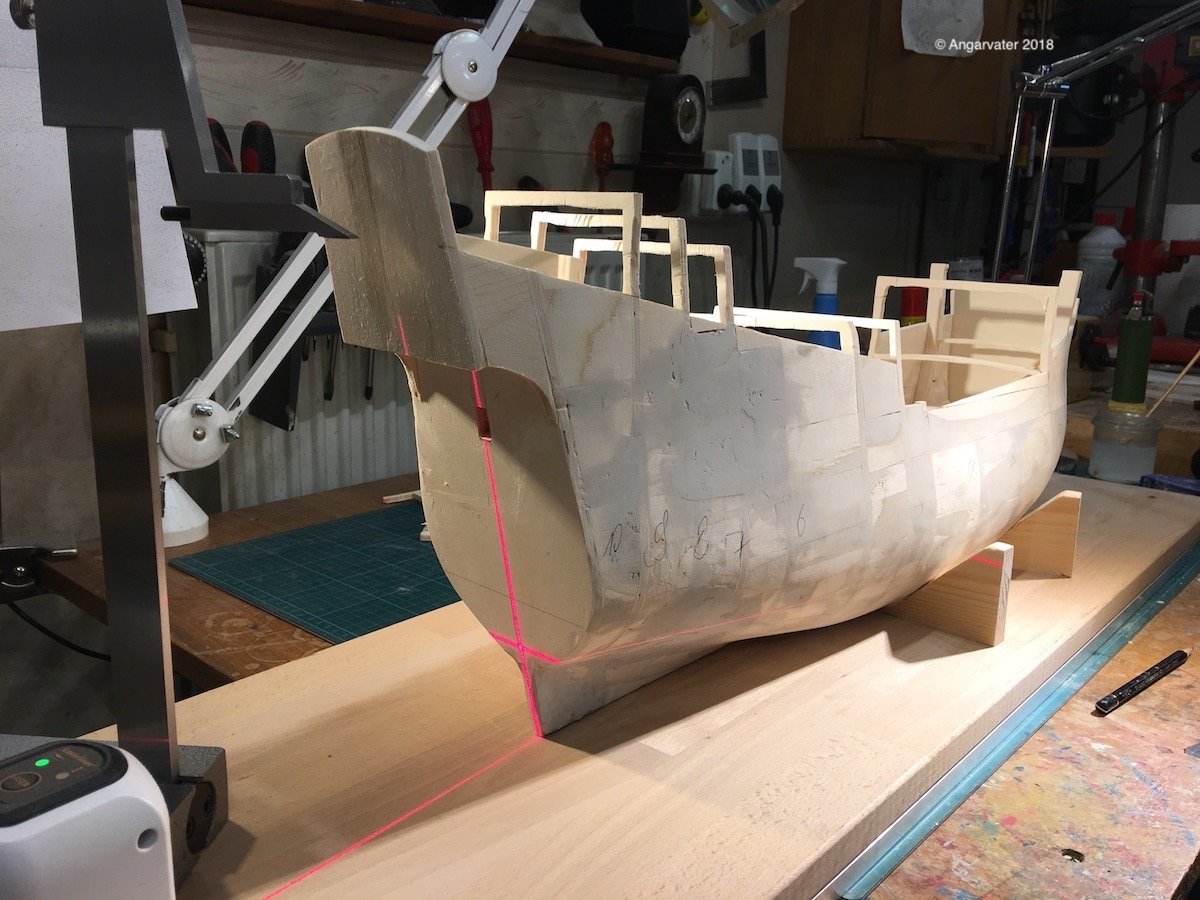
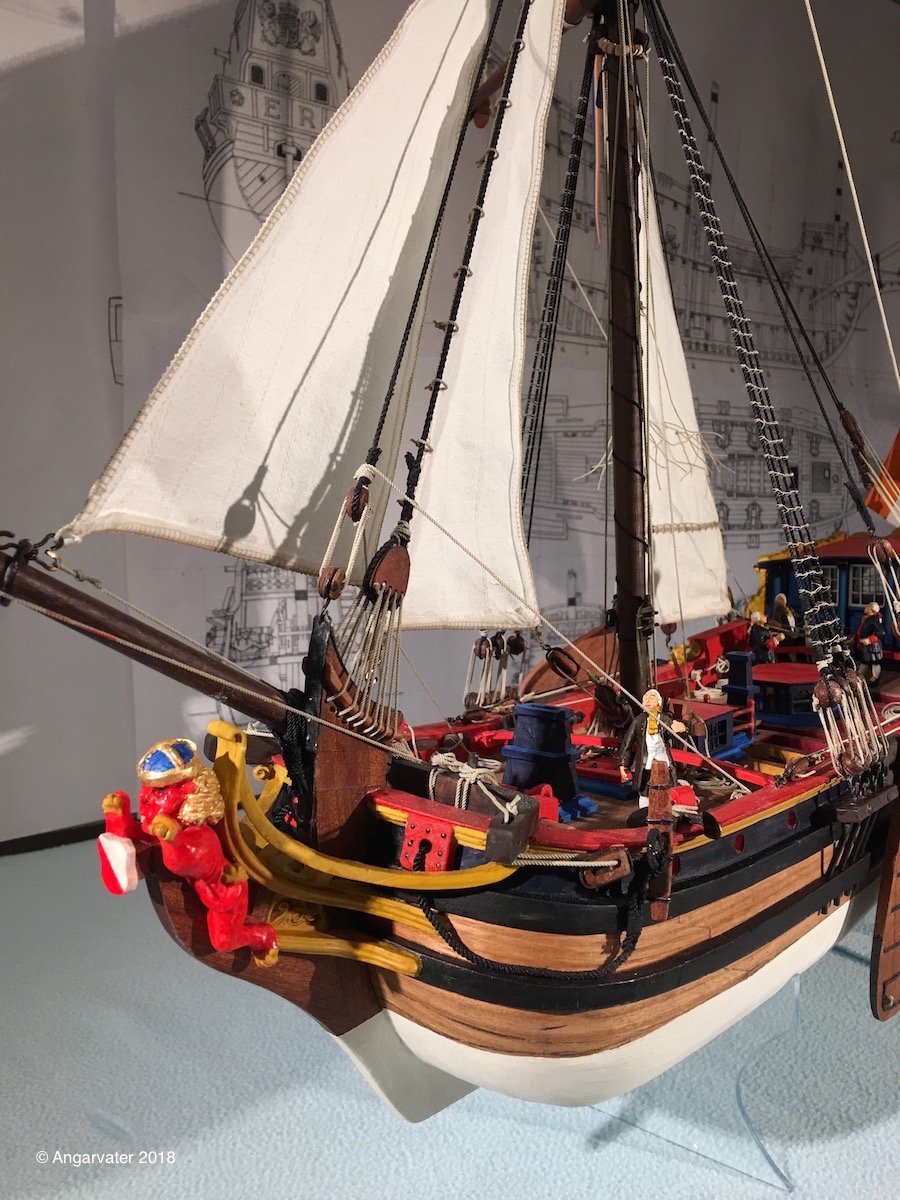
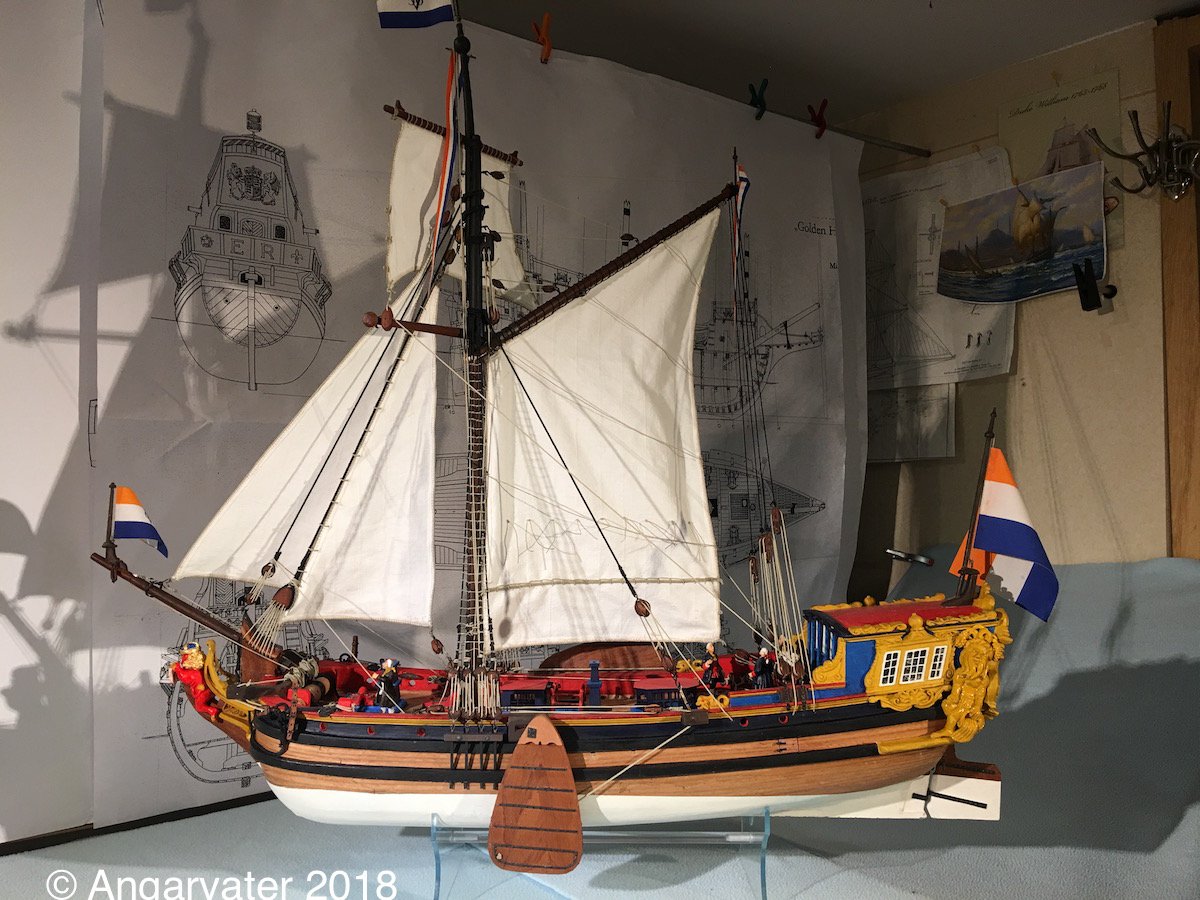
I have started the next project, an elizabethanian galleon.
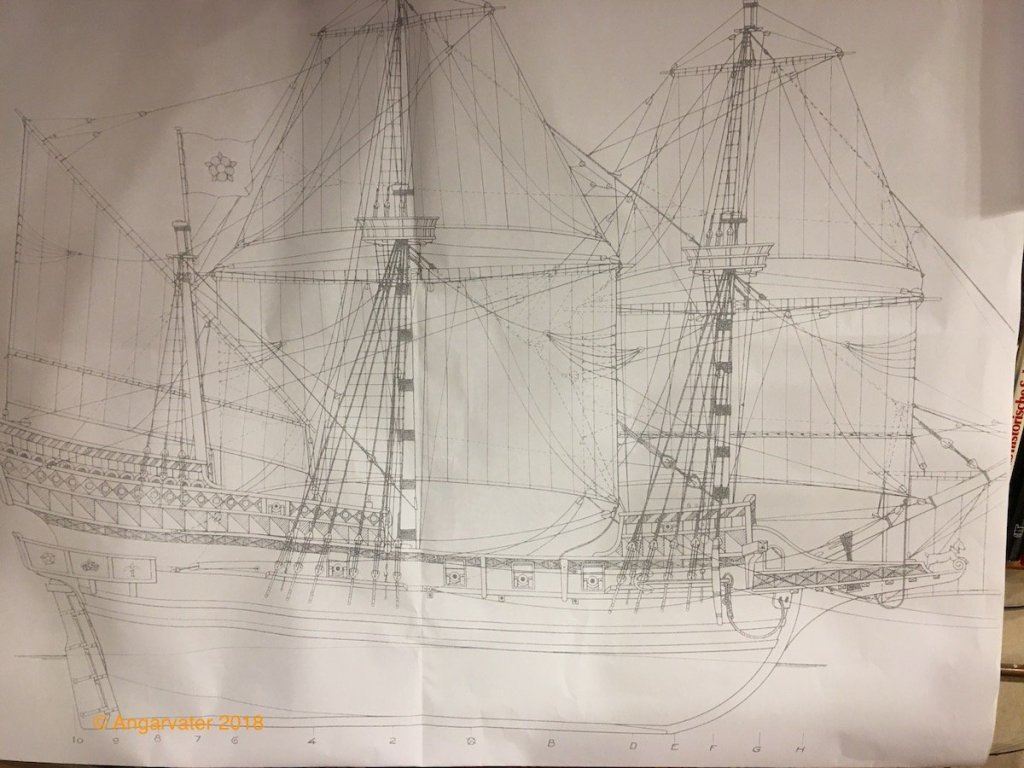
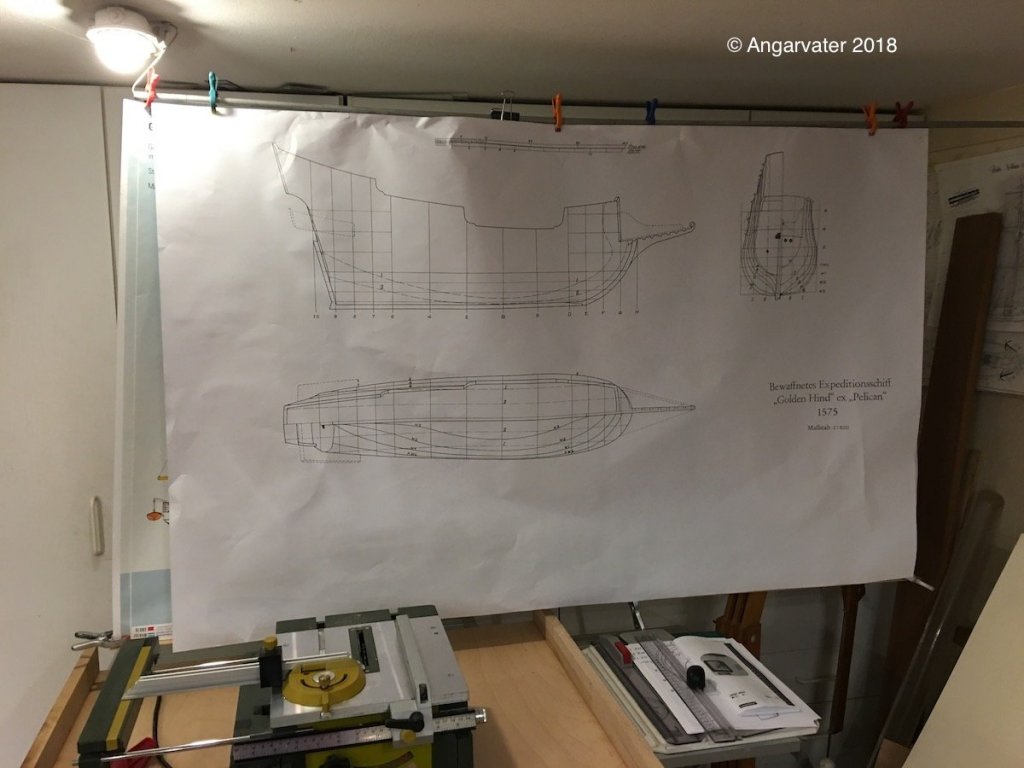
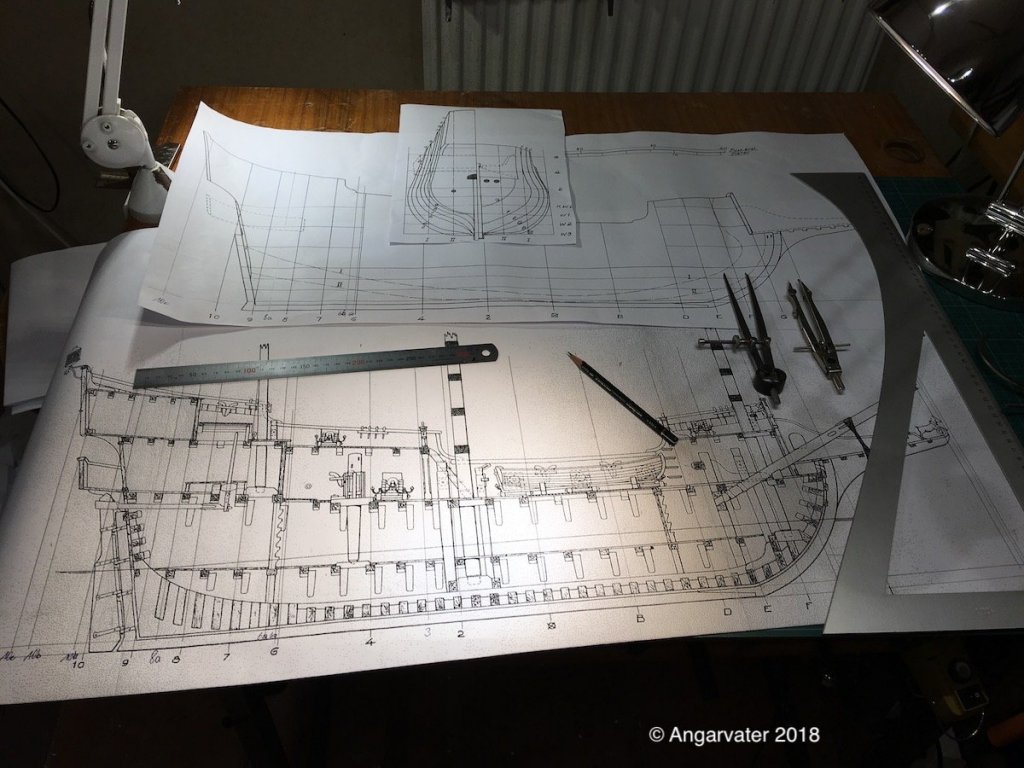
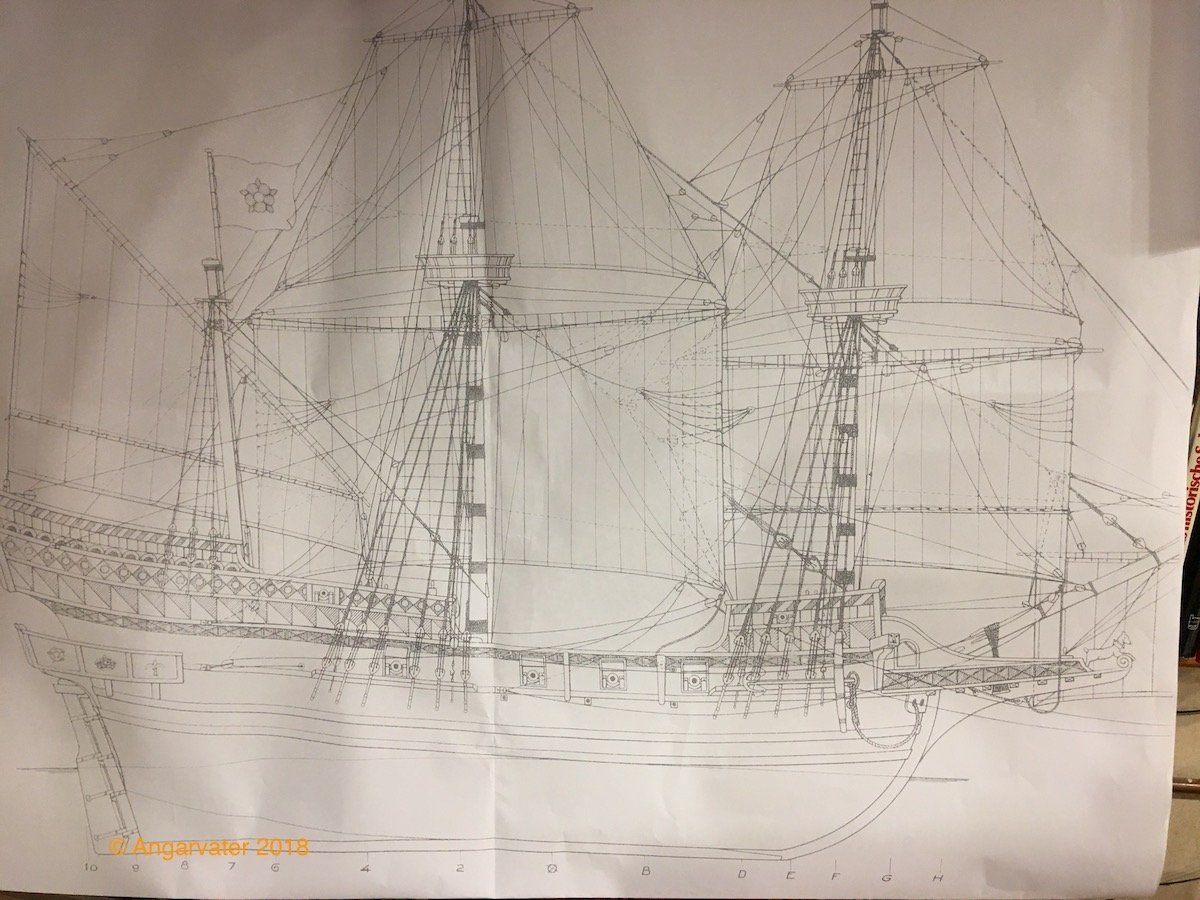
I use some plans I did find in two old german modeling books, Mondfeld, Historische Schiffsmodelle, a german classic from the early 70., and Stoeckel,Risse von Schiffen des 16. und 17. Jahrhunderts. Both authors showed very similar plans of an elizabethanian galleon, named Golden Hind or ex Pelican. It may be a model of Drakes Golden Hind. How Golden Hind looked exactly is unclear. But I like the plans, and they also seems quite right for the type Galeone of the english sailors in the time of queen Elizabeth Tudor.
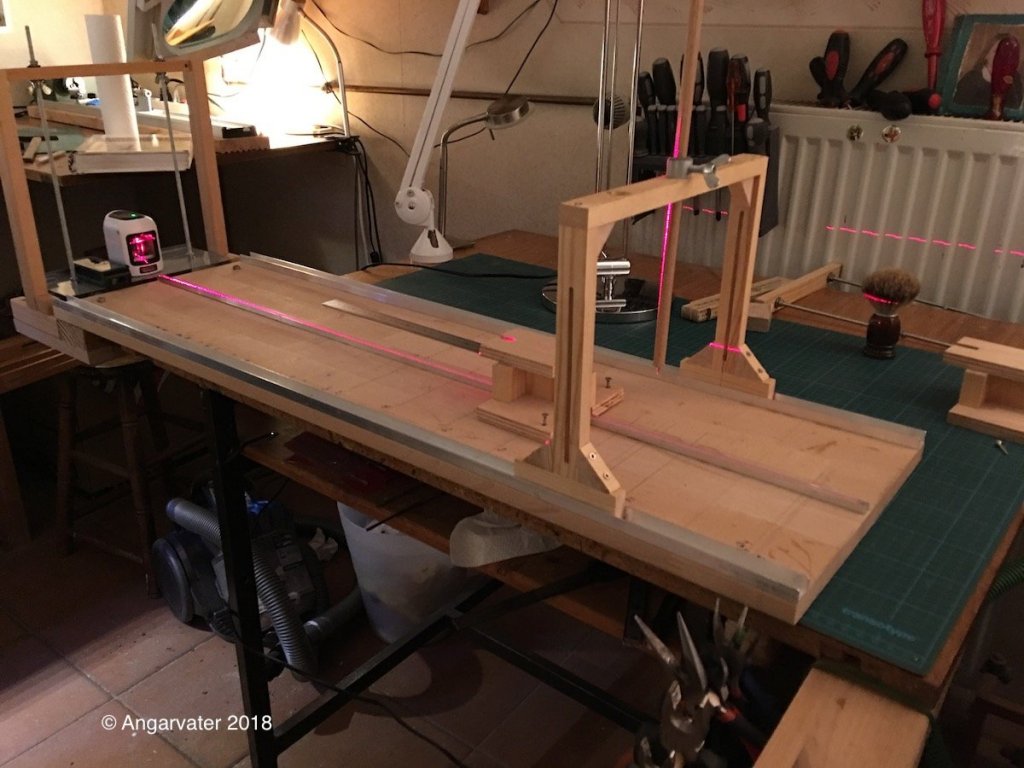
Fist step was to modify the slipway. For the aligning of the frames on the keel plate I use a cross line laser
The plans
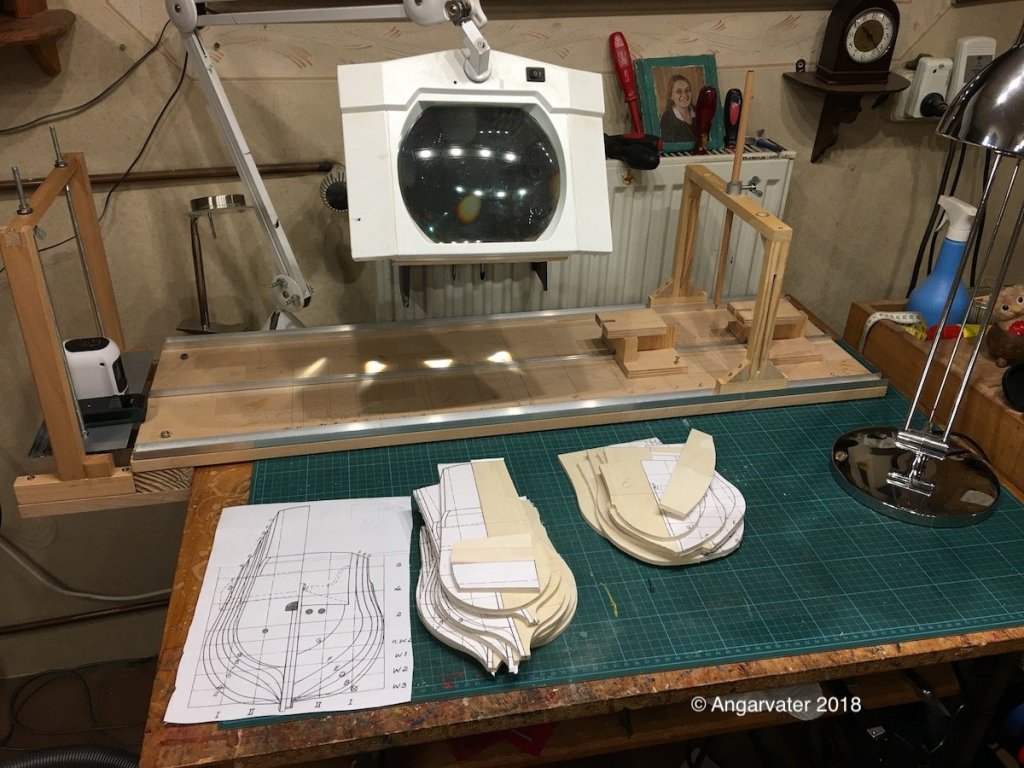
The bulkheads
Mounting of the bulkheads on the keel plate


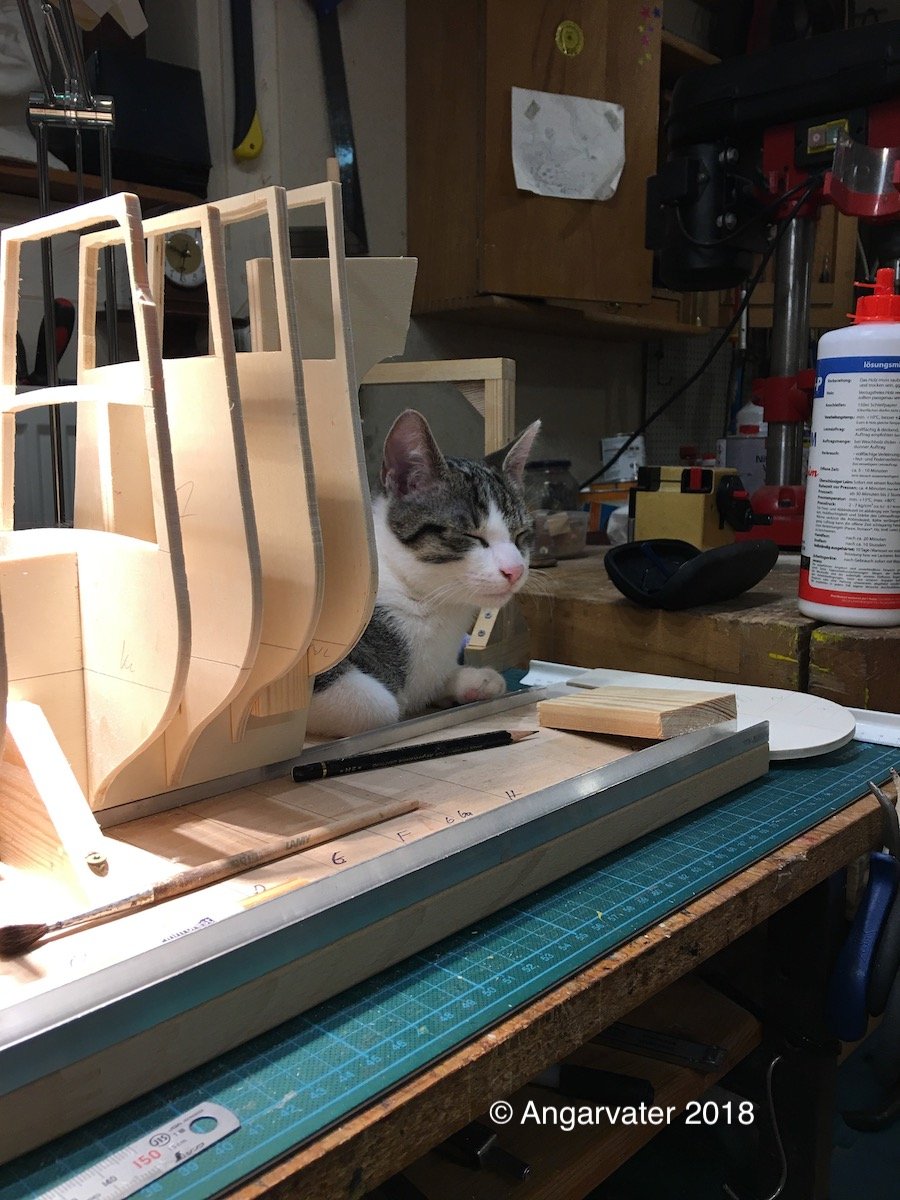
The shipyard guard (named Michel ) after work
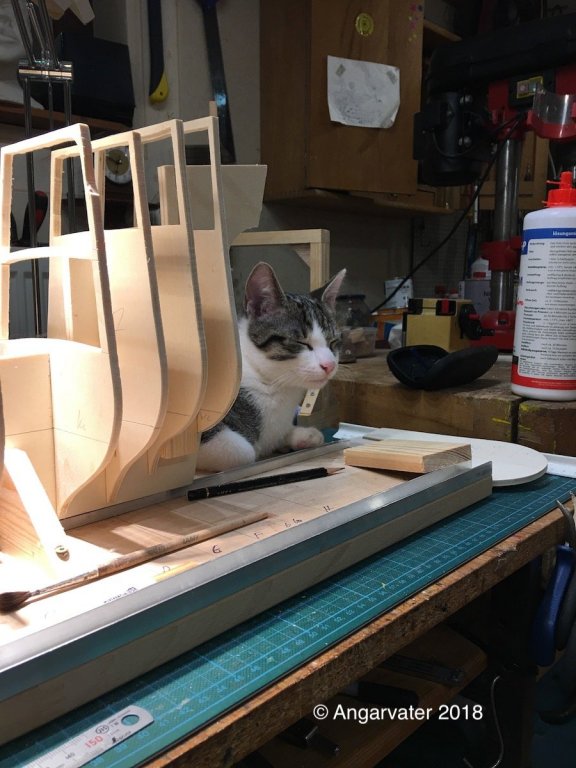
cheers! Hartmut
-
Hello Nils!
absolut amazing work.
After several weeks in which I didn't feel well I had to undergo bile surgery. But now its all right again so I'am back in the dockyard and the forum.
Best regards Hartmut
- Omega1234, Piet, popeye the sailor and 2 others
-
5
-
Thank you, guys for all your kind words.
There are only the stern lantern and the decorations of the gun ports to make to finish Utrecht. Therefore I have started the next project, an elizabethan galleon. It may be a model of Drakes Golden Hind. How Golden Hind looked exactly is unclear. I will use some plans I did find in two old german modeling books.
Okay now I will start the new build log.
Cheers Hartmut
- Mirabell61, mtaylor, Piet and 2 others
-
5
-
Congratulations!
A wonderfull modell and an amazing work.
Best regards
Hartmut
-
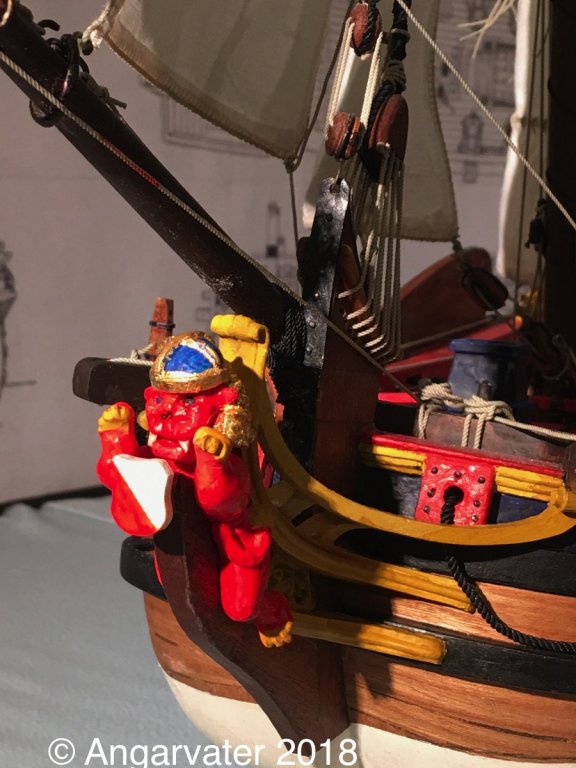
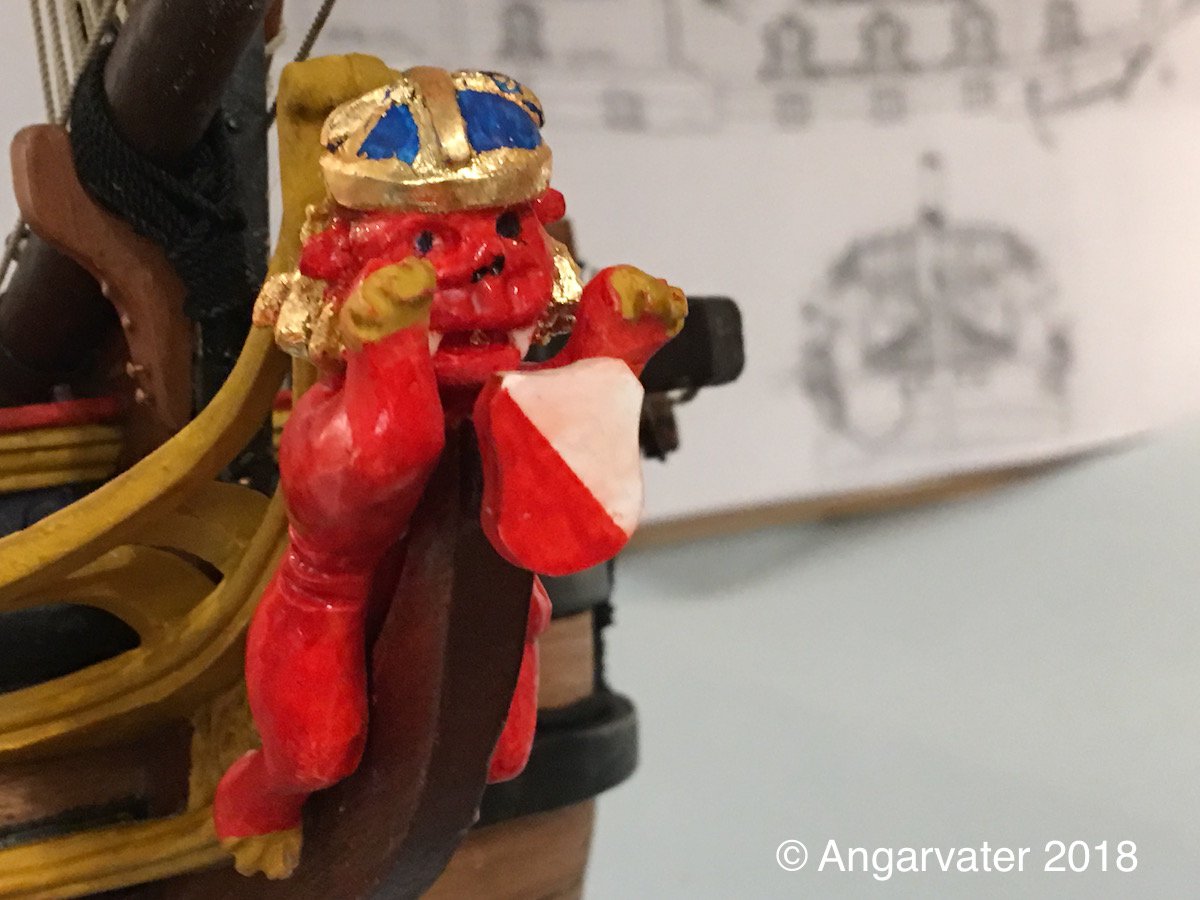
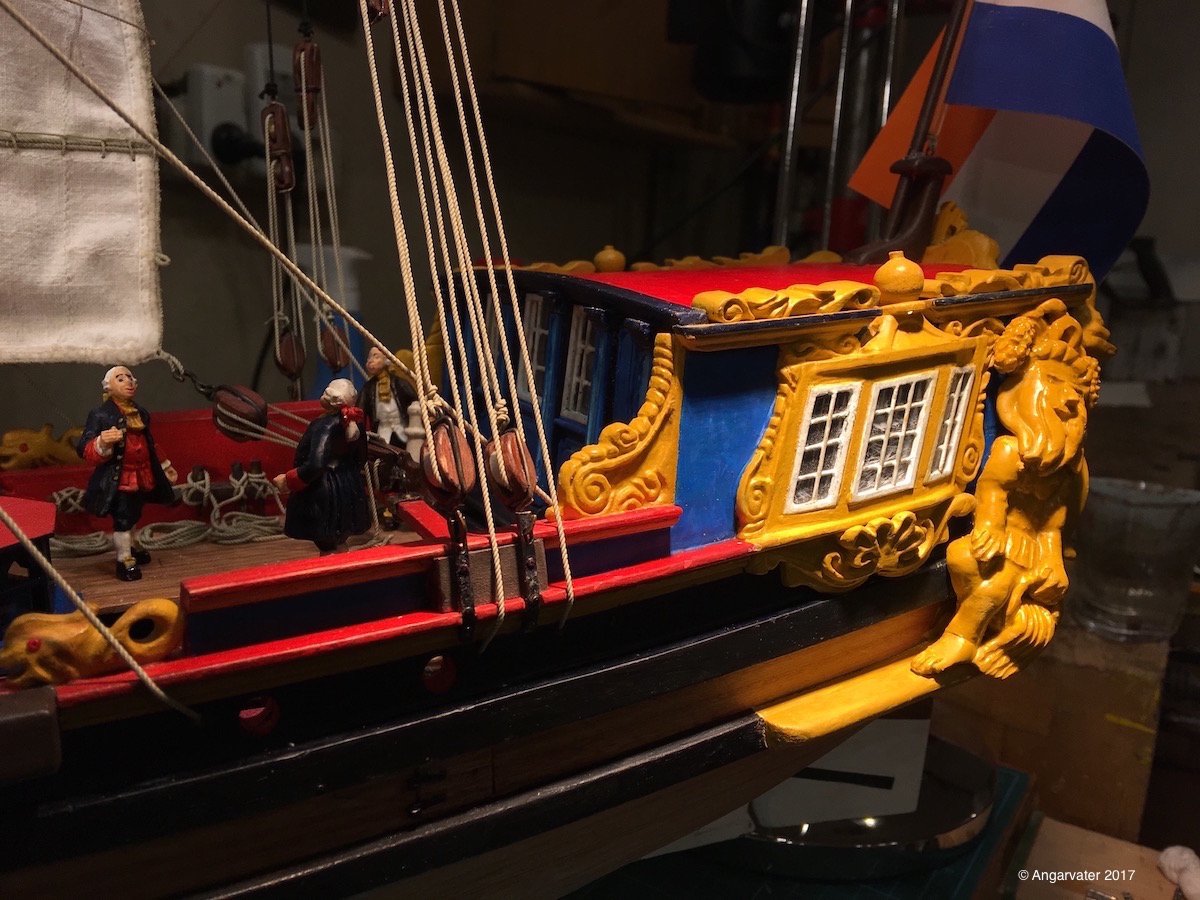
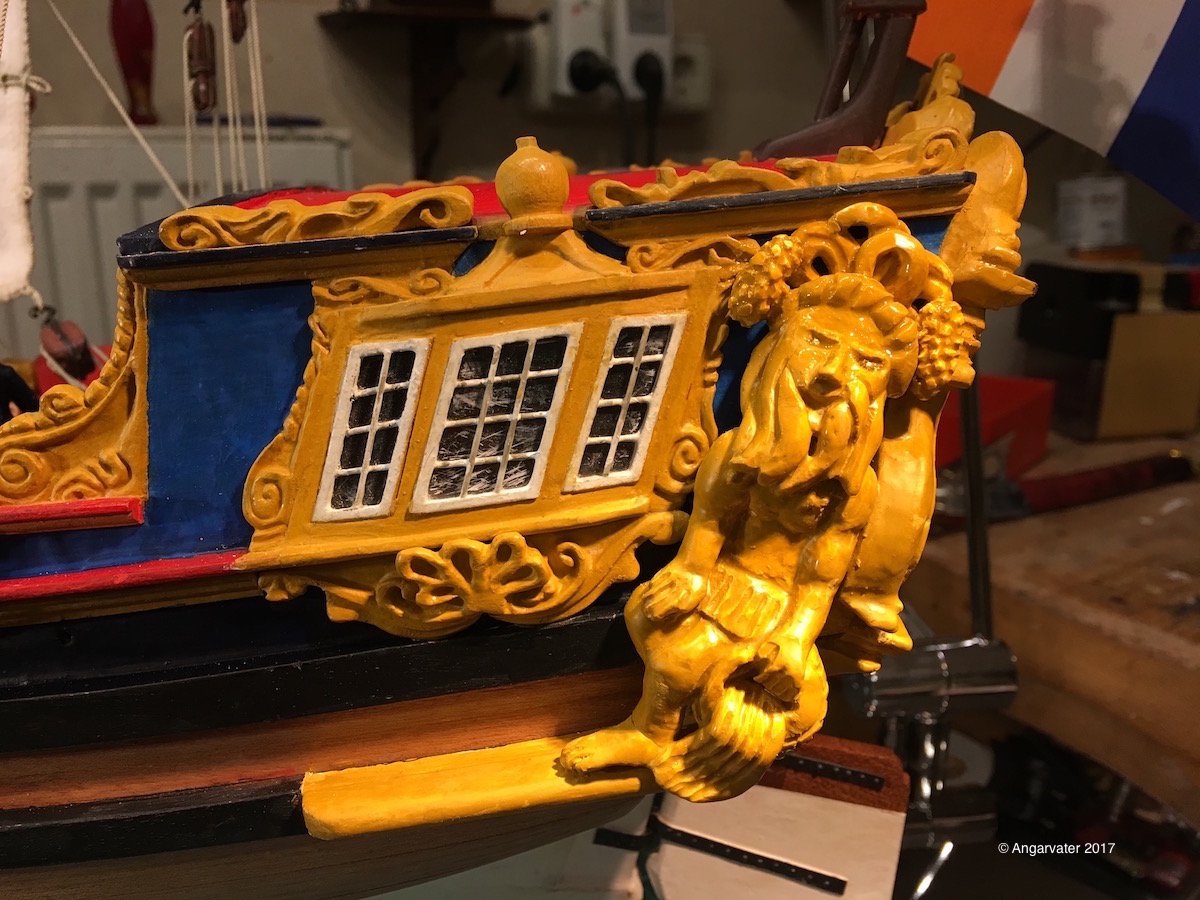
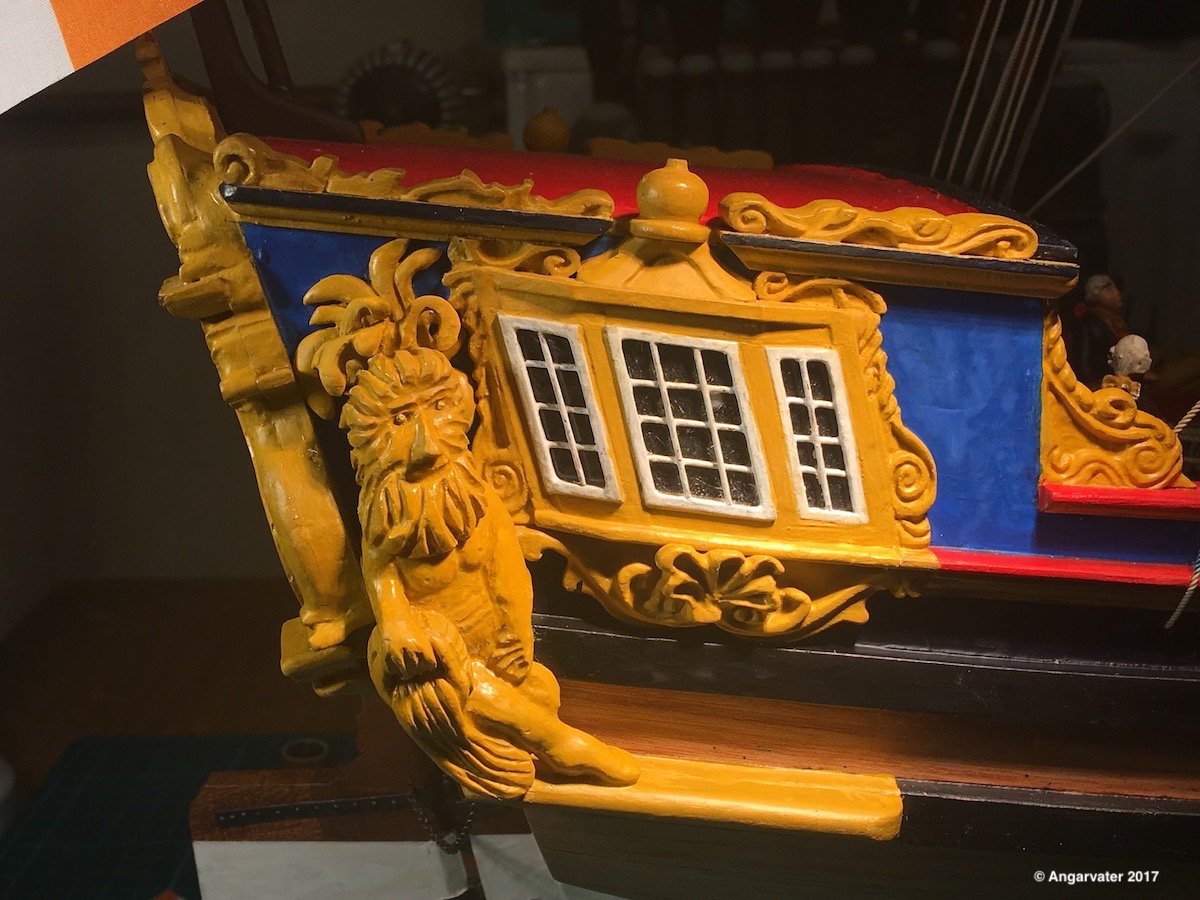
Many thanks to you guys for all the "likes" and kind words.
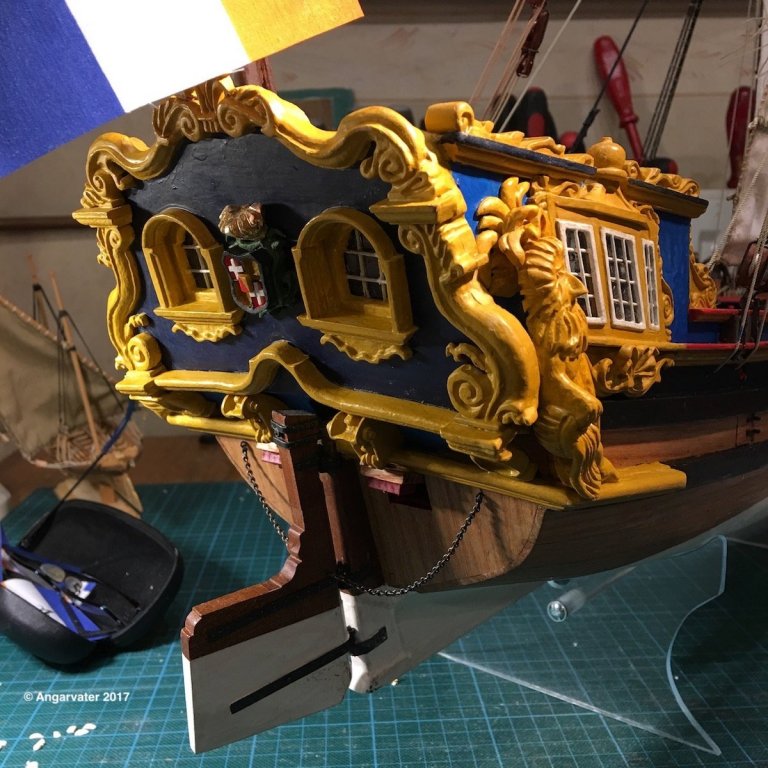
Here are some pics of the current state of the model. The decoration figures are made of polymer clay. To make the figurehead was very fiddly. The lion of the full sized Utrecht in my eyes looks like a cartoon. But a very nice one. Iwasn't able to reproduce it in my model.


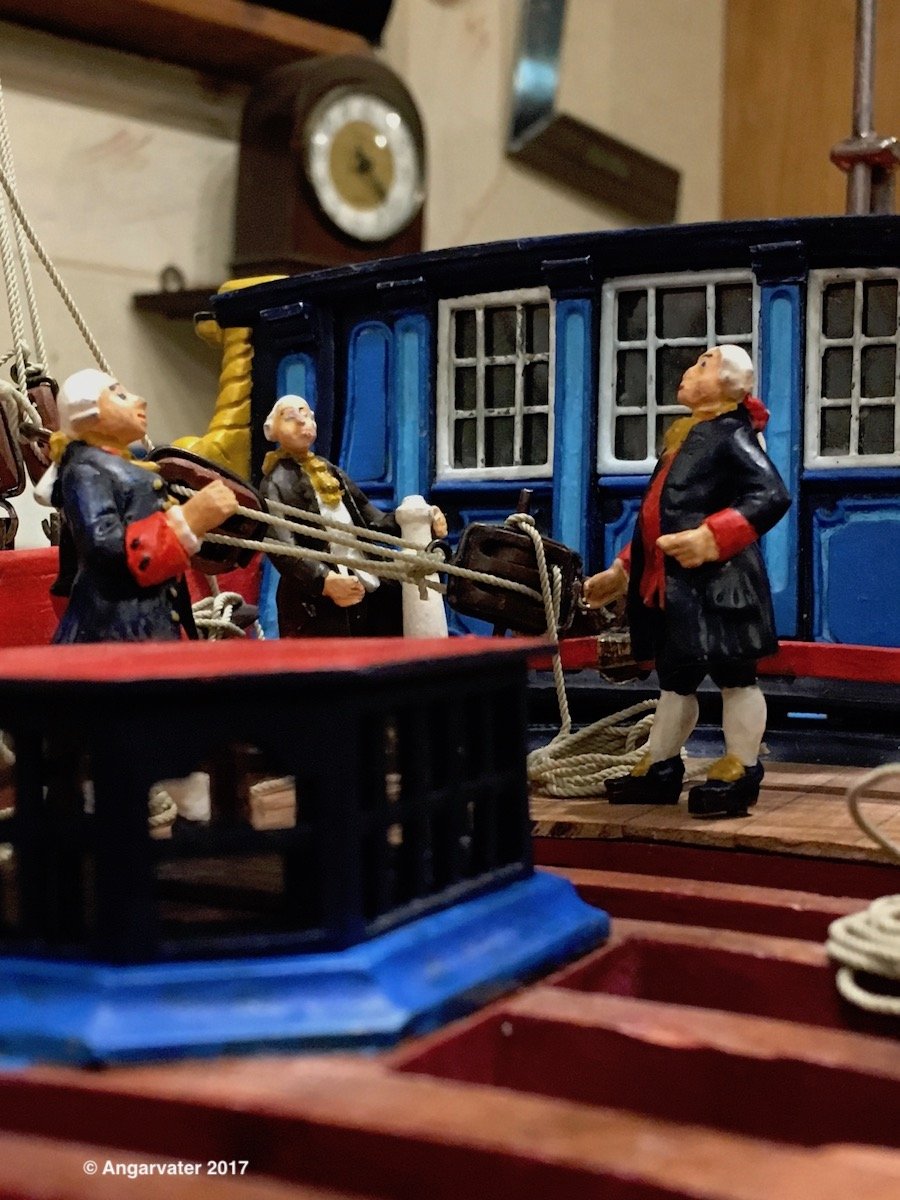
Lets have a look around the pavillon
Even the two water gods at the pavillion are rather strange guys than baroque gods. But,I did my very best.


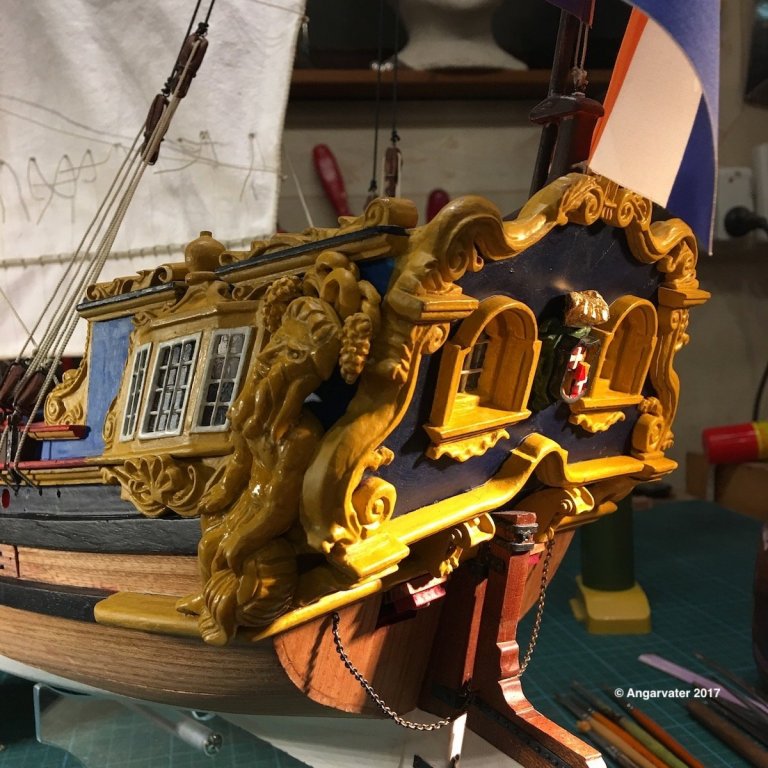
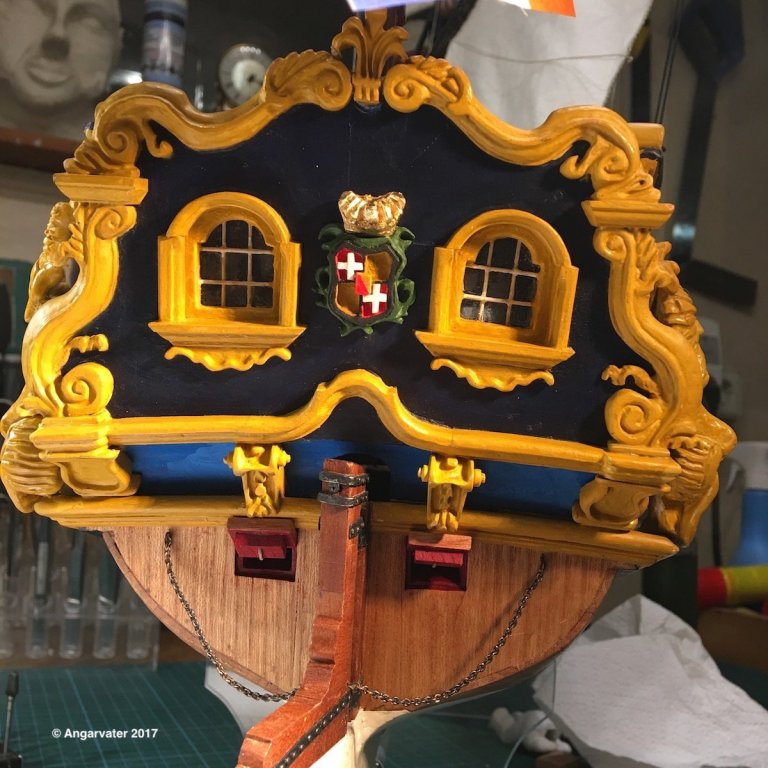


Best regards
Hartmut
- Ondras71, marktiedens, Mirabell61 and 11 others
-
14
-
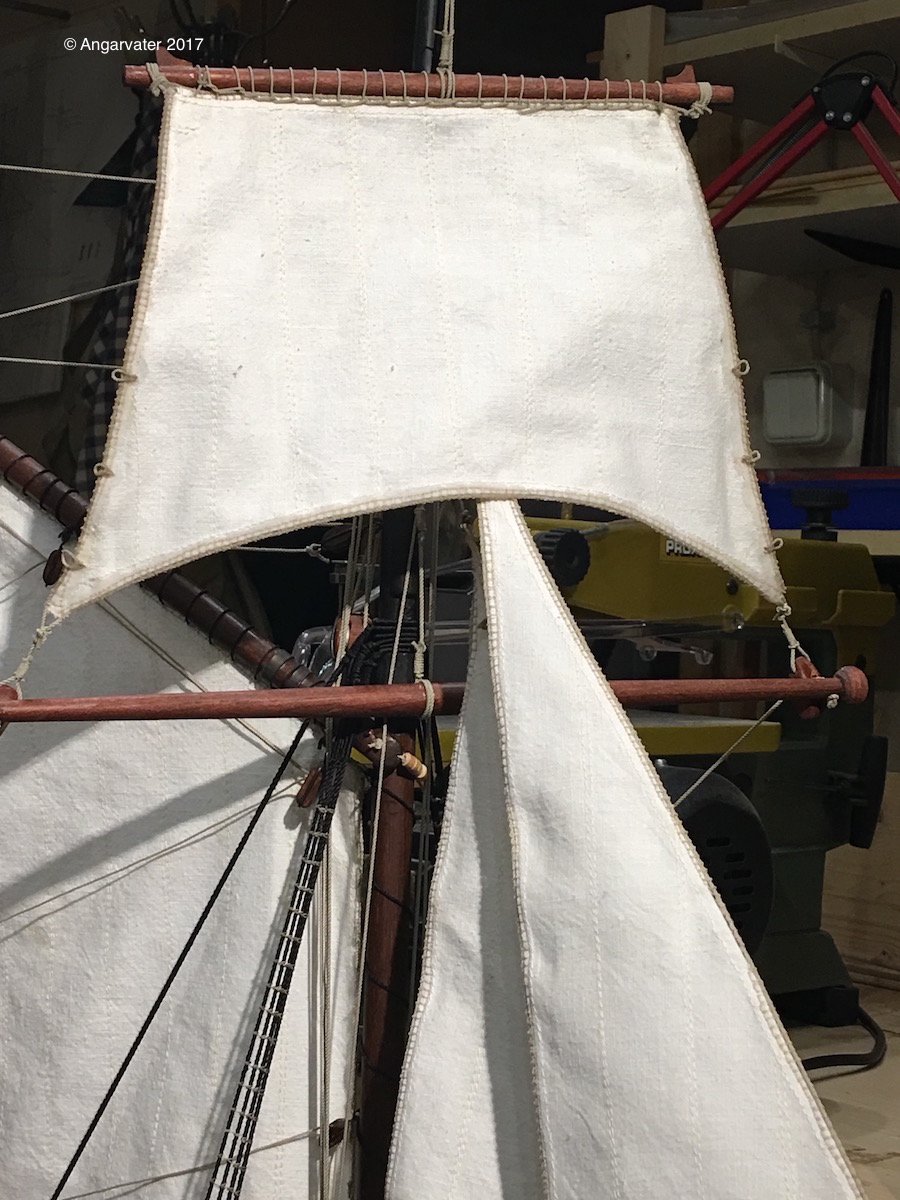
Hello guys,
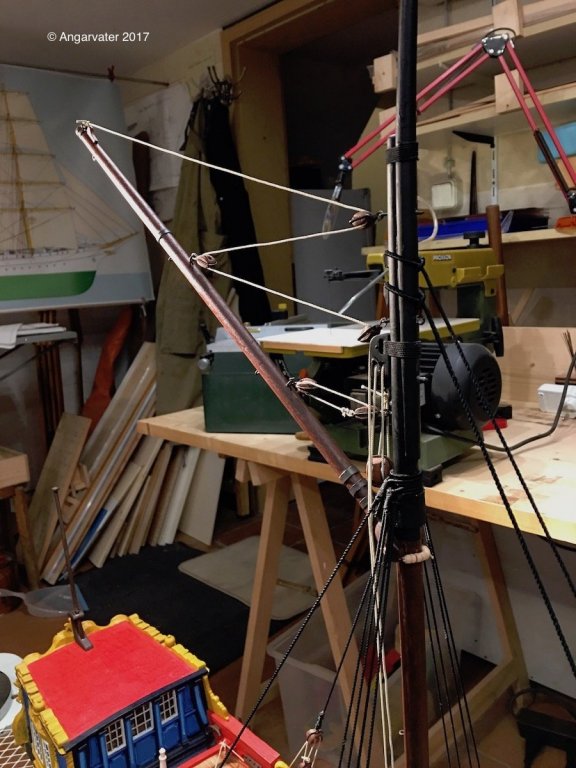
after a long time I am now back again in the forum. In the last three months there had been a lot of interesting jobs, two journeys and also time for modelling. But not enough time to post. With other words: time for modelling or time for posting. But now I will show you Utrecht today and of course some of the work steps .
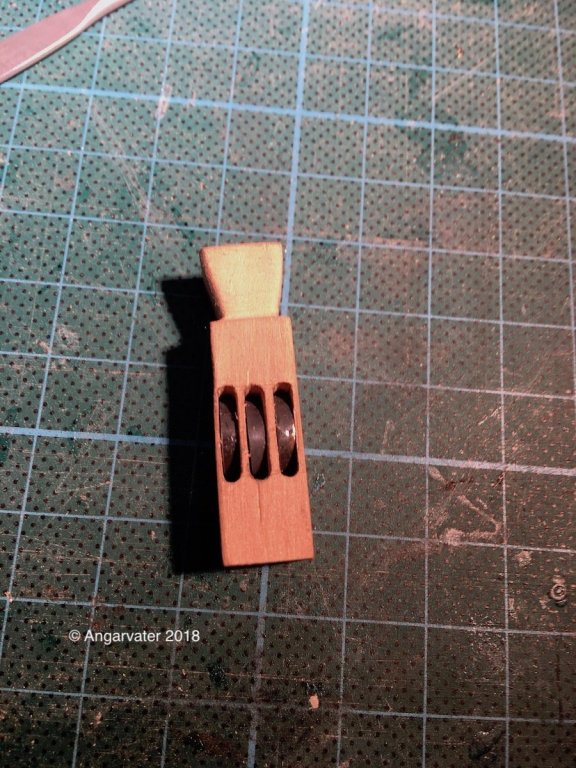
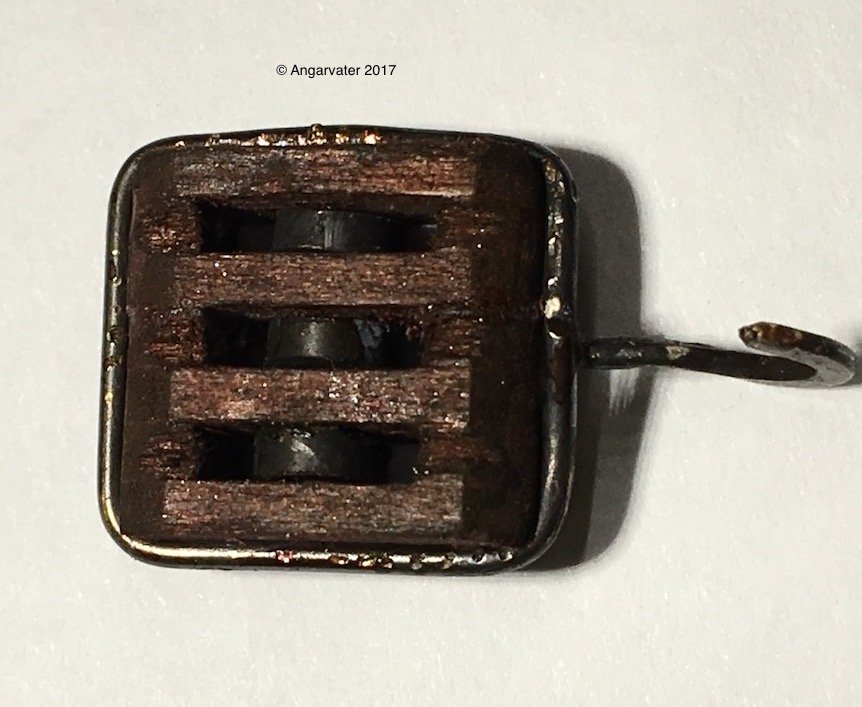
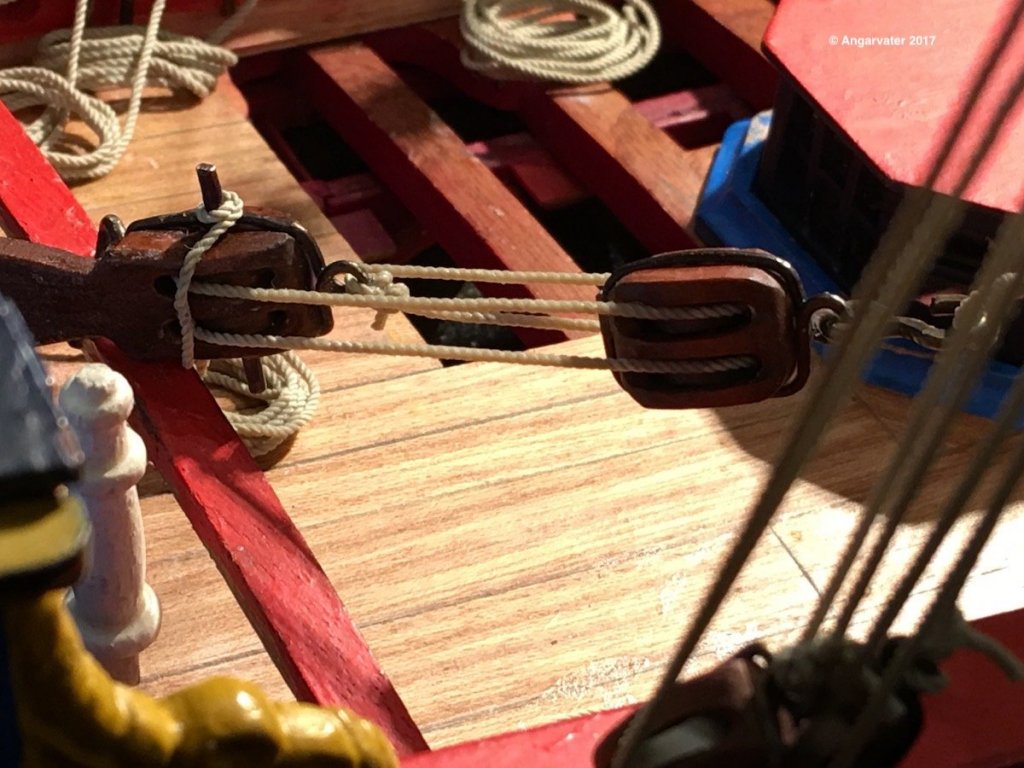
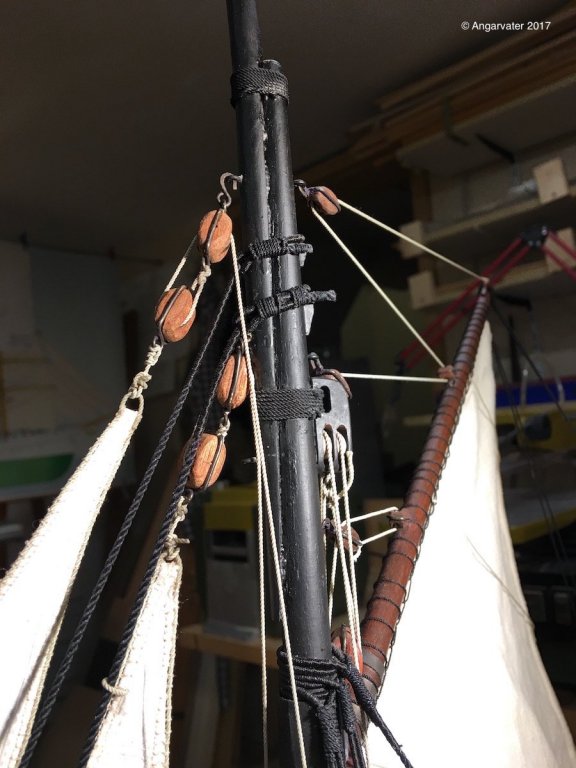
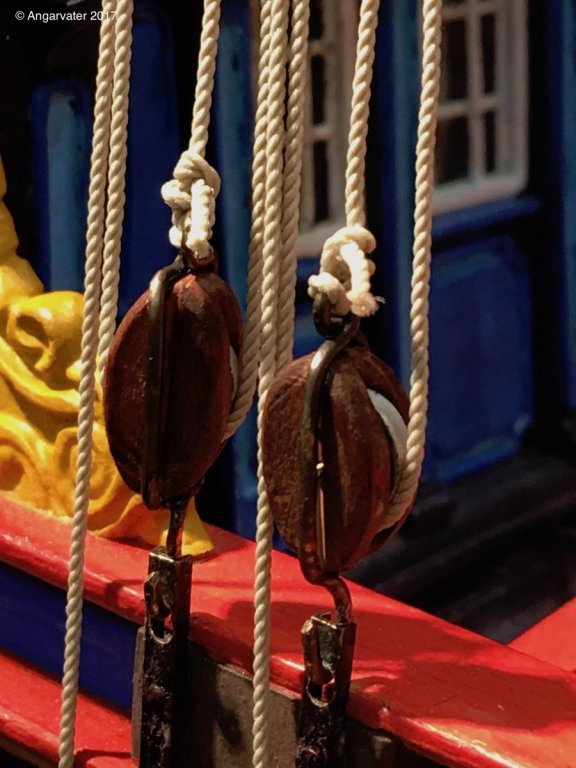
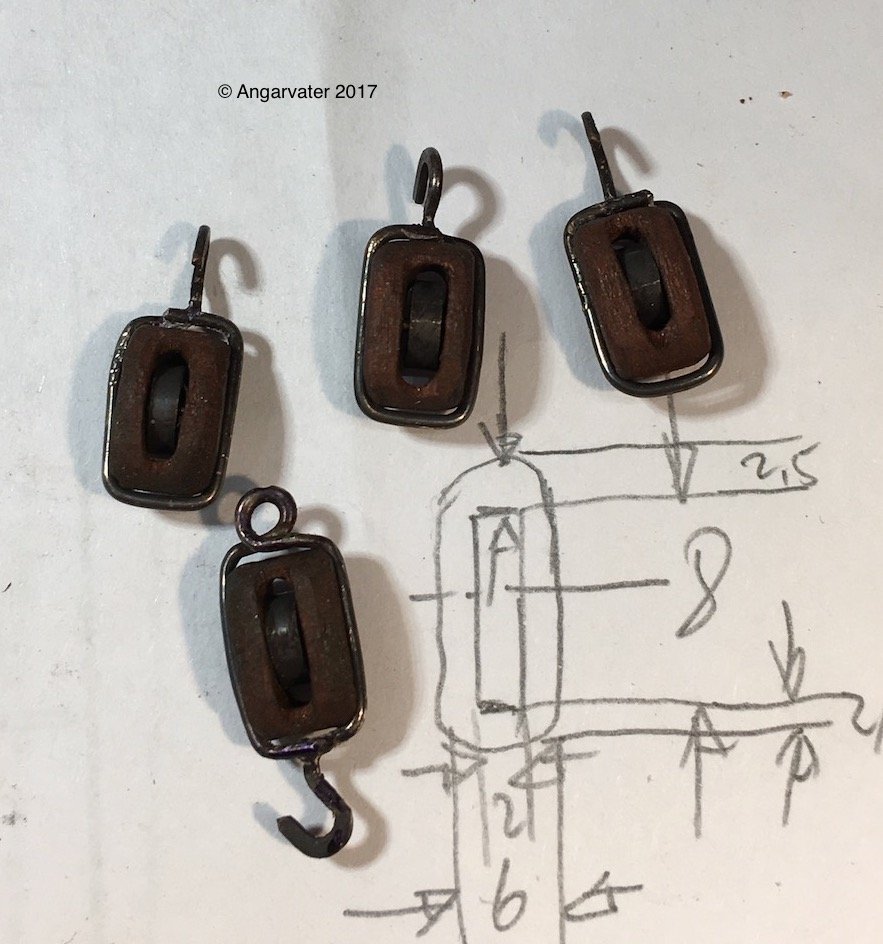
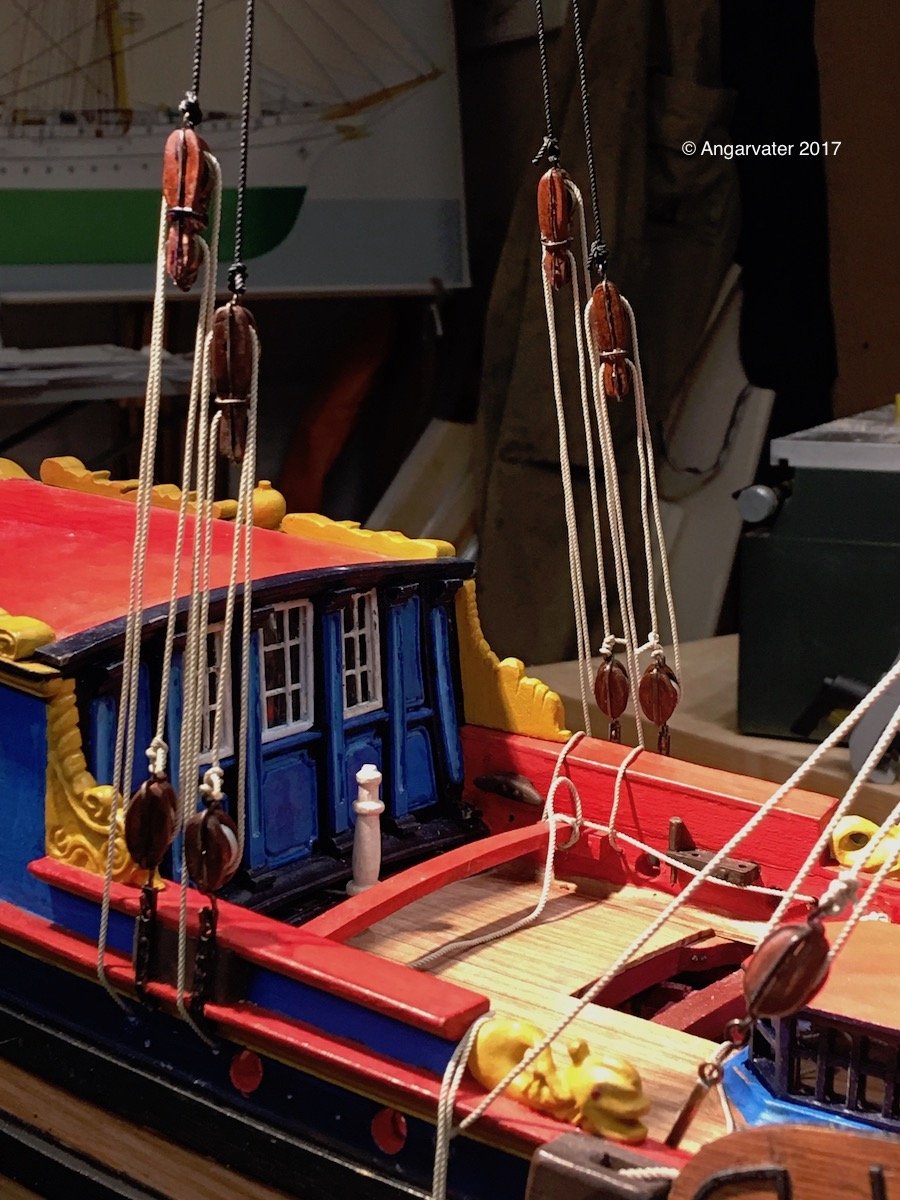
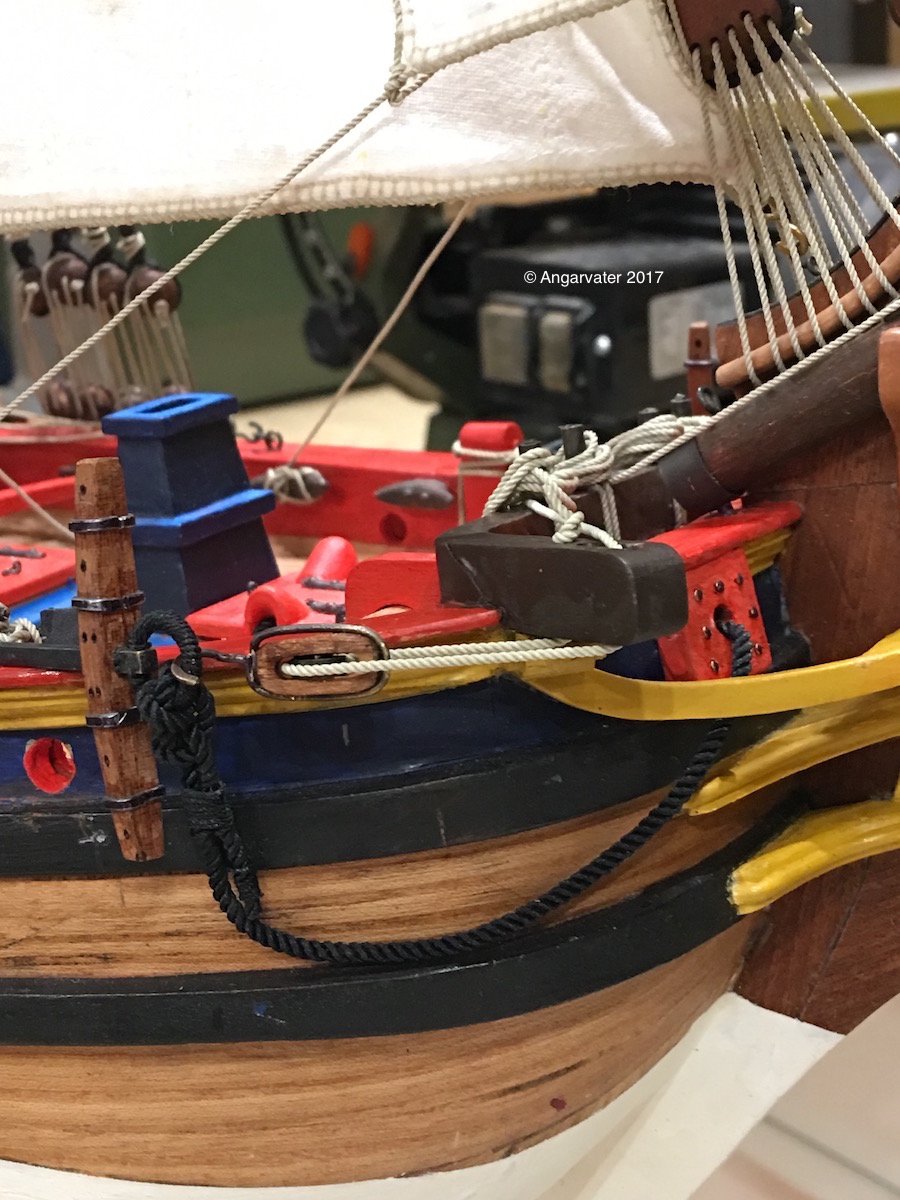
Some pics from the rigg and the blocks
The main halliyard blocks
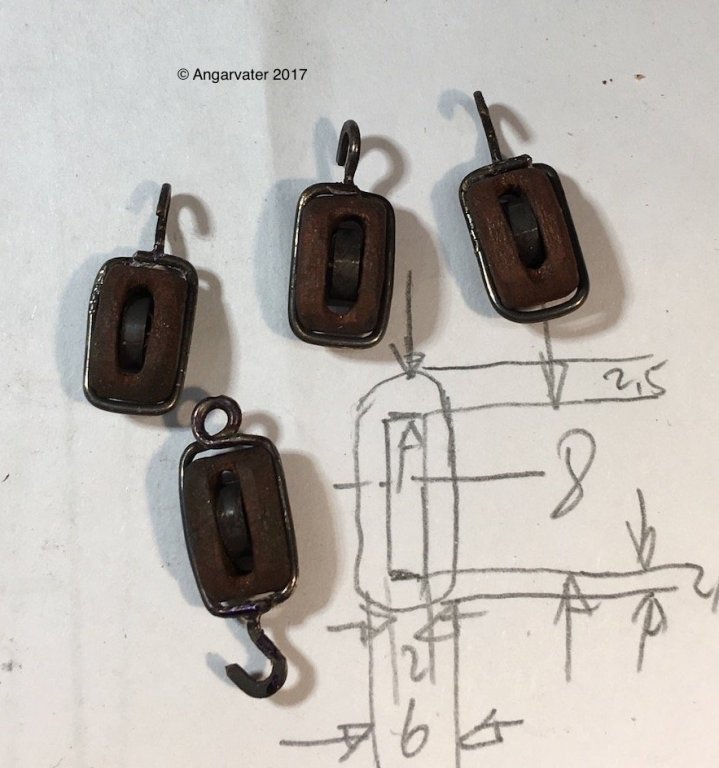
Gaff
The vang blocks


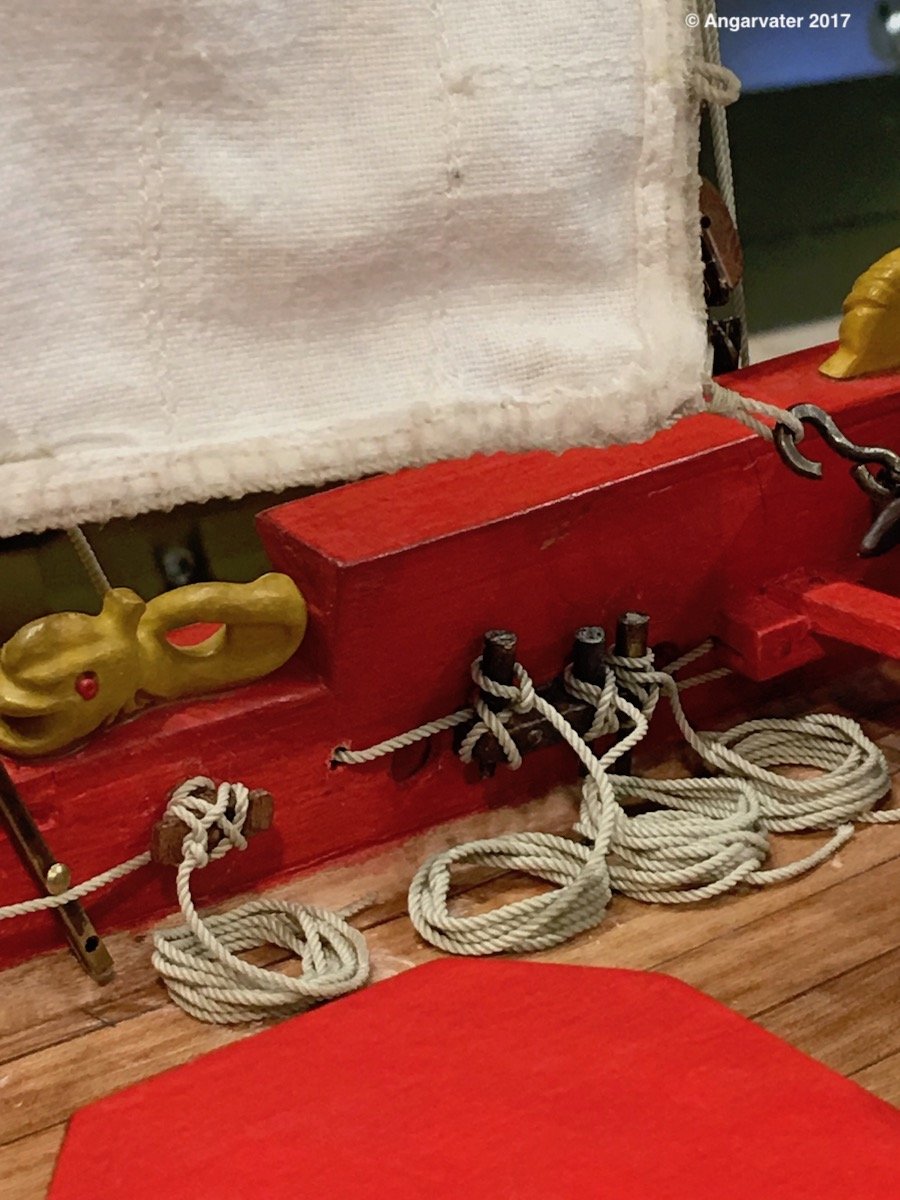
Many thanks to my Admiral for sewing the sails
the mainsheet

Jibbhalliyard
In / outhaul


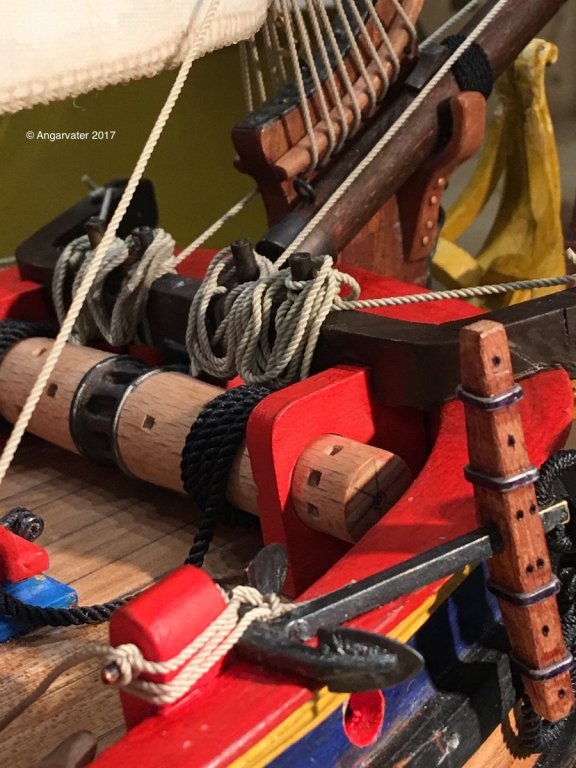
The anchor

Regards Hartmut
- cog, Captain Poison, mtaylor and 9 others
-
12


.jpg.69ae869de422759be6d5e53038deb442.jpg)


Golden Hind ex Pelican by Angarfather - 1:36
in - Build logs for subjects built 1501 - 1750
Posted · Edited by Angarfather
Next steps was to make the guns
At first I changed the brass into bronze by painting it with acrylic (old gold mixed with black)
And than the wooden parts.
Milling the side panels of the gun carriadges.
Side panels and other parts after cutting by band saw and sanding
First attempt
Making the axis and the weels
The first finished gun
A board
At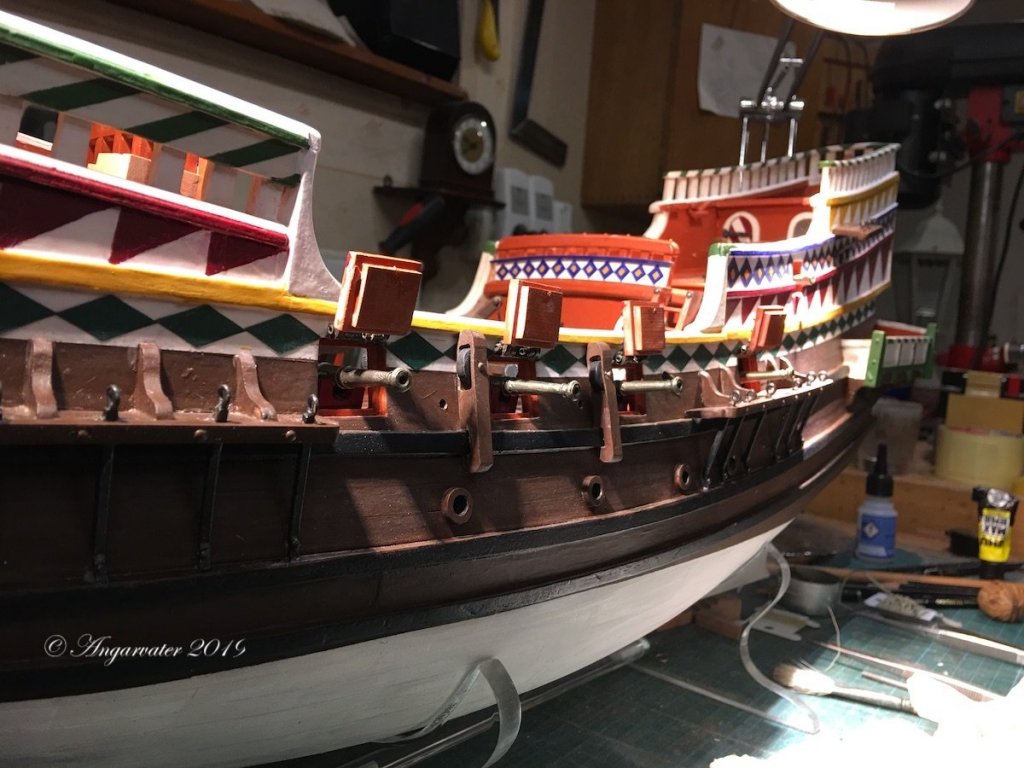
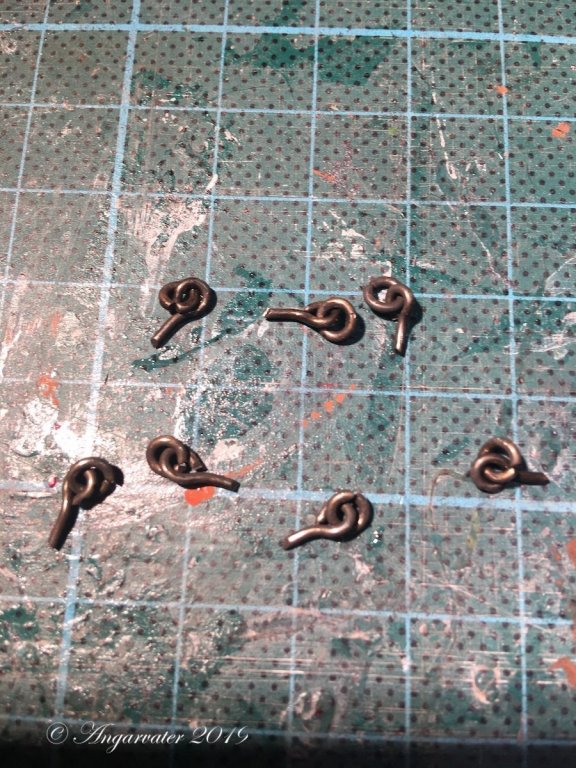
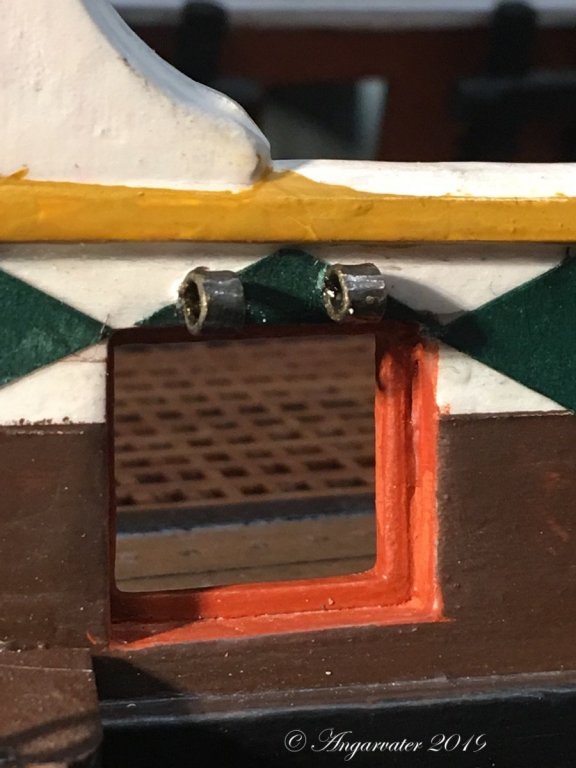
At last for today I had to modell 4 swivel guns for the stern. There were 4 guns from an older project. So it was easy to me to modify they into swivels.
Cheerio!
Hartmut