


mnewsholme
-
Posts
56 -
Joined
-
Last visited
Content Type
Profiles
Forums
Gallery
Events
Posts posted by mnewsholme
-
-
-
-
received a package from Syren today with planking blanks stock and chapter three parts. Ordered on 22nd with expectation it would take 6-8 weeks due to Cov-id, but arrived in two. So looks like shipping to UK is pretty much back to normal. Hopefully I can get some time to progress things a bit now and get chapter one finished.
- Chuck, Ryland Craze, Edwardkenway and 3 others
-
 6
6
-
-
-
On 6/27/2020 at 10:49 PM, James H said:
The ramblings of a demented, delusional and piracy-advocating moron...
See for yourself, and make your own mind up...

Er, yes Dave Stevens...ok!
cant help but laugh at those guys on SOS. They realised they weren't getting anywhere trying to cast doubts on whether kit would be released or quality of design so they've shifted tack to slating it because Framework is MDF and it might warp if it gets wet, ( sounds like they play with their models in the bath 🙂 ), and the cutting edge superior Chinese kits use plywood 🙂
- James H, Ryland Craze, ccoyle and 2 others
-
5
-
1 hour ago, Blue Ensign said:
Thanks for the heads up re the tabernacle Chris, it was fairly clear with the steam versions but I hadn't resolved the issue with the sail only Fifie's.
I have James Pottinger's article in Model Shipwright 118 and his 1:30 plan of the steam version.
The thing that puzzled me was the mast housing arrangement and crutch which indicates a lowering facility, the mast was surely to large and heavy to unstep for lowering without assistance.
One of my sources, Inshore Craft by Basil Greenhill and Julian Mannering, covers Fifie's, and in relation to the large sail Fifie's from the 1880's mention is made of; the division of the below deck space into the foreroom with mast tabernacle, the fish hold (accessed by a long narrow hatchway) and the cabin.
This makes sense, and in relation to the model the tabernacle would not be seen in normal circumstances, and your excellent plans do cover displaying the model with the mast in the lowered position.
I think this resolves the issue for me.
Regards,
B.E.
Hi B'E.
Not strictly related as this is a bigger Zulu class so more applicable to the 'Lady Isabella', but this rebuild log for a full size boat may give you some details as to construction and details like mast footing etc.
http://forum.woodenboat.com/showthread.php?166562-Kate-LK-126-A-Zulu-Herring-Drifter
- BobG, Blue Ensign and Elijah
-
3
-
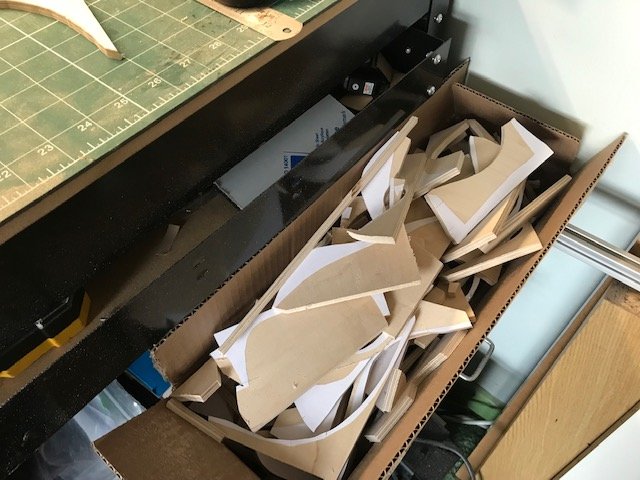
making steady progress. Stem assembled and added to keel former.
Then fitted bulkheads to keel former. Pretty happy with how level and square everything turned out. Hobbyzone slip makes it easy to check alignment as you go along.
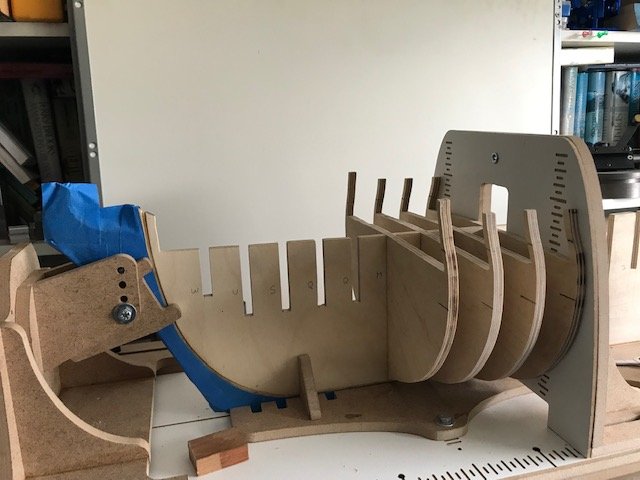

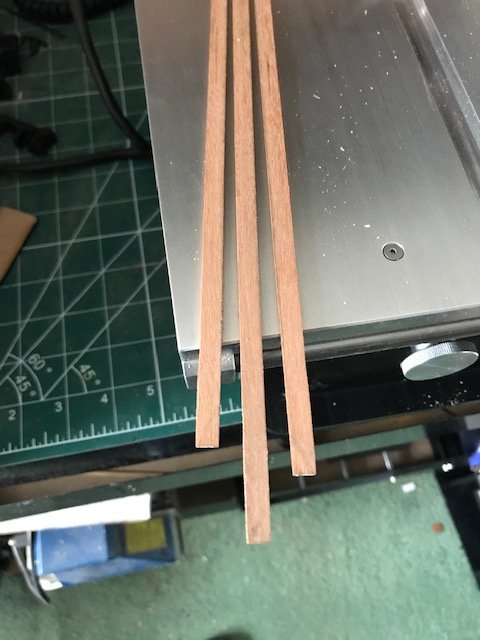
Now for fairing. Ordered some extra sanding blocks. Once they arrive I'll crack on. Had a test run in meantime at ripping planking stock. Used a bit of scrap cherry and came out pretty nice and consistent in thickness. Finish left by saw is pretty much flawless.
One question I have reading ahead a bit in chapter is when I come to add the stern framing do I add two stern planking fillers on each side of keelformer behind bulkheads 29 or is it just one each side and other two are spares?.
Looking even further ahead at work Chucks doing on chapter 4. Is there a ply subfloor below the planking in the two wells below the hatches?. Just wondering if it would be worth adding these subfloors now to help stiffen up skeleton before fairing, although its remarkably rigid already.
- JeffT, GrandpaPhil, Wacom and 4 others
-
7
-
Thanks Chuck.
-
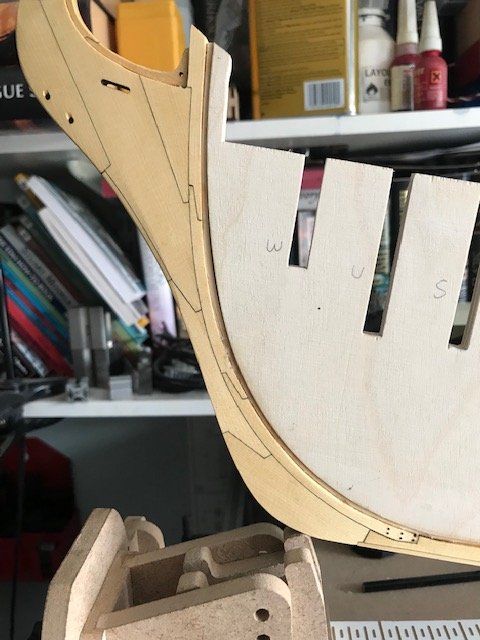
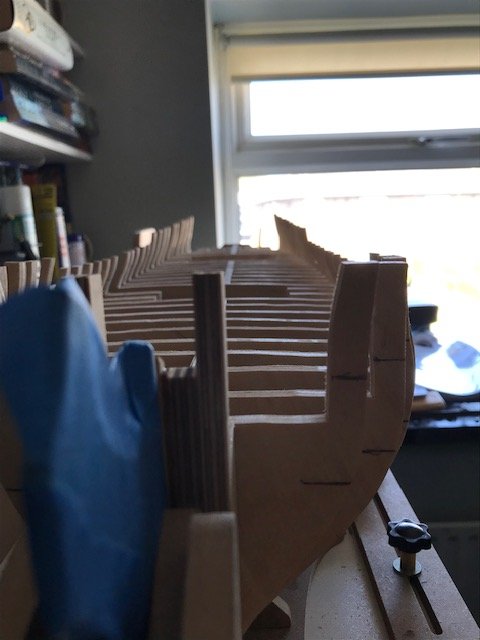
Slow but steady progress. Bulkheads all sanded back to lines and slots adjusted for fit. I'm now fitting Rabbit strip to keel former. Felt a bit tight bending round so I've steamed it and now allowing to dry before gluing on. I put a strengthening piece on either side of the dovetail joint in the keel former just as belt and braces.
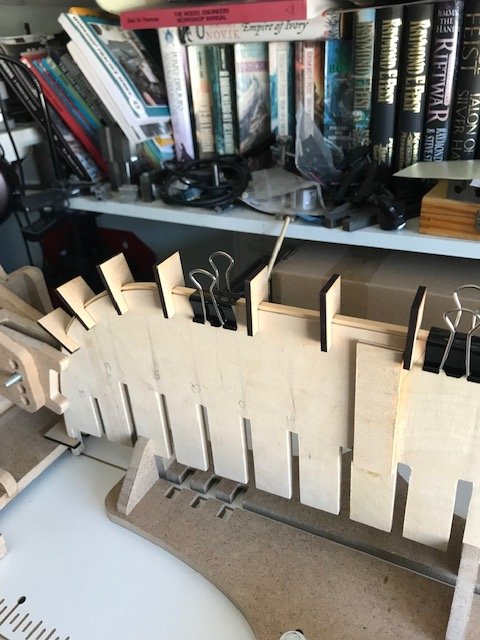
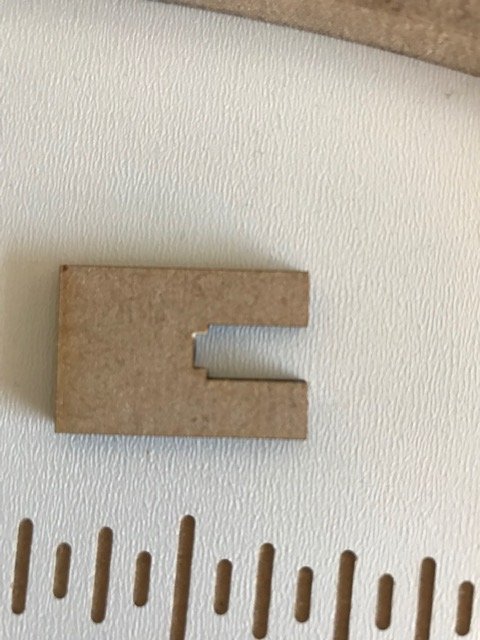
Little MDF tabs are an idea I saw on Chris Wattons Speedy kit and shamelessly borrowed with a slight modification. I struggle a bit getting the rabbit strip central all the way down the keel. So I lasercut the tabs with a notch to hold the rabbit strip central to the former whilst the glue dries. Just a snug push fit and tabs are removed as soon as glue has set a bit. bulldog clip stays on to hold strip down until glue fully set.
Has anyone got any photos that show the stem looking vertically down from above?. I've assembled the stem and I'm struggling to visualise how its tapered. I can't see any overhead views of this detail anywhere on the plans. Is it a smooth taper from the back edge of the stem (1/4") to the front edge of the Bobstay (1/8"), or is just the front half of the assembly that's tapered?
-
Bit off progress to report.
Side effect of lockdown is I've had more freetime so managed to get bulkheads cut on scrollsaw.
Hopefully a dry day tomorrow so I can use disc and oscillating spindle sander outside to fine tune upto the lines.
Has anyone got any tips for sanding slots other than files and sanding sticks. Their all going to need adjusting as Plywood varies between 6.5mm and 6.7mm thick, unfortunately 1/4" ply pretty much unobtainable in UK so went with closest metric size ( 6mm is available but its always undersize typically 5.5mm or less, weirdly 6.5mm tends to be on size or slightly oversze).
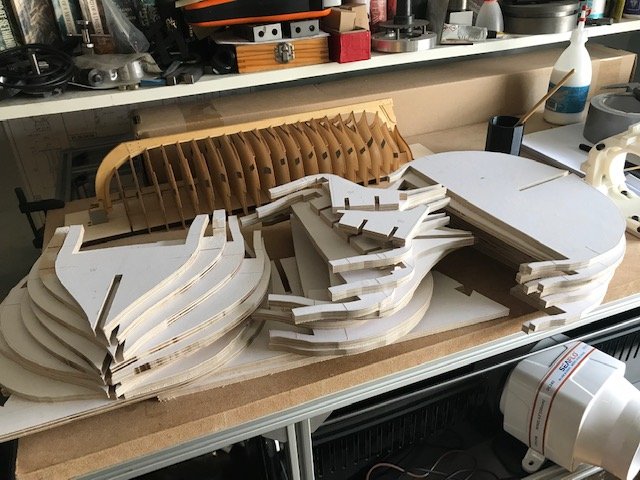
Plenty of scrap generated cutting bulkheads 🙂
-
And so it starts. Plans back from printers + chapter one and two parts in from Syren. And a new toy in the workshop 🙂

Just got to learn how to use it now.
Matt
- Matt D, JpR62, GrandpaPhil and 4 others
-
7
-
Thanks Chuck
Couldn't think what other settings I could adjust. Good to know I was over thinking it.
-
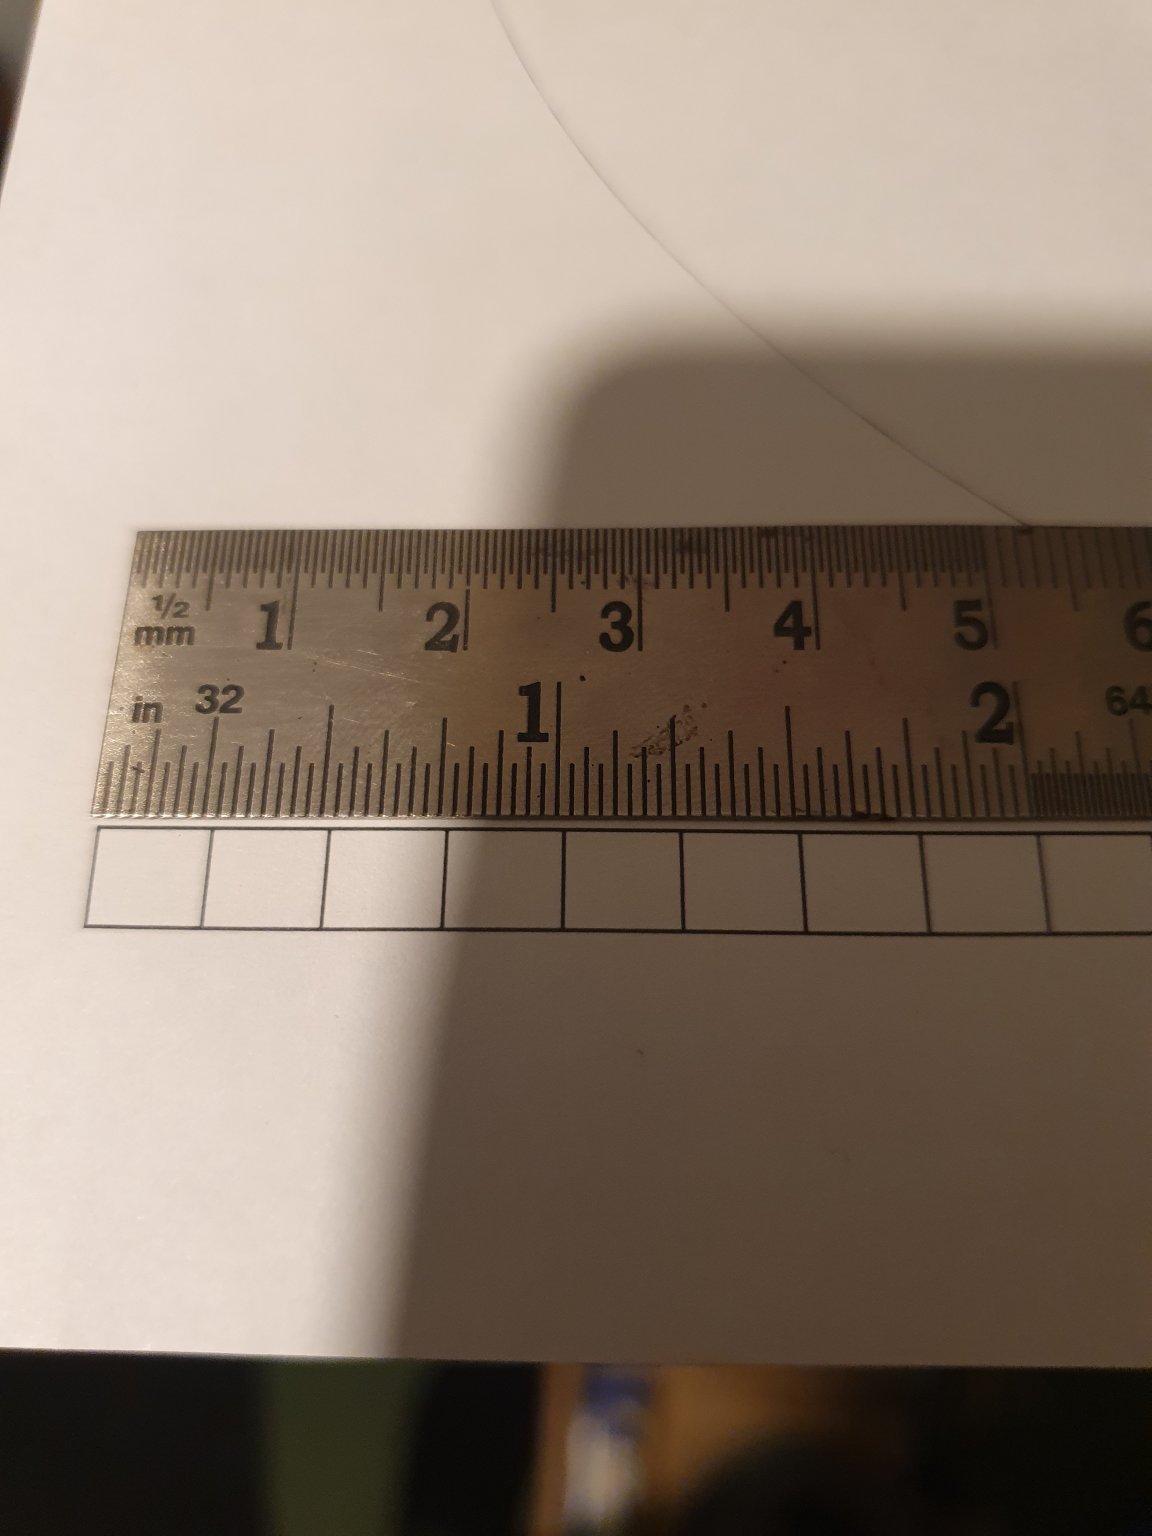
Started looking at printing bulkhead drawings out and not sure if I have a problem. Printing them as actual size with no scaling. length on scale block on bulkhead 1 looks spot on. Ruler slightly offset to left in this photo but each block is 1/4".

However when I measure the vertical dimension it looks to be slightly short, approx. 1/32" undersize. I understood the scale blocks to be 1/4" squares?. Is this correct?. weird thing is they look to be shorter in vertical dimension when I look at the PDF's on the monitor too.
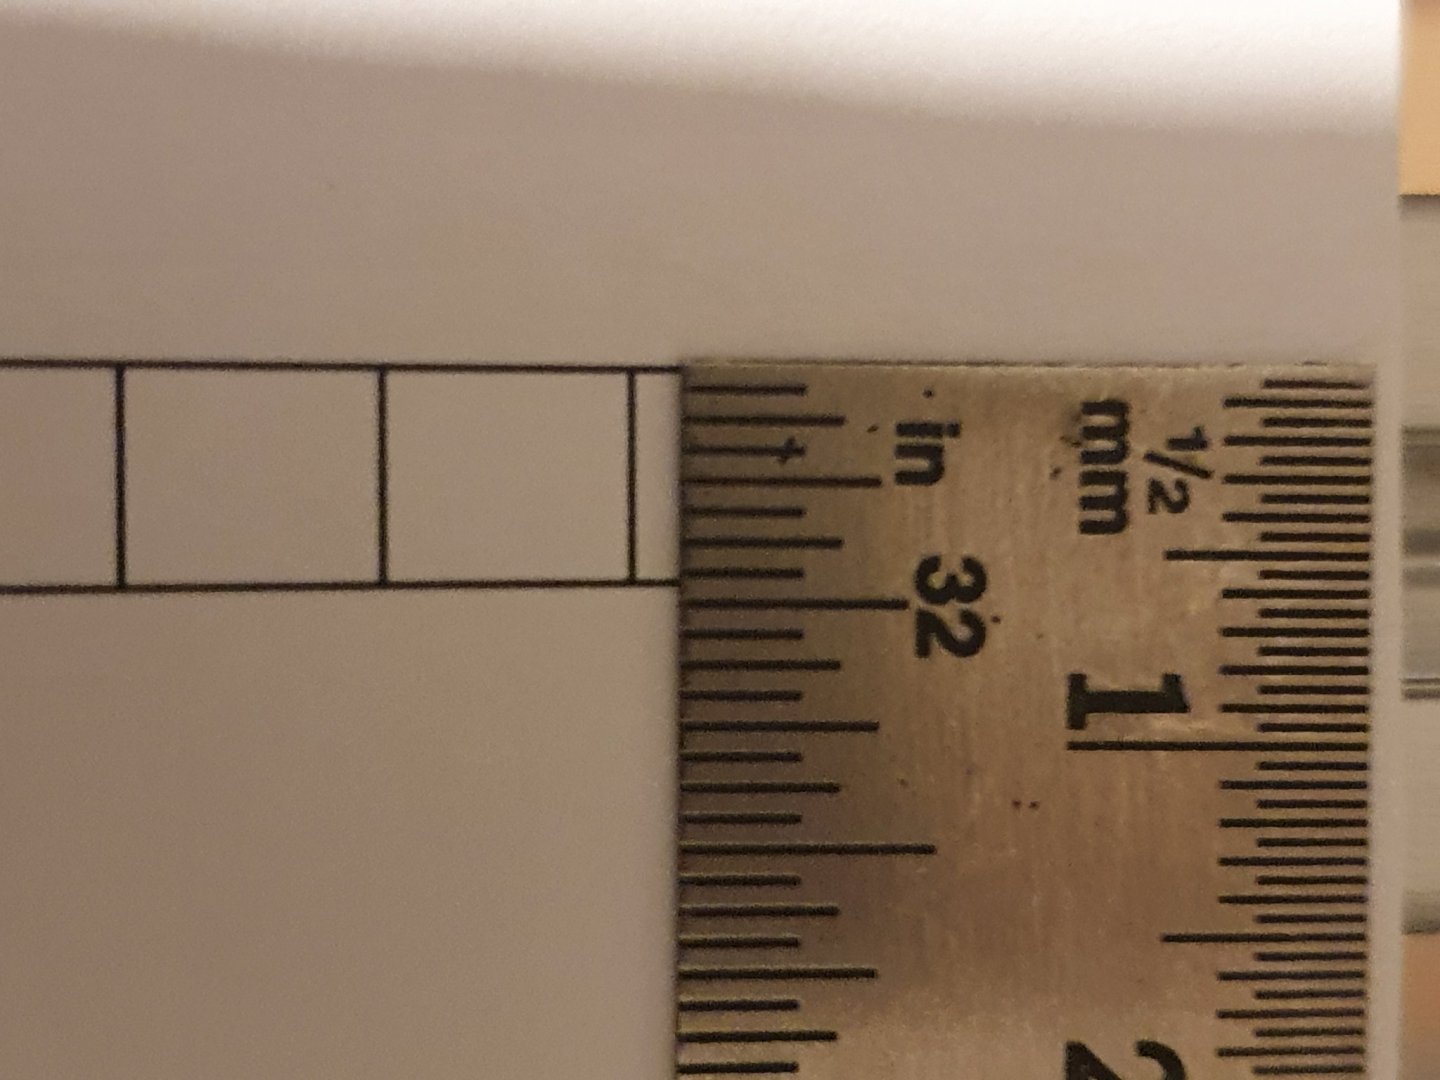
I cant see any options in printer settings to only scale in one dimension and I've printed on two different printers with same result.

- GrandpaPhil and FrankWouts
-
2
-
Thanks Chuck
Superb service as usual. Now have a rest - It is Sunday after all 🙂
-
Bit late to the party but I've taken plunge and ordered laser cut parts for chapters 1 and 2. Plans downloaded and ready to print.
Looking at scrollsaws now as costs for laser cut bulkheads plus international shipping would virtually pay for saw (and its a good excuse for a new toy 🙂 ).
This is very much a long term project so don't expect fast progress. Have a vanguard models HMS Alert on the go at the moment with a Medway Longboat in early stages too.
Cutting bulkheads for Winnie will be a filler project when I want a break from smaller scale stuff. I don't expect to seriously start building until the summer.
- Wacom, paulsutcliffe, VTHokiEE and 2 others
-
5
-


Using a 3D printer for ship modelling, this is what I found out so far
in Modeling tools and Workshop Equipment
Posted
useful post covering basics well. Would make basis of a good article for NRG Journal