G.L.
-
Posts
1,553 -
Joined
-
Last visited
Content Type
Profiles
Forums
Gallery
Events
Everything posted by G.L.
-
 She's indeed big. It will be a magnificent model. I am also curious about the diorama.
- 337 replies
-
- 4
-

-
- finished
- mountfleet models
- (and 1 more)
-
Jim, your paintings remind me of the sea stories of Douglas Reeman that I devoured over thirty years ago. Now that the libraries are locked down I looked them up again from down the bookcase and reread them.
-
La Toulonnaise 1823 by ward - FINISHED - 1/50
G.L. replied to ward's topic in - Build logs for subjects built 1801 - 1850
Nice job, Ward!- 26 replies
-
- 3
-
-
- schooner
- la toulonnaise
- (and 1 more)
-
This completes the build of the model. It can now be varnished with matt furniture varnish. This completes also the first chapter of this log. Next week, I start with the next chapter: The lexicon. Thank you for reading Thank you to follow Thank you for the likes and thank you for your constructive comments, Till next week and keep it healthy!
- 168 replies
-
- 17
-
-
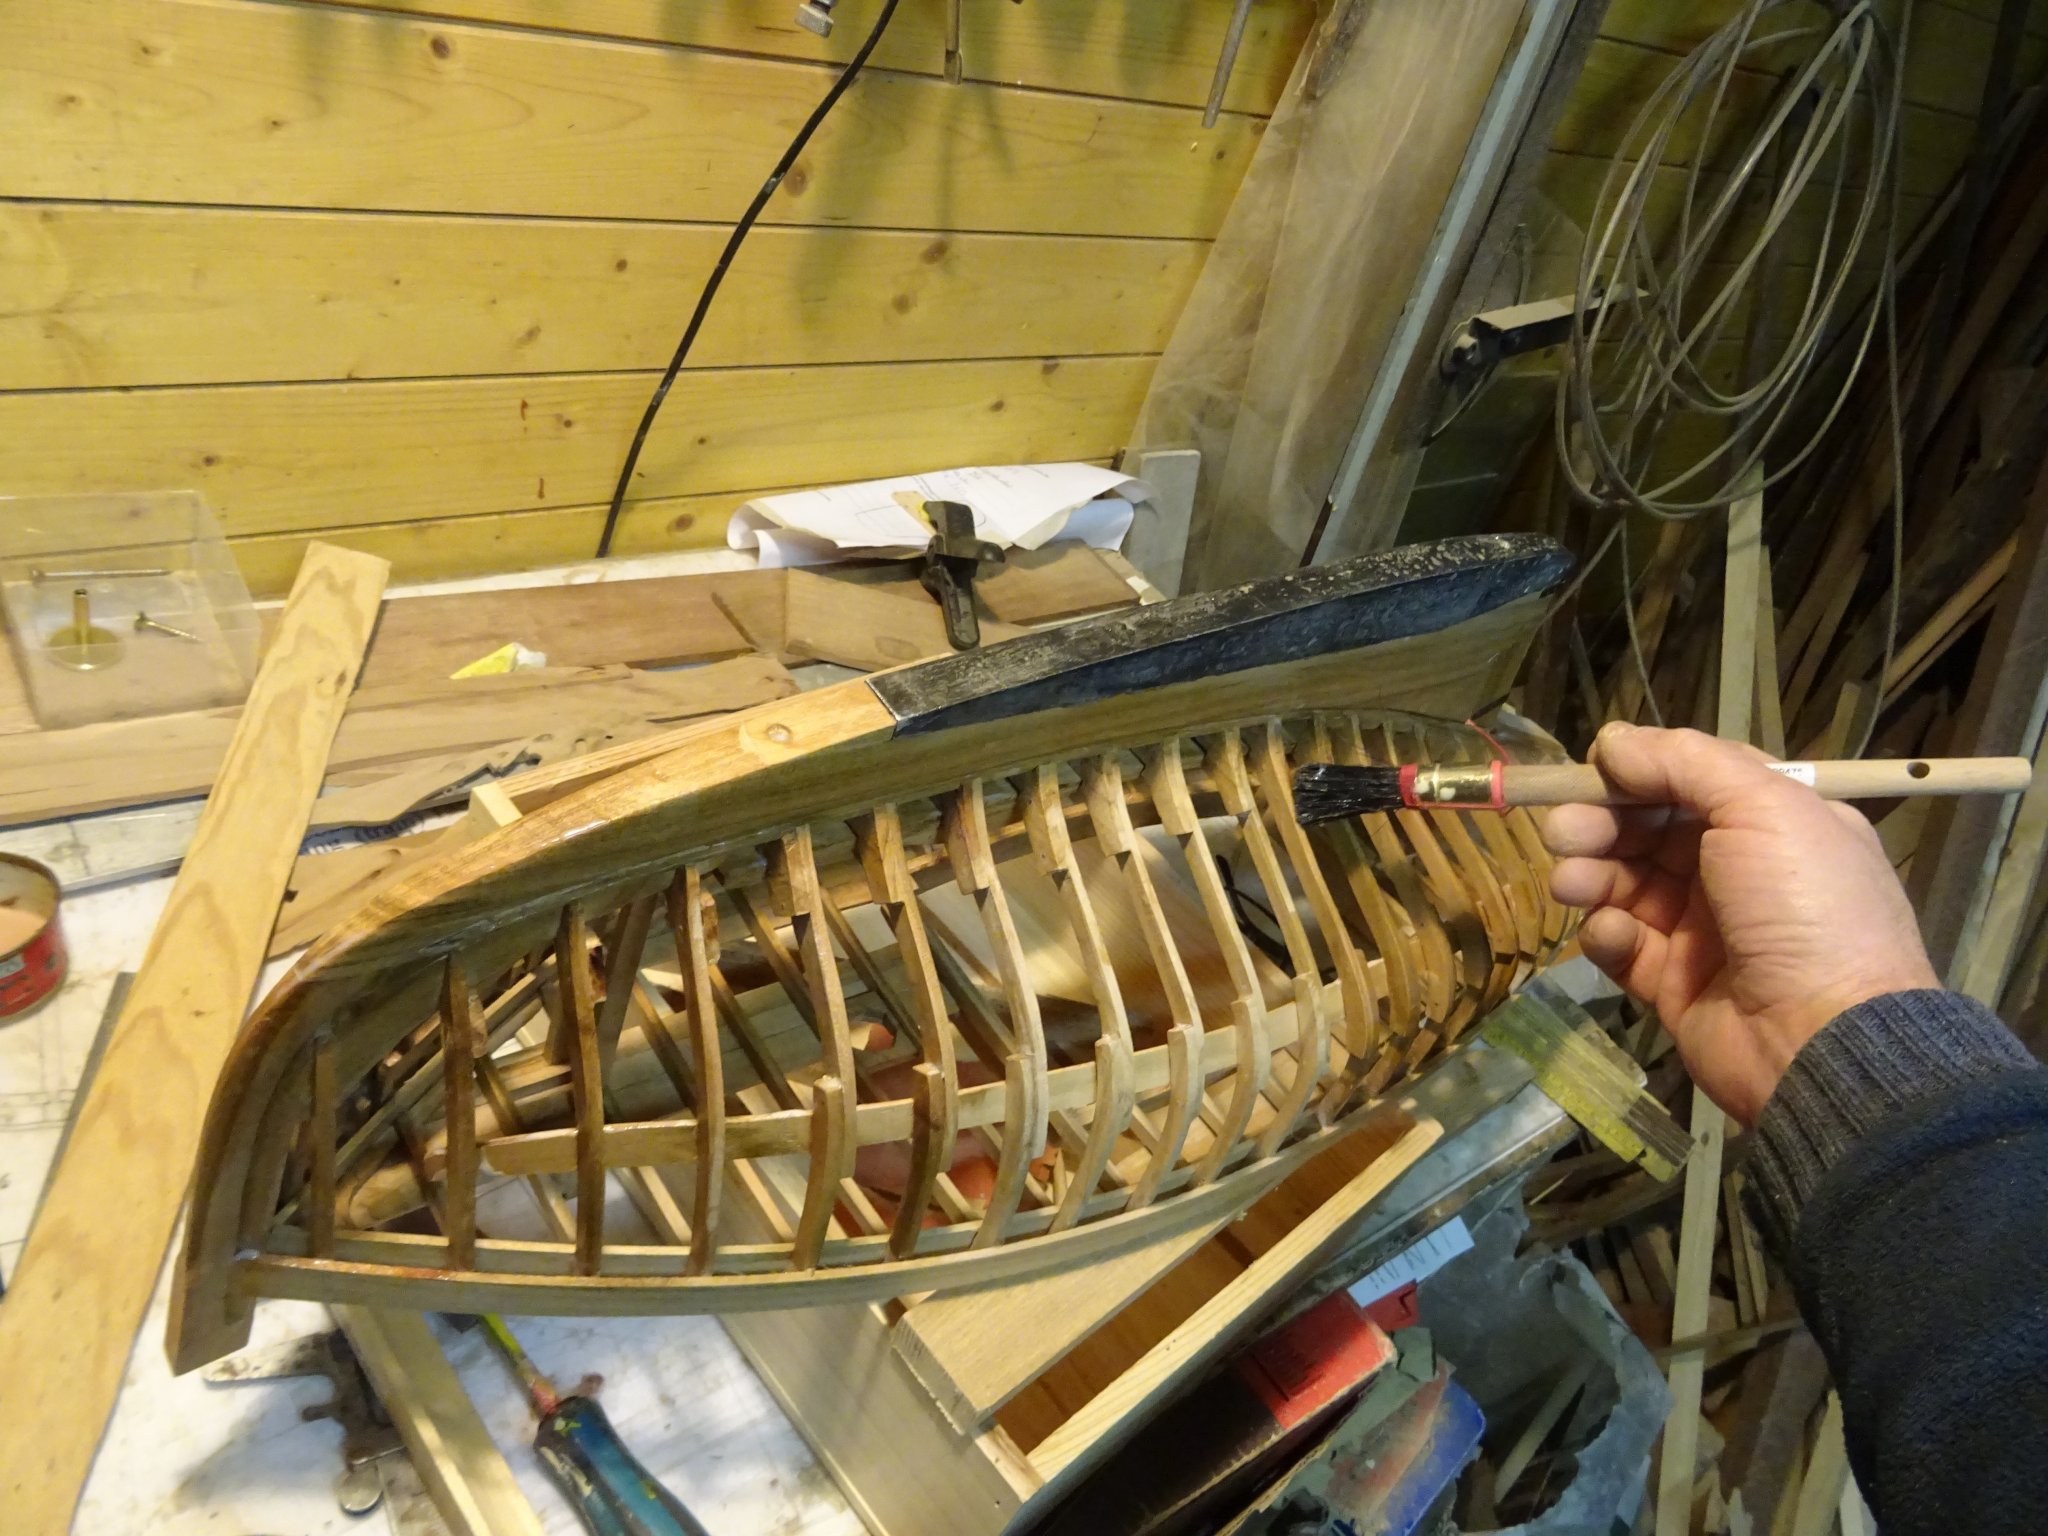
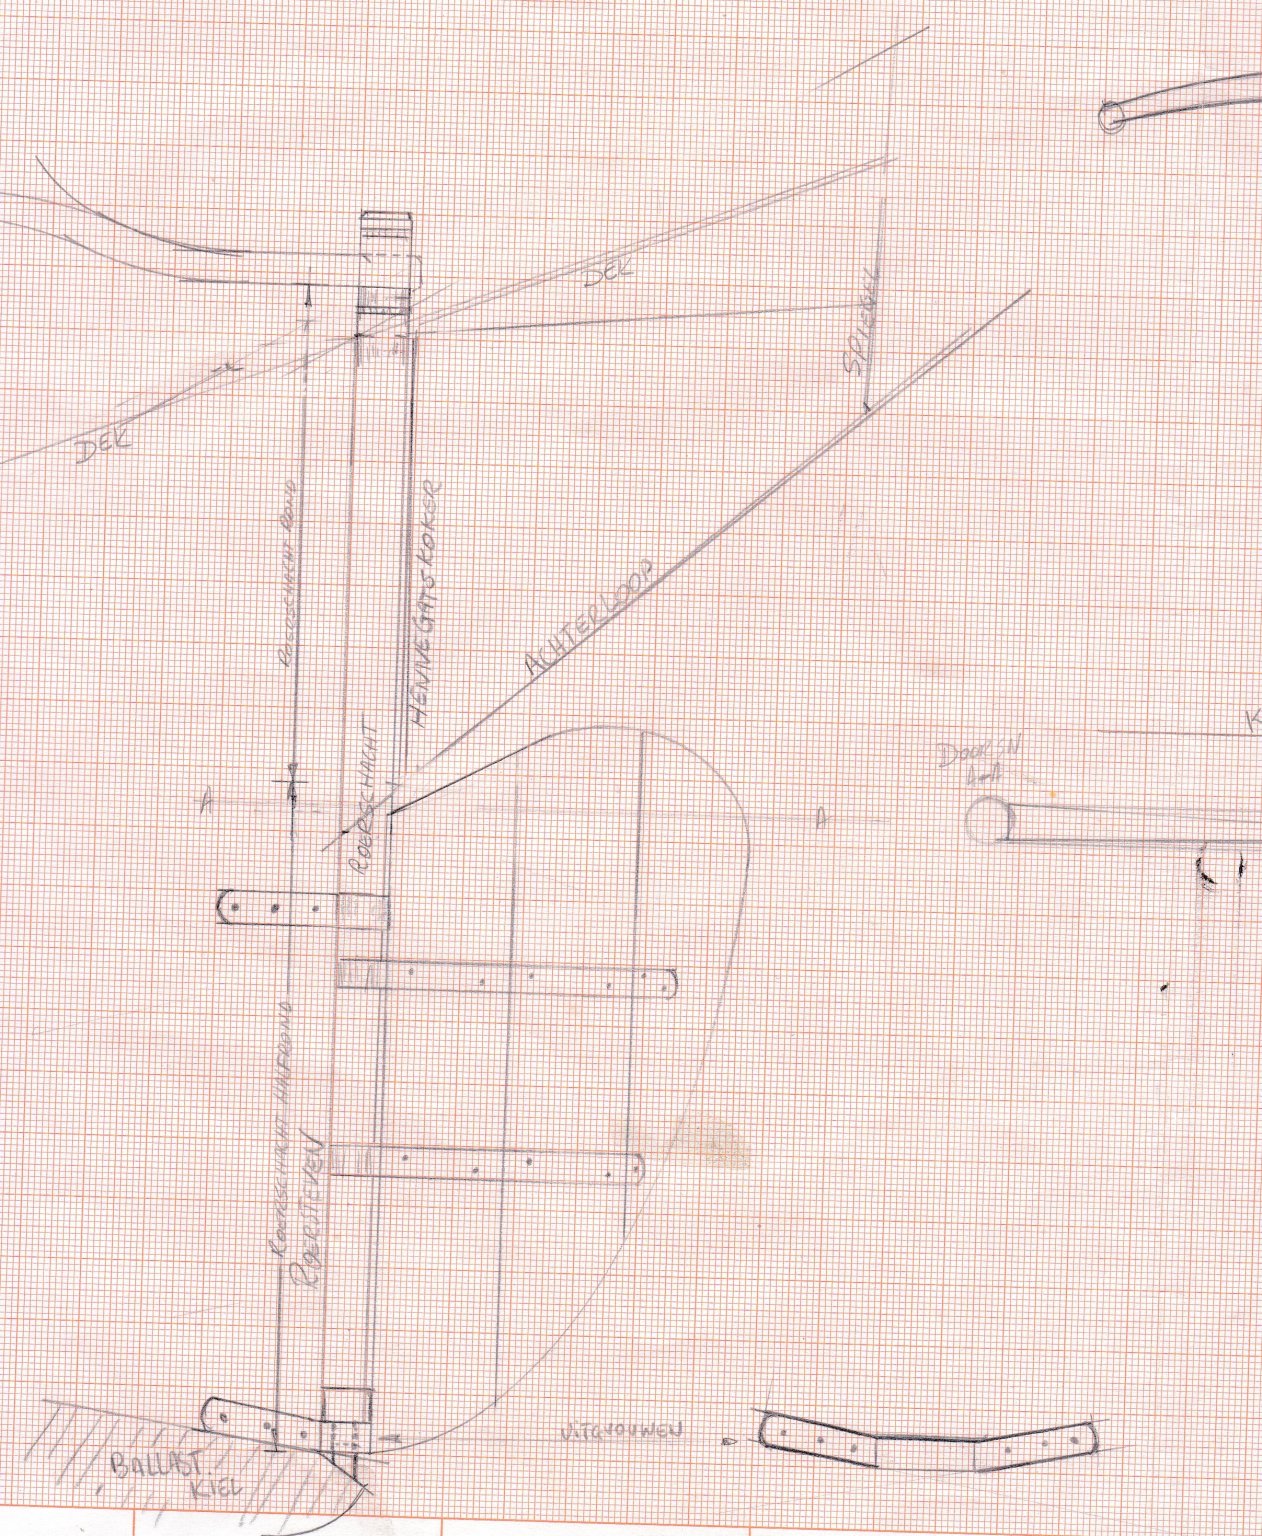
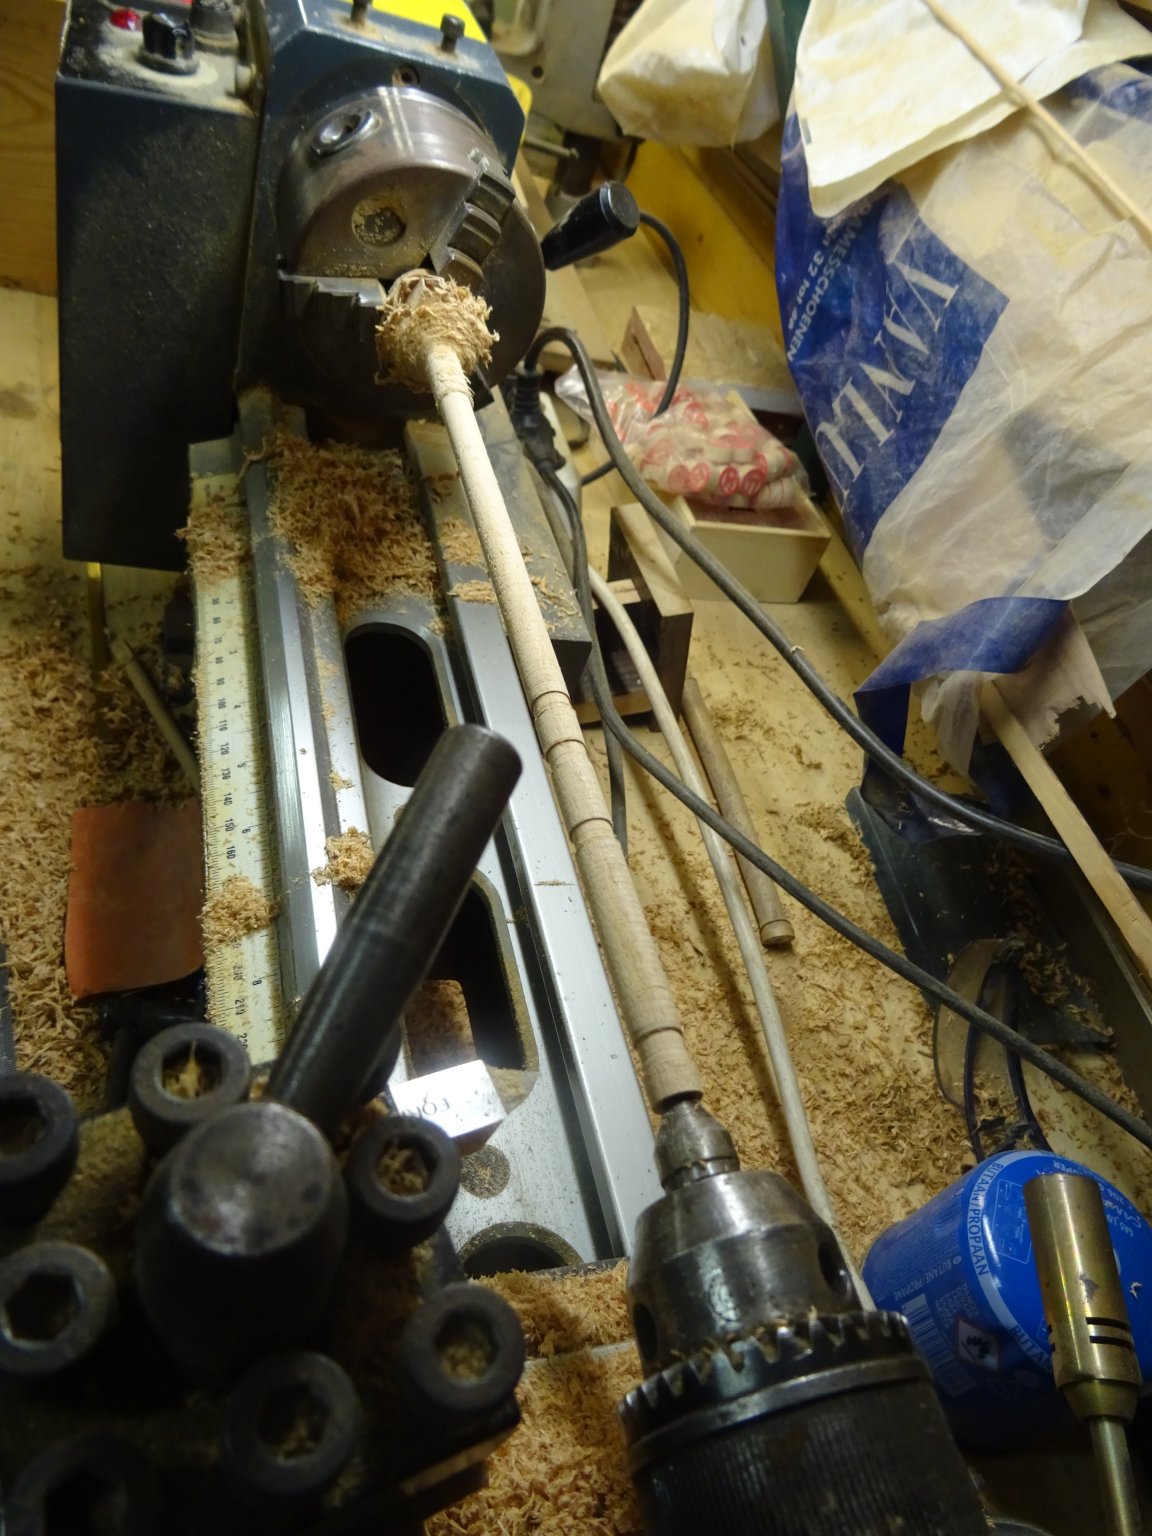
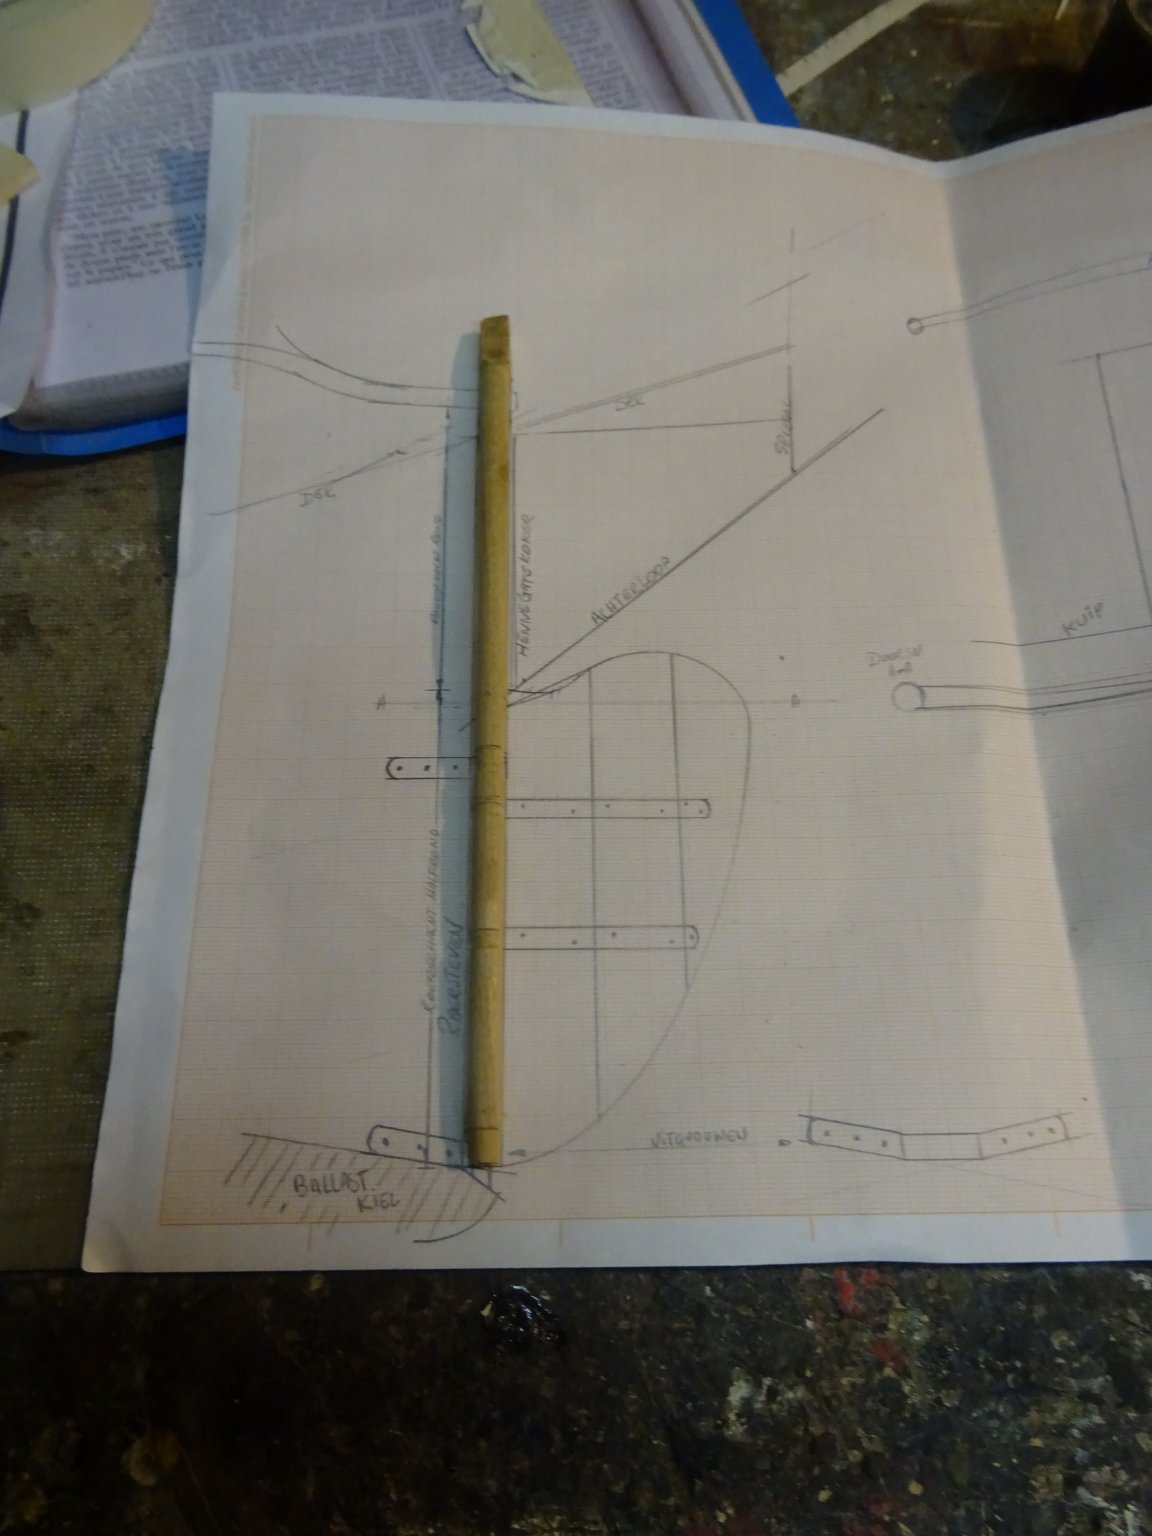
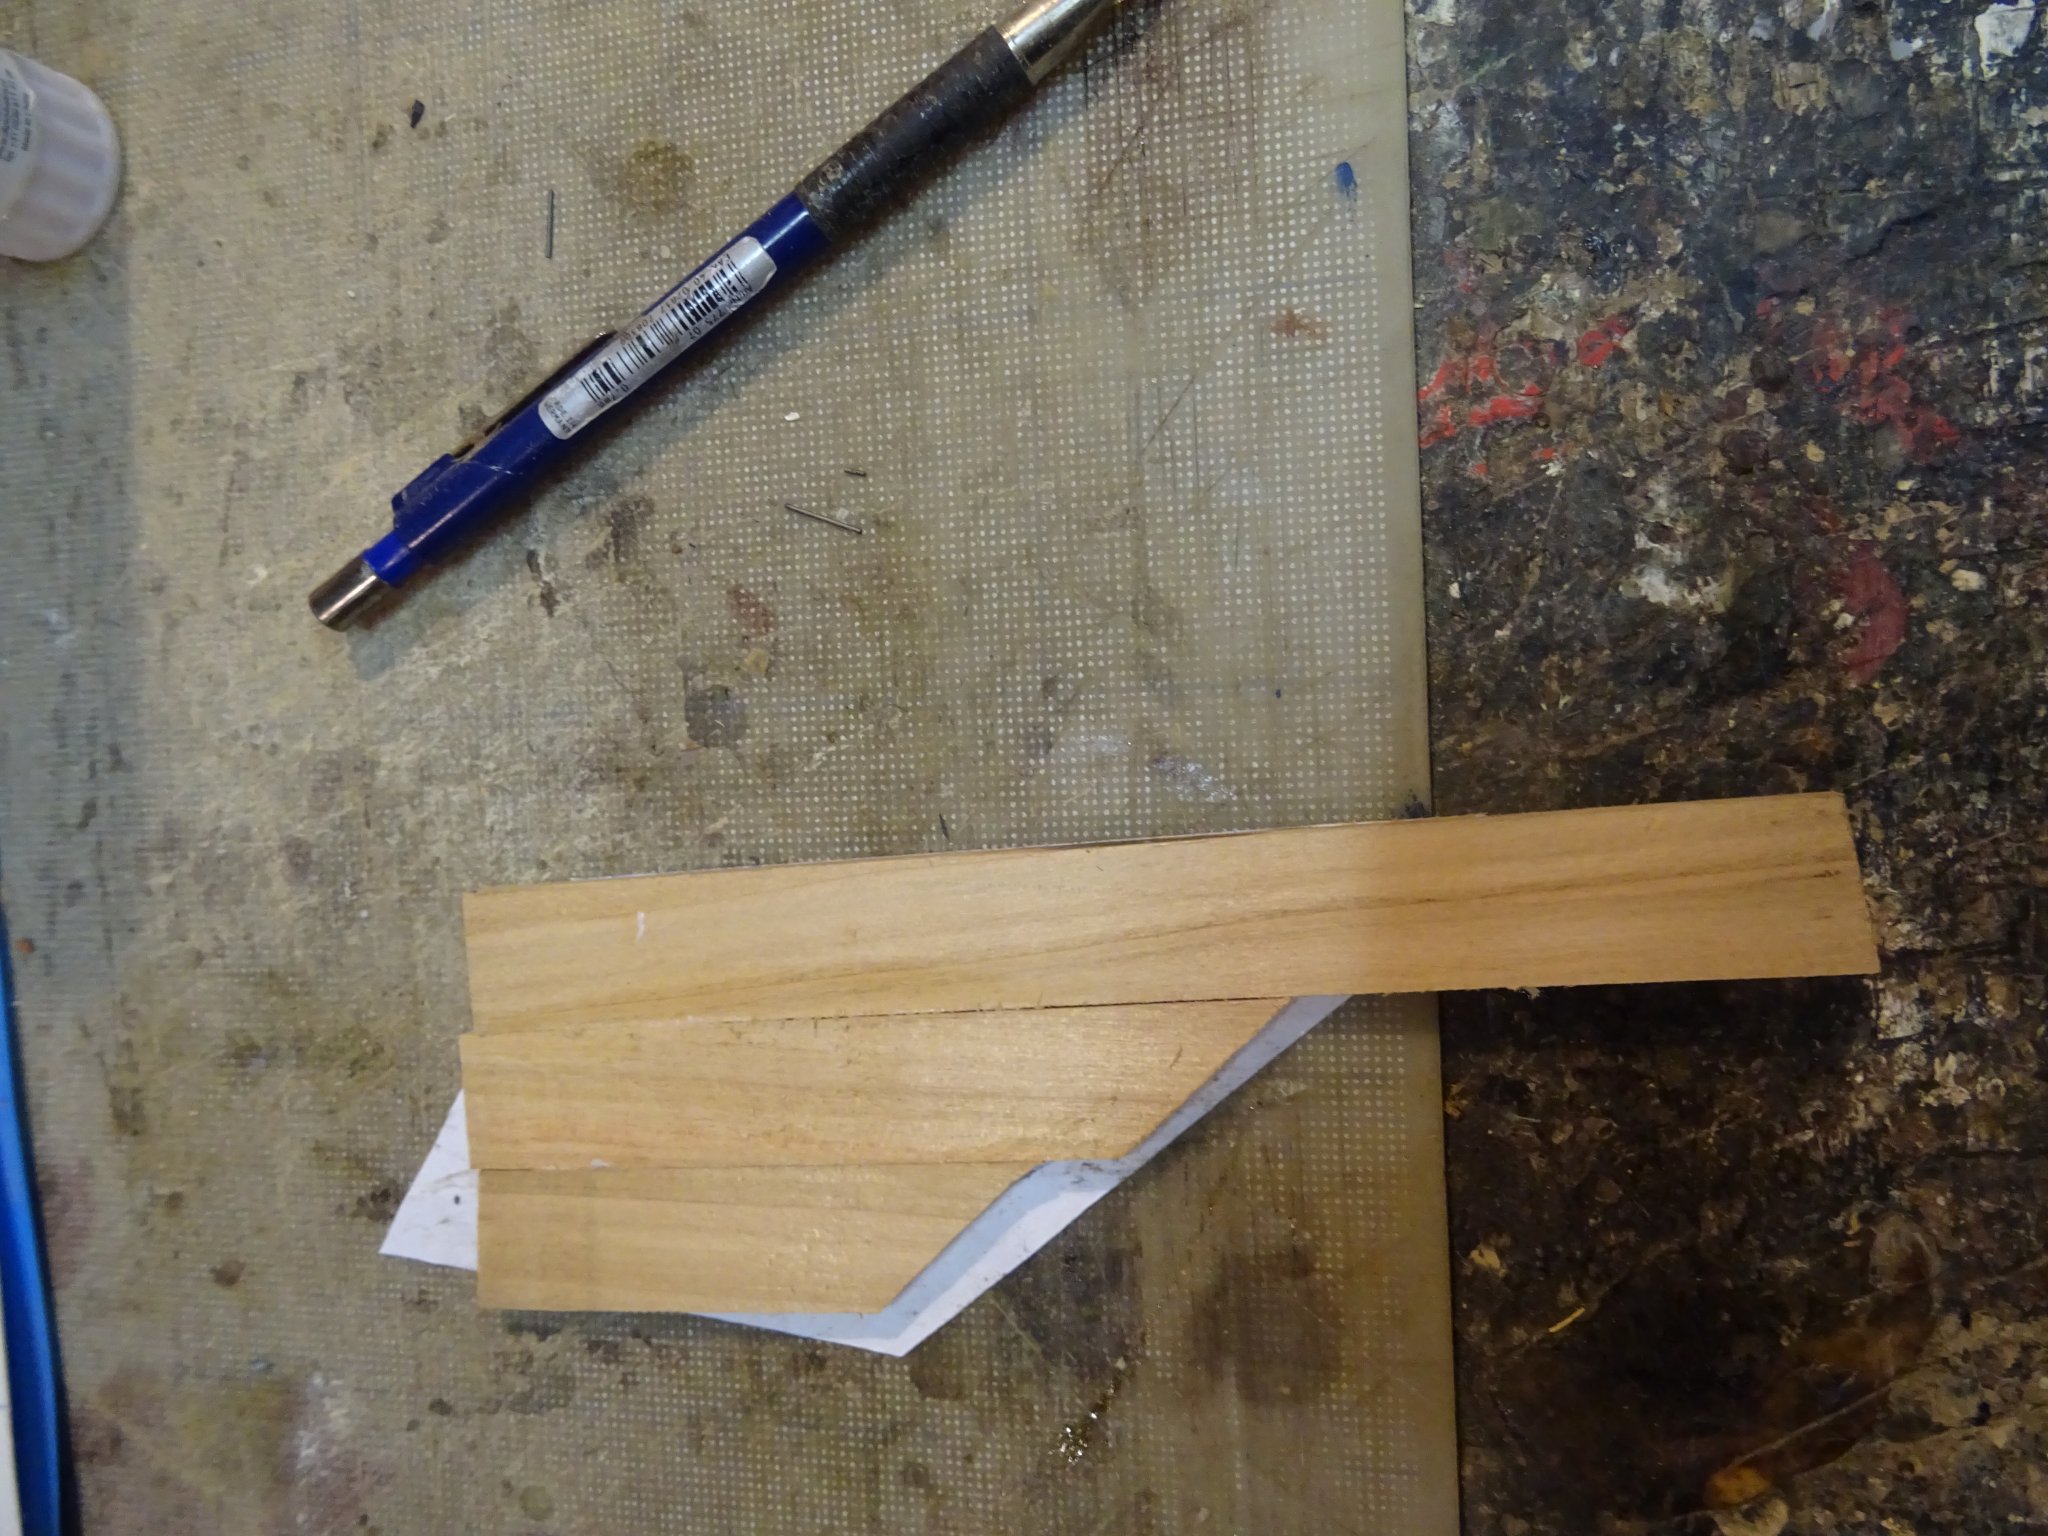
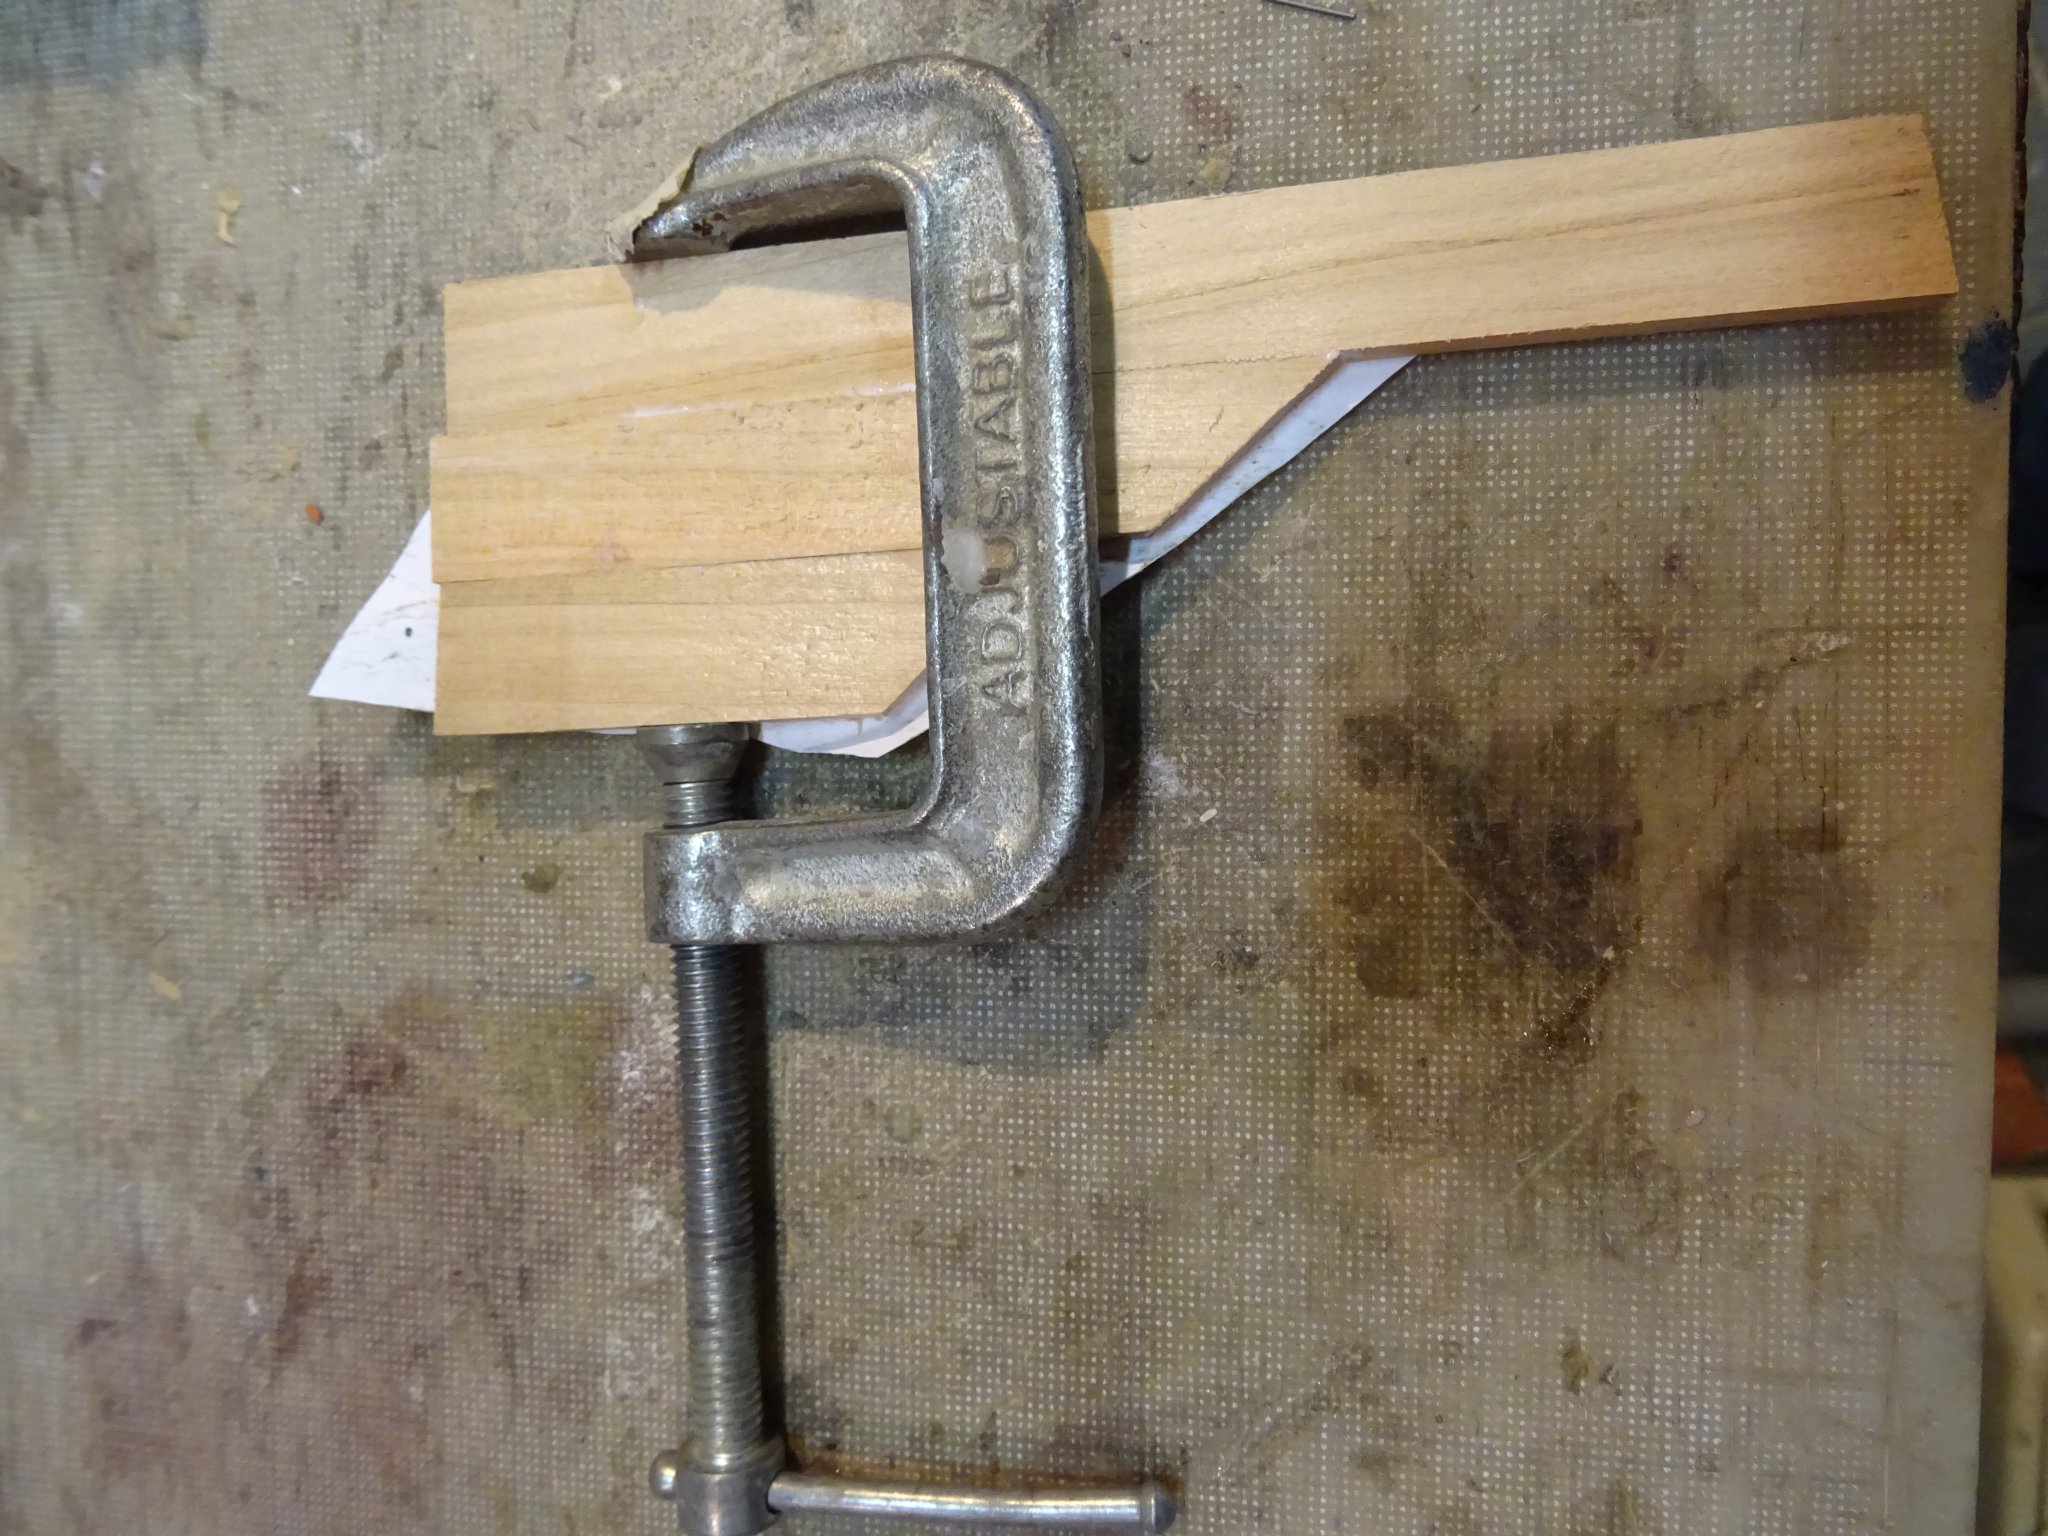
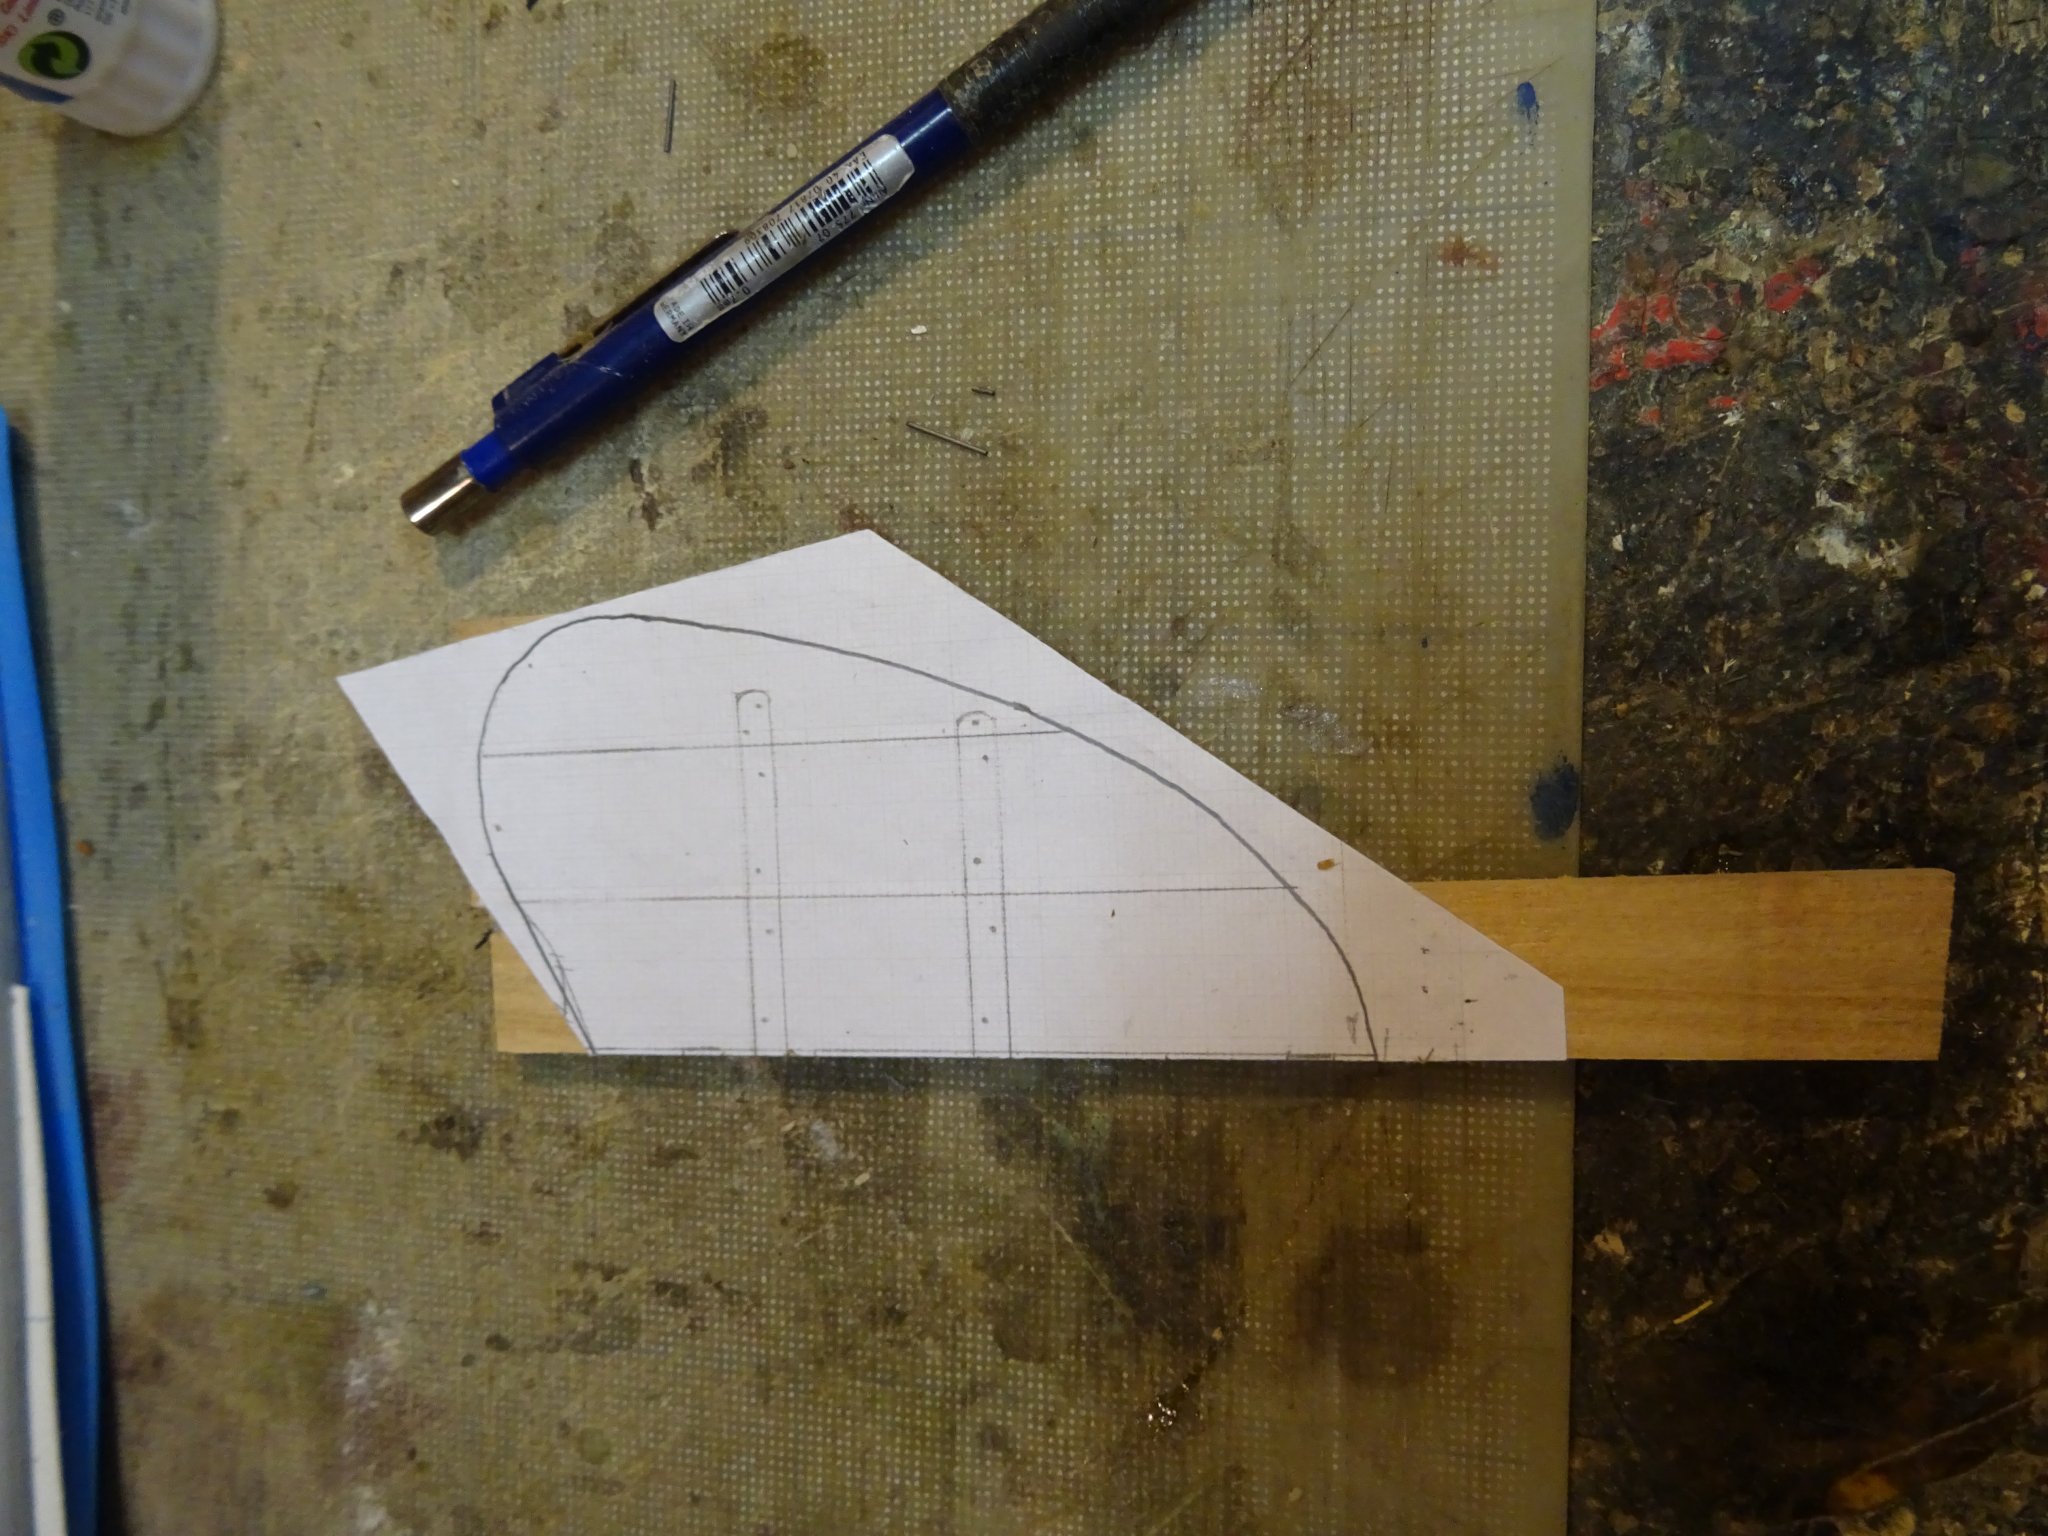
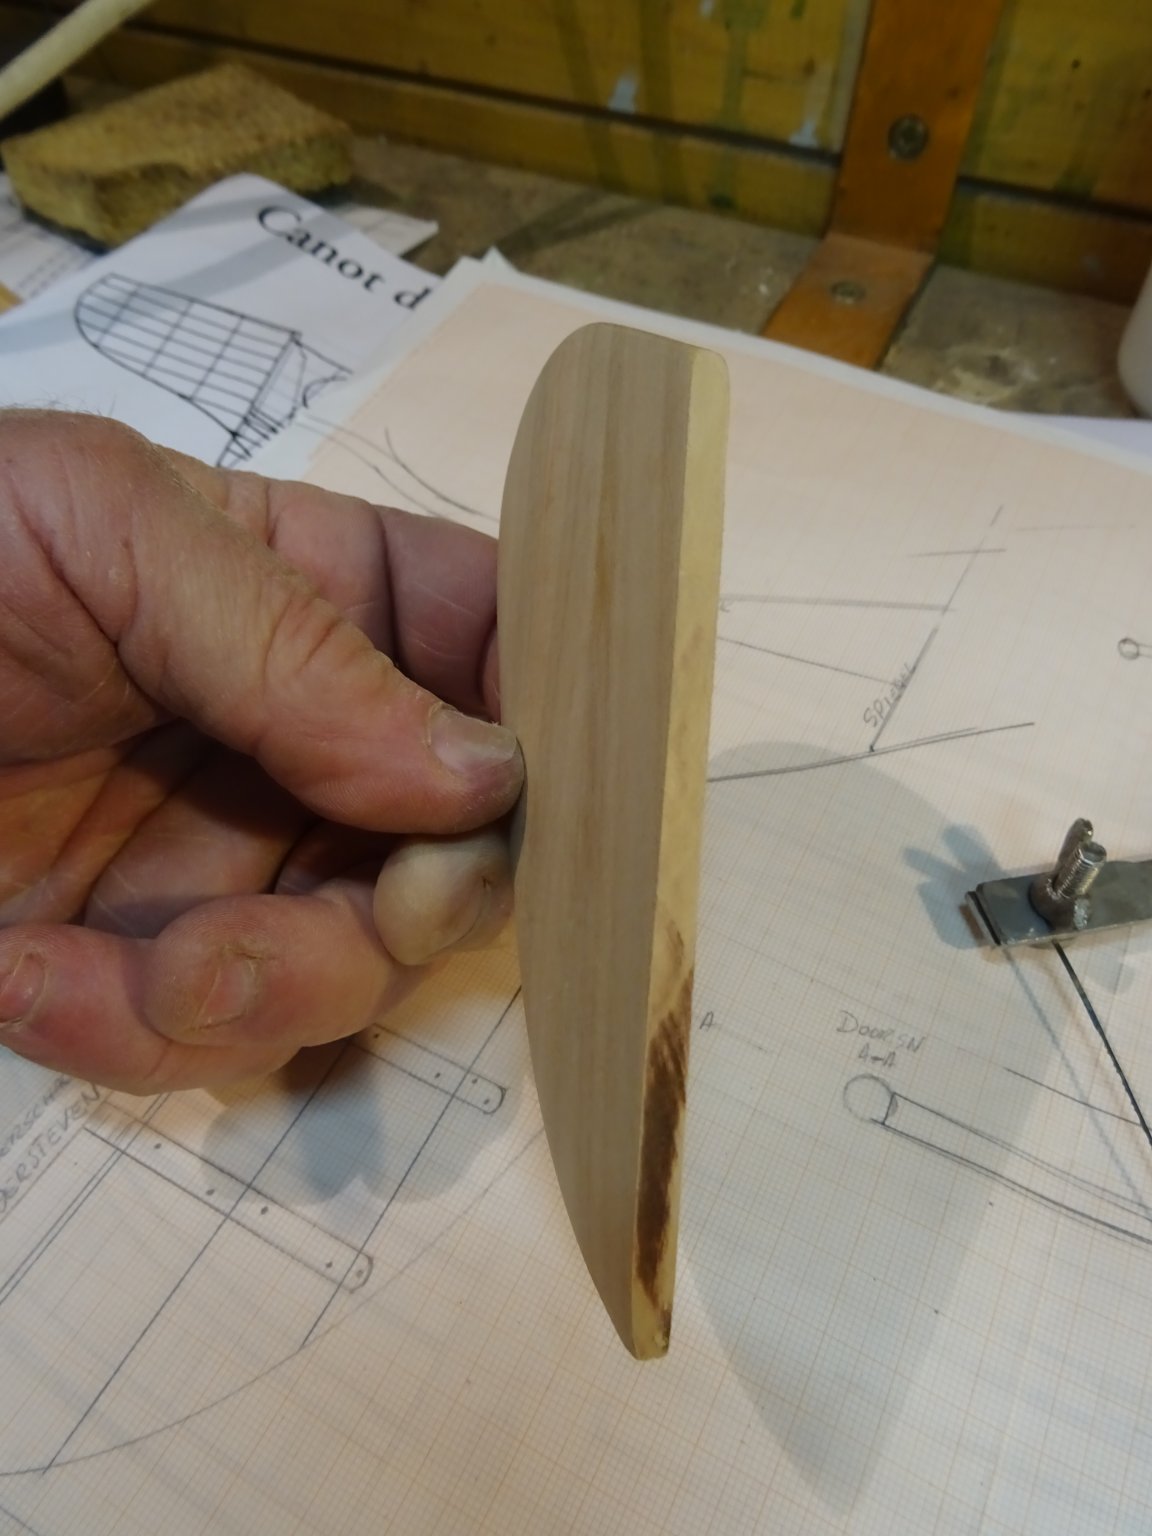
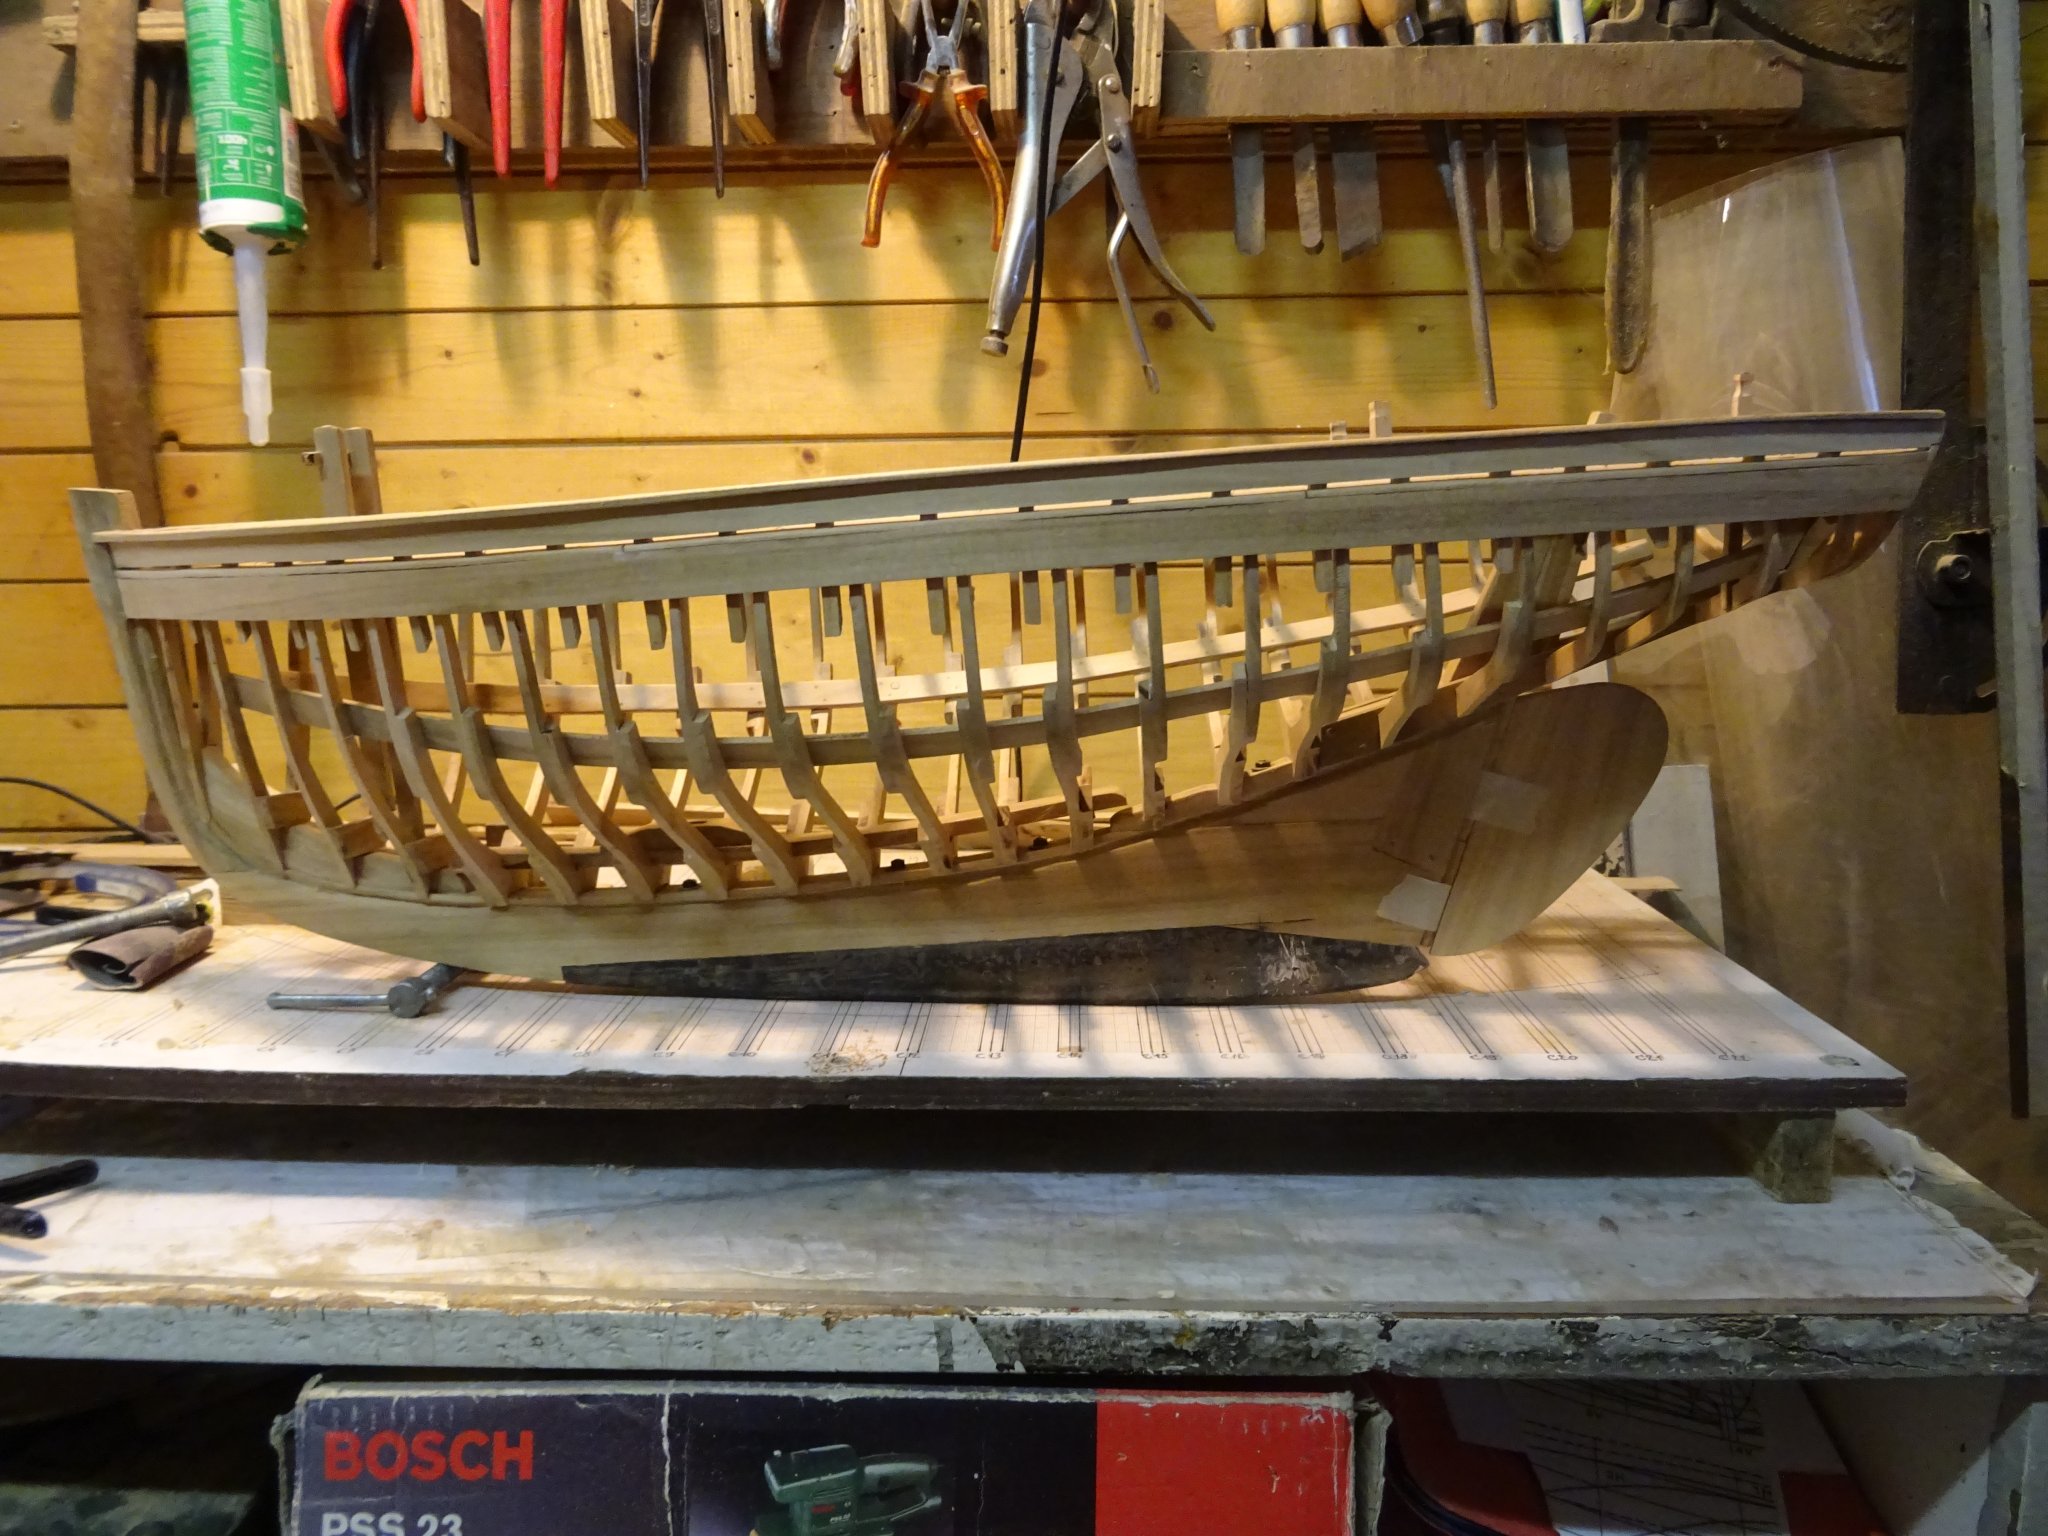
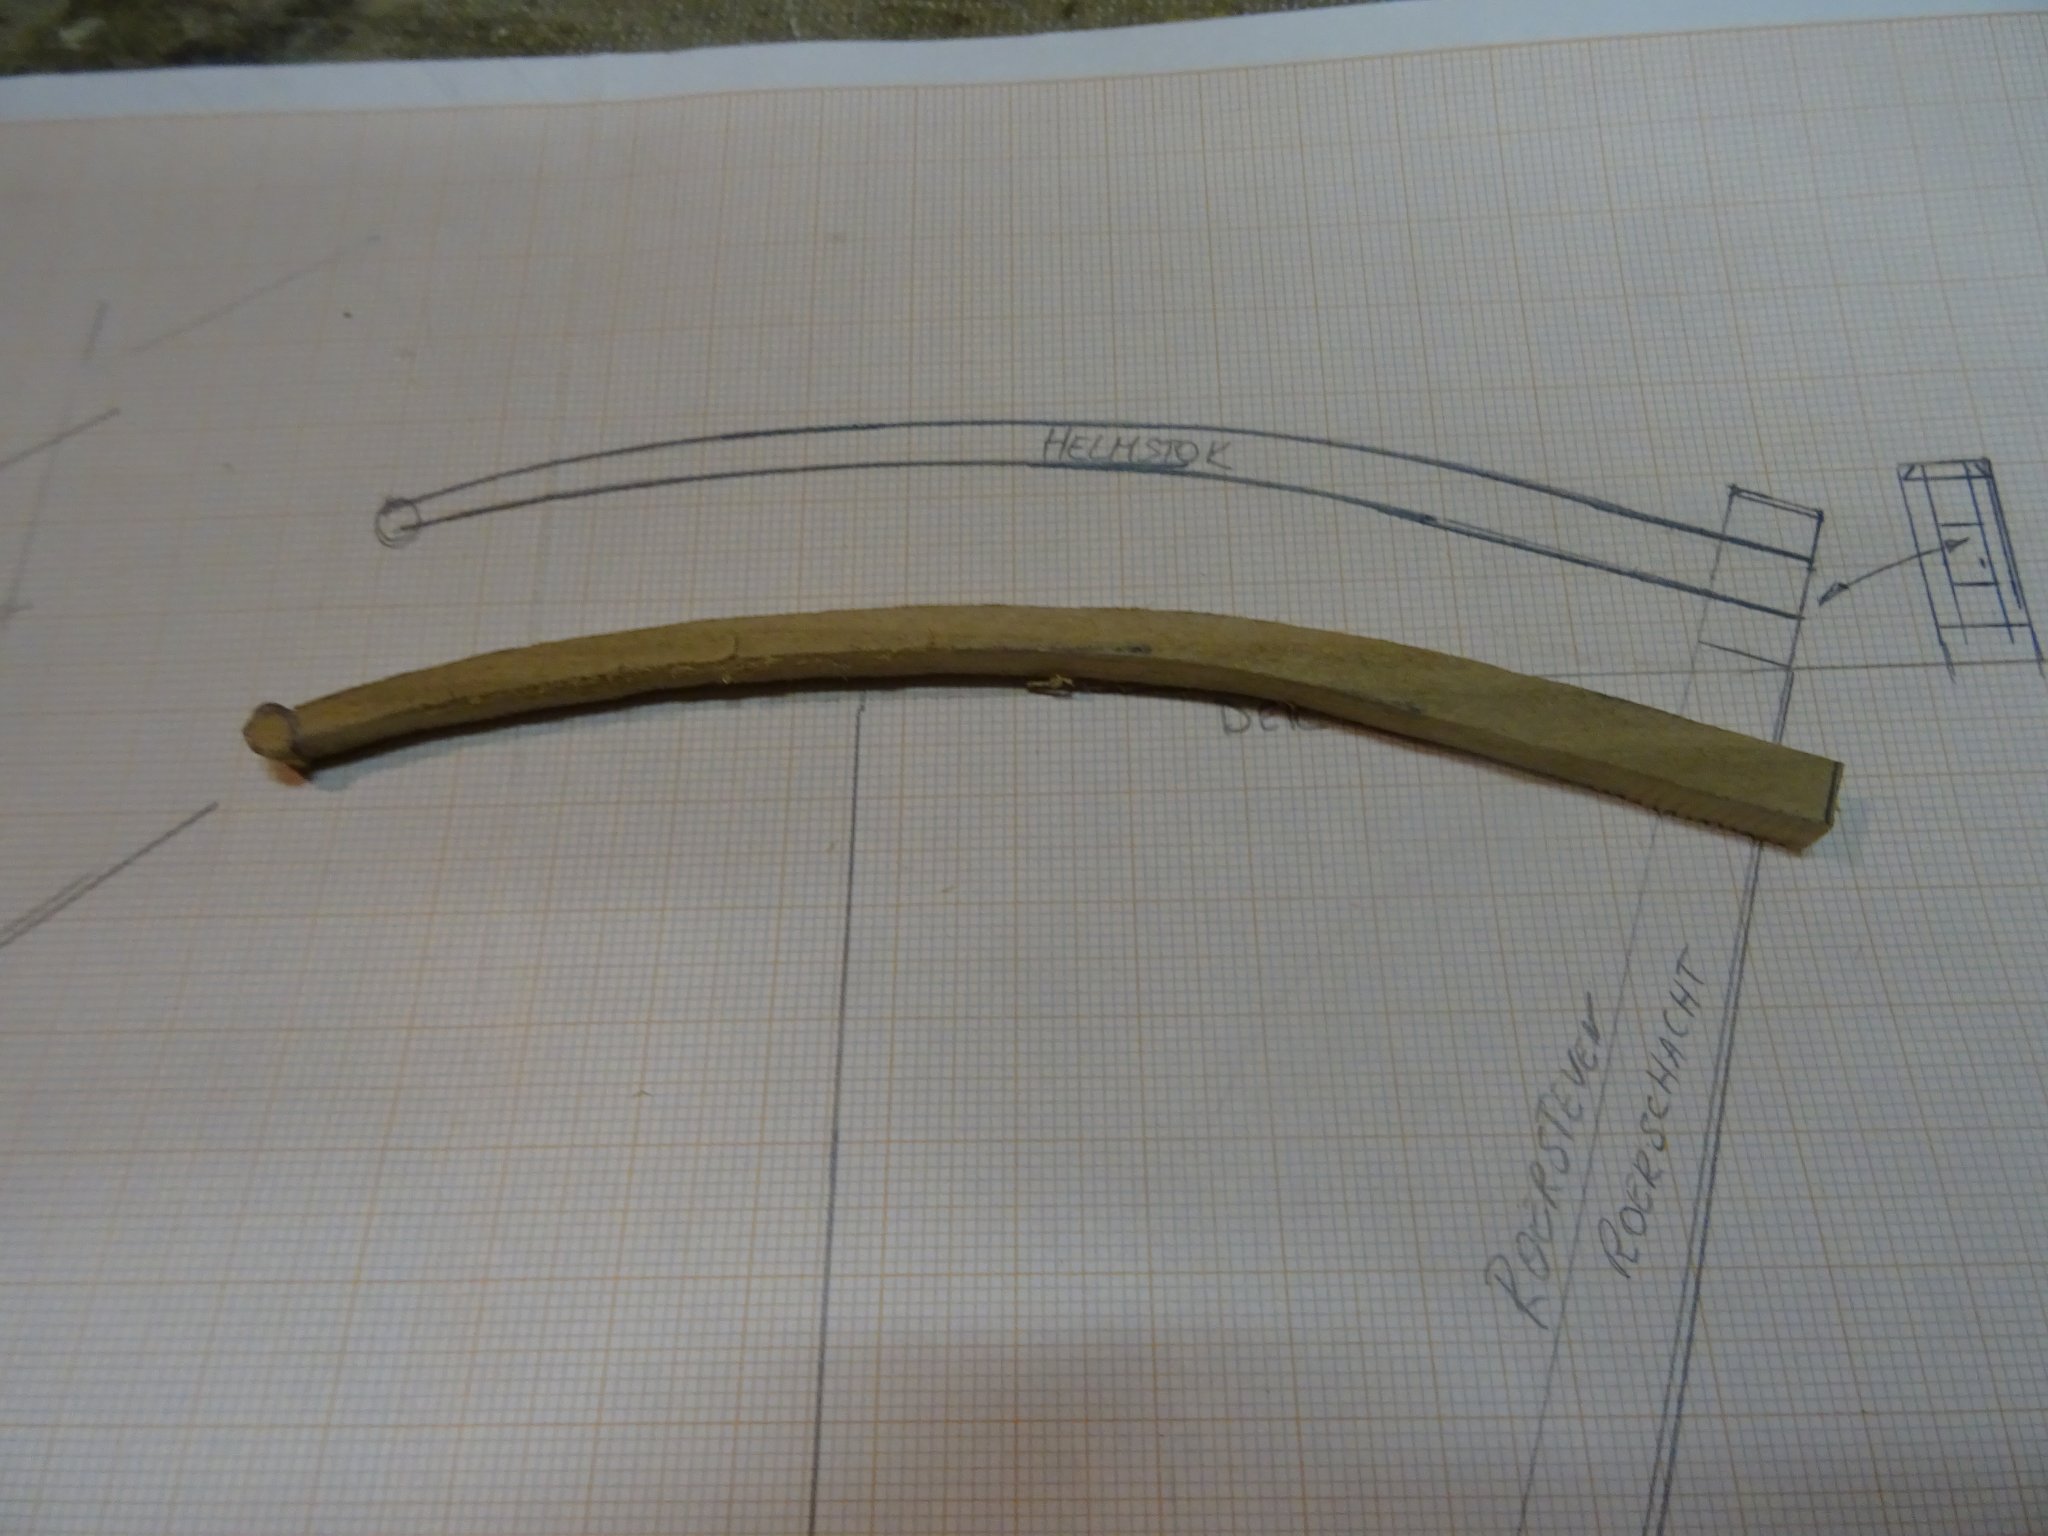
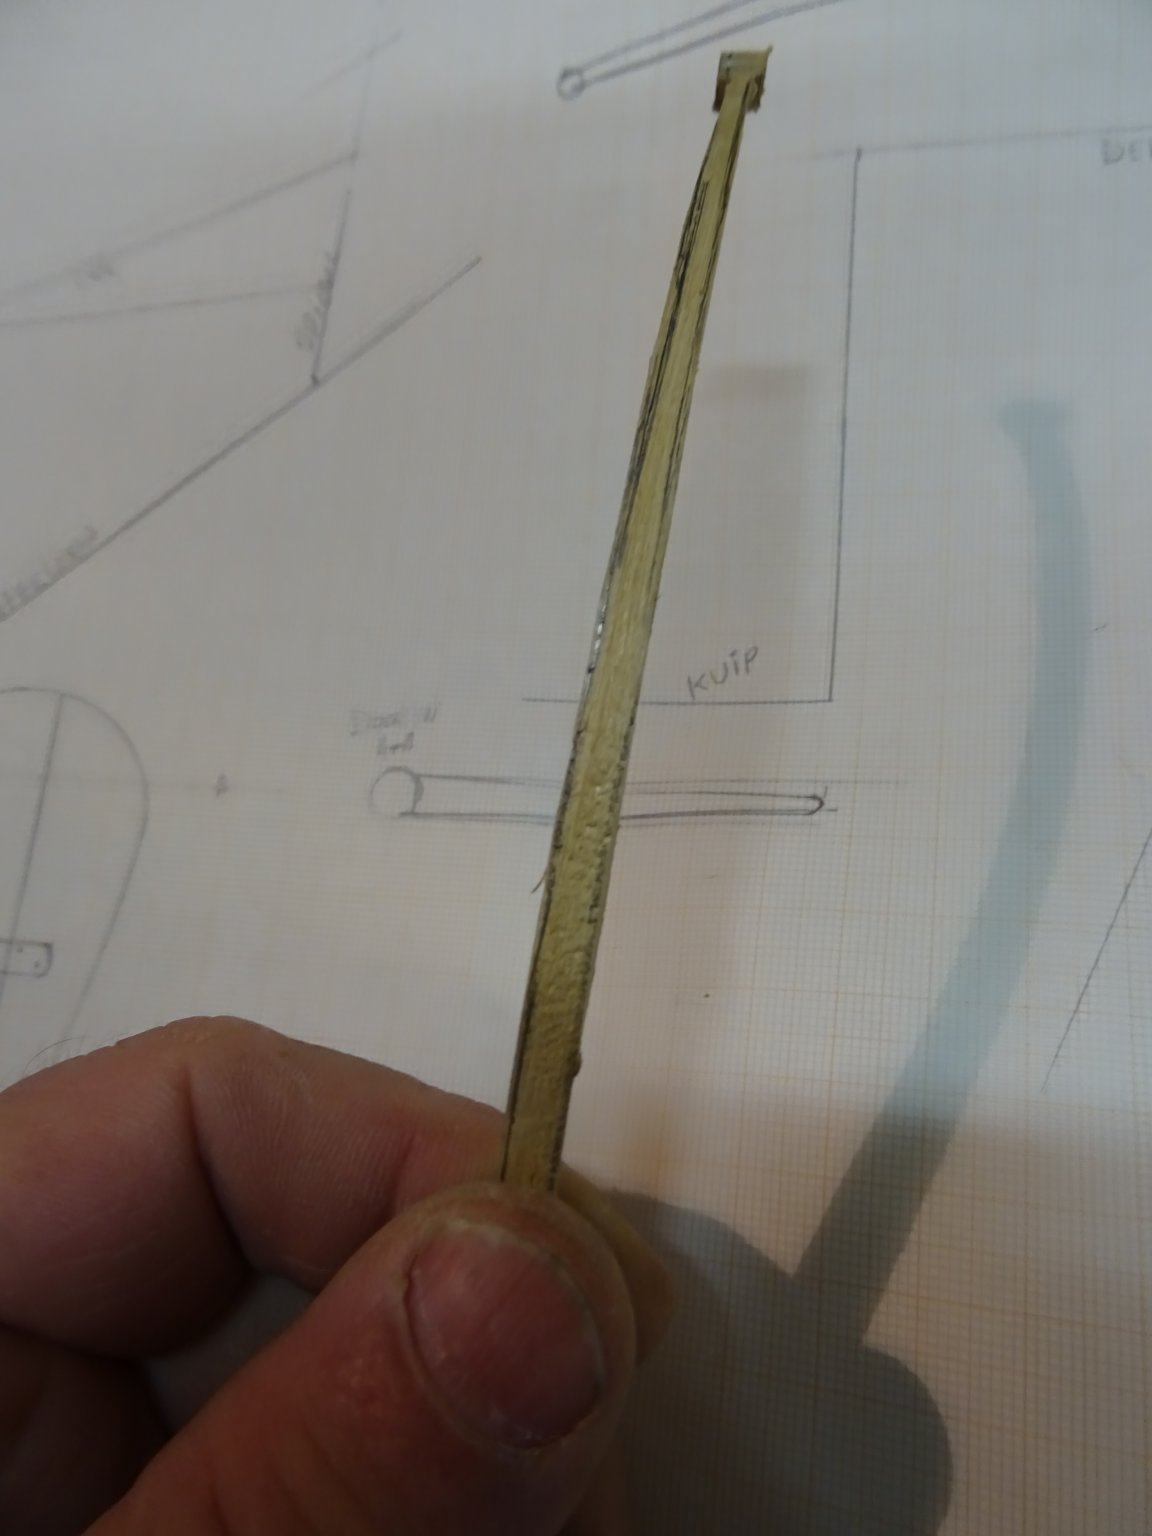
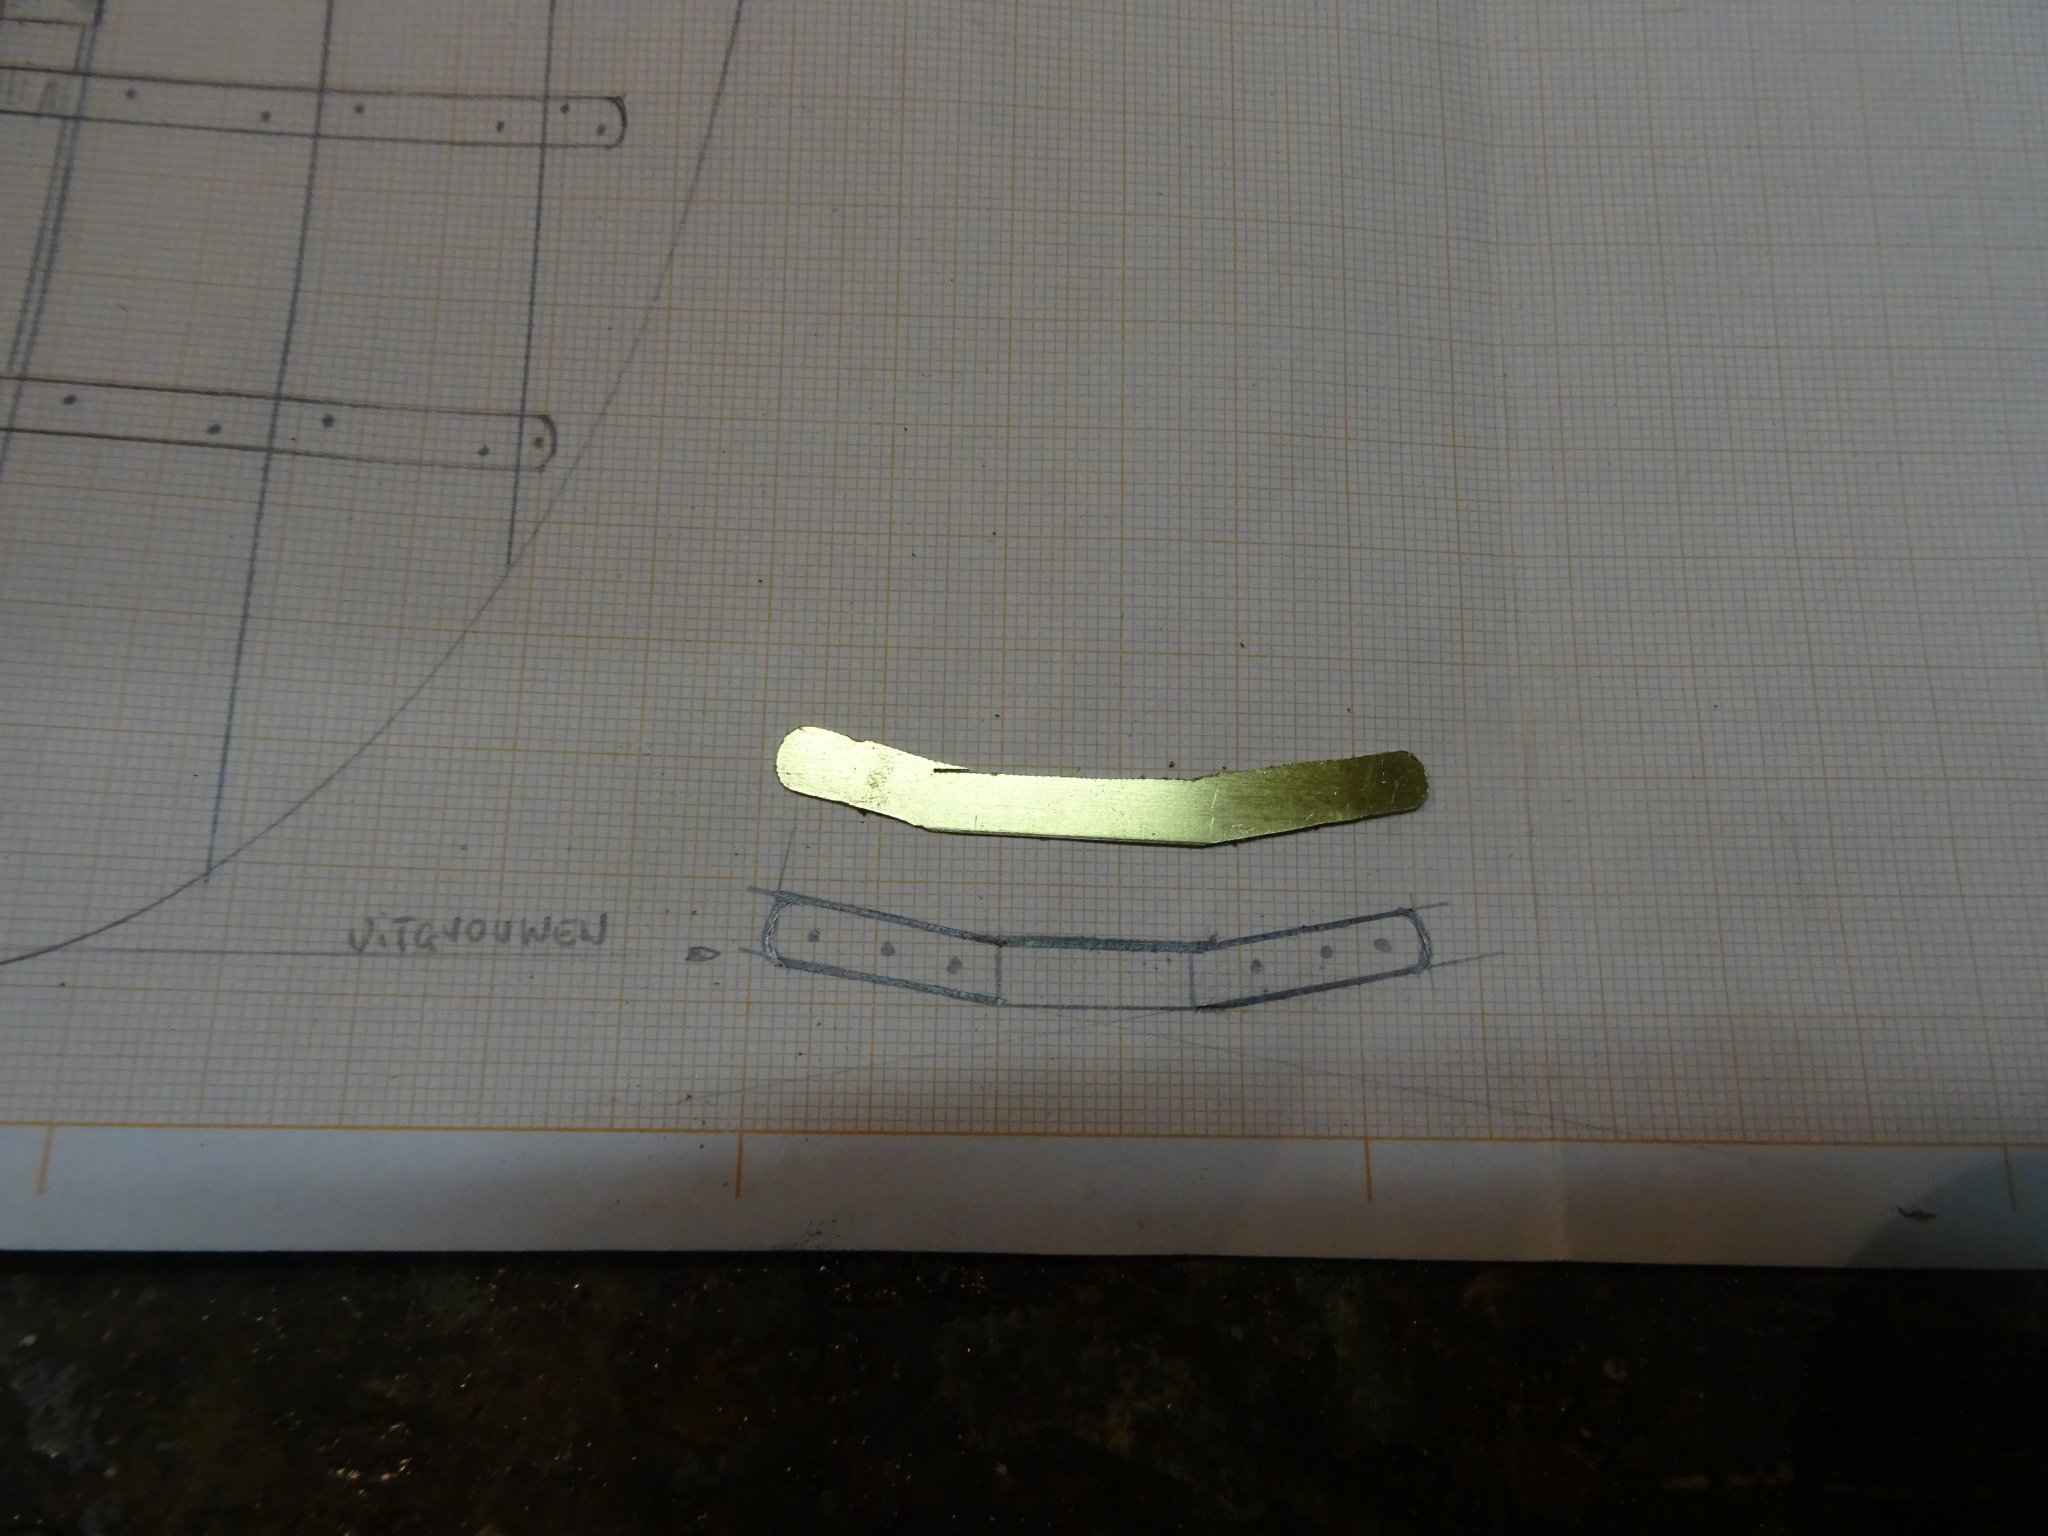
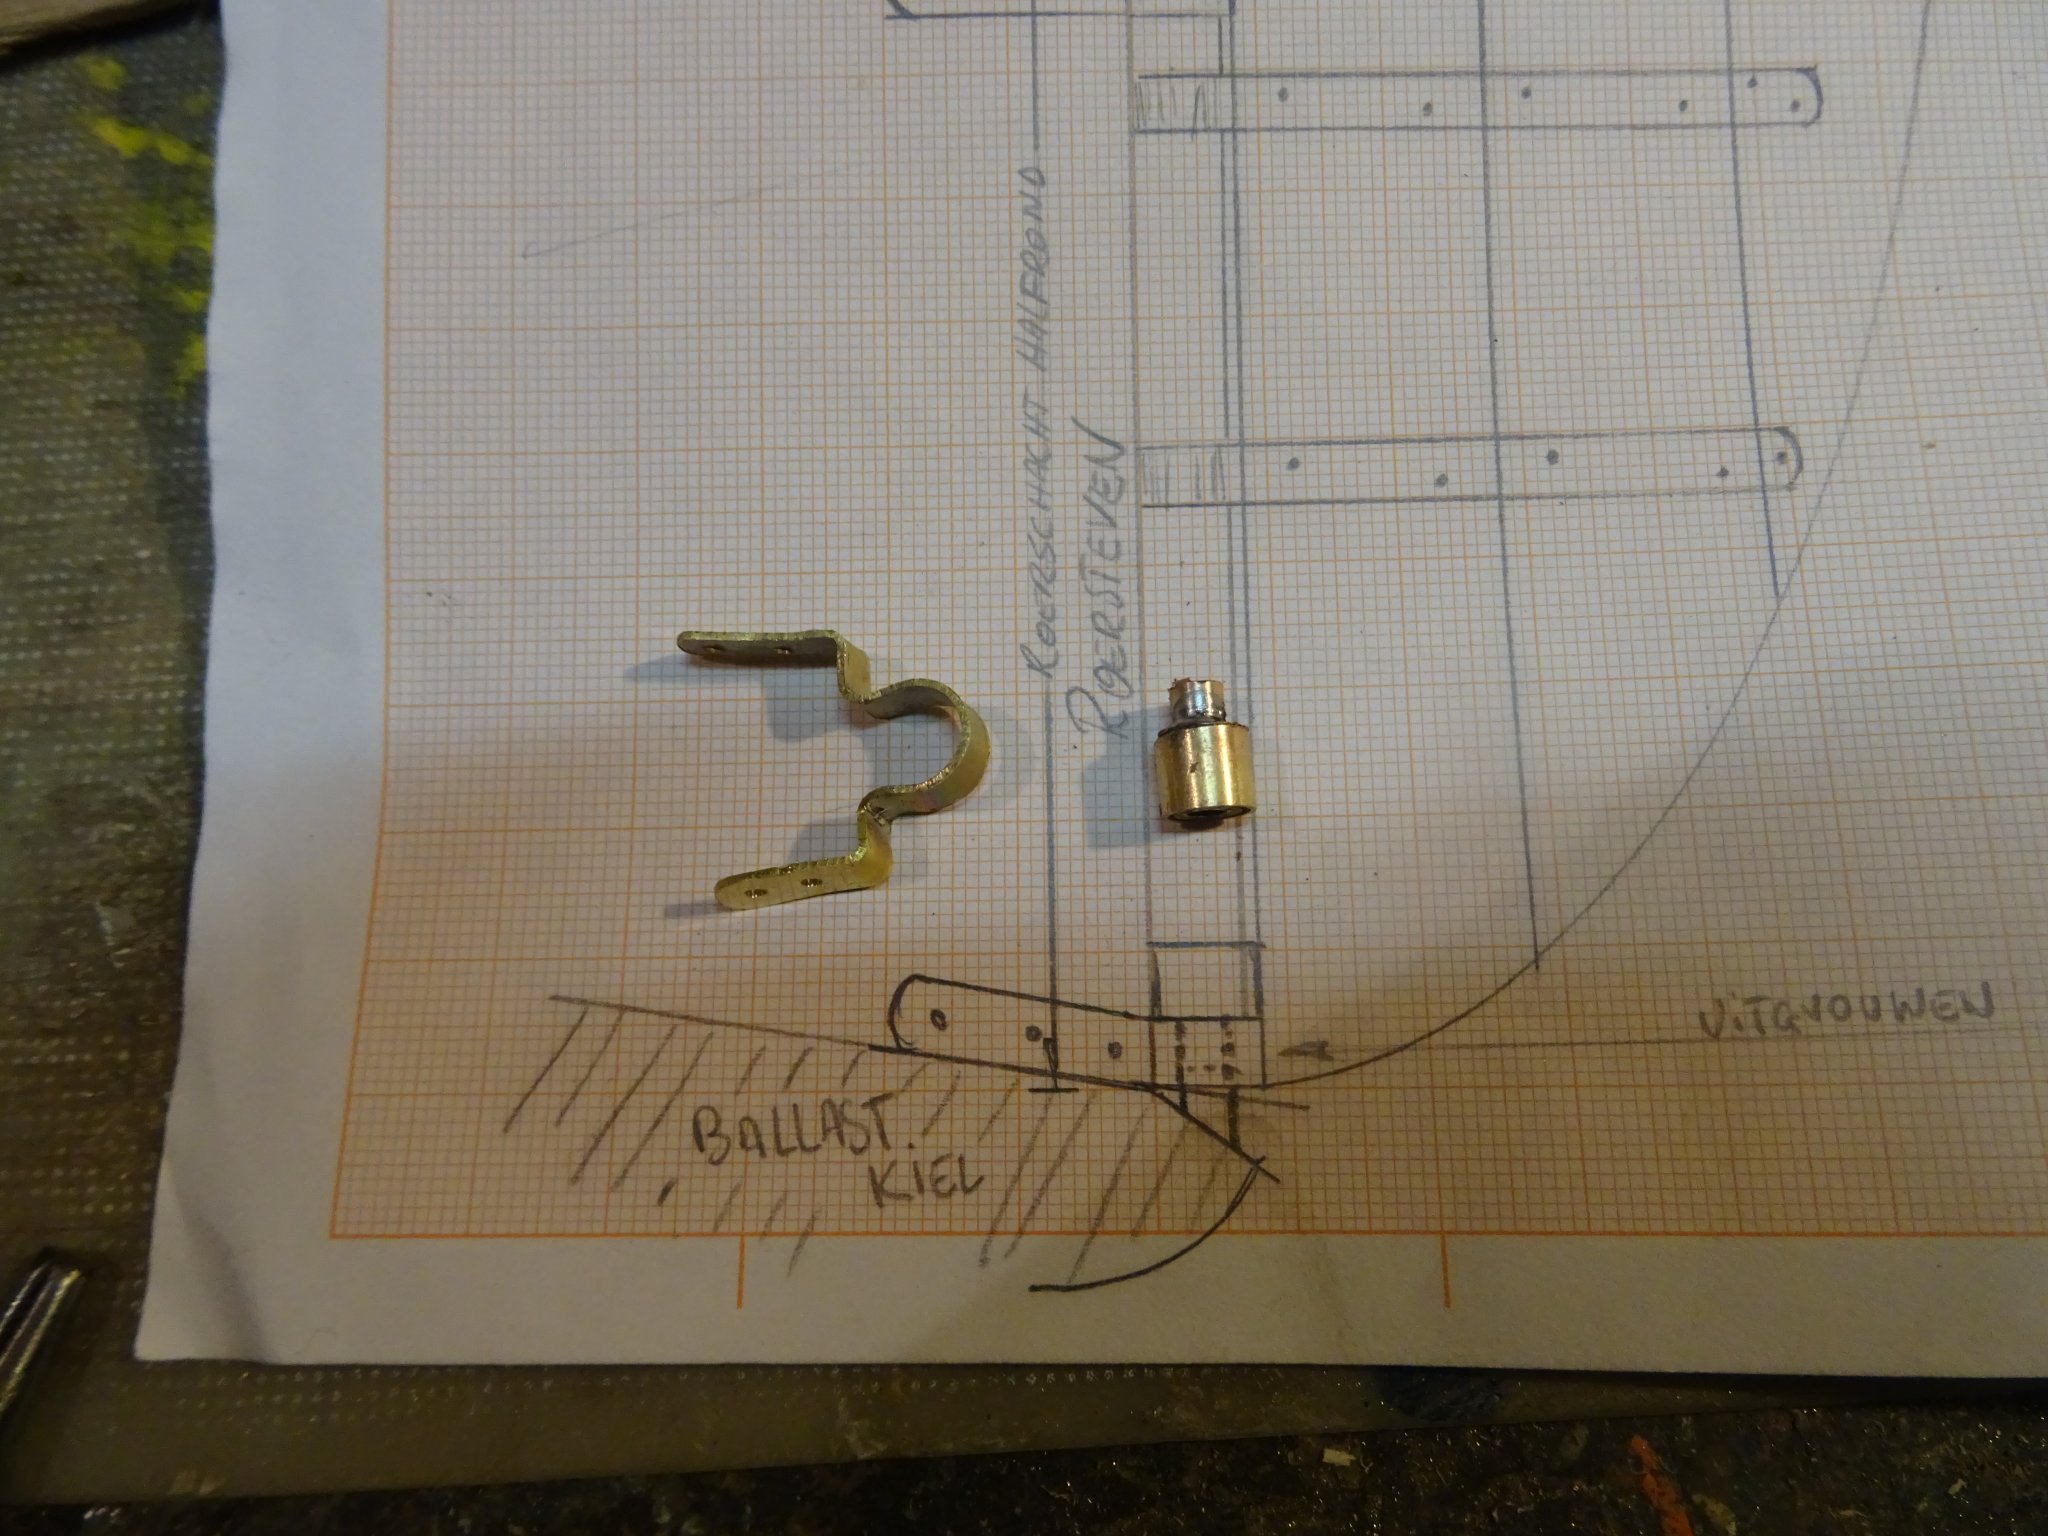
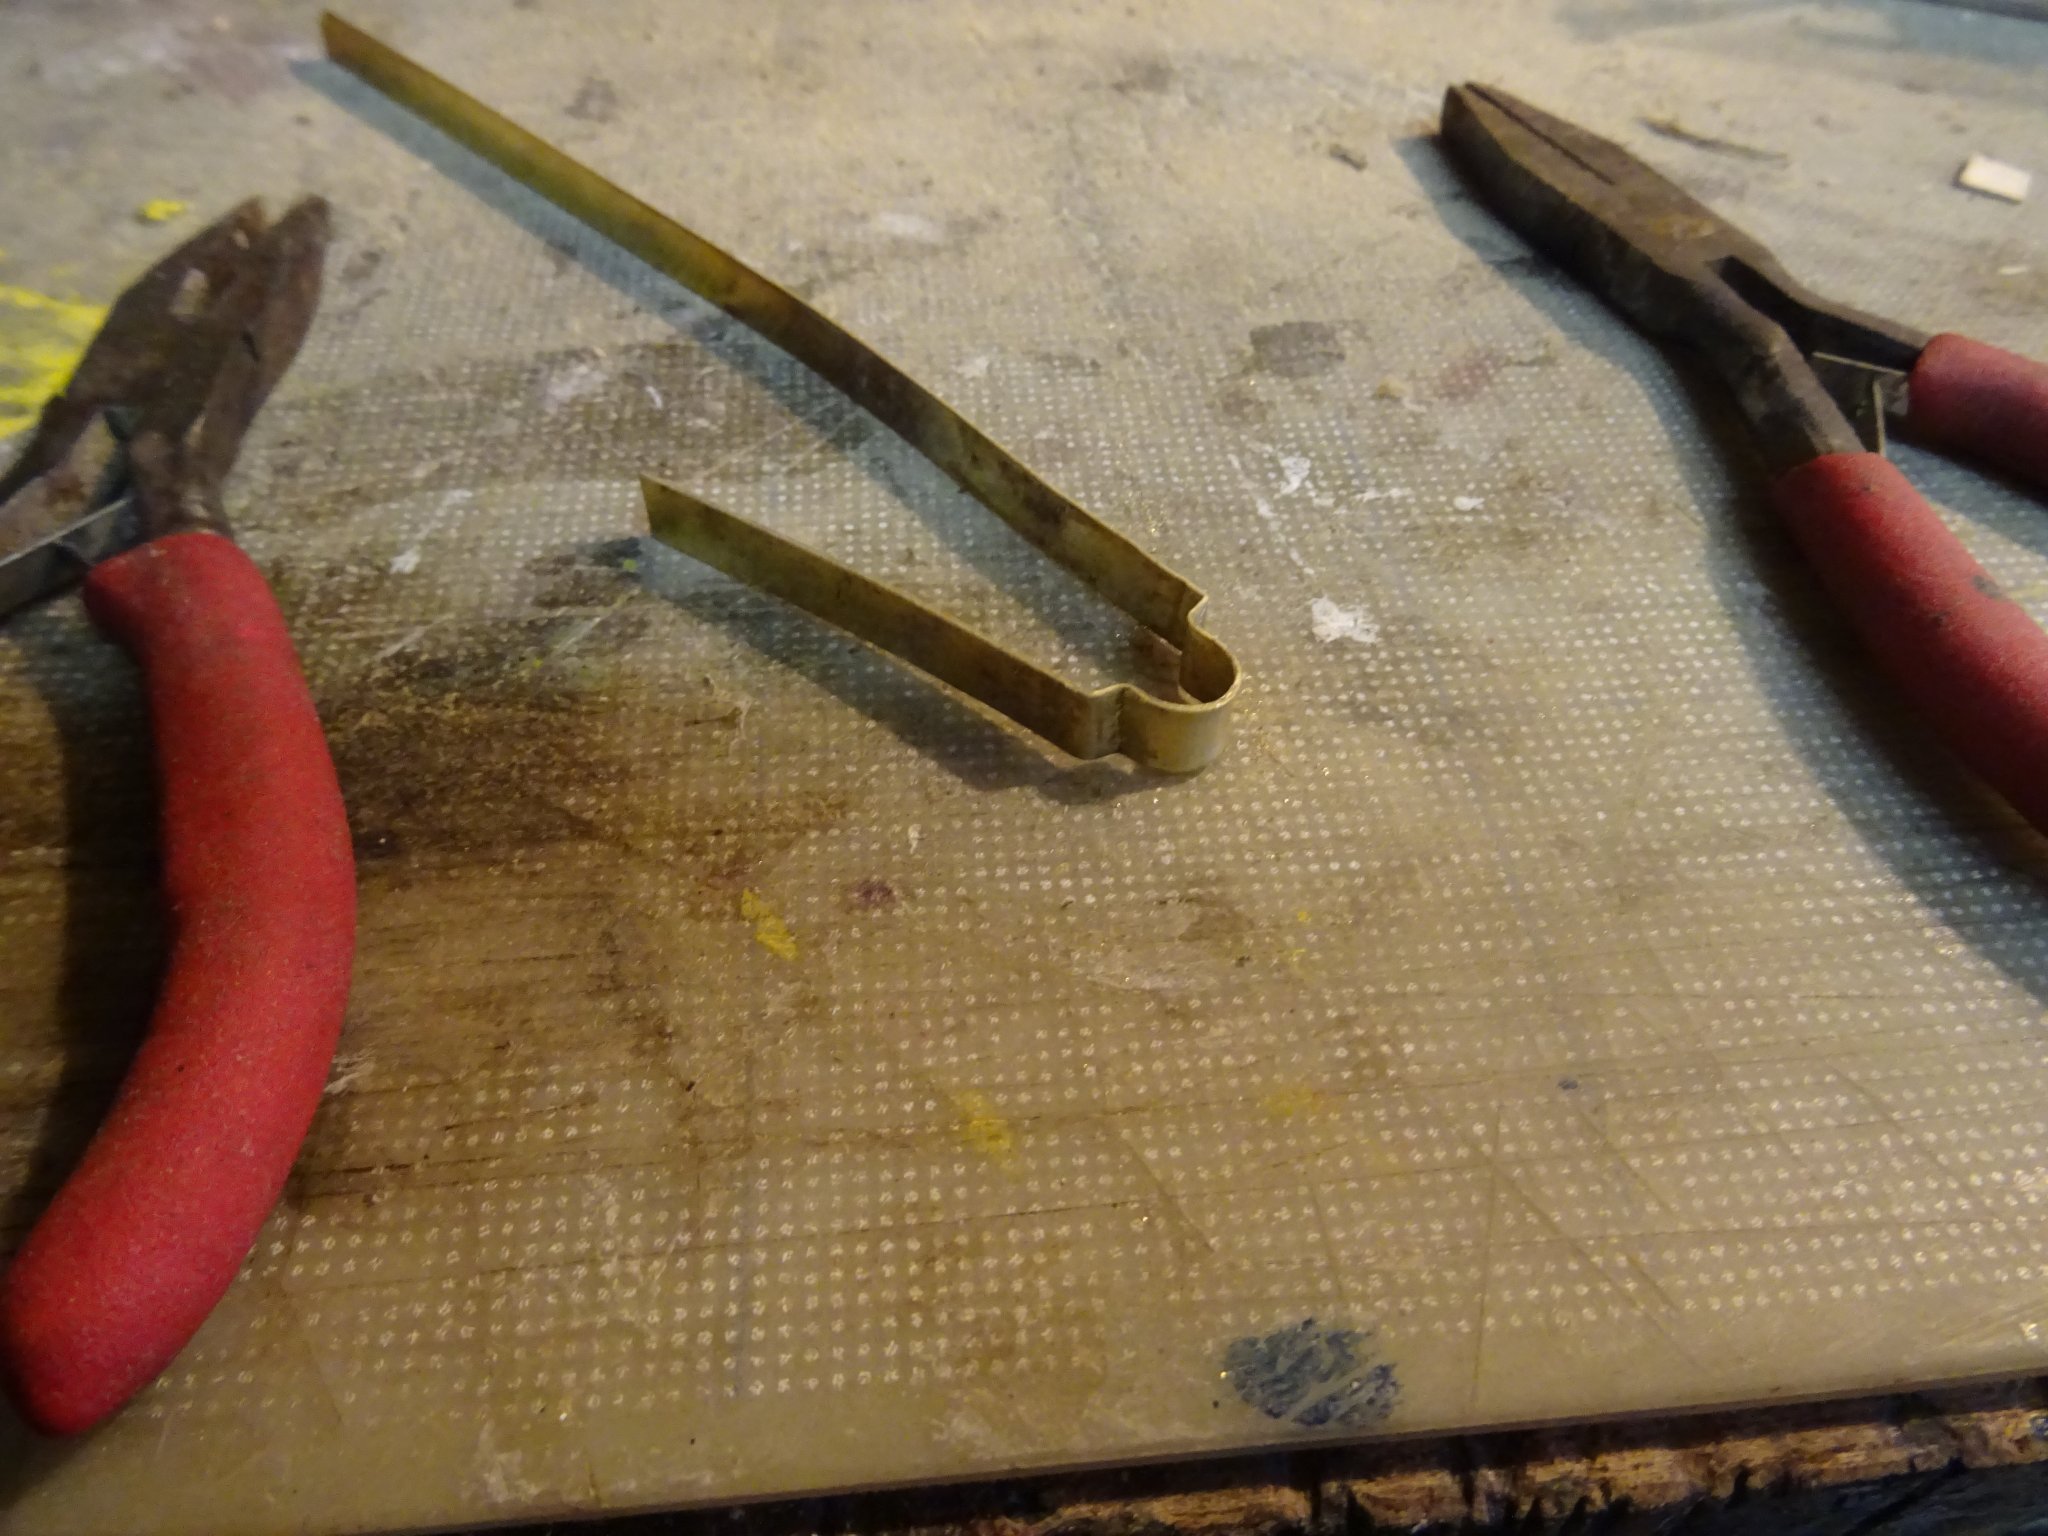
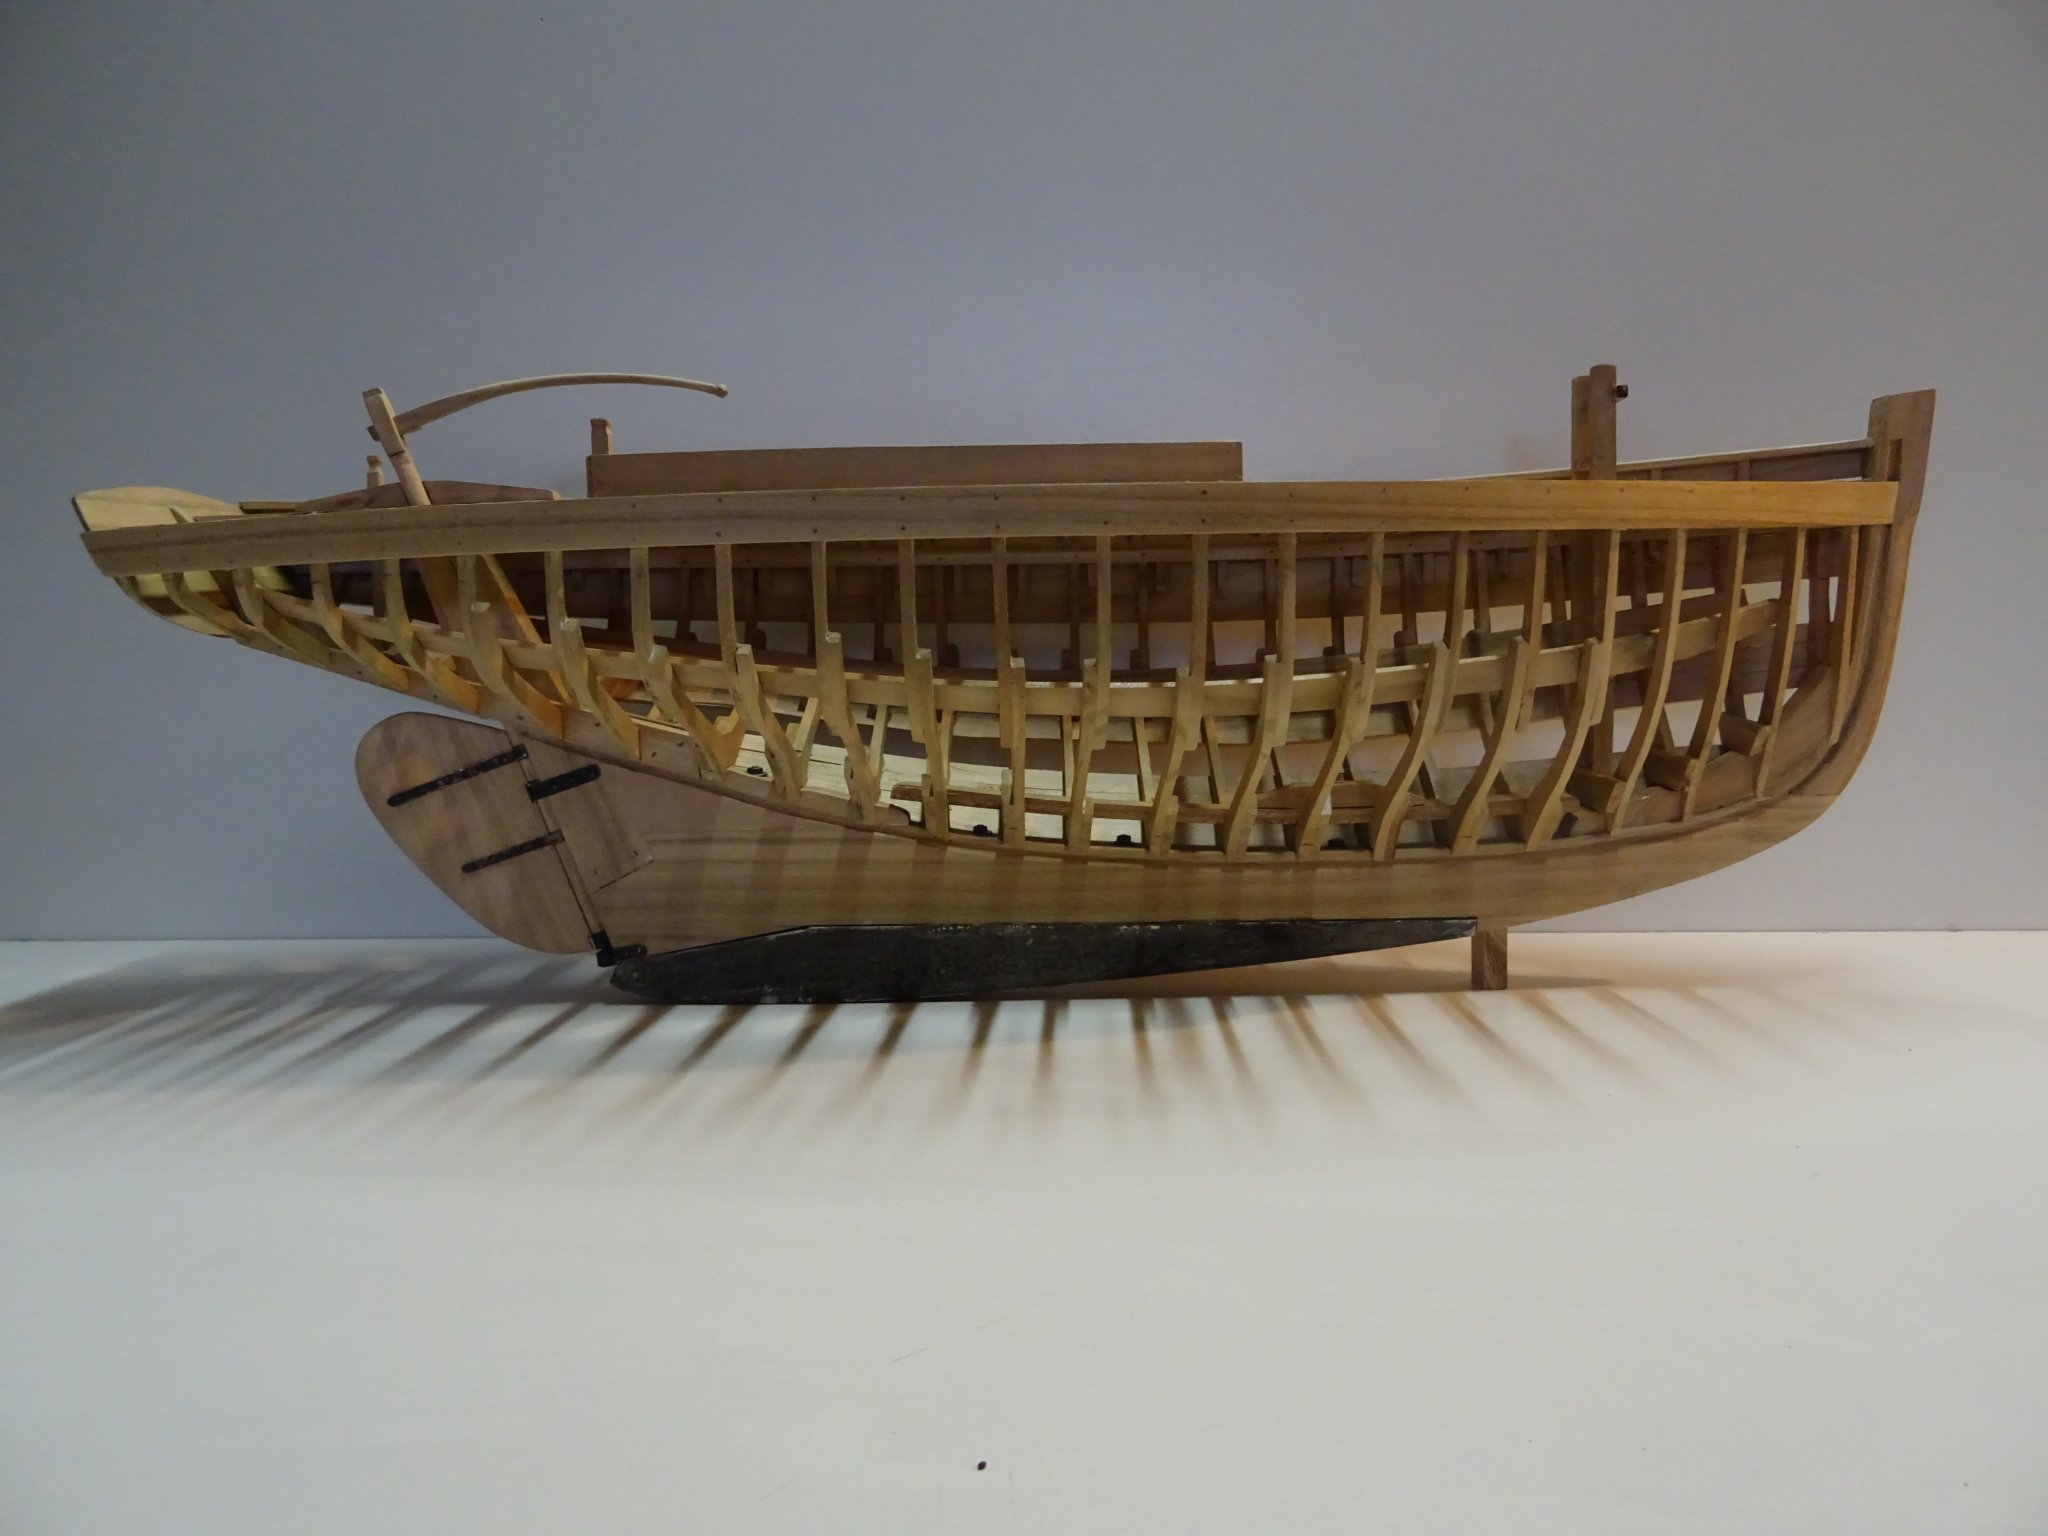
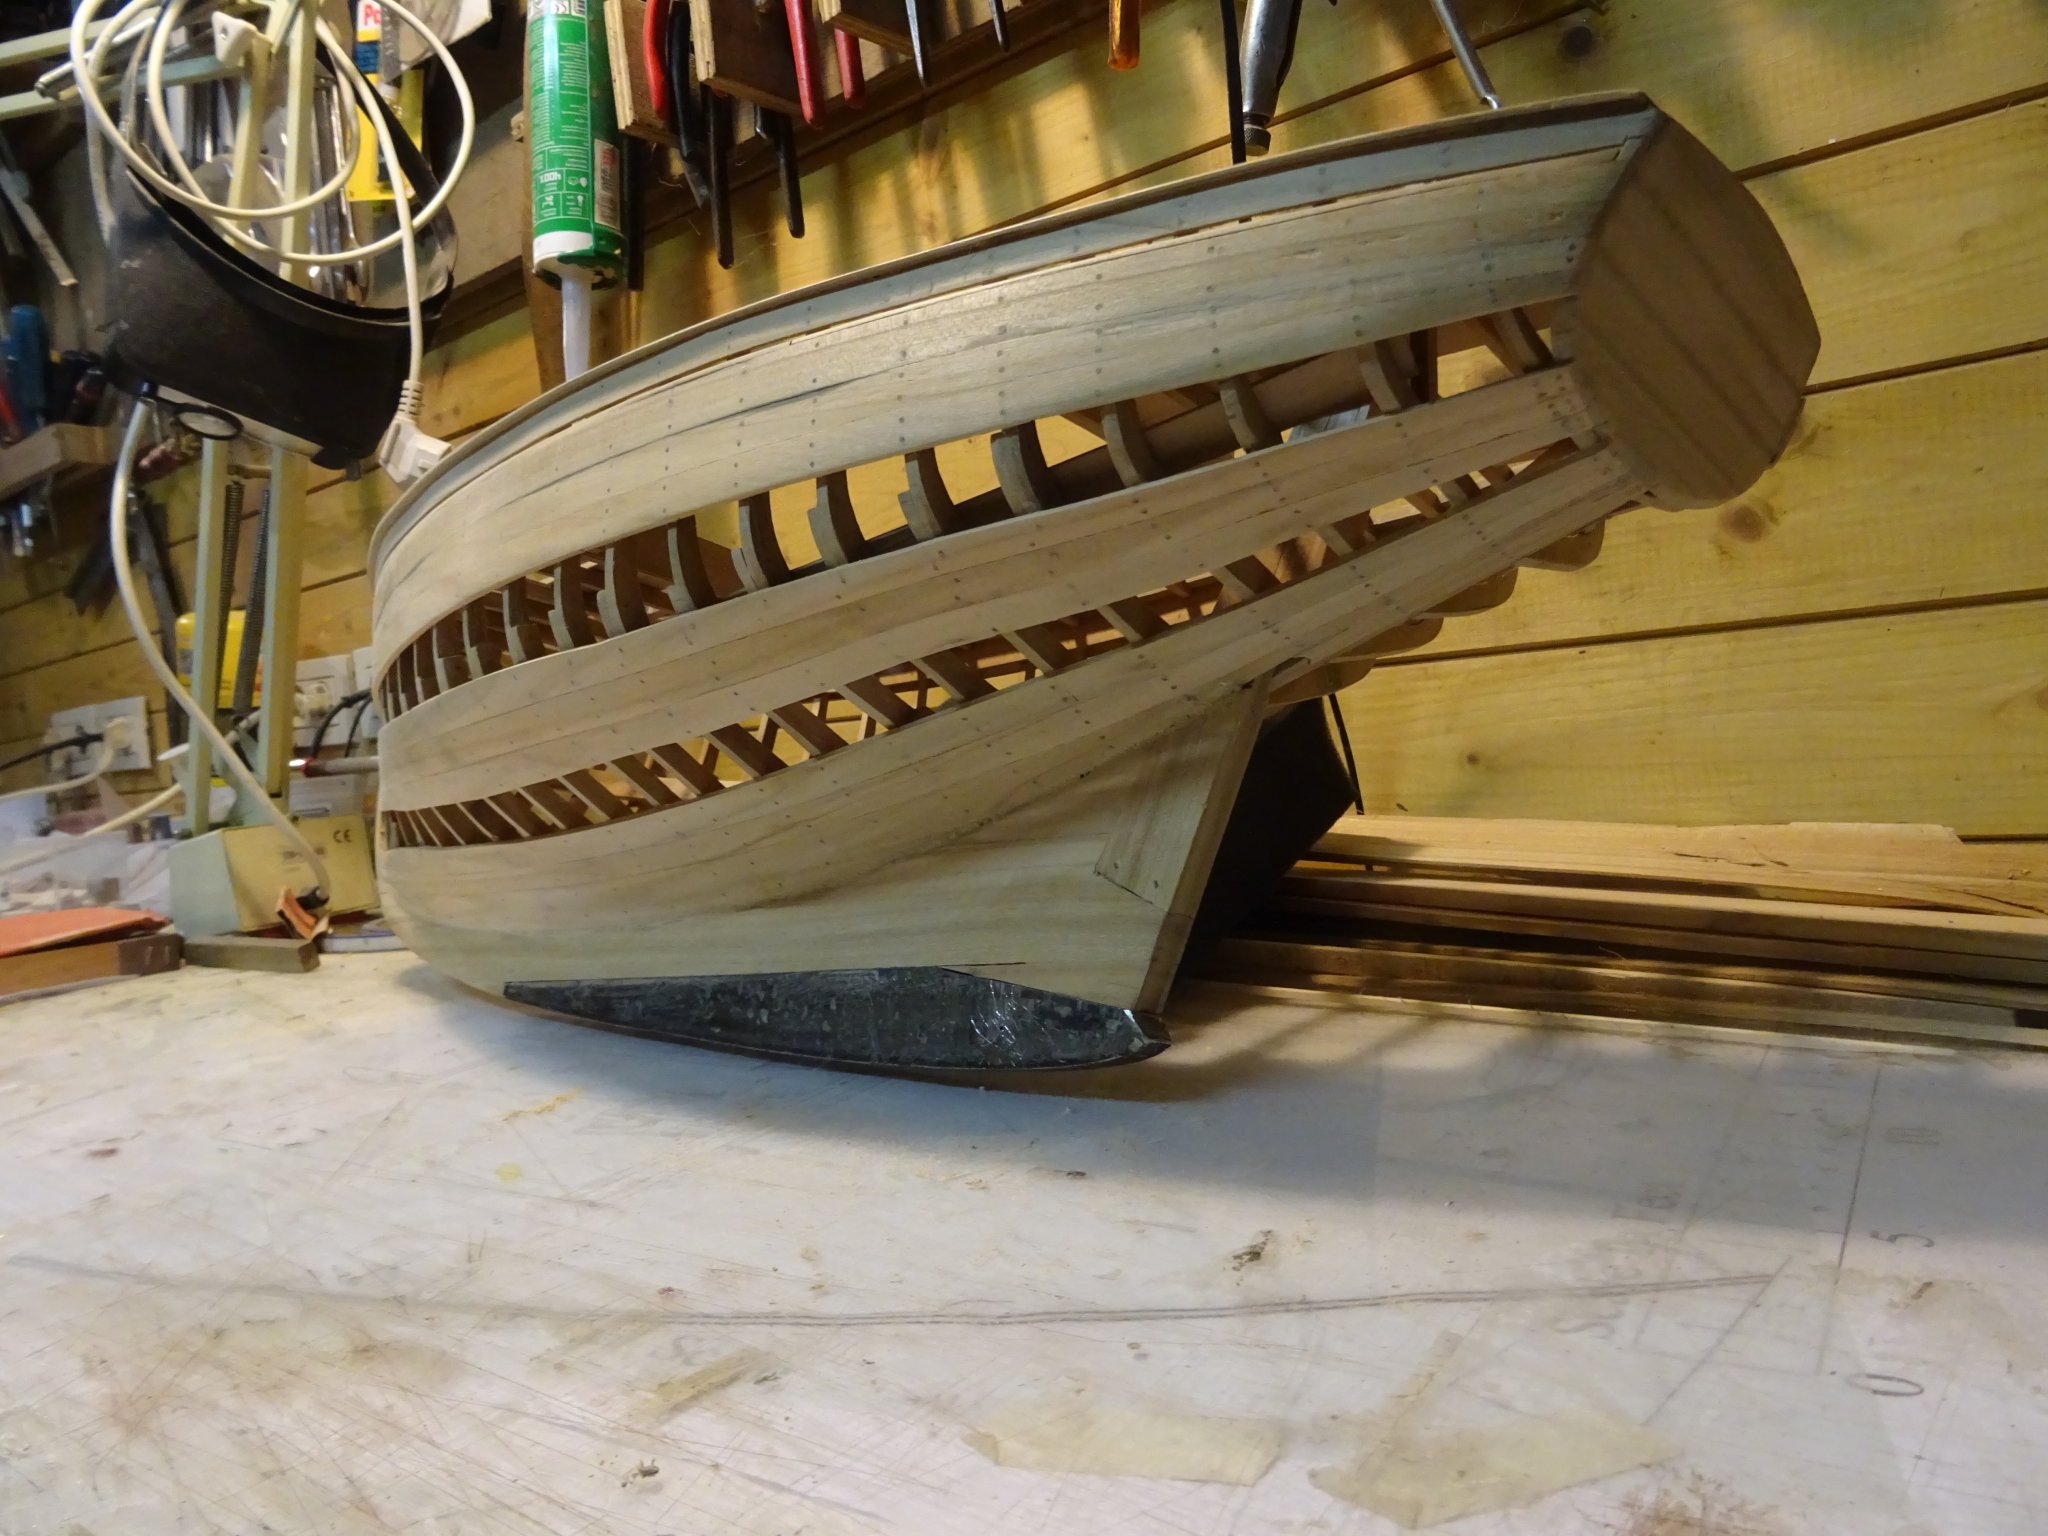
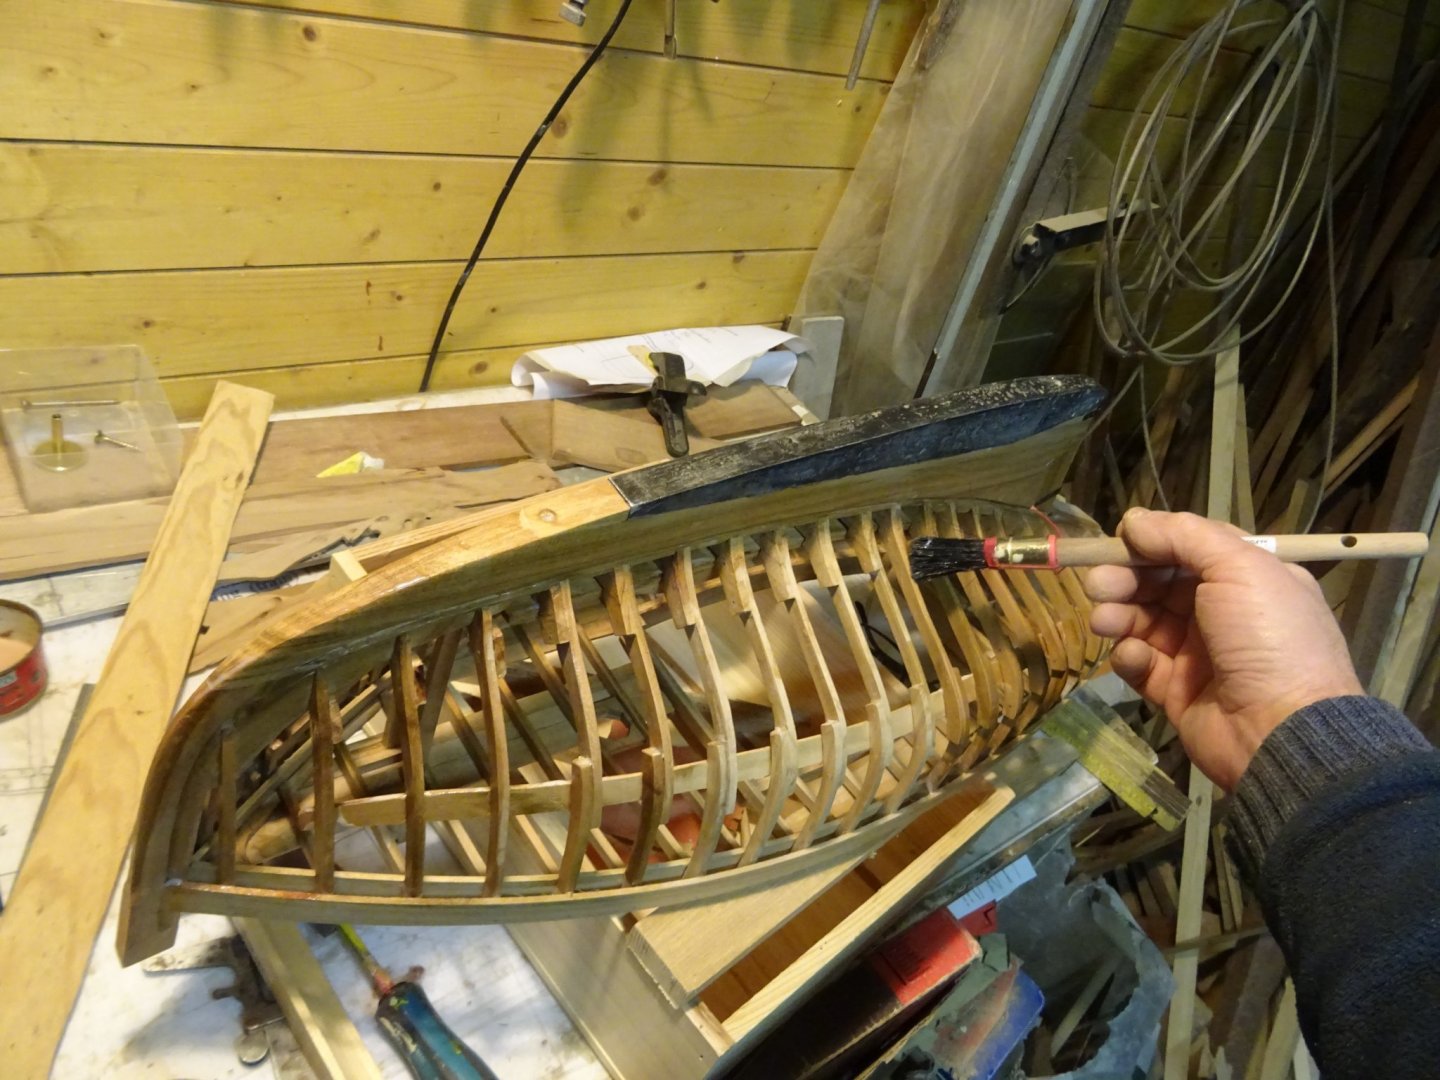
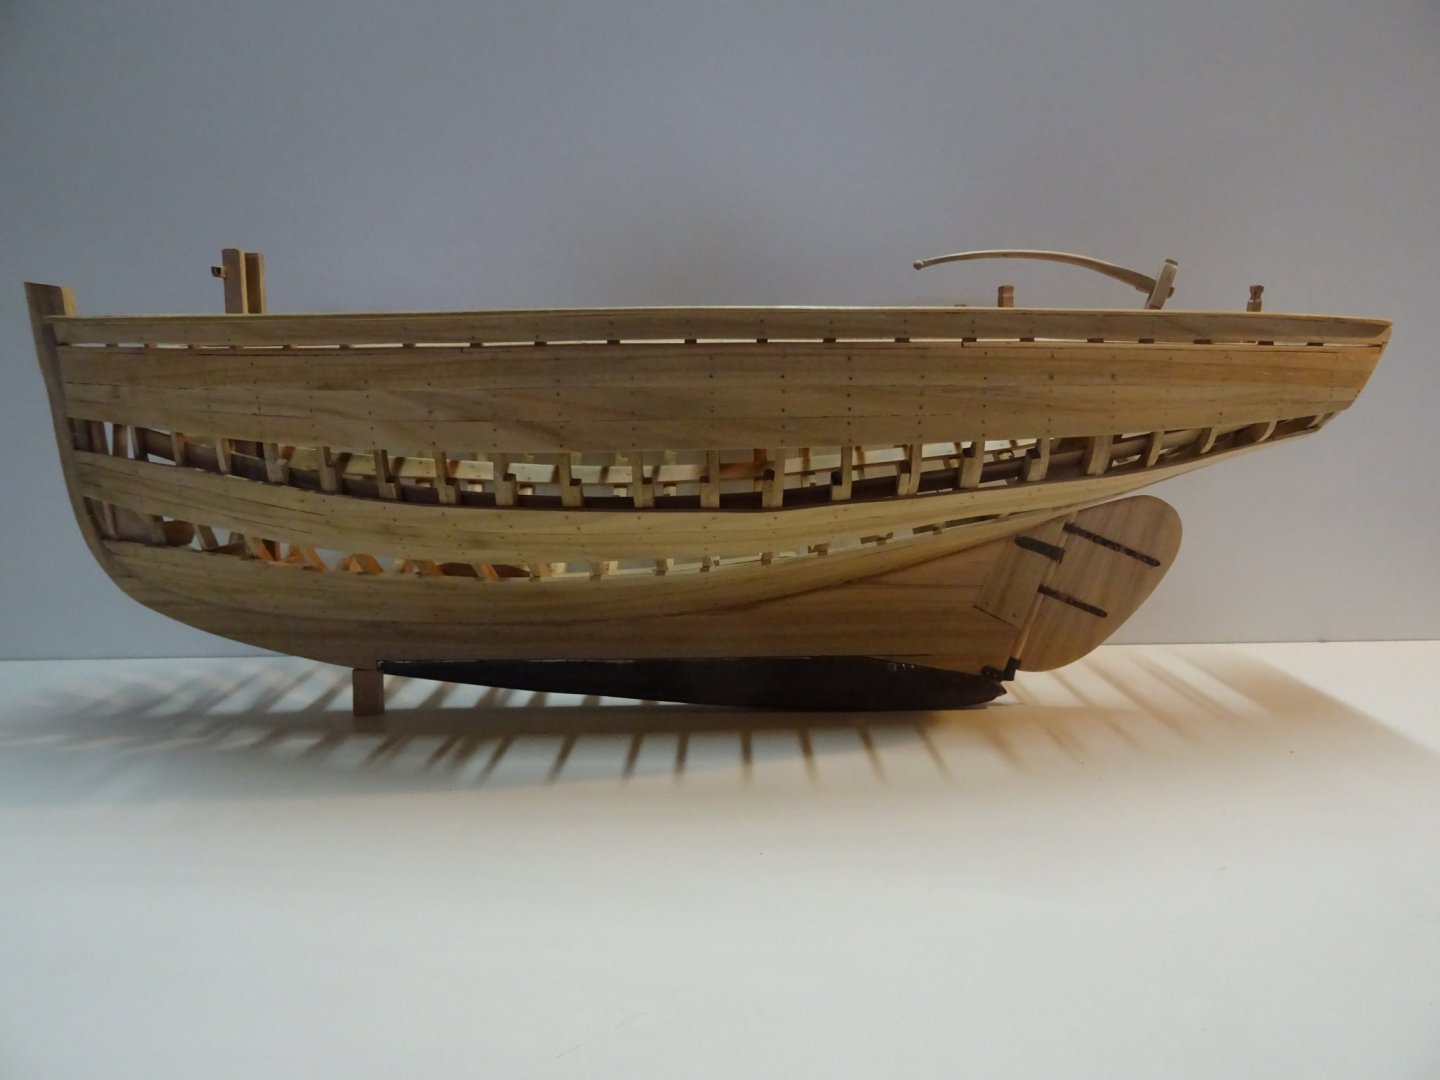
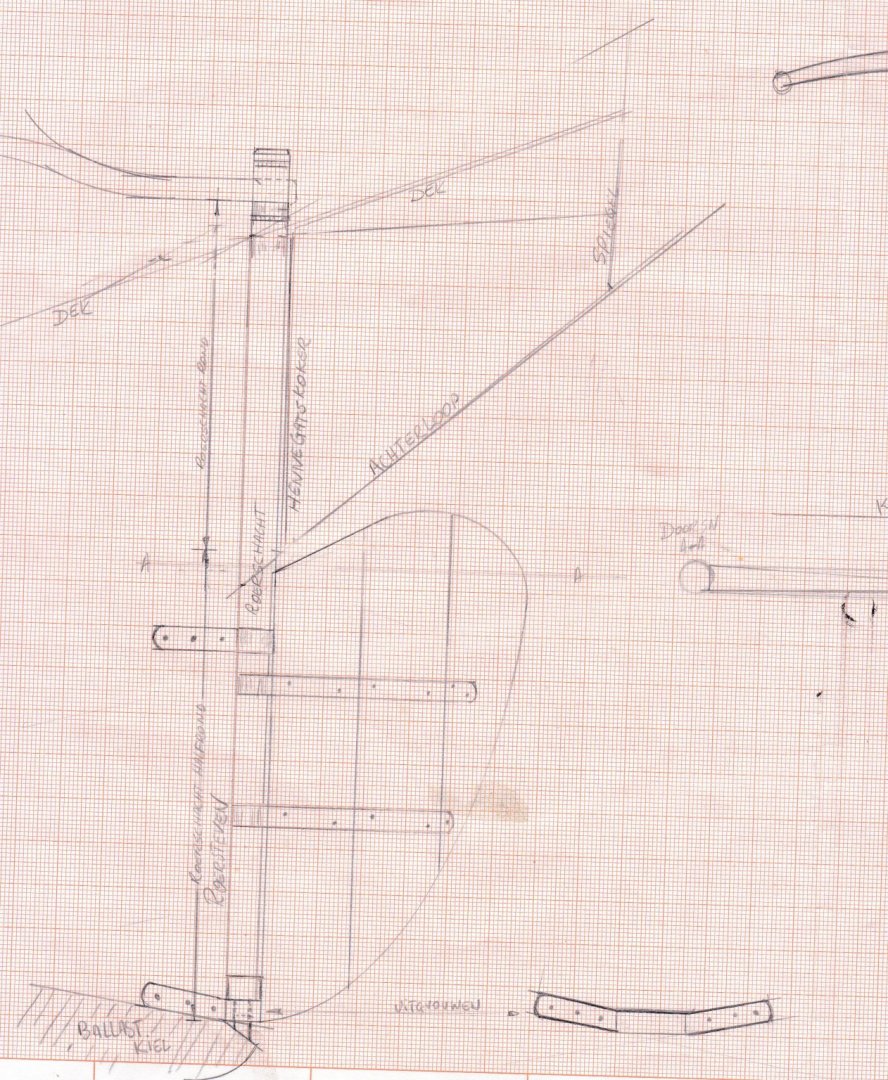
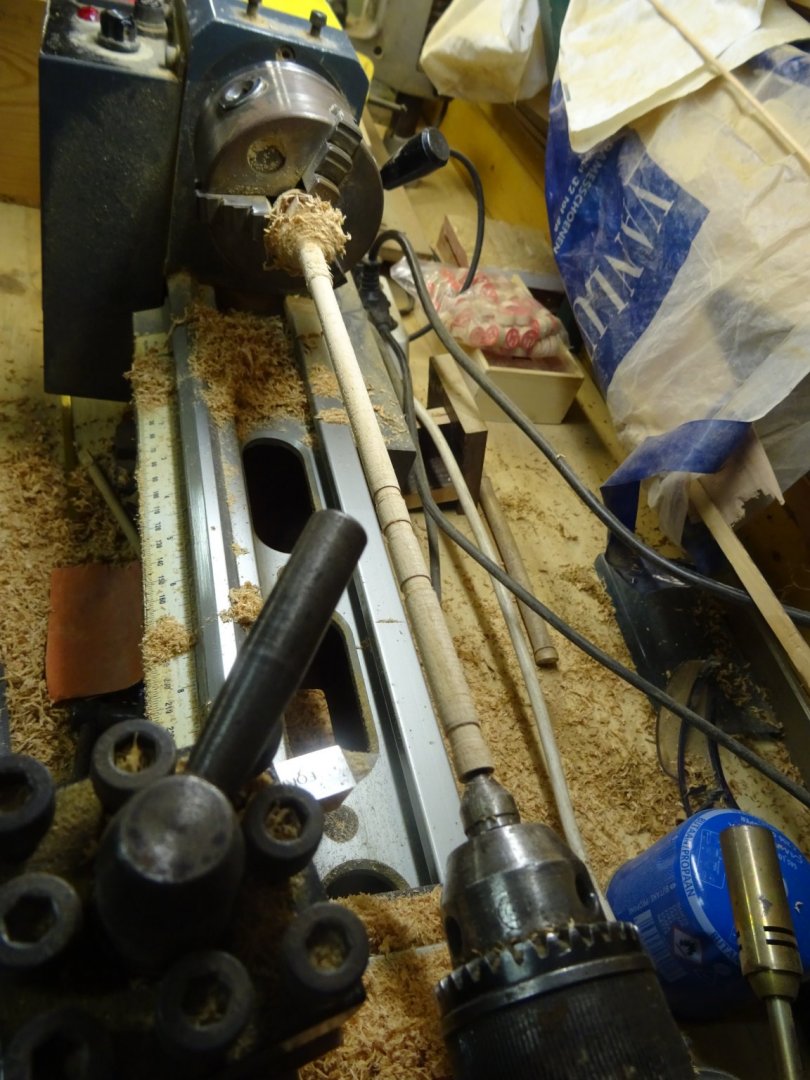
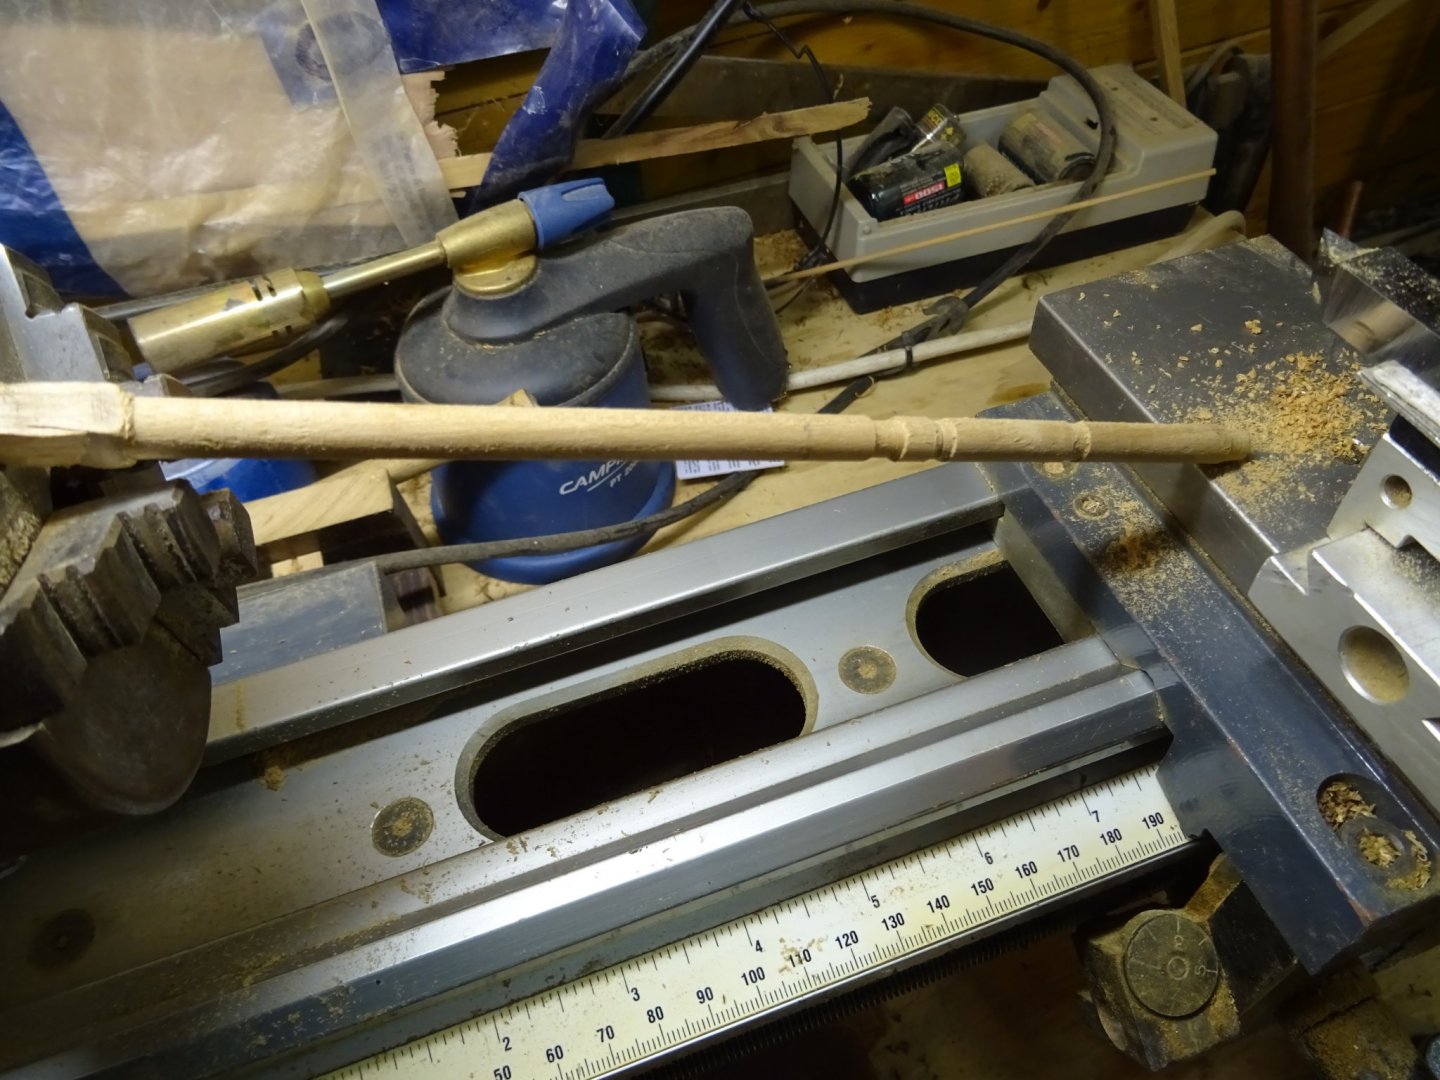
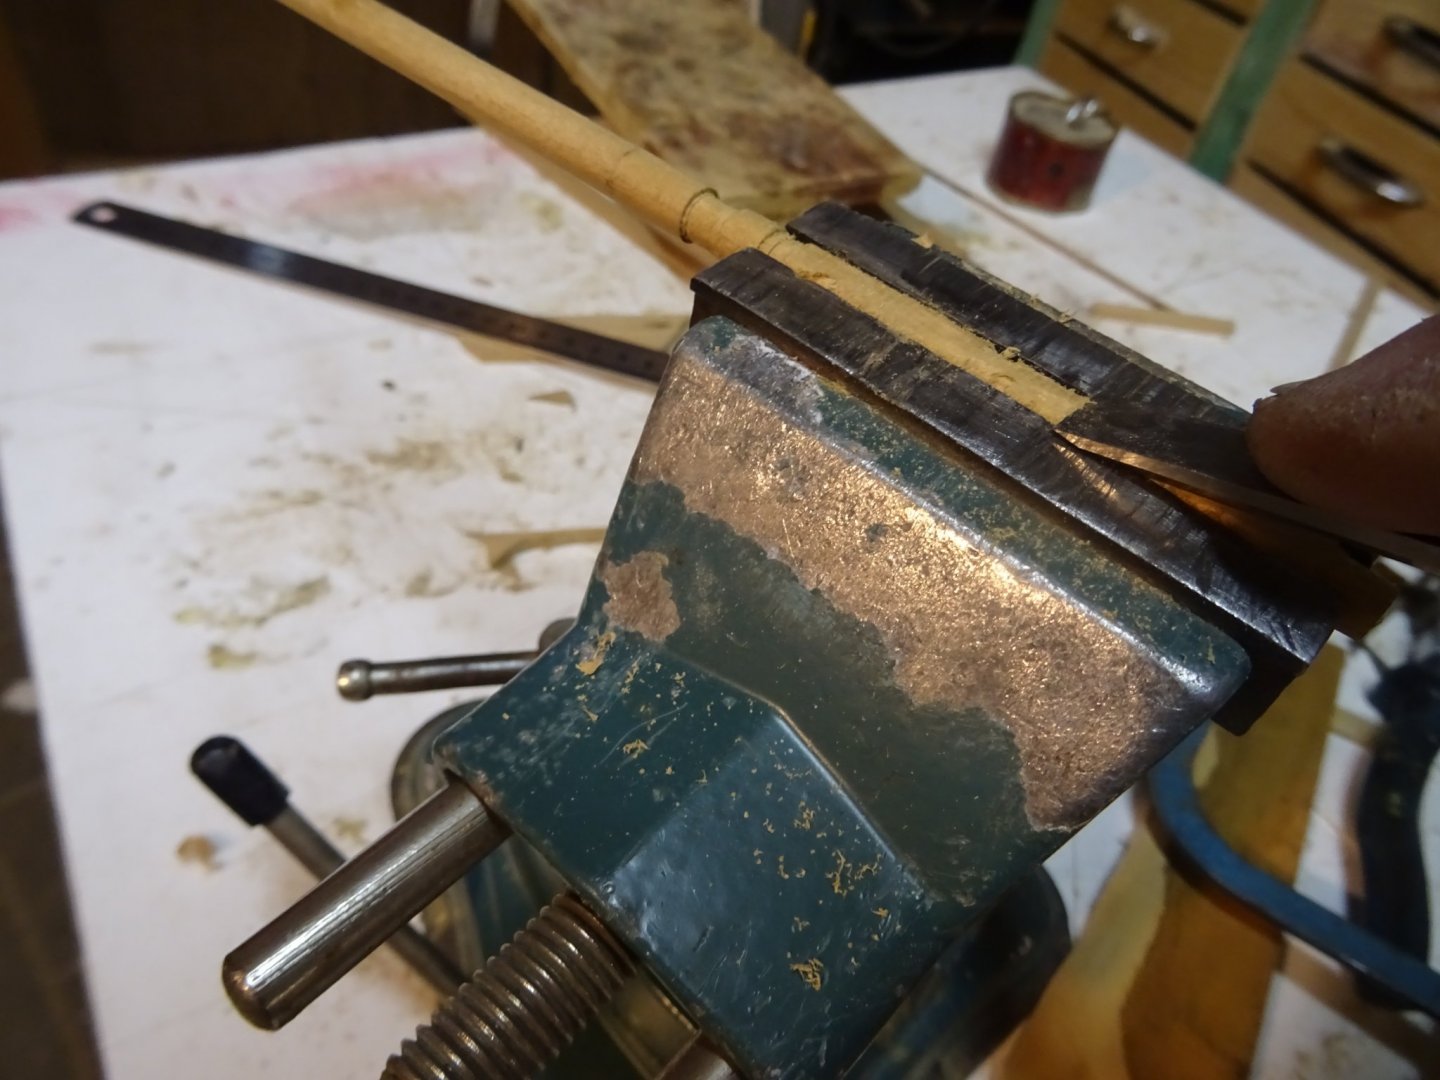
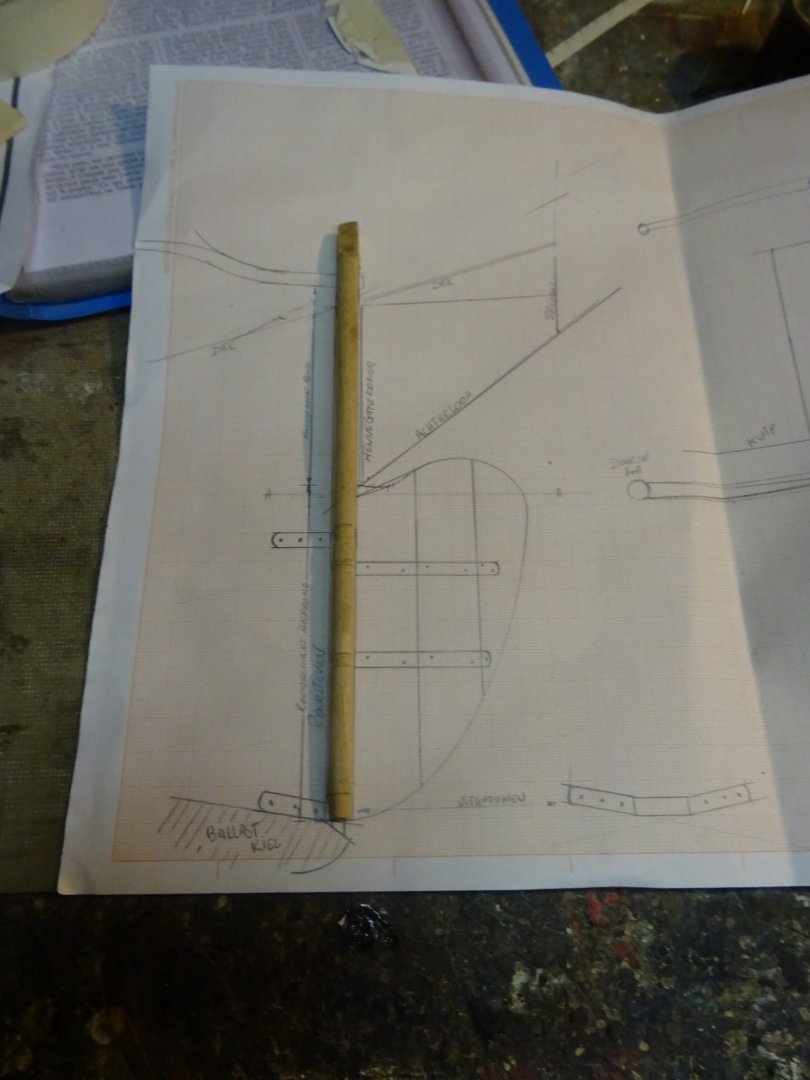
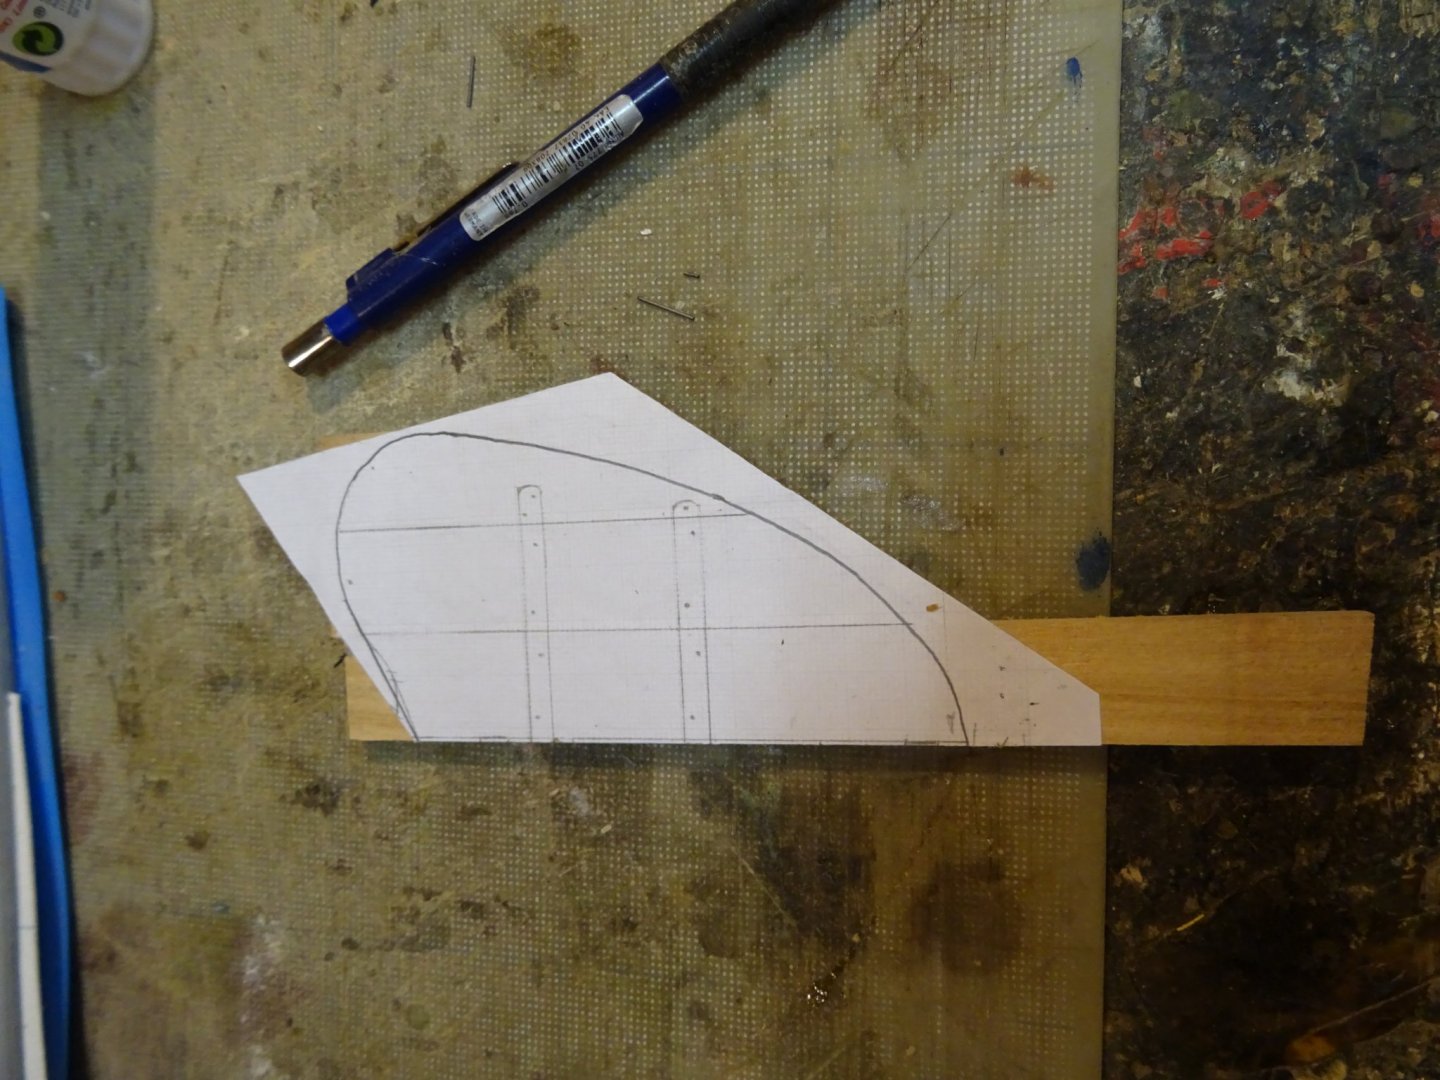
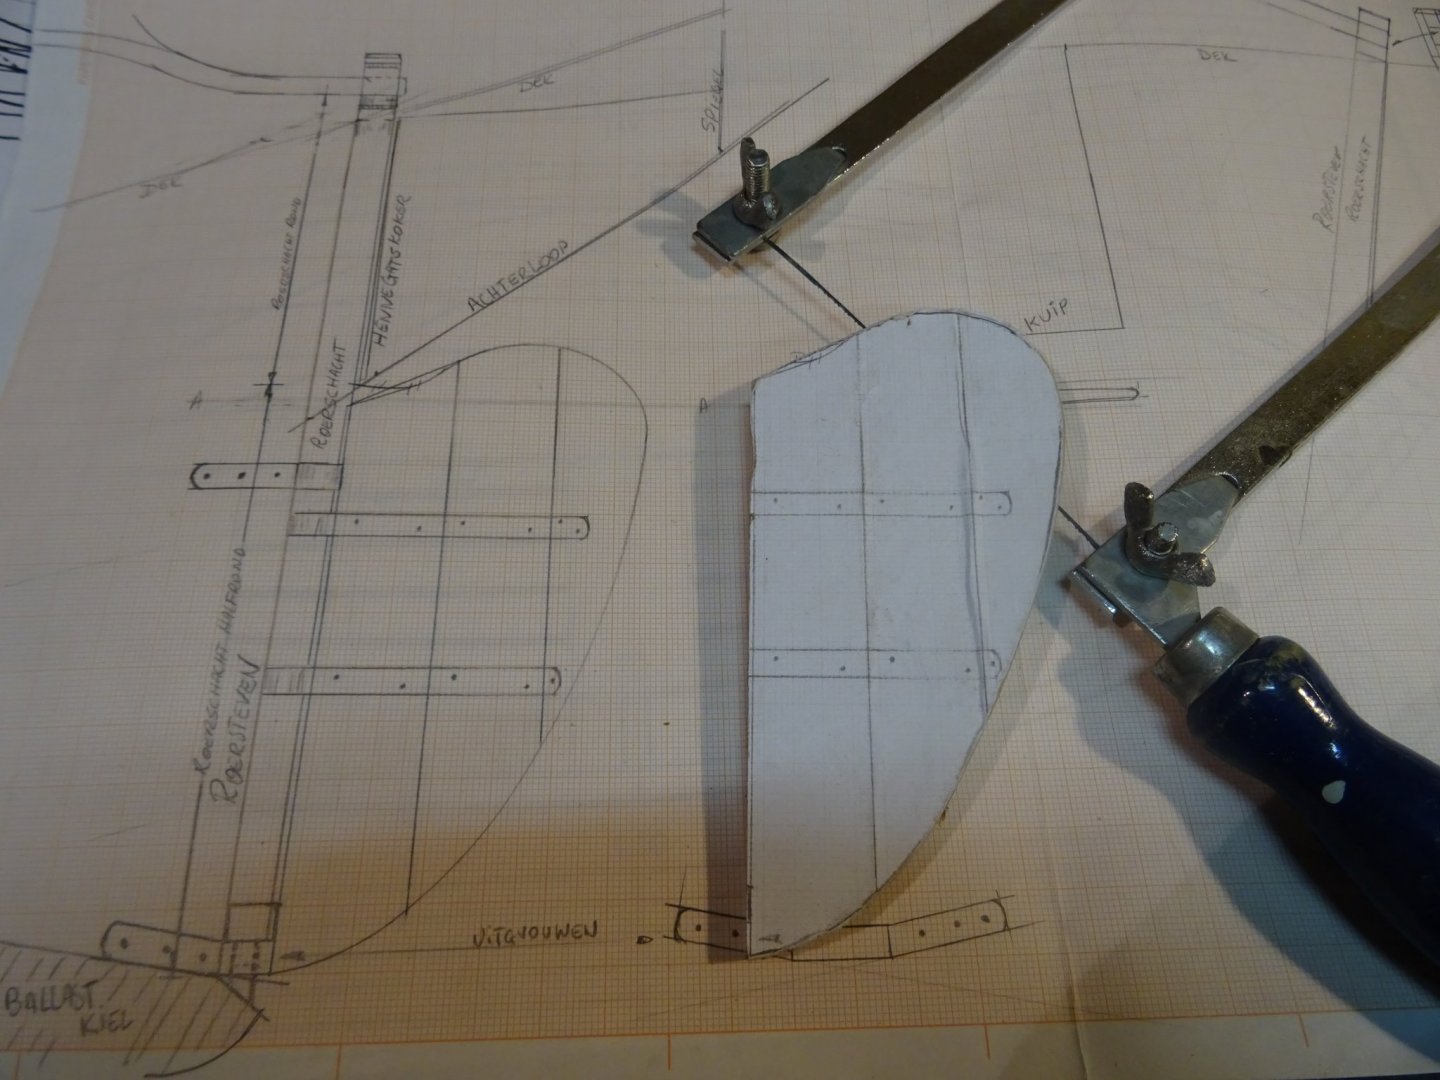
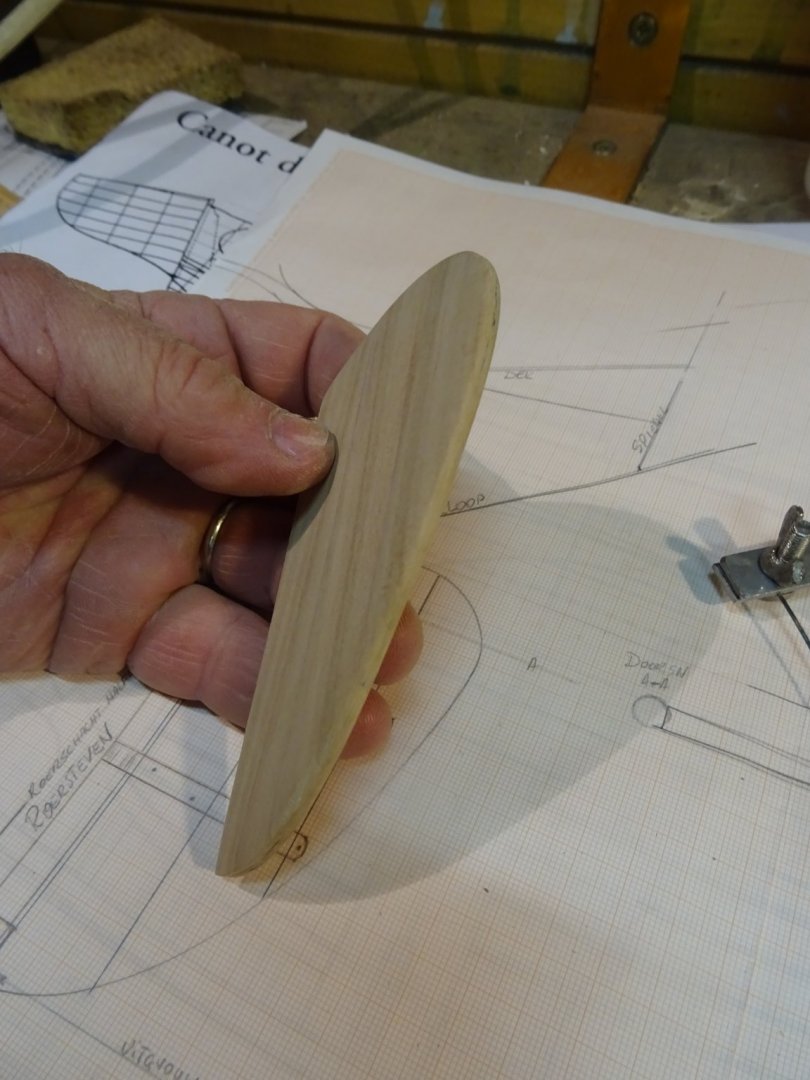
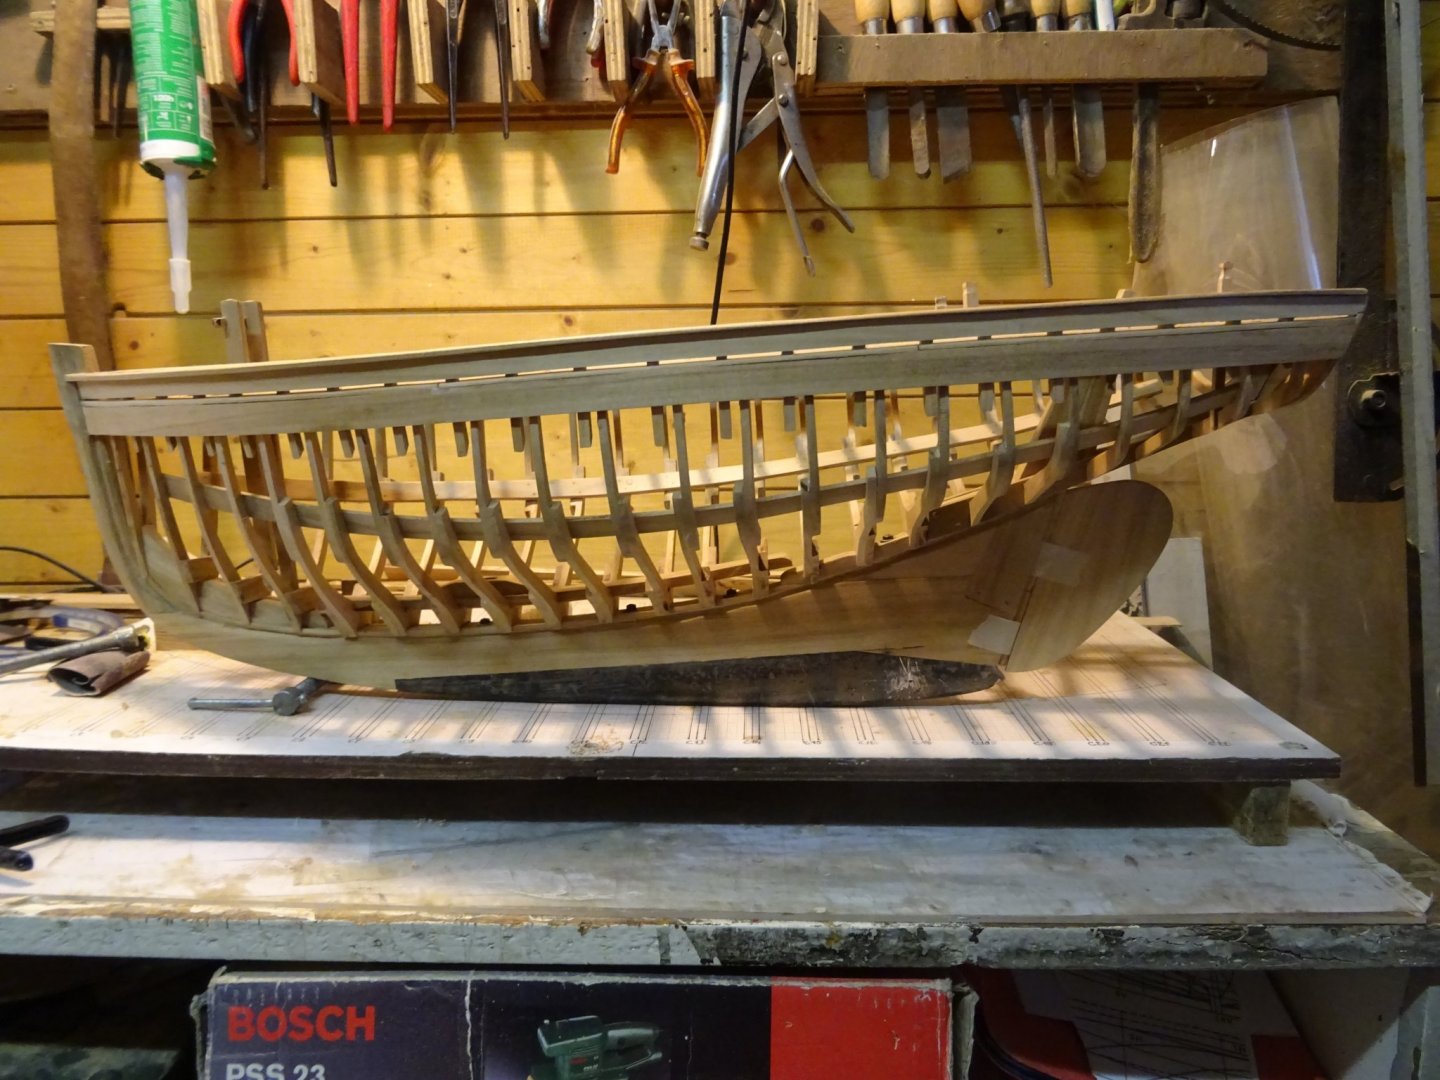
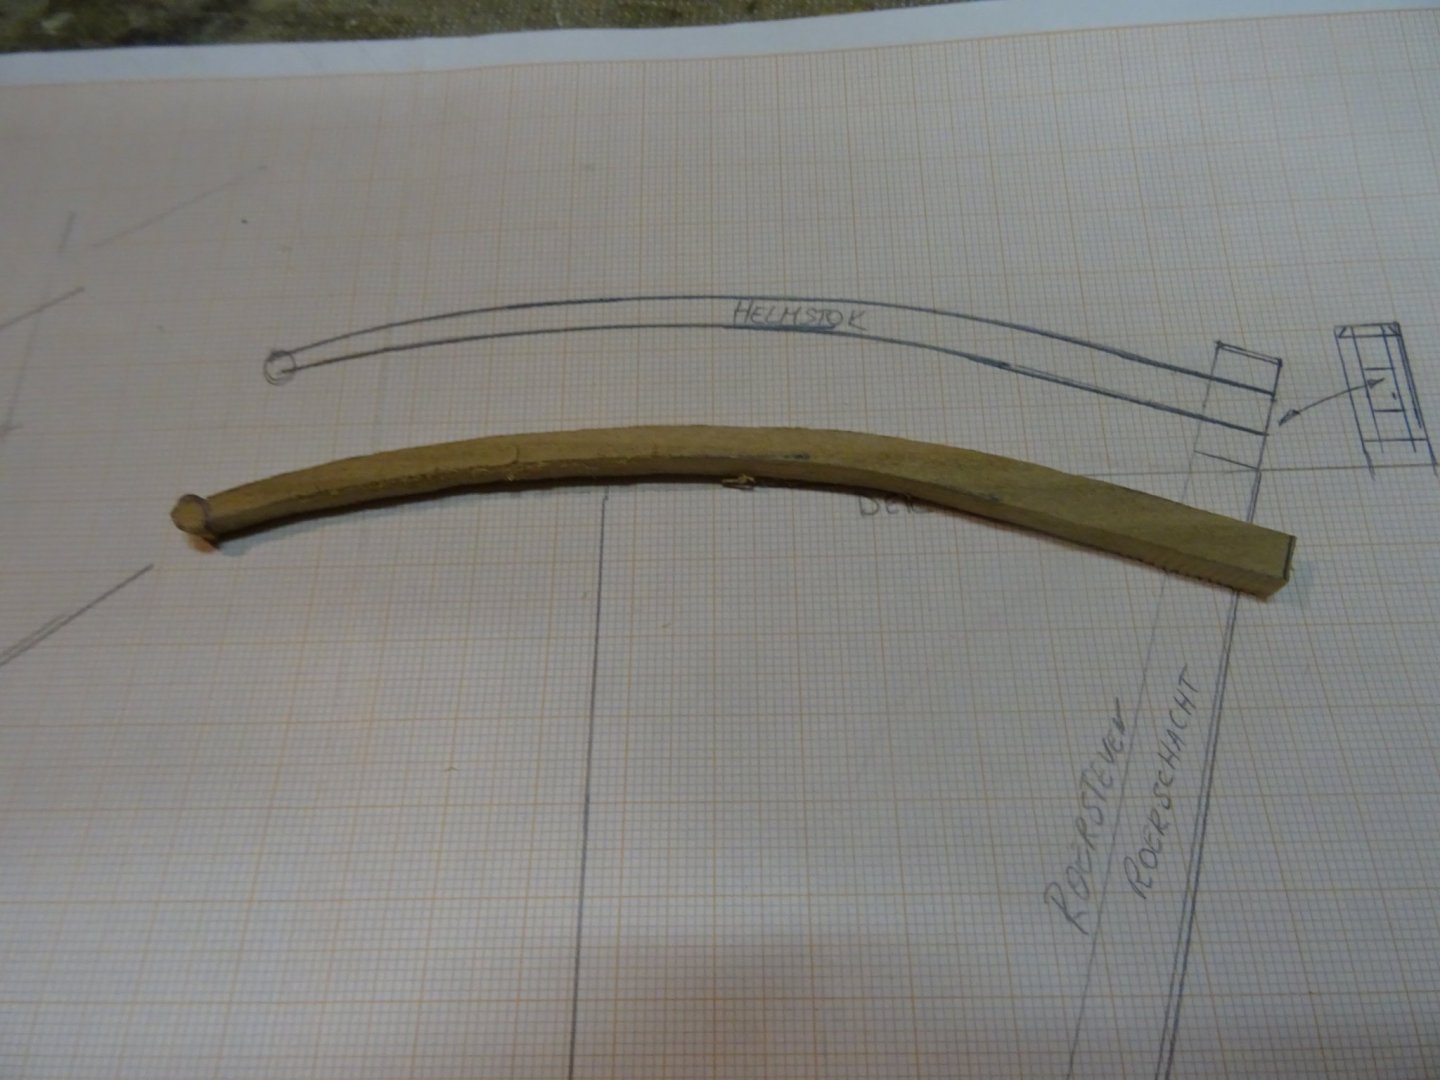
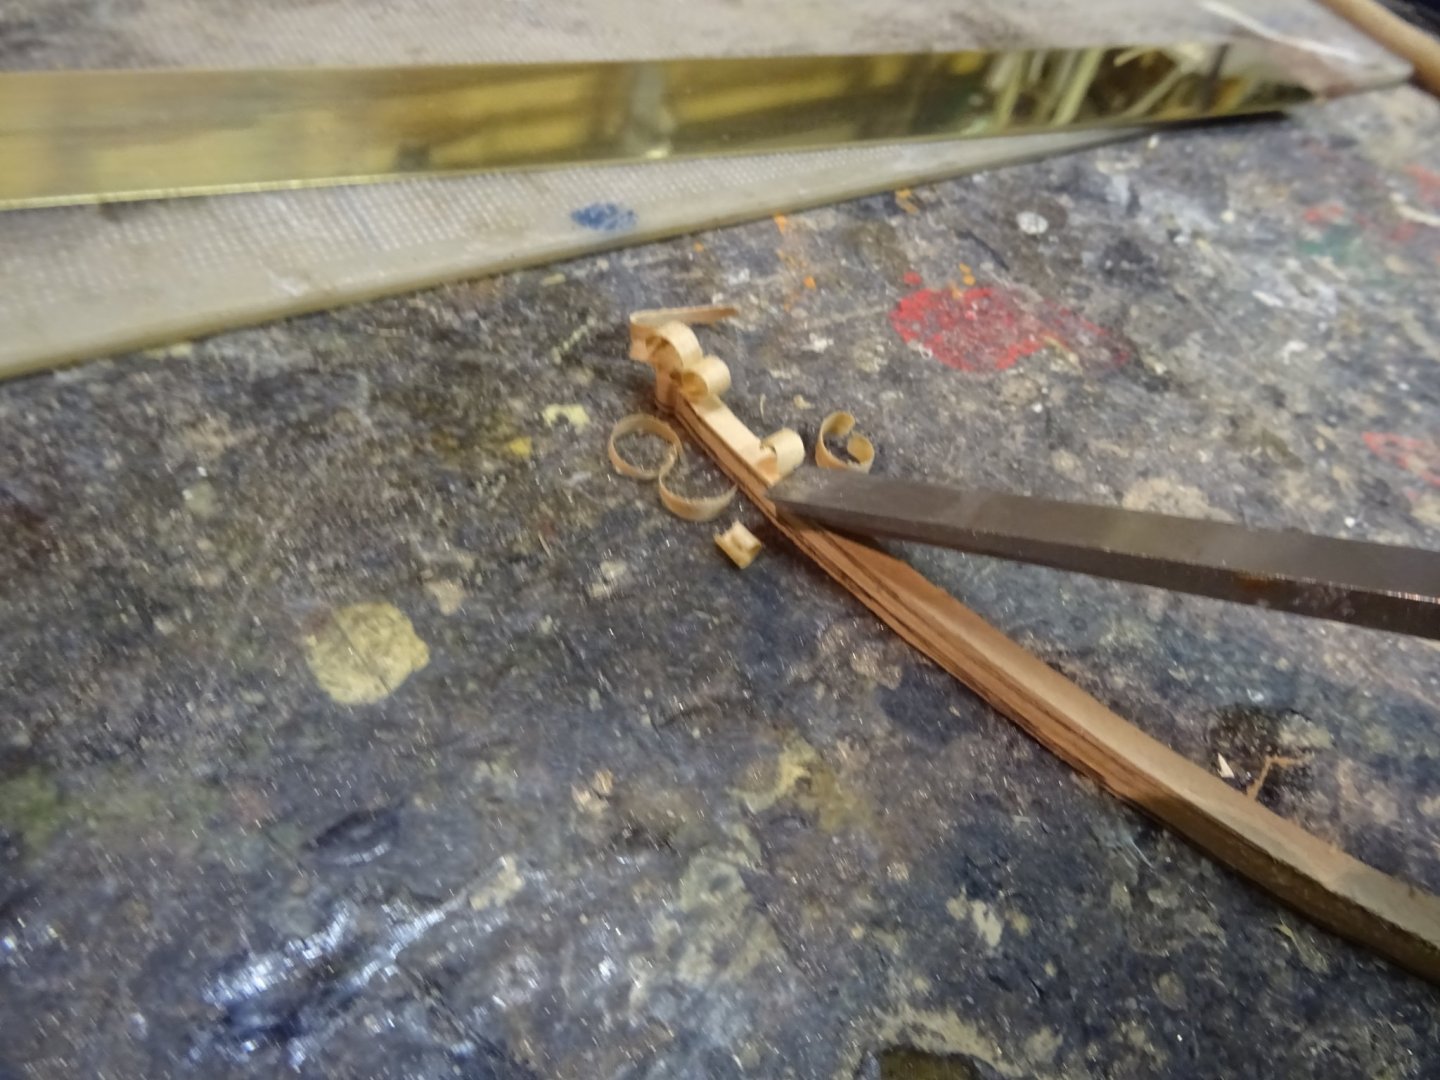
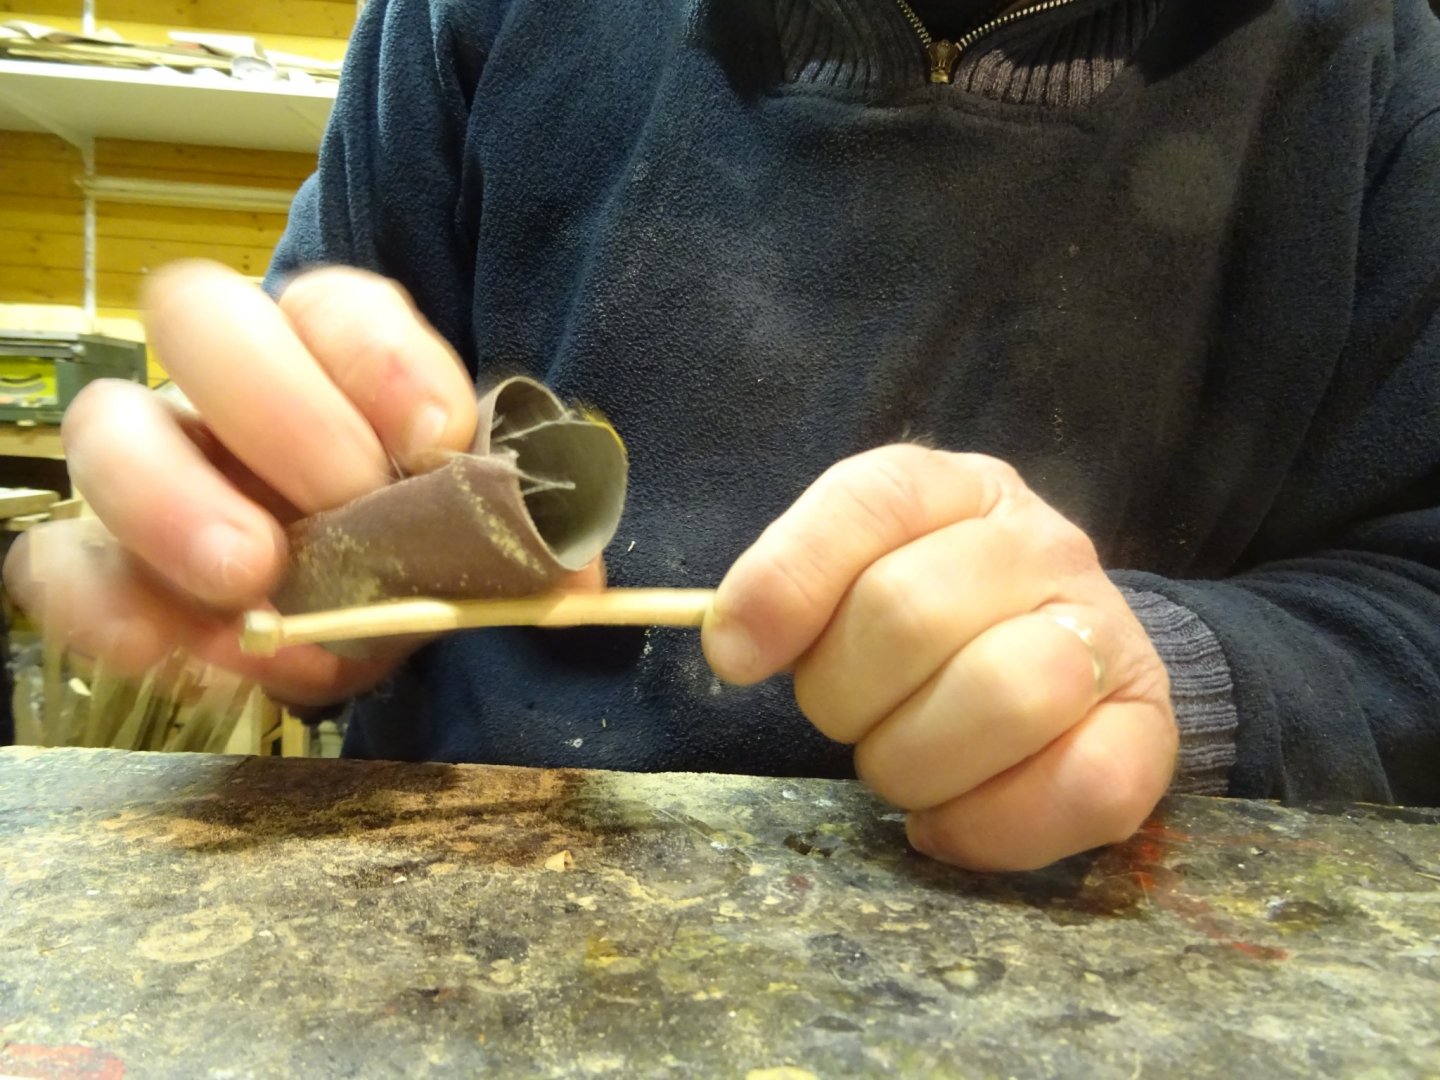
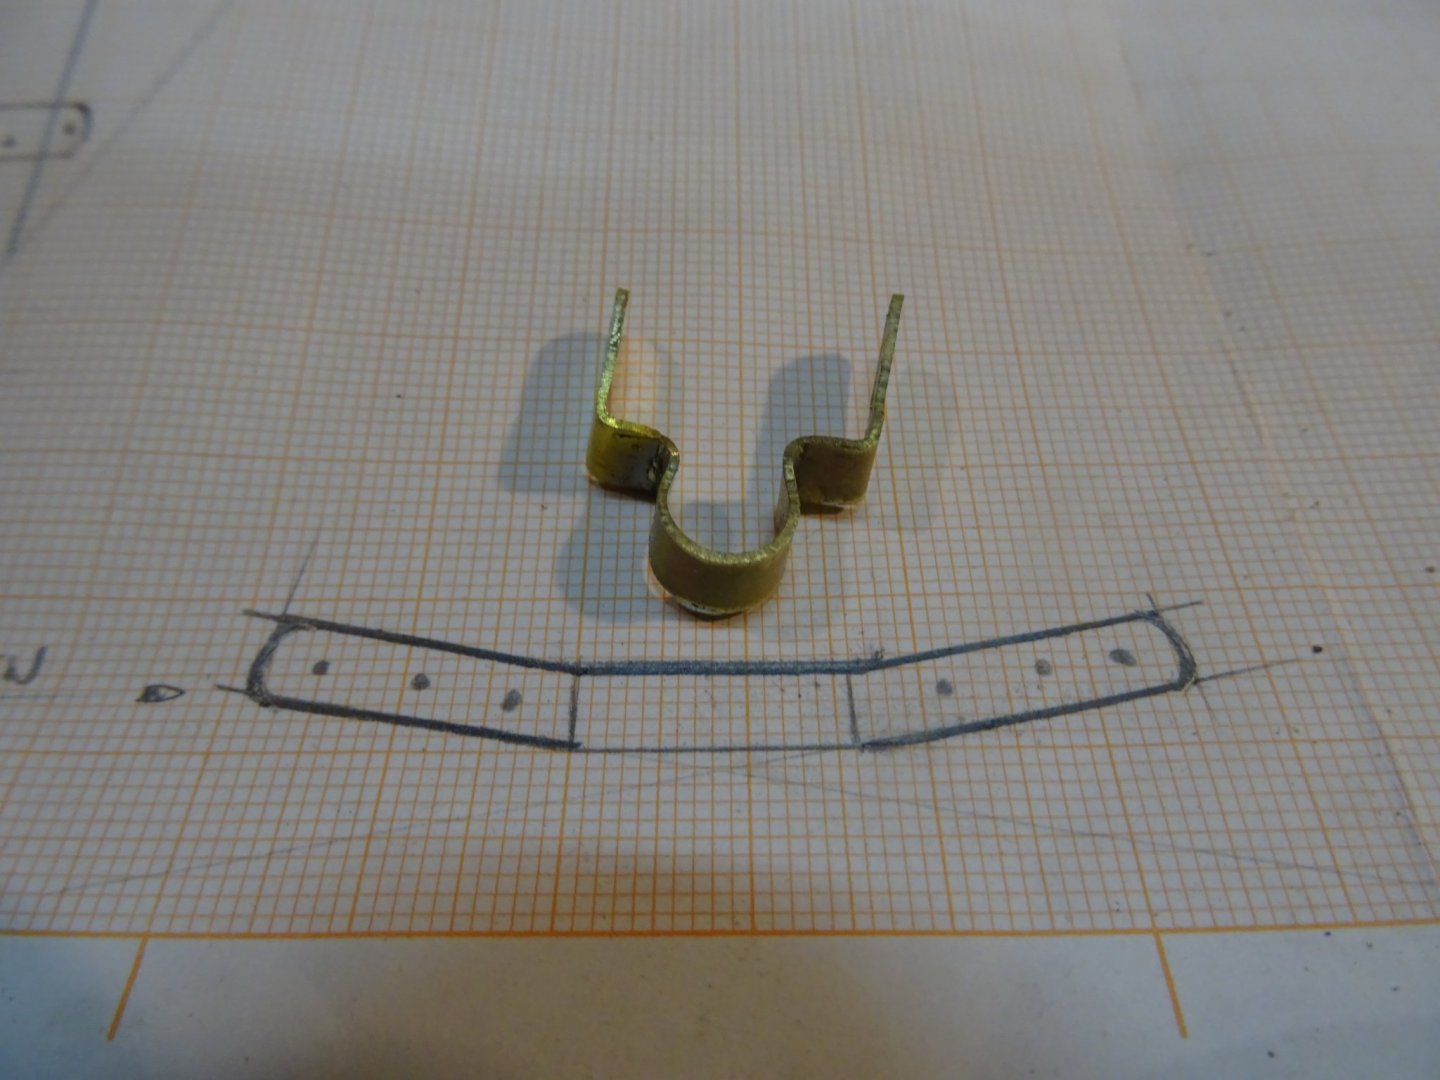
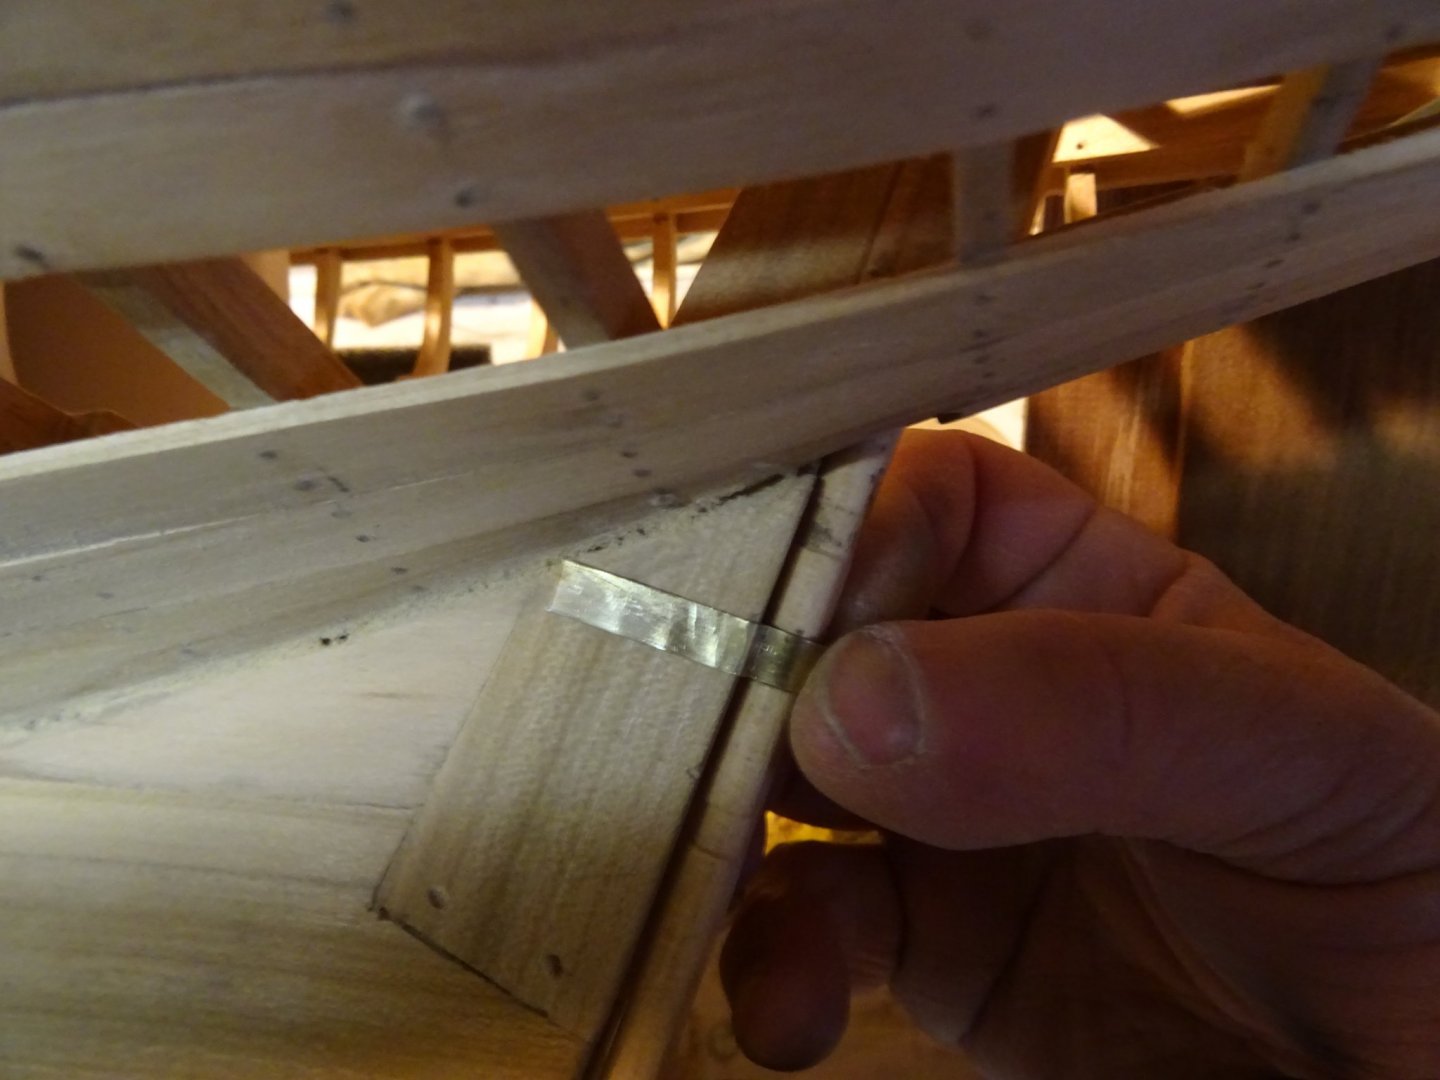
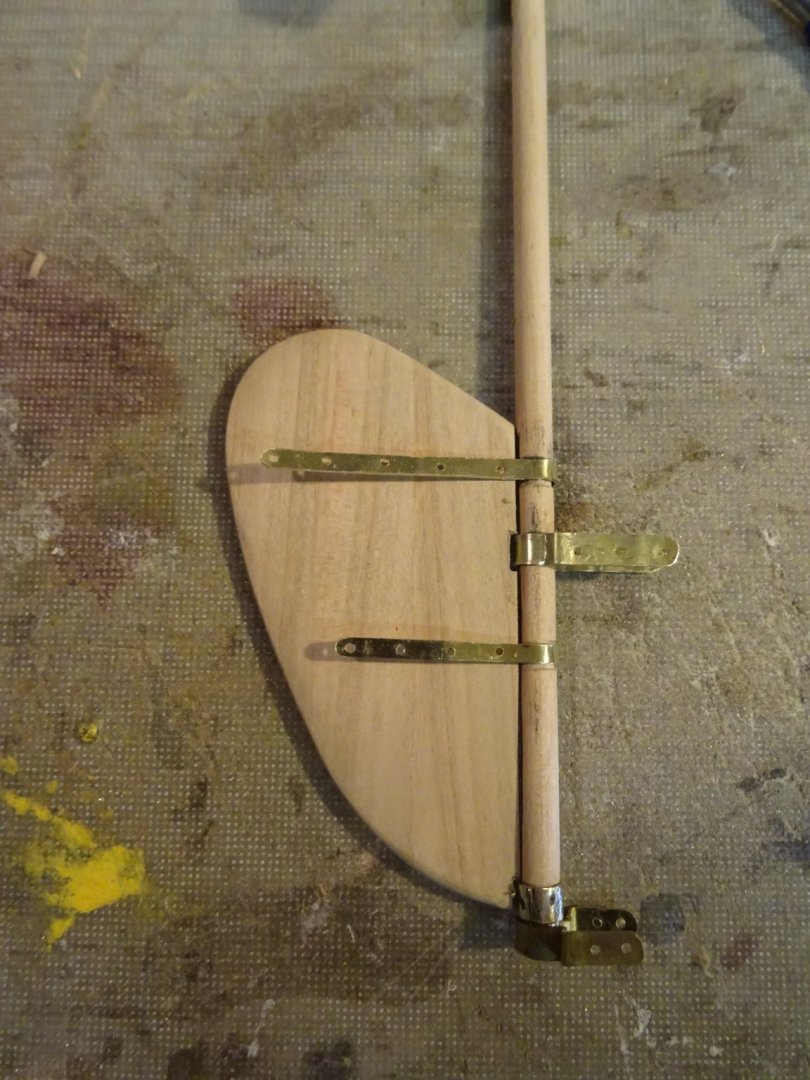
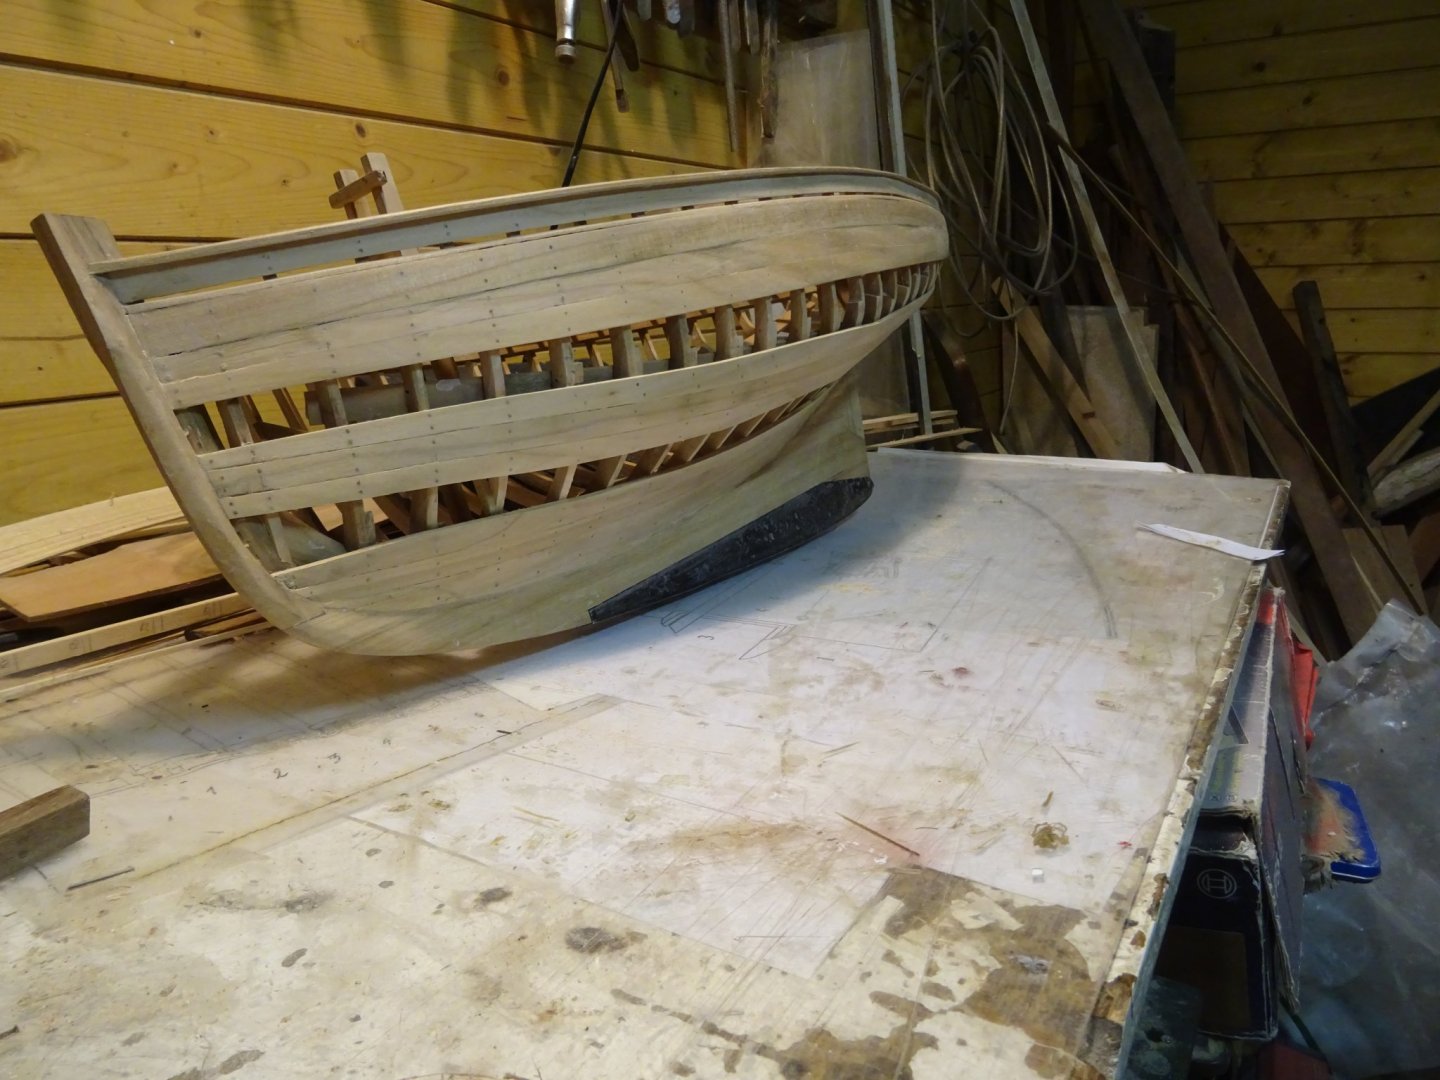
10. The rudder On the plans of Mr Gerd Löhmann no rudder is provided. I assume that the rudder is an essential part of a boat and that it cannot be missed on an instruction model. Moreover it completes the silhouette of the model. So I draw a rudder plan myself based on the plan of another Breton fishery cutter which I find in the book 'Apprendre le modèlisme naval'. I start with making the rudderstock. I turn it on the lathe from a cherry stock. The rudderstock has a flat side on the location where the afterpiece is attached on the stock. I flatten it with a chisel. To make the afterpiece, I glue three planks on a drawing of the piece. ... and saw it out. The final shaping happens by sanding the piece. Dry-fitting the rudder on the model. In my opinion the profile of the model looks better with a rudder than without (as you can see: in that stage the hull was not yet planked. I finished the rudder after the planking and found it better to show the making story as a whole). The tiller is also made of cherry wood. The rudder stock pivots on a metal pin above the heel of the ballast keel. Only the pin and the helm port would give not enough support to the rudder. It would also jump out of the pin in a rough sea. Therefore I add a support ring around the helm stock with will keep the rudder firmly against the sternpost. Two metal bands reinforce the afterpiece and are holding it tight to the helm stock. The model, equipped with its steering gear.


- 168 replies
-
- 12
-
-
I already thought that something was missing on the previous painting 😁. Beautiful work!
-
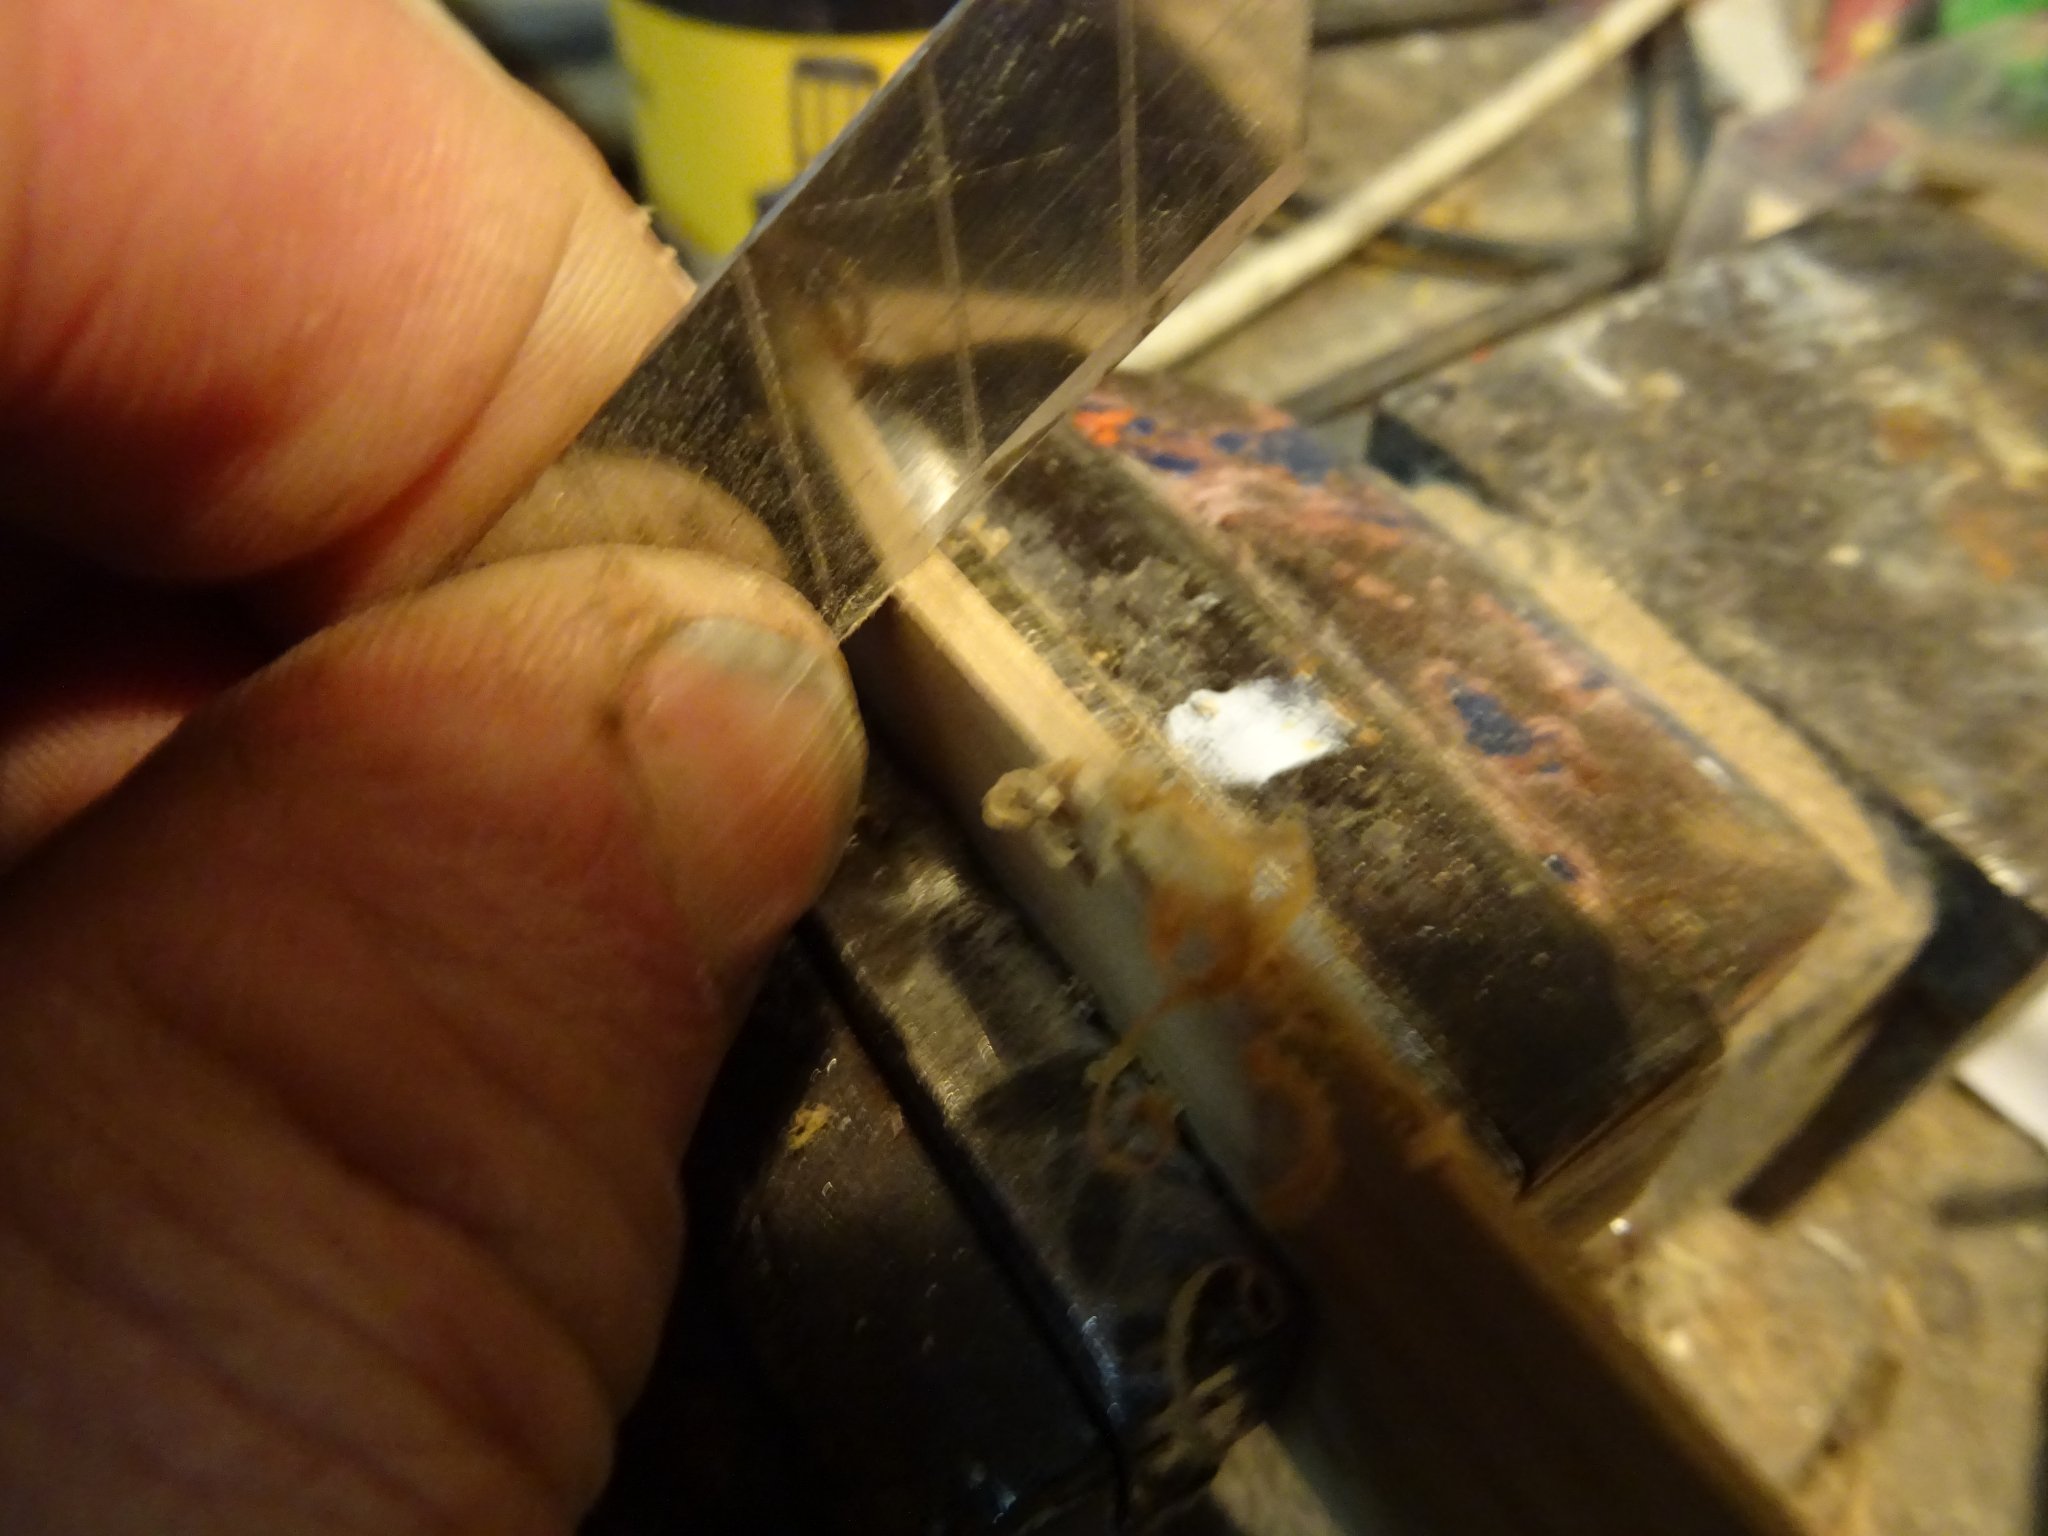
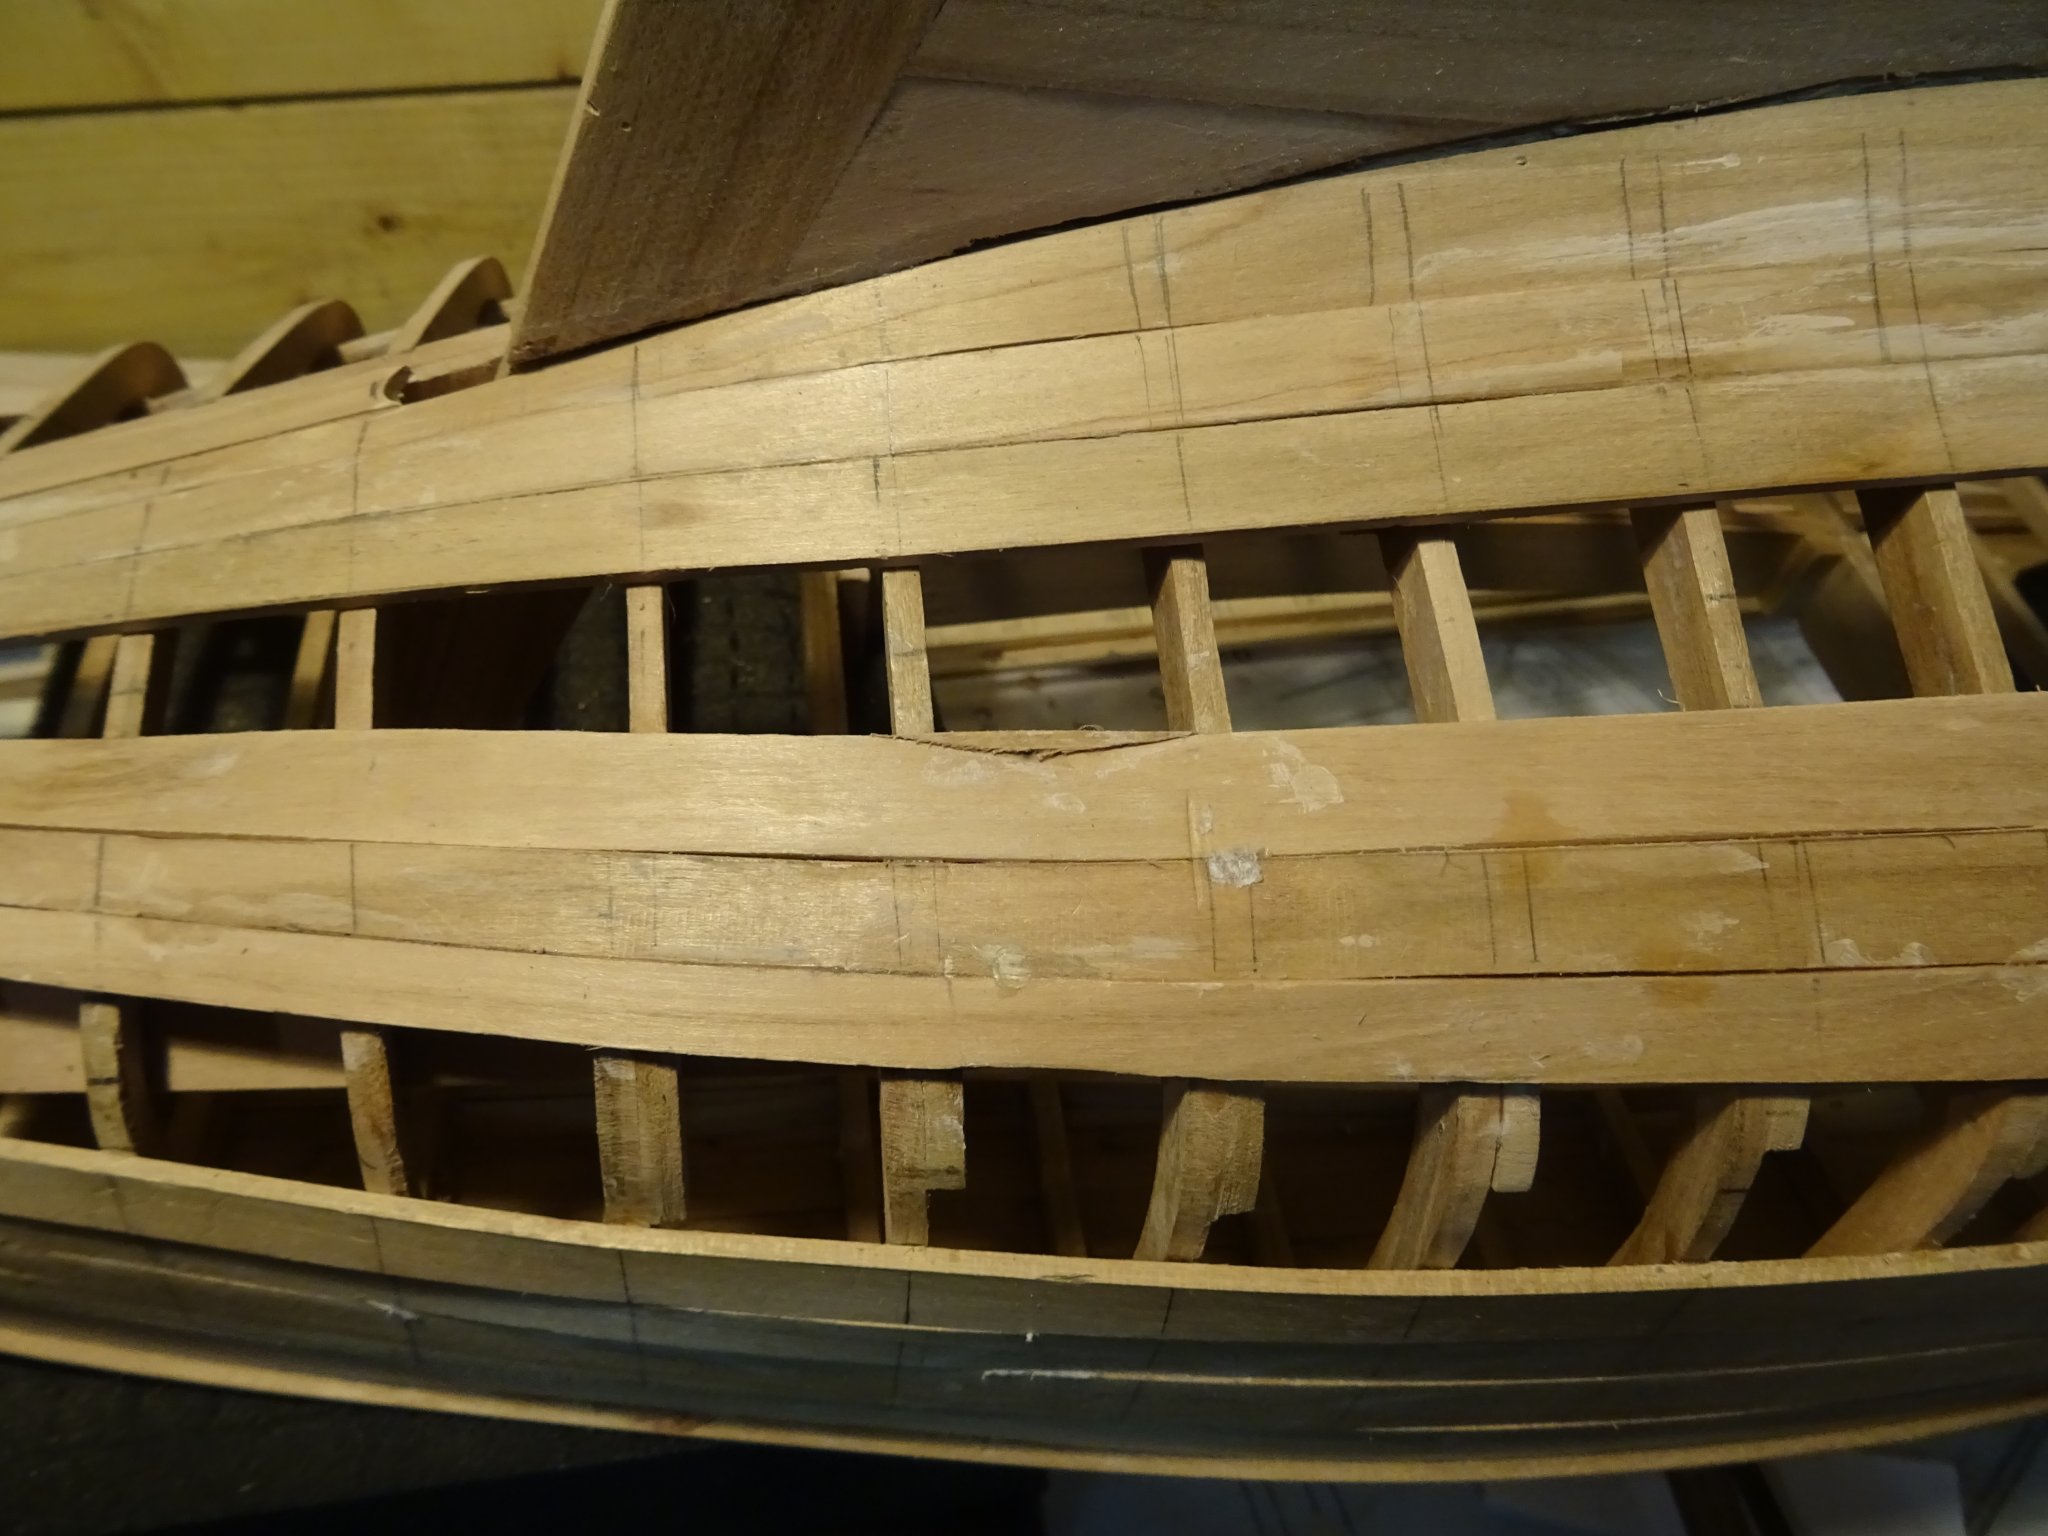
Hello Allan, Thank you for your kind words. Were the frames have their bow to the outside and gaps between the planking can be expected, I chamfer the side l the plank on those spots by scraping the edge with a cutter blade. I determine the angle more or less on sight. Before fixing definitively the adjacent plank, I dry fit it first to see if the joint is nicely closed. If not, I chamfer this plank also a bit. Sometimes some pressure is needed to join together the planks (see previous post). In case a small slit appears after all, I fill it with some wood glue while sanding the hull. The glue is fixing the sand dust. It happened once also that a slit between hull planks appeared a while after the model has been finished. I think that the reason is the difference of atmosphere and humidity between my workshop and indoors home.

-
Vaddoc, That is one which I will save in my 'How to make' archive. Thank you for sharing it.
-
Thank you Eric and Vaddoc. The wood is cherry. It is rather soft to work with, at least a lot softer than oak. And it smells also very good when you saw, mill and sand it. I didn't have to use heat to bend it.
-
Beautiful model, Keith. Now you don't use your snooker table any more to play, you have plenty of place to display a lot more models.
-
She's looking great Vaddoc! You probably explained it already, but I forgot it. What do you use for the stays, is it rope or is it metal wire?
-
Naparima by Kevin Kenny - FINISHED
G.L. replied to Kevin Kenny's topic in - Build logs for subjects built 1901 - Present Day
Kevin, Thank you so much for this excellent video. Your method is simple and very good. This is a splendid demonstration. -
A lot of progress in one post. She is becoming nice!
- 124 replies
-
- 2
-
-
- longboat
- Chaloupe Armee En Guerre
- (and 1 more)
-
Thanks Schooners! Next project? I have plenty of new projects in my mind, more than I can build in a lifetime (So I have reason to live long 😜). But I am still busy with my 'Anatomy of a boat' which I want to finish before starting a new log.
-
Bedford, Keith, Druxey, Chris, Mugje, Bob, Michael, Mark & Mark, Richard, Thank you all for your expressions of appreciation.
-
She just phoned that they arrived in Brussels as planned. Now they are going into quarantaine at home for two weeks.☺️
-
You're not only a fine modeler, but also a skilled surgeon! Nice work with the box.
- 69 replies
-
- 3
-
-
- diorama
- Glad Tidings
- (and 2 more)
-
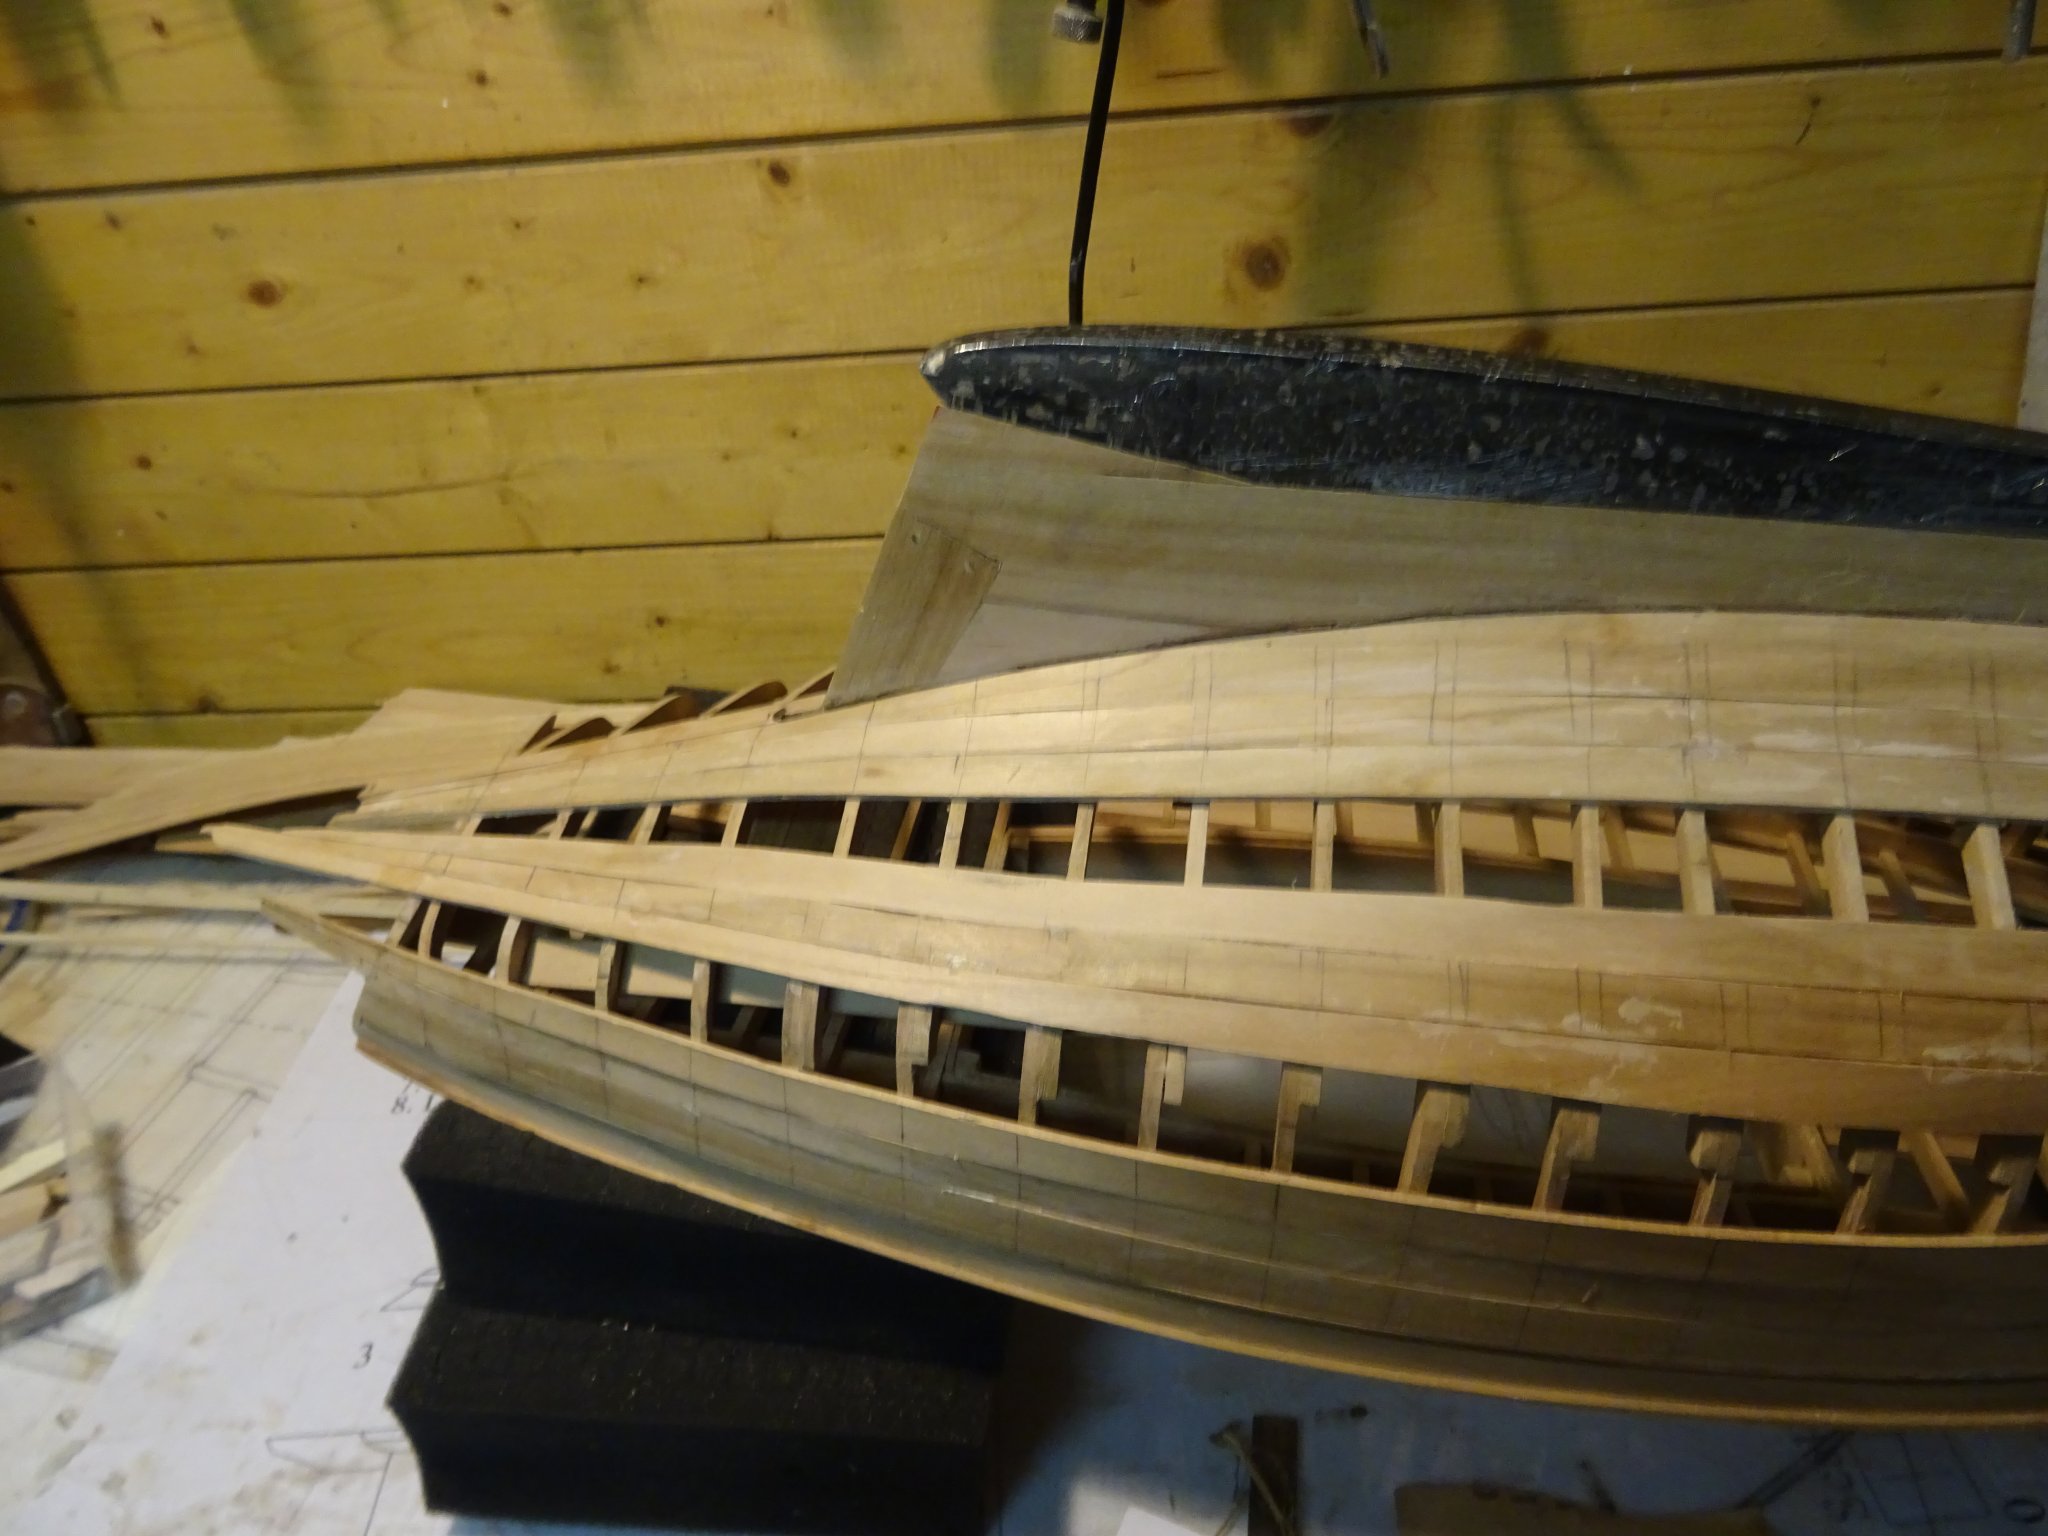
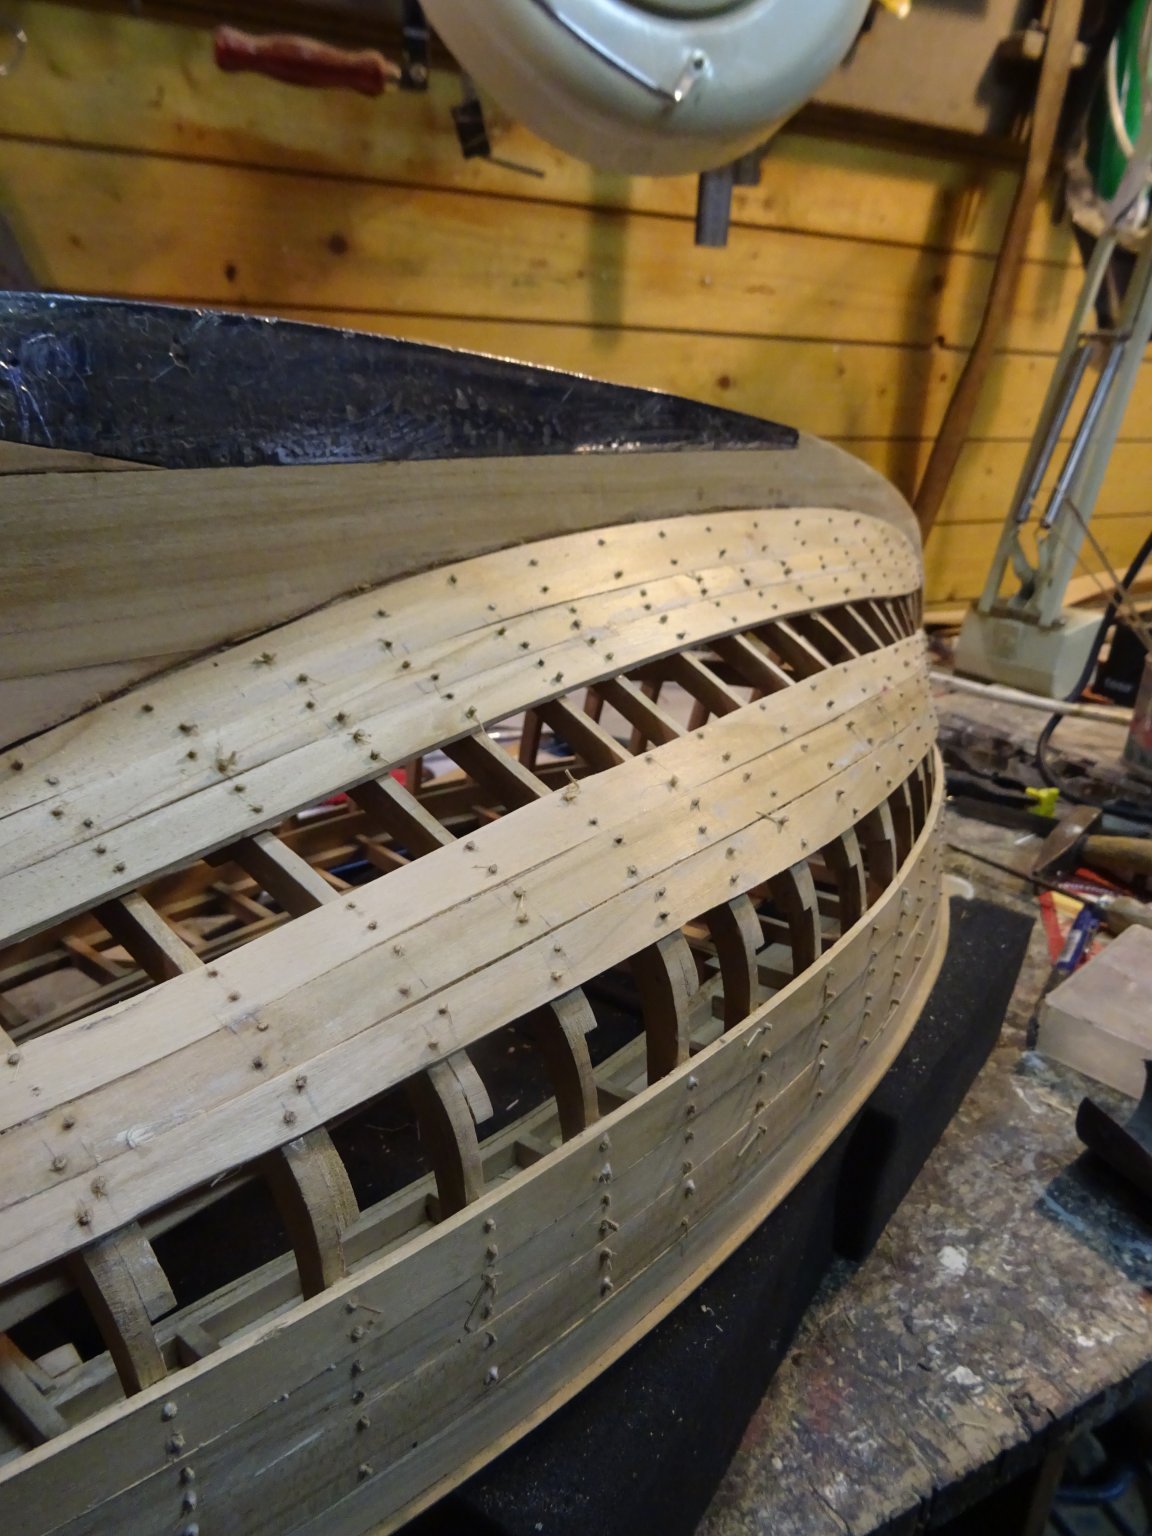
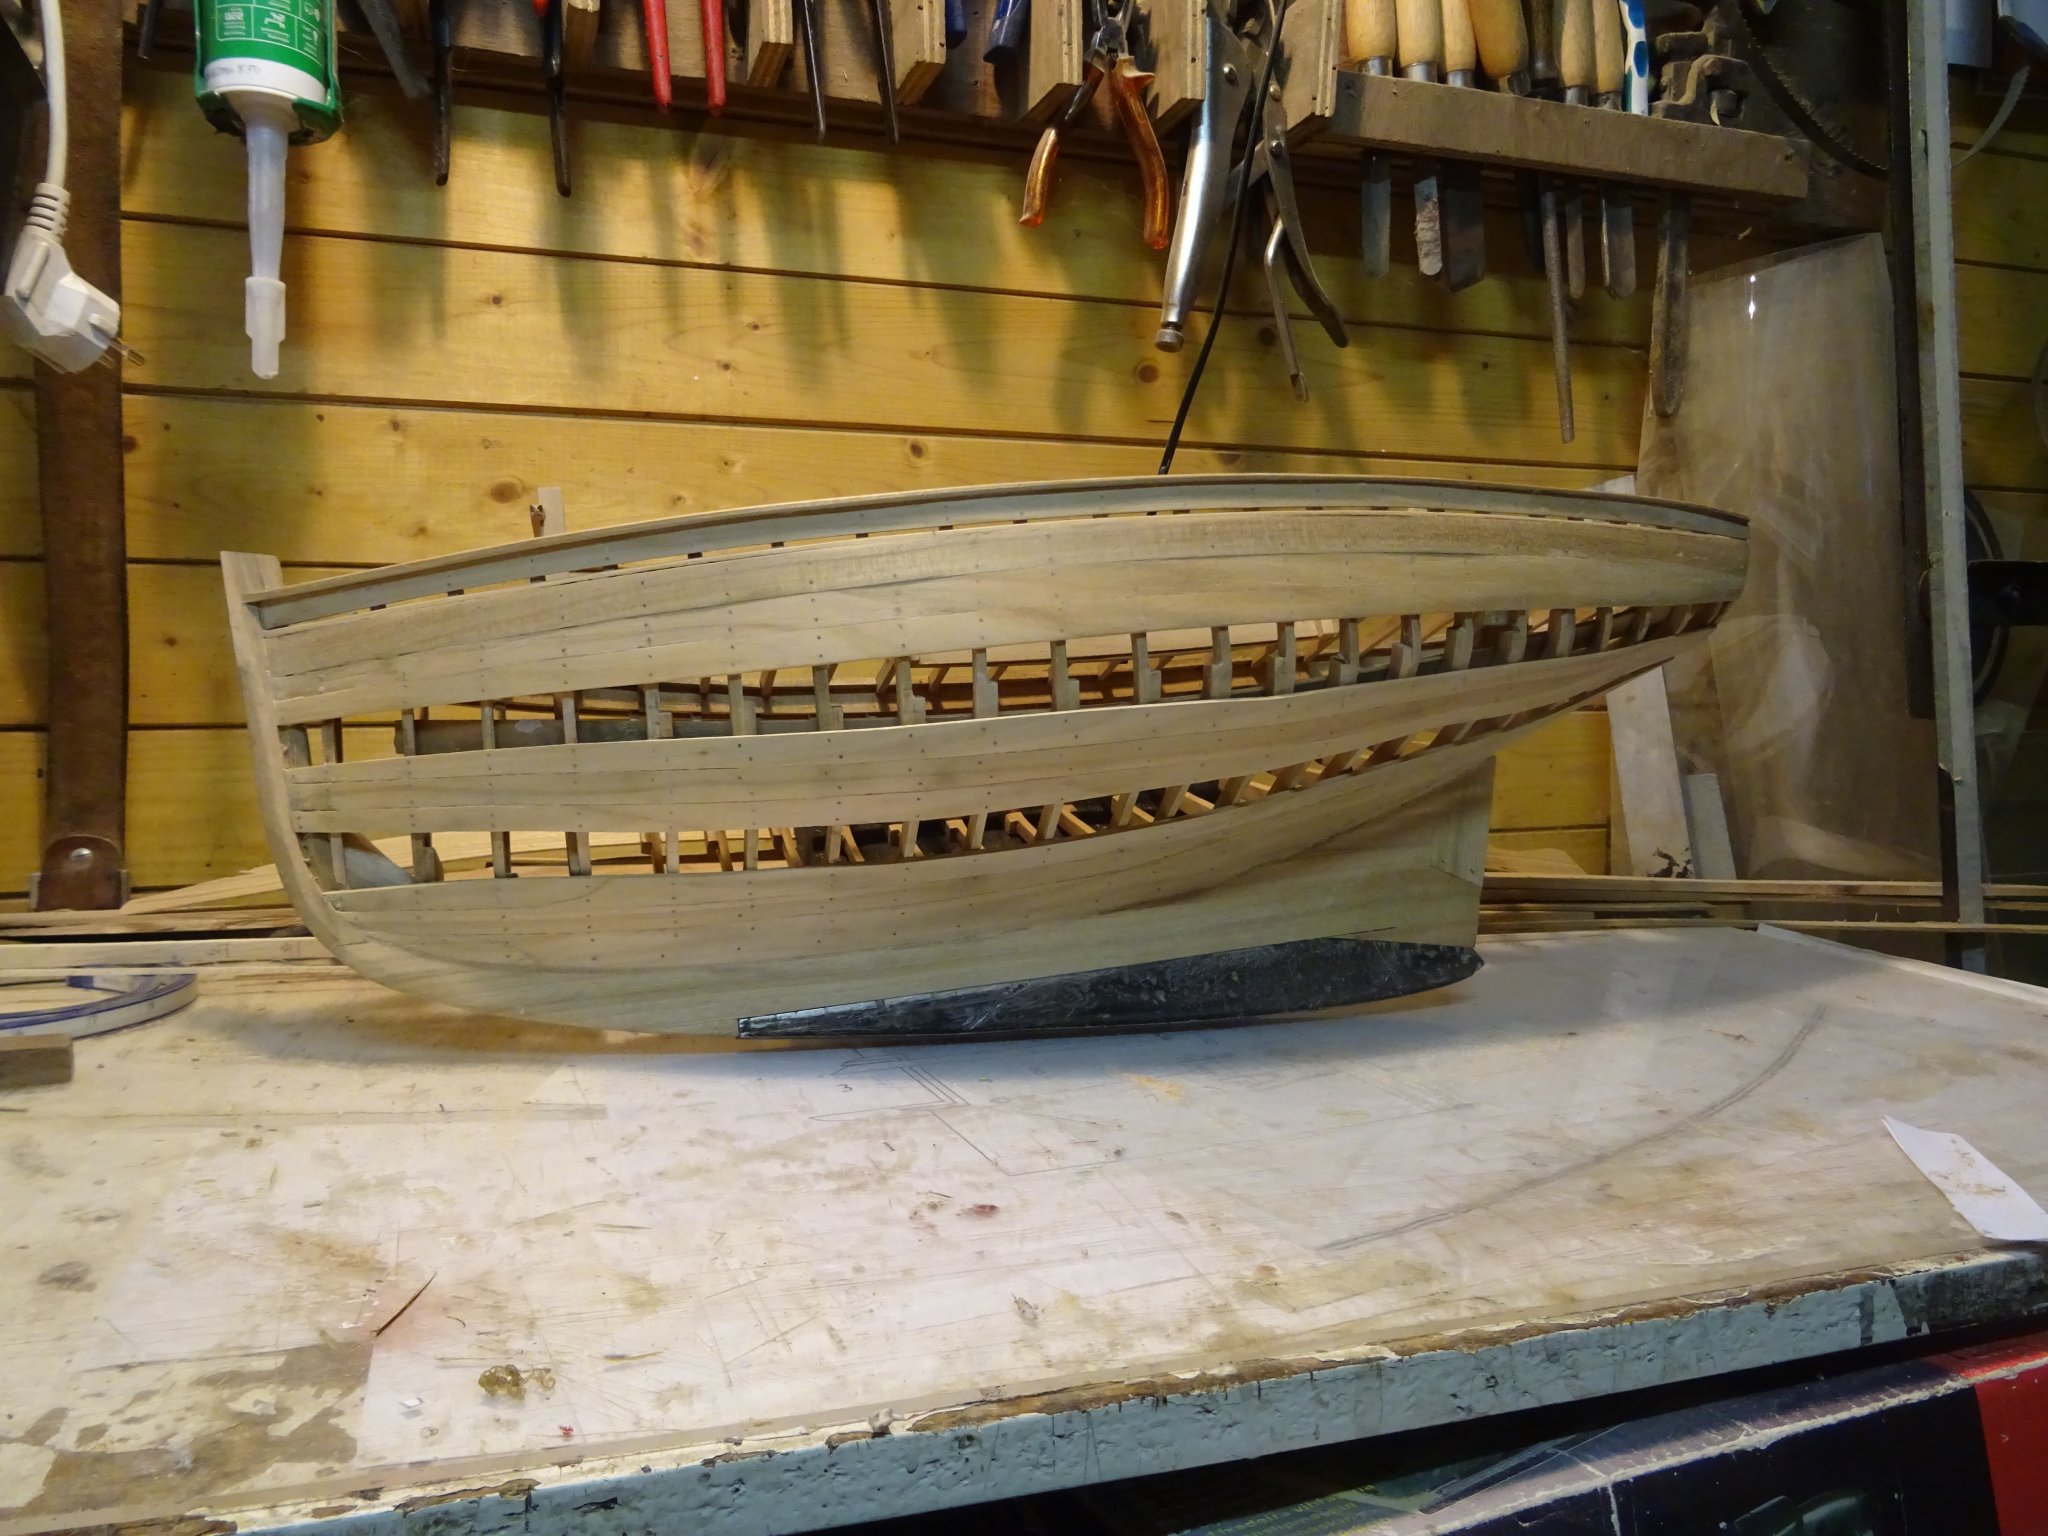
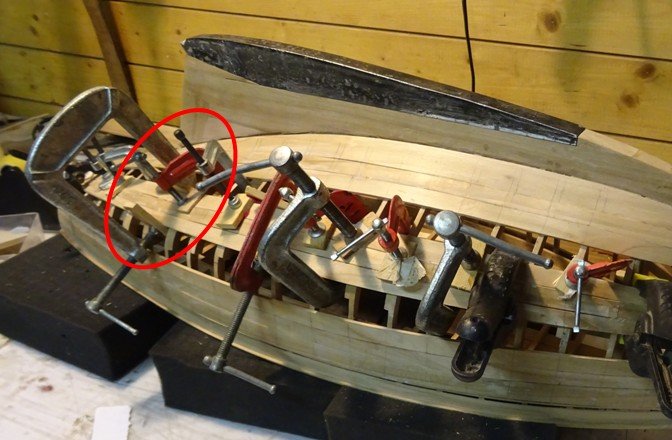
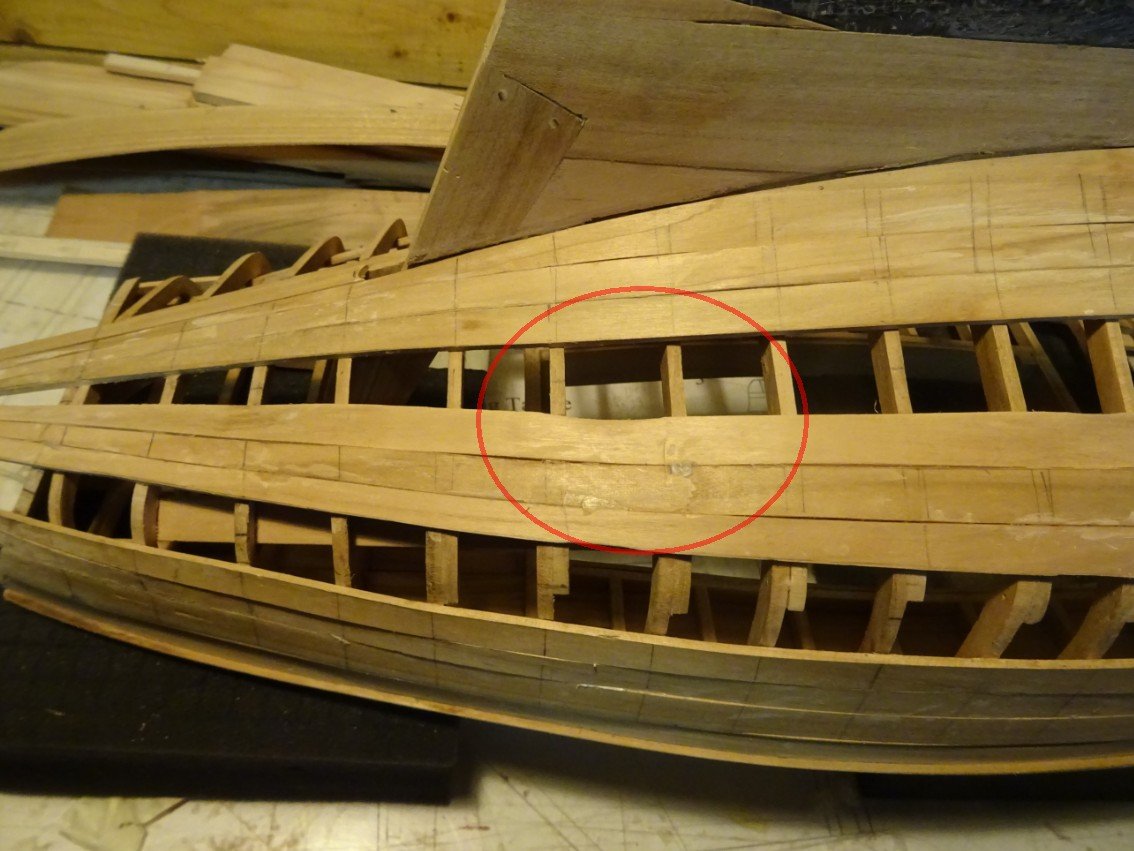
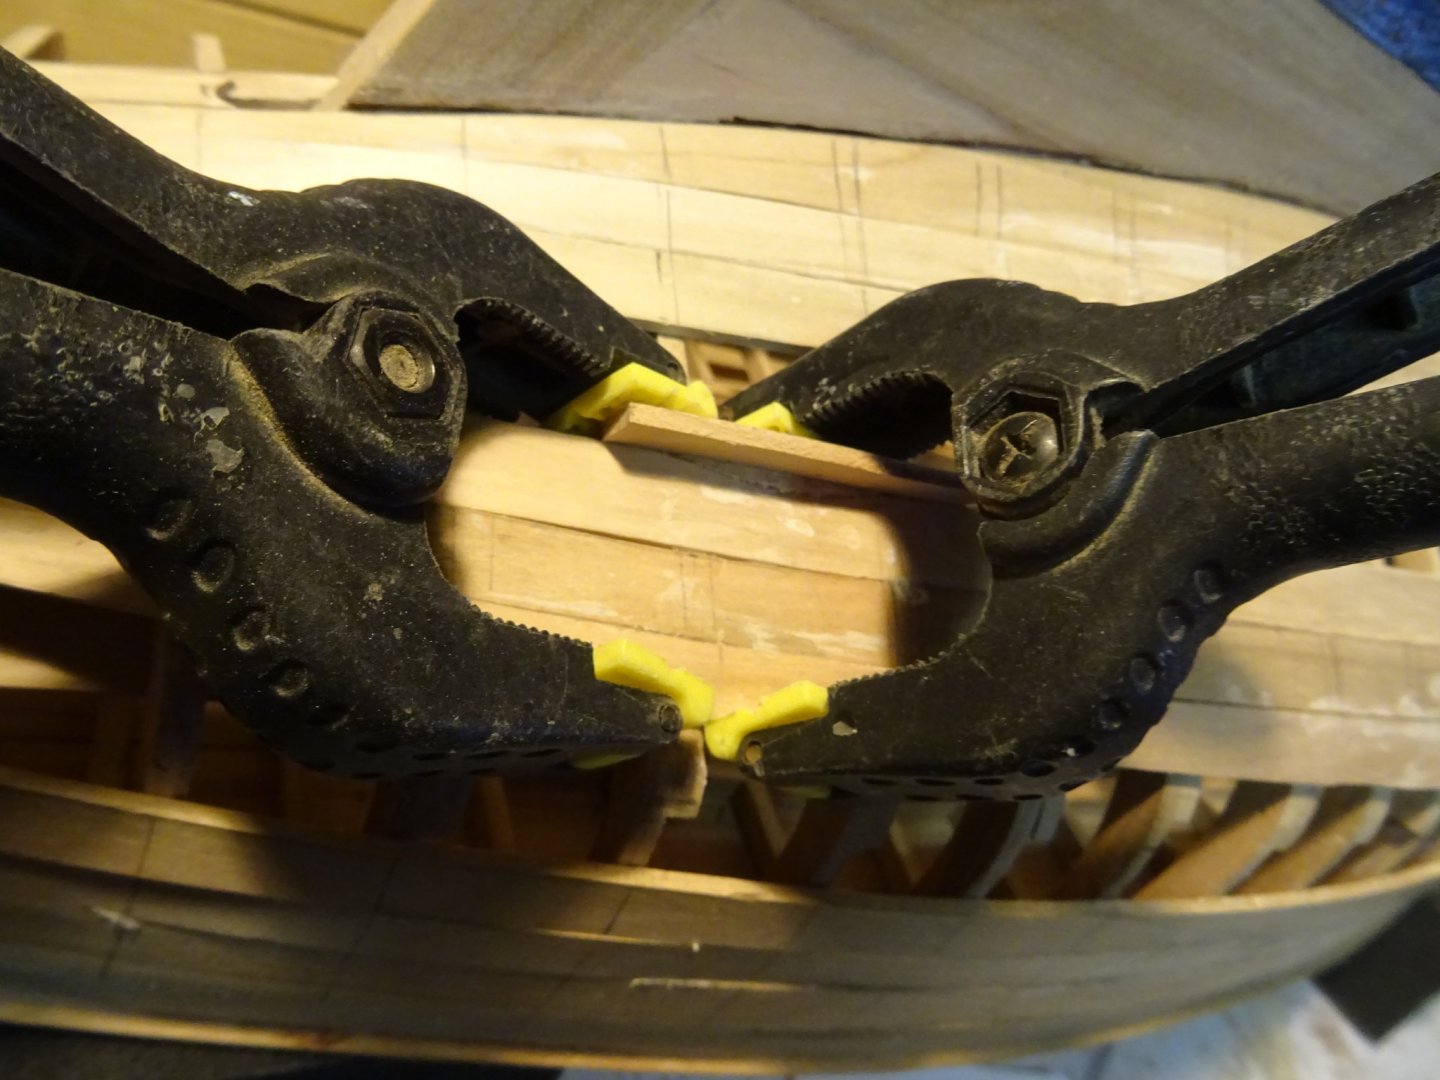
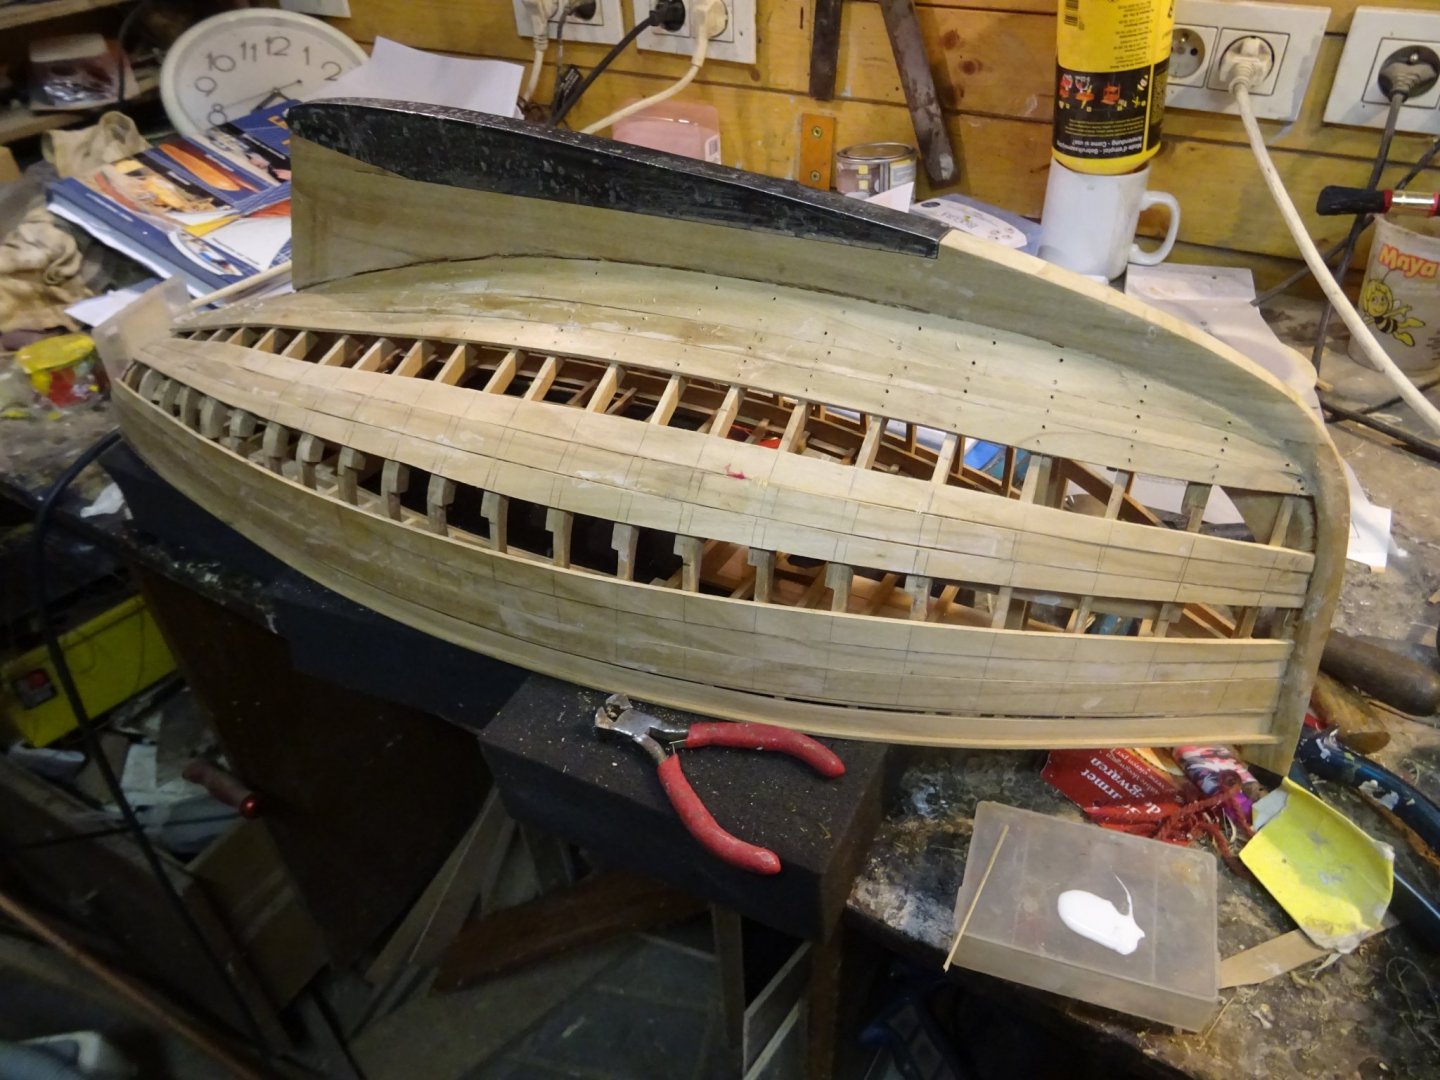
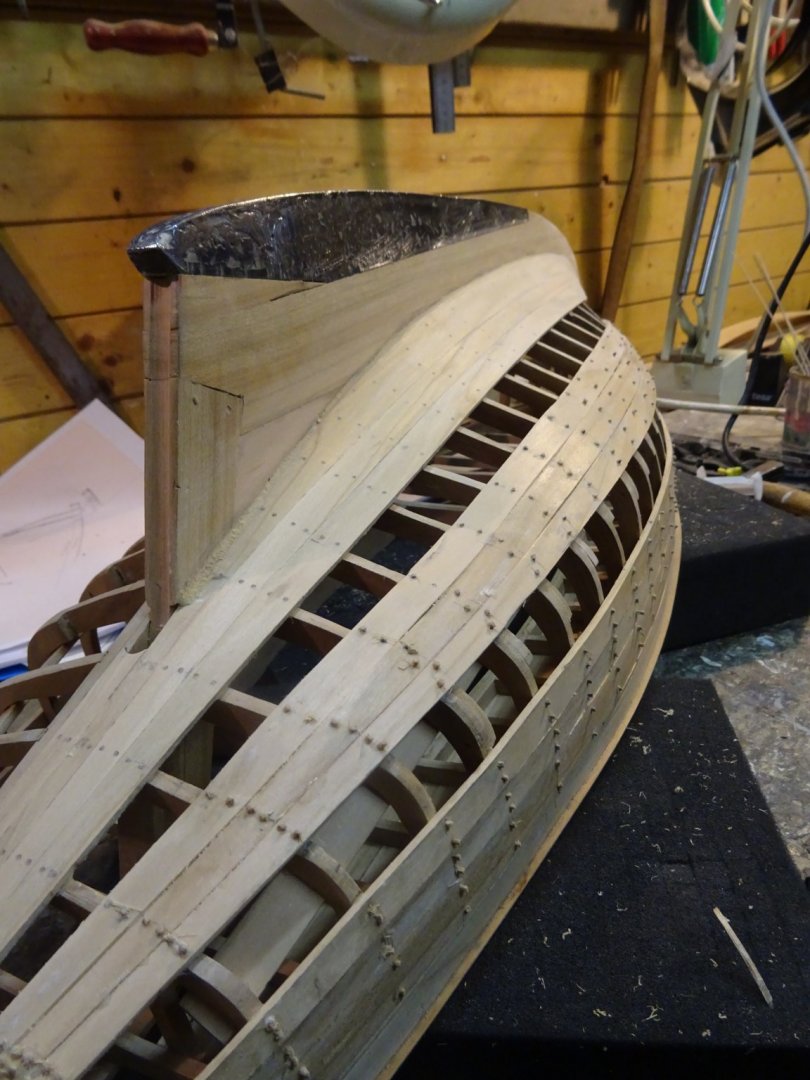
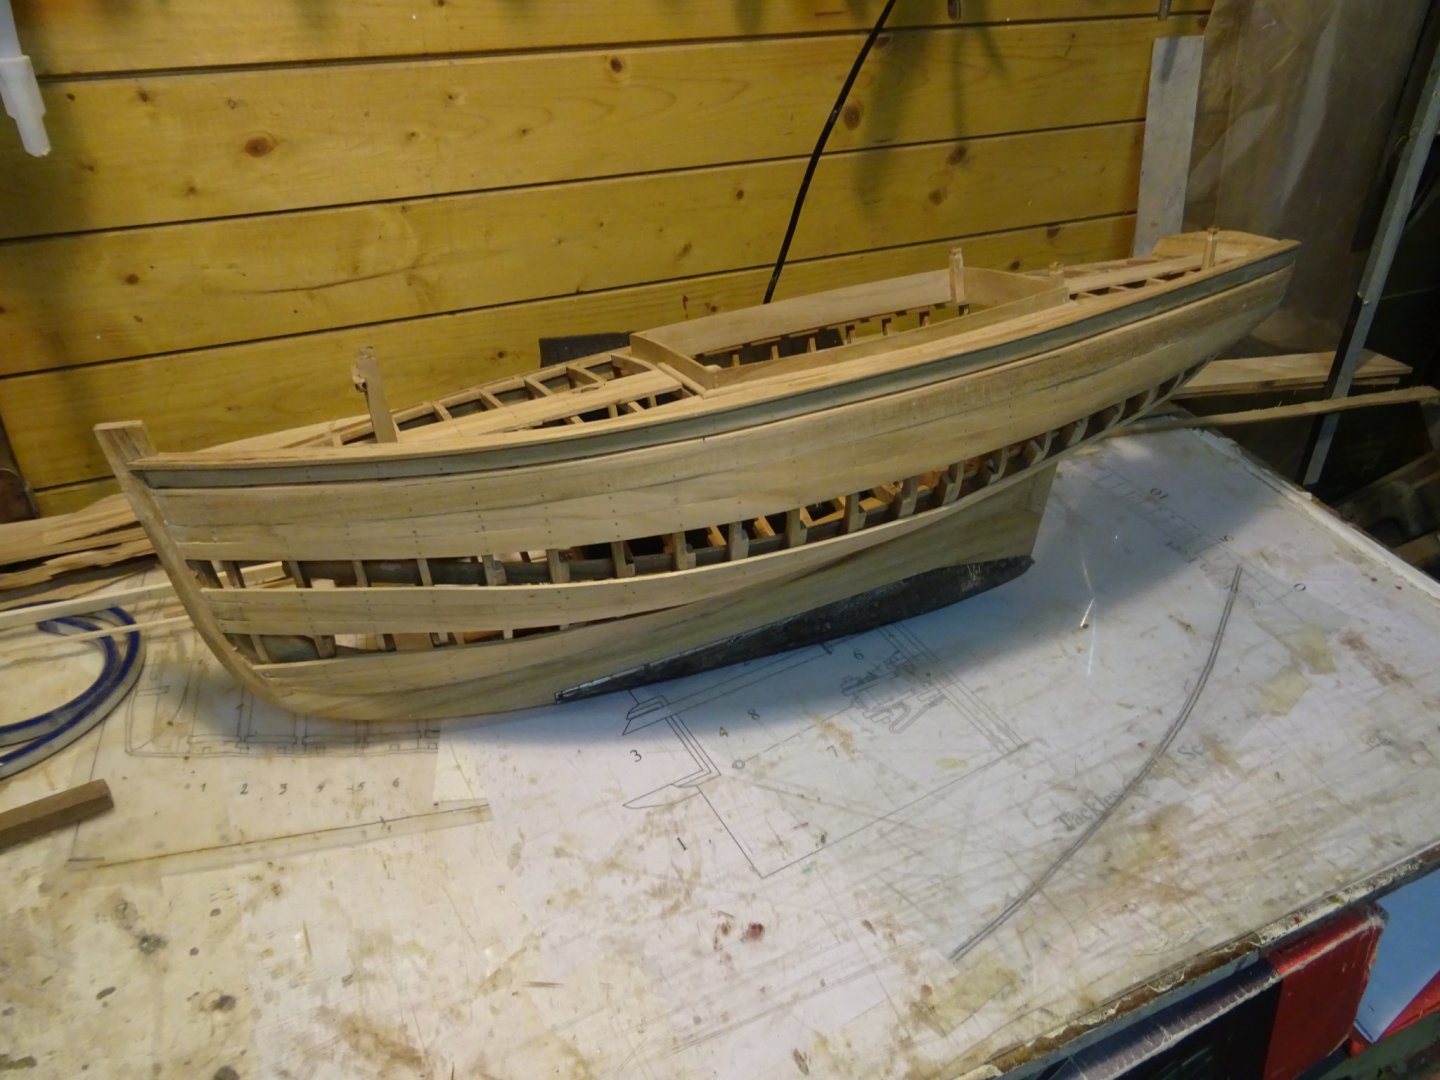
During the gluing of the final plank I pulled the planks together with too much pressure. When removing the clamp, I discovered that it left a notch on the upper side of the plank notwithstanding there was a protective board between the clamp and the strake. The nick is too striking to leave it as it is. I cut a splinter of wood more or less in the shape of the notch and glue it in the notch. After sanding, this oops becomes less conspicuous. During the planking, I marked the frame locations on the hull planks with pencil lines to have an indication where to drill the holes for tree nails. Here the holes are drilled in the garboard and the adjacent planks. After having made the holes, I erase the pencil lines with a pencil eraser because it is easier to do it now than with the nail in it. The holes are filled with bamboo dowels which are dipped in wood glue. The garboard strake and adjacent are sanded. I squirted some wood glue in the garboard notch at places where a chink was visible. During the sanding the chink filled with sand dust which was fixed with the glue. The hull; planked, tree nailed, sanded, scraped and sanded again. Thank you for reading Thank you to follow Thank you for the likes and thank you for your constructive comments, Till next week and keep it healthy!


- 168 replies
-
- 13
-