G.L.
-
Posts
1,553 -
Joined
-
Last visited
Content Type
Profiles
Forums
Gallery
Events
Everything posted by G.L.
-
 Thanks Keith. The progress seems to go quickly because I took some weeks advantage with the build before starting this log. In this way I have always something in spare to report in the weeks when I couldn't work a lot at the model. I like to have a log that steadily progresses. But real time is slowly catching up with me. It is also a model that builds fast.
 -
HMS Enterprise by AlexBaranov - 1:36
G.L. replied to AlexBaranov's topic in - Build logs for subjects built 1751 - 1800
Beautiful! -
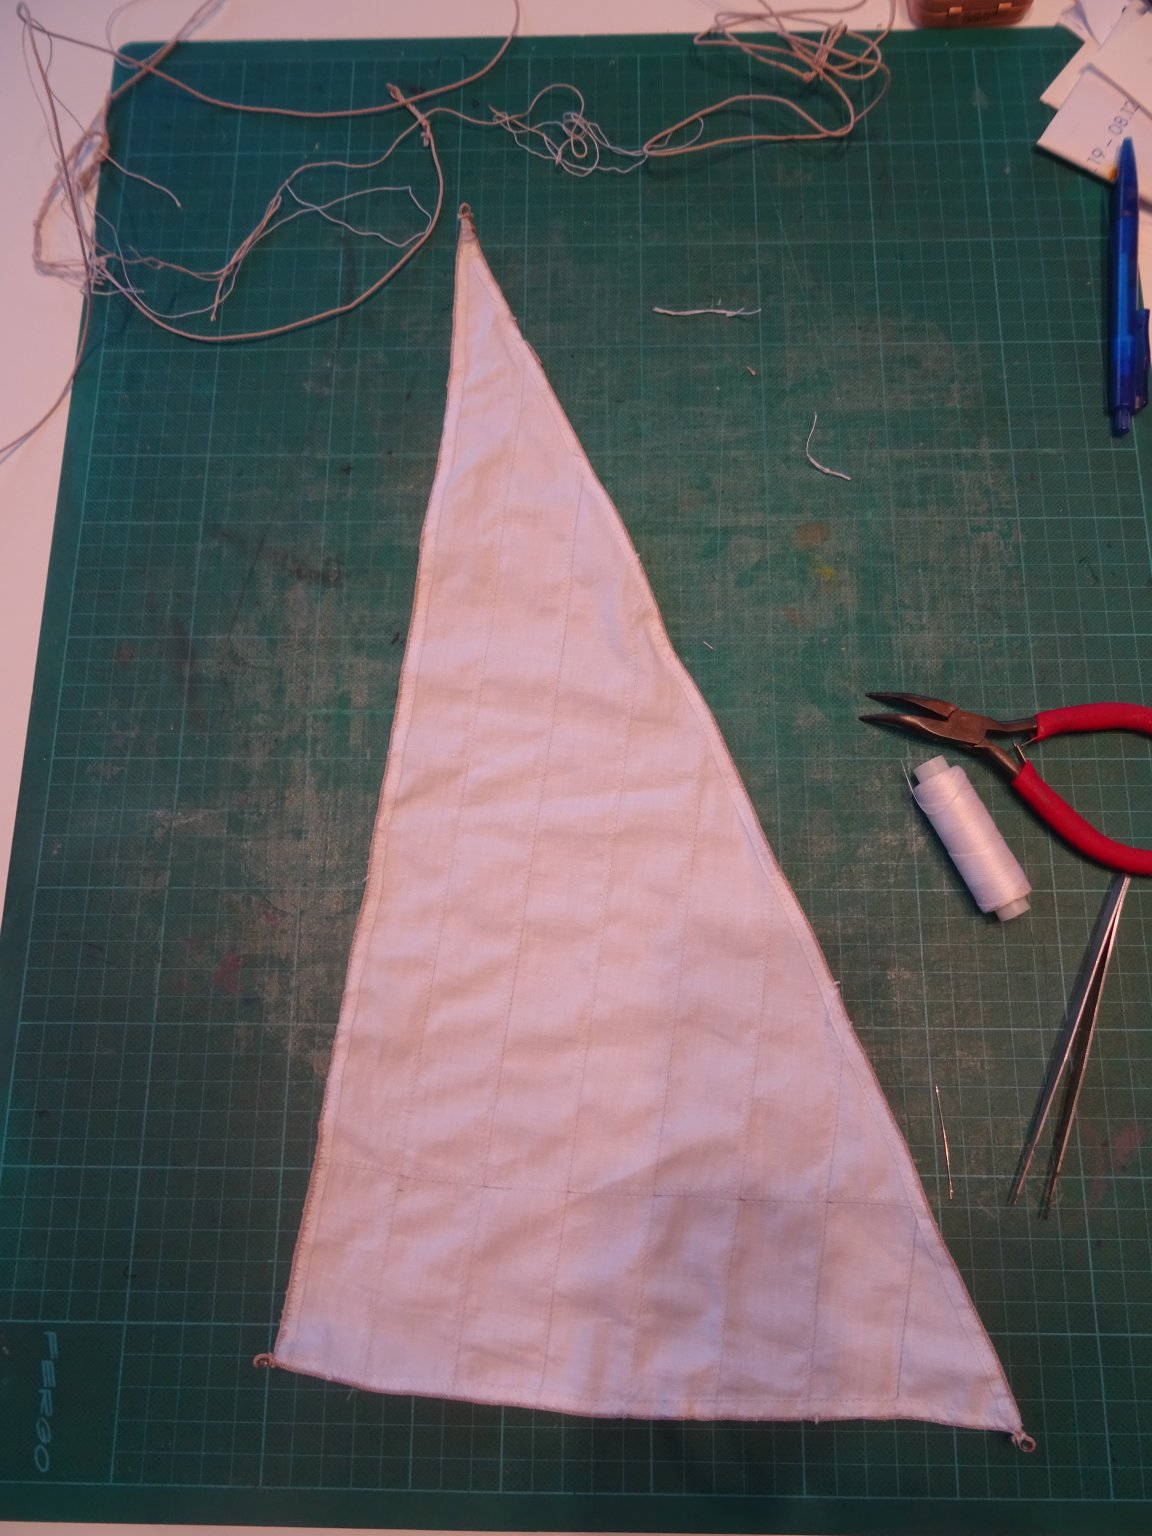
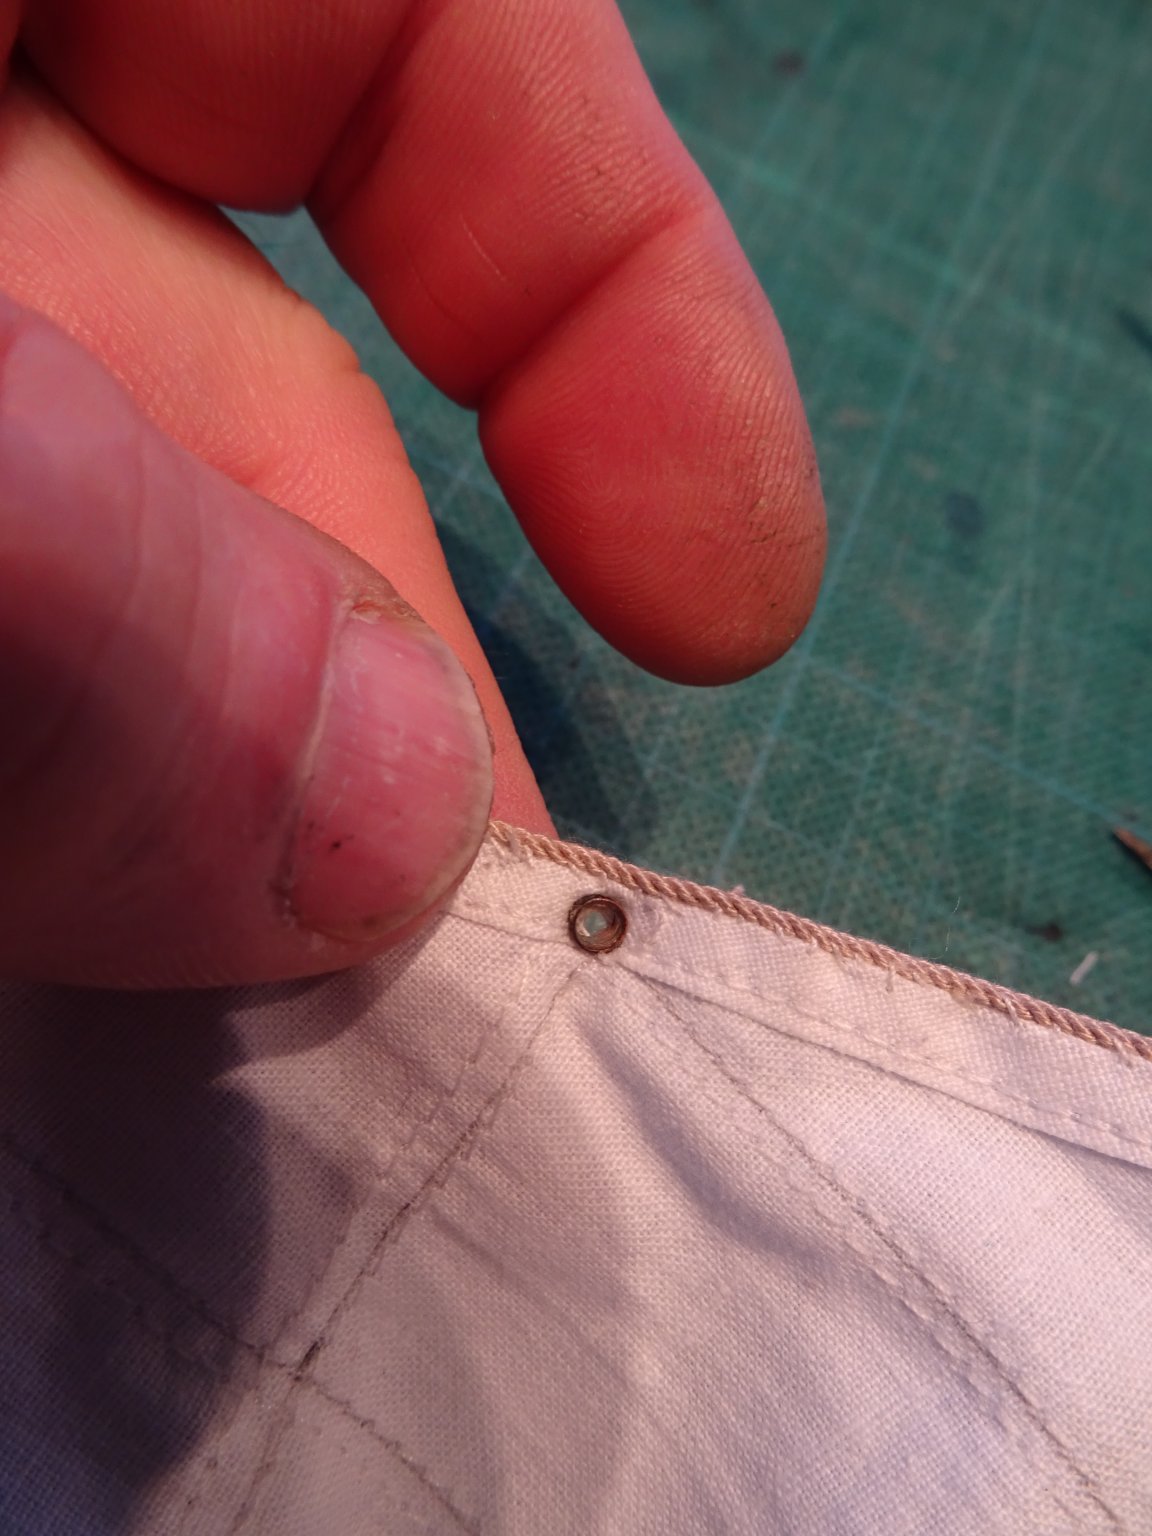
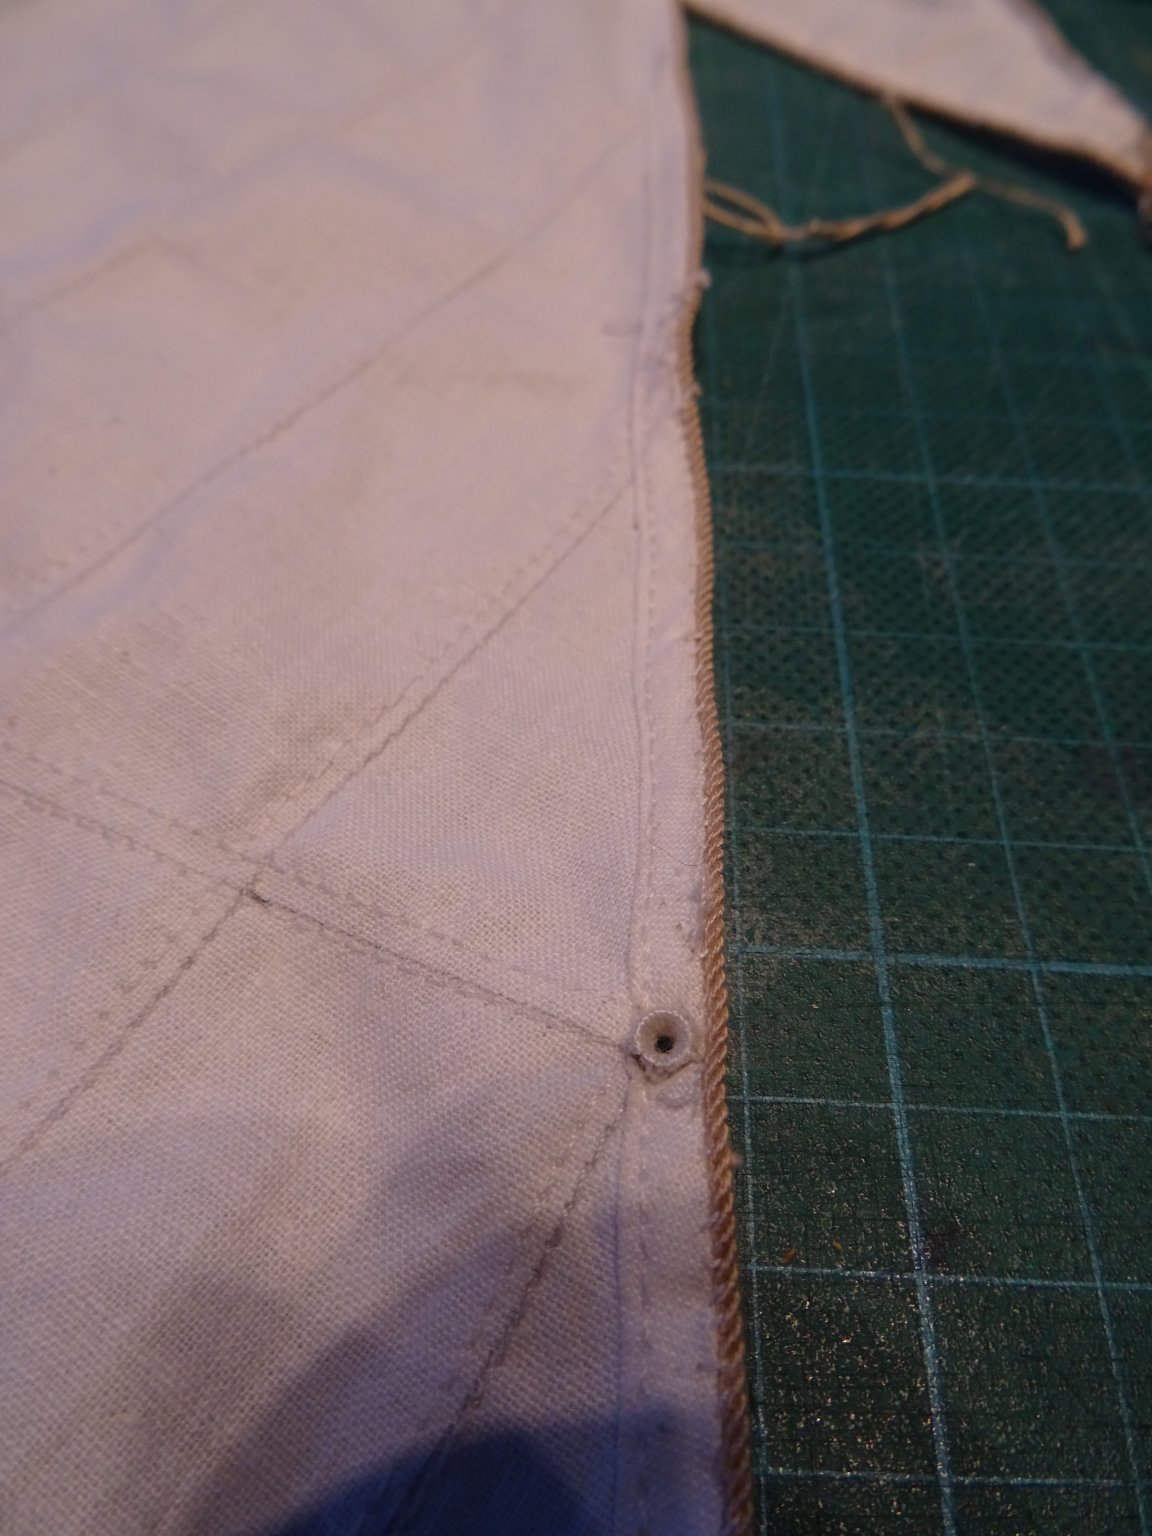
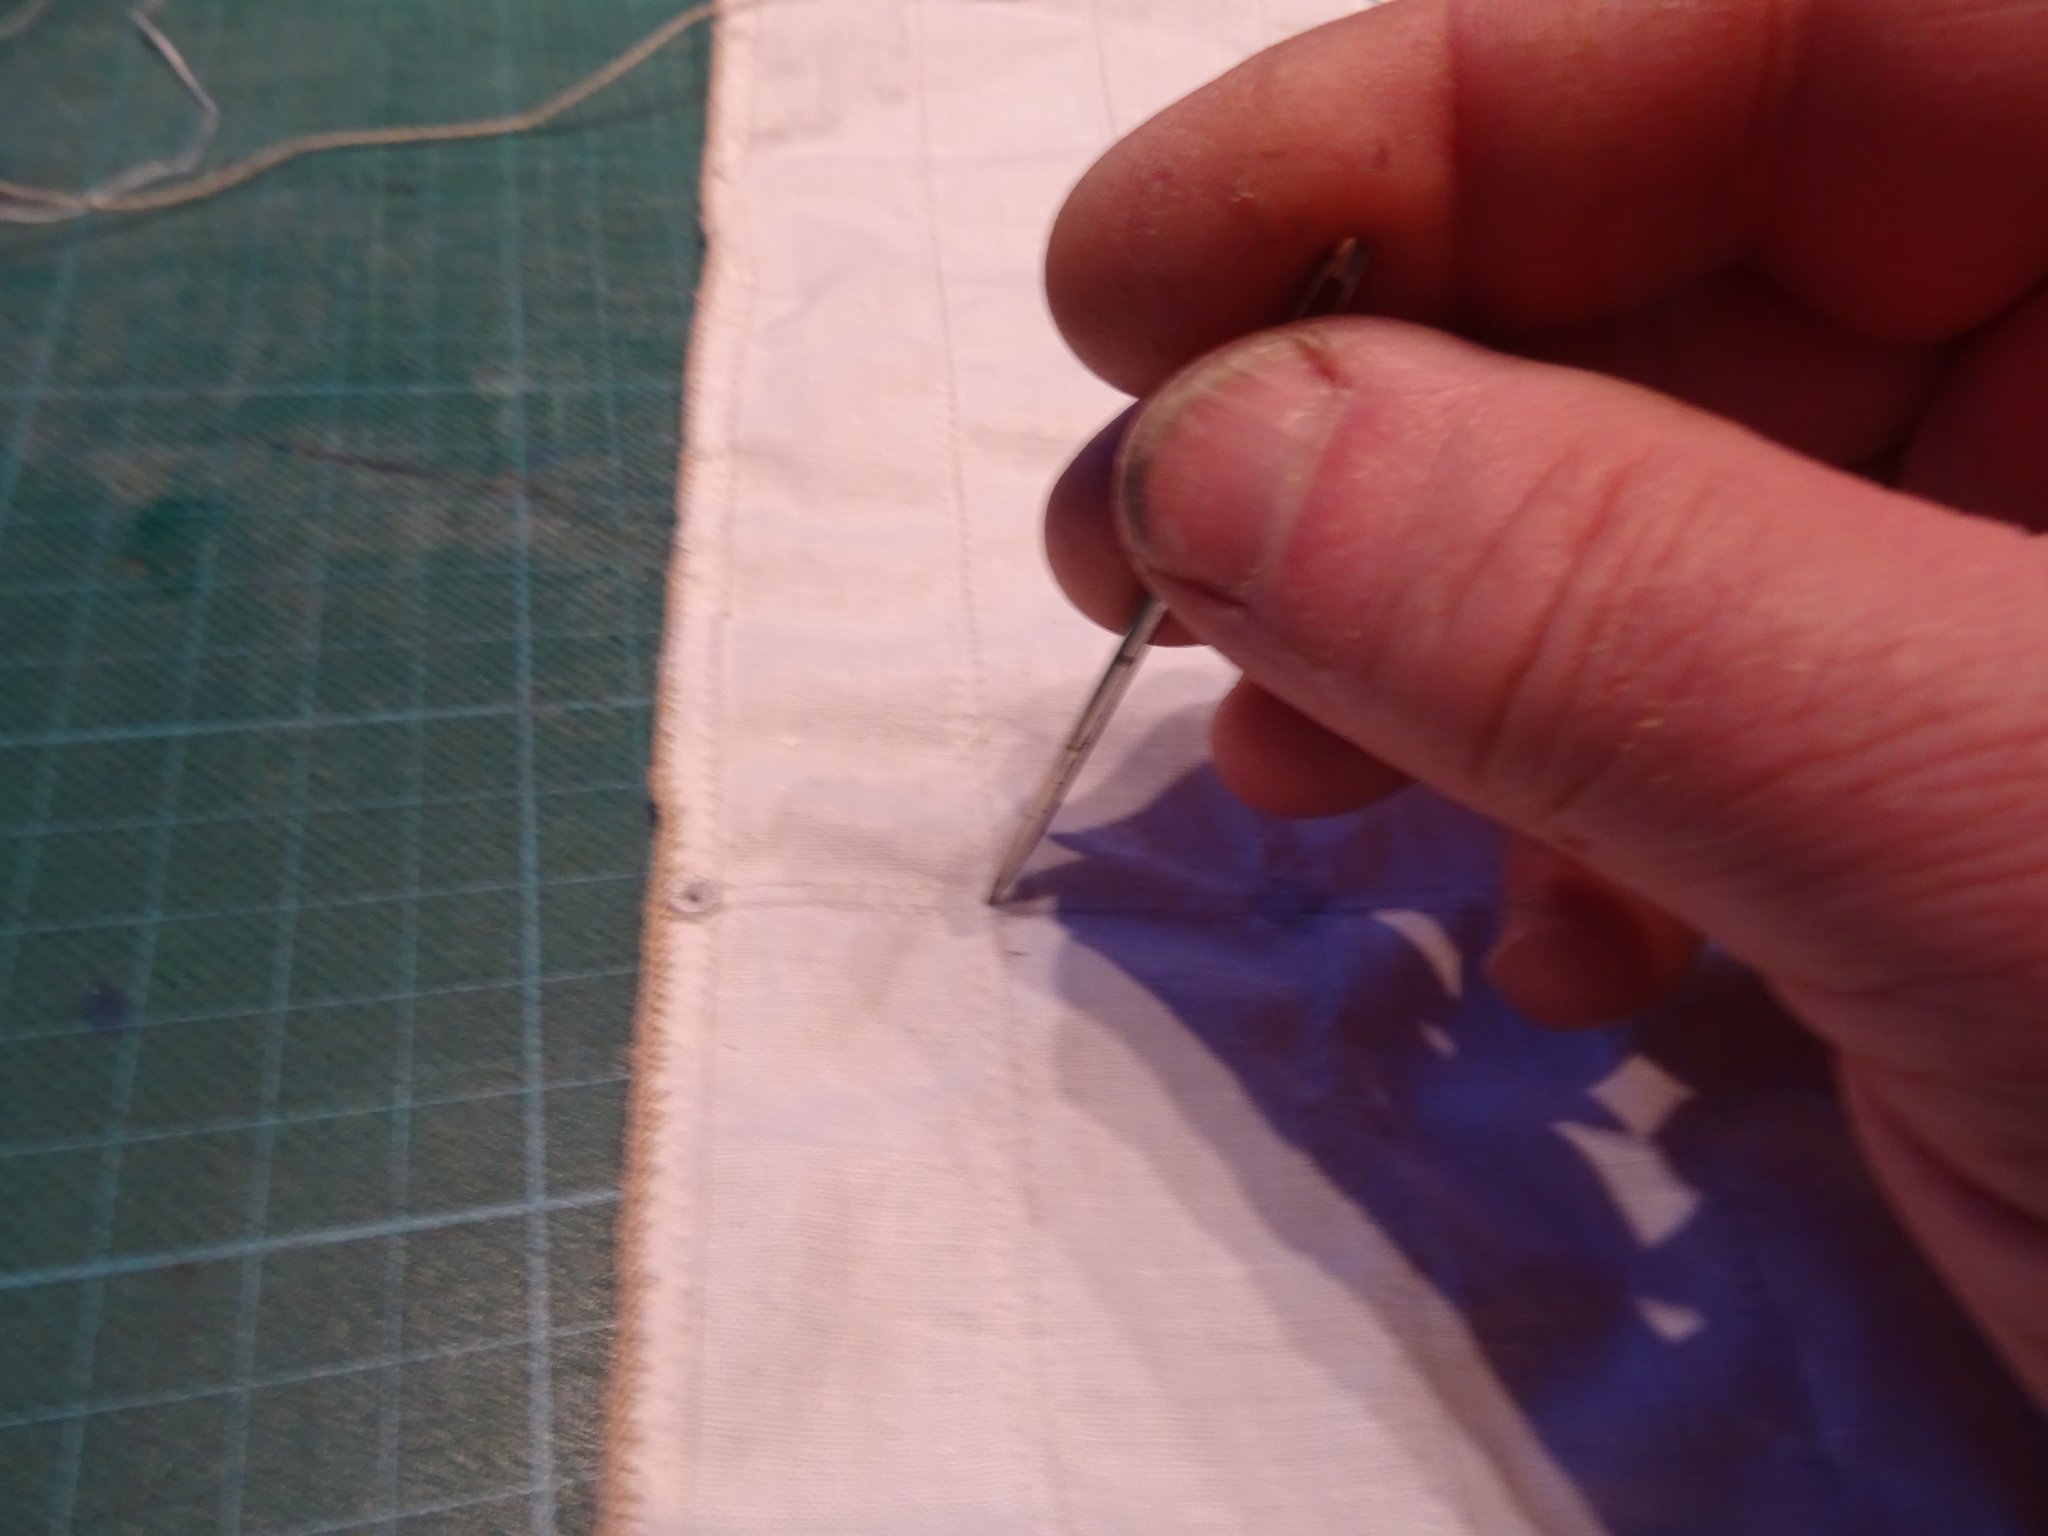
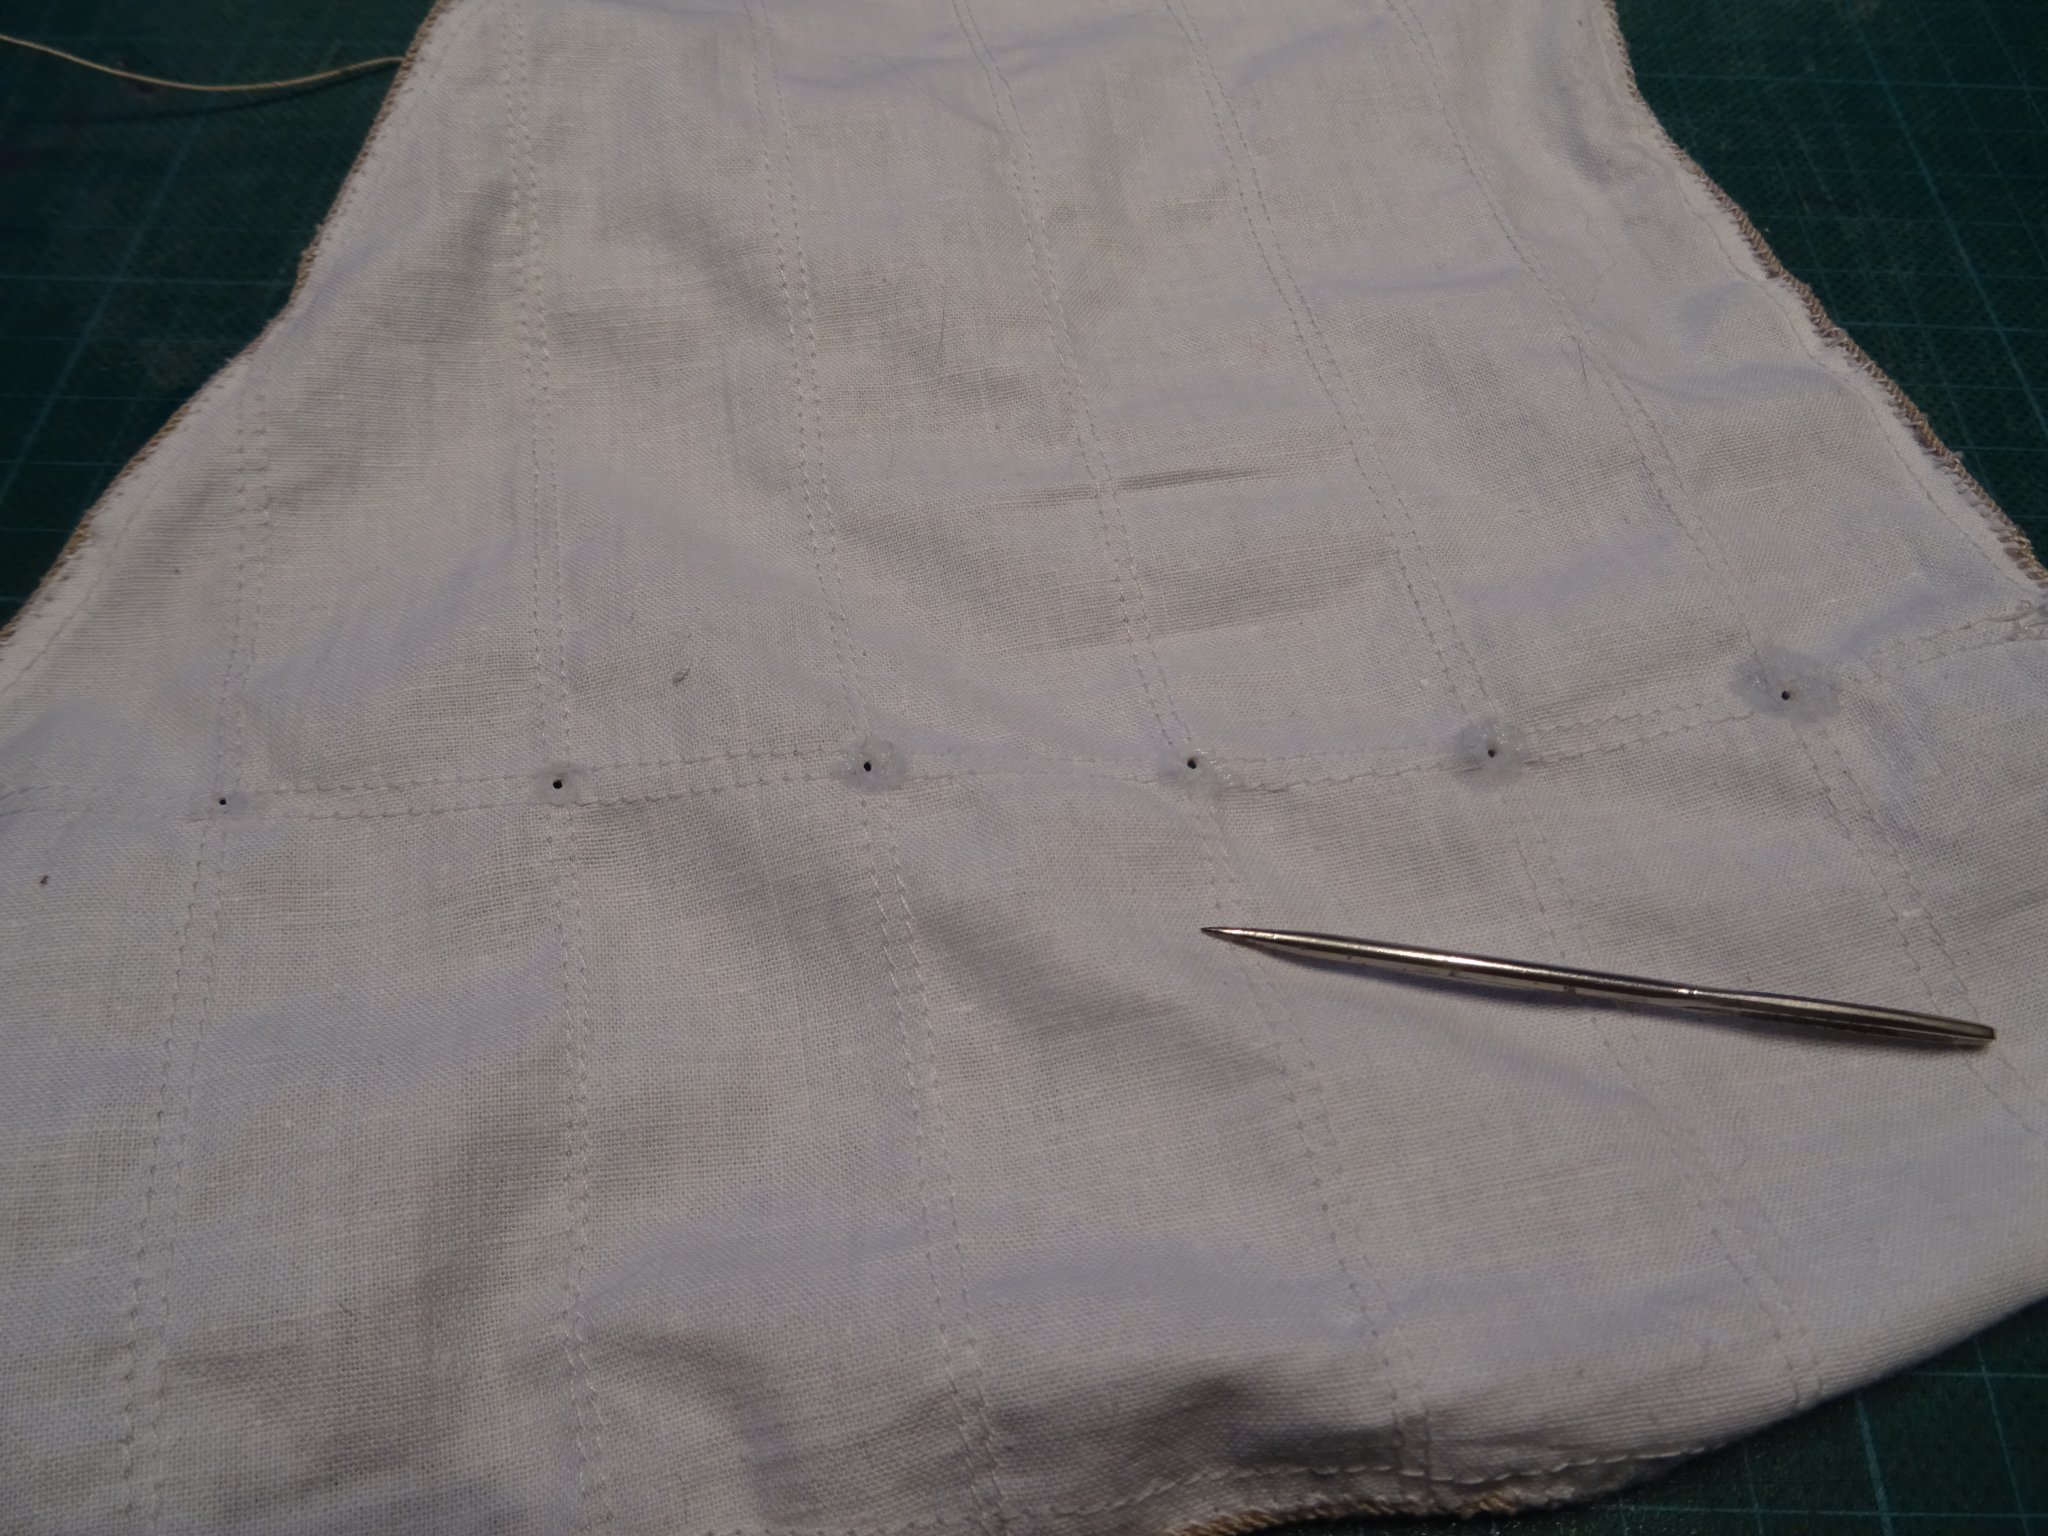
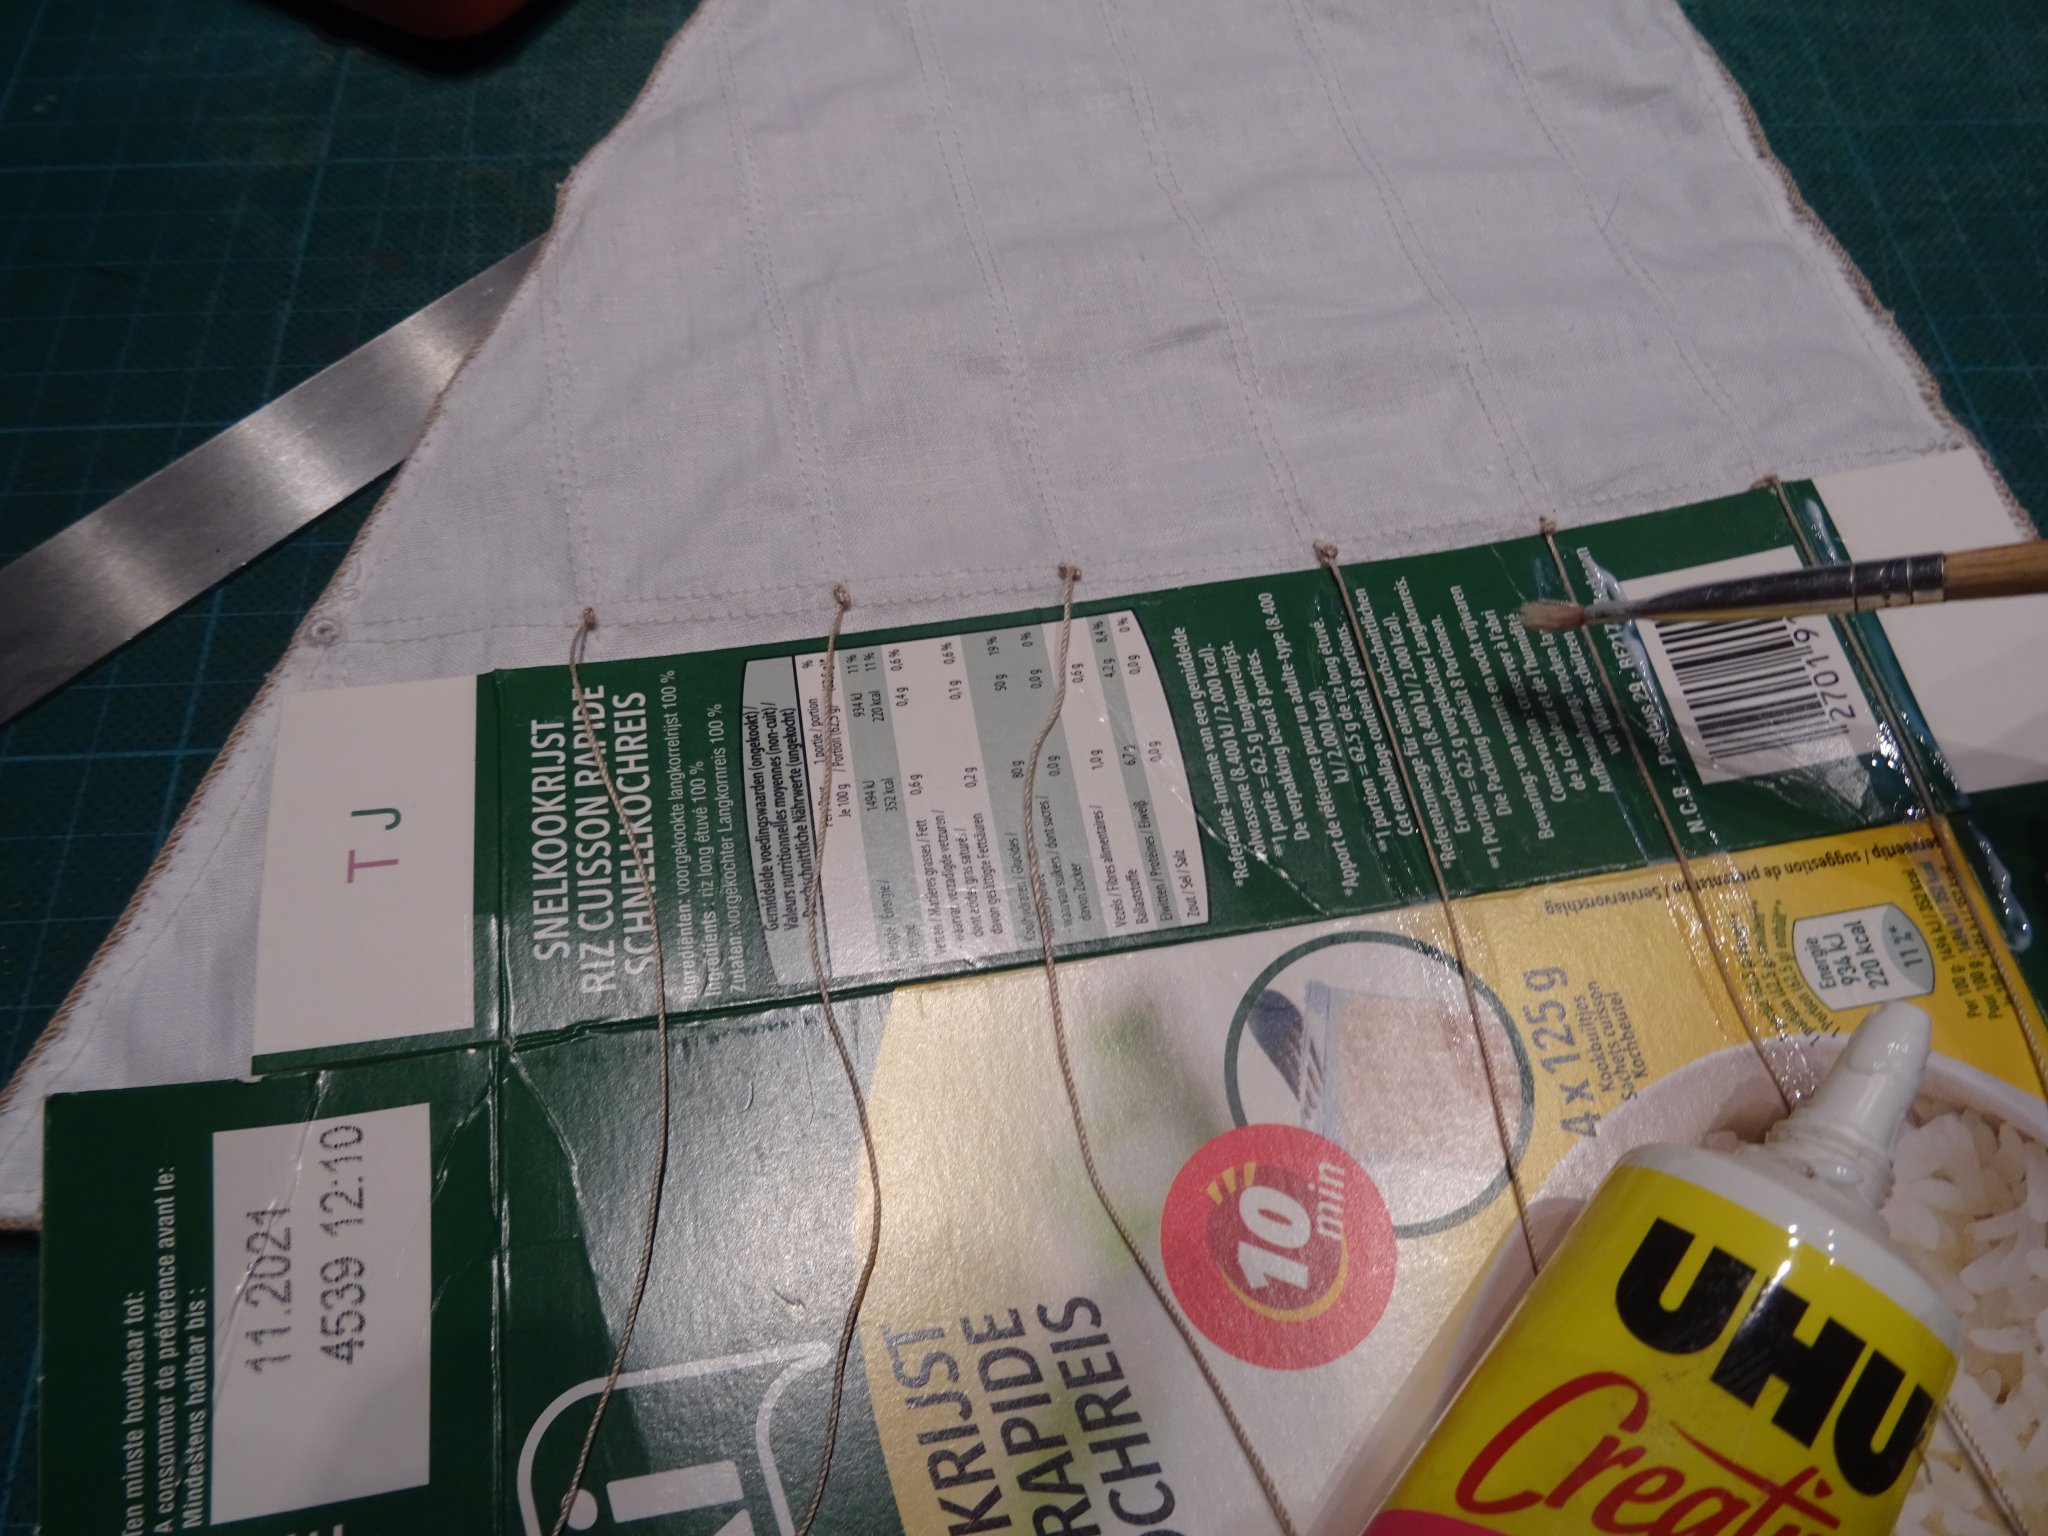
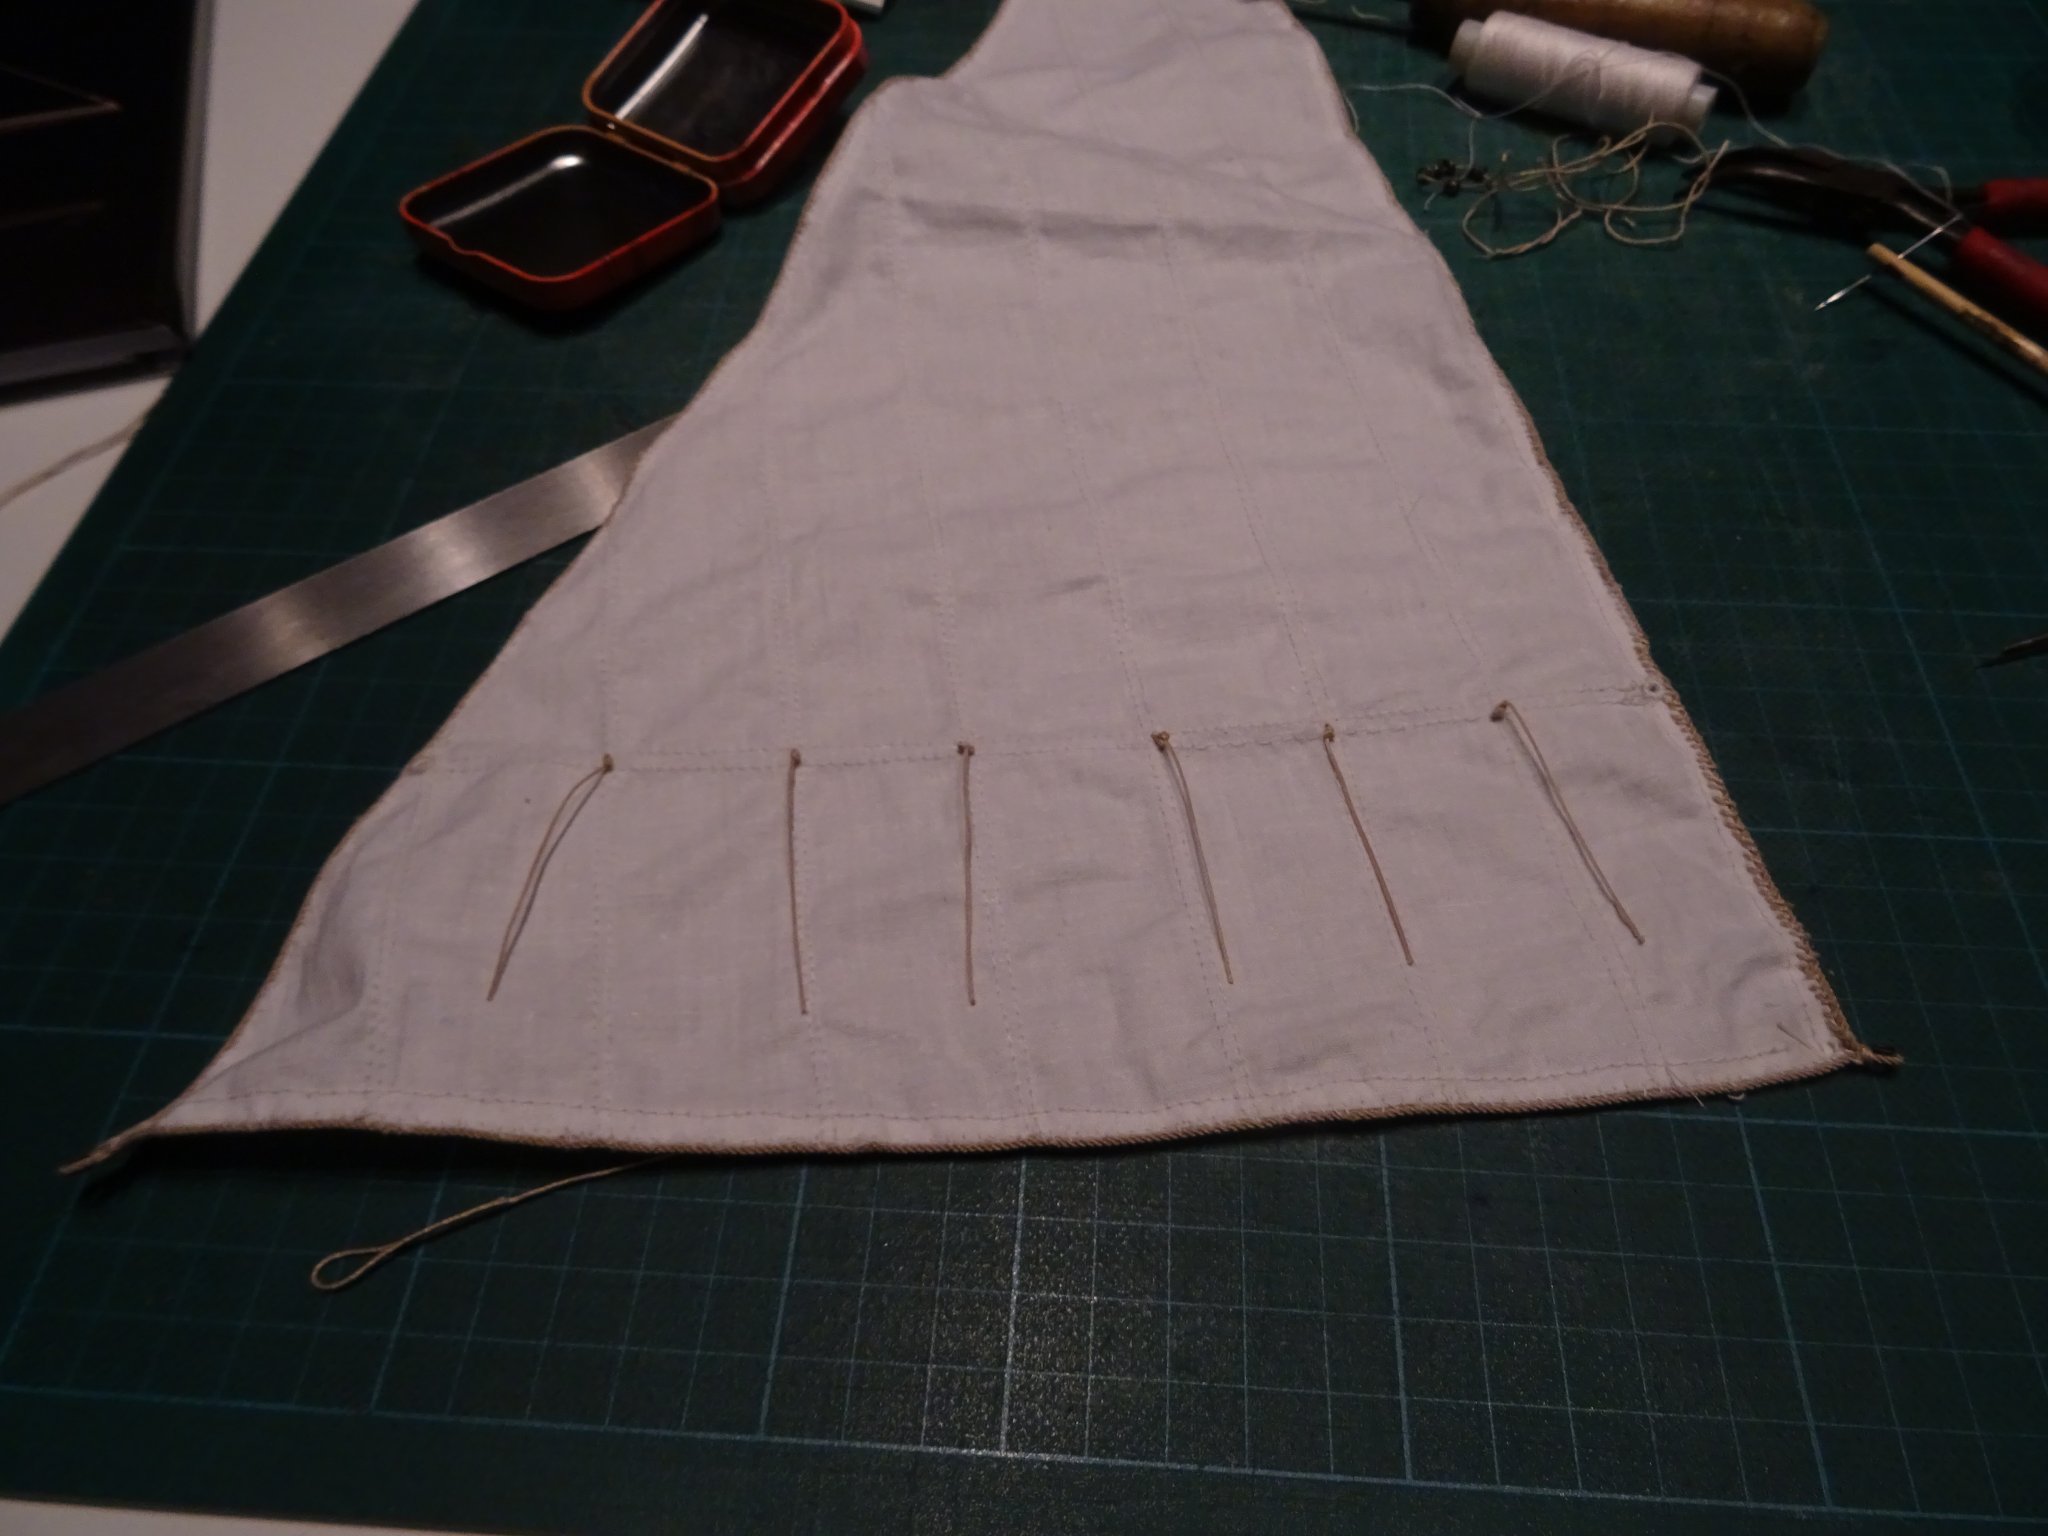
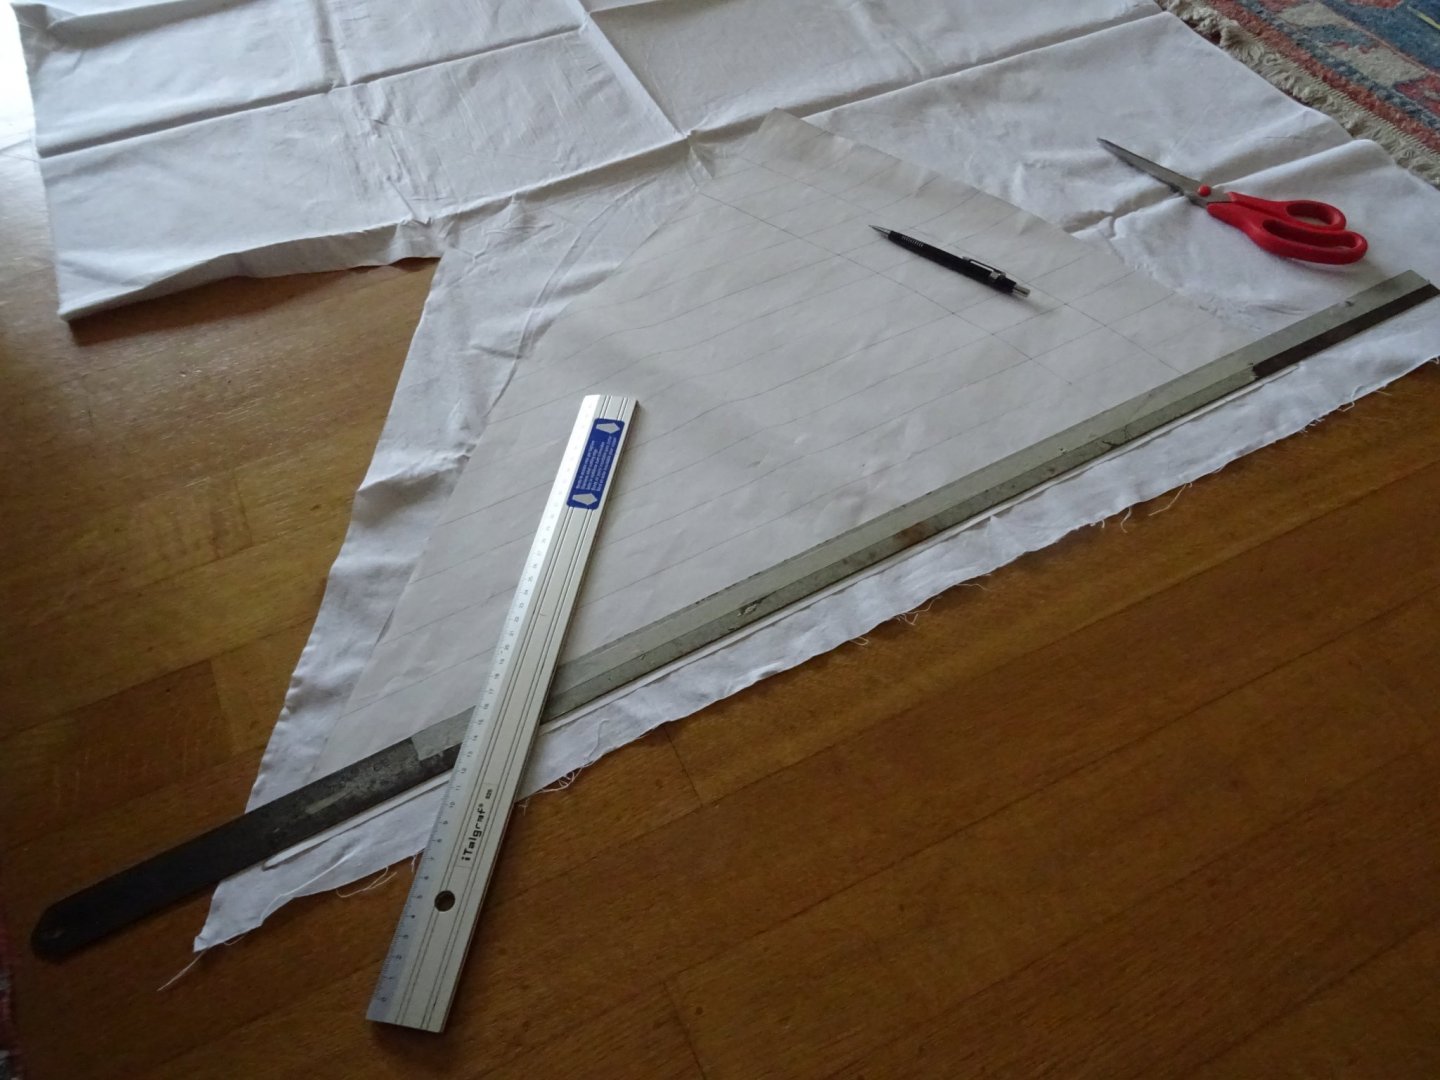
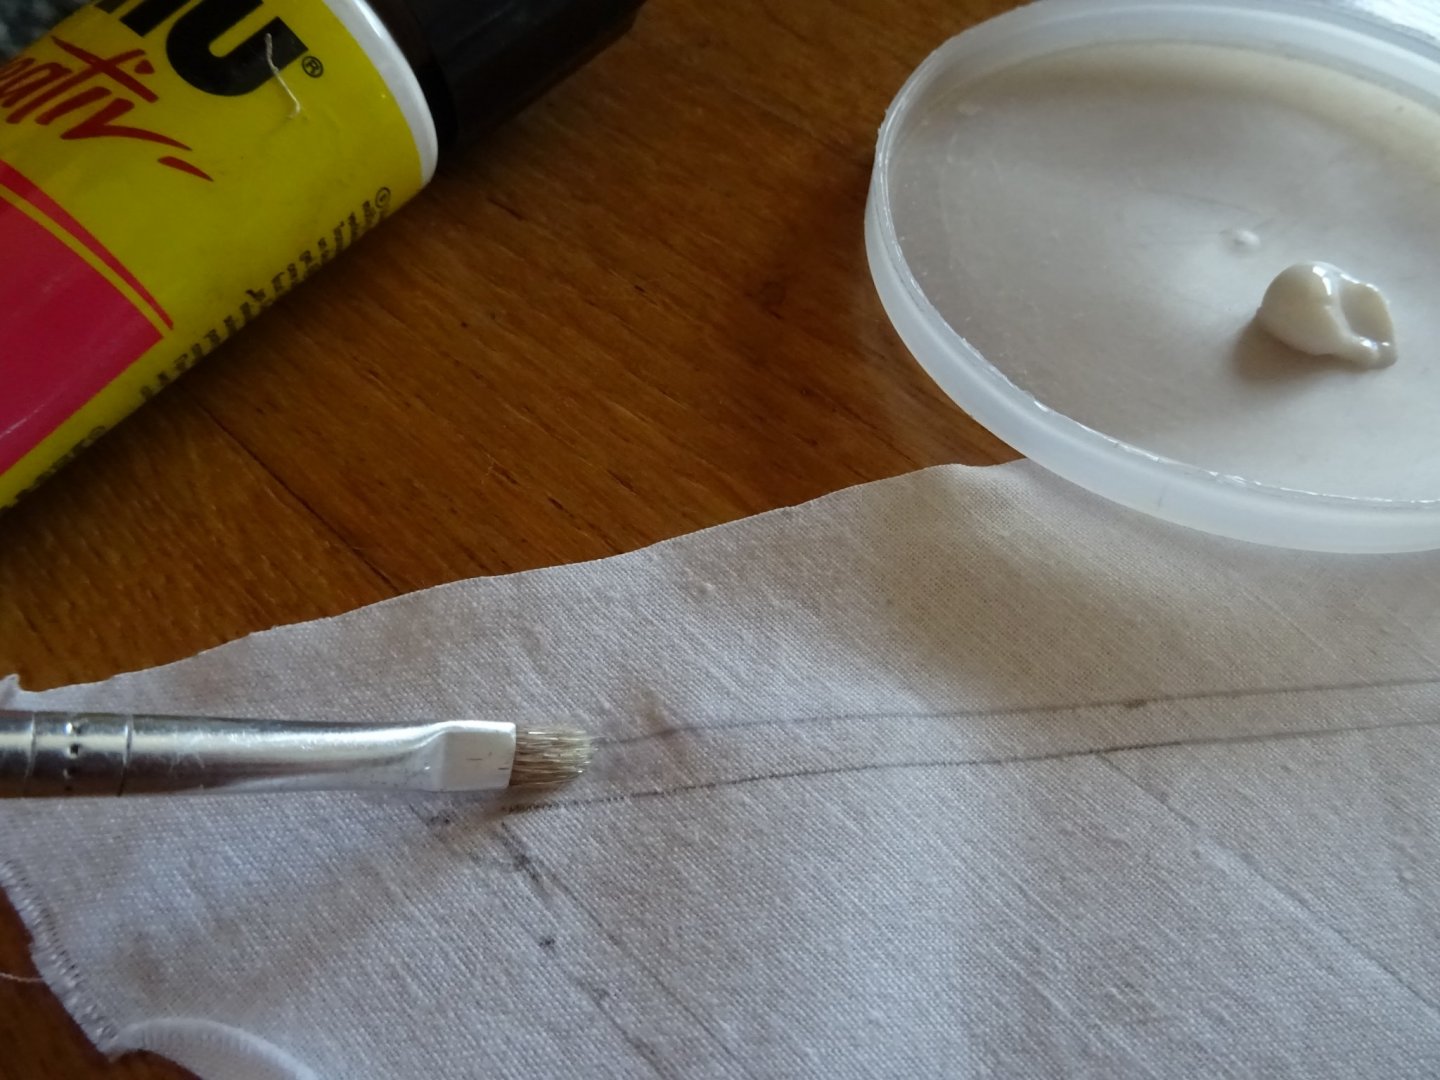
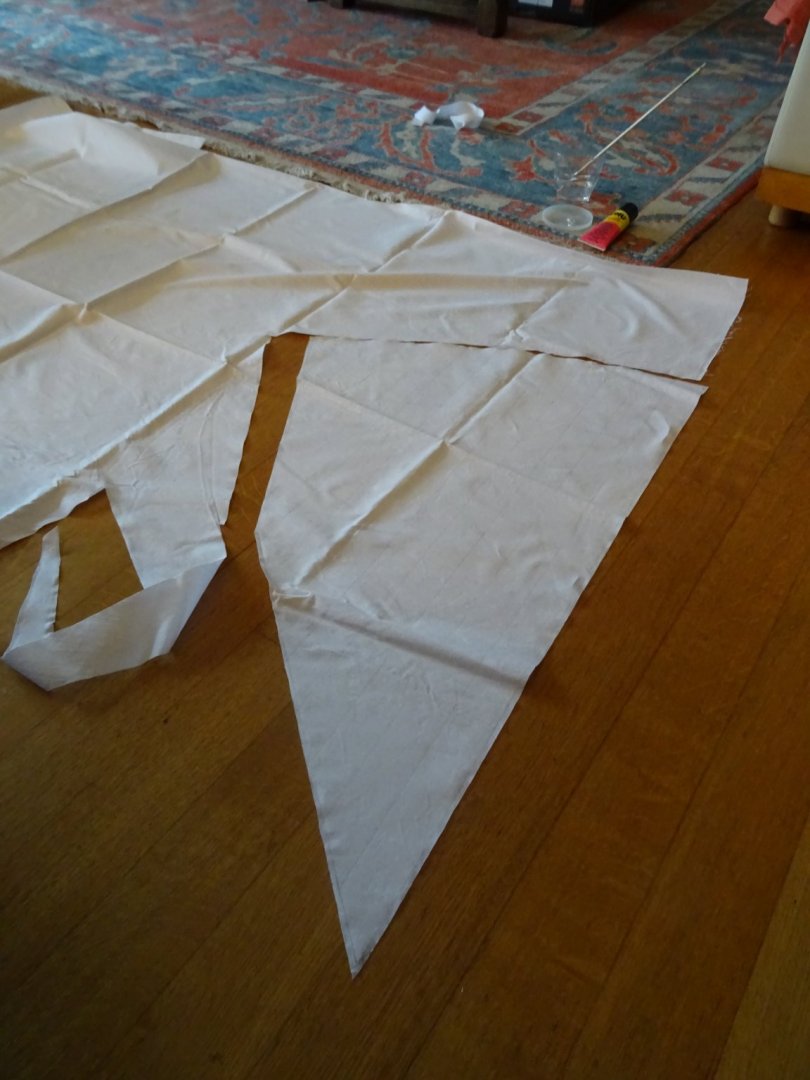
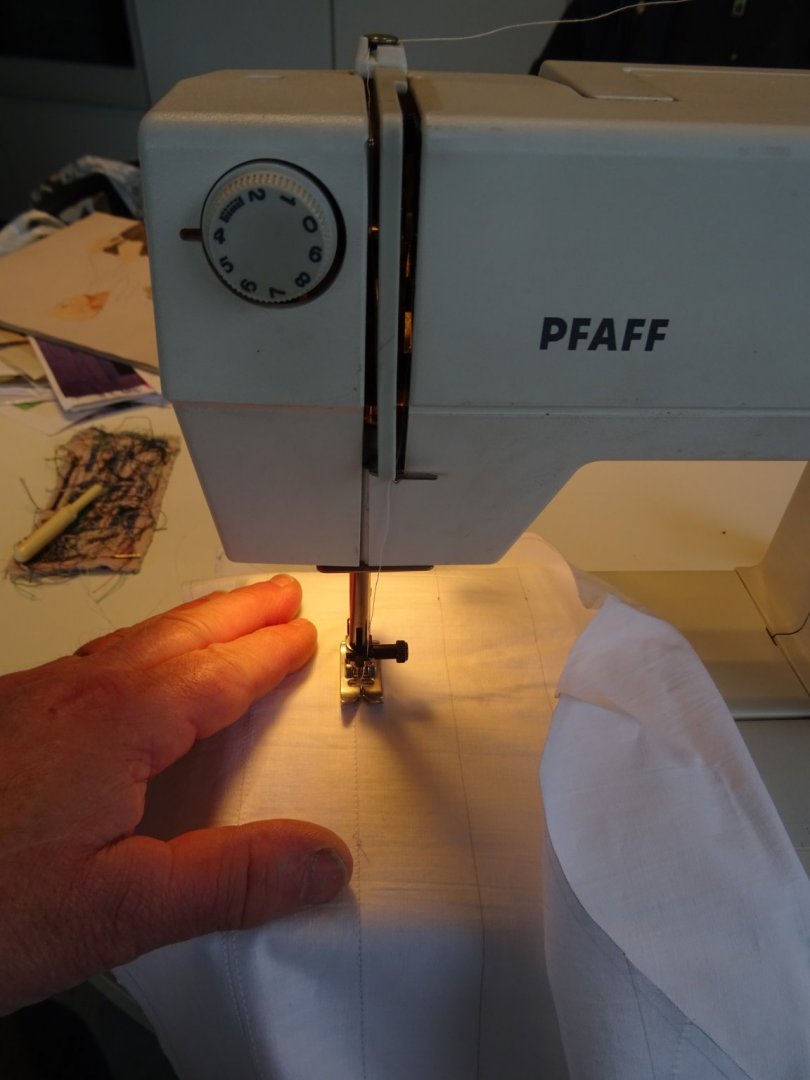
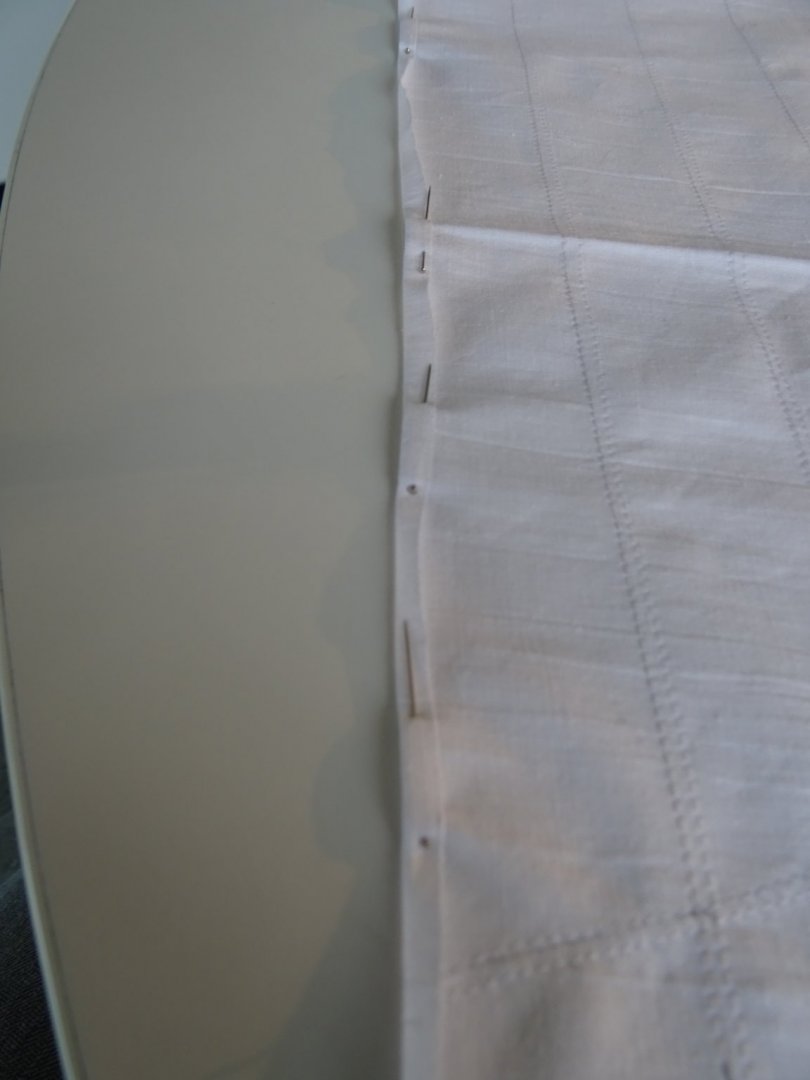
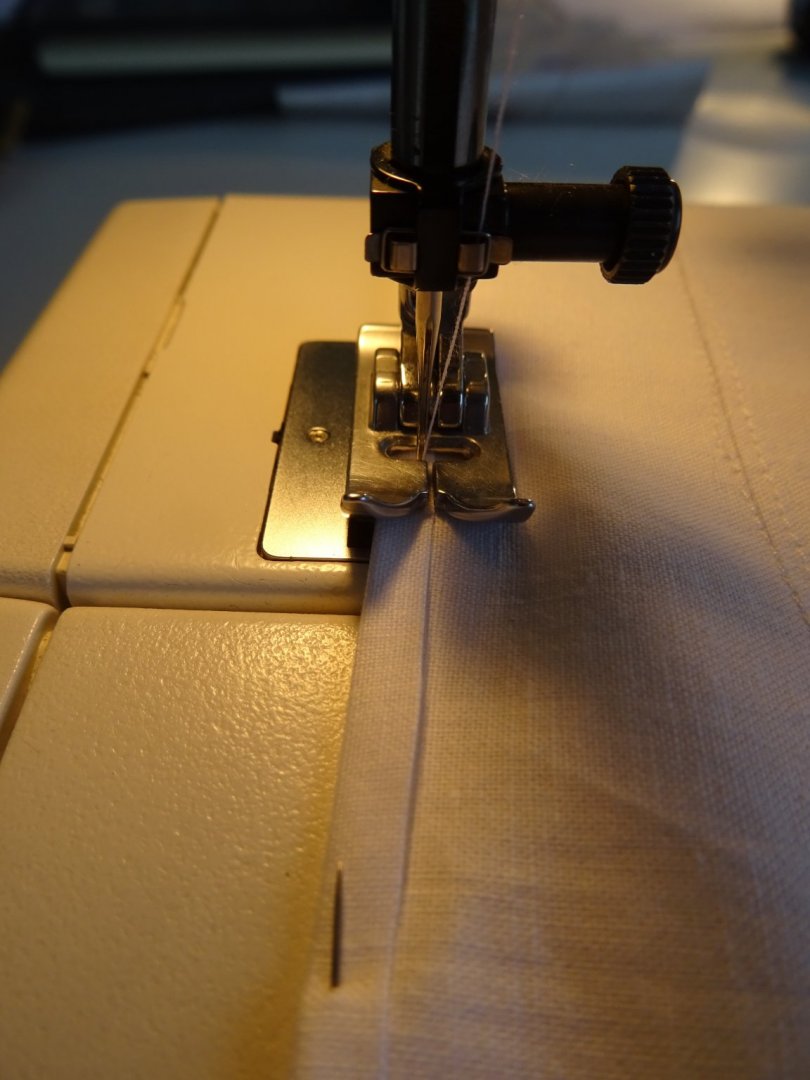
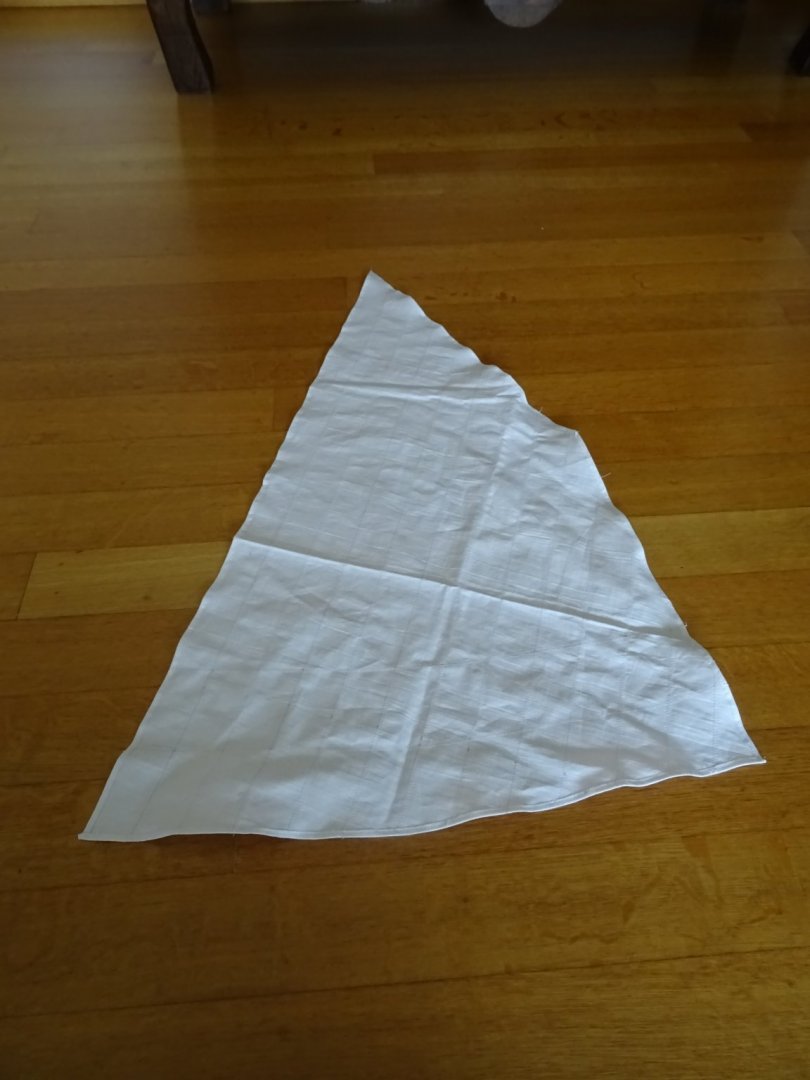
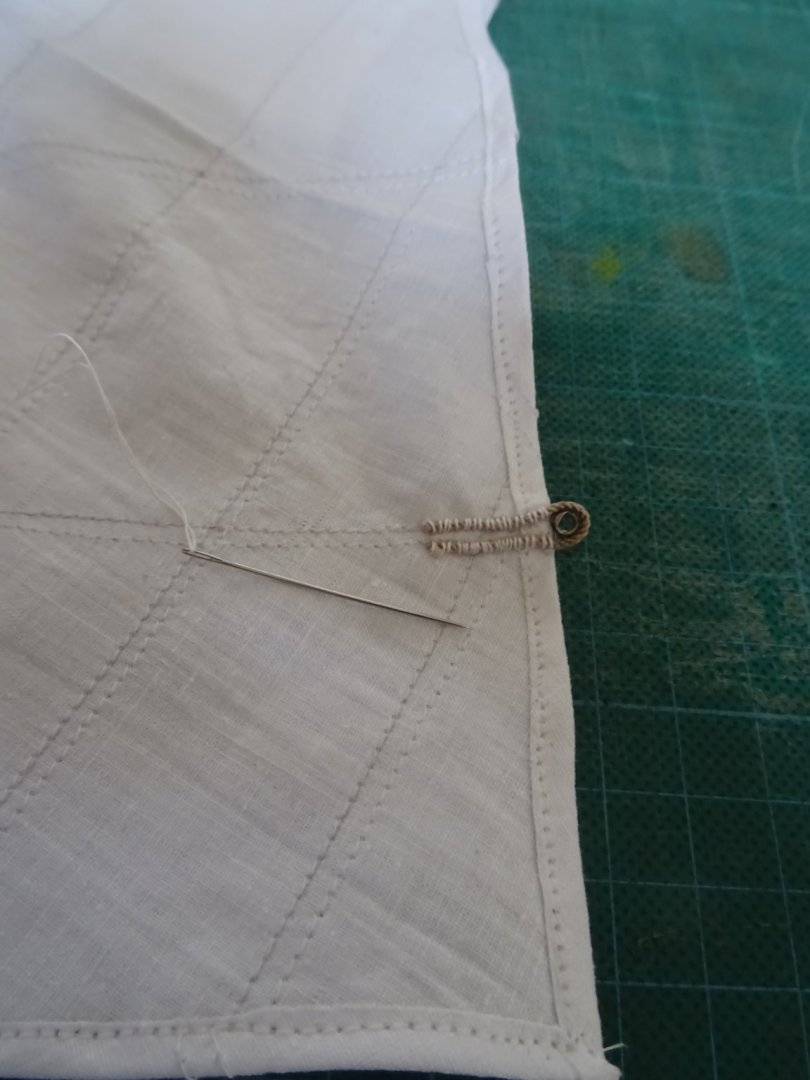
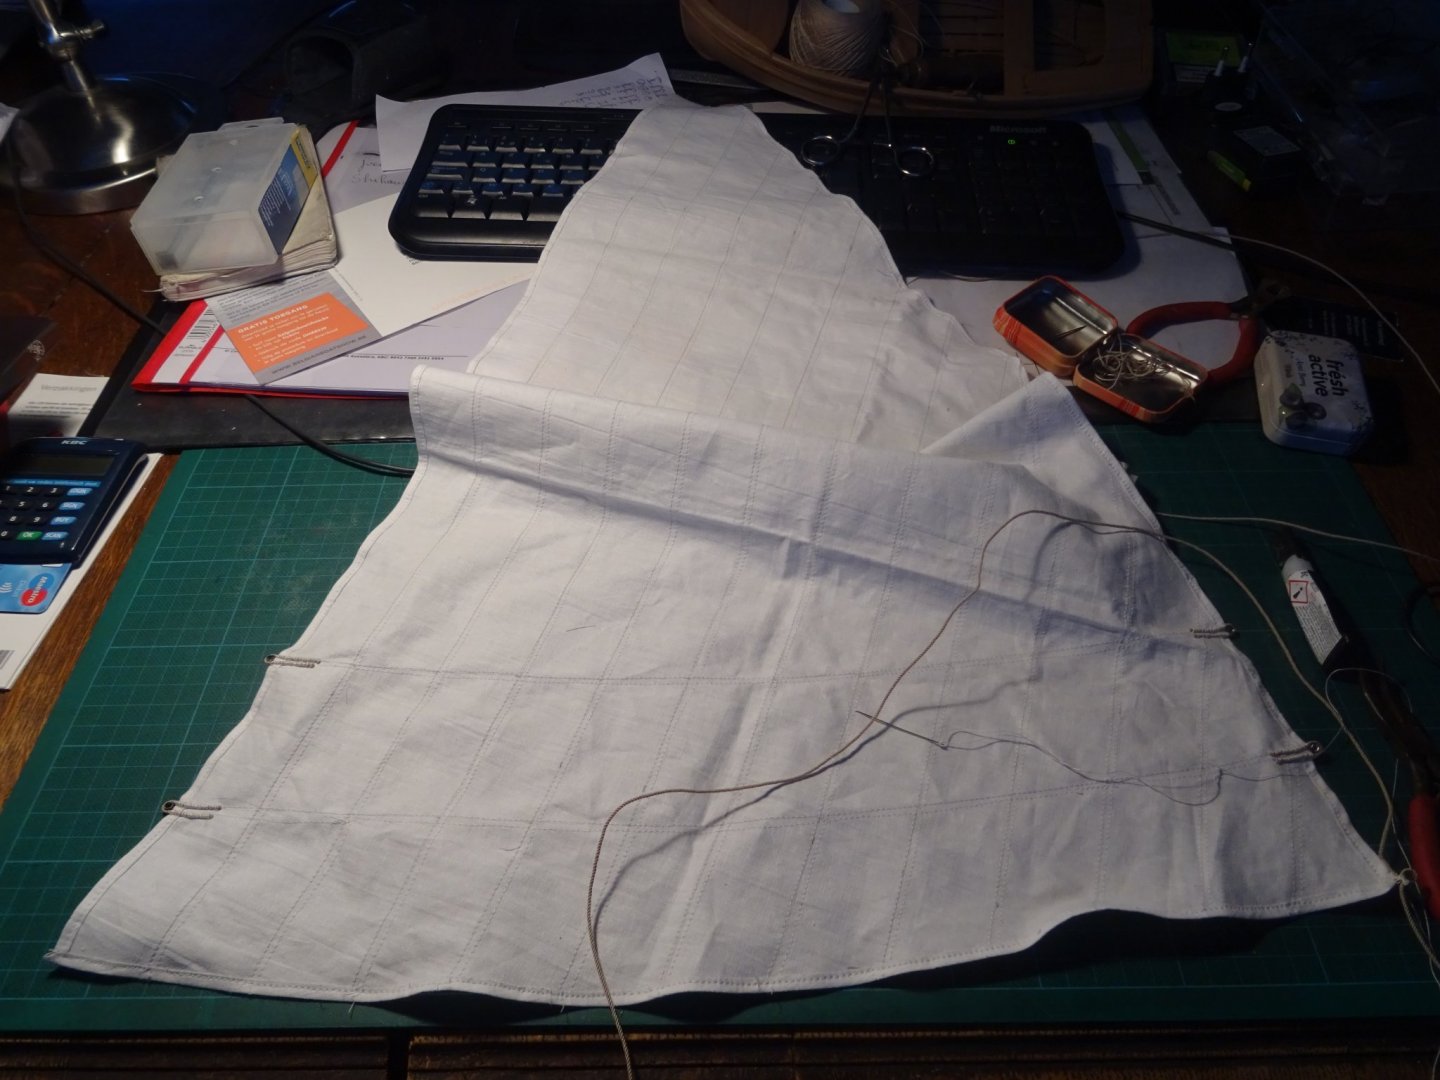
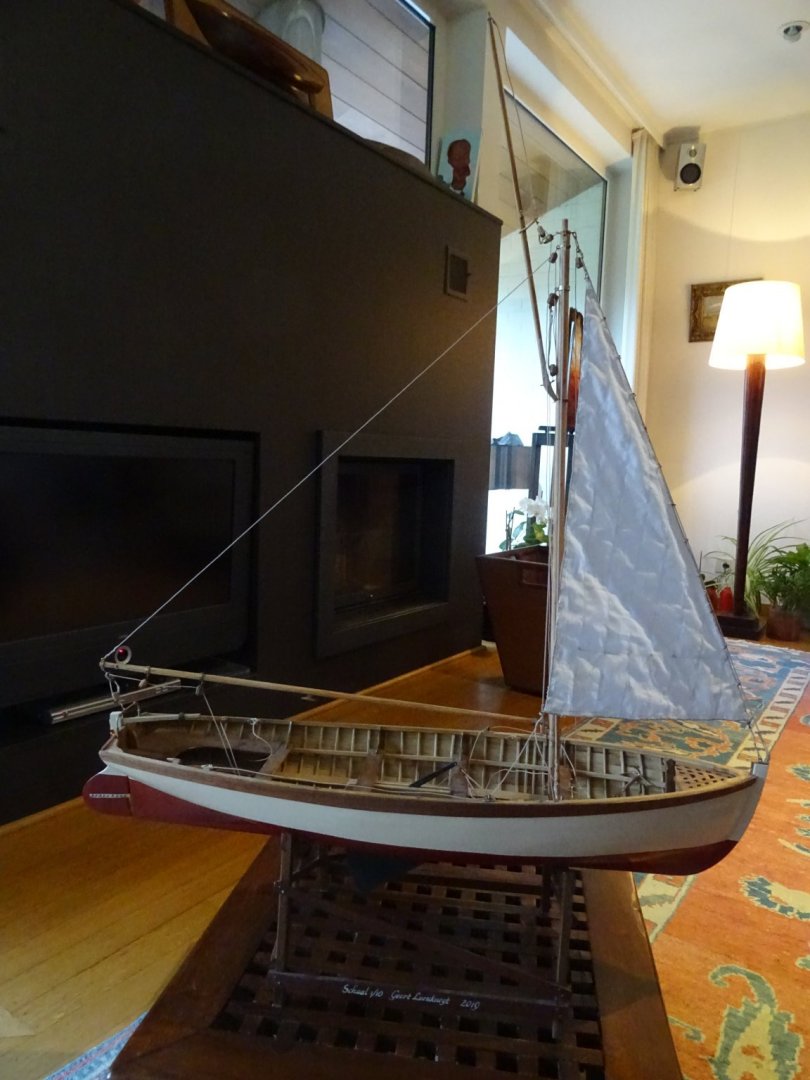
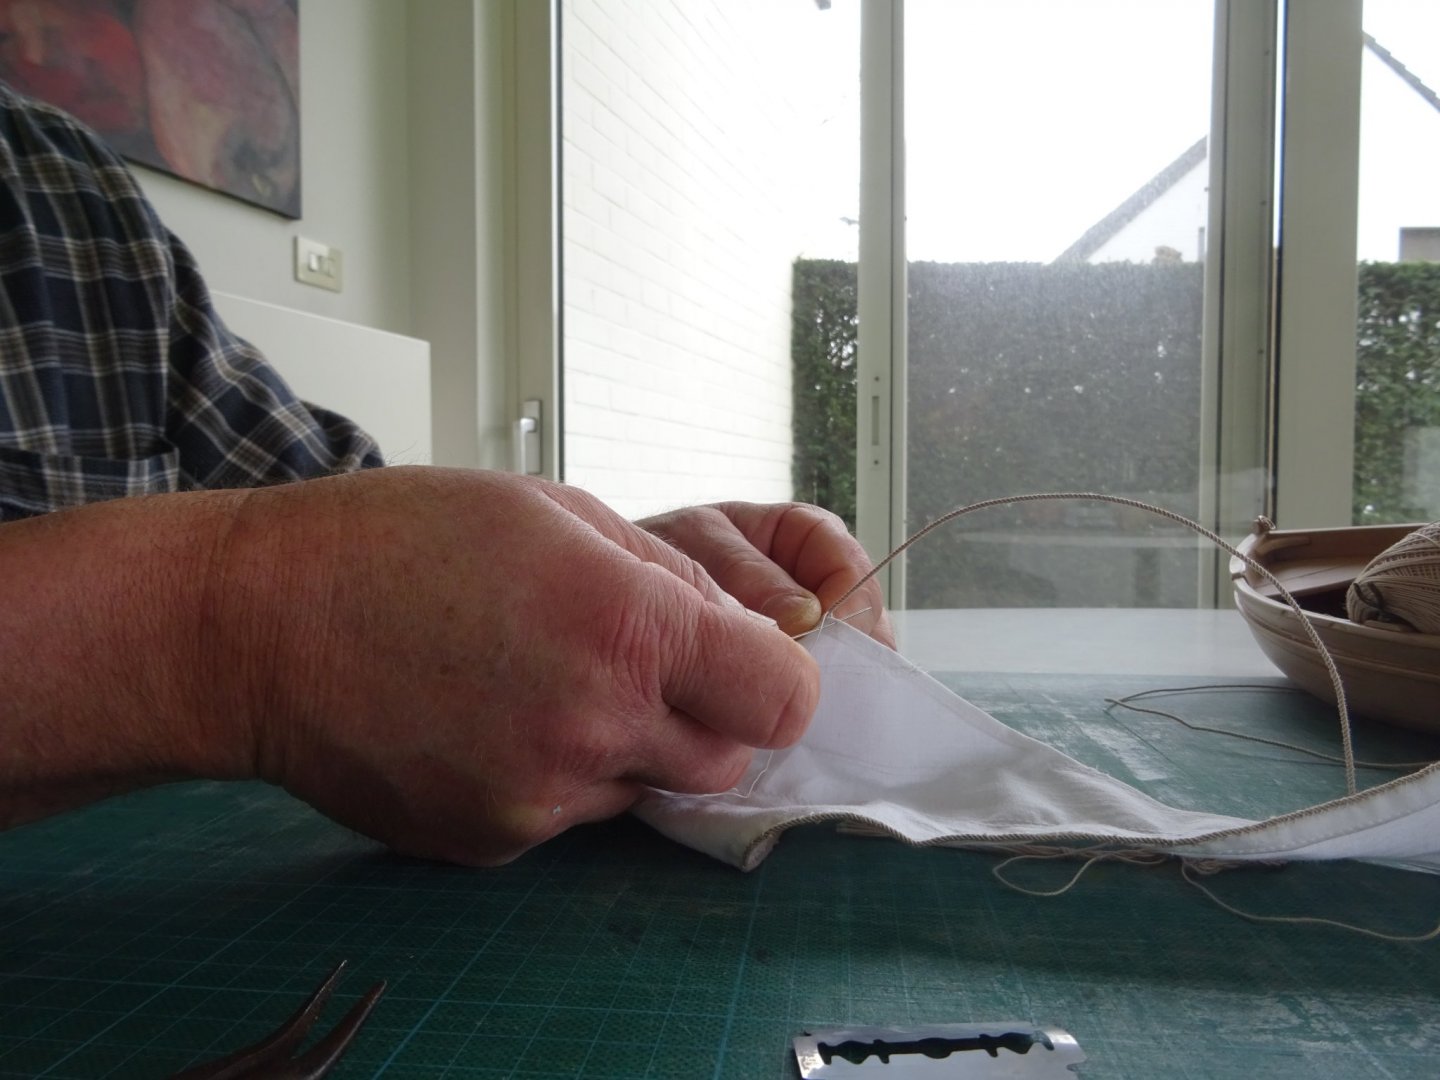
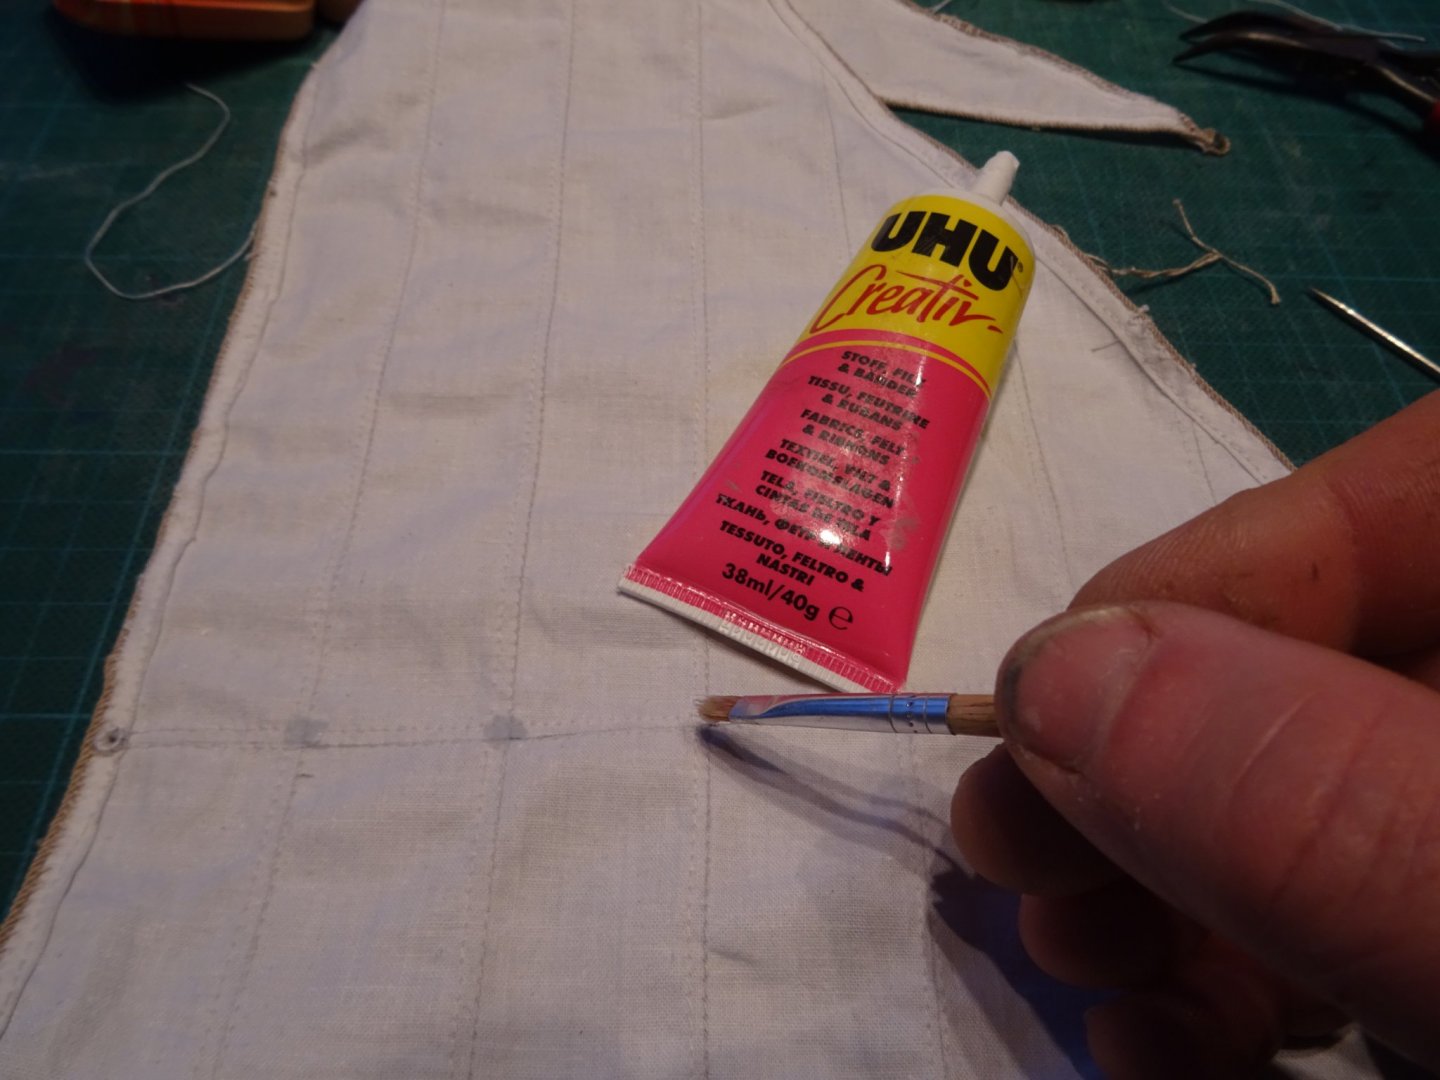
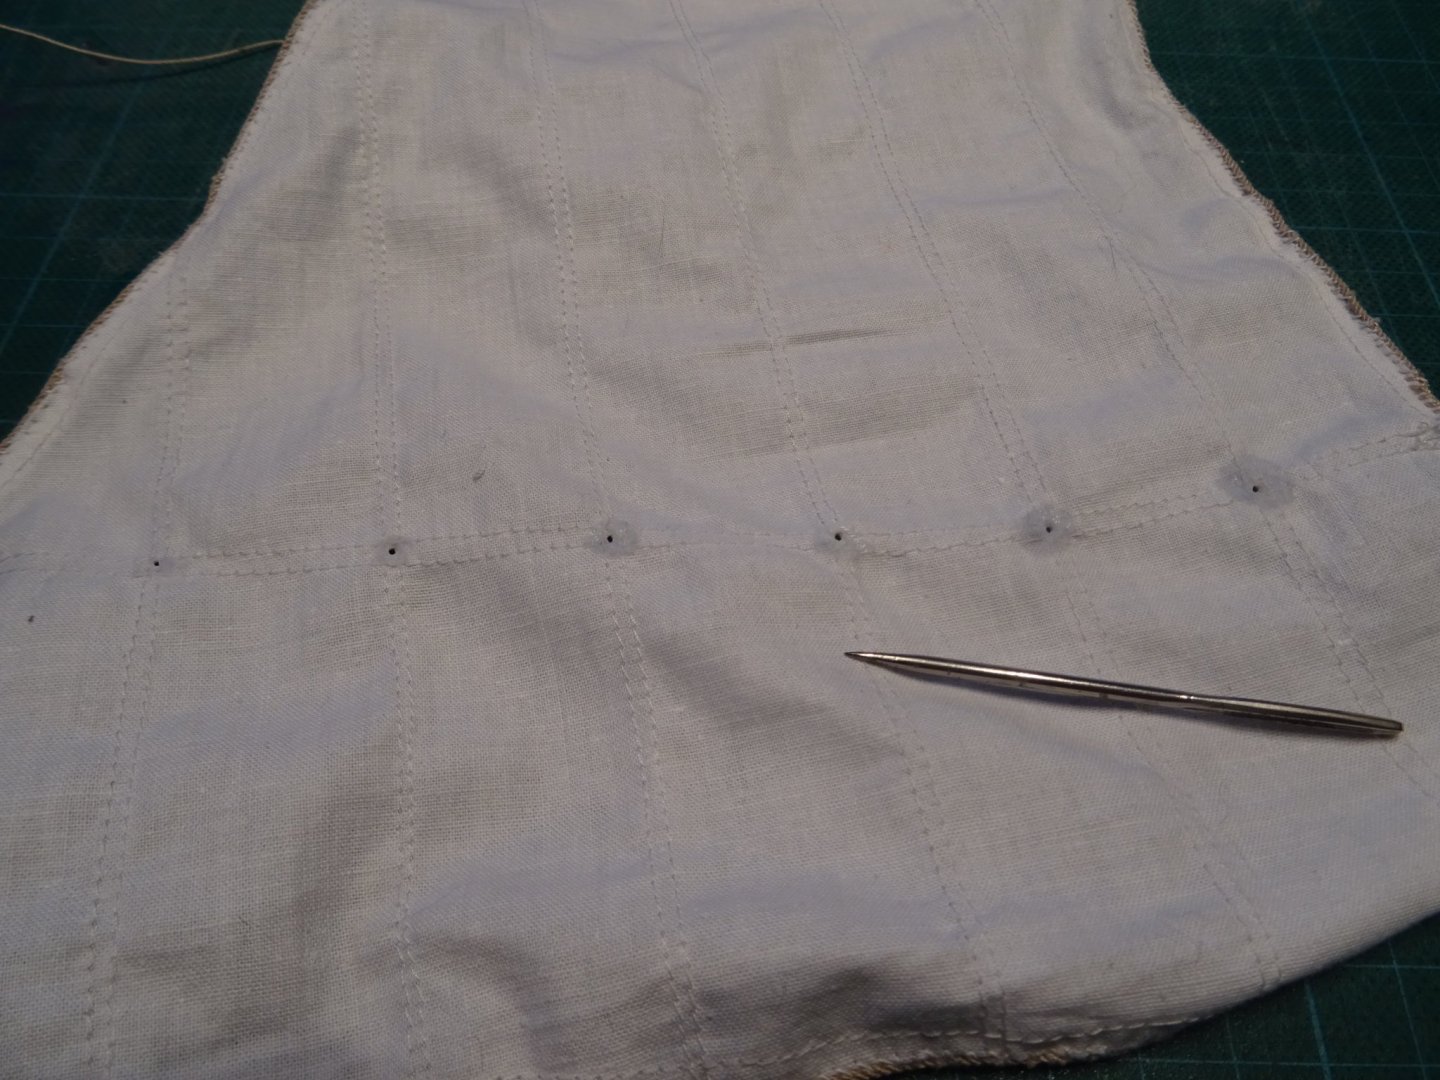
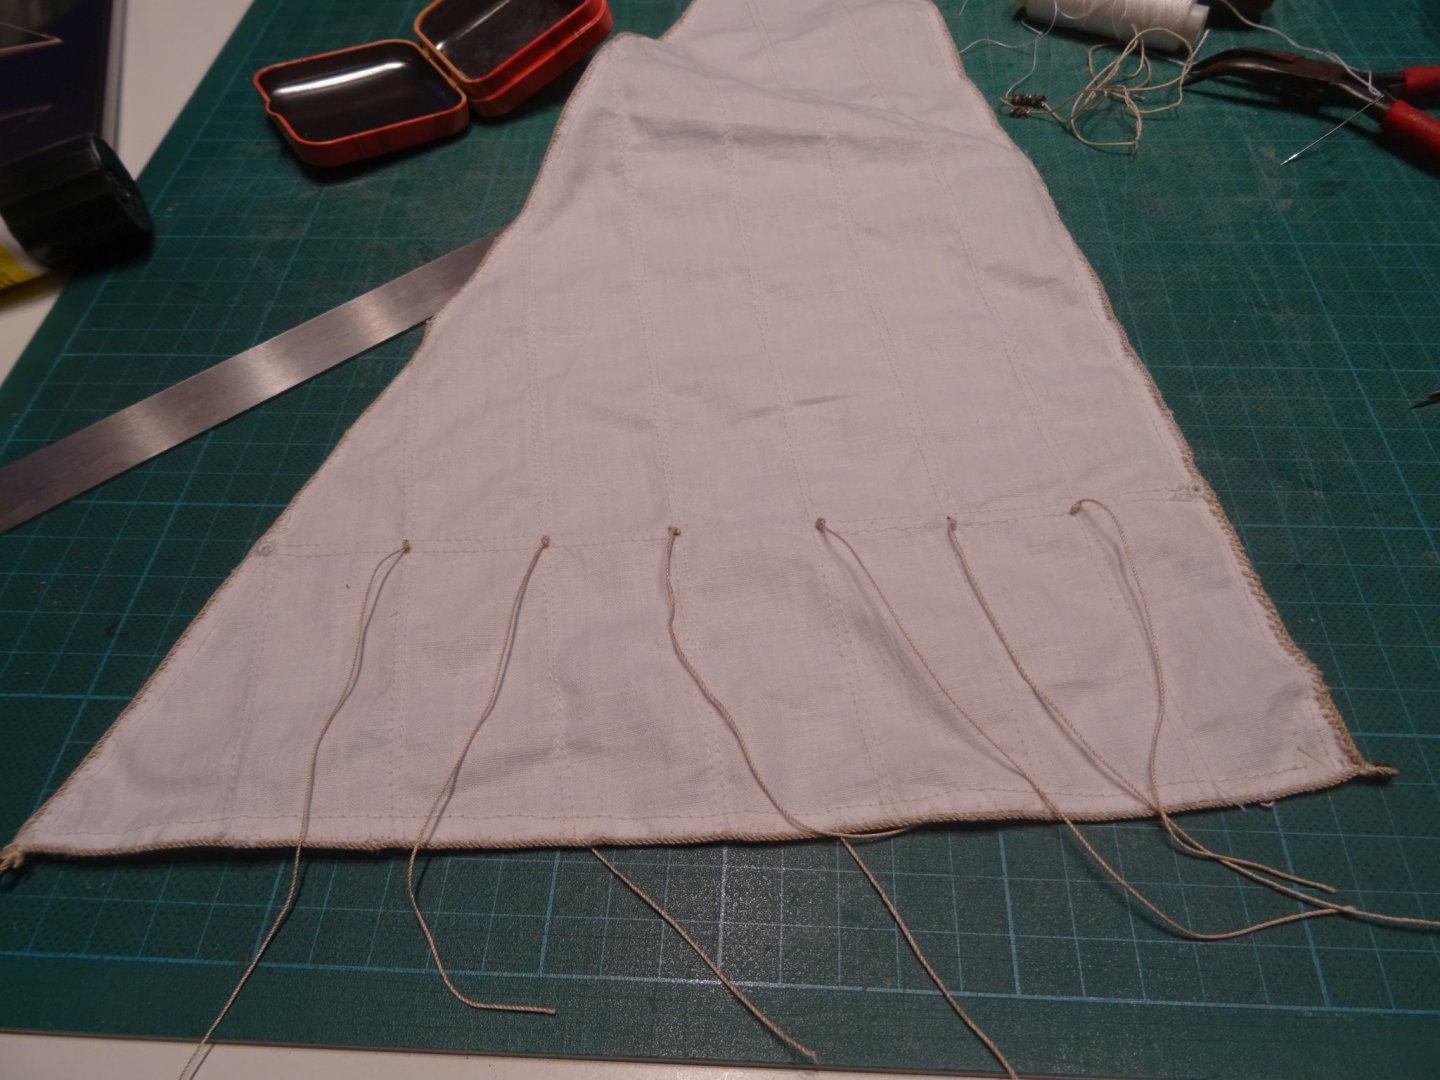
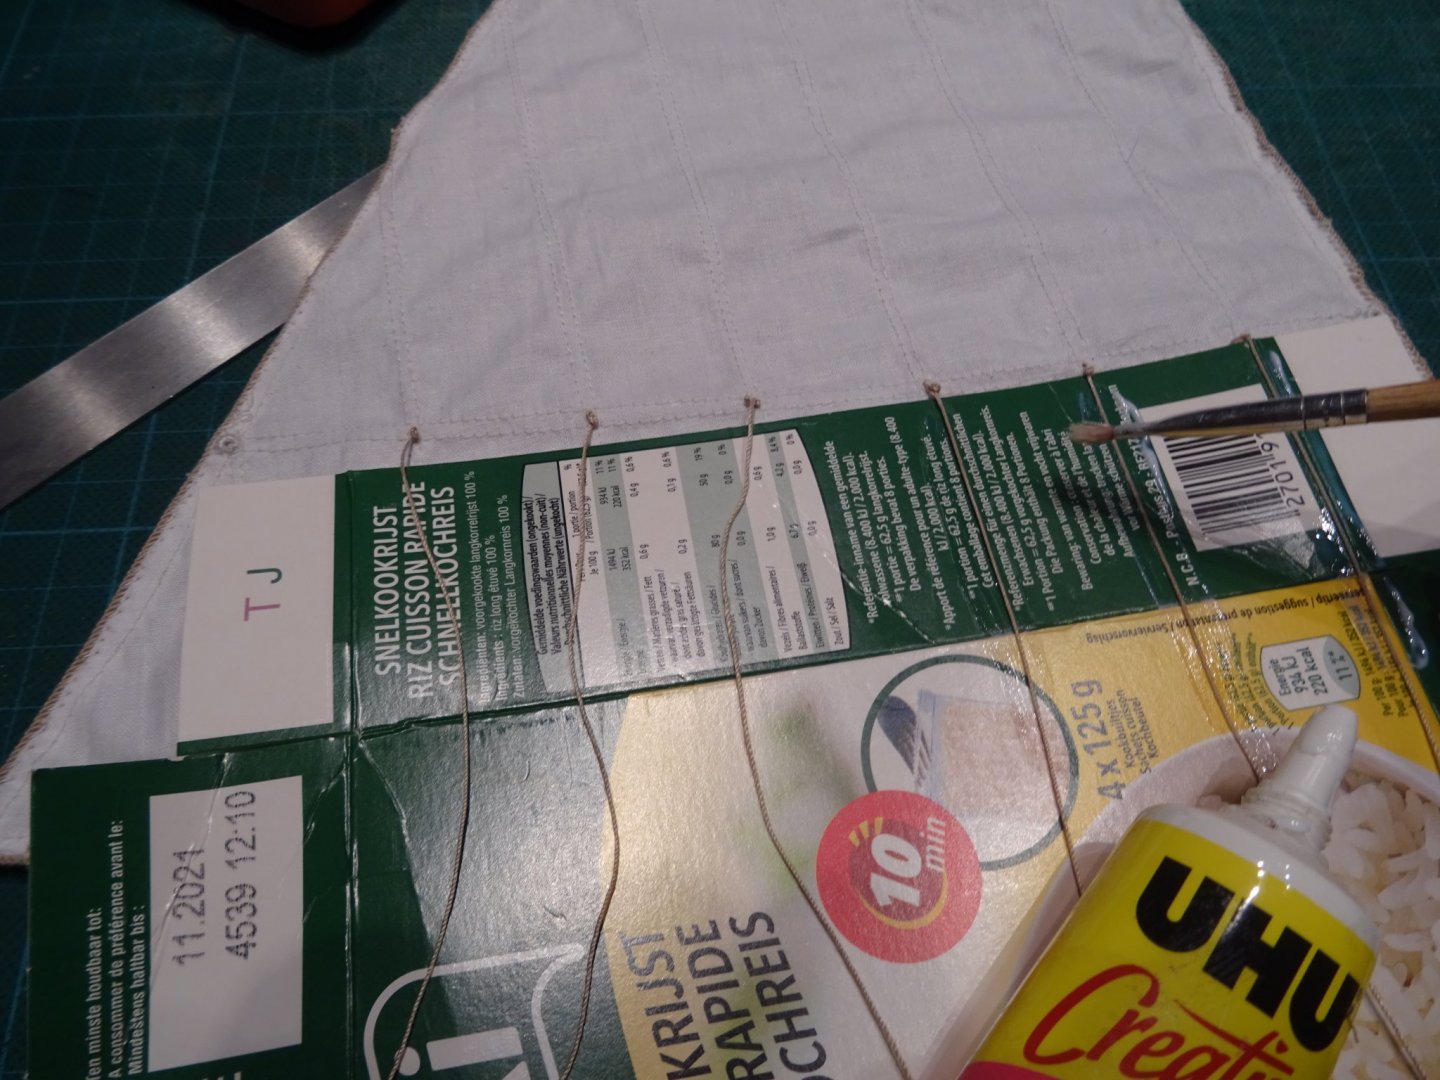
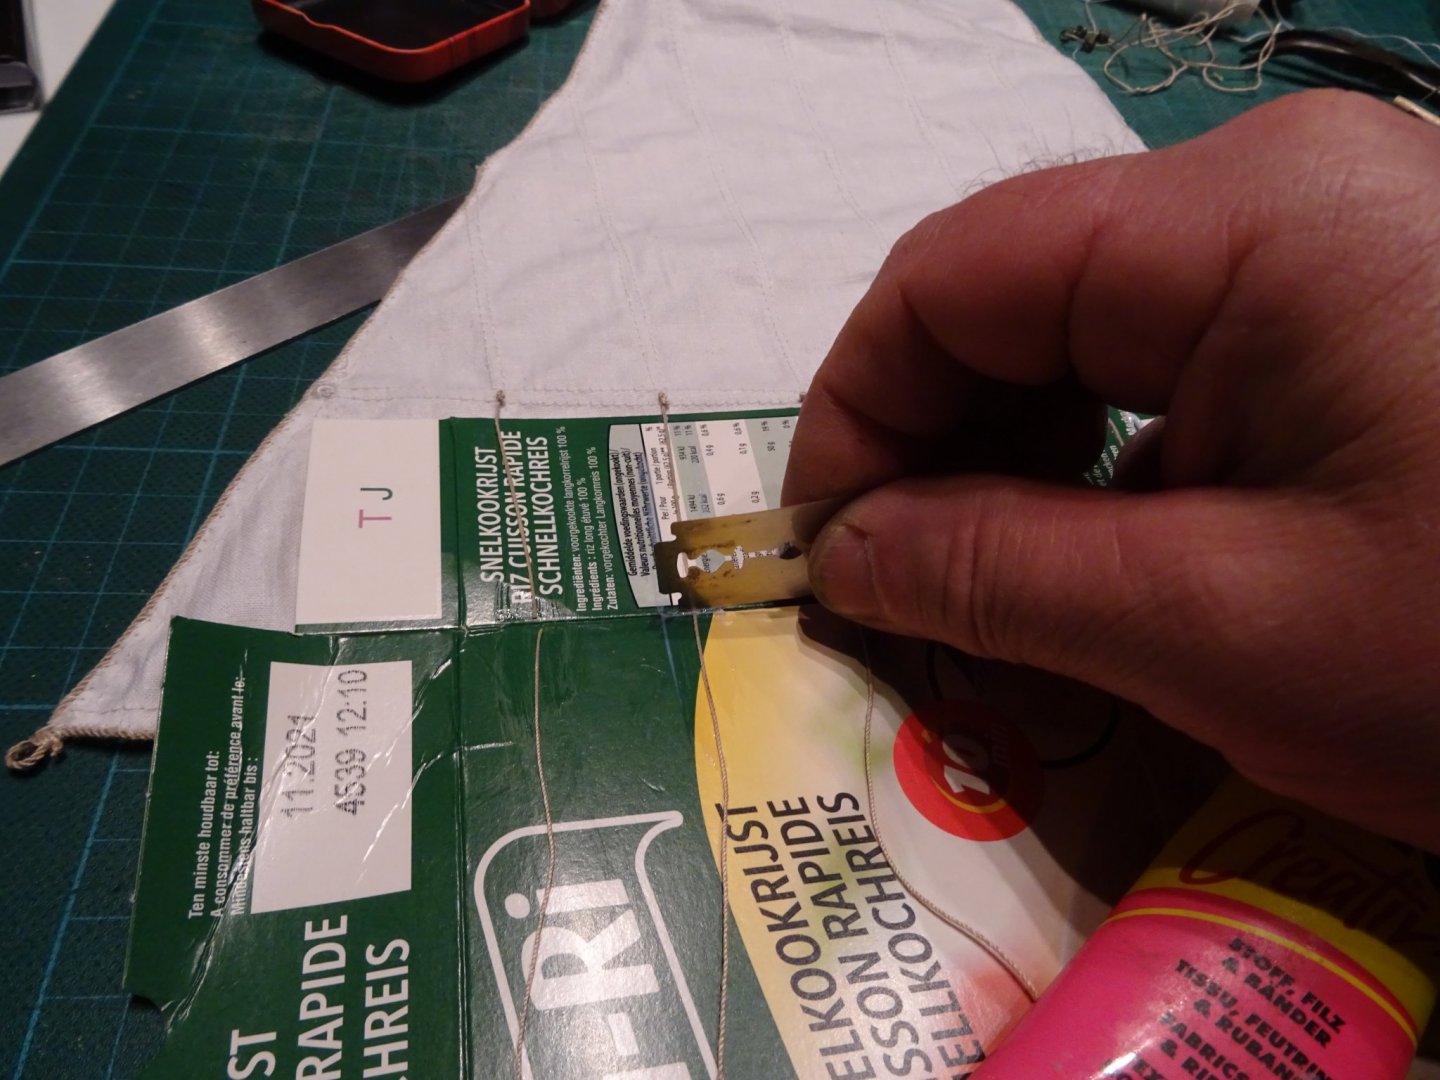
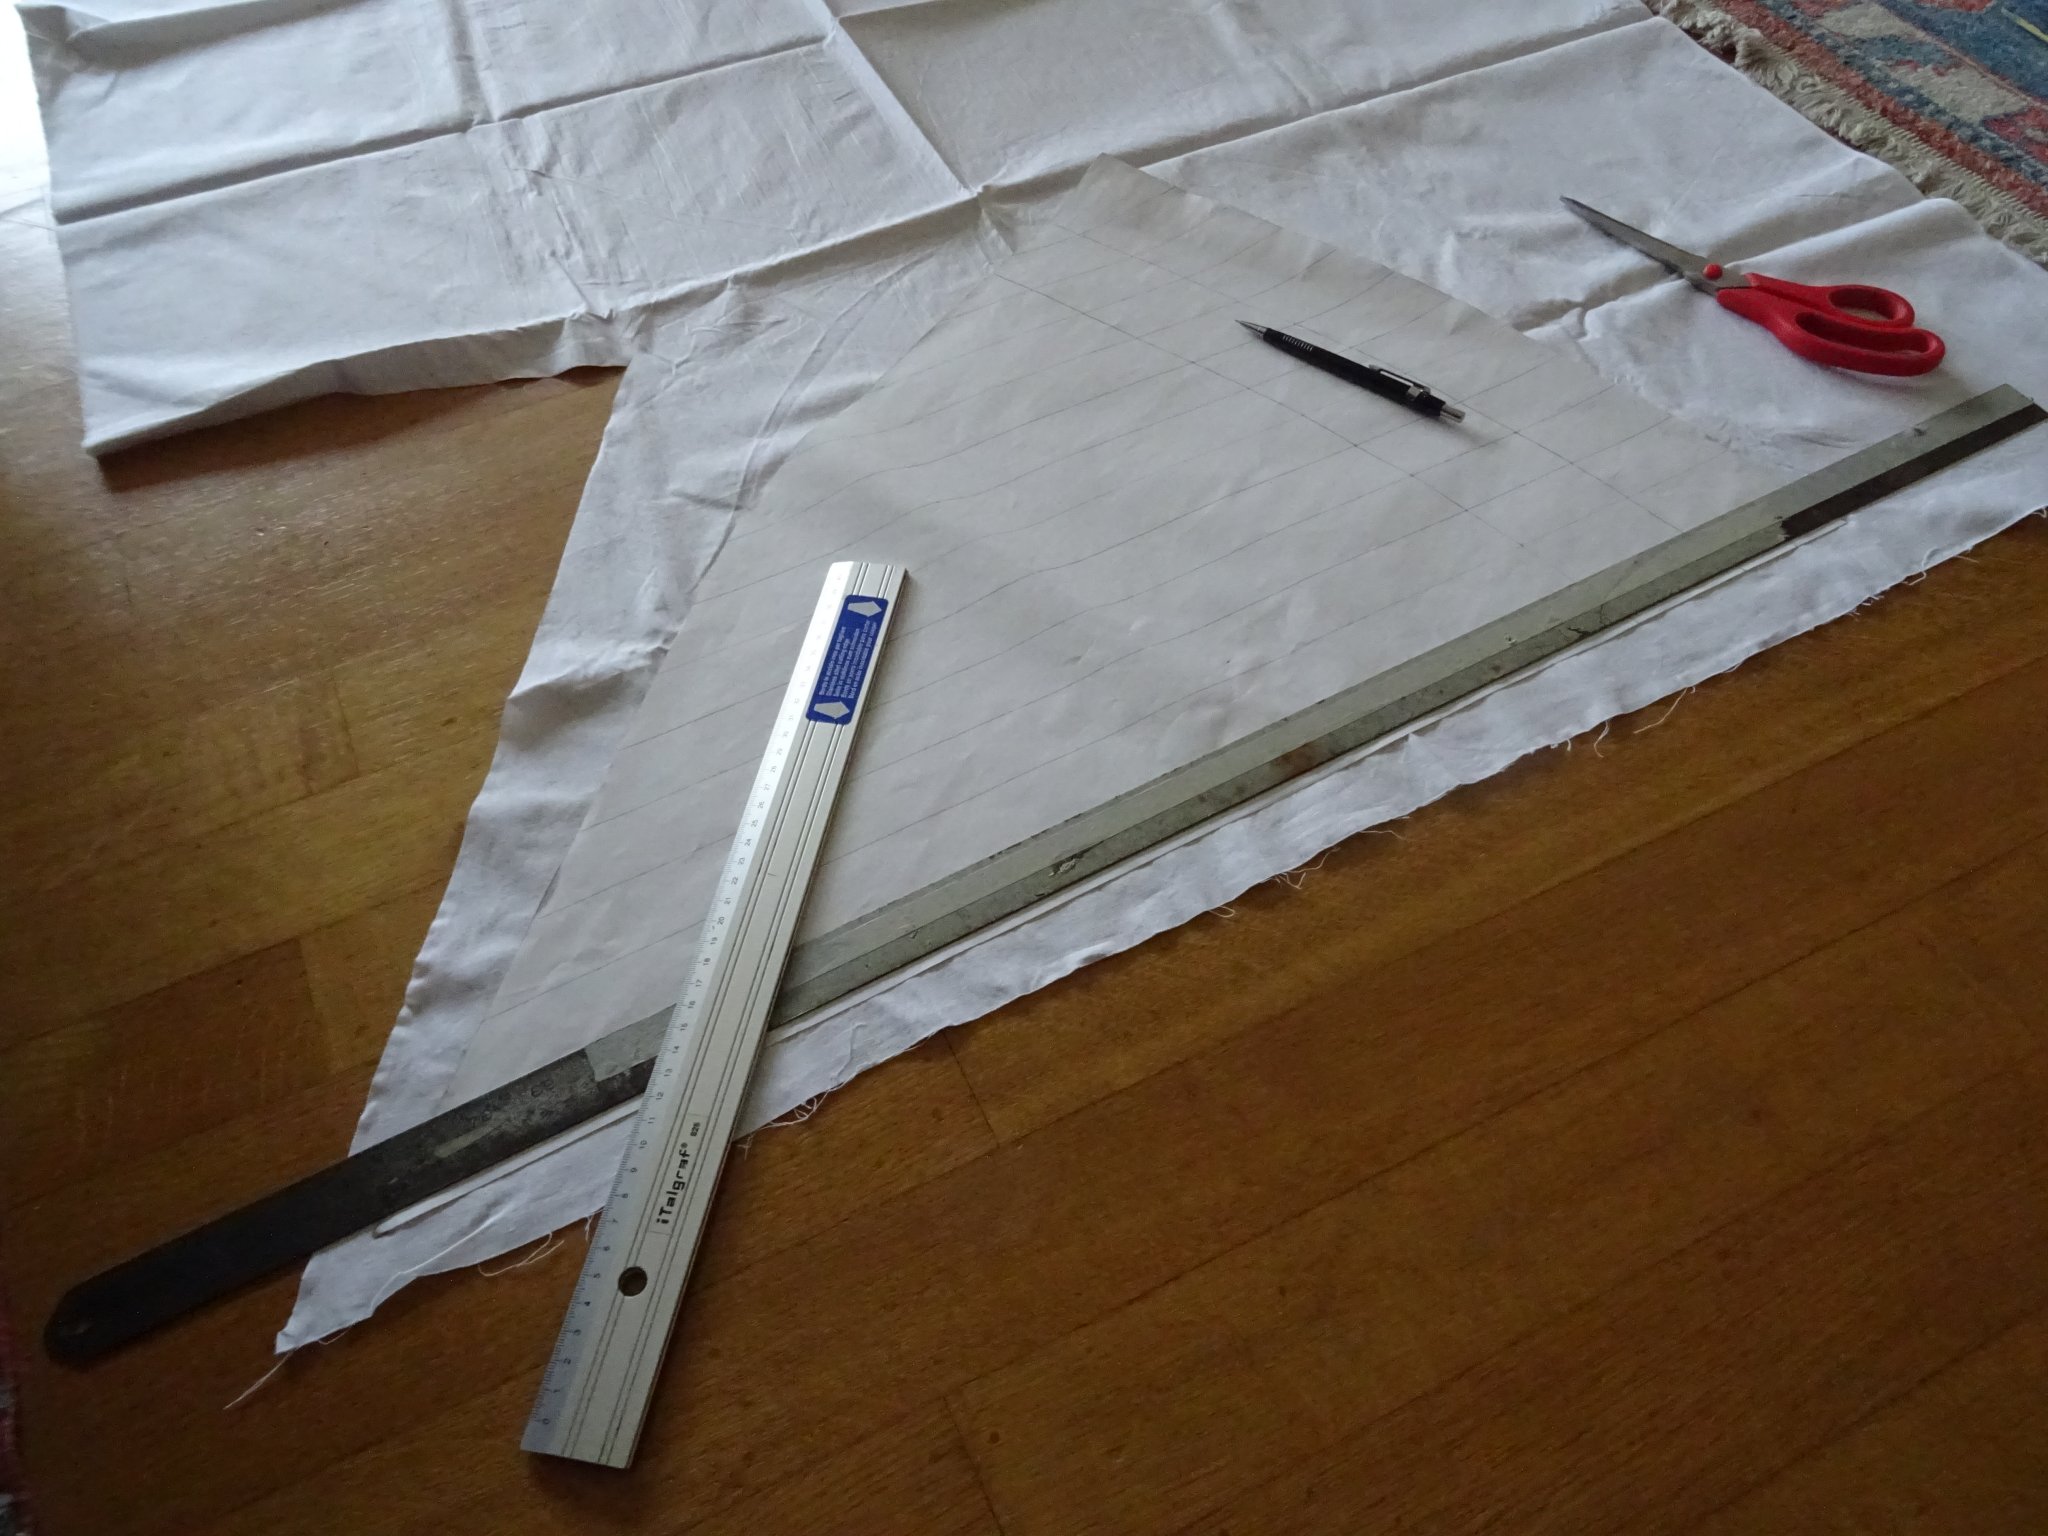
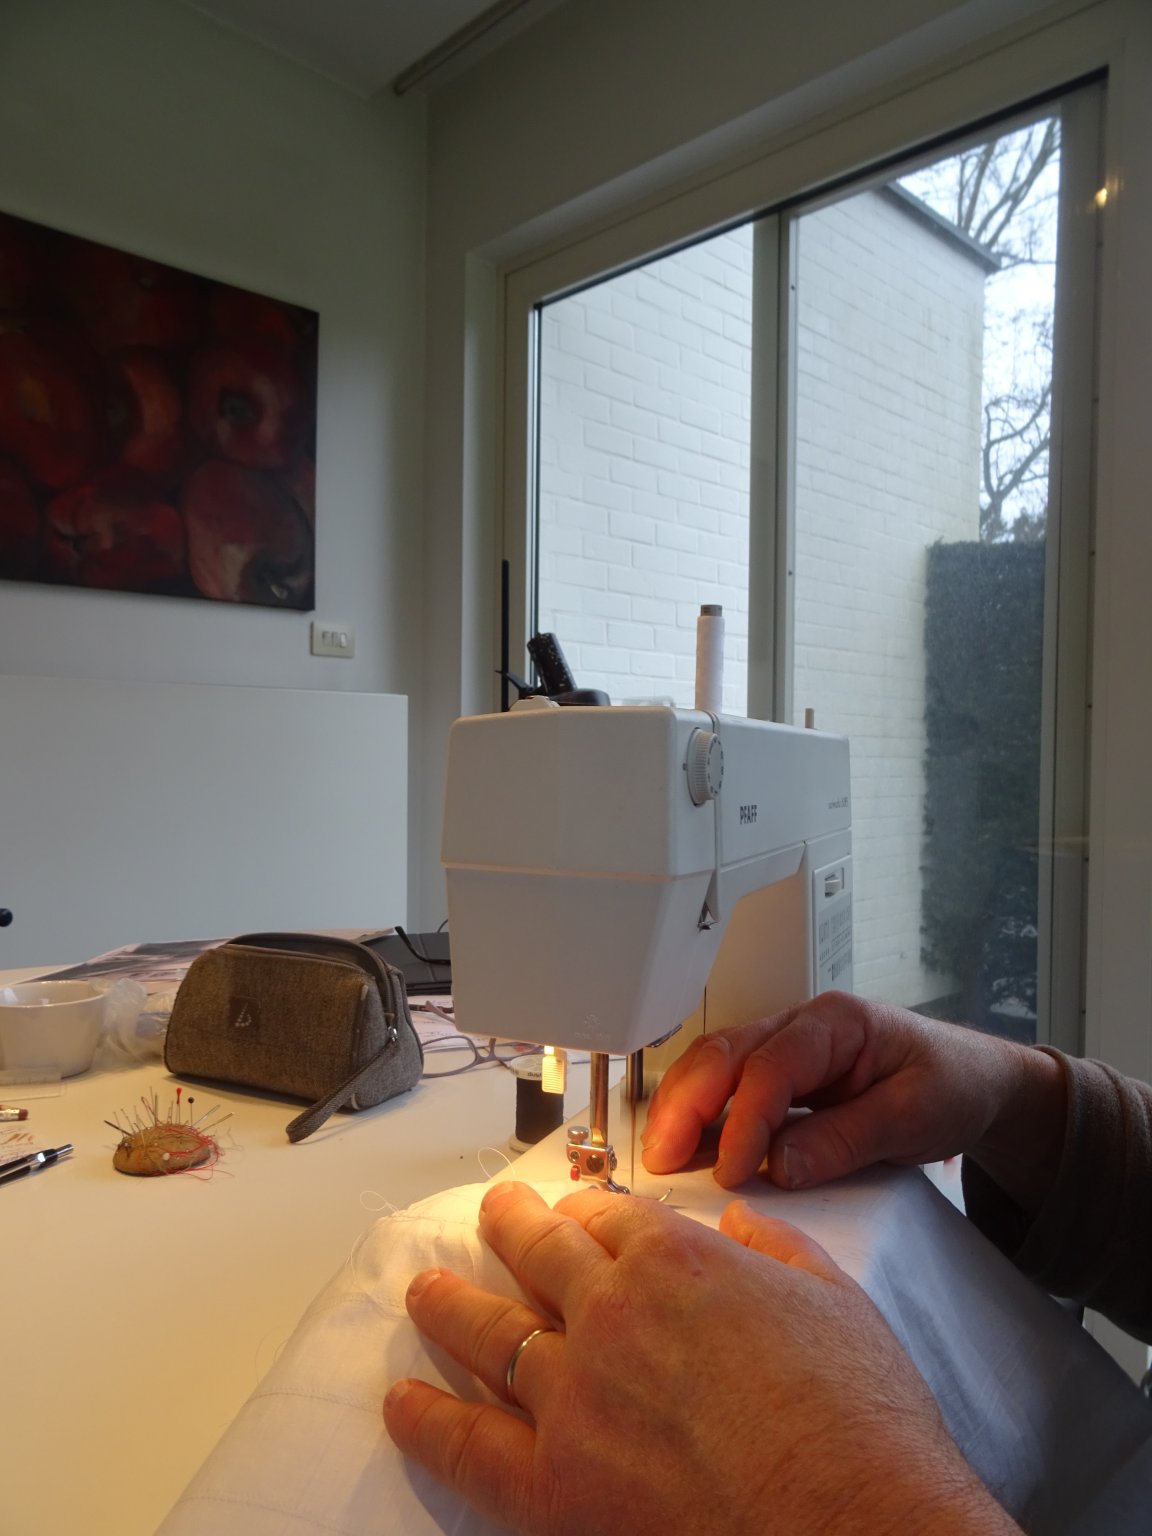
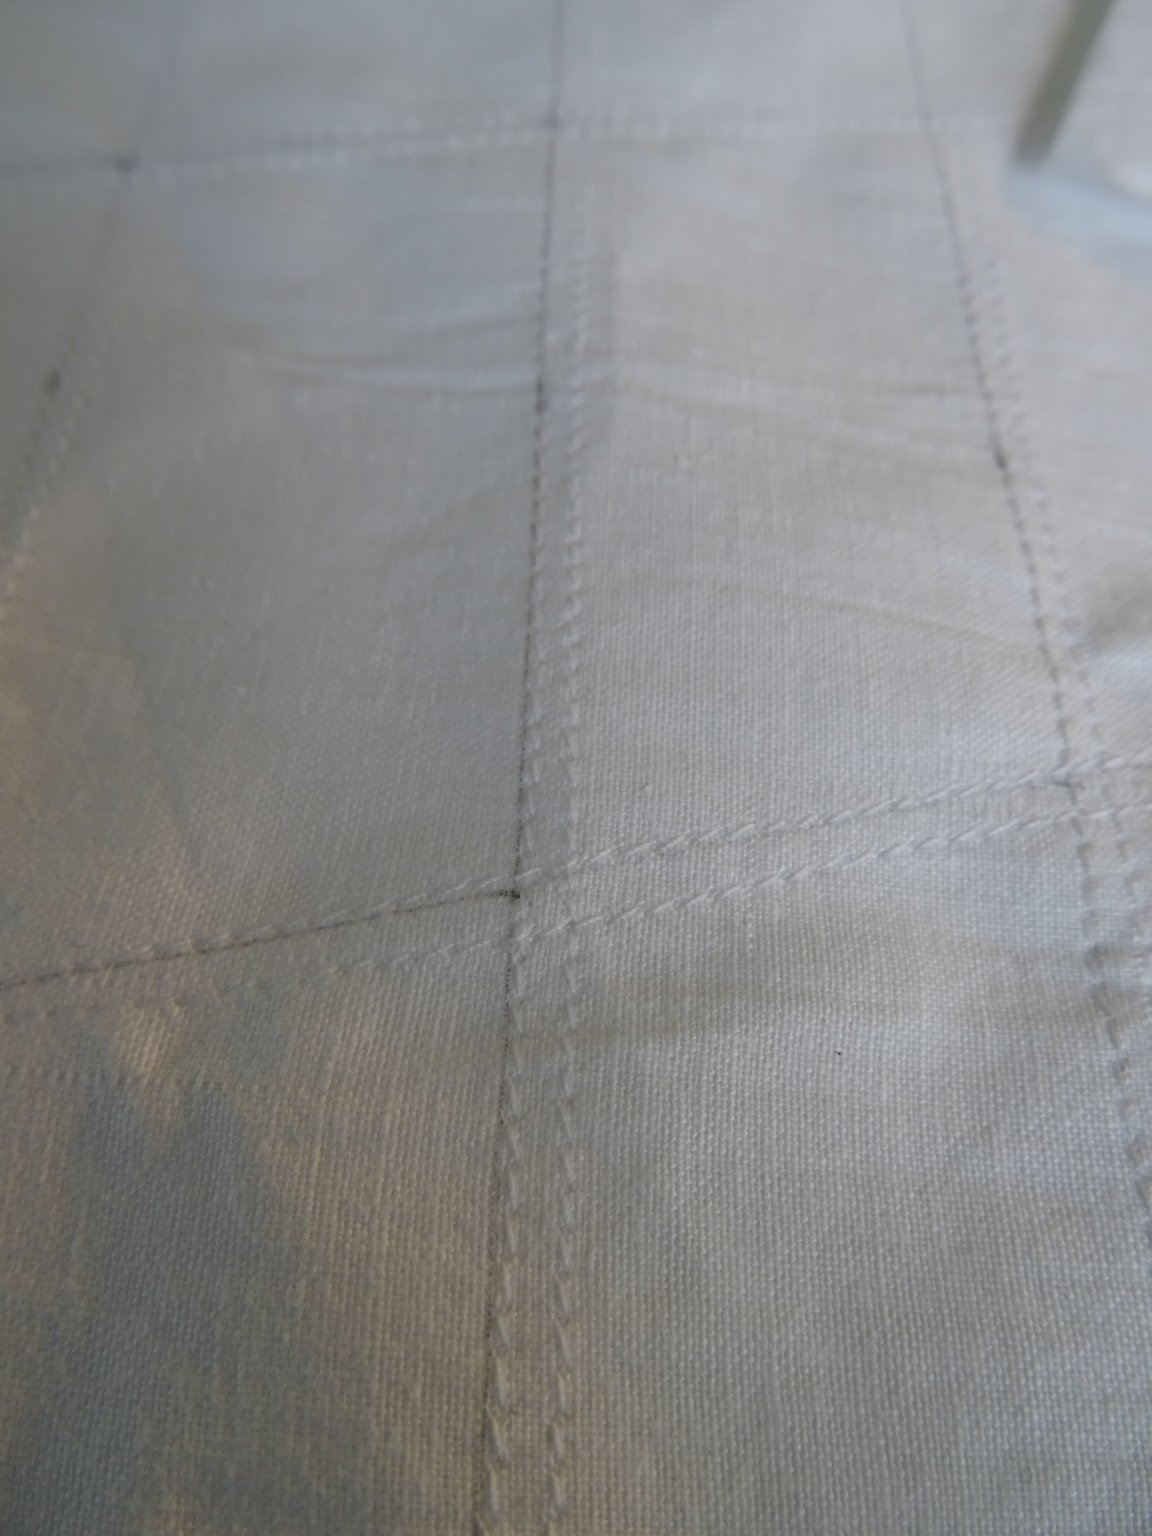
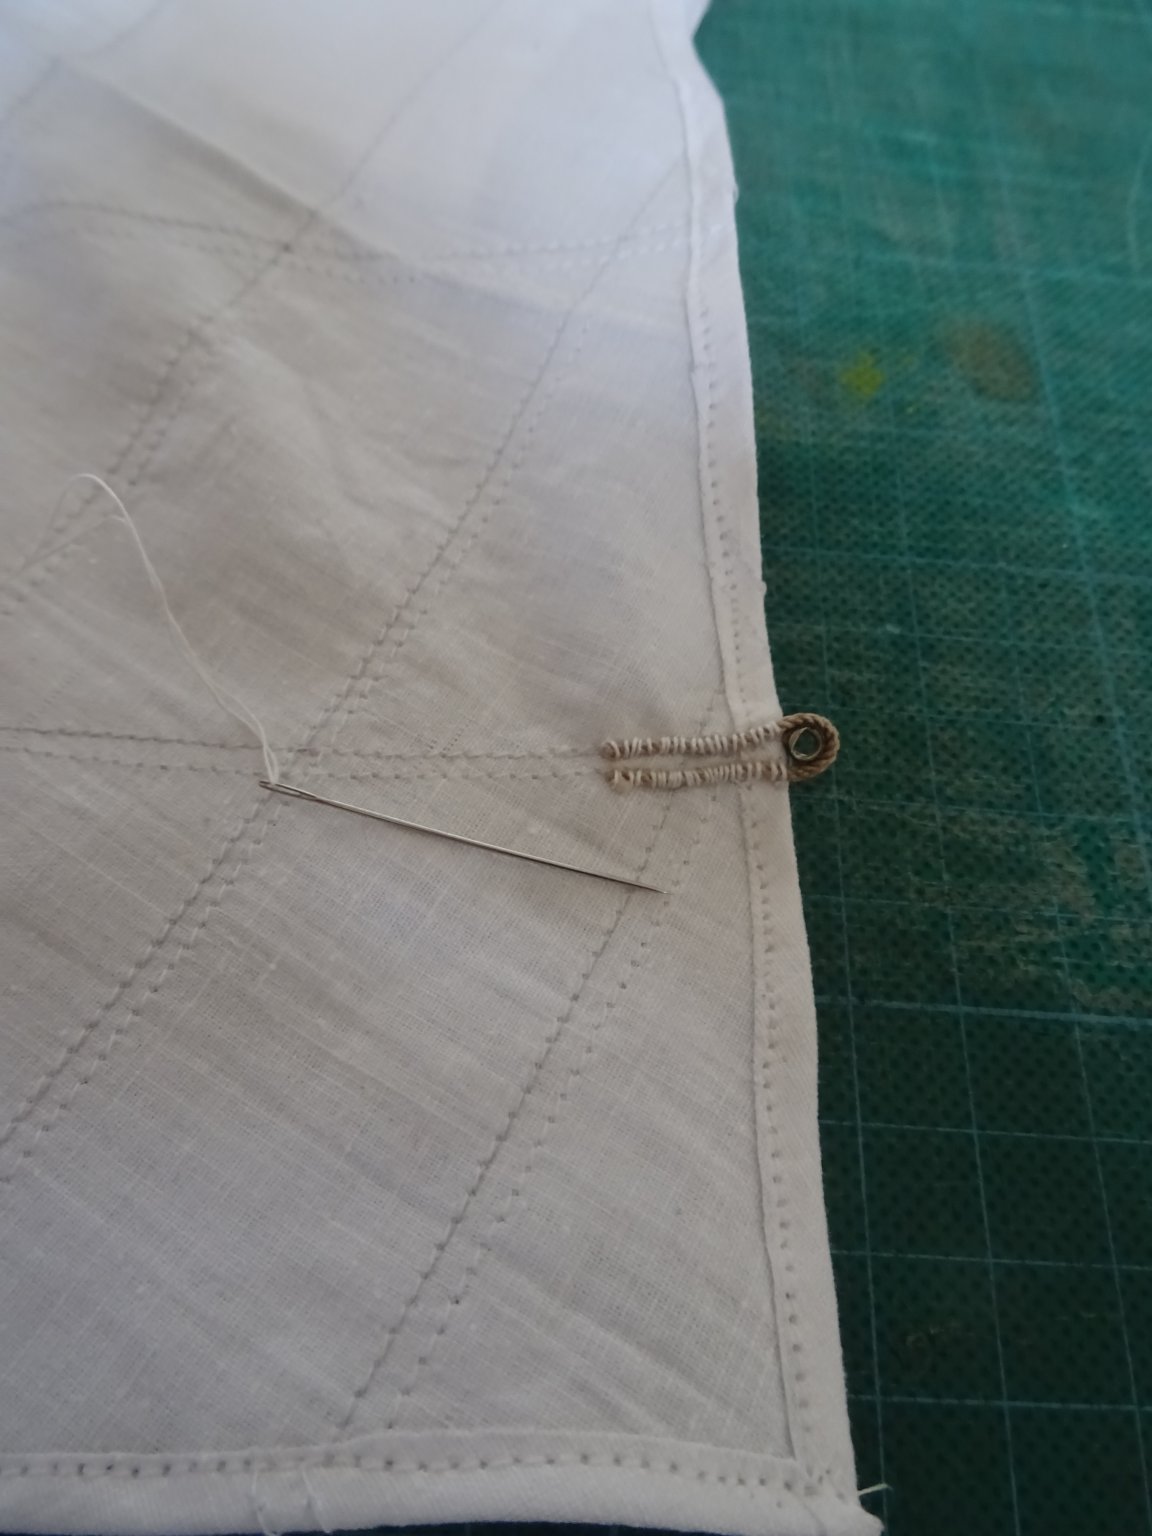
Making the mail sail starts just like the jib with drawing the shape on the canvas (in this case poplin coton). I add 4mm at each side to make a border hem. Before cutting, I brush some textile glue over the borders to prevent them of fraying out. The sail is cut with a border of 4mm at each side. I start to stitch parallel lines to show the different lanes of the sail. I use the small sewing machine on which my wife learned machine sewing some thirty years ago. Now she has another machine which is much to complicate for me to use. After the lanes are stitched, I pin the edges of the sail. Then they can be stitched as well. The main sail is stitched. I sew now the reefing cringles with a thimble in them. The main sail has two reefing levels. The four cringles are done, now it is time to sew the leach around the whole sail. Thank you for the likes Thank you to follow Till next week!


- 209 replies
-
- 11
-

-
Giampiero, I join the followers. Lavoro meraviglioso finora!
-
Naparima by Kevin Kenny - FINISHED
G.L. replied to Kevin Kenny's topic in - Build logs for subjects built 1901 - Present Day
Nice work, Kevin. -
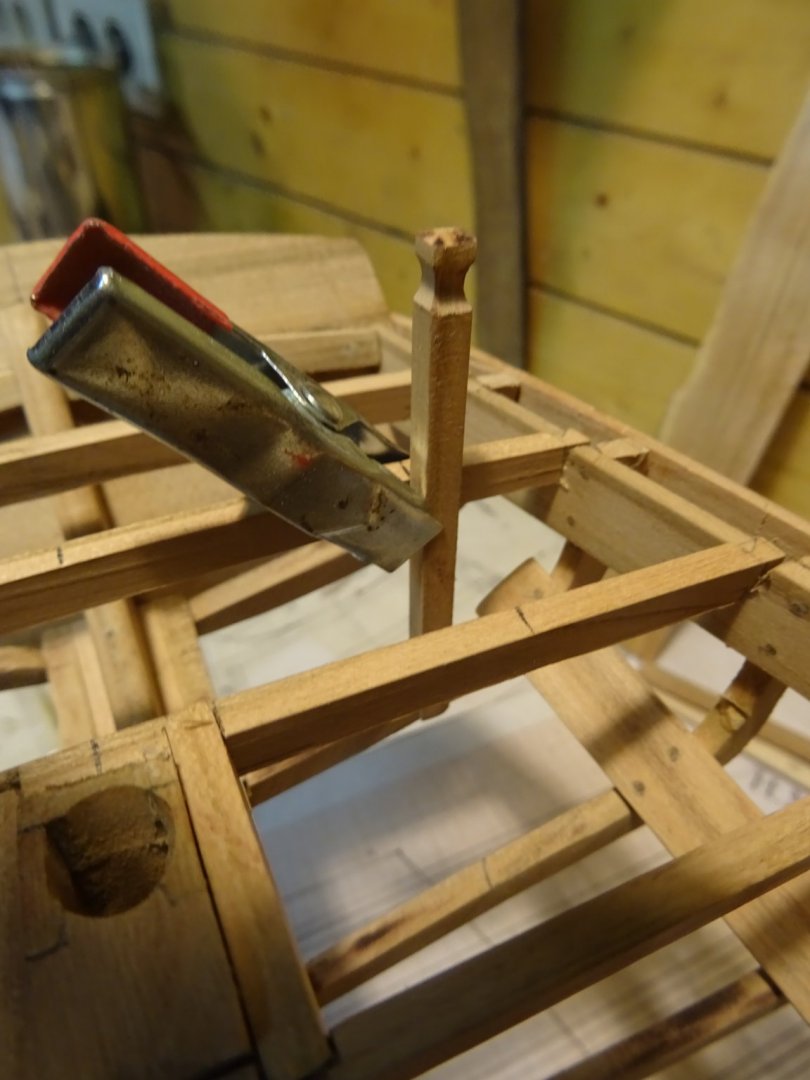
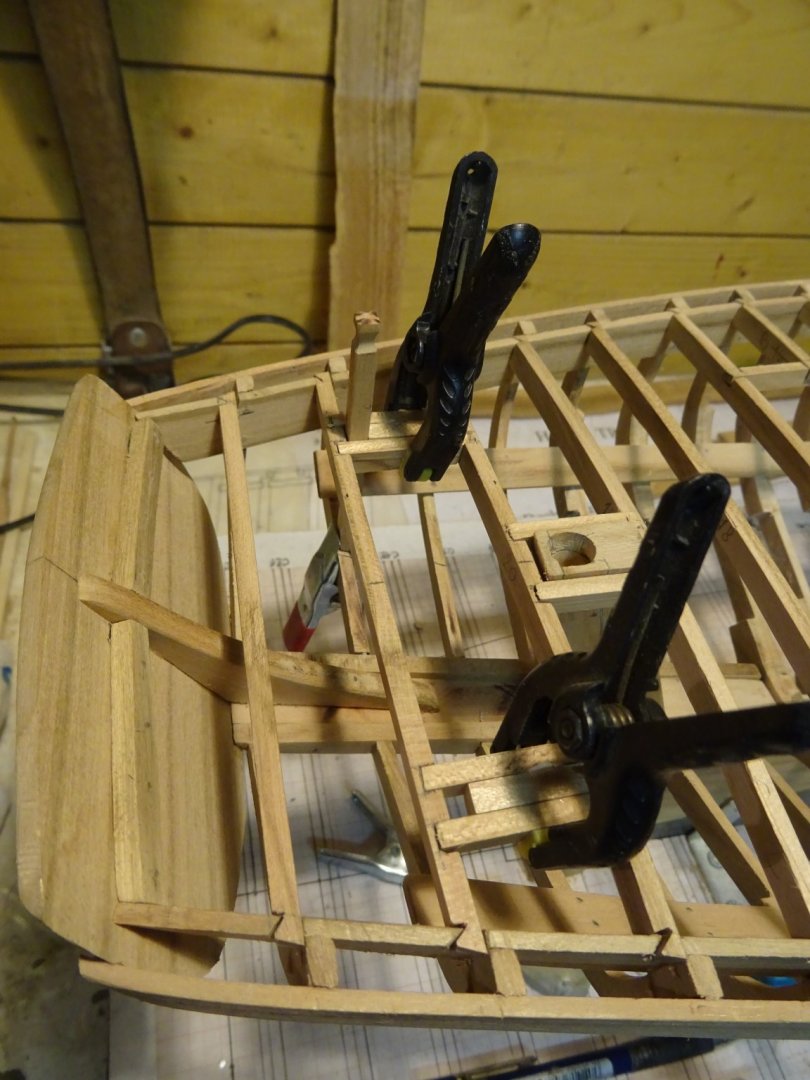
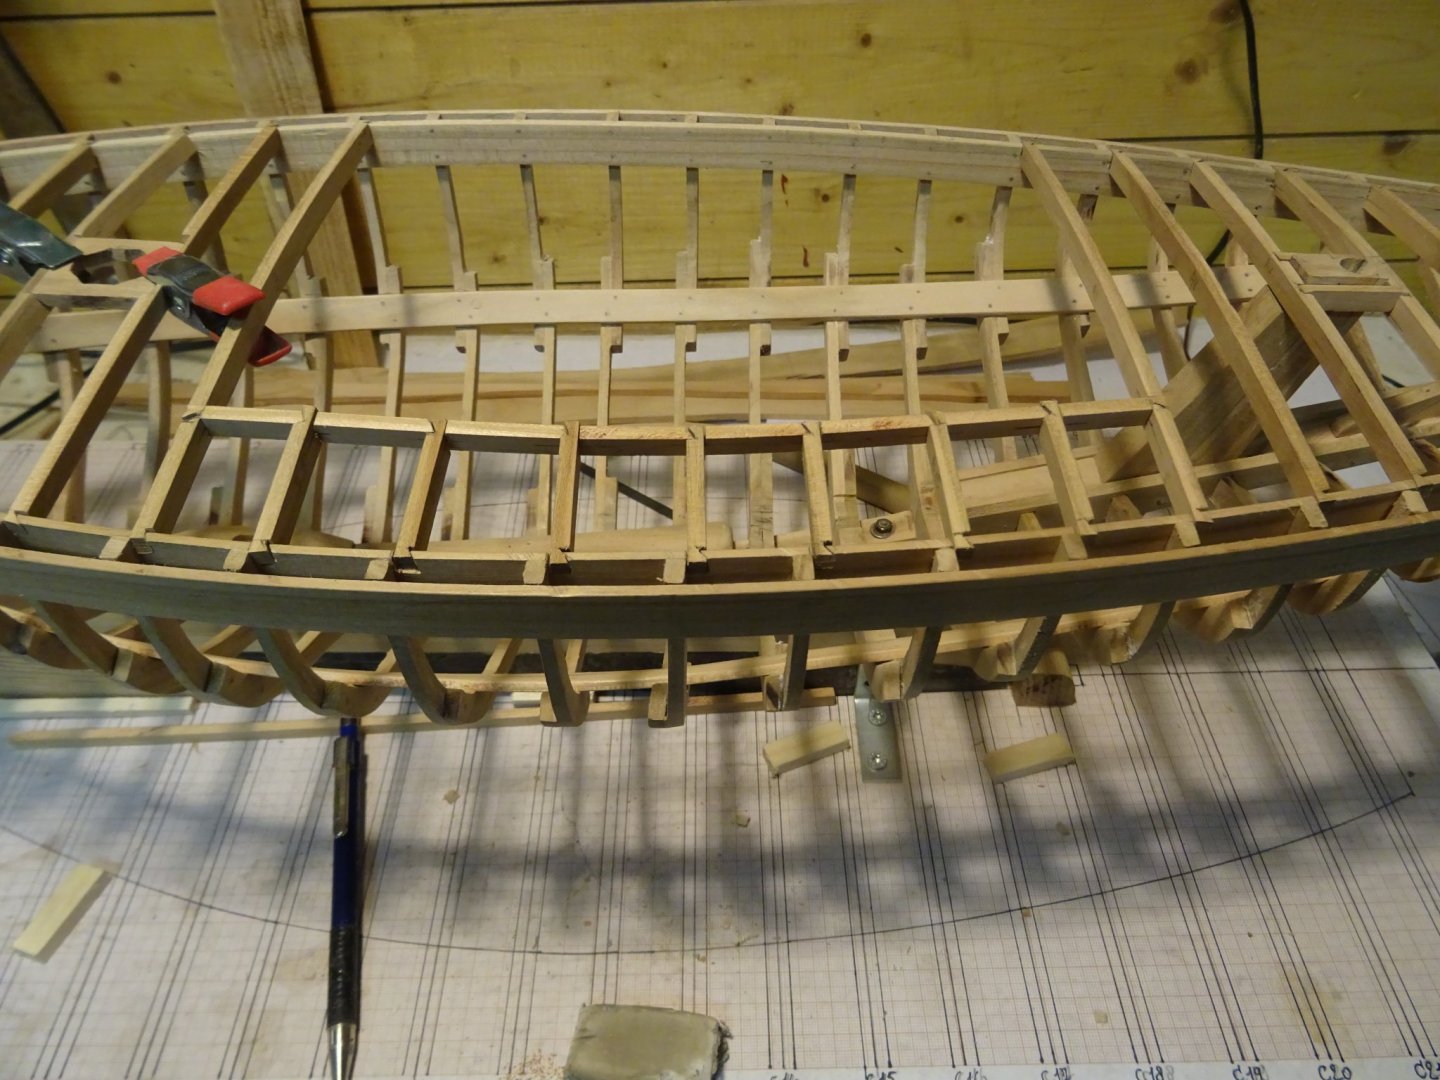
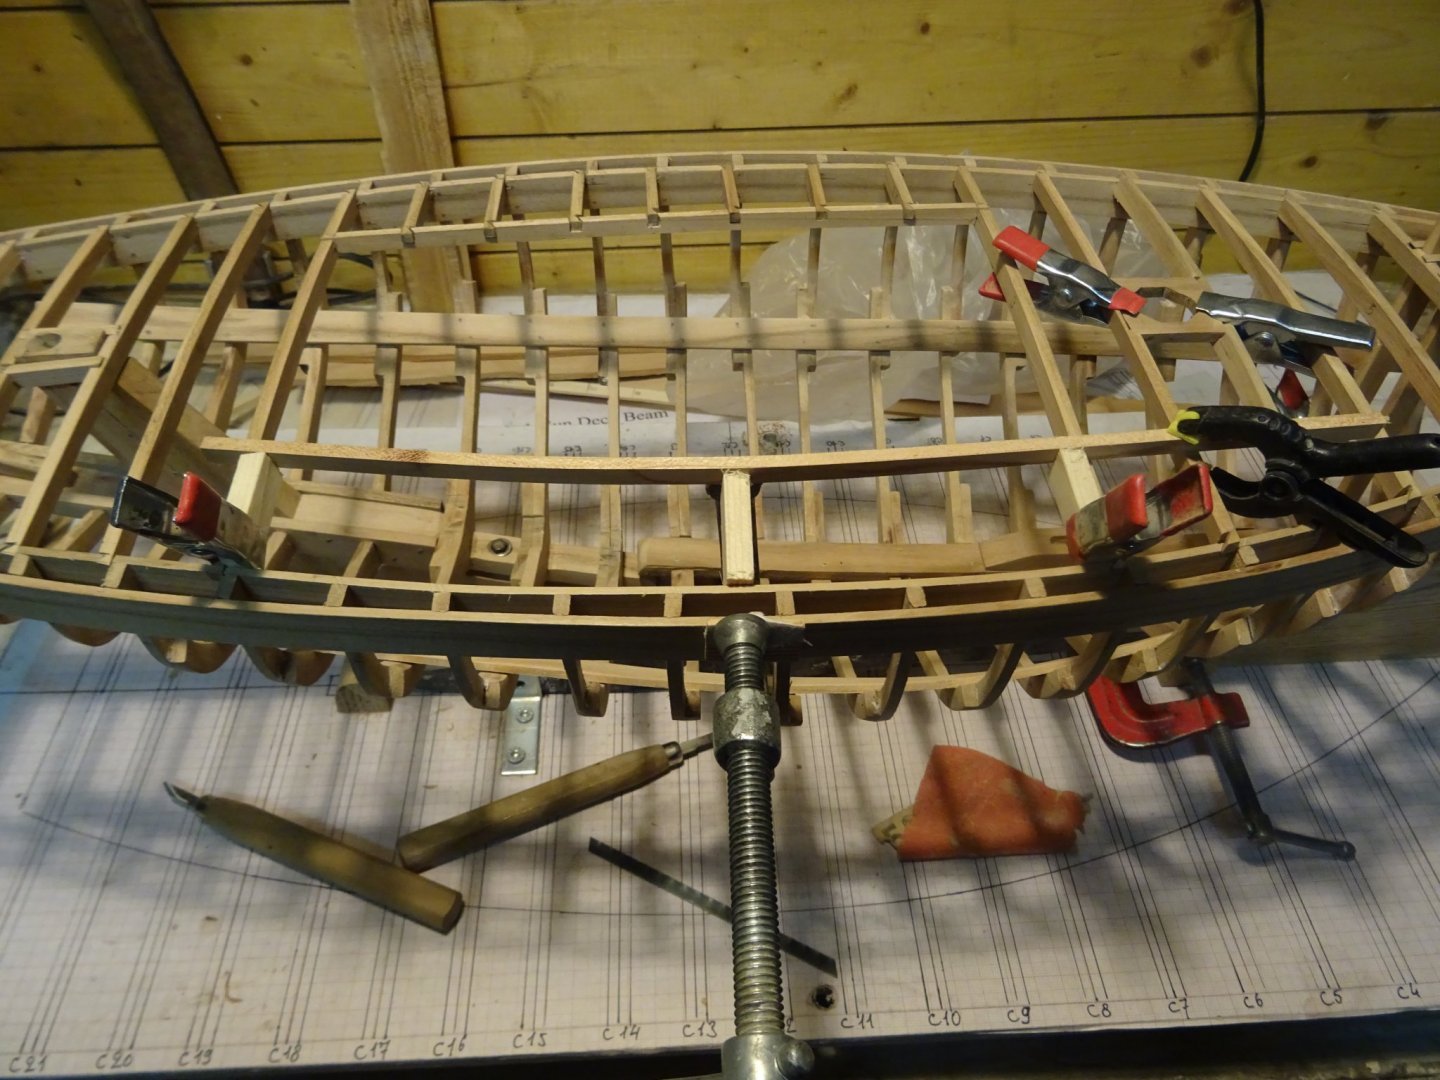
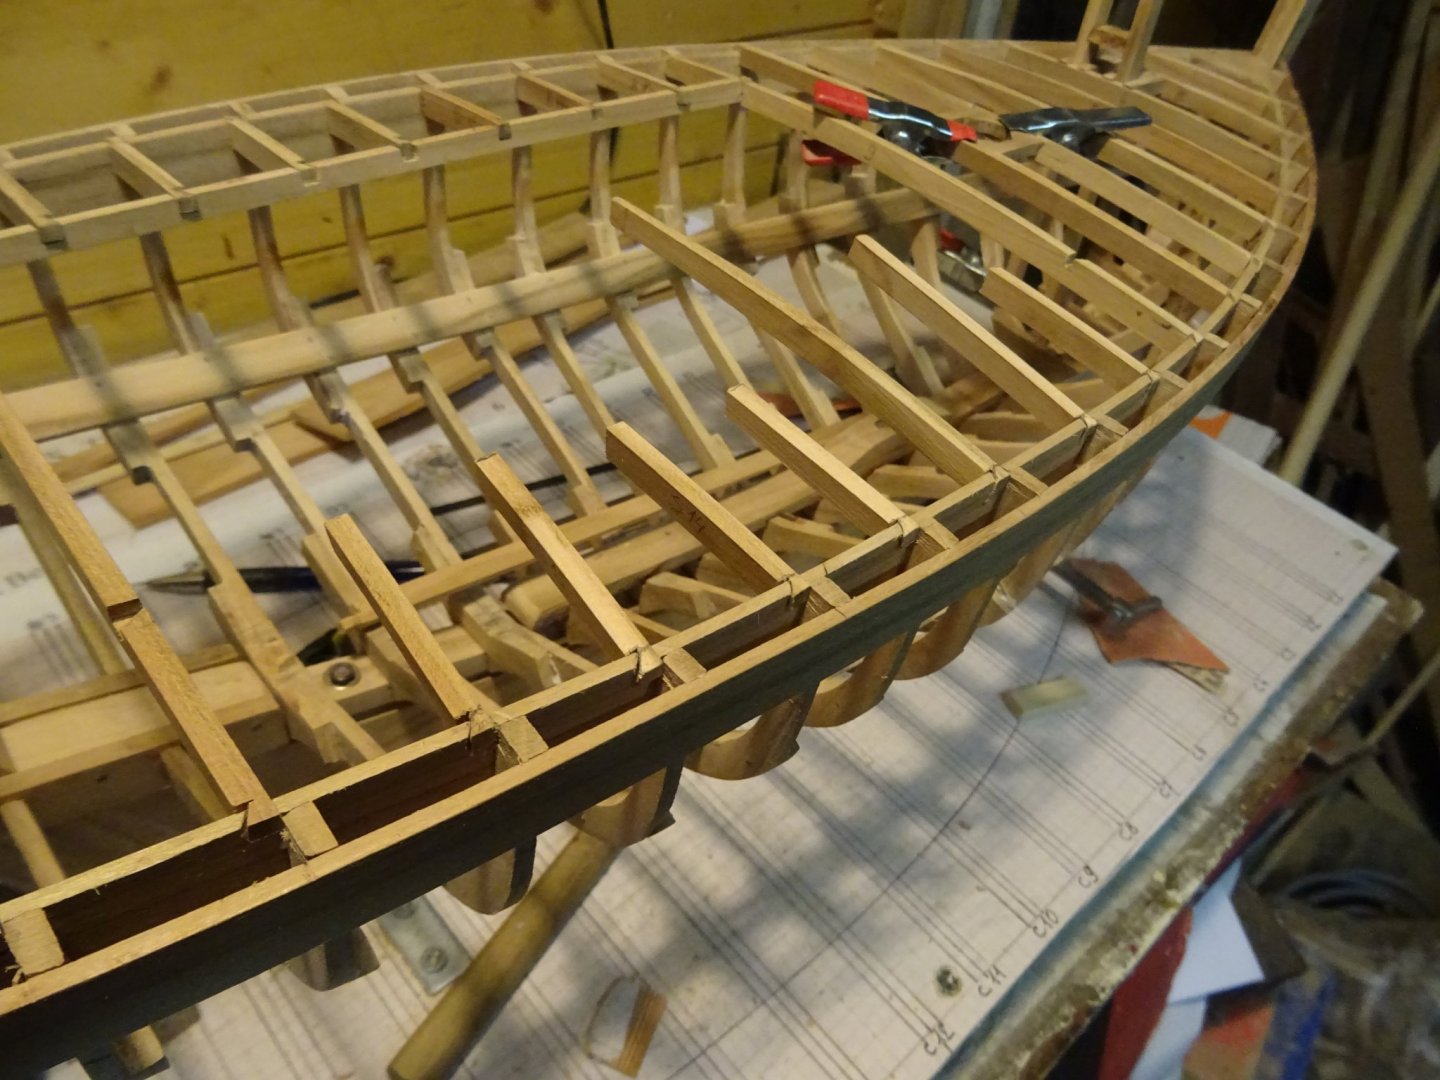
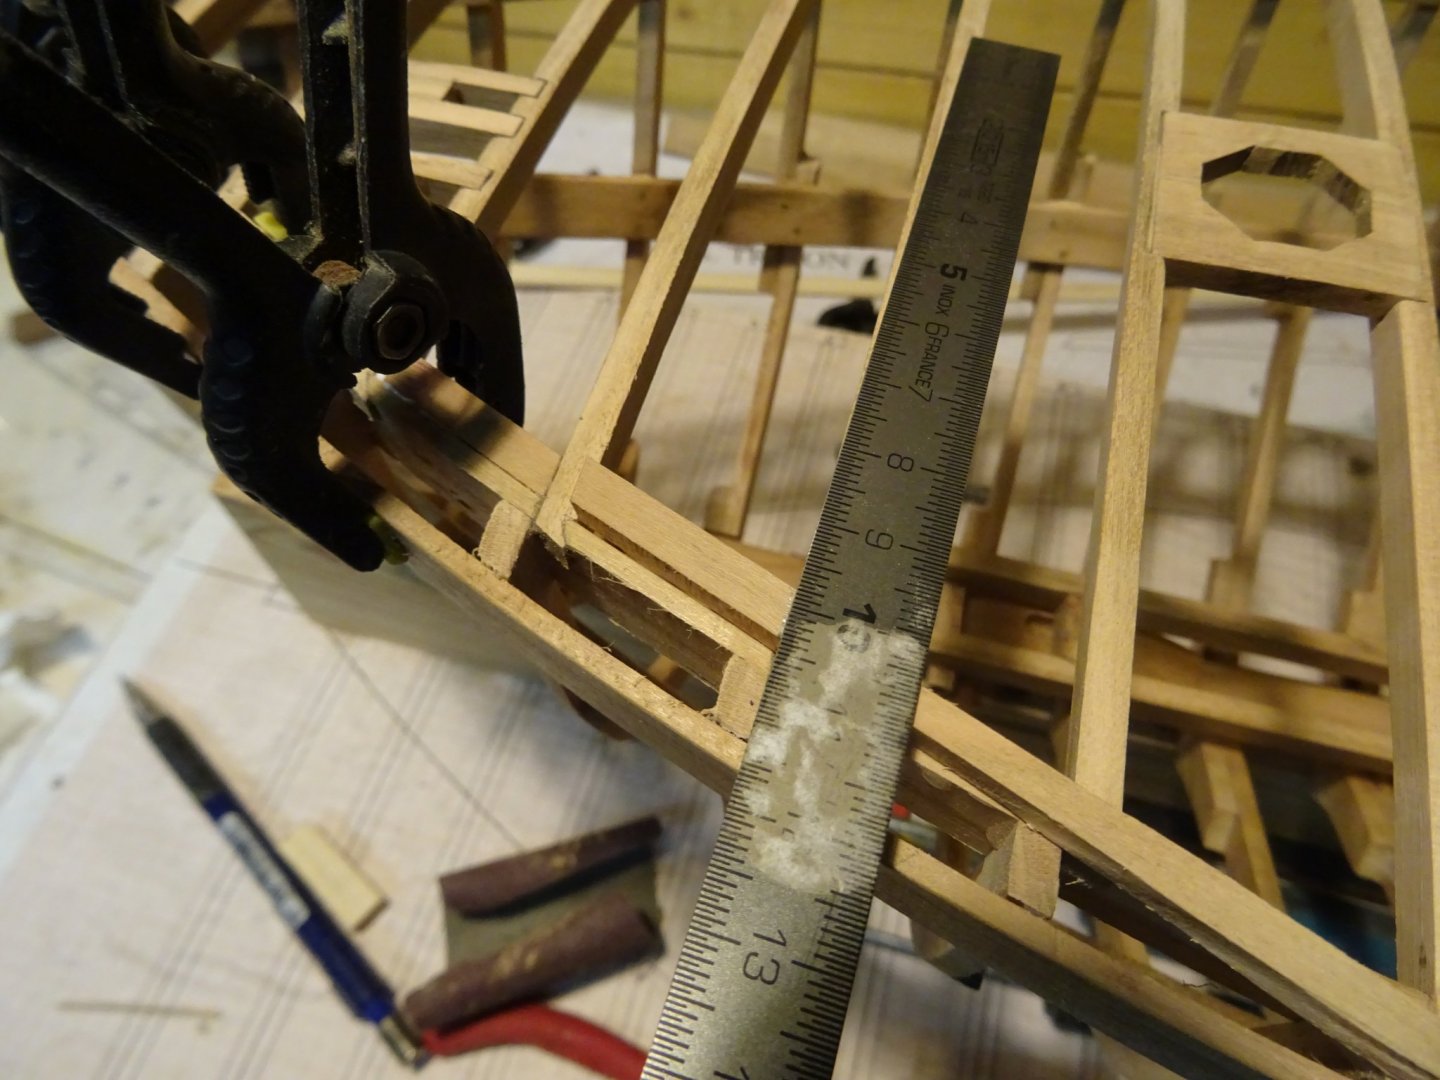
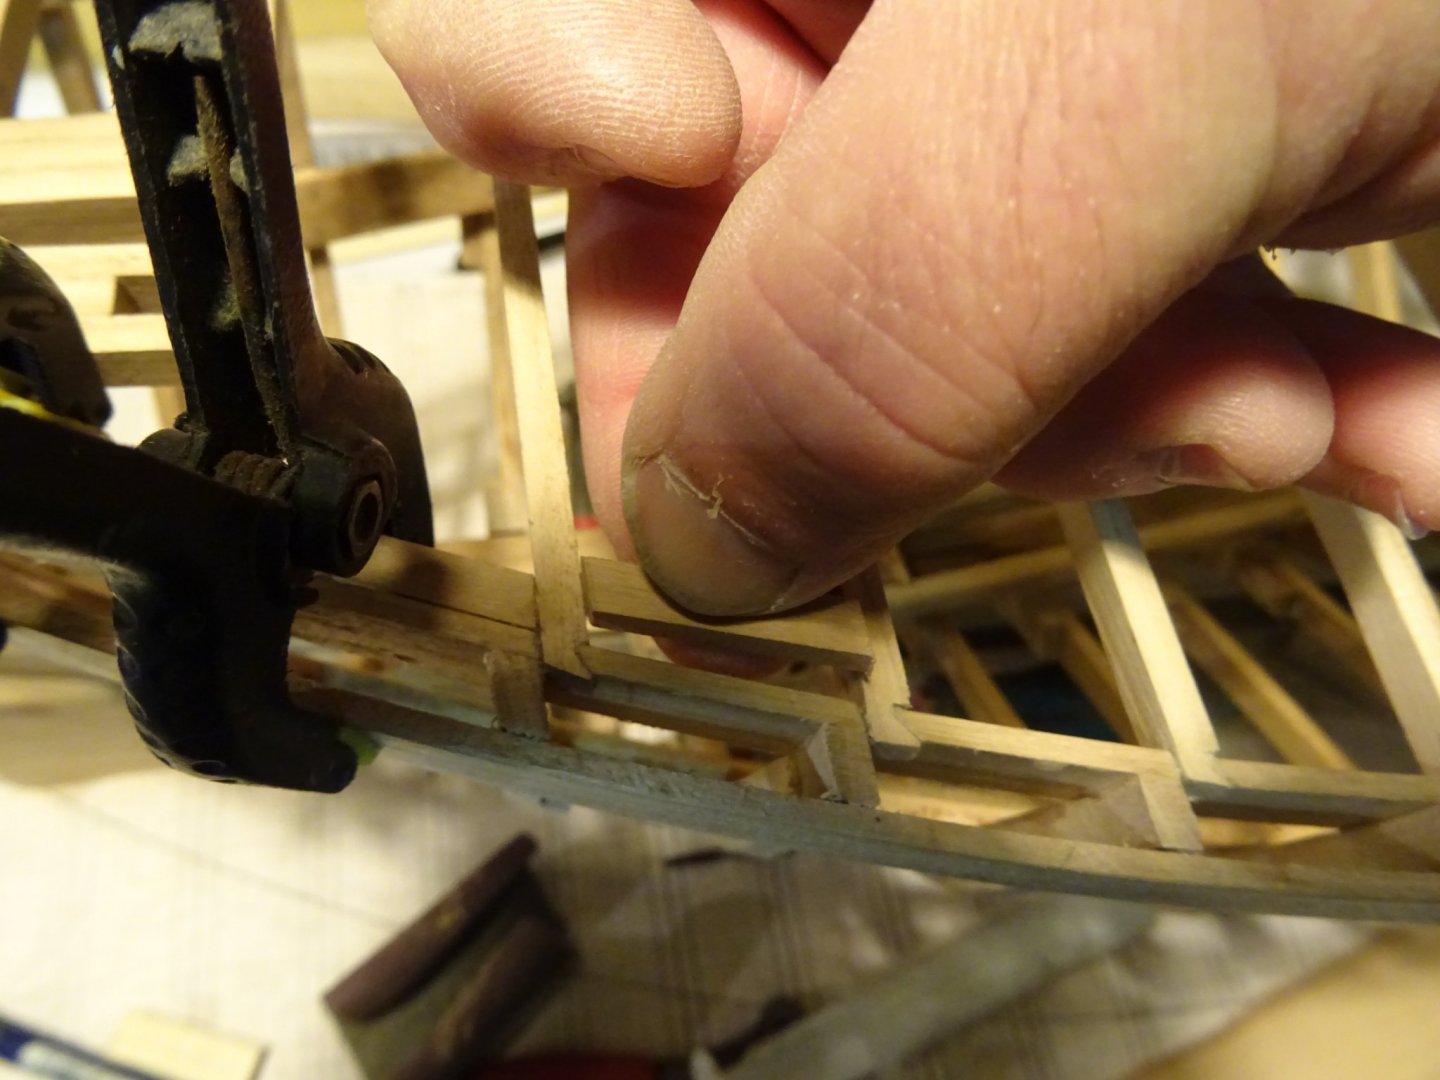
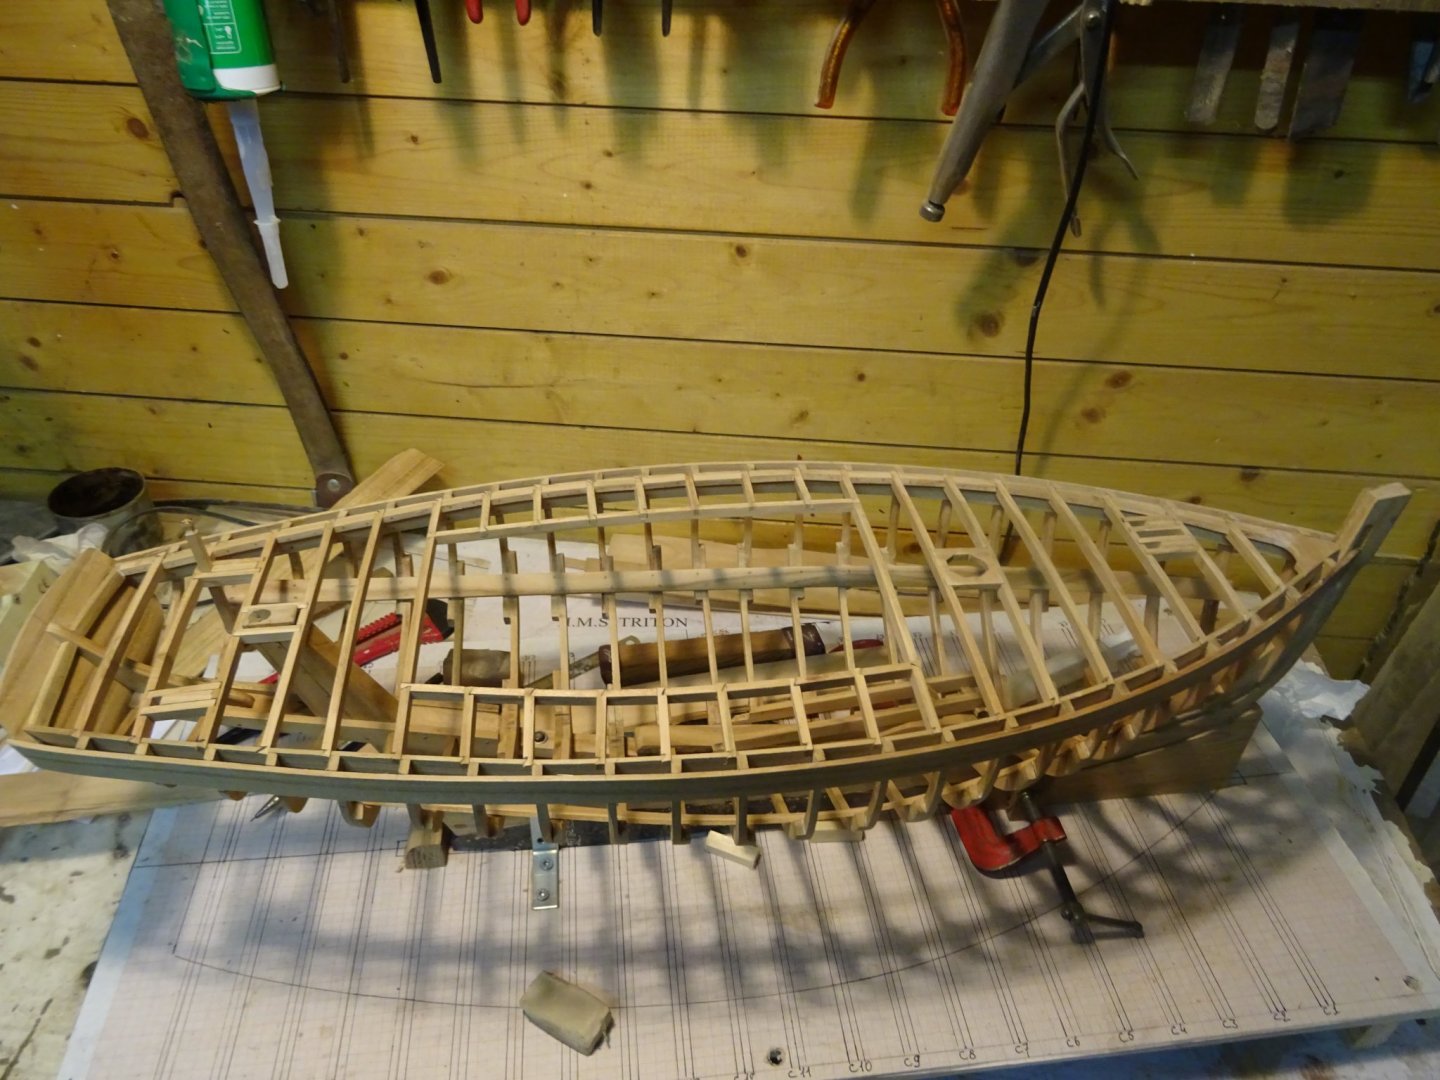
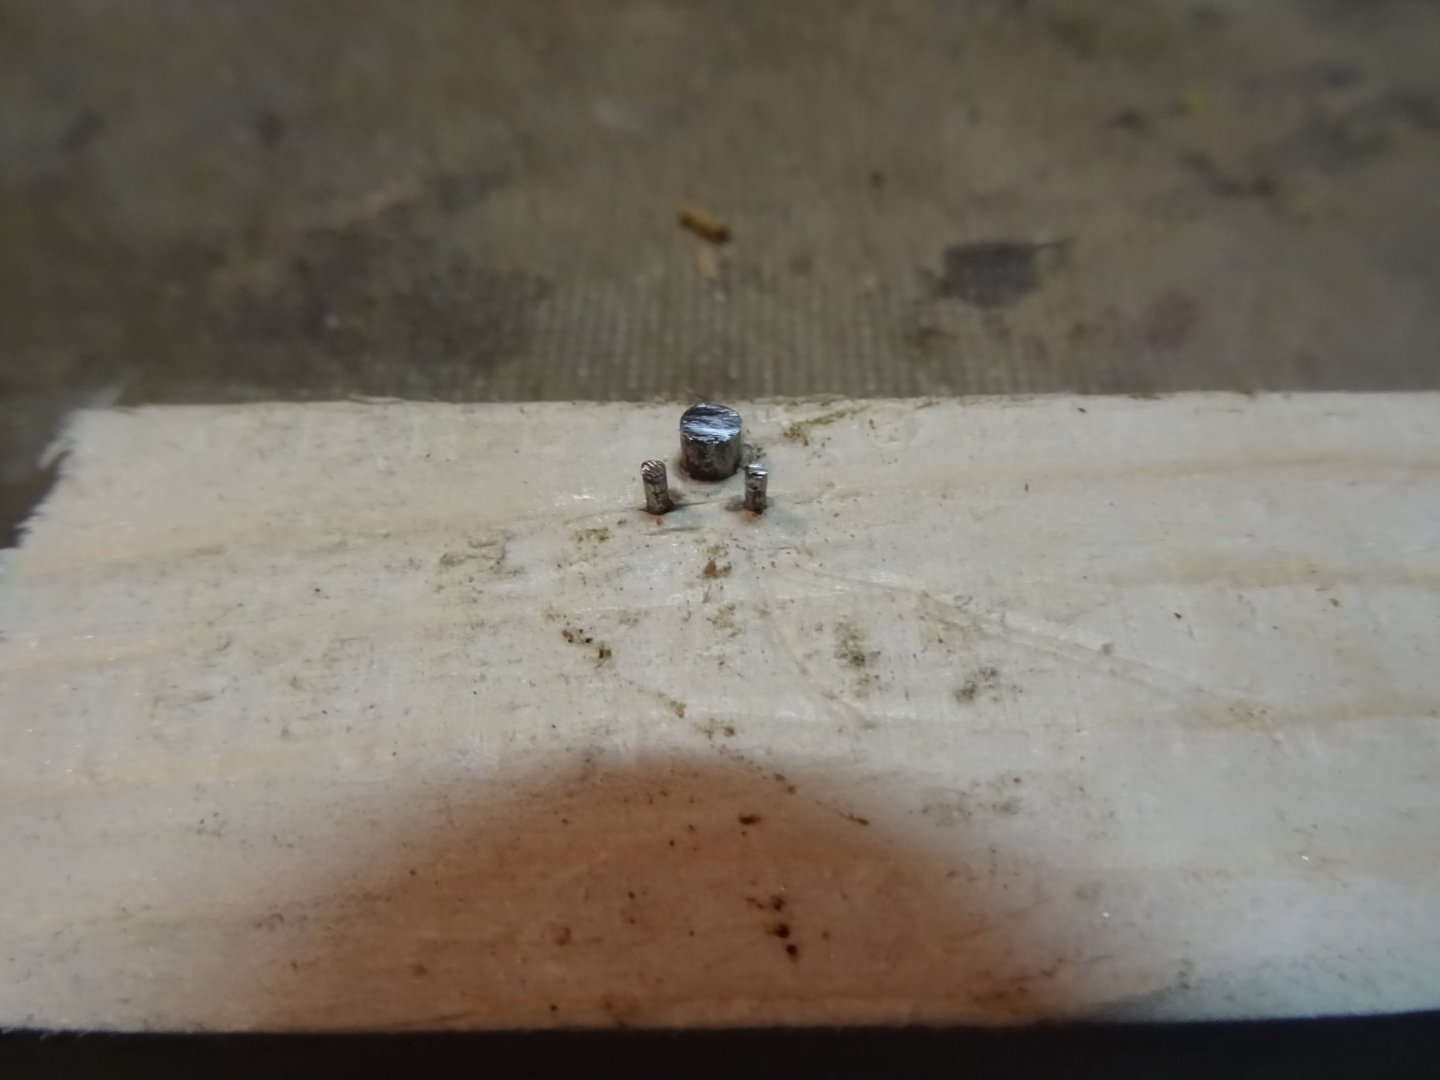
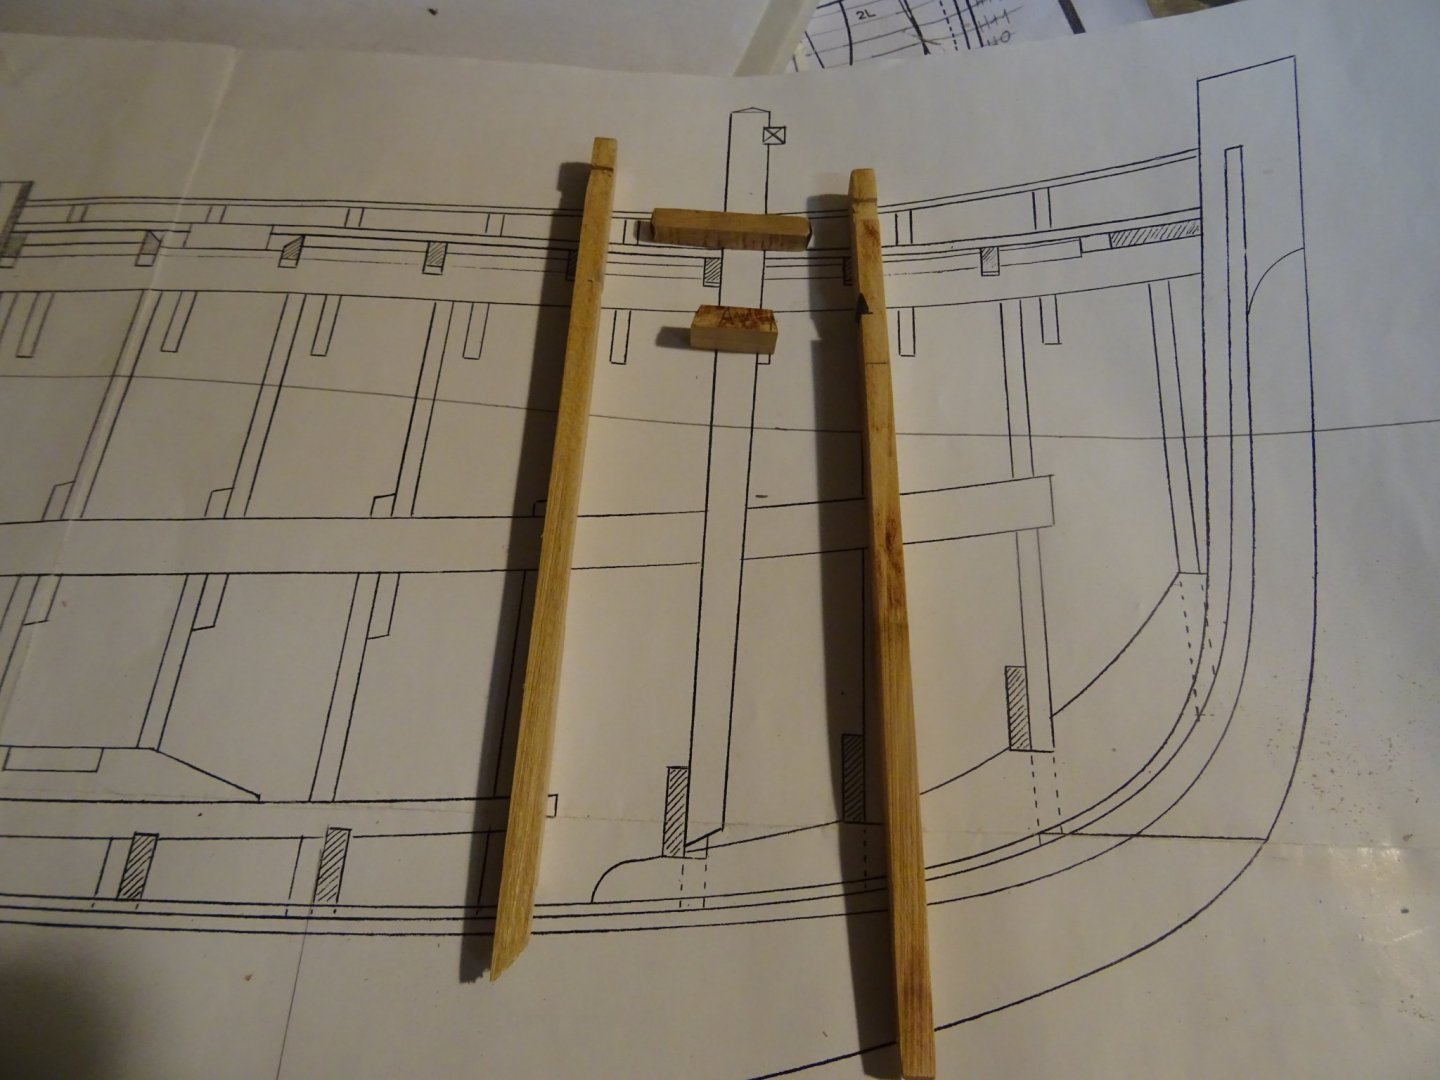
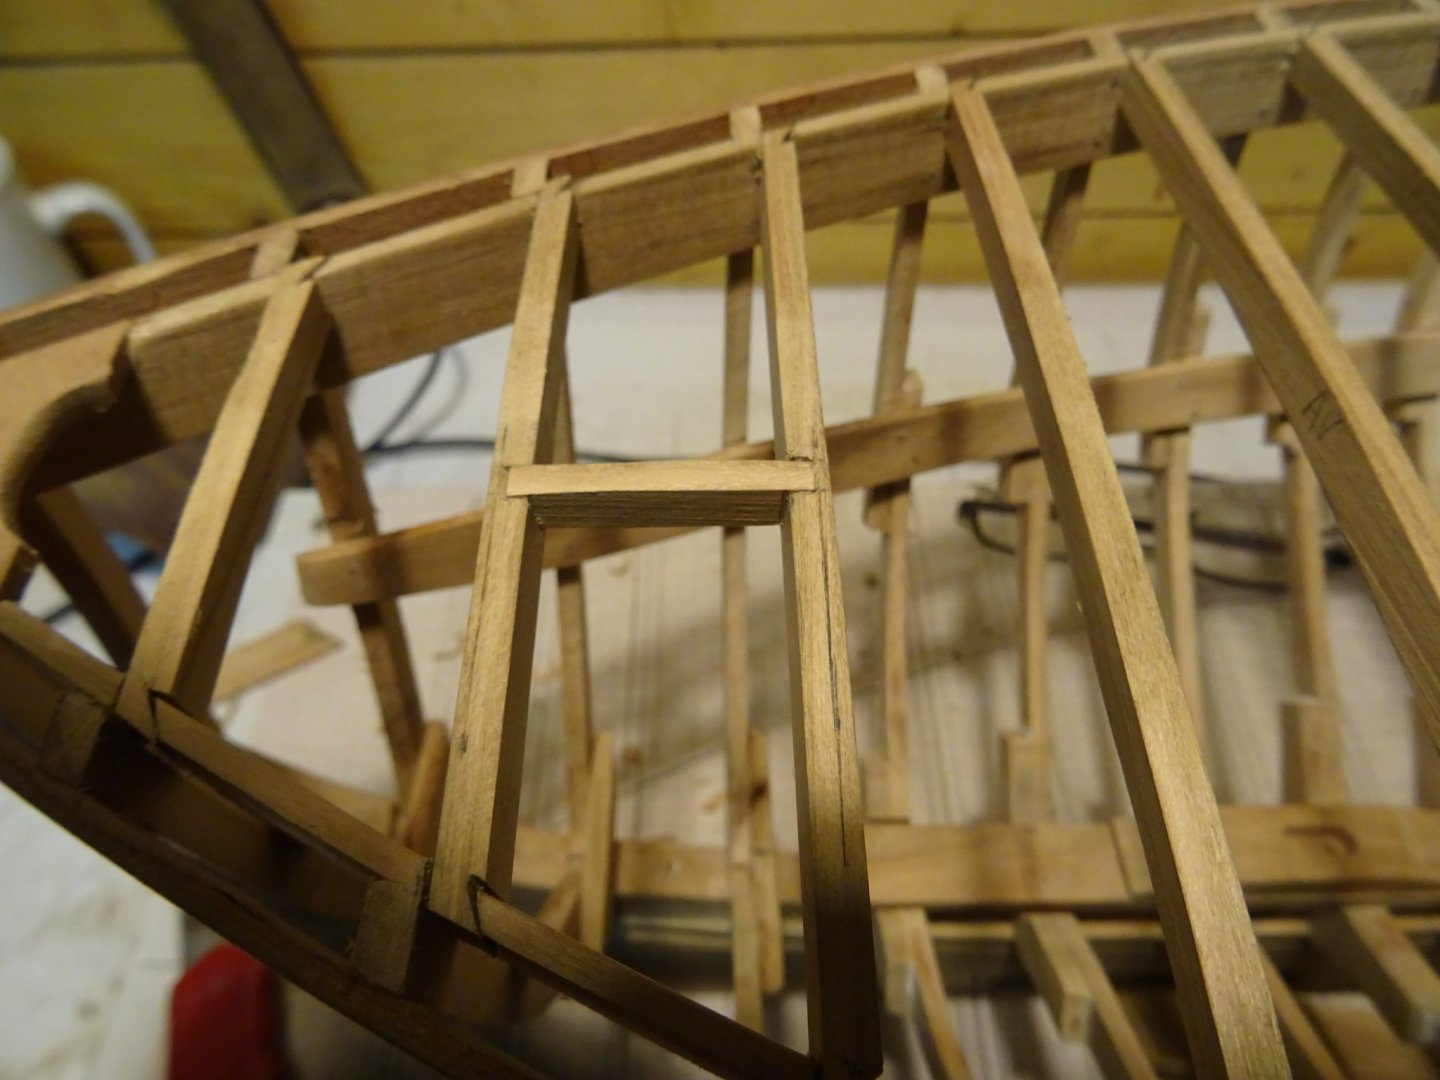
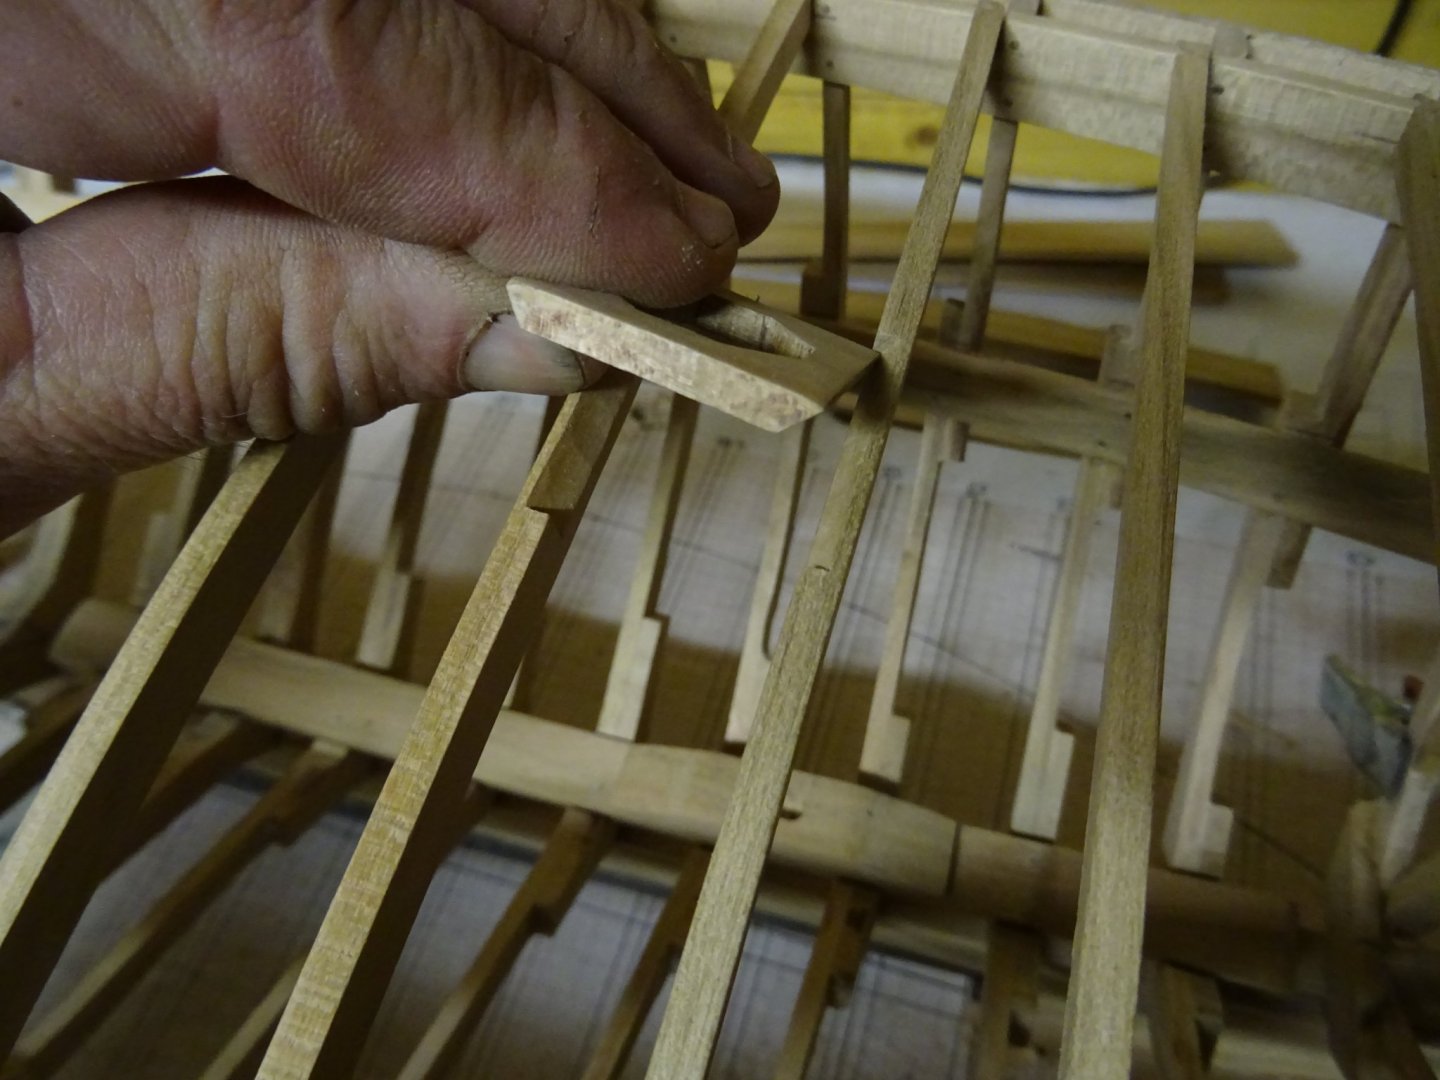
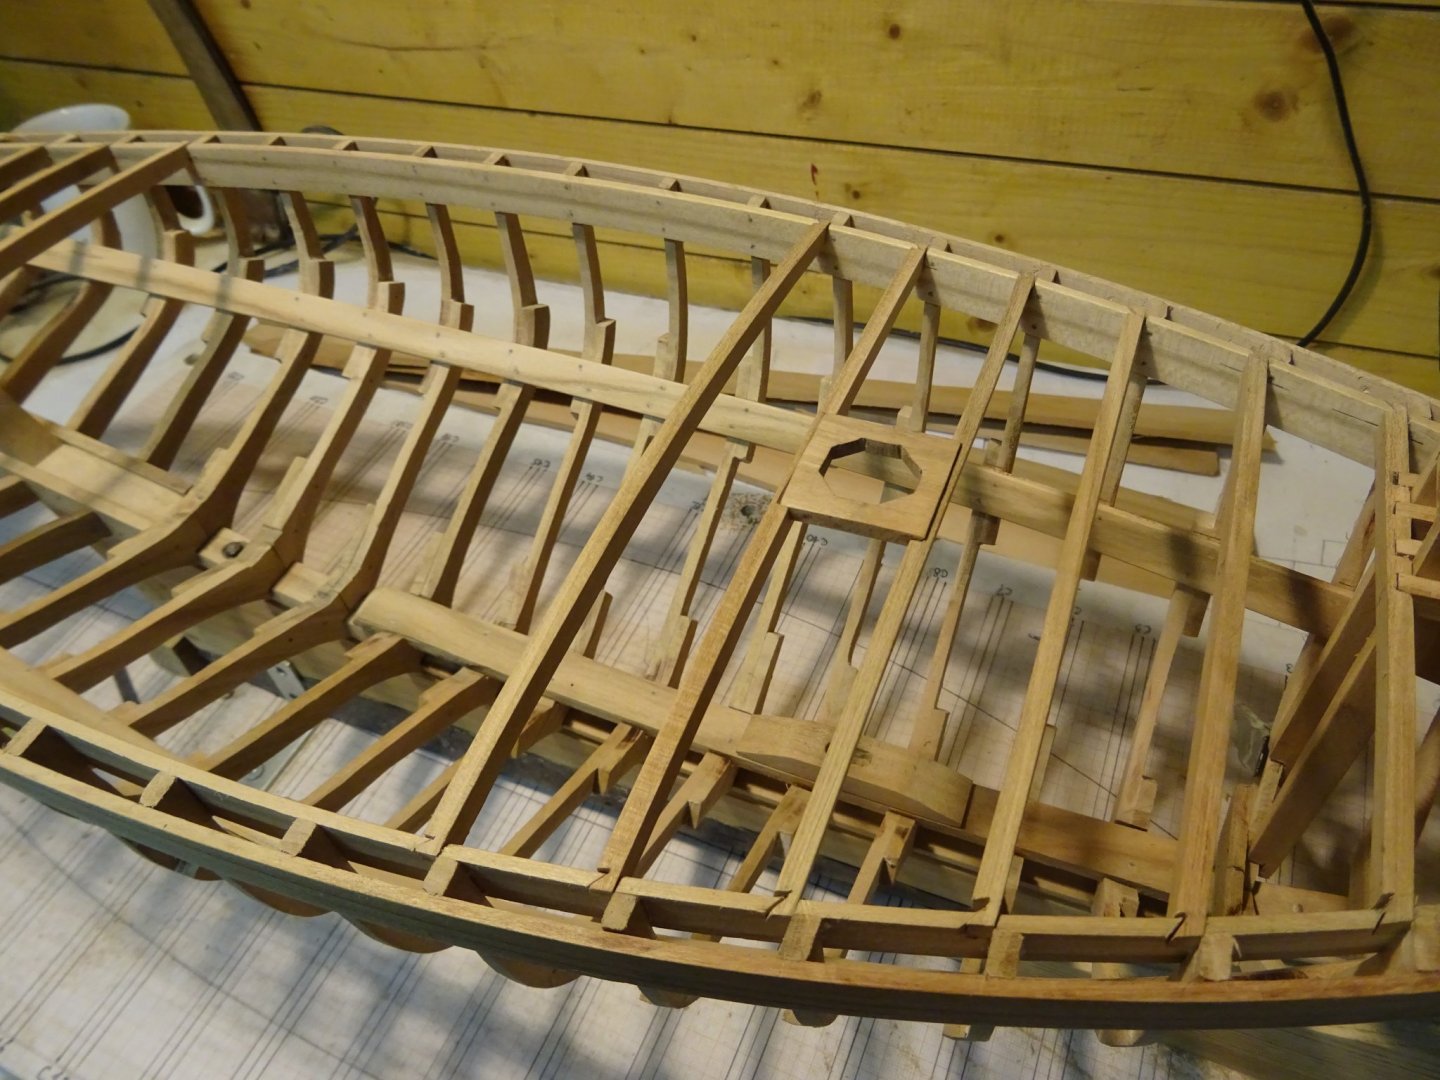
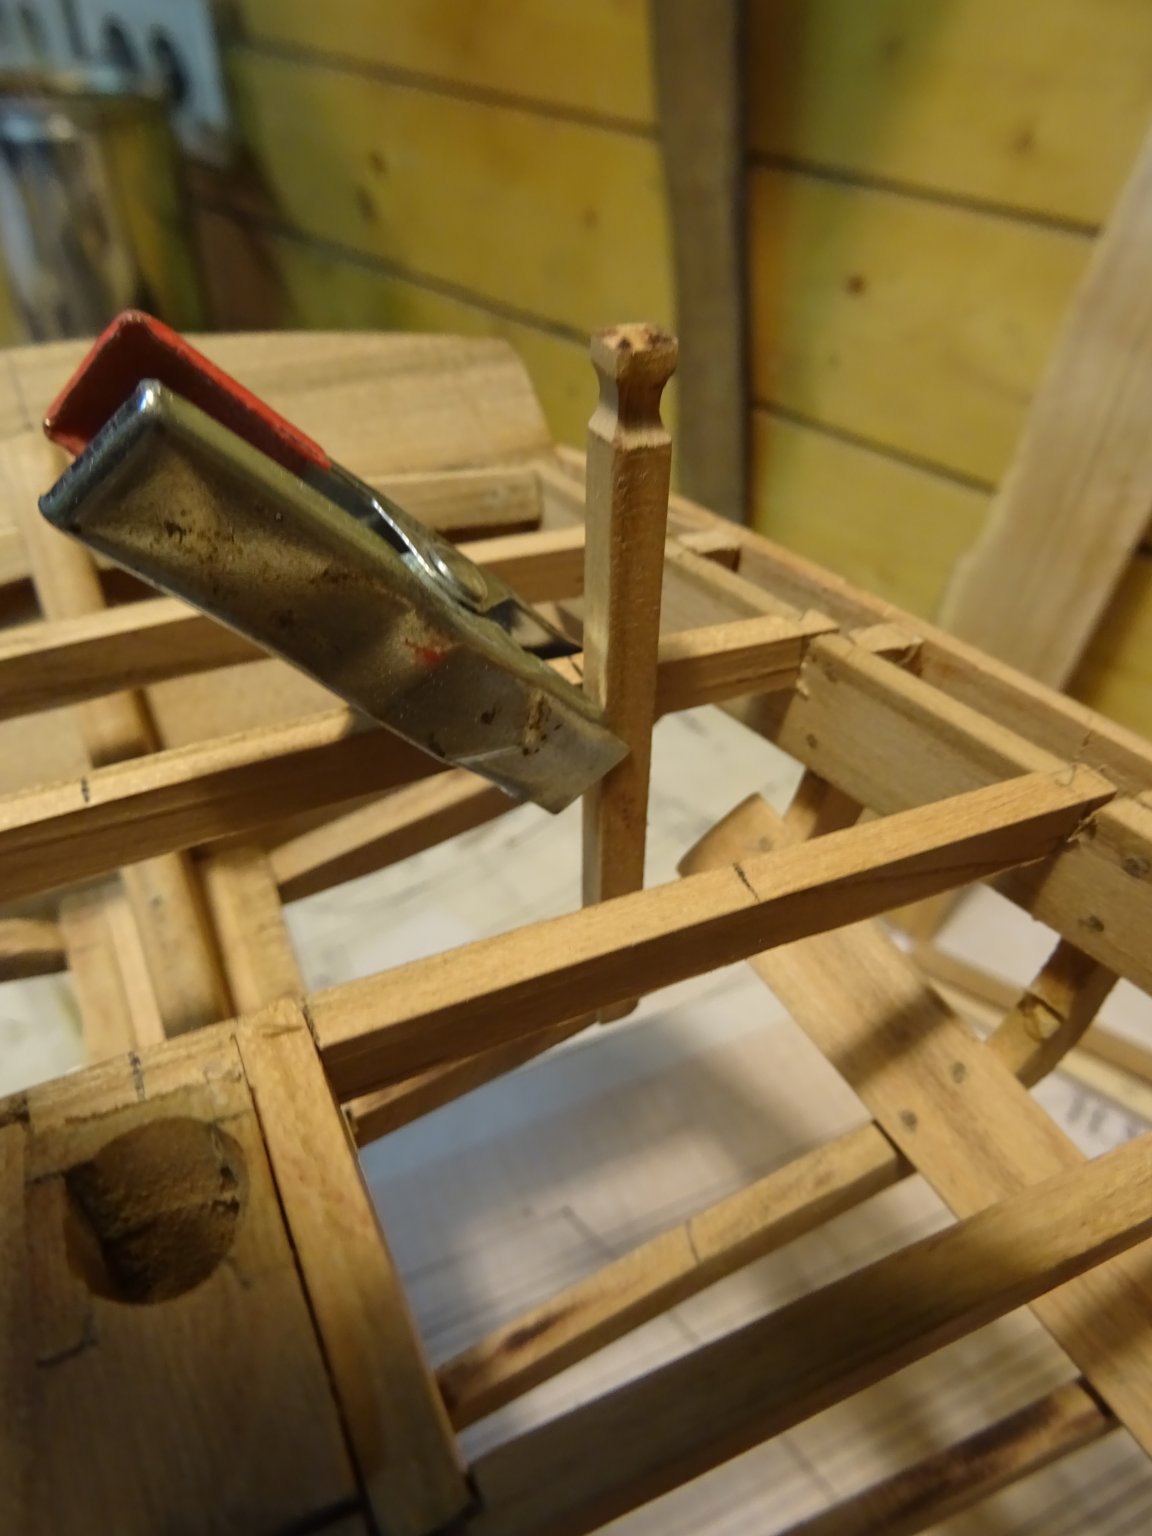
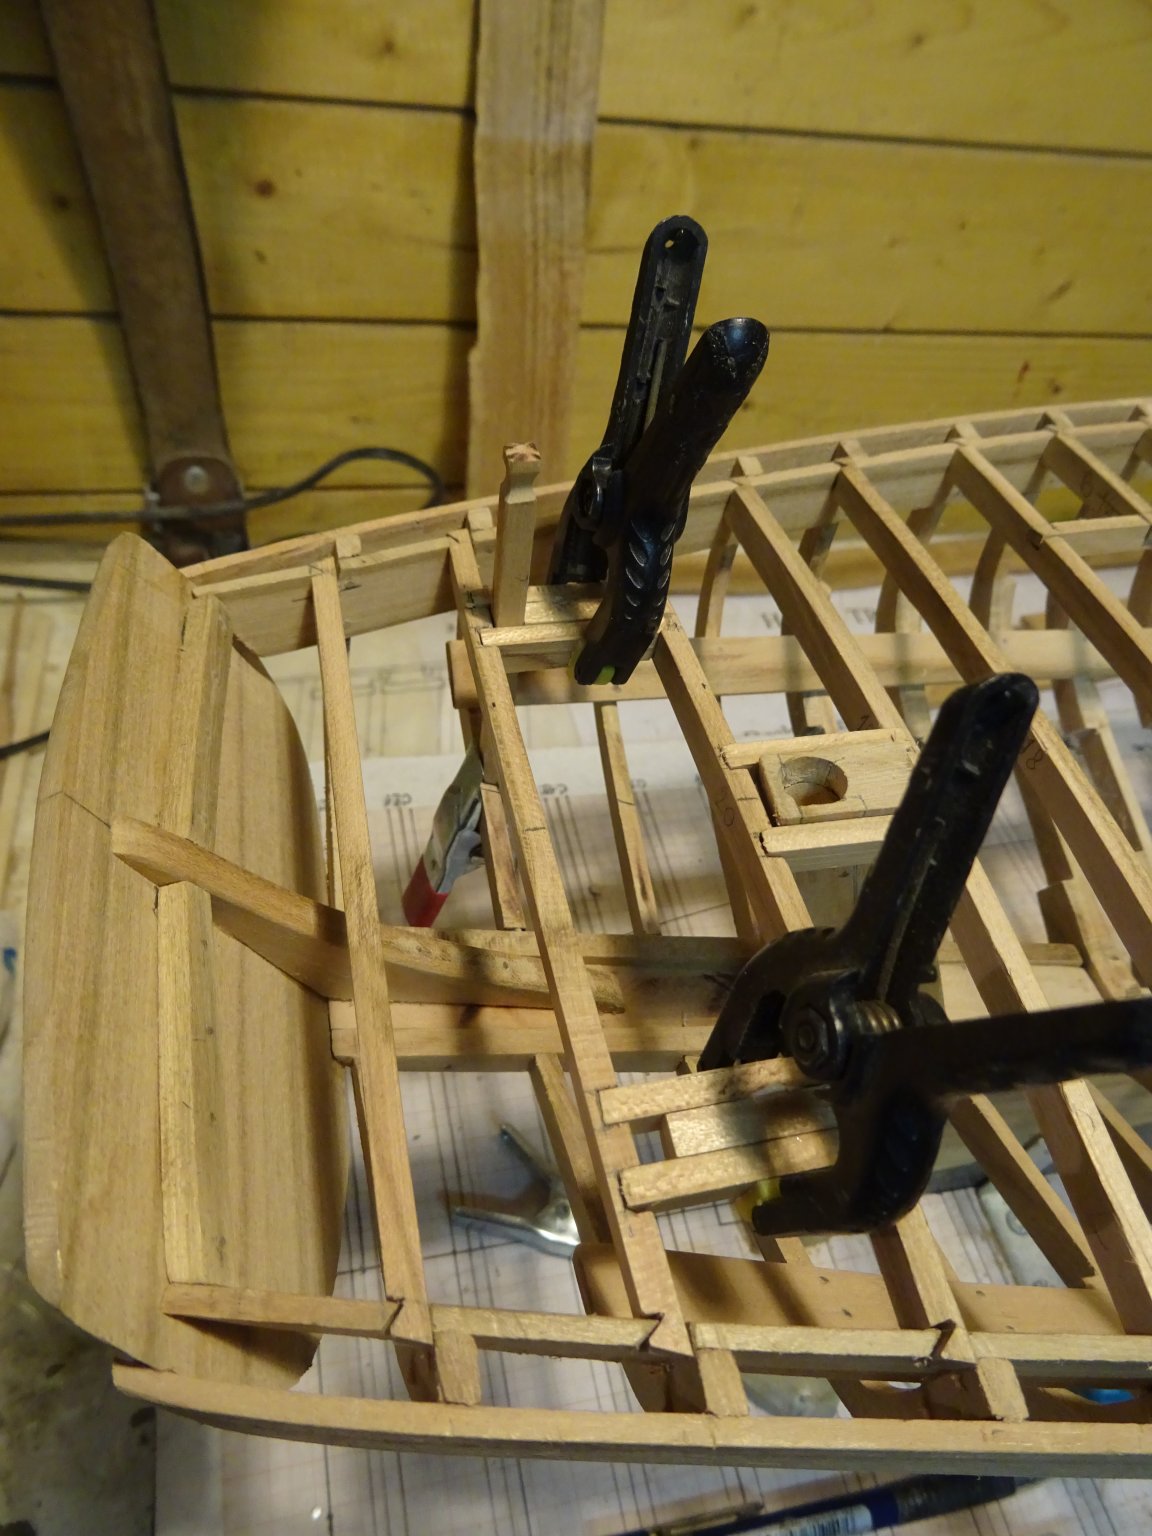
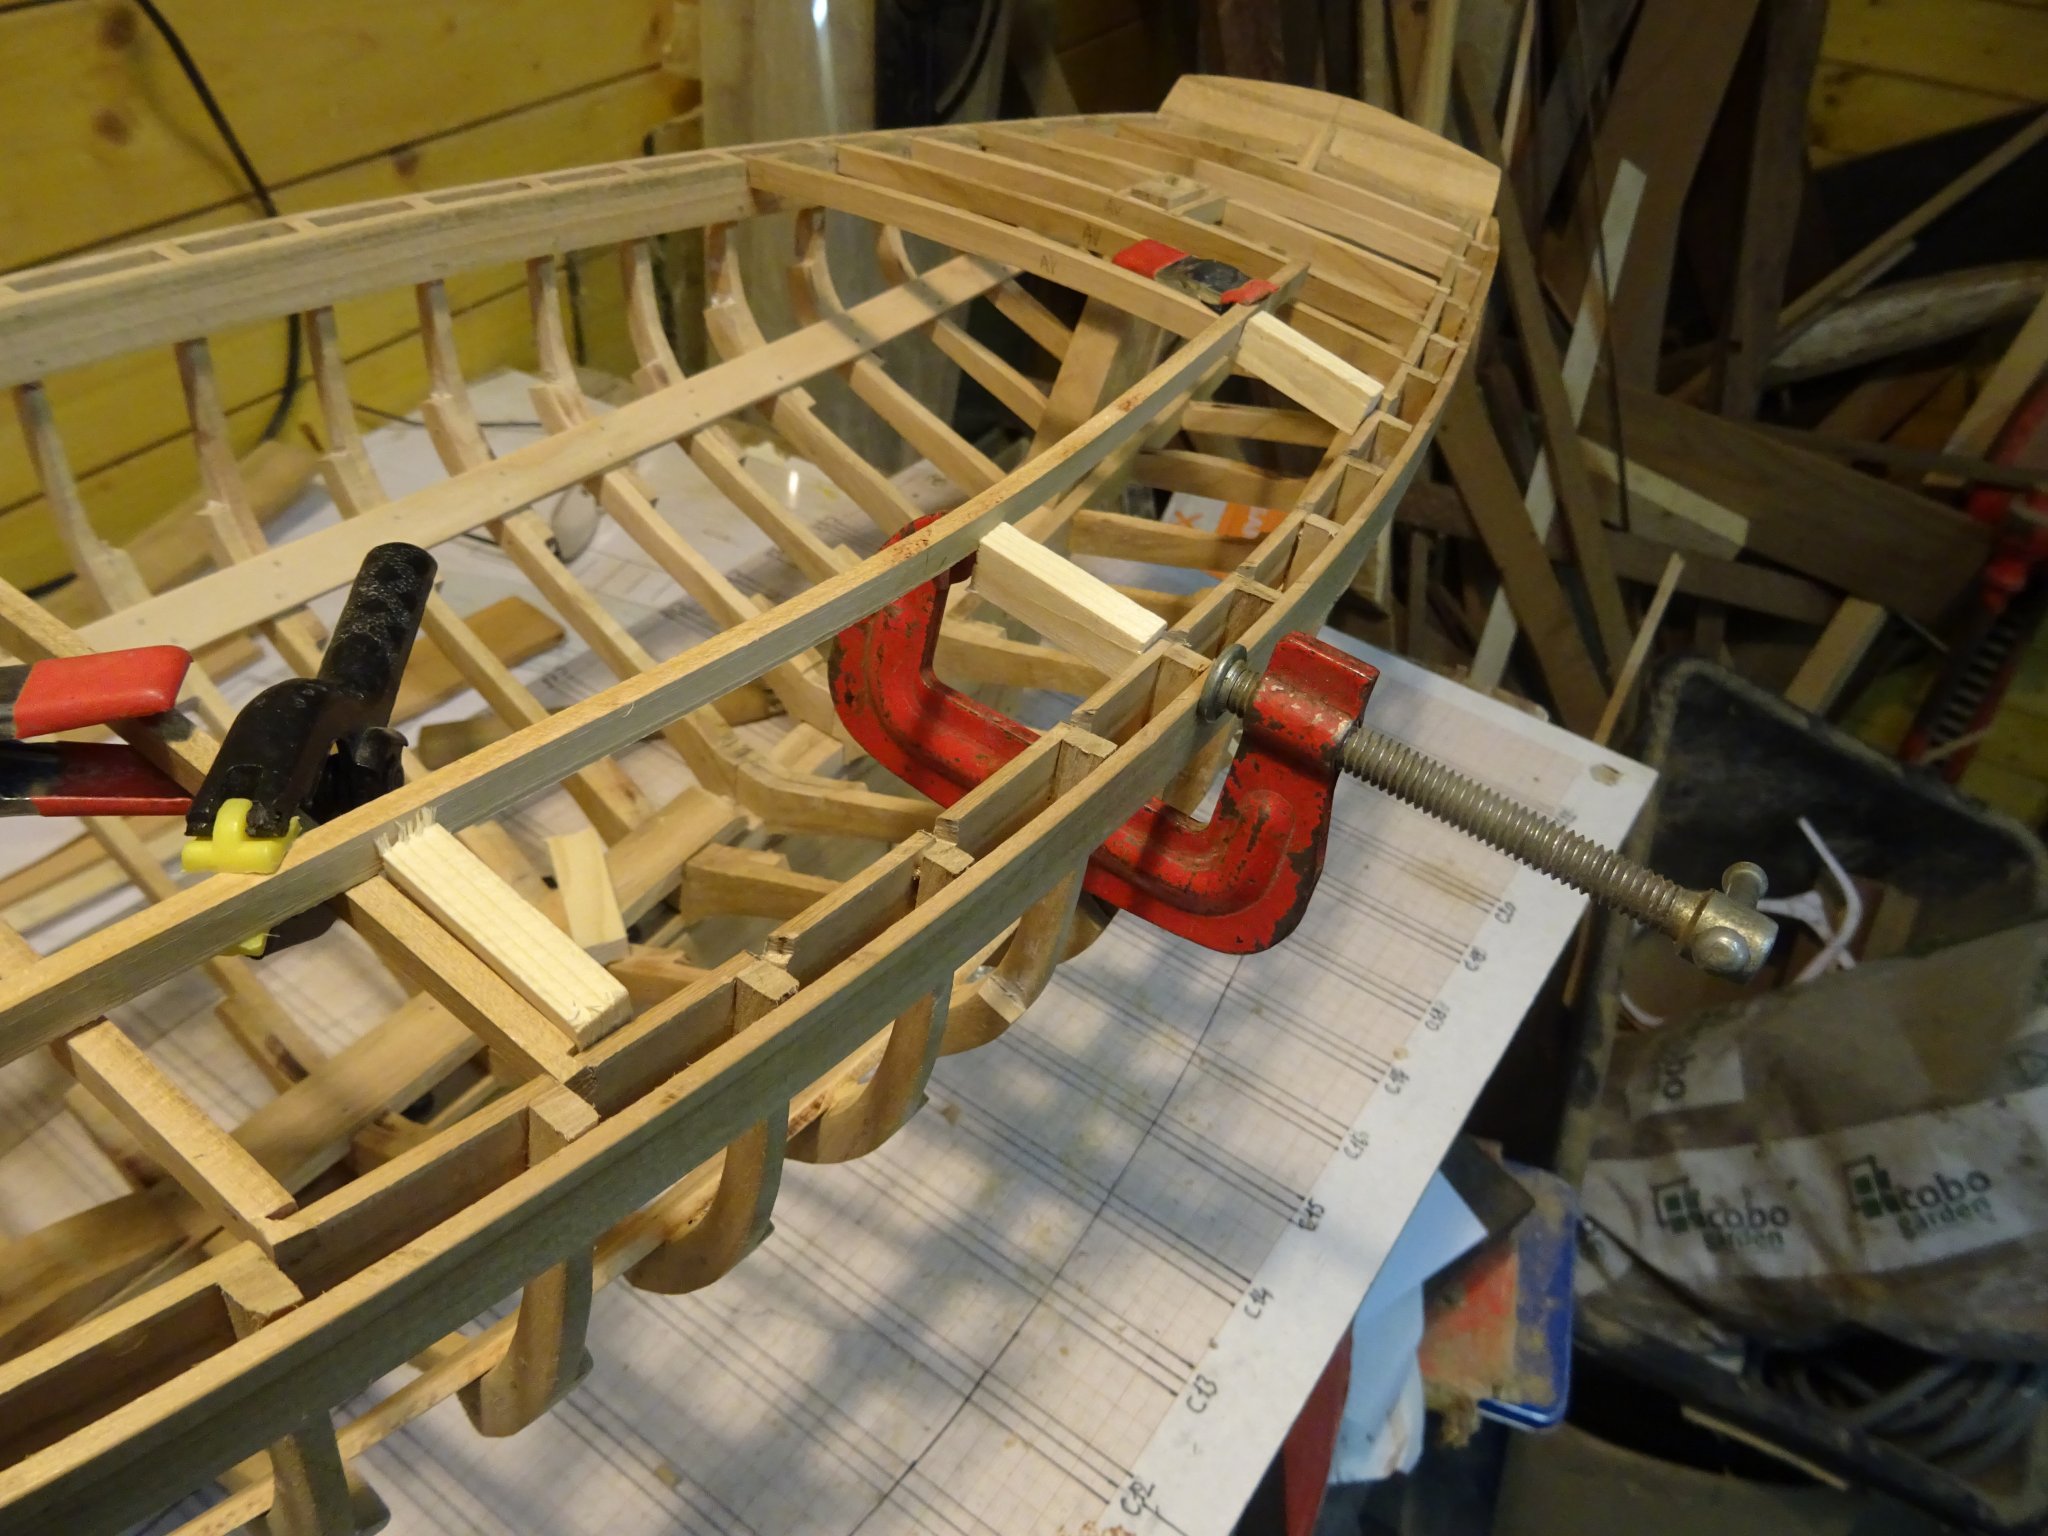
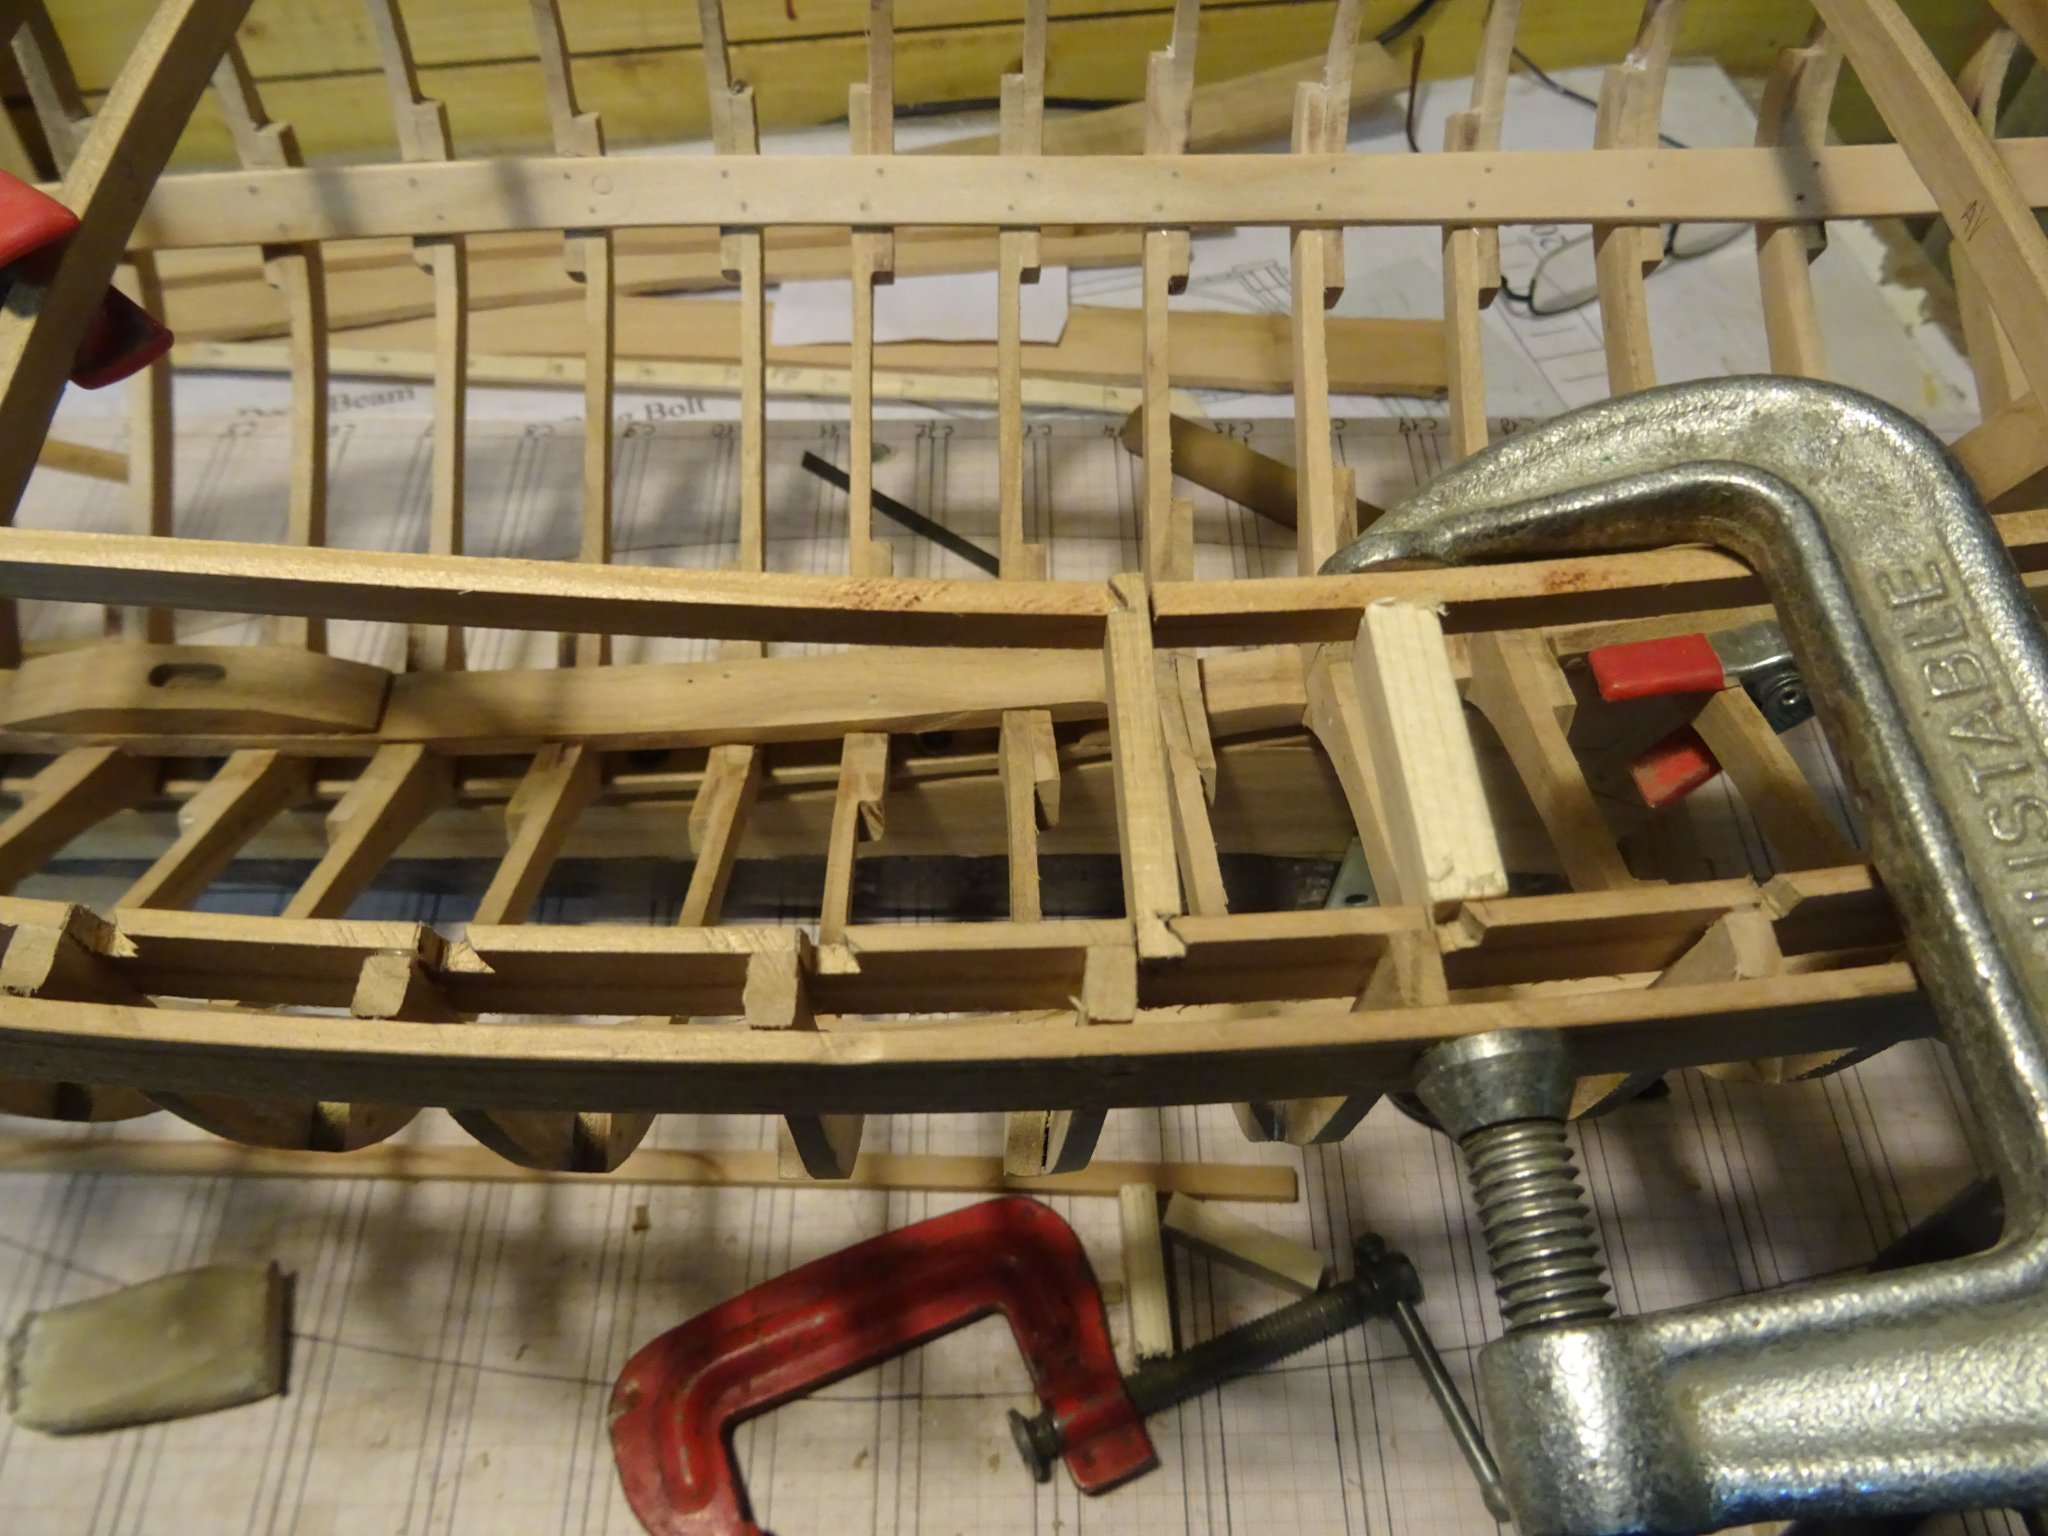
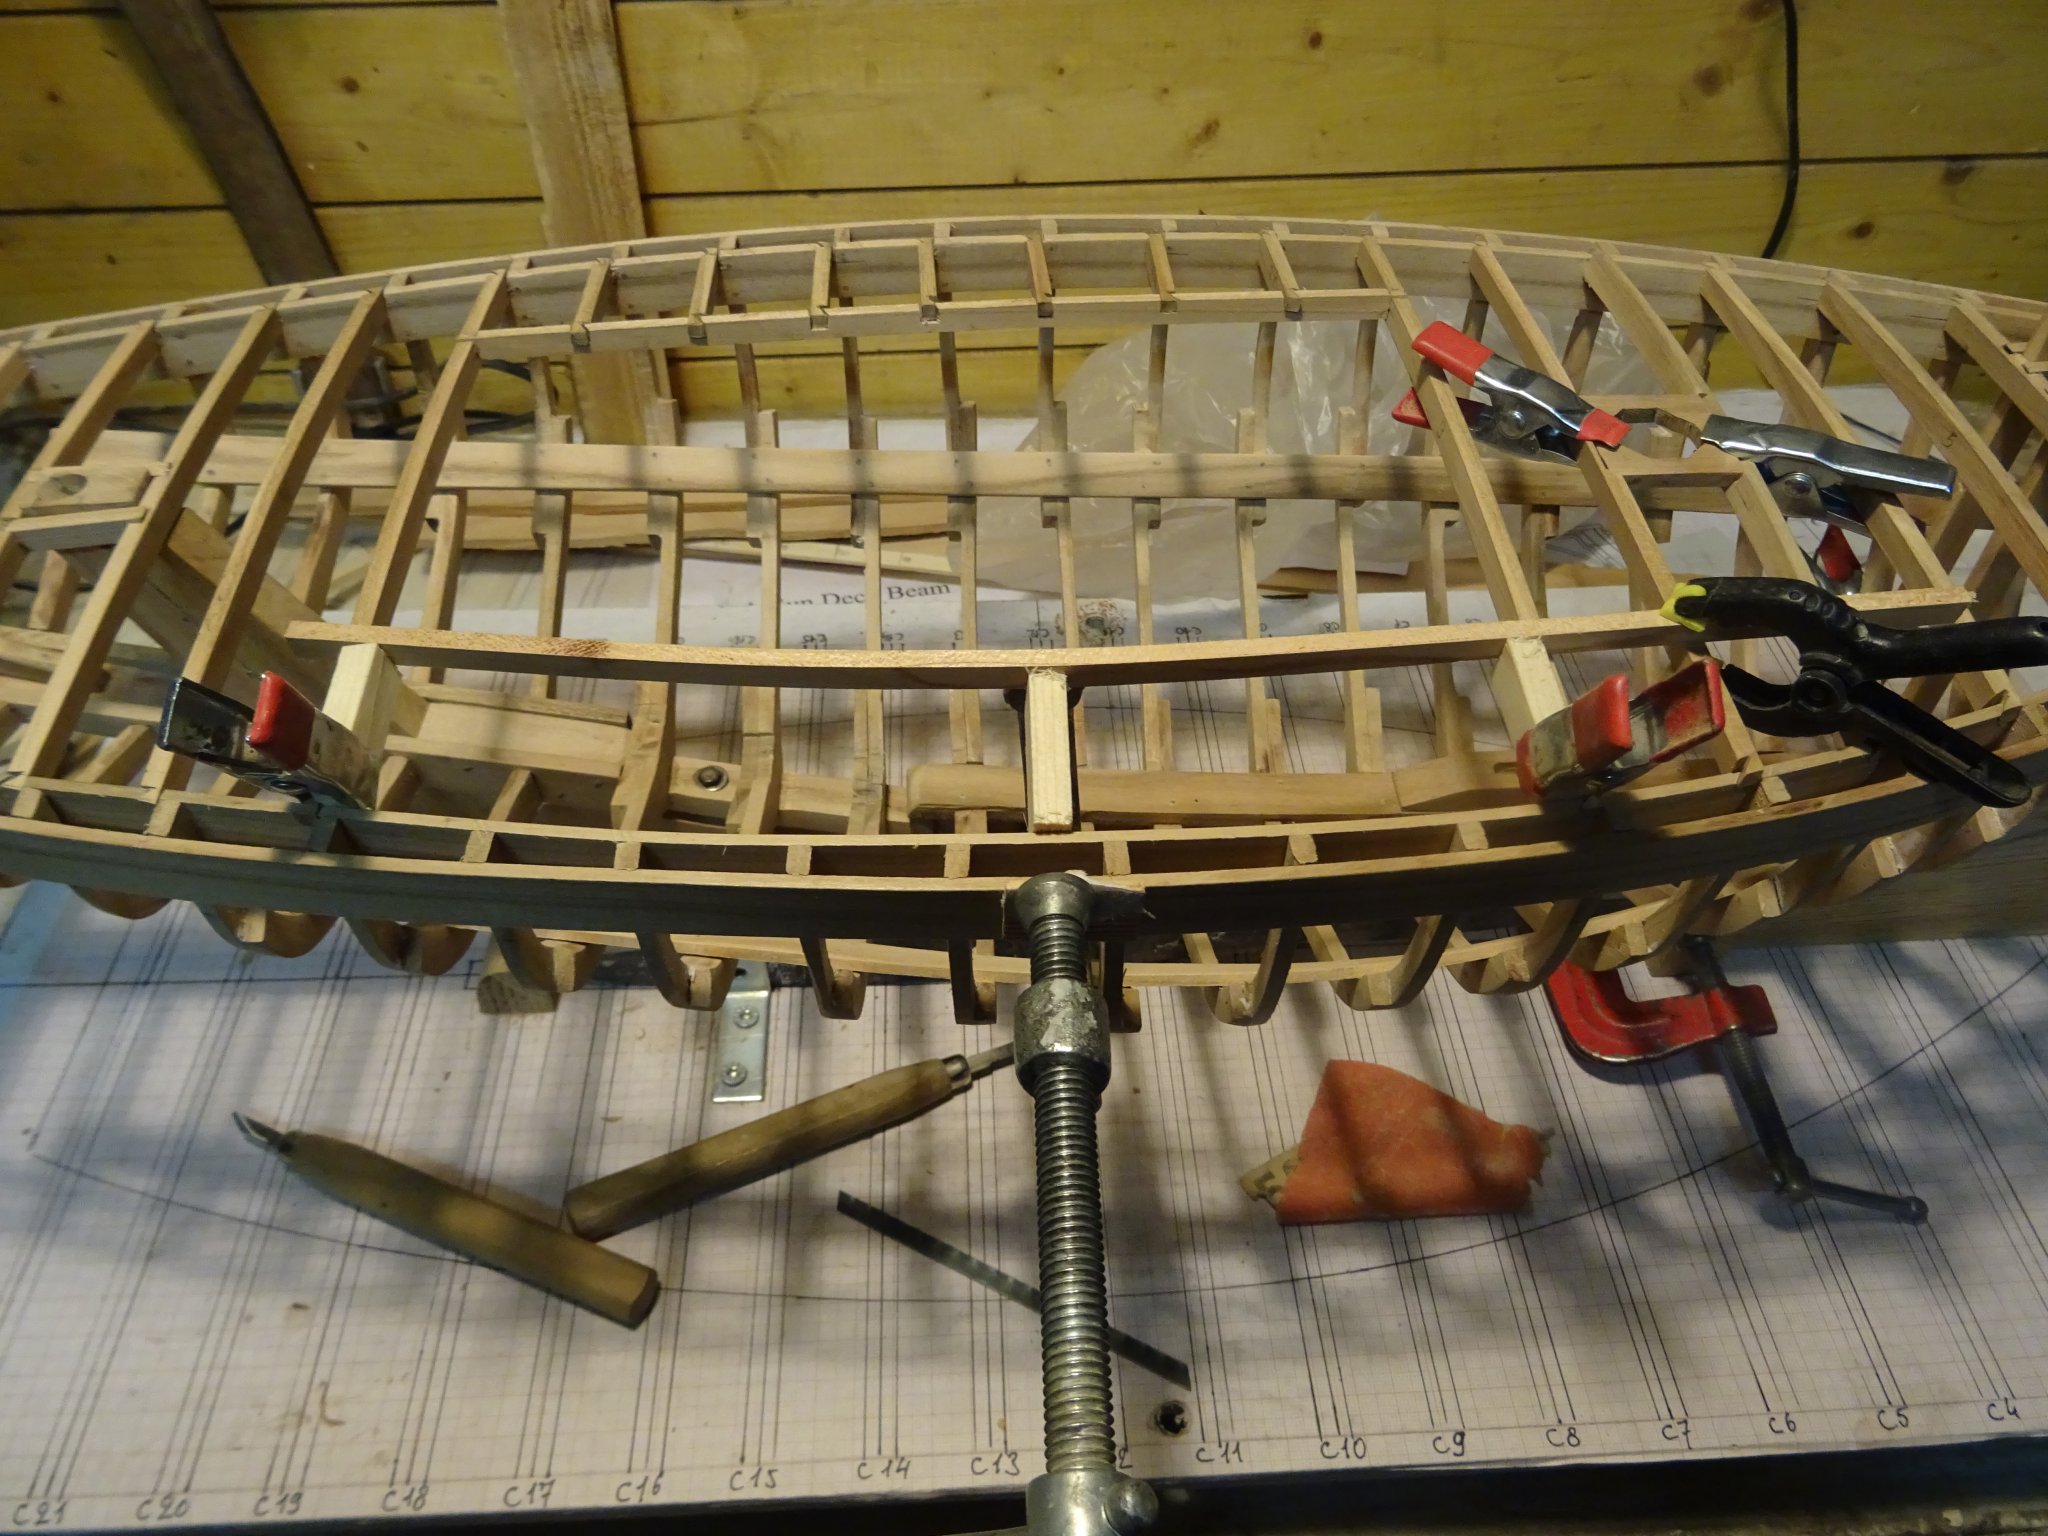
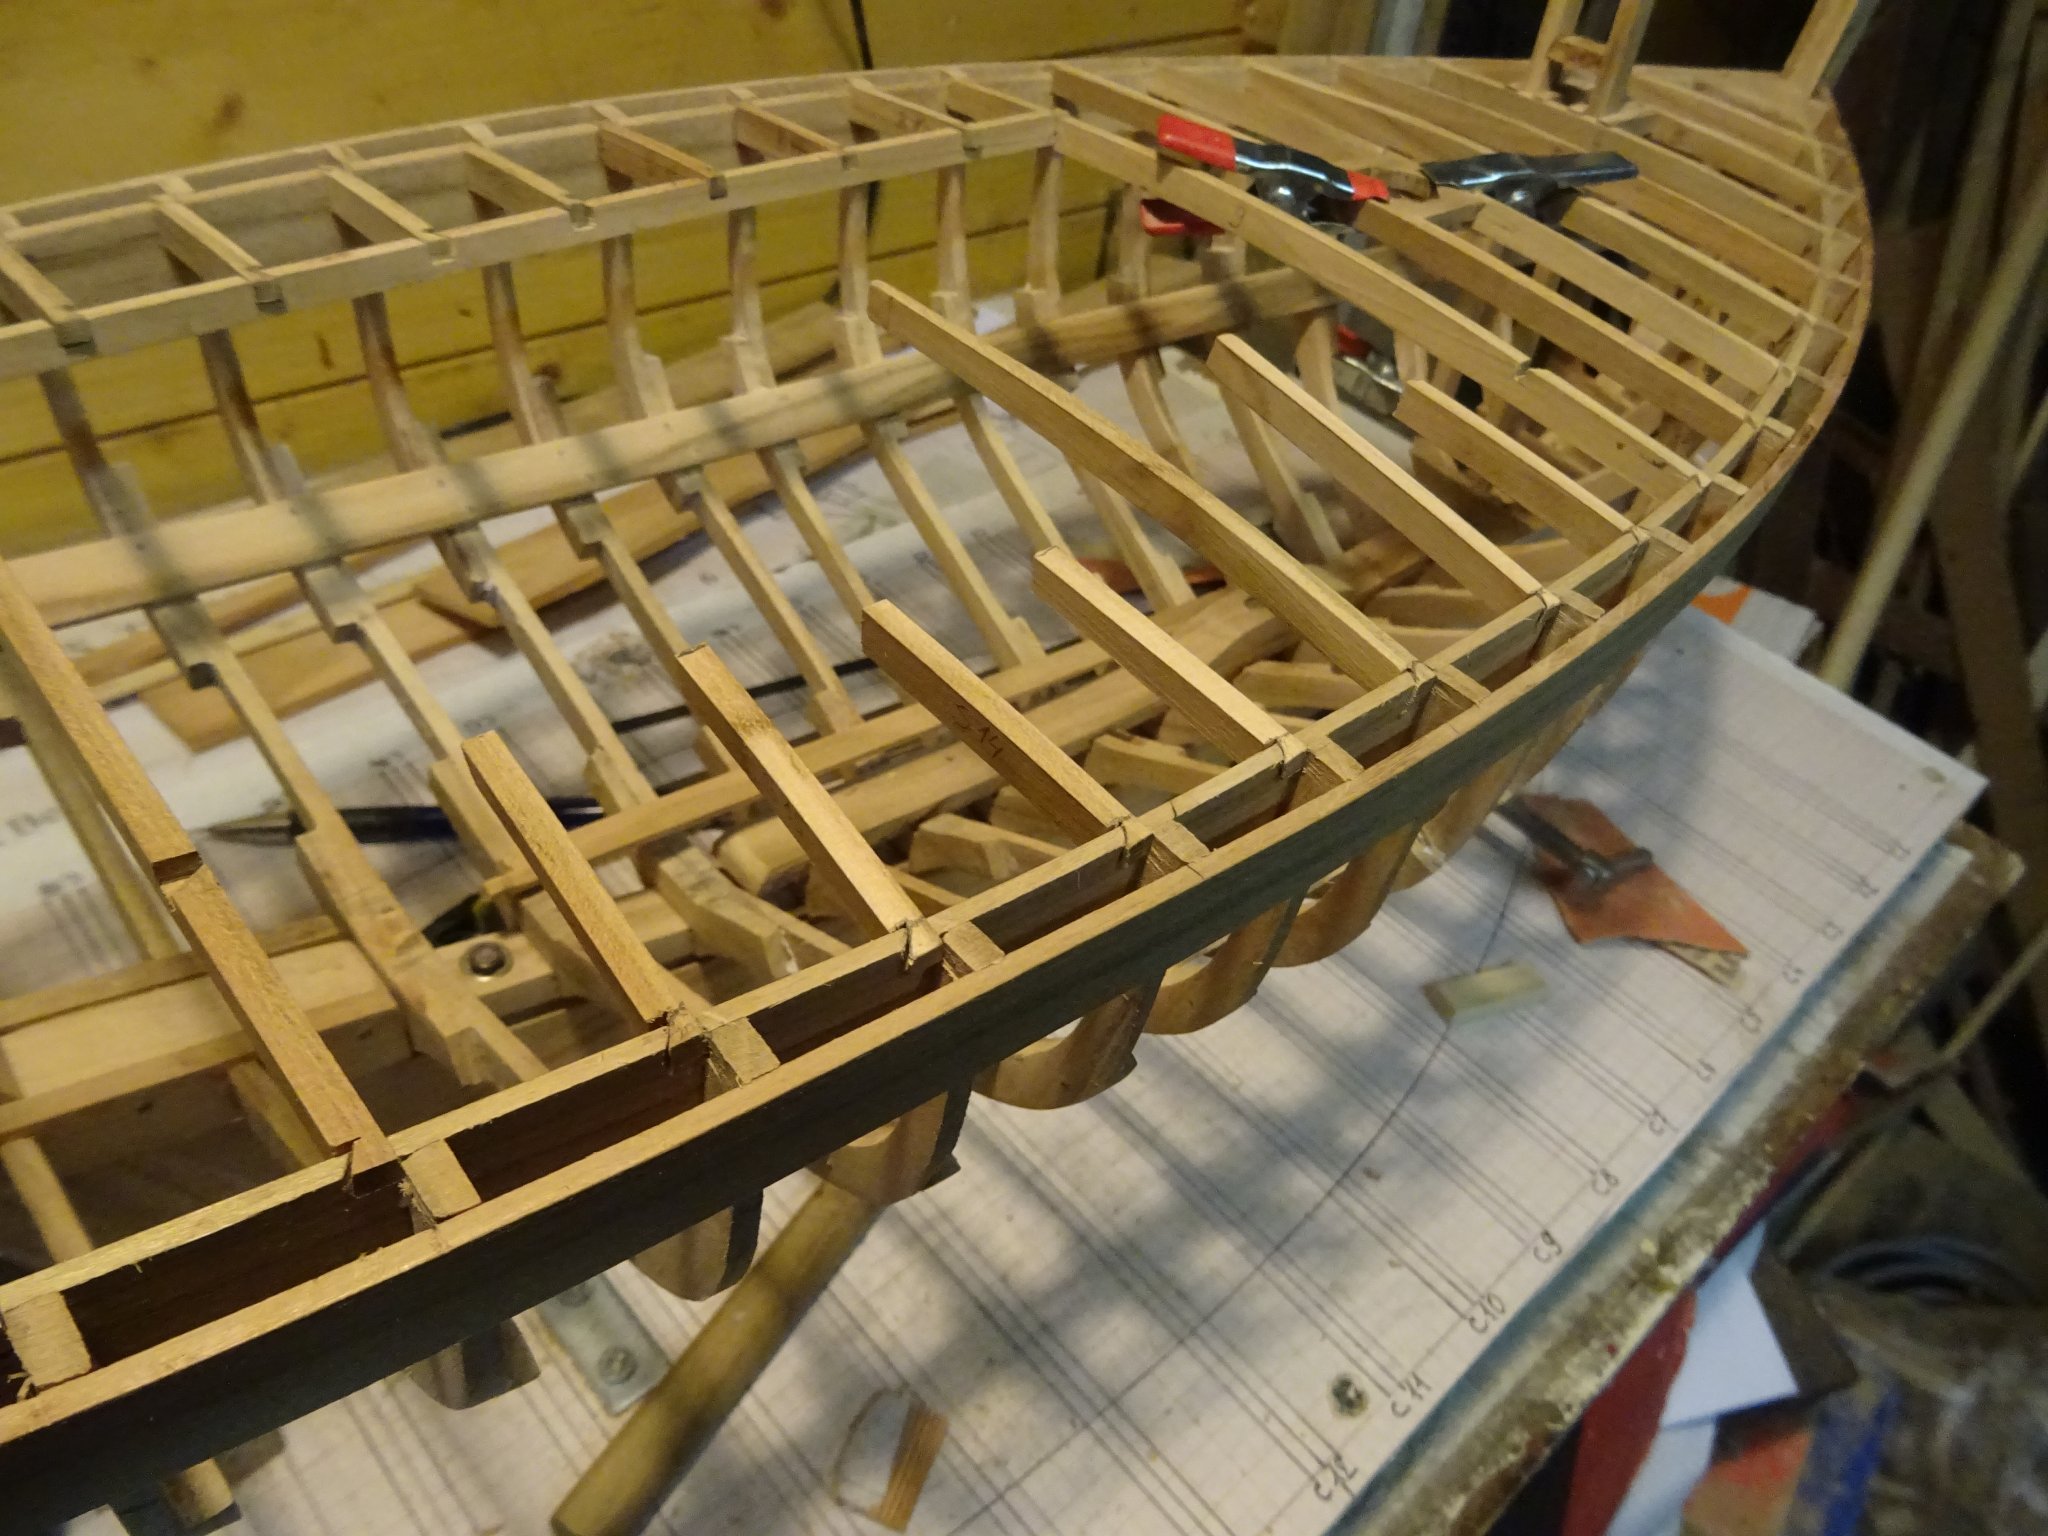
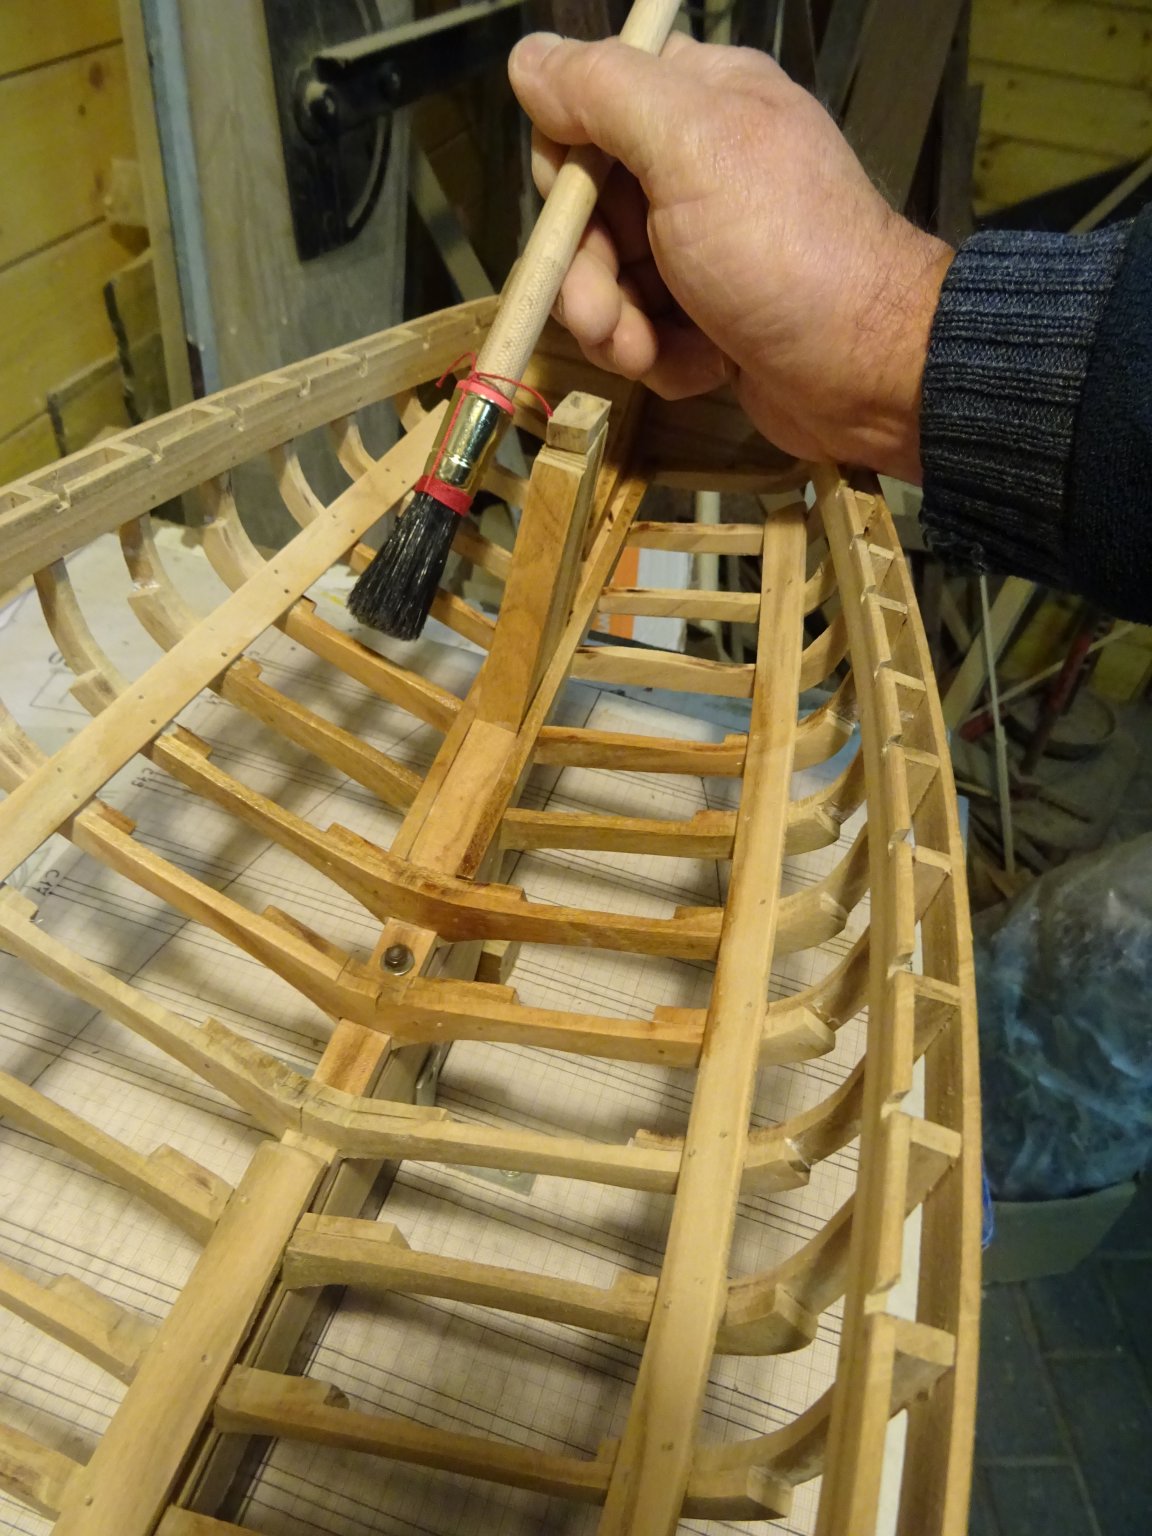
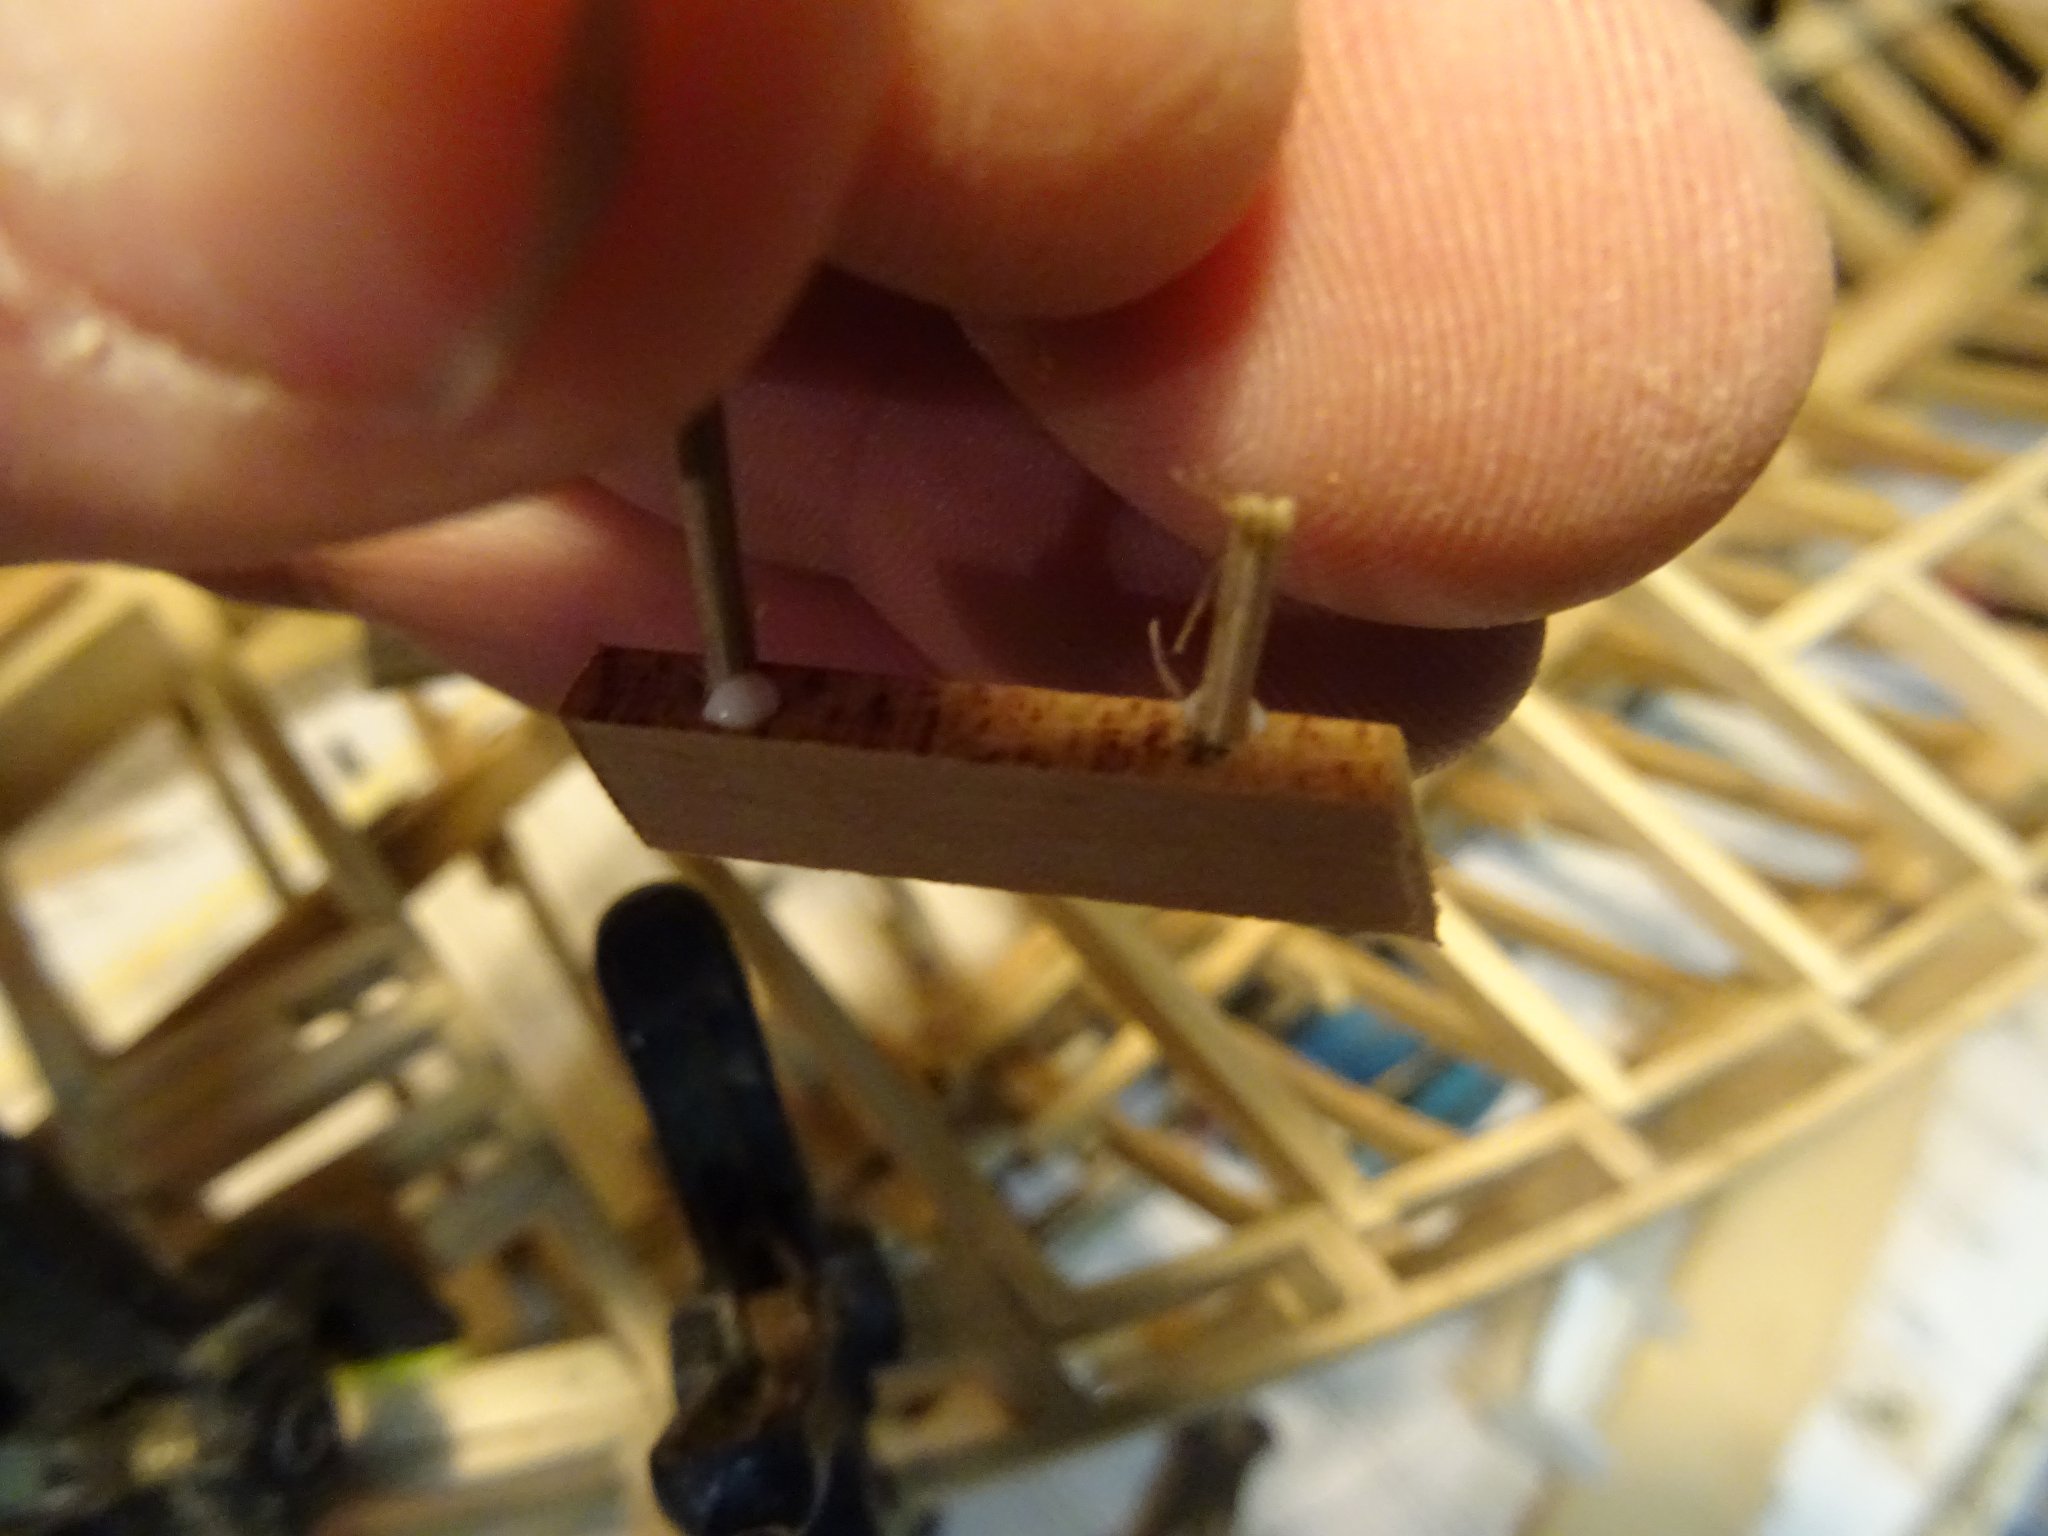
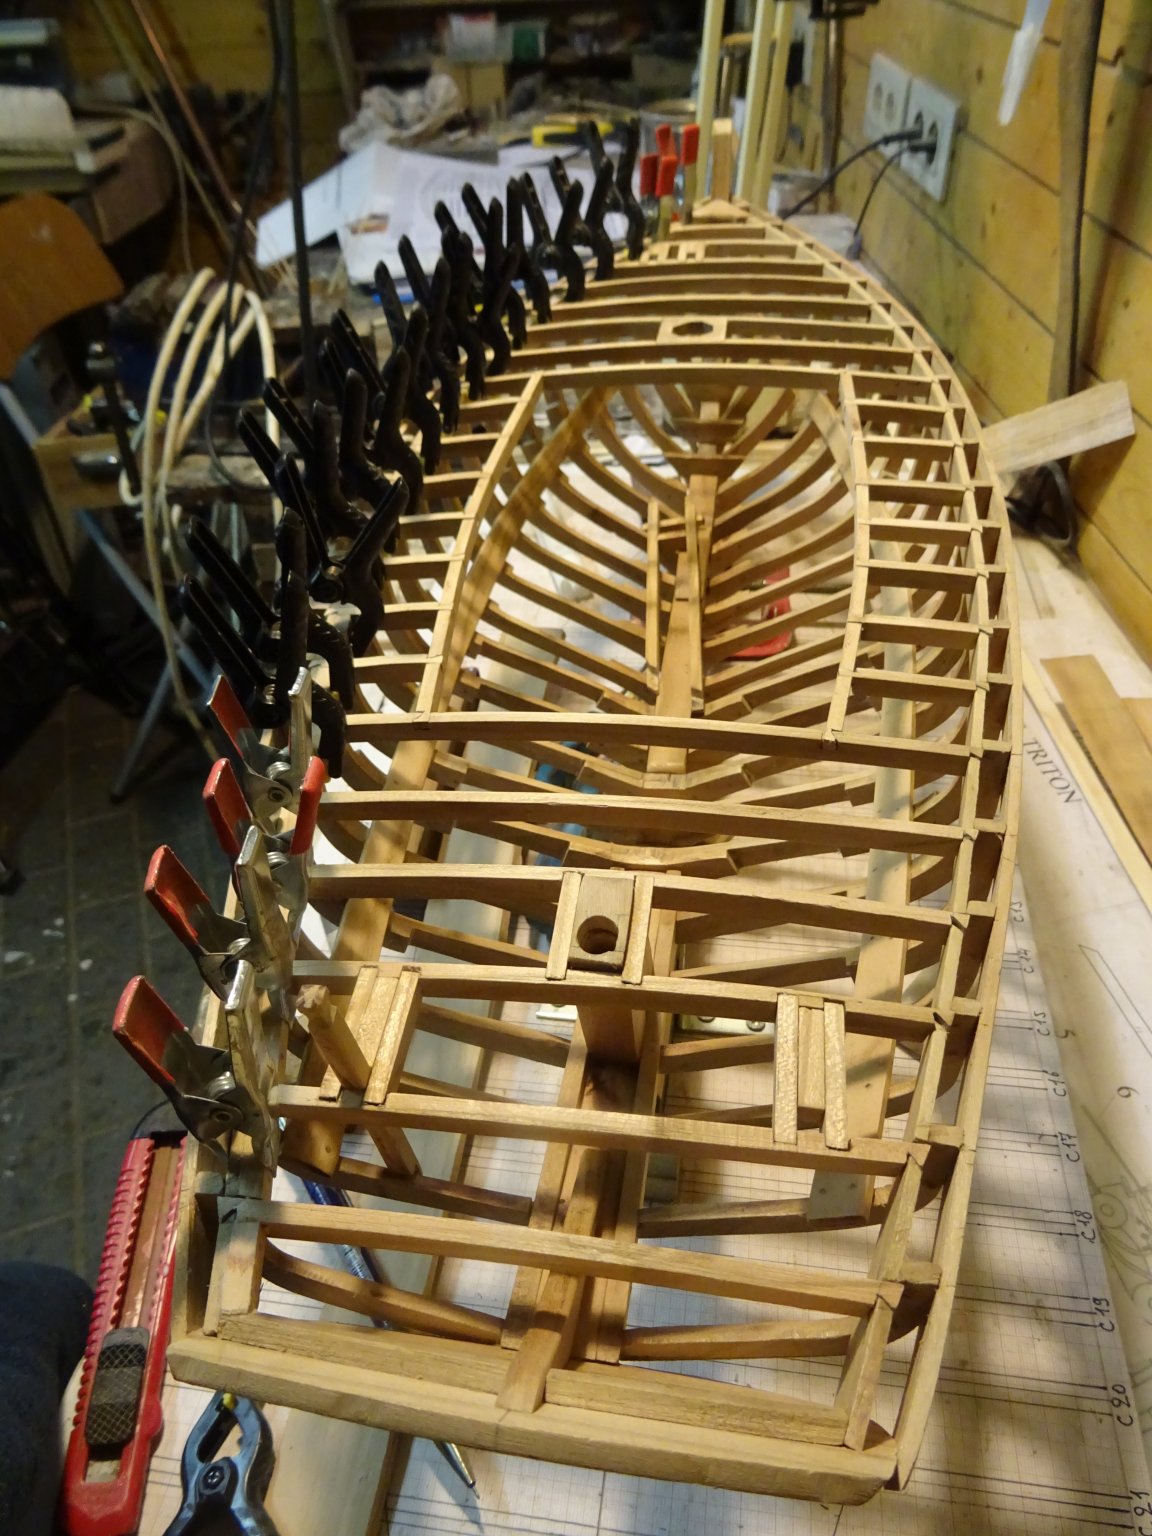
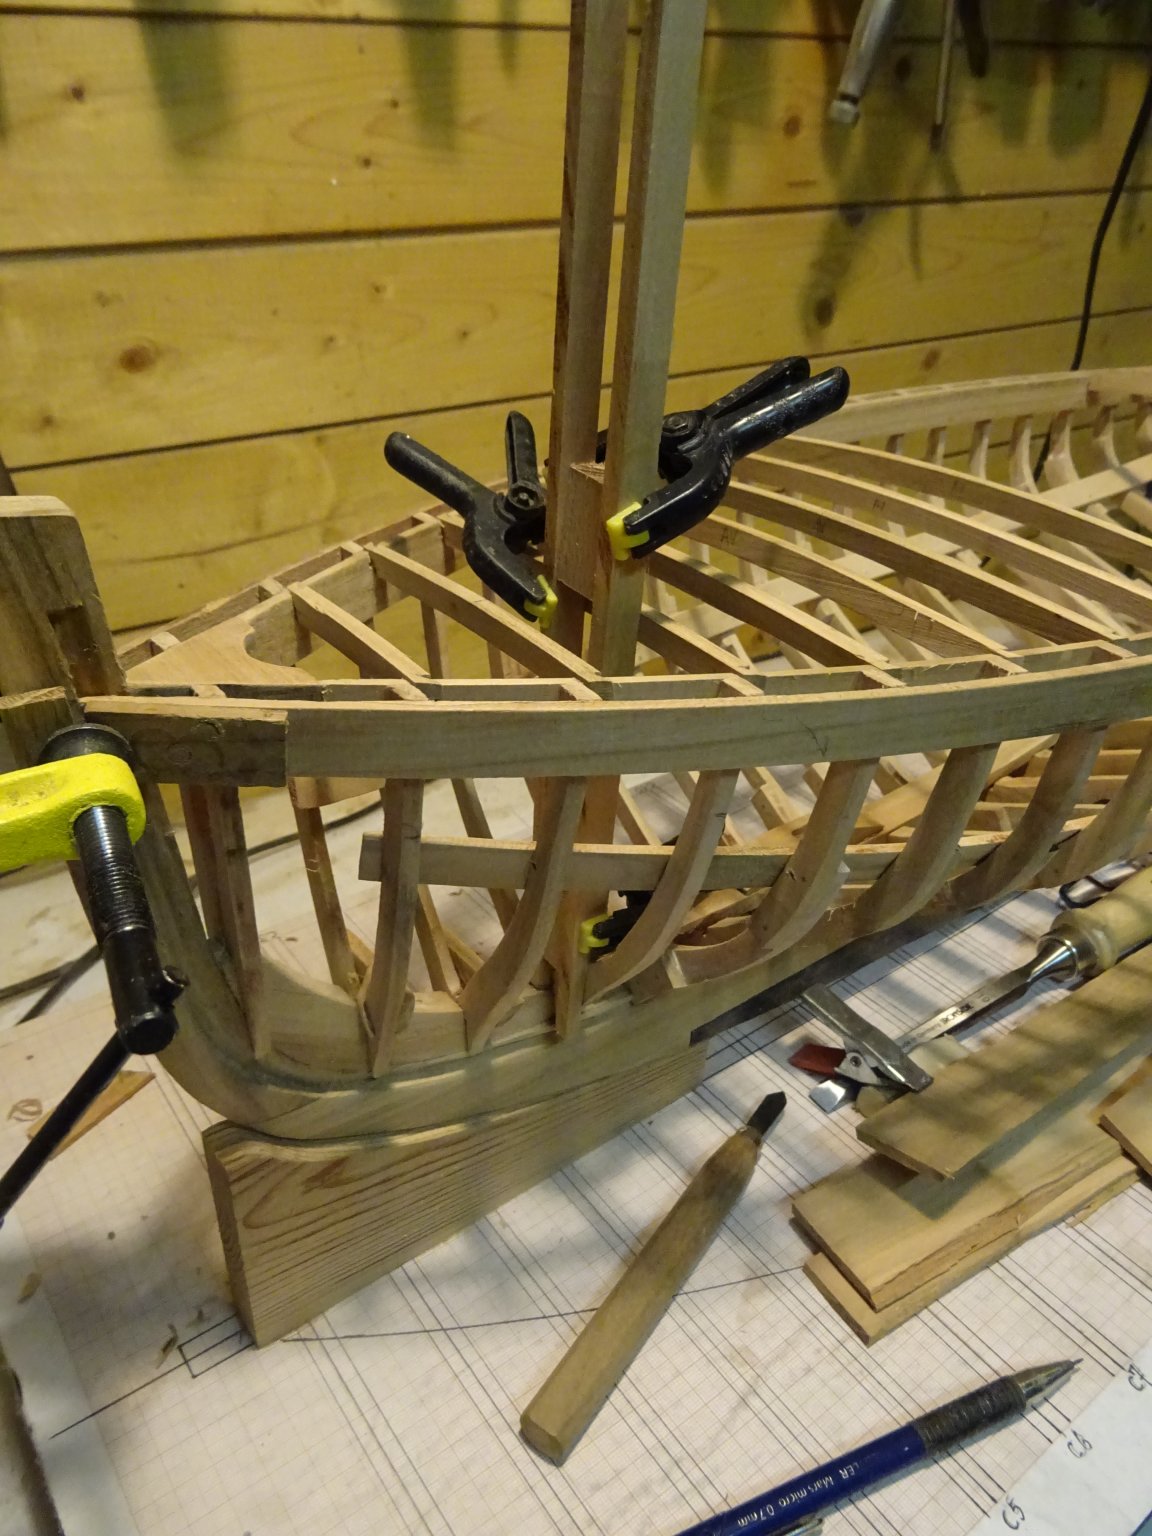
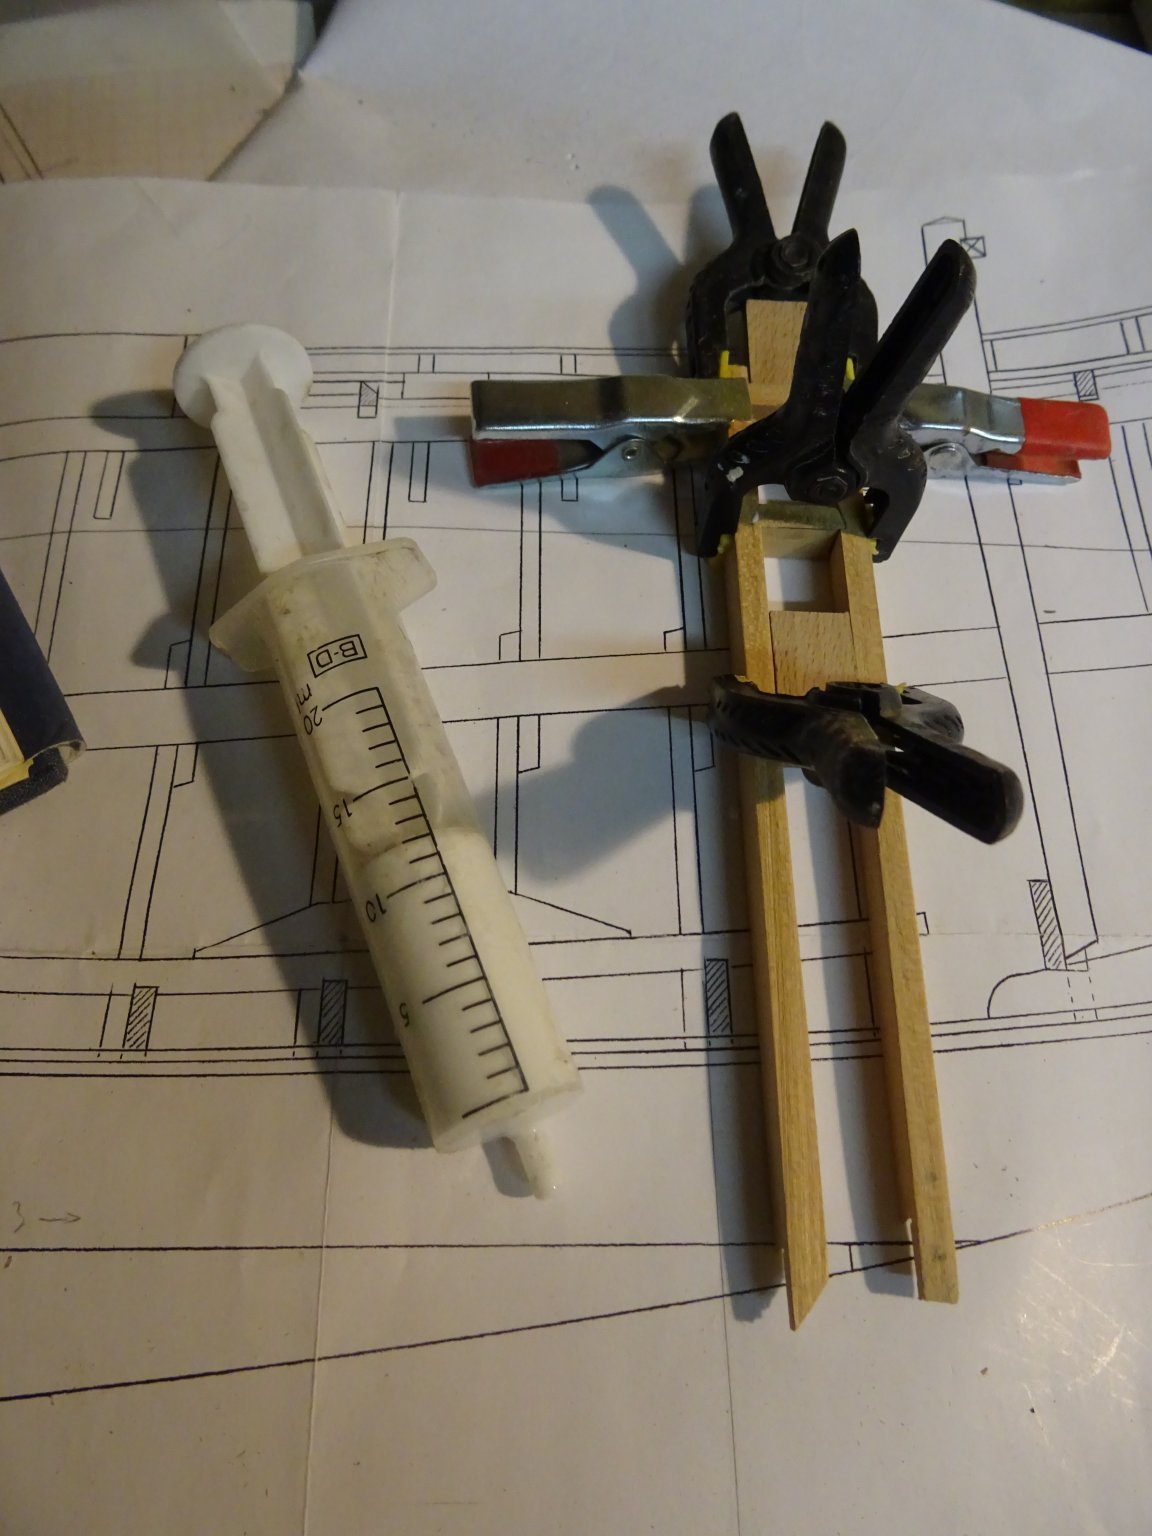
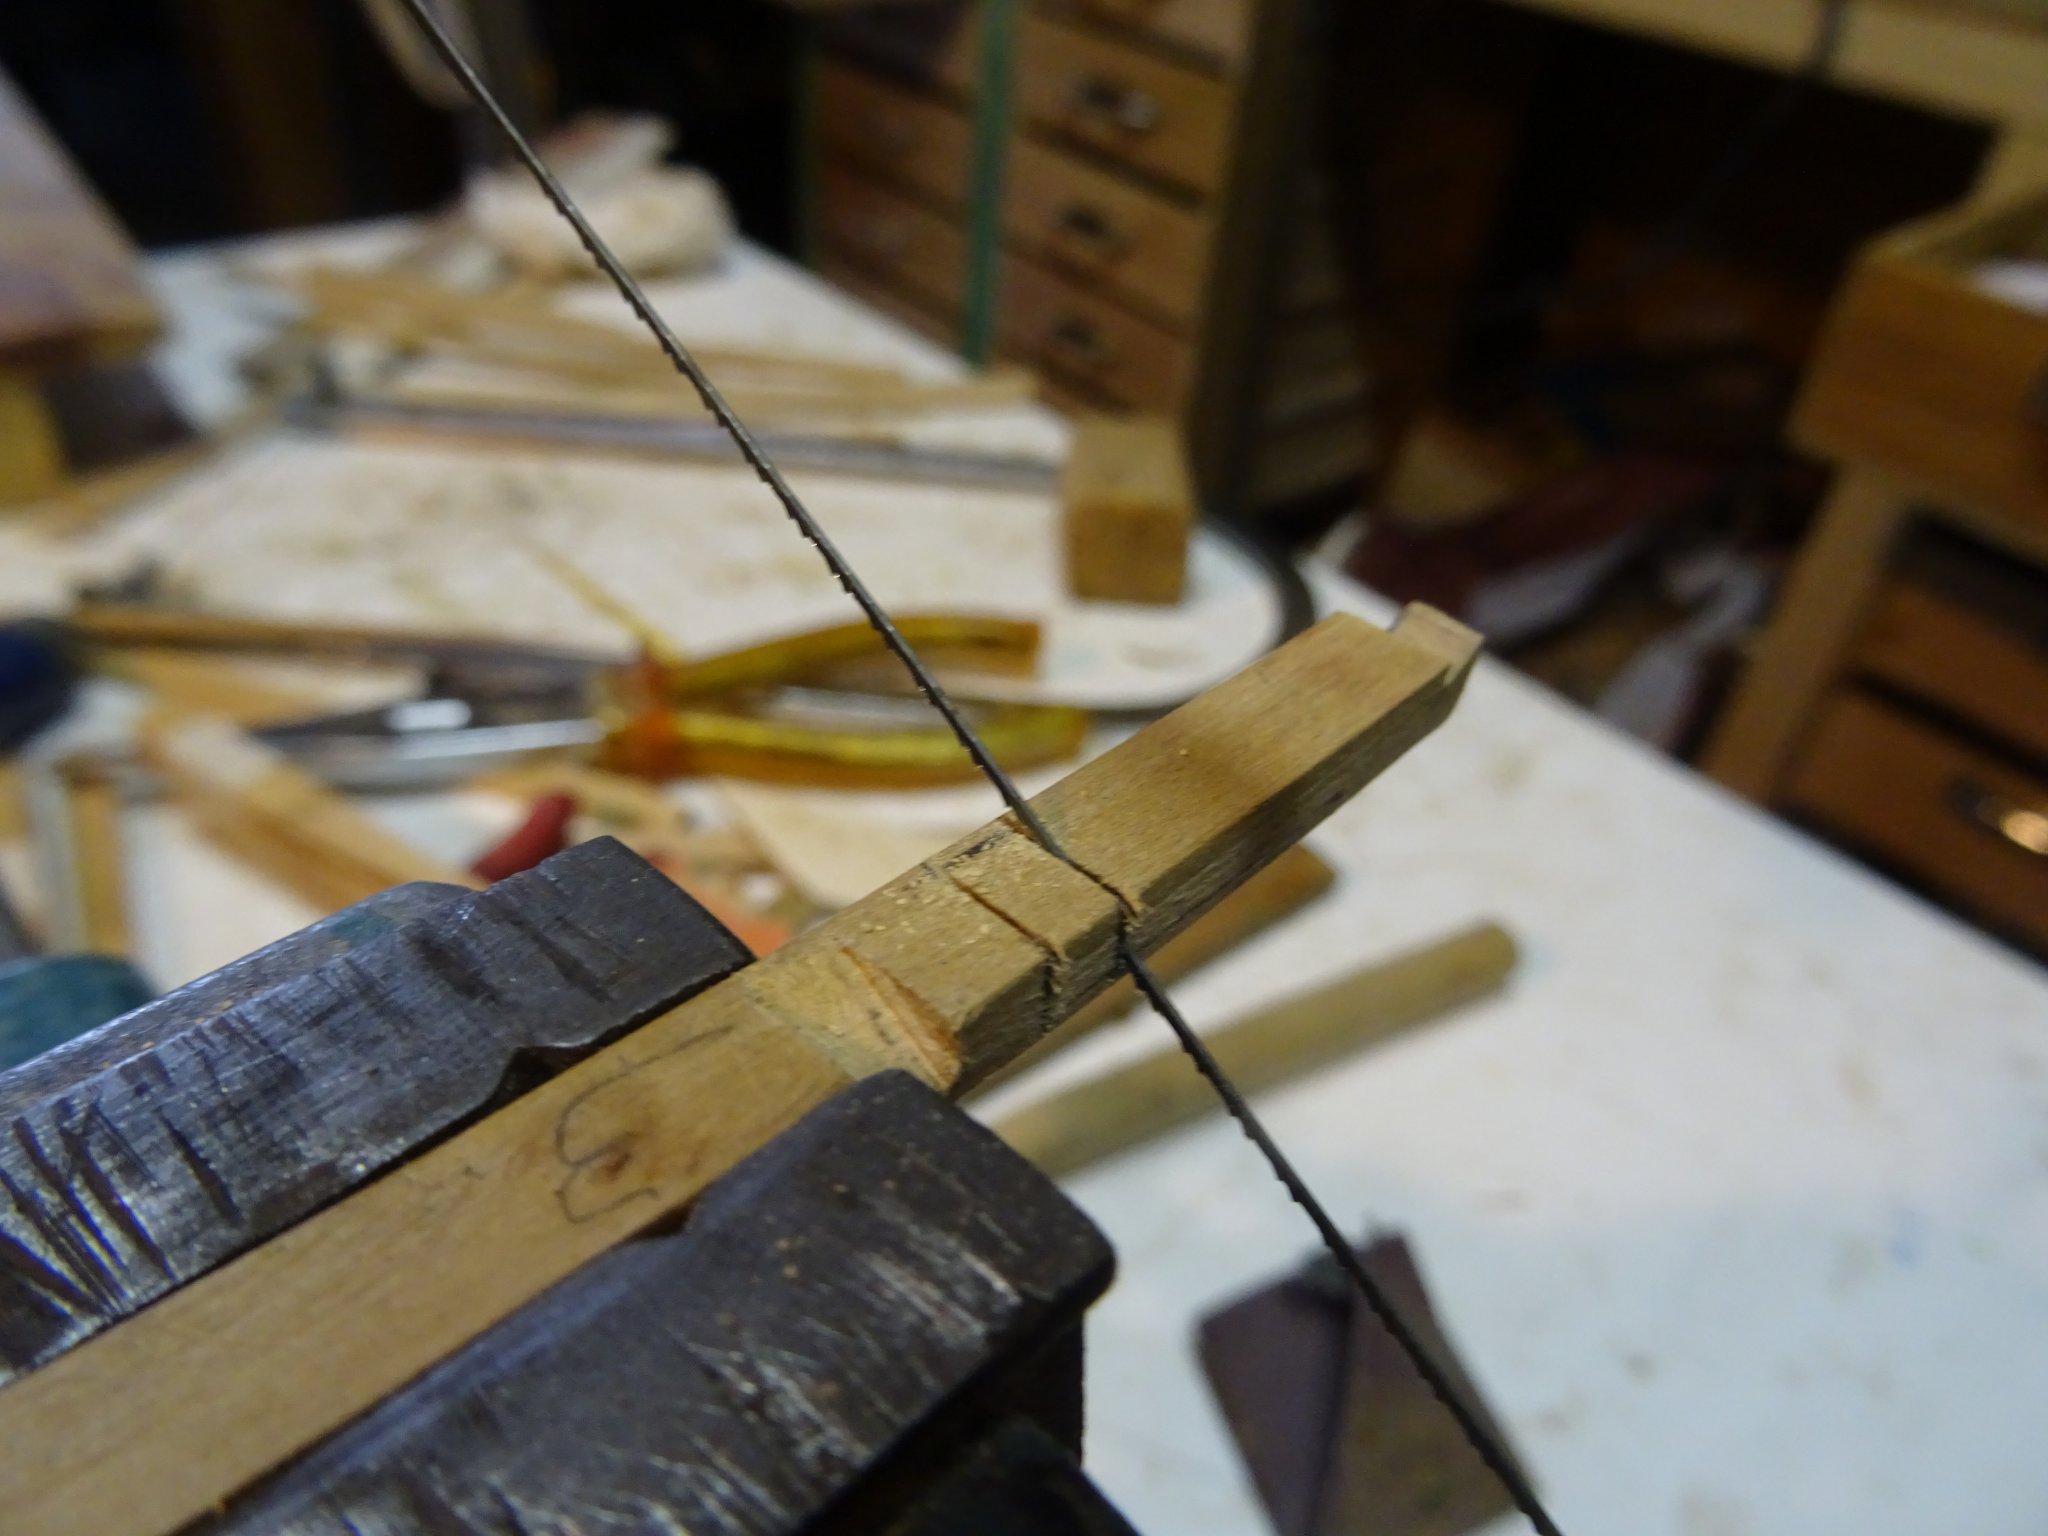
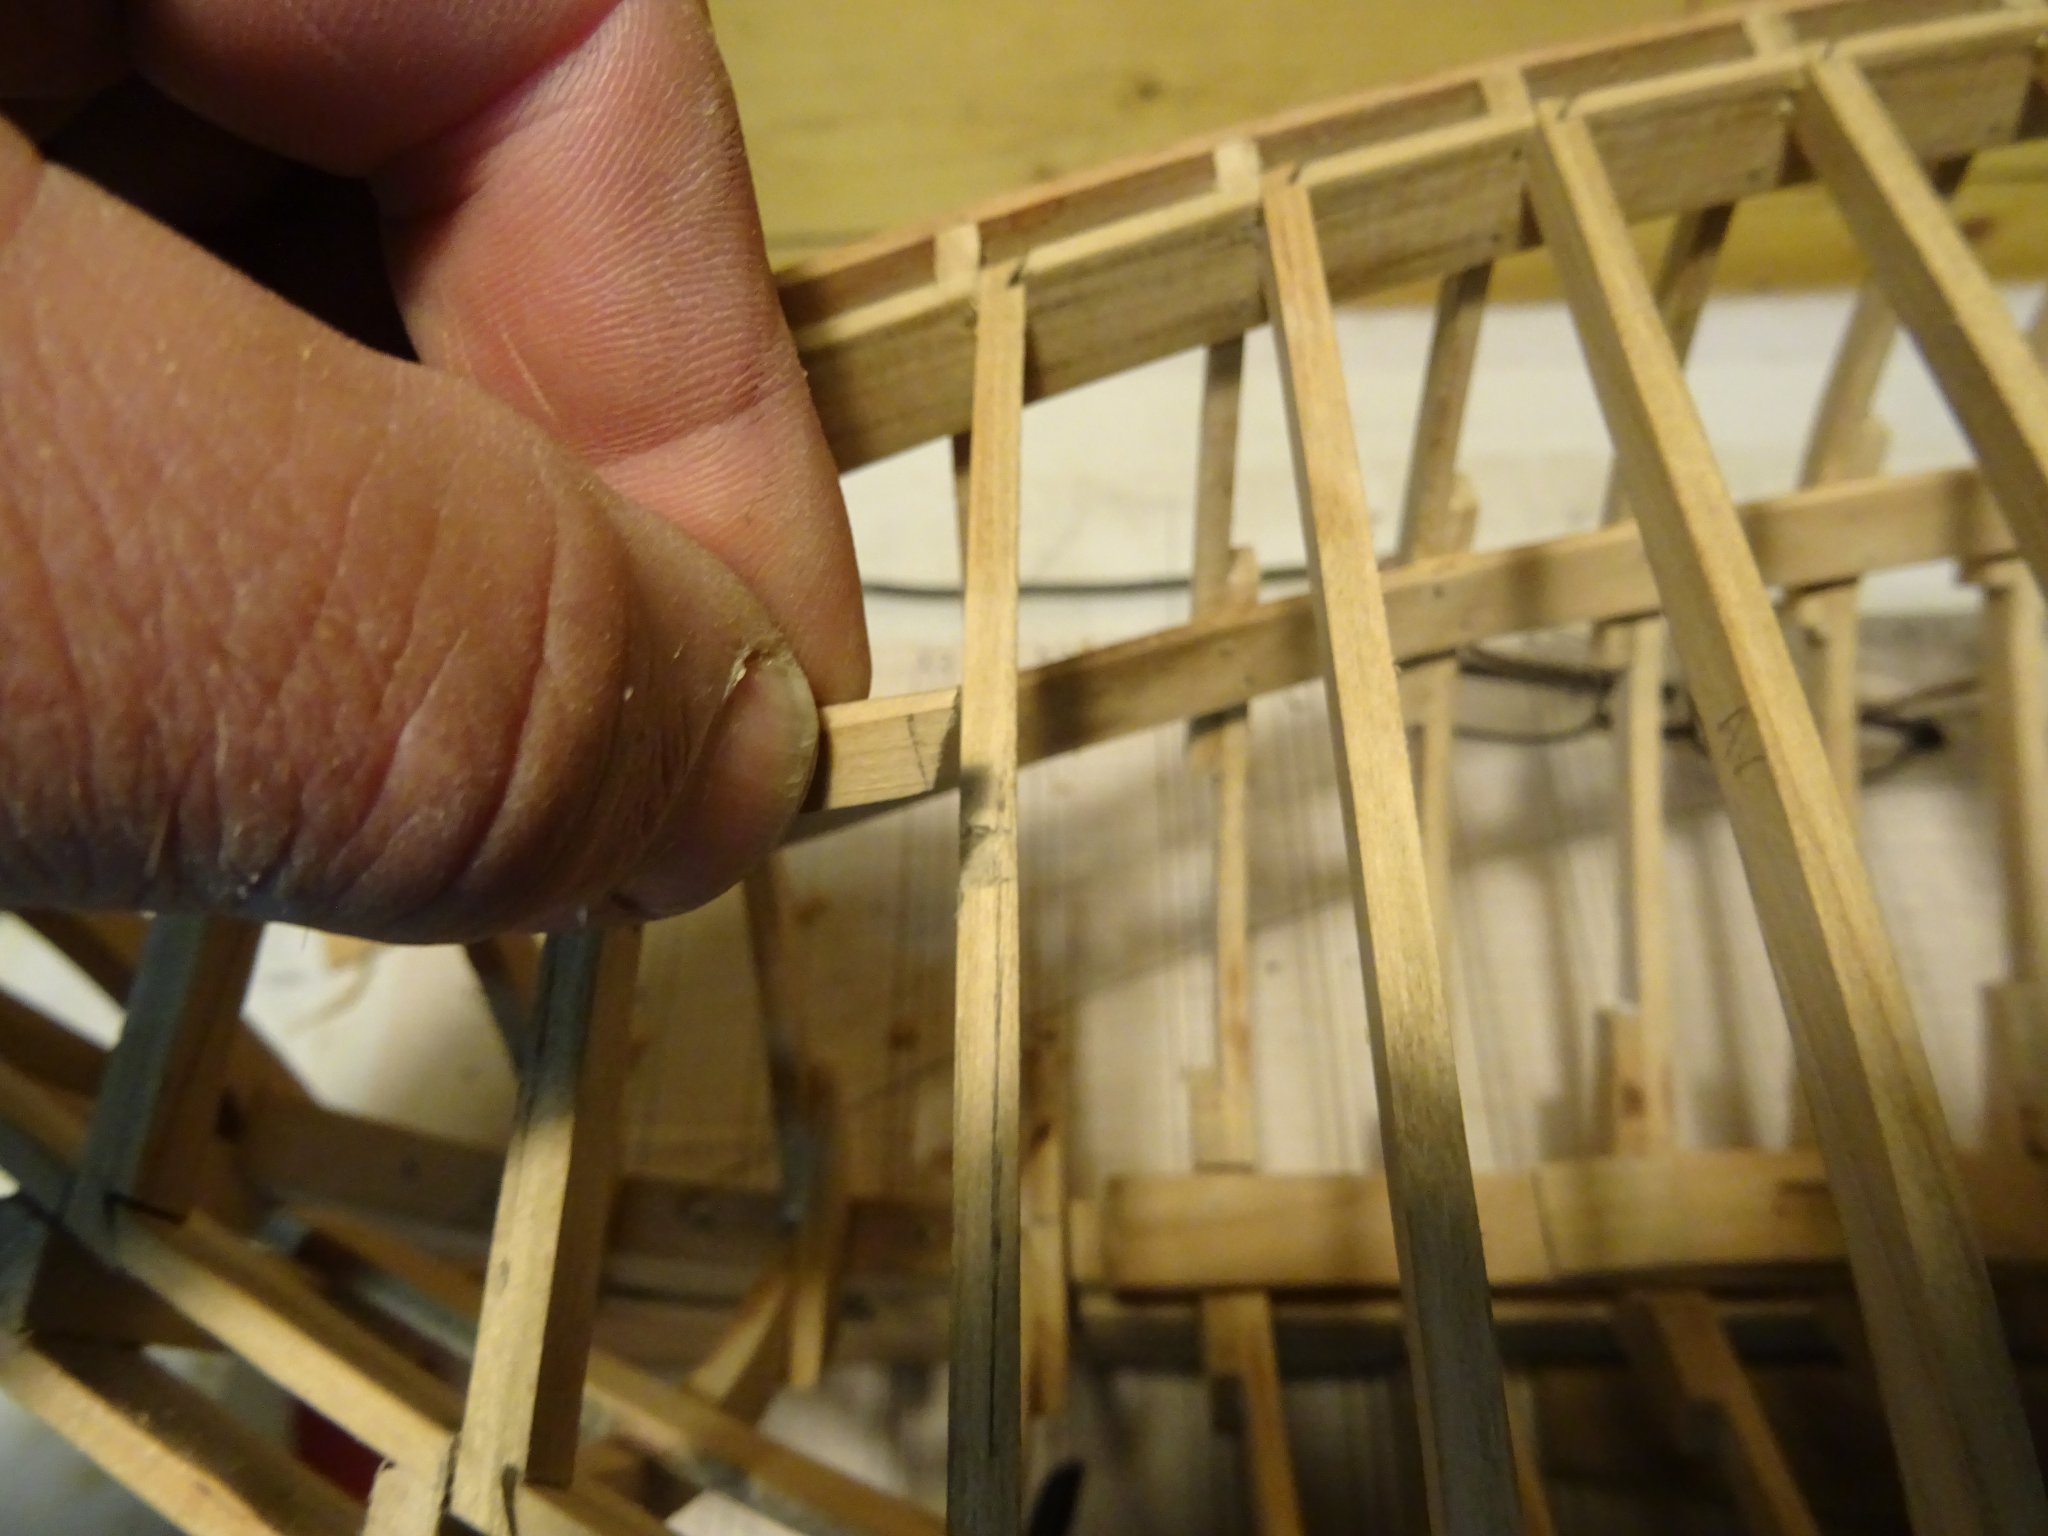
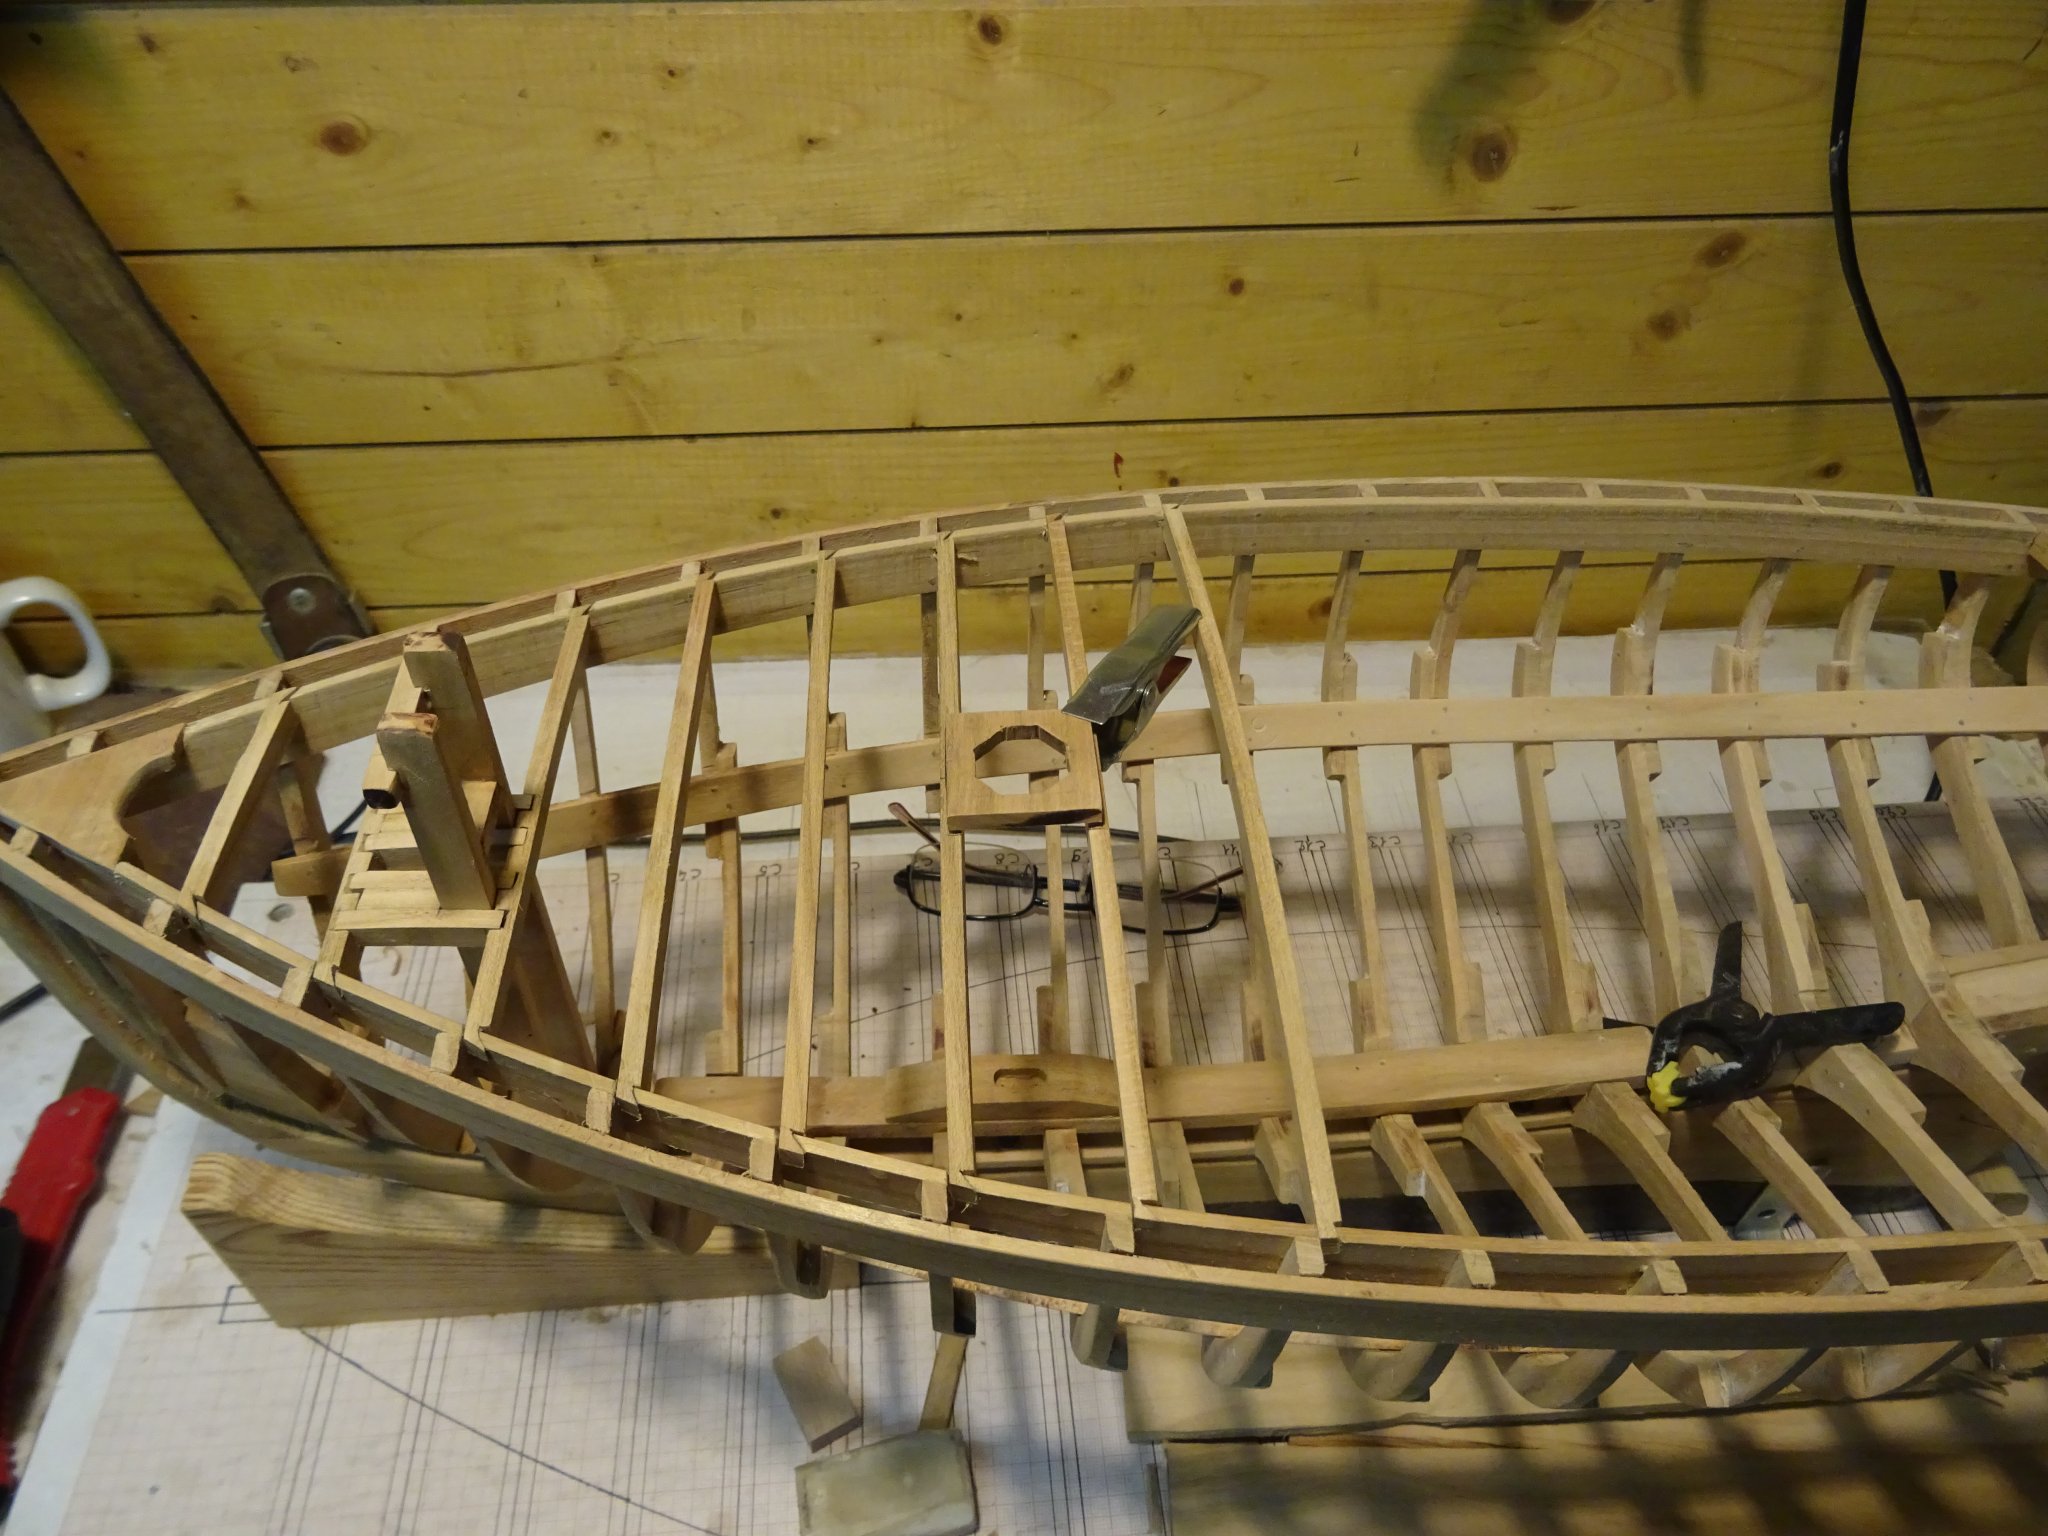
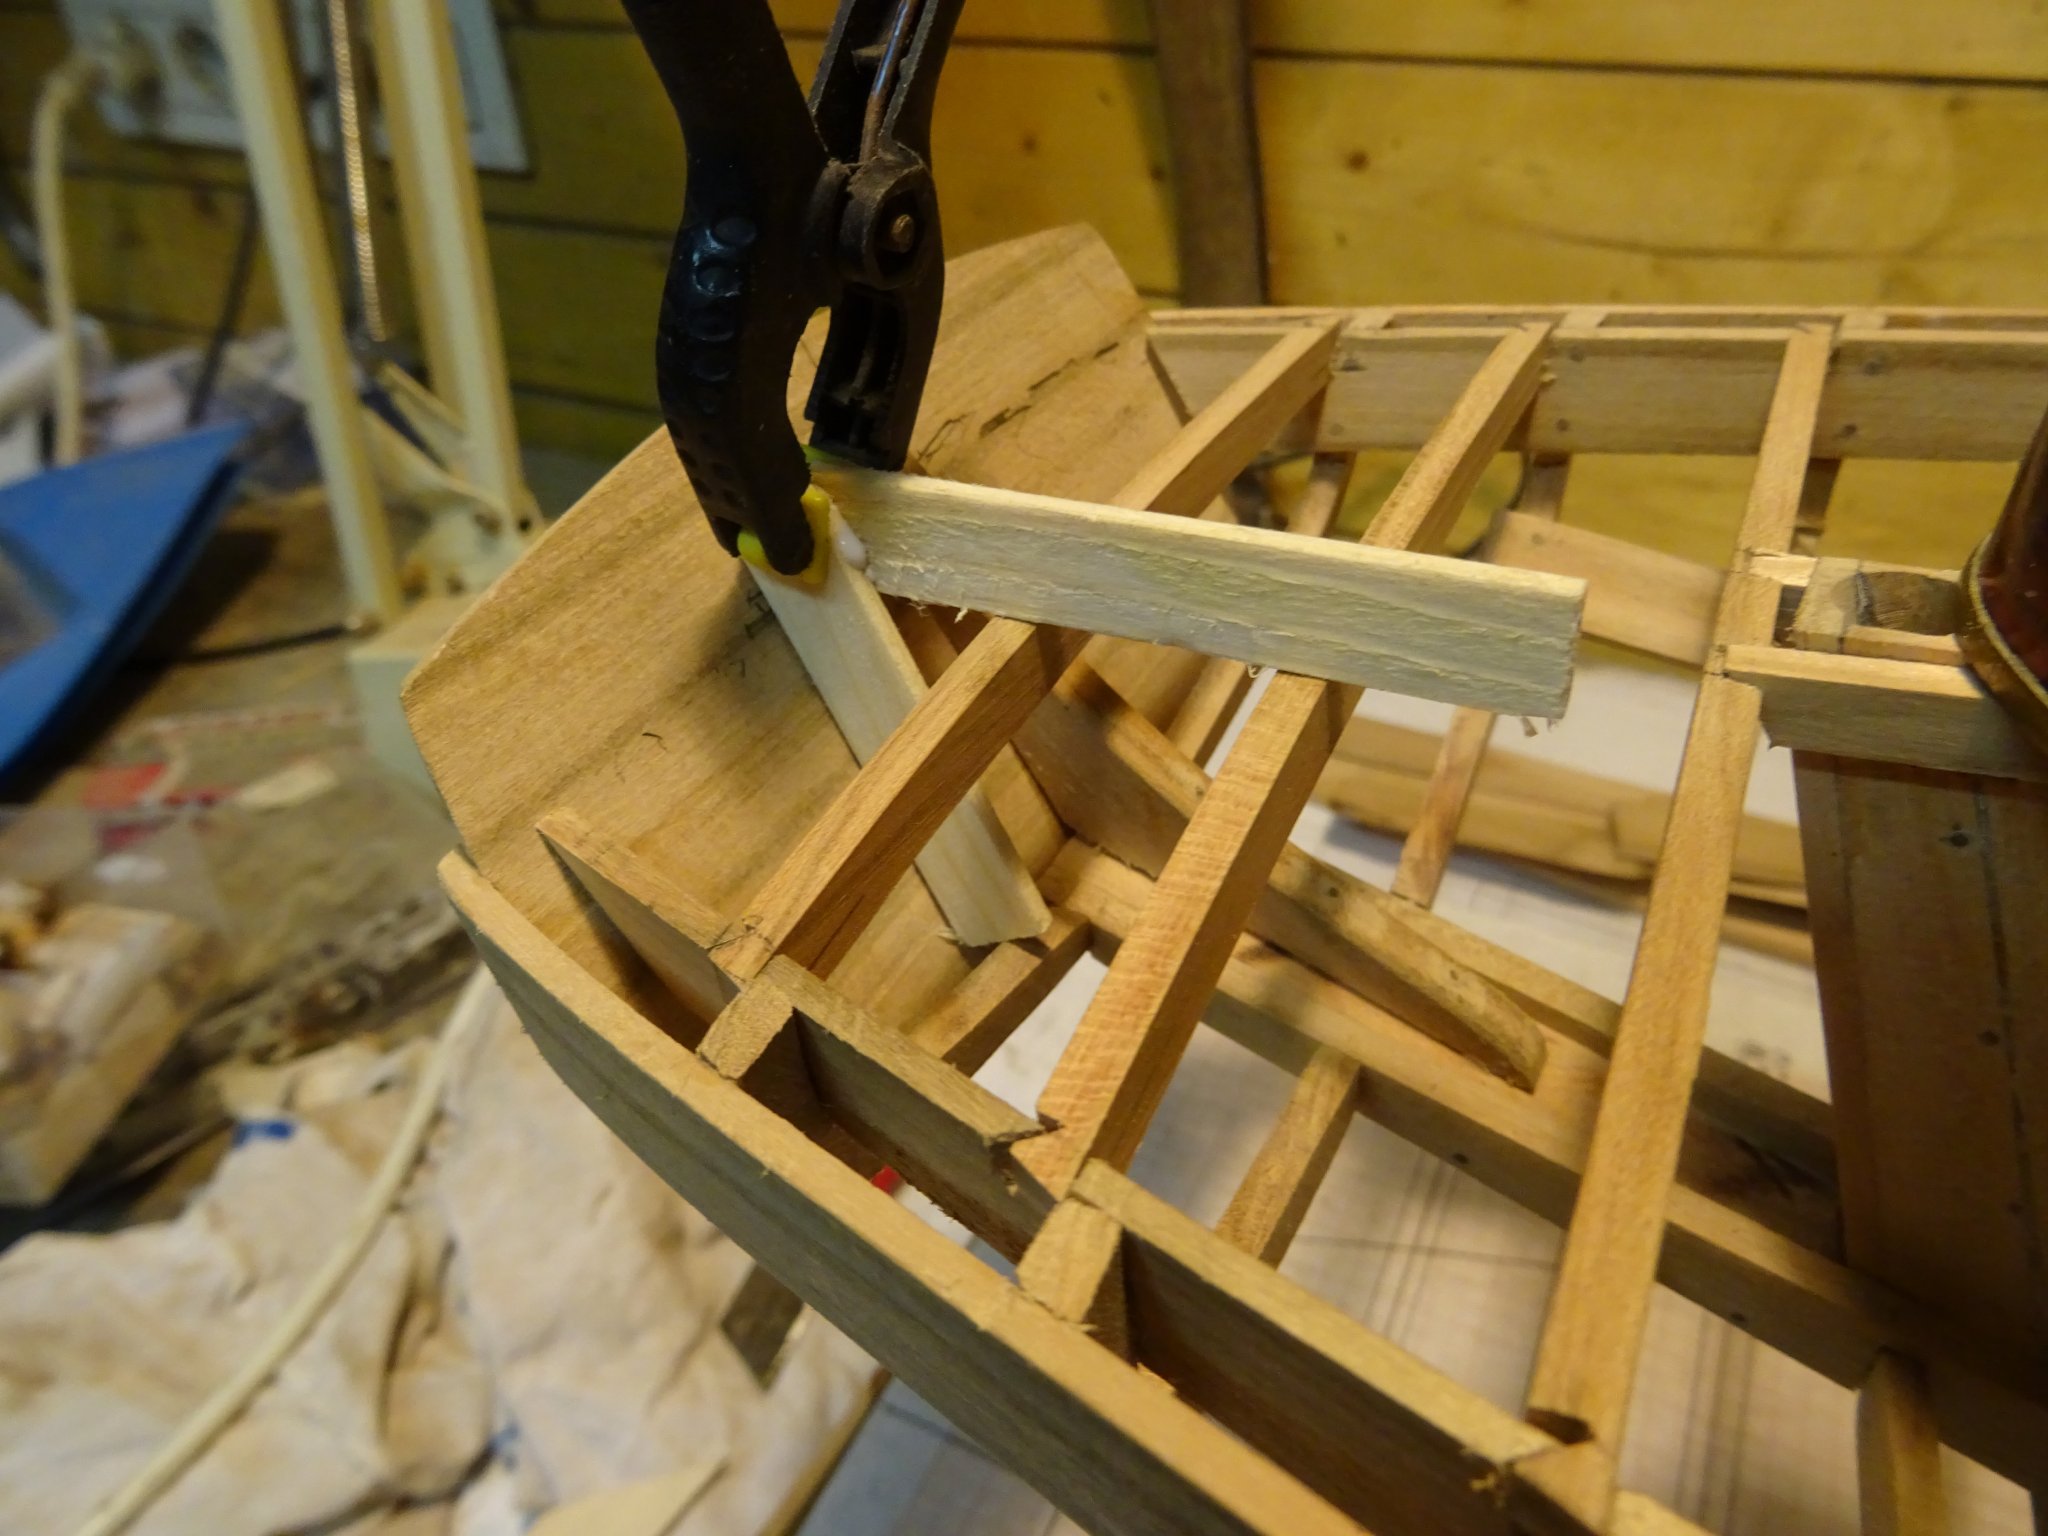
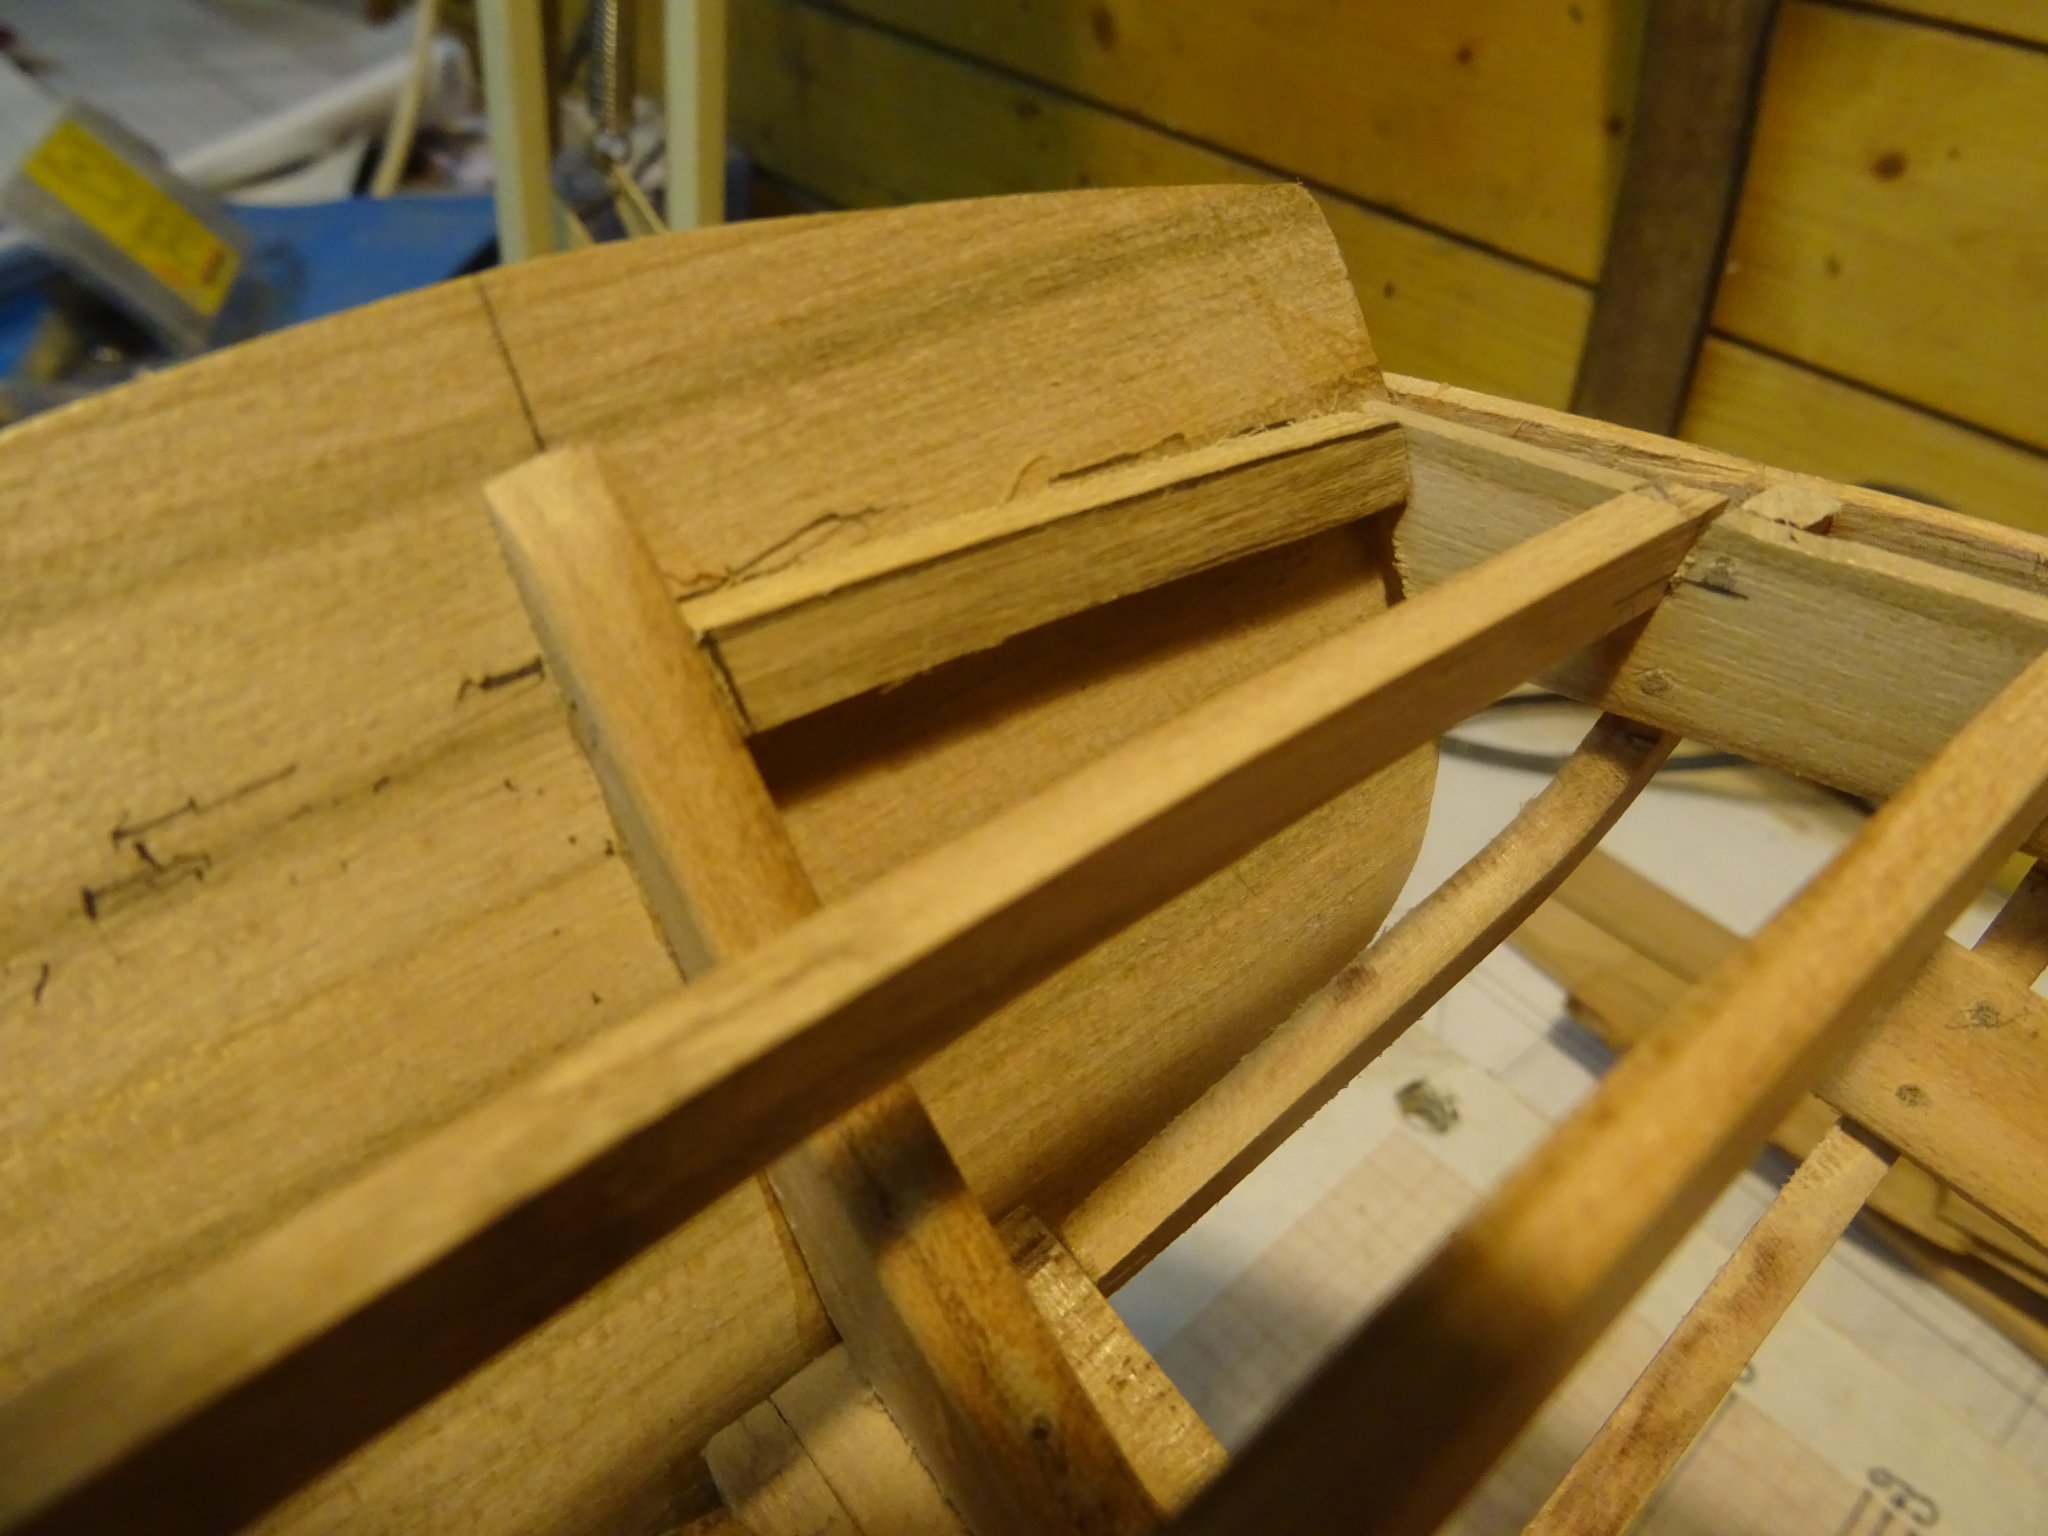
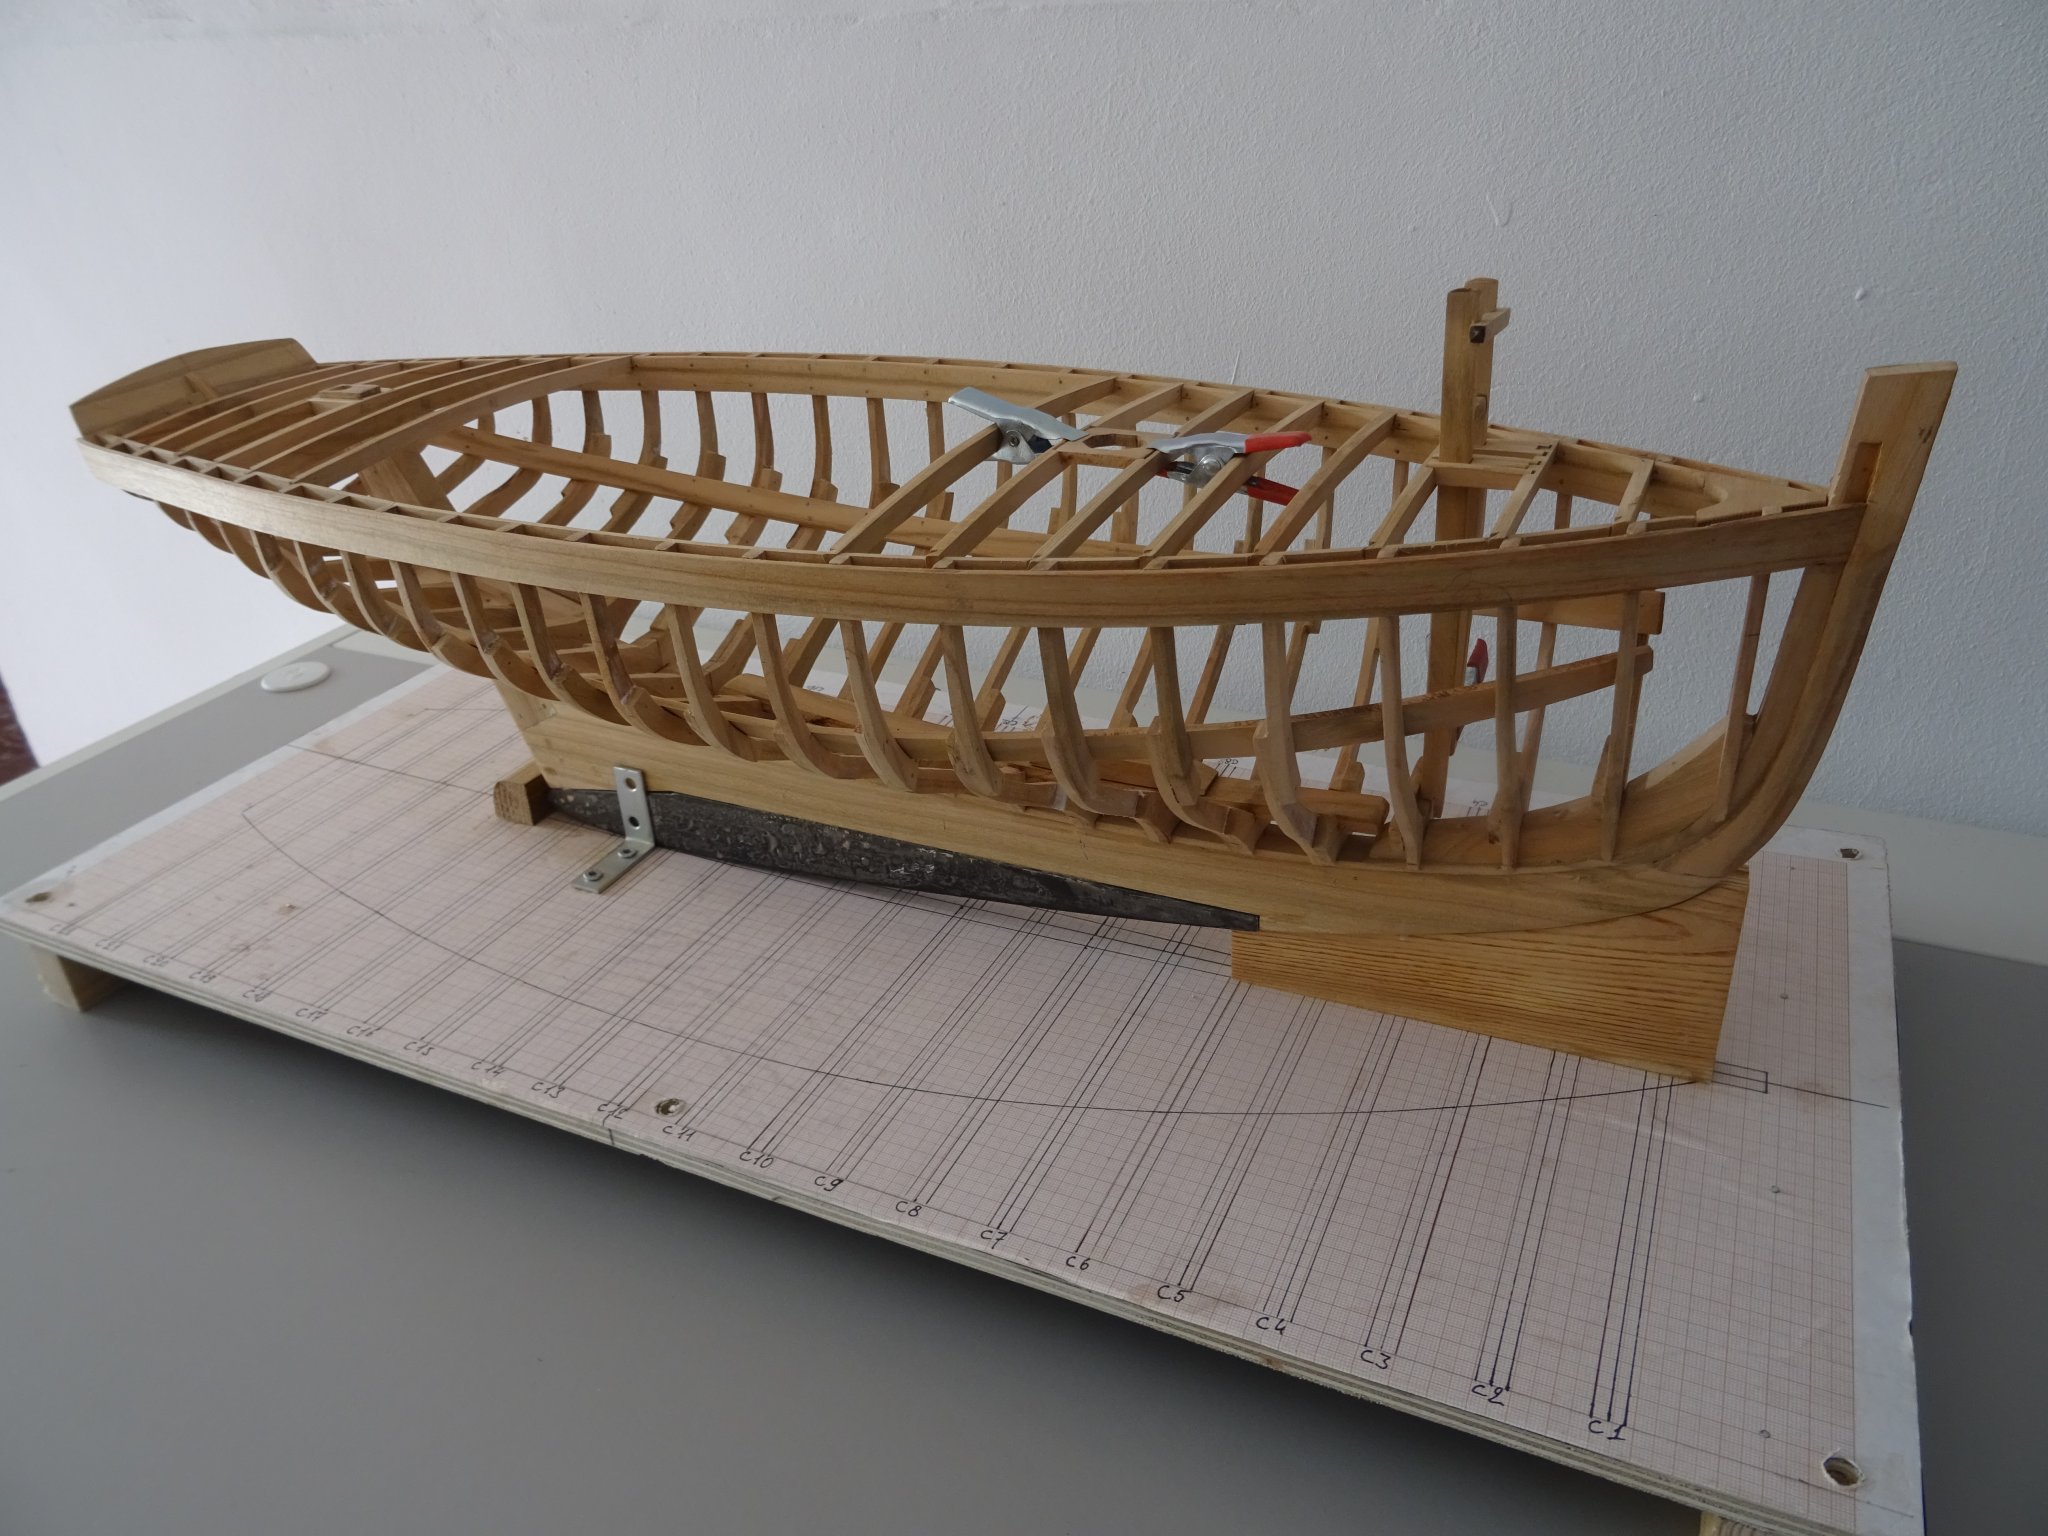
Bruce and Michael, Thank you for your kind comments. Some more progress to the anatomy model: 5. The deck structure Behind the rudder post, there are two bollards, on at each side of the boat. I will place only the port bollard. The one at starboard will be omitted to emphasize the carlings which support it. I first make the bollard. The carlings which support the bollards are partly made. The carlings are made and the port bollard is in its position. Between the cockpit and both sides of the vessel there is a narrow gangway. At the cockpit side the gangway is worn by long carlings. Those carlings are connected with the beam clamps with half beams and again with half dove tails. To take the measurement of the carlings I clamp it with some spruce spacer blocks to give it the correct curve. Making the dovetail connections in the beam clamps and in the carling. At the end of the afternoon the port side is done. Restarting the whole procedure at starboard side. Both sides are done. The moment has come to glue the whole deck structure. Before doing that, I want to varnish the inside of the hull because later it will be hardly accessible to do so. I take out all beams and carlings. I give the interior of the hull three coats of mat water-based varnish. Between the layers I sand with grit 320 sandpaper. Now the whole thing can be put together again, this time everything is fixed with wood glue. When the glue is dry, I sand the whole deck structure. The last preparation before starting to lay the deck is placing 'filler pieces' against the beam clamps. I don't know if I am using the correct term in English. In Dutch it is called 'griet'. It are wooden pieces between the deck beams, against the beam clamps on which lays the seam between the waterway and the adjoining deck plank. Measuring the length and the angle of the piece. Fitting the piece. Placing two tree nails in the piece. Sanding it and gluing it into its place. After repeating that for twenty two times, the whole port side is done. When the glue is dry and my clamps are available again, I can start with the starboard side Thank you to follow Thank you for the likes Thank you for your constructive comments Till next week


- 168 replies
-
- 23
-
-
HMS Enterprise by AlexBaranov - 1:36
G.L. replied to AlexBaranov's topic in - Build logs for subjects built 1751 - 1800
It looks just like a contemporary model. Very nice. -
That's really nice work, Steve.
-
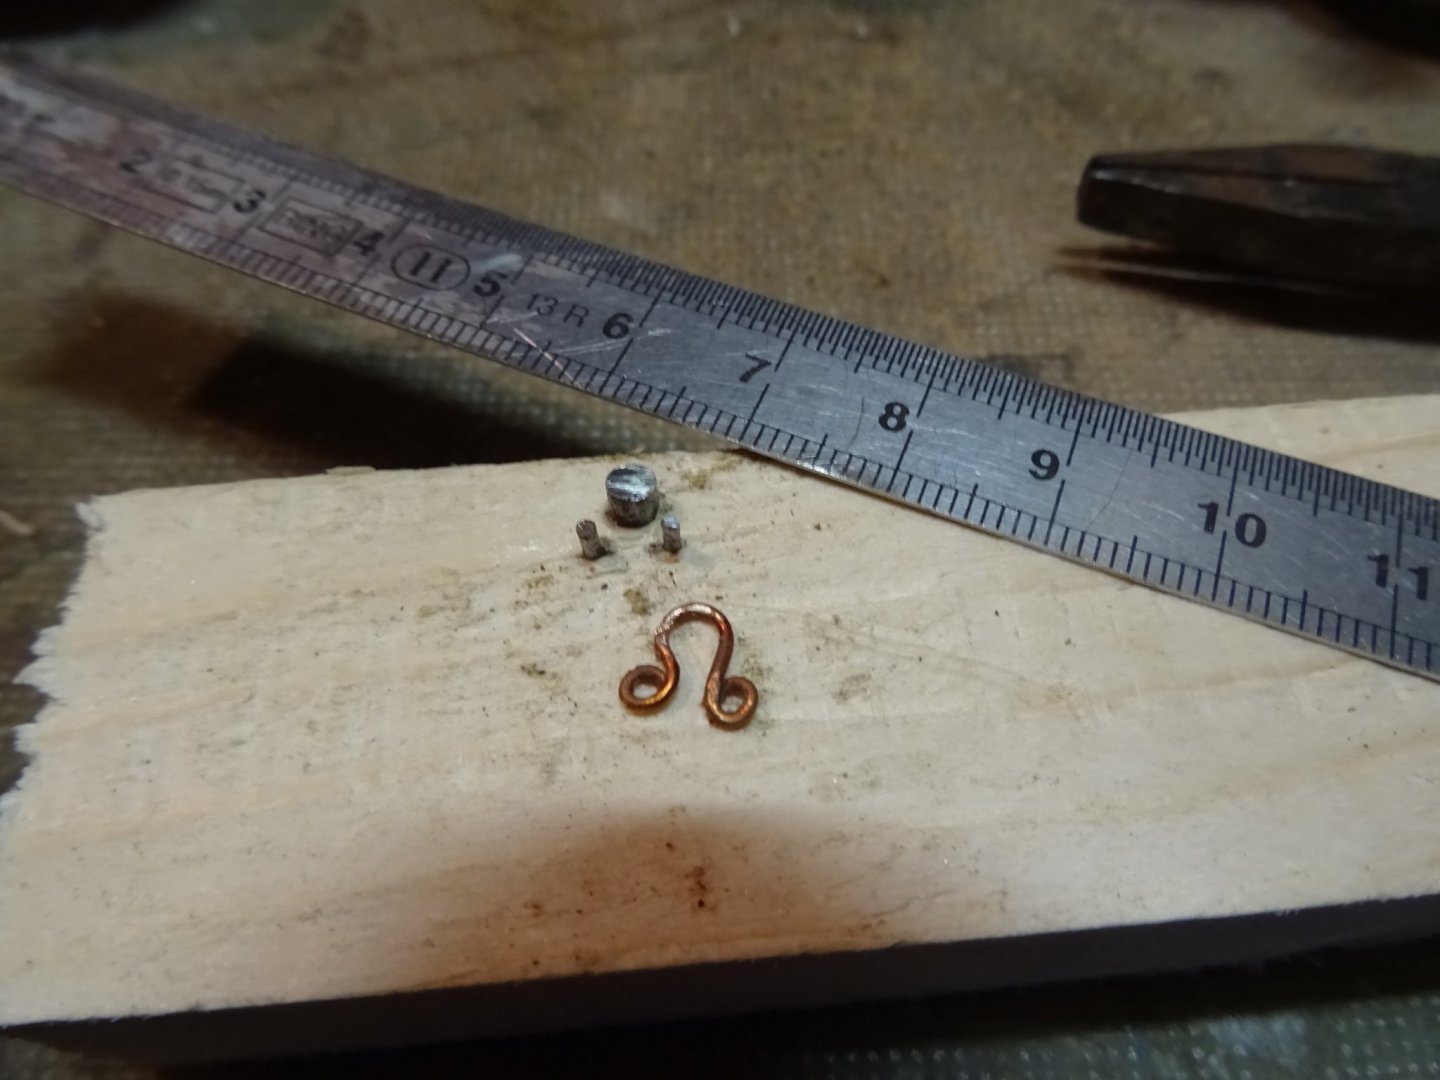
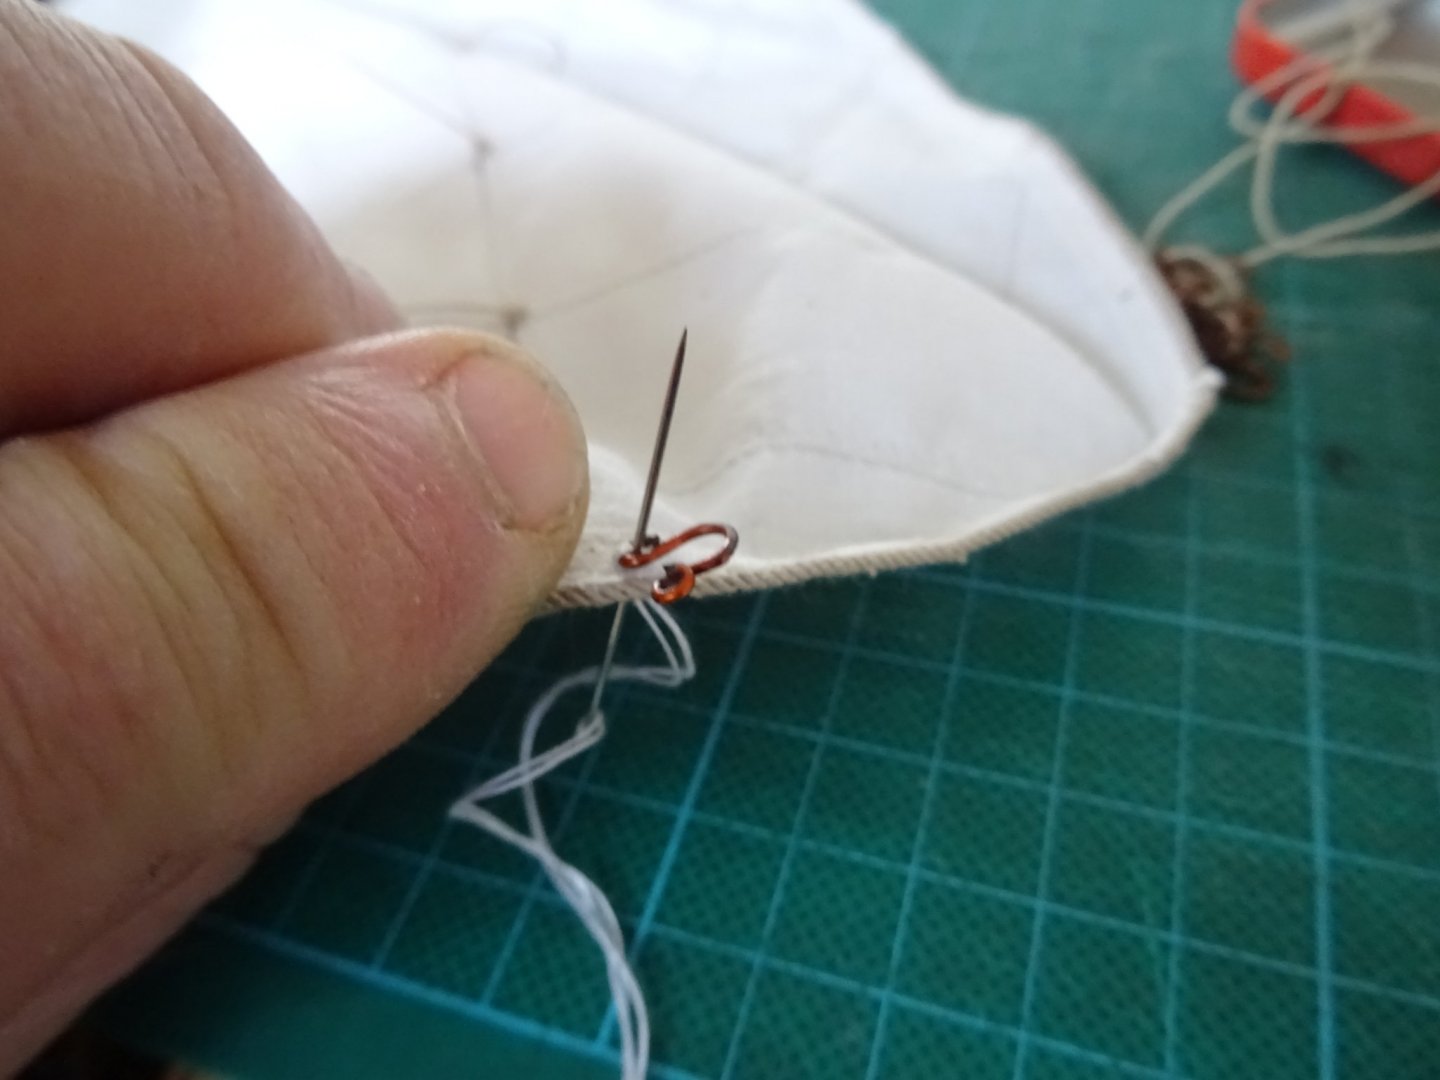
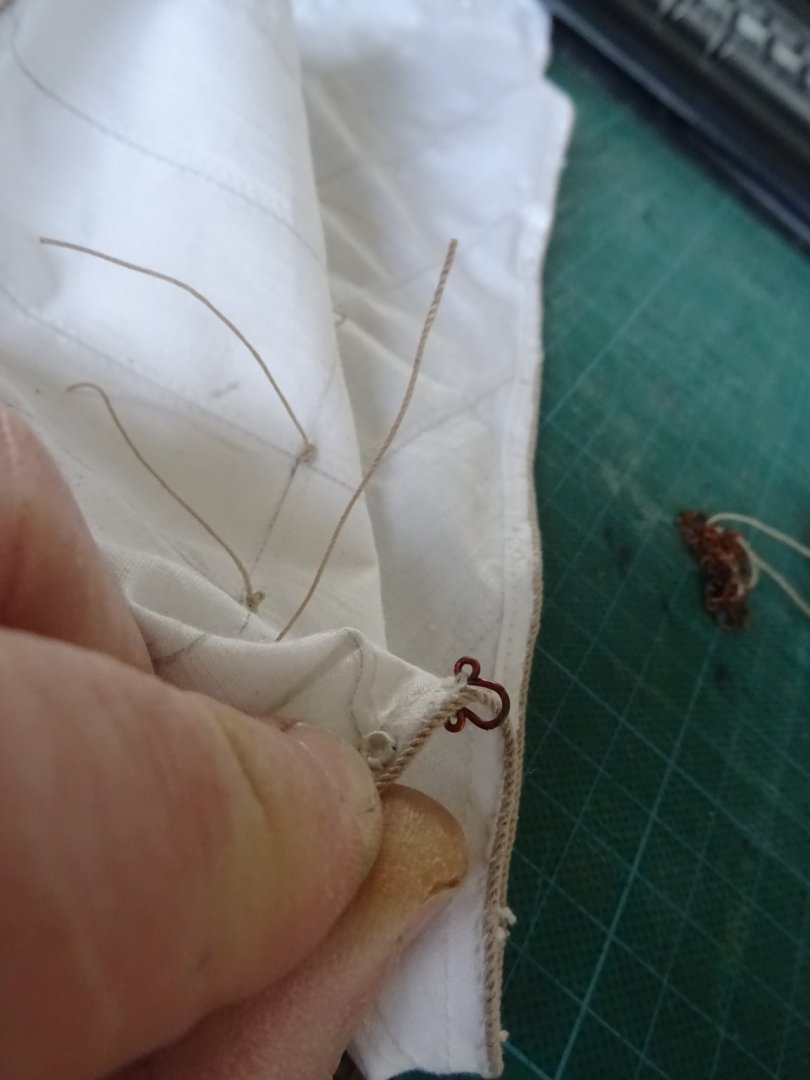
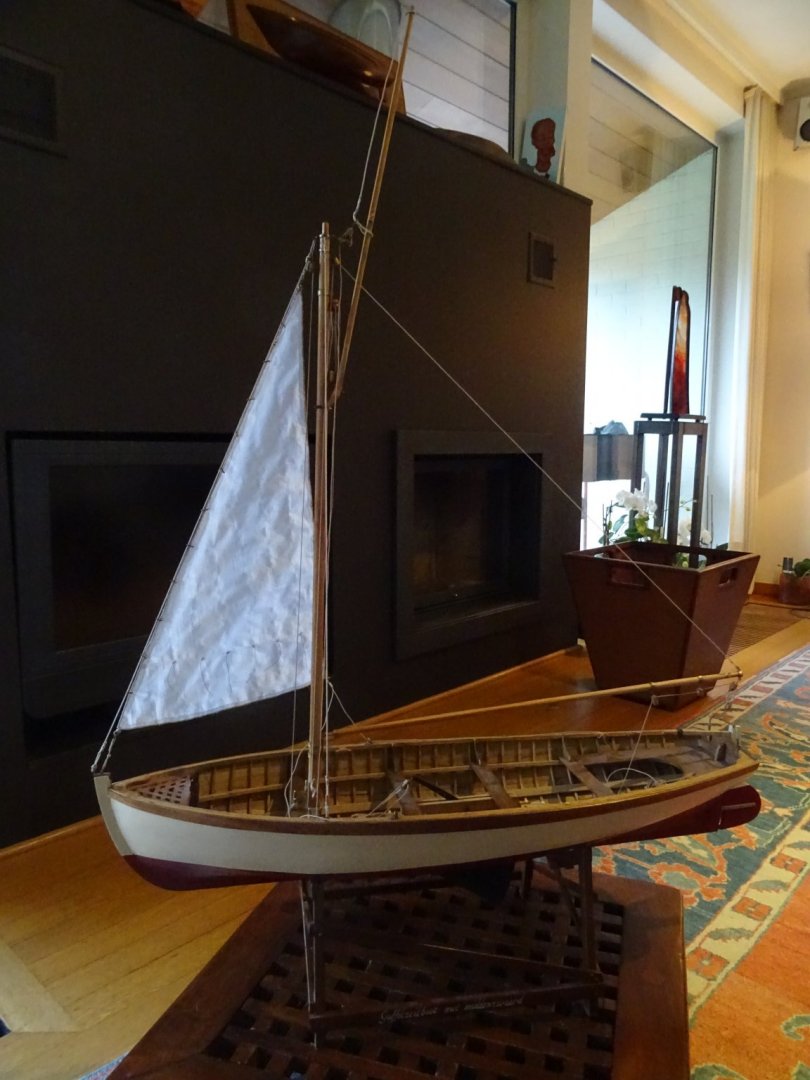
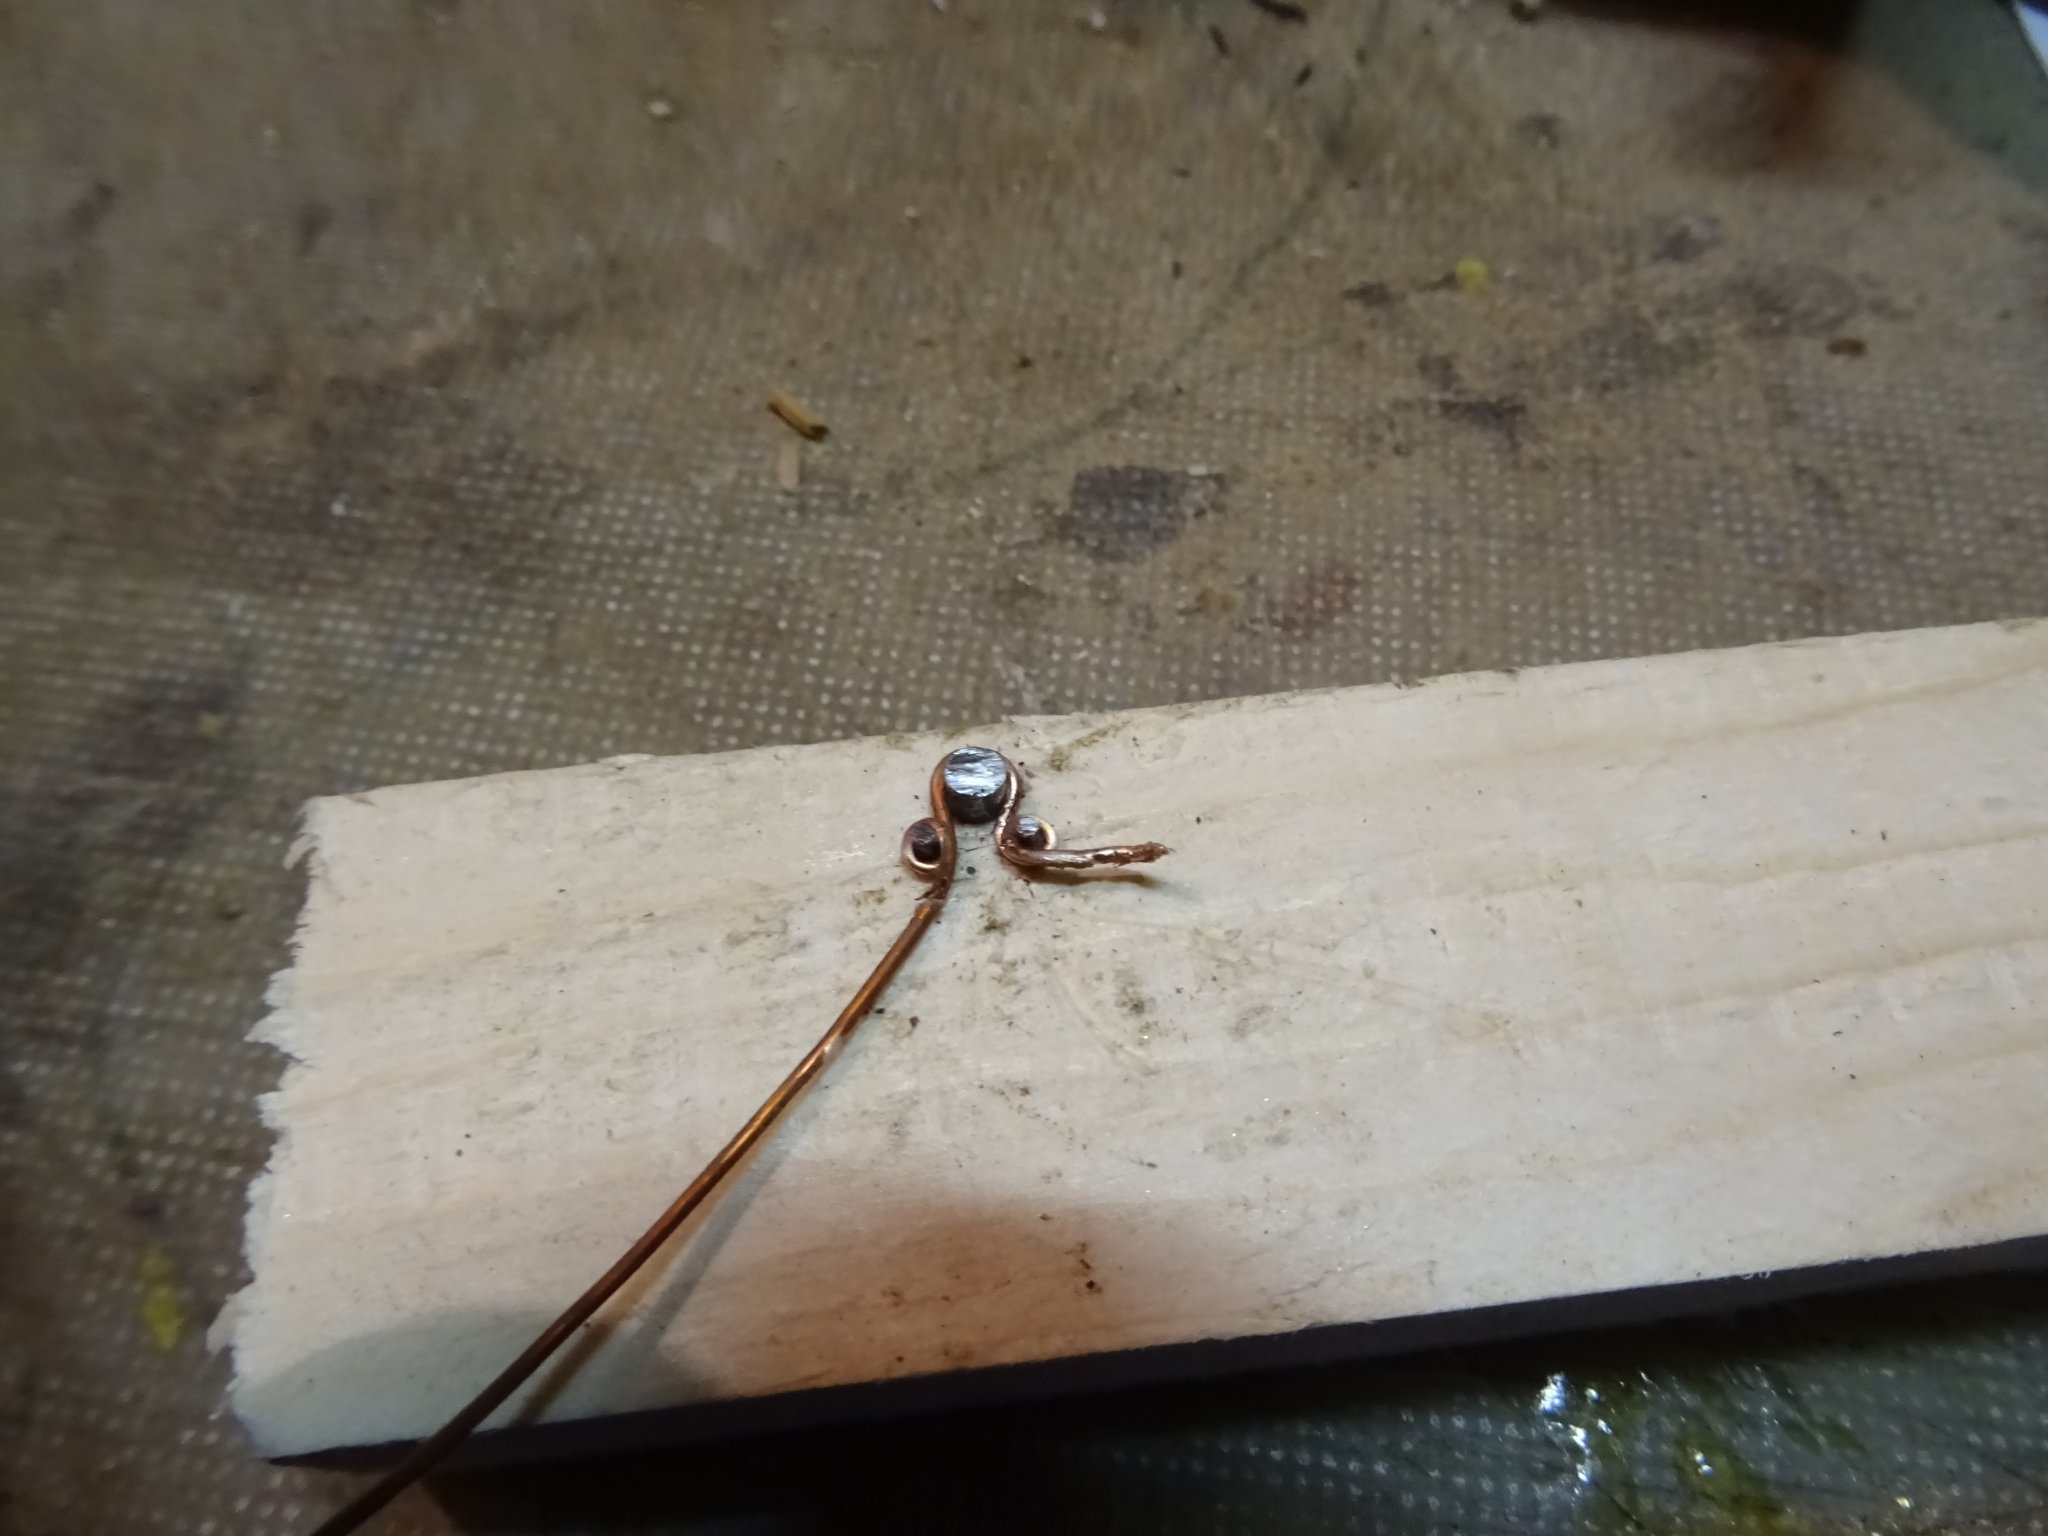
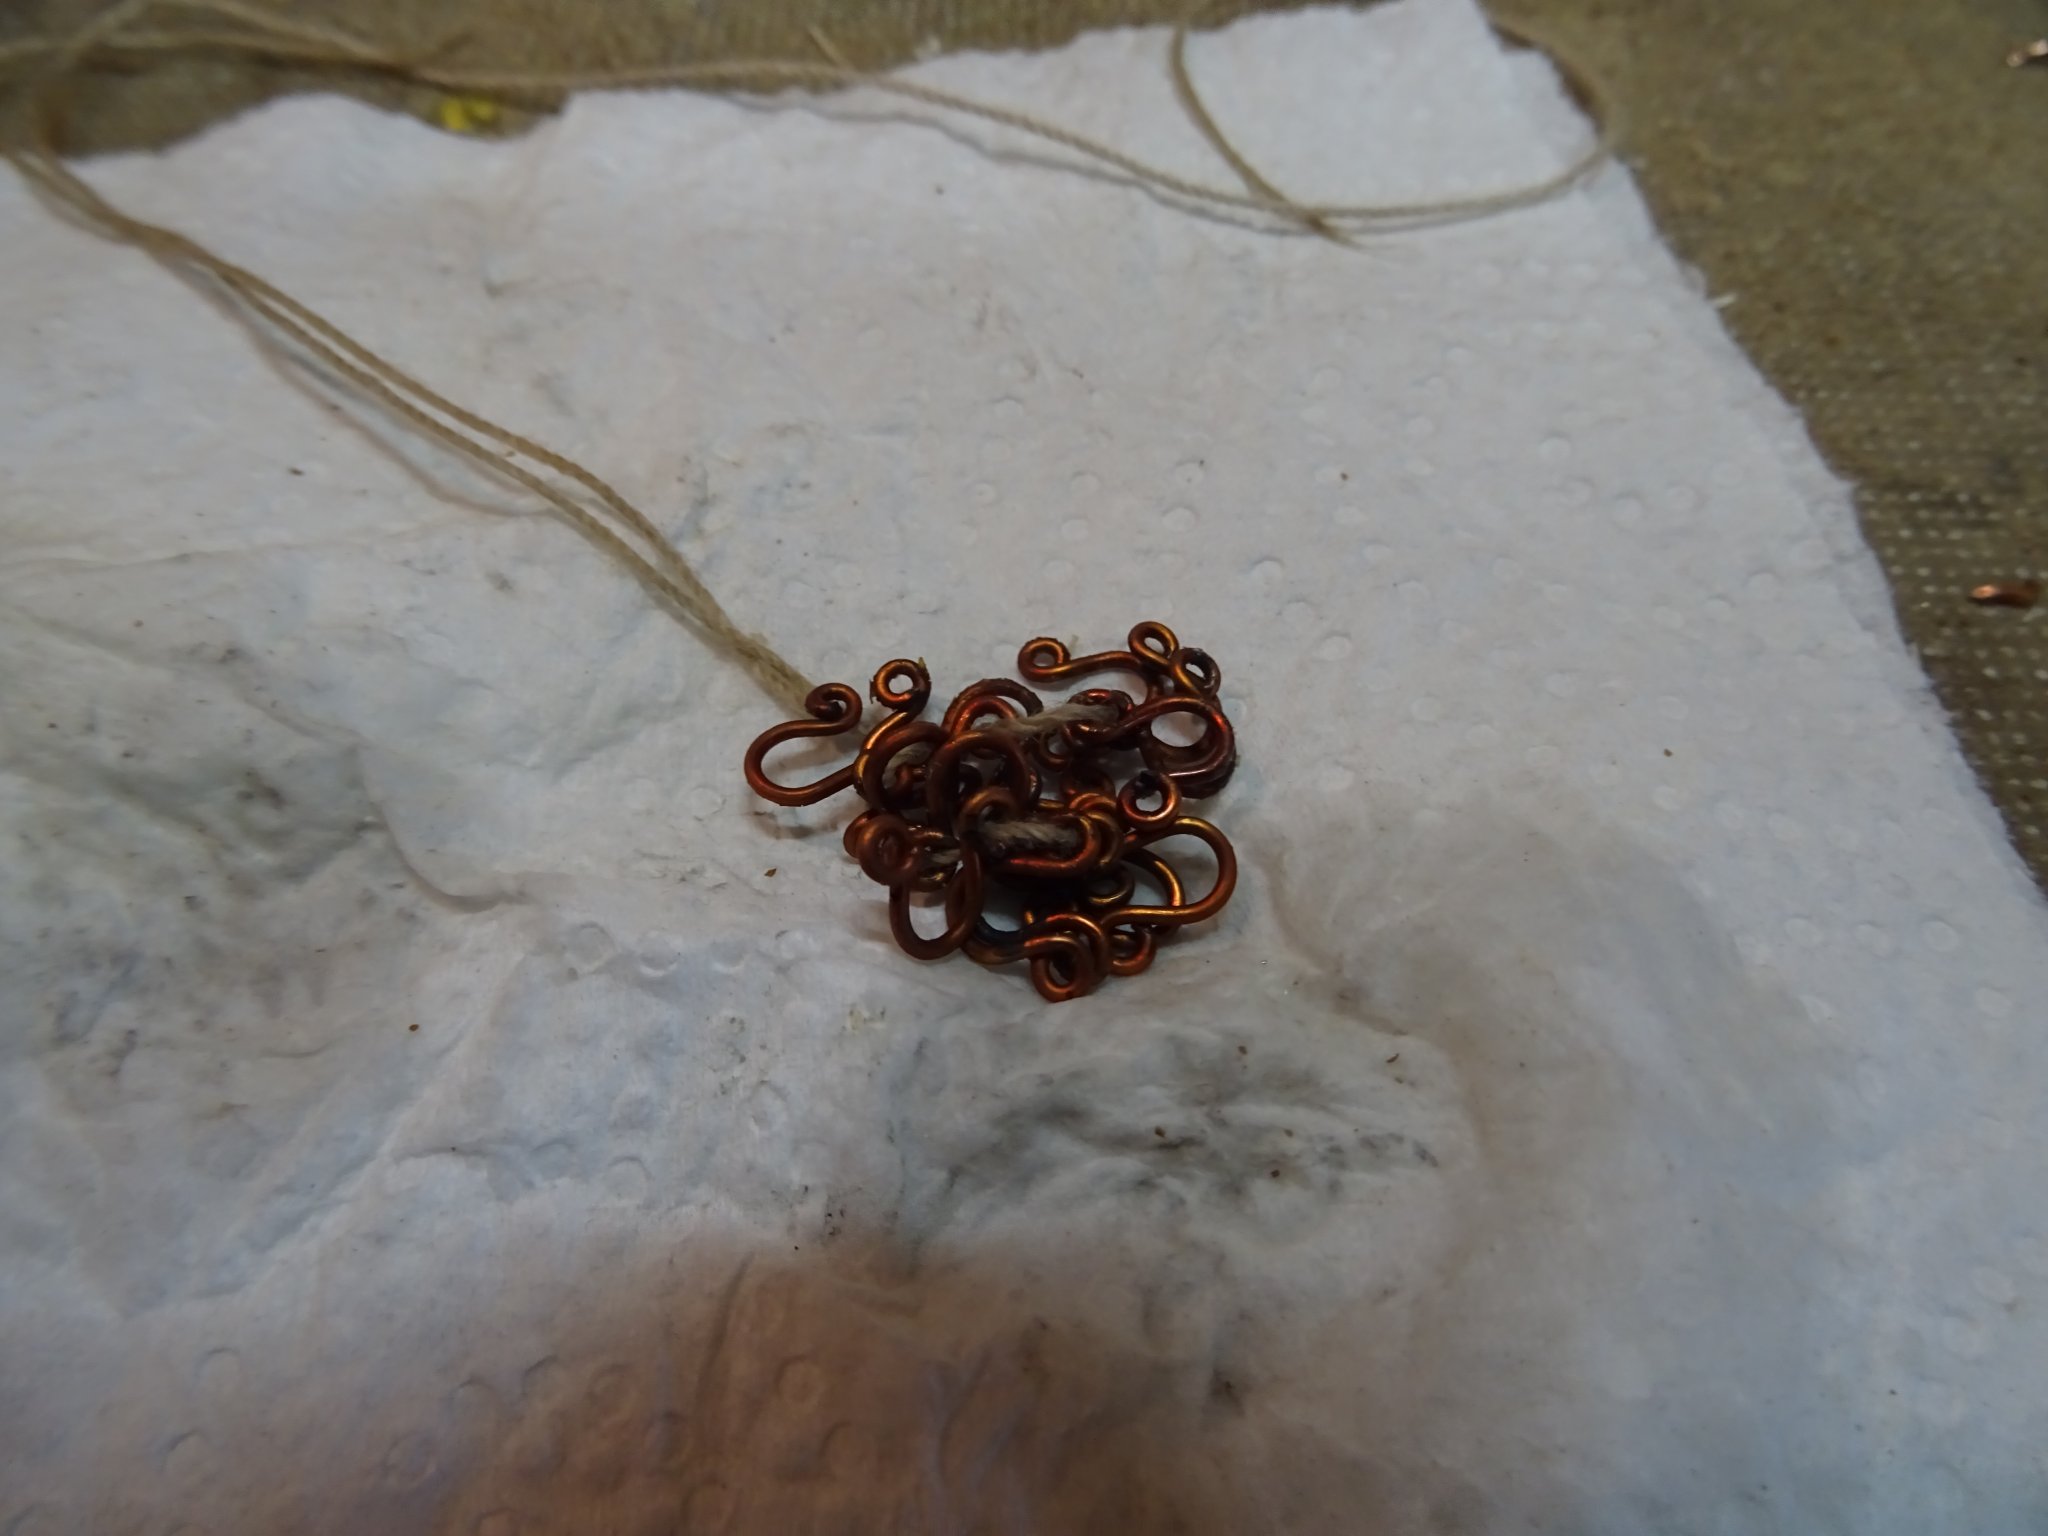
The jib will be attached to the fore stay by jib hanks. To make the hanks, I make a simple jig with one 3mm nail and two 1mm nails. Making the hanks is just turning a copper wire around the nails and cut it at both ends. In no time I have more than enough jib hanks and I can start to sew them on the sail. They are sewn first at one side of the sail ... ... then, at the other side (that takes a bit more time). Here the sail is completely done and ready to be rigged and hoisted. At least my boat is under sail. Next week I can start with the main sail.


- 209 replies
-
- 13
-
-
Thank you very much for your comments, my friends. In fact every thing that I apply in making the sails, I learned it from you by reading all your logs on this forum and also from my wife who accompanies me in the working with the sewing machine.
-
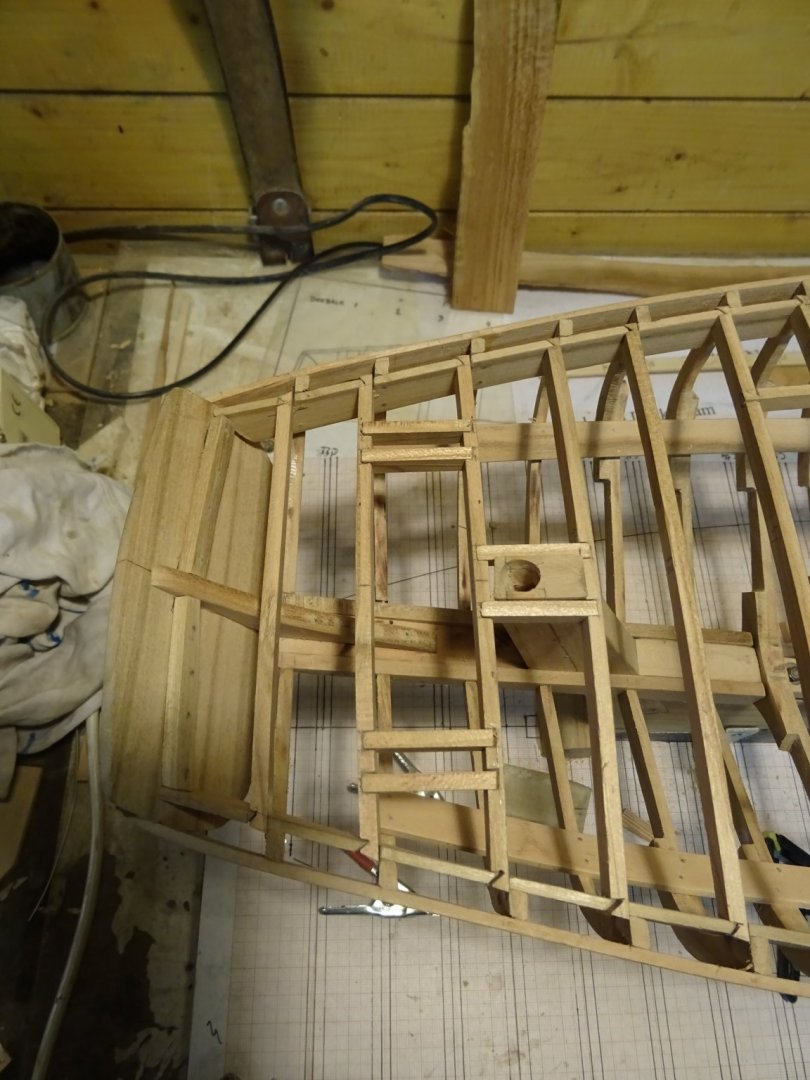
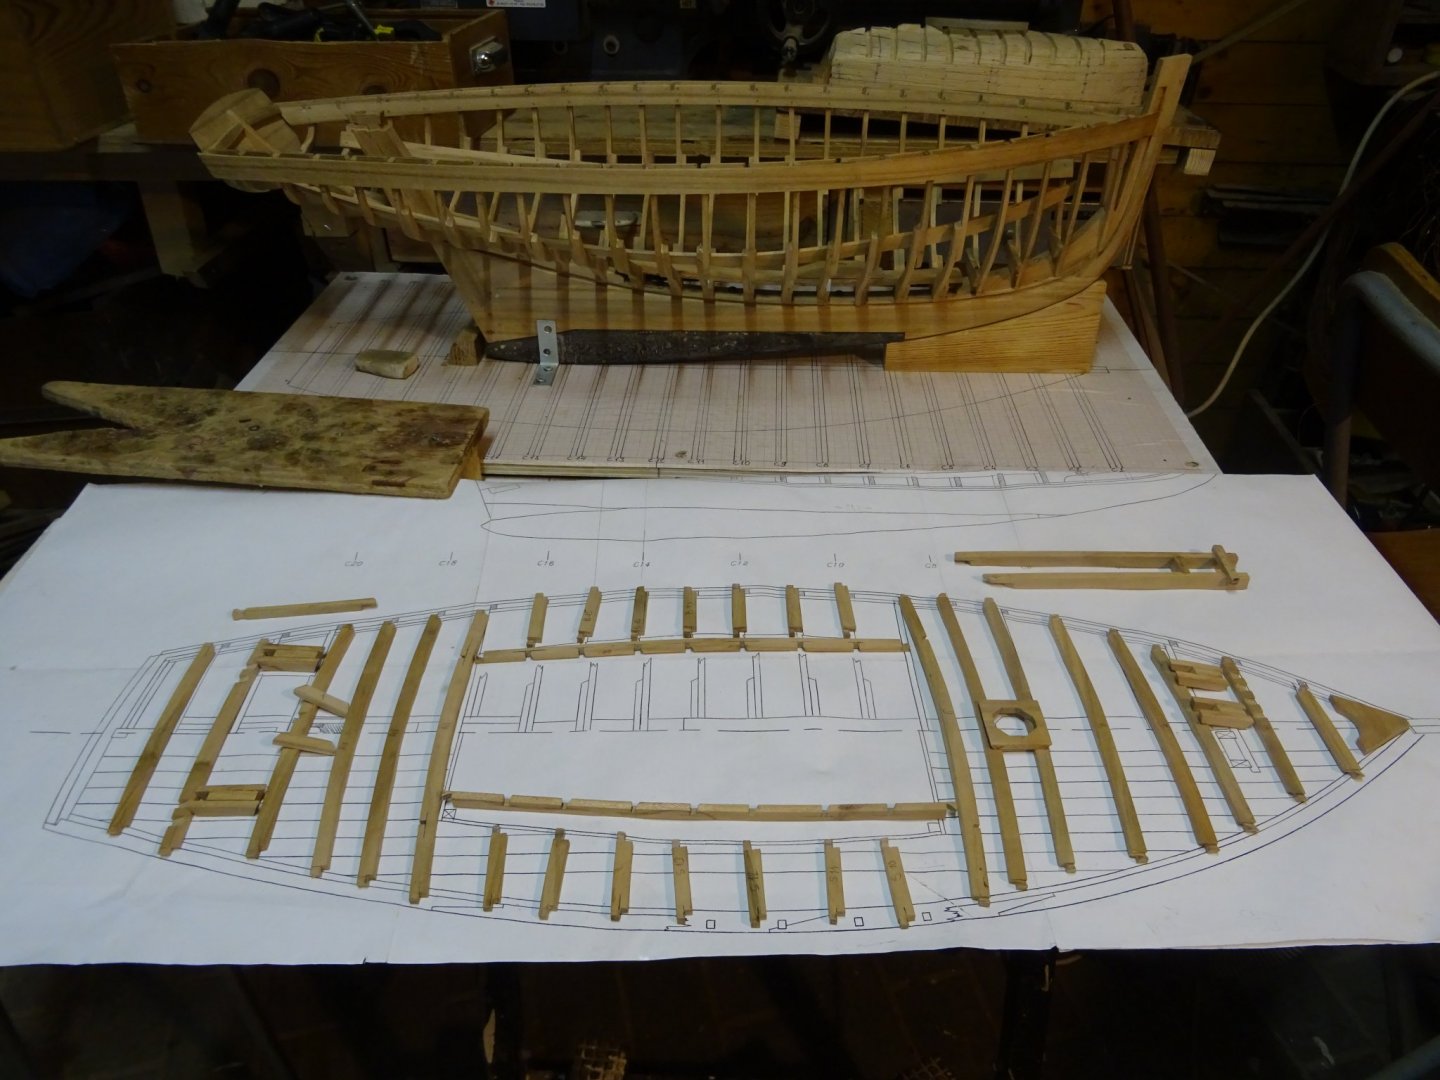
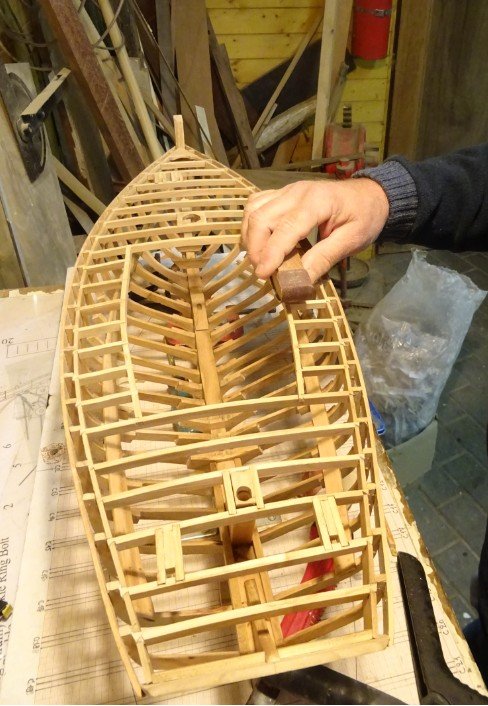
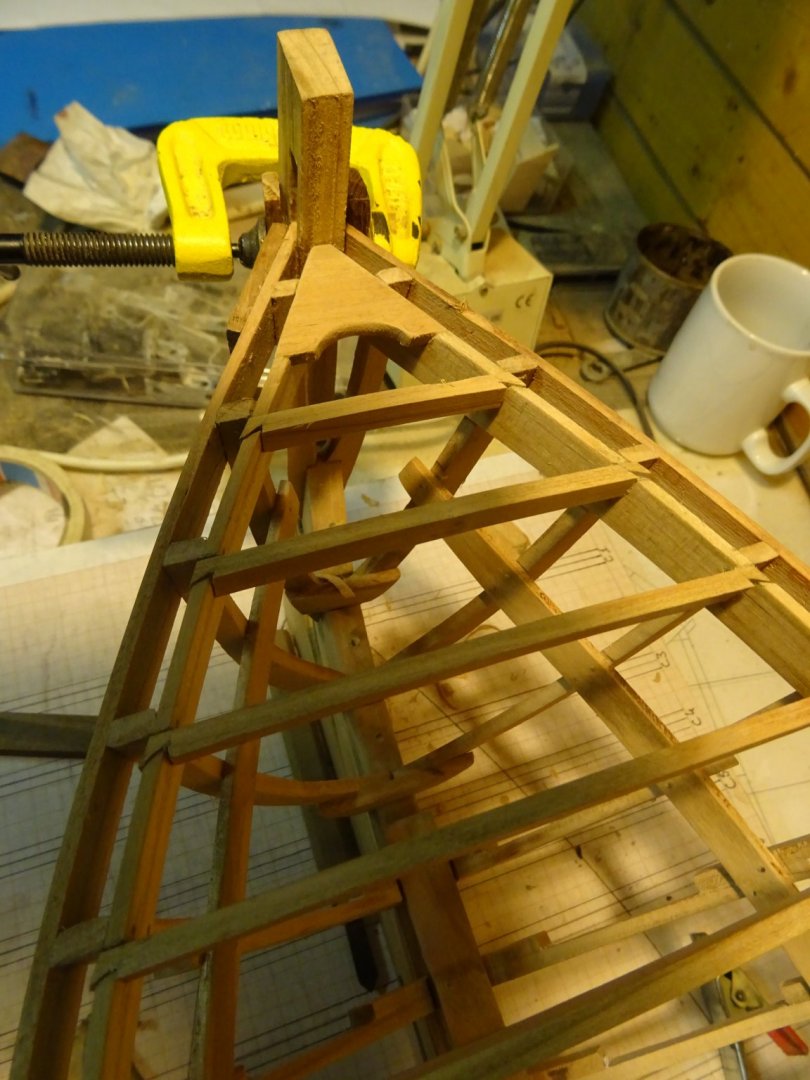
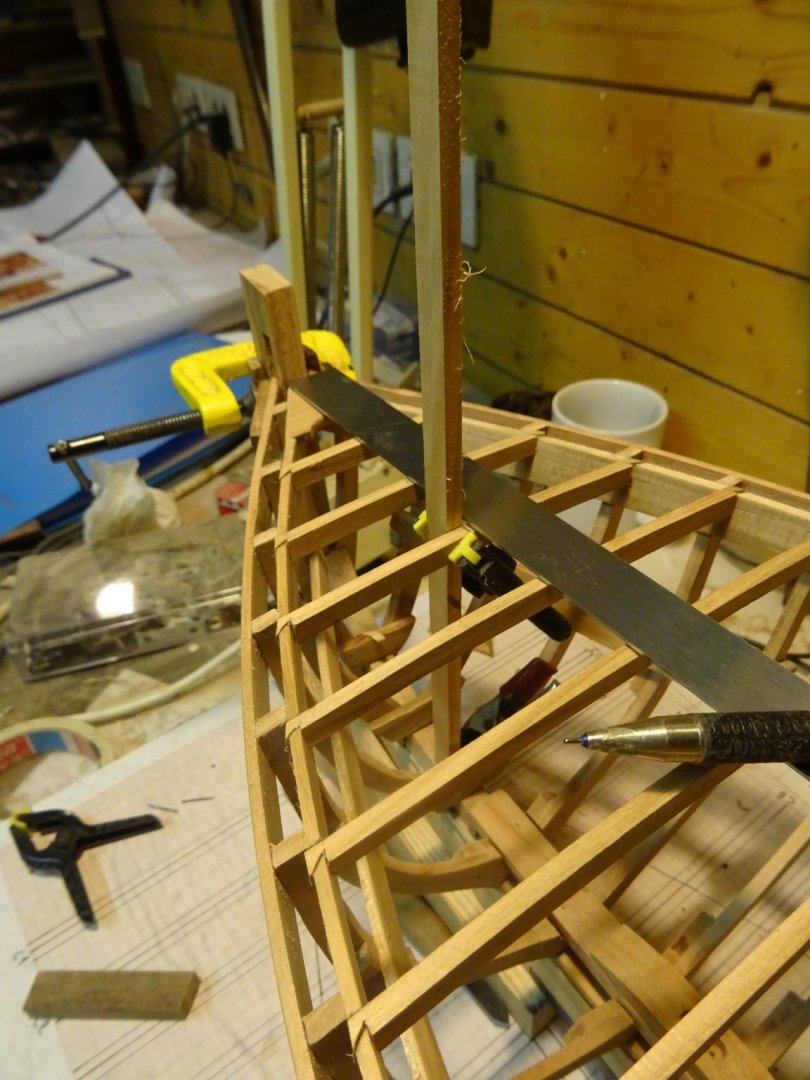
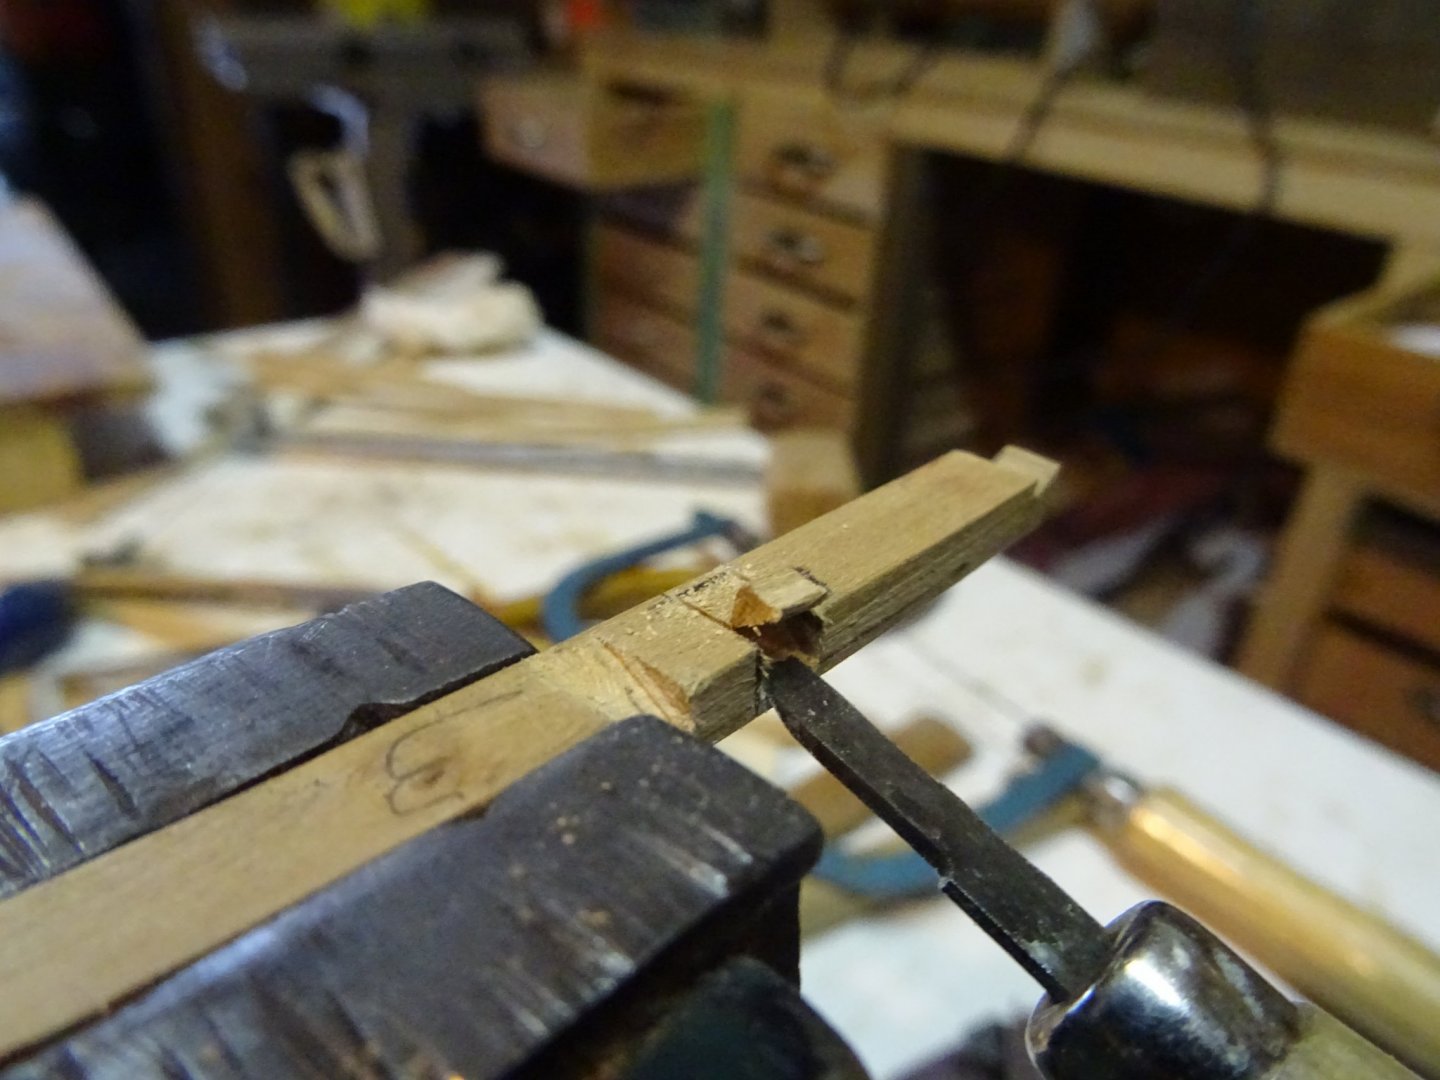
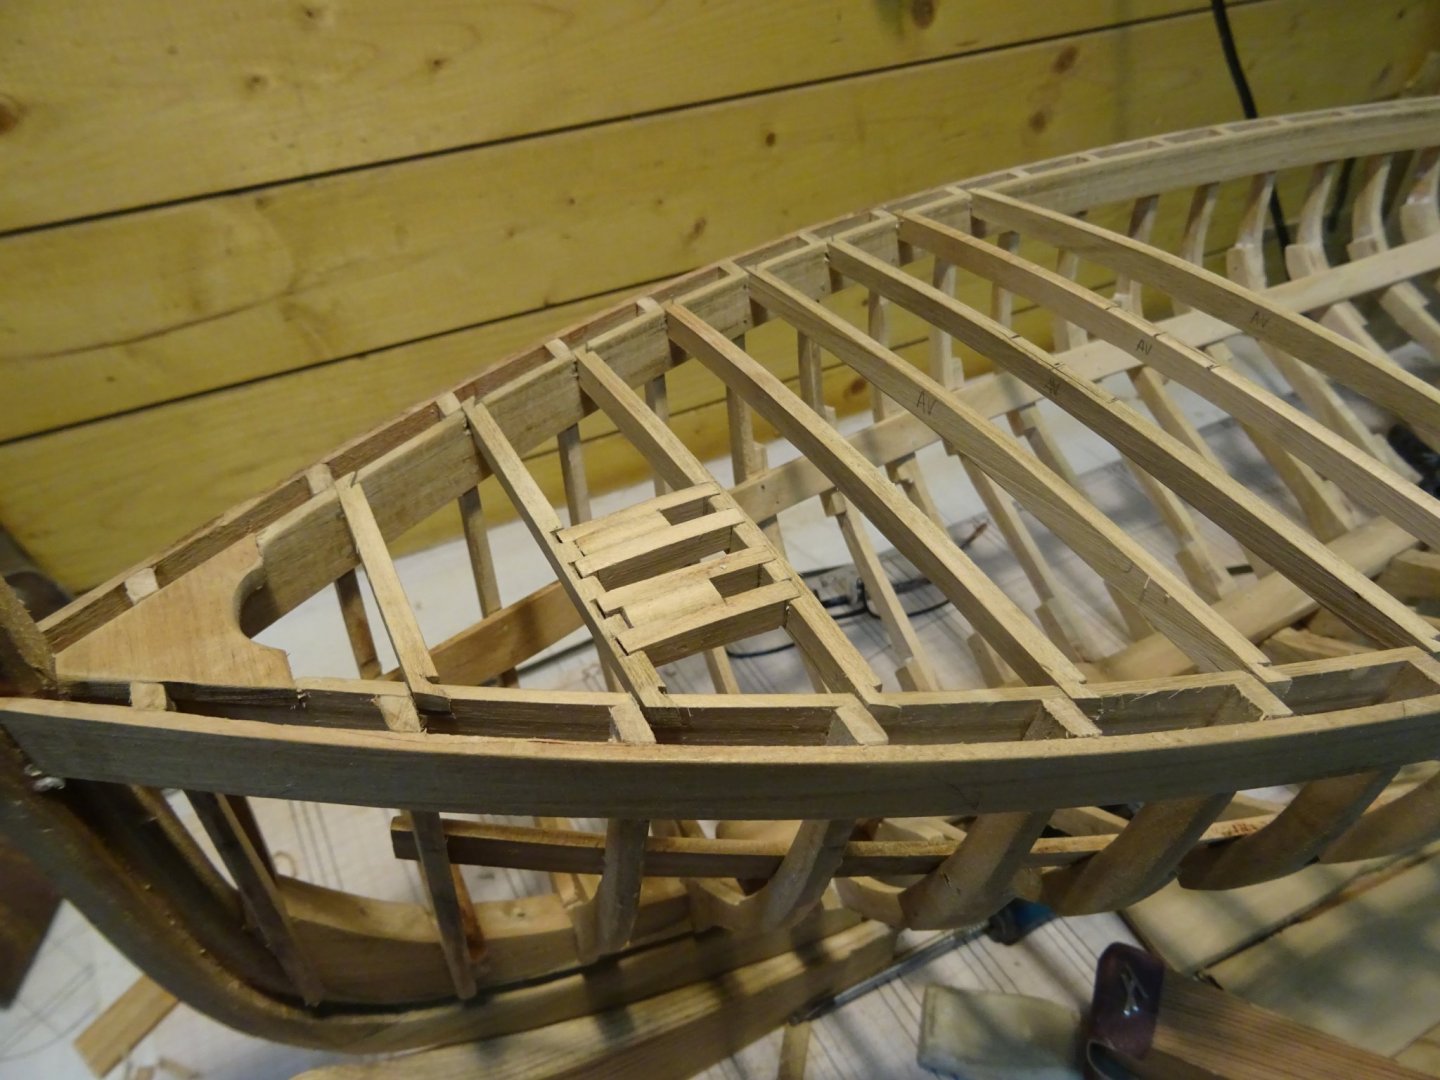
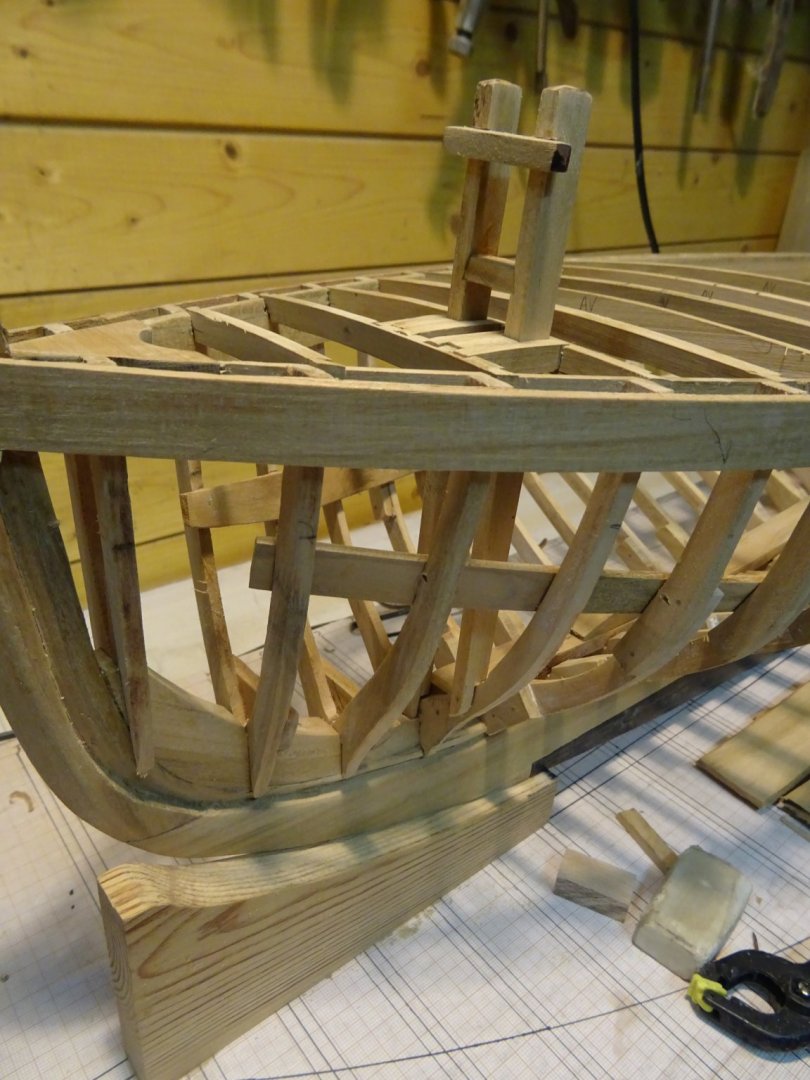
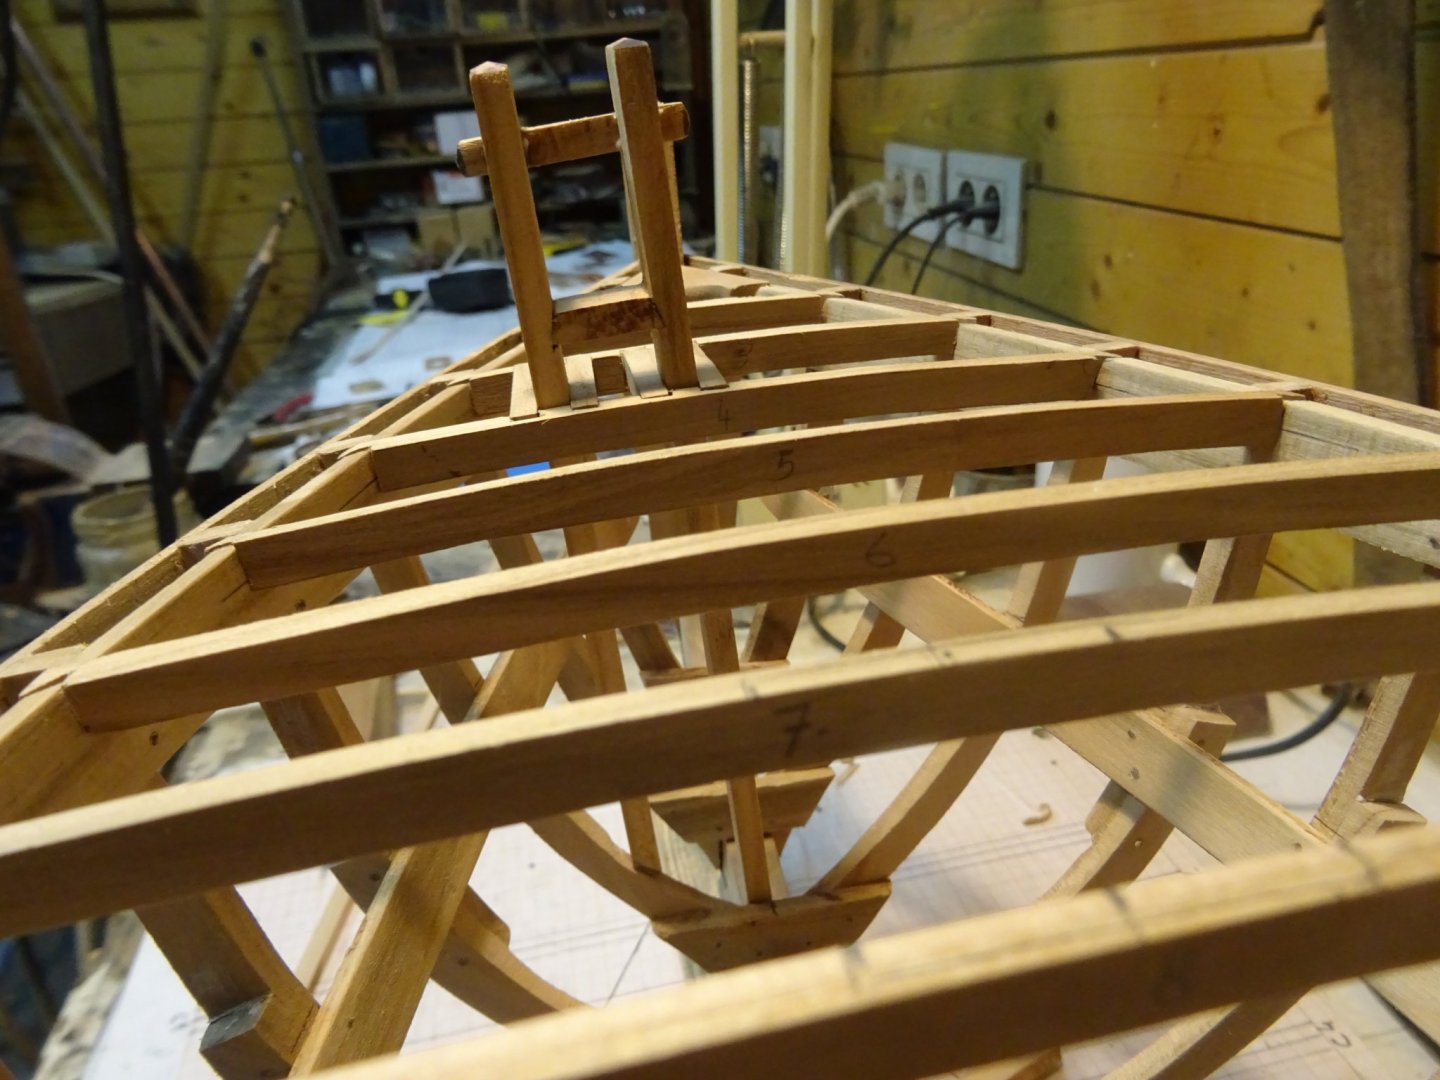
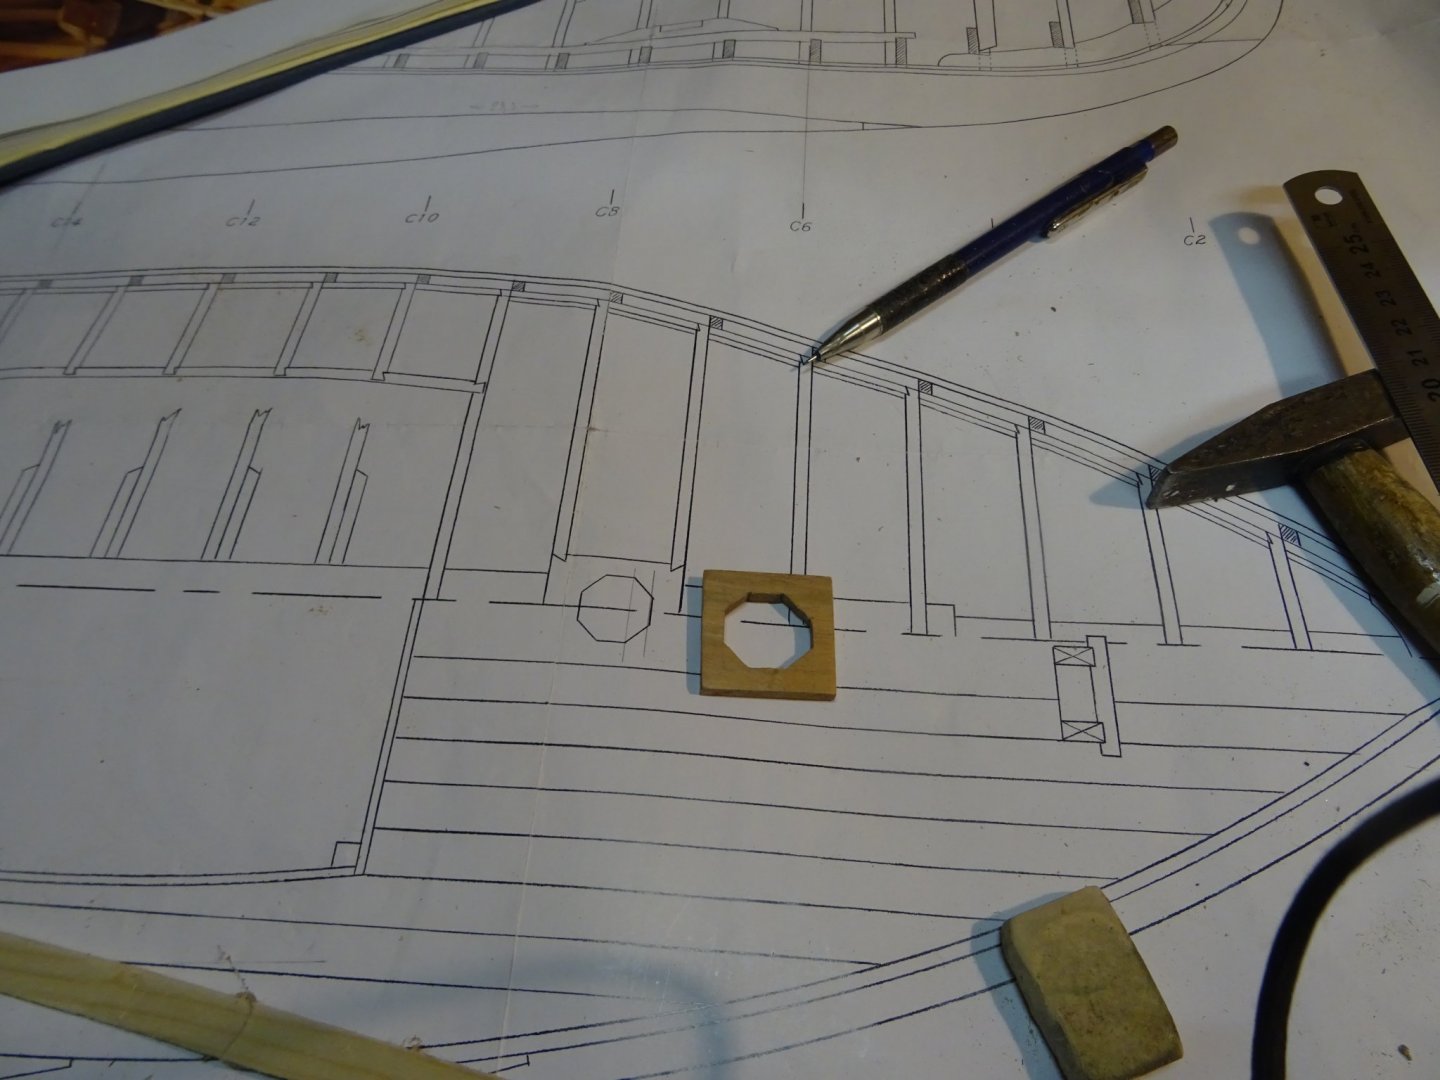
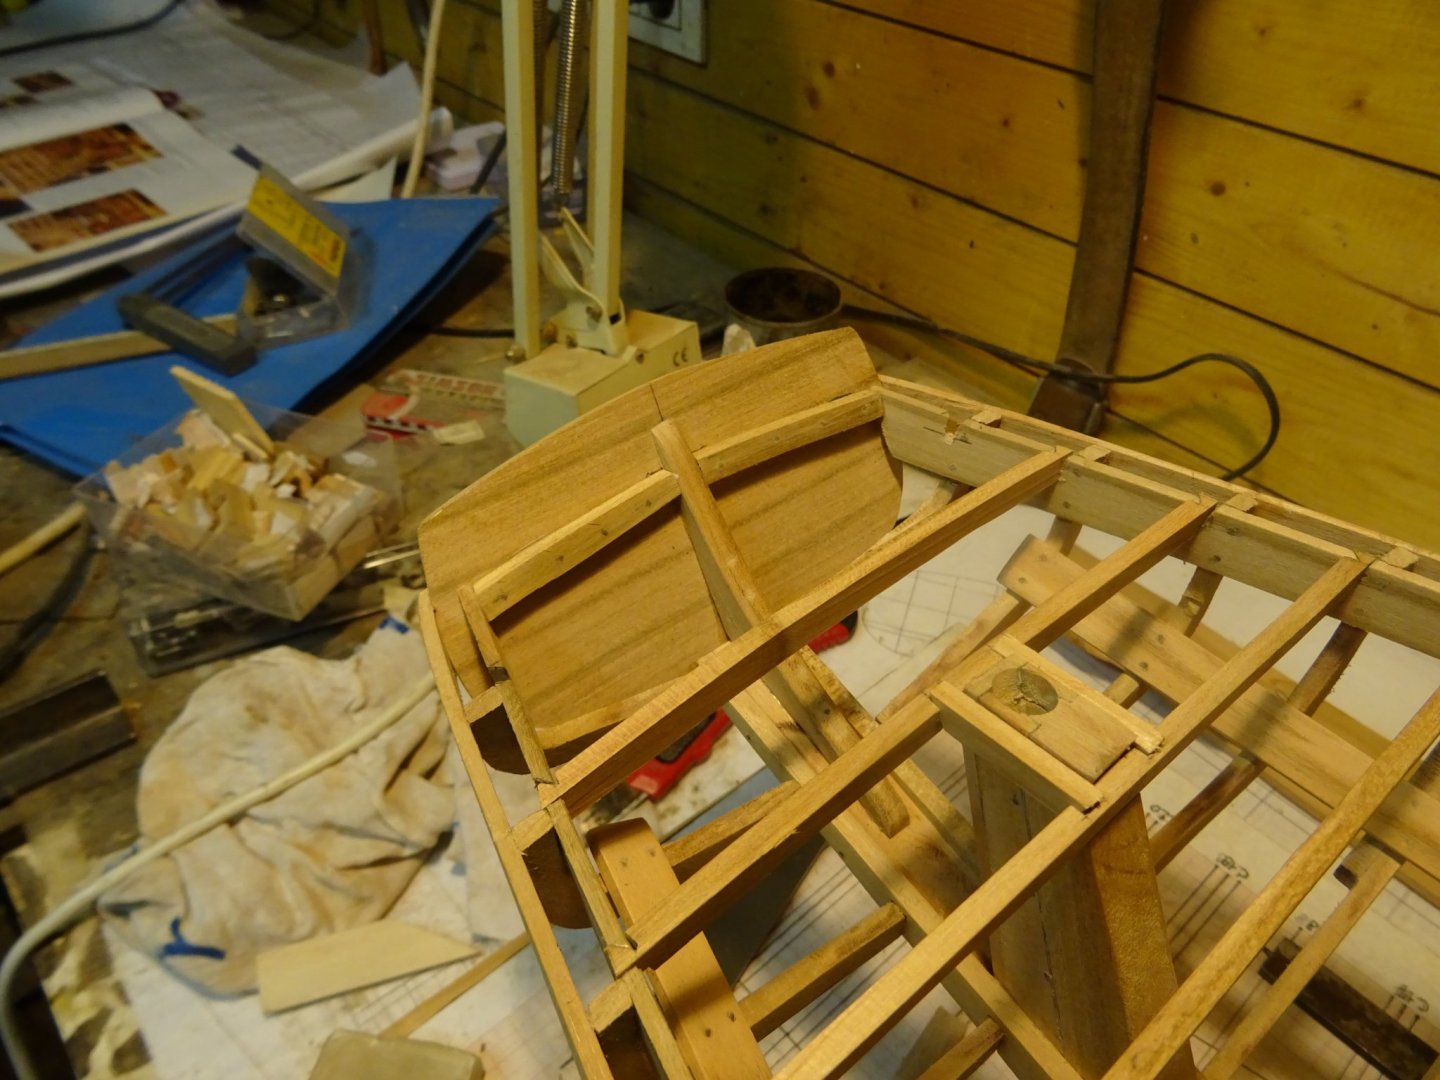
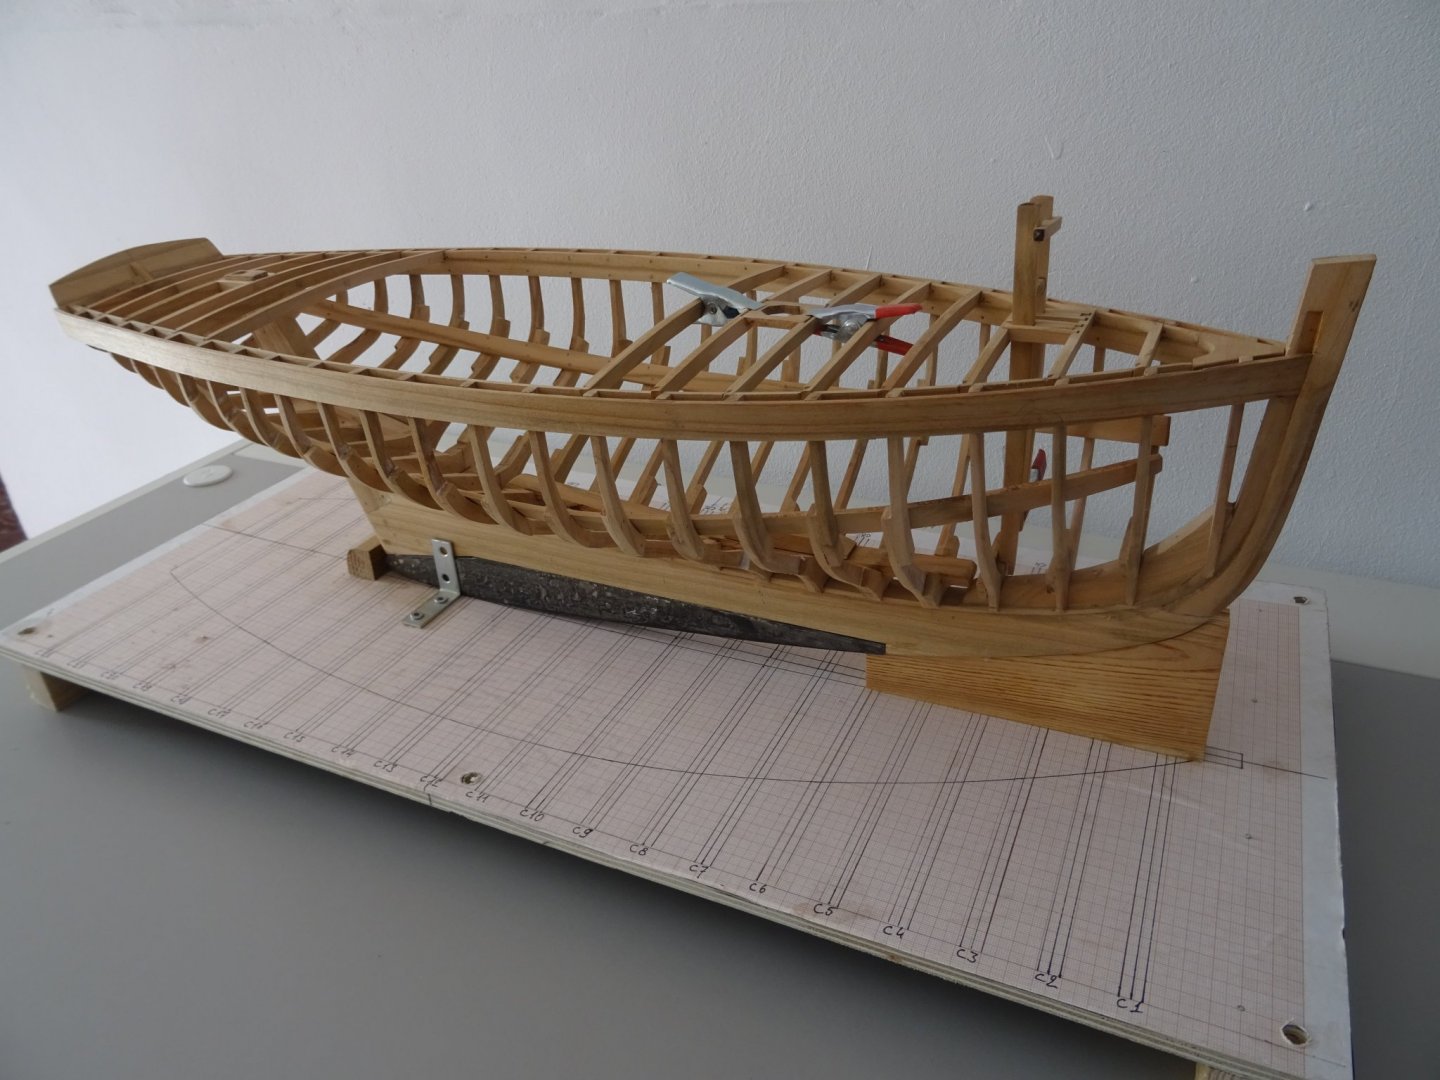
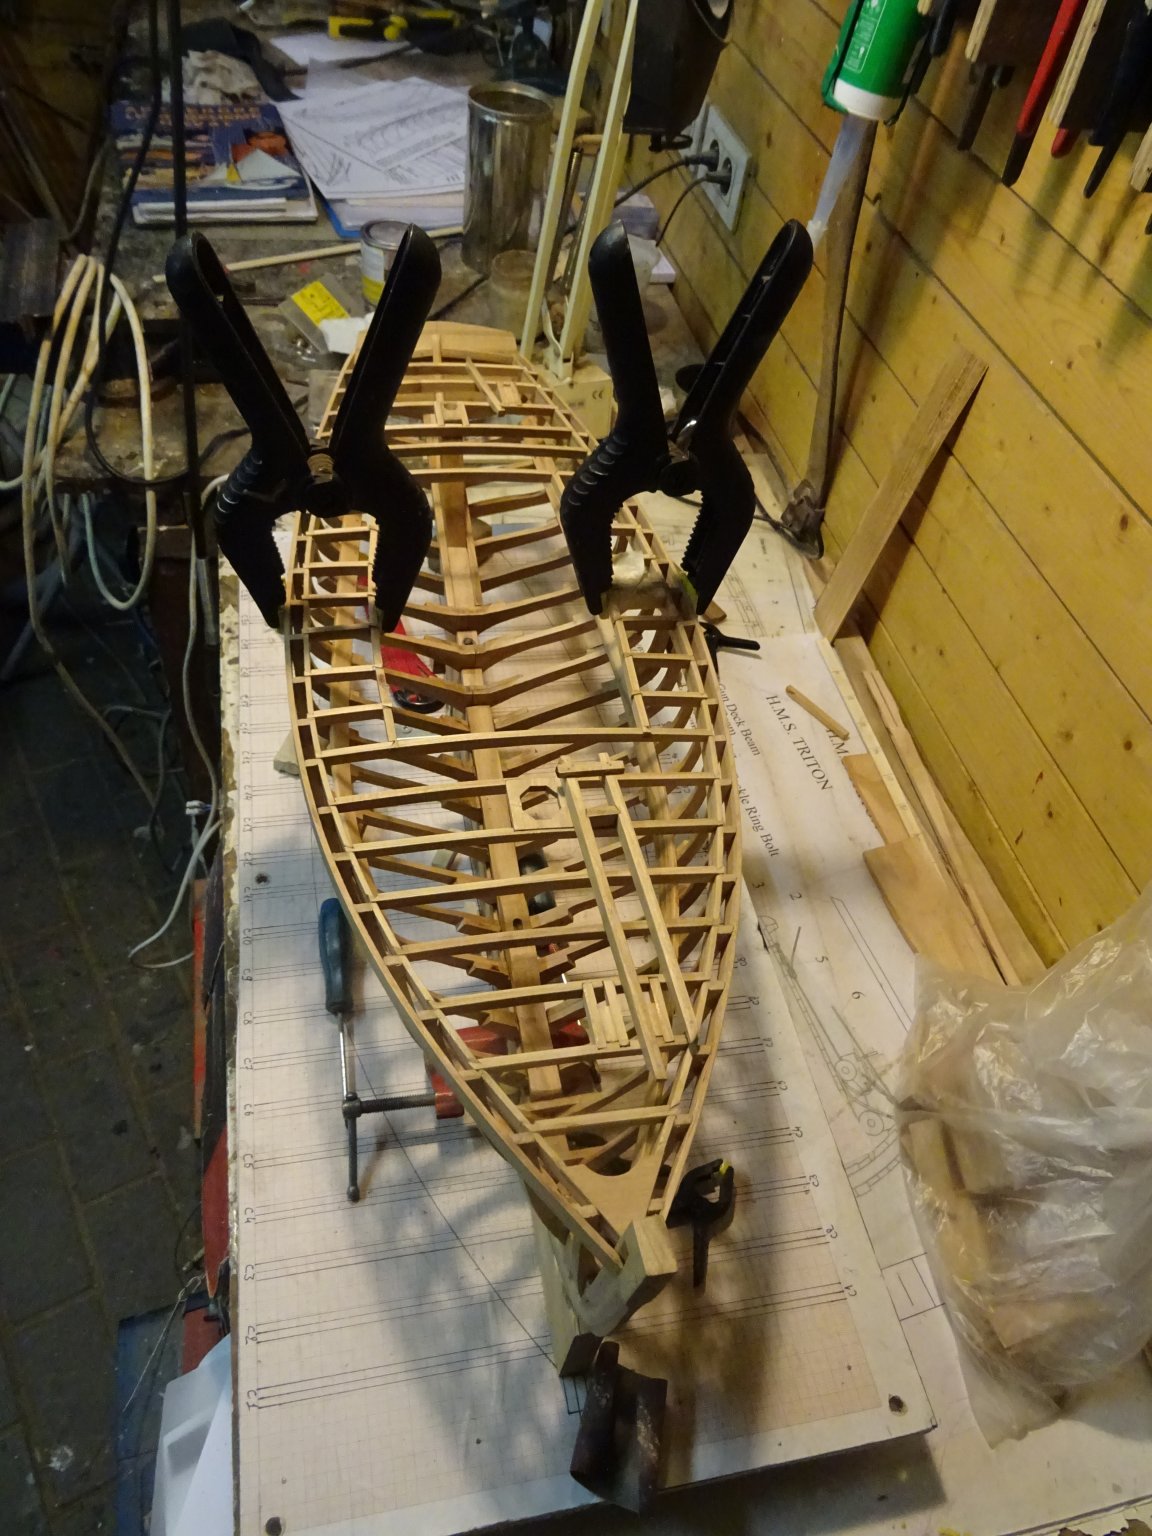
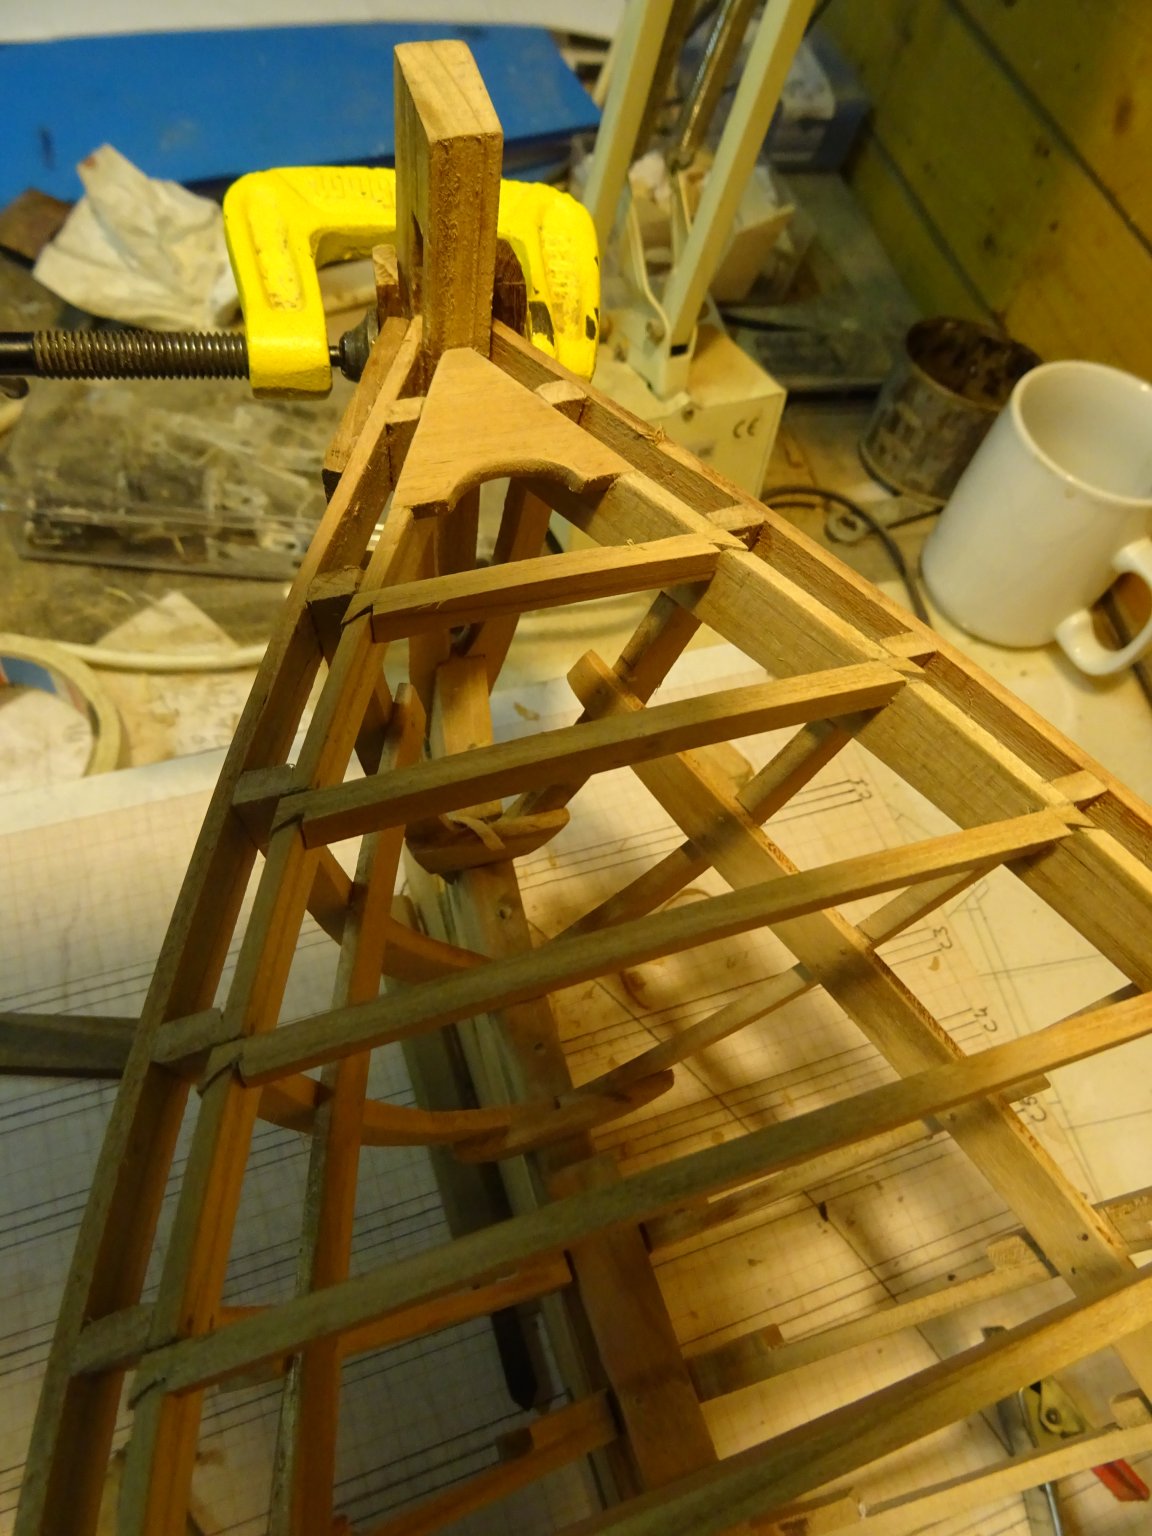
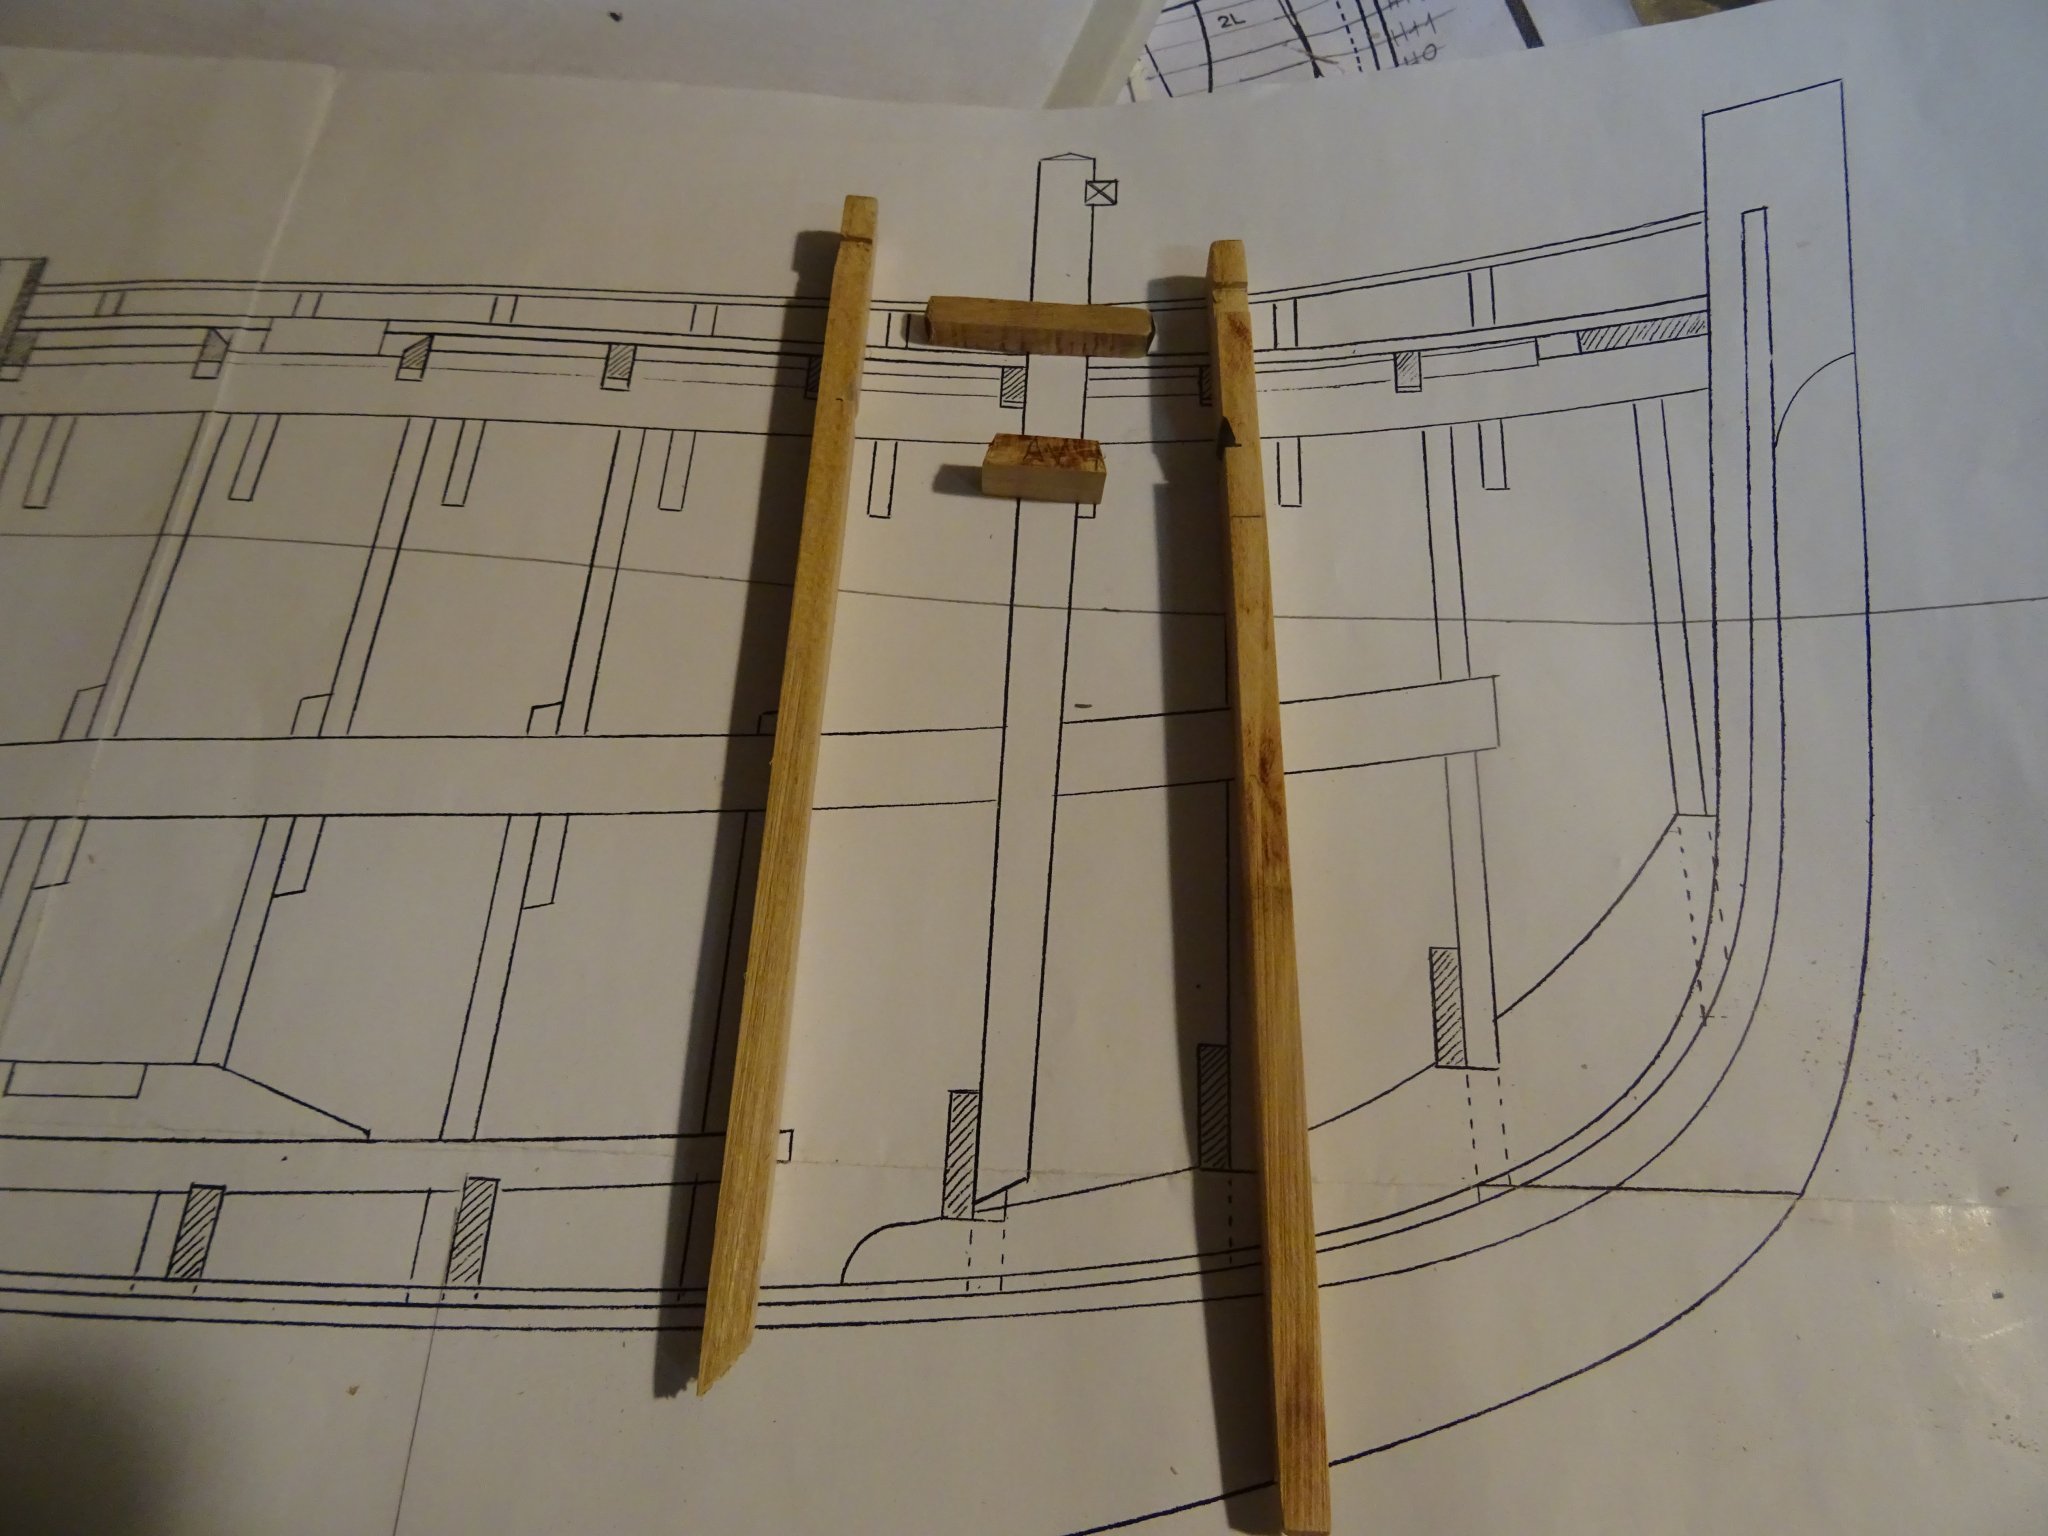
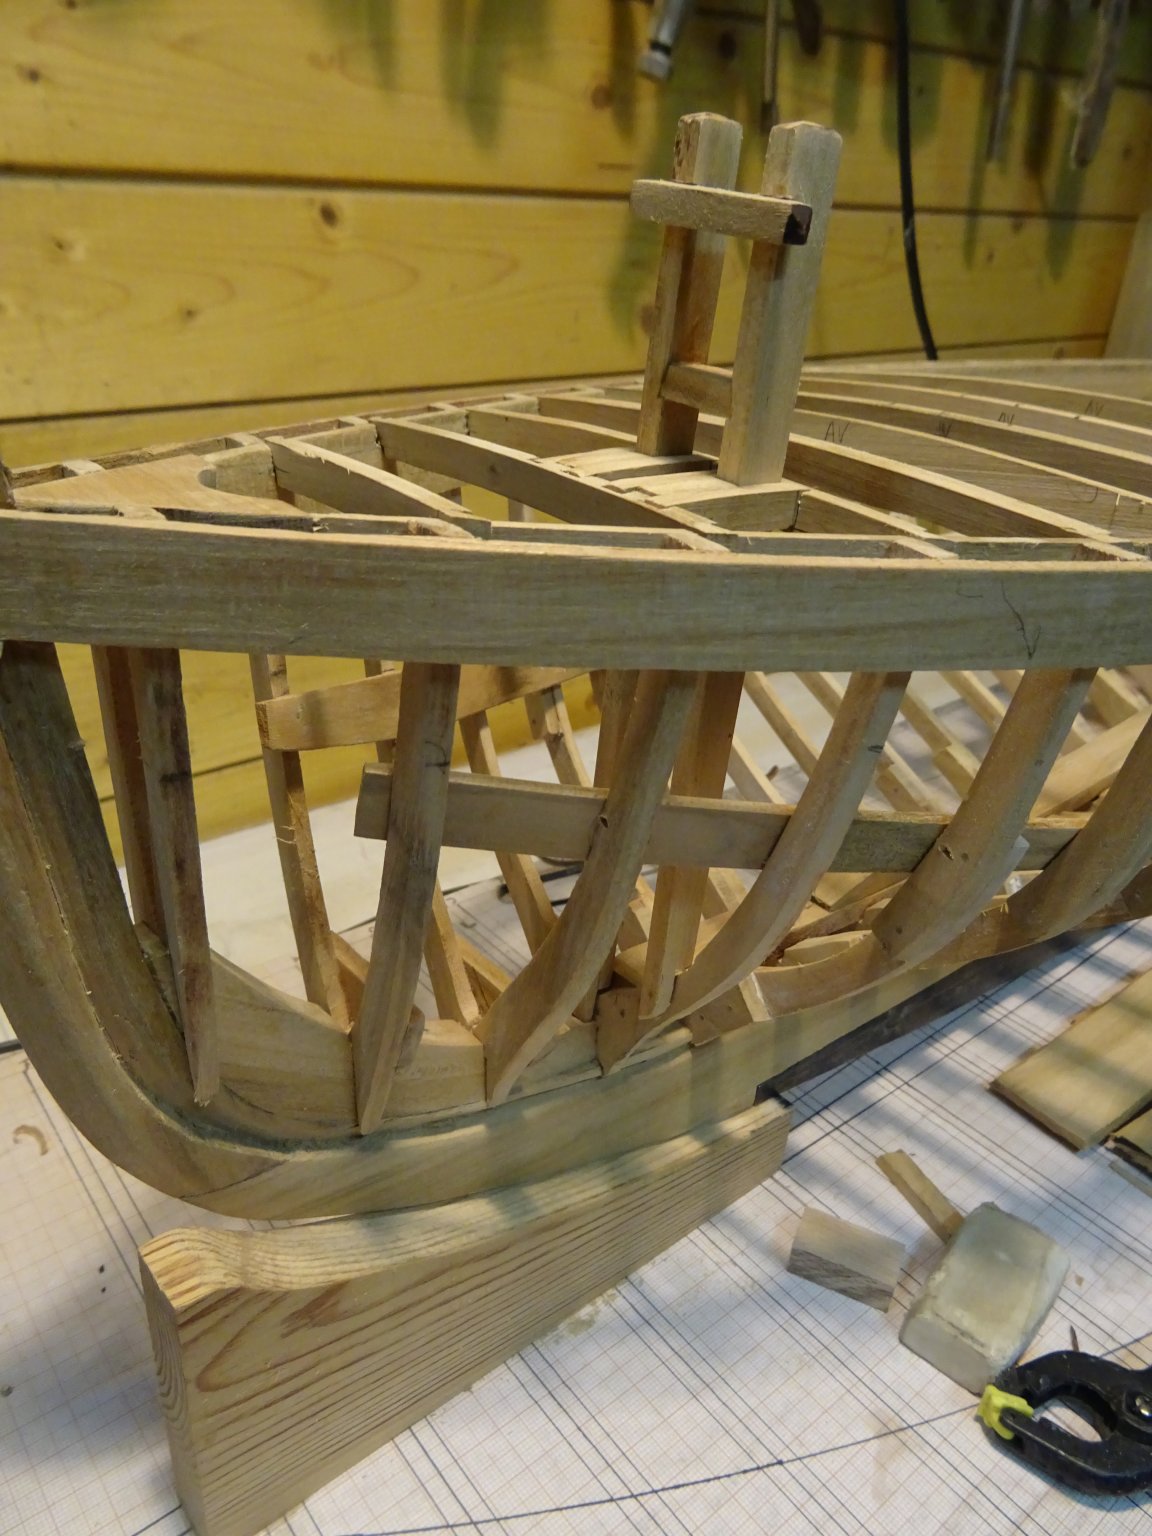
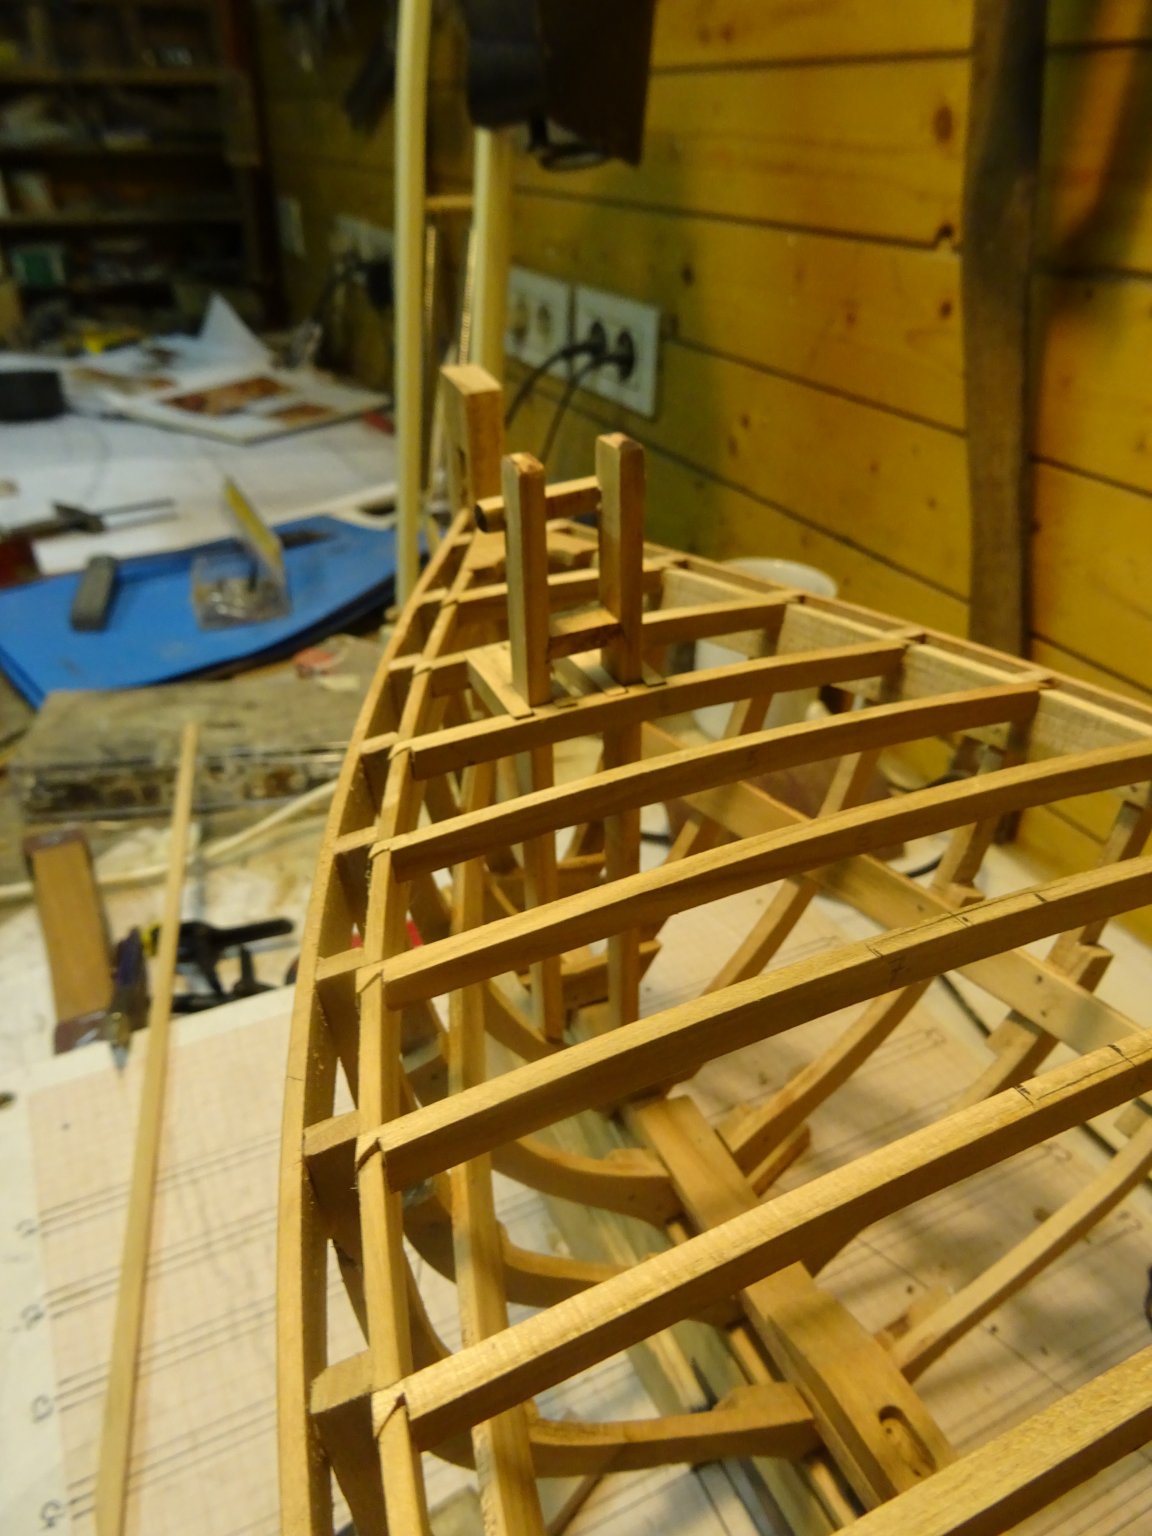
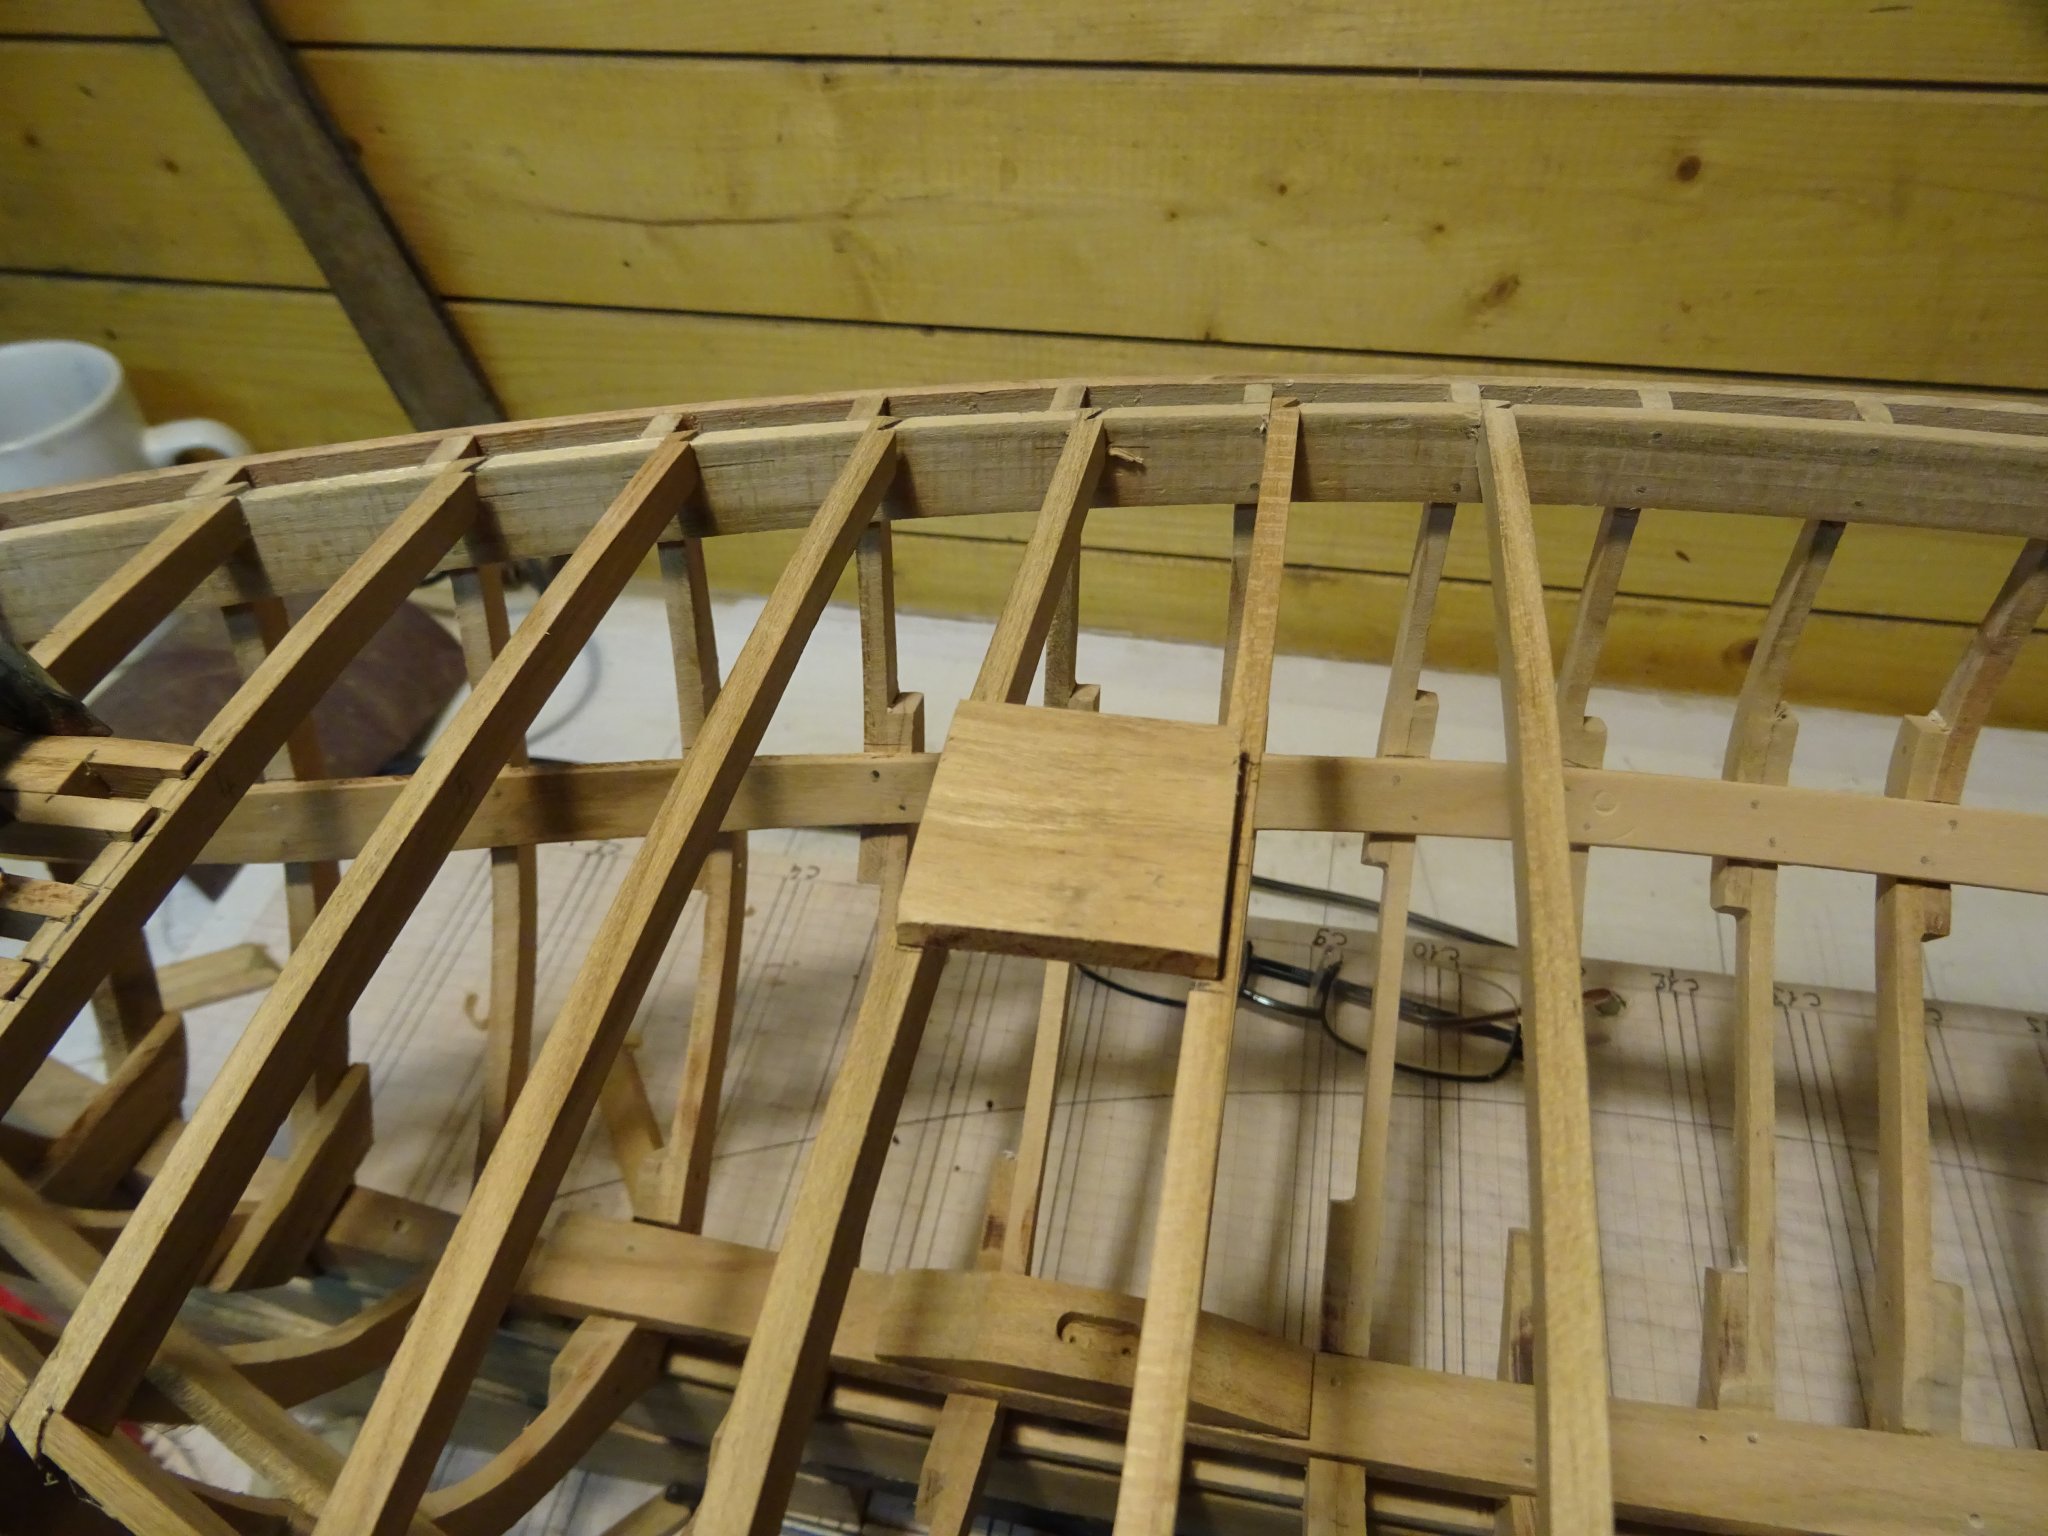
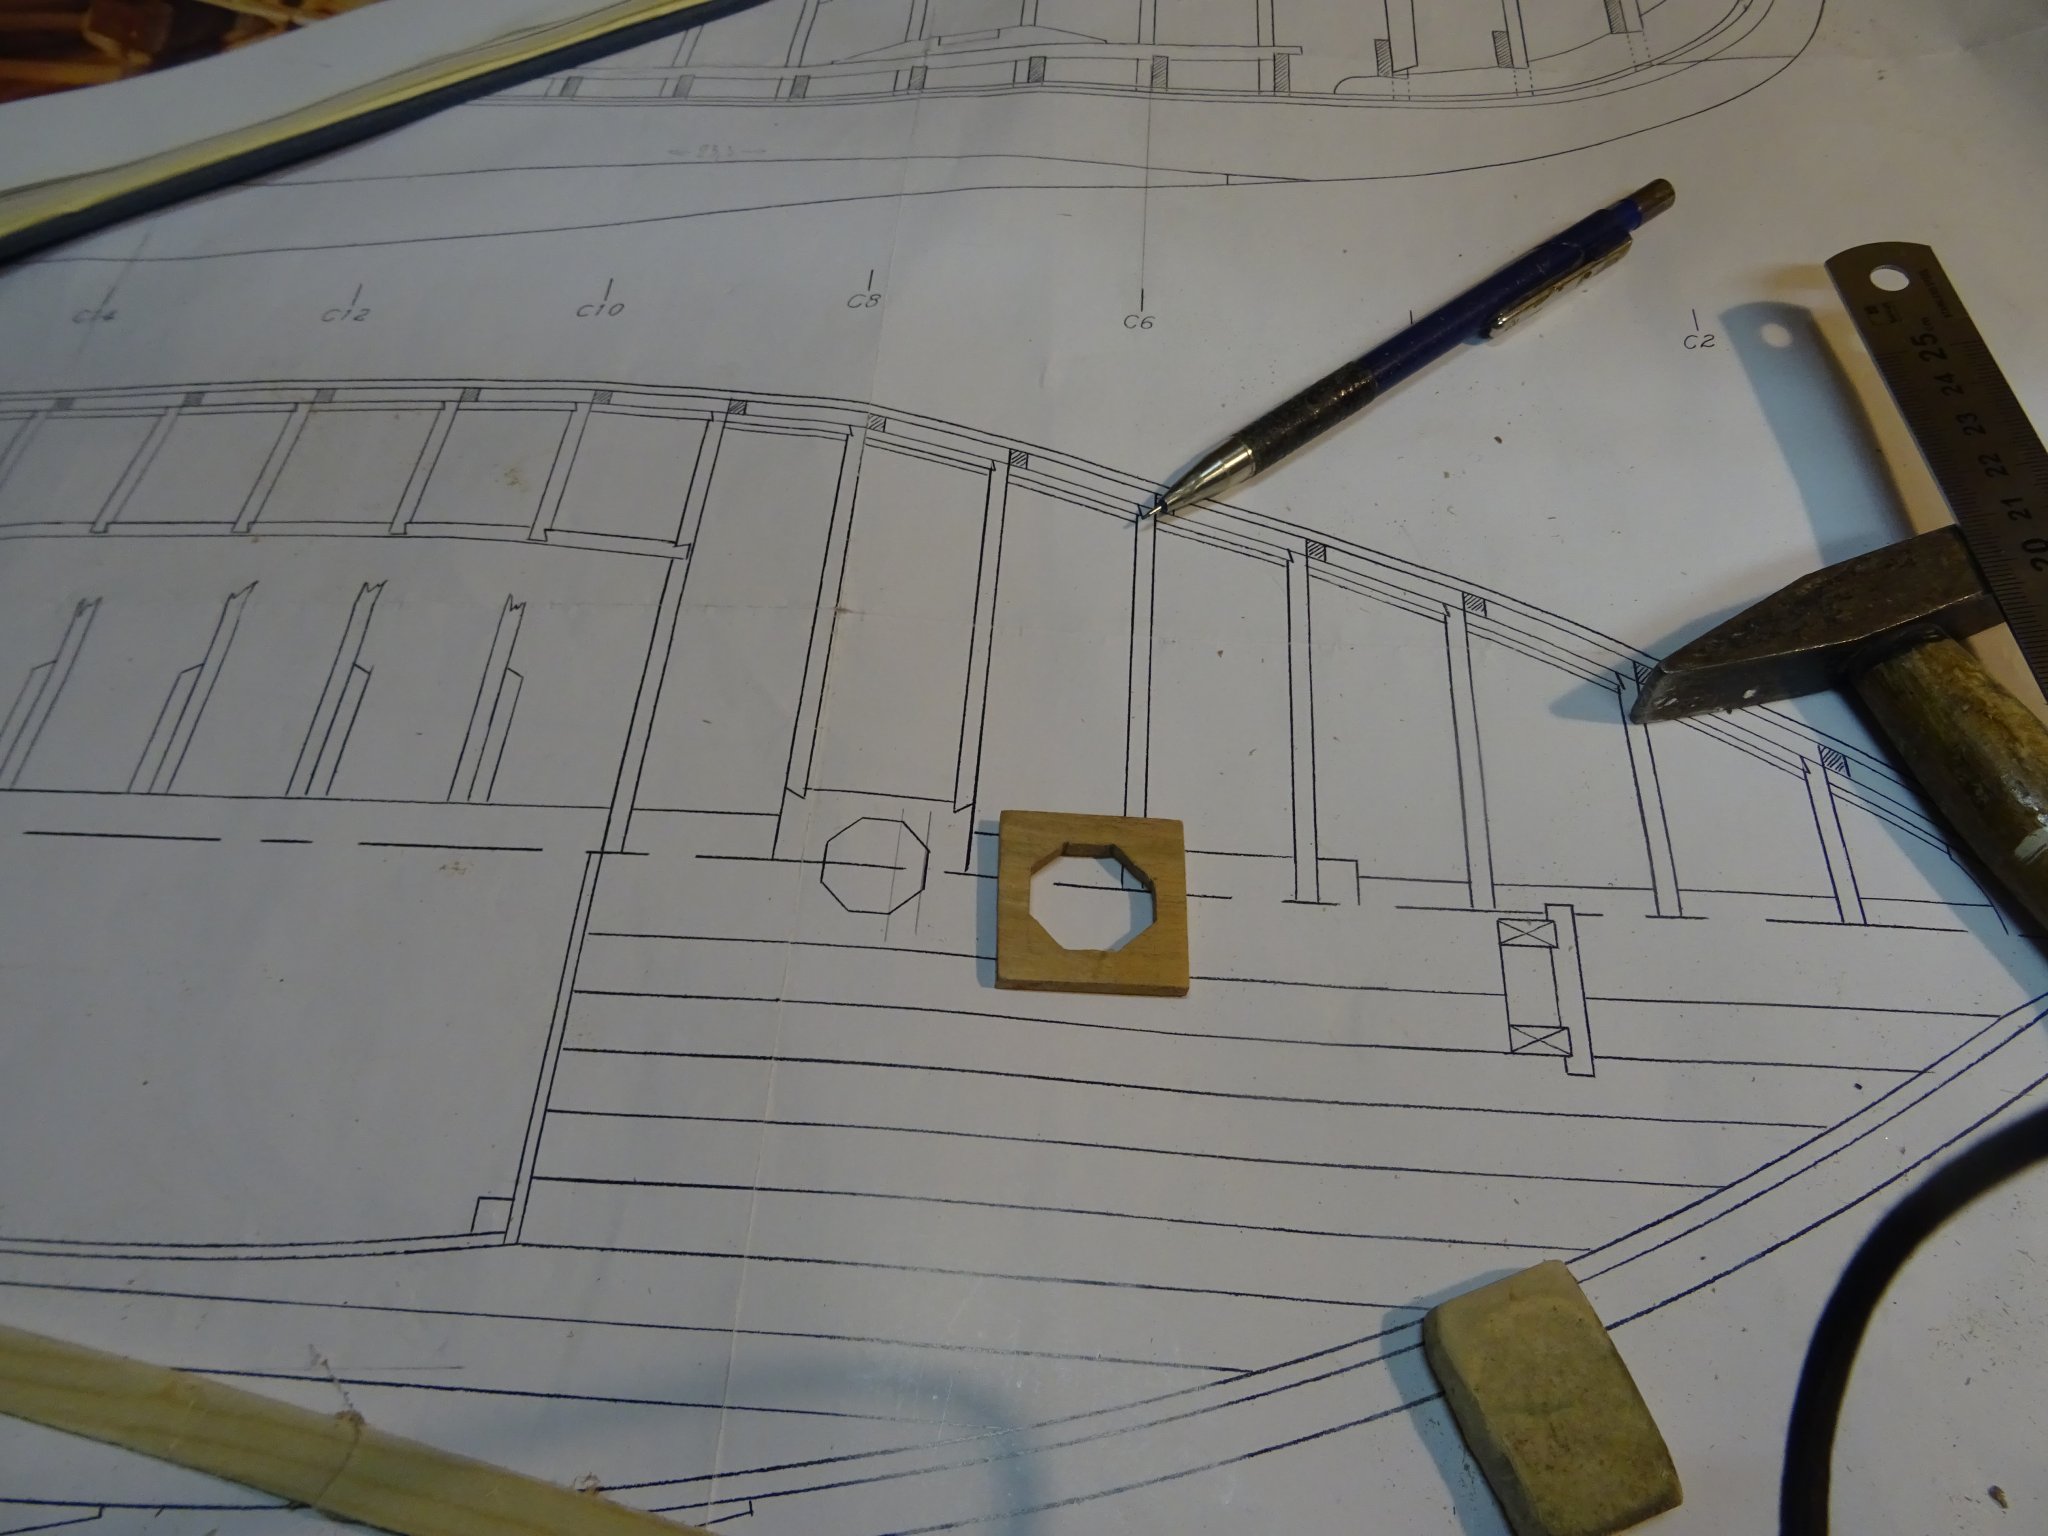
Making a template for the breast hook on chalk paper. Beast hook sawn and into place. Marking the positions of the carlings to support the riding bitts on the deck beams. Making the riding bitts. Sawing and cutting the notches for the carlings. The carlings. The riding bitts into place. nothing is glued definitively yet. I will probably have to remove the whole deck structure to varnish the inside of the hull. Sawing the mast partners. I make an improvised bevel gauge to measure the angle between the transom and the deck for the after deck beams. Gluing the after deck beams. My modeler friends get to see the model for the first time in this stage. Thank you to follow Thank you for the likes Thank you for your constructive comments Till next week


.thumb.JPG.a96bb80ccfae373147f9a86c1fbb7bb9.JPG)

- 168 replies
-
- 22
-
-
Knowing from which tree the wood came that I used in a model gives me a pleasant feeling.
-
HMS Pickle by mtbediz - FINISHED - 1:40
G.L. replied to mtbediz's topic in - Build logs for subjects built 1751 - 1800
Congratulations, Mustafa. A beautiful model! Very well done. The trophies on the background, are them for modeling? -
Patrick, I discovered your Bounty log this week and this morning I took the time to read it through from the beginning. Wonderful what you are doing with this plastic kit. I am joining the followers list.
-
Keith, I do not know very much about metalwork but your step by step picture log learns me a lot about how things are made. However I have neither the skills or the tools to produce such a beautiful objects.
-
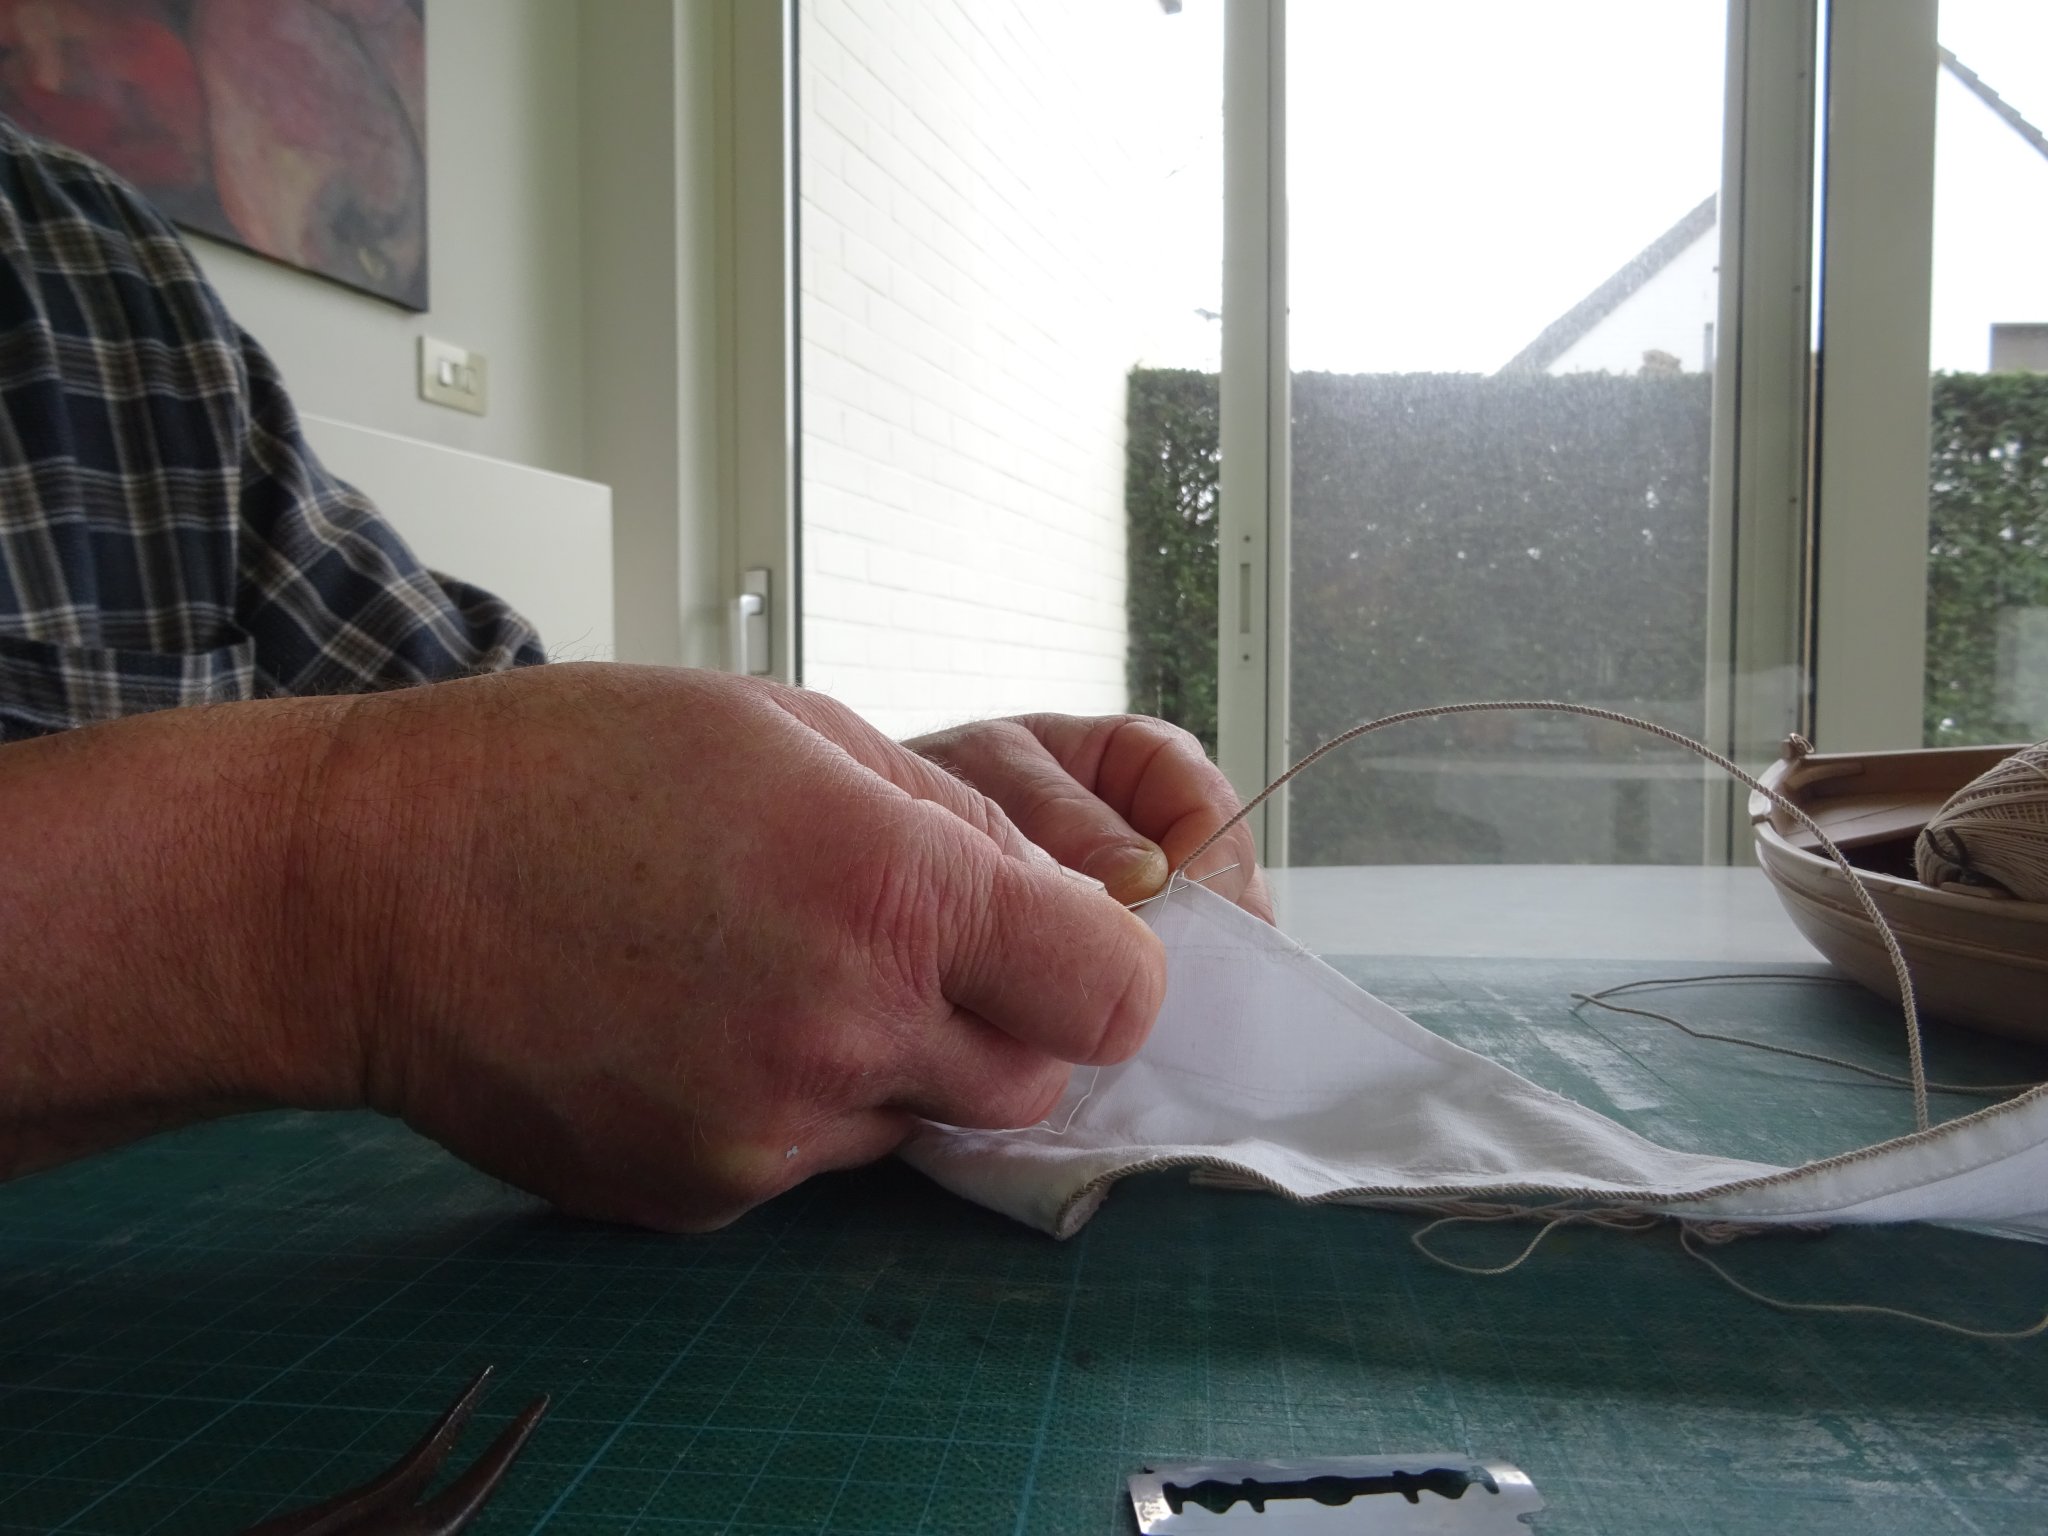
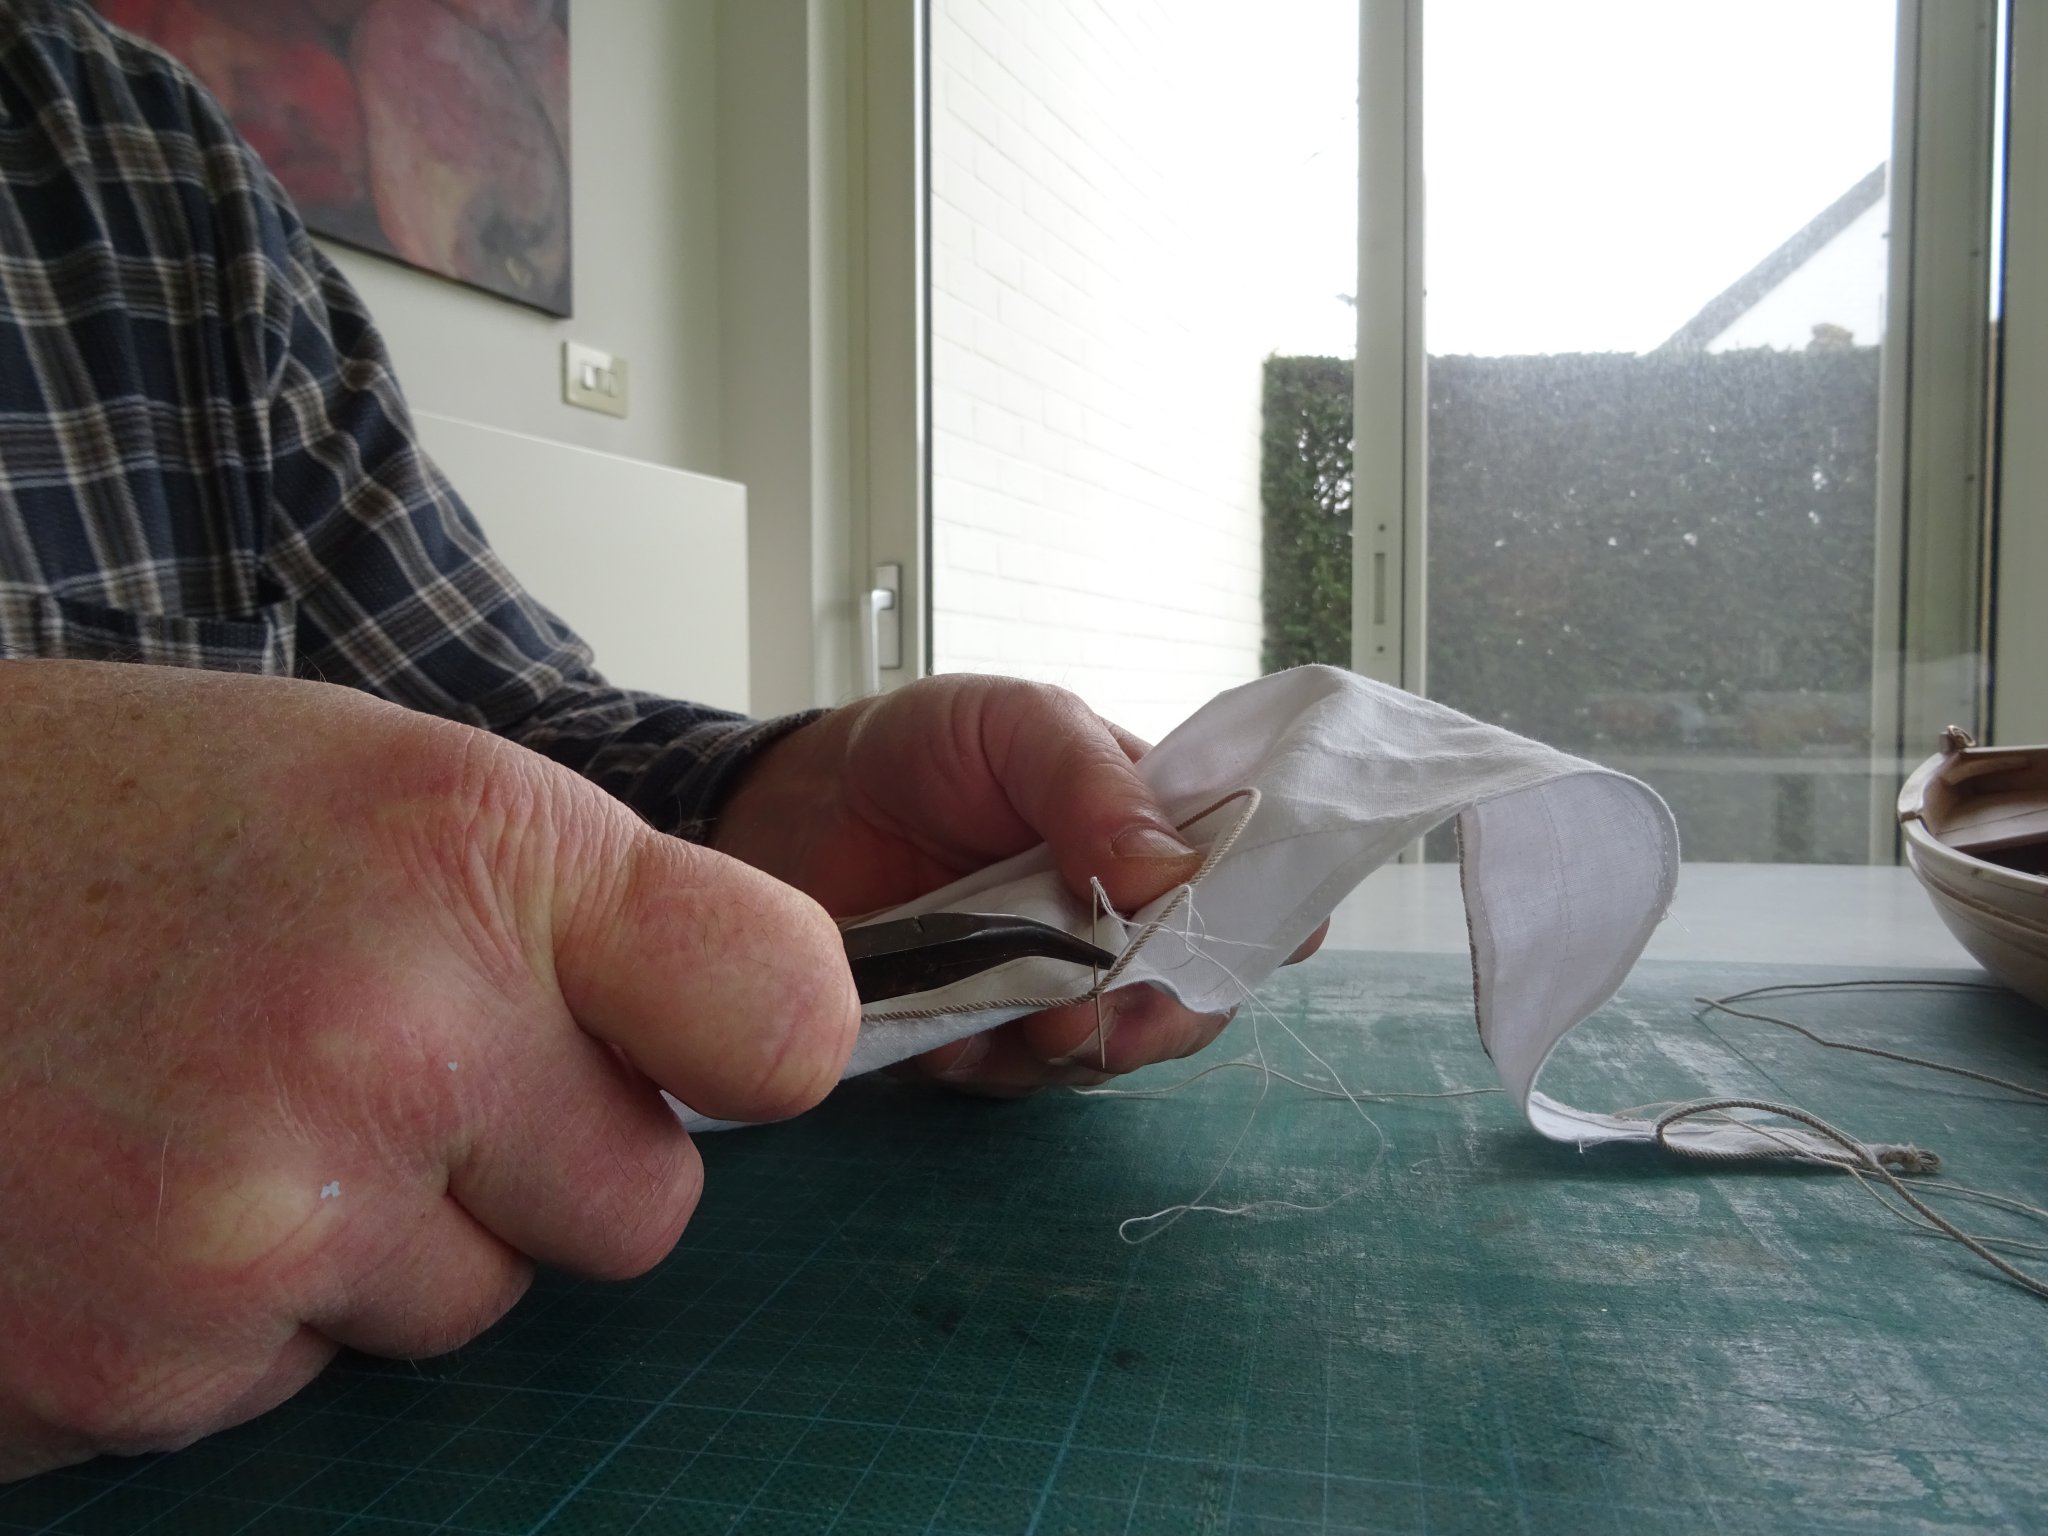
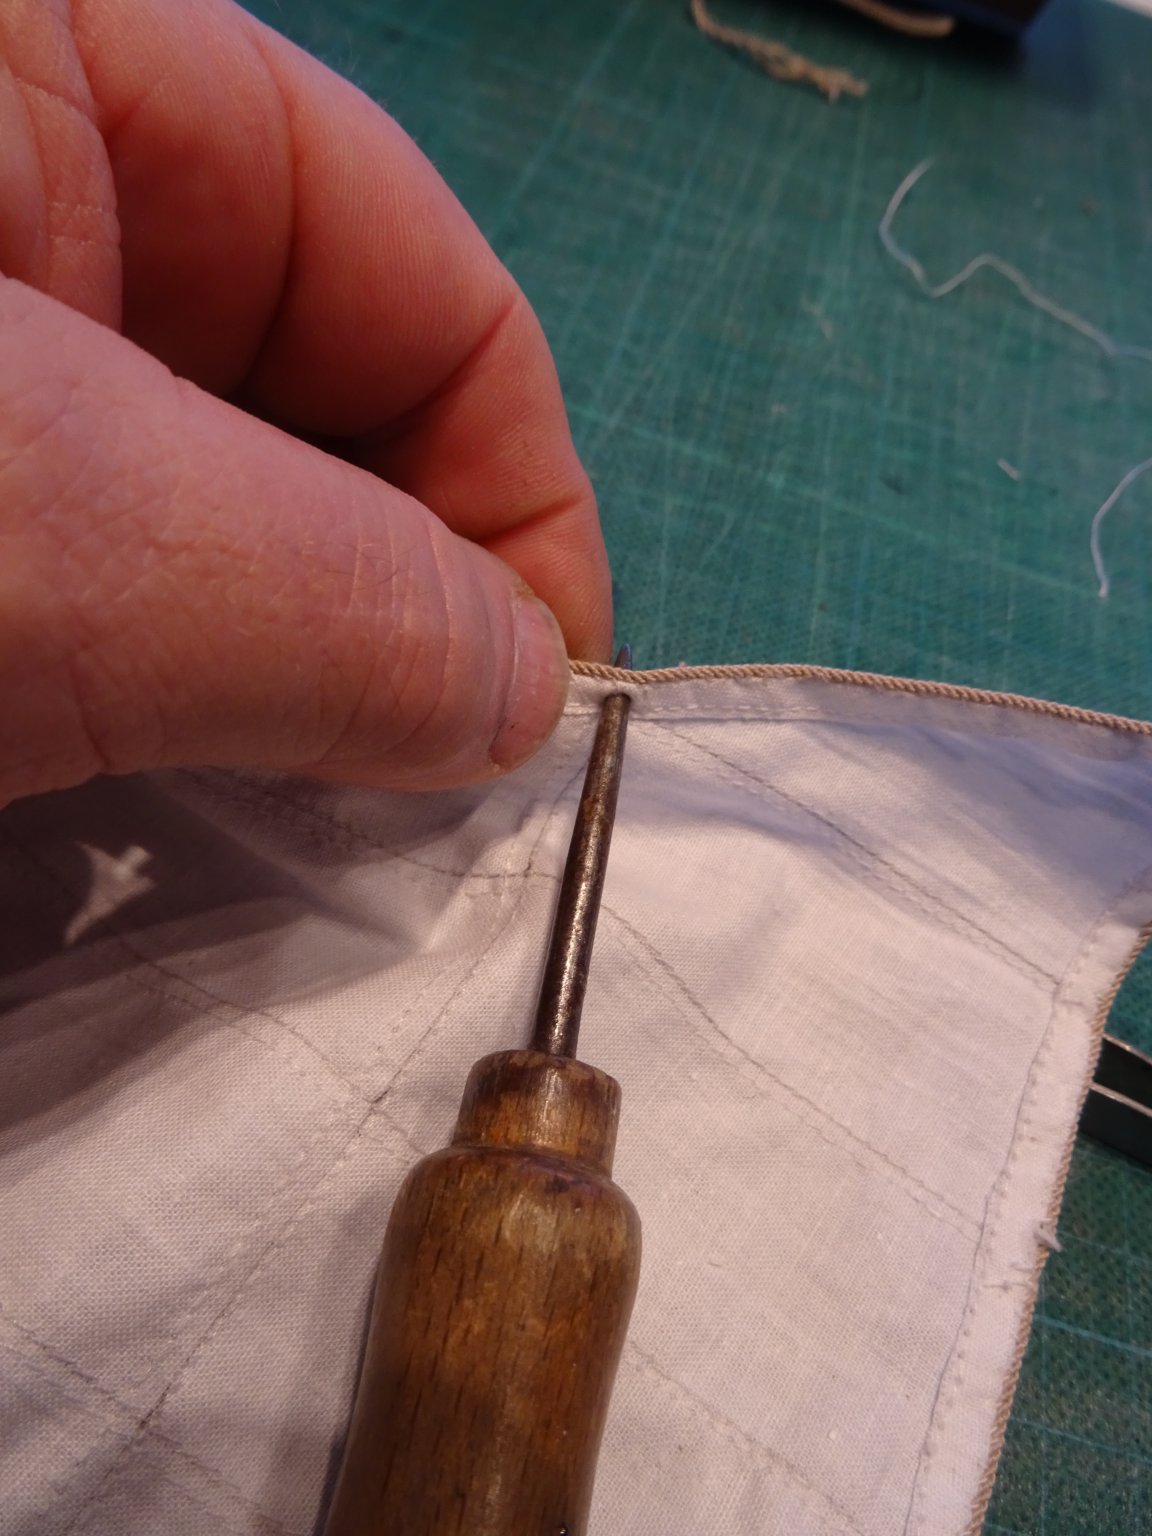
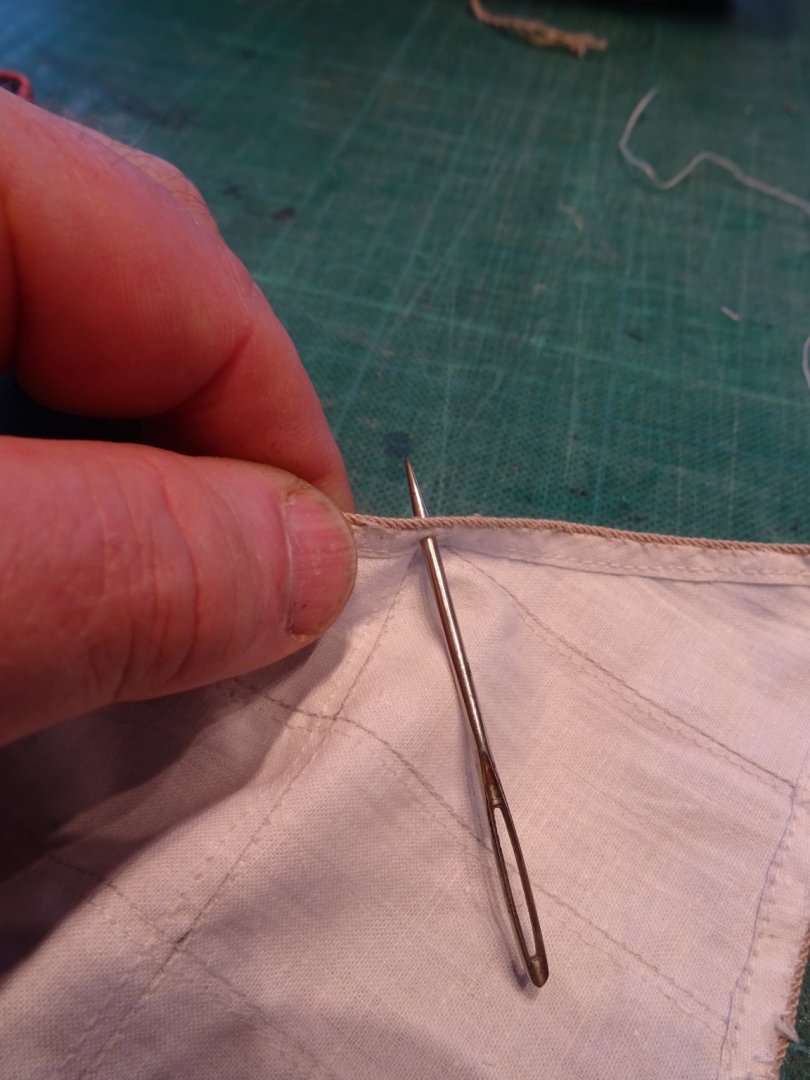
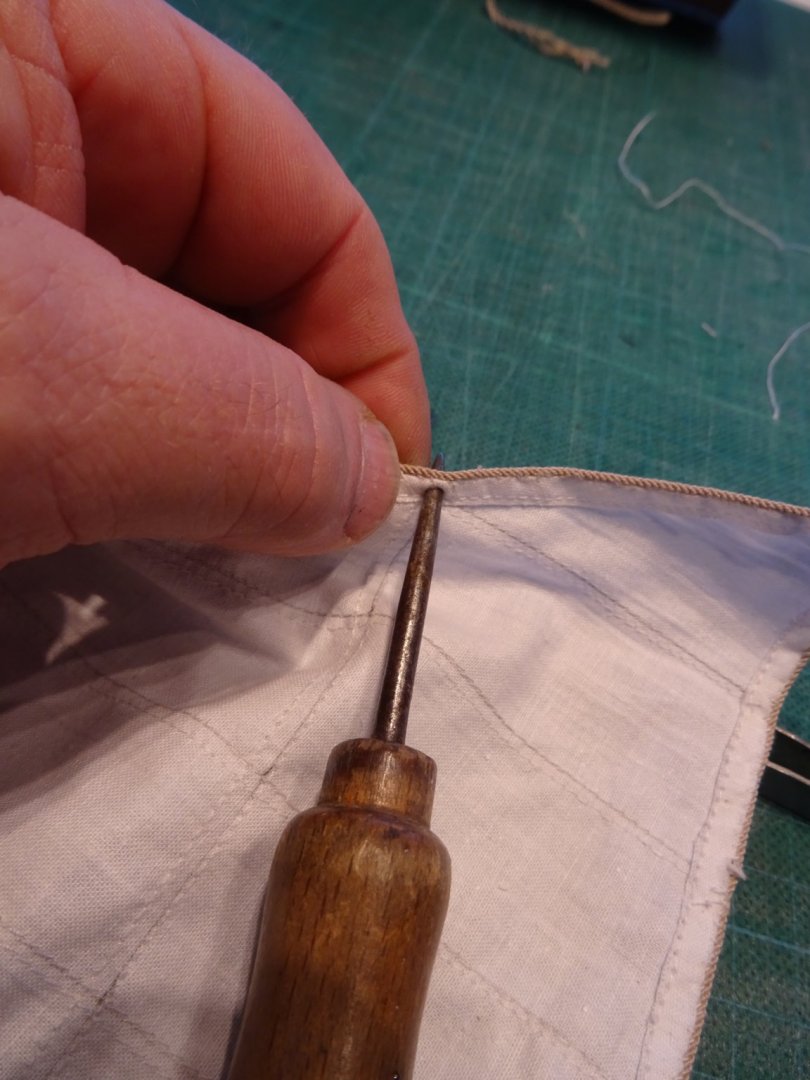
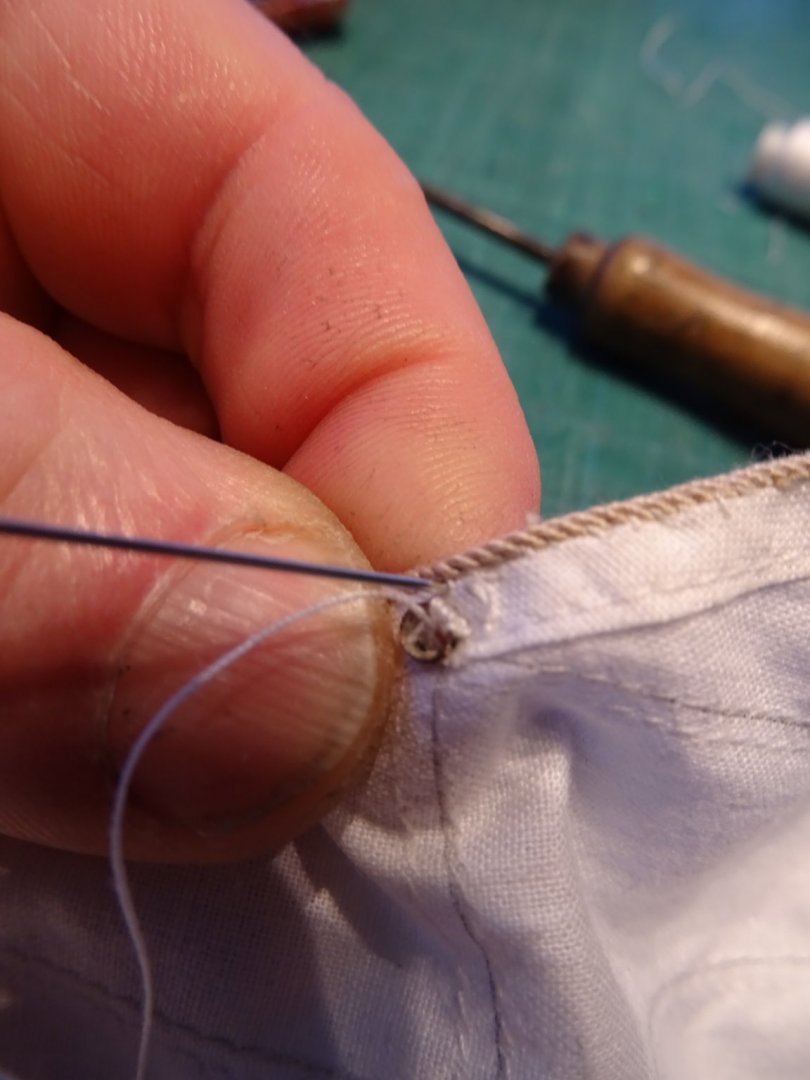
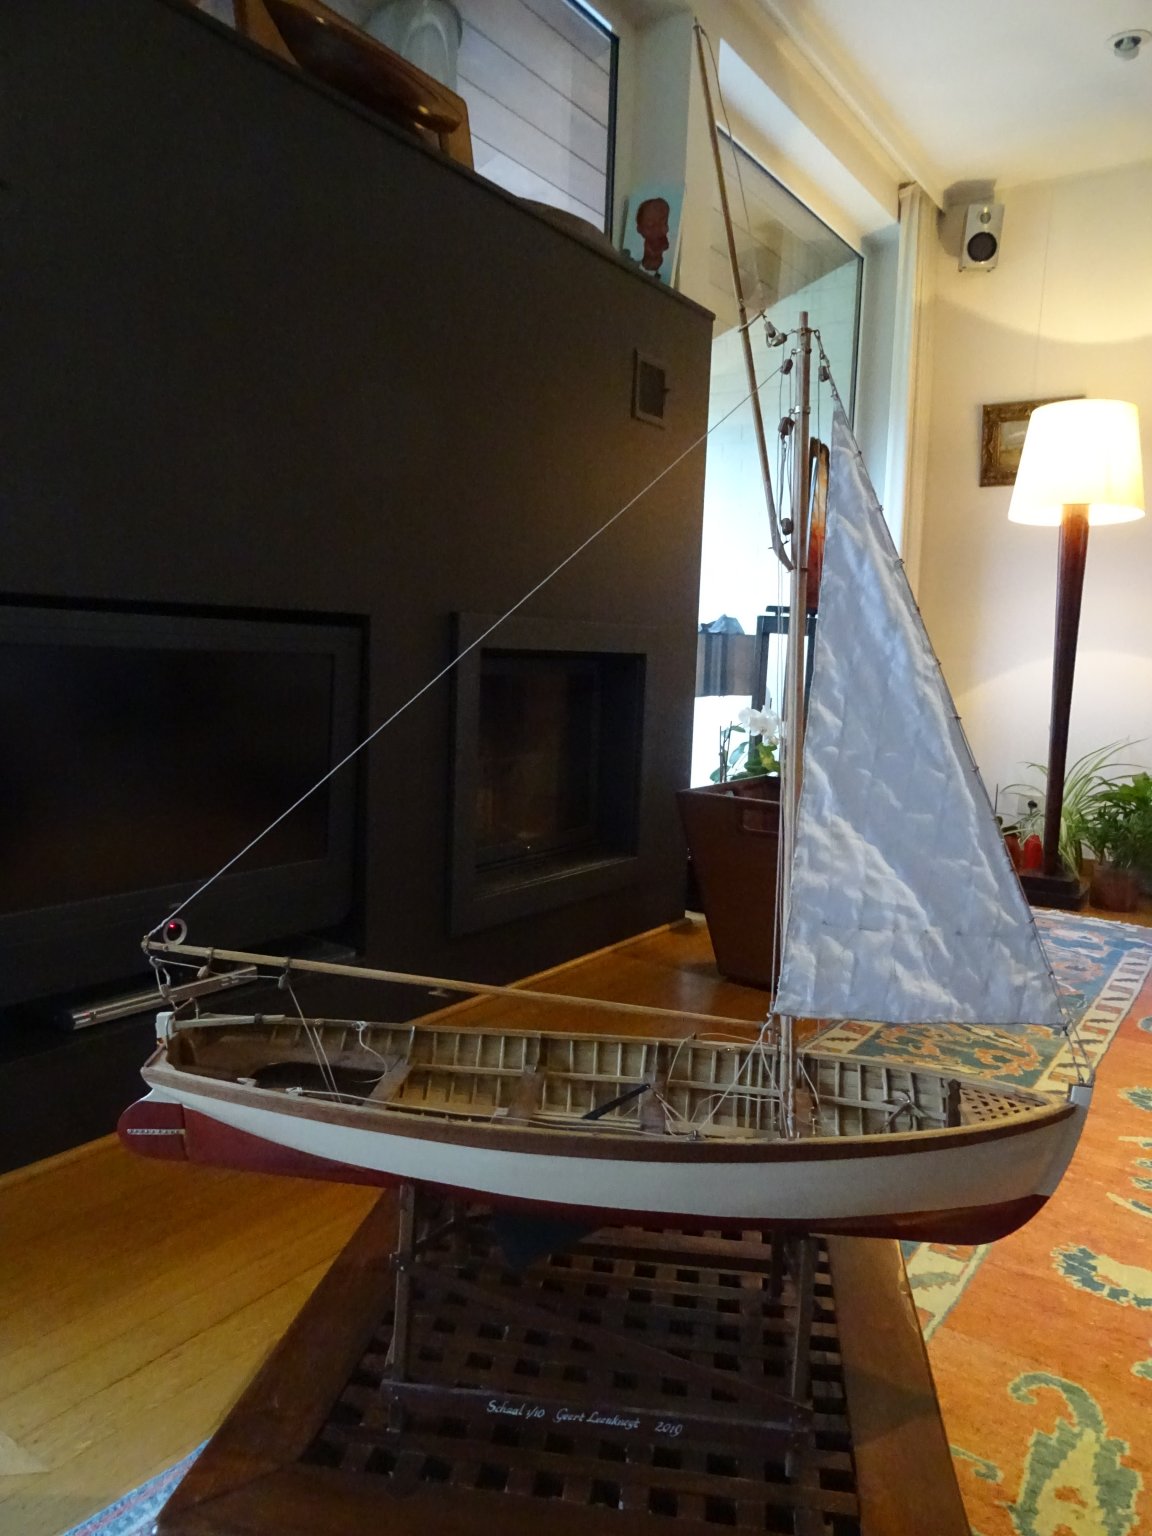
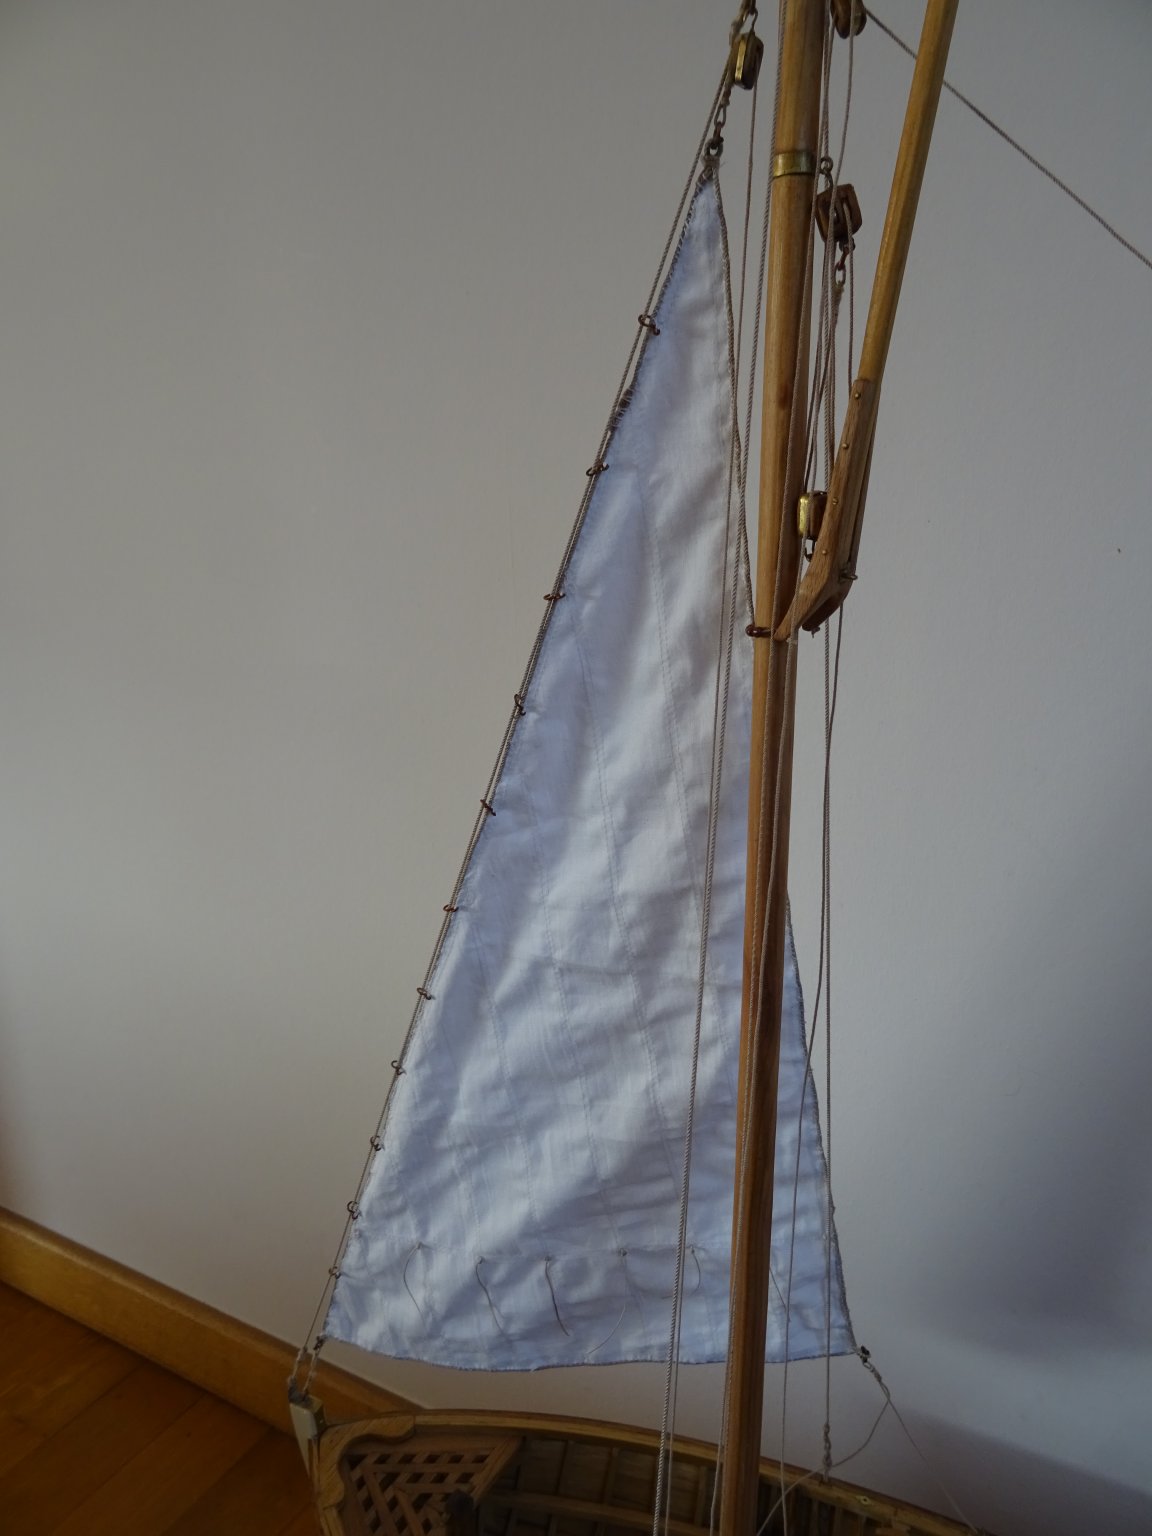
This week I continued to work at the jib. Sewing the jib leach is very time consuming, it took most of the time this week. Pressing the needle through the 'canvas' goes very well but when it has to pass through the leach I have to use sometimes the pliers. Finally the whole jib is fit with the leach. The jib has one reef level. A thimble has to be inserted at the luff and at the leech side. I us a thick needle as a spike to make a hole for it. The I widen the hole with a pricker. In the hole comes a thimble. And the job is finished with sewing a thread in and out around the thimble. To make the reef points, I start with applying a bit of textile glue on the spots where the points have to come to prevent the canvas of fraying out. Then I prick the holes with a thick needle. The reef lines are passed through the holes and fixed with a knot at each side of the sail. Now I hold the lines straight and soak them with a bit textile glue to hold them straight and prevent them of unraveling and cut the lines to equal length. This is where I am now, next week I will try to hoist the jib. My sailboat will then finally be 'under sail'. Thank you to follow Thank you for the likes Thank you for your constructive comments Till next week


- 209 replies
-
- 11
-
-
Seeing this picture of the Caroline. I am happy that I changed the gaff rigging thanks to your advise, Michael.
-
Keith, I have good news for you: the planking of the hull will be kept to an absolute minimum.


.JPG.5f8e7f0adf6655e01294510e093cdda4.JPG)