G.L.
-
Posts
1,553 -
Joined
-
Last visited
Content Type
Profiles
Forums
Gallery
Events
Everything posted by G.L.
-
 Thank you also Keith. No we don't have a micro climate here. At our side of the channel it is as cold and wet as at yours. Like I mentioned in my first post, the project started in August and the keel was made in that period. I waited some time to start this log because at that time I still had to loft out the 22 frames for the model. I am a digital illiterate, so I have to do that at the drawing table with pencil and compass which took me almost two months. To avoid week after week post which the only mention that I drew two or three frames during last week, I let some time pass until that job was done. I like to give every week an update with some progress and I have also the experience with that the time advantage will be quickly overtaken by the real time. Within a couple of weeks my other project 'the gaff sailing boat' won't be a retroactive project anymore.
 -
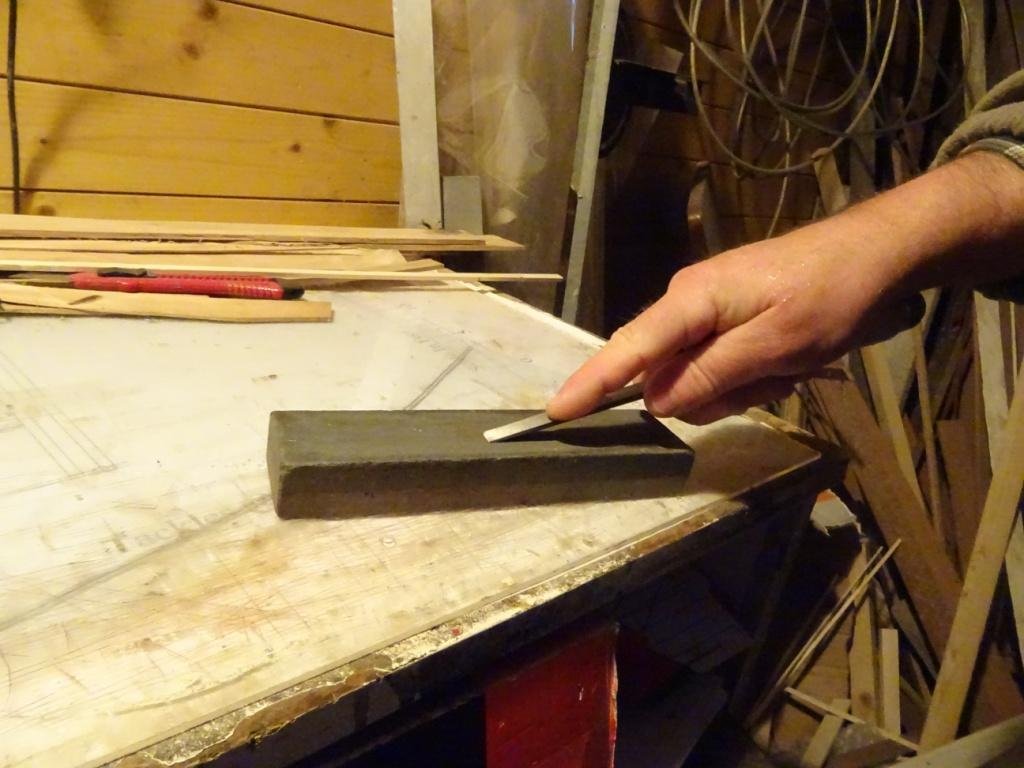
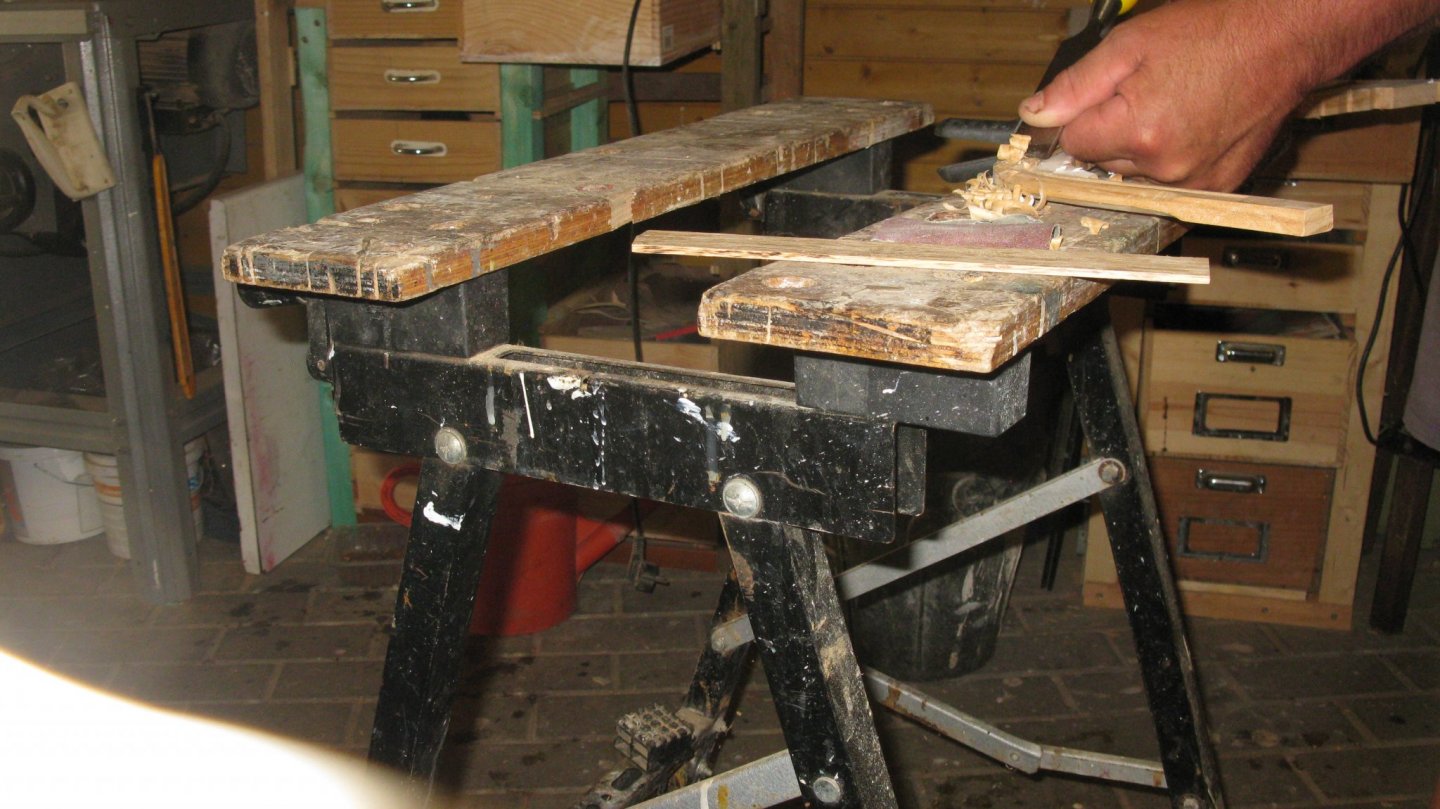
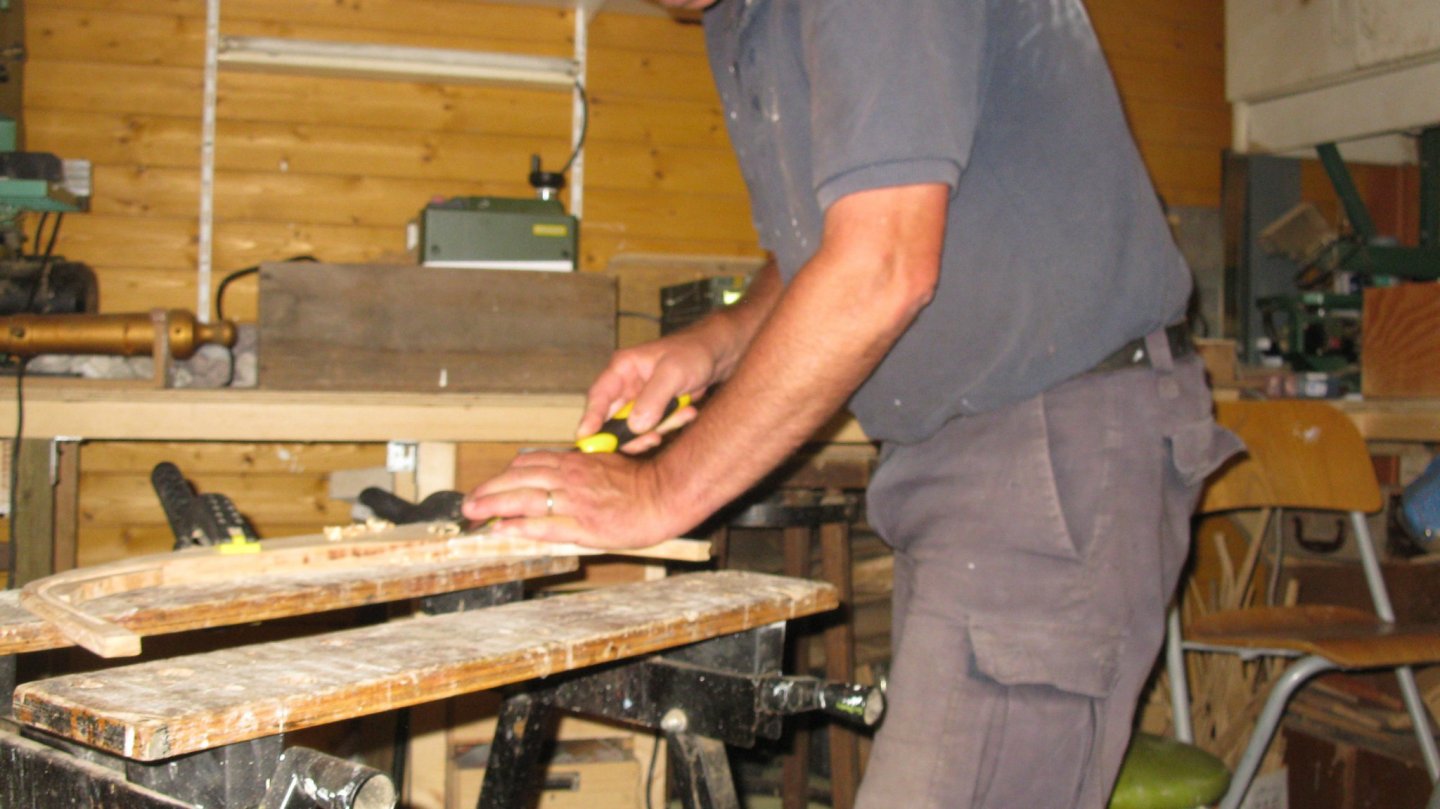
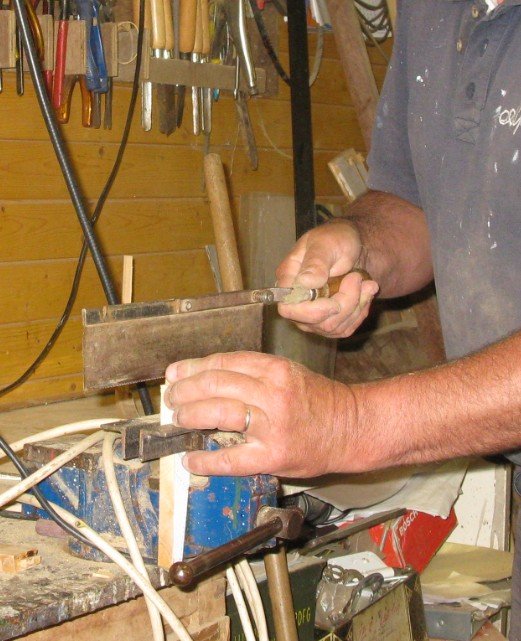
Thanks for your compliment Vaddoc. Before every use I give my chisels a series of hauls on the whetstone. That keeps sharp.
-
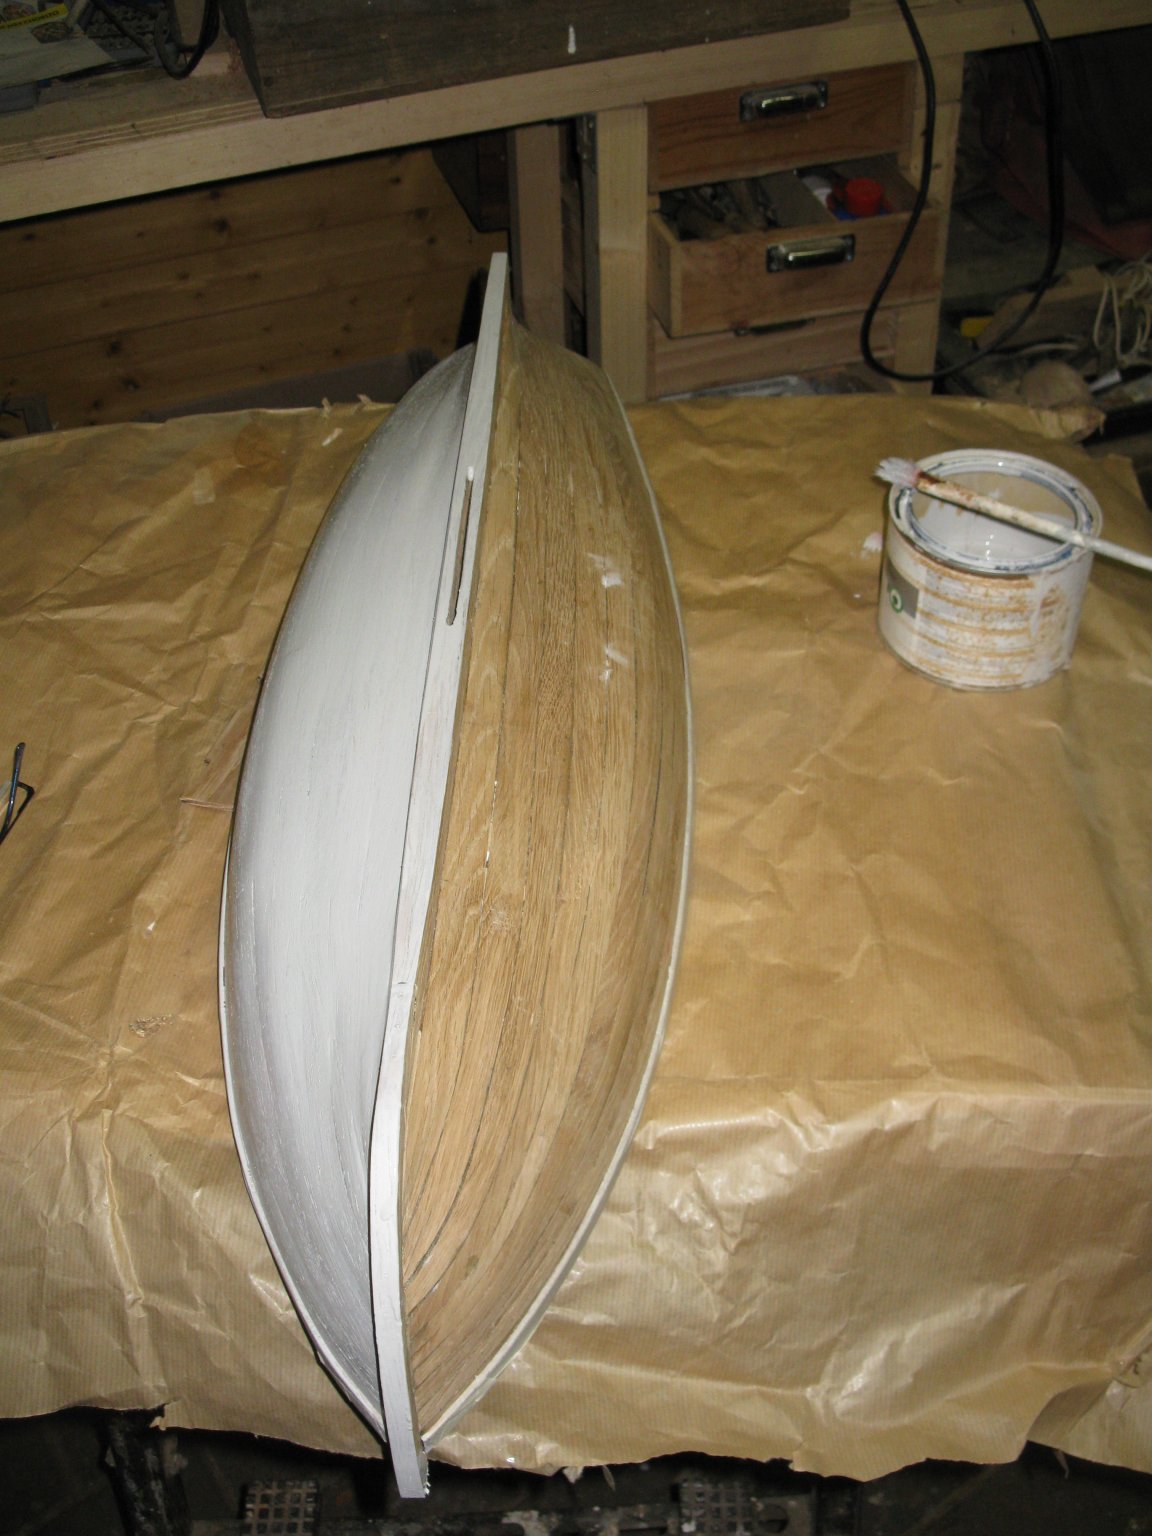
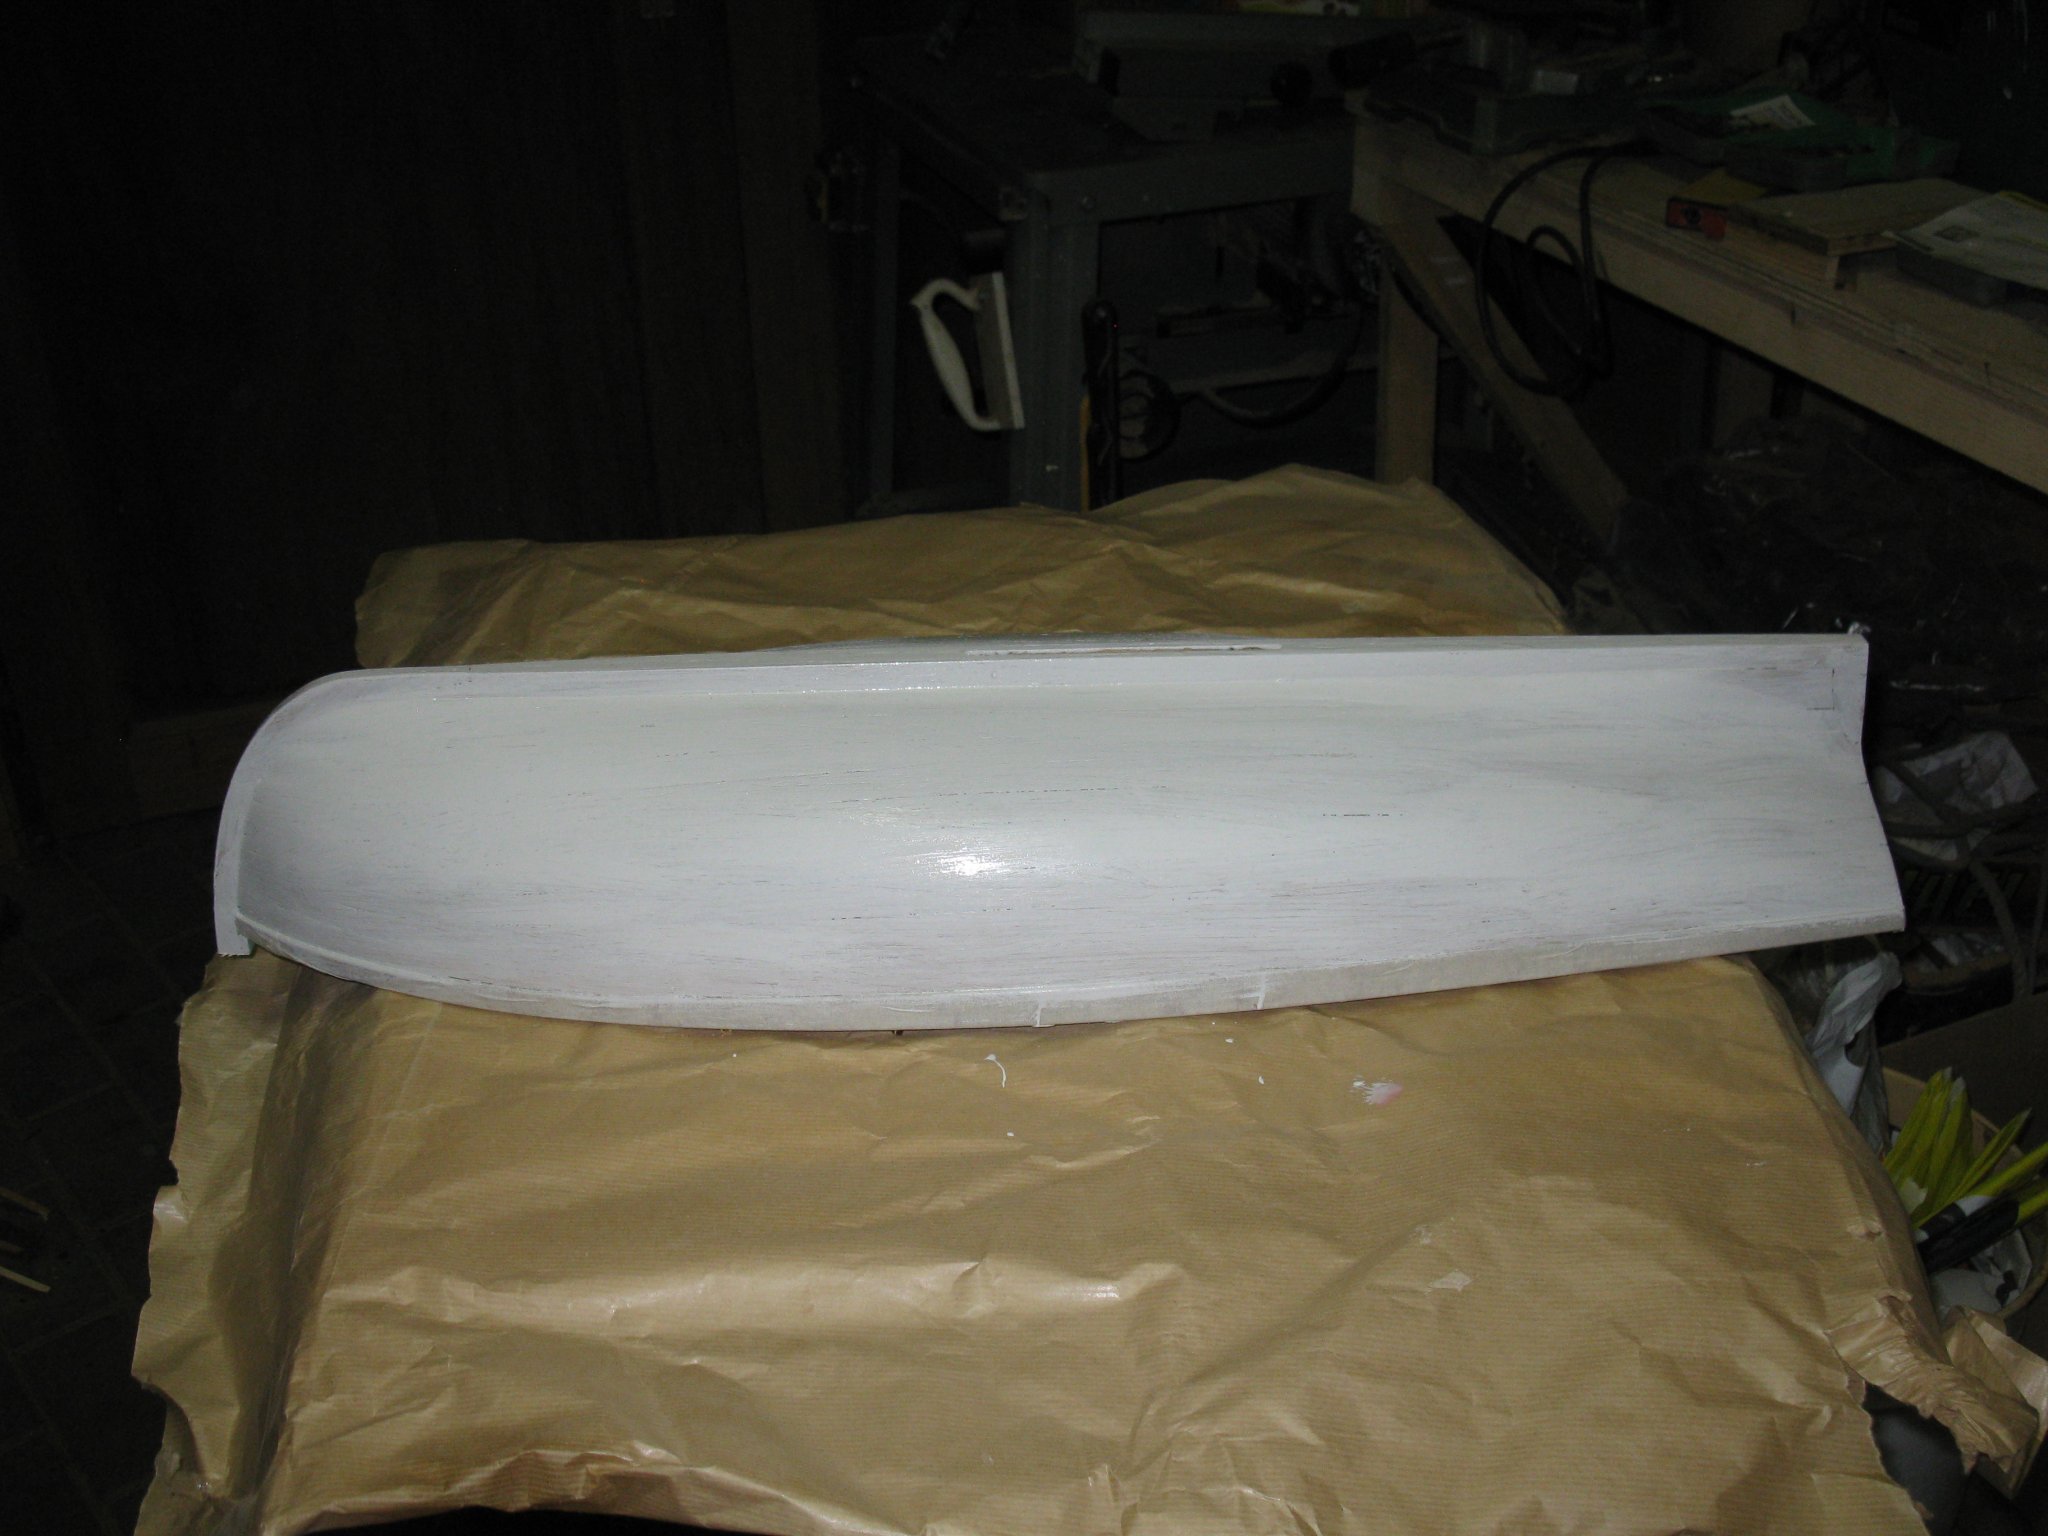
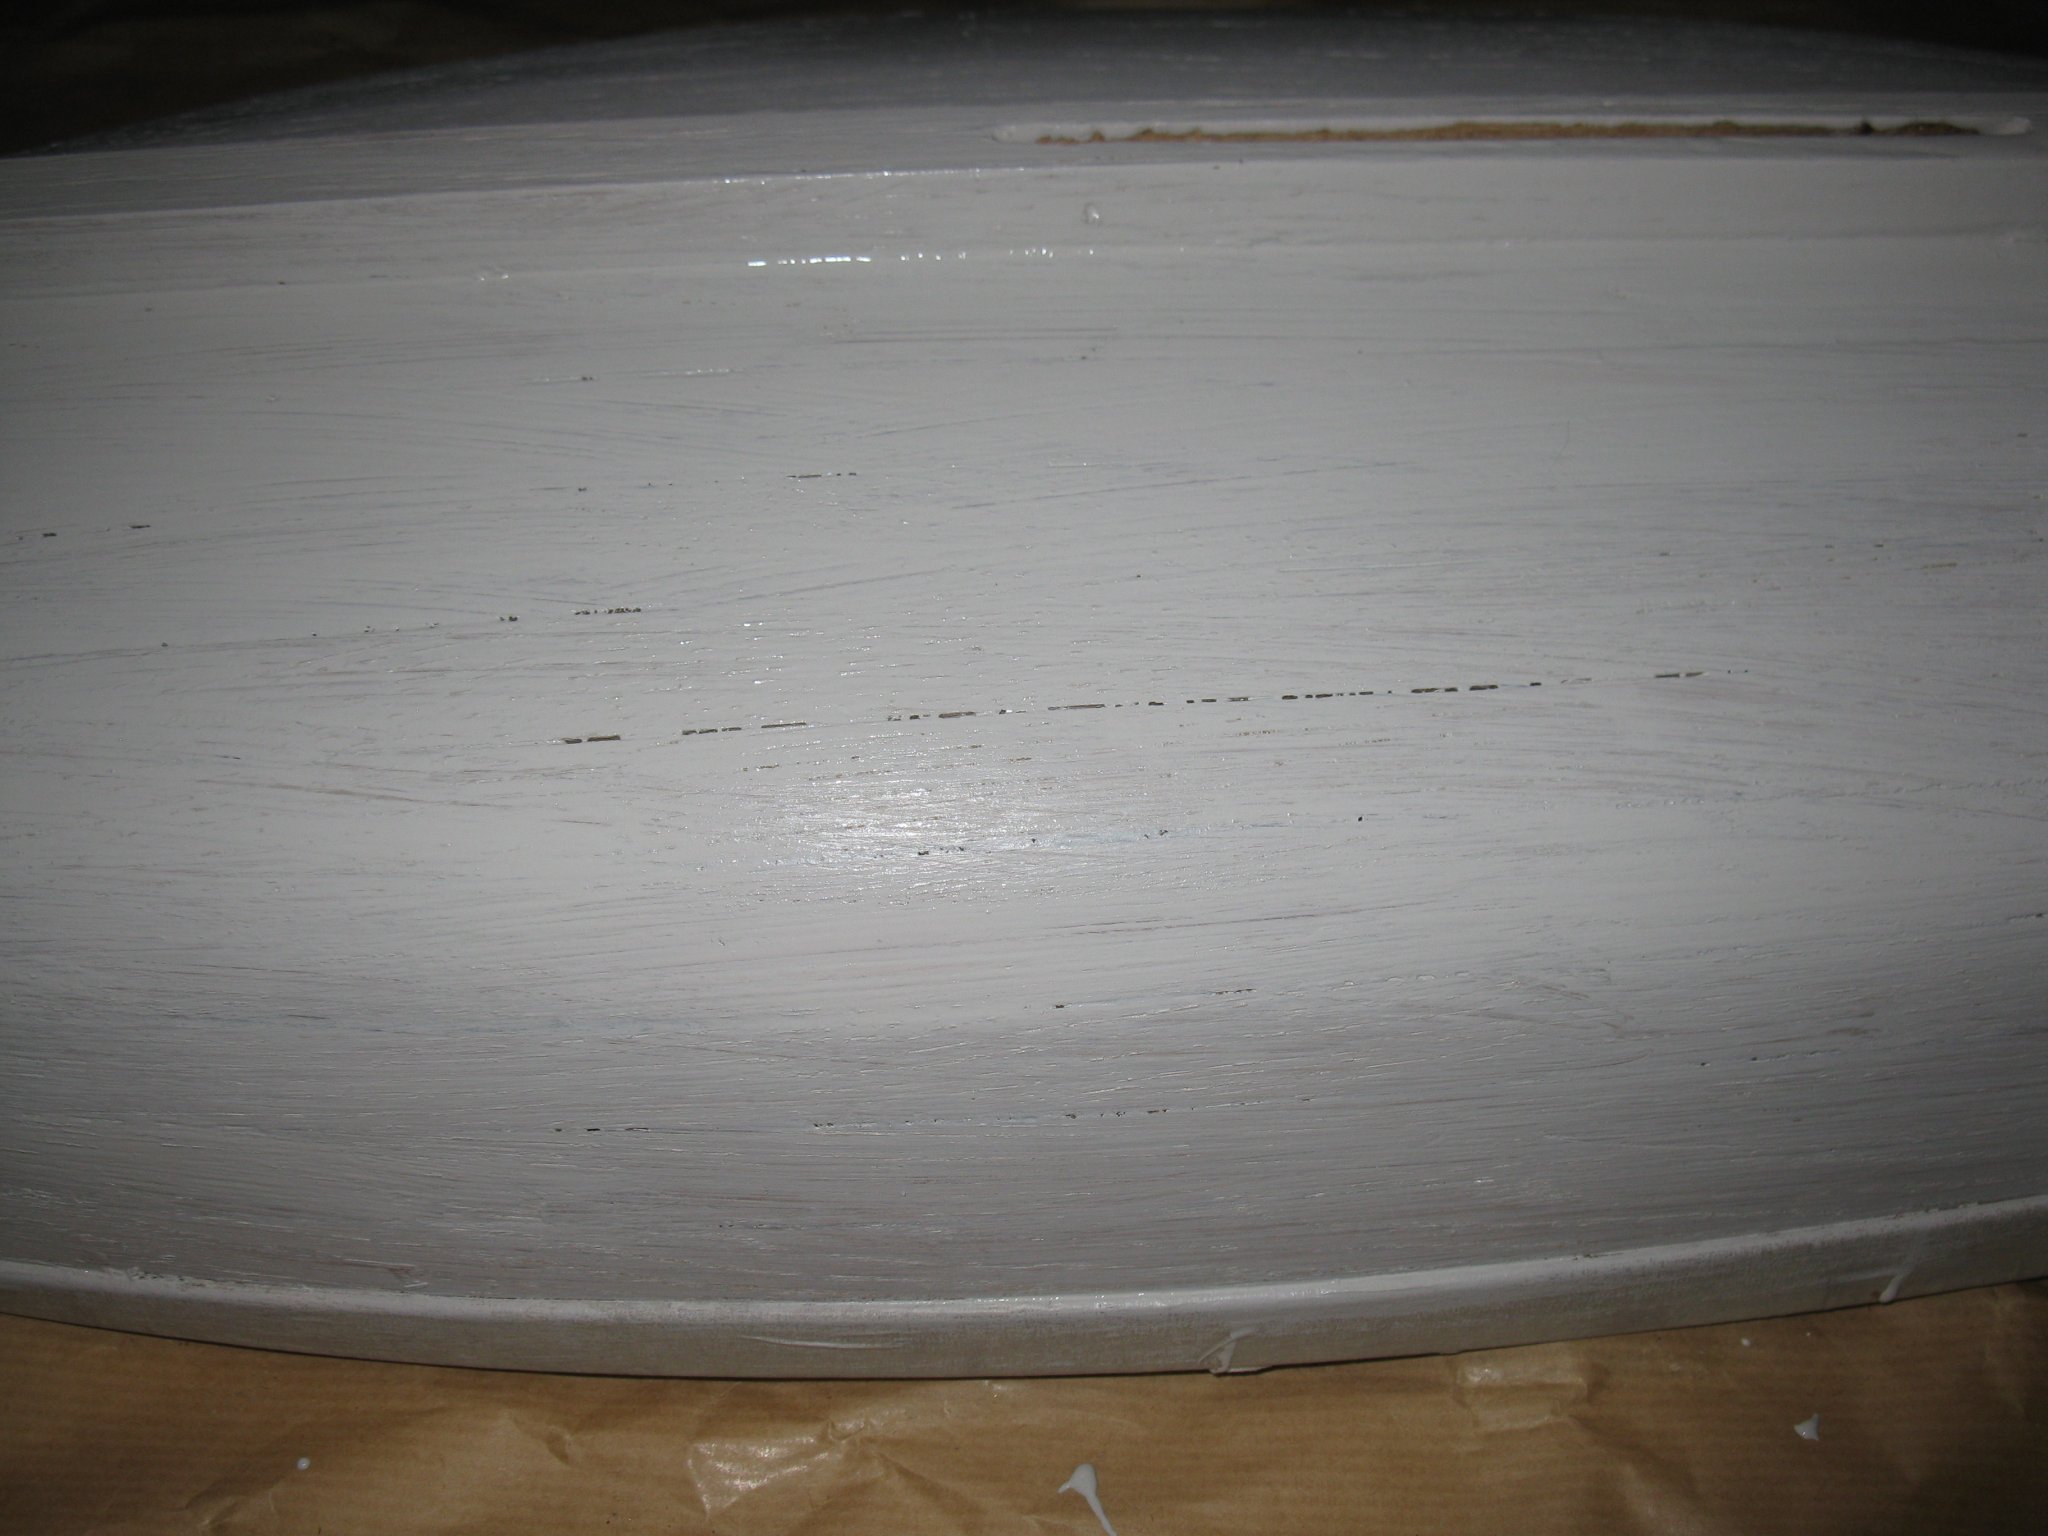
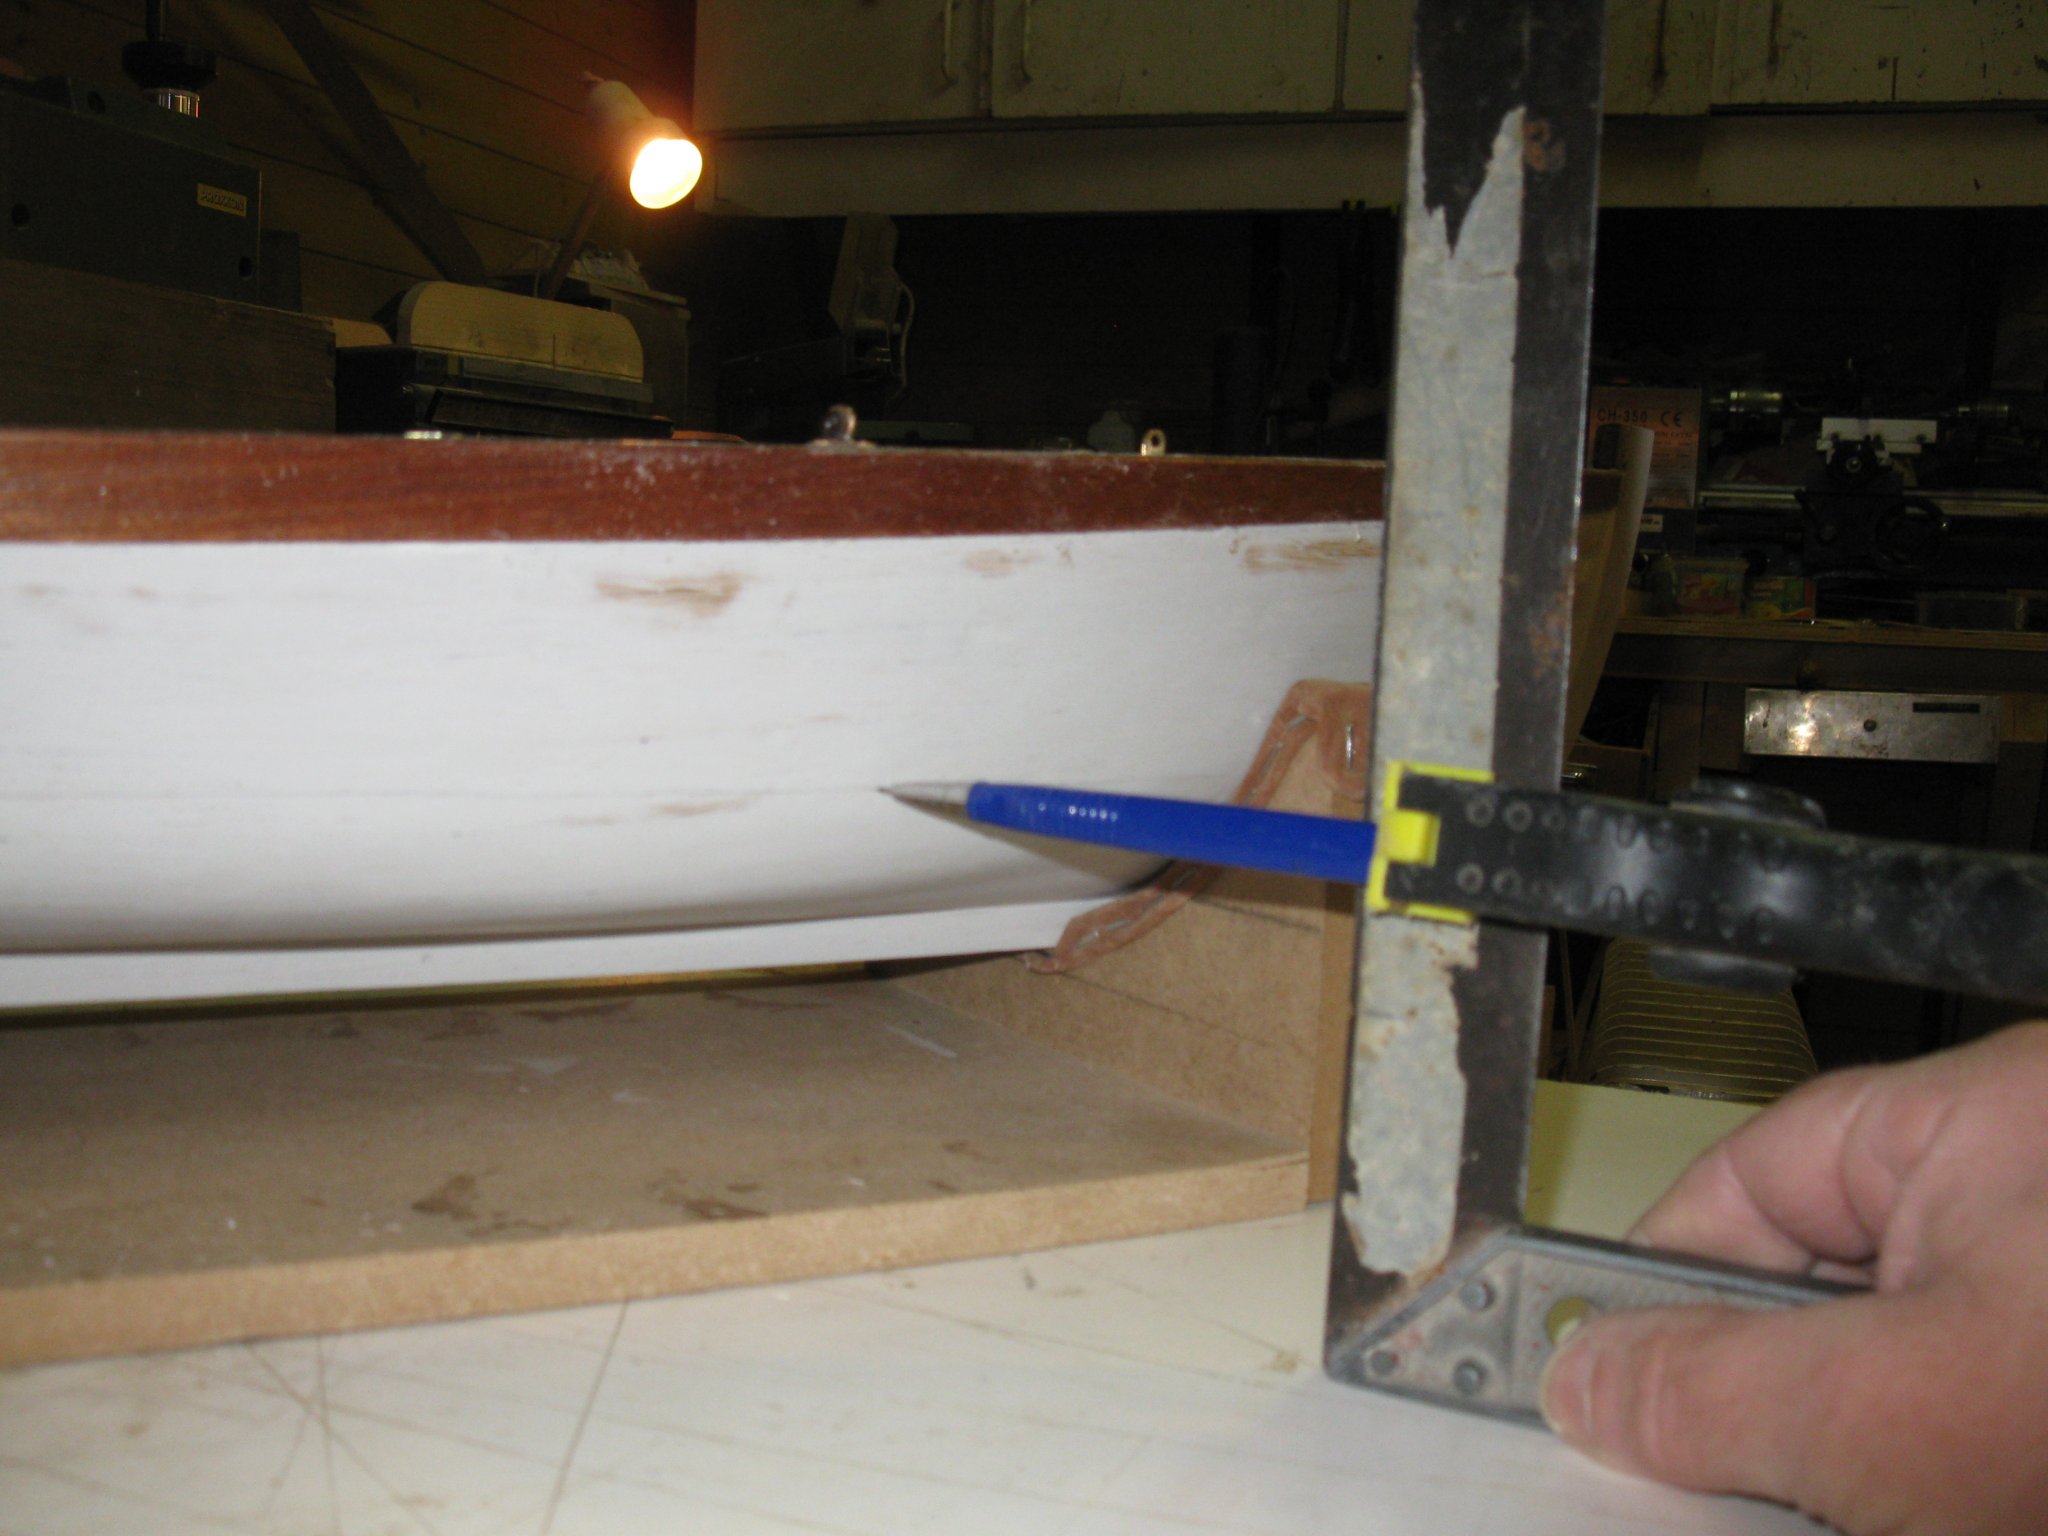
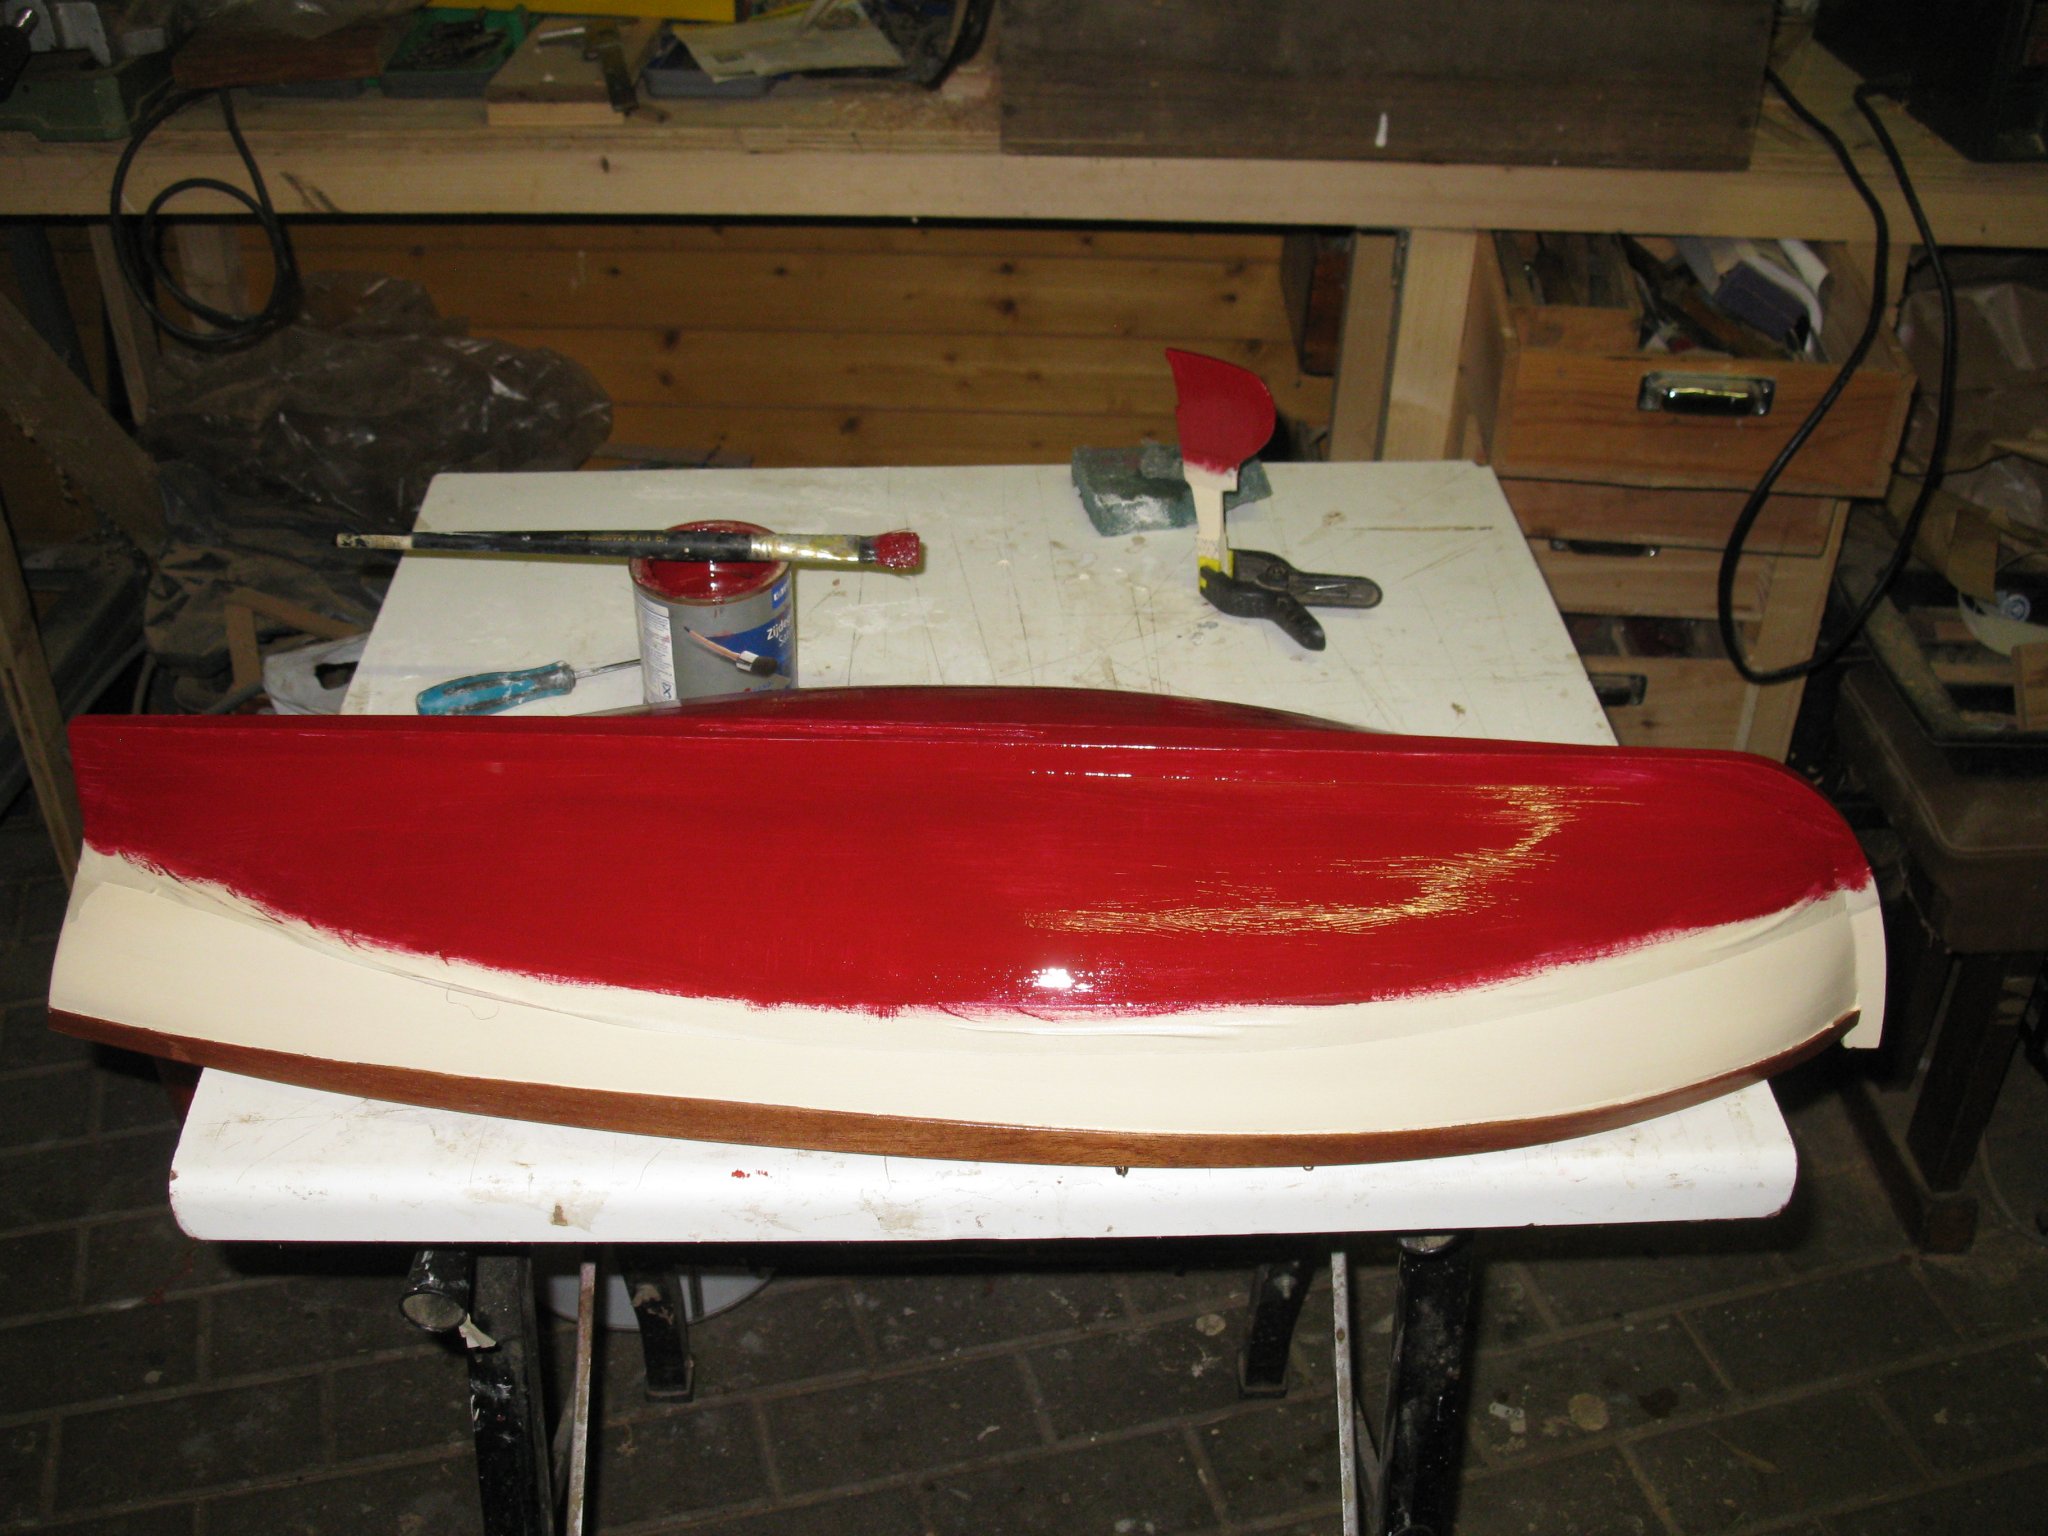
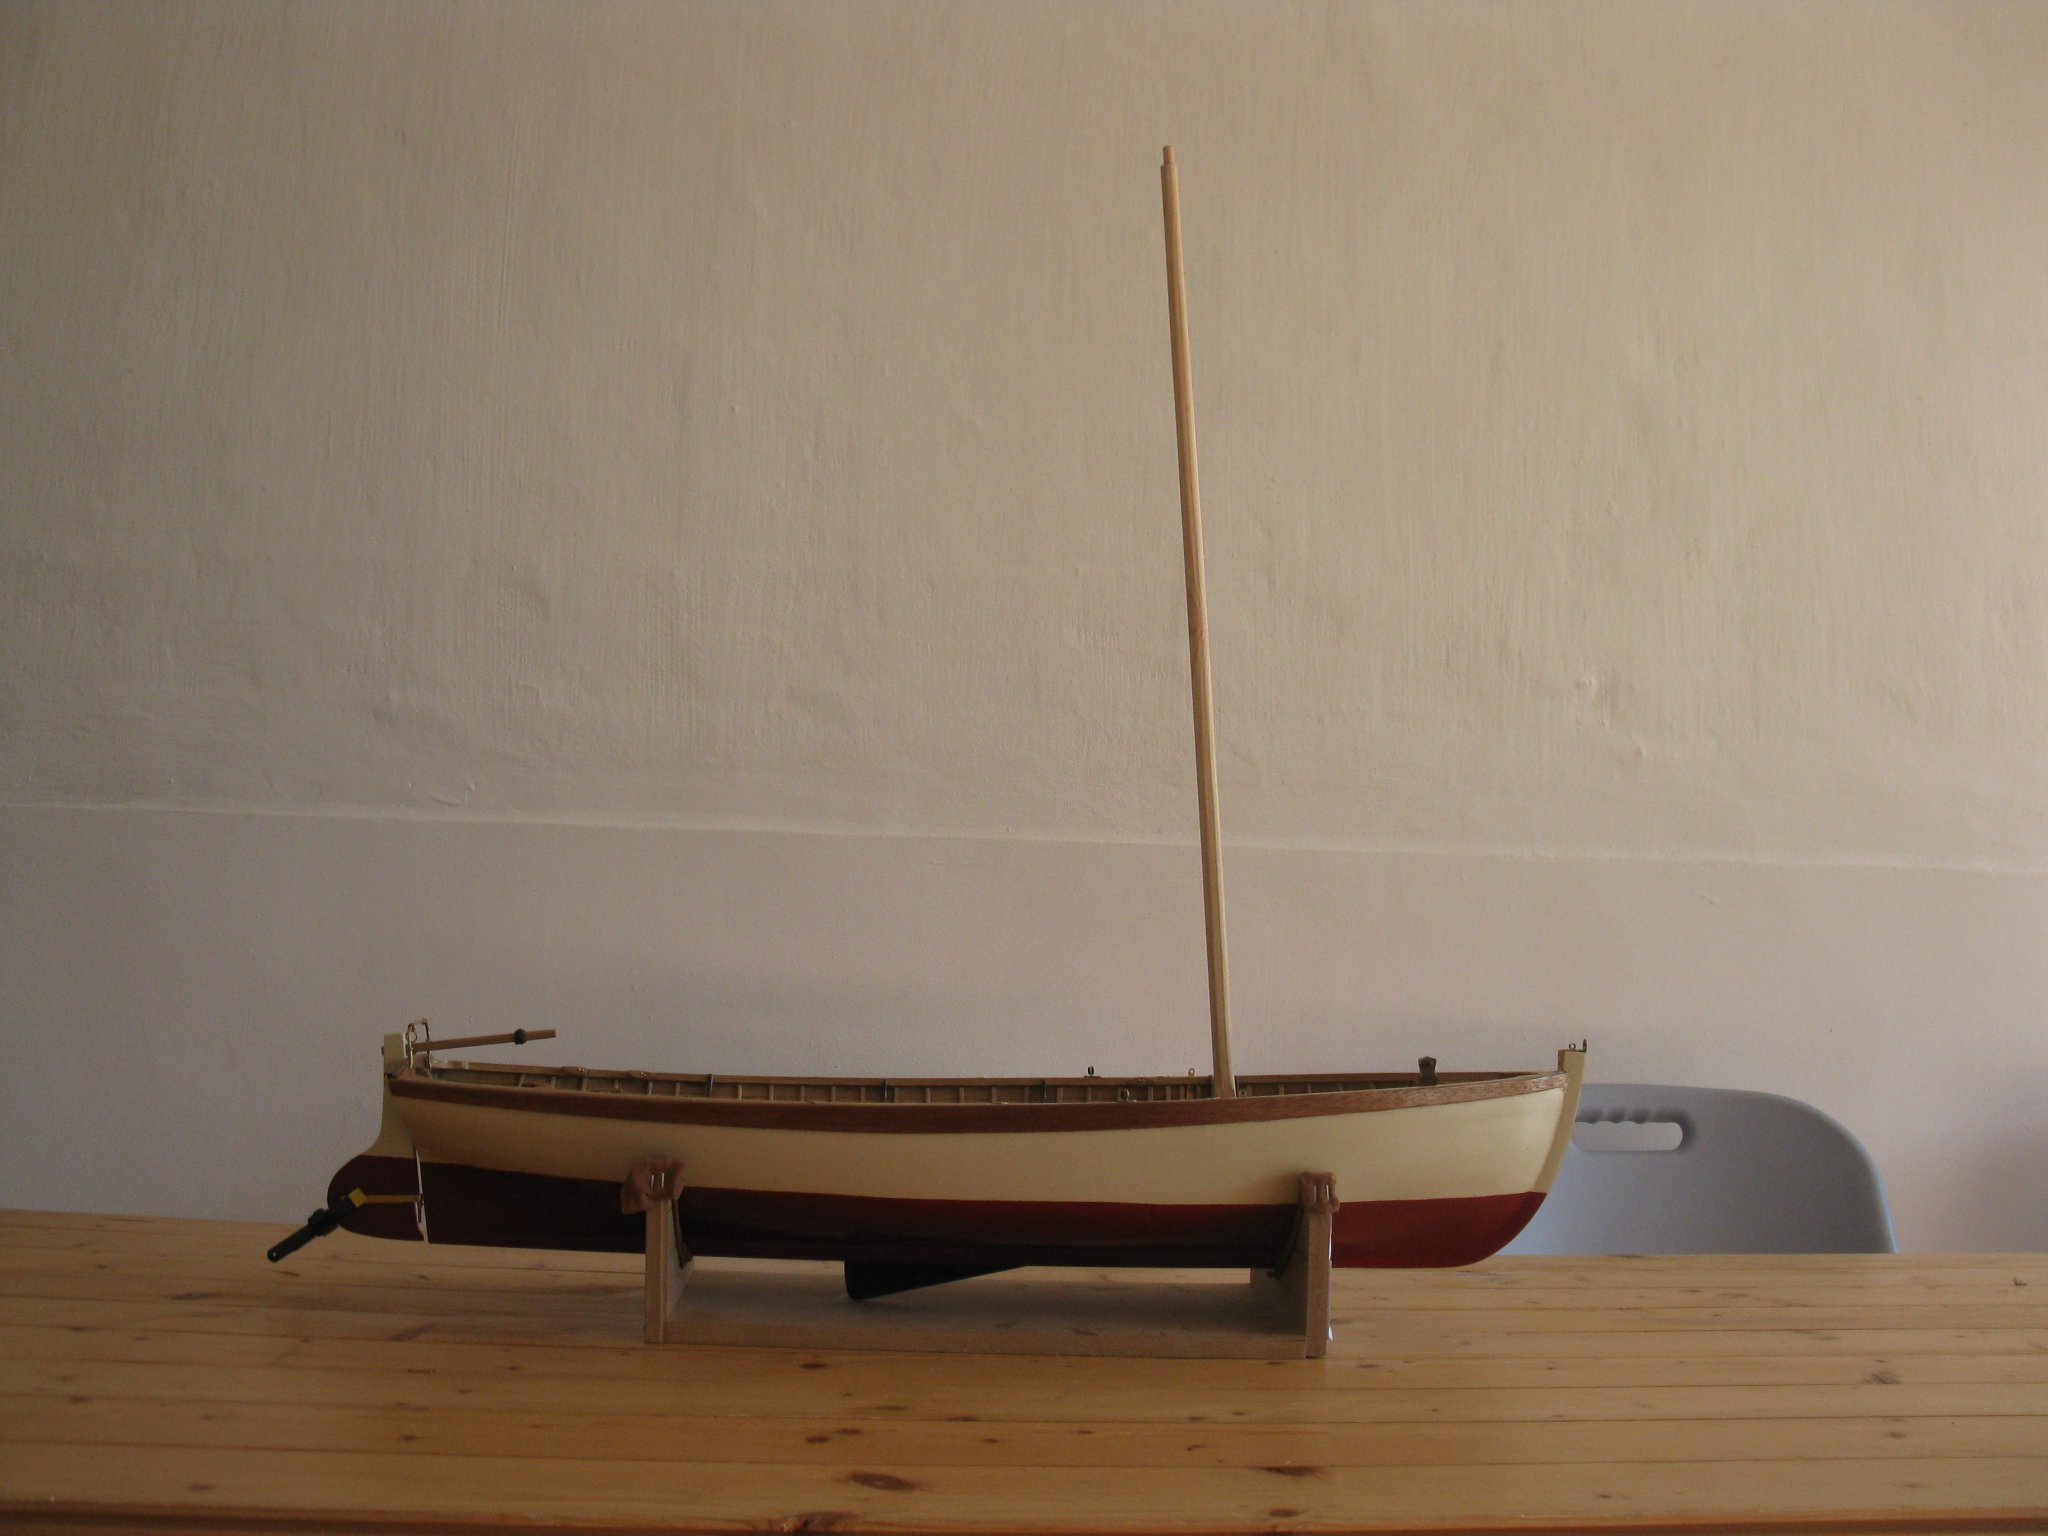
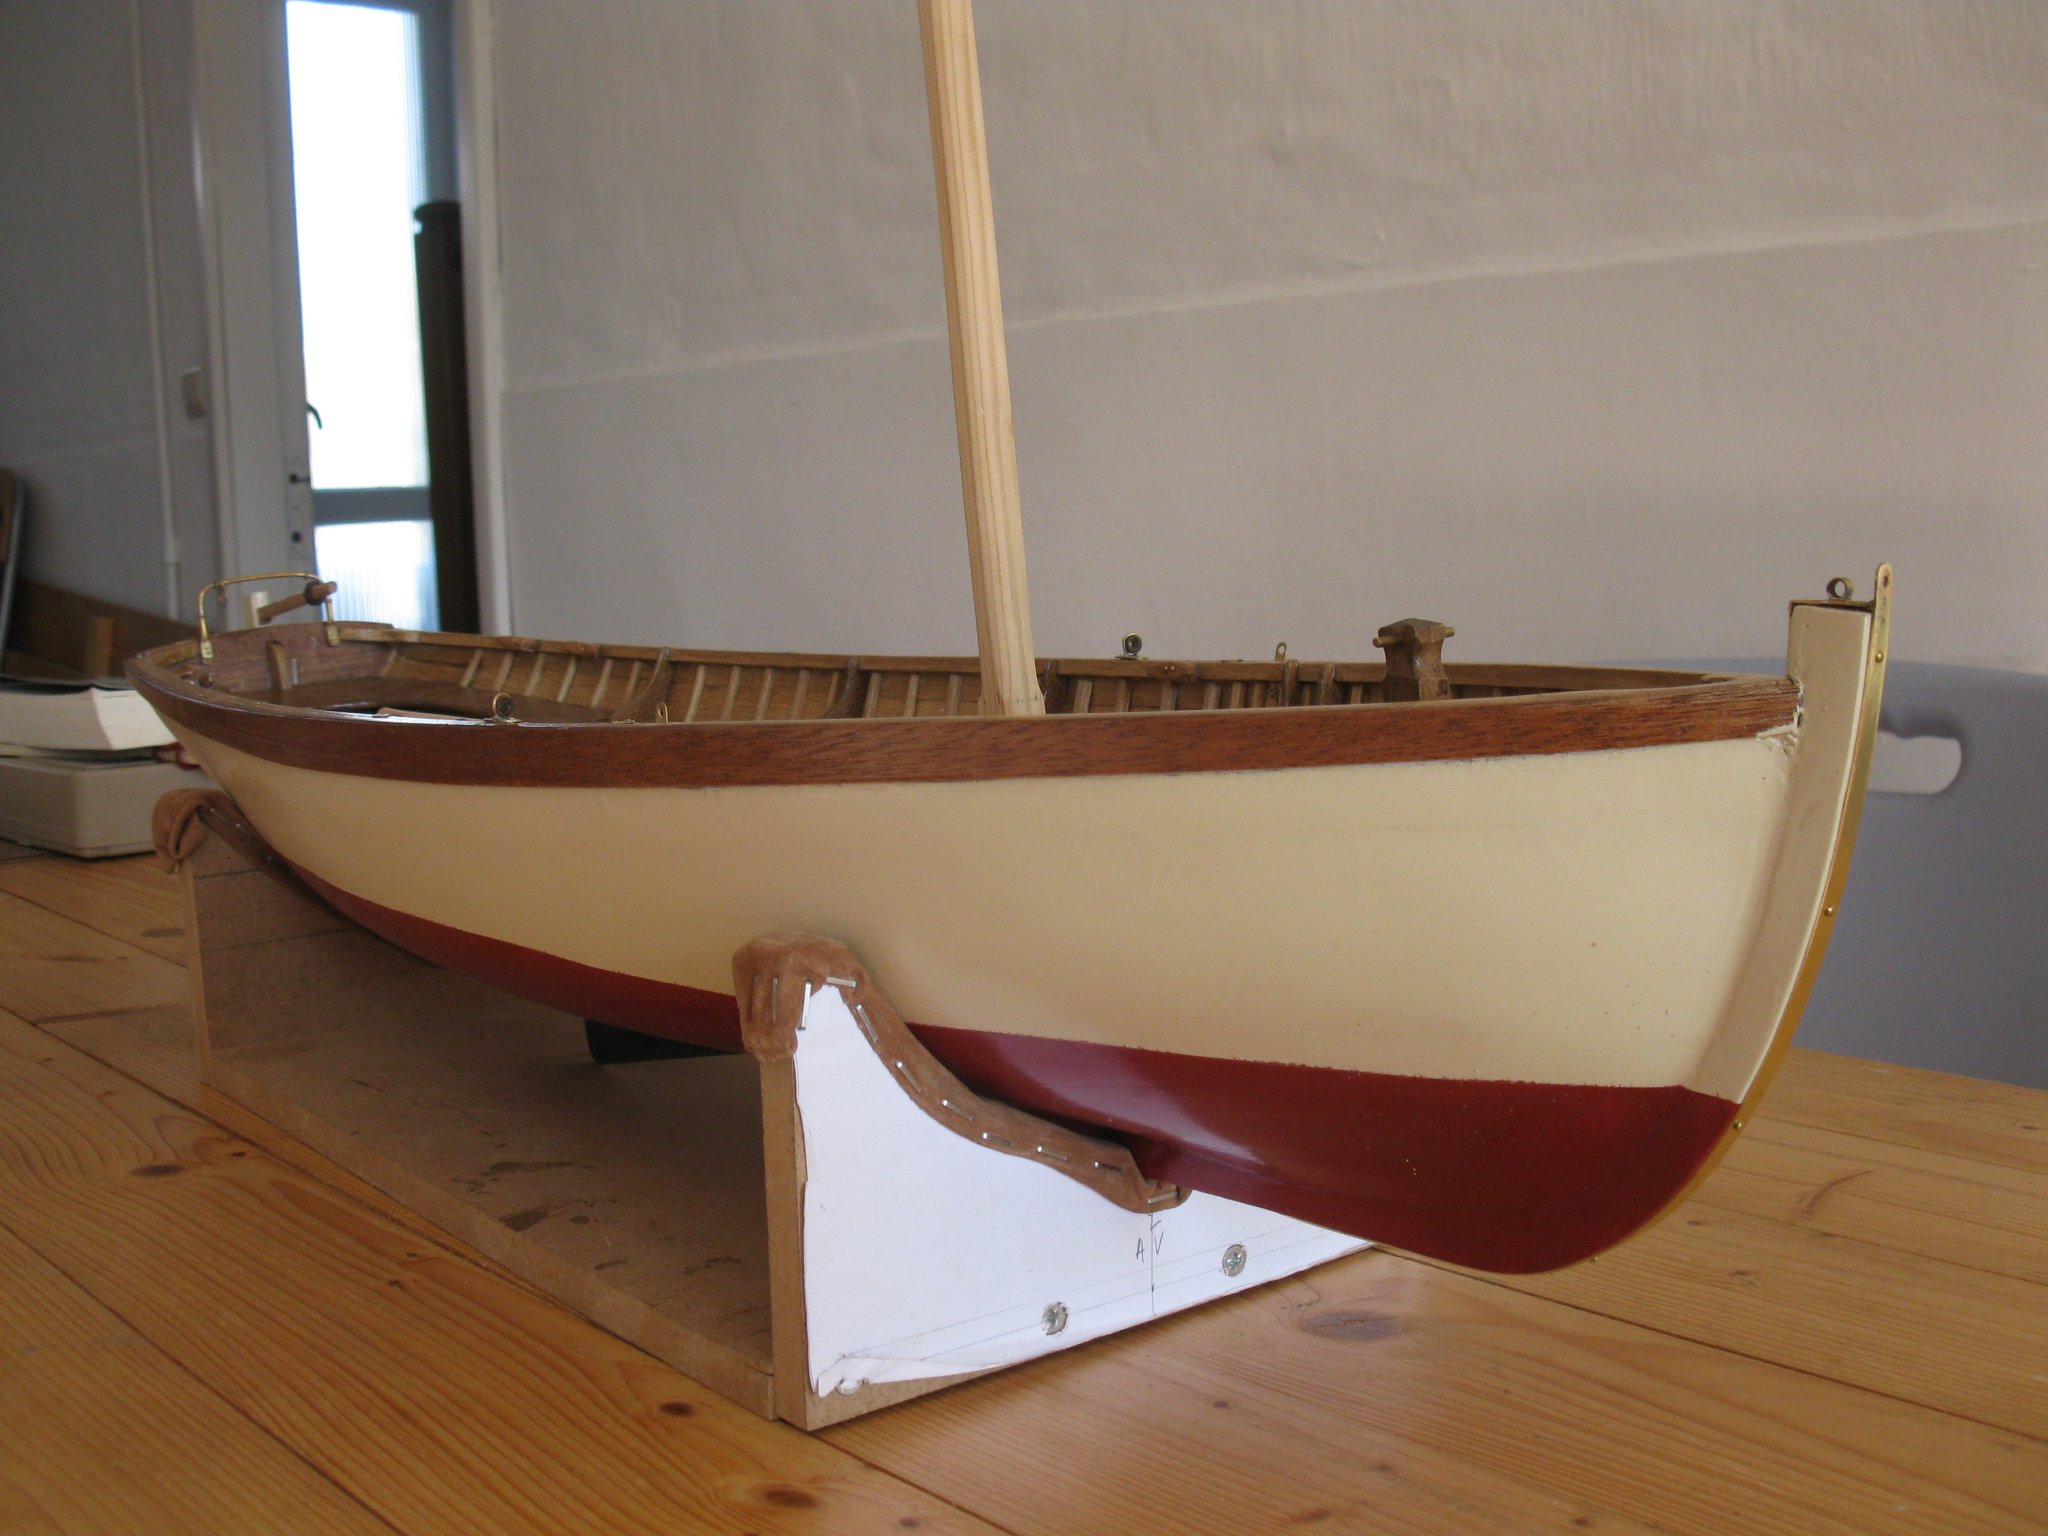
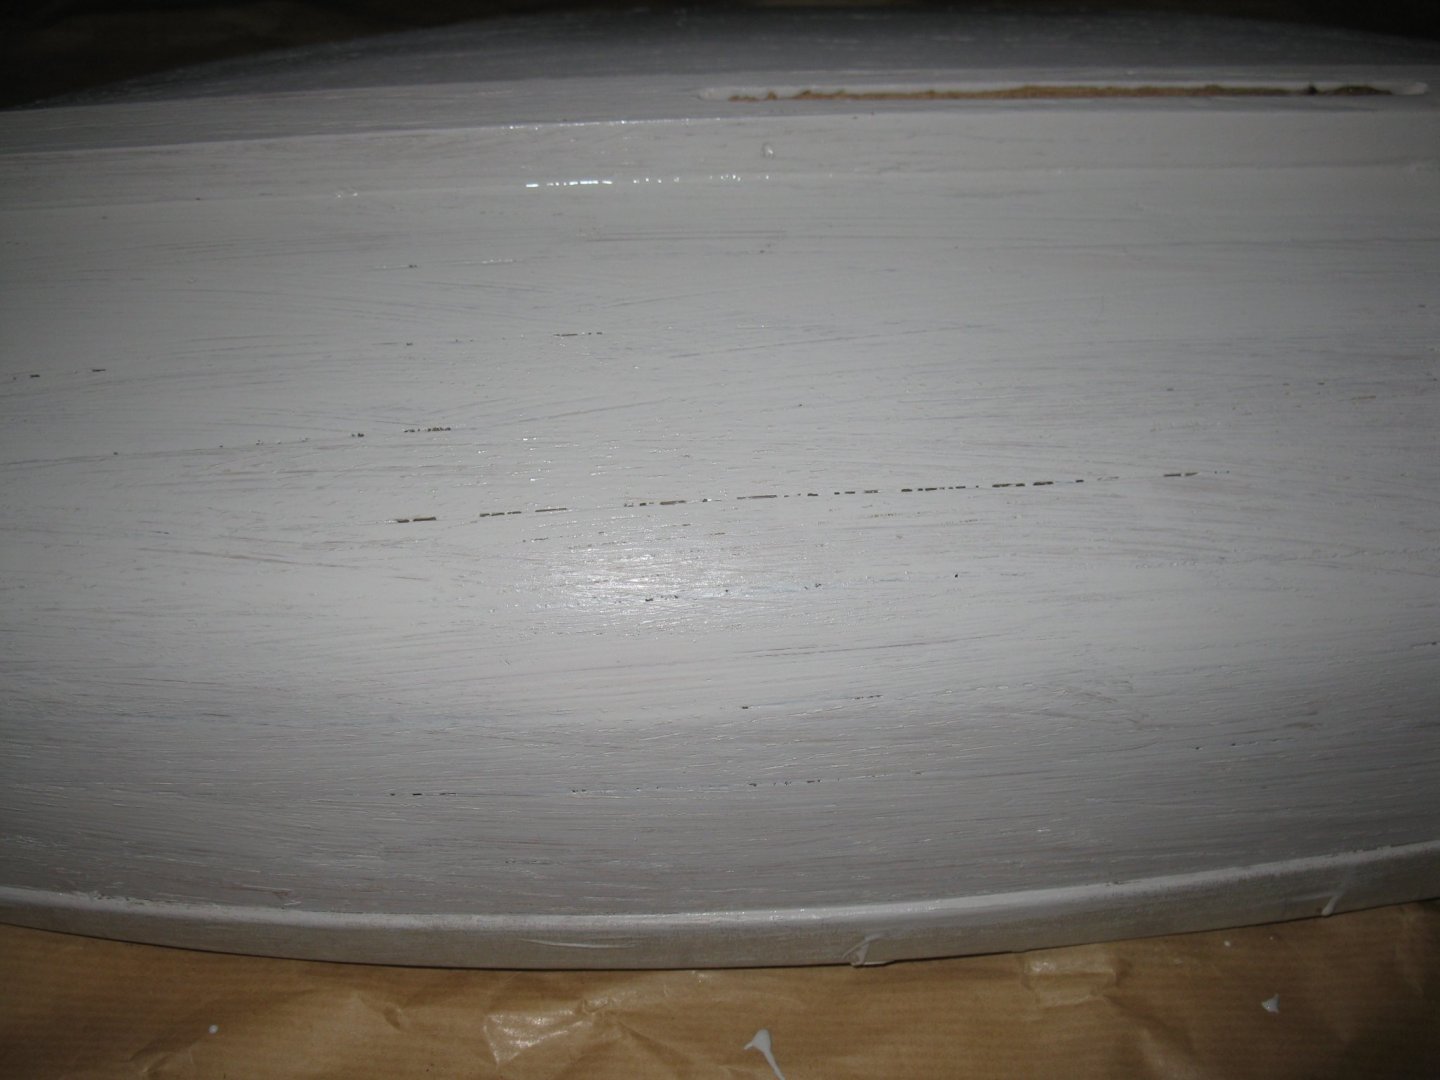
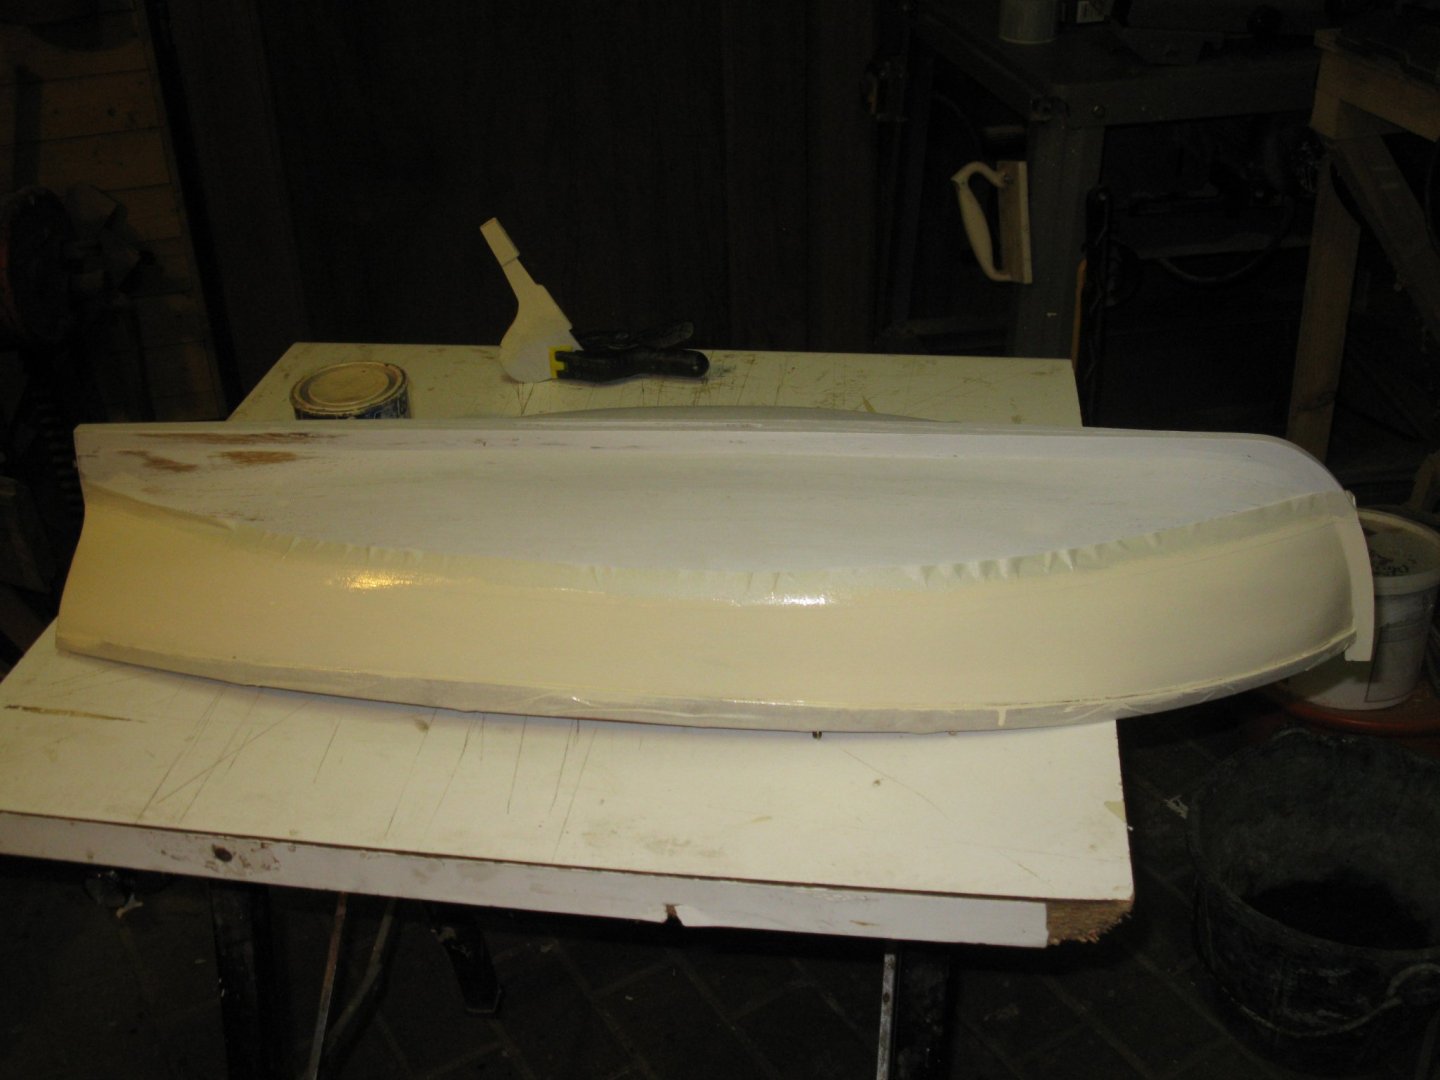
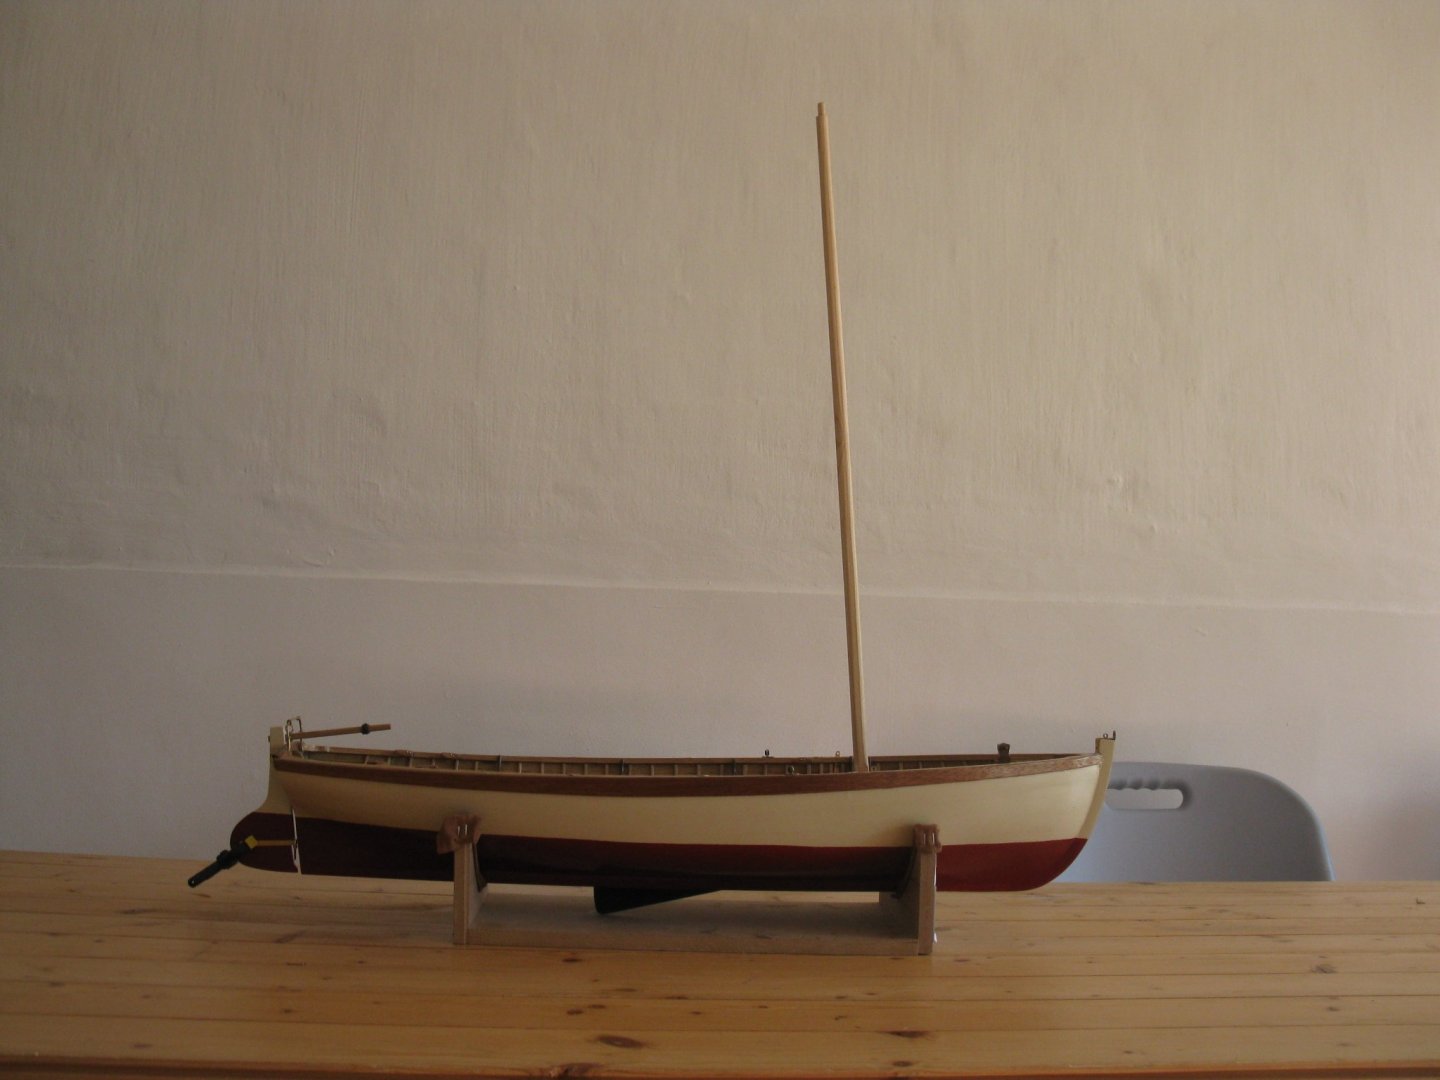
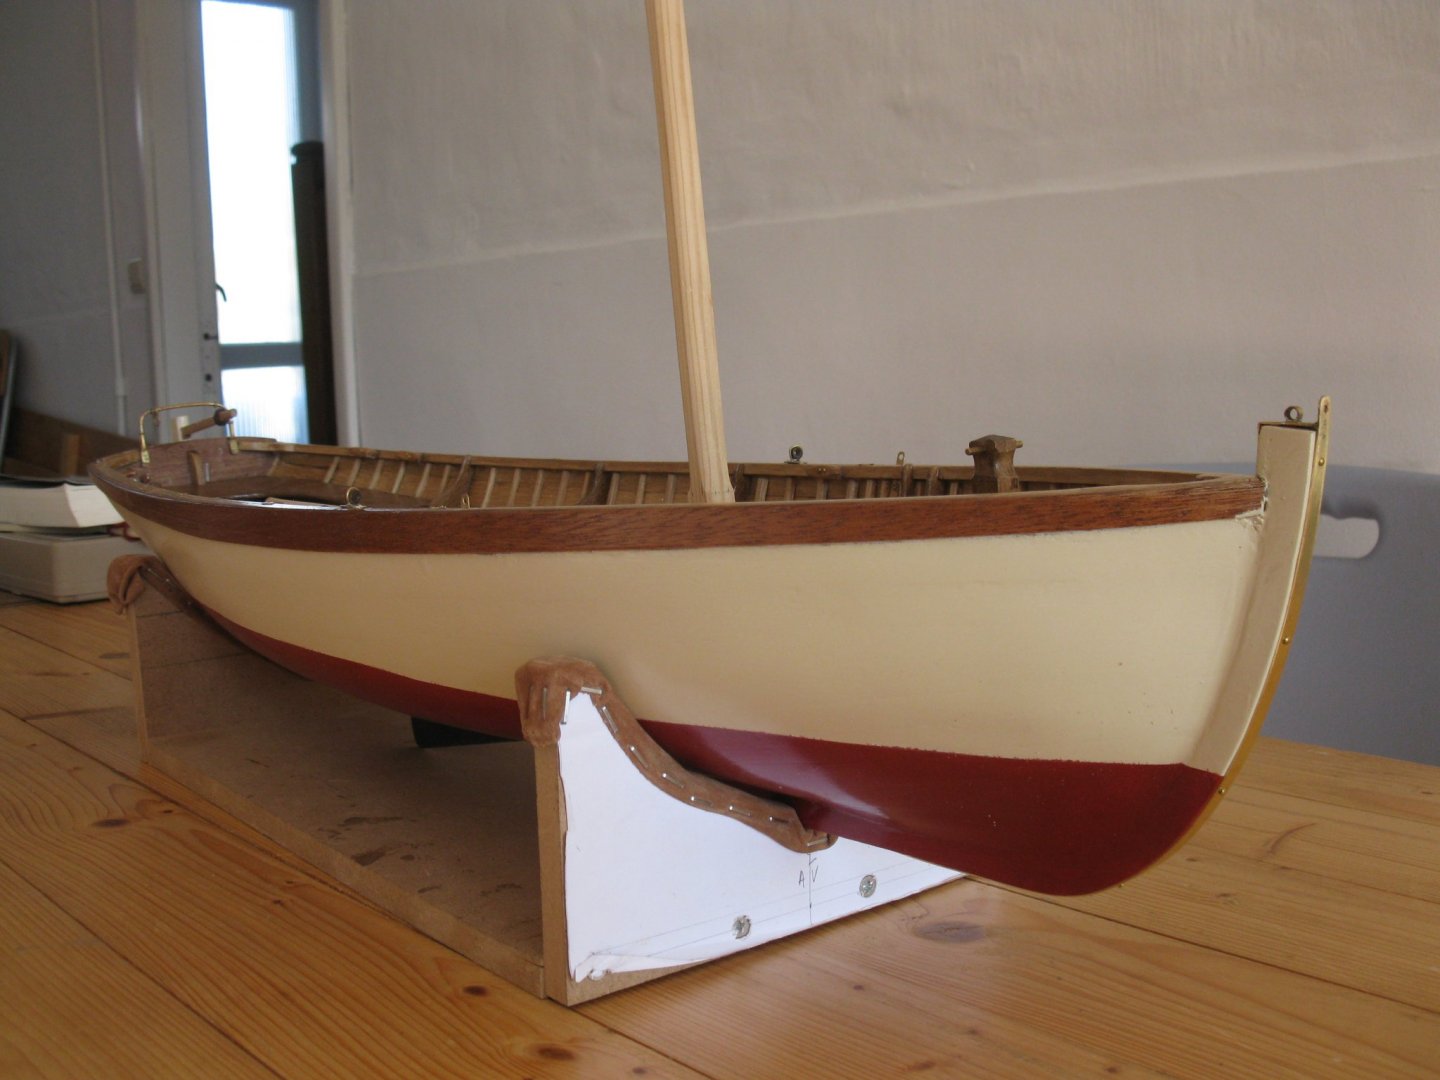
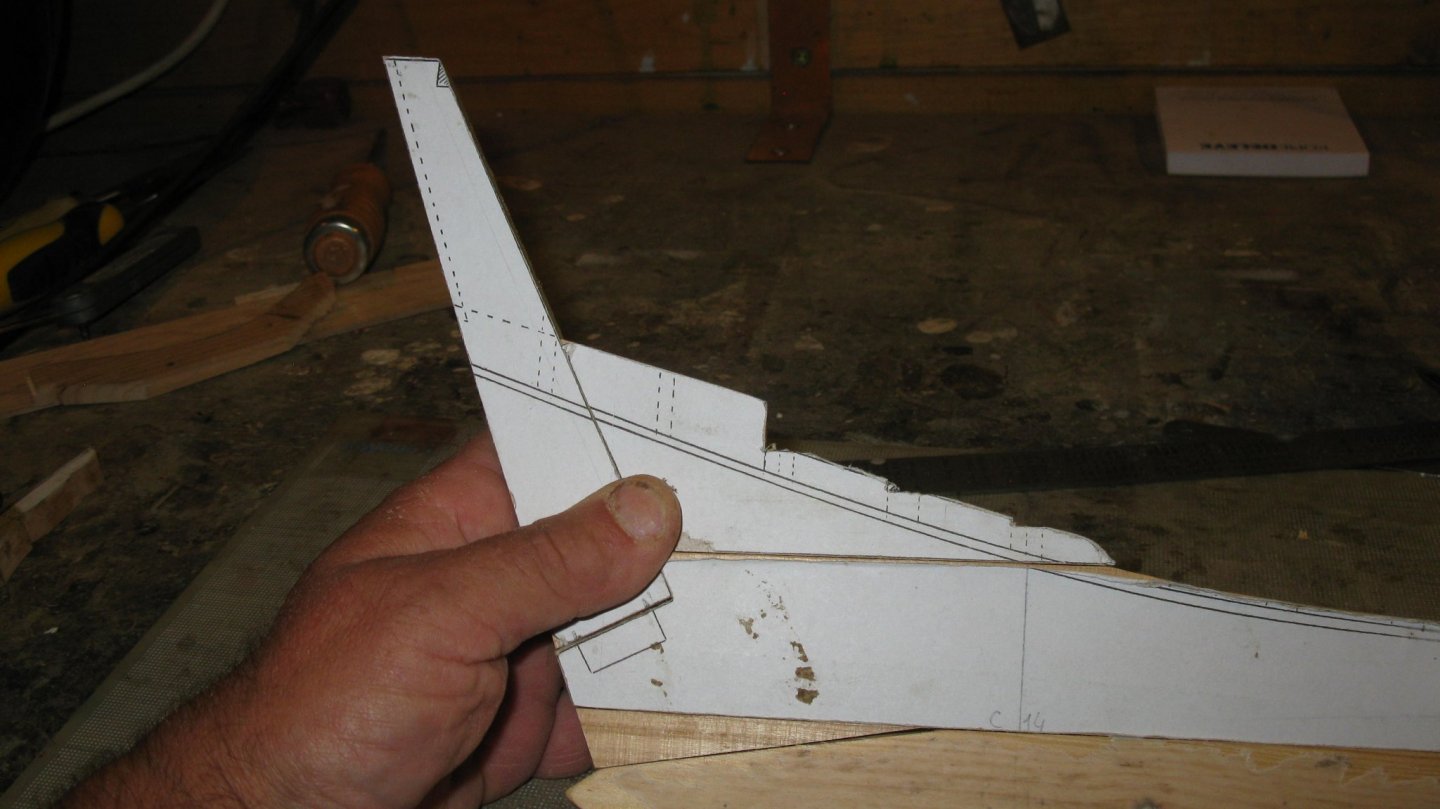
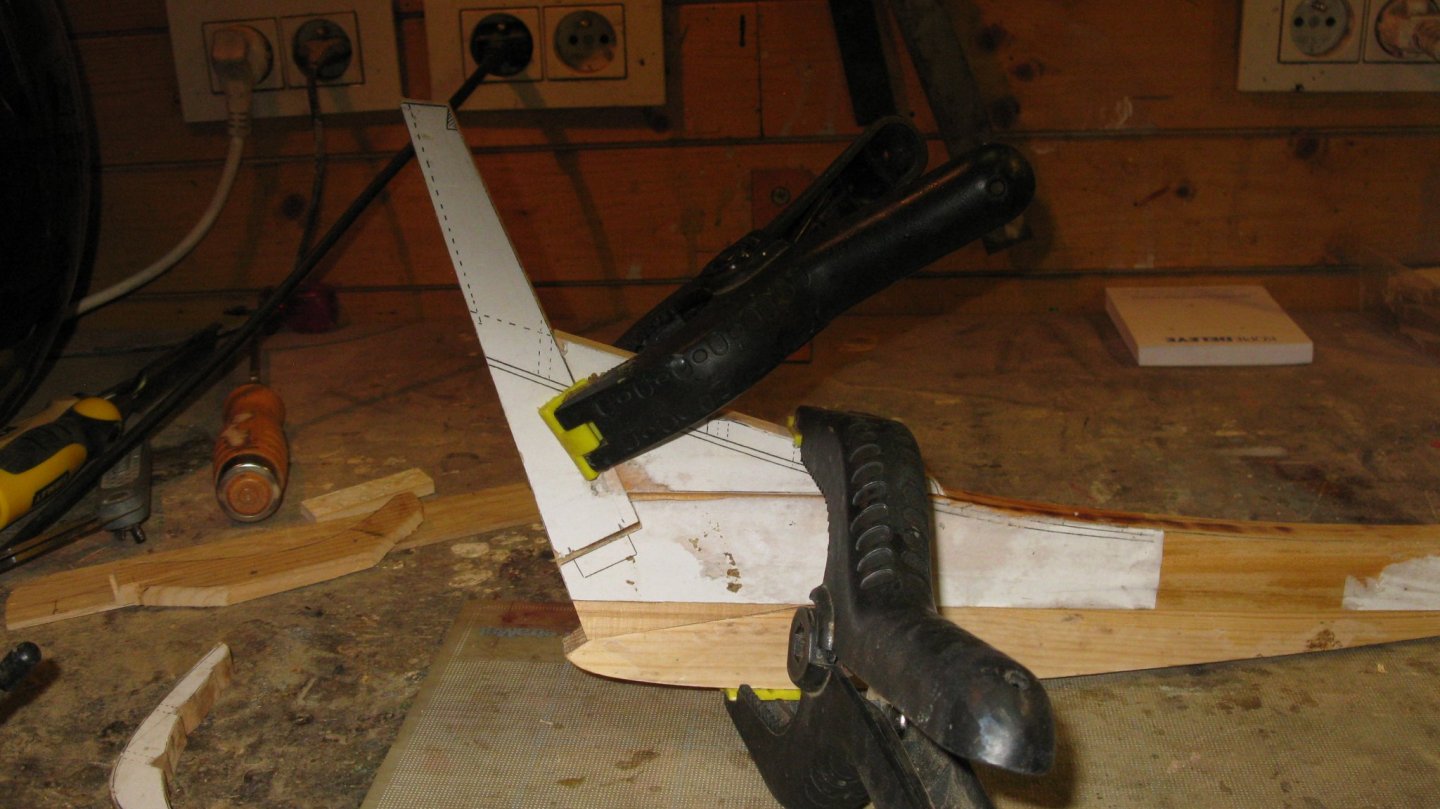
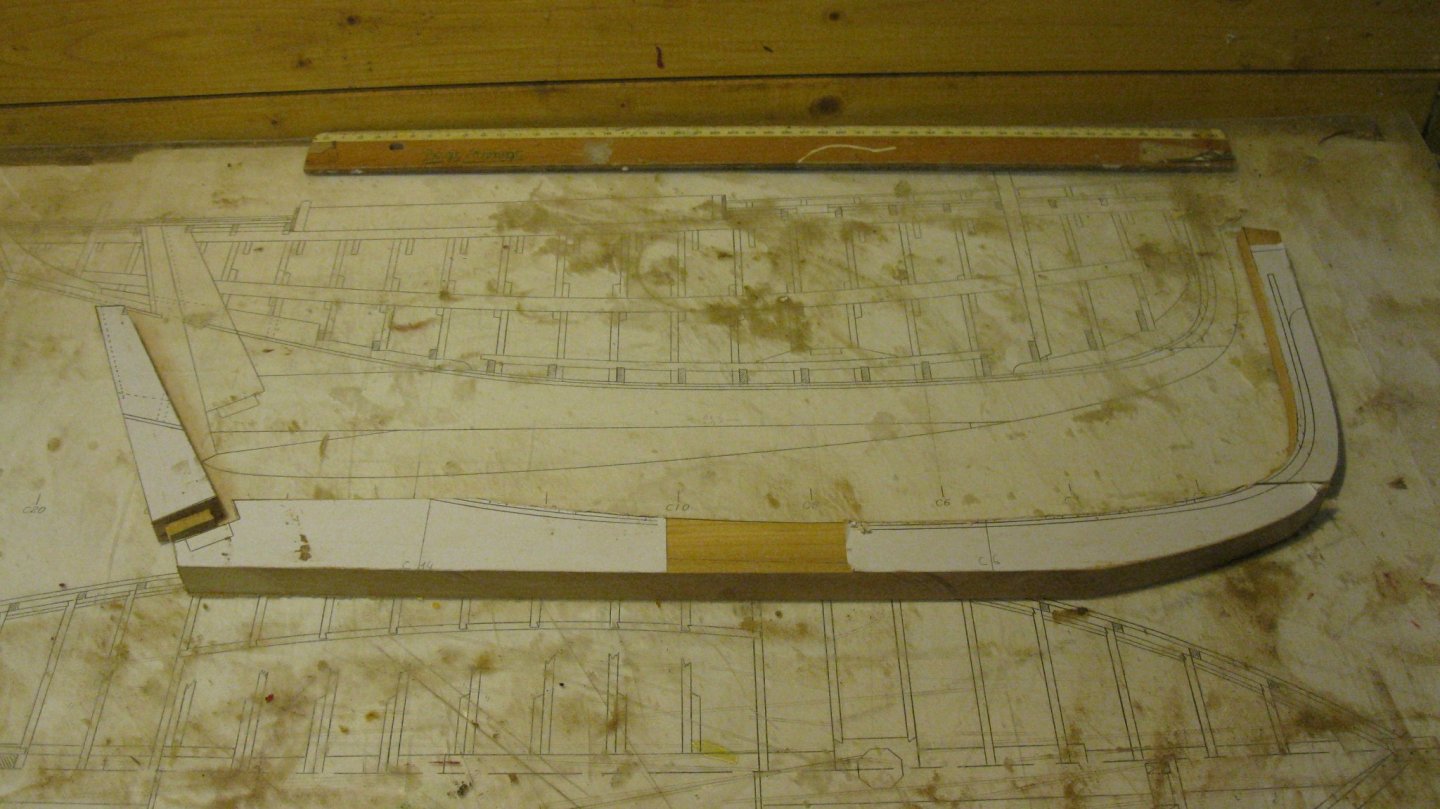
Continuation part 7: Finishing the hull 7.2. Painting the hull Time to paint the hull. I start with painting it with primer. With a primer layer on the hull a lot of the imperfections of the planking become conspicuous. I apply a layer of paint putty and sand it. After that again primer, putty and sanding. Now the hull is more or less acceptable for the finishing coat. My system to mark the waterline is very basic: I slide a set square with a pencil attached to it along the hull. The waterline marks join at the bow and at the stern, so I can be confident that they are fairly accurate. I tape the rub rail and the waterline and paint the above water part with satin paint in cream color. The paint is laid in three layers with sanding in between it. Same procedure below the waterline: here I use dark red. The finished hull. Thank you for the likes Thank you to follow Thank you for the constructive comments, Till next week


- 209 replies
-
- 16
-

-
David, Thanks to mention to me the Sampson Boat Co YouTube movies. They look me perfect to watch while my wife in to the evening course in the art school.
-
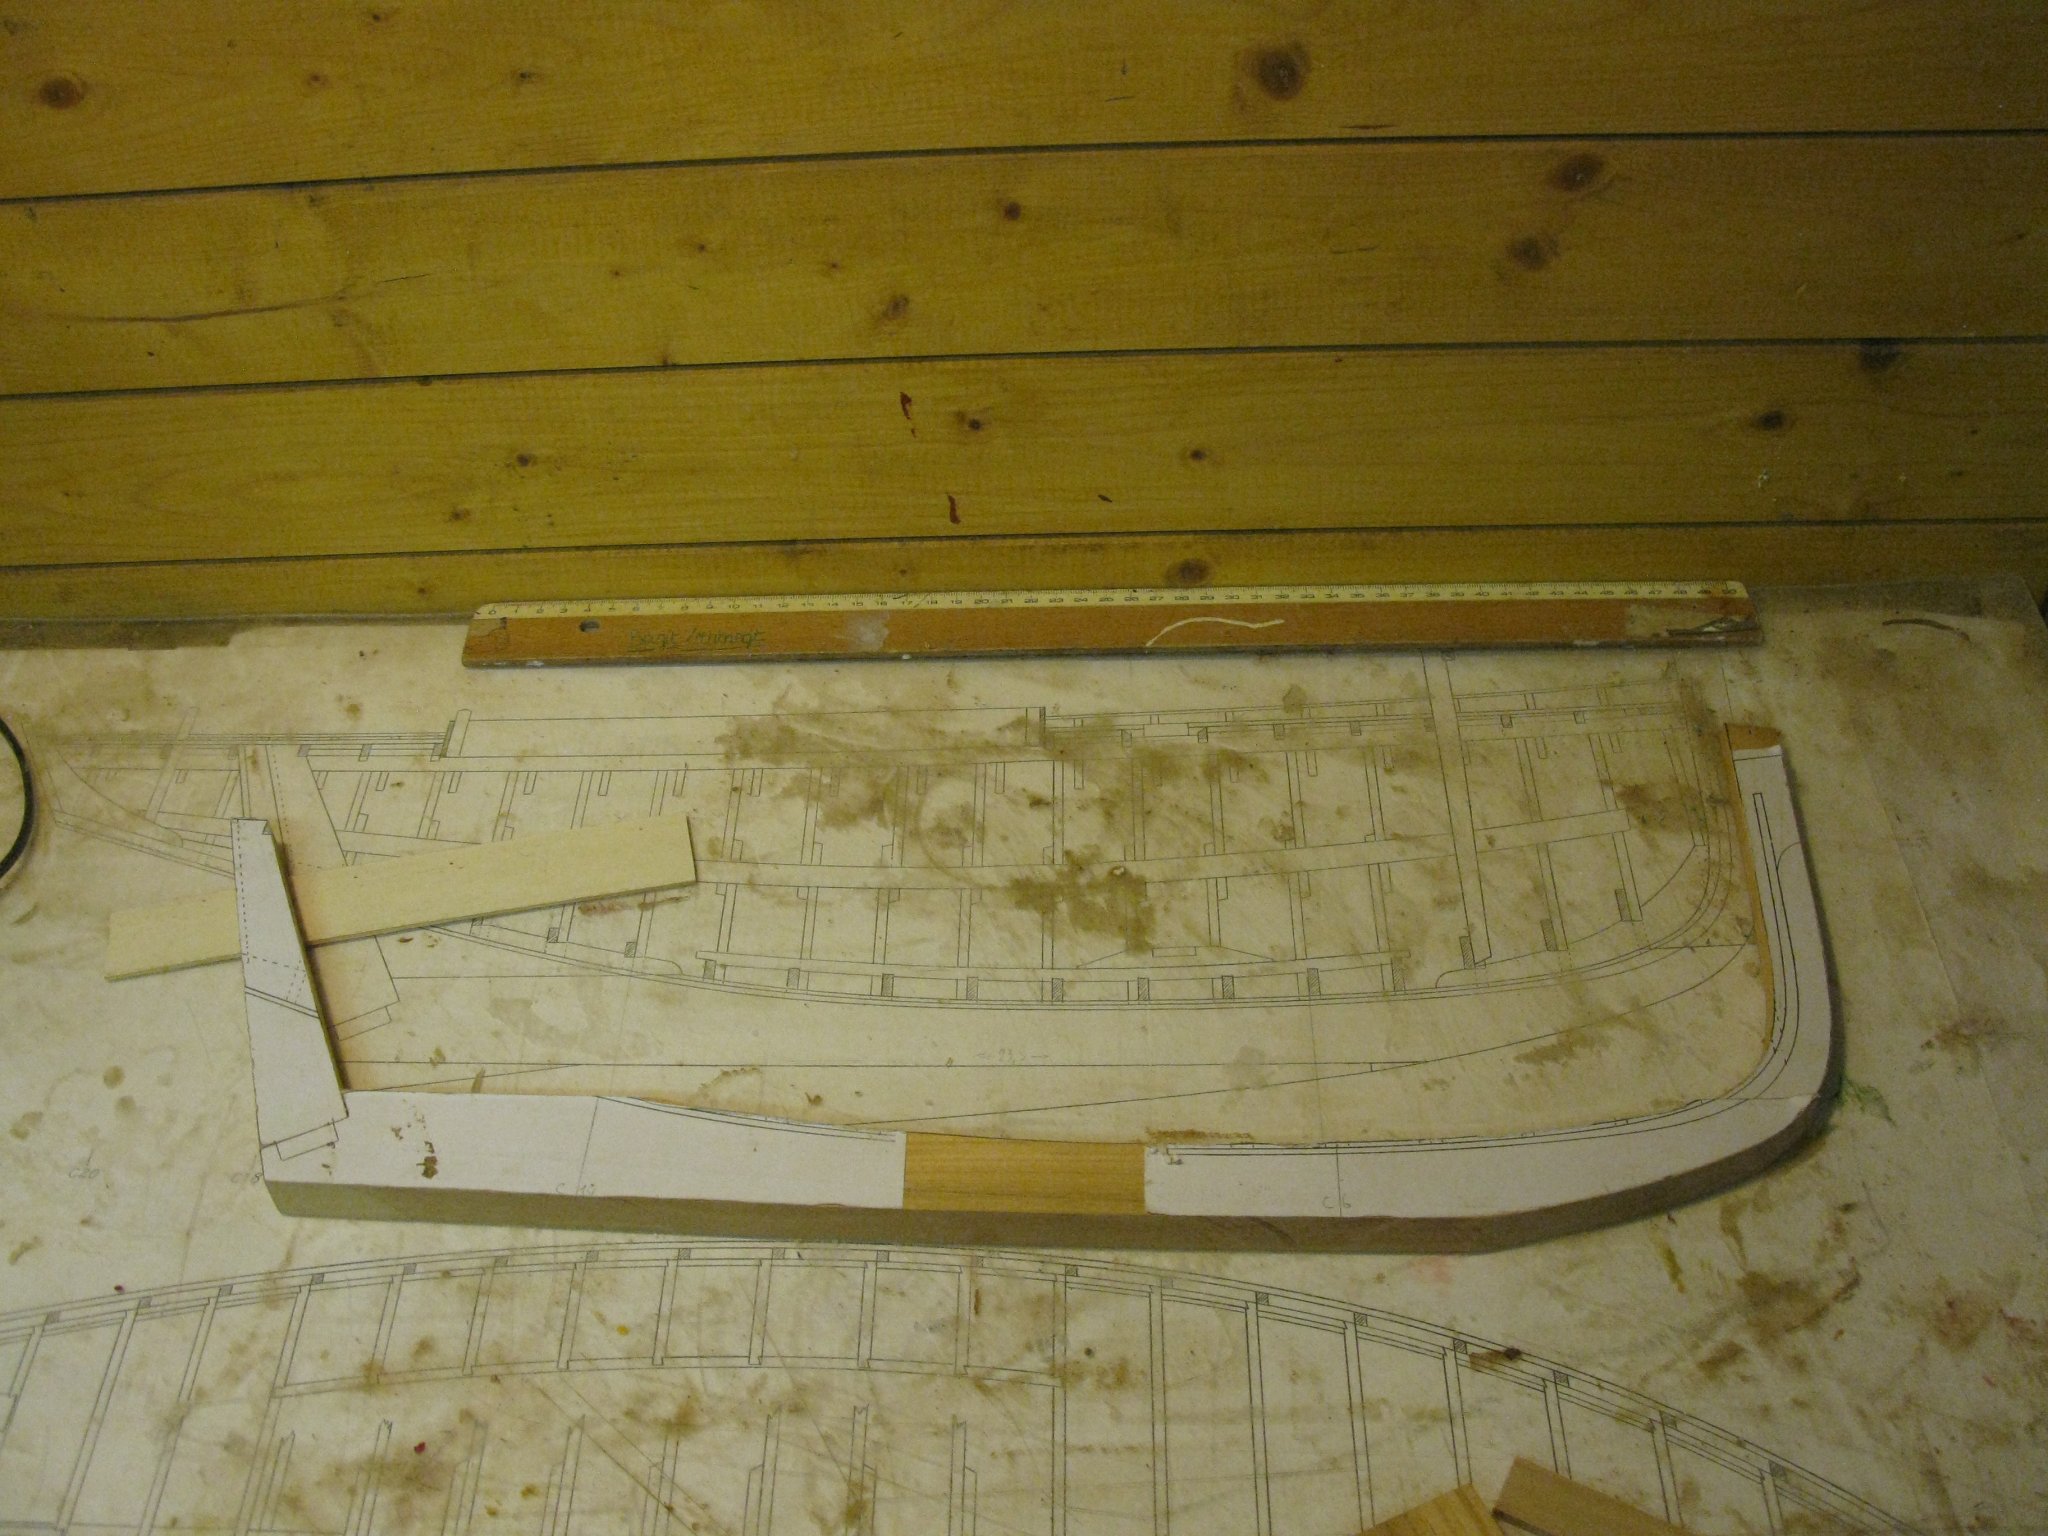
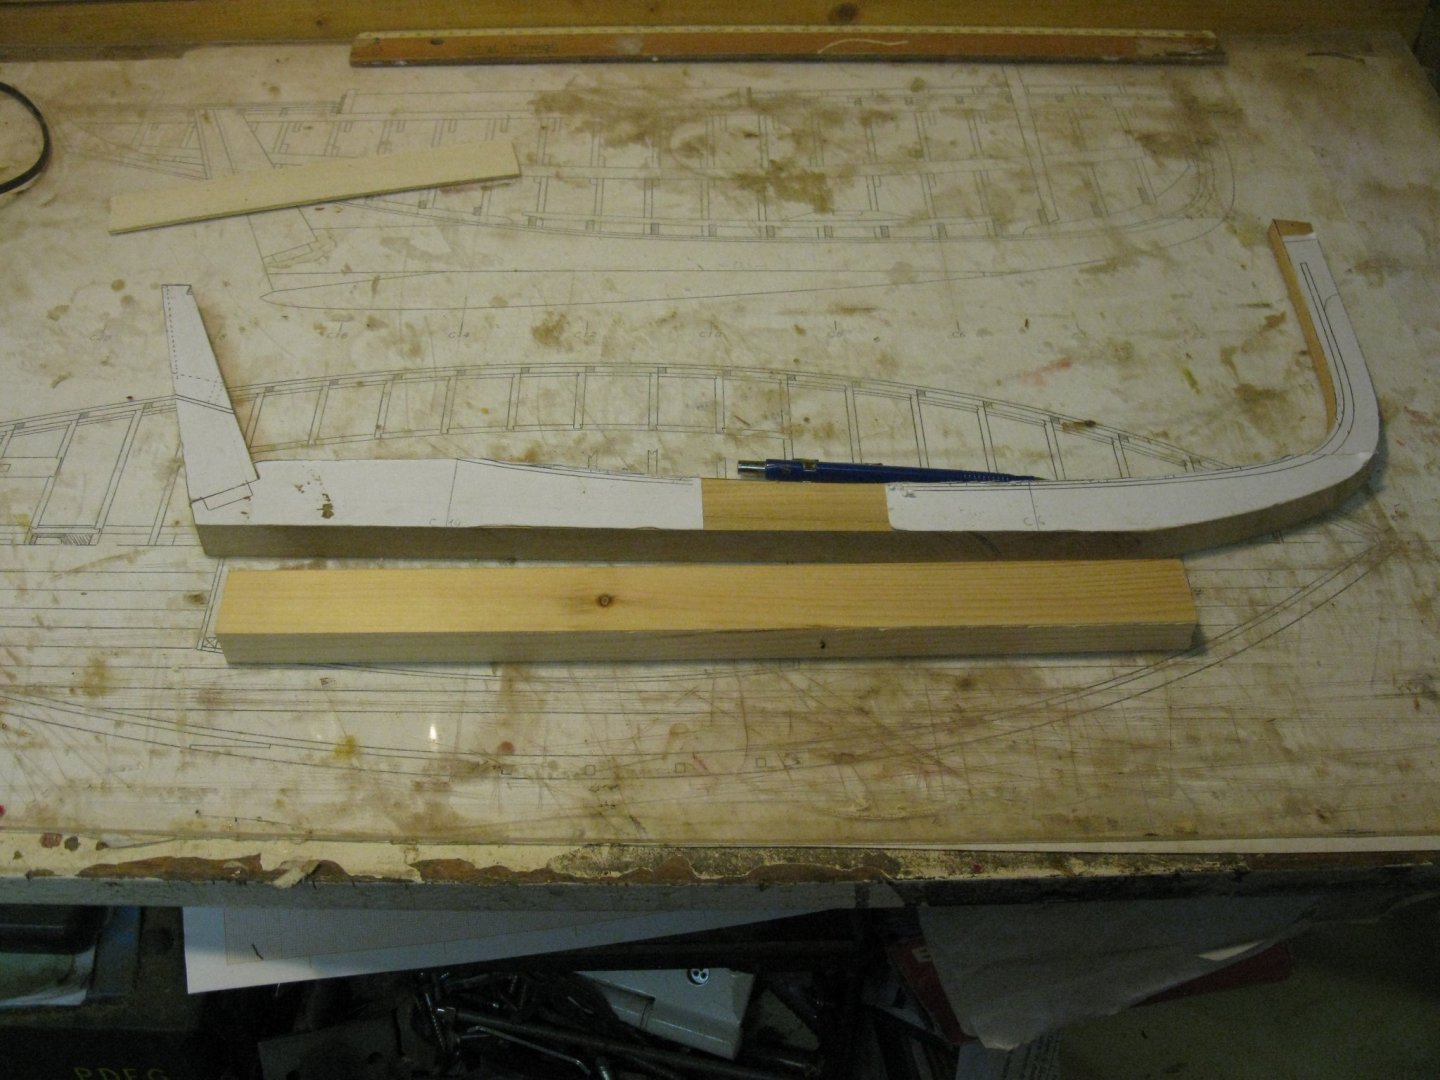
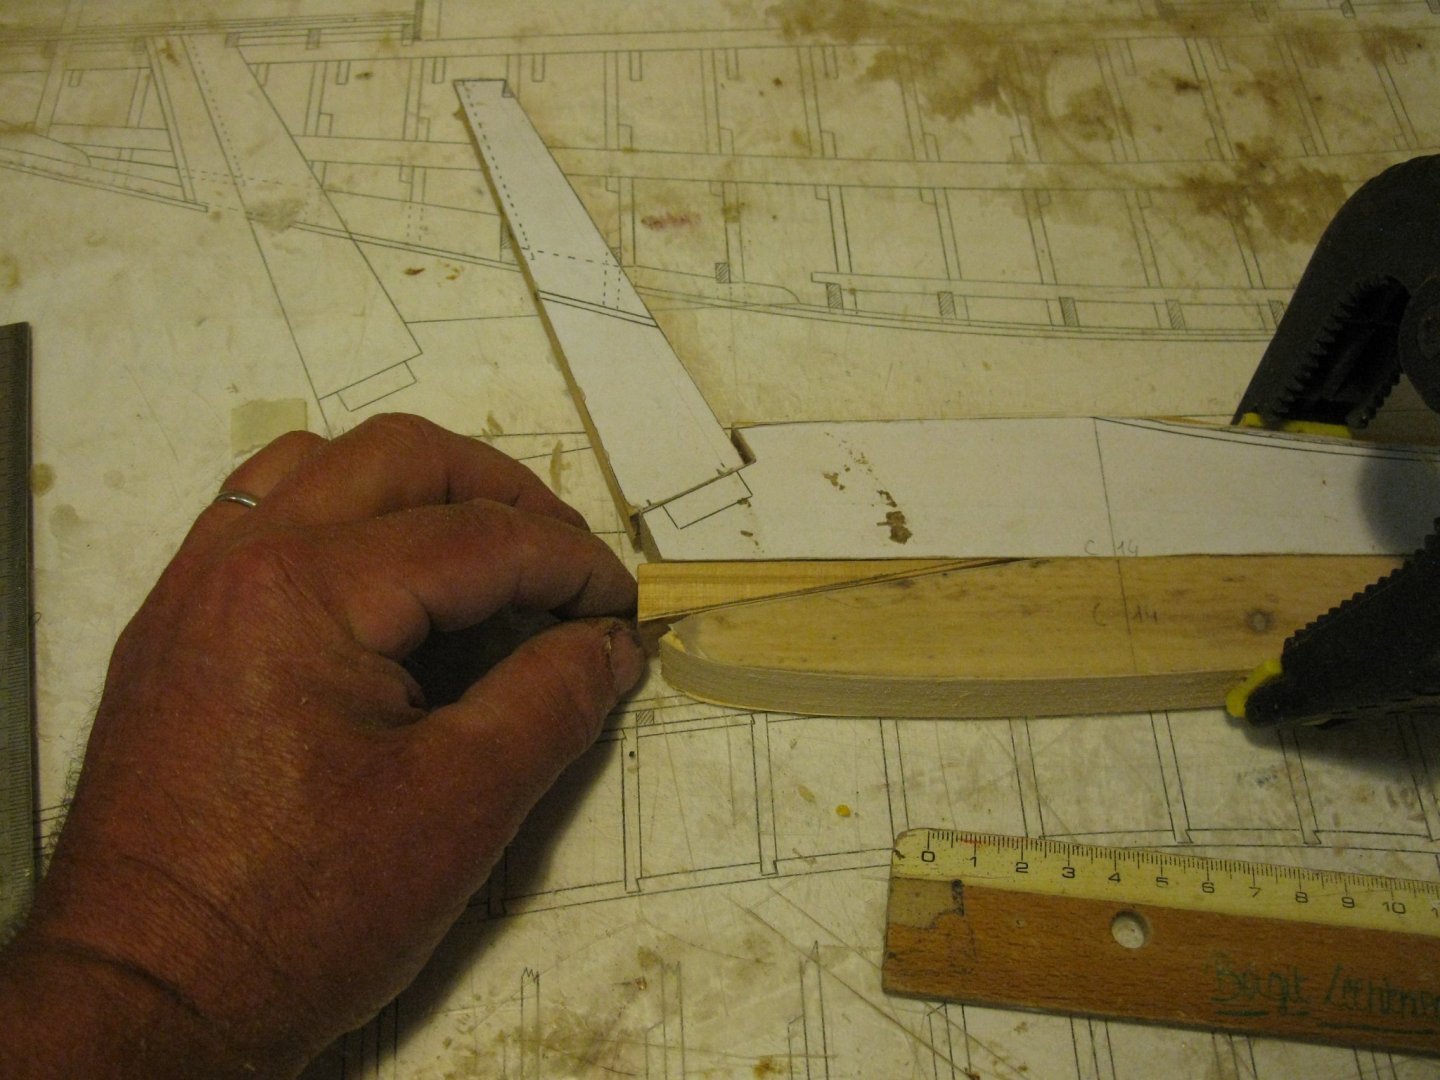
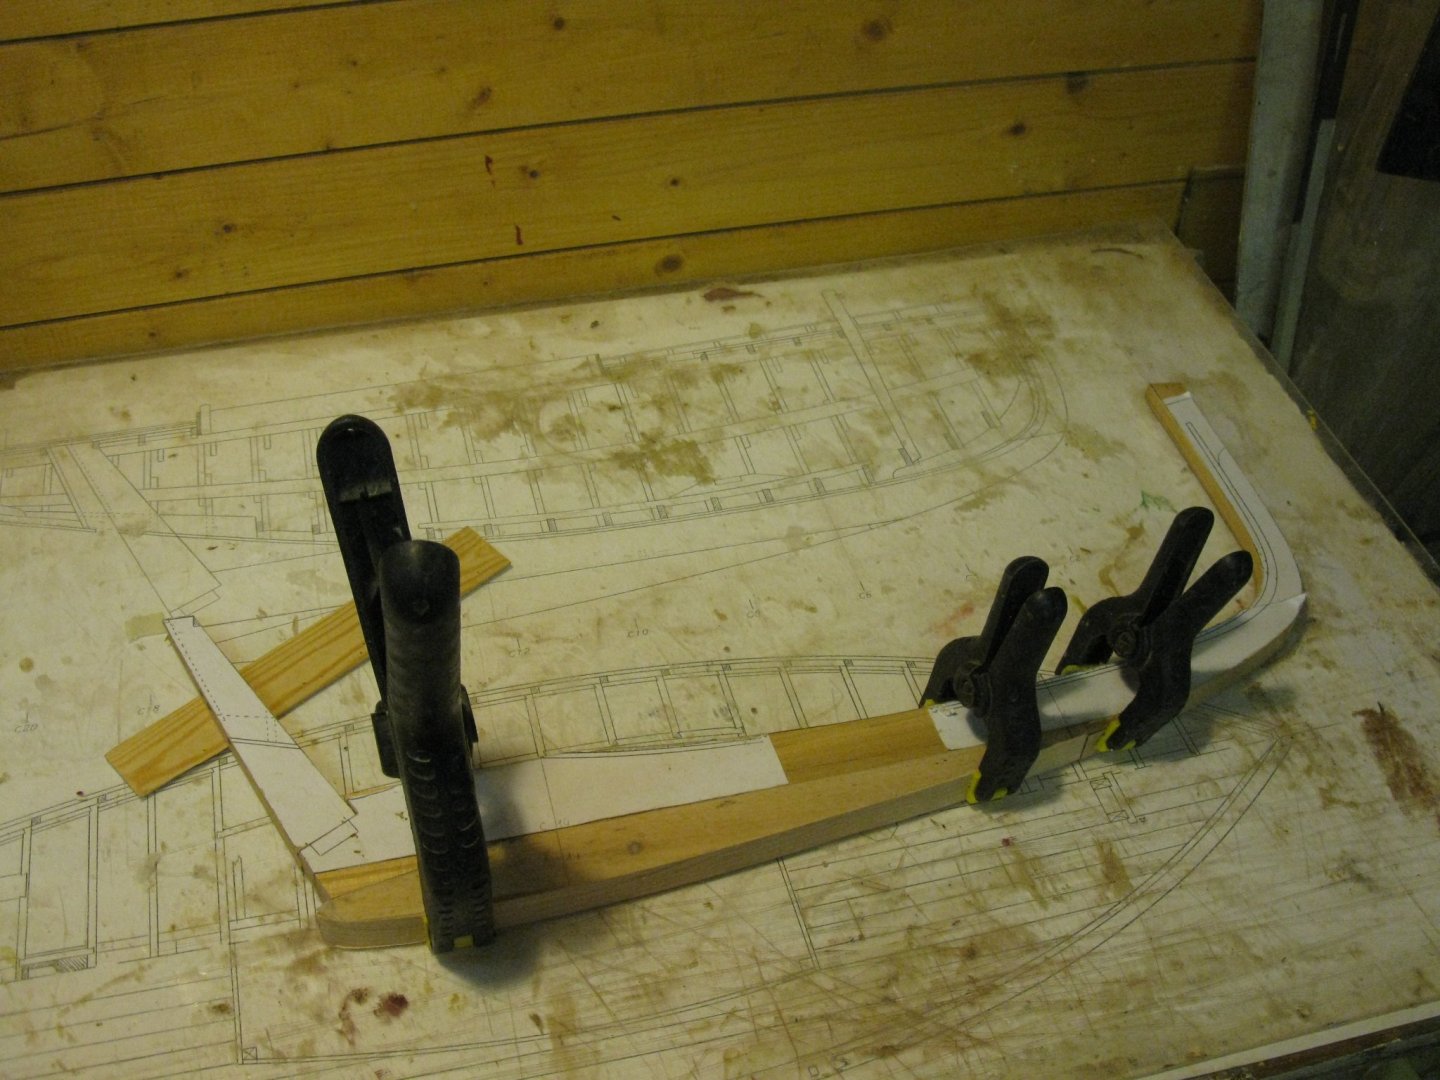
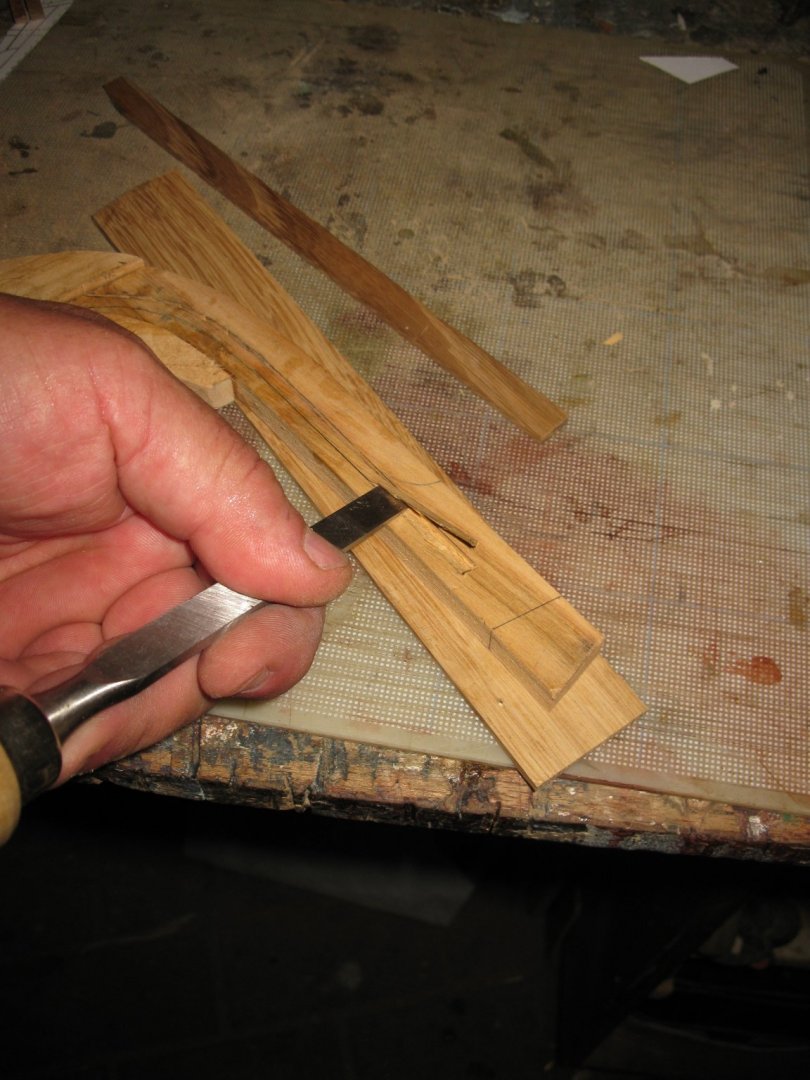
The real boat had a cast iron ballast keel. Gerd Löhmann gave his model a wooden keel, painted in black to imitate the lead. I want to give my model a real metal keel. I will make my keel of tin. I first make a dummy keel in spruce wood which will serve as template to make the casting mold. Filling up the dead wood. All the wooden parts of the keel are now made. I screw the ballast keel template provisionally on the keel to glue the dead wood pieces in place to shape the sides of the keel. I draw the rebates which have to be made on the stem. Before chiseling the stem, I will make the stem knee to give it some more strength. I make also the stern knee. Now I can make the rebates. Checking the depth of it. The round groove of the sternpost has to continue on the back of the keel and the dead wood. I file it out with a round wood file and sand it afterward. The forward part of the bow has to be narrowed. Cutting the bow in shape with the chisel. The keel is wider than the bow. It has to narrow gradually to the fore end to the width of the bow. It is also done with the wood chisel. The keel as it is now. Thank you for the likes Thank you to follow Tank you for the constructive comments. Till next week!


- 168 replies
-
- 17
-
-
Gentlemen, there is no numerus clausus for this class. Everybody is welcome and for the latecomers: it is going slow enough to catch up. Thank you so much for your interest.
-
I had similar entanglements while planking my gaff sail boat. Towards the floorhead it became difficult to find knotfree planks which were wide and long enough to cut the strakes.
-
Great rope work, Black Wolf. Your ratlines are really well done!
- 197 replies
-
- 2
-
-
- santa maria
- carrack
- (and 1 more)
-
Yes Mark, I think also that it is more a decorative gun than a signaling gun. Phil, that's also my idea. The main problem with a field gun is that it will be such a huge piece to place somewhere. I foresee a strong opposition by the Commander in Chief Home Fleet.
-
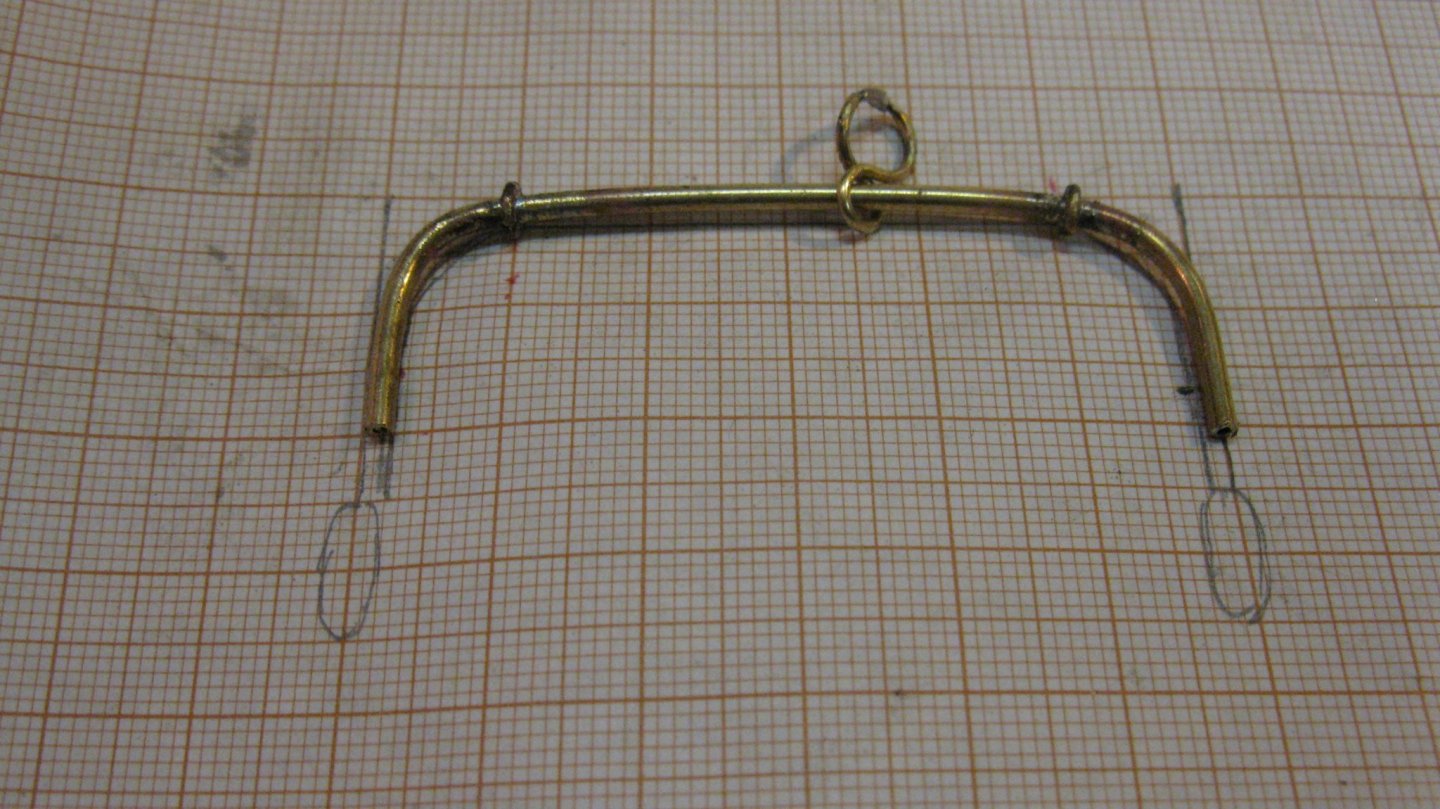
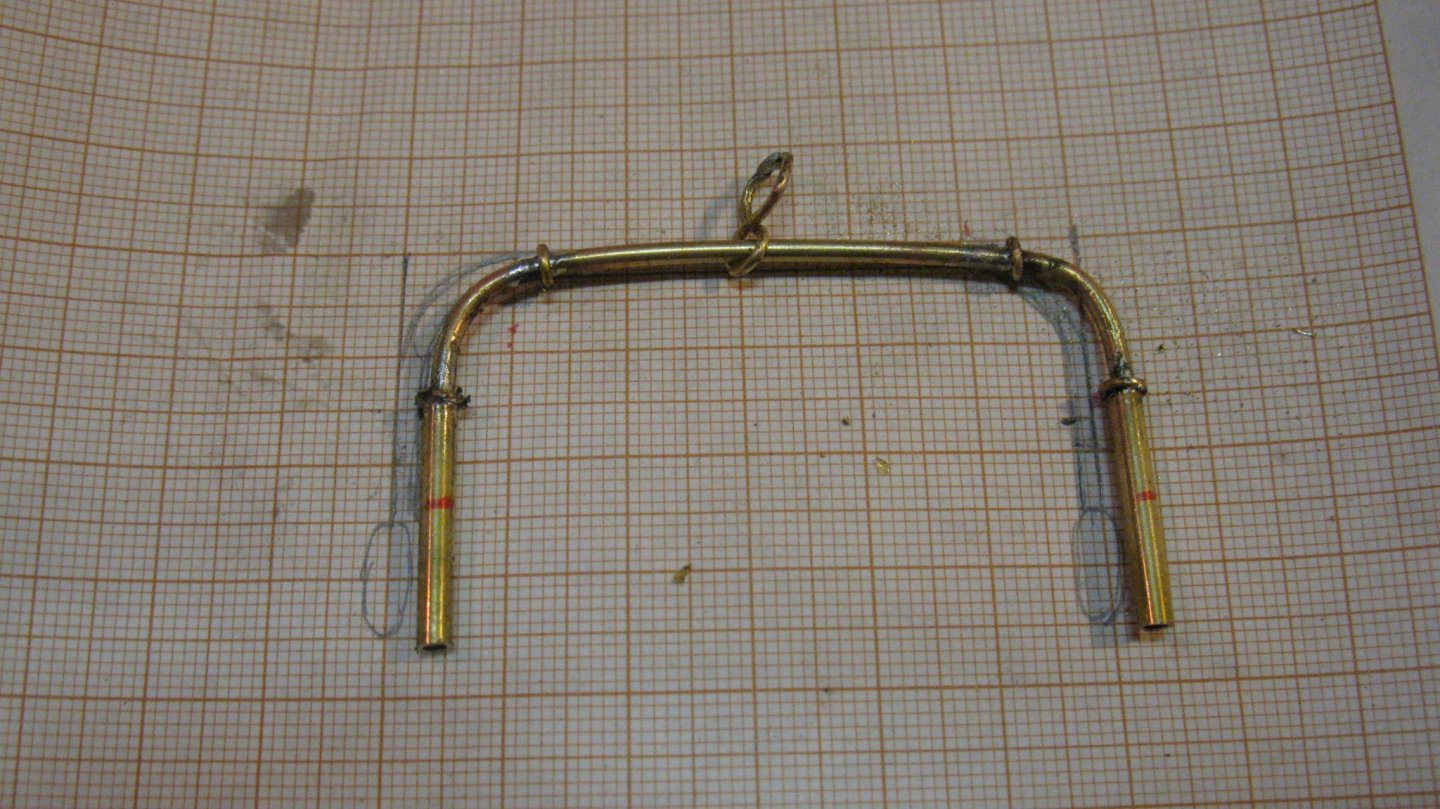
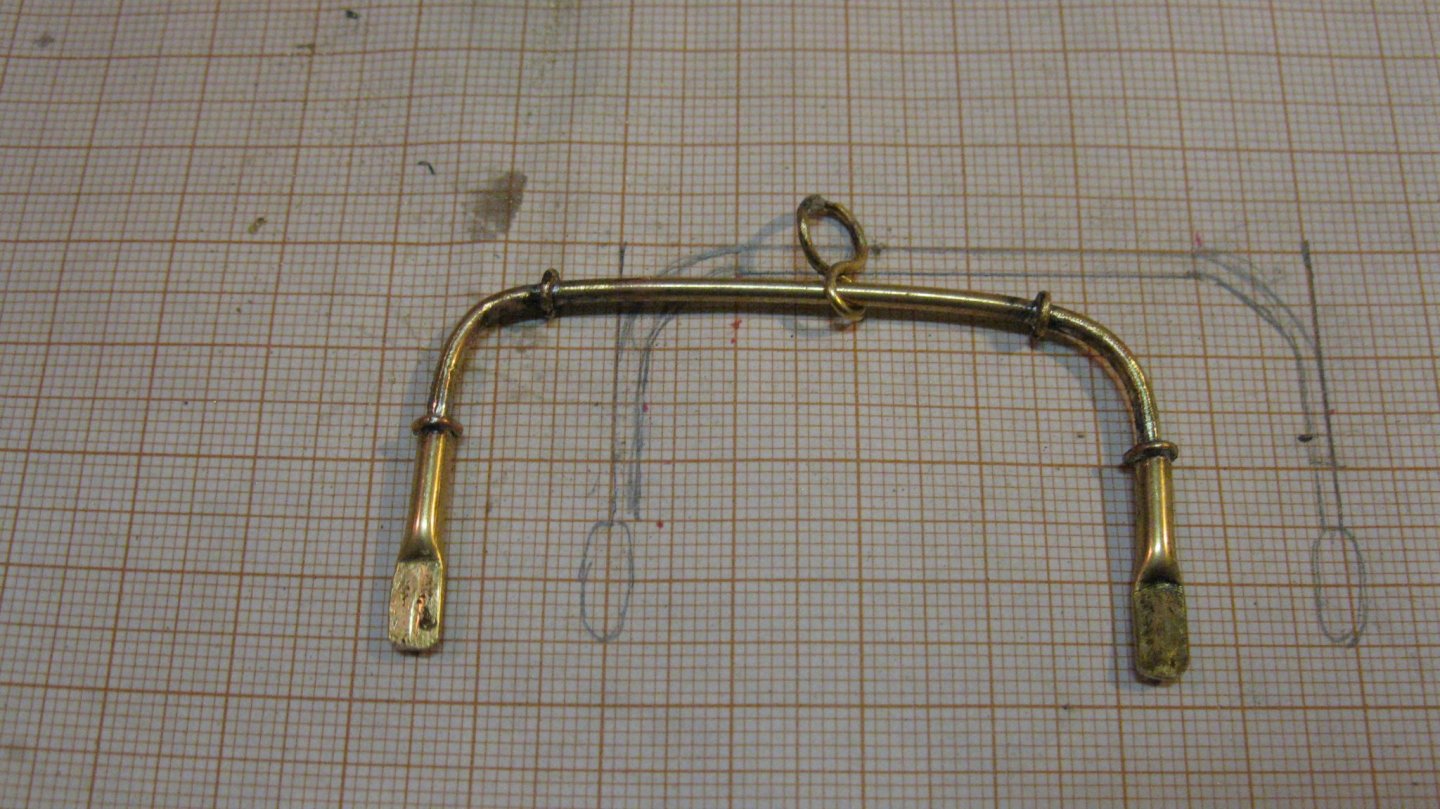
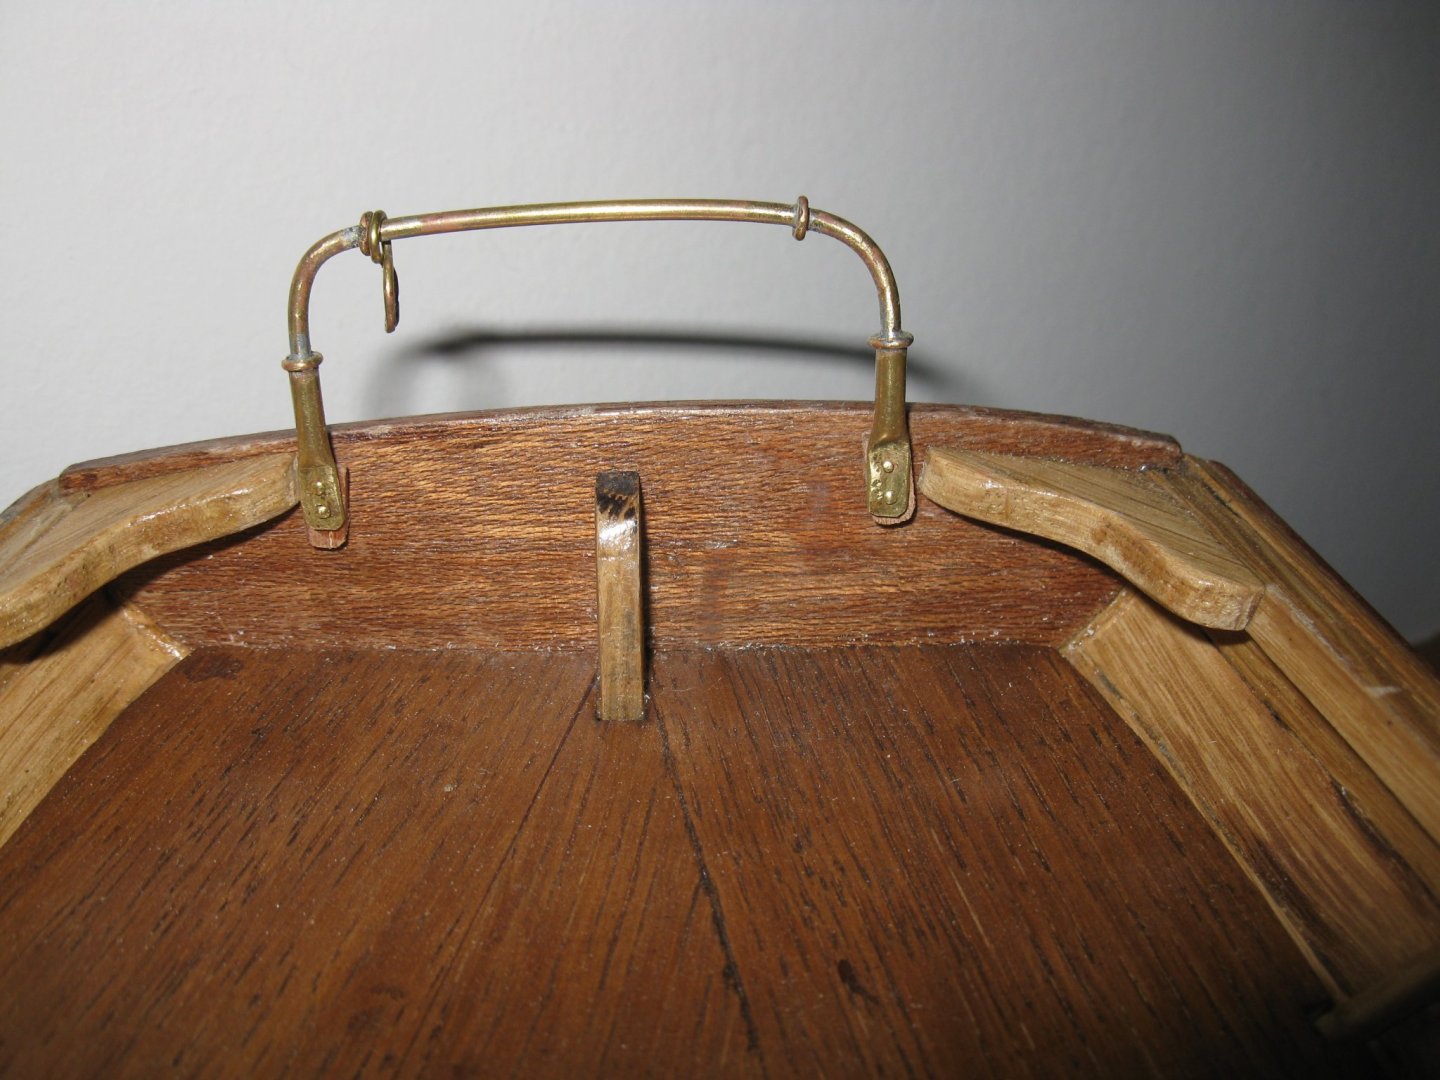
10.5 Main sail sheet traveler To make the main sail sheet traveler I bow a 2 mm brass tube in shape and slide the traveler ring over it. The travel area of the ring is limited by two brass rings which are soldered at each side of the traveler. To make the base of the traveler I slide again two brass rings and two 4 mm tubes over both ends and solder them together. The bottom ends of the 4mm tubes are hammered flat. The traveler in place on the transom. Thank you to follow. Thank you for the likes. And thank you for the constructive comments. Till next week!
- 209 replies
-
- 13
-
-
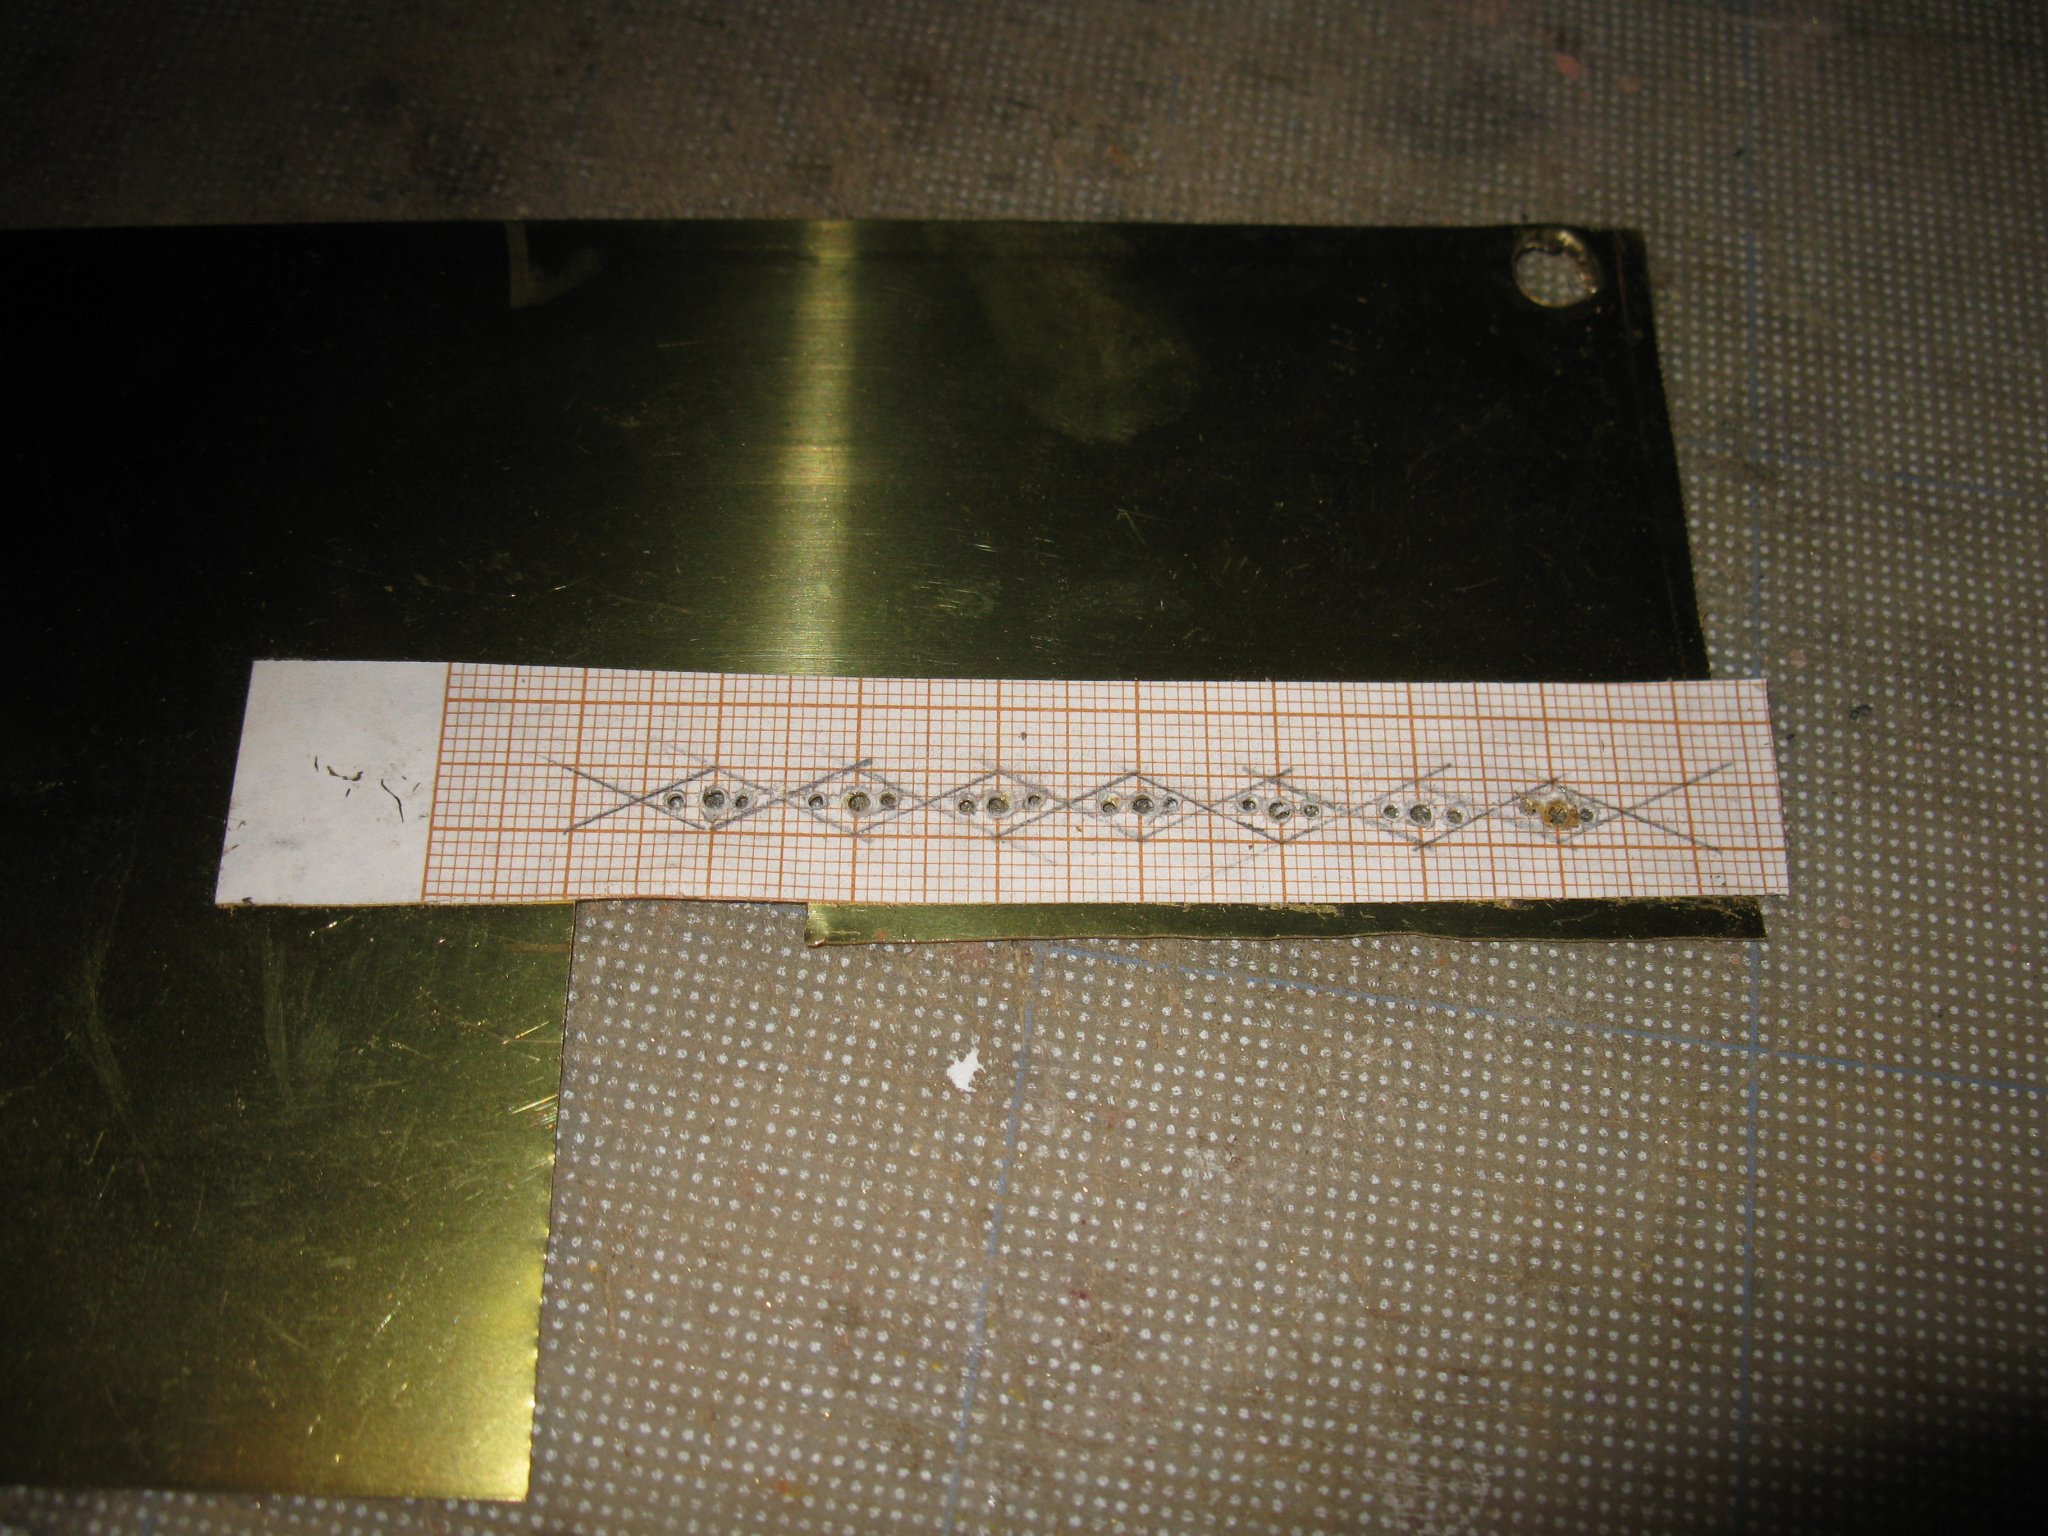
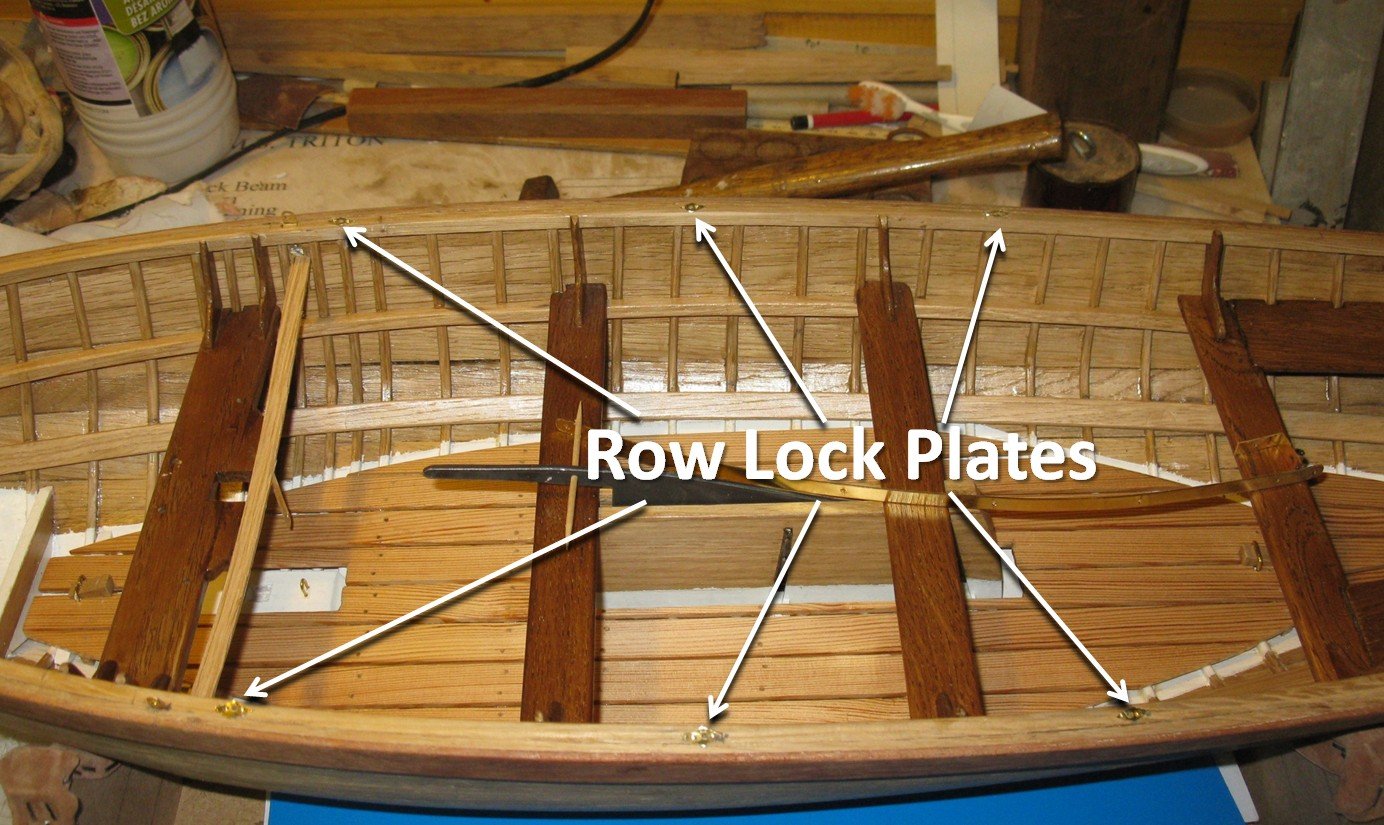
10.4 Row lock holes This gaff sail boat can also be used as a double row rowing boat with six oarsmen. Therefore six holes are provided to place the row locks. The holes are protected by a diamond shaped brass plate. Making the plates: The row lock holes:

-
Gary, Chris, John, Keith and Black Wolf, Thank you very much for your encouragements. It stimulates to continue. And as for the small boats: I like small open boats , they have also the right to be made in model. During my career at sea I saw many people sailing pleasure craft of all sizes and I have a kind of theory: 'The happiness of the crew is inversely proportional to the size of the vessel.' What means in normal language: The smaller the boat, the more fun the crew has.
-
Katuna, It is not boring at all, on the contrary it is fascinating! I signed in to follow your log.
-
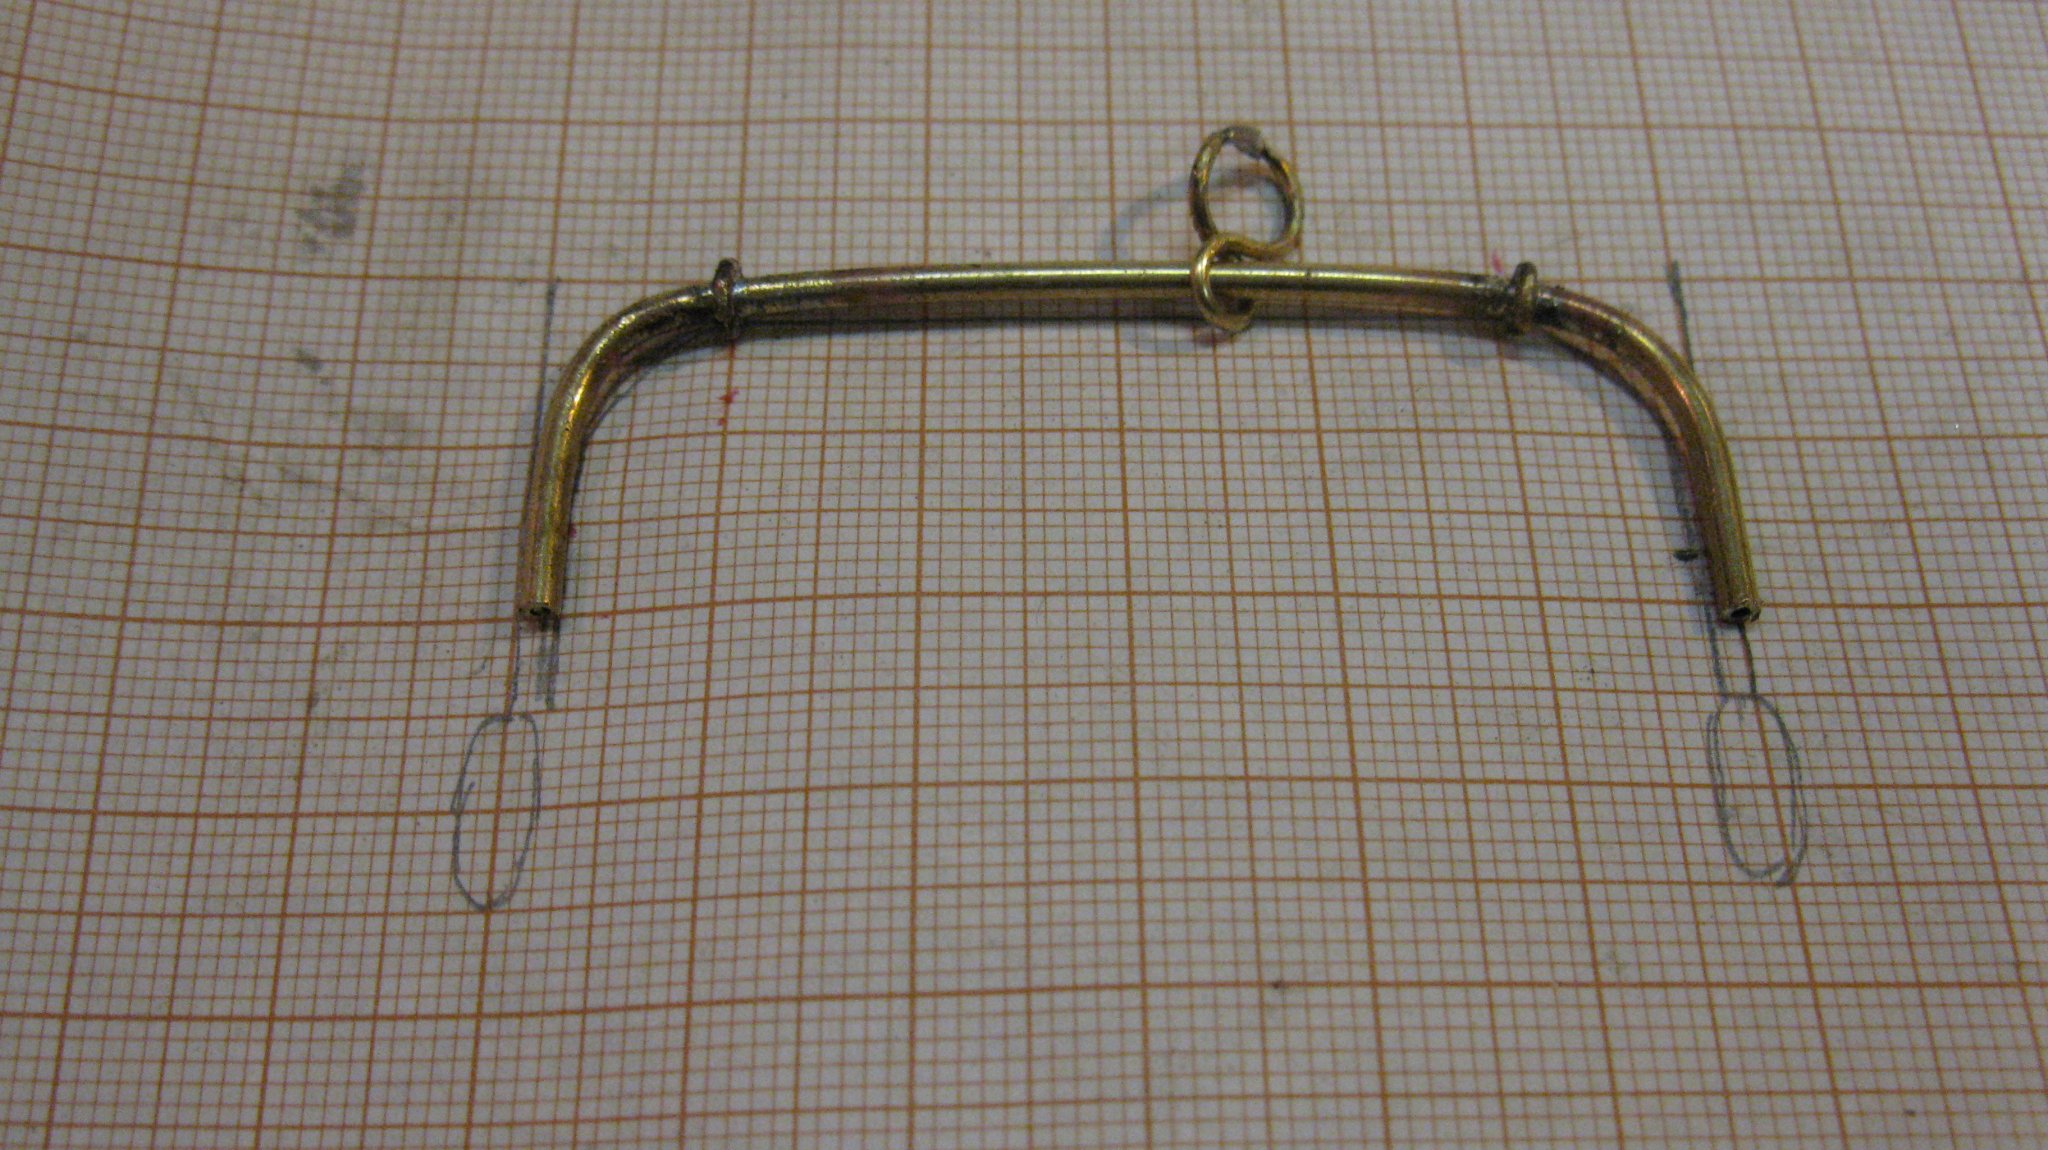
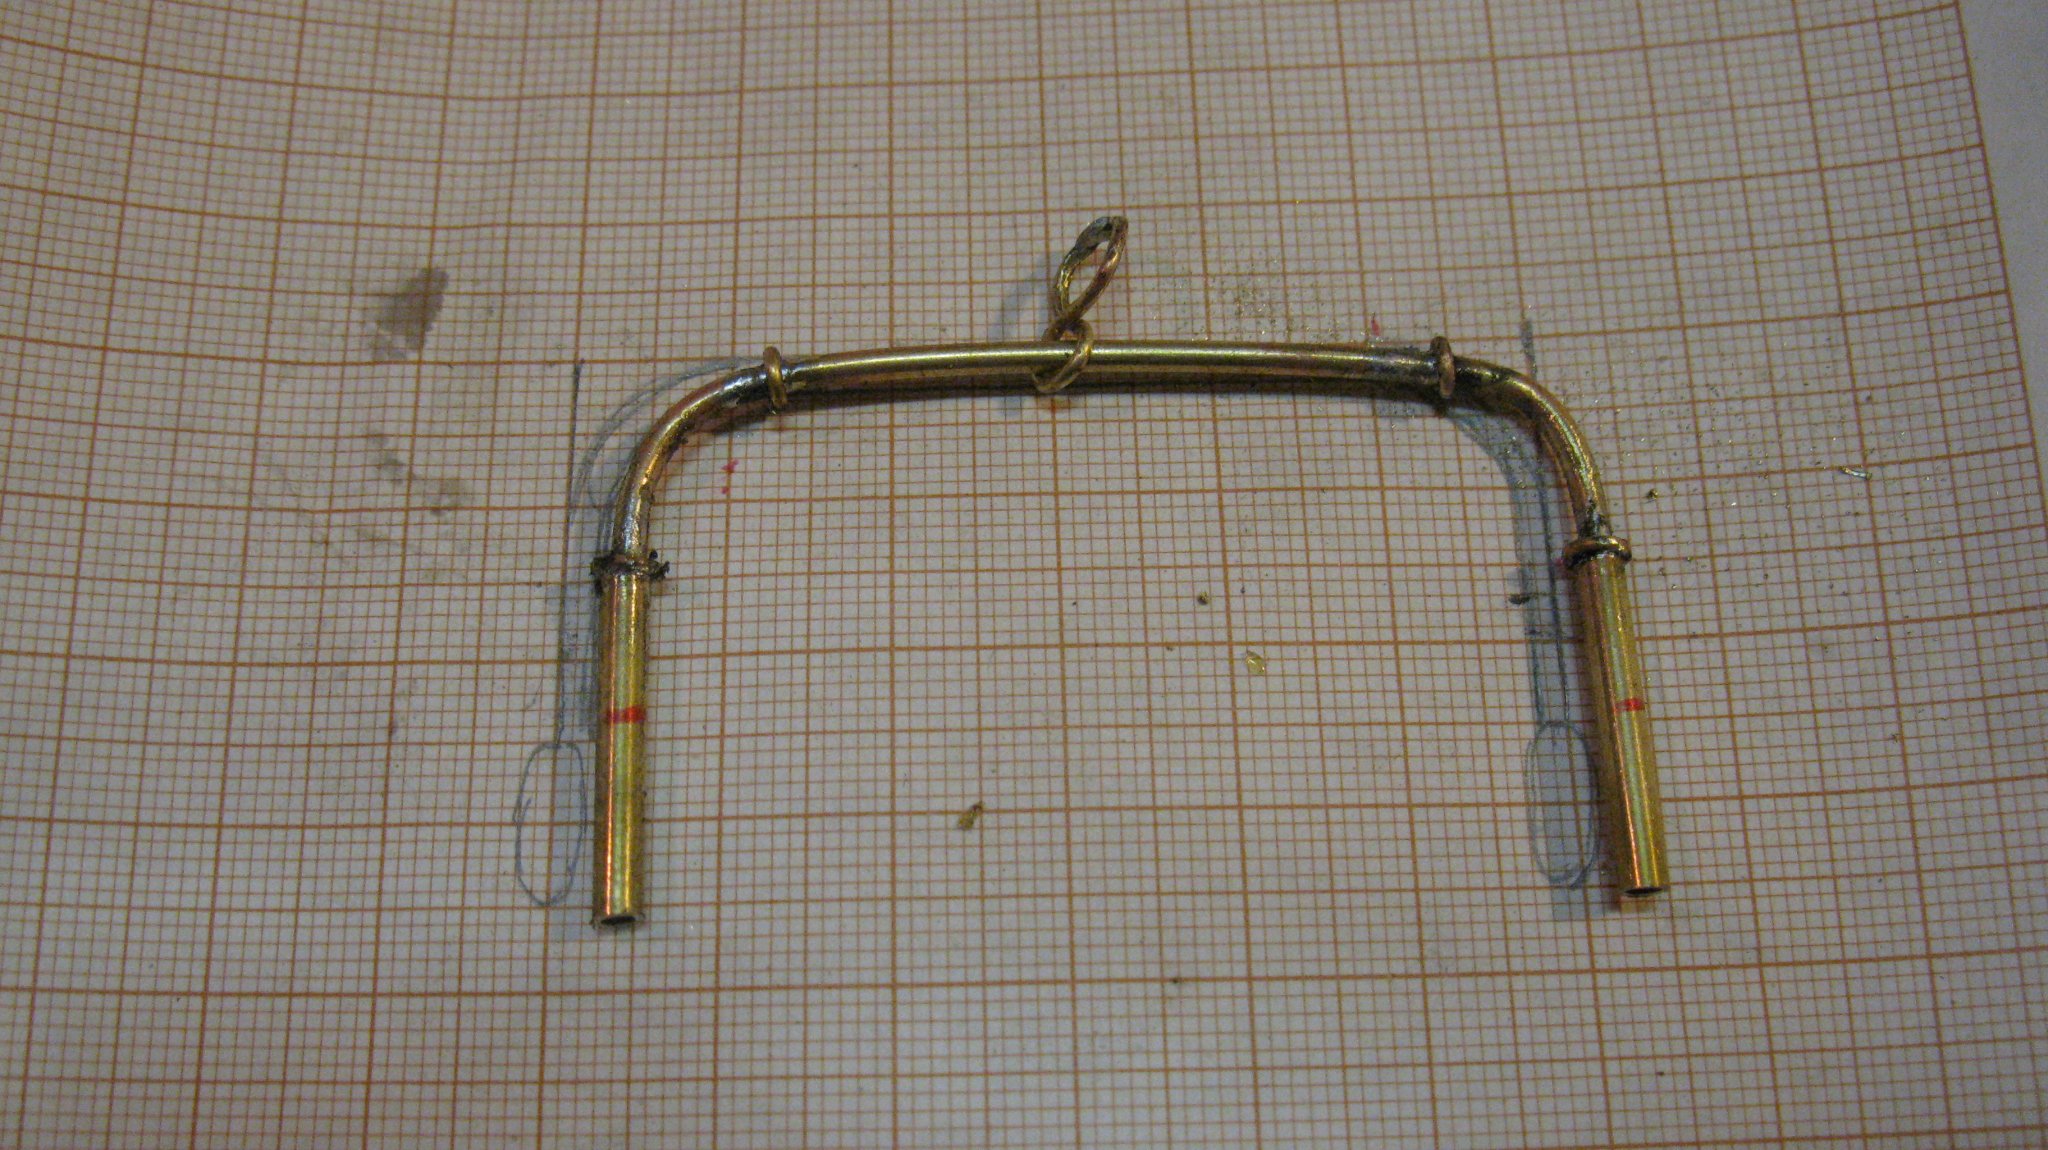
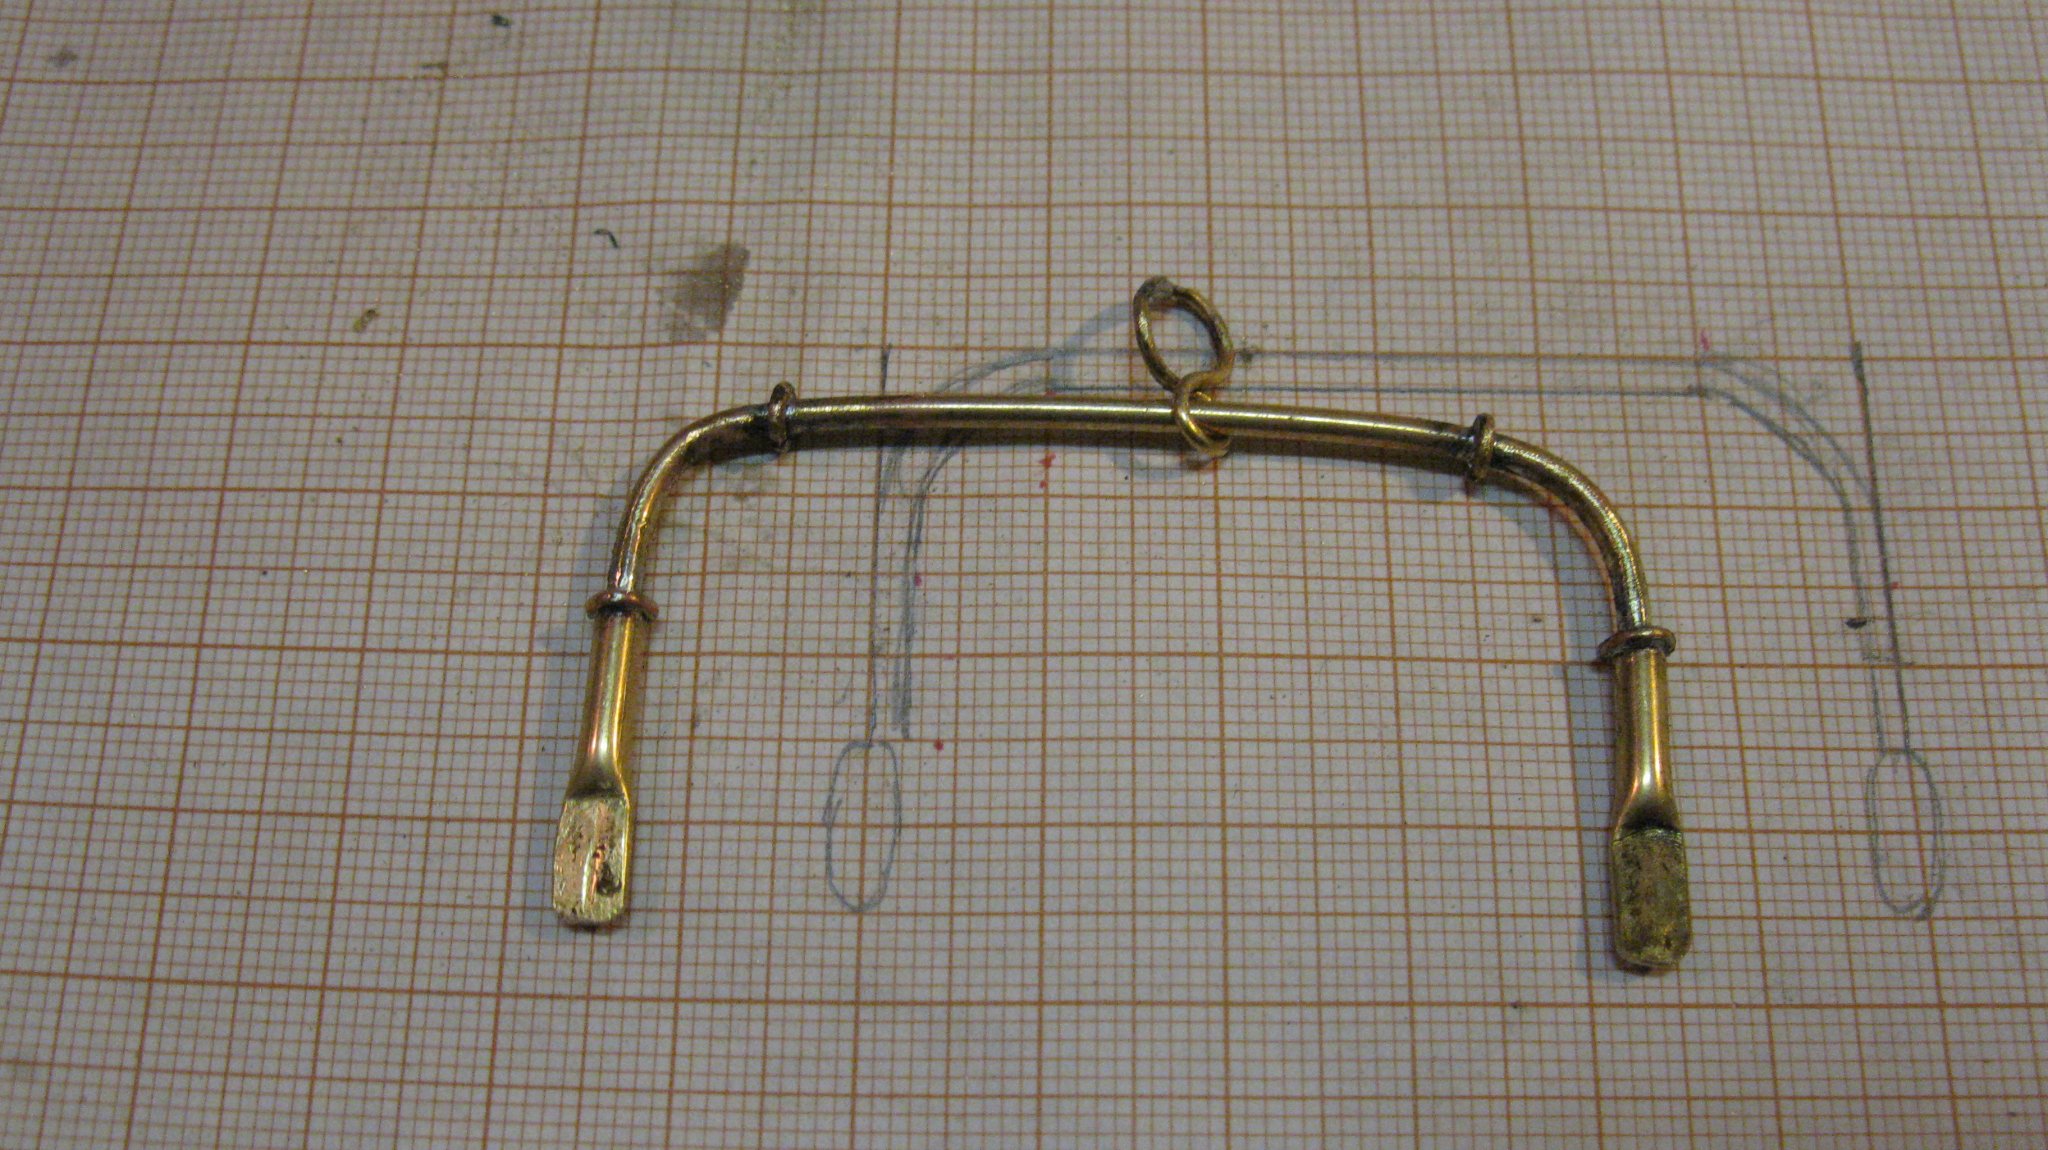
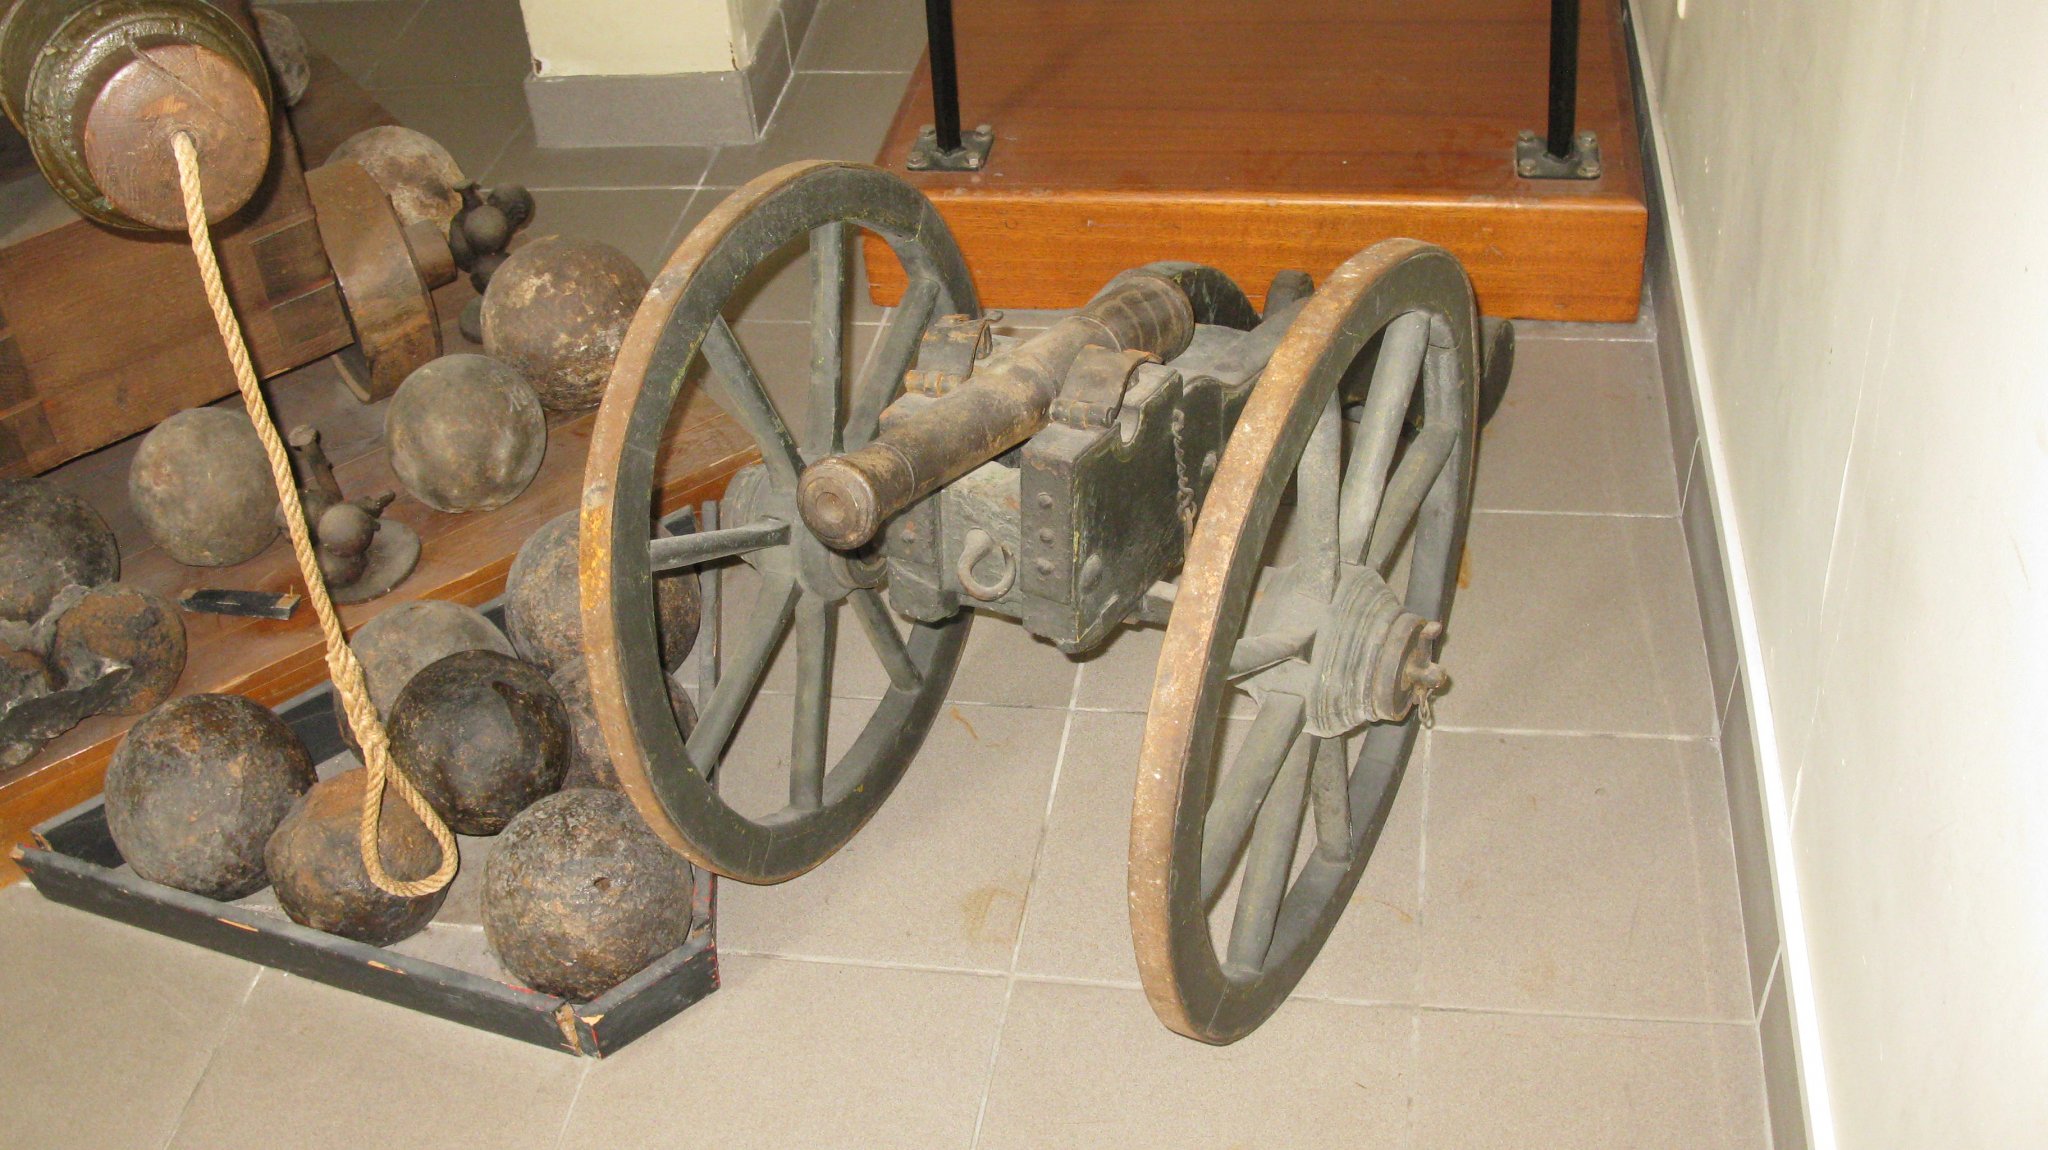
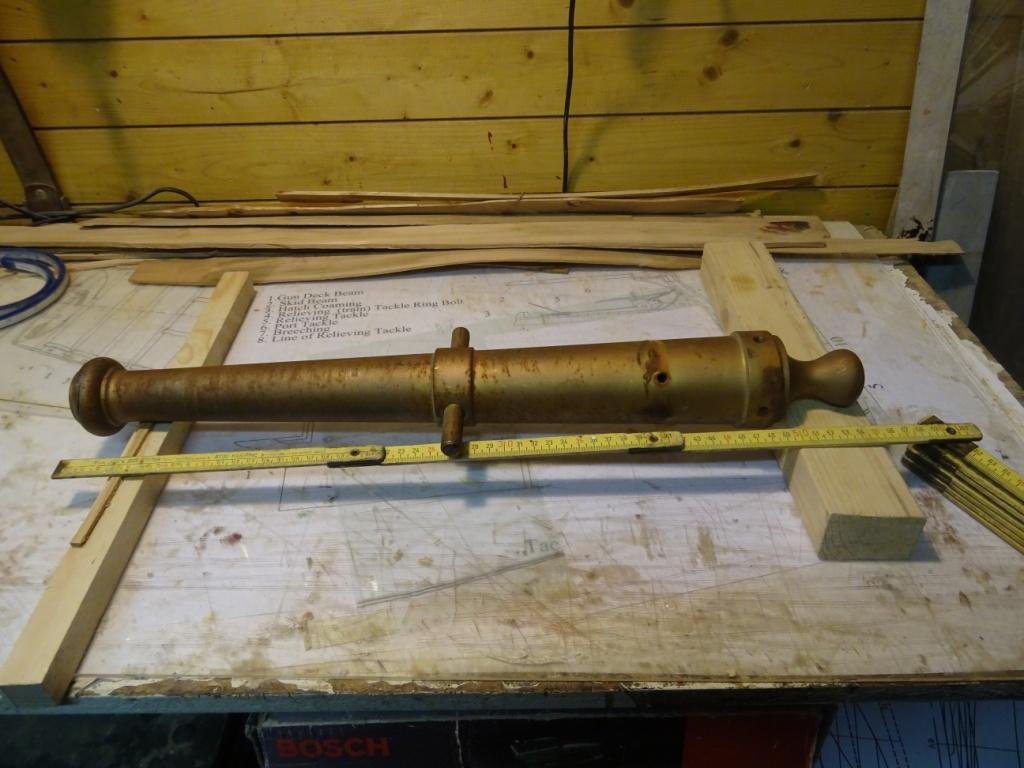
Hello Vaddoc, Welcome to join the club. I bought the gun on an online flea market auction. I made a bid of 20€ and the gun was mine. It is a cast iron gun of 55 cm long. I do not know what it what it was for. Certainly not to shoot with. I still have to decide what I will do with it: rig it like a naval gun or like a field gun what it probably portraits, but in the case it will become very big (see example below). All suggestions are welcome!

-
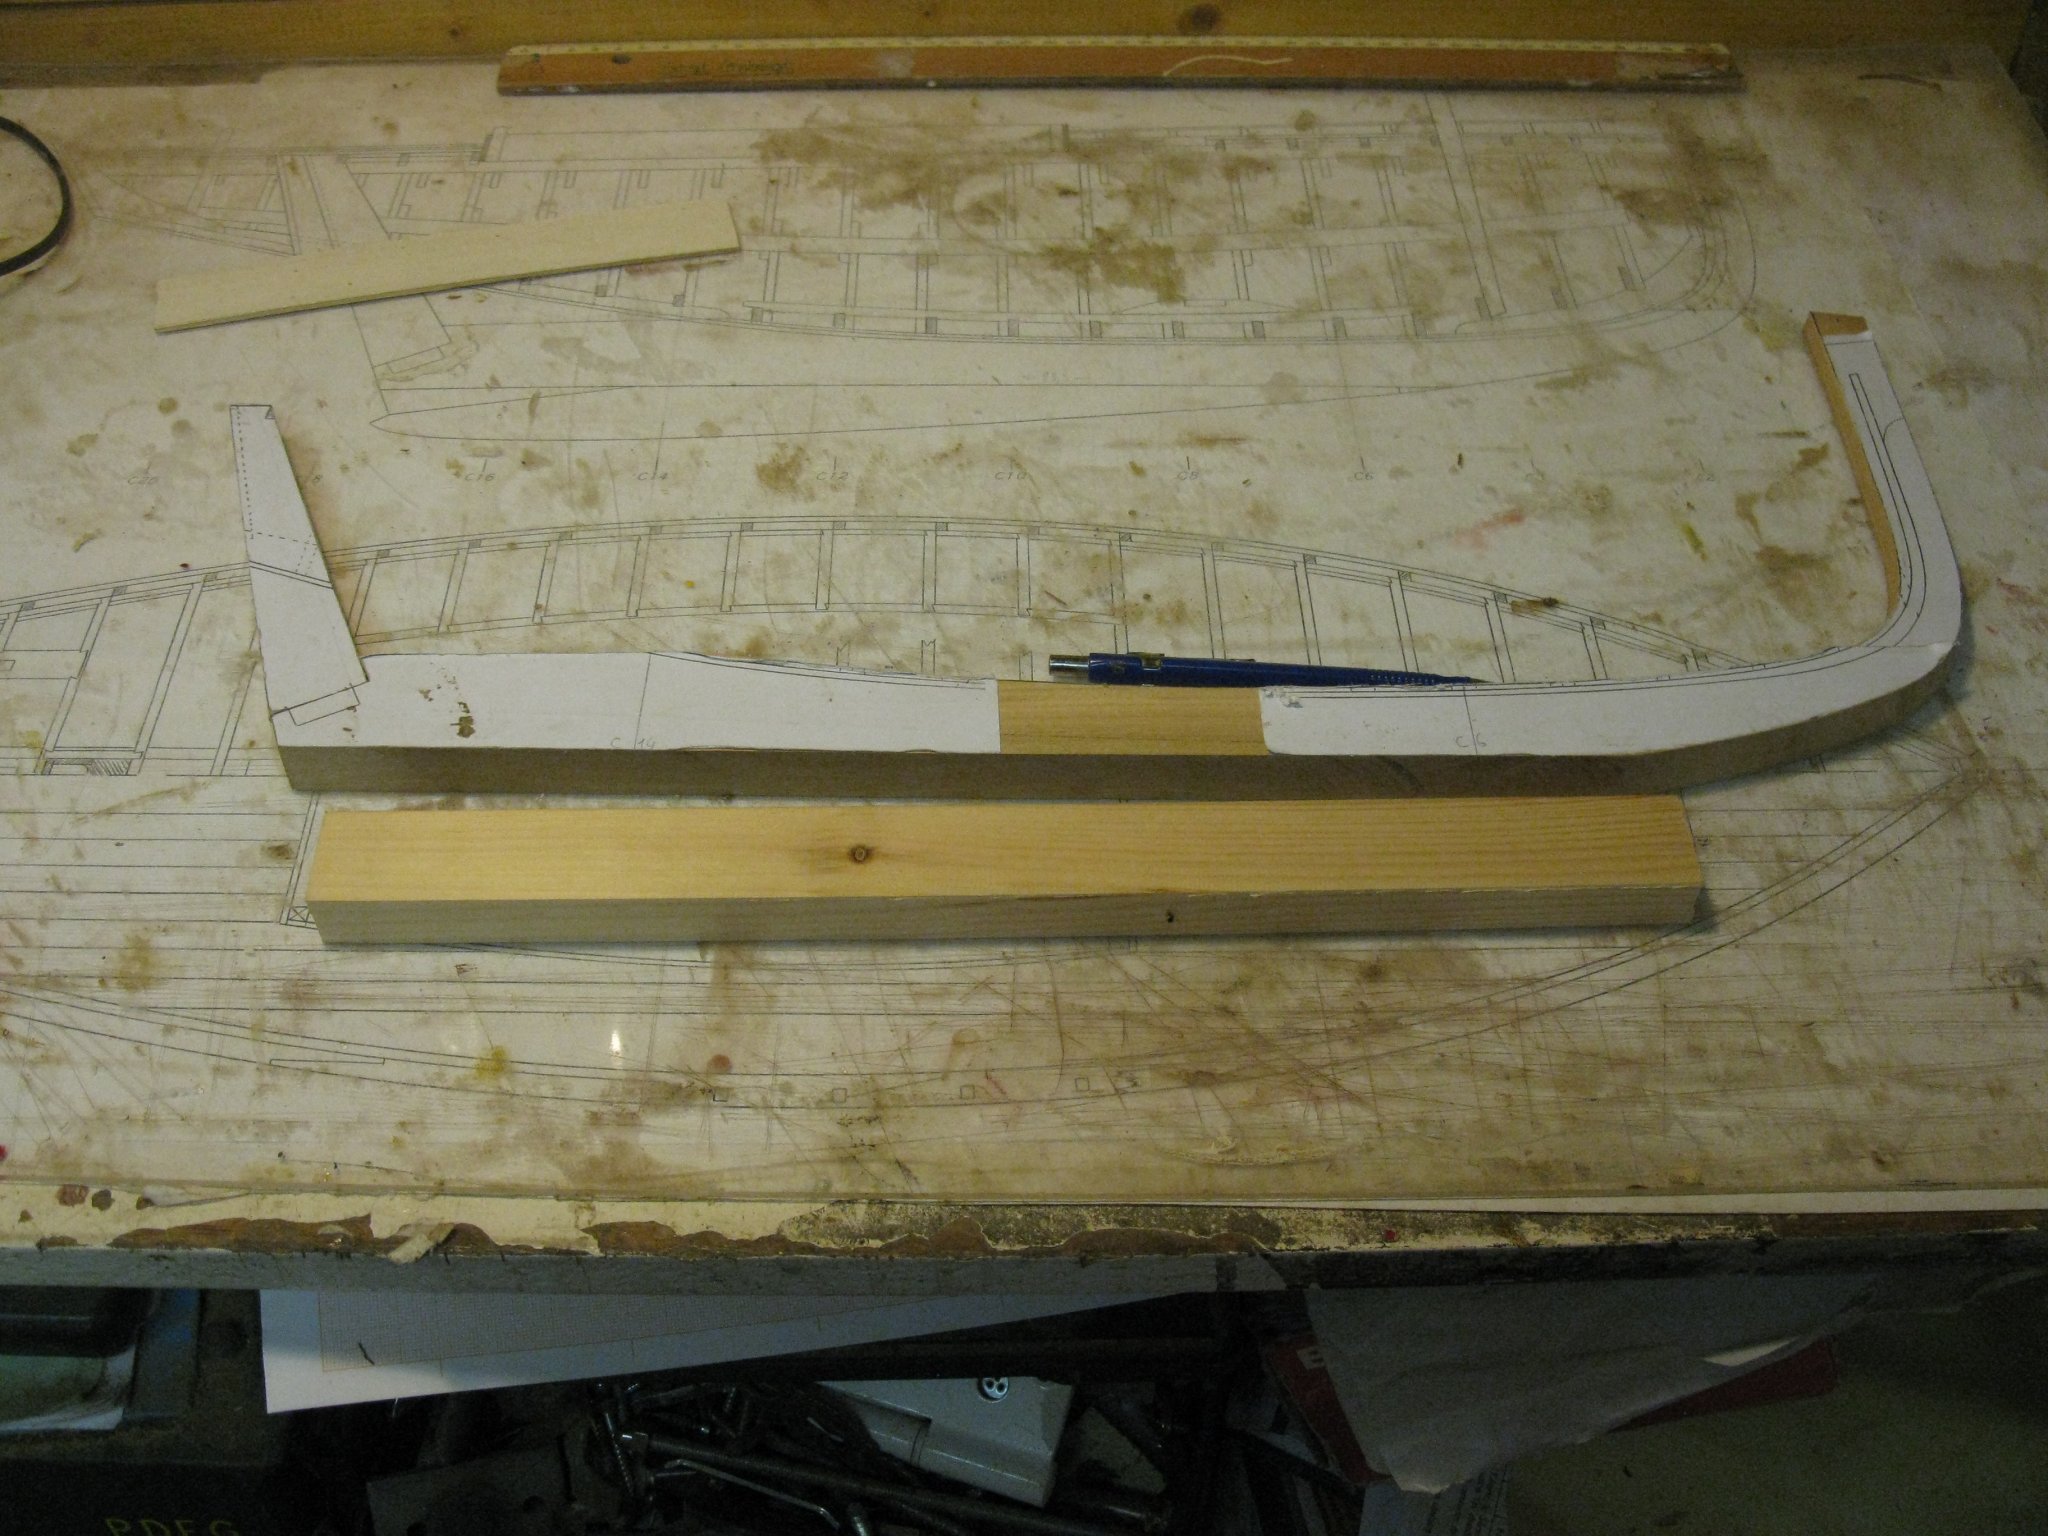
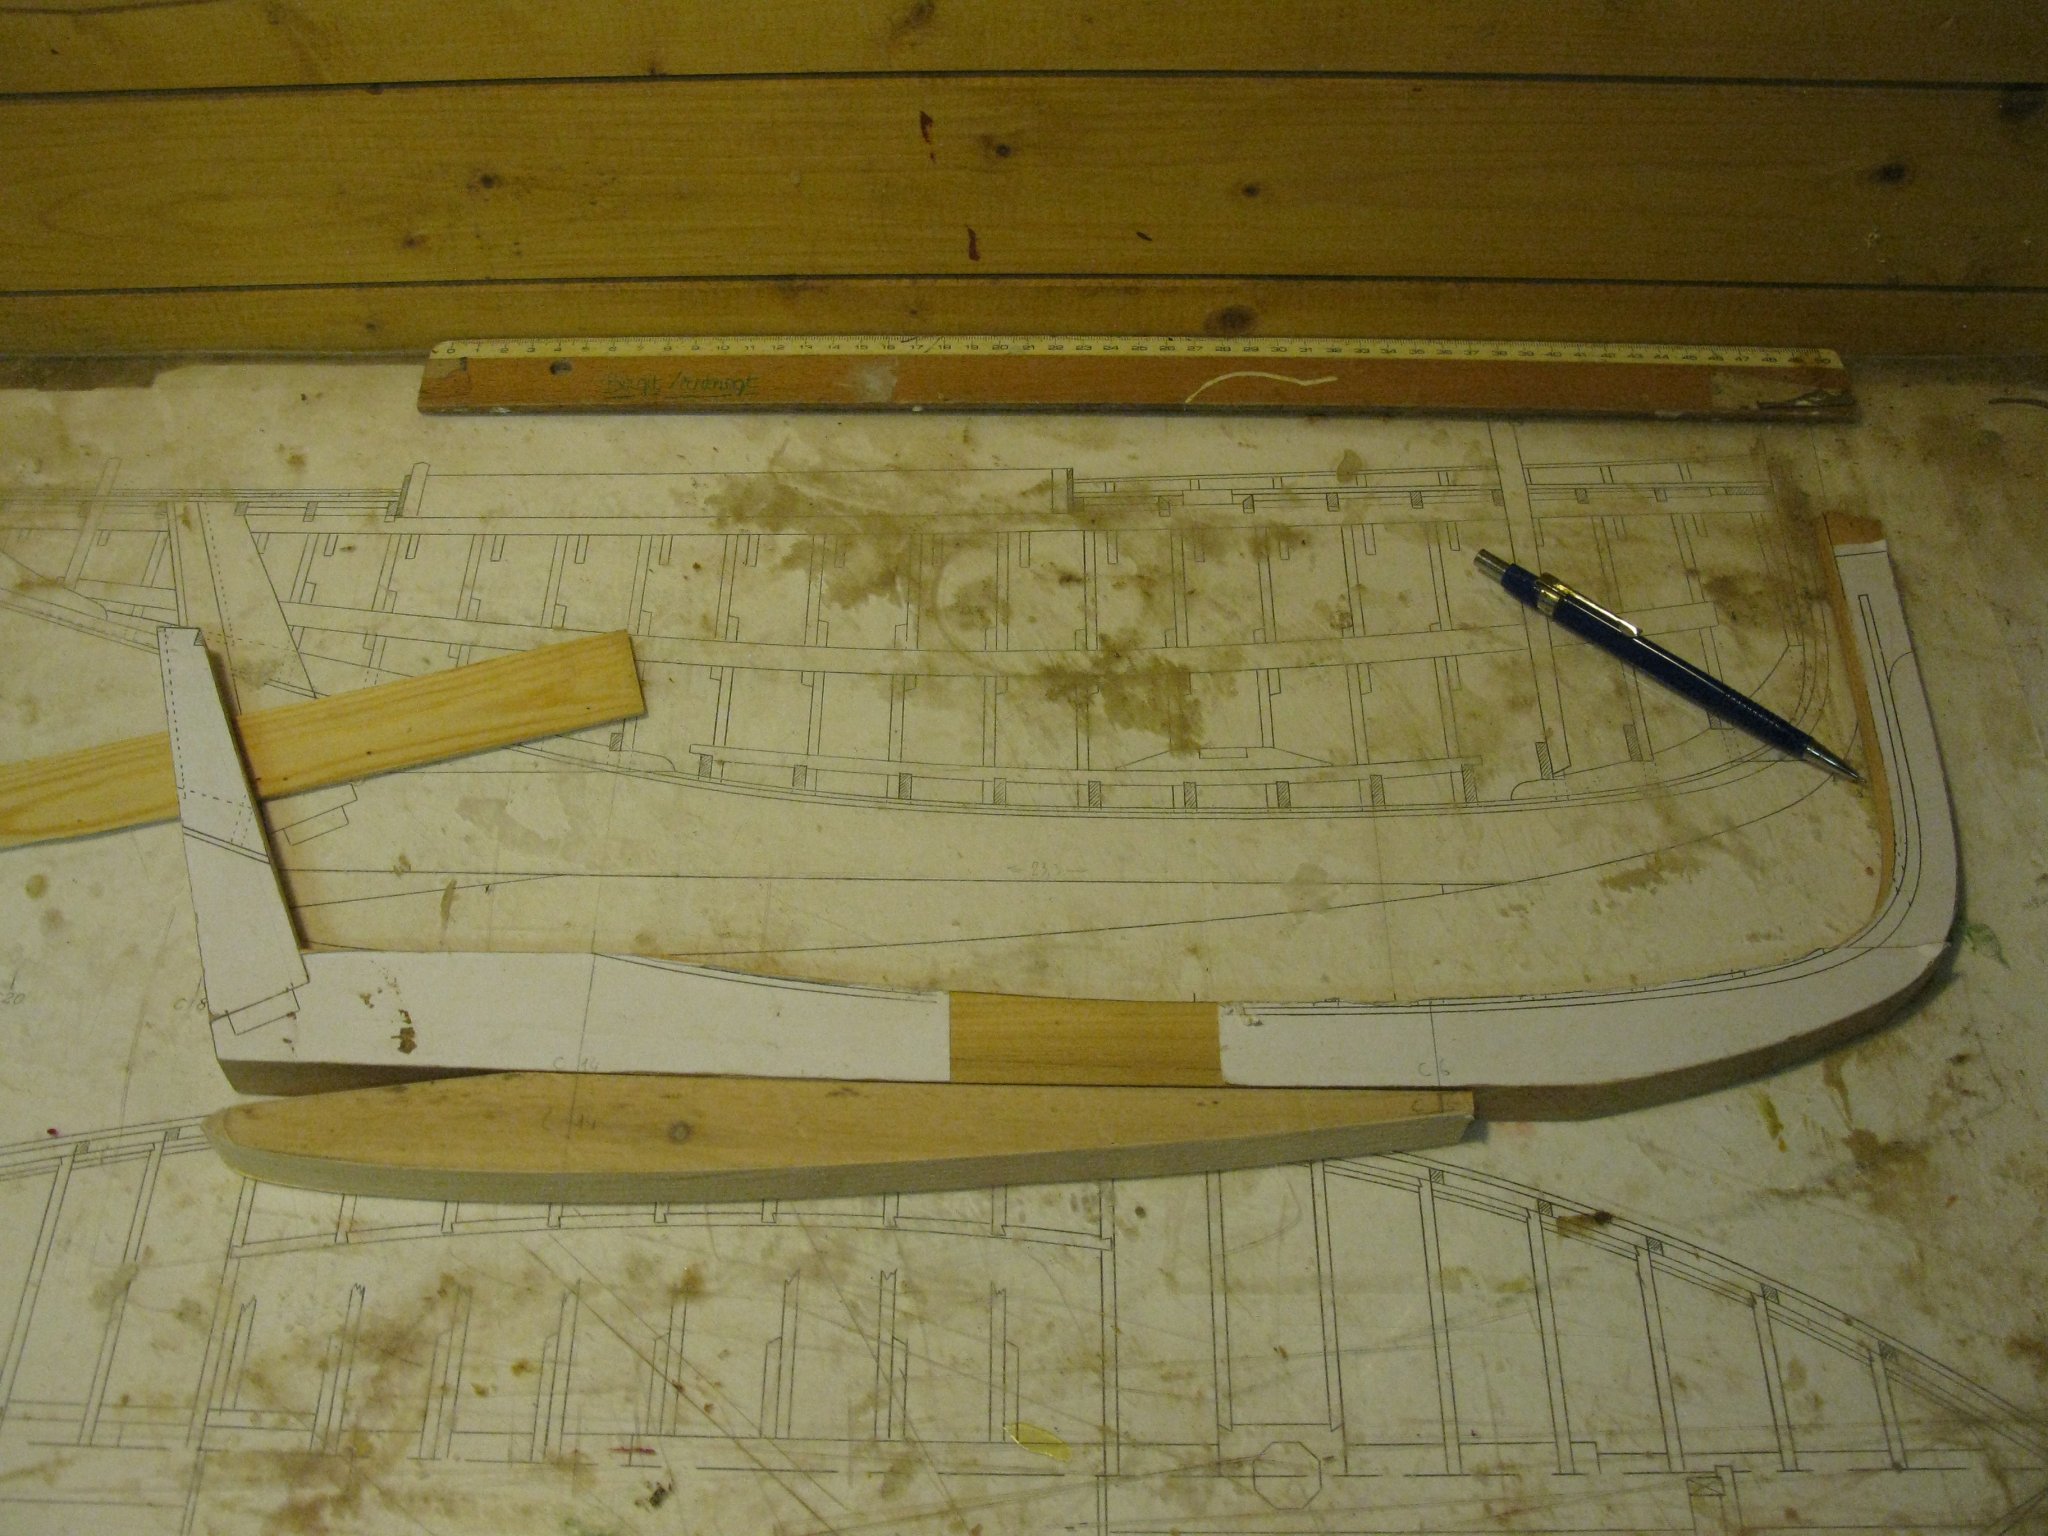
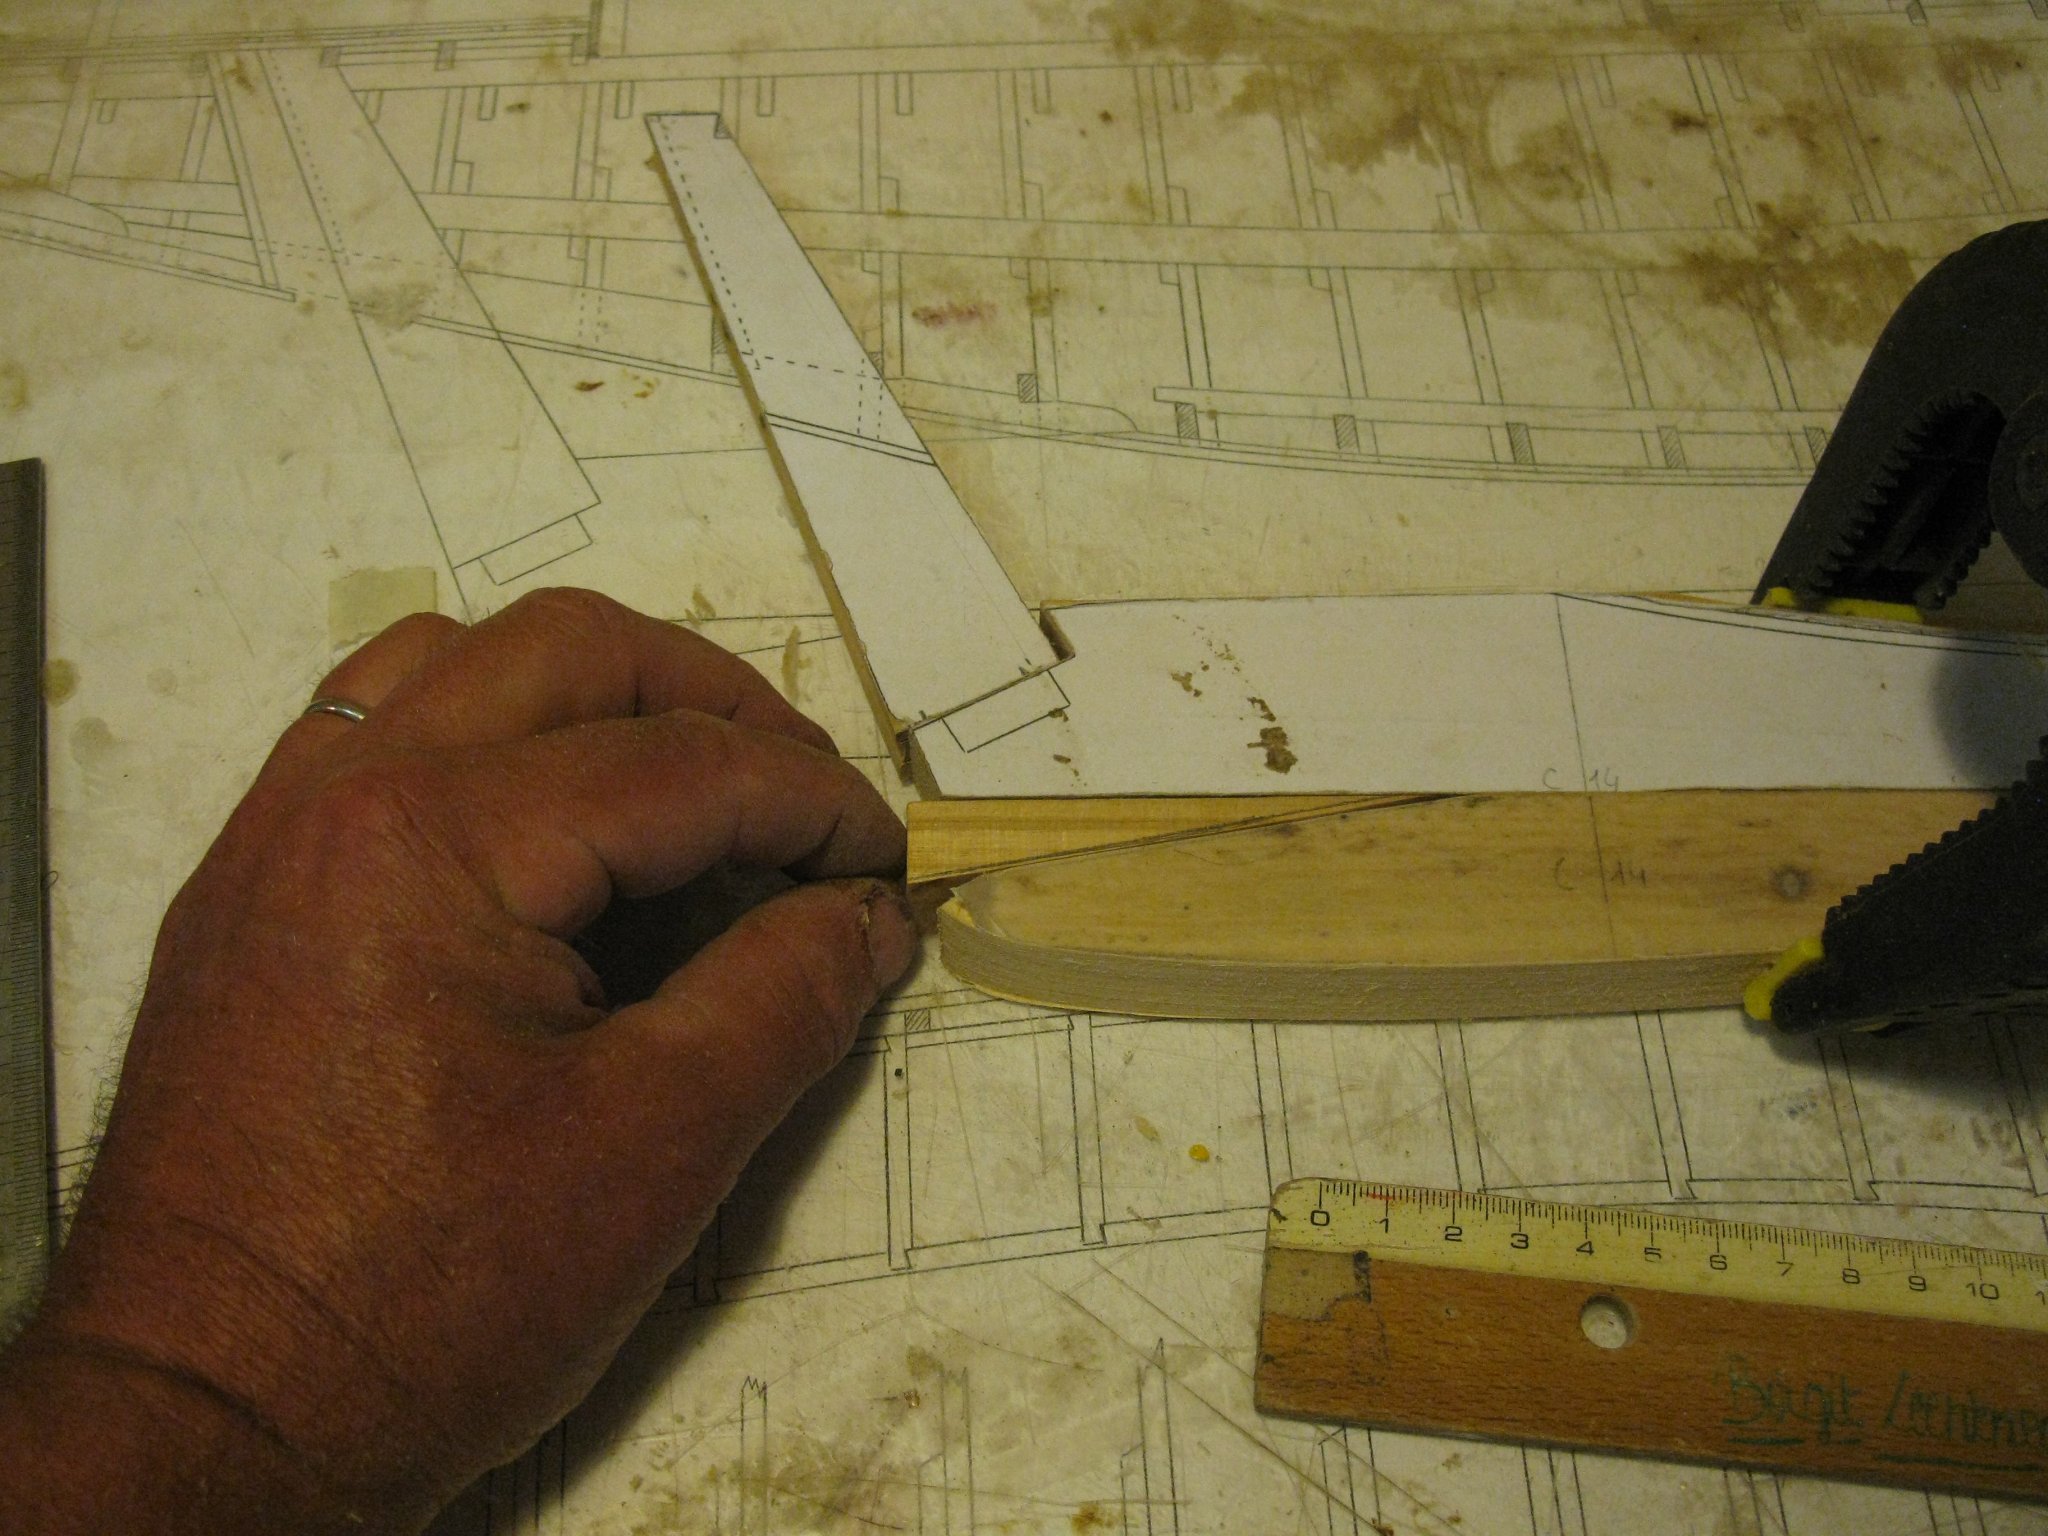
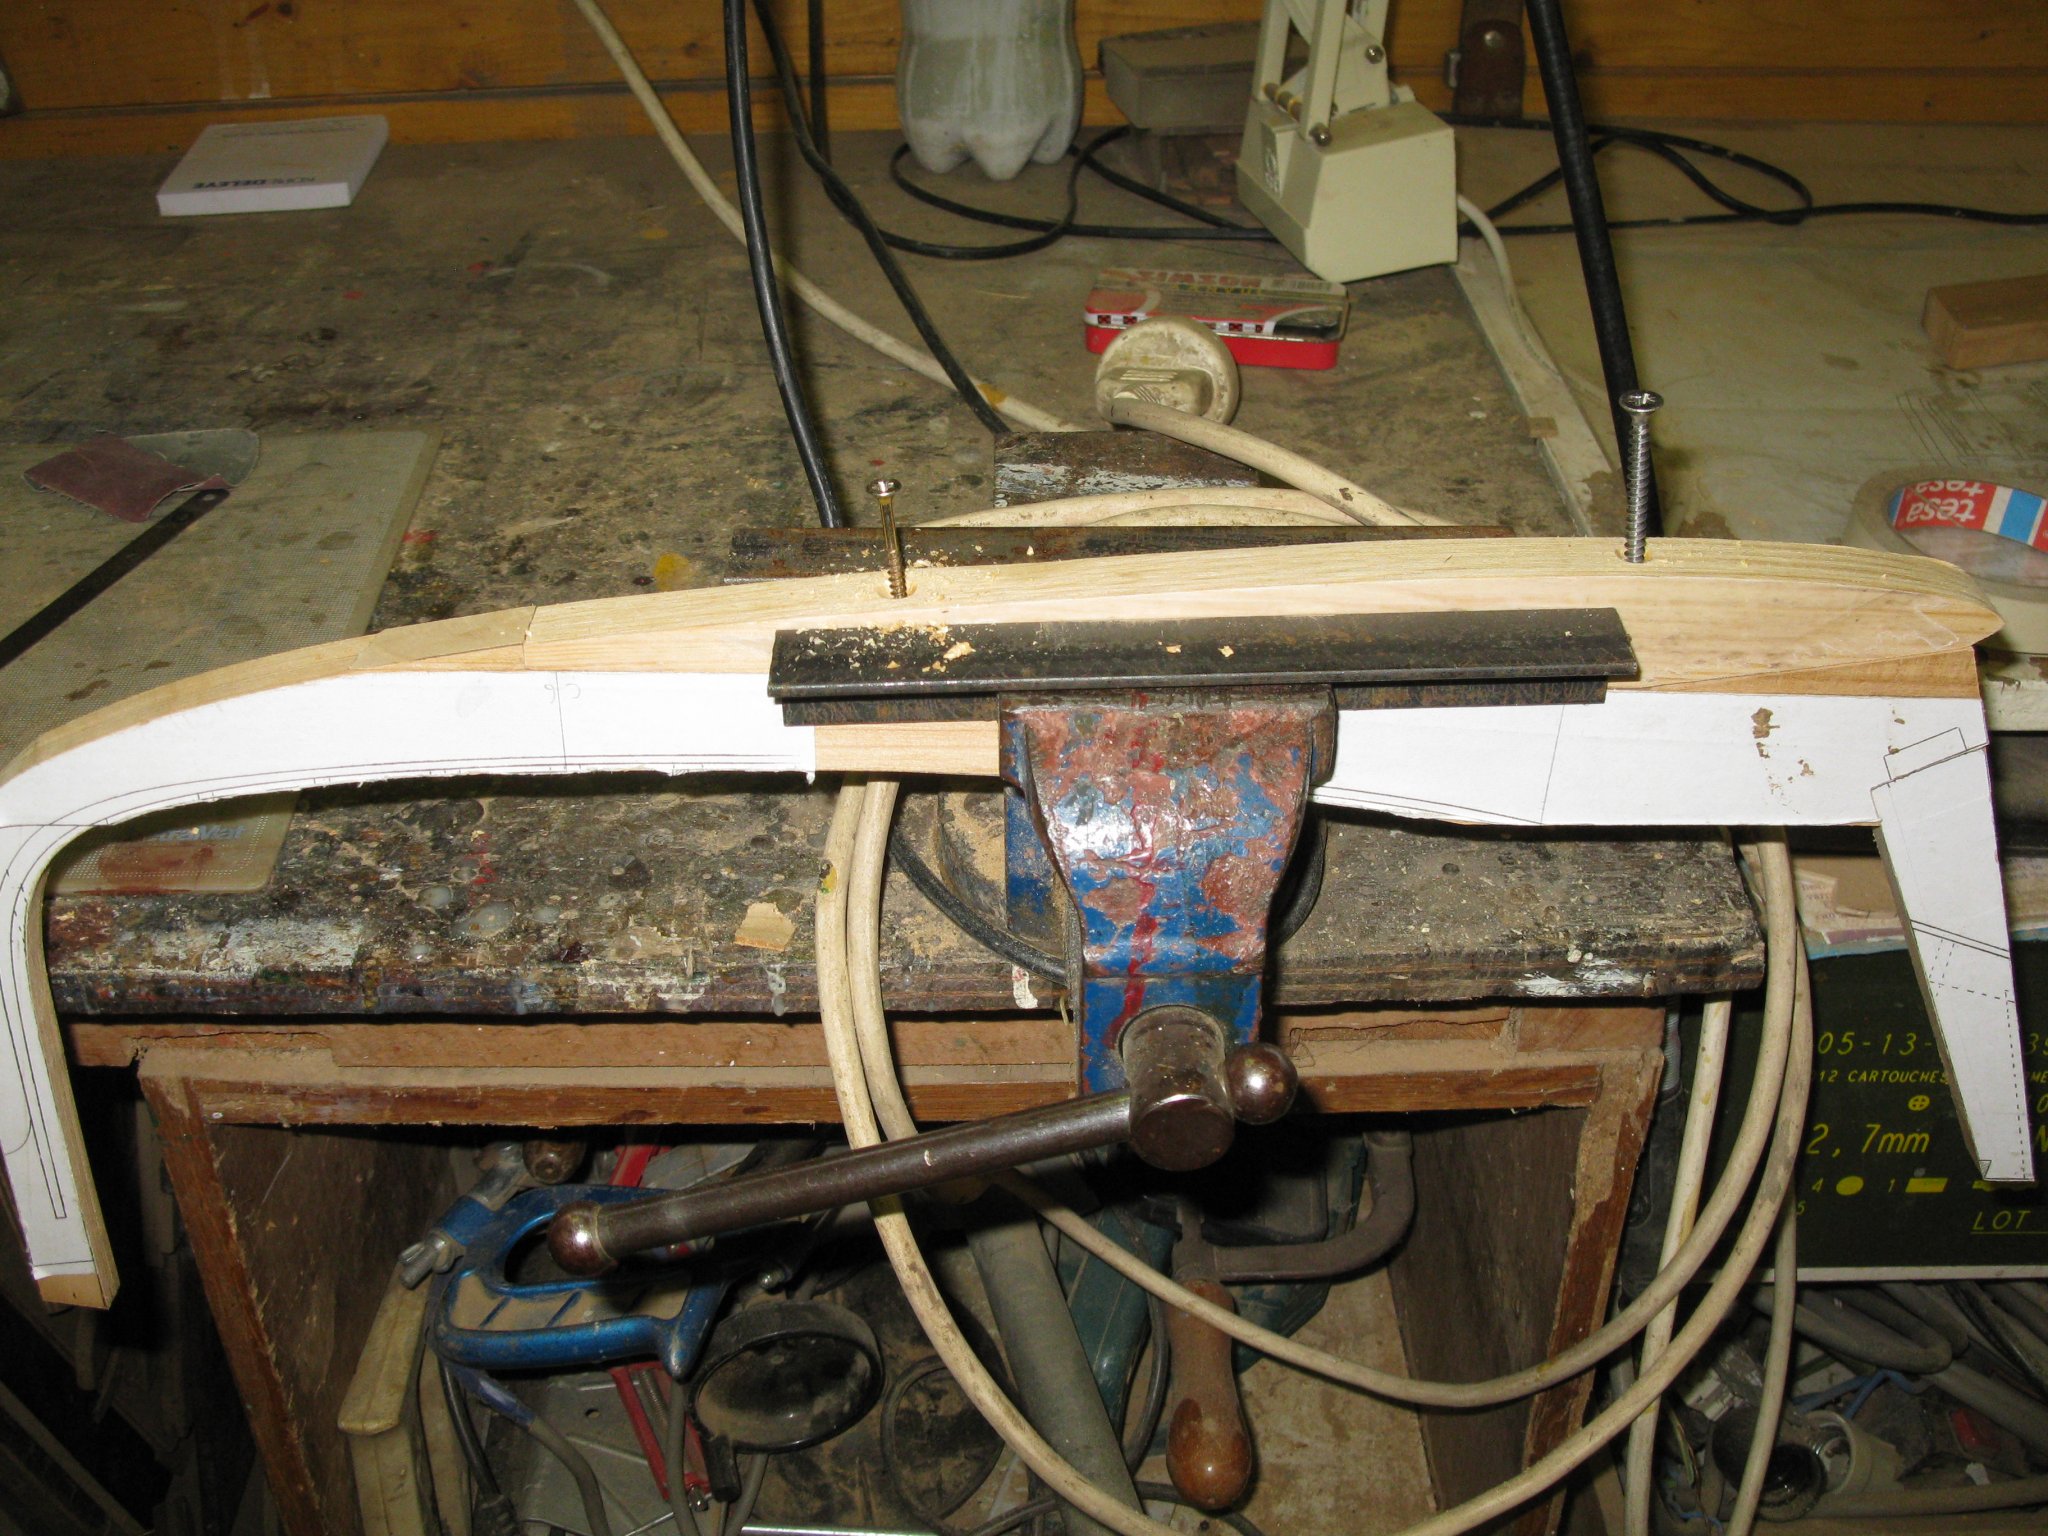
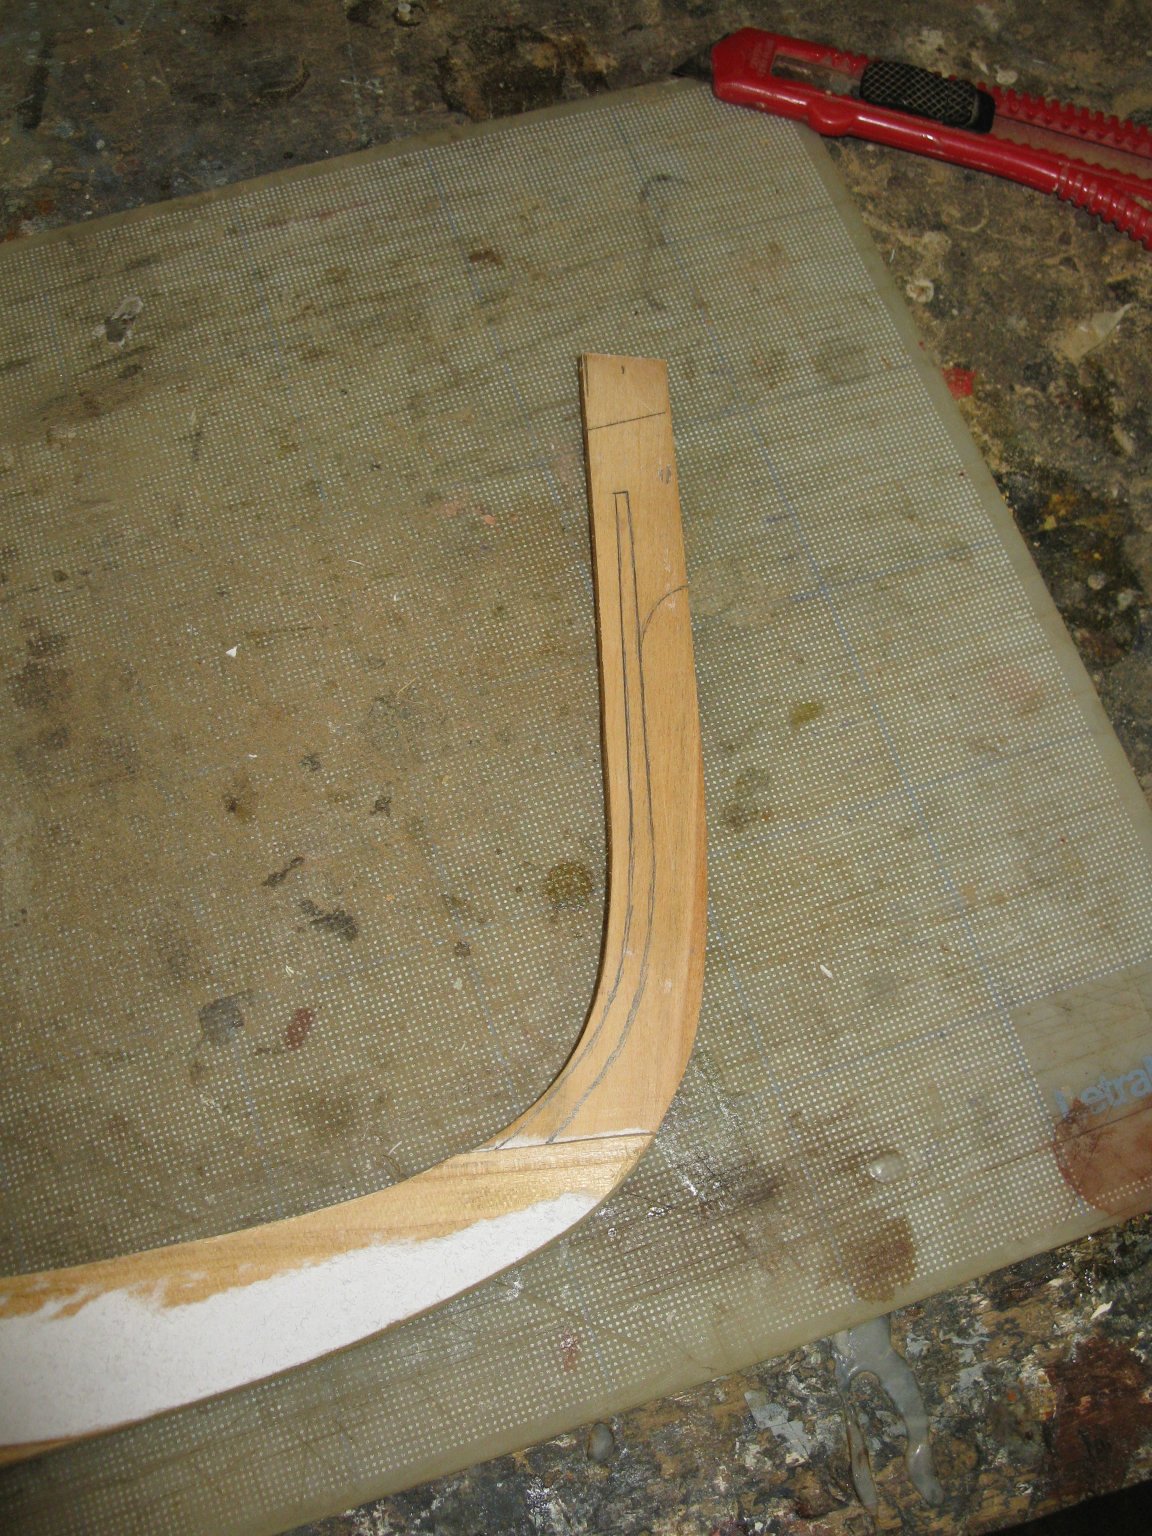
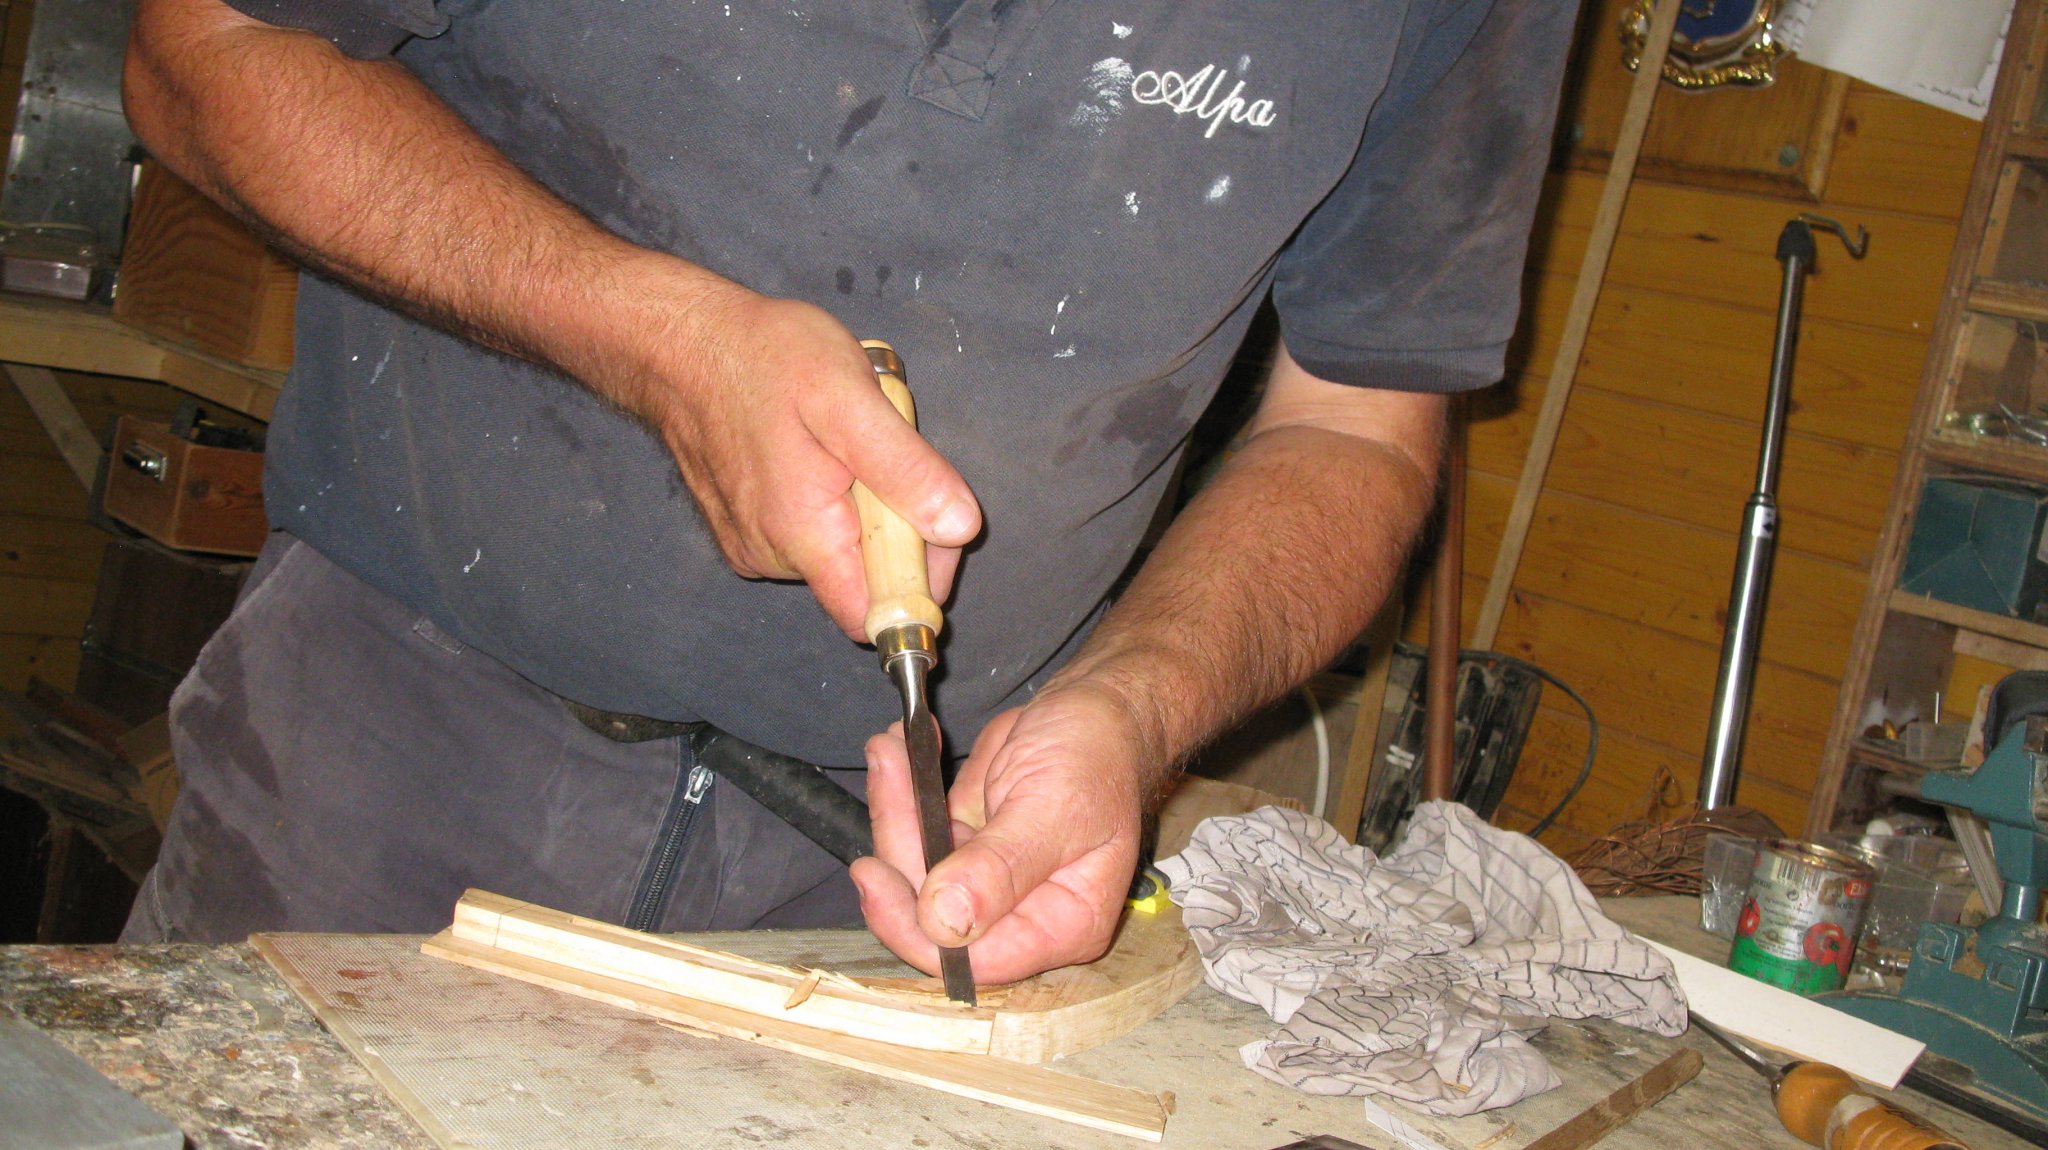
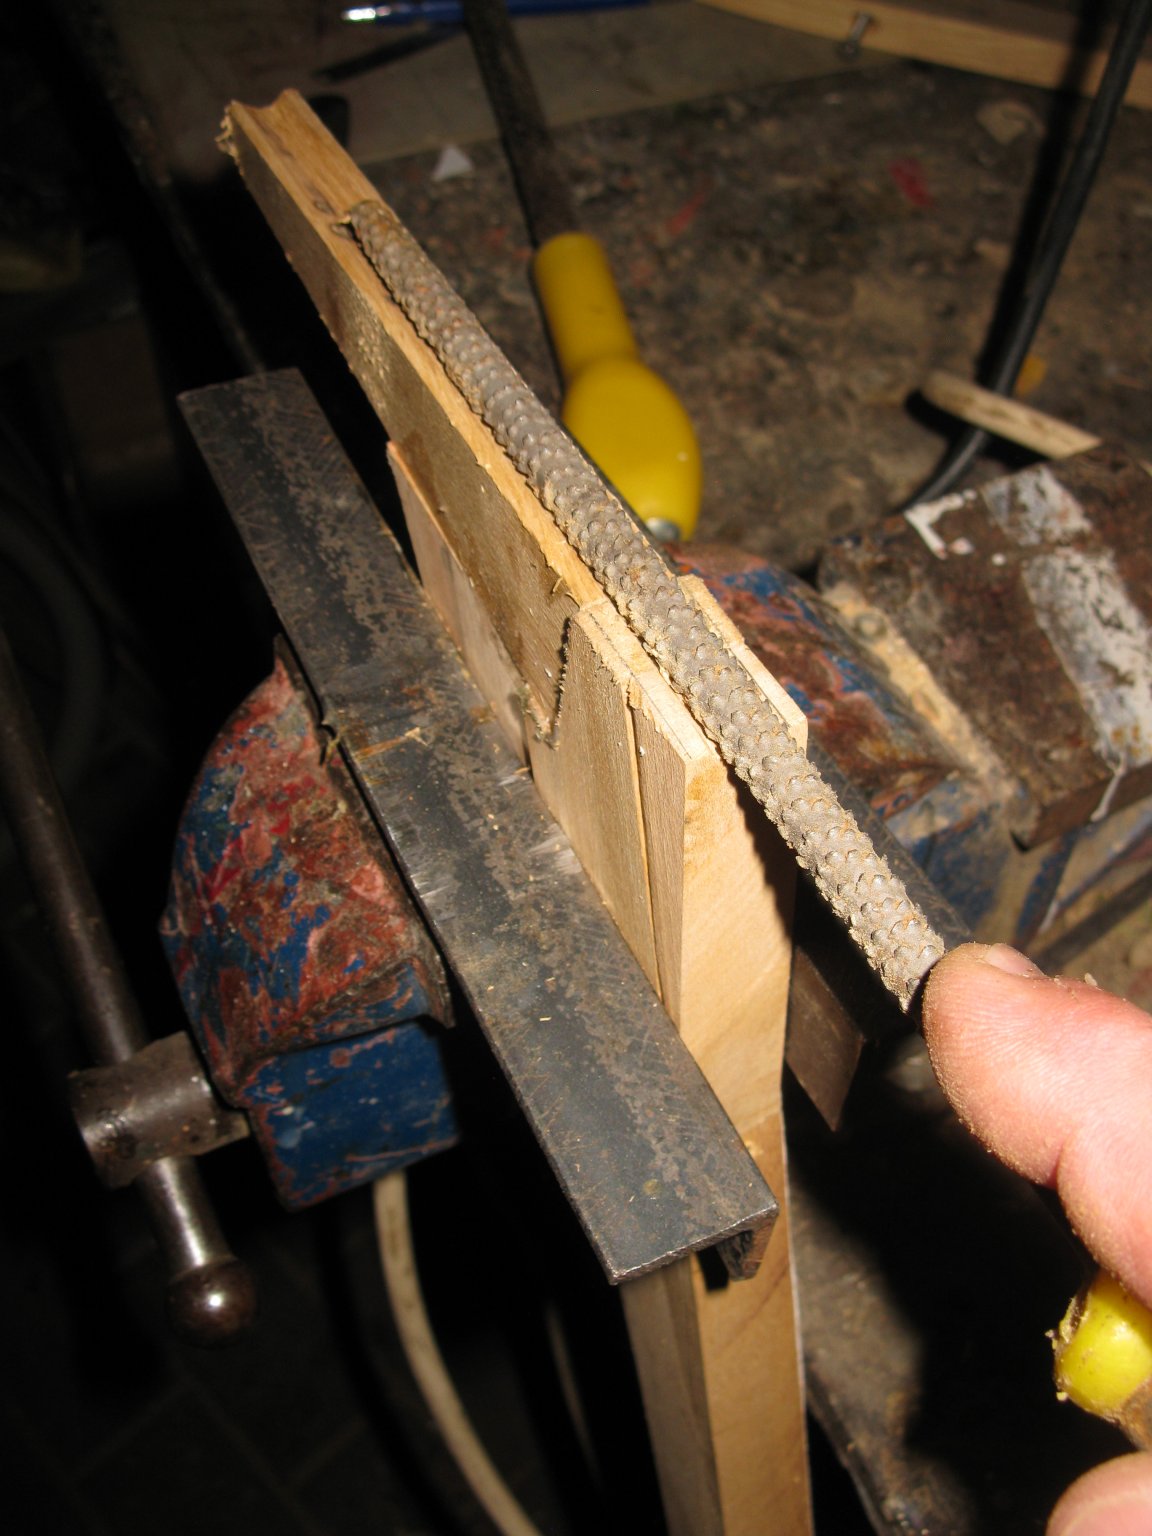
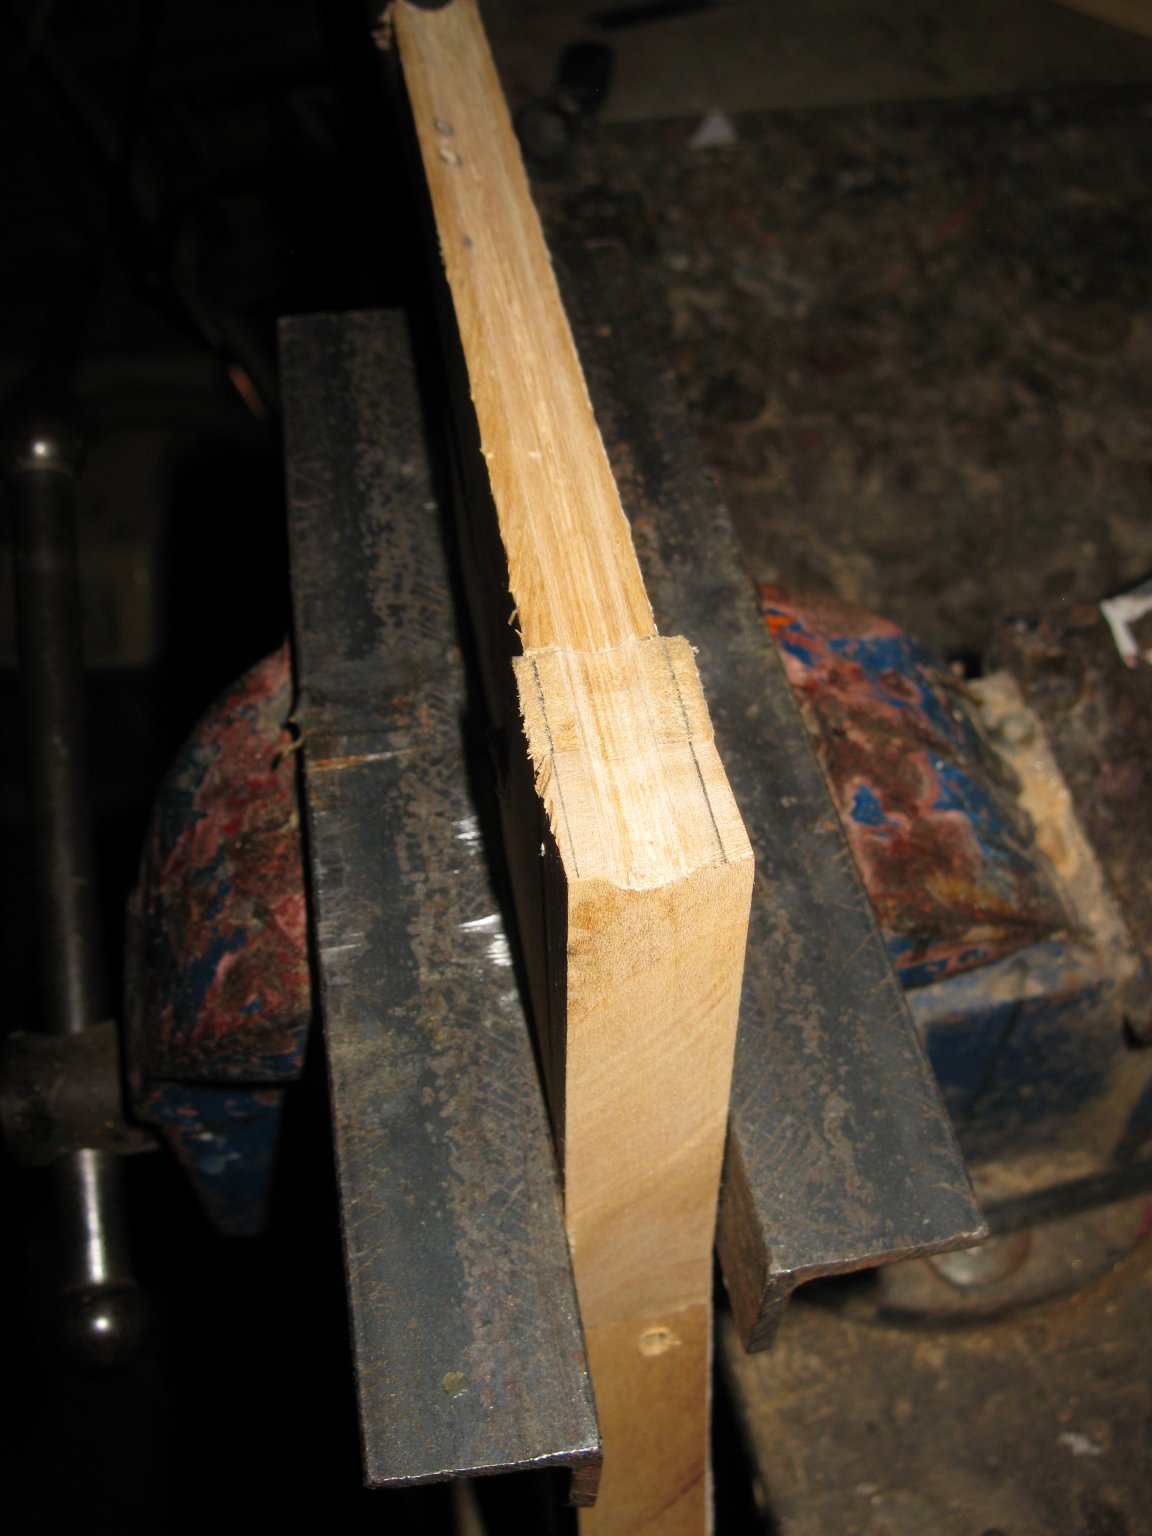
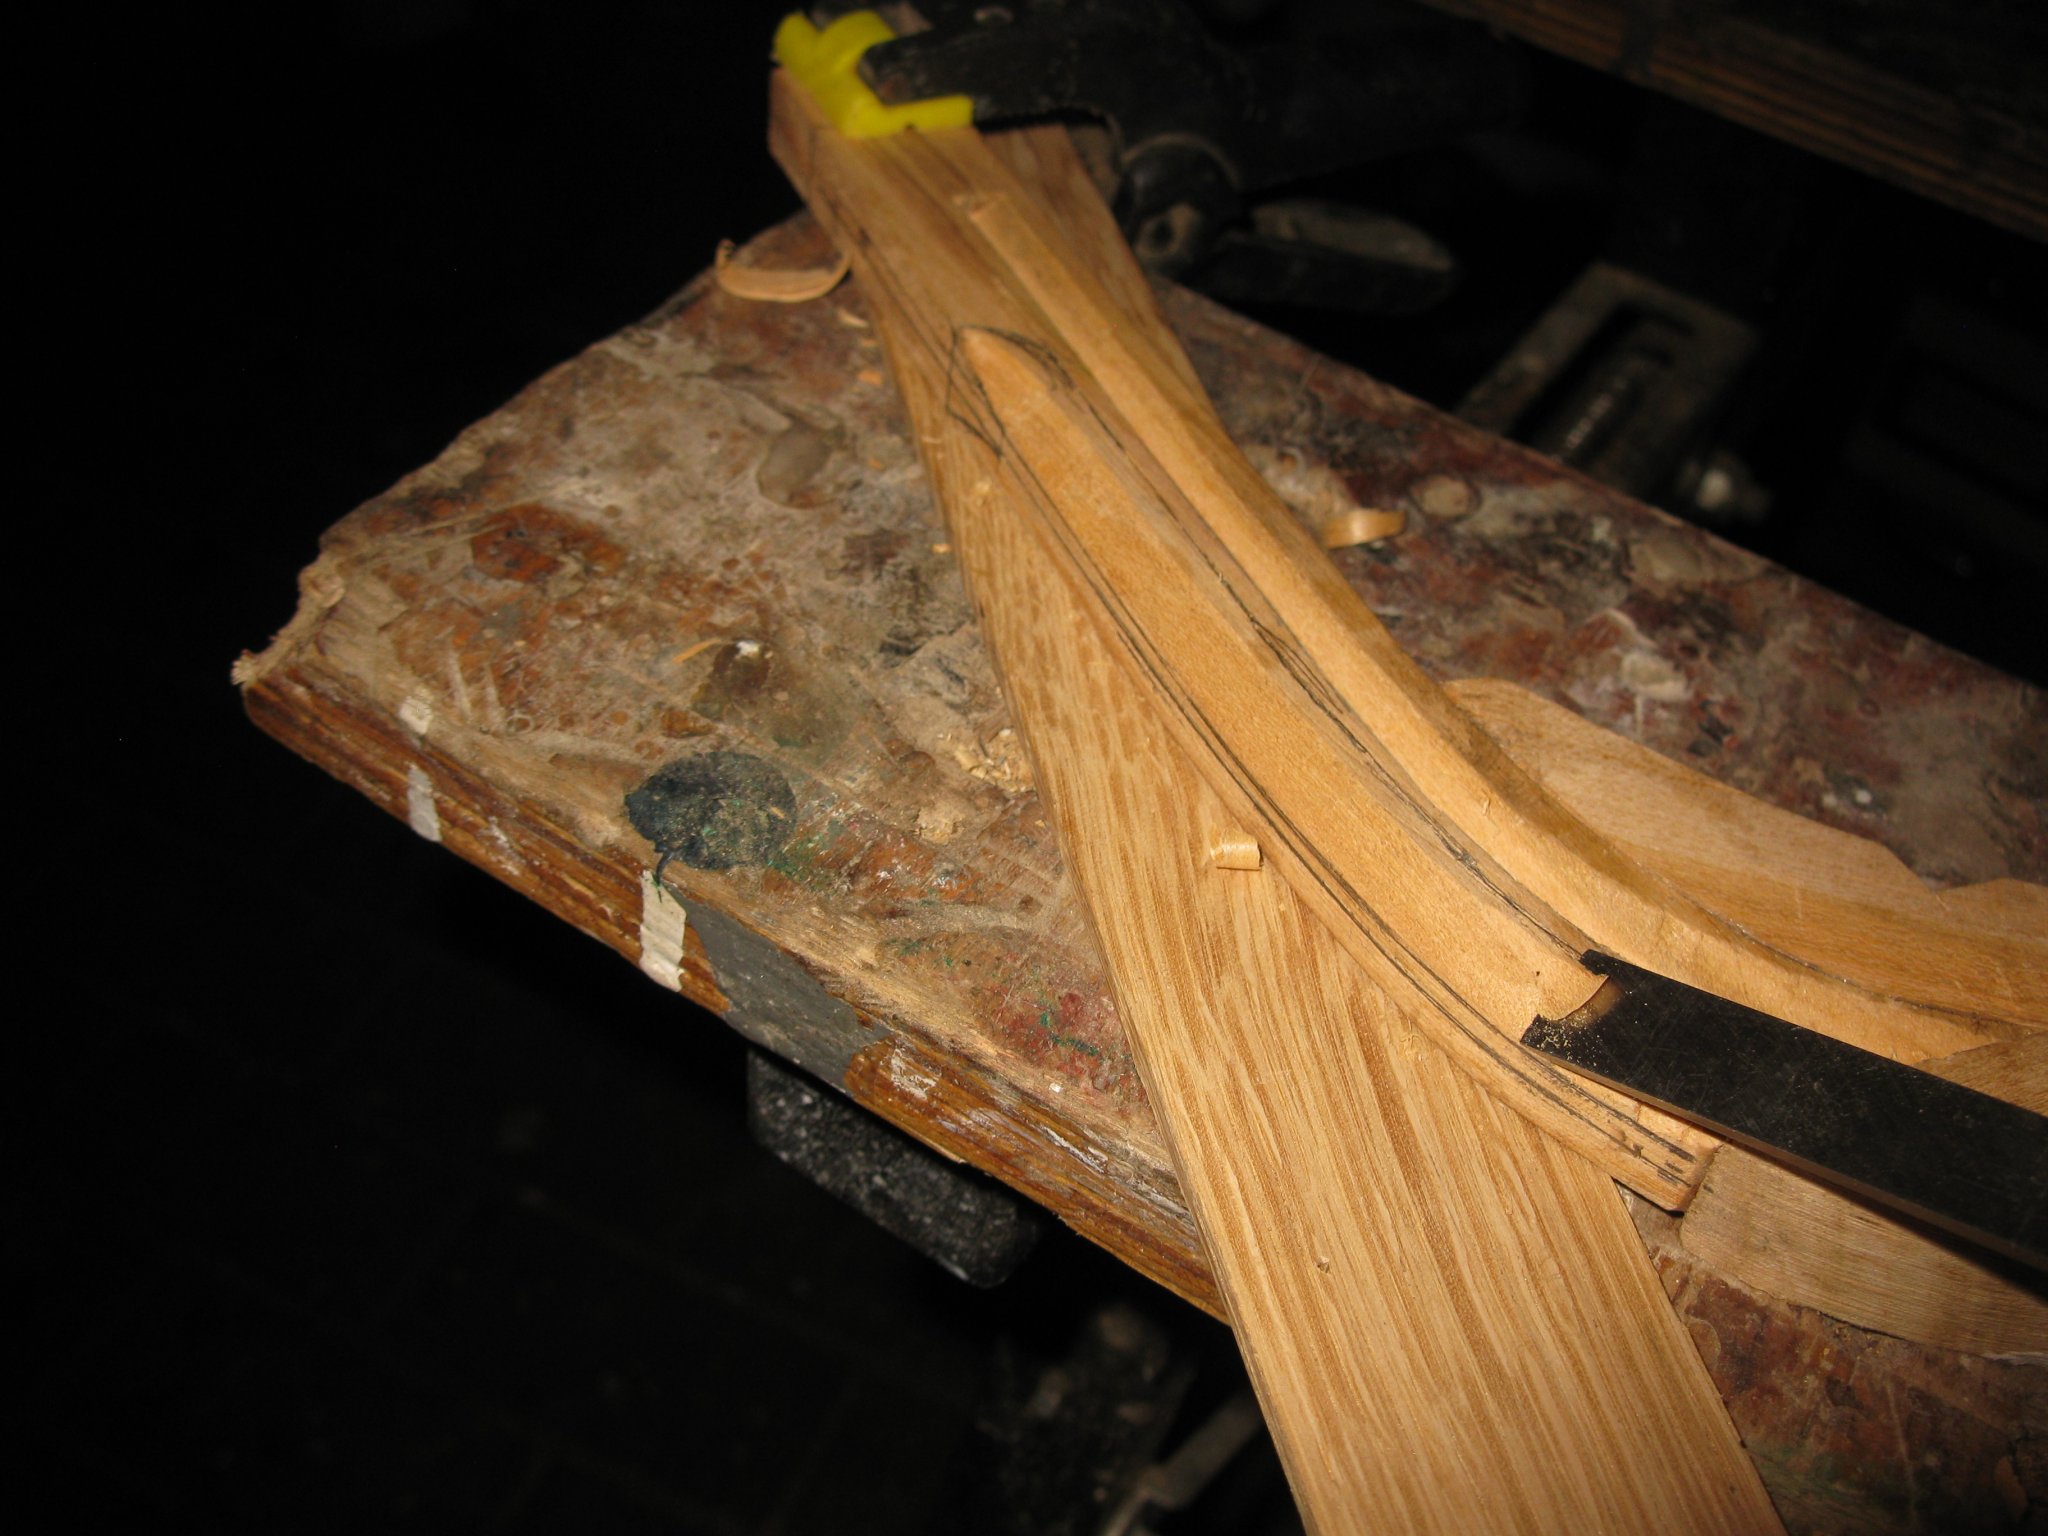
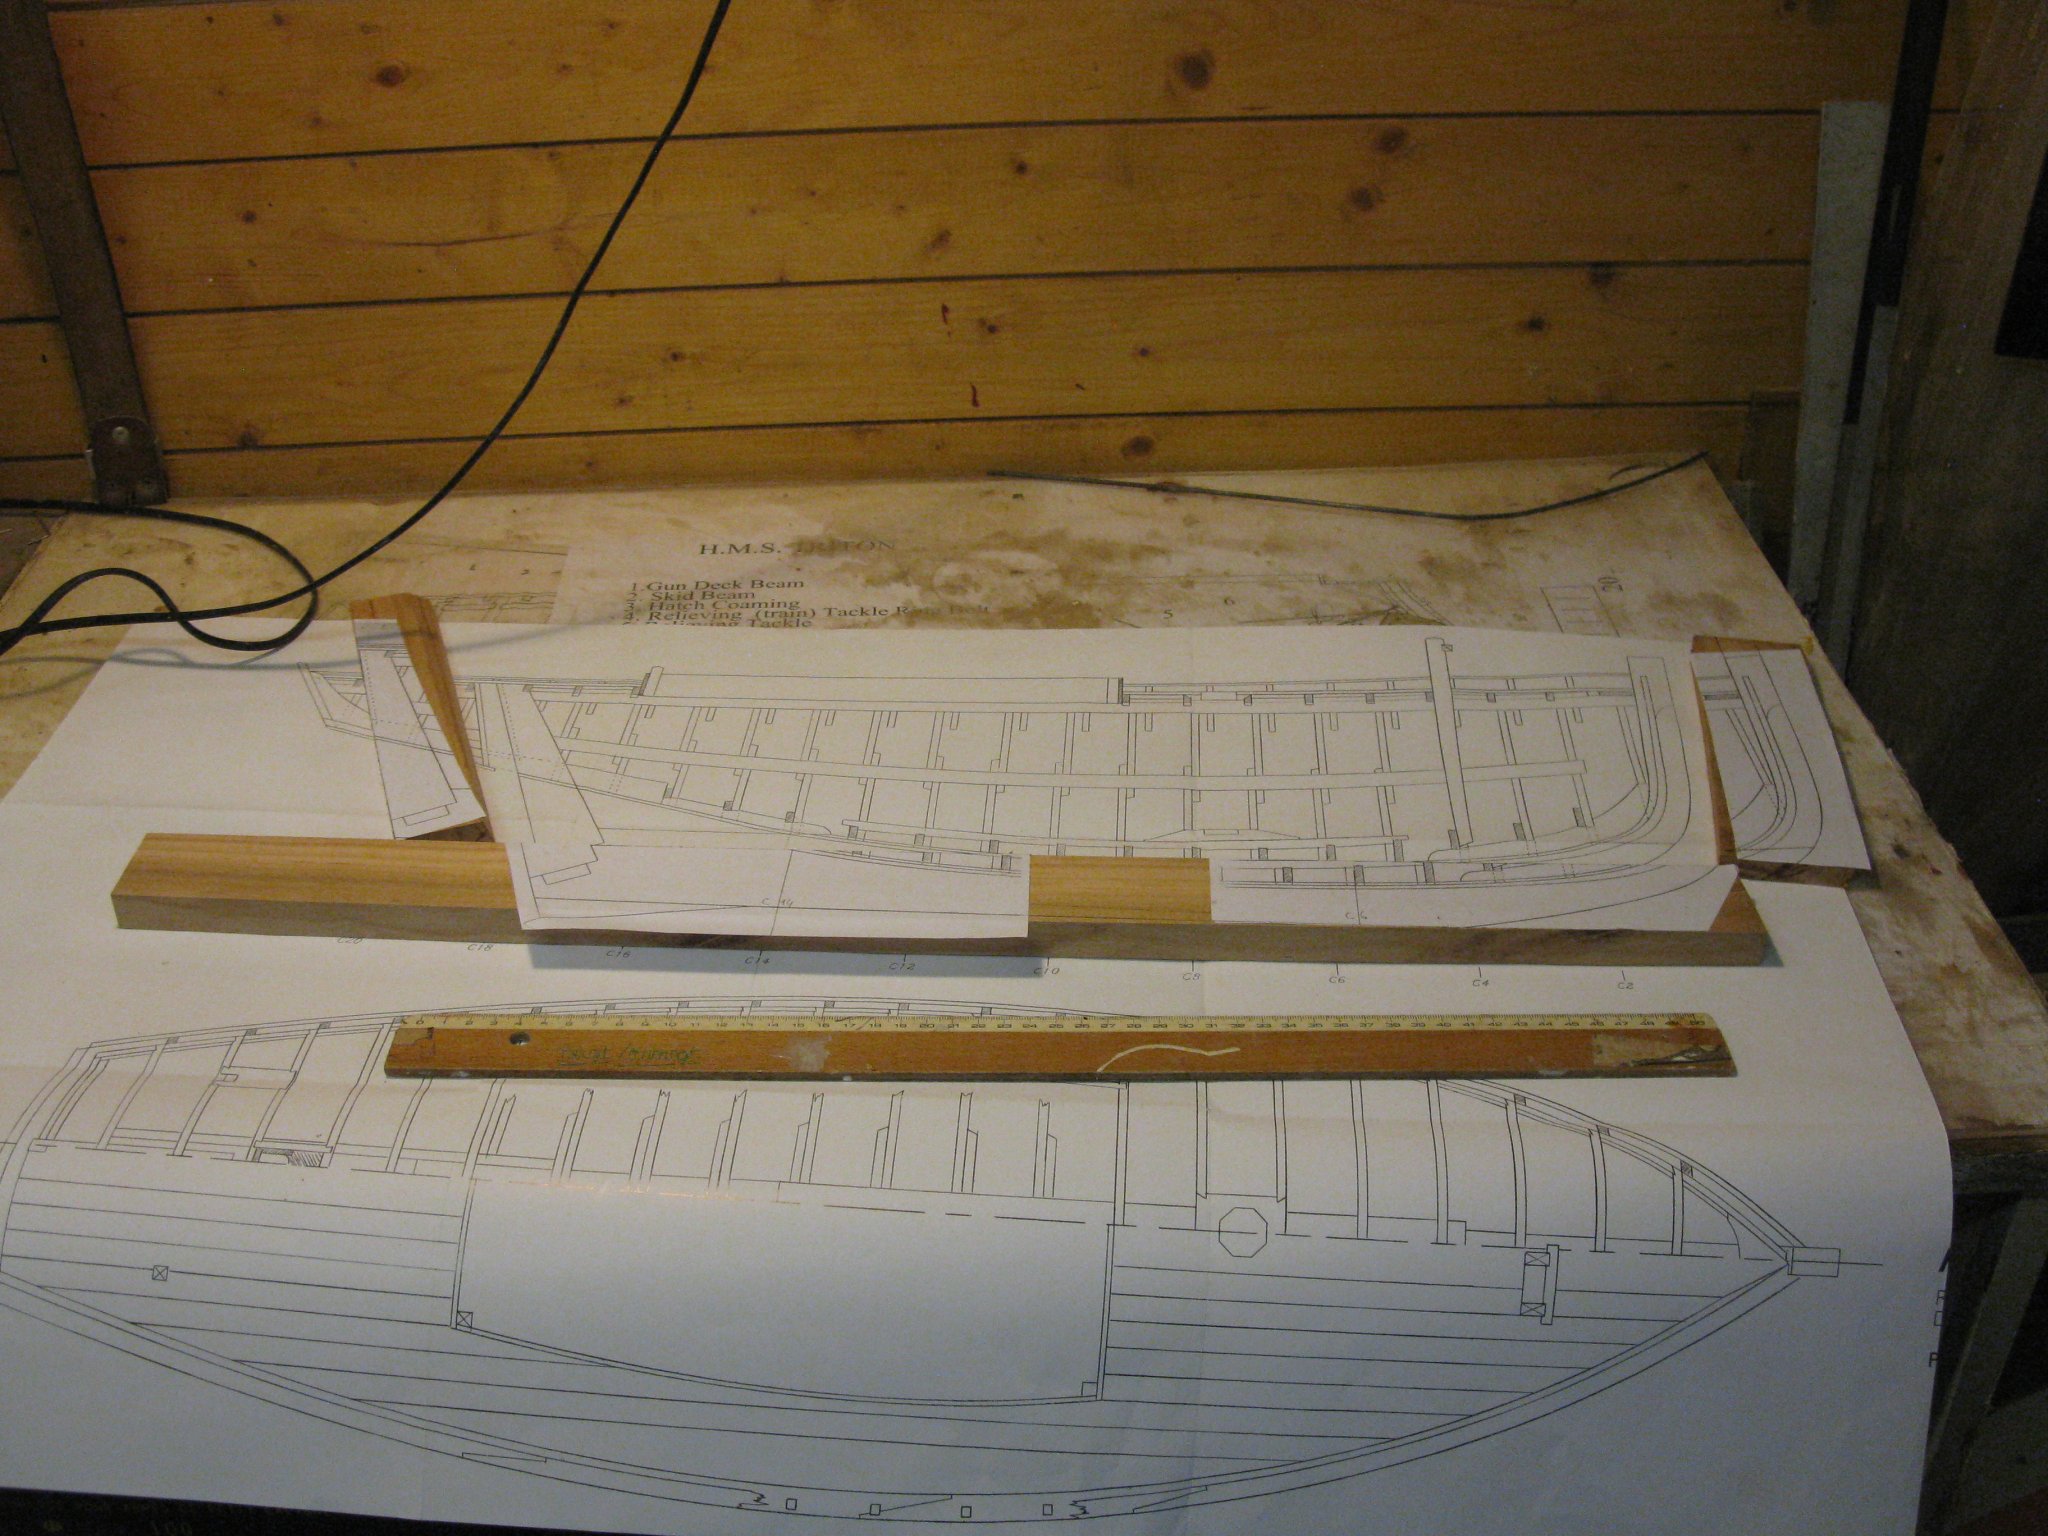
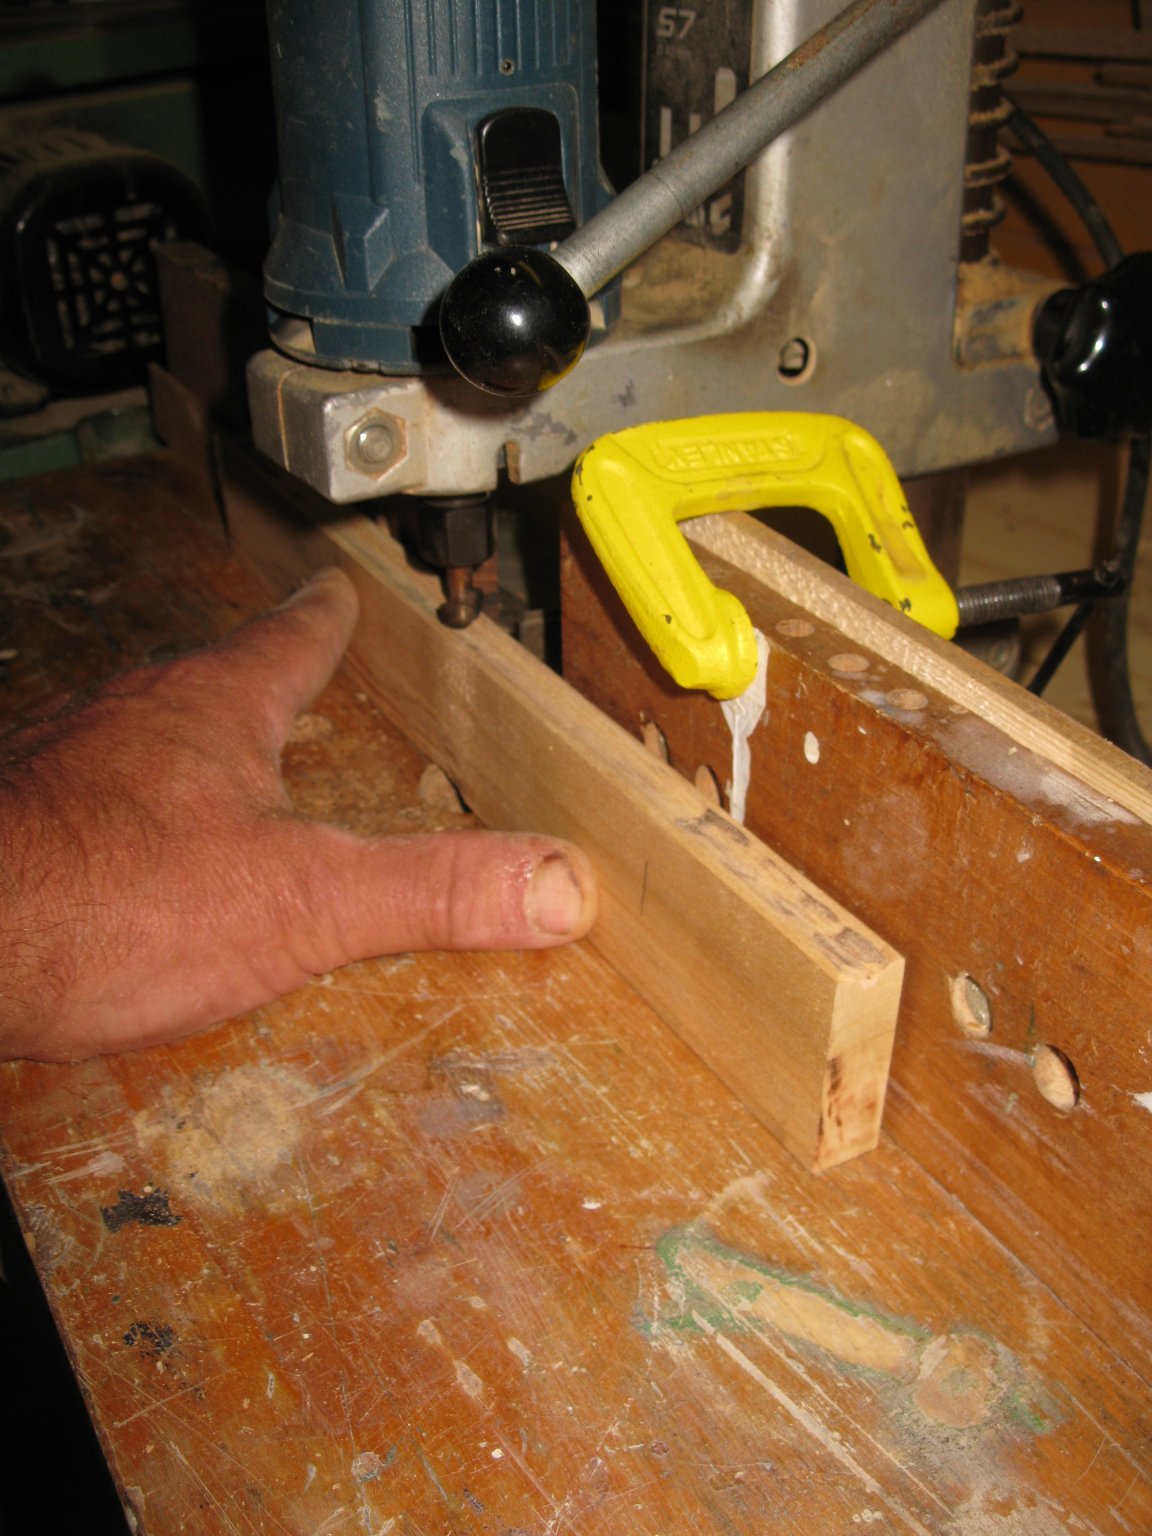
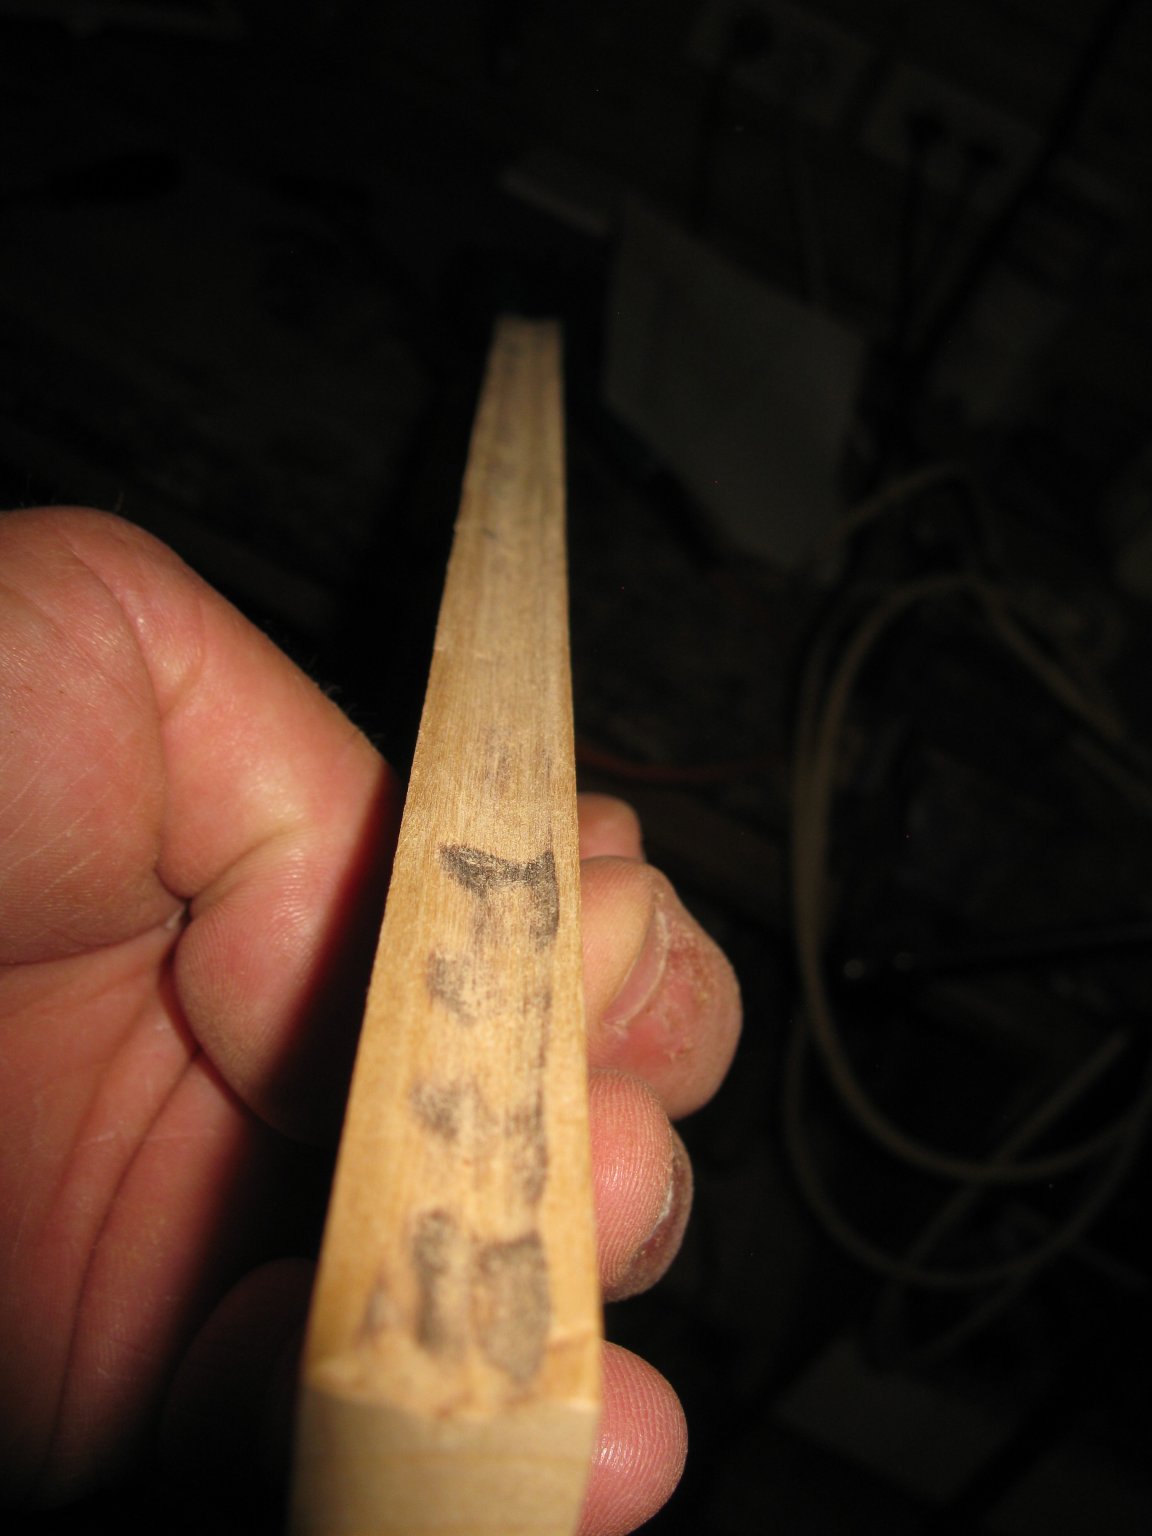
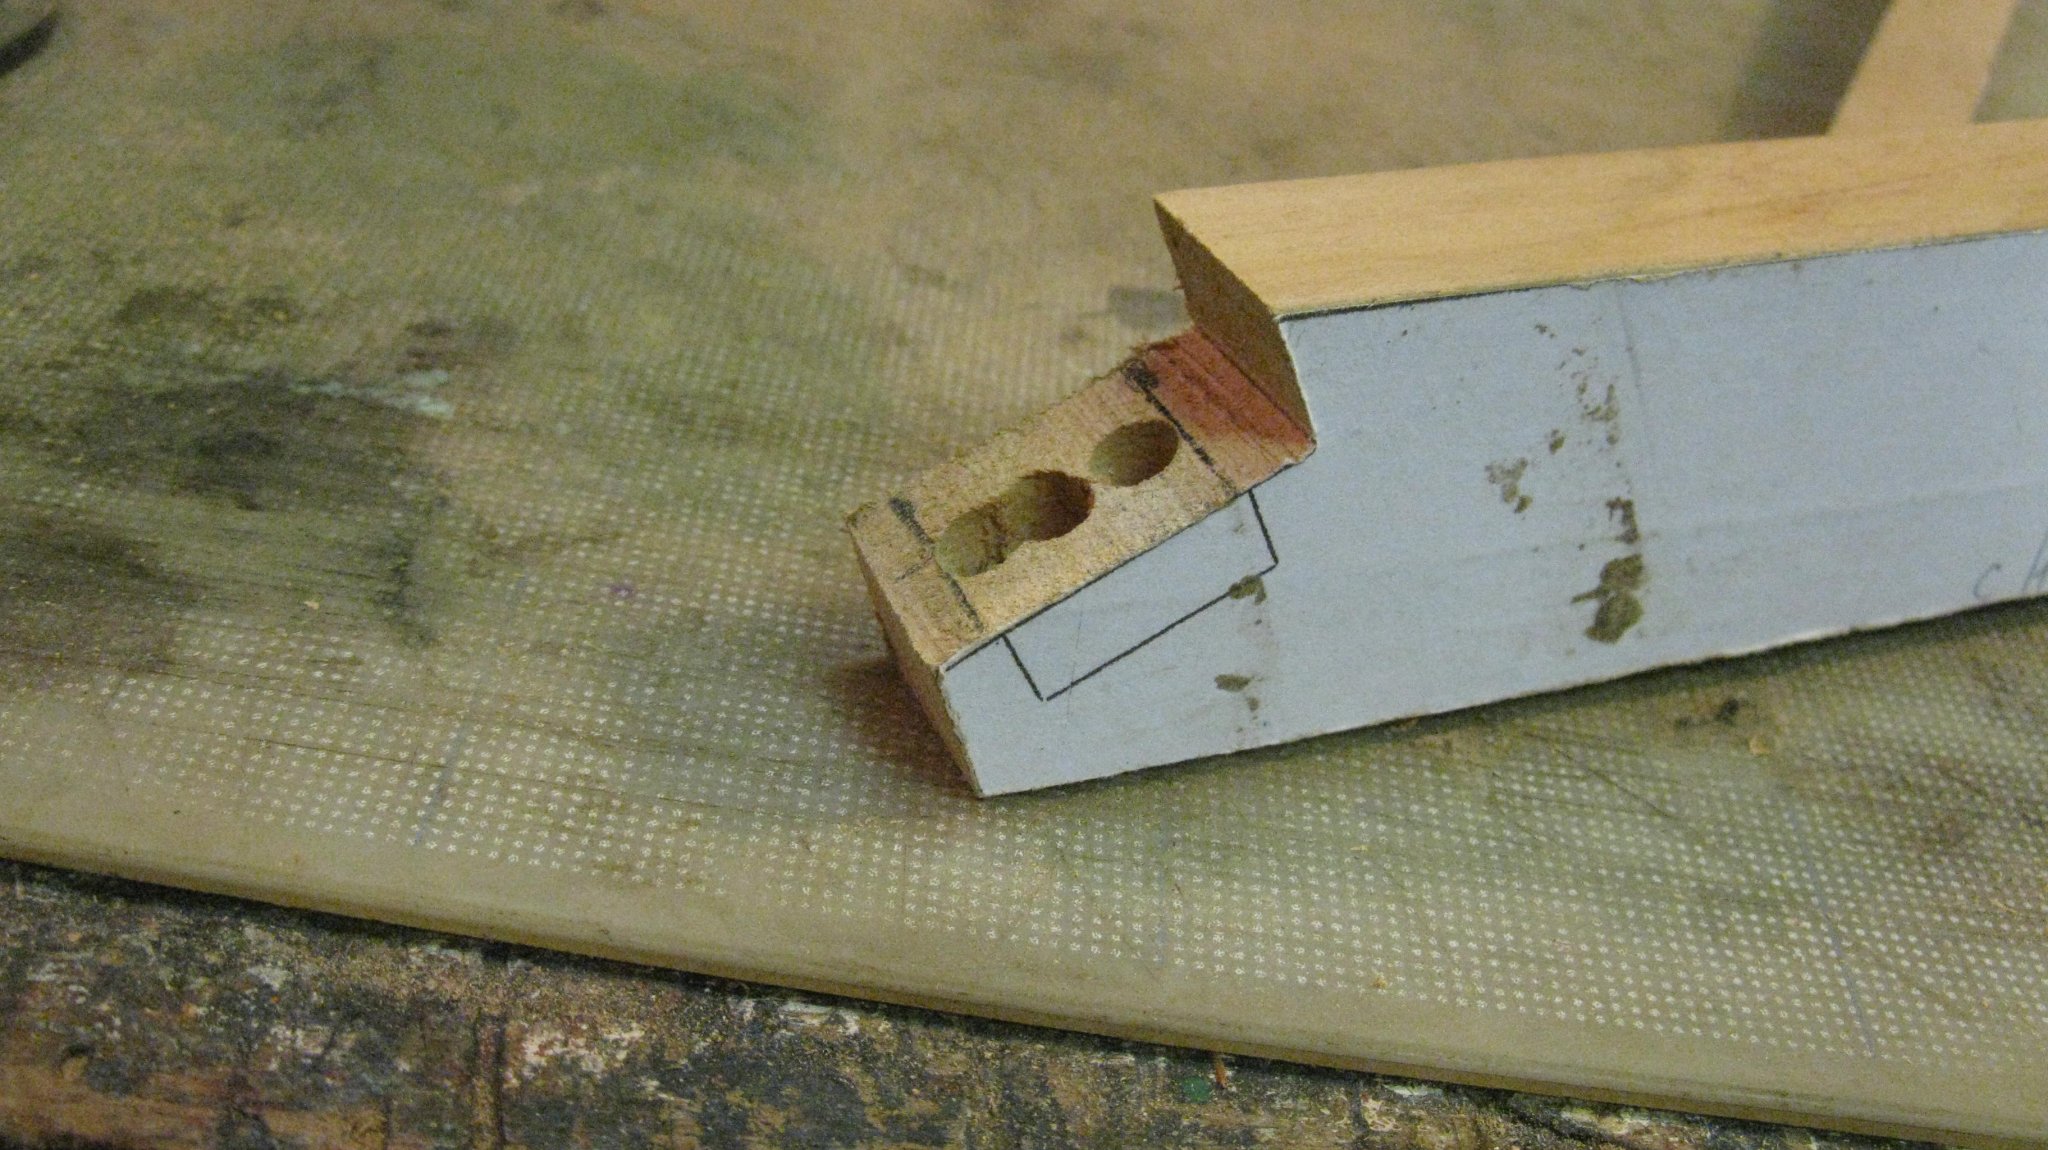
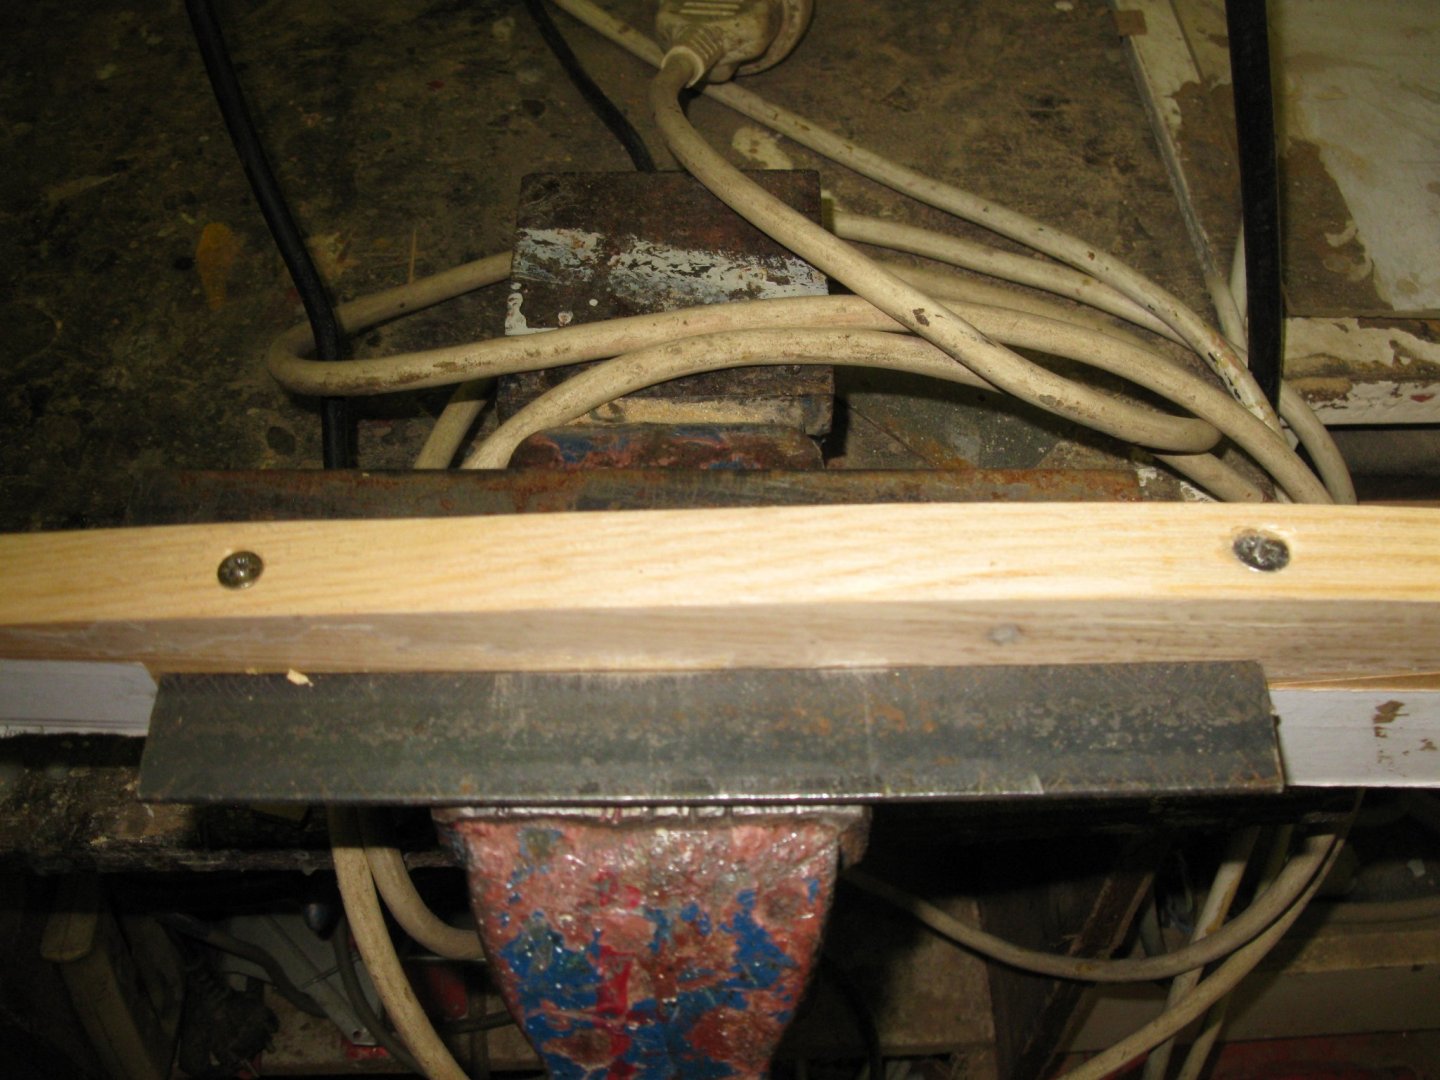
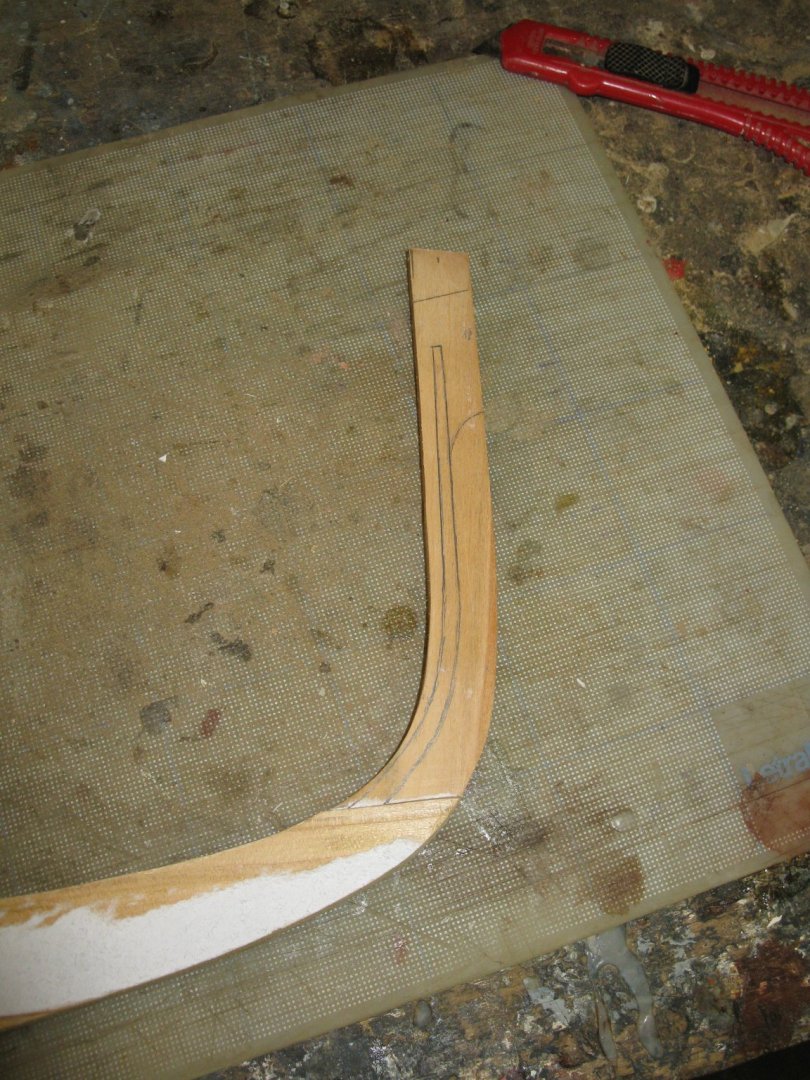
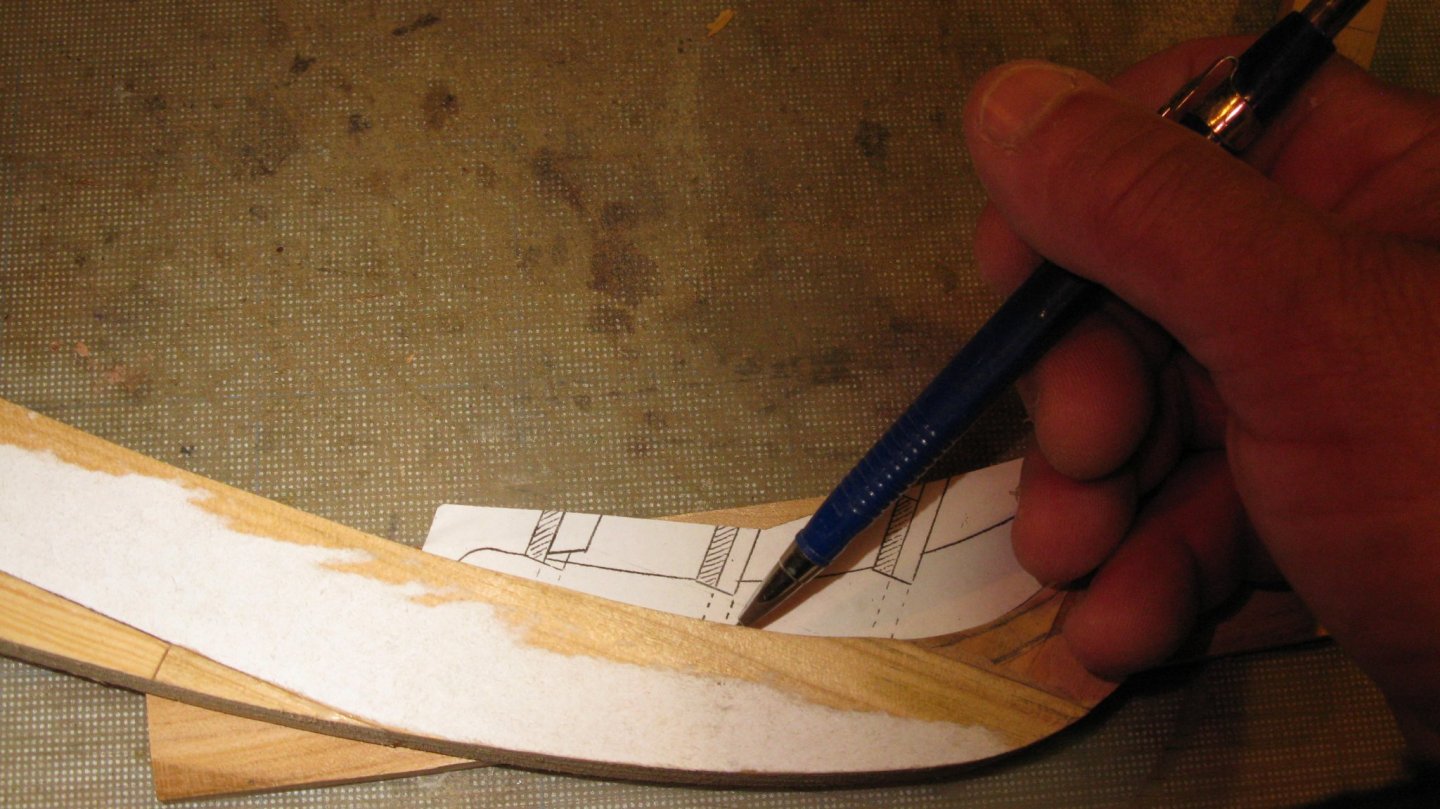
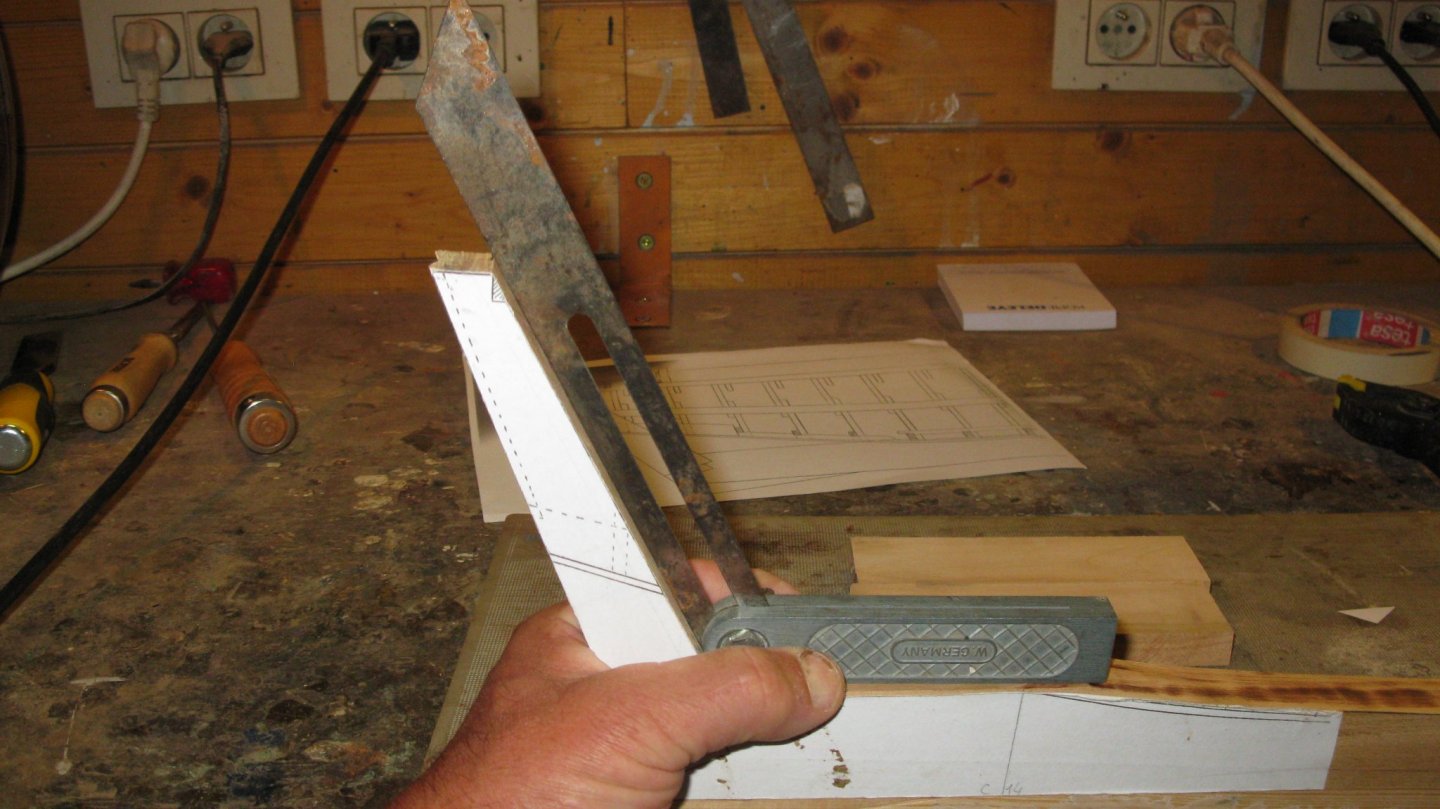
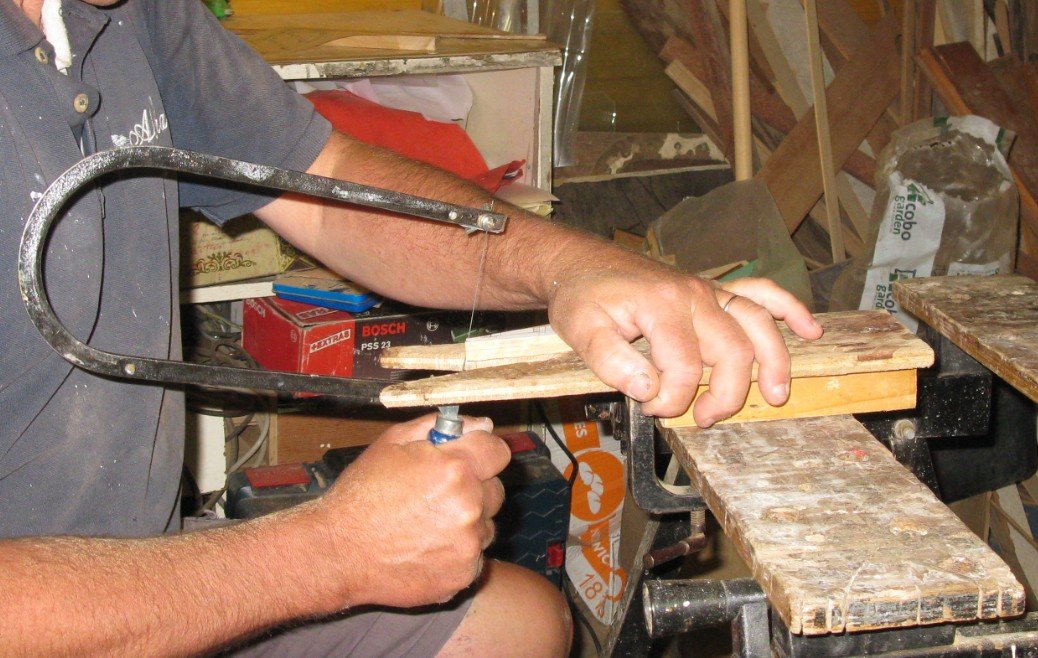
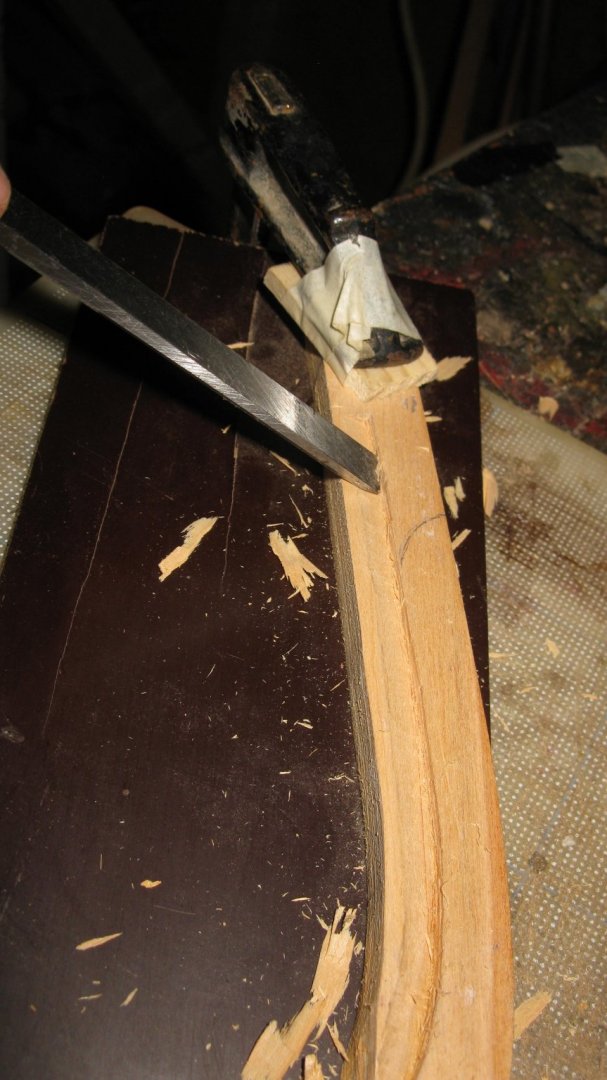
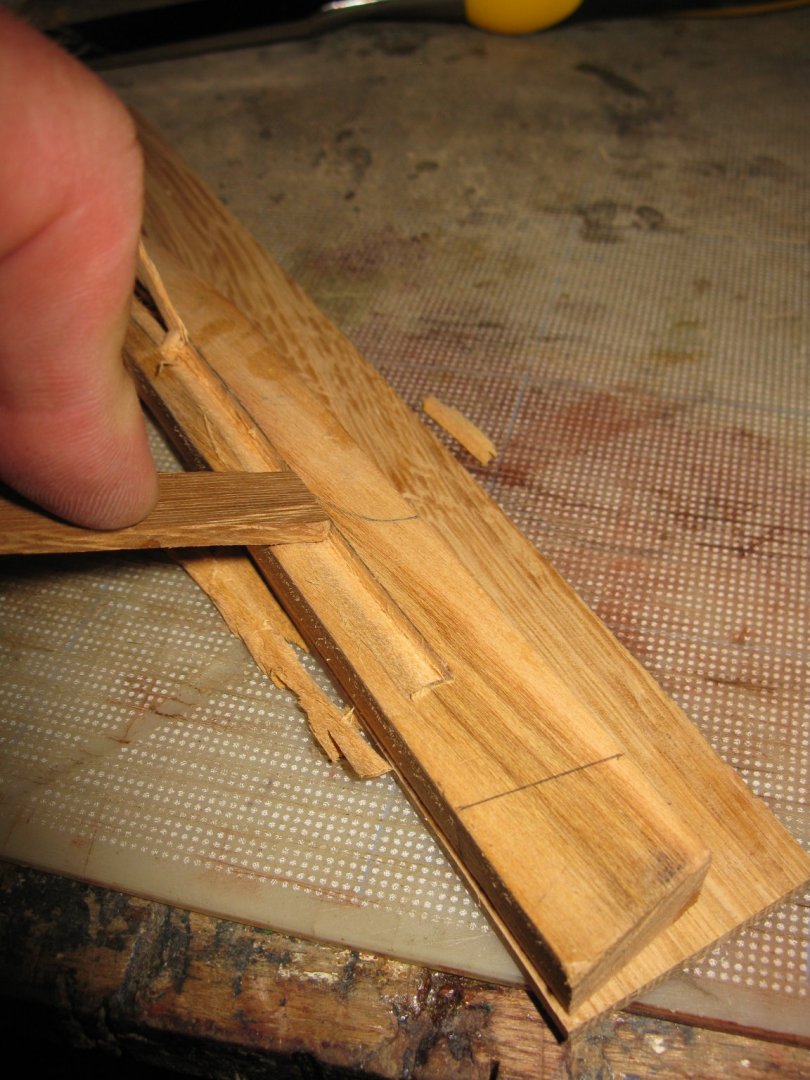
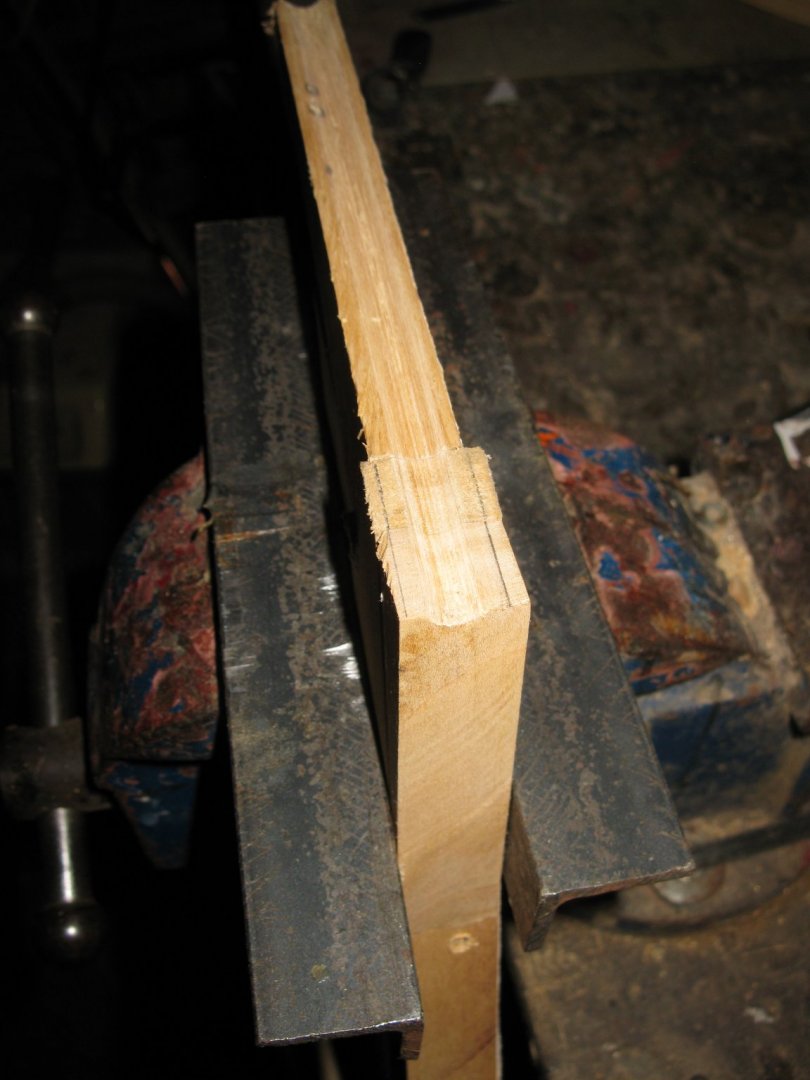
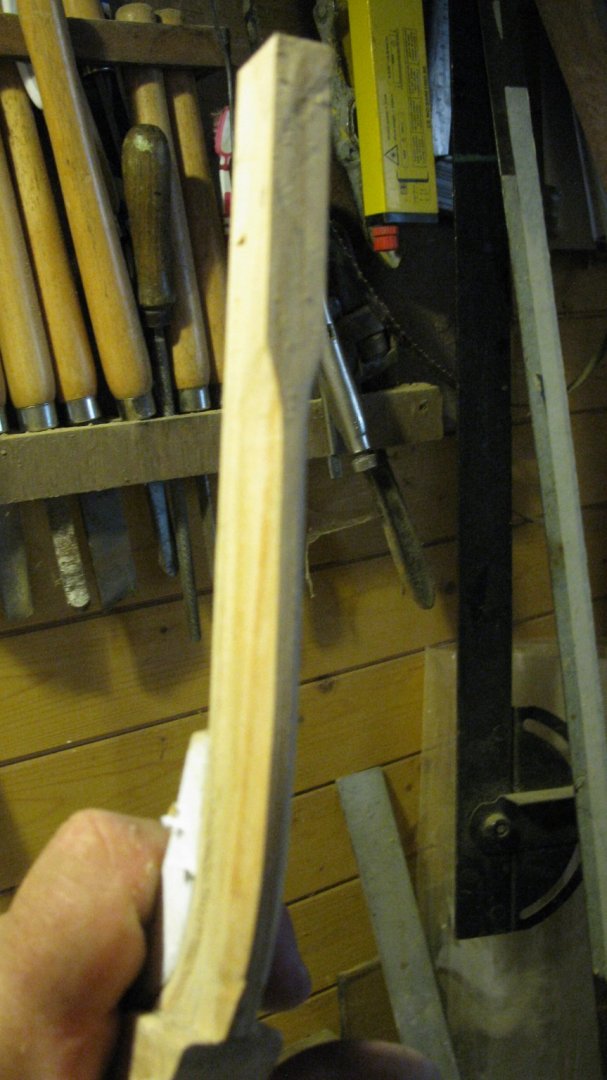
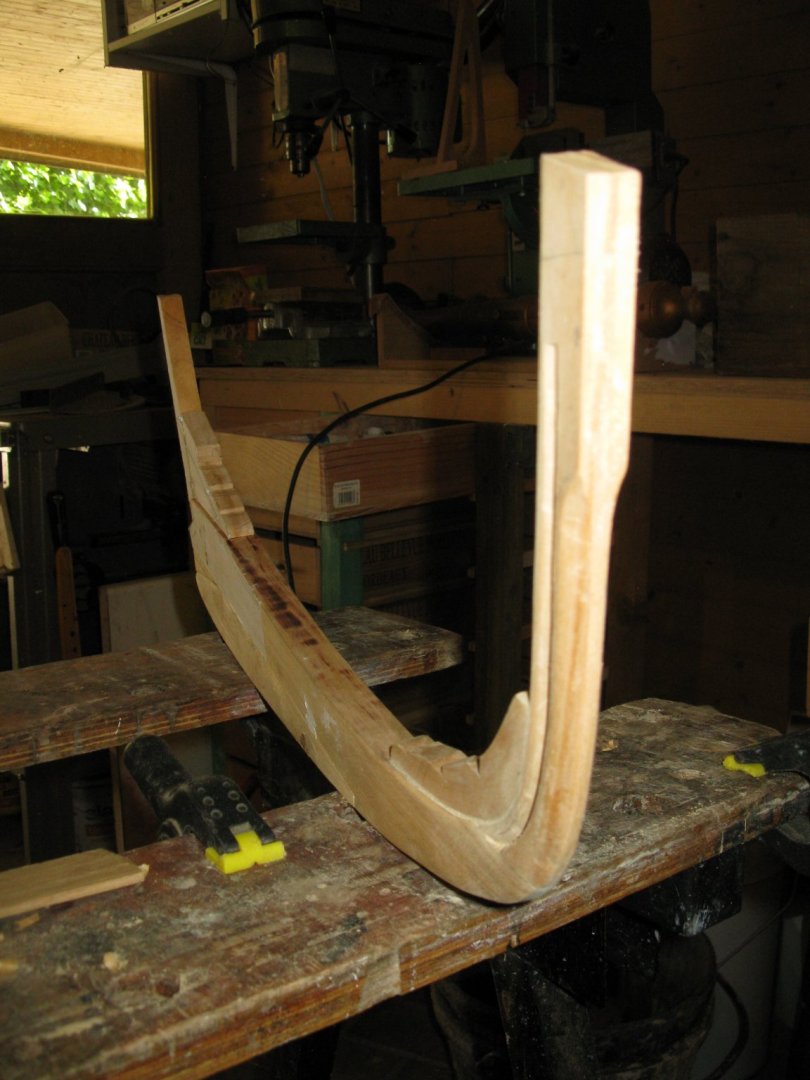
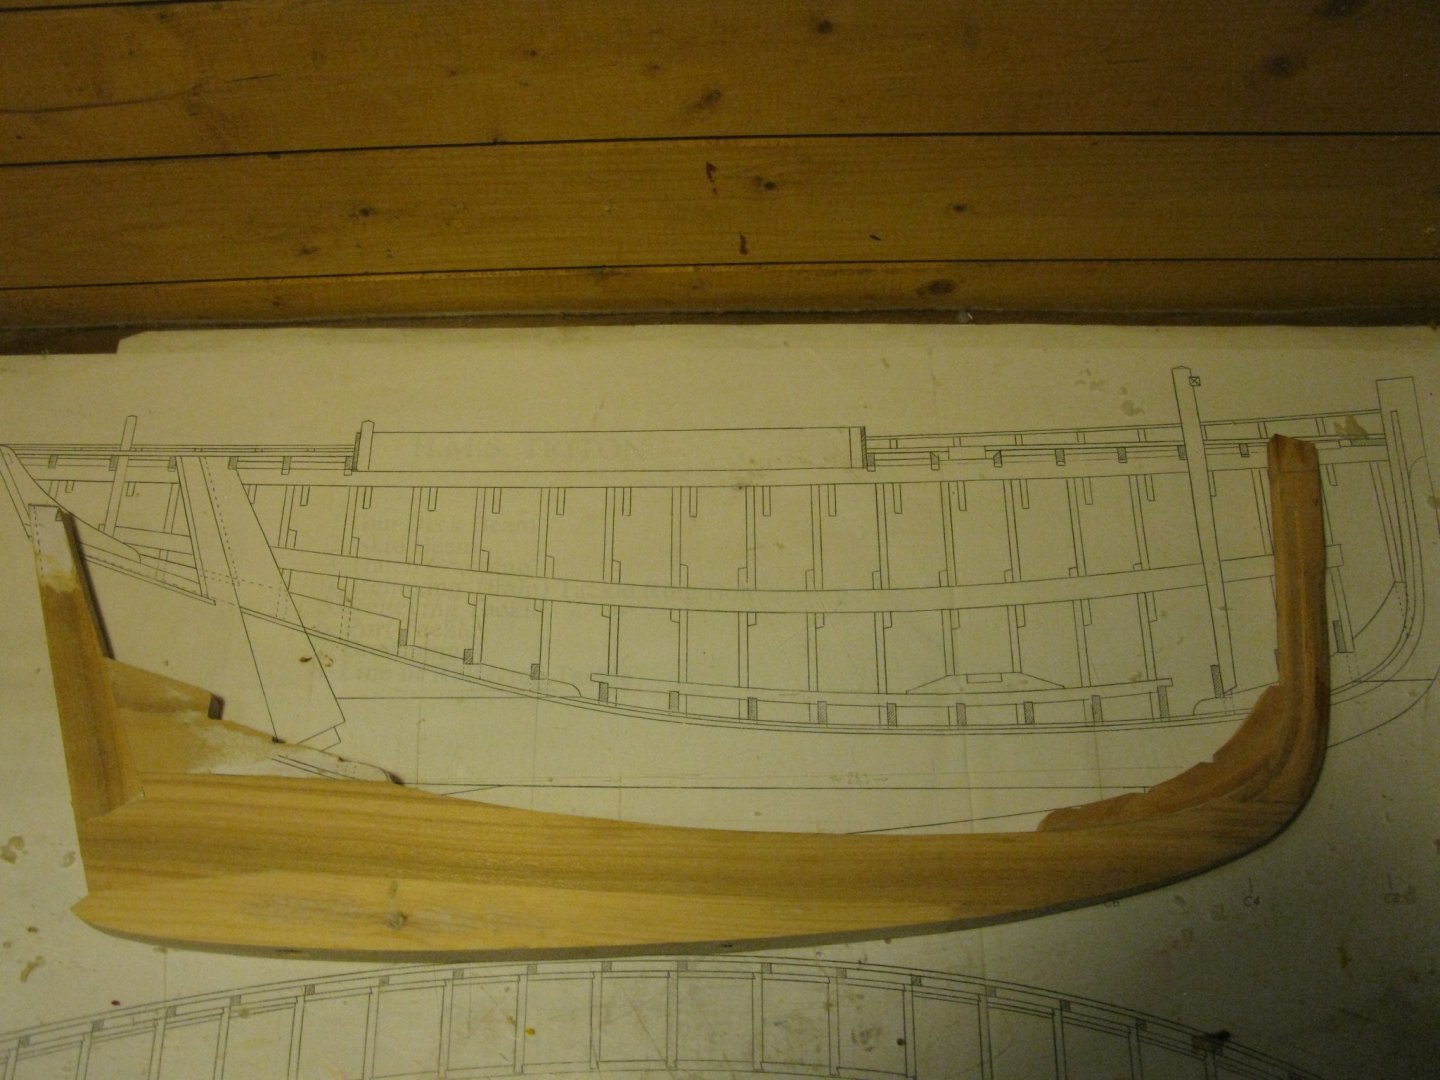
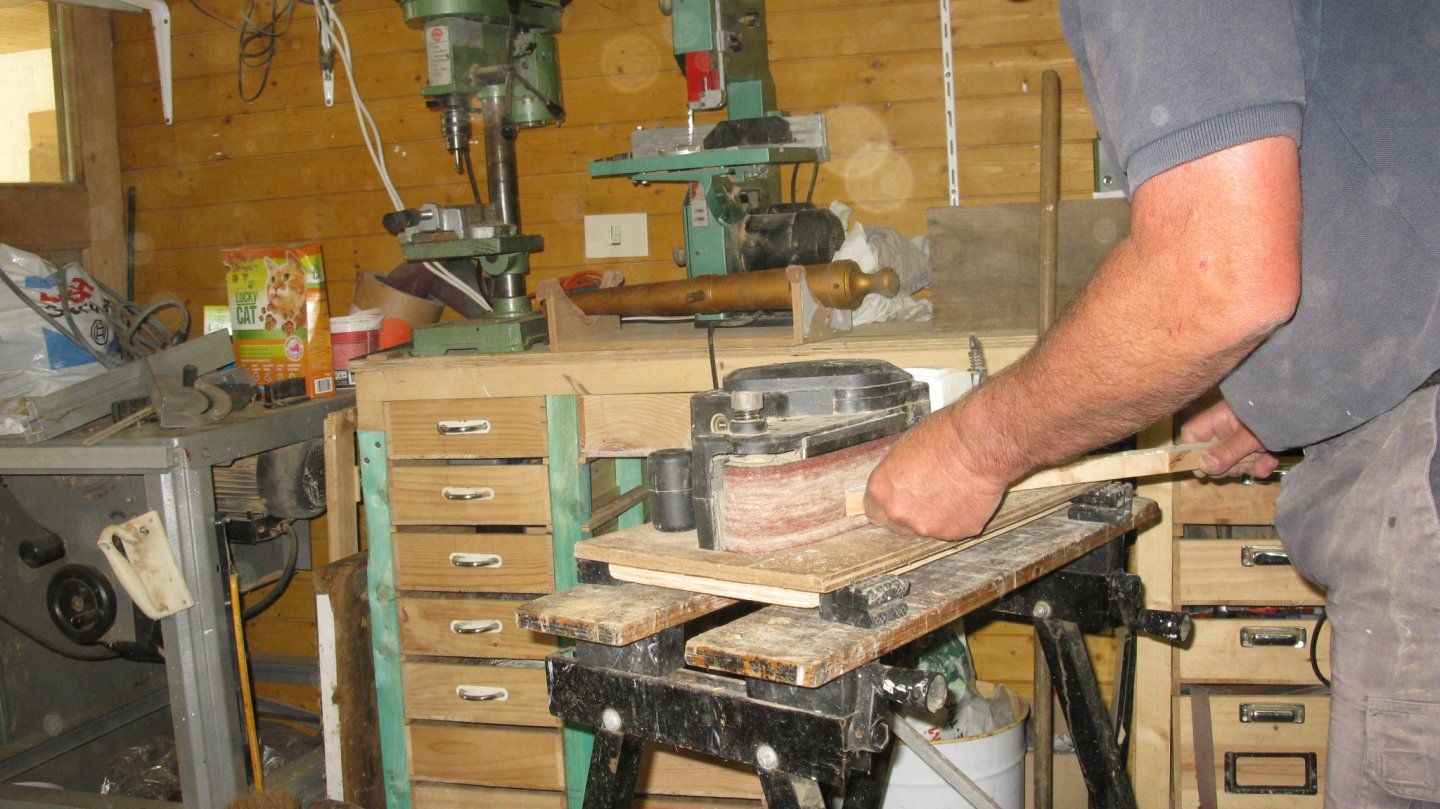
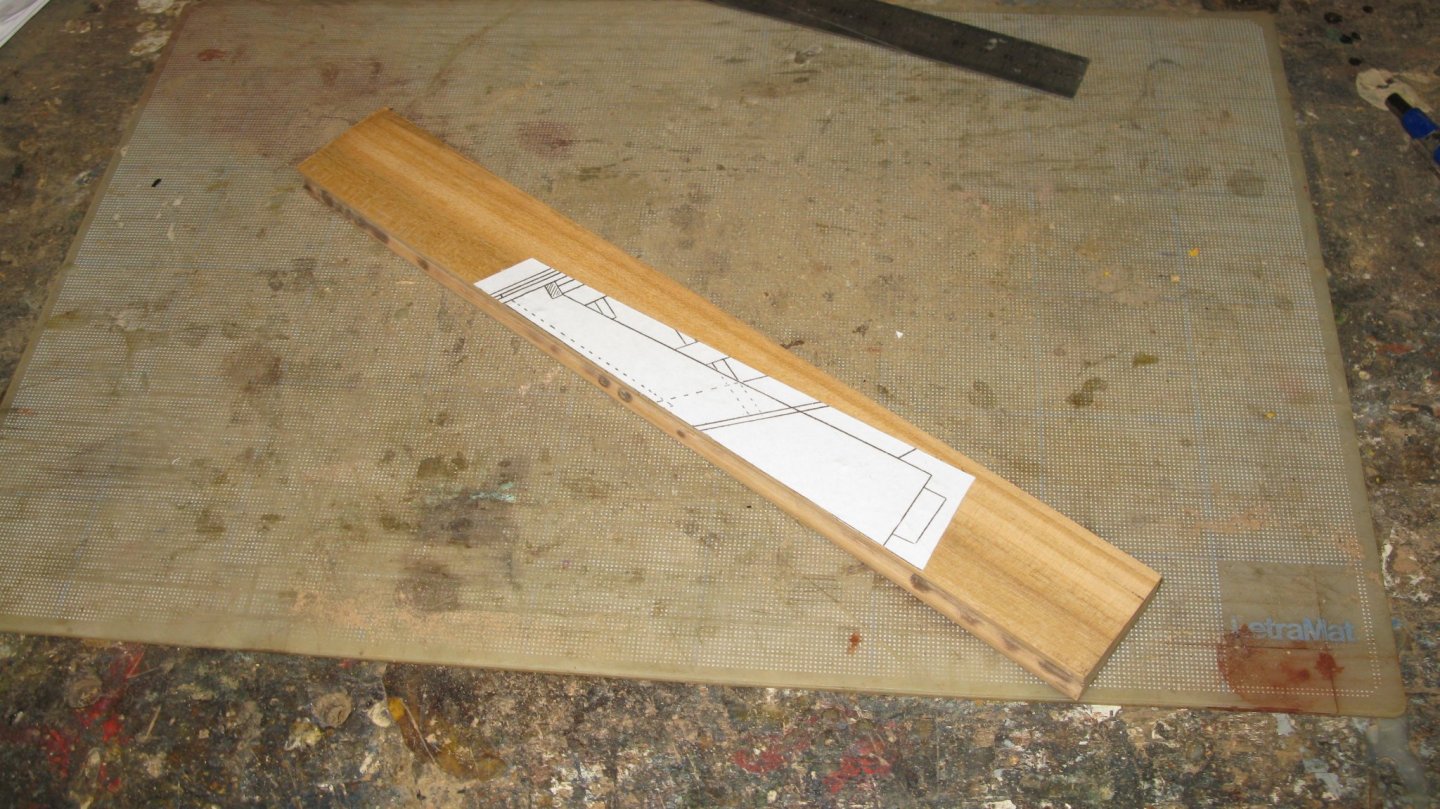
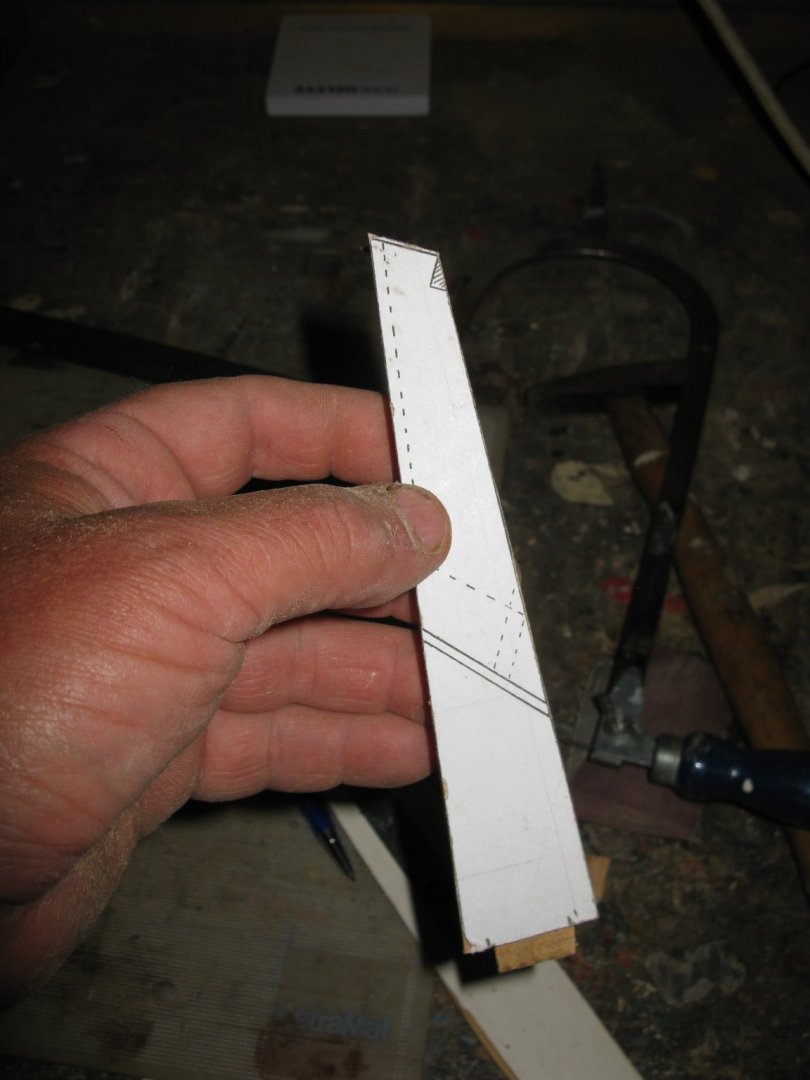
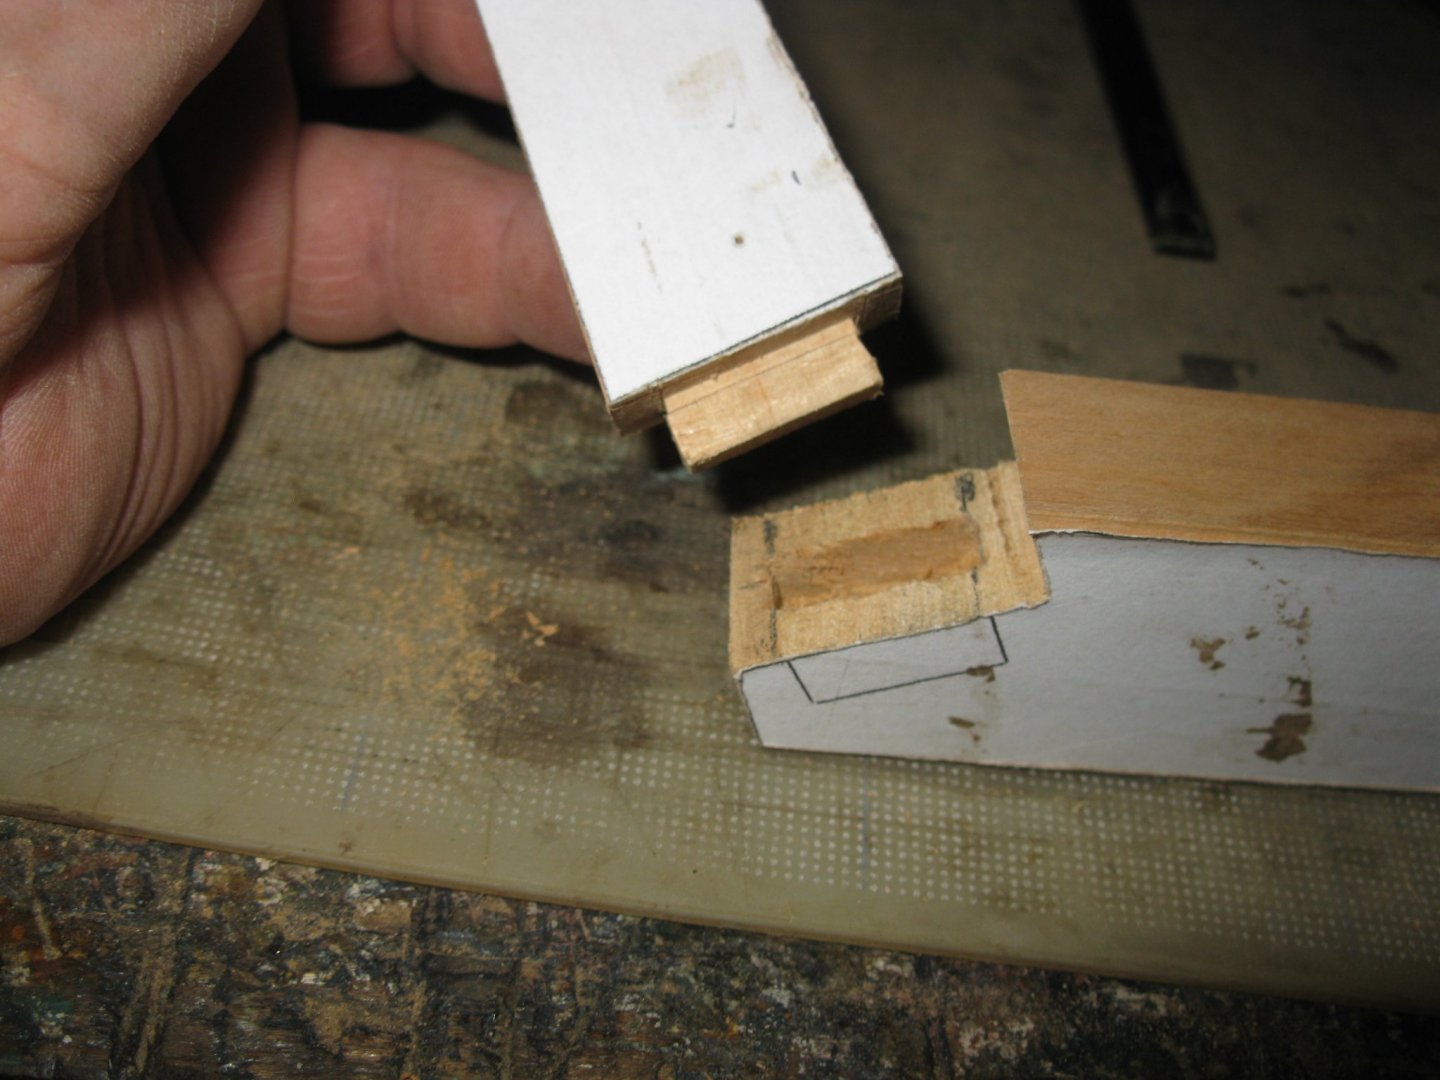
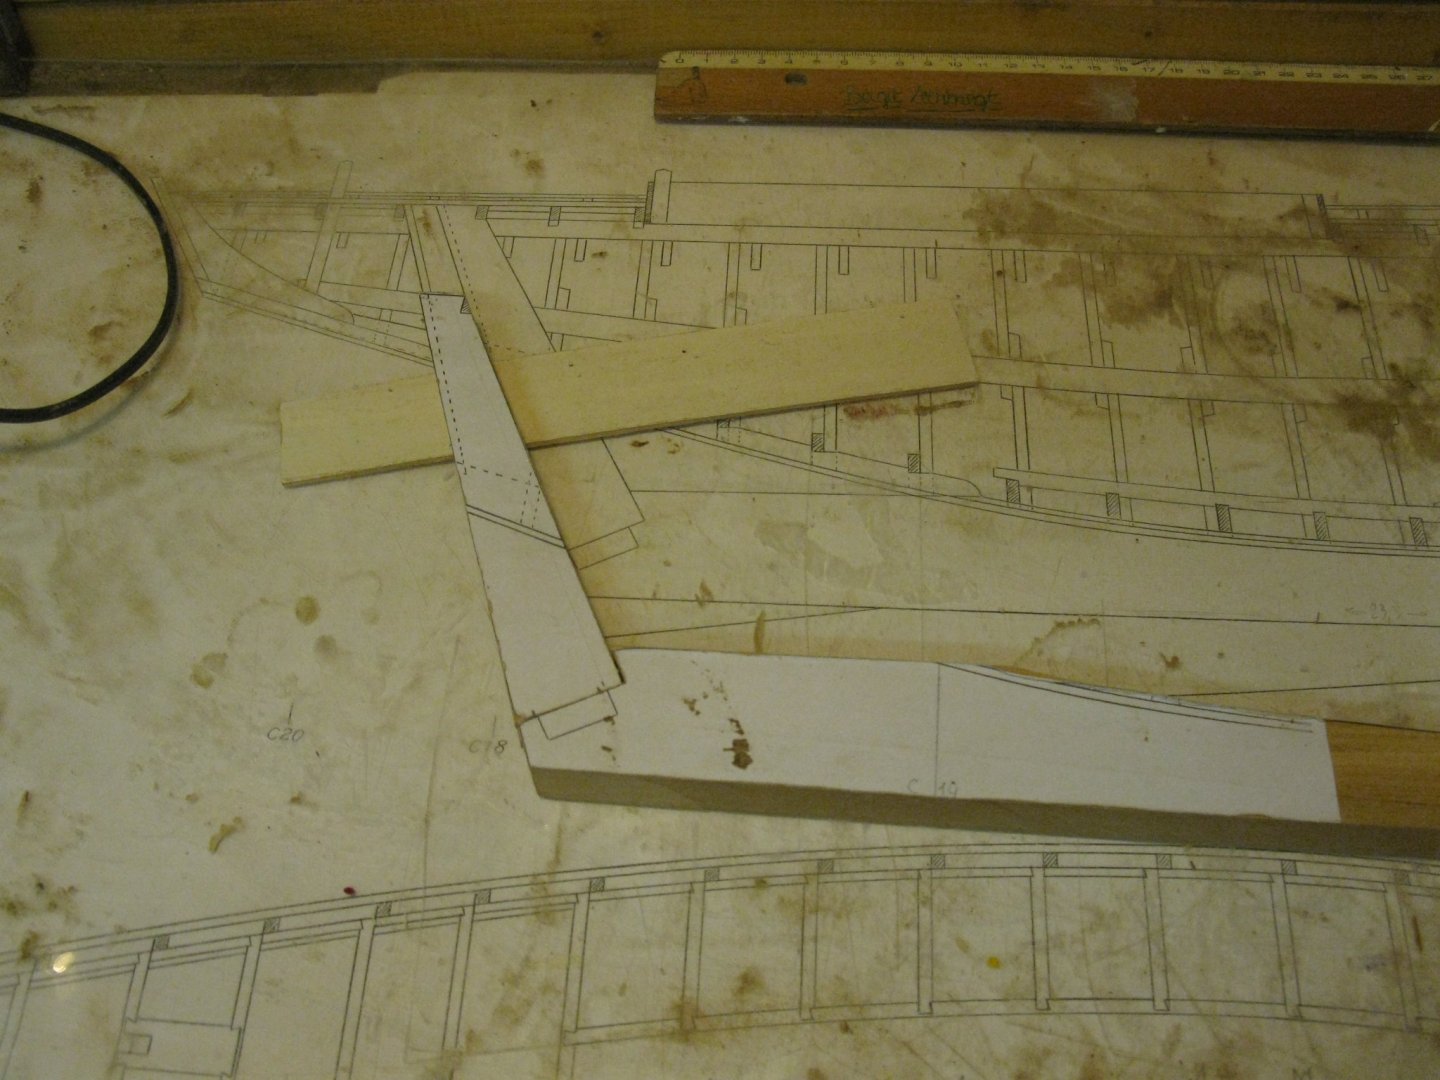
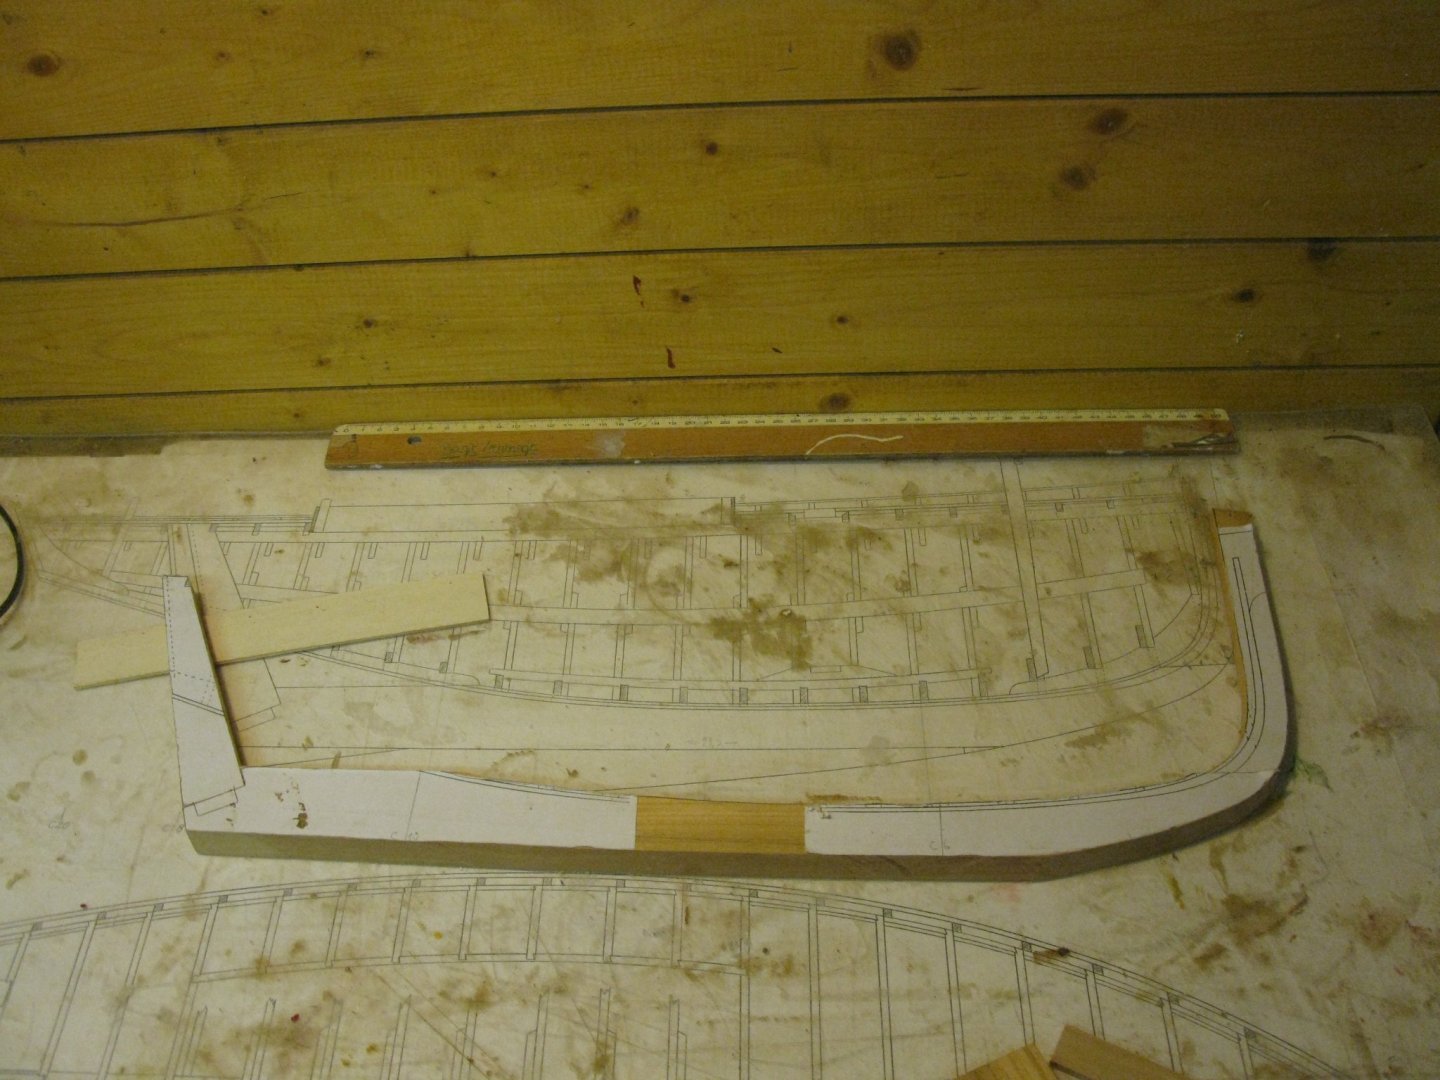
CHAPTER I. The Boat 1. Keel and stems Starting with the keel, the prow and the stem. To saw them in the right shape I glue a copy of the plan on the different pieces of wood. For the right cuts, I clamp my work piece with the cutting line along two steel L-profiles in the vise and saw with a hand scrub along the profiles. Where I have to saw curves, I use the jig saw... .. and the band- (outer curves) and drum (inner curves) sander to finish. In the back side of the stern post there has to be made a round groove to give room for the rudder. I made it before sawing the sternpost. I have no precision tools to do it, therefore I make a much longer piece then needed; that gives me the opportunity to choose the best piece to make the sternpost from. At the bottom of the sternpost is a pin which fits in a hole in the keel. Sawing the pin. Making the hole in the keel. Keel and stems glued together Thank you for the likes Thank you to follow Tank you for the constructive comments. Till next week!


- 168 replies
-
- 26
-
-
Patrick, I have good news for you: this will be a course without exam.🤩 Cherry is a fine wood to work with. It works a lot easier than oak and when sawing, planing and sanding it smells very good. It is so with a lot of things Gary. At a certain moment things become old fashioned and are thrown away and after a while when almost nothing is left of it any more, it becomes vintage and everyone wants it again. Welcome in the classroom, take a seat next to Patrick. Also welcome Ron. Hello, Yves. I have also several editions of the magazine and some other publications of le Chasse Marée. They contain indeed a treasure of information on traditional boat building. This model will be something total different than a type German VIIC submarine, a lot less technical and complicated, but I like very much the lines of this traditional Breton sloop. Thank you Mike, welcome in this project.
-
Hello Christian, I just discovered your log and went through it from the beginning. What a great project! I signed in to follow your progresses.
-
'An angry wife, just after a sanding and table saw session.' It sounds so familiar, I thought it only existed here in Belgium😁.
-
Notification. Last August after finishing my smack cross section, I started a new project. It is progressing well for the moment. In the last weeks I took some time to sort out the pictures which I have already and to write some appropriate comments. I think that it is about time to launch a log about it otherwise it will have to be retroactive like this gaff sail boat log. It is also a scratch 1/10 scale POF project. You can find the introduction on: The anatomy of a boat