G.L.
-
Posts
1,553 -
Joined
-
Last visited
Content Type
Profiles
Forums
Gallery
Events
Everything posted by G.L.
-
 Clamping during the planking is always a challenge.
 -
Tony, Welcome back. Wishing you a prosperous further recovery from your surgery. What a clear en well explained log! I admire you very detailed and neat executed carpentry.
- 124 replies
-
- 3
-

-
- longboat
- Chaloupe Armee En Guerre
- (and 1 more)
-
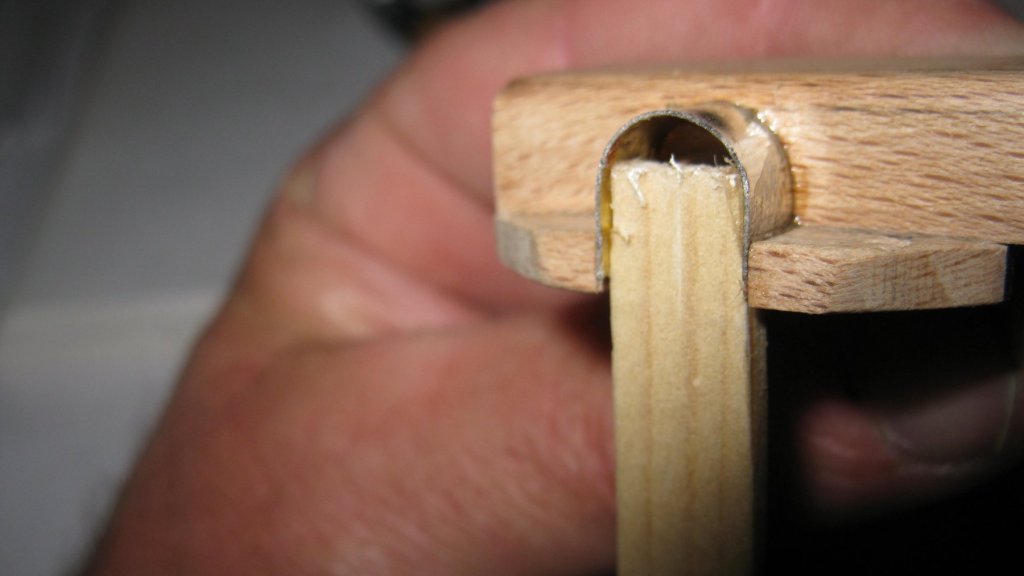
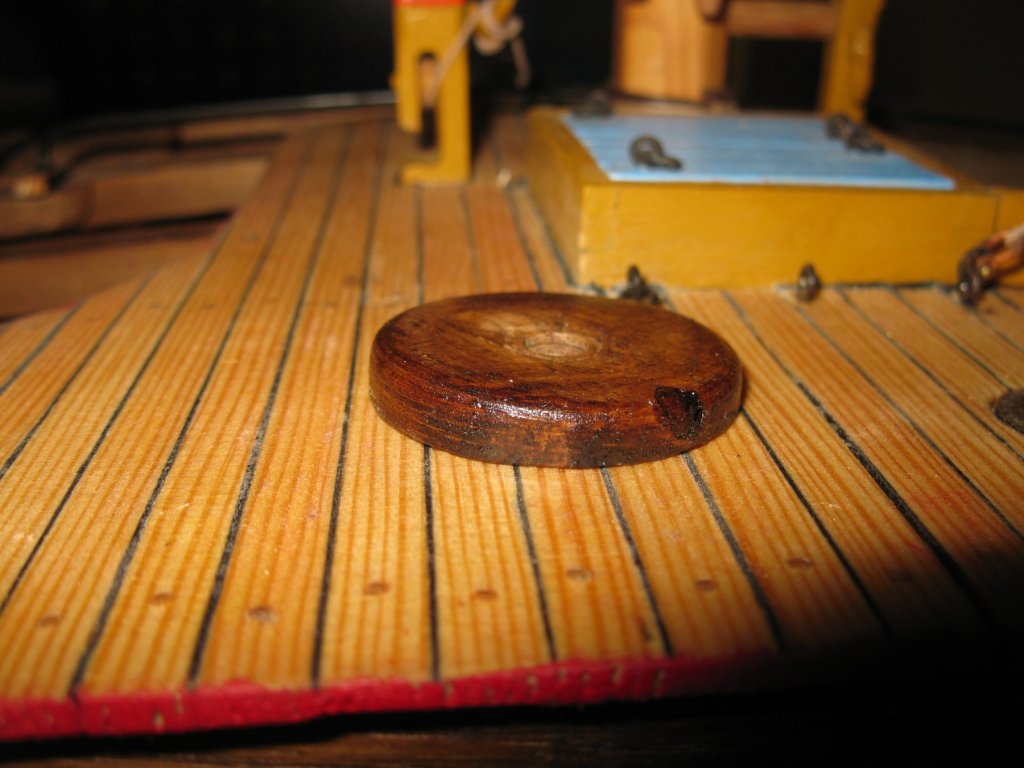
You have a good method to make blocks. What is the liquid in which they are soaked?
- 306 replies
-
- 4
-
-
- schooner
- la jacinthe
- (and 1 more)
-
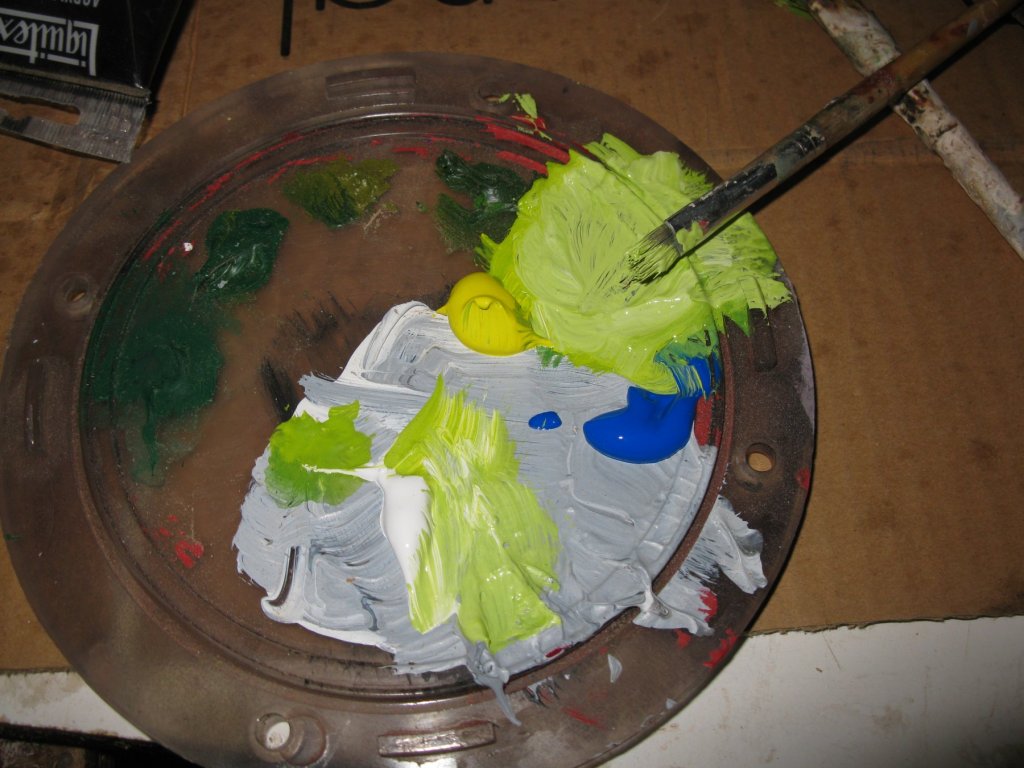
Very nice maintop. Is that oil paint for artist painters that you use to make your color?
-
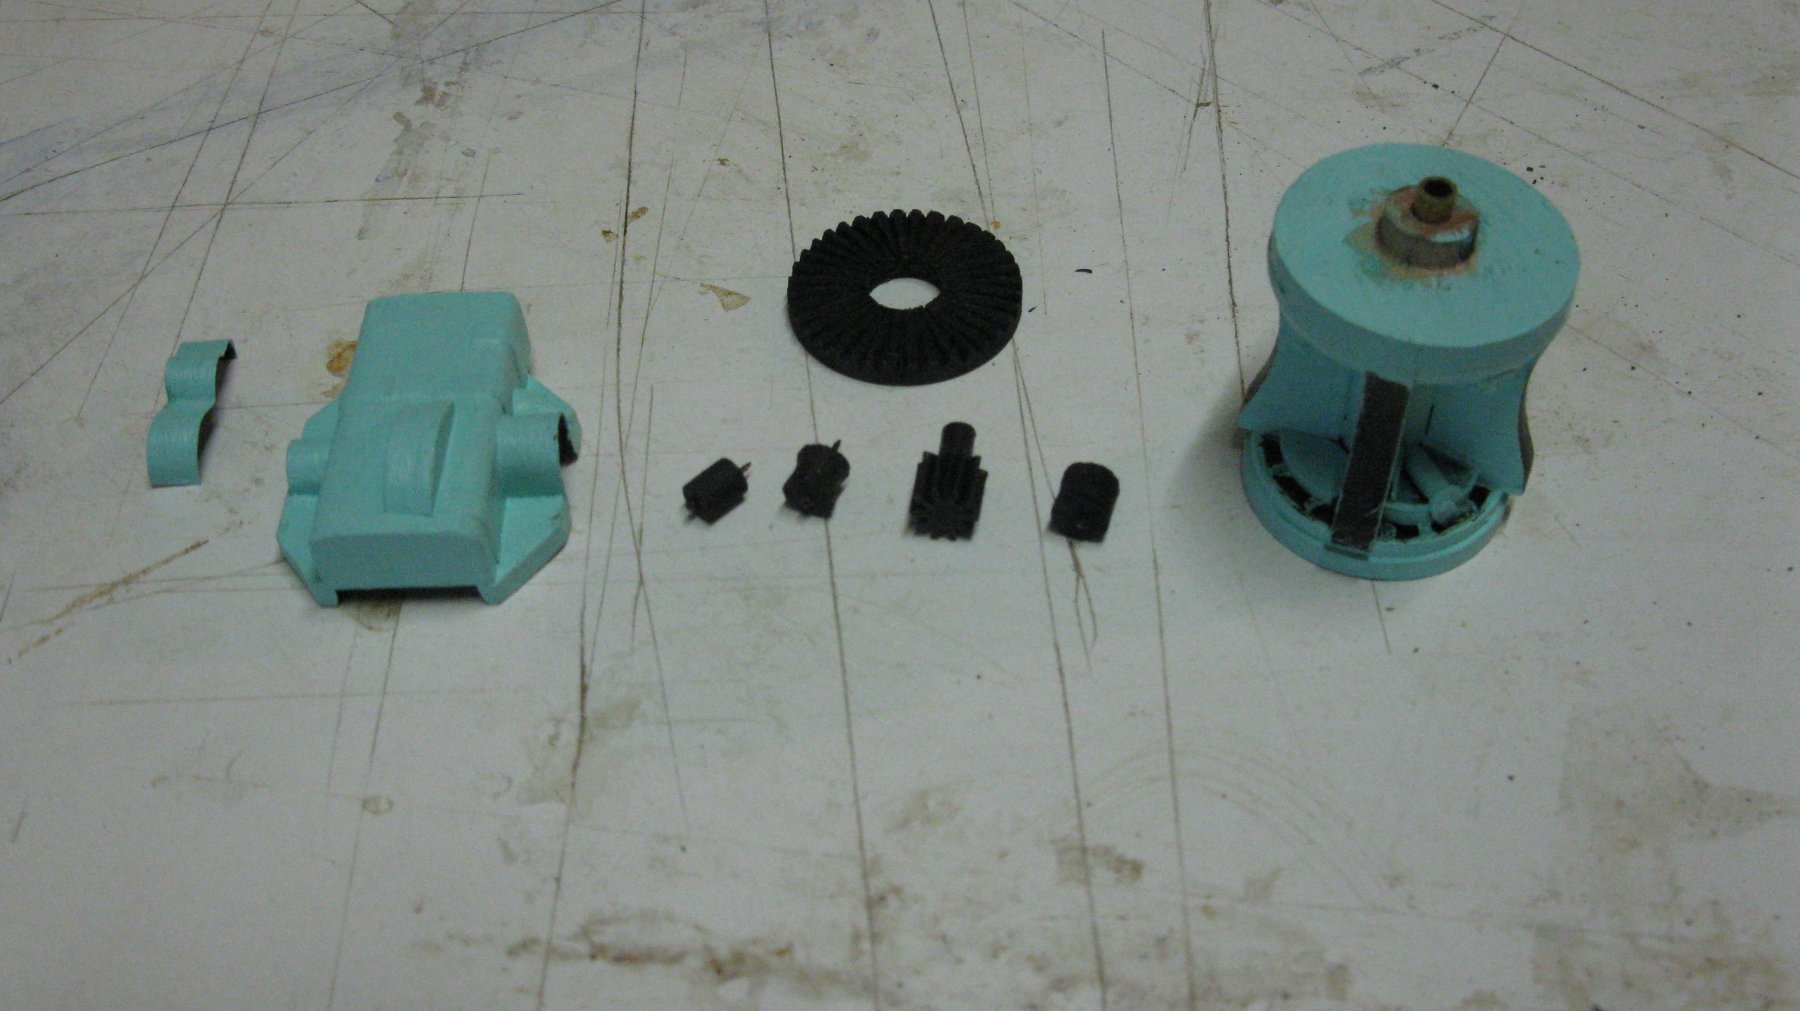
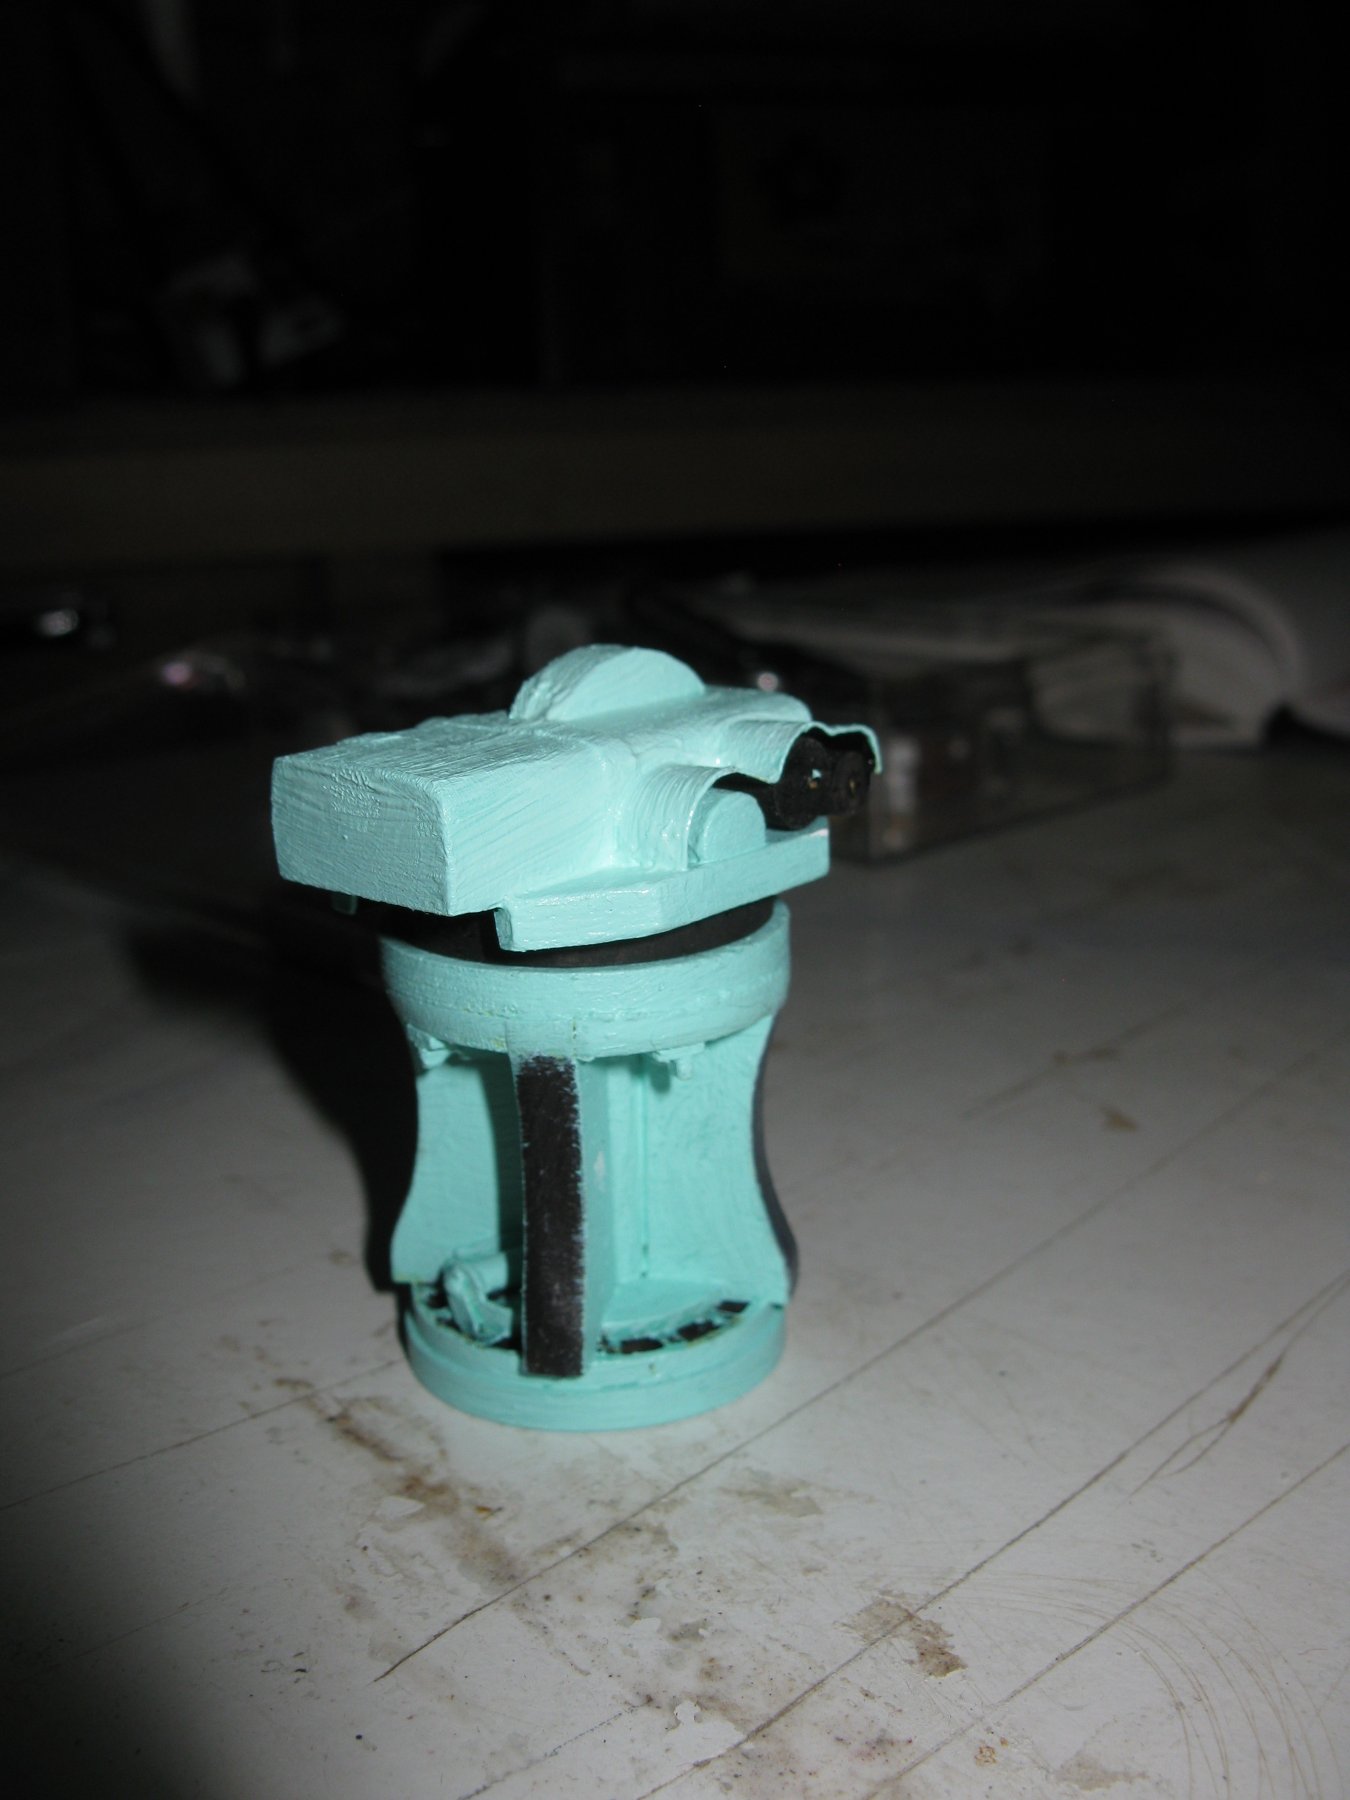
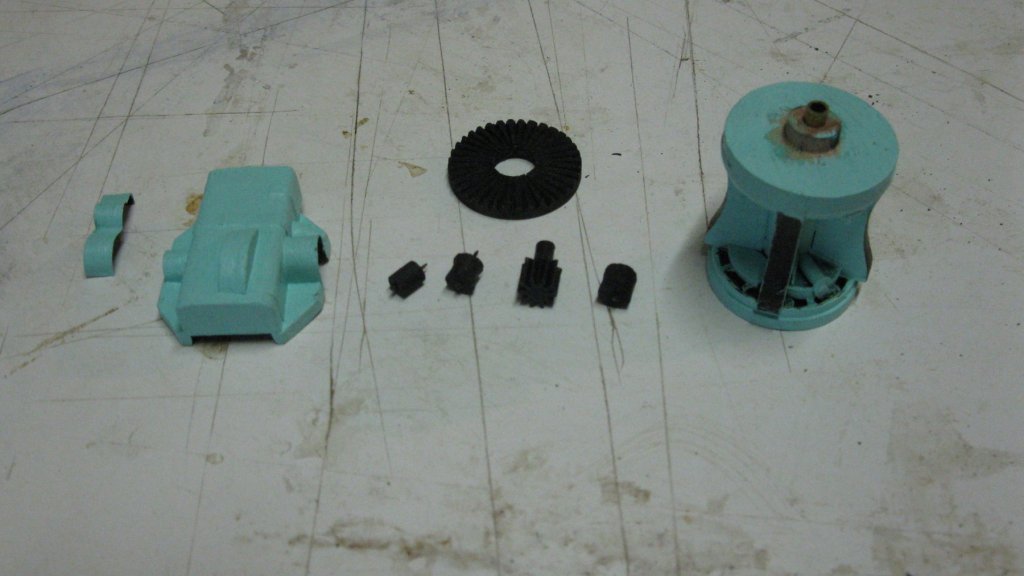
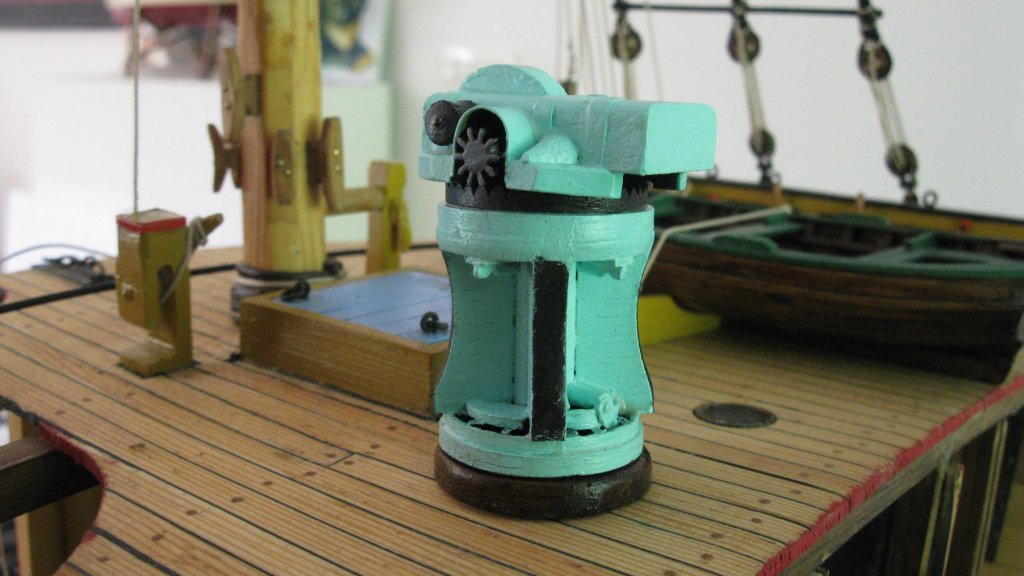
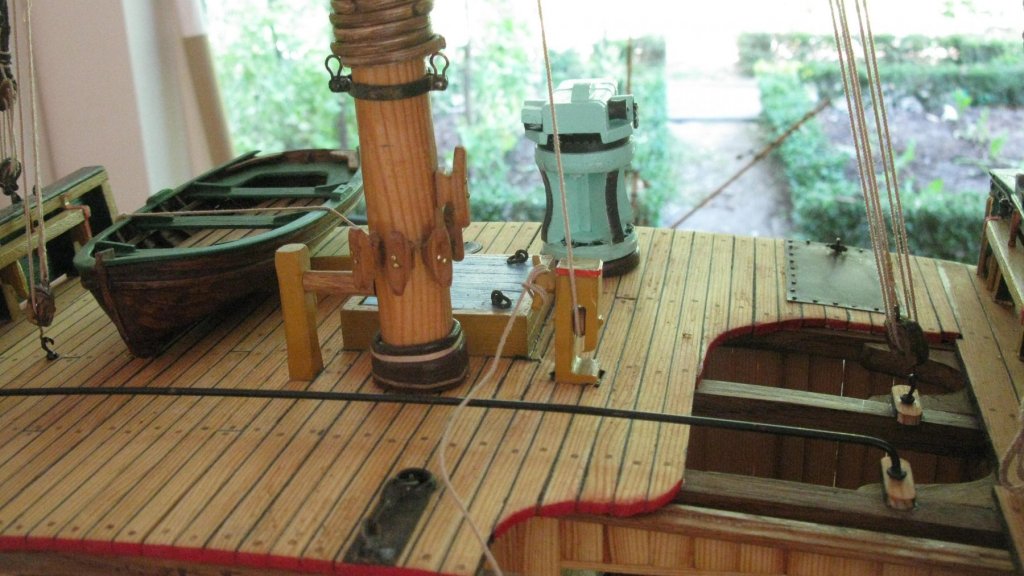
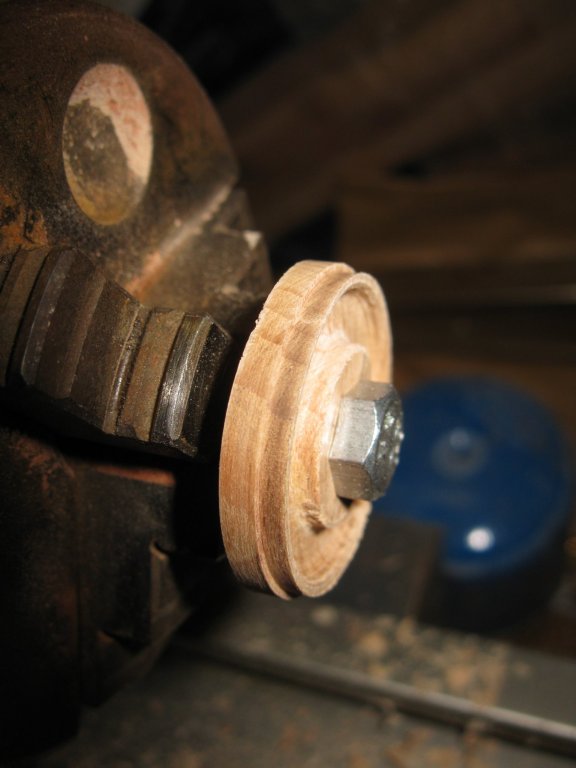
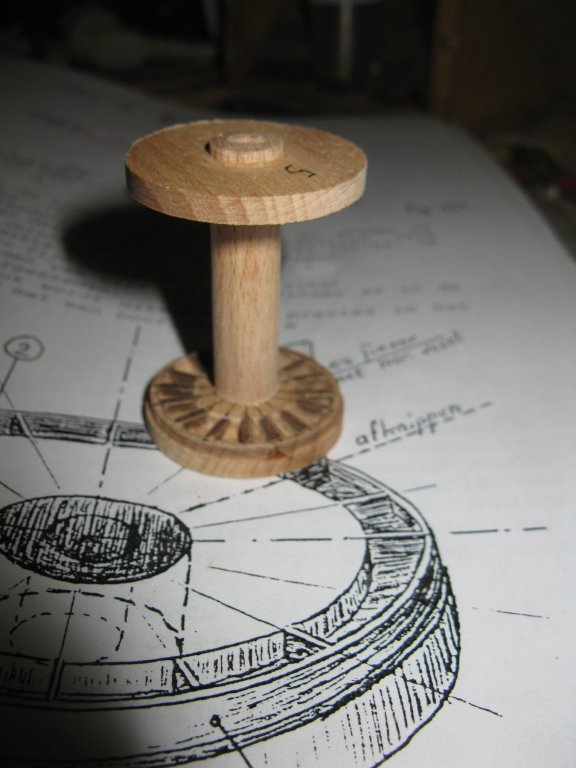
Many thanks Gary and Patrick. This week I finish the capstan. The cap of the small gear wheel is made of a piece of tin. I clamp it with a piece of wood while the glue is drying. The rotating parts of the capstan are painted in black. In case of my capstan they will not be able to rotate. In his the book 'Sailing trawlers' Mr. Edgar J. March describes the color of the capstan as light green. I try to mix a suitable color with acrylic paint. The painted and assembled capstan. The deck surface is curved and the capstan is situated slightly to the portside. When simply placed on the deck, the capstan would stand a bit askew. To avoid this I will place it on an oak pedestal. The finished capstan:

- 219 replies
-
- 14
-
-
- smack
- cross-section
- (and 2 more)
-
Just like the example on the picture in the book above. Well done, Patrick
- 756 replies
-
- 3
-
-
- galleon
- golden hind
- (and 2 more)
-
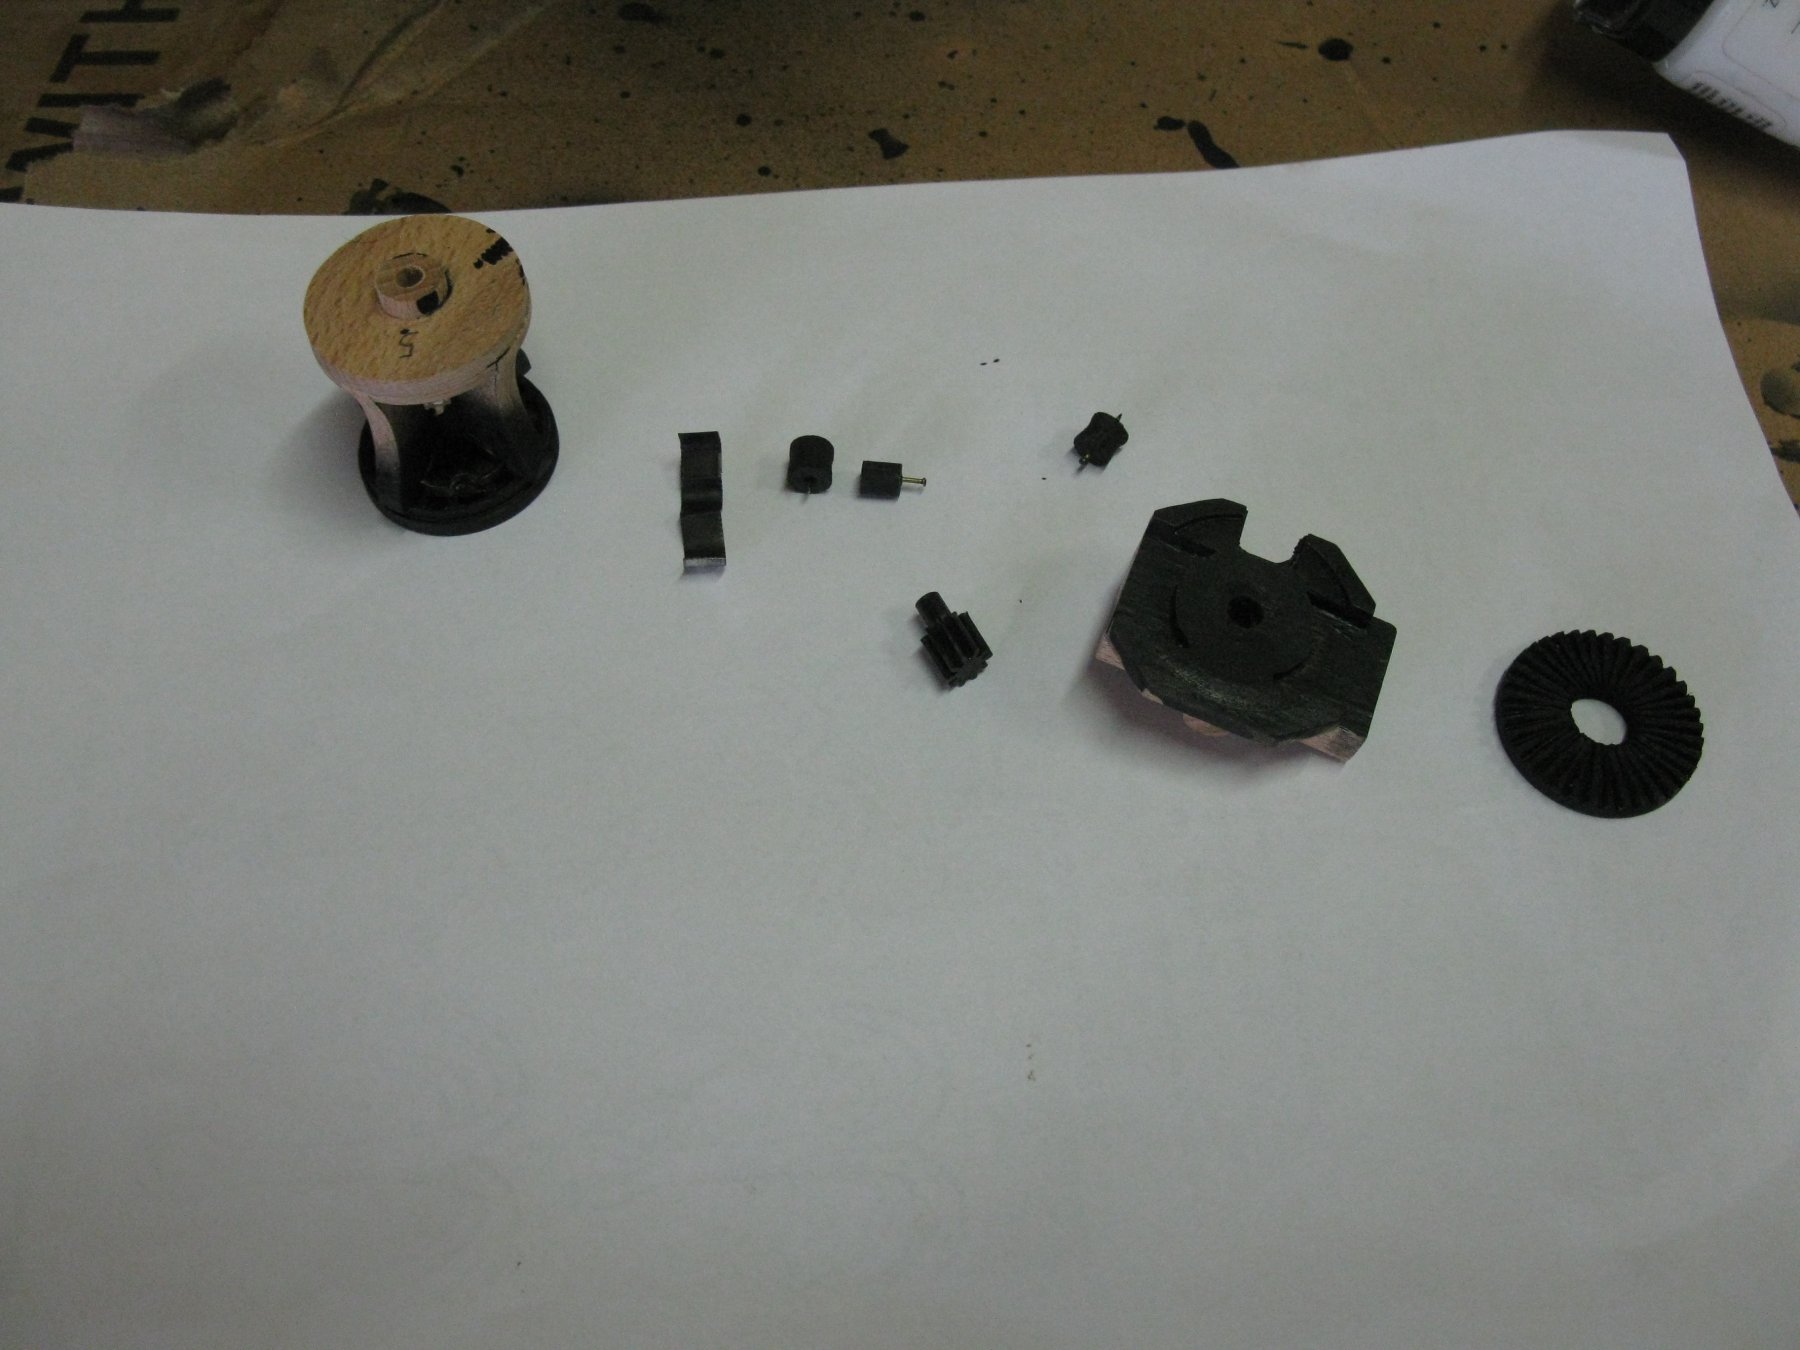
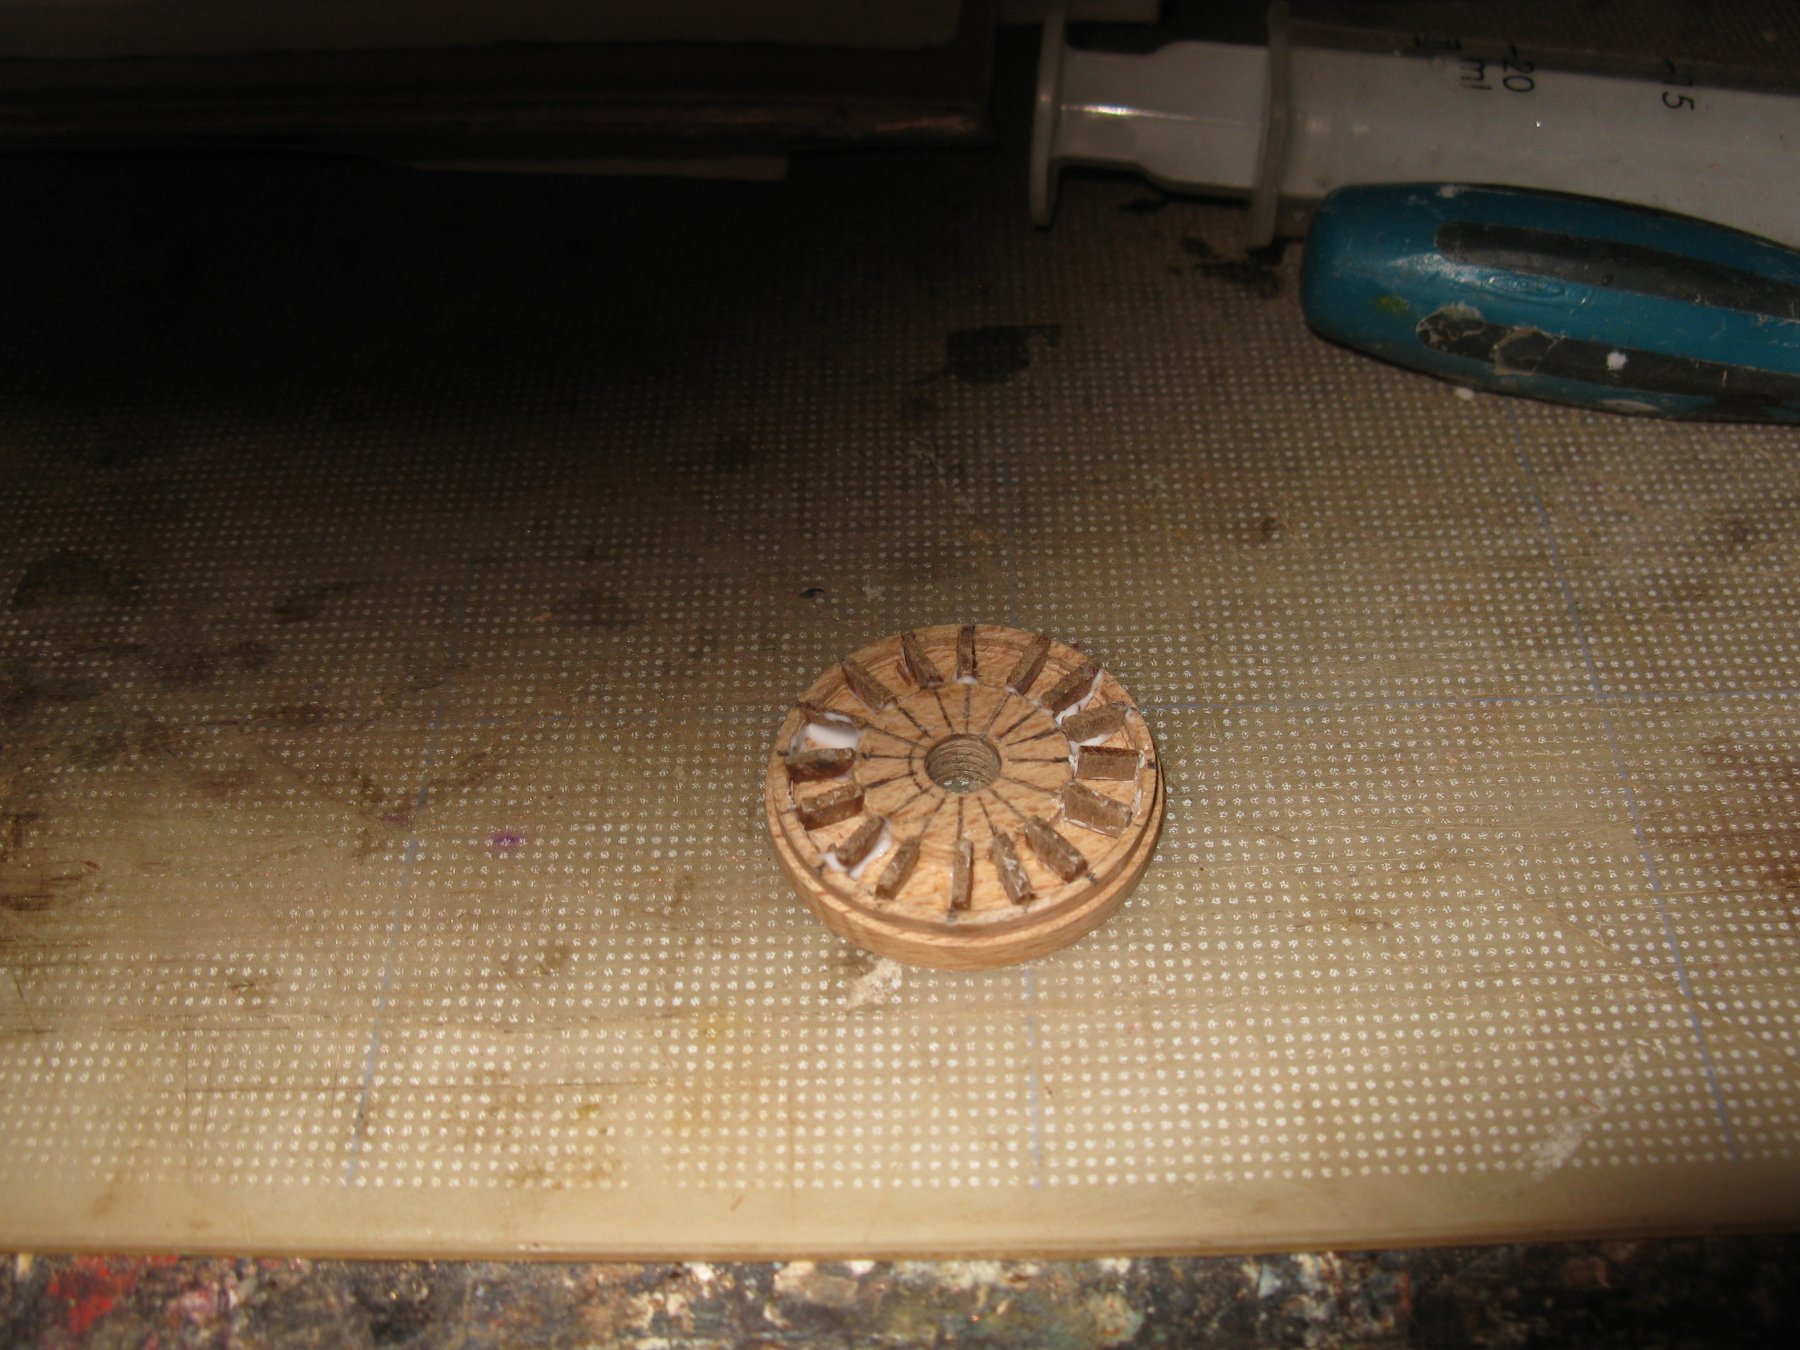
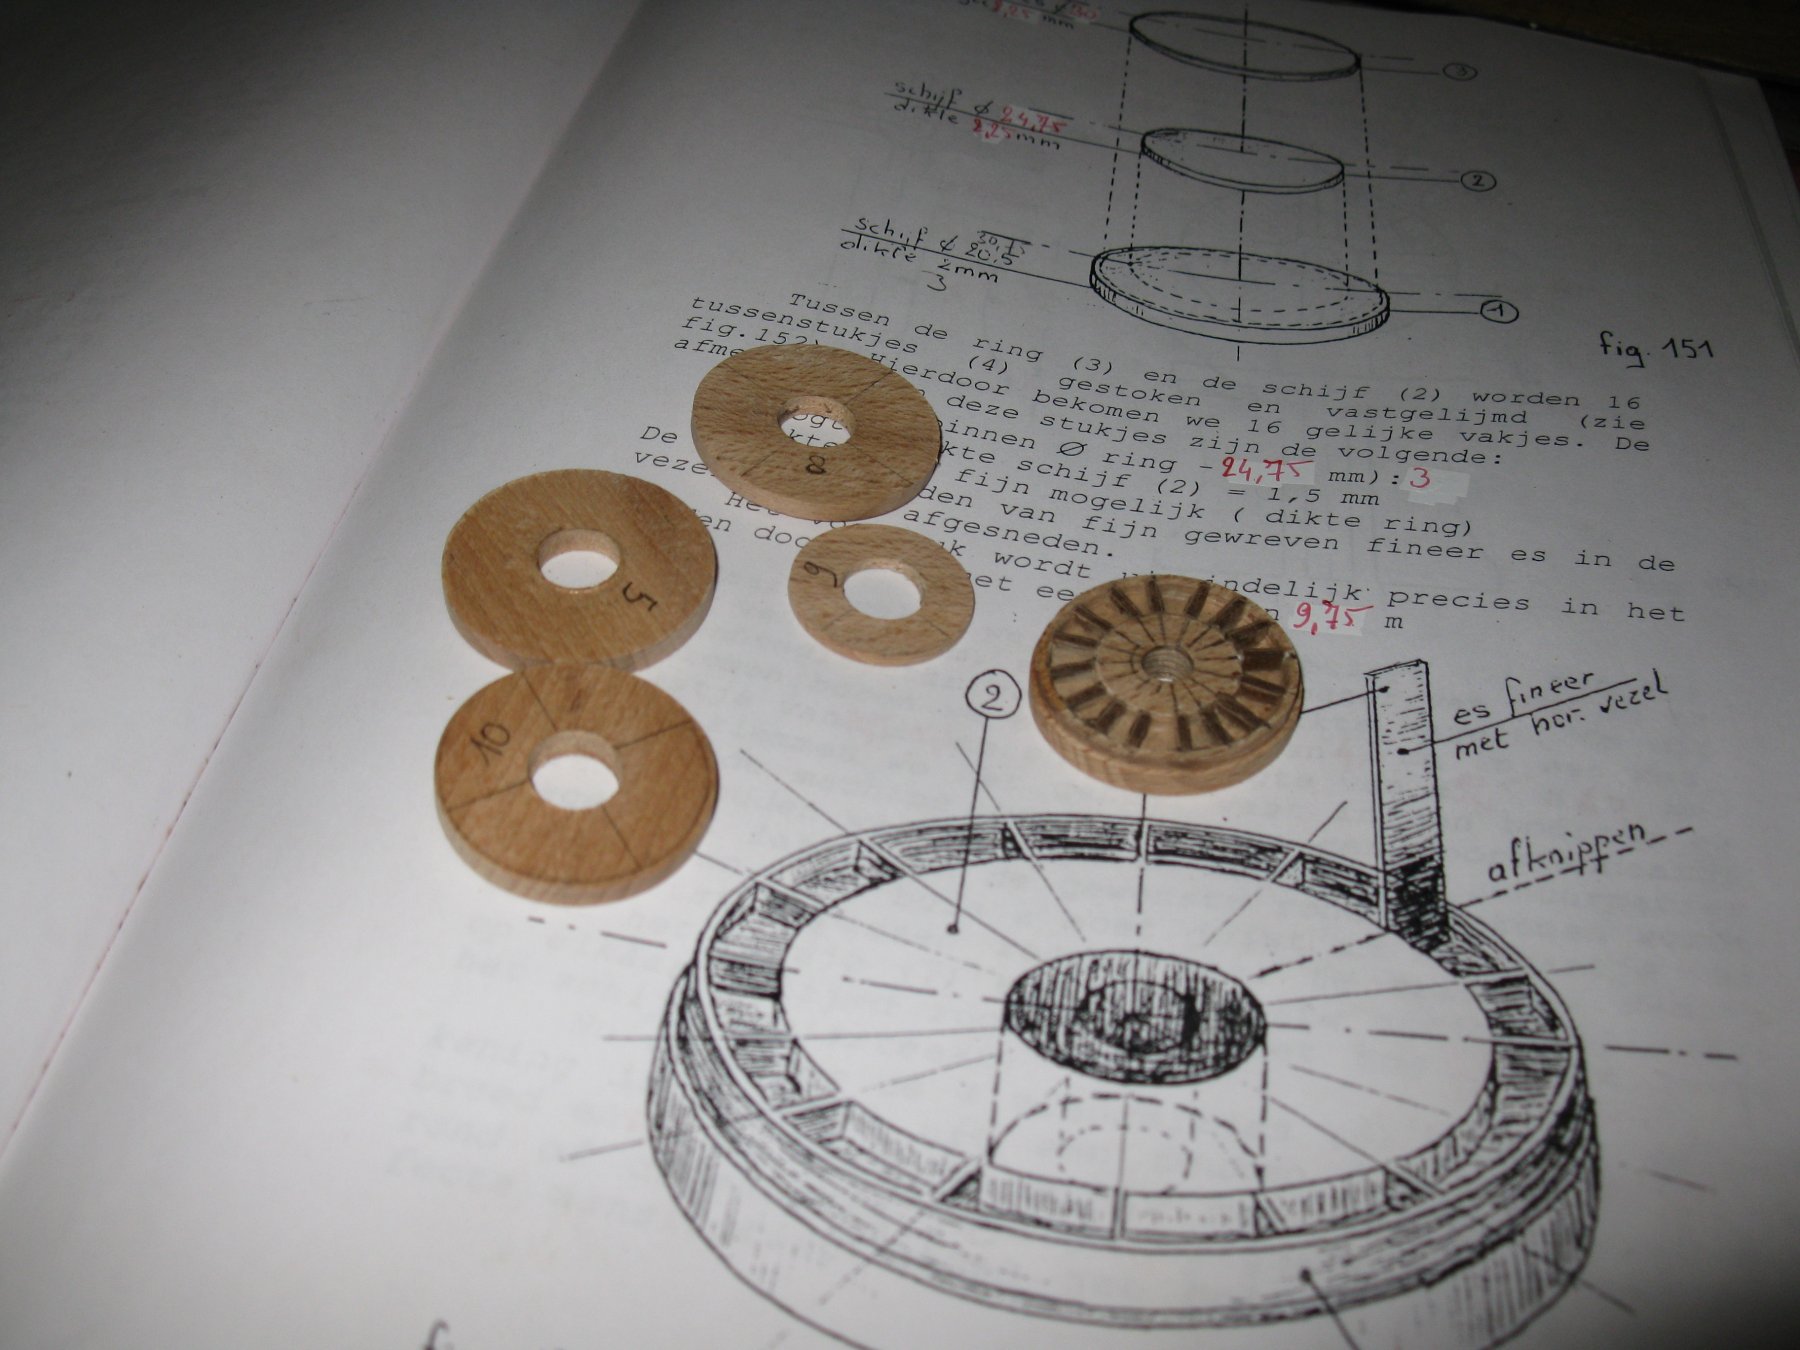
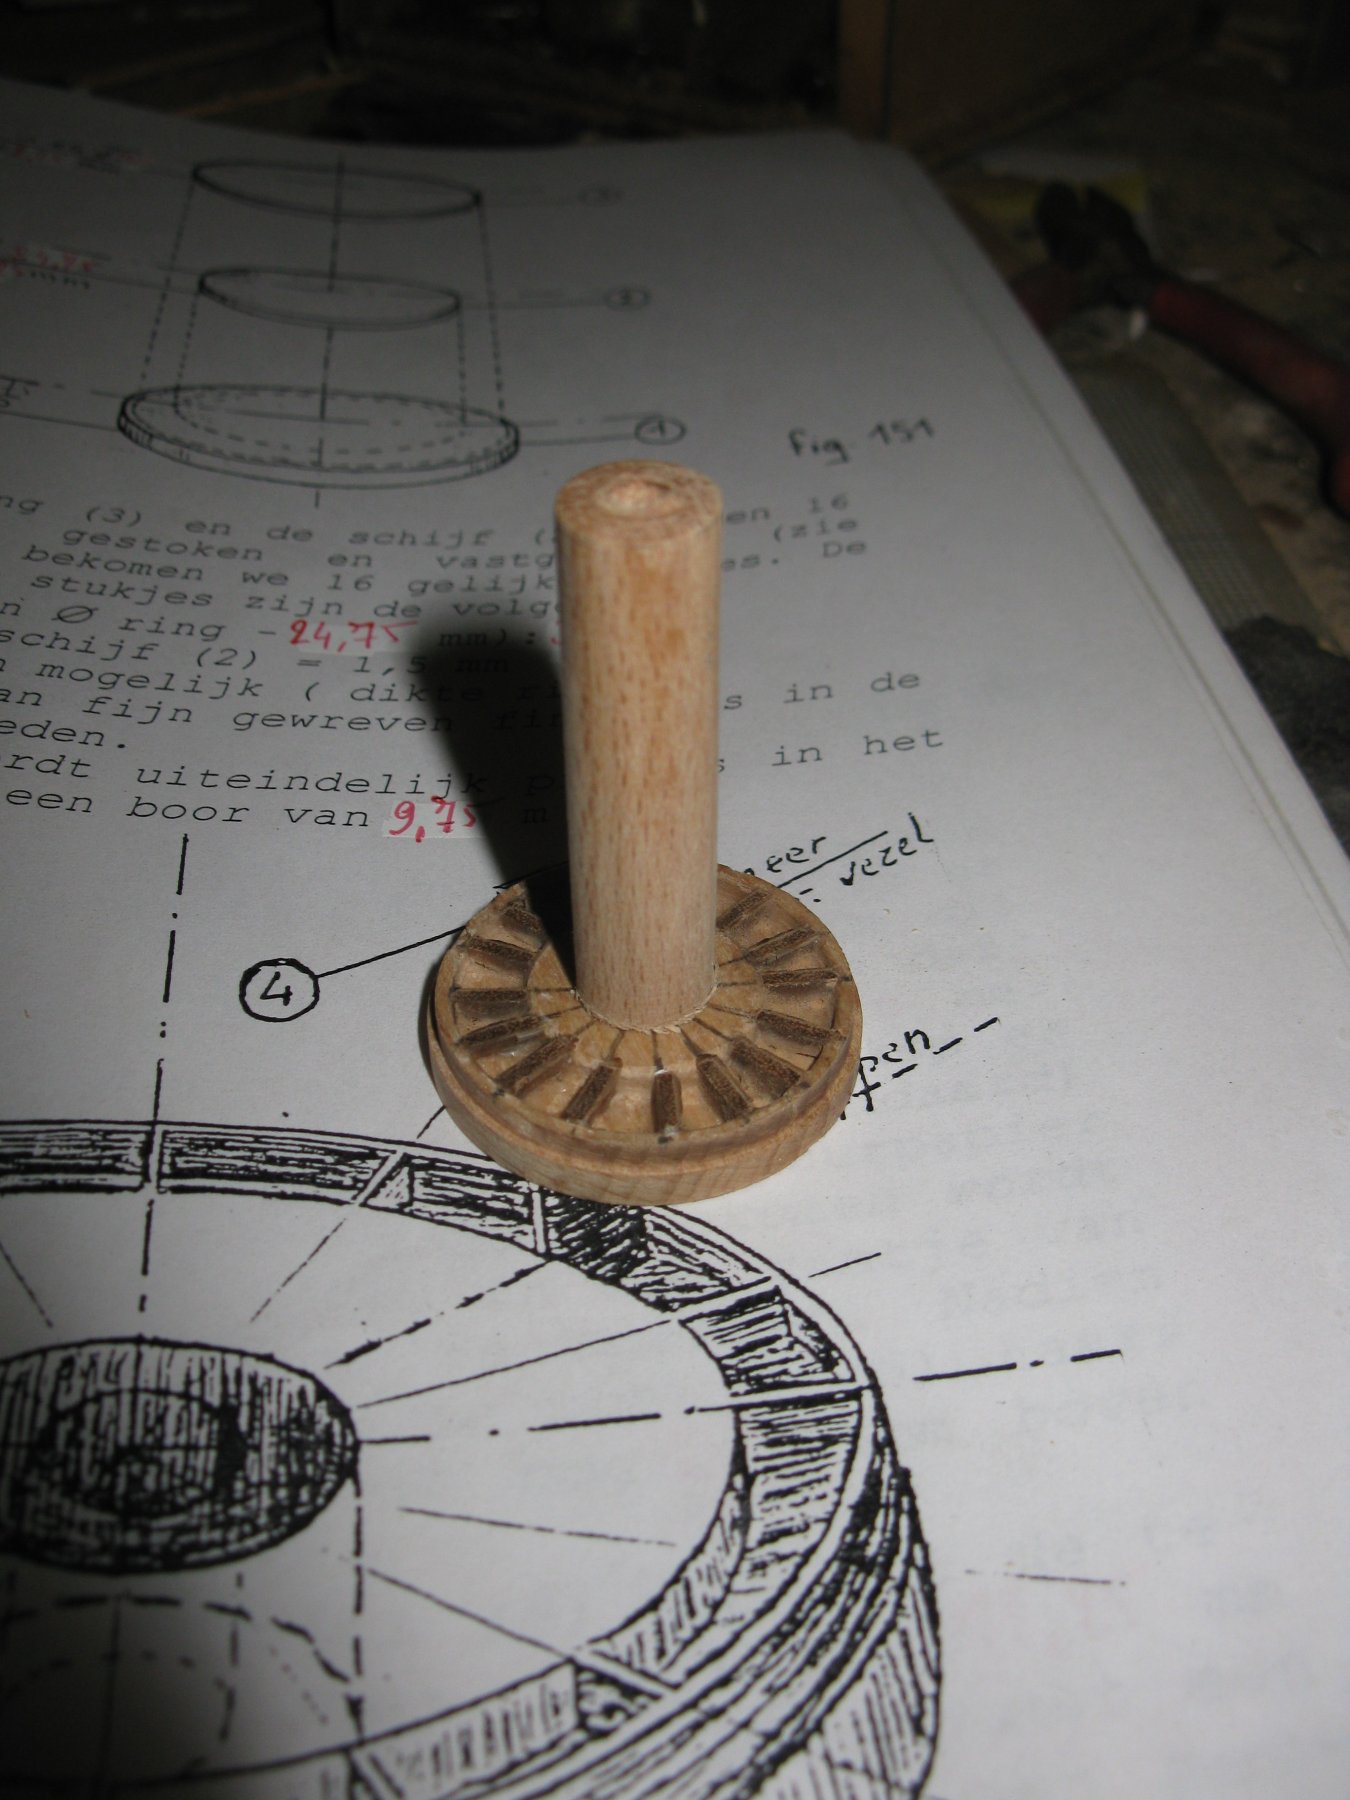
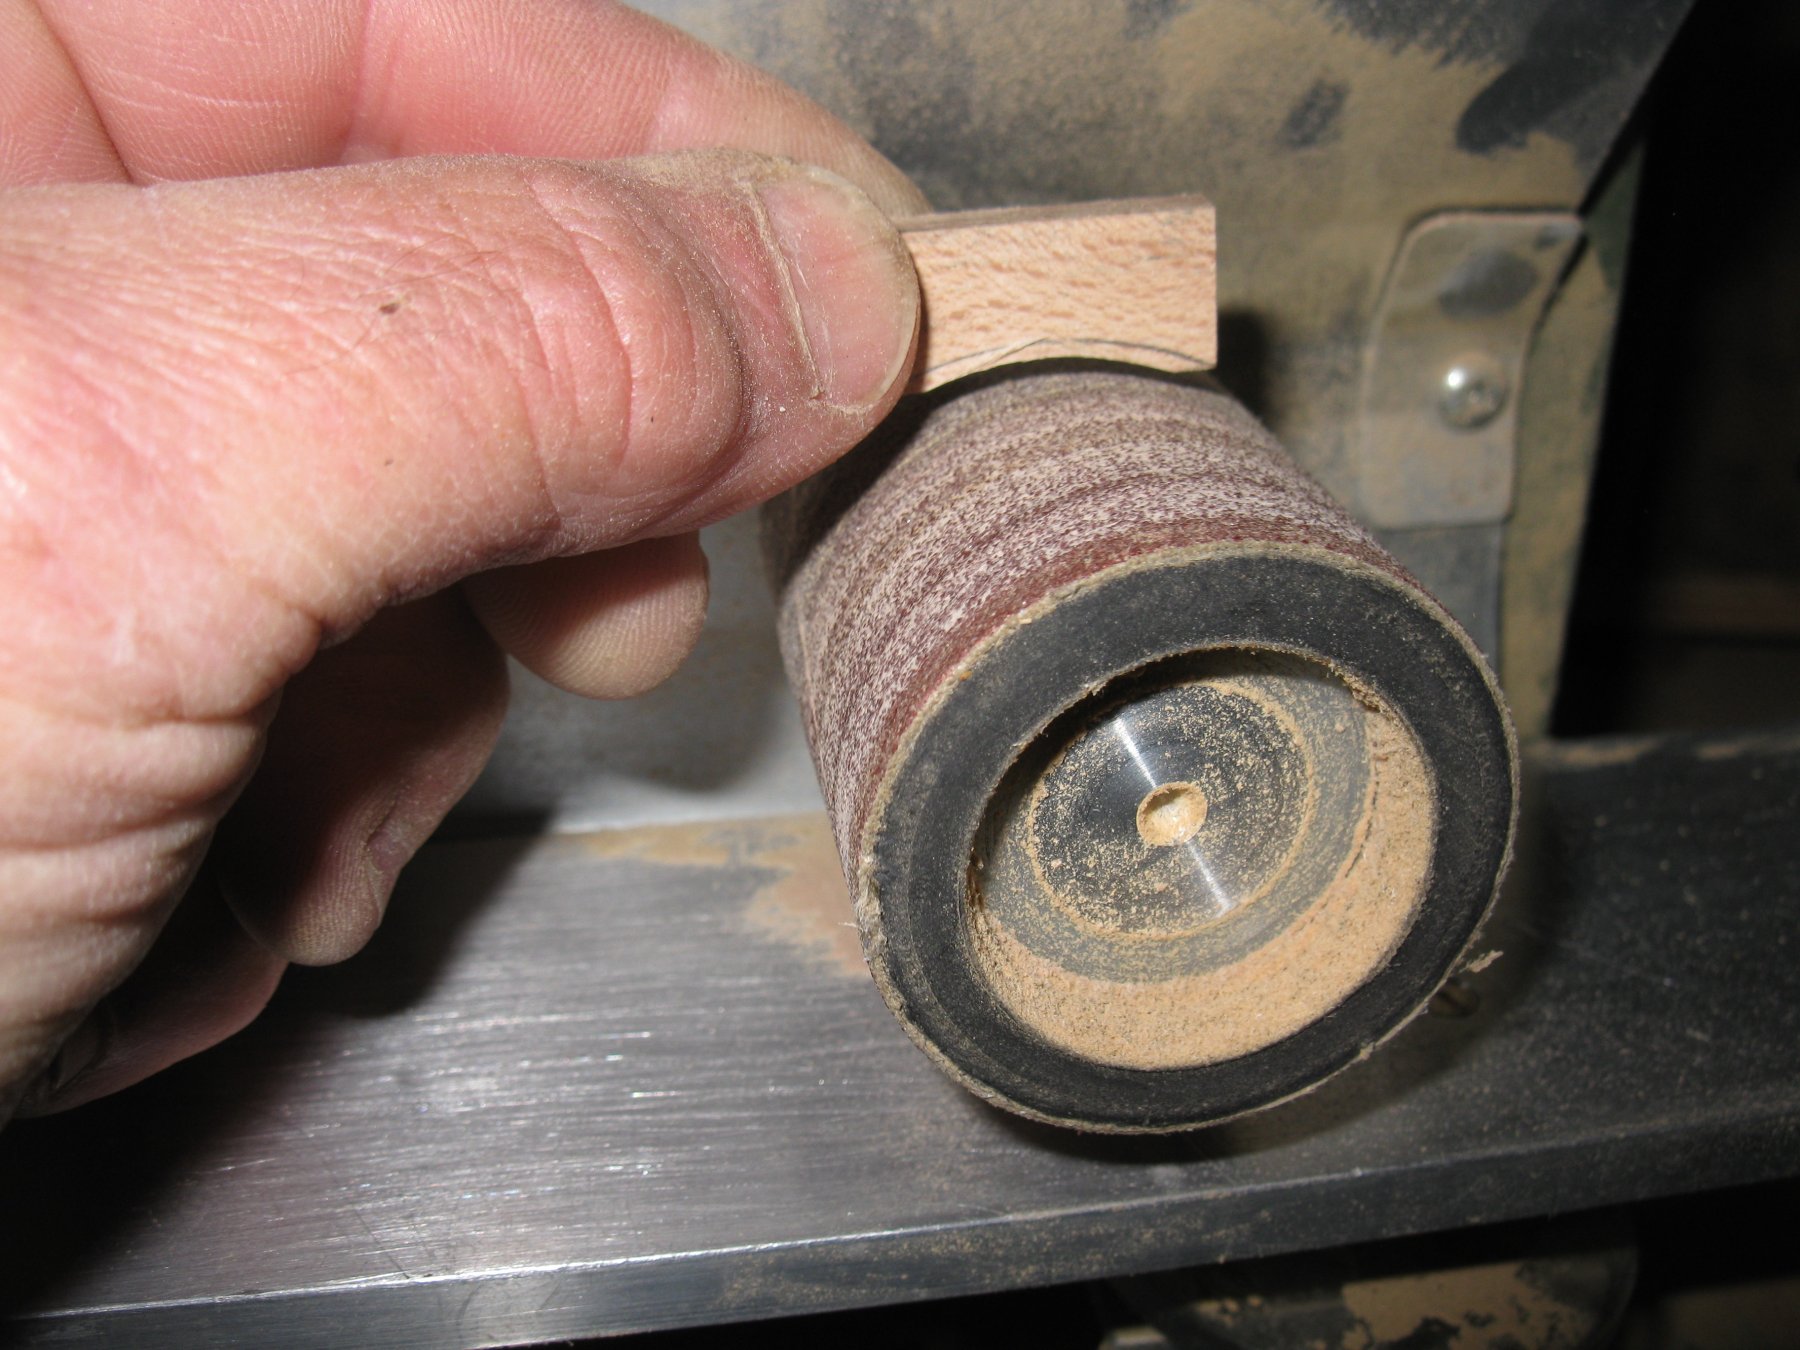
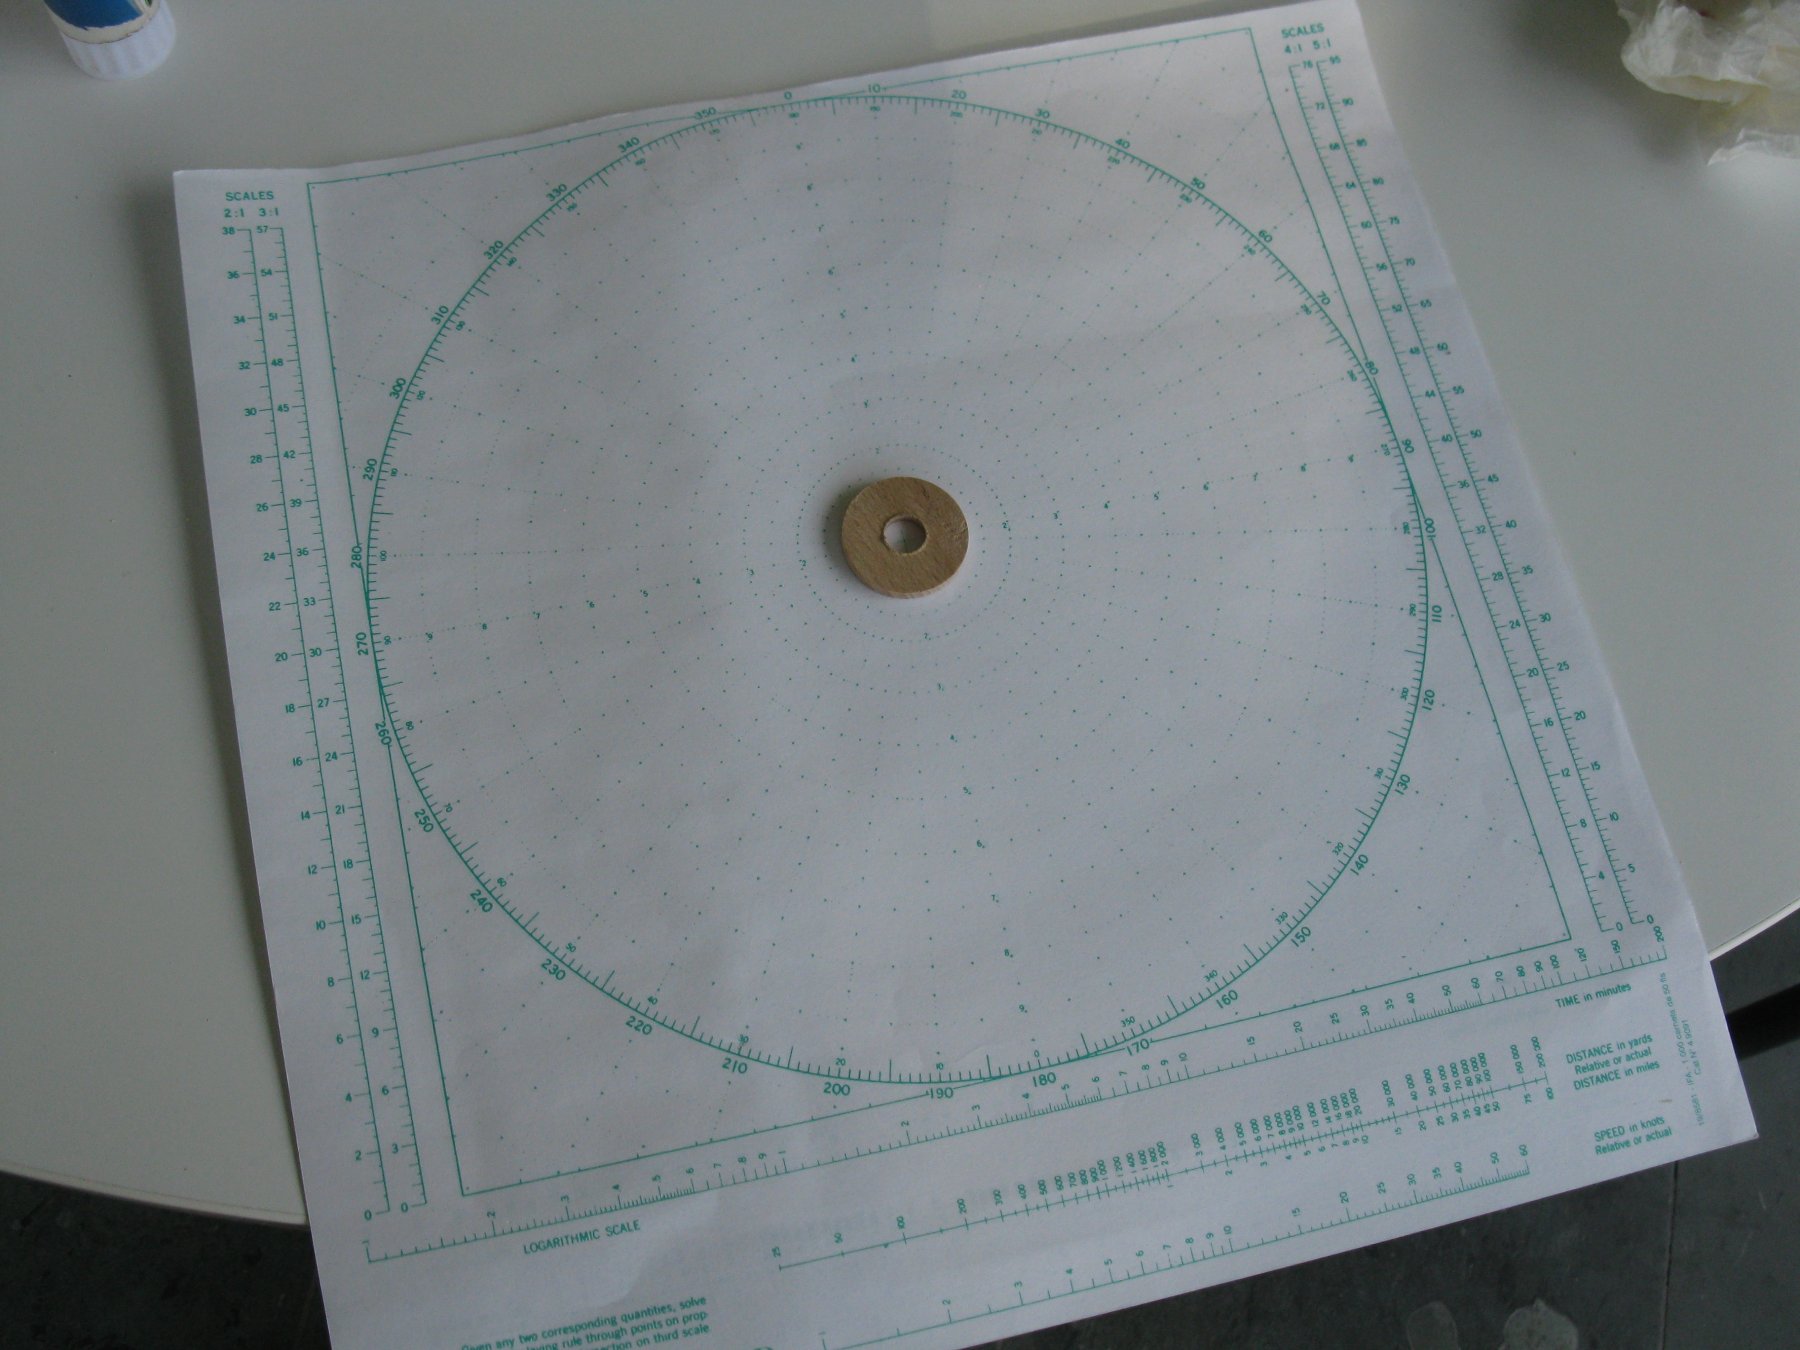
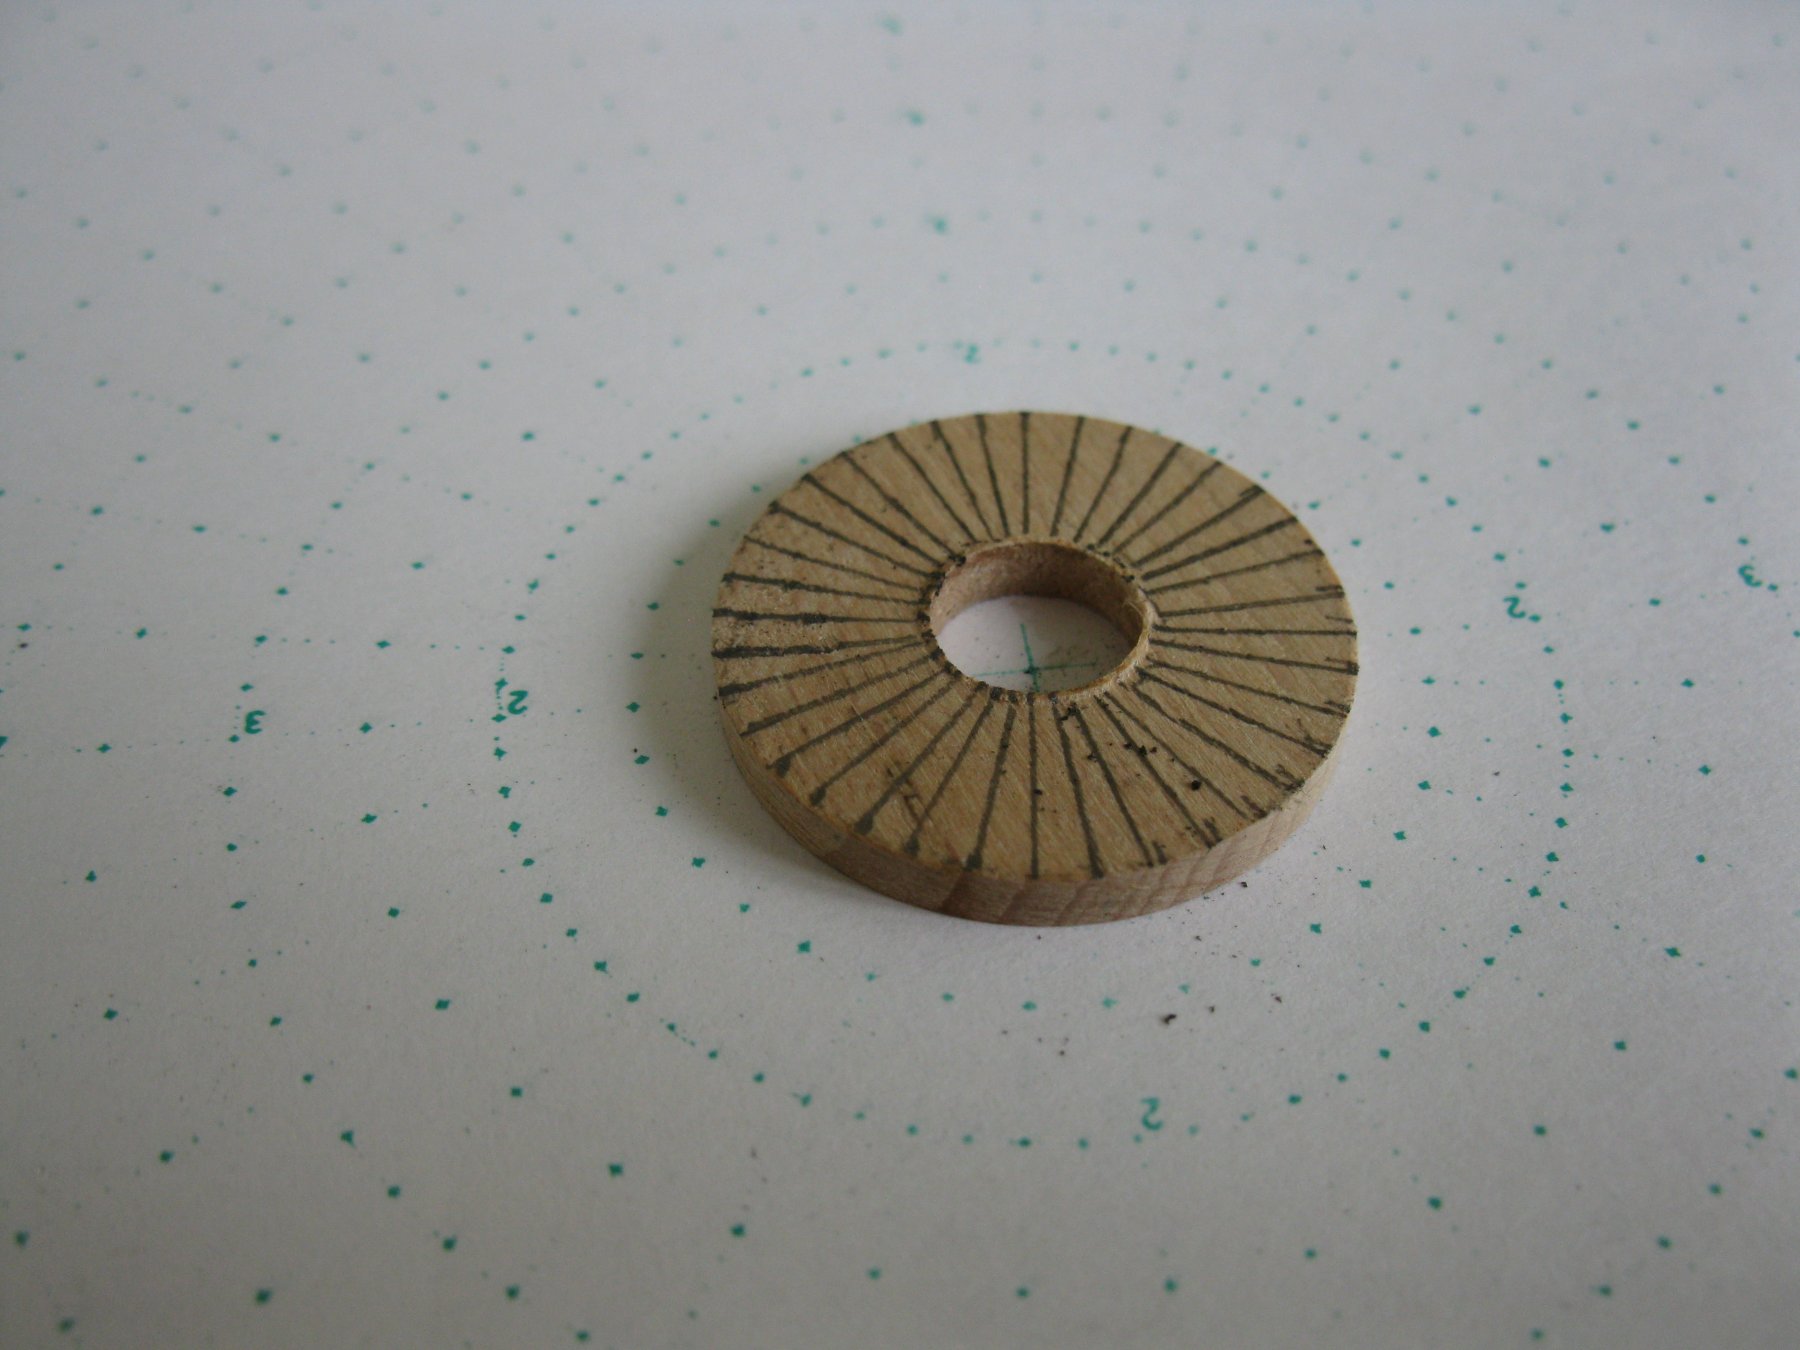
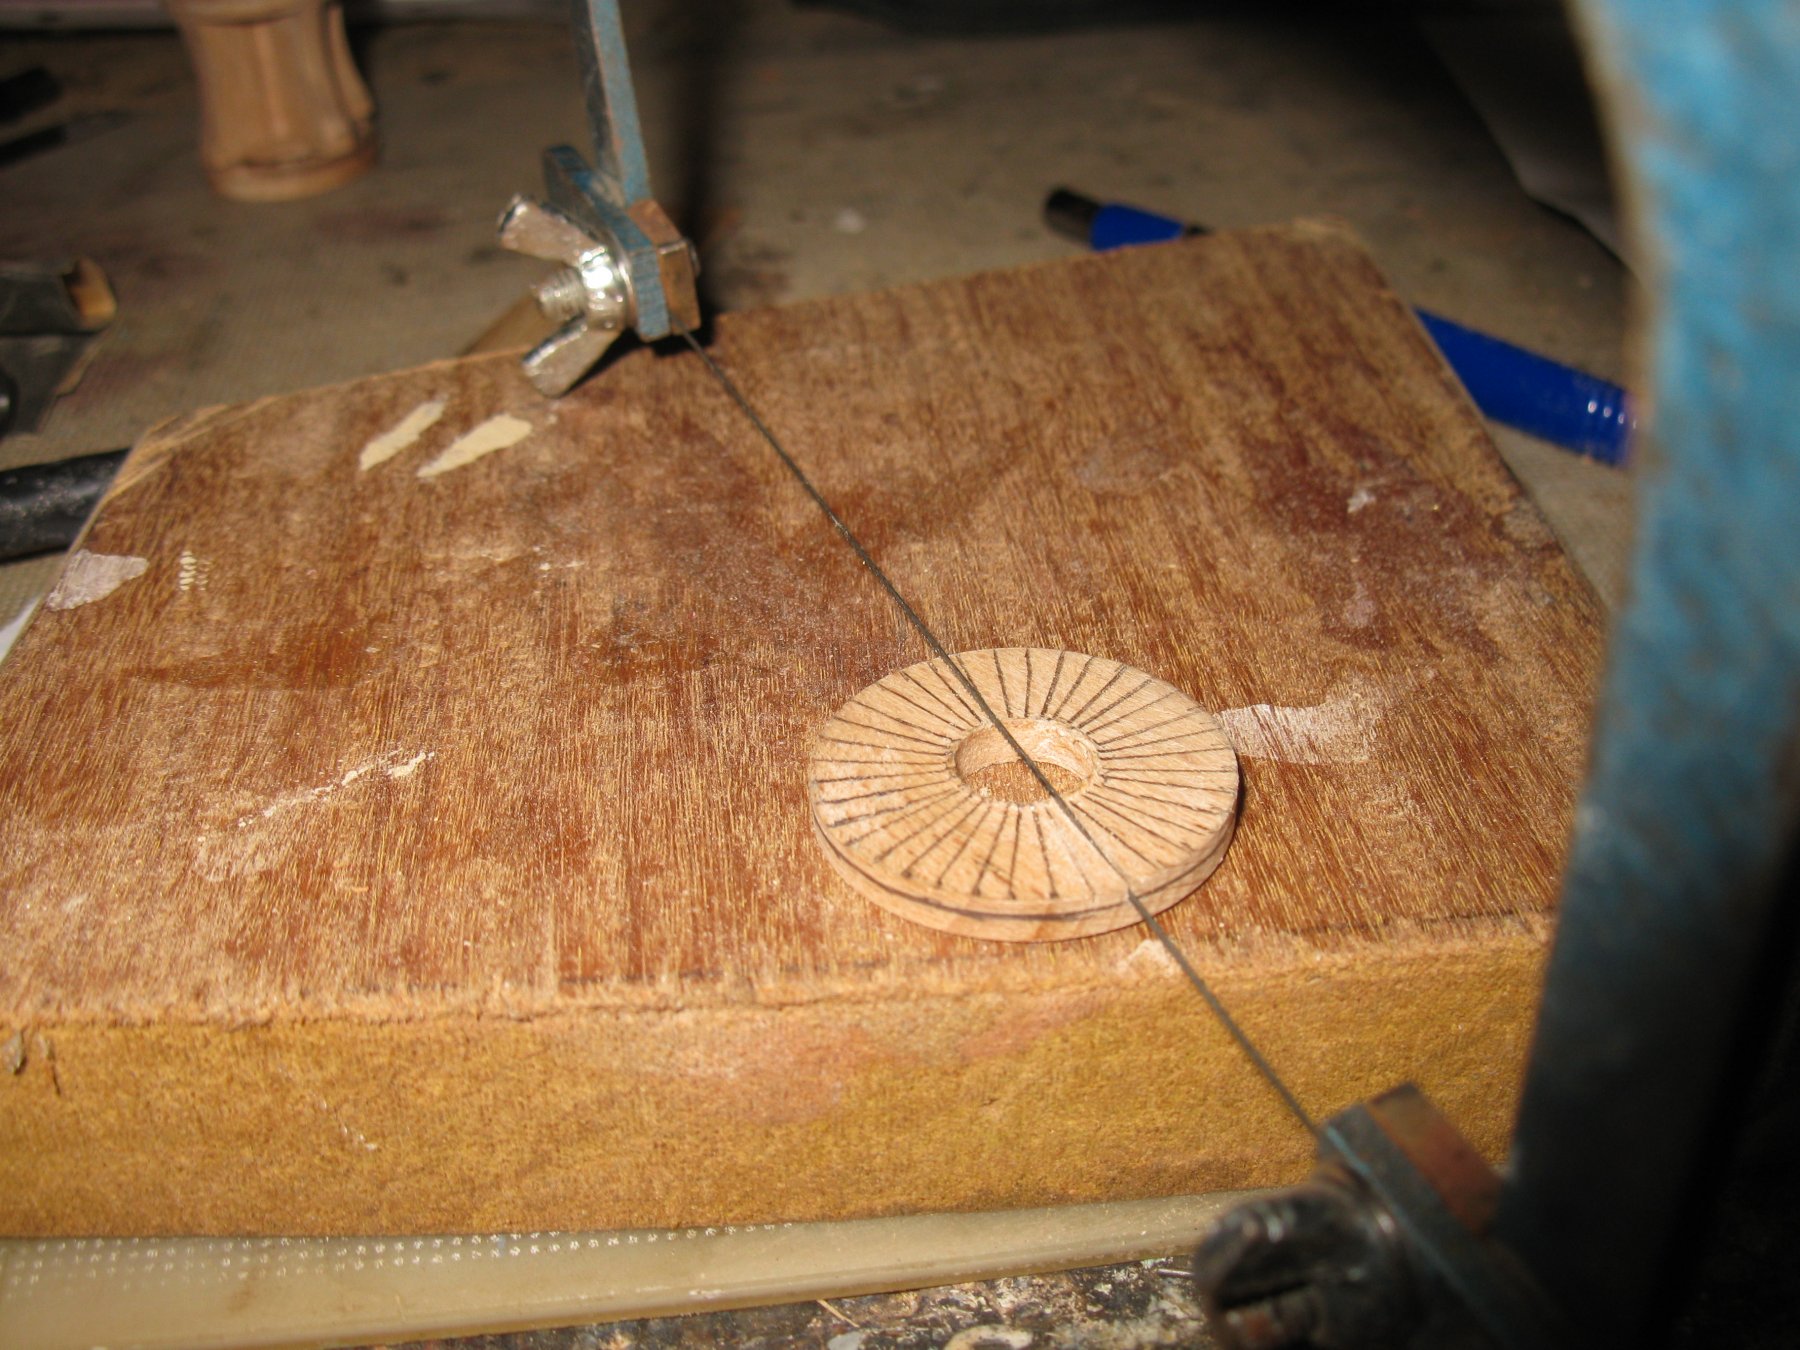
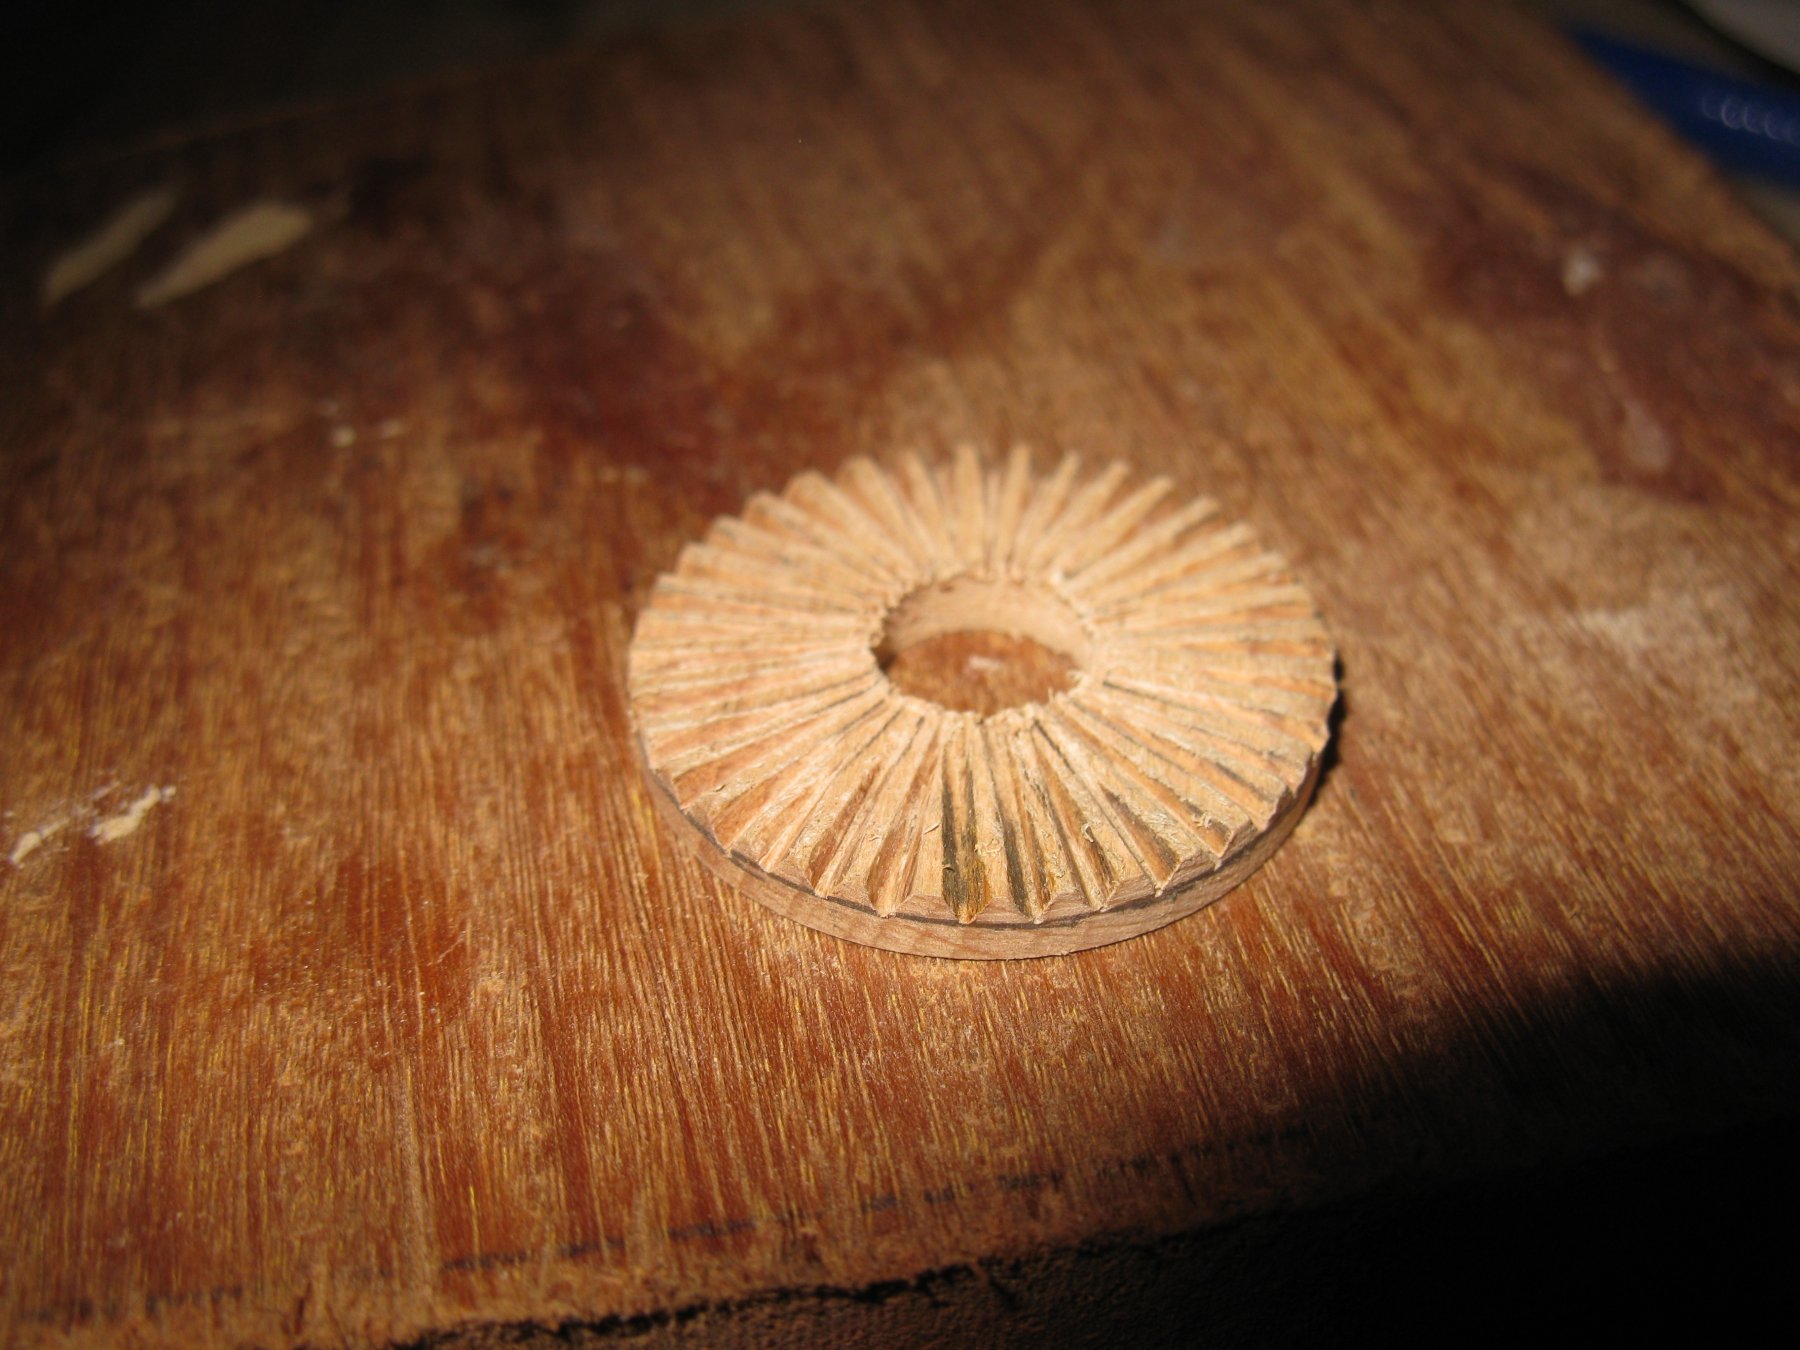
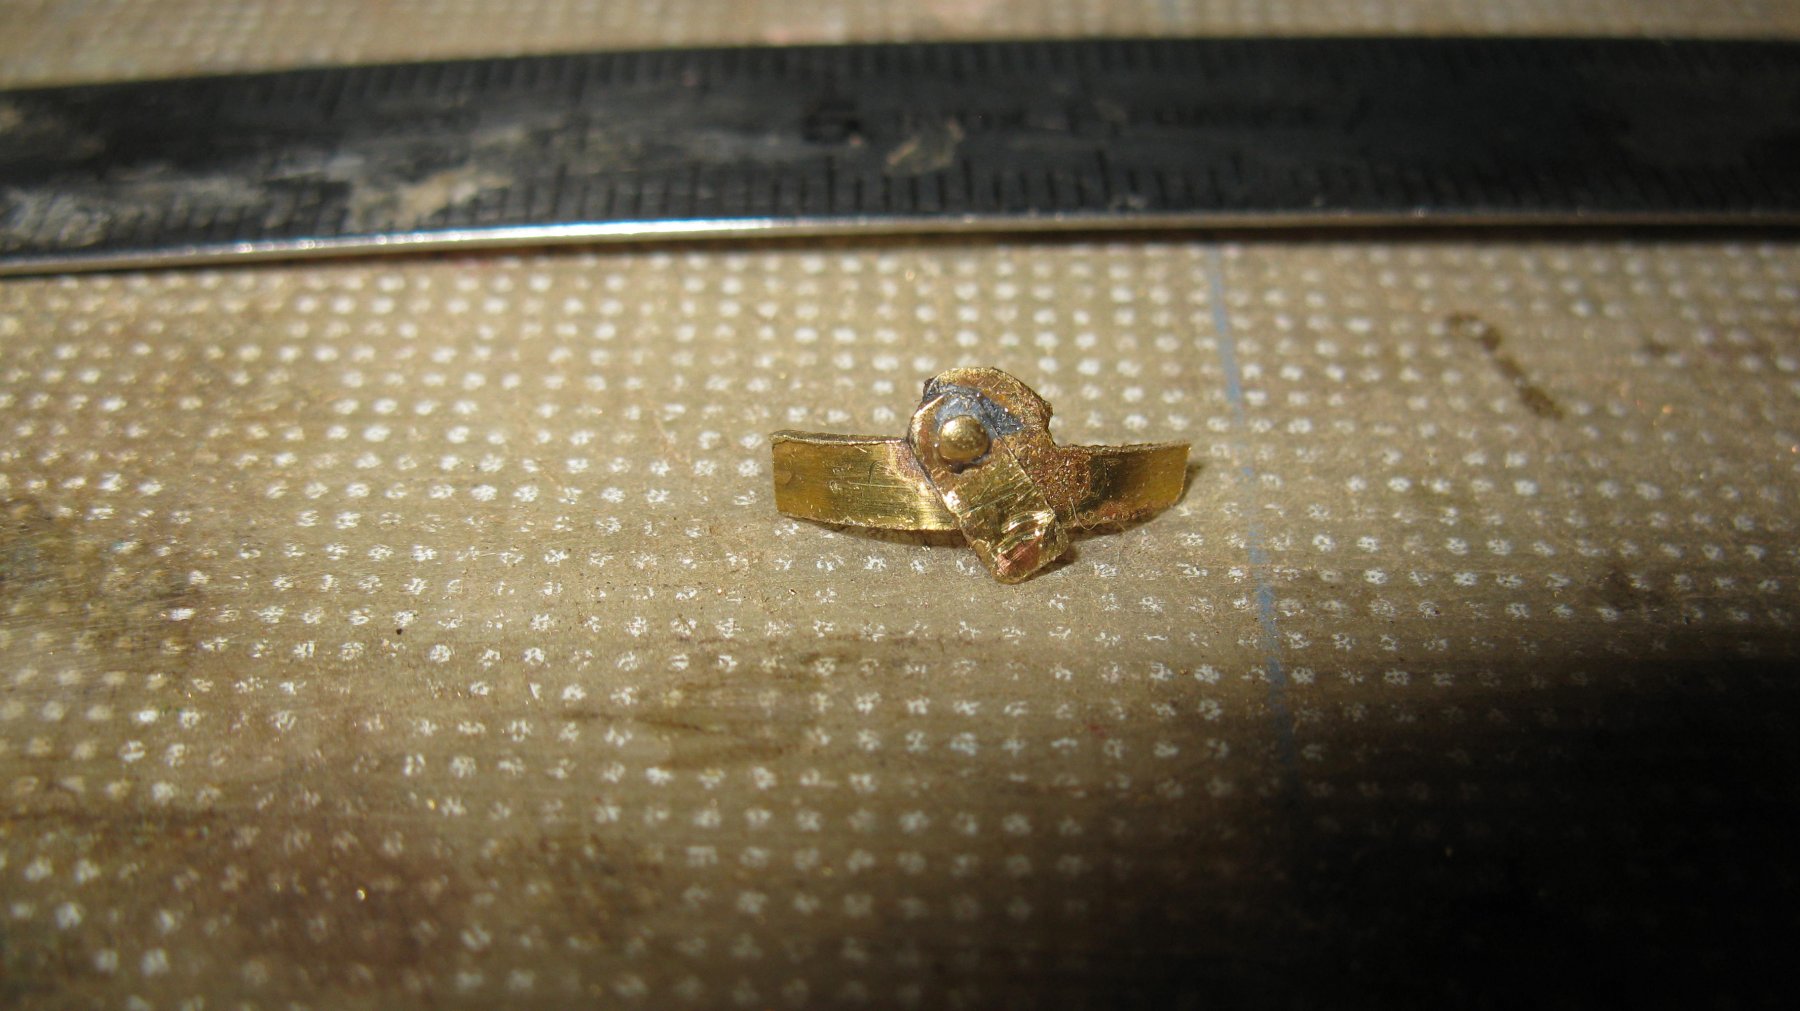
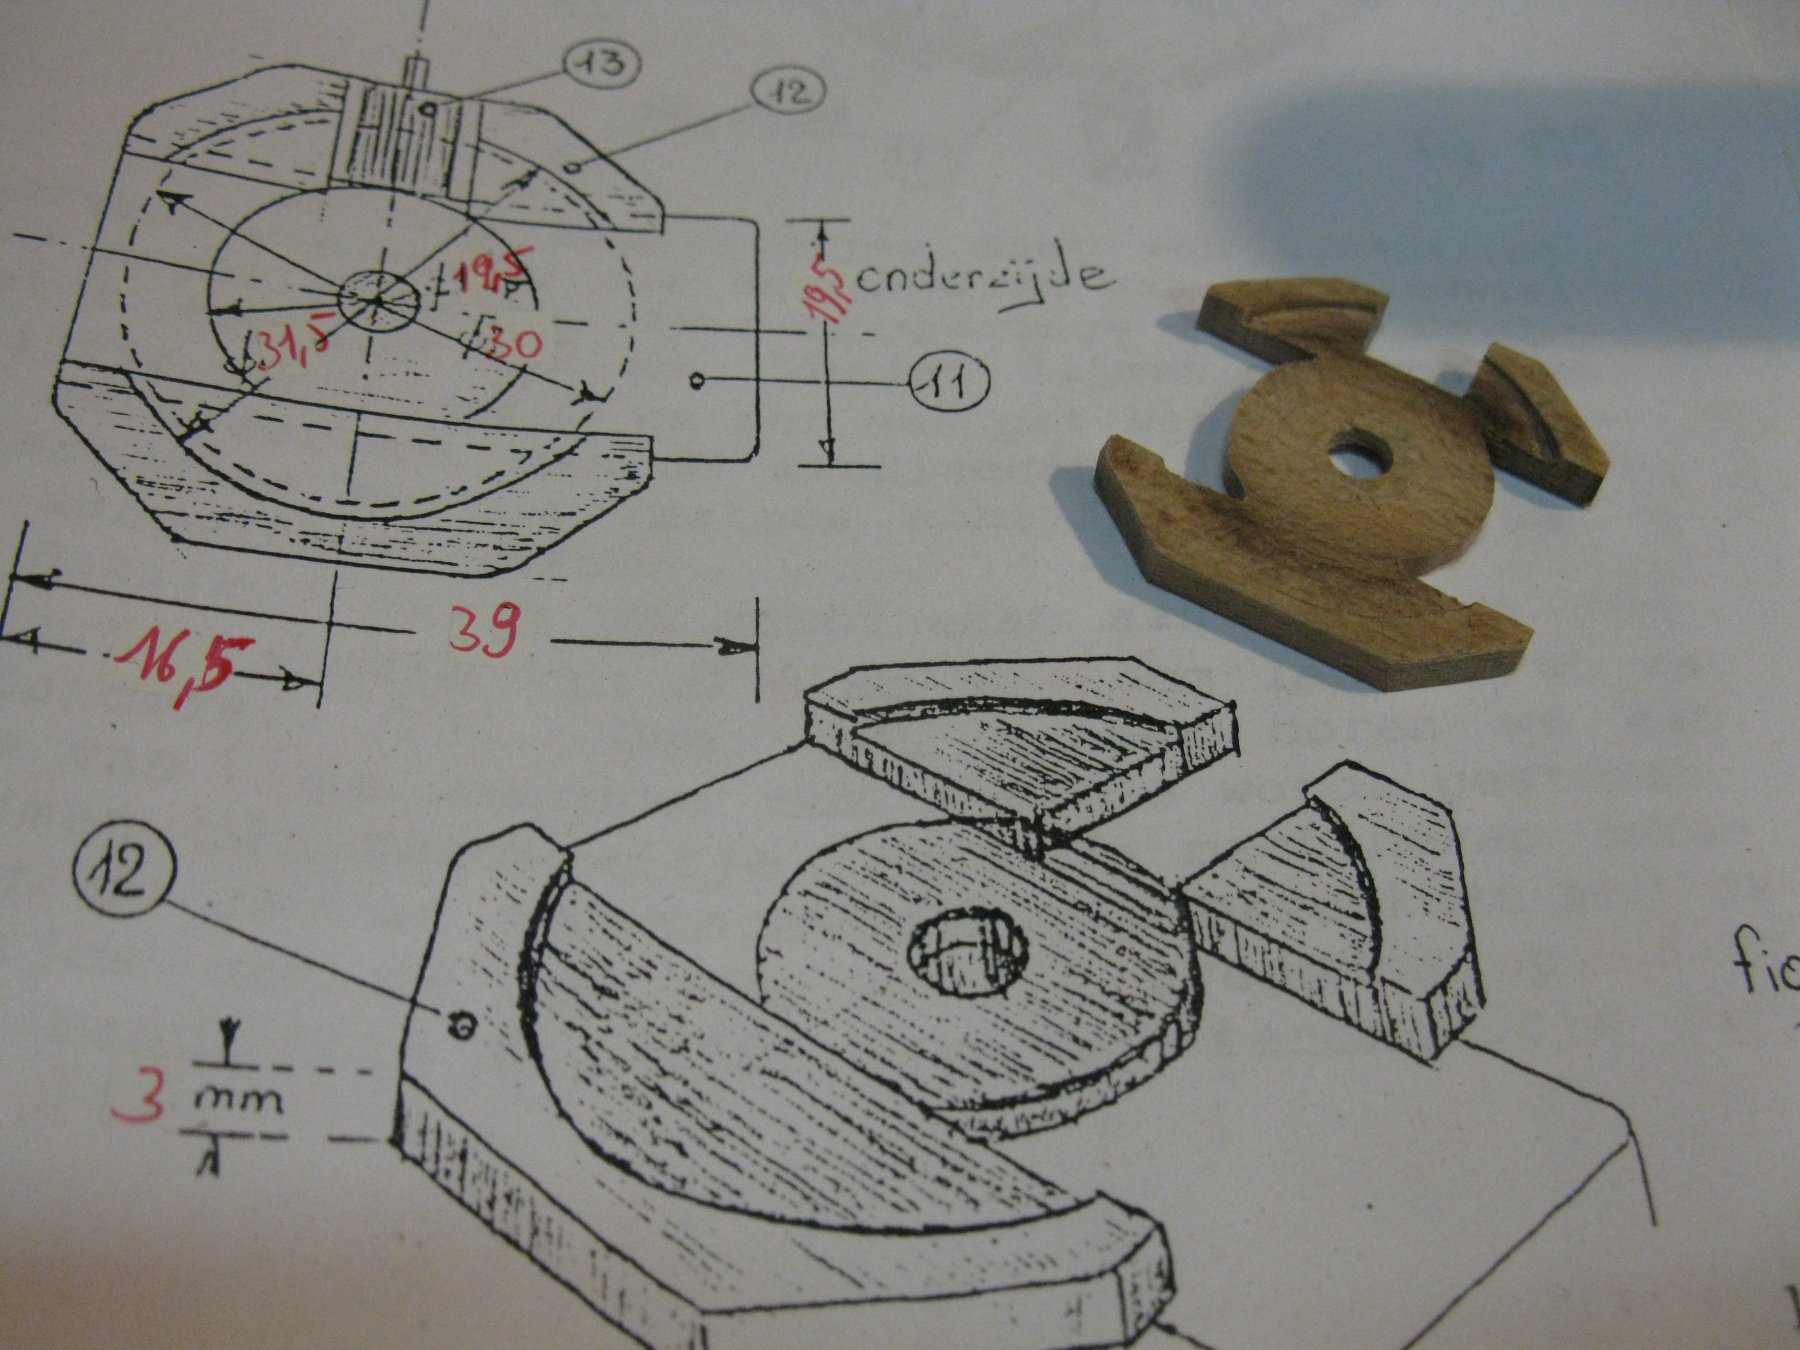
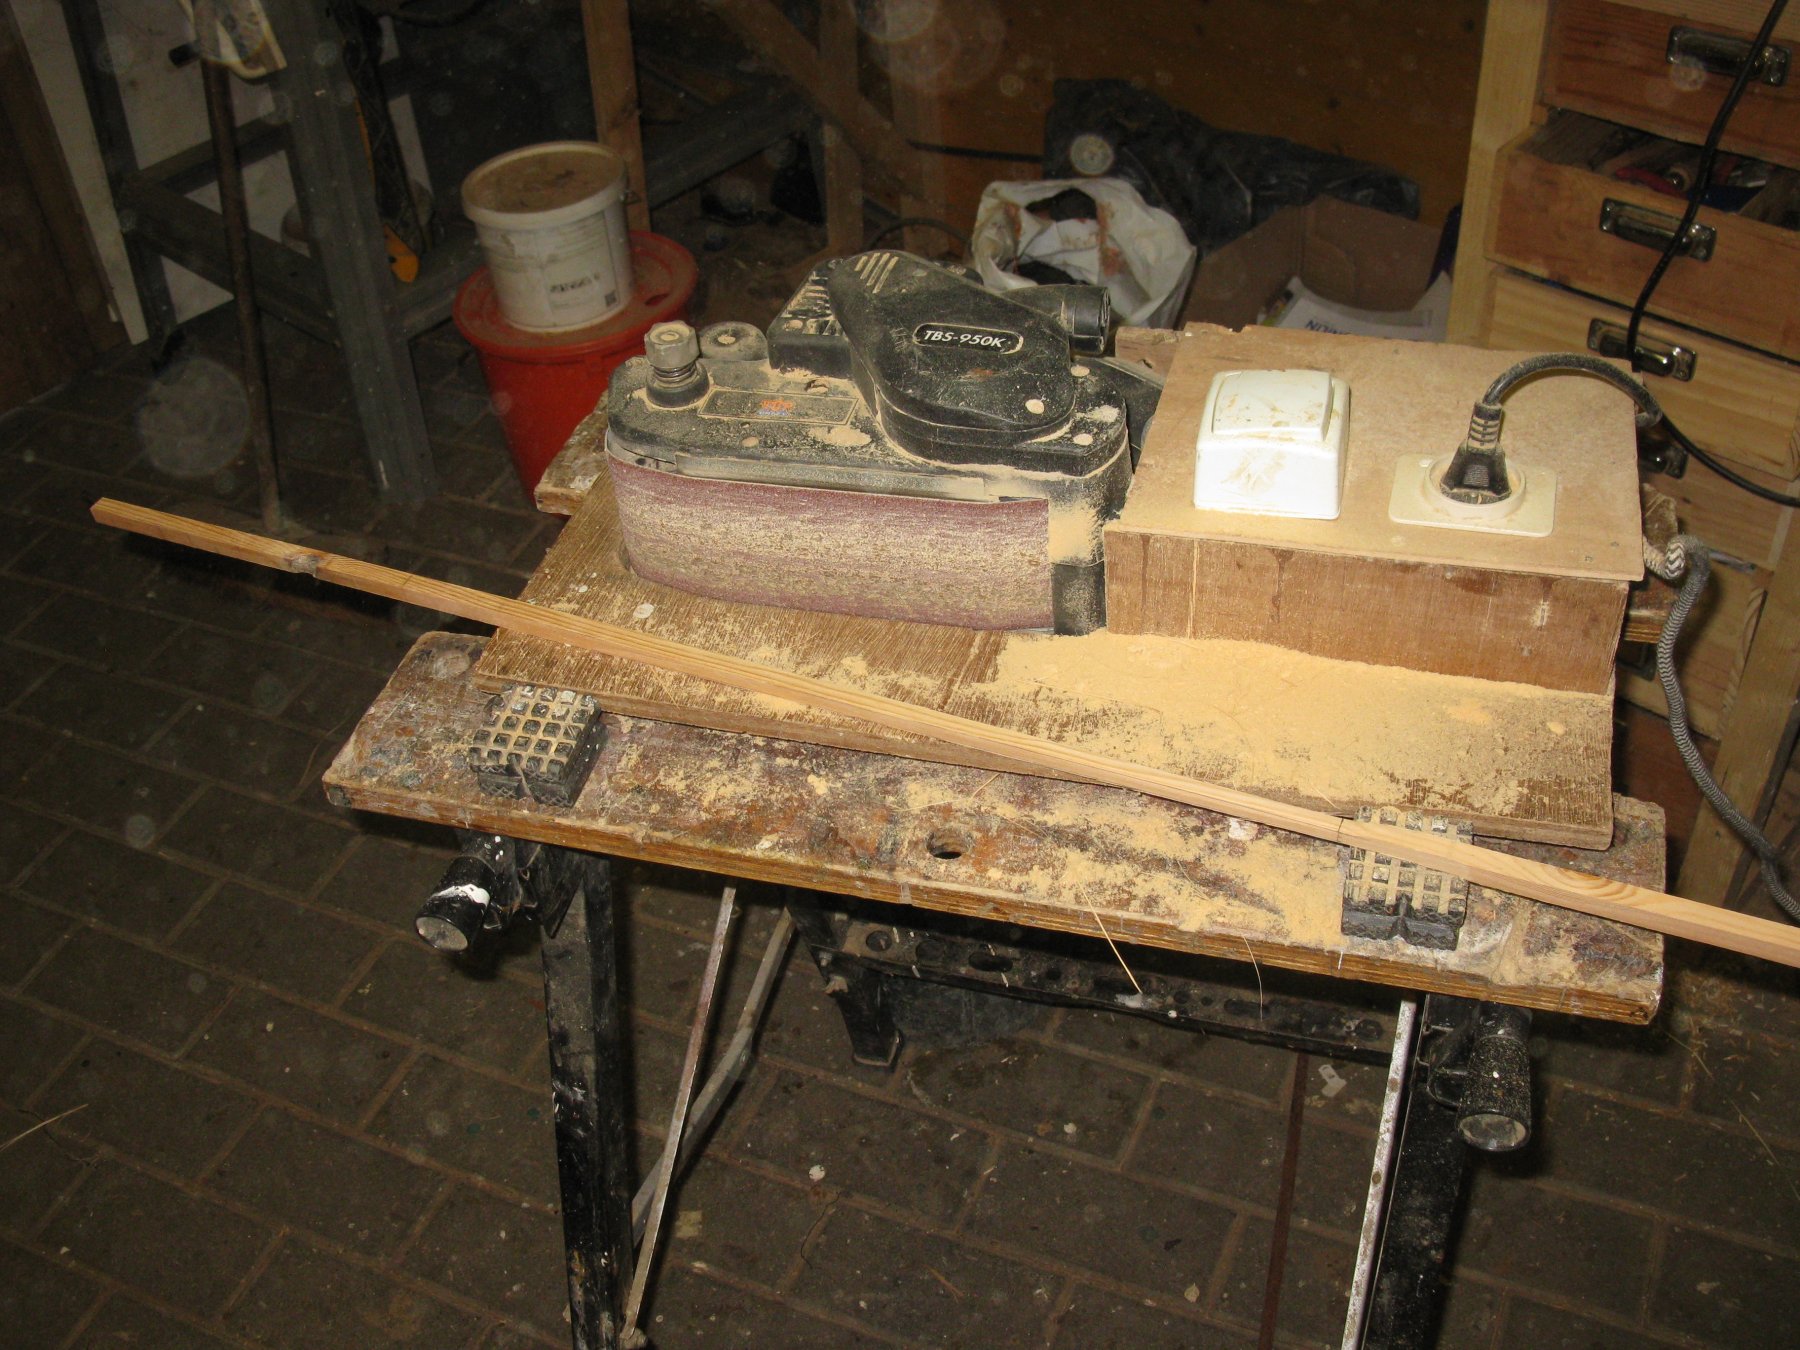
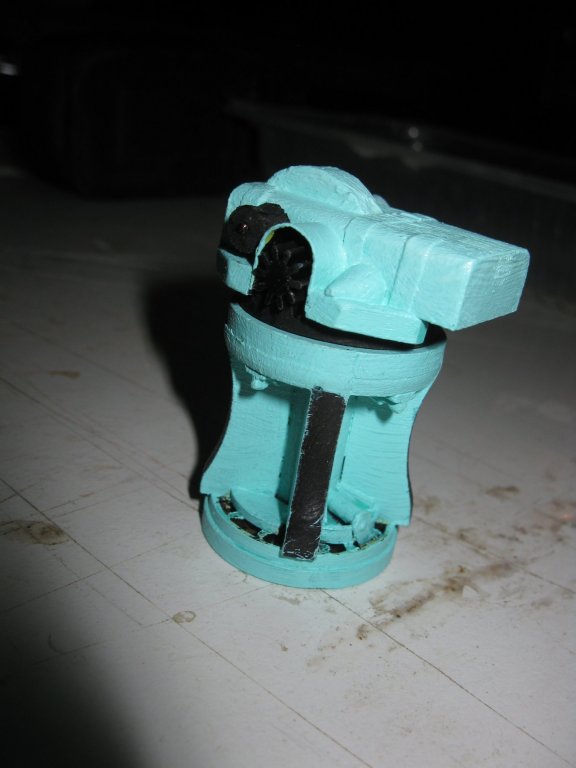
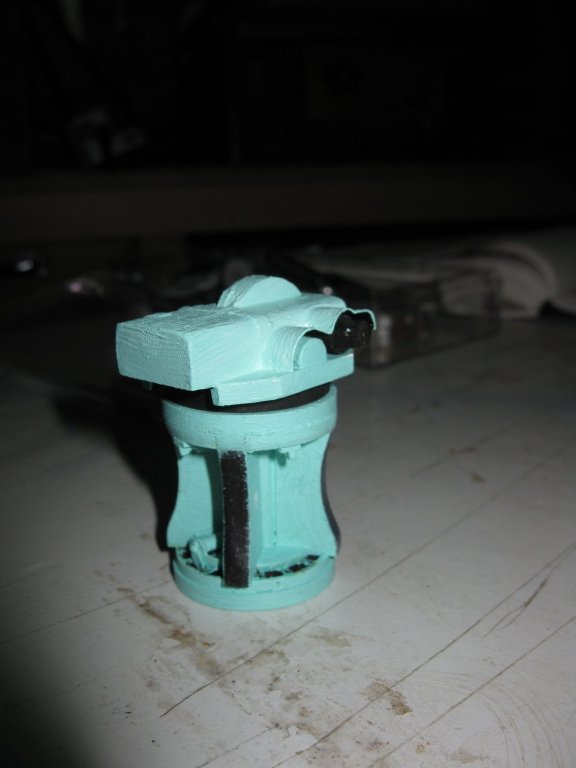
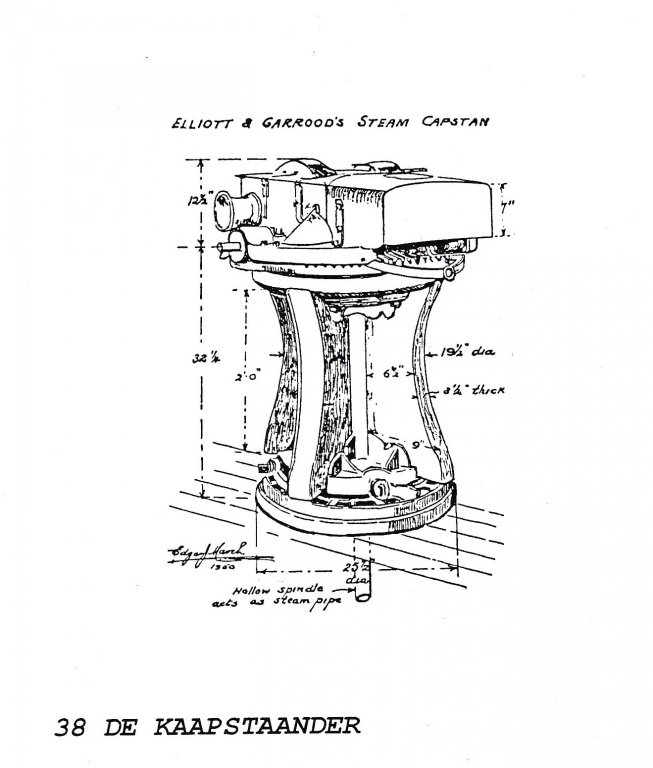
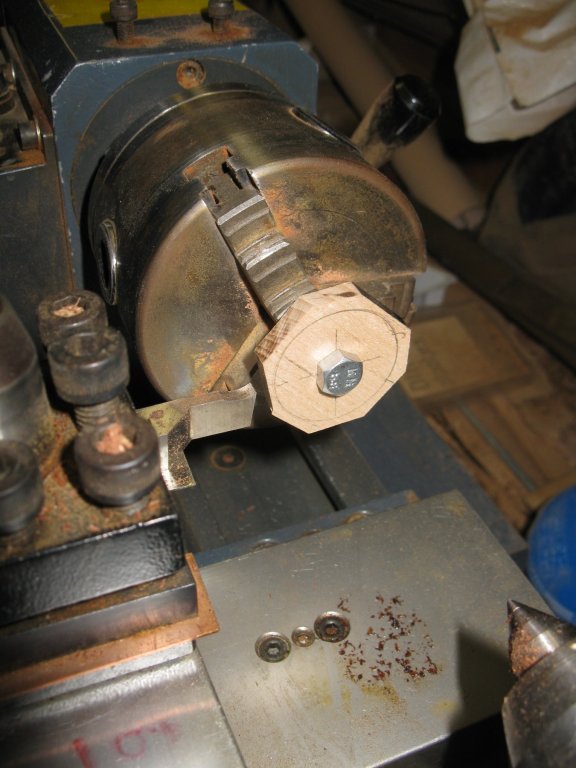
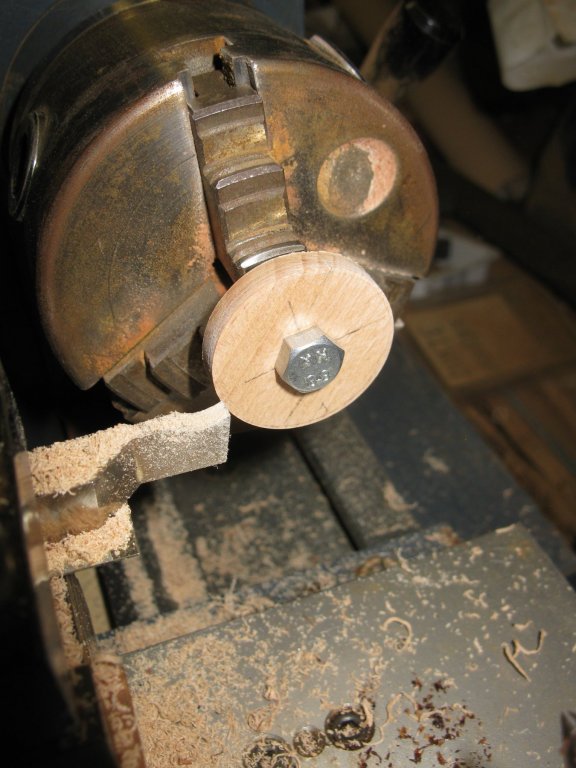
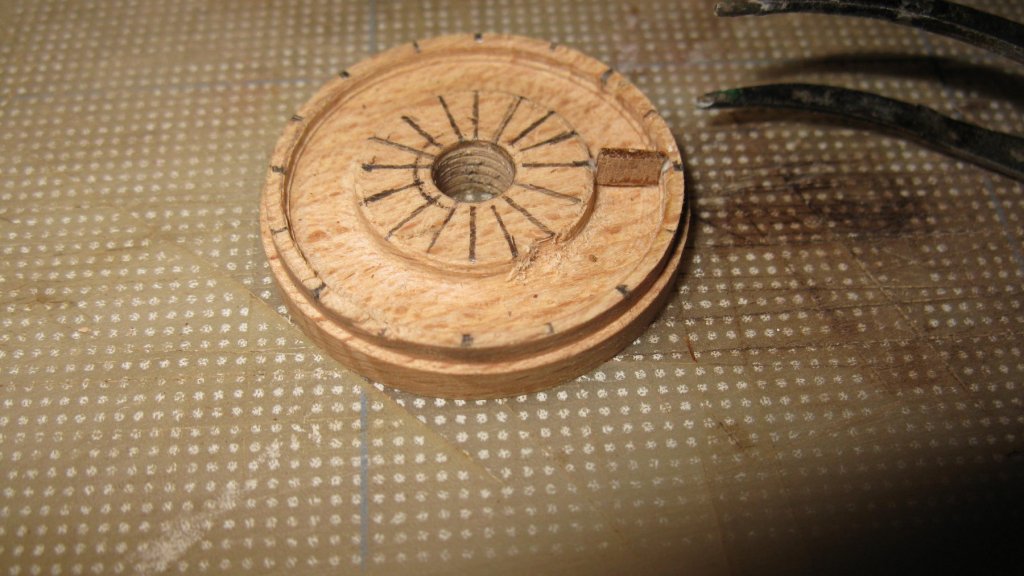
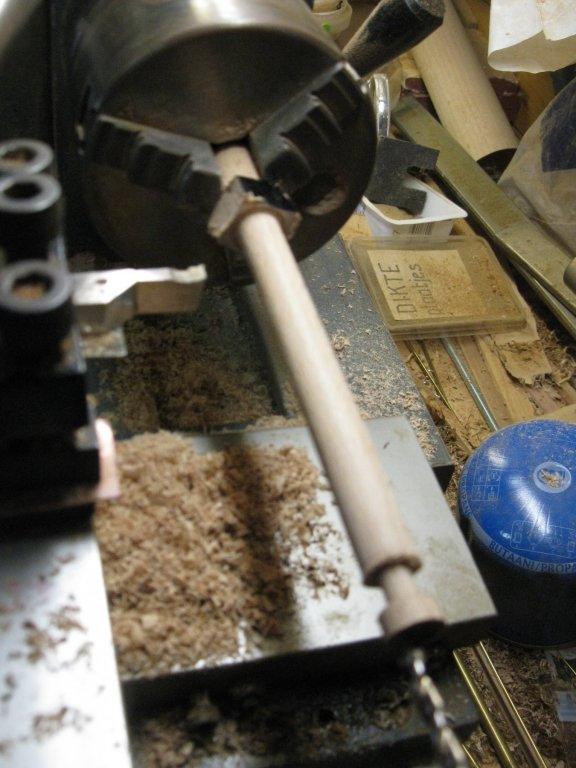
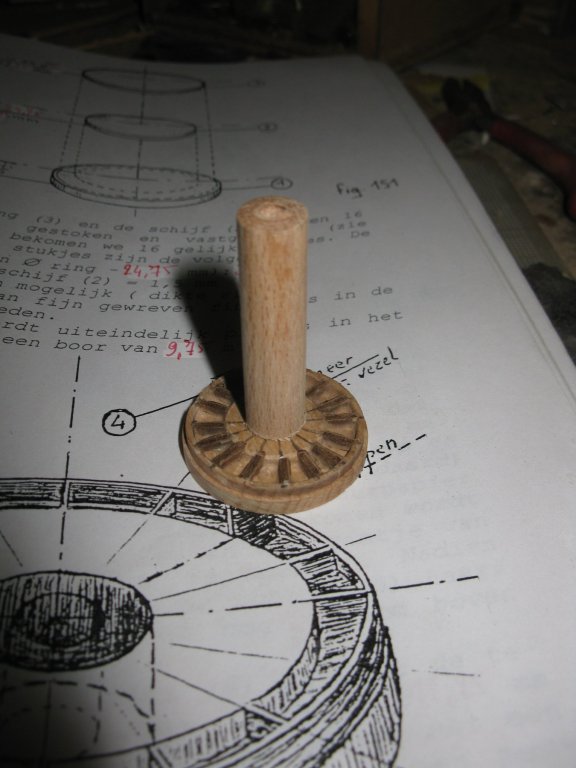
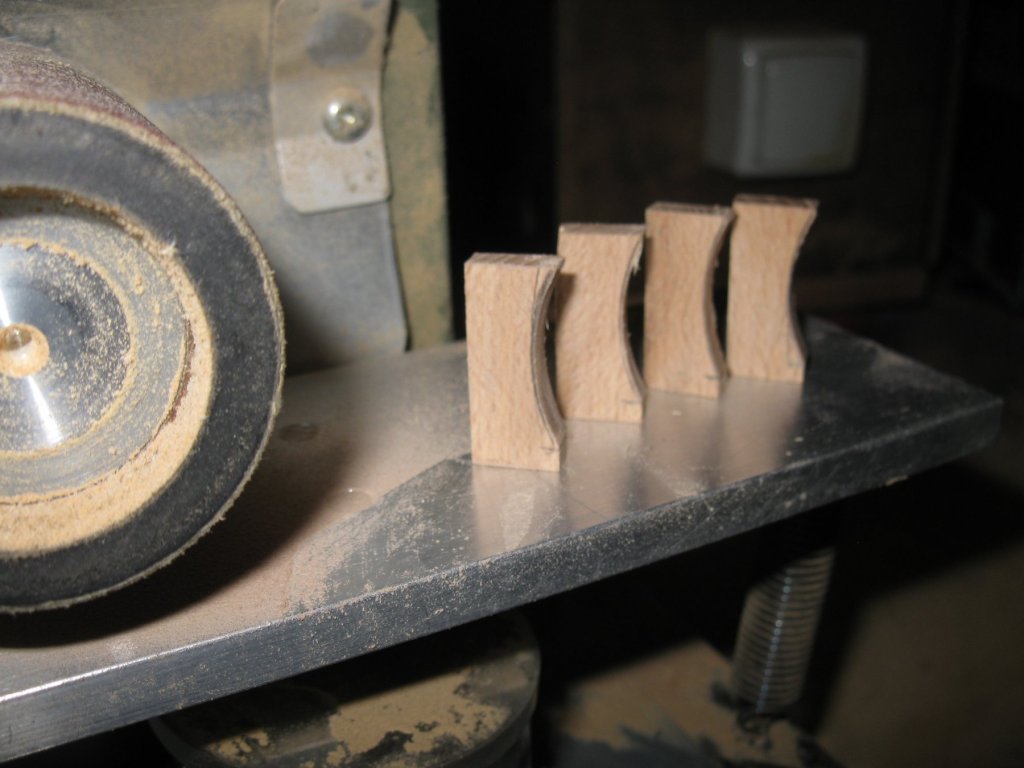
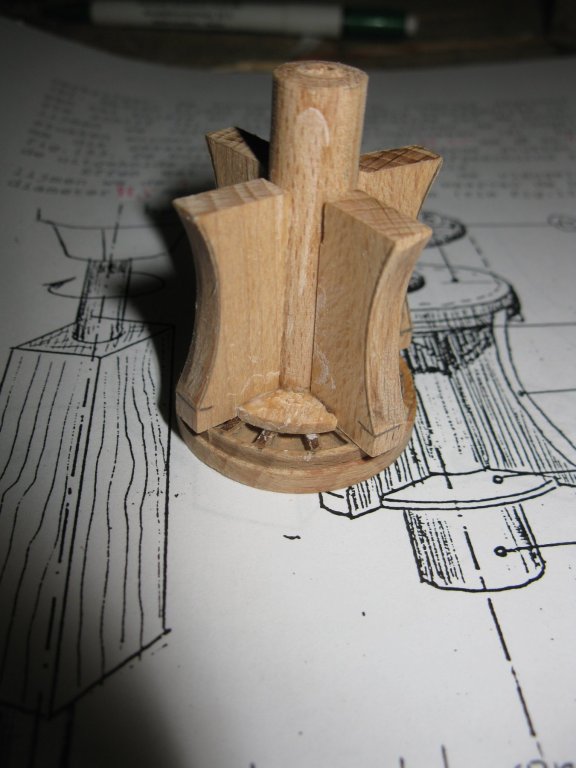
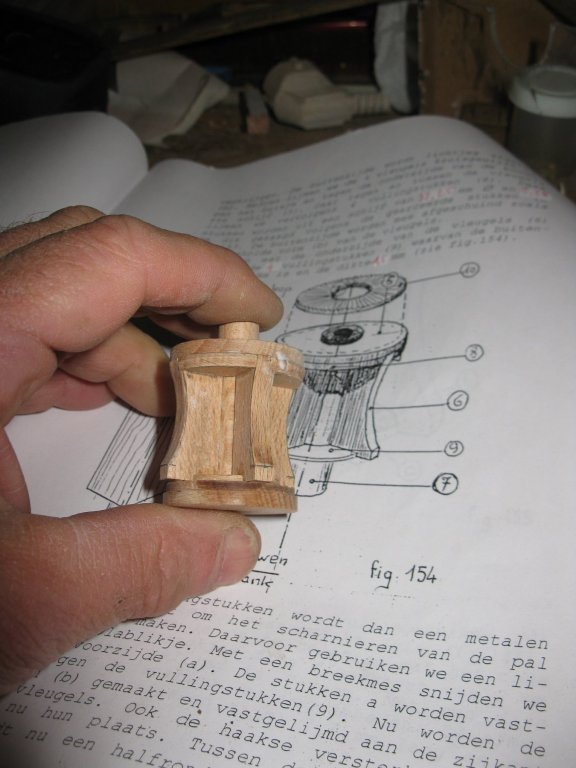
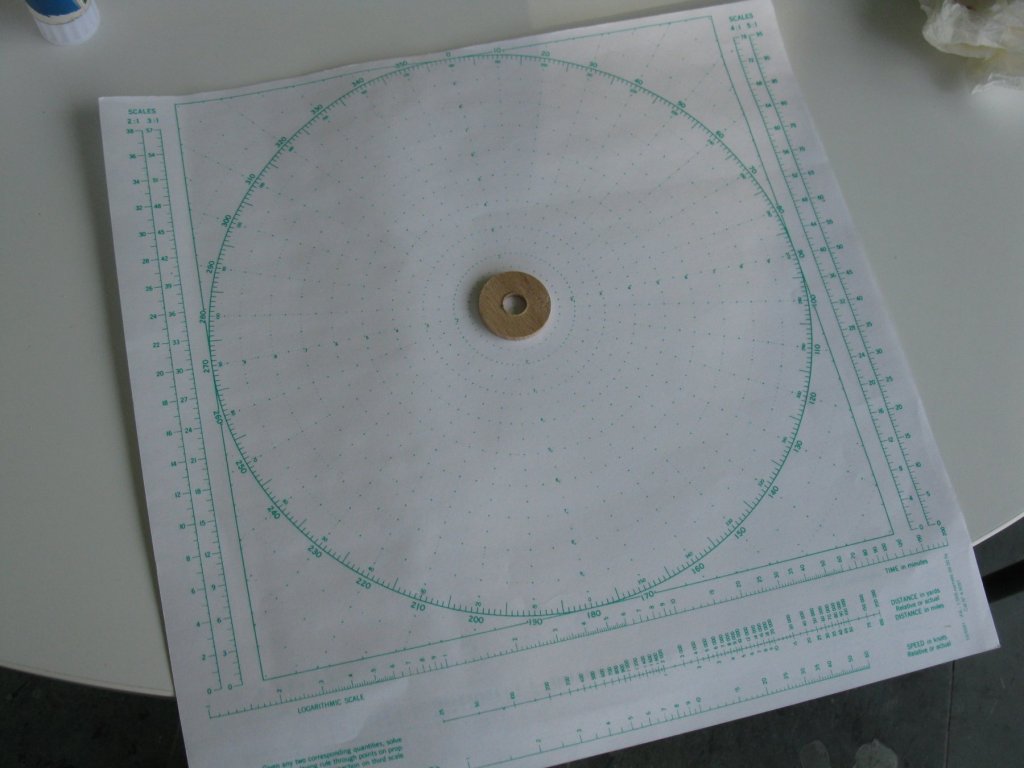
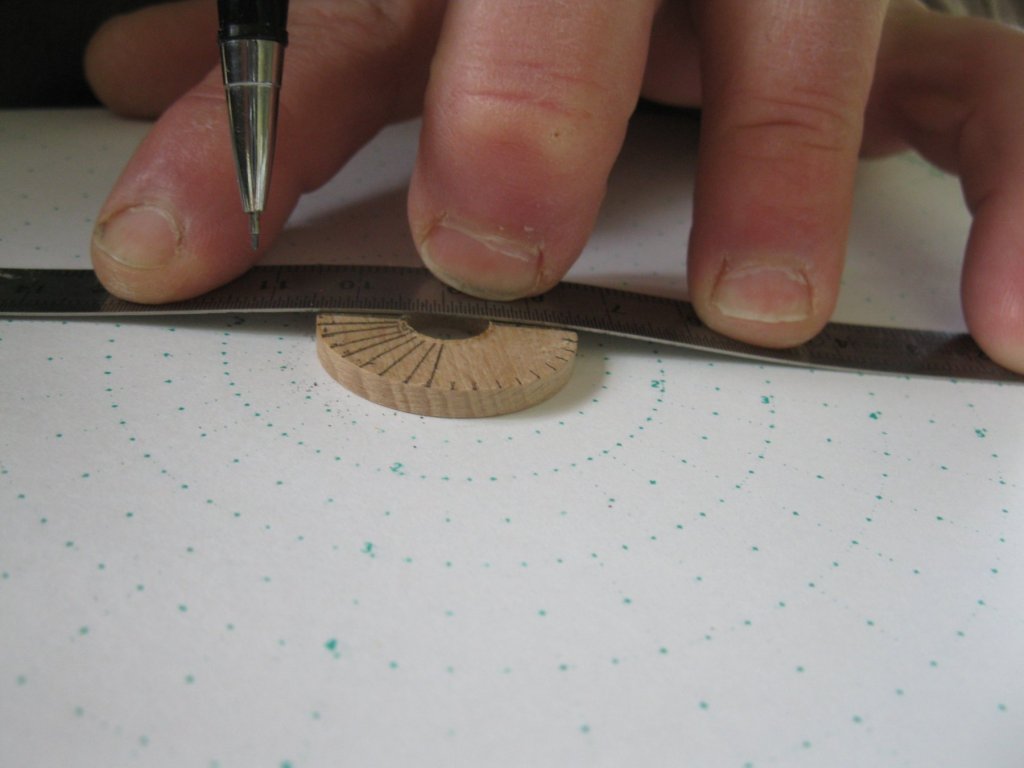
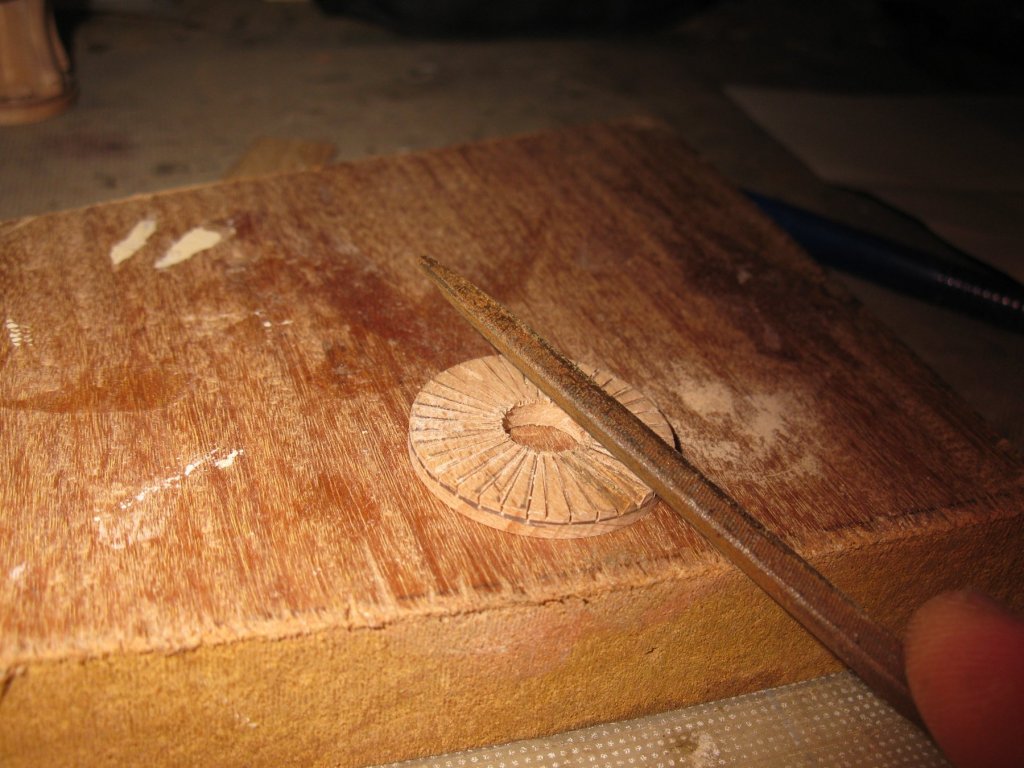
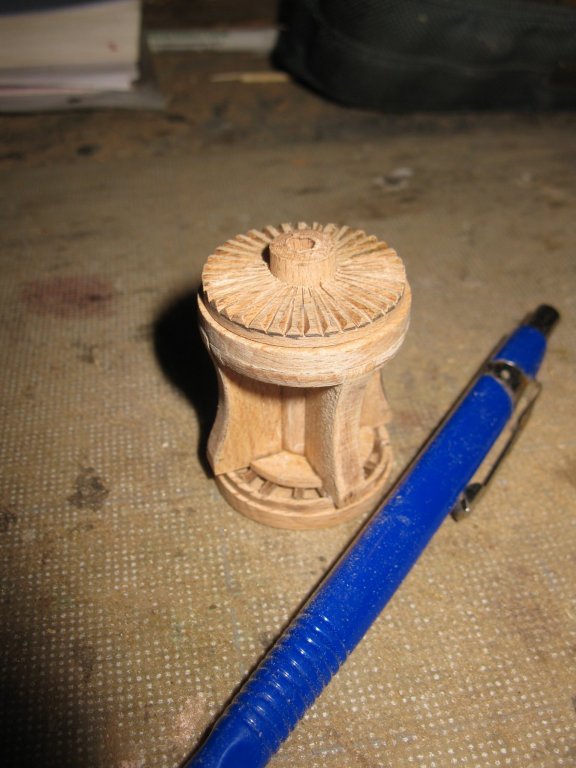
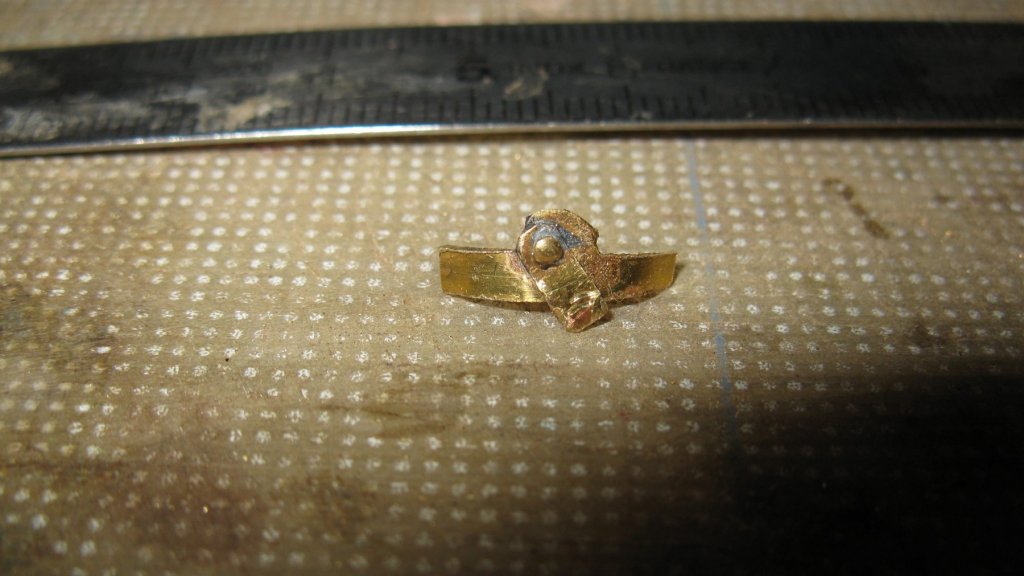
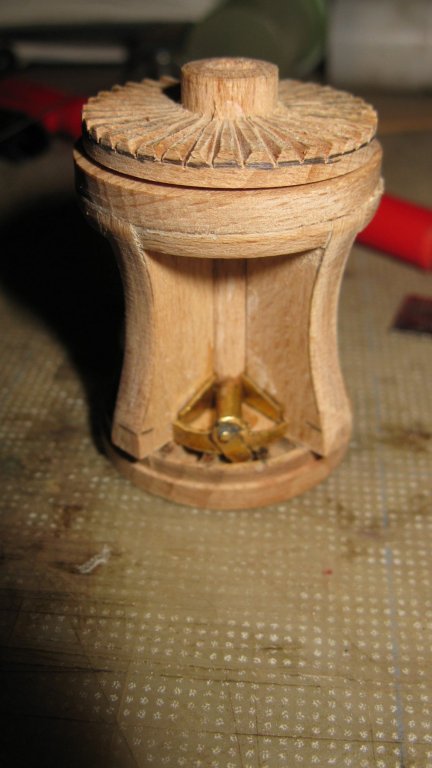
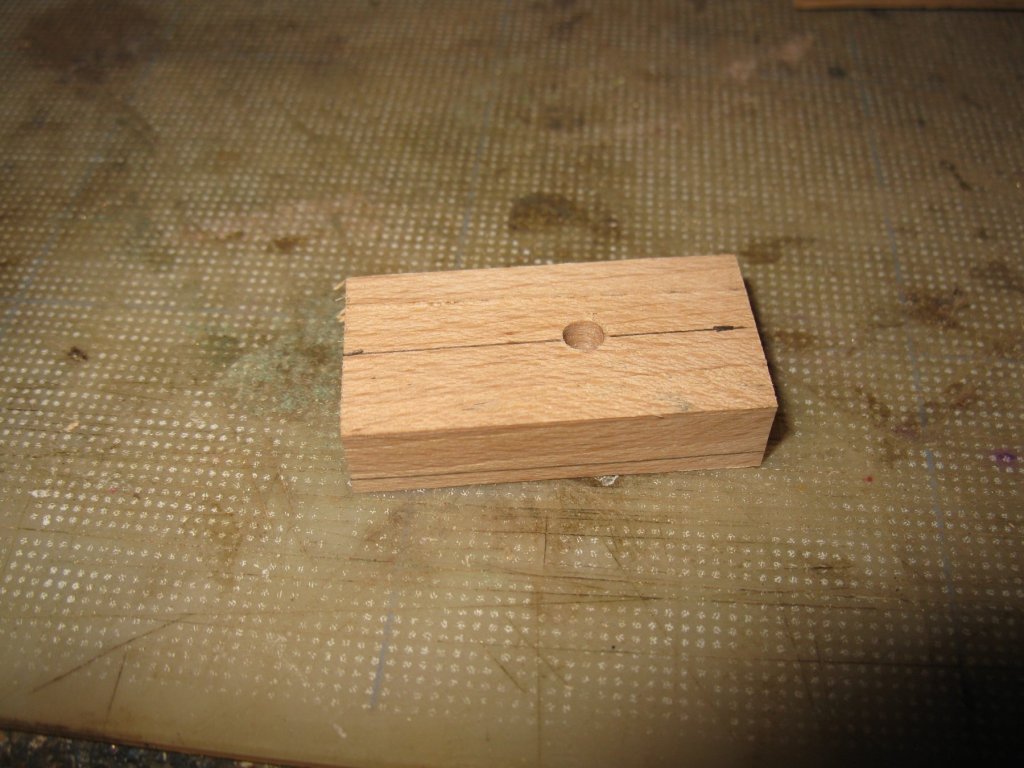
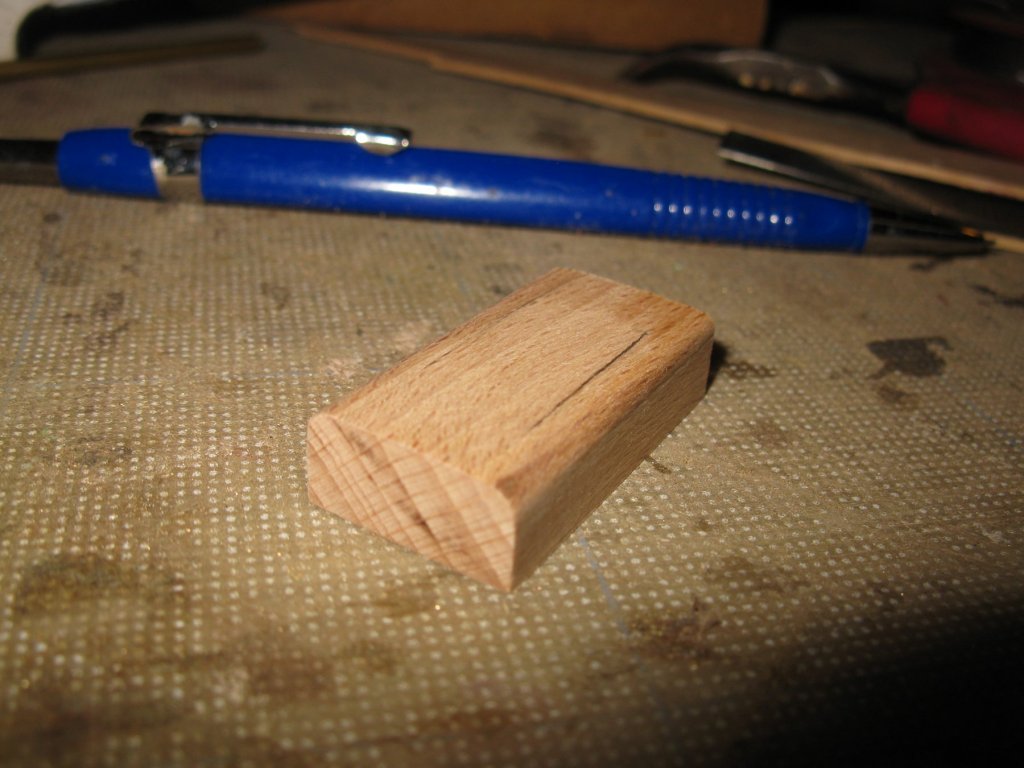
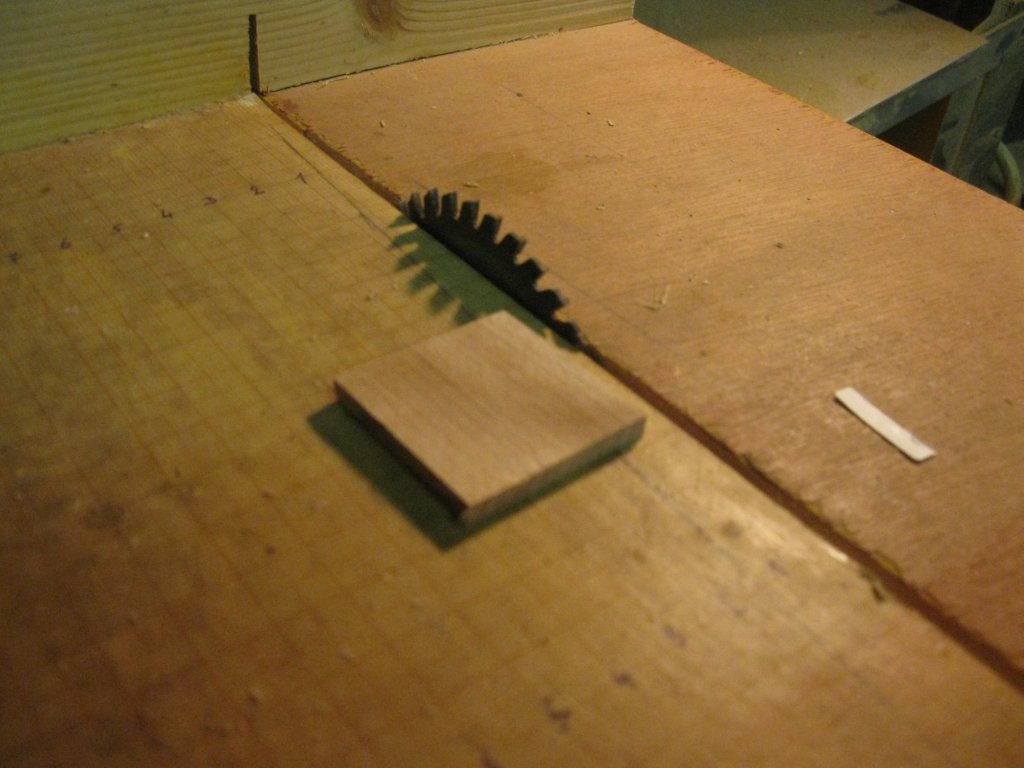
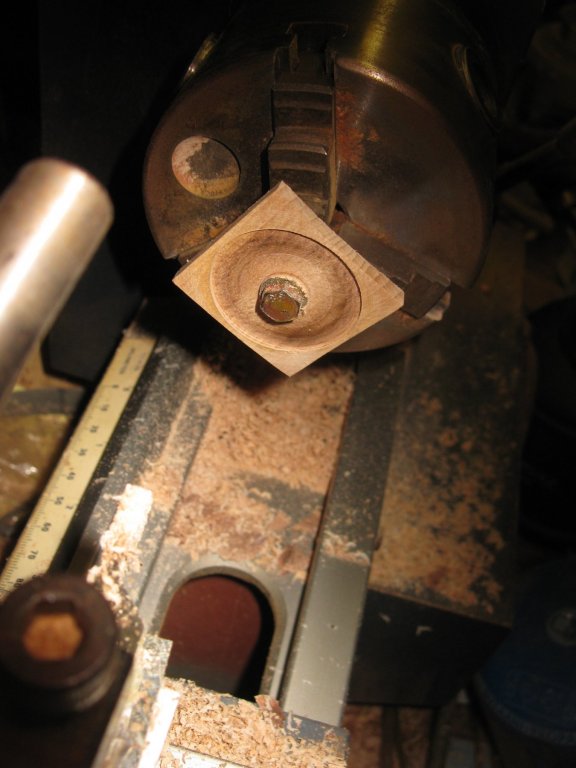
23. Steam capstan With the steam capstan I reach the last chapter of the smack cross section practicum. Most of the smacks in our region were equipped with an Elliot & Garrod's steam capstan (Drawing: 'Sailing trawlers' Edgar J. March). I never saw such a capstan in reality, but I believe that it is mainly made of steel and cast iron. In the practicum of Mr. Verleene is described how to make it of wood. I will make it of beech. Making the base plate: The groove around the base plate is divided in 16 segments. It is done with small pieces of walnut. The base plate and the other beech rings which have to build in. In the center of the capstan stands a beech pipe. Making the pipe: The base plate, the pipe and the top plate fitted together. The capstan has four wings around which a cable or rope can be twisted. I make them also of beech. The camber of the outer side is made with the help of the sanding drum. The wings fitted on the capstan Top plate and filling pieces between the wings placed. The upper disk is a big gear wheel. I use a paper maneuvering board from my navy time to make the ten degree subdivisions on the disk. I make a saw cut every ten degrees. Then I file out every saw cut with a triangular file. The gear wheel on the capstan. The blocking pin is made of brass. Making the machine cover. Making the base plate for the machine cover: The capstan so far. The smaller gear wheel on top of the big one is recycled from a disused clock.


- 219 replies
-
- 22
-
-
- smack
- cross-section
- (and 2 more)
-
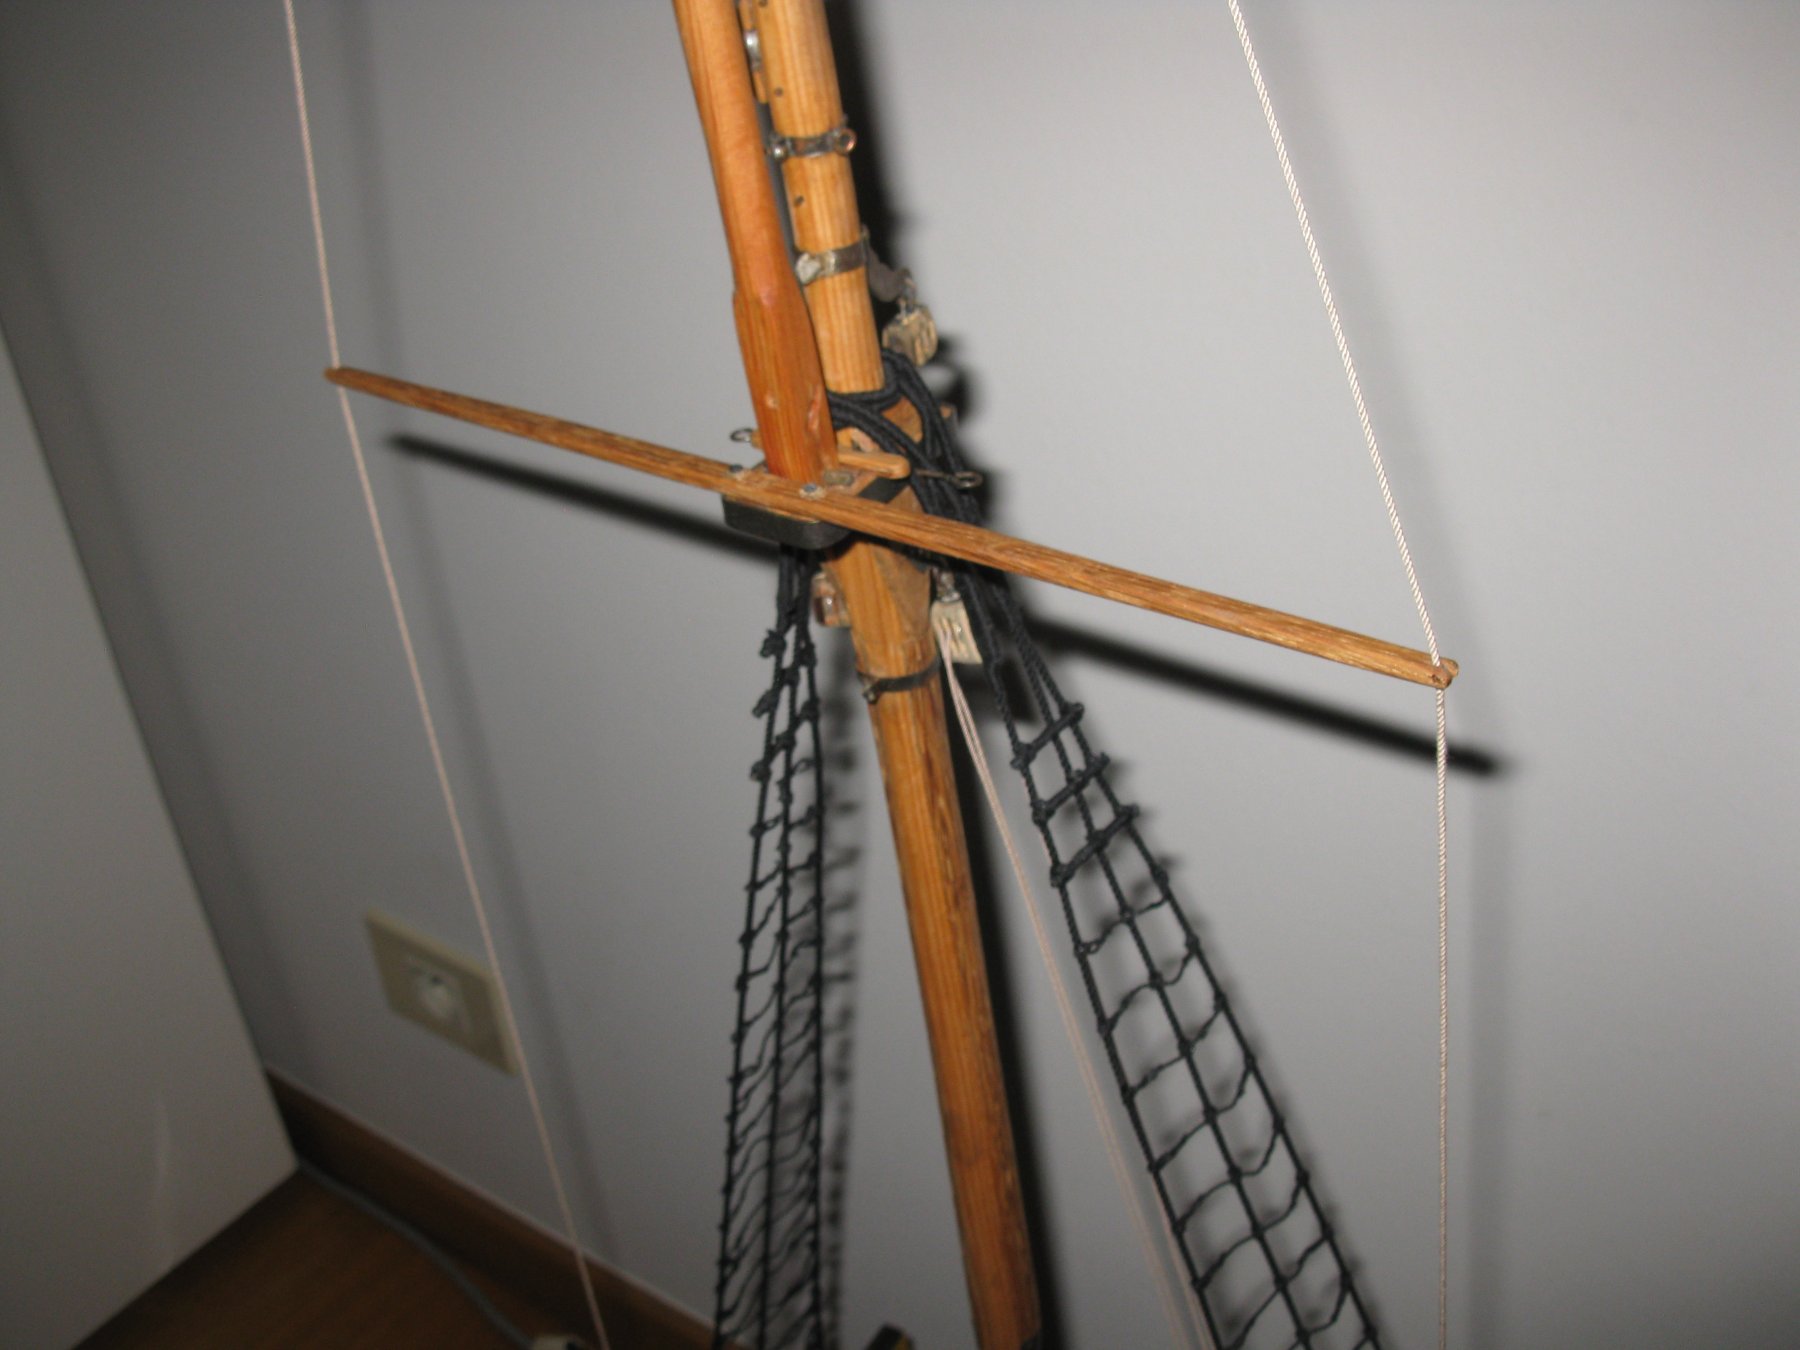
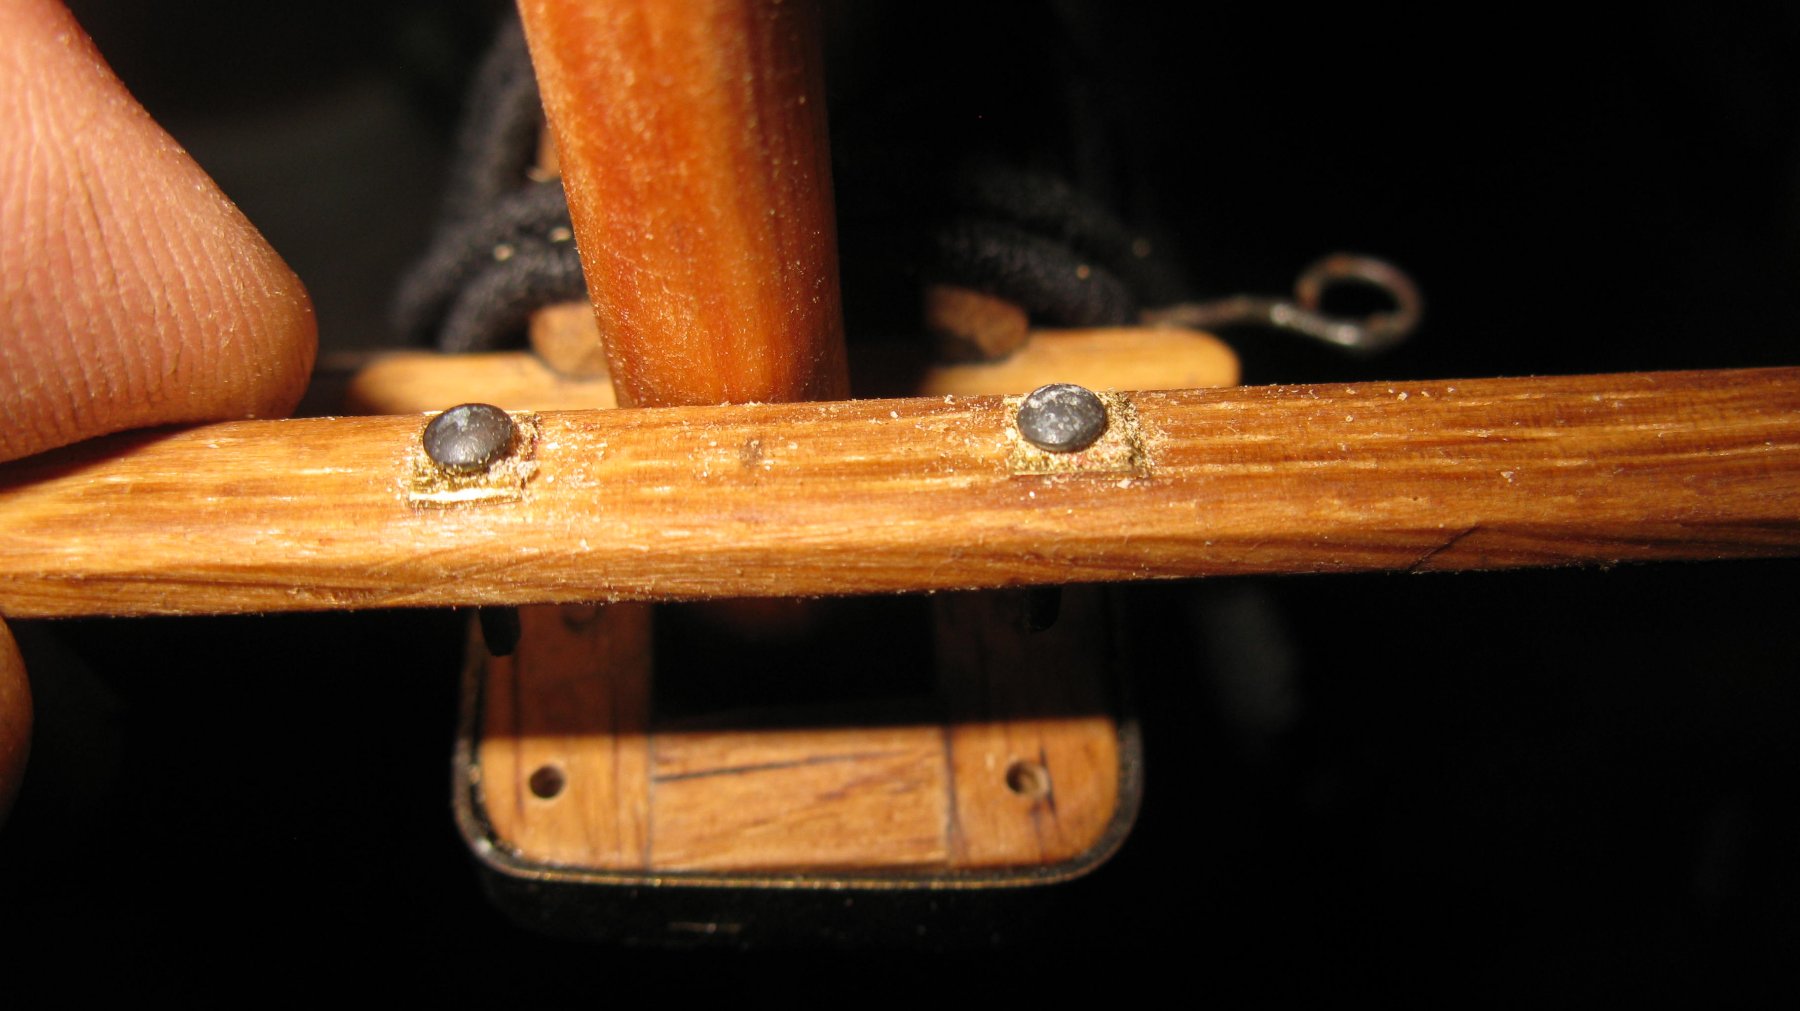
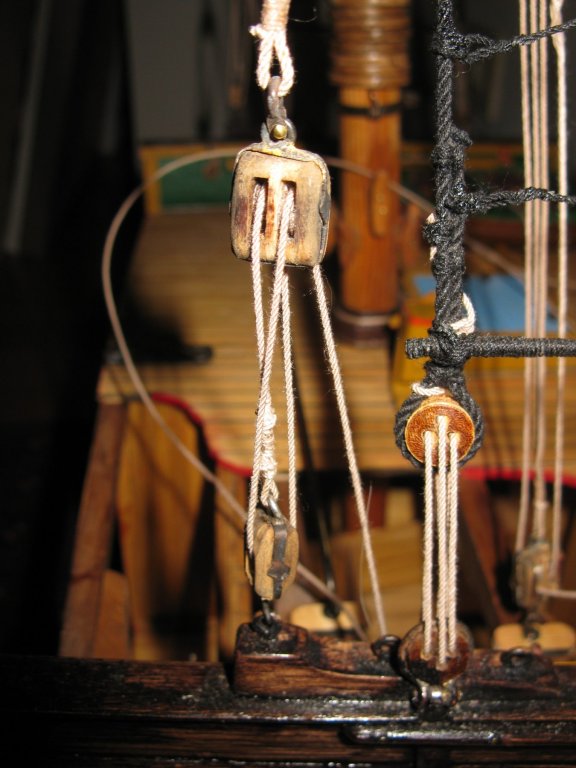
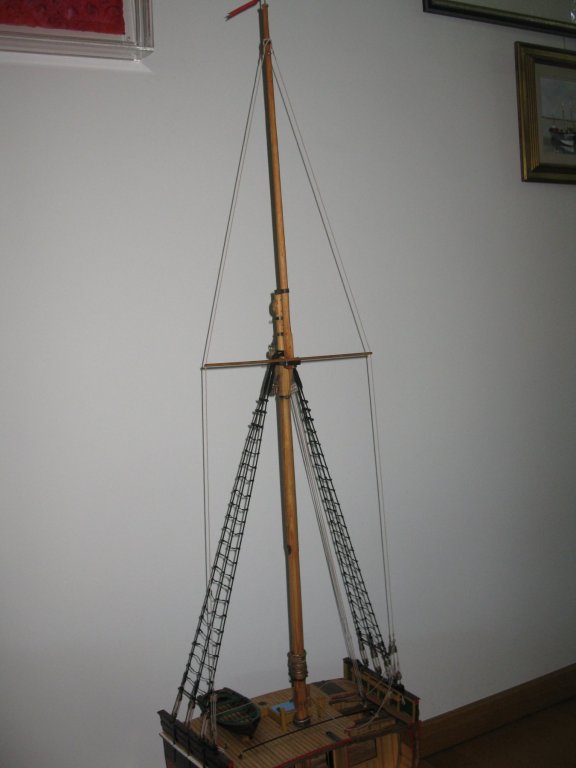
Thanks, Patrick. 19.5 Rigging the topgallant Both backstays have a served loop. The port backstay is resting on top of the starboard backstay. They pass through the grooves at both ends of the spreader. And end with a double block at about 1.8 m above the deck. A tension line is going from a single block on the bulwark, twice though the double block and fixed on the pin rail inside the bulwark. The whole mast


- 219 replies
-
- 8
-
-
- smack
- cross-section
- (and 2 more)
-
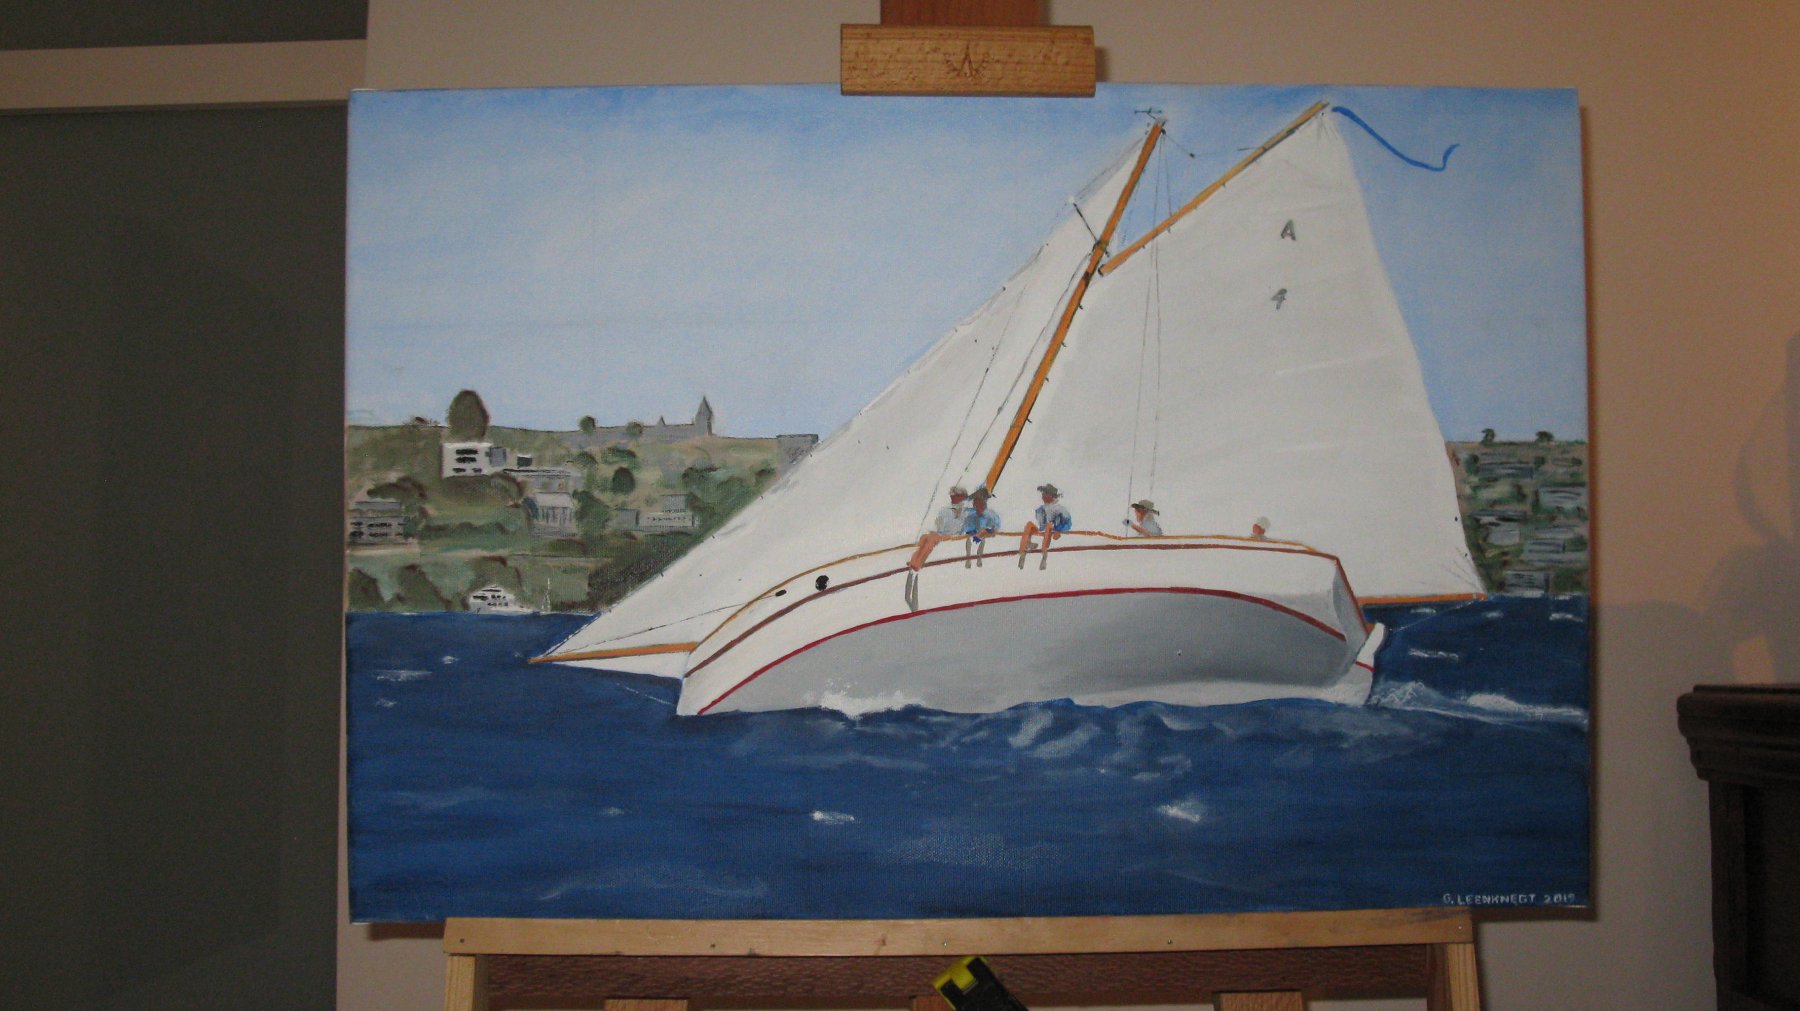
Mark, I like very much the classic style of your yacht and you made a marvelous model of it. In one of your posts you showed a beautiful action picture of the 'Stella'. I am experimenting a bit with oil paint to learn to paint and used that picture as model for my first marine canvas. I hope you don't blame me for the use of your picture before asking permission.

-
I also use mainly white wood glue for modeling. After applying the glue I remove stains with a wet rag. I works well in my opinion. On the other hand I do not have experience with epoxy. Don't you have to mix two components in an exact ratio an aren't there temperature restrictions to use it?
-
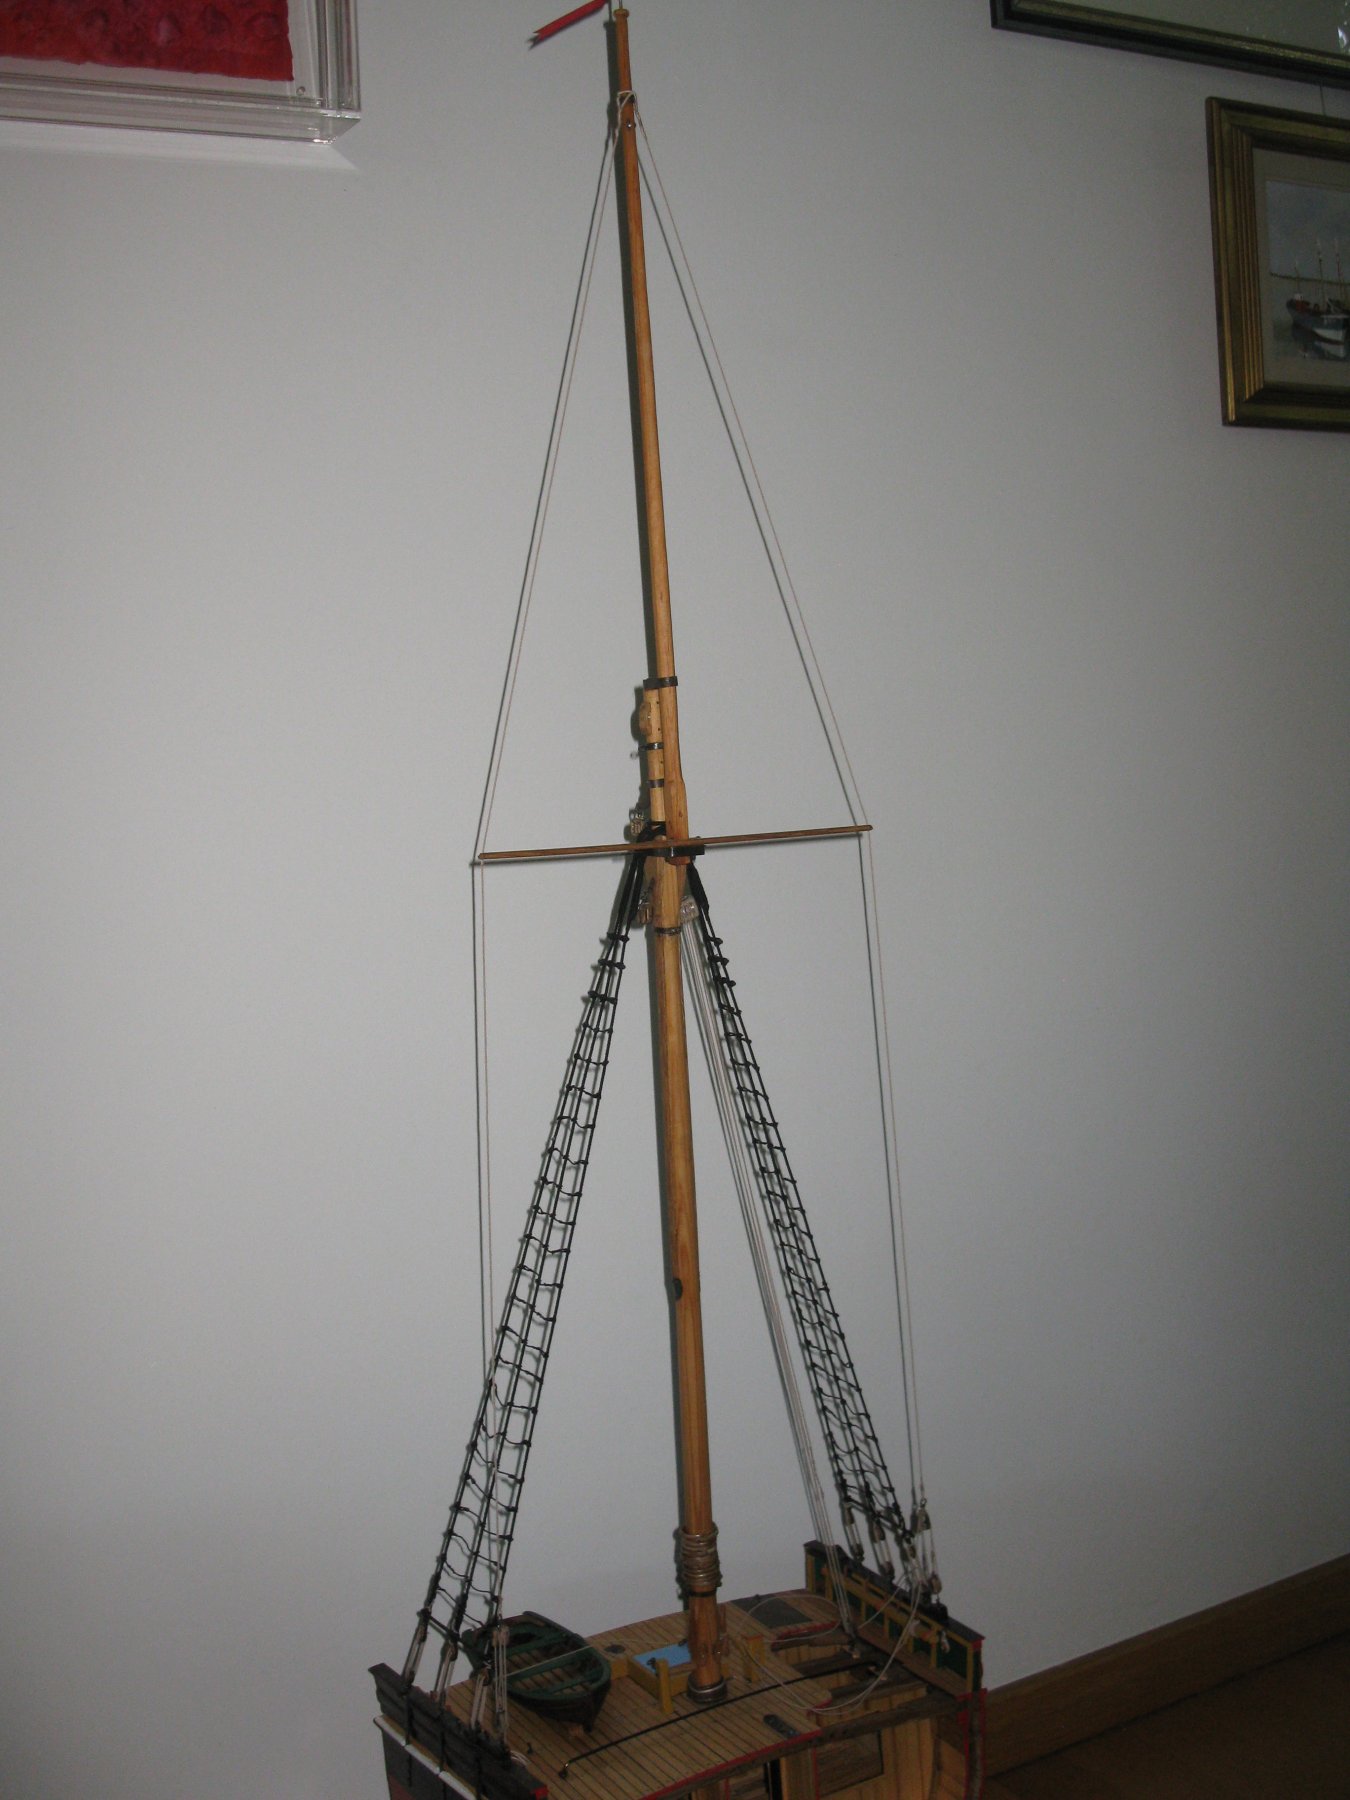
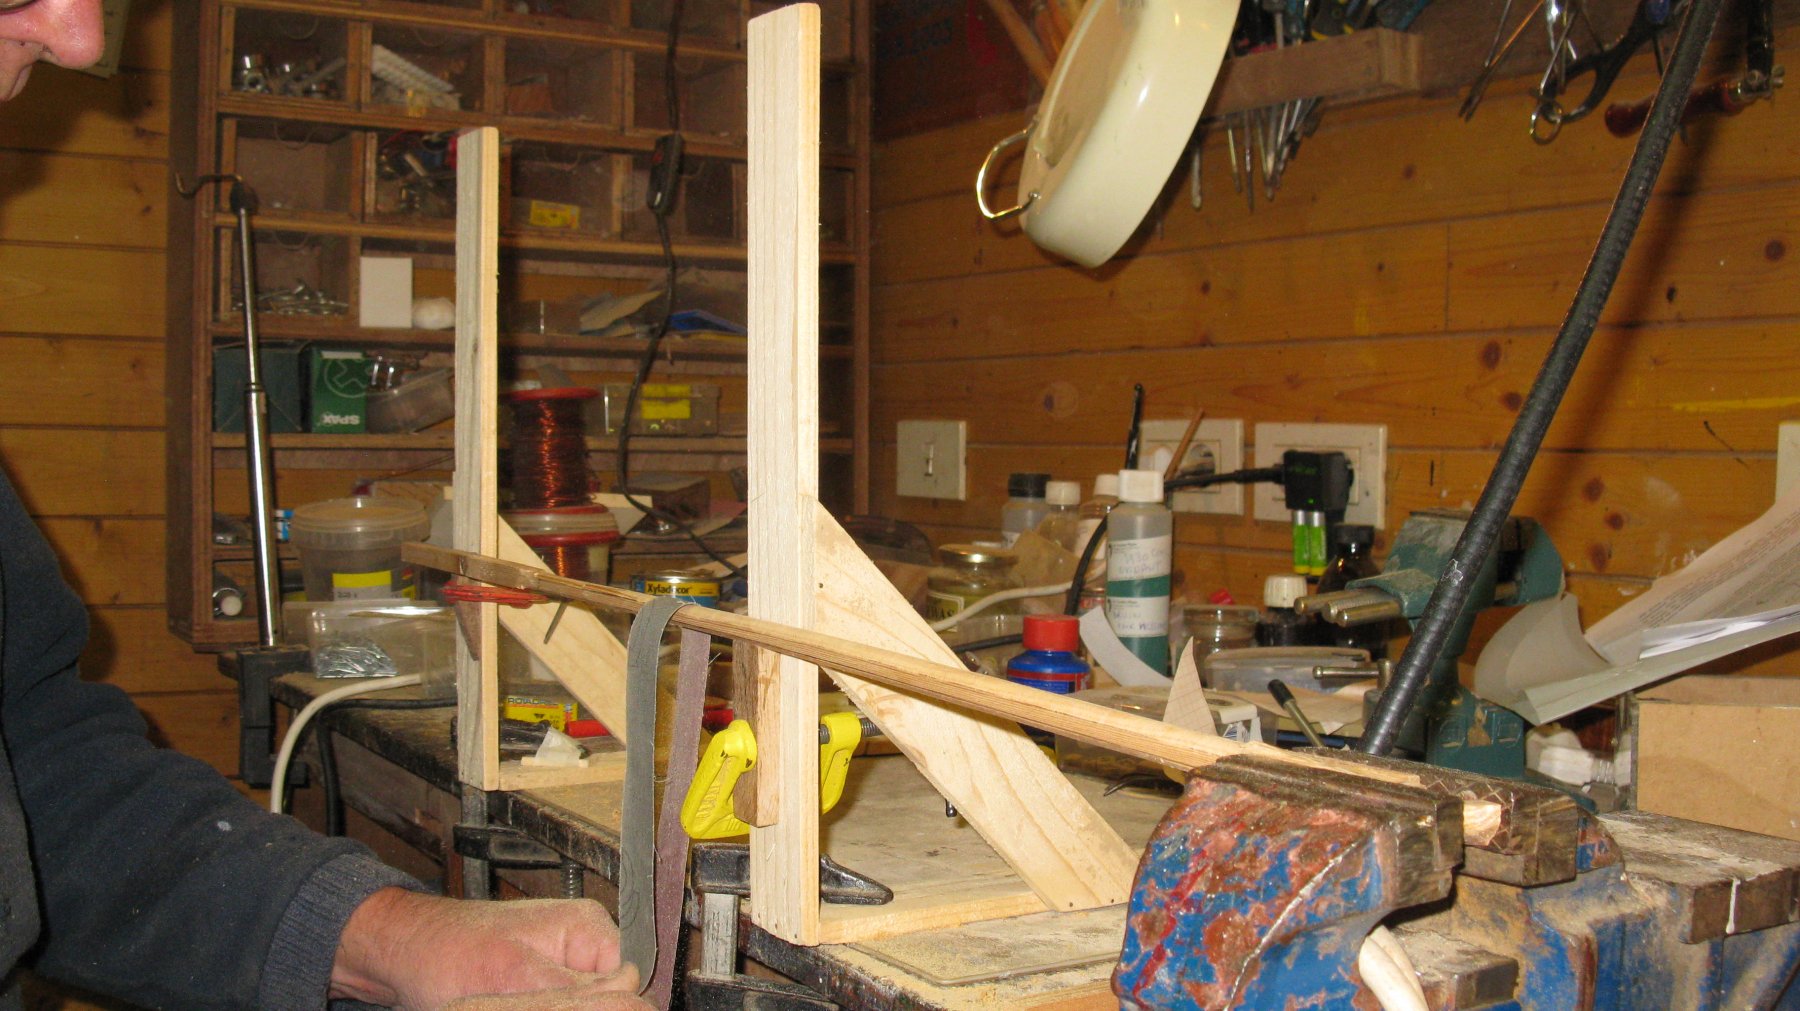
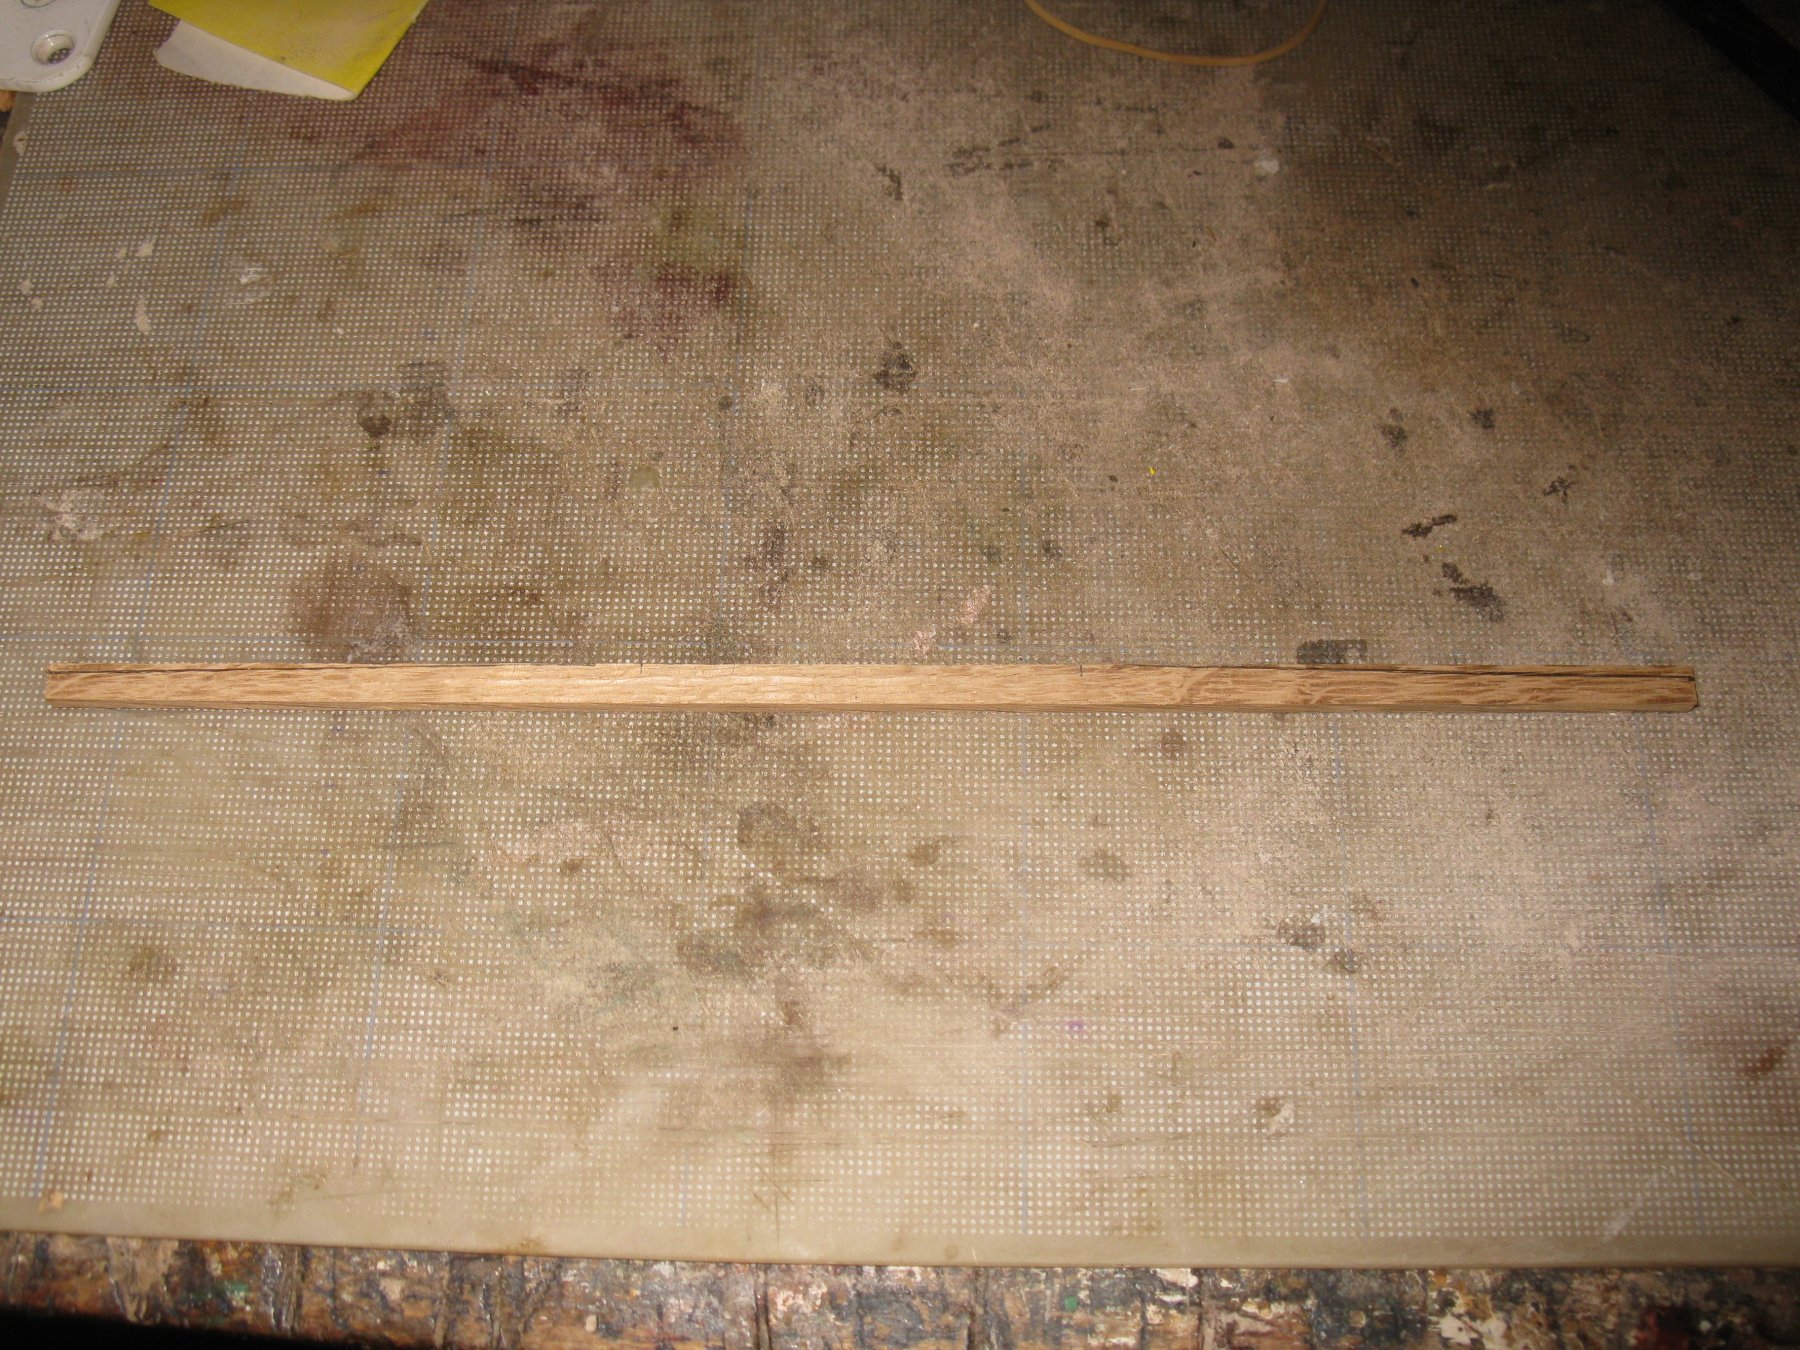
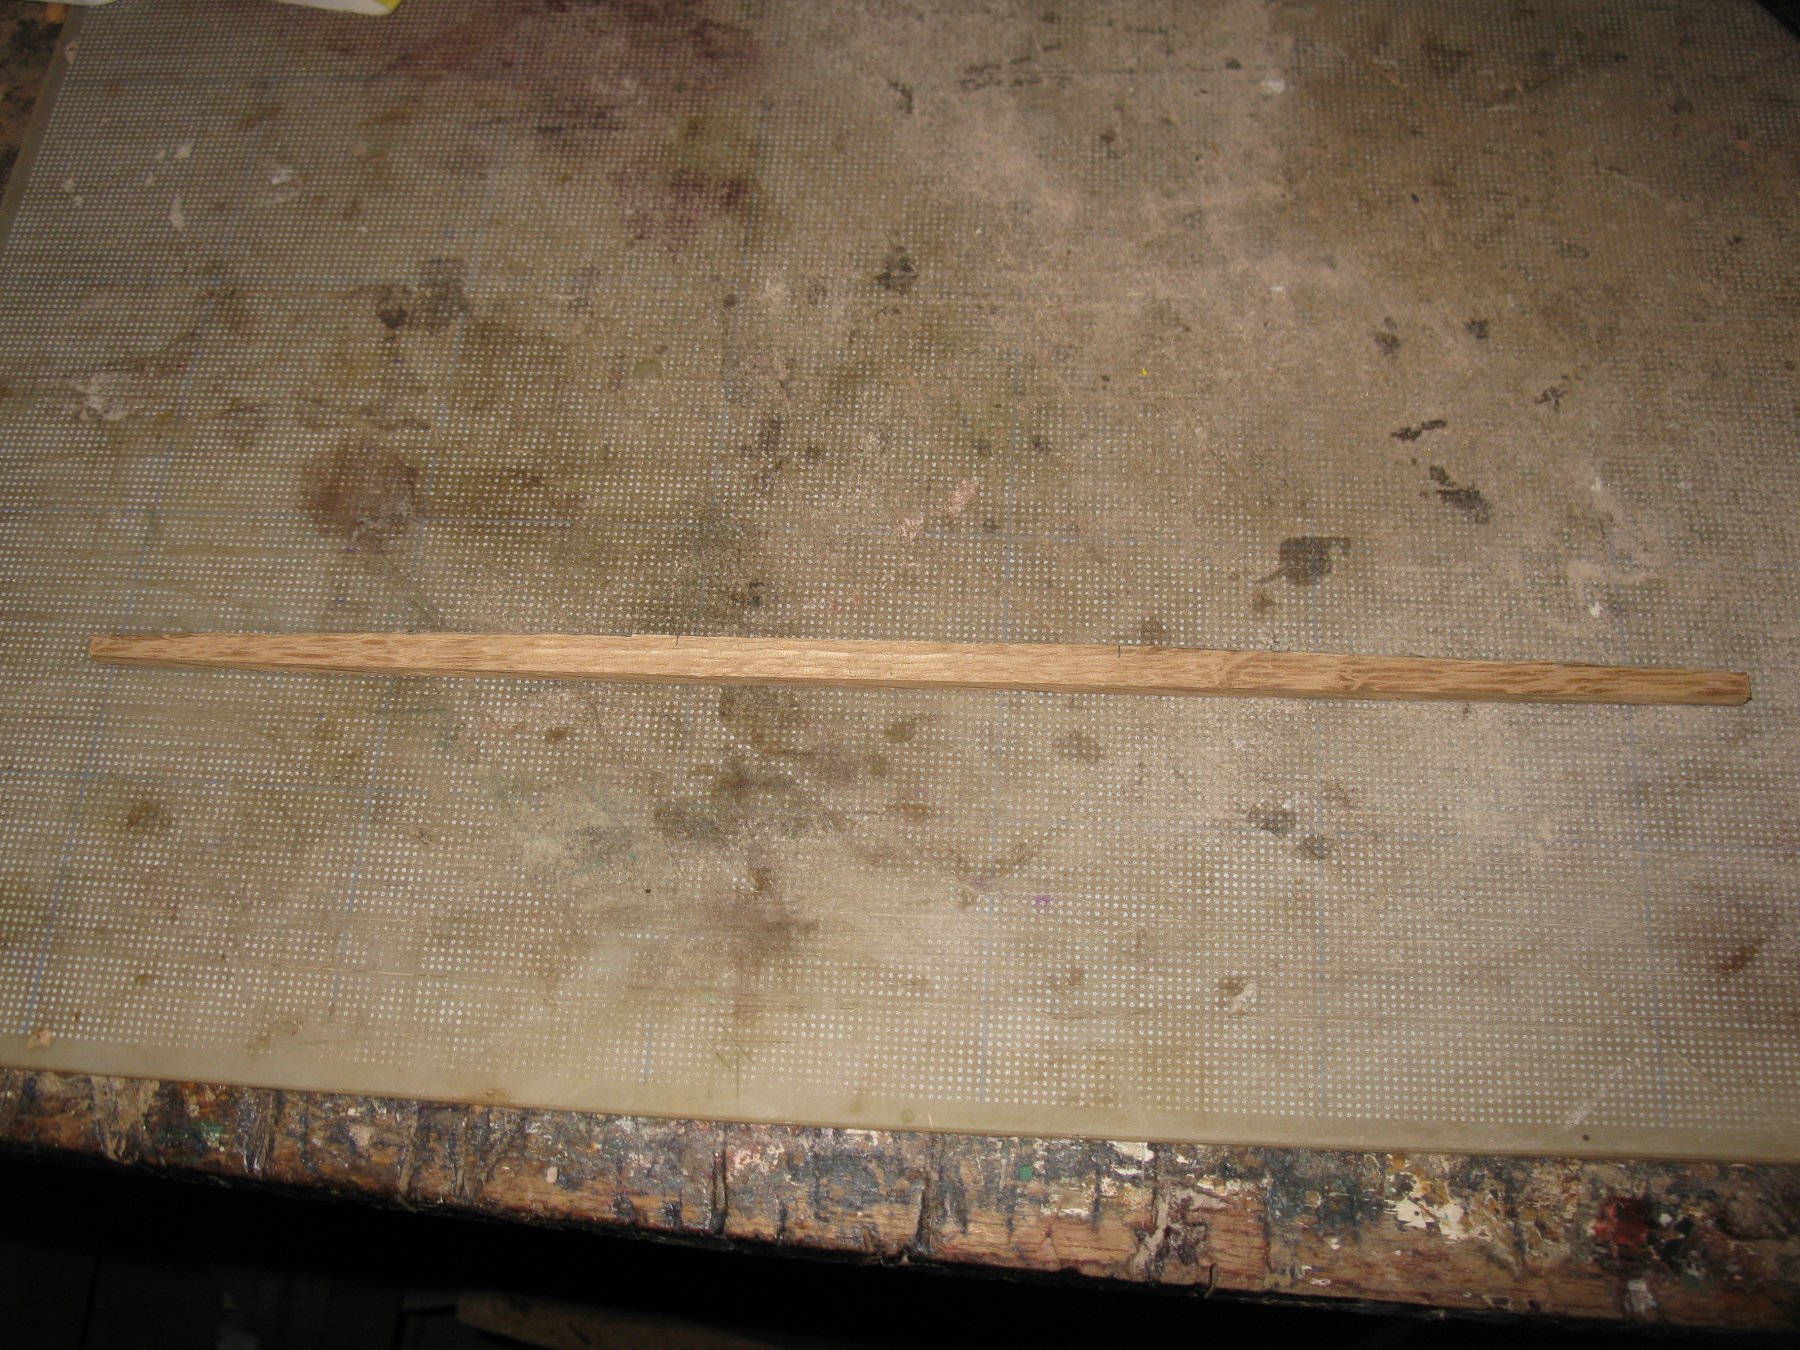
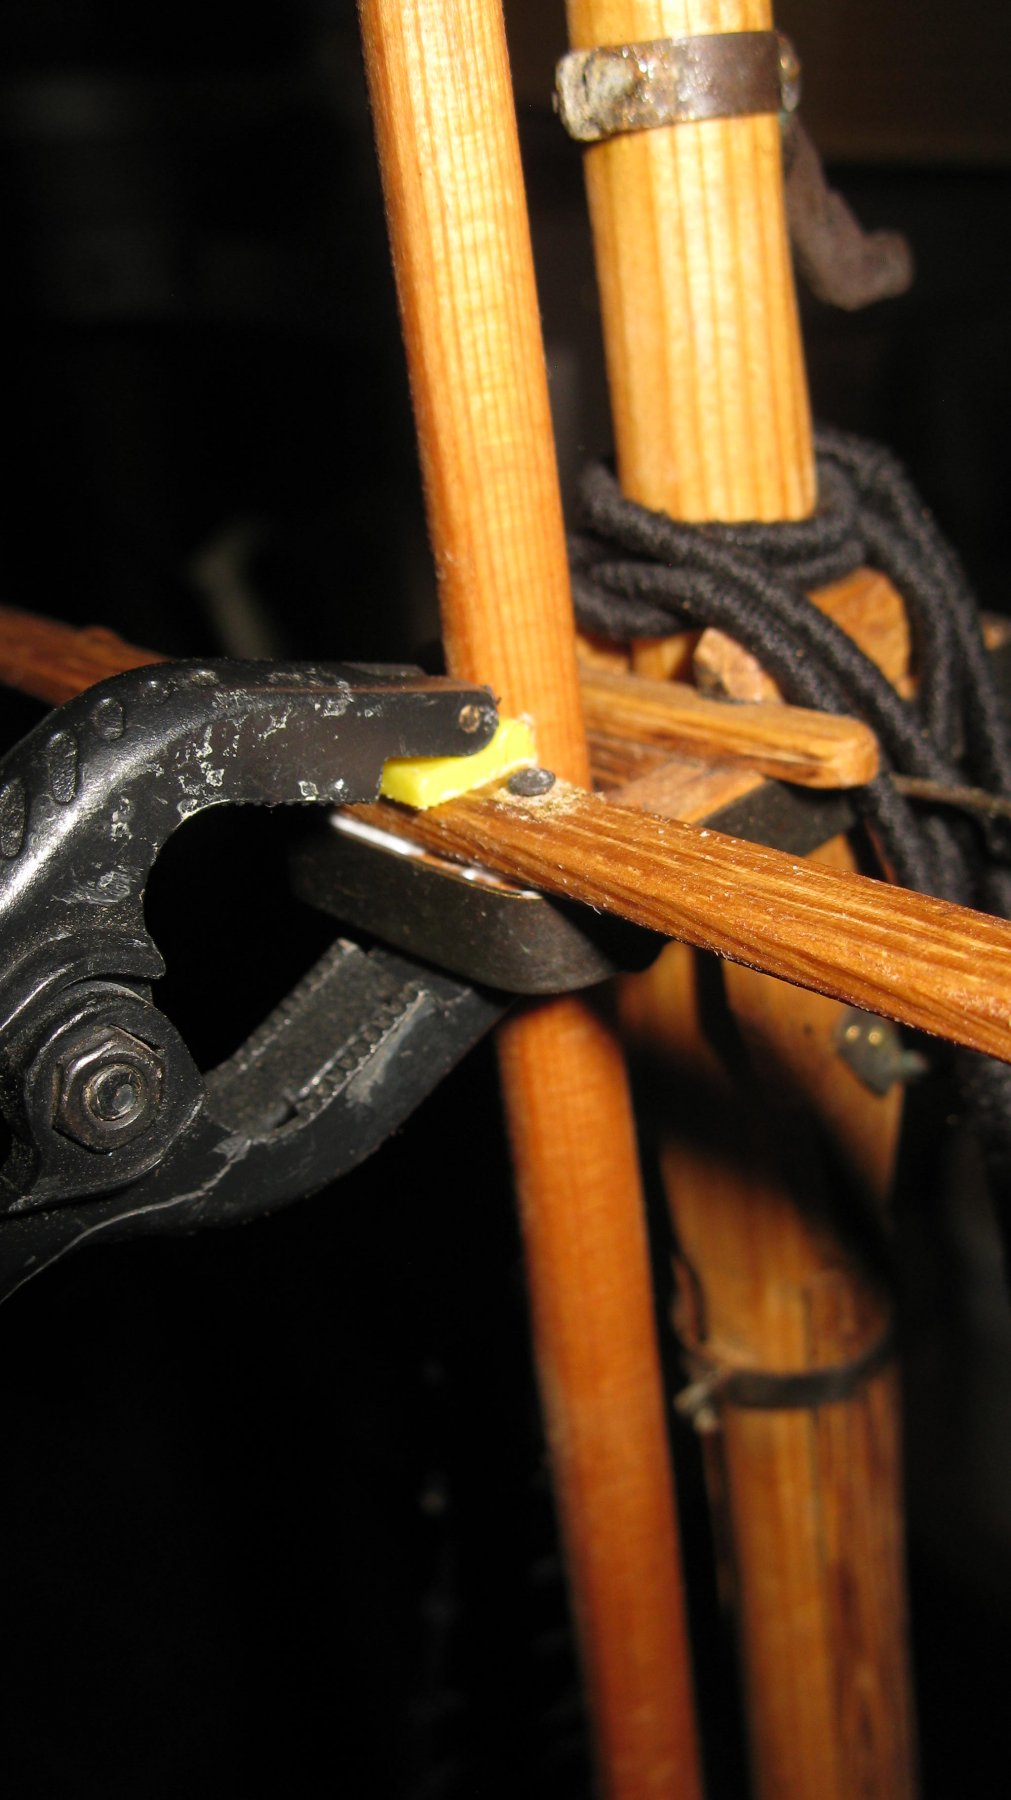
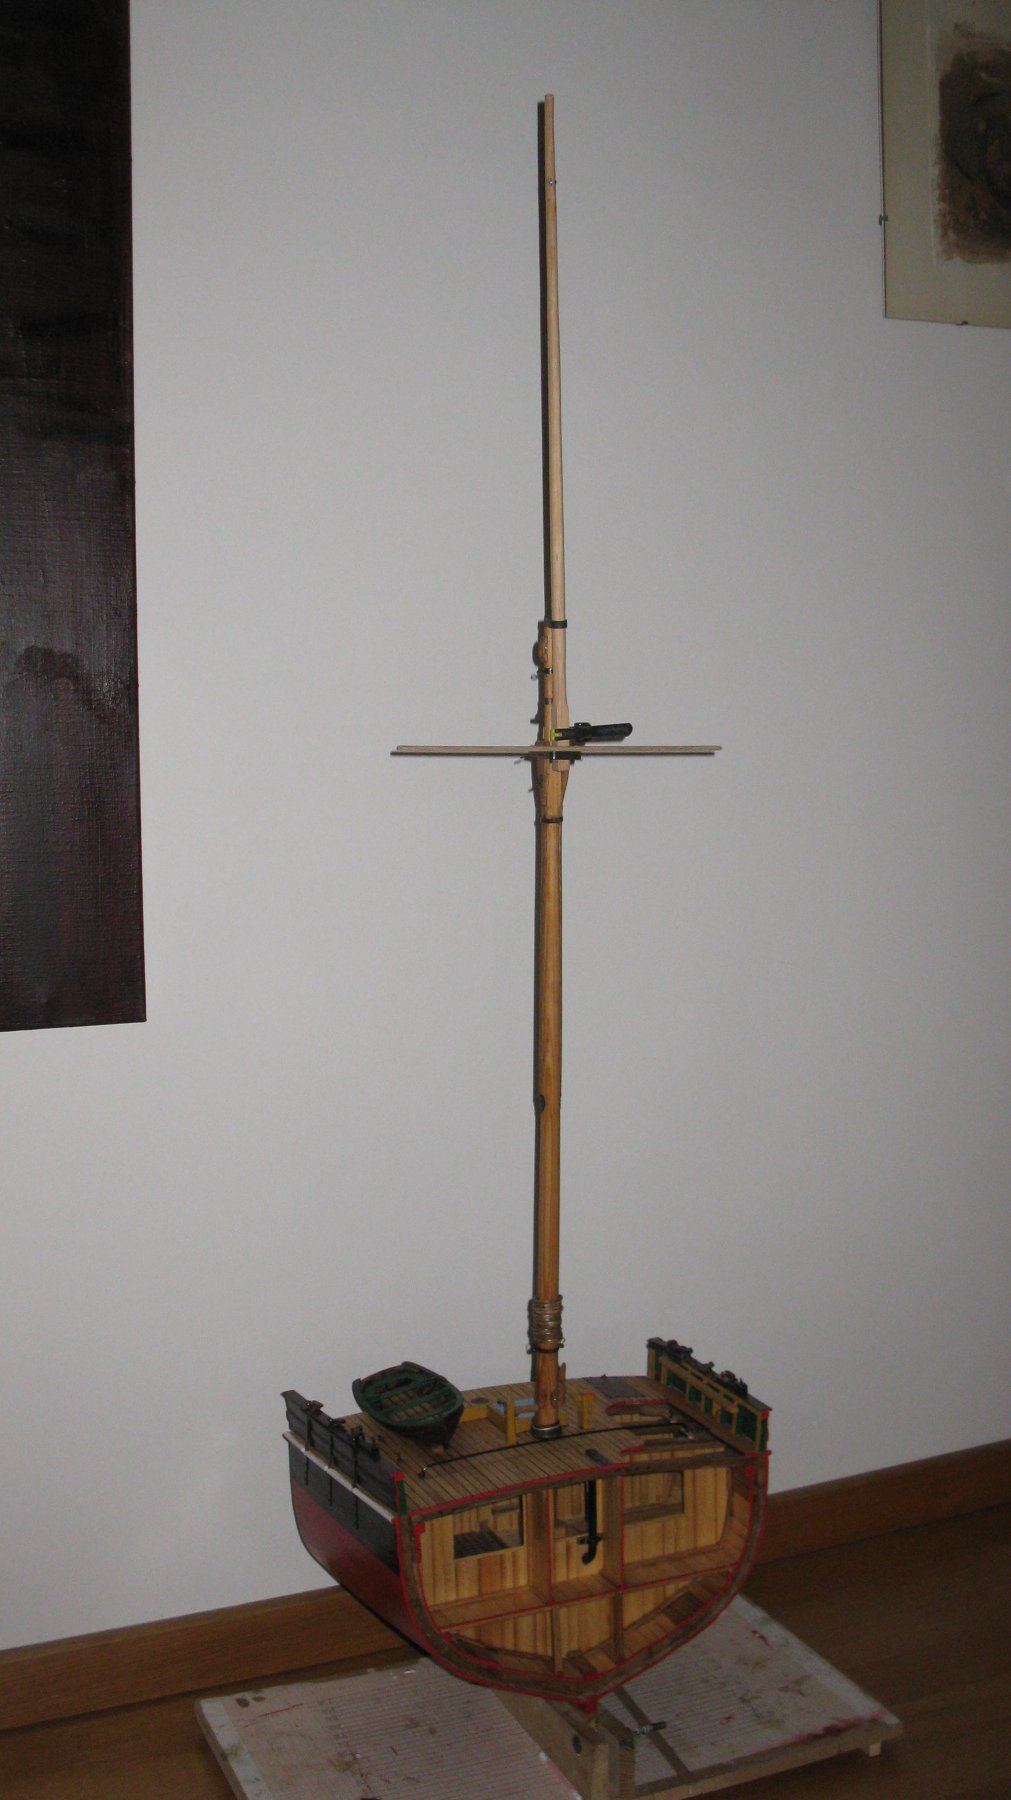
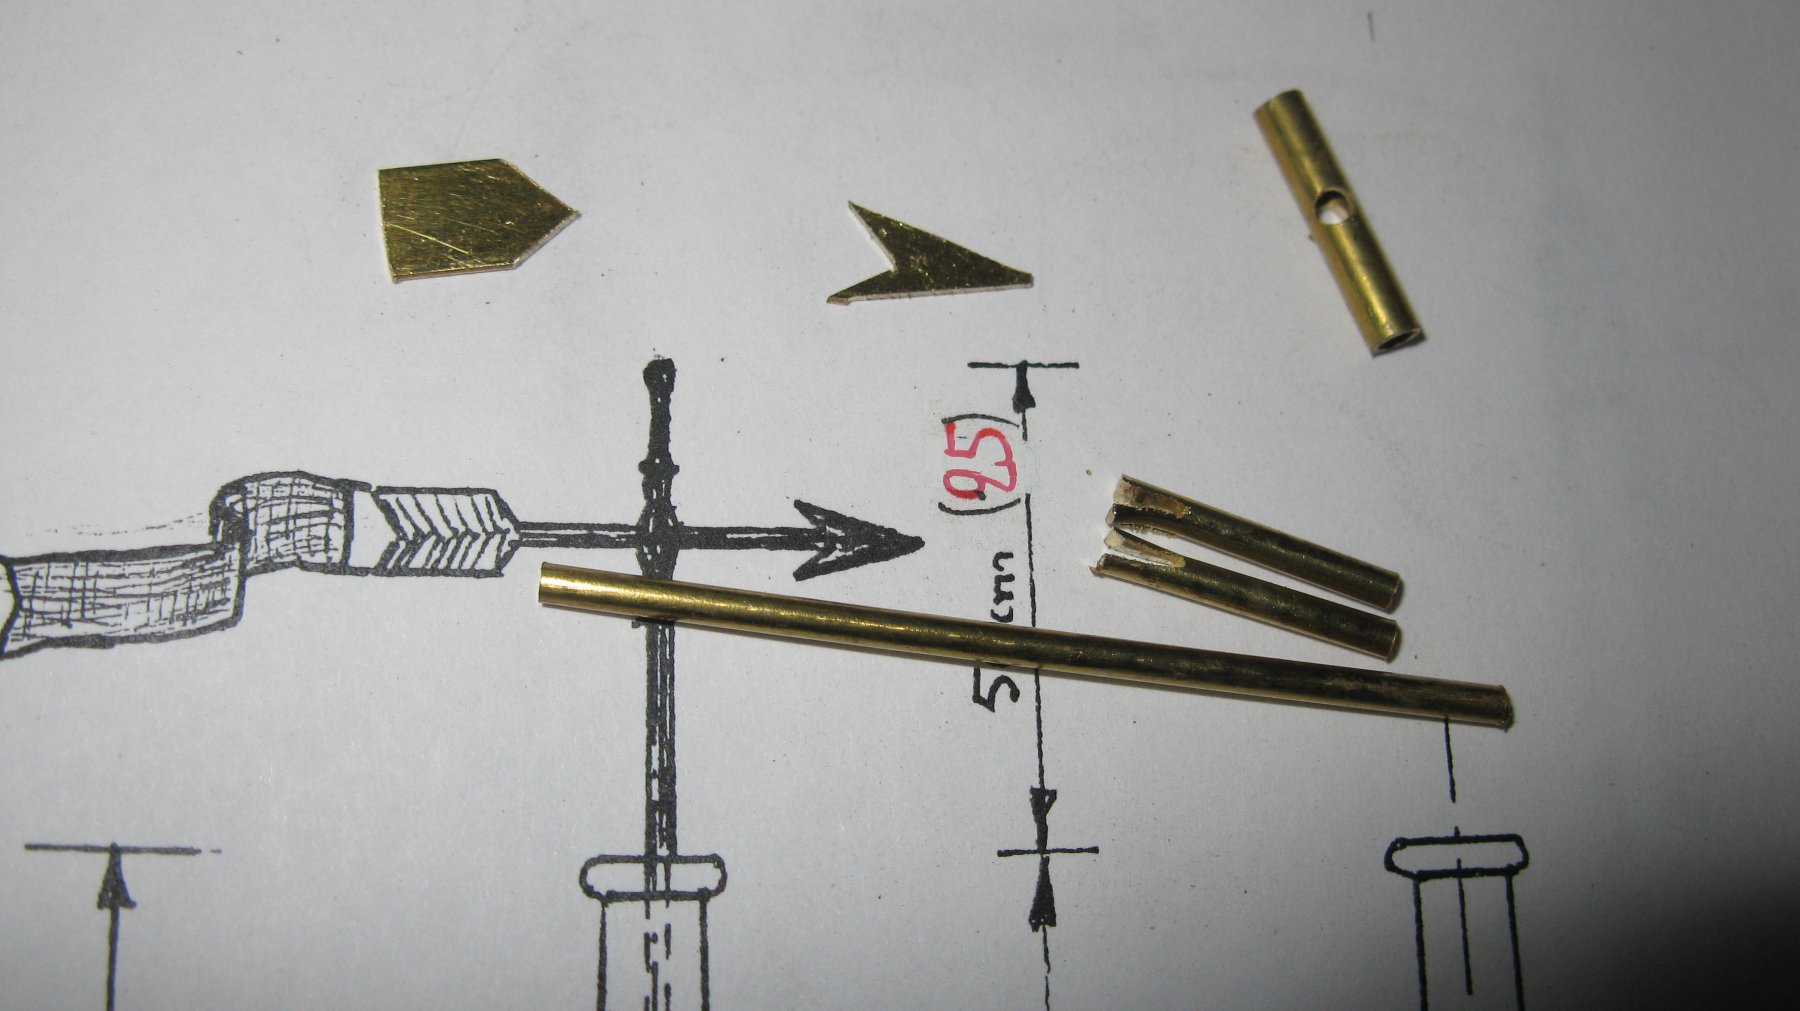
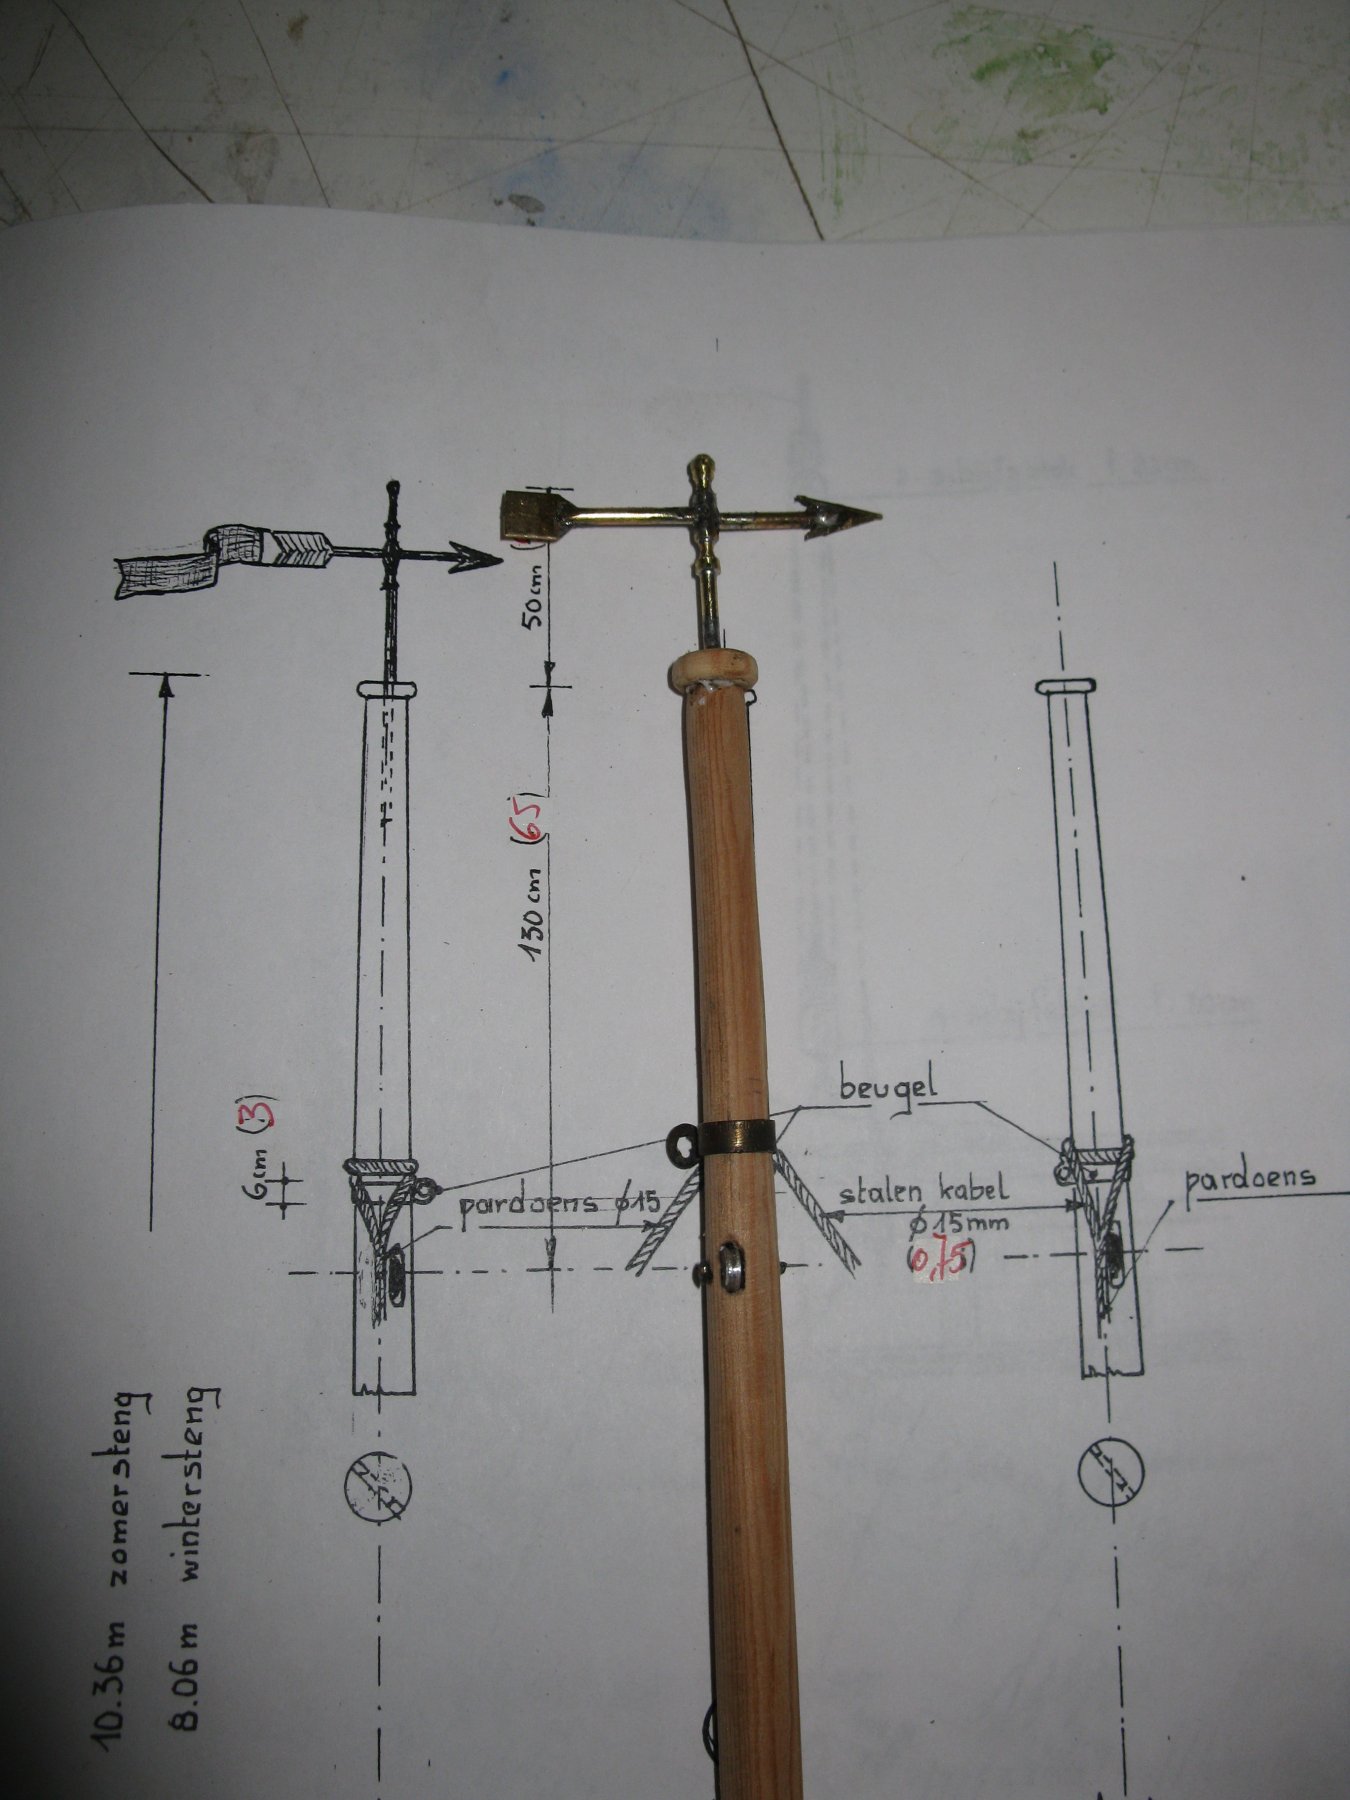
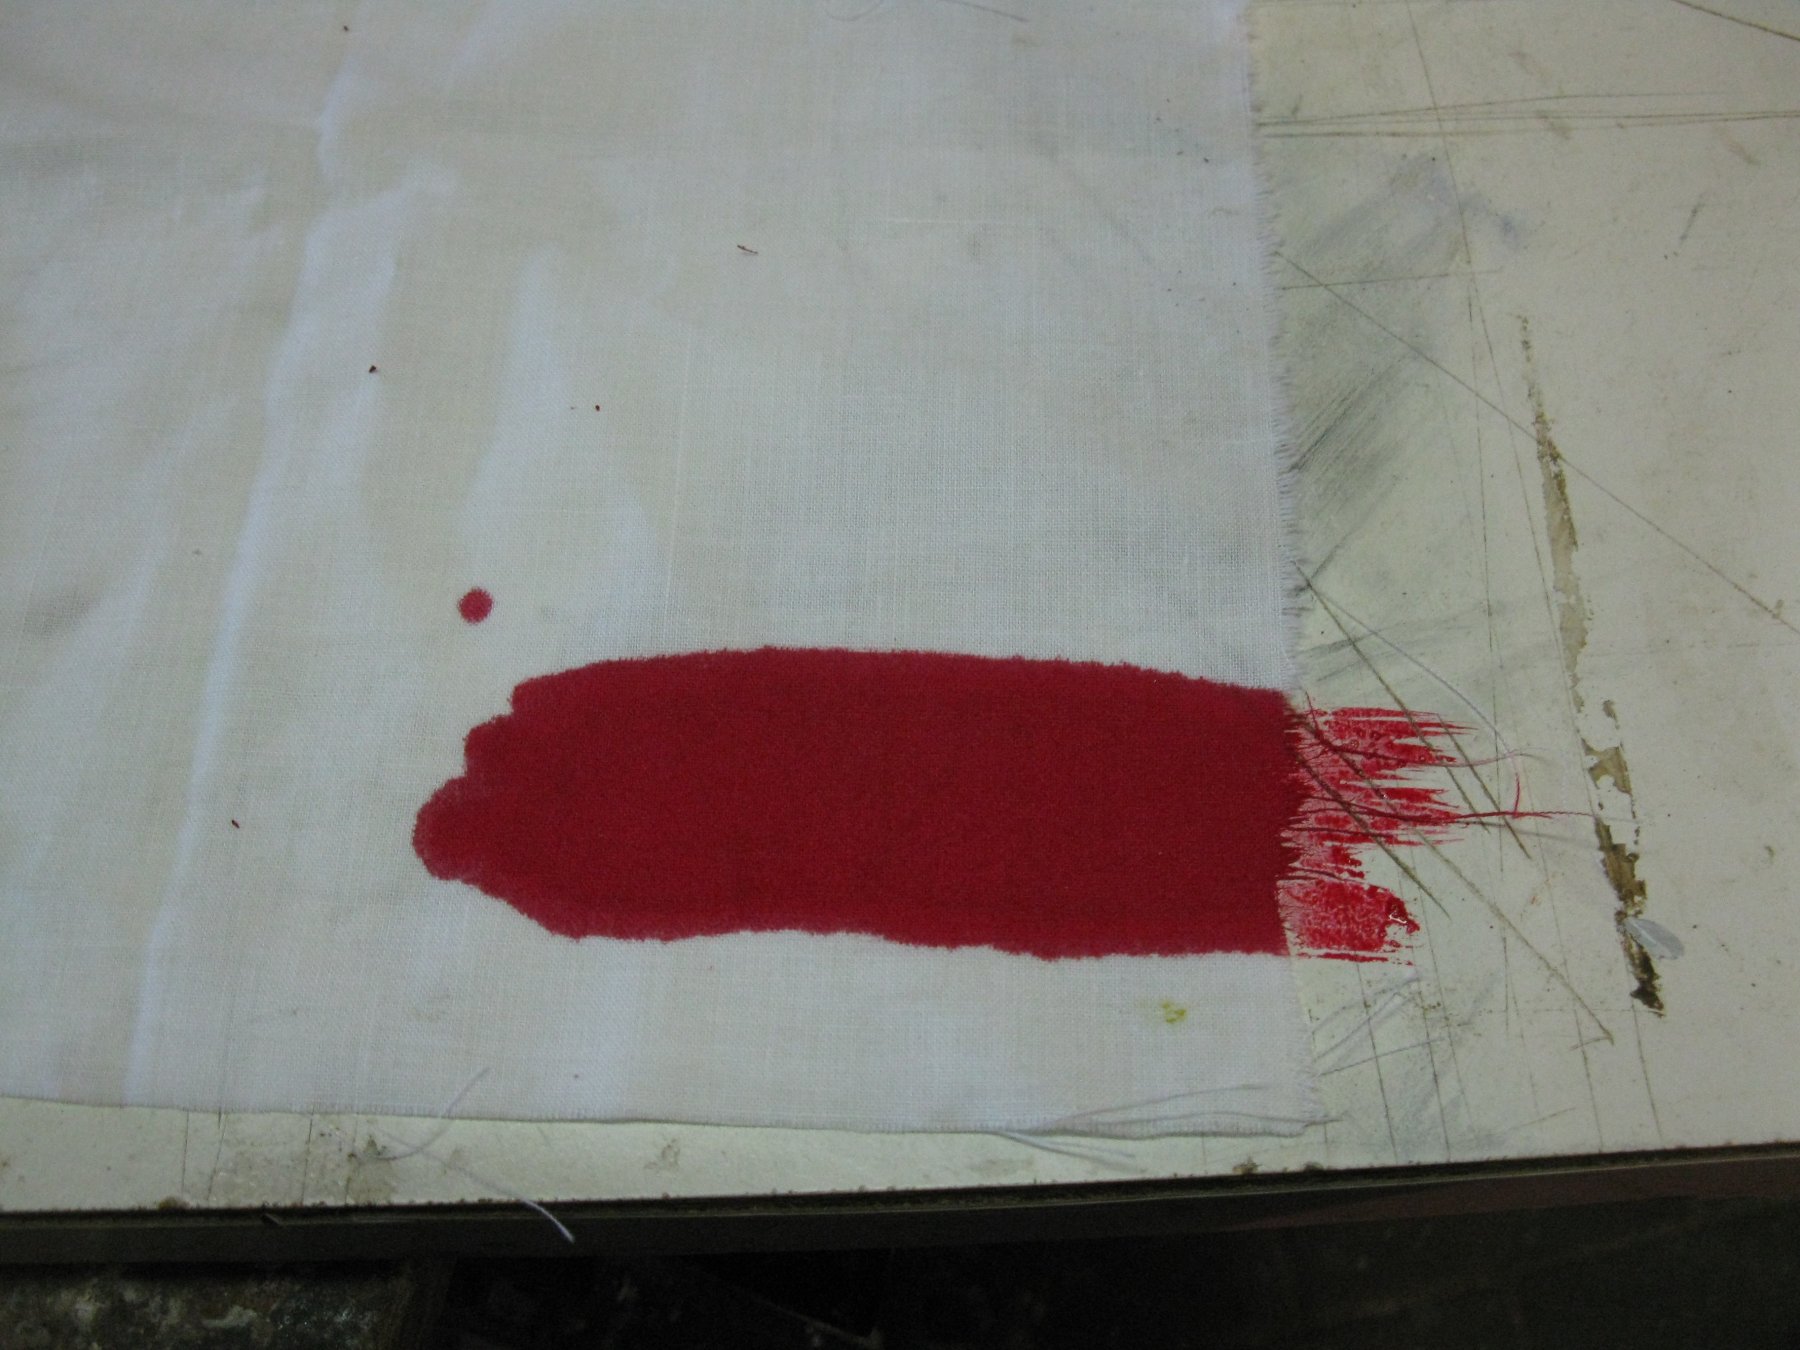
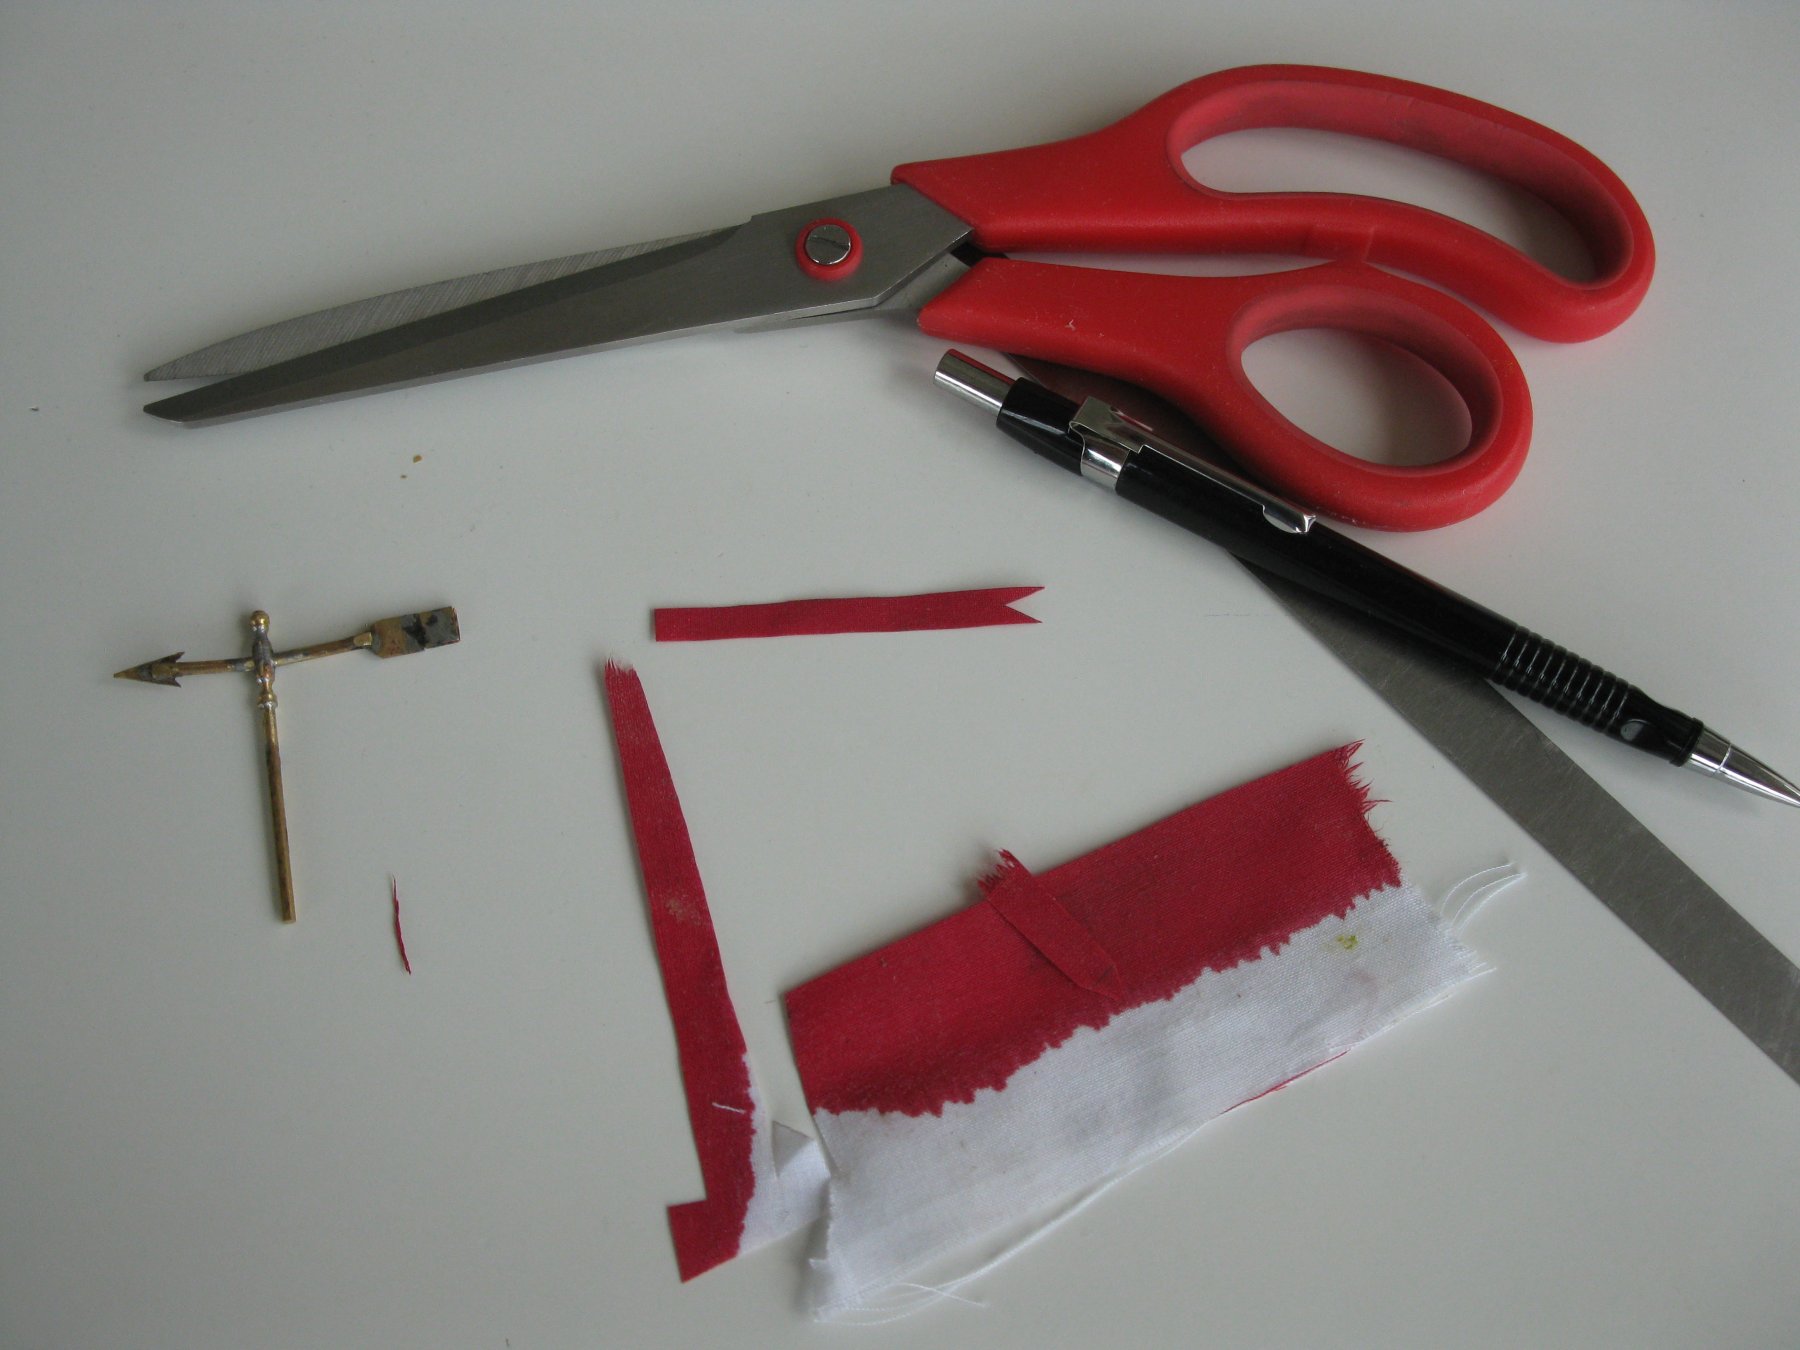
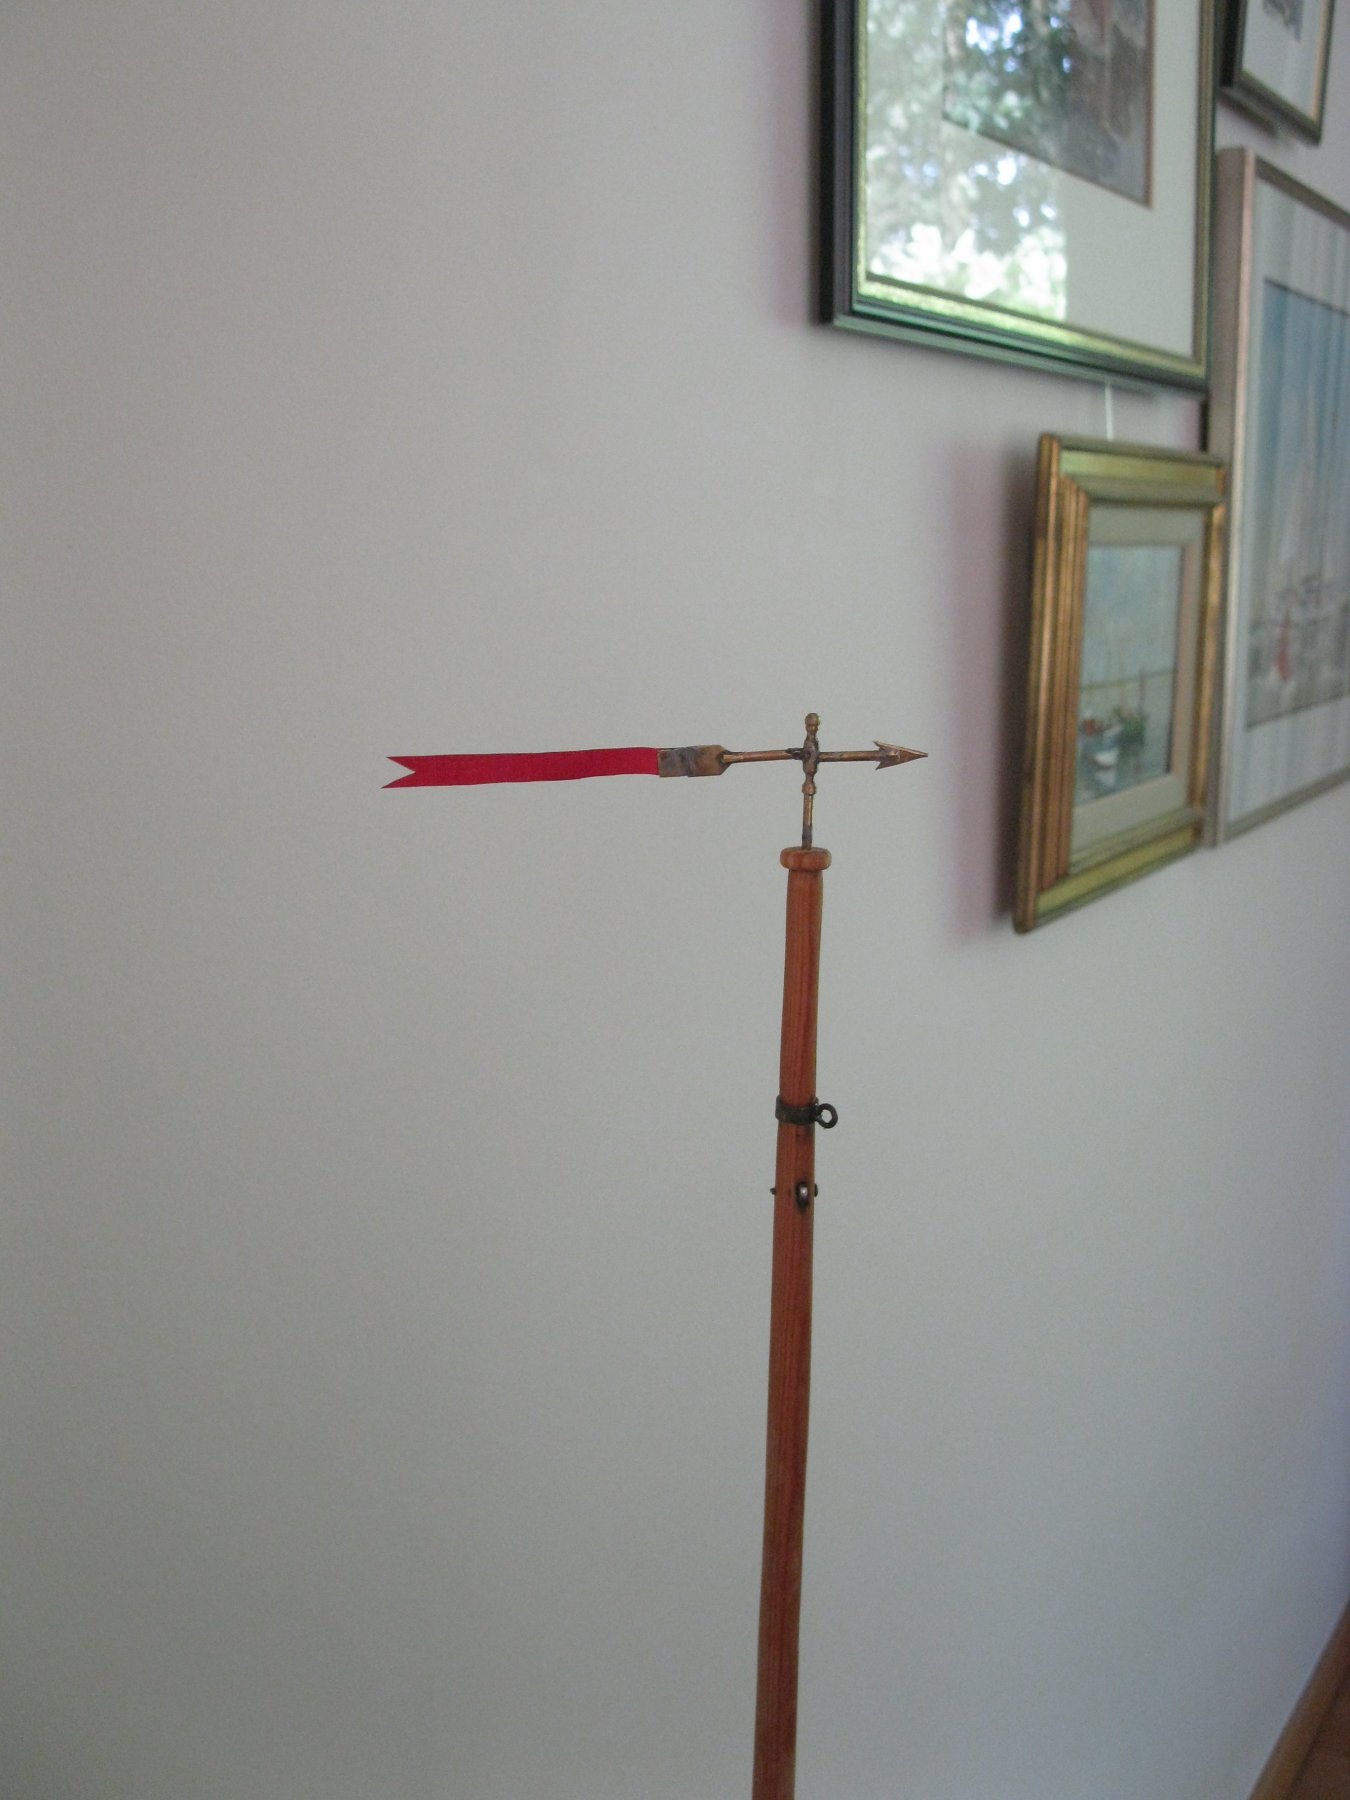
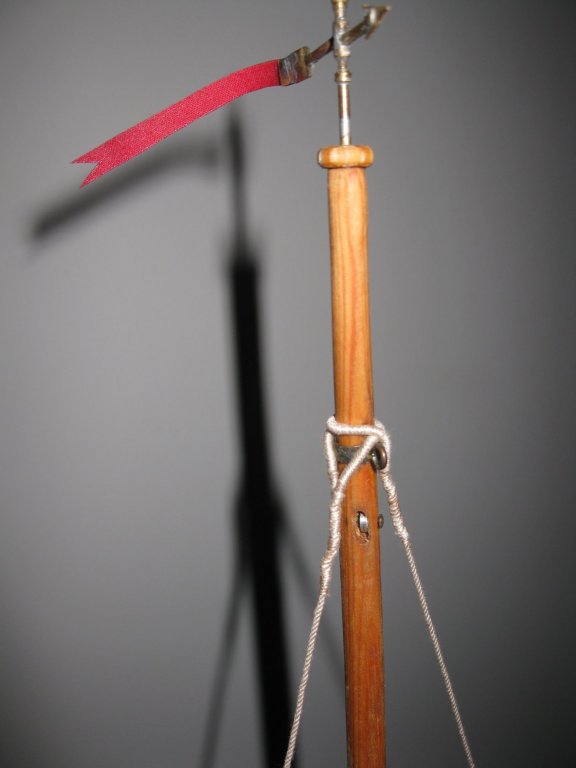
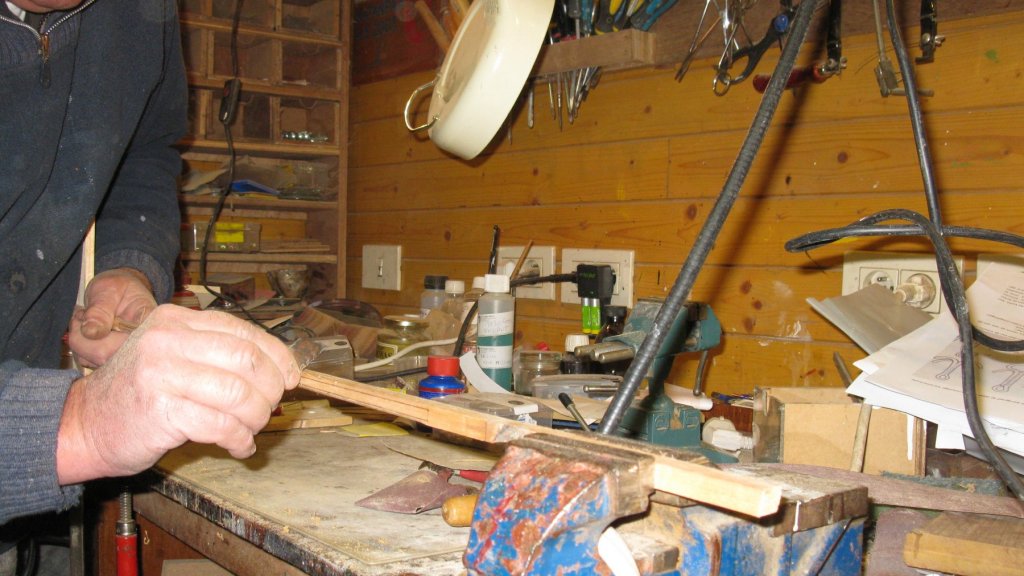
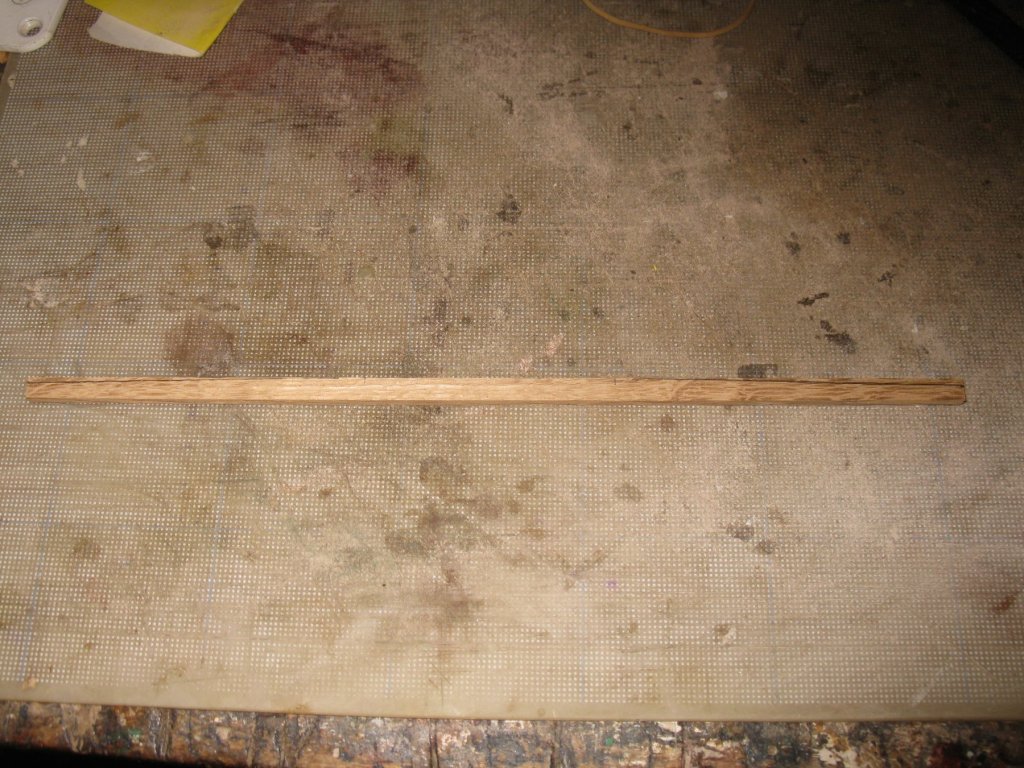
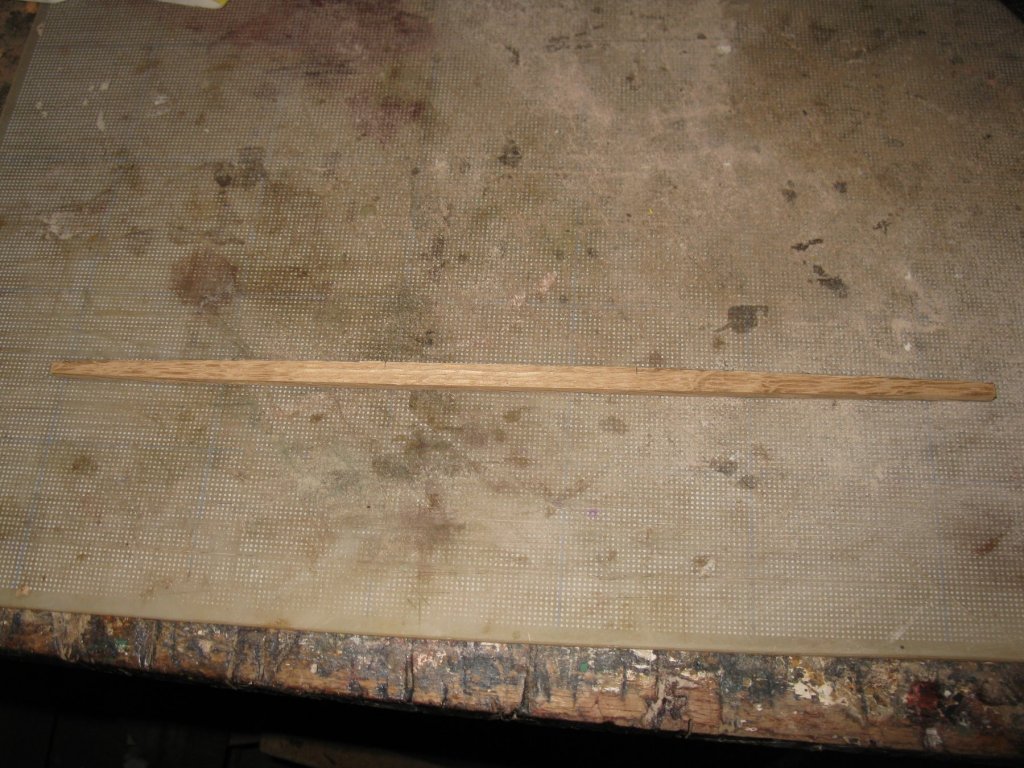
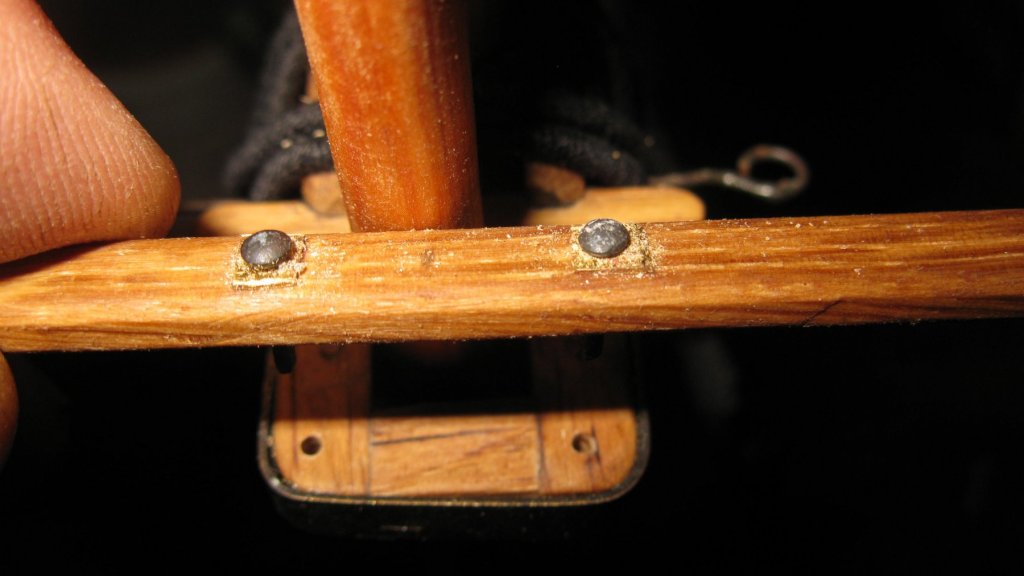
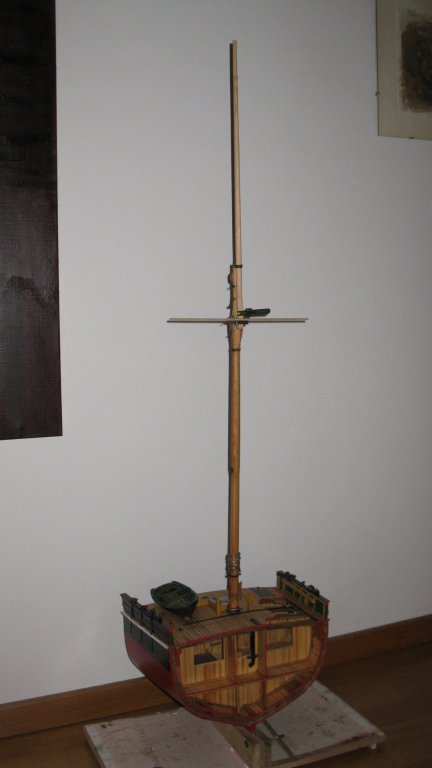
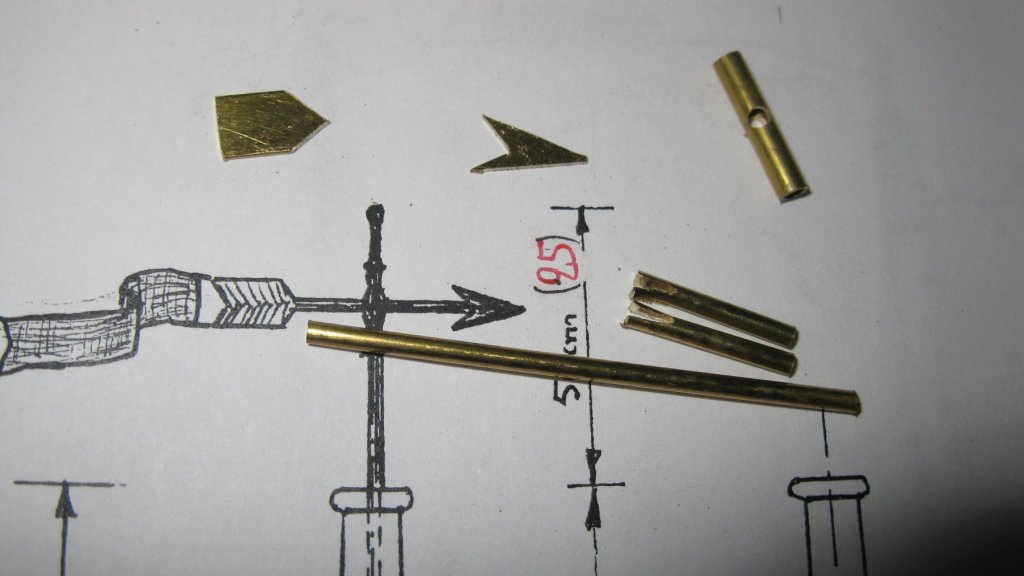
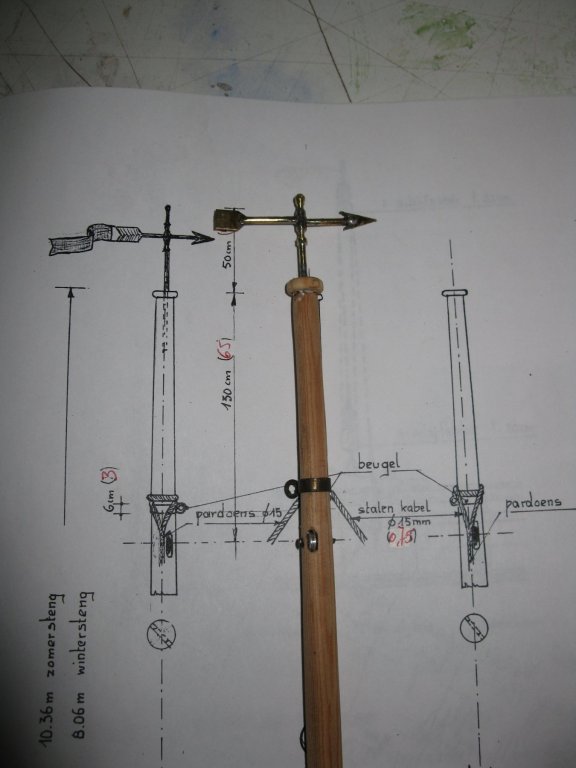
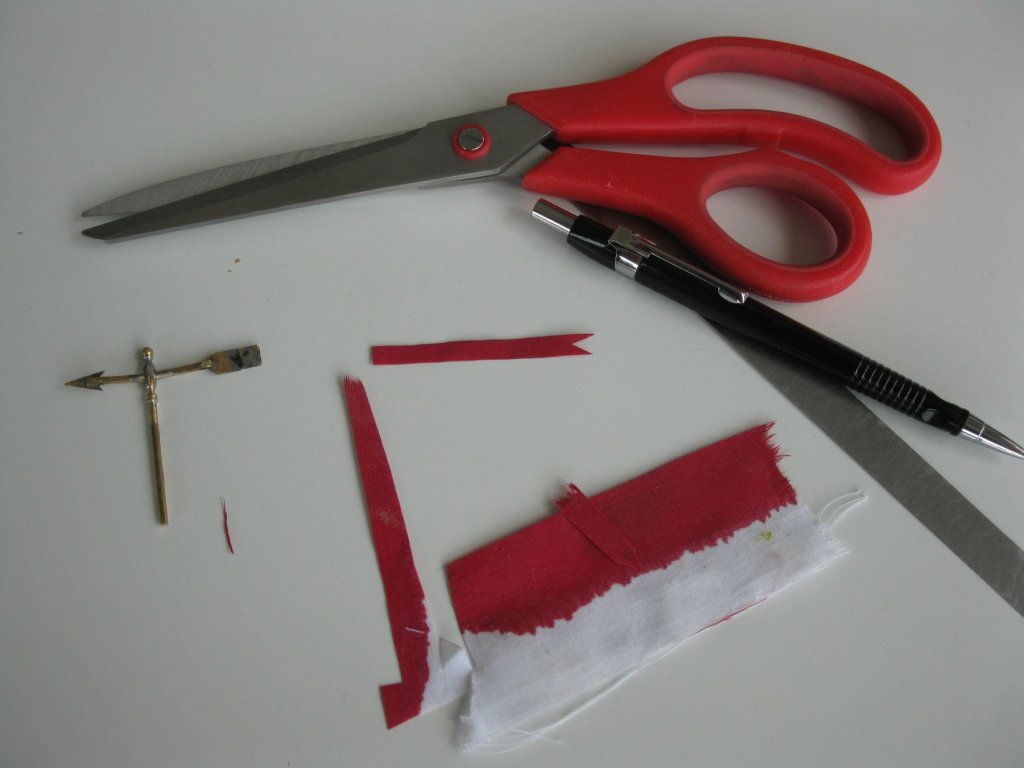
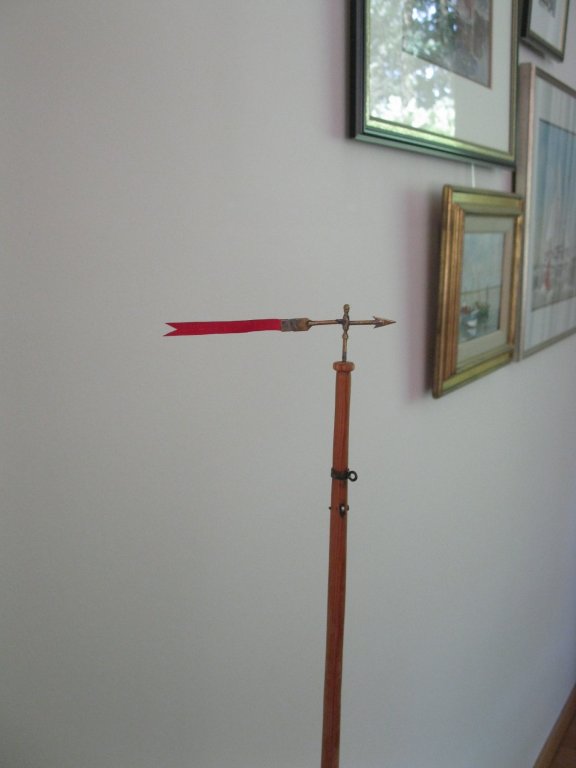
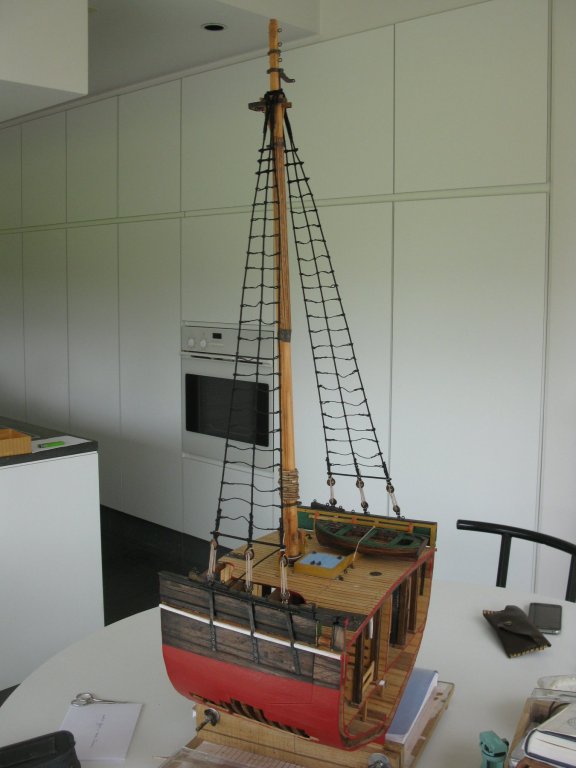
19.14. The spars. The topgallant and the spreader A lot of smacks had two topgallants, a long one for use in summer (approx 10.30m long) and a shorter one for the winter (approx 8m long). I will place a summer topgallant on the mast. To make the topgallant I move from the kitchen back to the workshop. The making process is almost identical of that of the mast. First I saw and plane a pine stick in a squared shape. I scrape it to an octagonal shape. And finally I sand it round. At the frontside of the mast, the spreader is attached on top of the trestletrees. I make the spreader of apiece of oak. The backside of the spreader narrows towards the outsides. The two holes of the mounting bolts in the middle are reinforced with a square brass plate and in the two ends there is a groove for the backstay. The two mounting bolts fit into the holes in the trestletree. gluing the spreader into place. The mast with spreader and topgallant. The total height of my cross section is now 135cm (4ft 5in) and there is still a wind vane to be added. The wind vane is made of brass. The parts: Everything soldered together: The vane itself is made of a piece of cotton. I color it with red ink and afterwards I rub it in with textile glue so that it doesn't start to fray. Then I cut out the vane and attach it to the arrow. The wind vane on the mast. Another 2.5cm added to the model height.


- 219 replies
-
- 12
-
-
- smack
- cross-section
- (and 2 more)
-
Well Carl, I do my best to make it look as much as possible like a smack. Thanks for the reaction. G.L.
- 219 replies
-
- 1
-
-
- smack
- cross-section
- (and 2 more)
-
Very detailed! Nice work Patrick. Your next gun doesn't look very easy to build.
- 756 replies
-
- 4
-
-
- galleon
- golden hind
- (and 2 more)
-
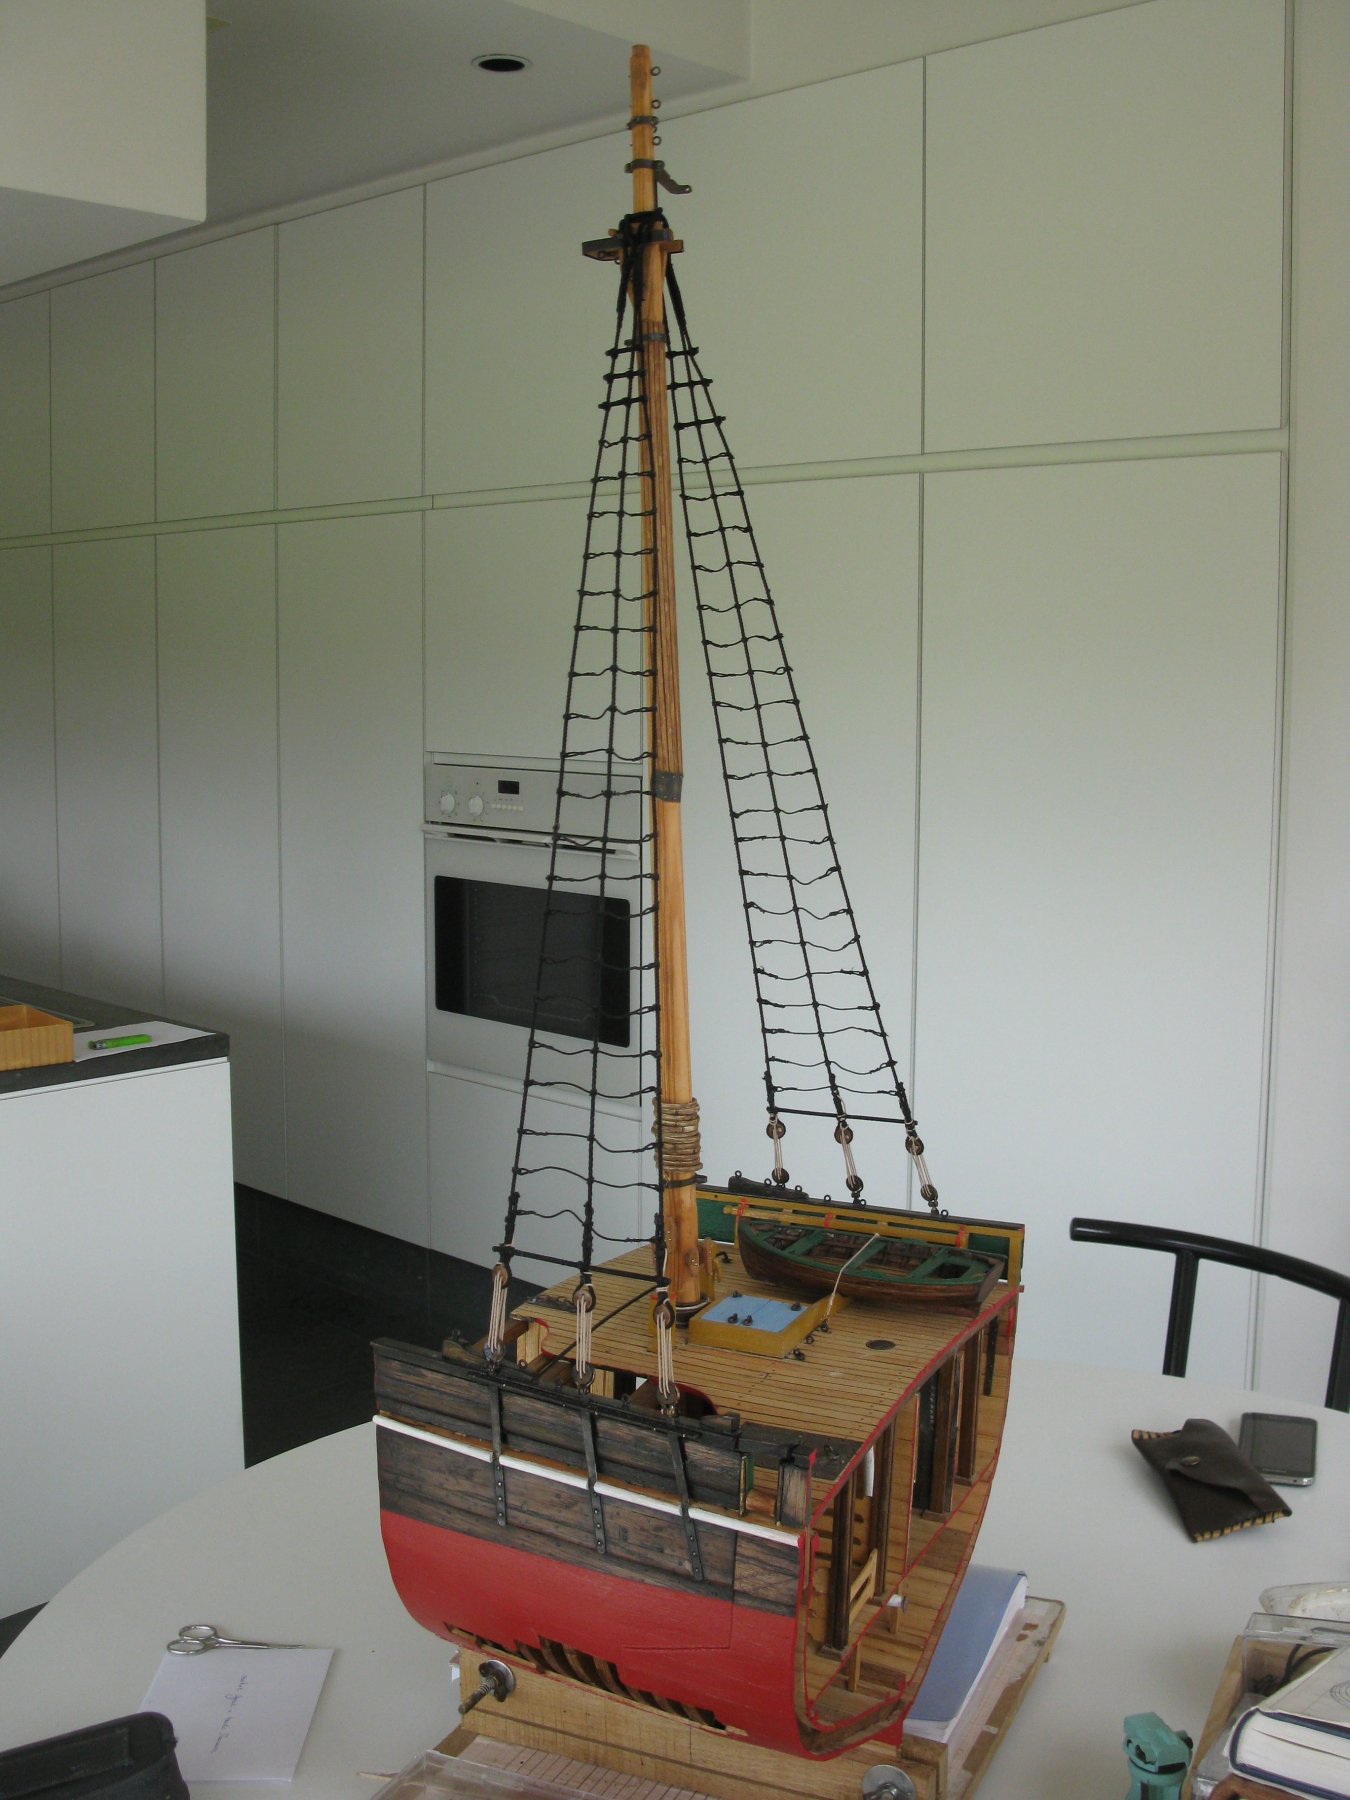
This week, the only thing to report is that the port shrouds are also provided with ratlines and staves.
- 219 replies
-
- 10
-
-
- smack
- cross-section
- (and 2 more)
-
Thank you very much for your encouraging words, Carl, Gary and Pat.
- 219 replies
-
- 2
-
-
- smack
- cross-section
- (and 2 more)