G.L.
-
Posts
1,553 -
Joined
-
Last visited
Content Type
Profiles
Forums
Gallery
Events
Everything posted by G.L.
-
 That was really a very enriching intermezzo. When you make another diorama in the future, please post a log of it on this forum I will be the first to follow.
 -
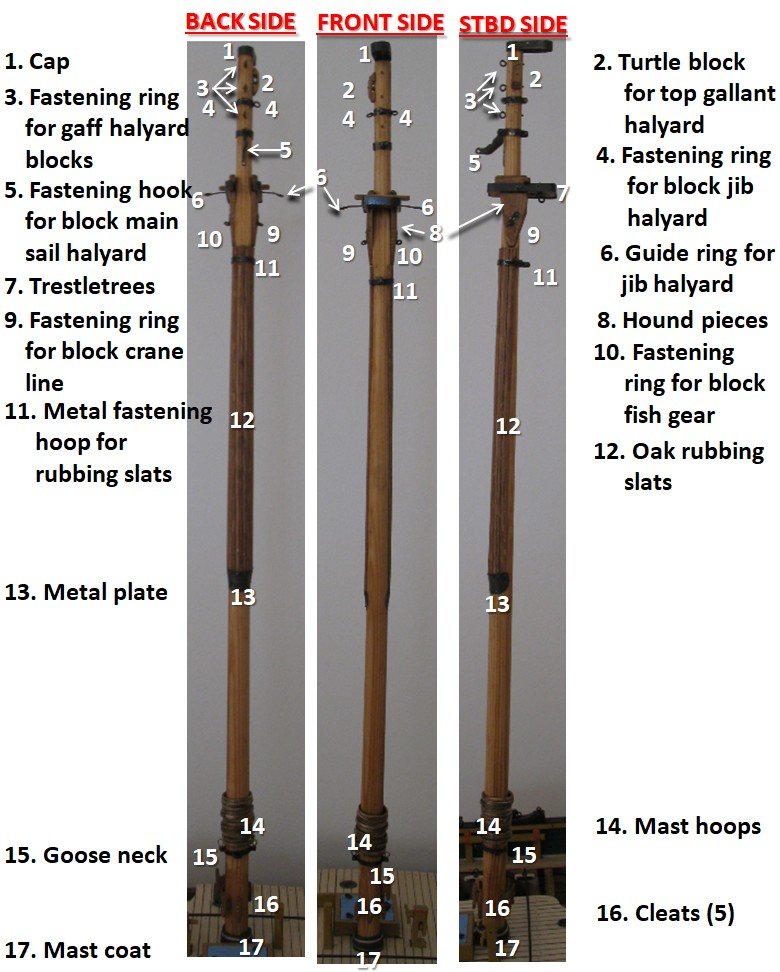
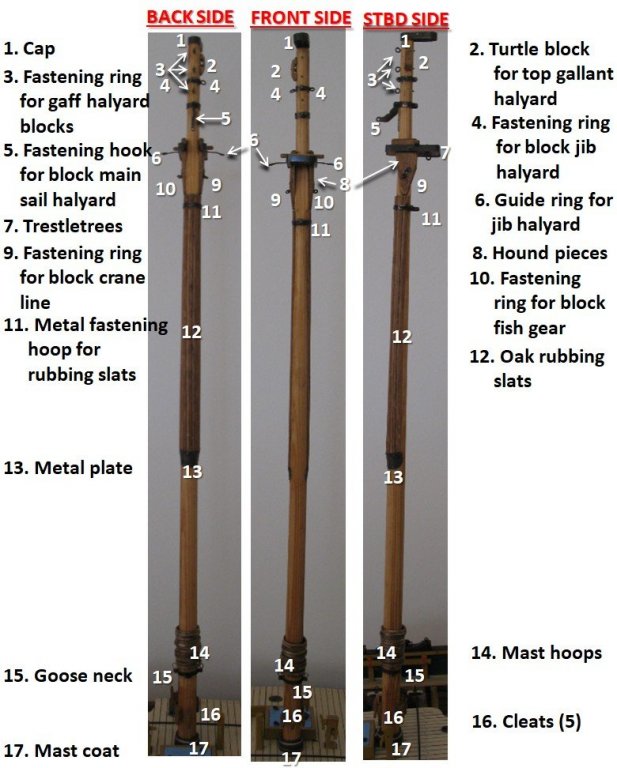
For those who lost the thread of my story; an overview of the mast fittings:
- 219 replies
-
- 9
-

-
- smack
- cross-section
- (and 2 more)
-
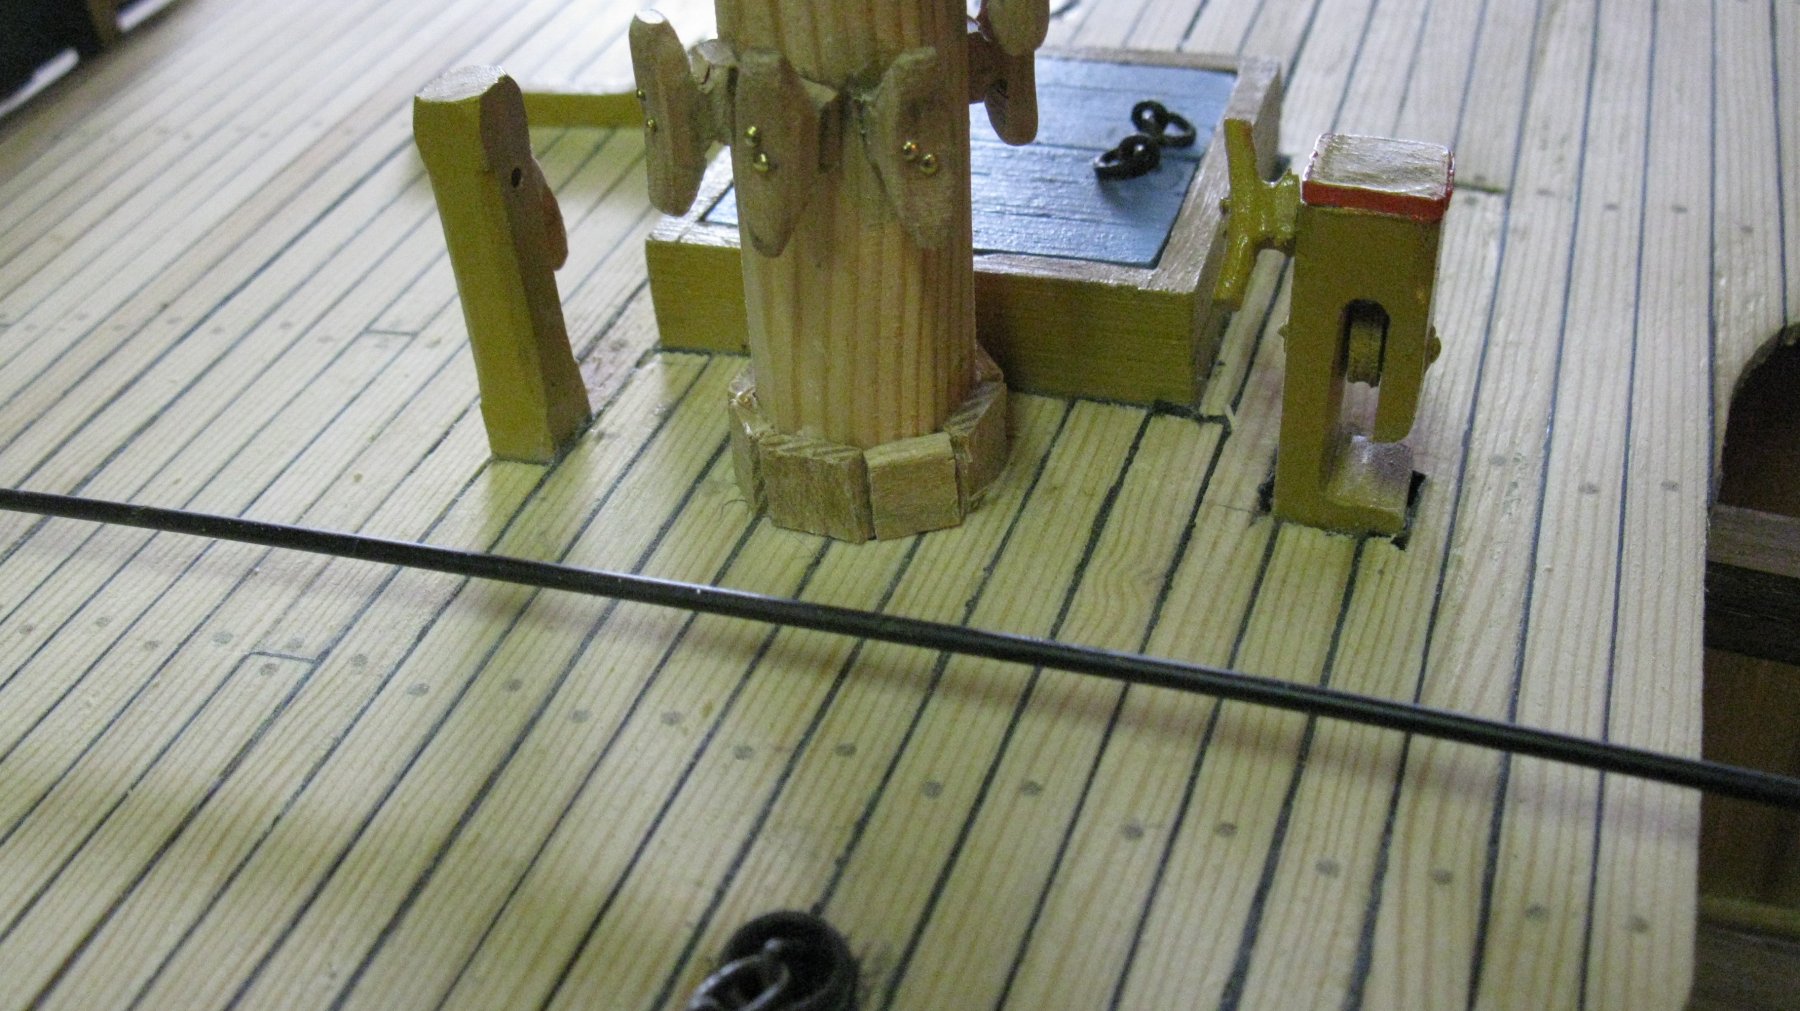
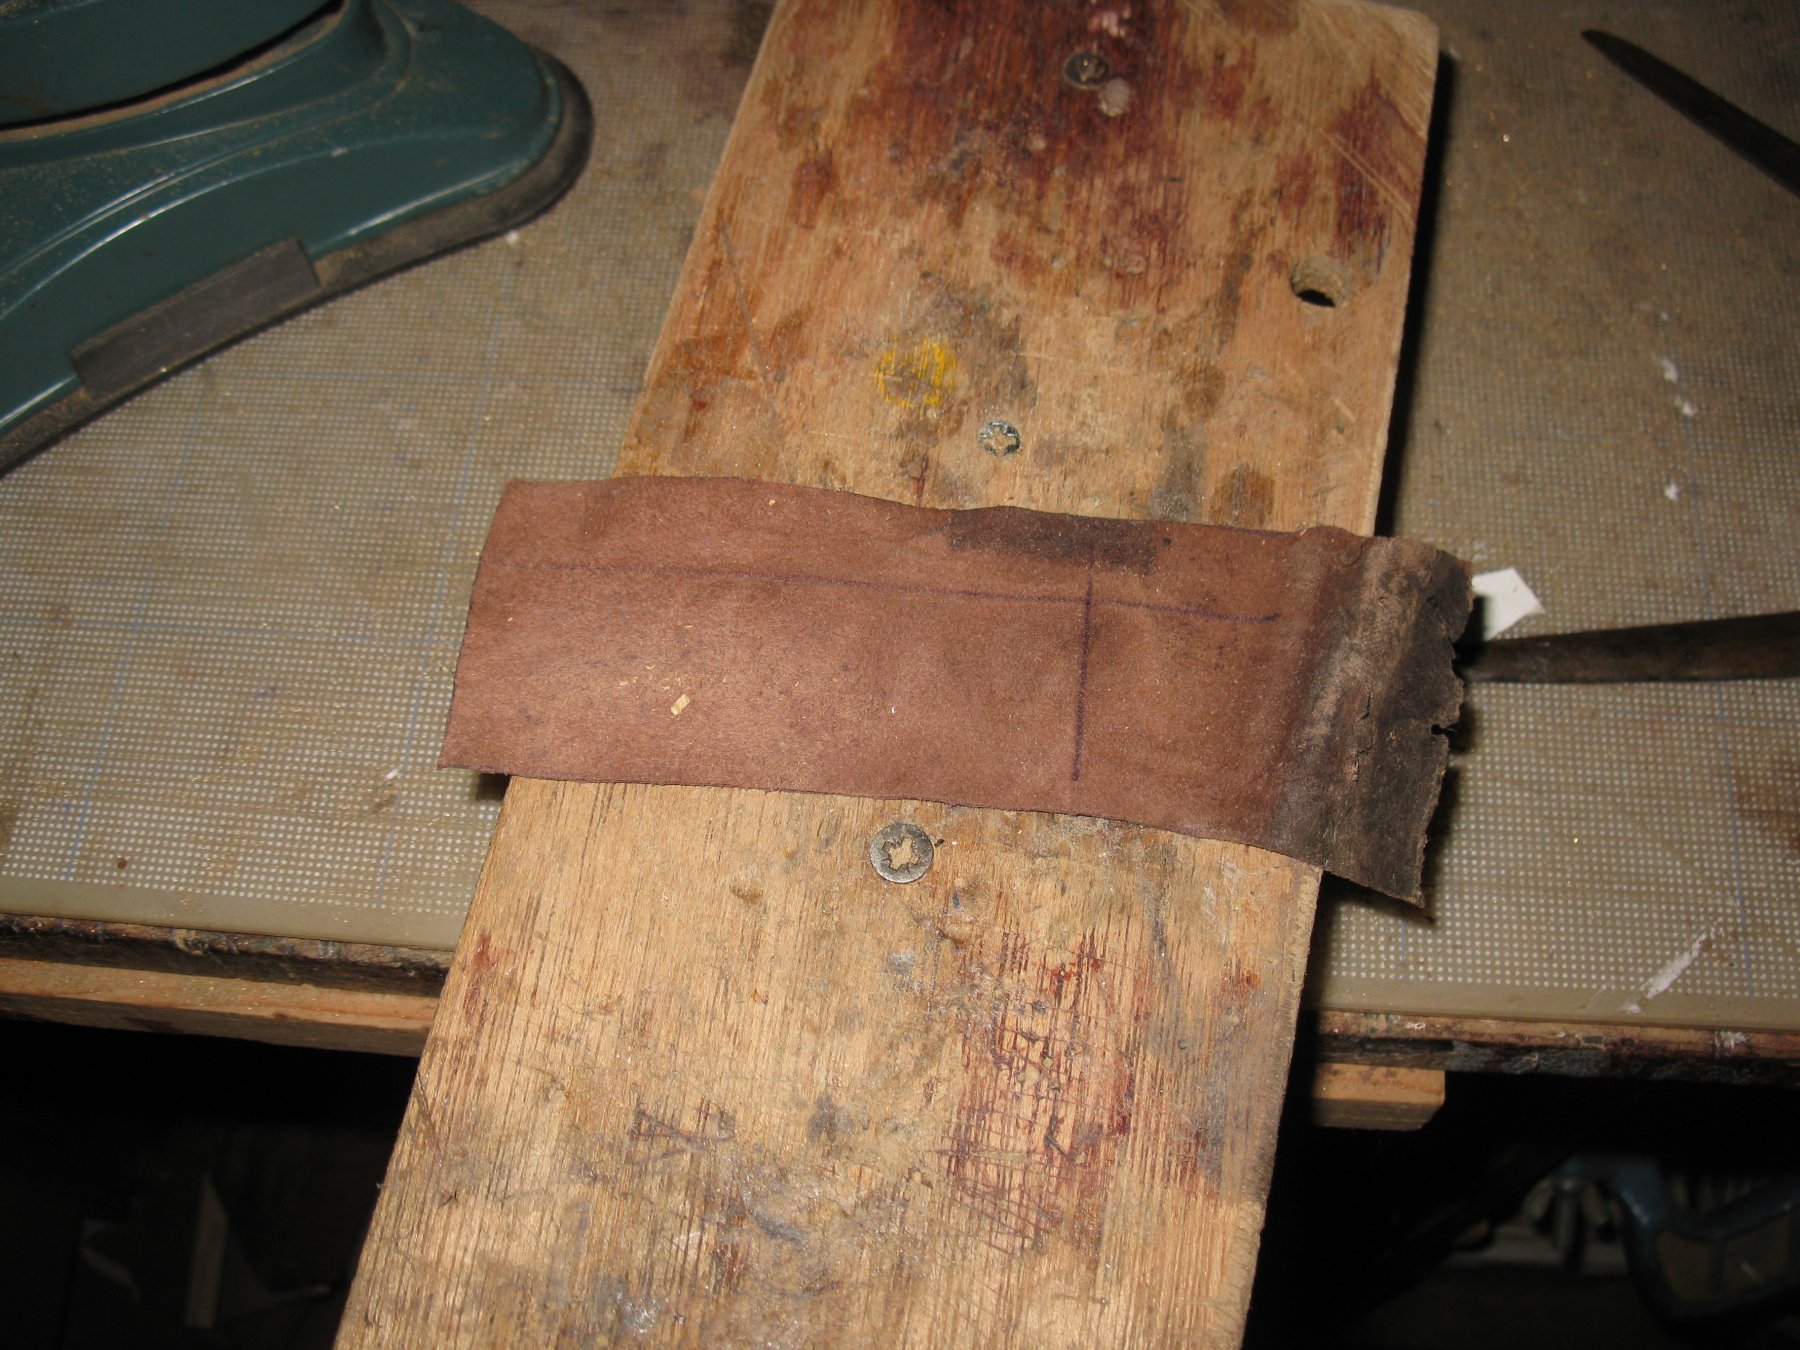
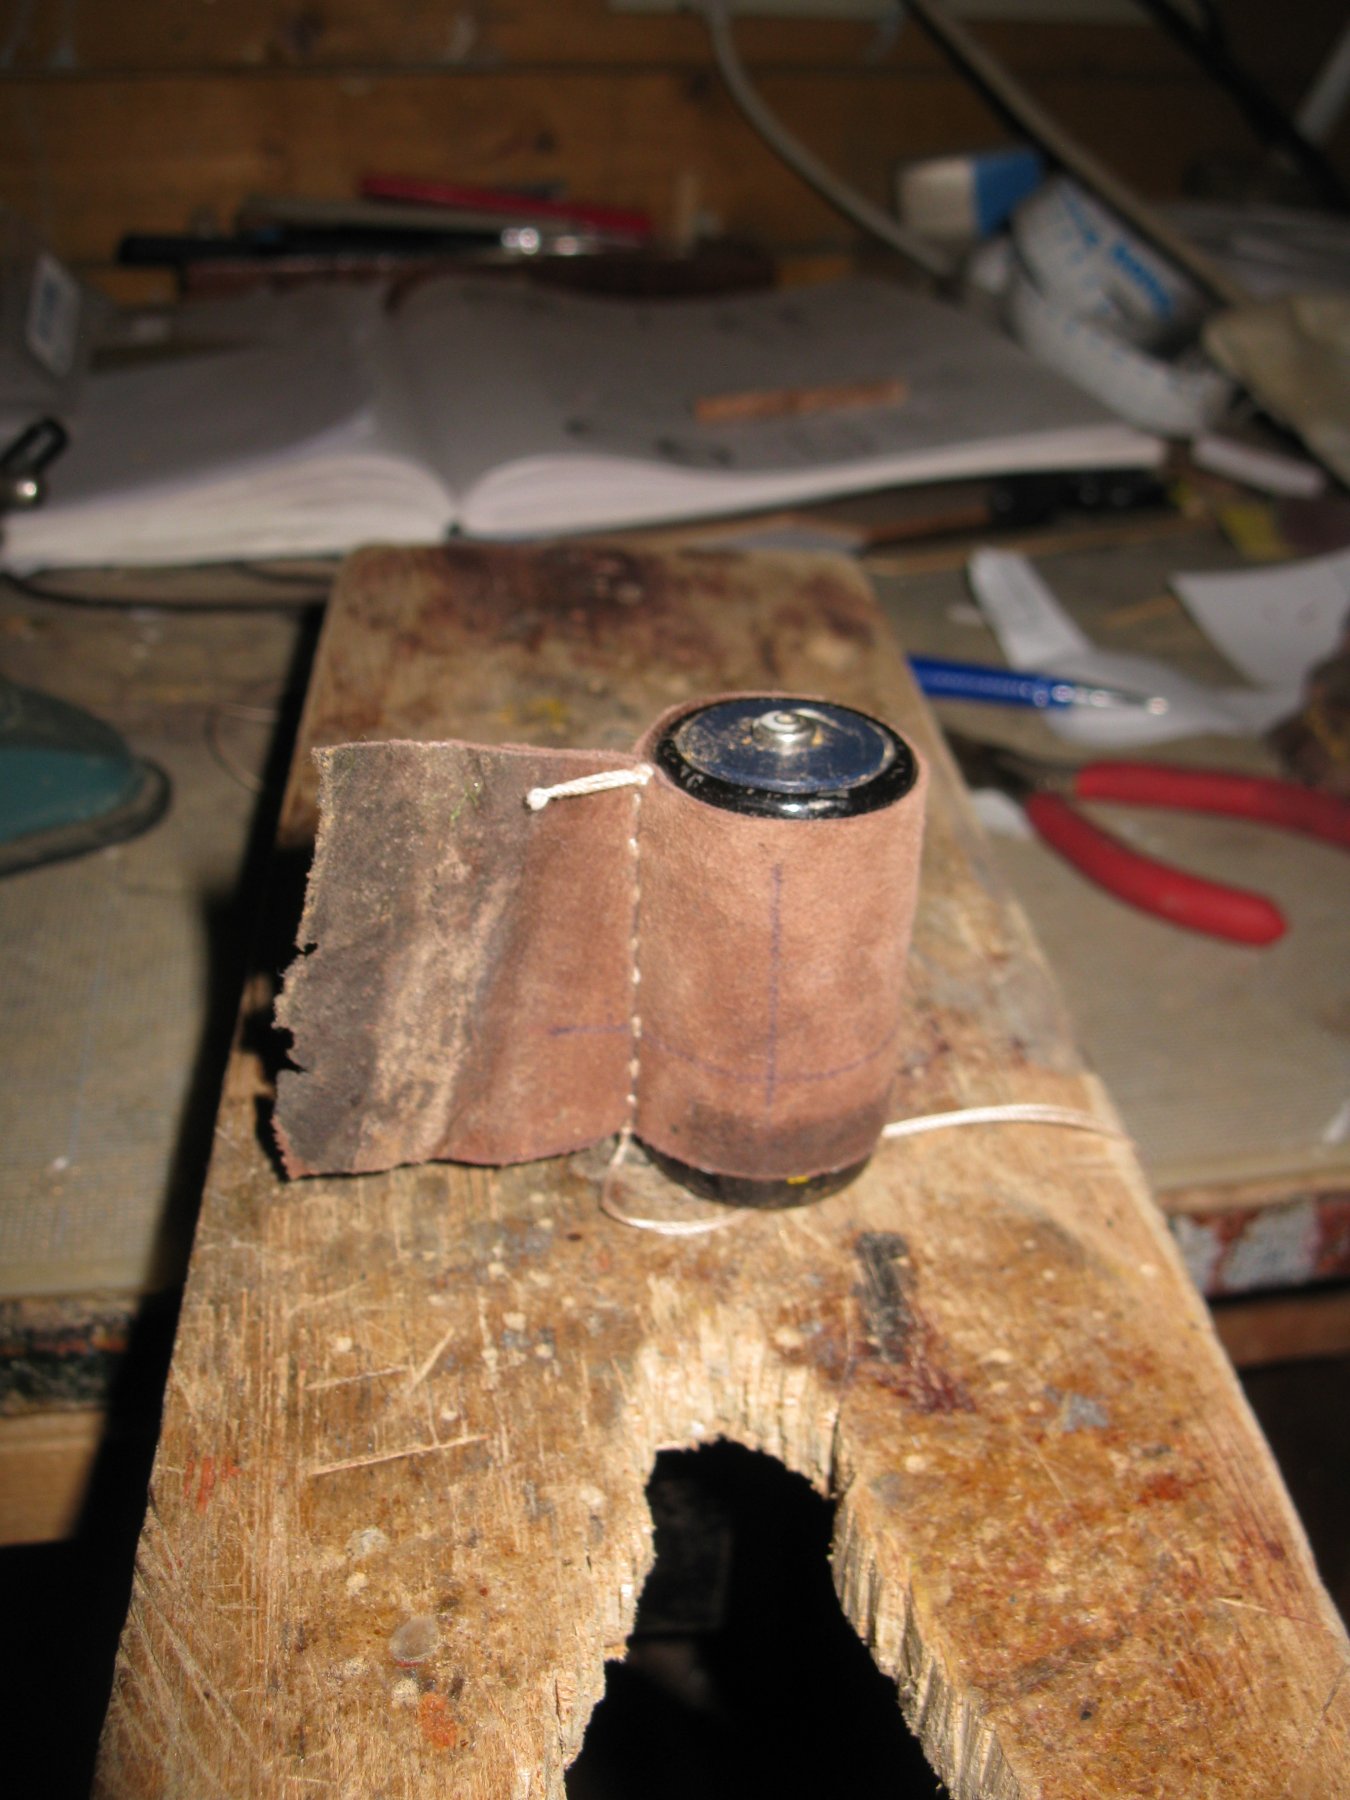
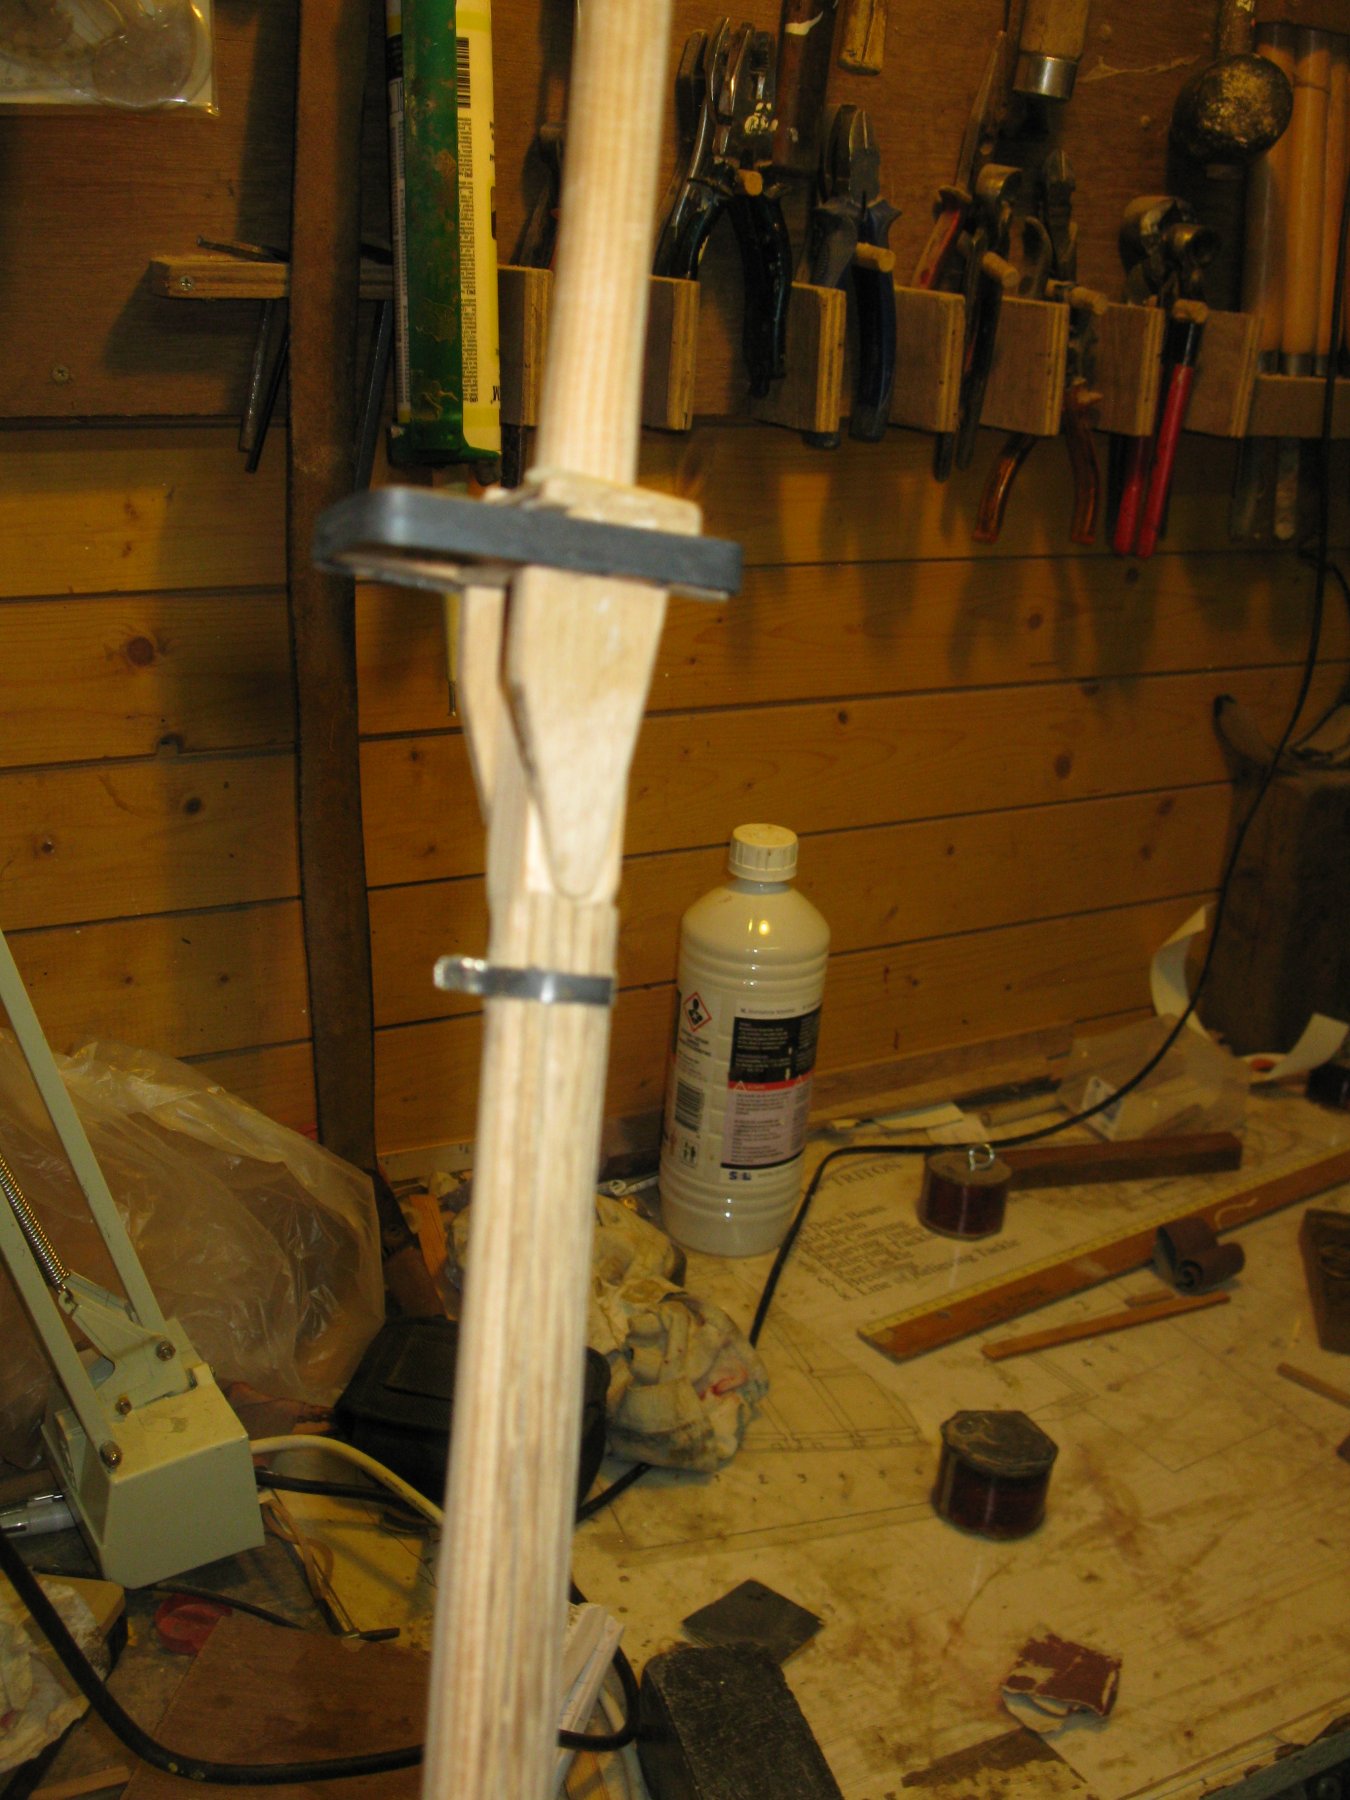
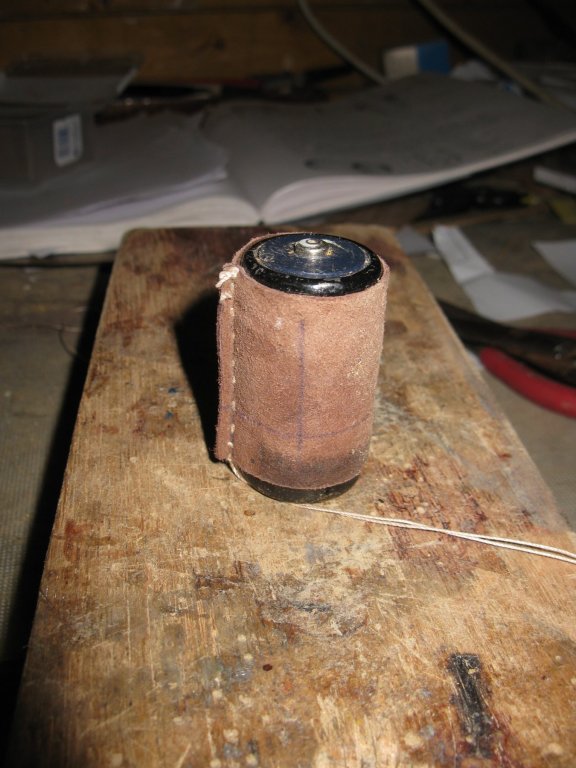
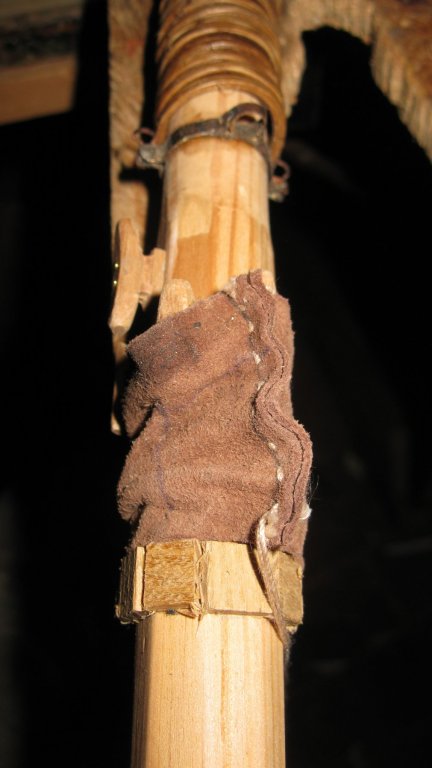
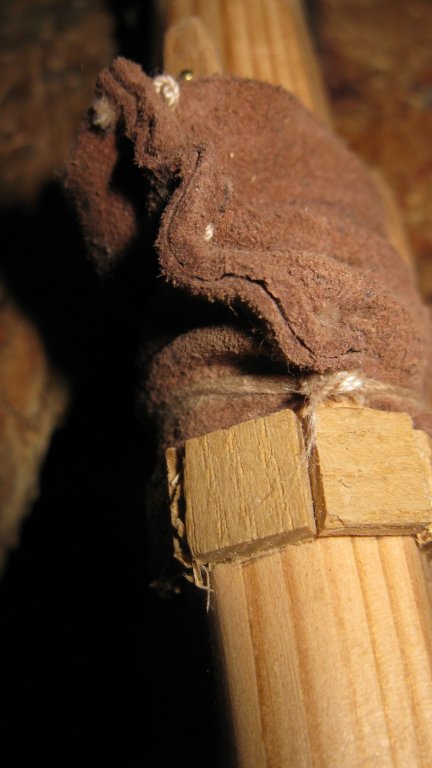
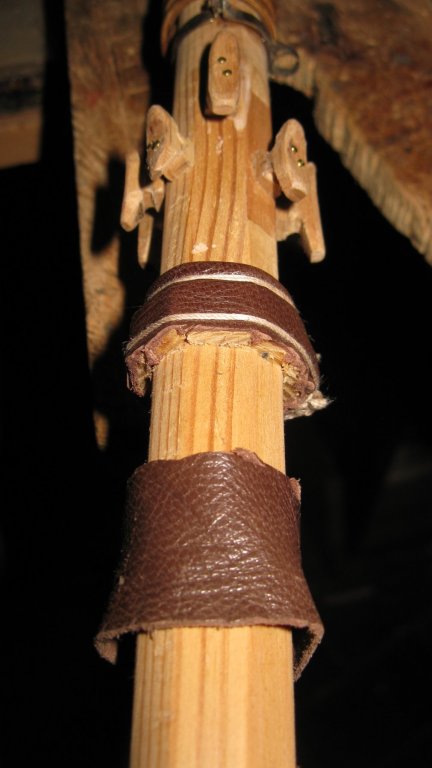
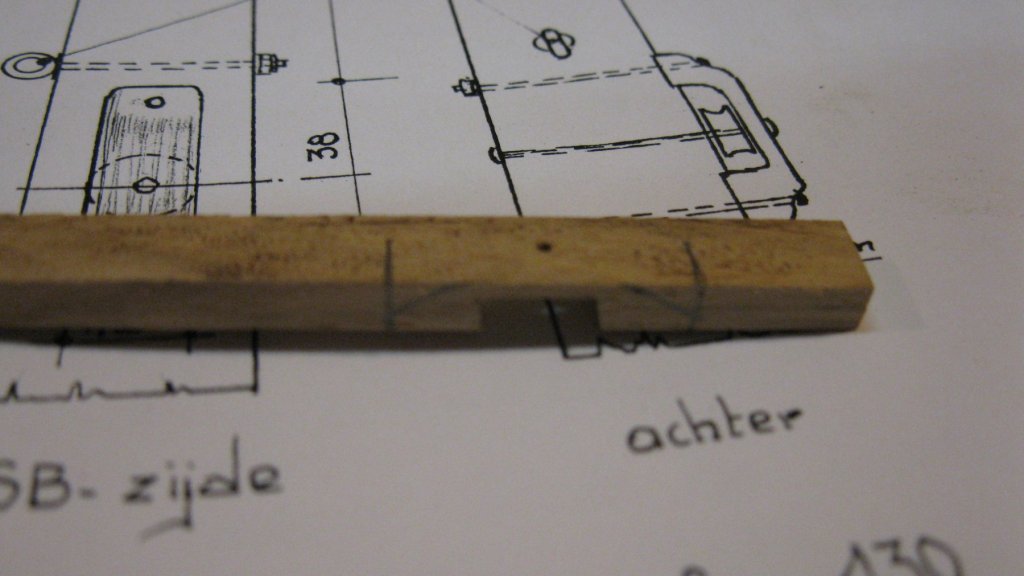
19.2.9 The mast sealing The mast will have a leather sealing. I glue first some wooden blocks at deck height to simulate the mast wedges. I cut a piece of the leather of an old discarded shoe. I sew a sleeve with it. I use a 1.5 Volt battery as jig. I slide the inside out turned sleeve over the mast... ... tie it up just above the wedges and slide it down again. I tie it up again just below the first binding and again just above deck height. The binding is cut equal with the deck line.


- 219 replies
-
- 7
-
-
- smack
- cross-section
- (and 2 more)
-
19.2.9. Turtle block for the top gallant halyard On top of the mast the is a turtle block though which goes the top gallant halyard. I make first the sheave. Making the block The block into its place.


- 219 replies
-
- 7
-
-
- smack
- cross-section
- (and 2 more)
-
19.2.8 The mast cap The avoid that the mast cap can turn around, the forward side of the mast top is flattened. The making of the mast cap. The mast cap into position, not yet definitively because it will have to be removed during the rigging of the shrouds


- 219 replies
-
- 6
-
-
- smack
- cross-section
- (and 2 more)
-
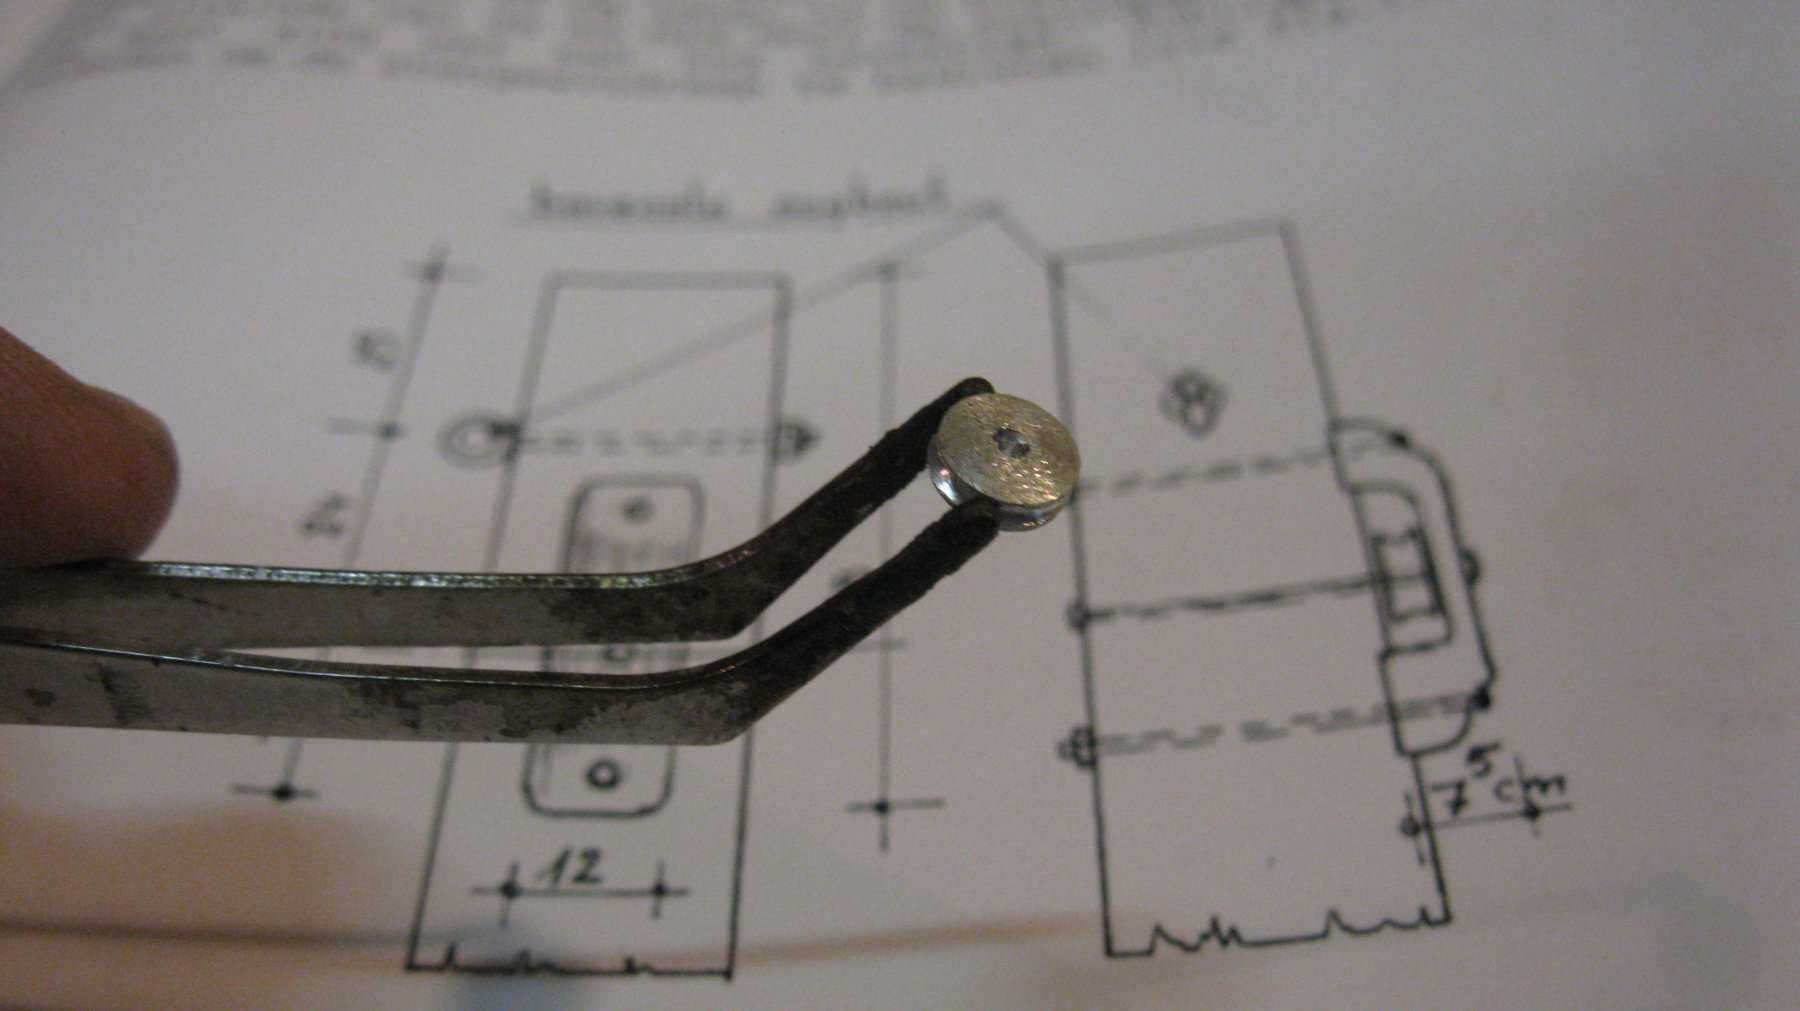
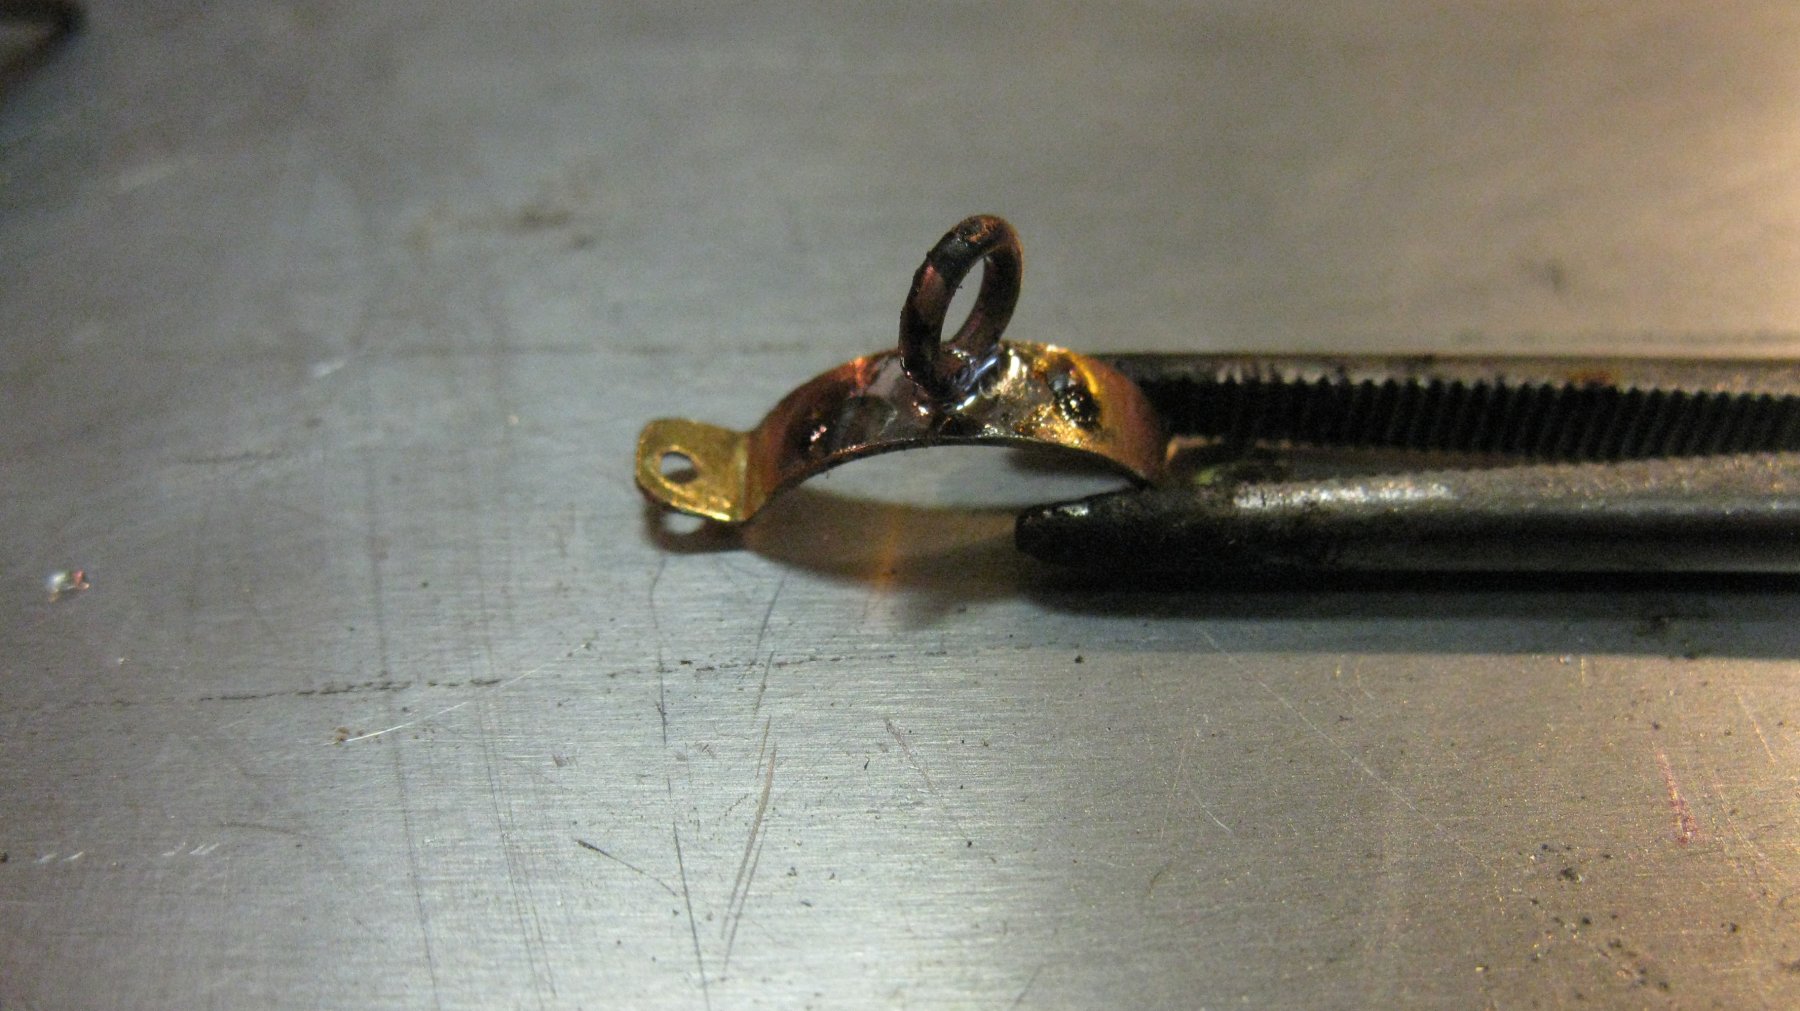
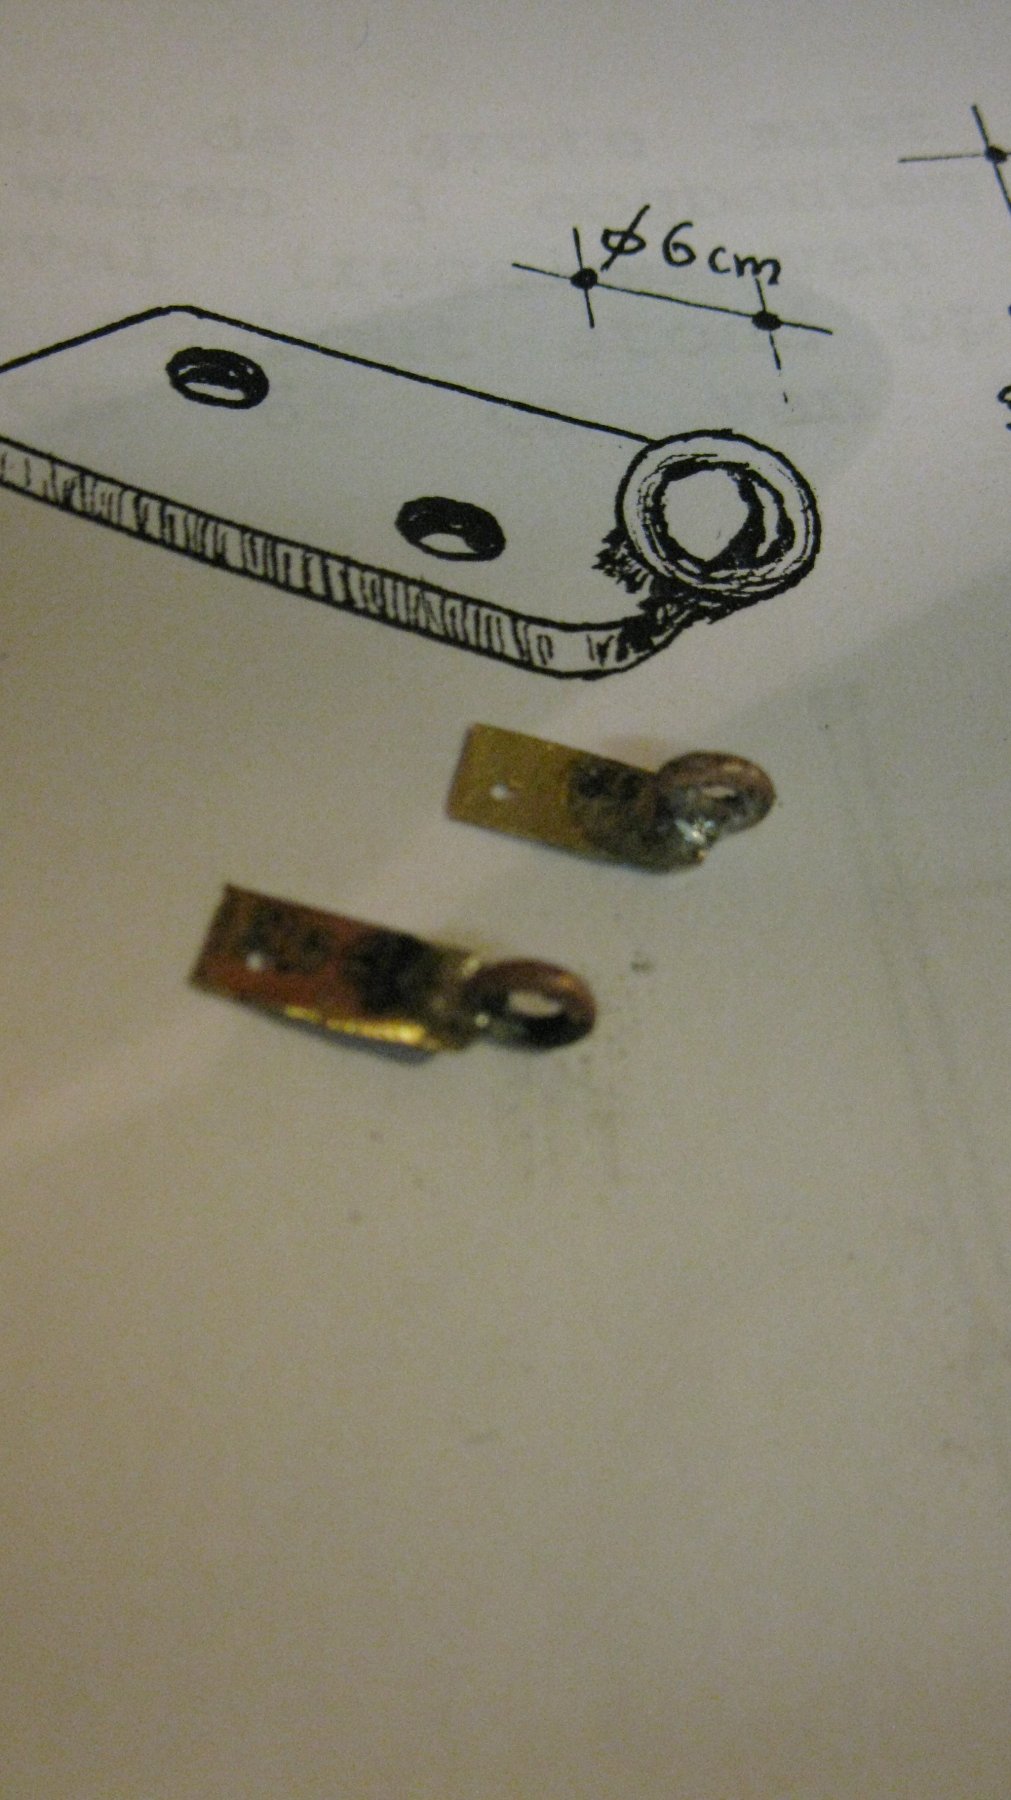
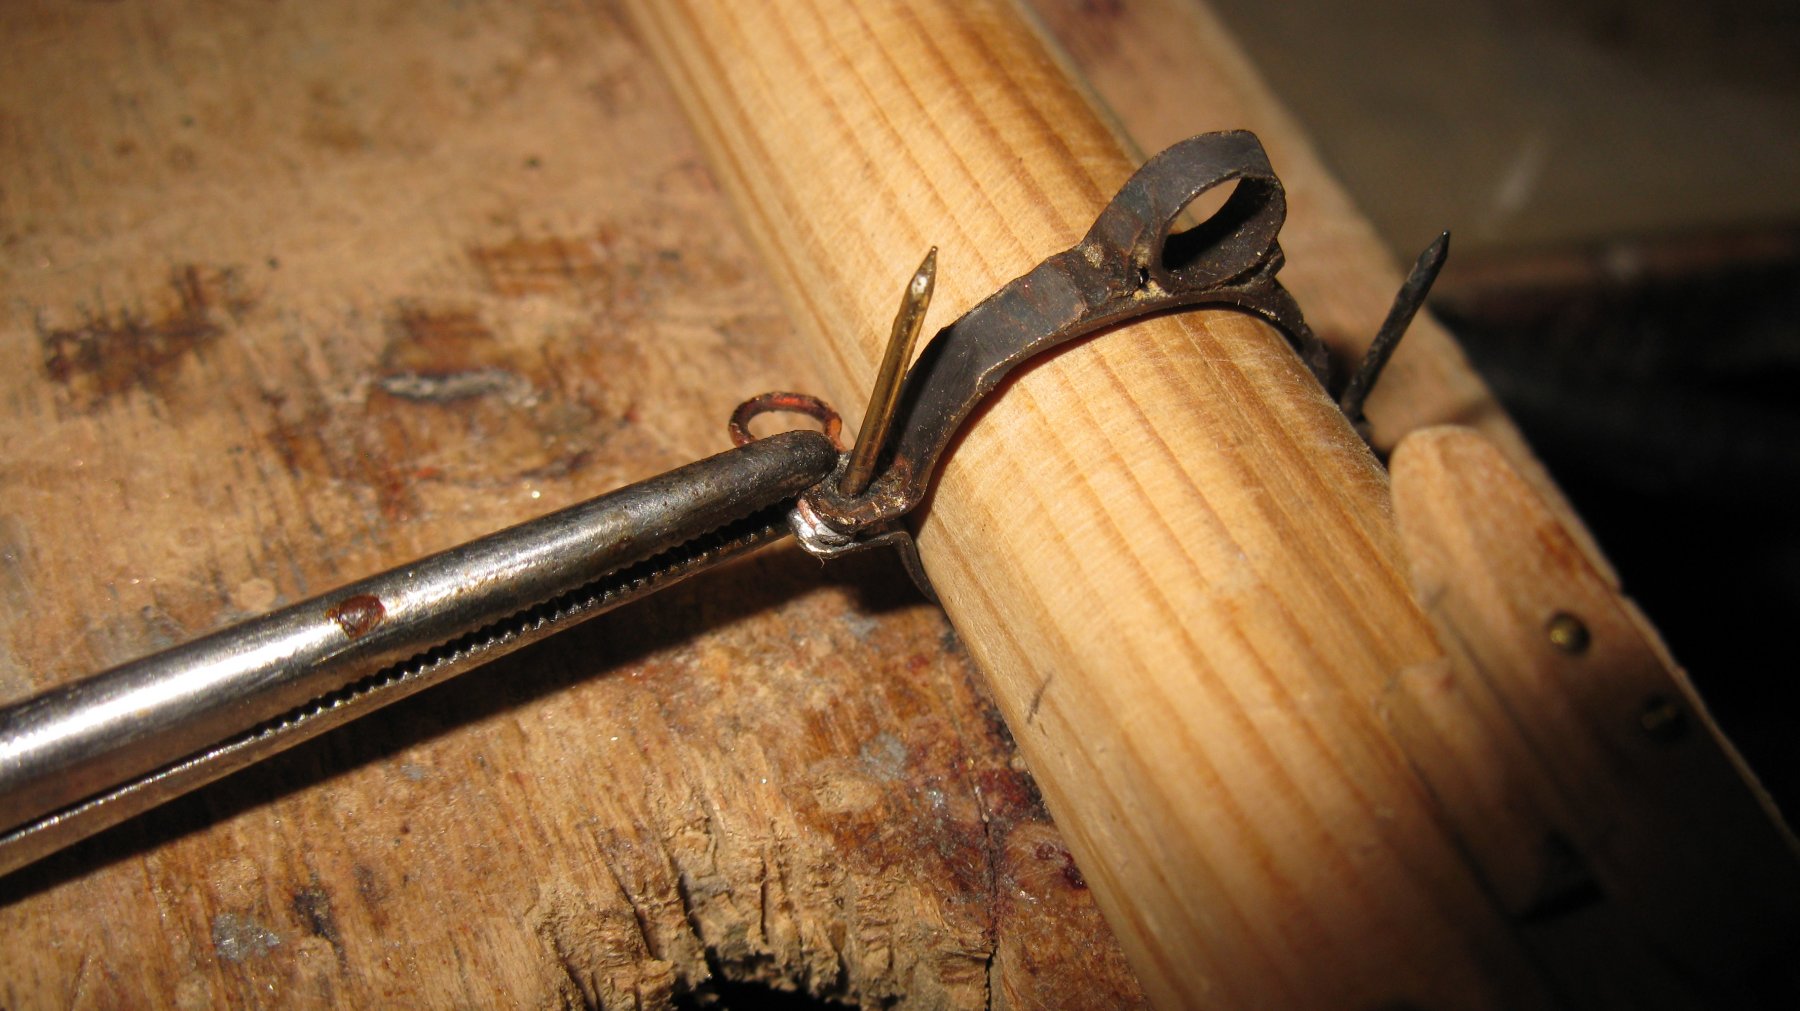
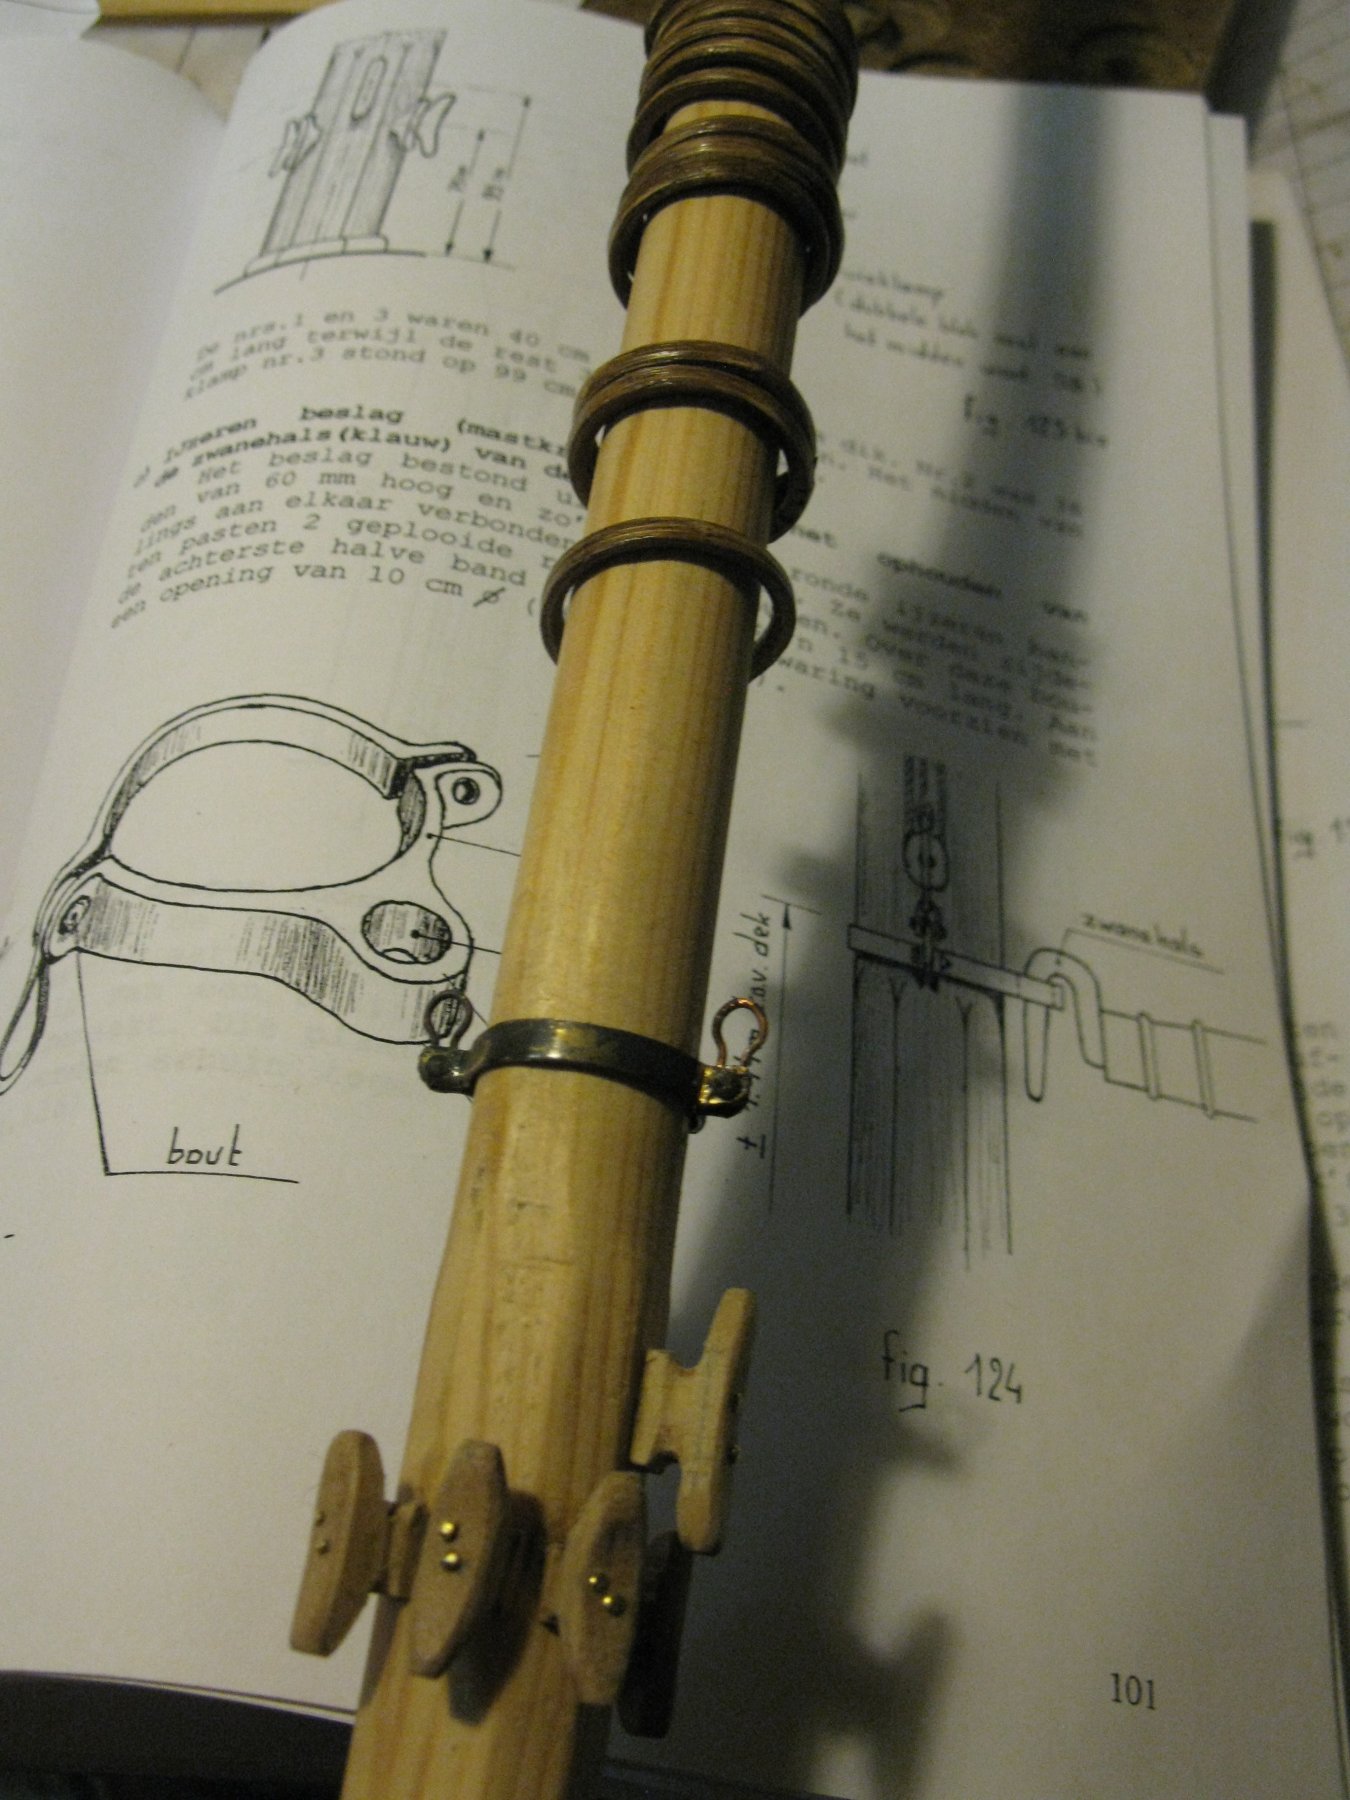
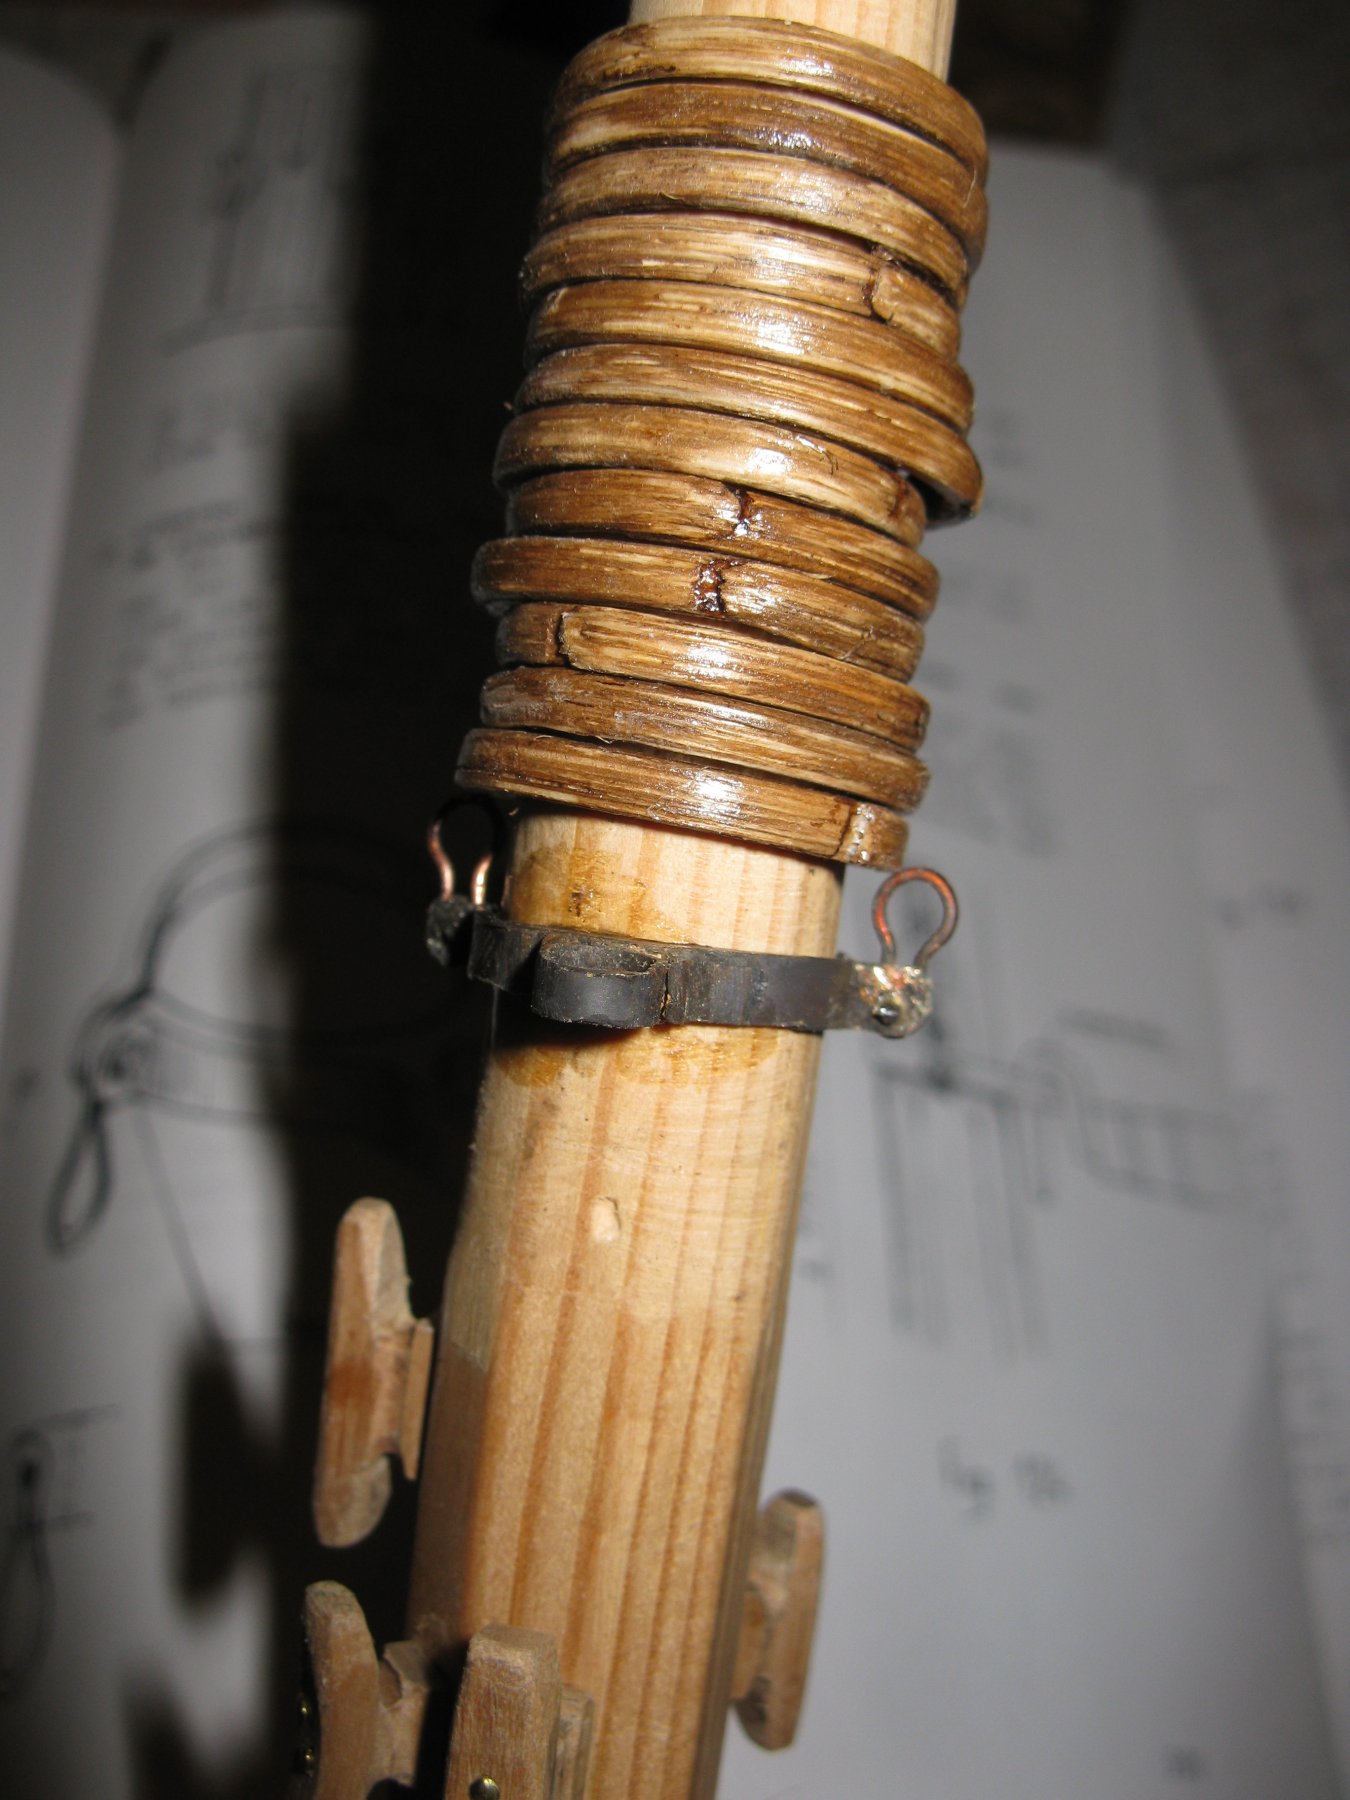
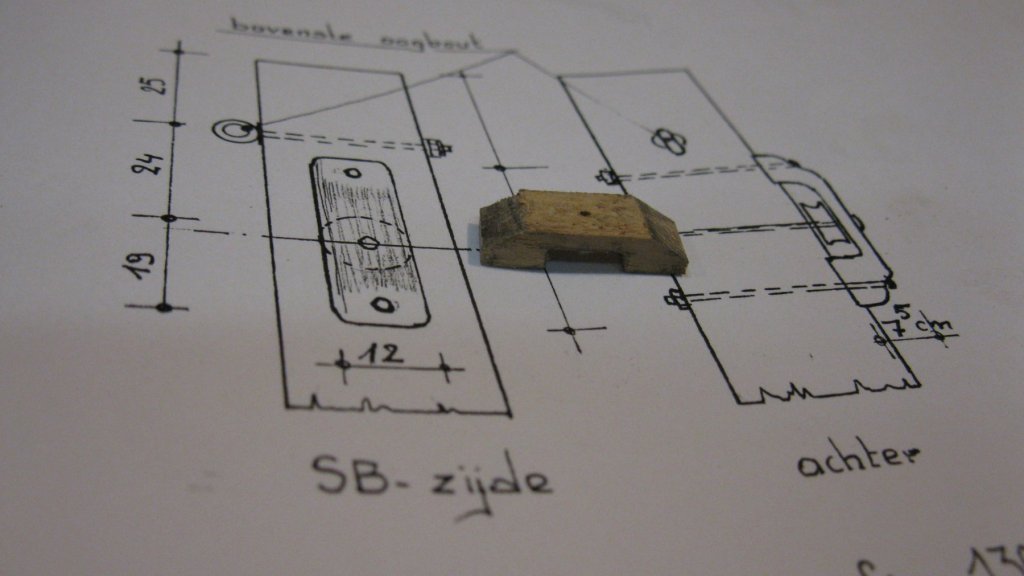
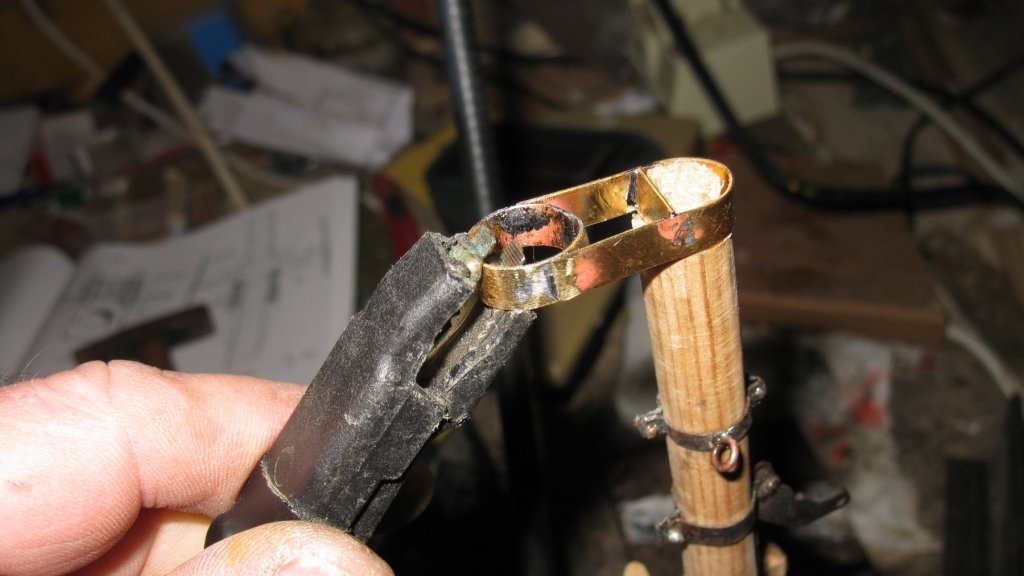
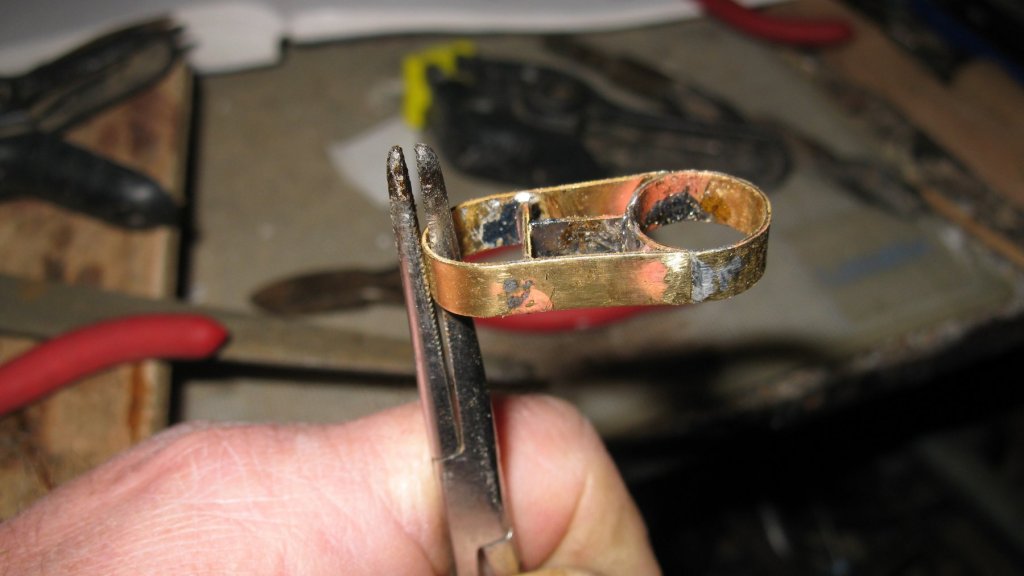
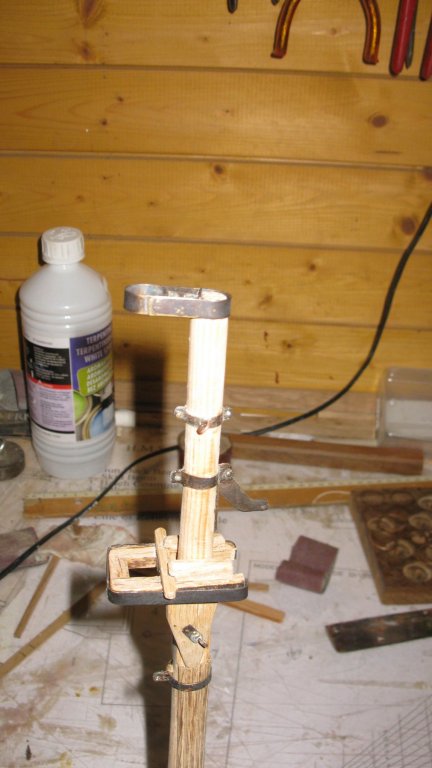
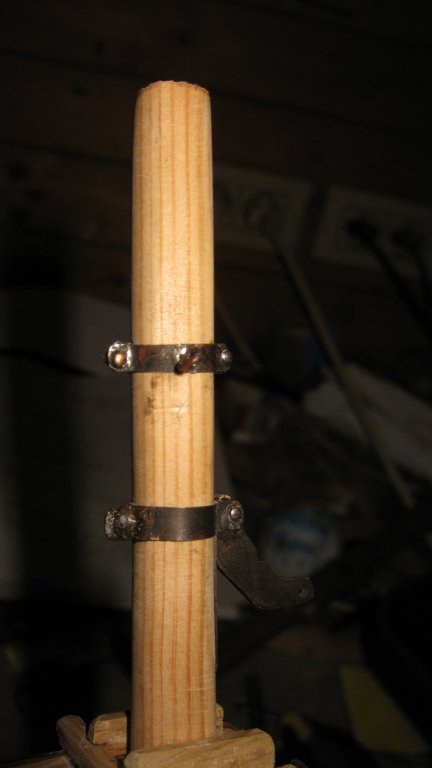
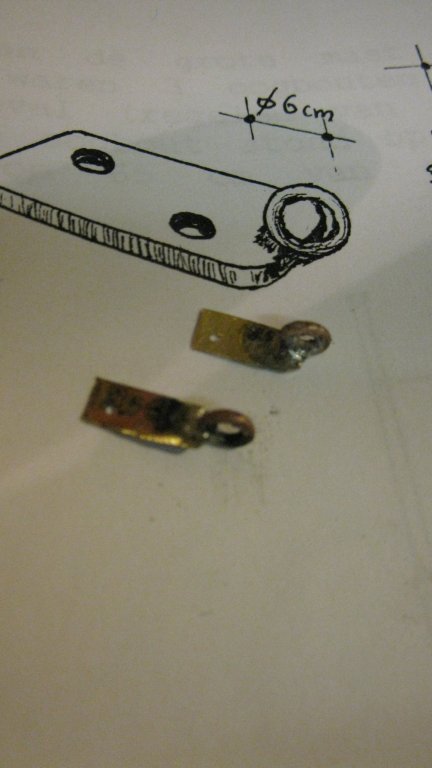
19.2.7 Ring bracket for the blocks of the jib halyard

- 219 replies
-
- 10
-
-
- smack
- cross-section
- (and 2 more)
-
19.2.5 Finishing the hound pieces On each of the hound pieces there is a ring for a block. At starboard side for the crane line, at portside for the trawl warp.

- 219 replies
-
- 8
-
-
- smack
- cross-section
- (and 2 more)
-
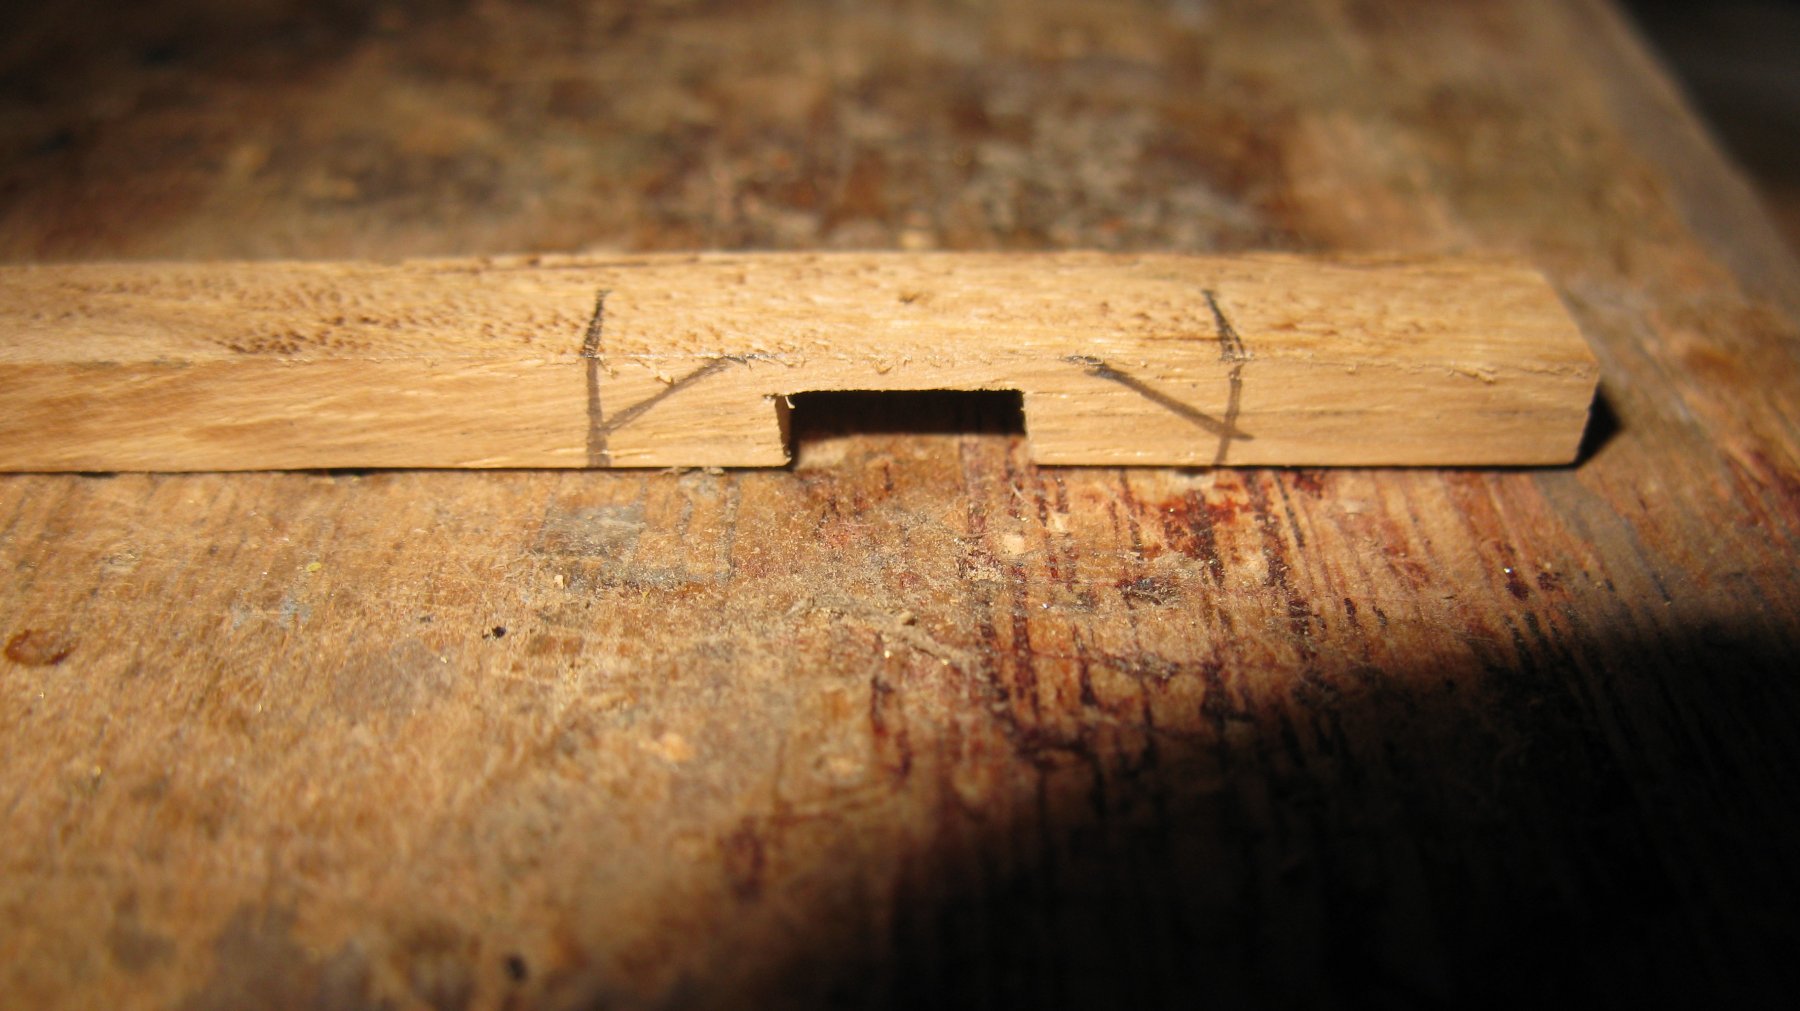
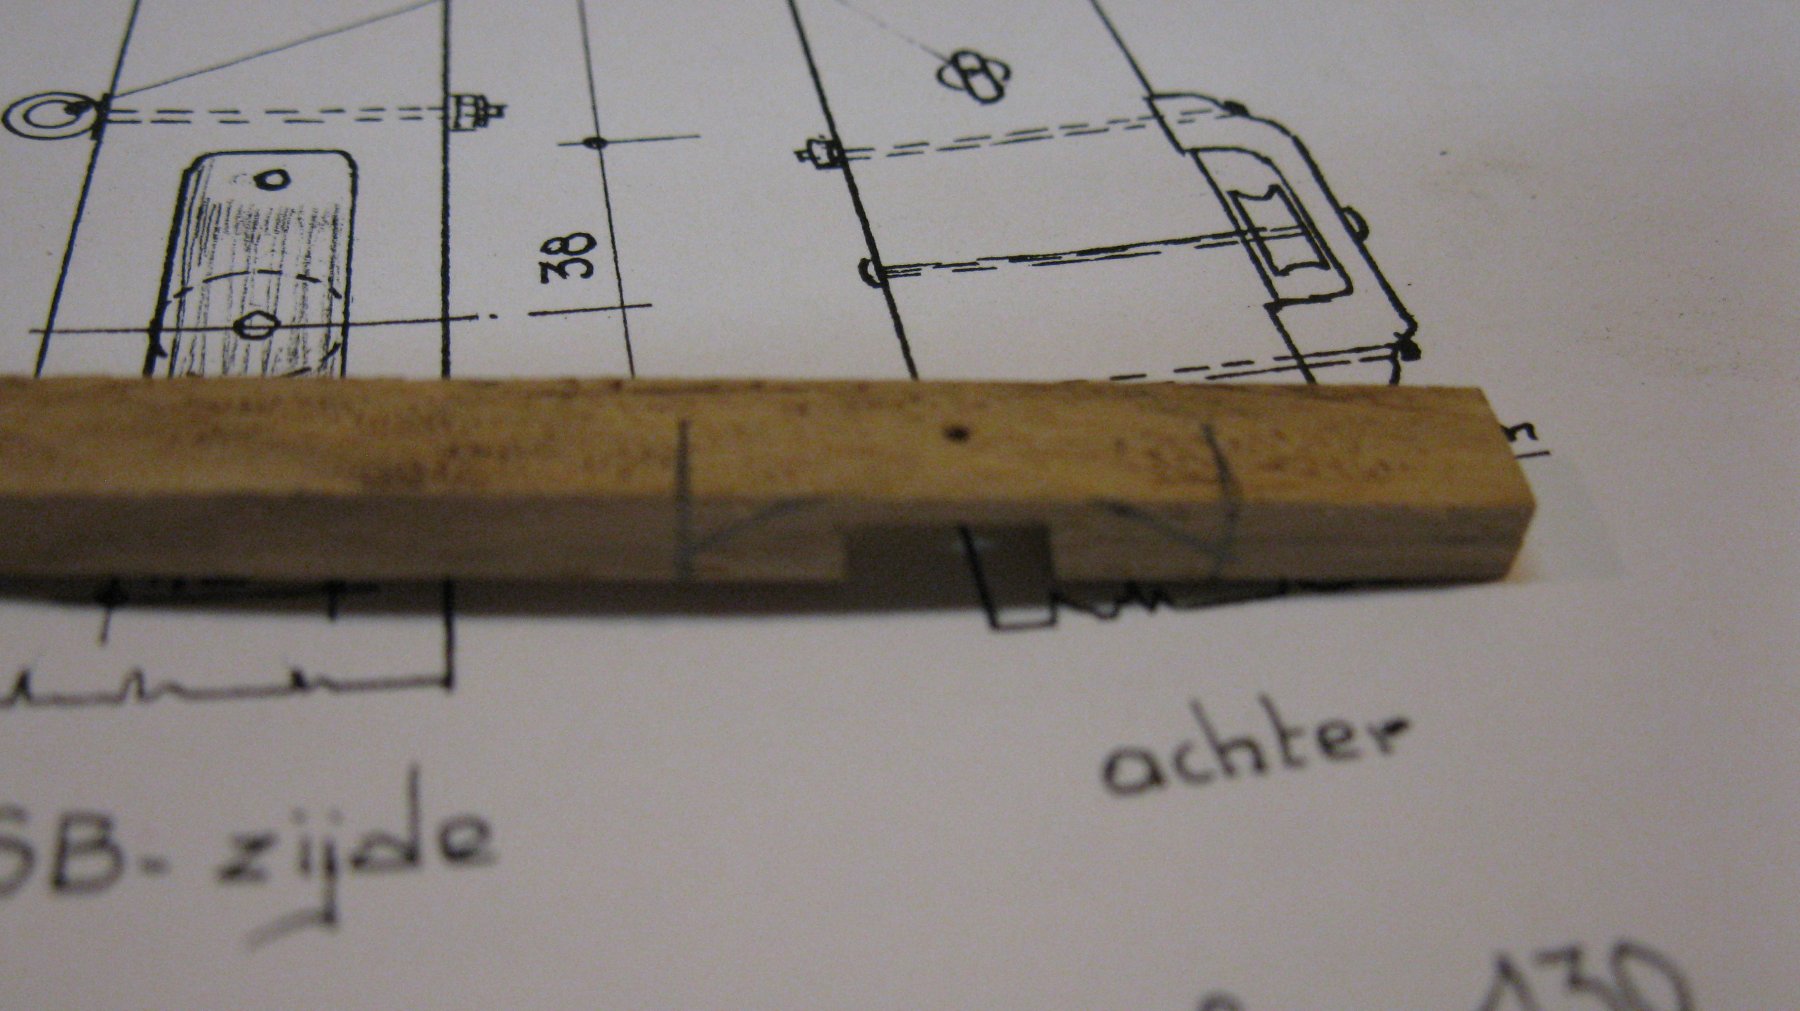
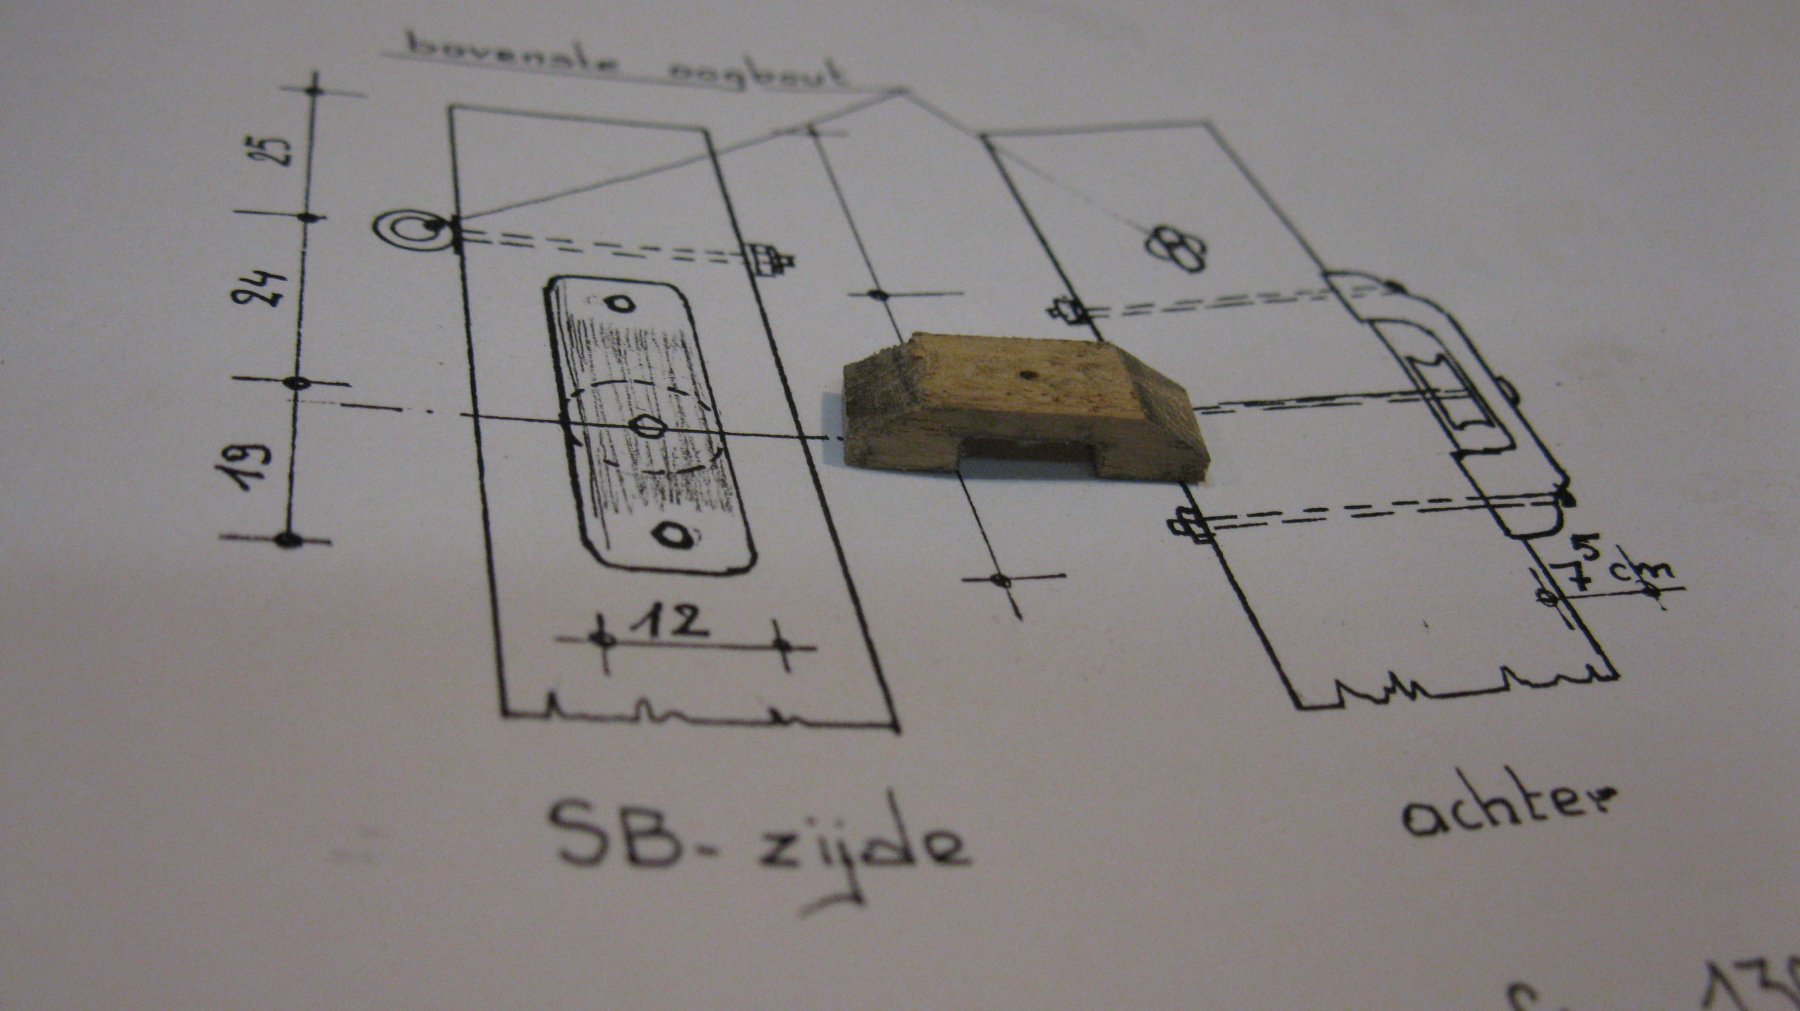
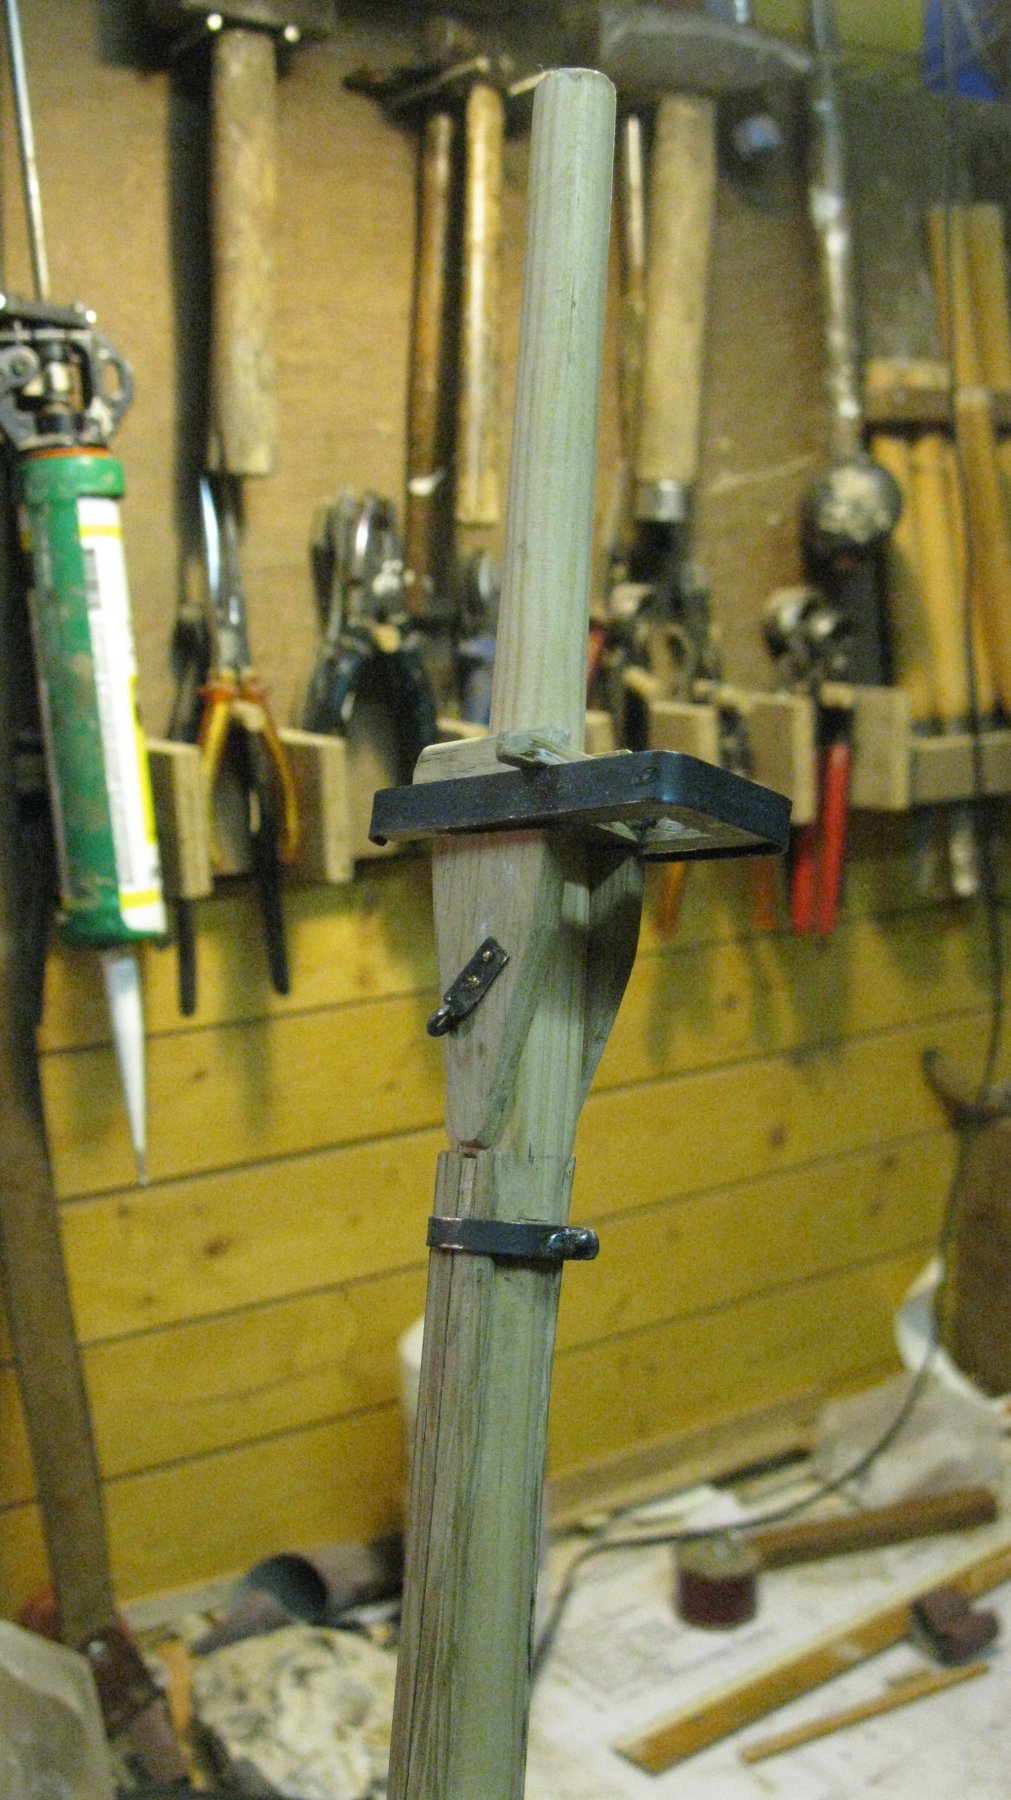
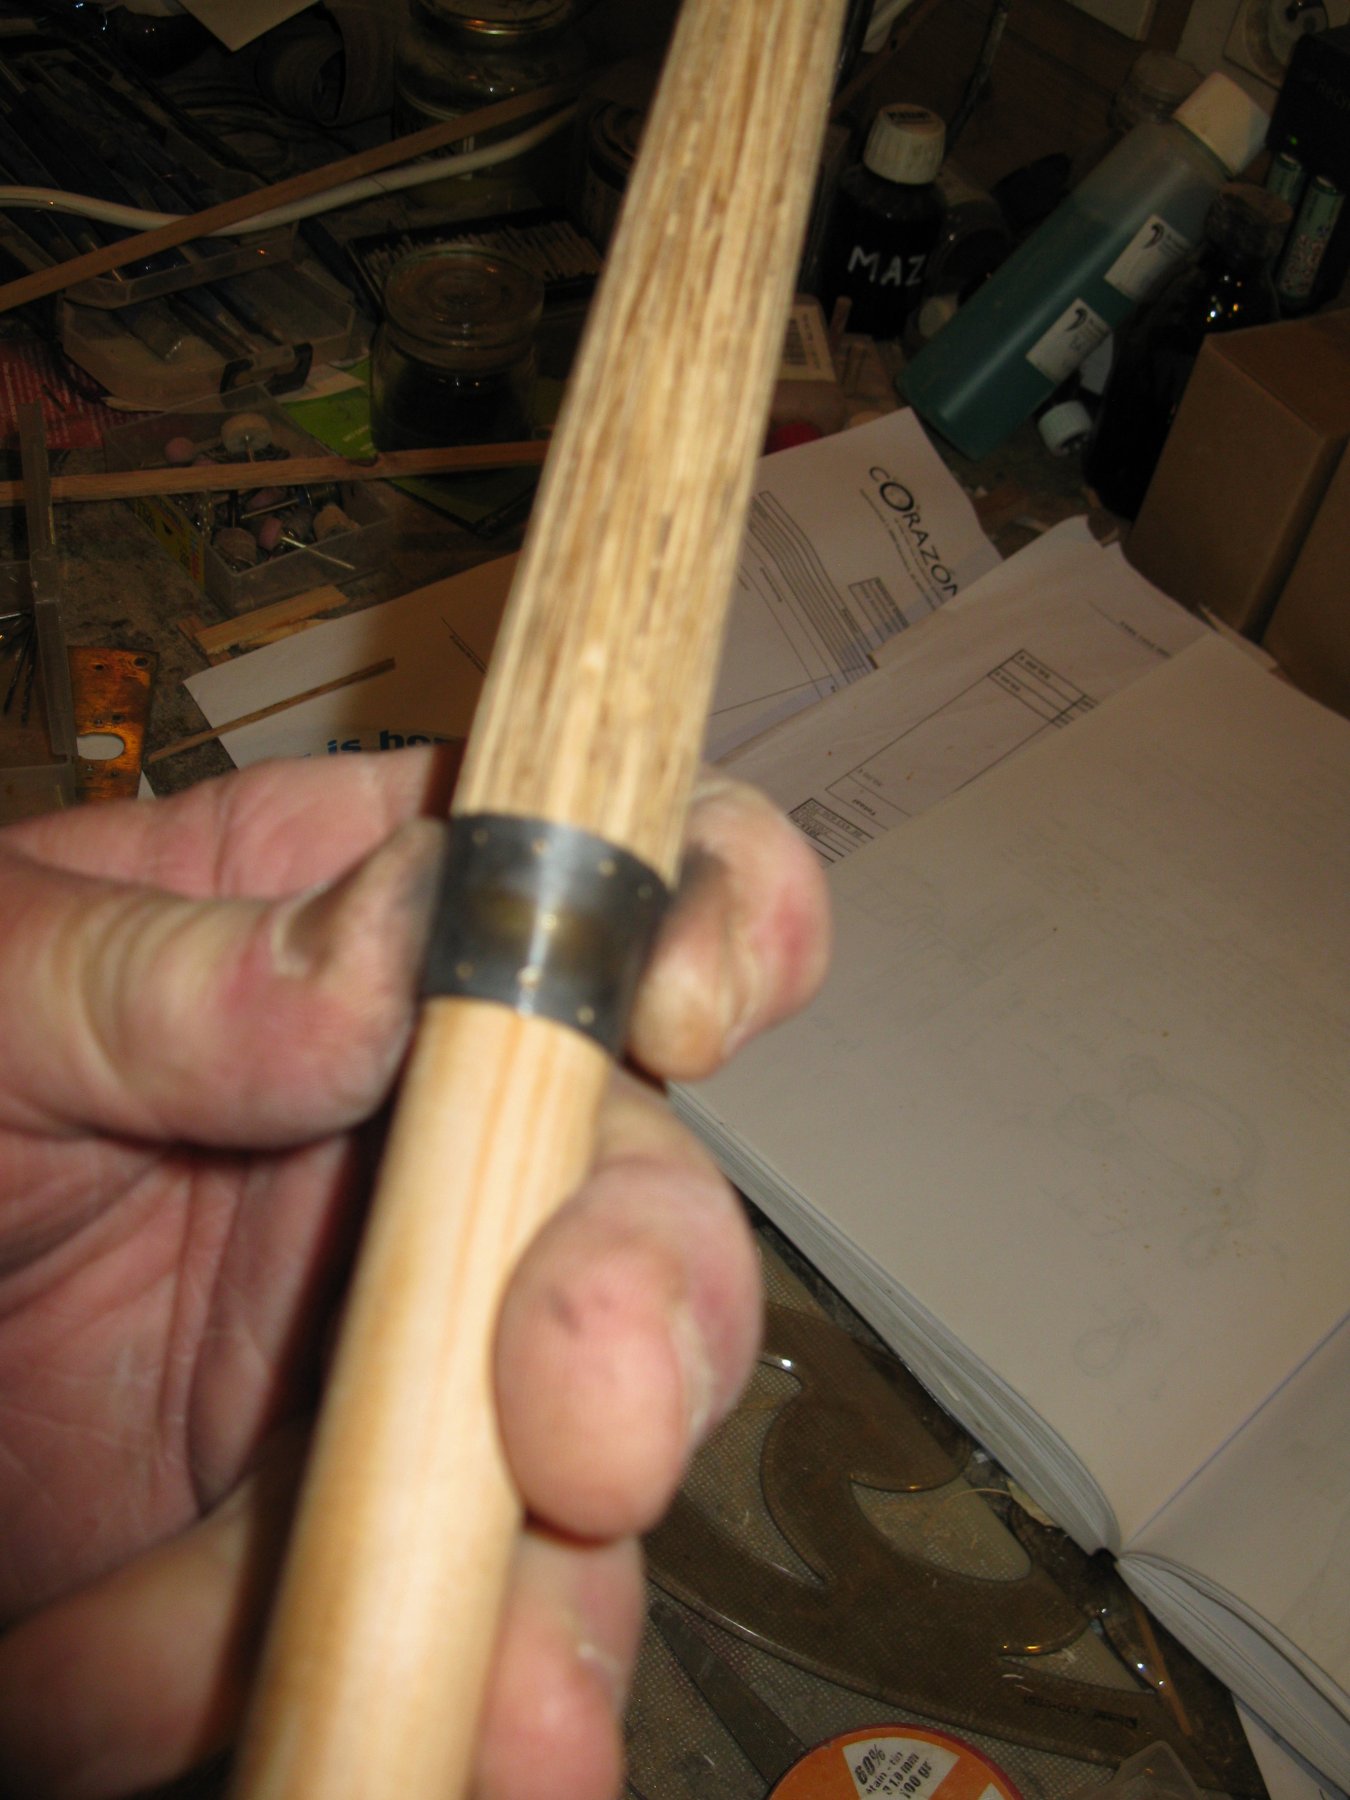
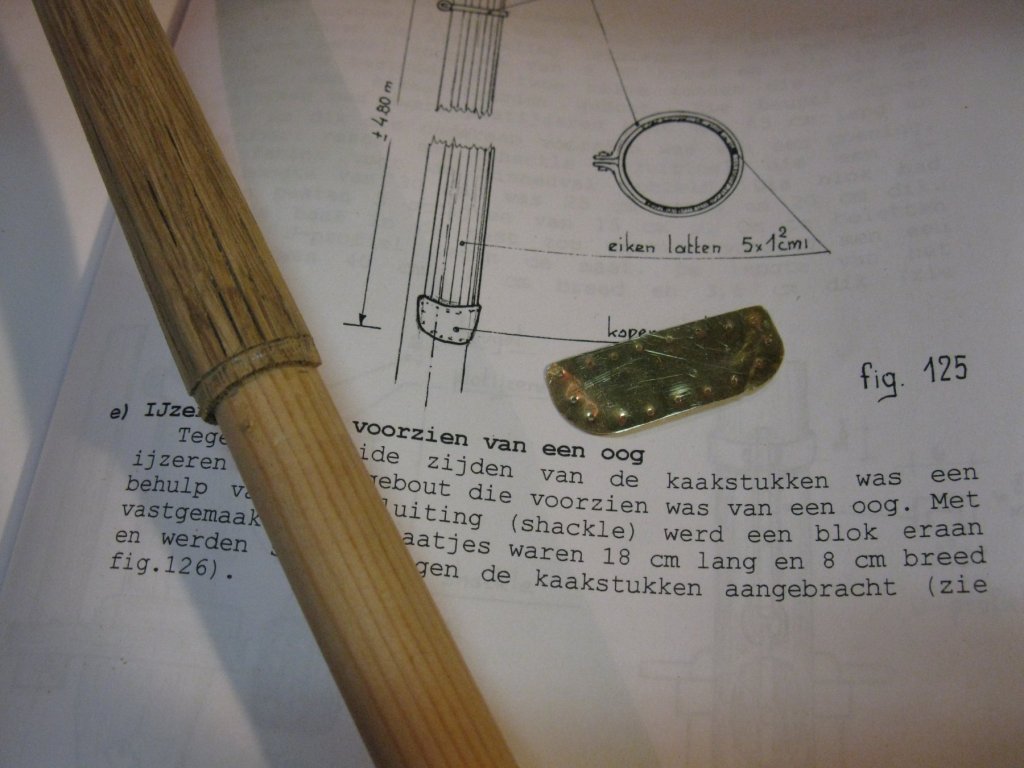
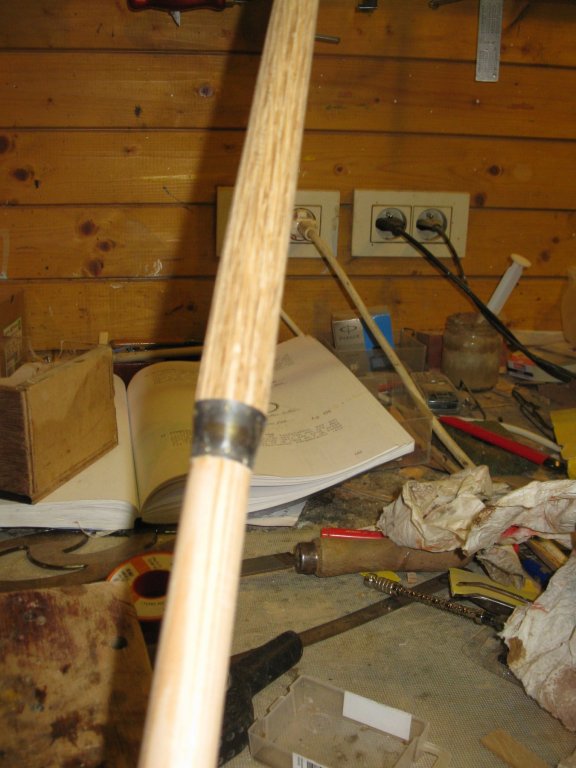
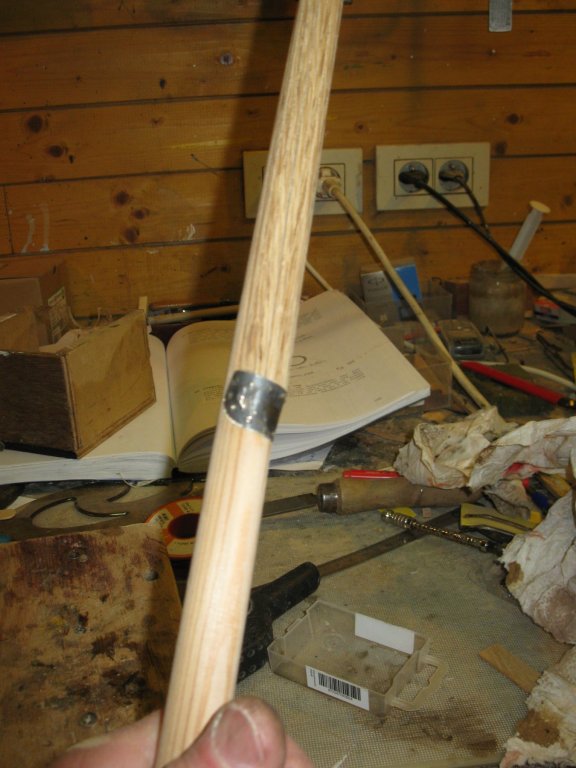
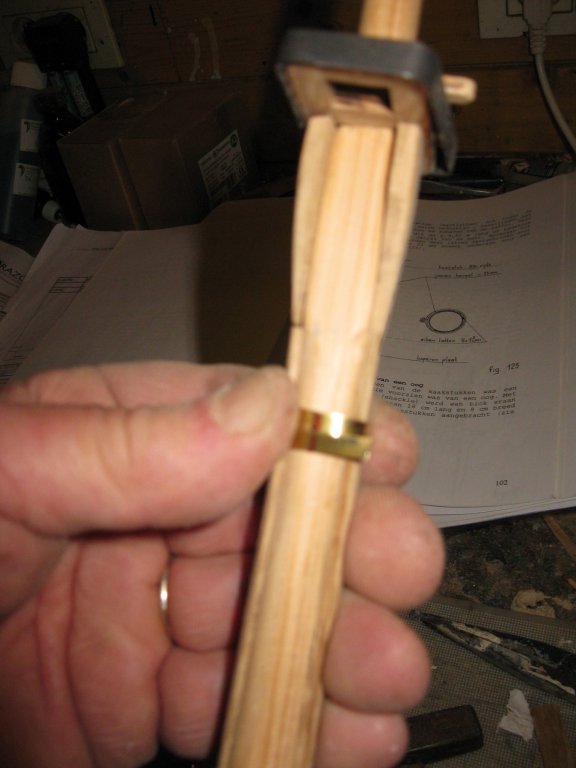
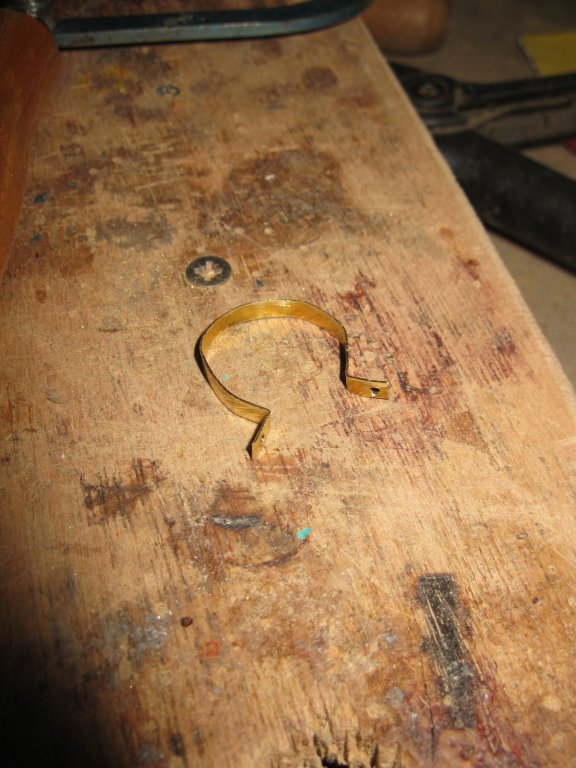
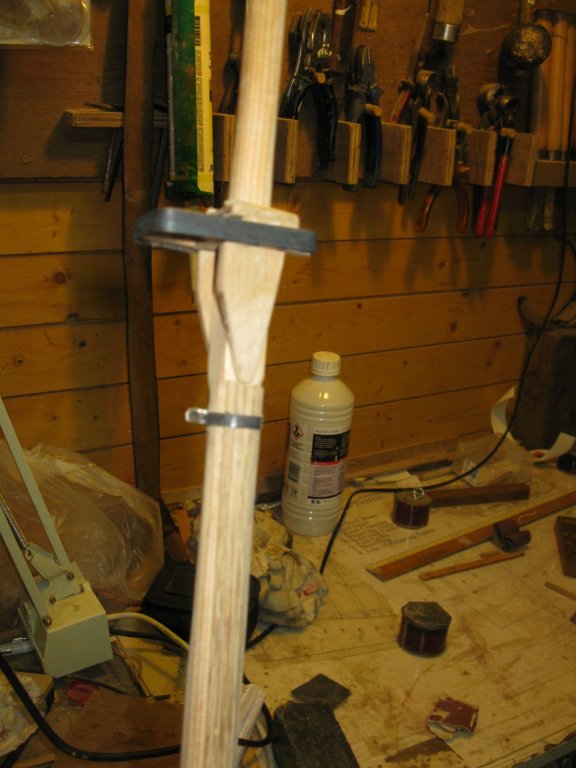
19.2.4 The Mast slats The back of the mast was protected by a series of oak slats for the rubbing of the gaff jaws. The slats extend from the upper position of the gaff jaws to the lowest reef position. At the top they were kept together by a steel ring, at the bottom by a copper plate. Gluing the first slat. All the slats into place. Making the copper plate. At the bottom of the slats I made a groove for the plate. Fitting the plate. Plate nailed into place, seen from behind. Seen from the side. Making the steel ring out of brass. Ring into position.


- 219 replies
-
- 7
-
-
- smack
- cross-section
- (and 2 more)
-
Thank you for the feedback, Carl, Patrick and Michael.
- 219 replies
-
- 2
-
-
- smack
- cross-section
- (and 2 more)
-
Like I mentioned before it became a very nice capstan. I like the color scheme👍.
- 756 replies
-
- 2
-
-
- galleon
- golden hind
- (and 2 more)
-
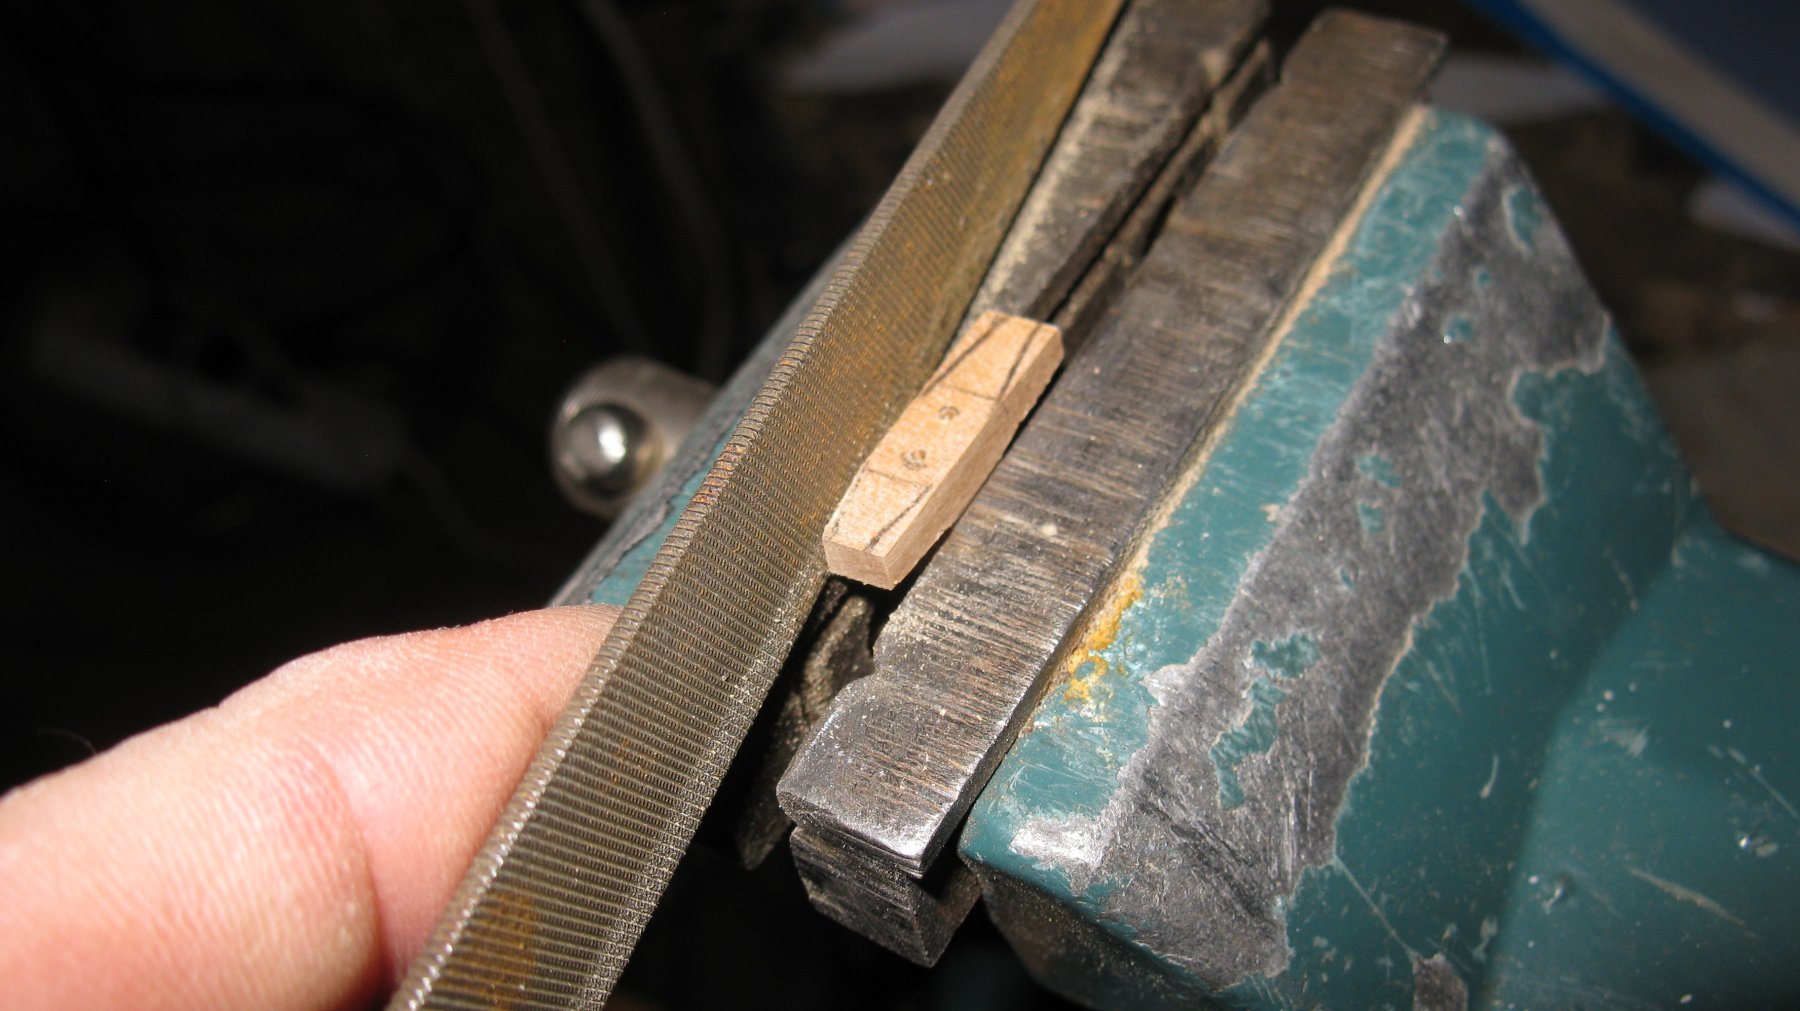
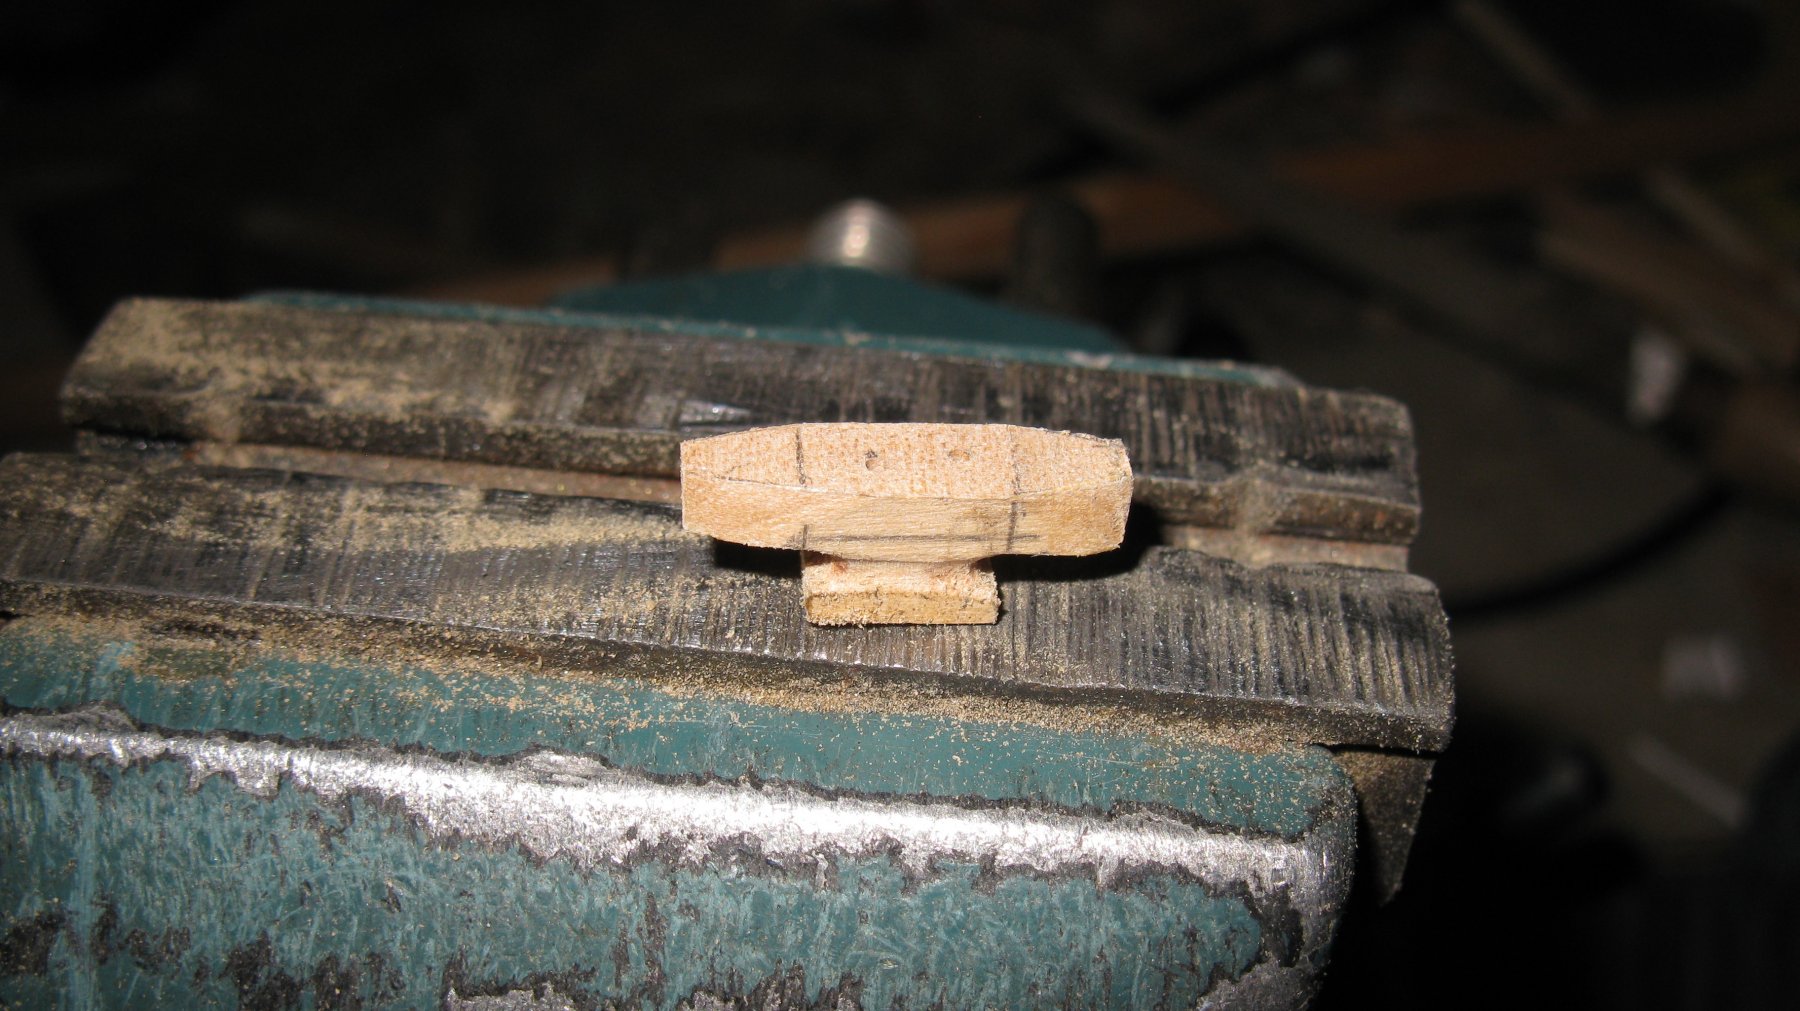
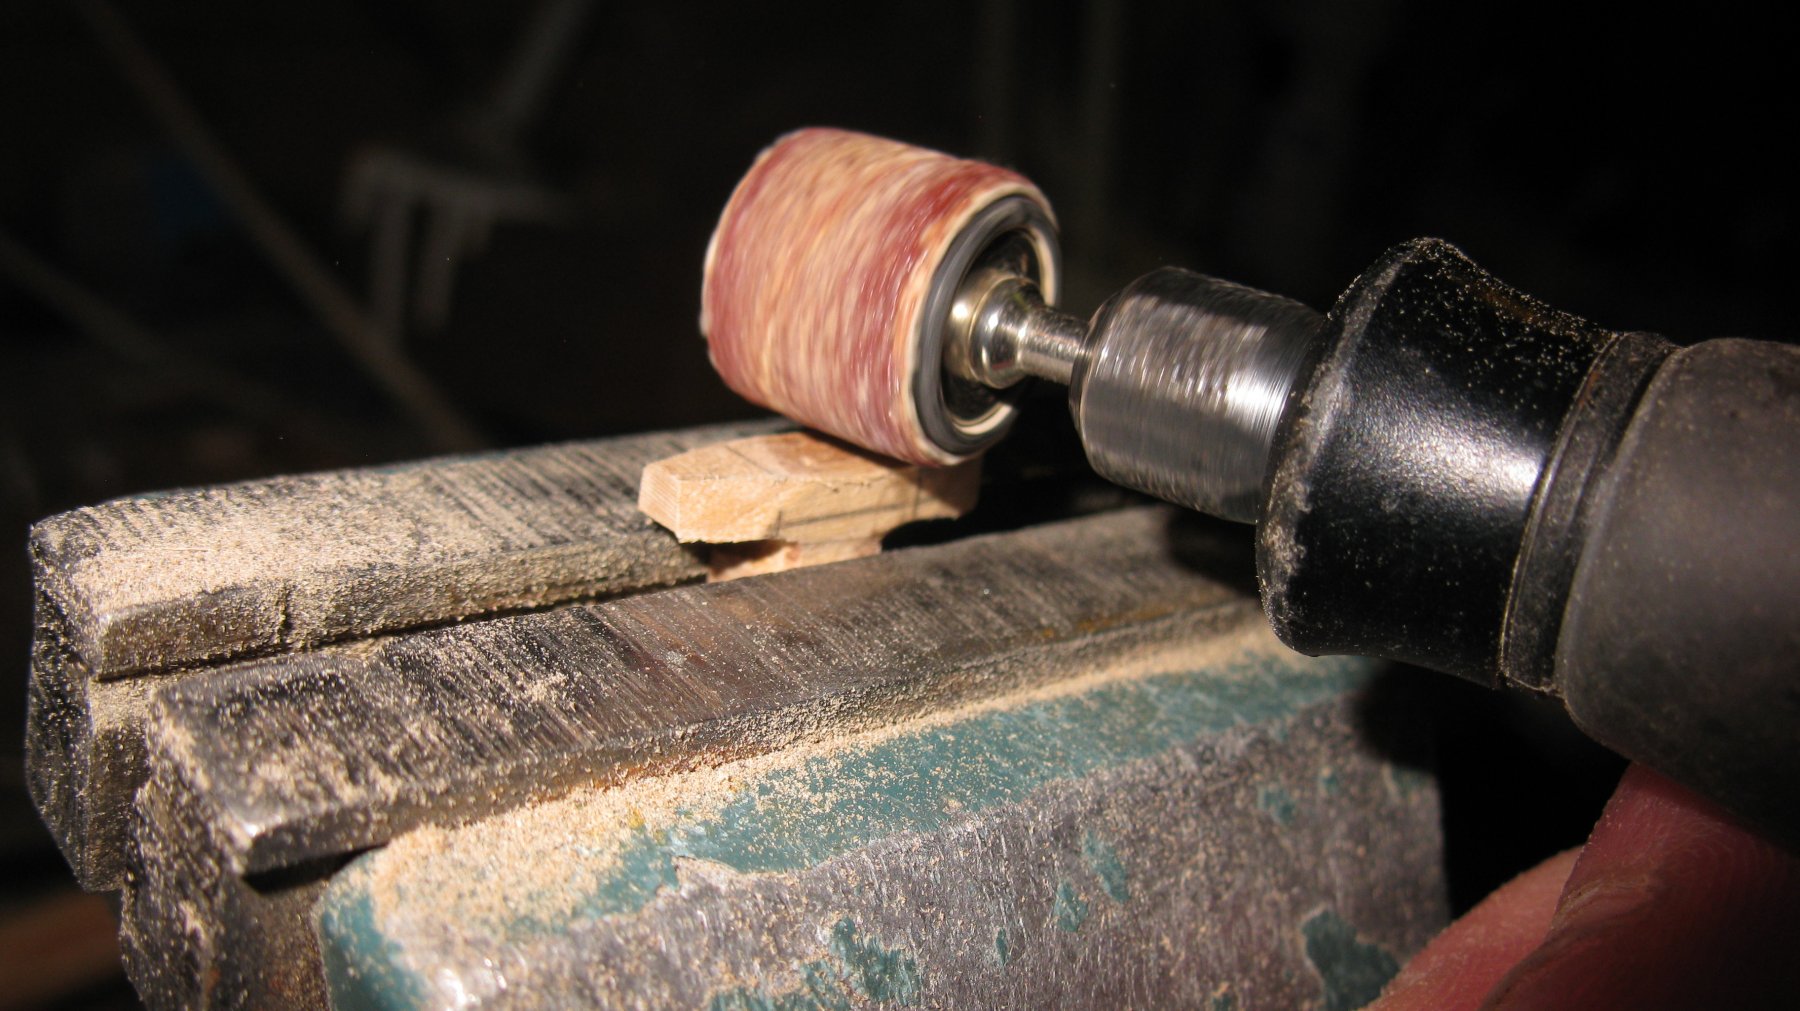
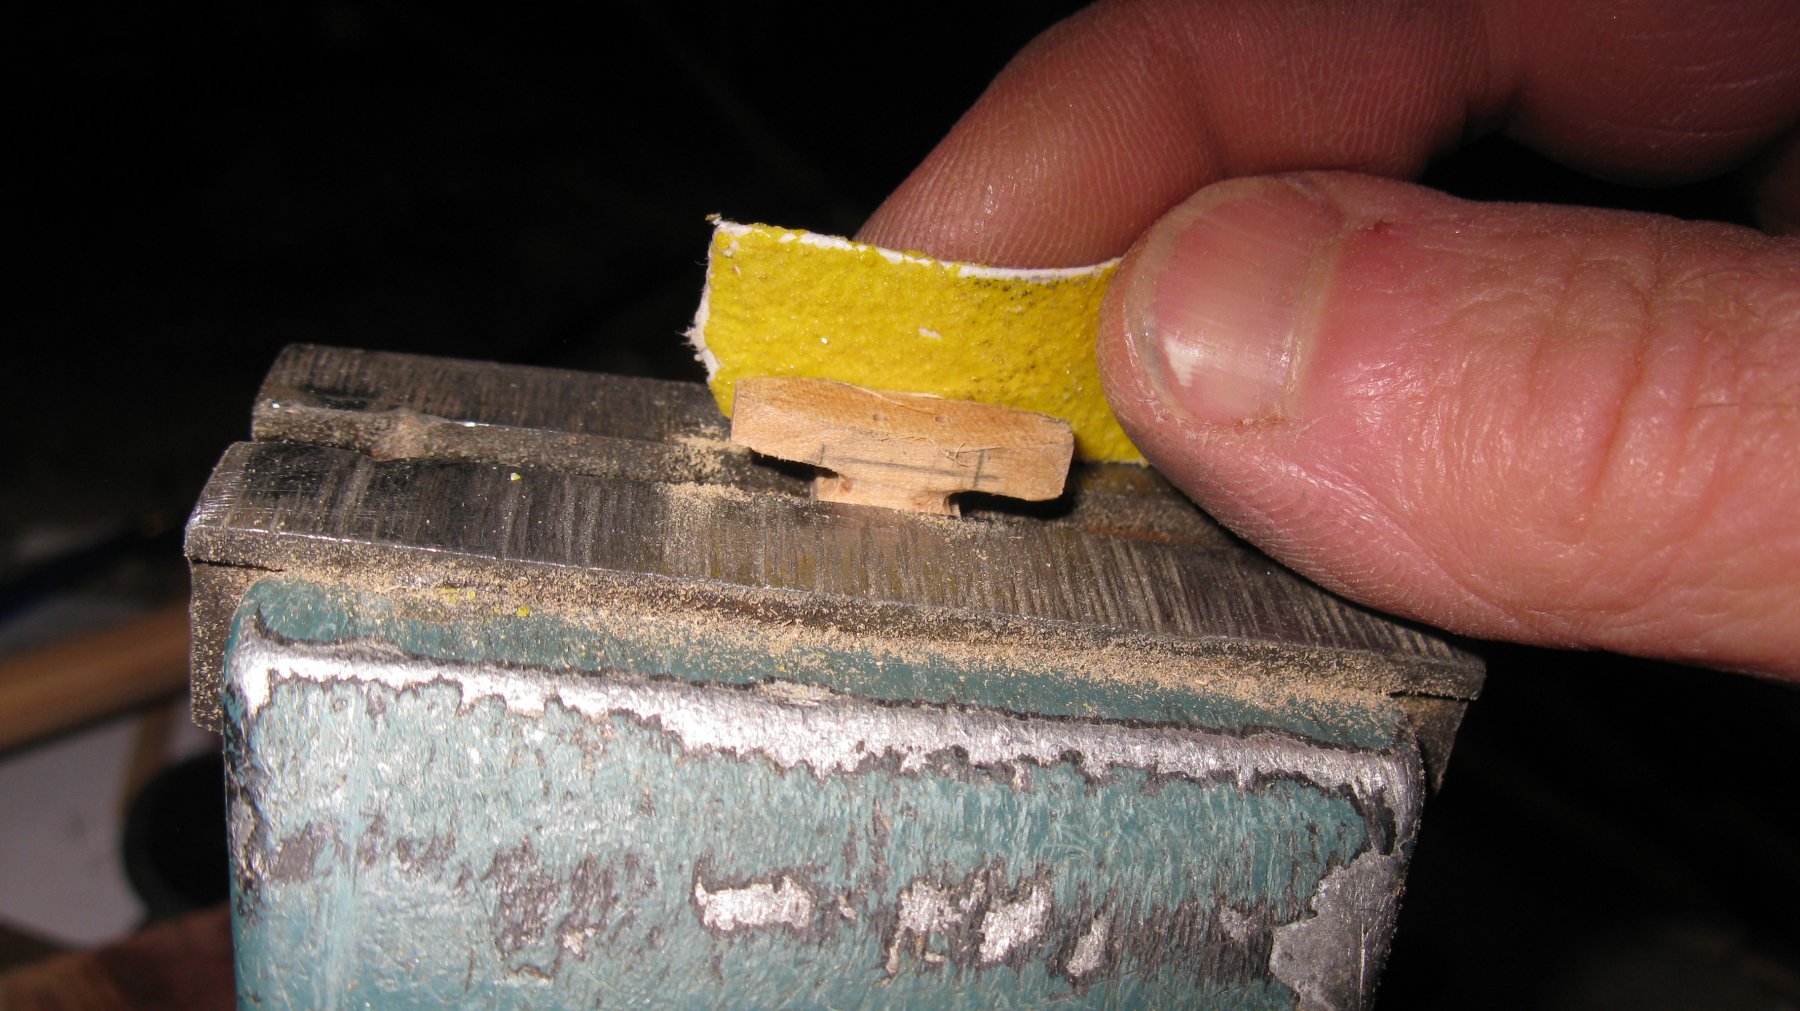
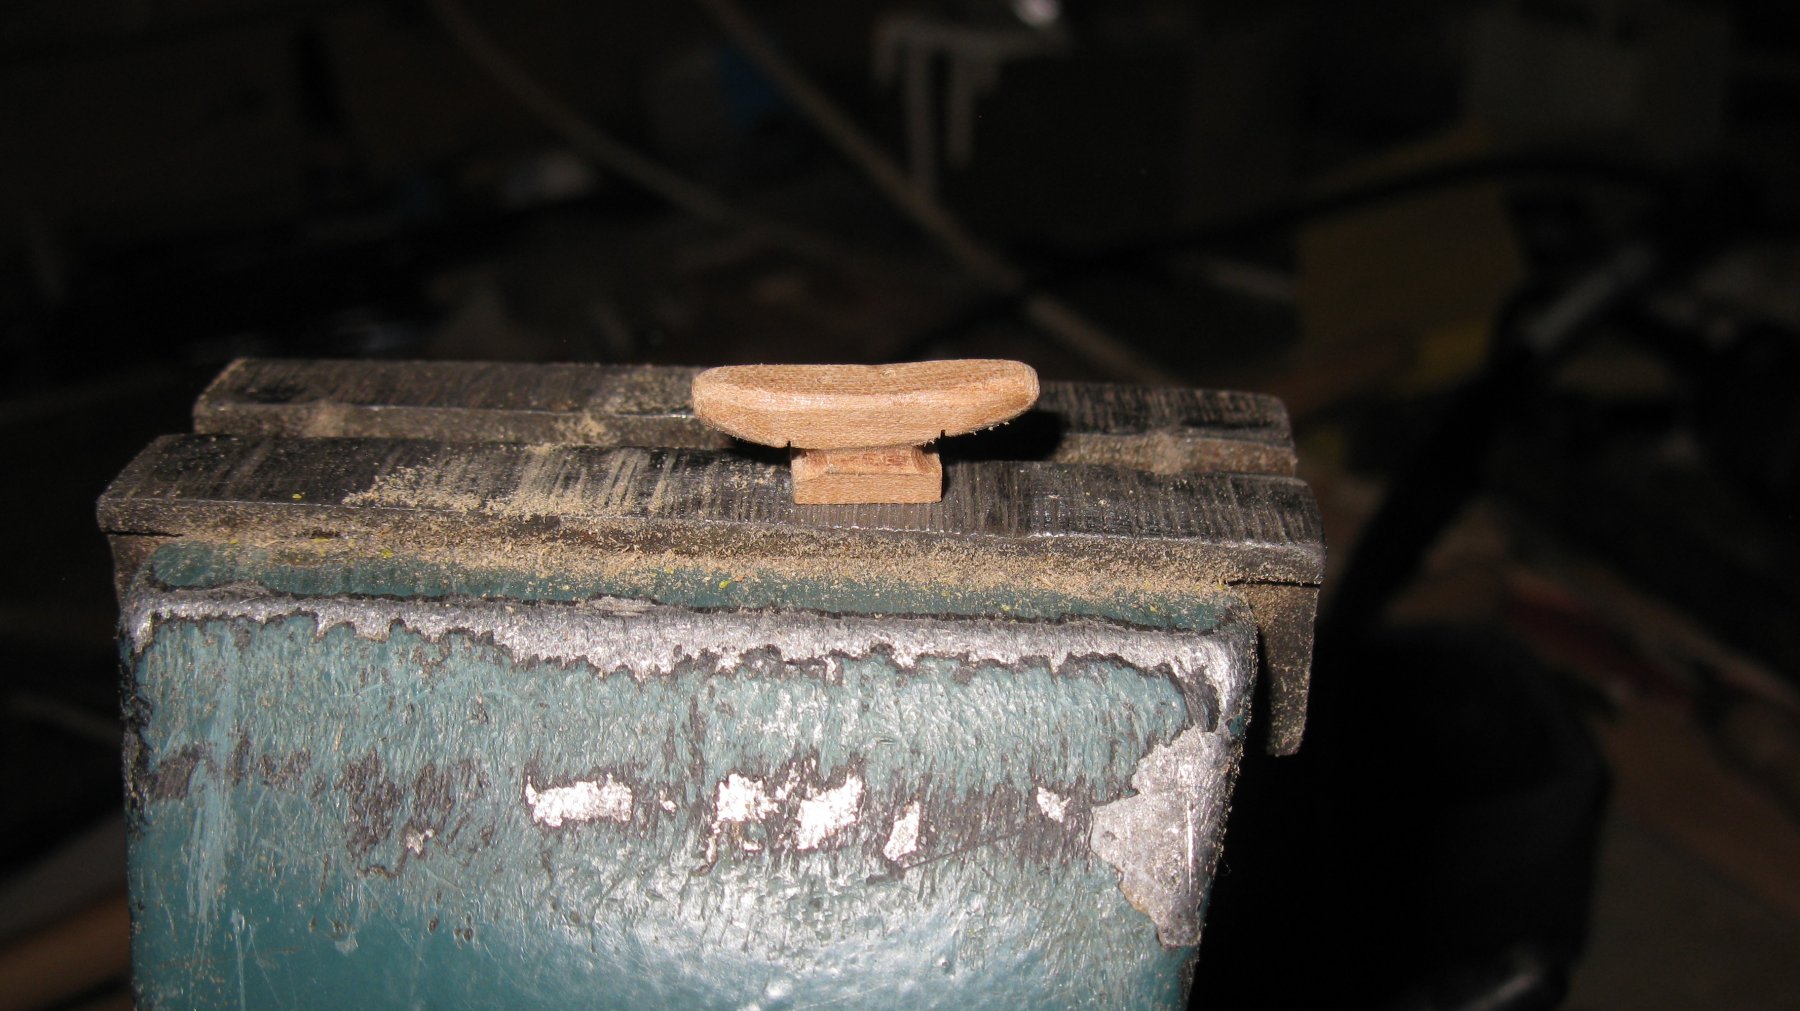
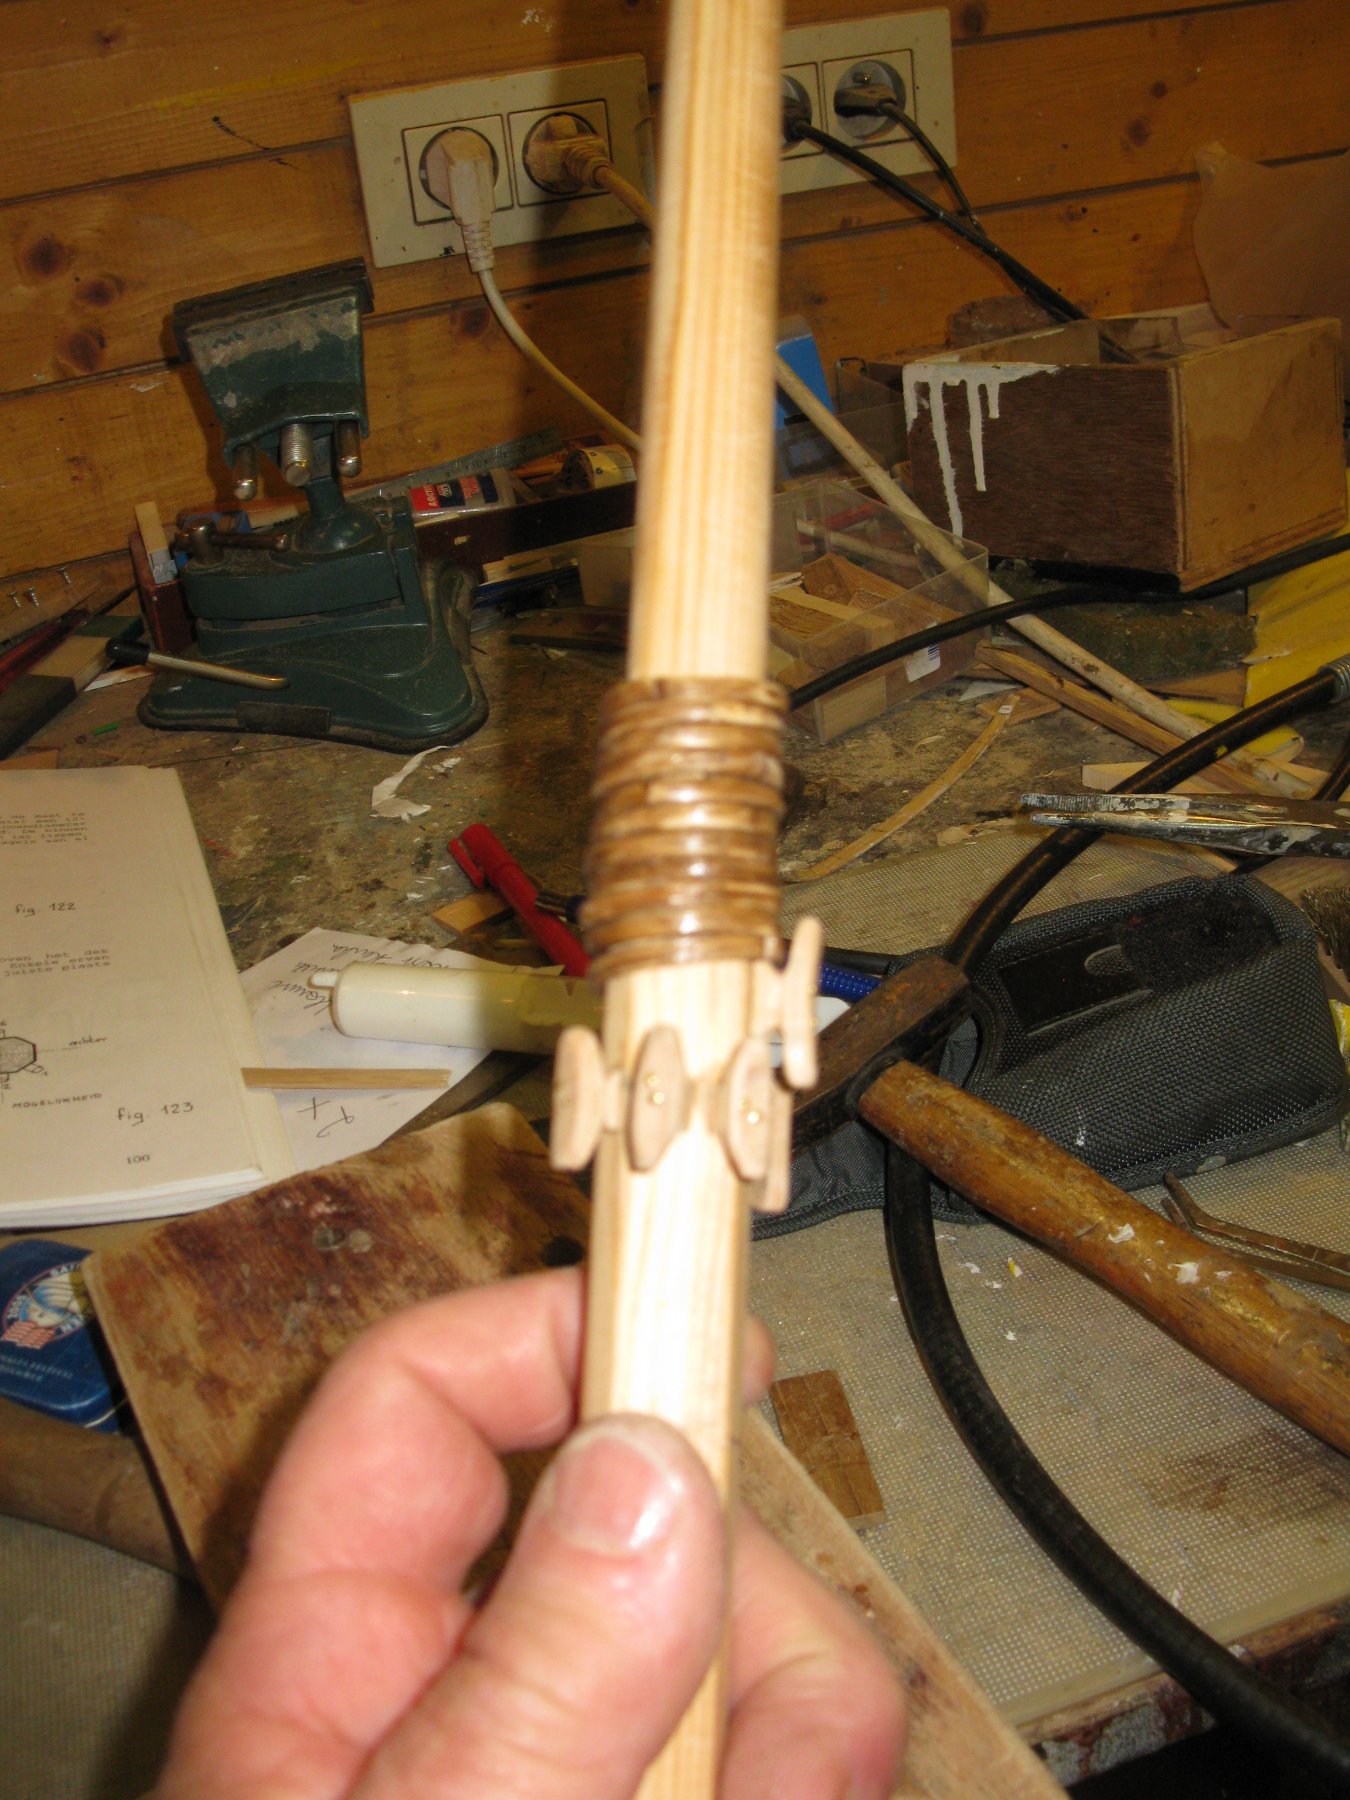
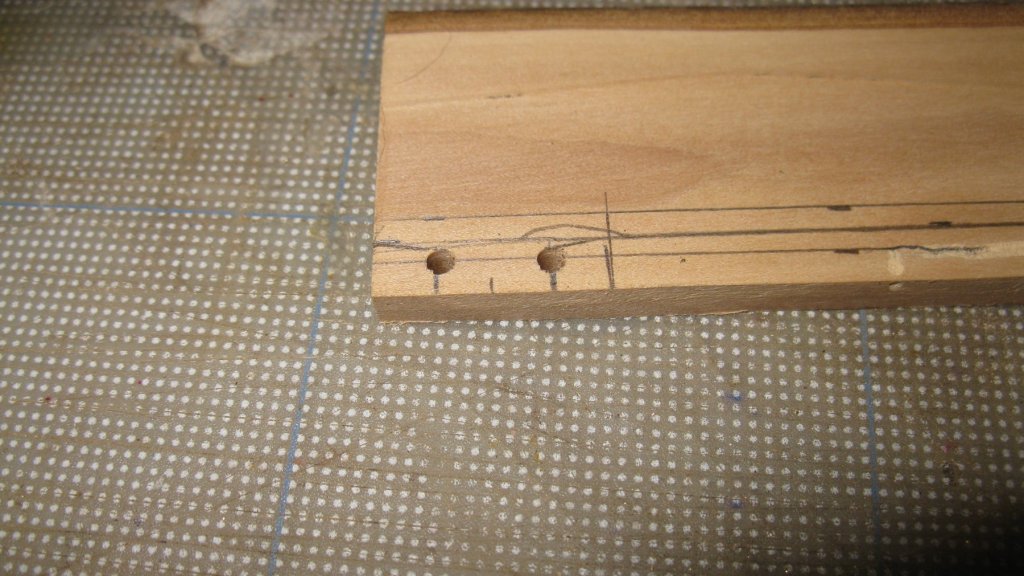
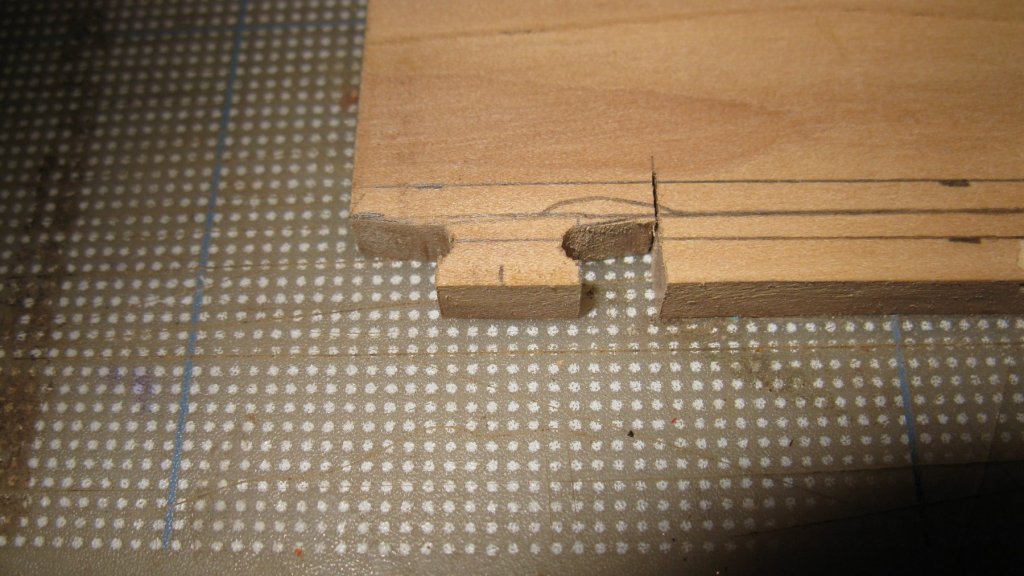
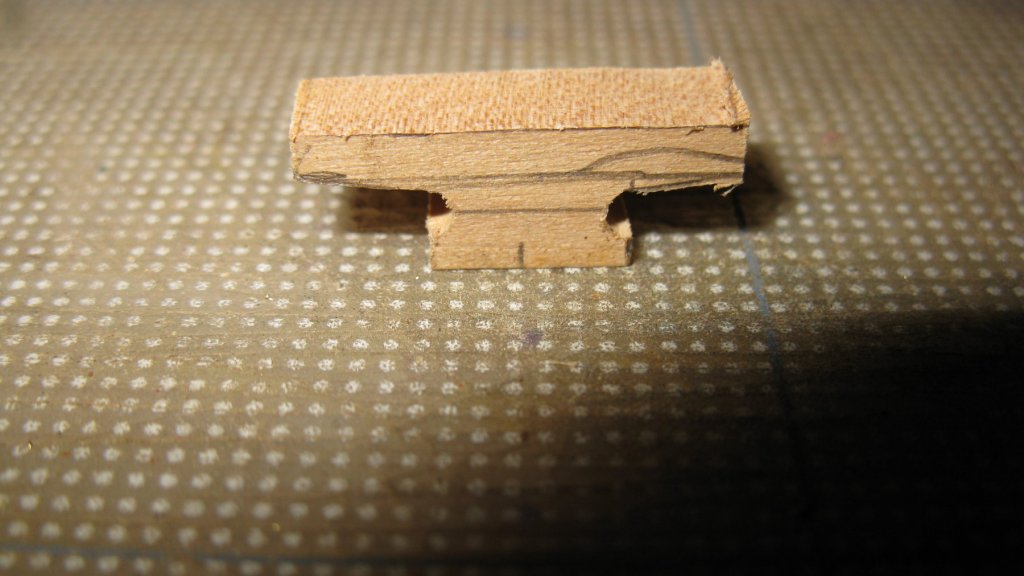
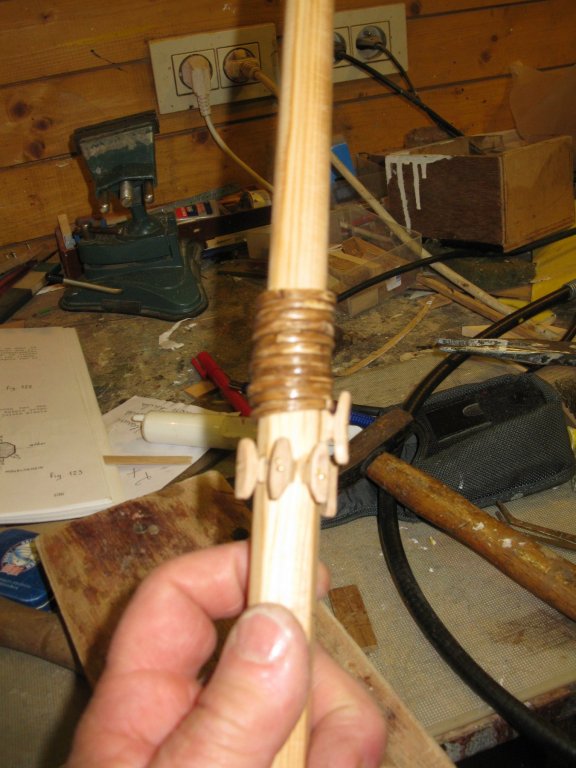
19.2.2 The Mast cleats Some 75 cm above deck level there are 5 cleats around the mast, 3 normal ones and two big ones. Making the cleats: The cleats around the mast.


- 219 replies
-
- 8
-
-
- smack
- cross-section
- (and 2 more)
-
A little cute white treasure.
-
Adequate method for making belaying pins. Thanks for sharing, I have to make pins as well soon for my smack cross section. I think I will use your method.
- 306 replies
-
- 4
-
-
- schooner
- la jacinthe
- (and 1 more)
-
Oops, thought you finished your model already😁. I am sure that it will be a masterpiece as well.
- 124 replies
-
- 2
-
-
- longboat
- Chaloupe Armee En Guerre
- (and 1 more)
-
Congratulations, Tony. Beautiful model! Nice base plate as well, what kind of wood is that?
- 124 replies
-
- 1
-
-
- longboat
- Chaloupe Armee En Guerre
- (and 1 more)
-
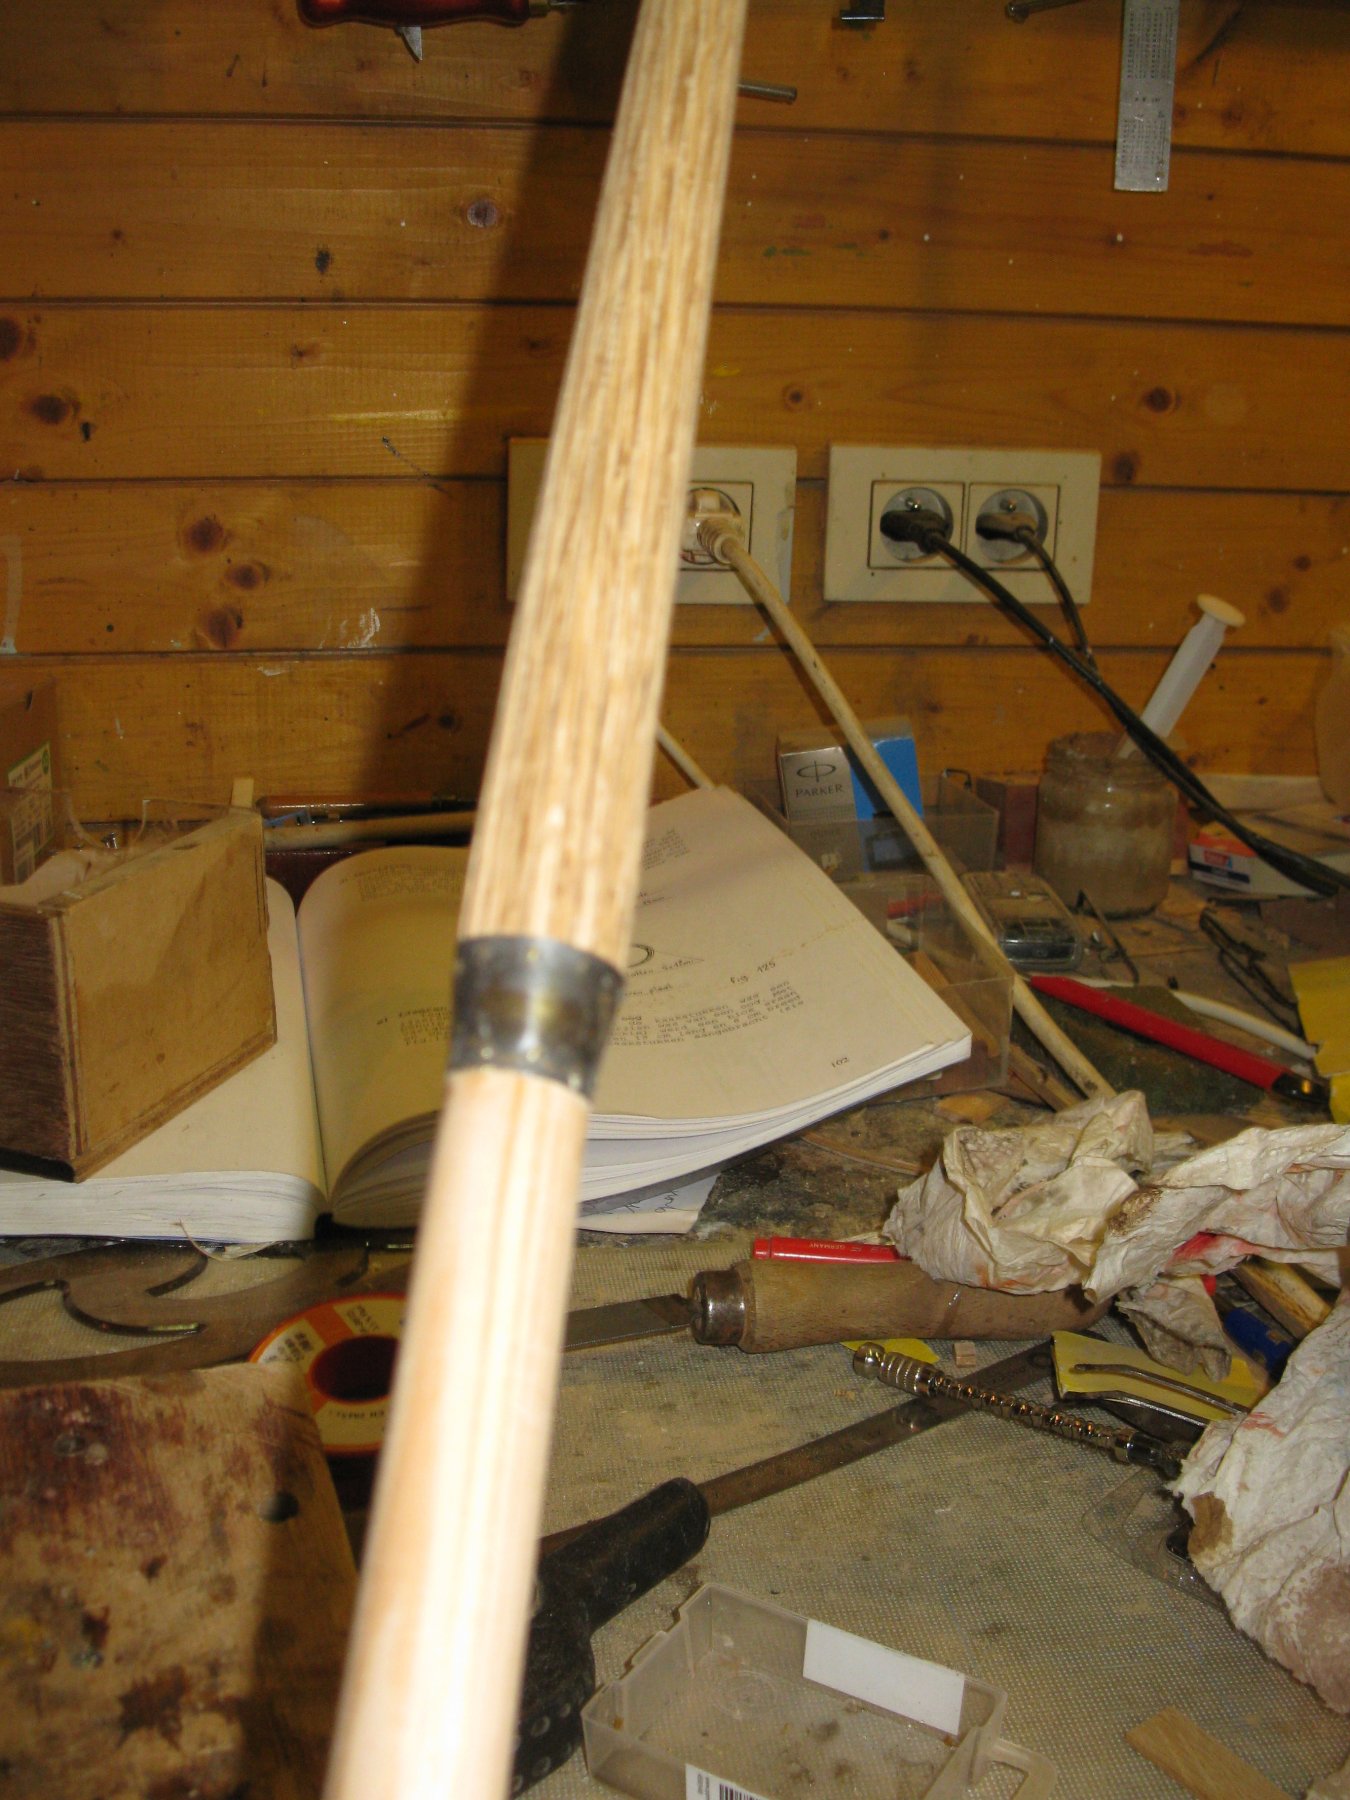
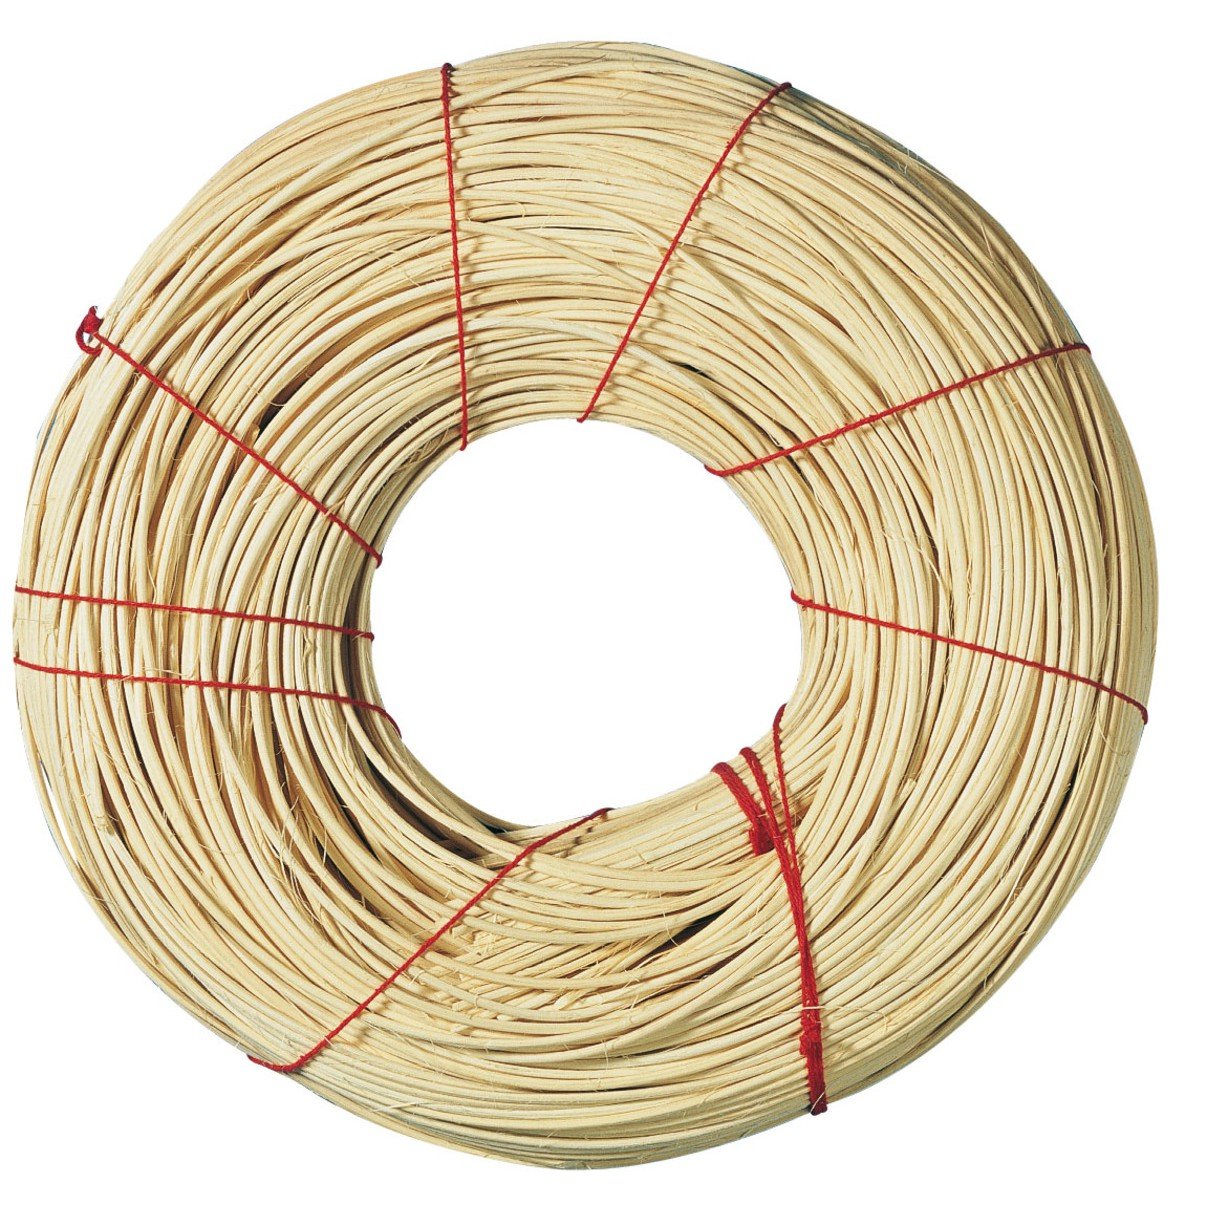
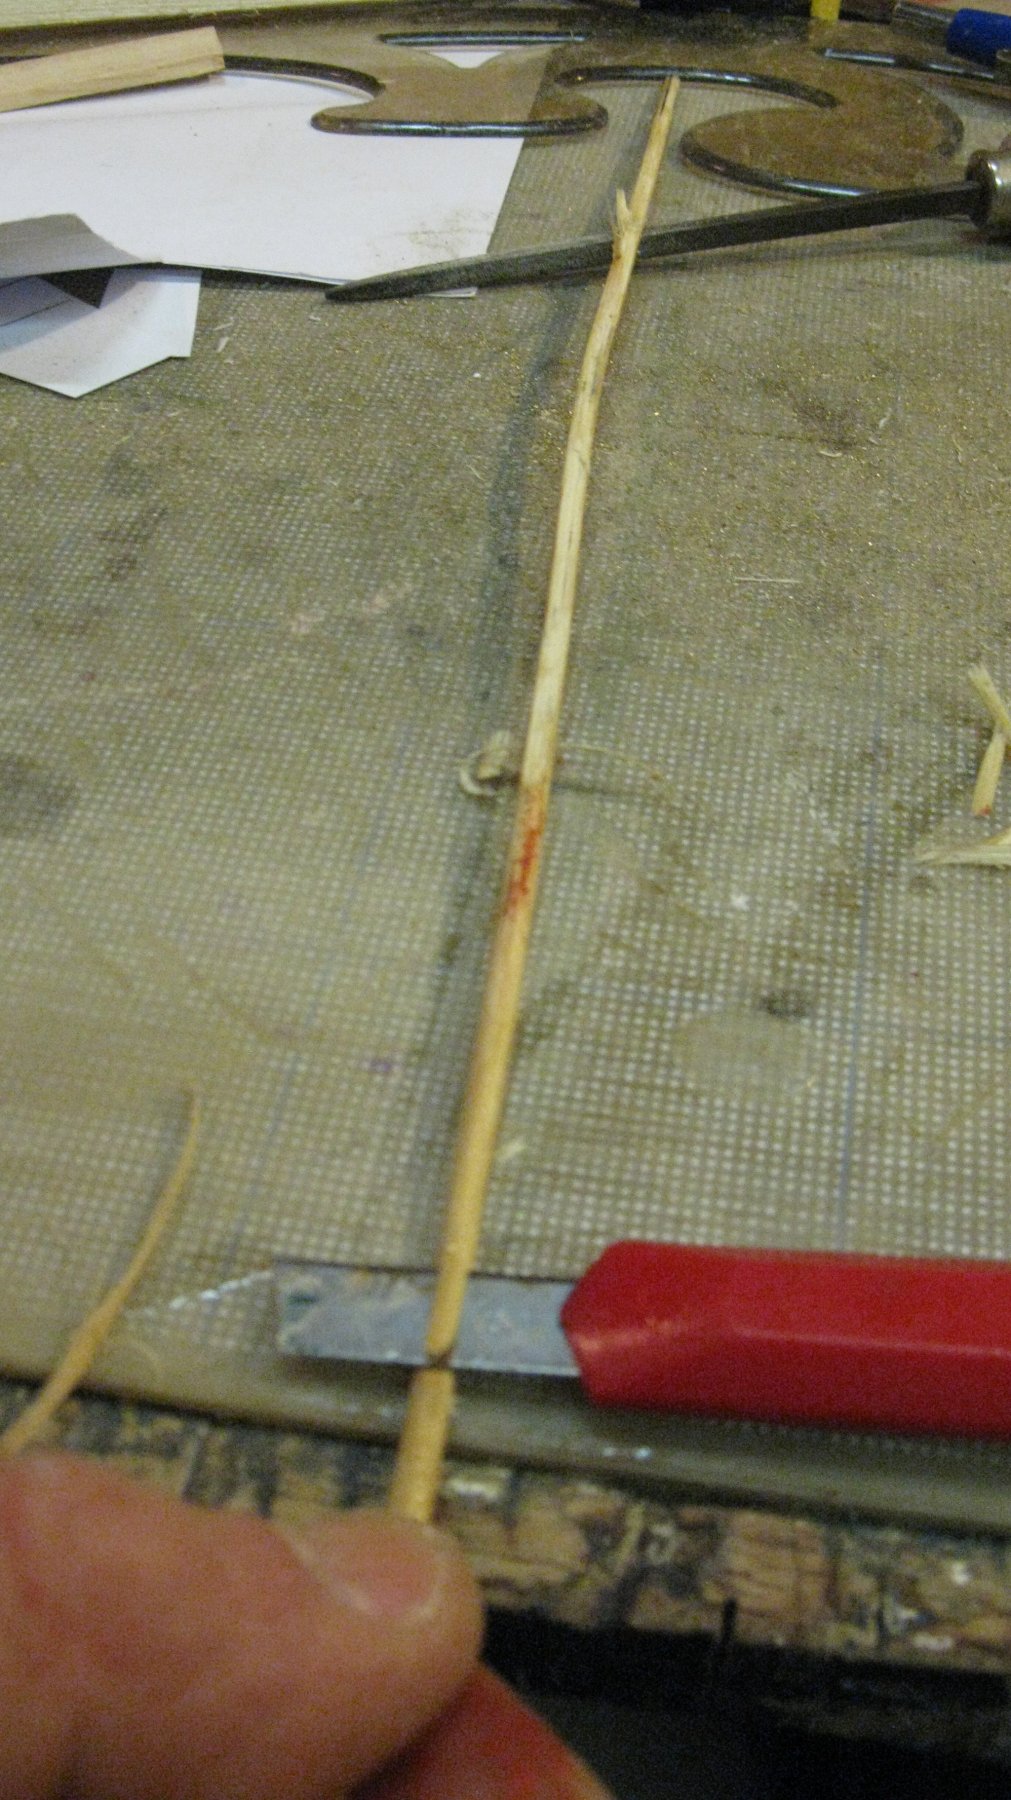
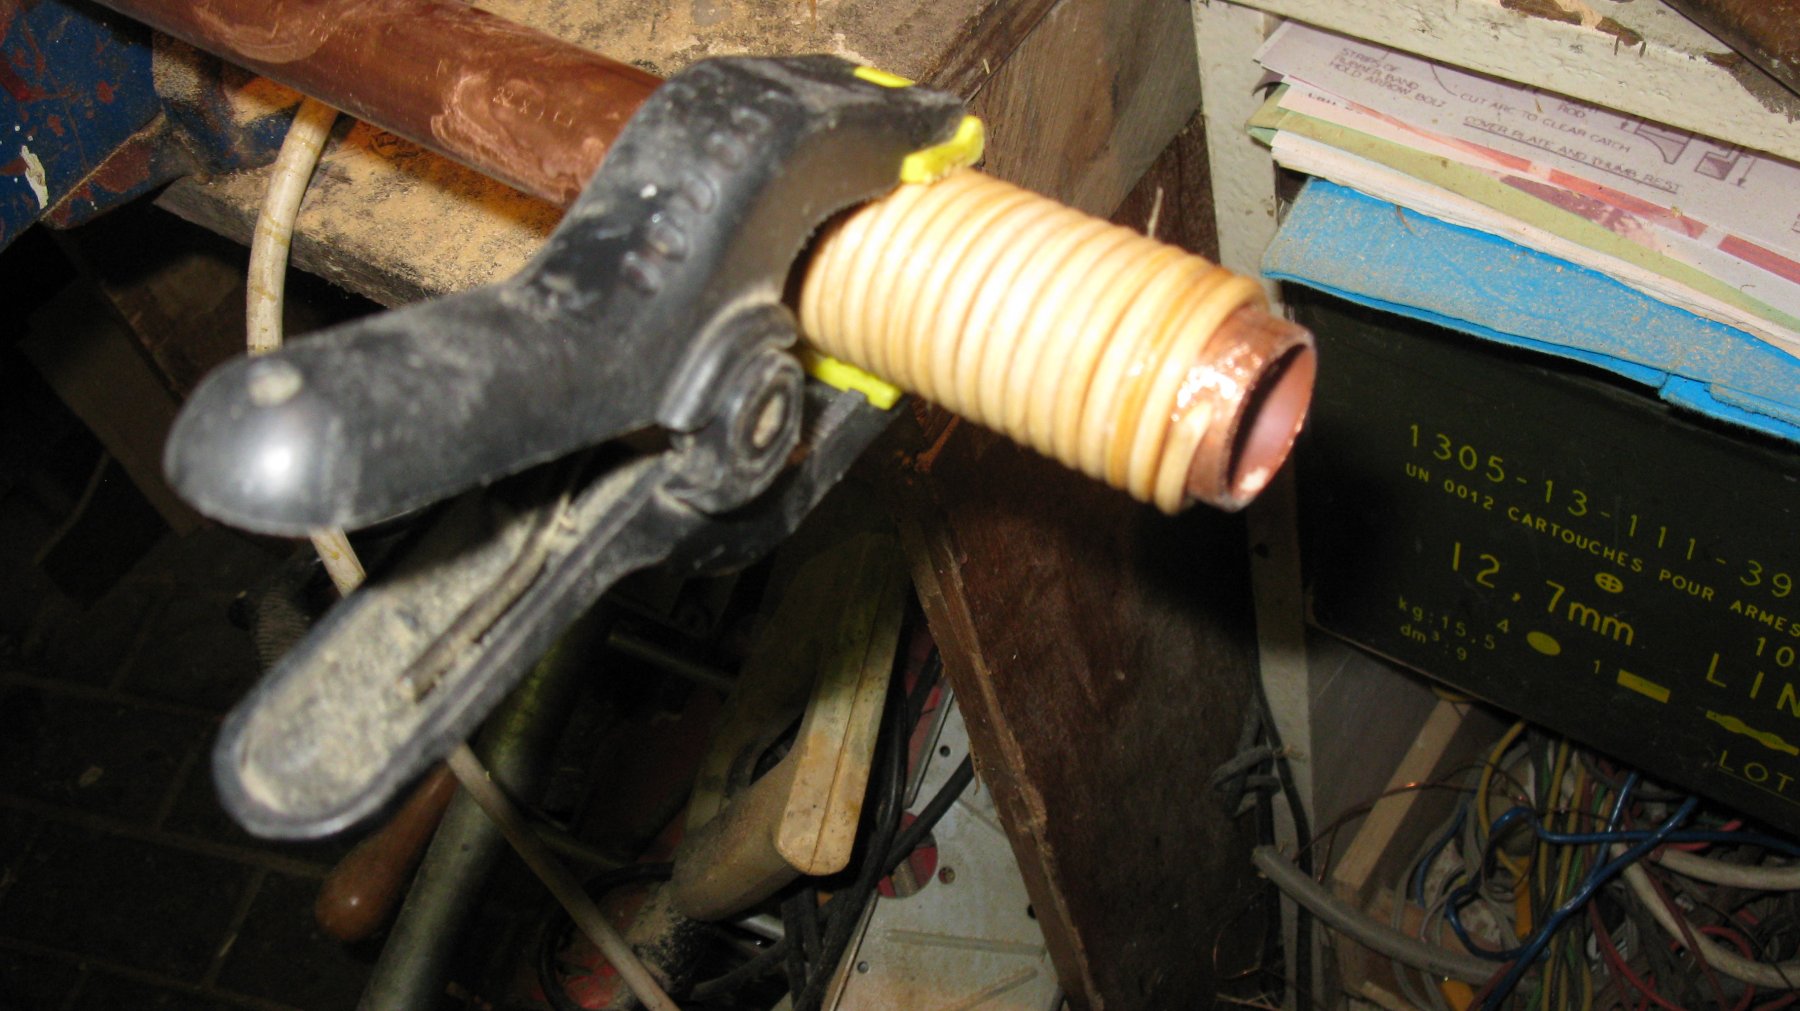
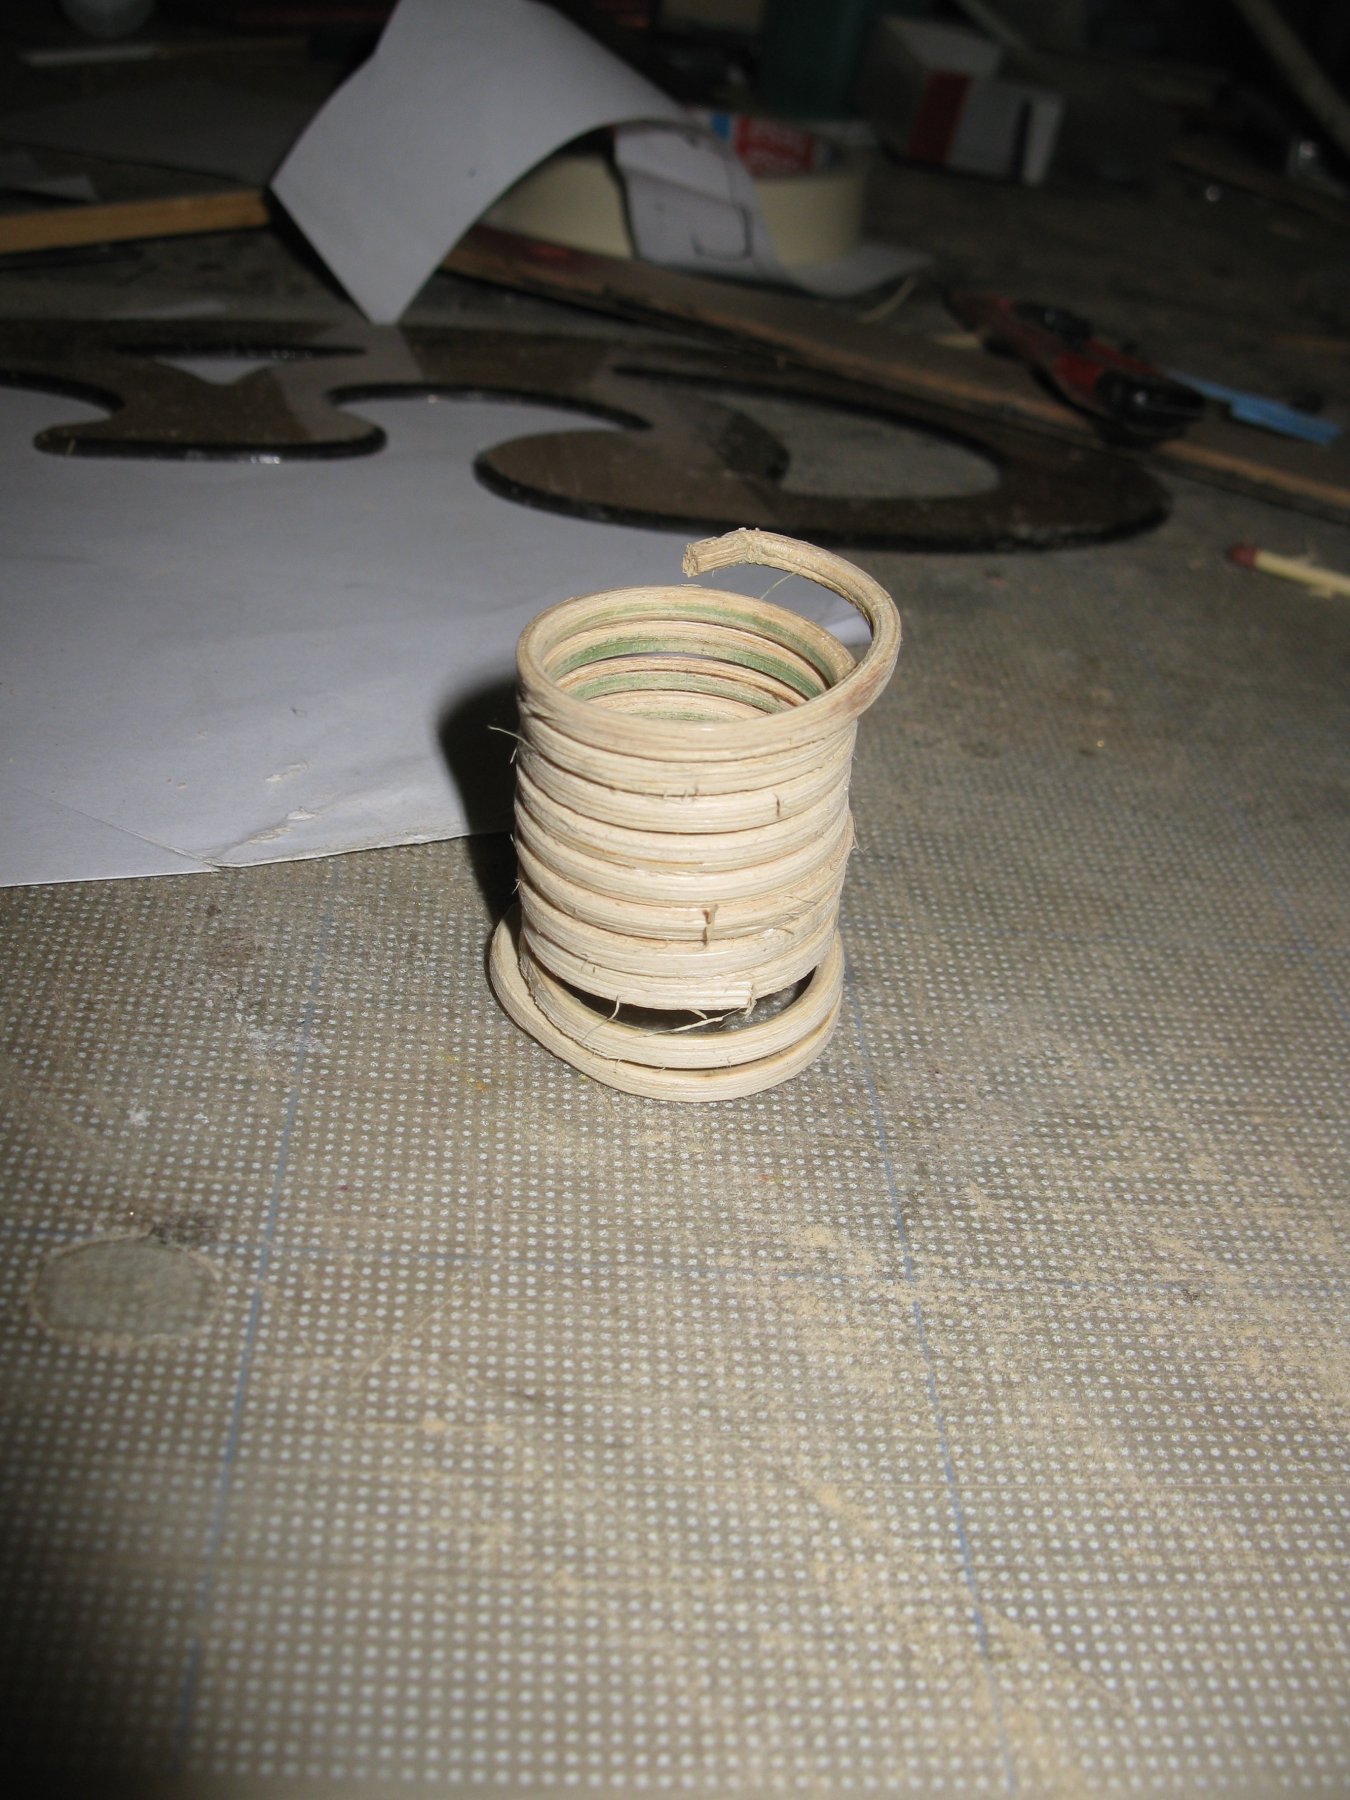
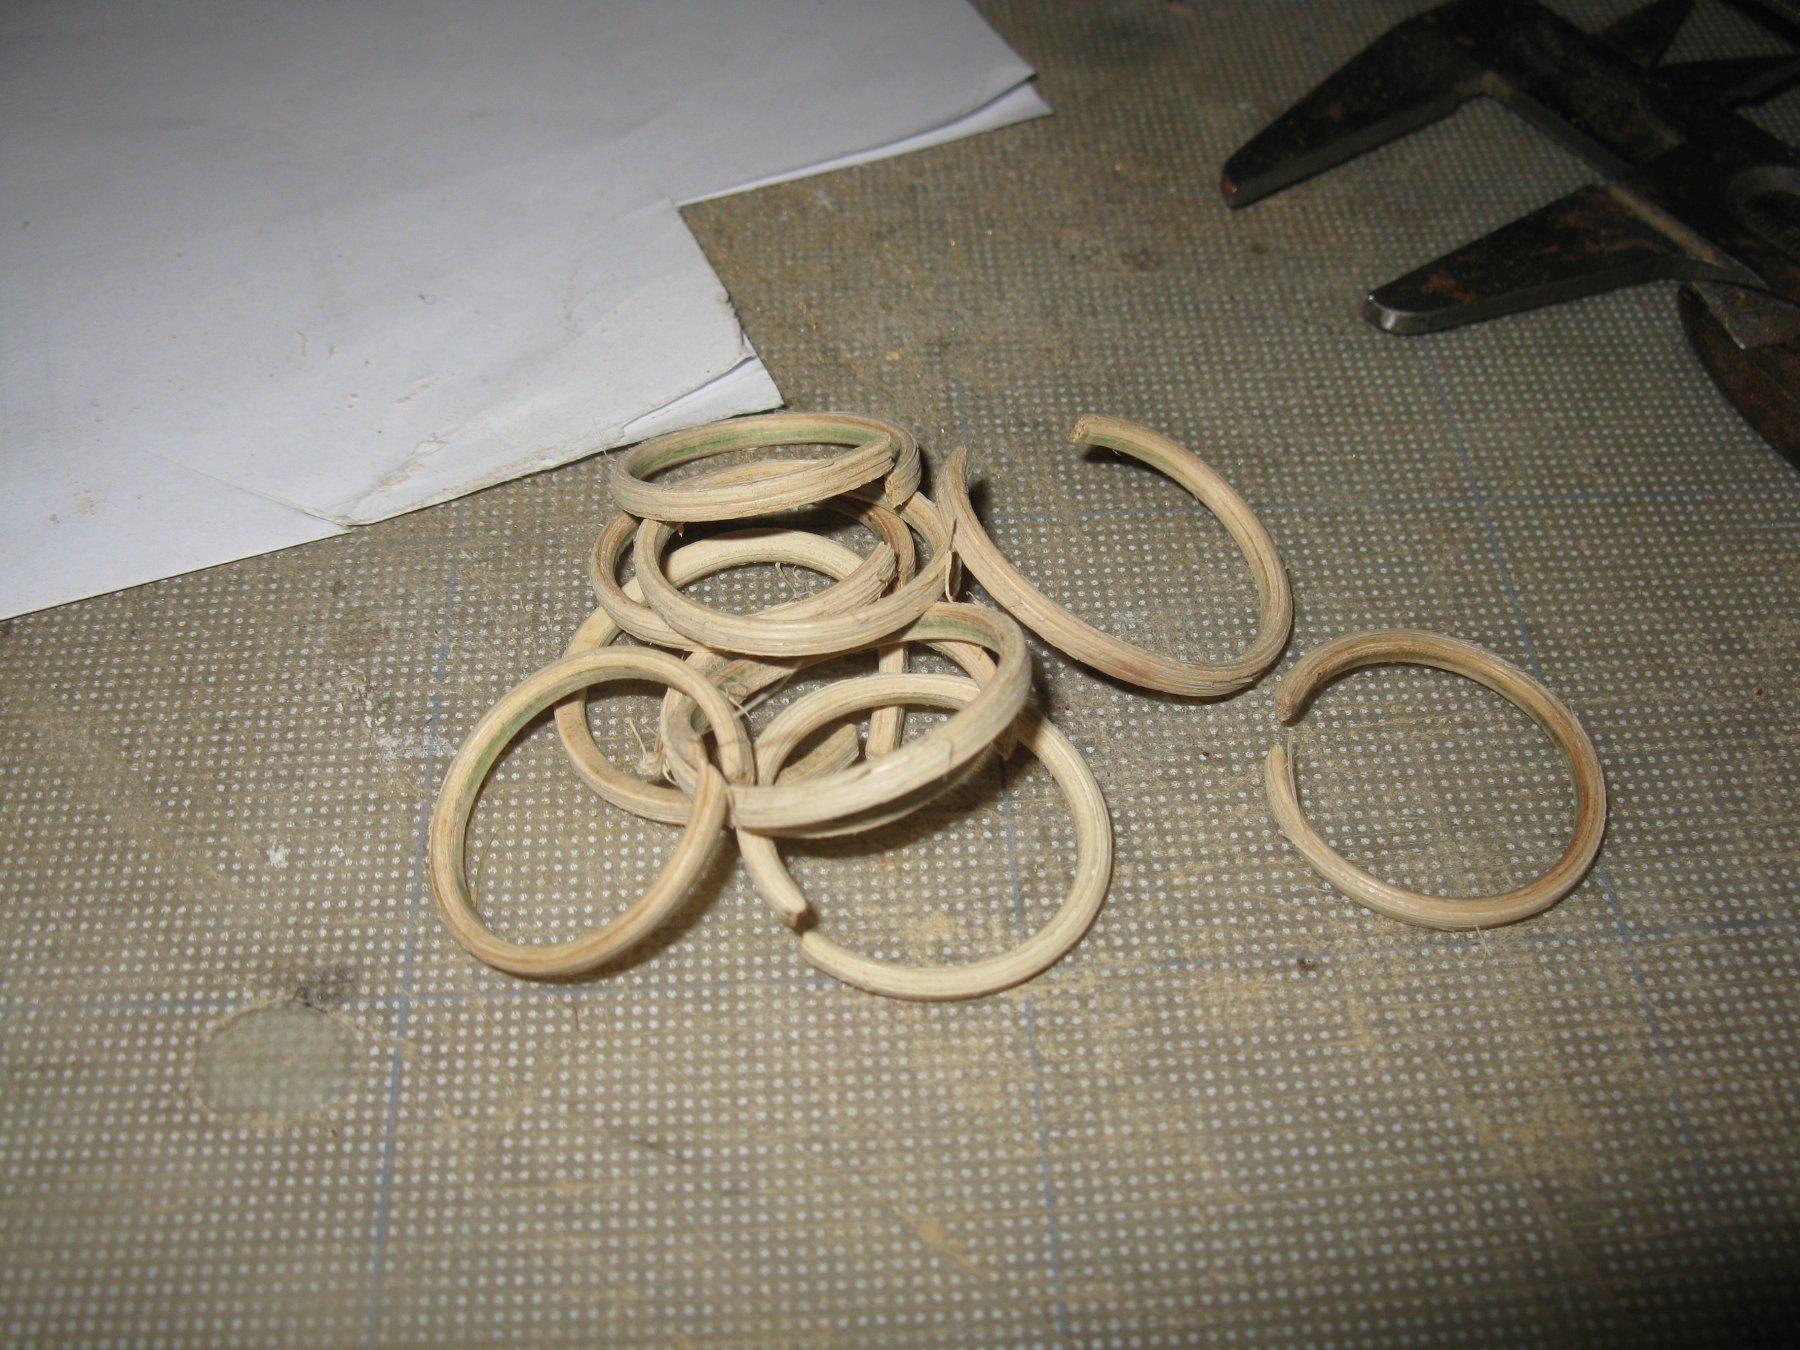
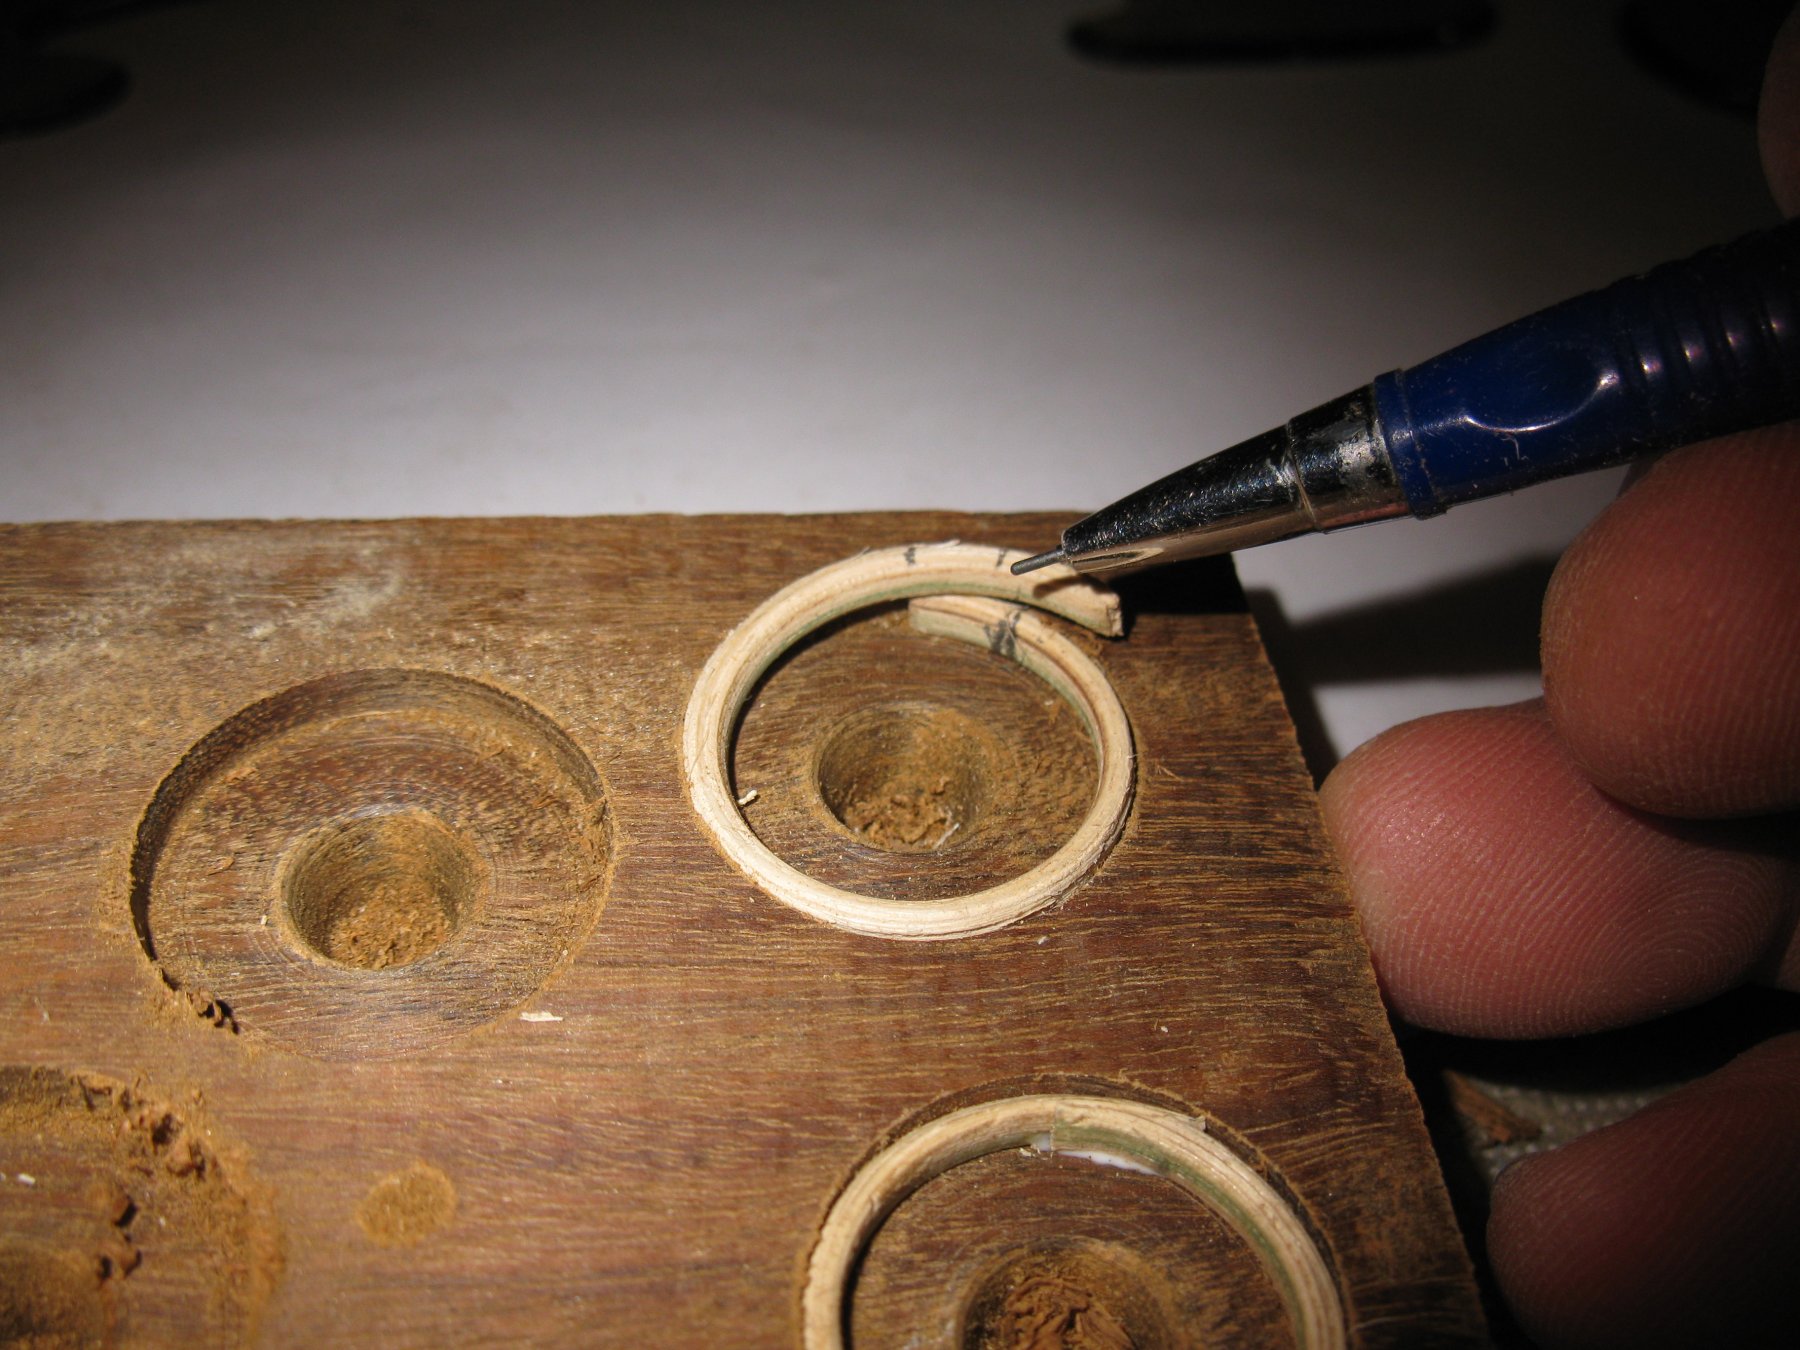
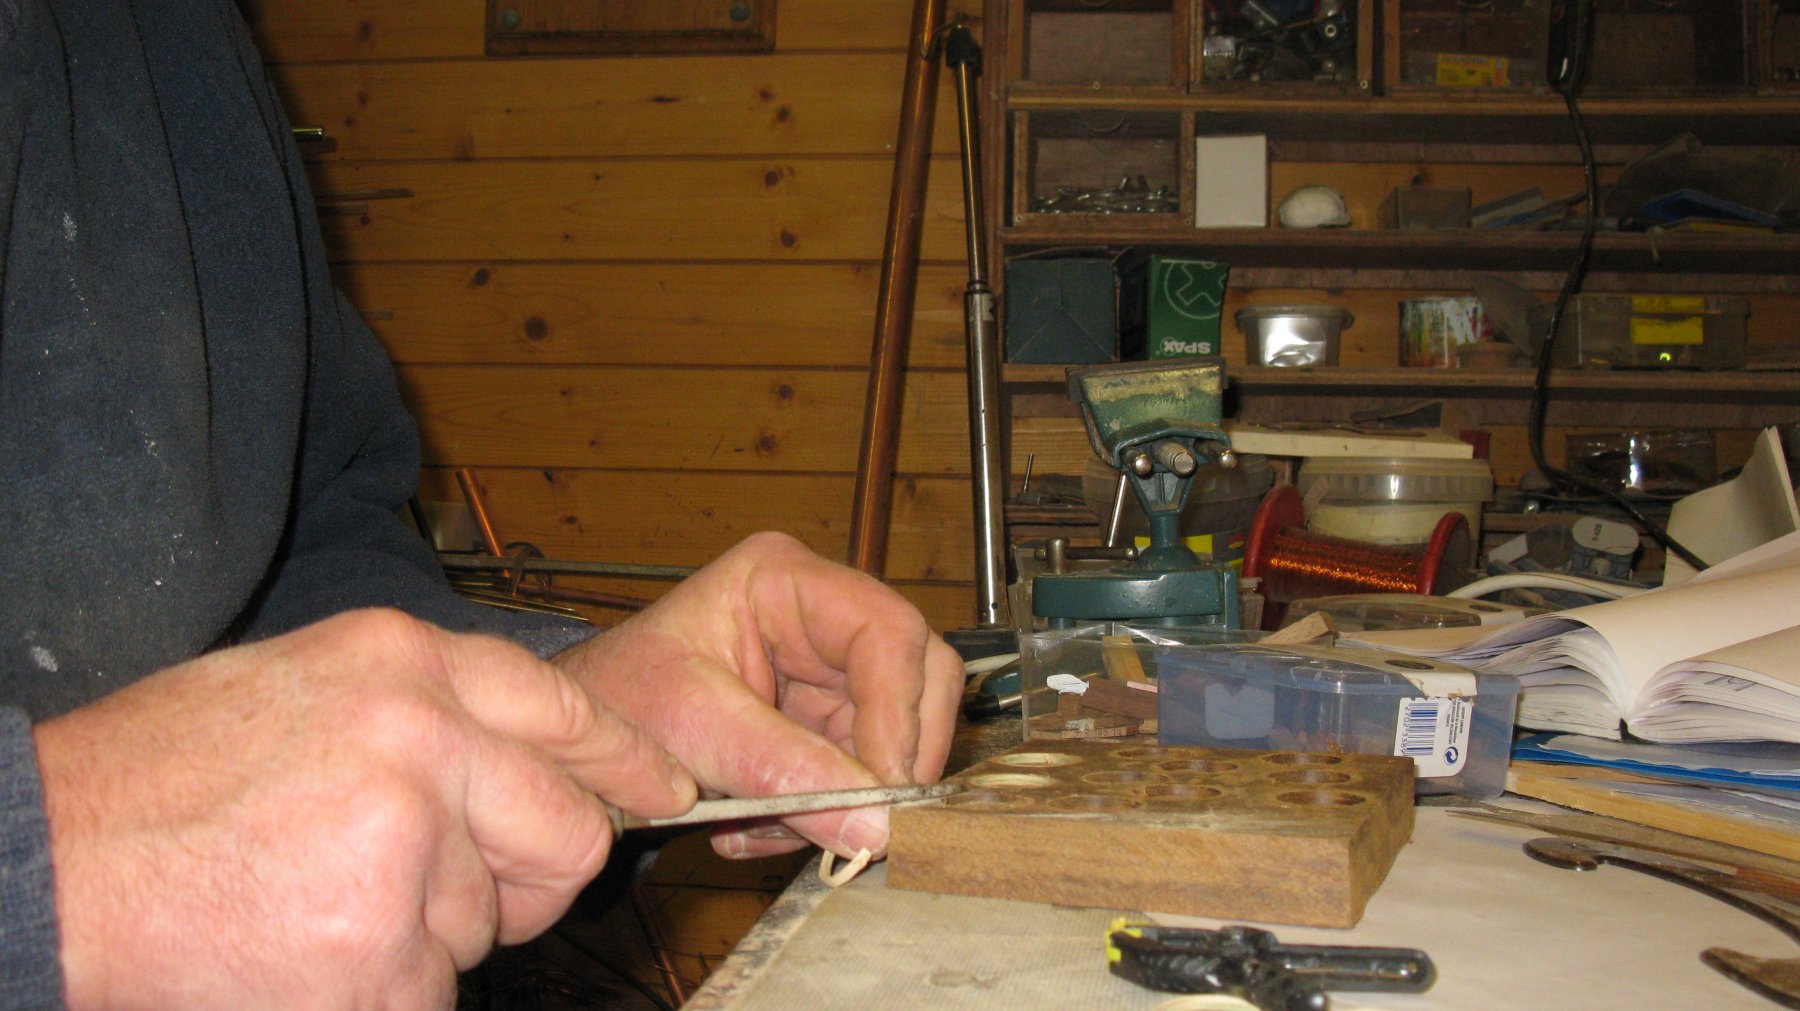
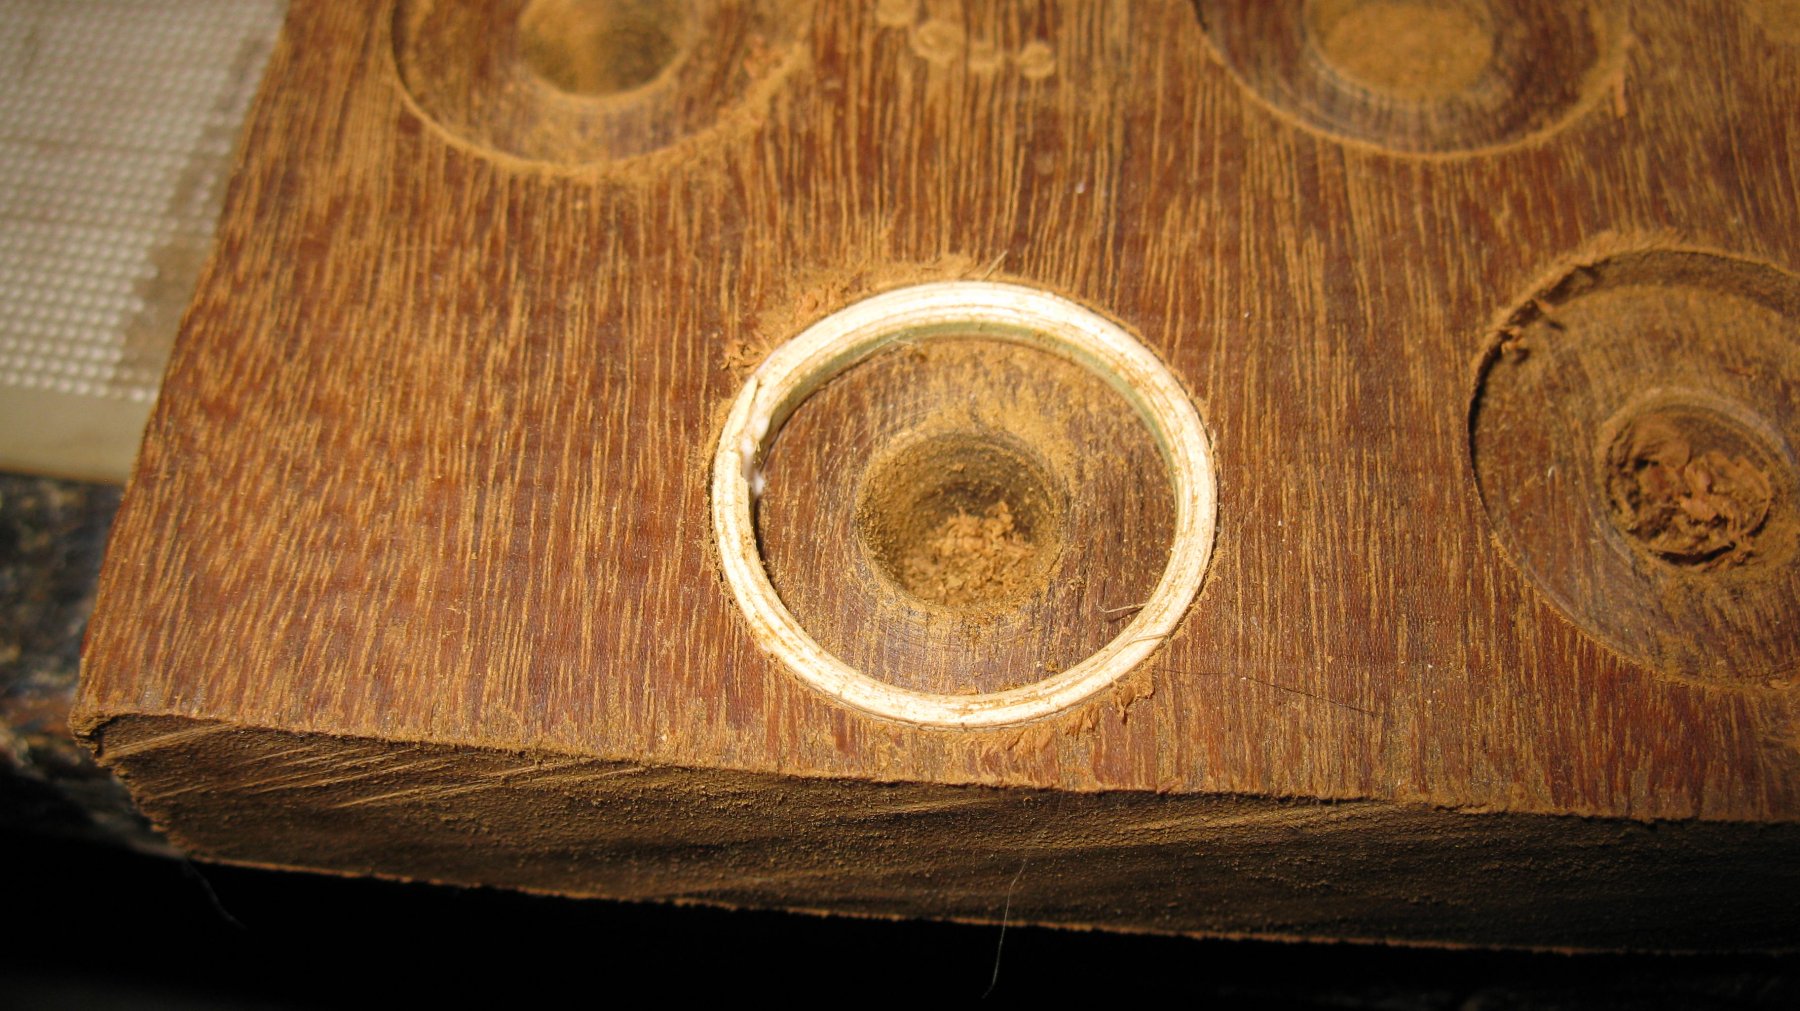
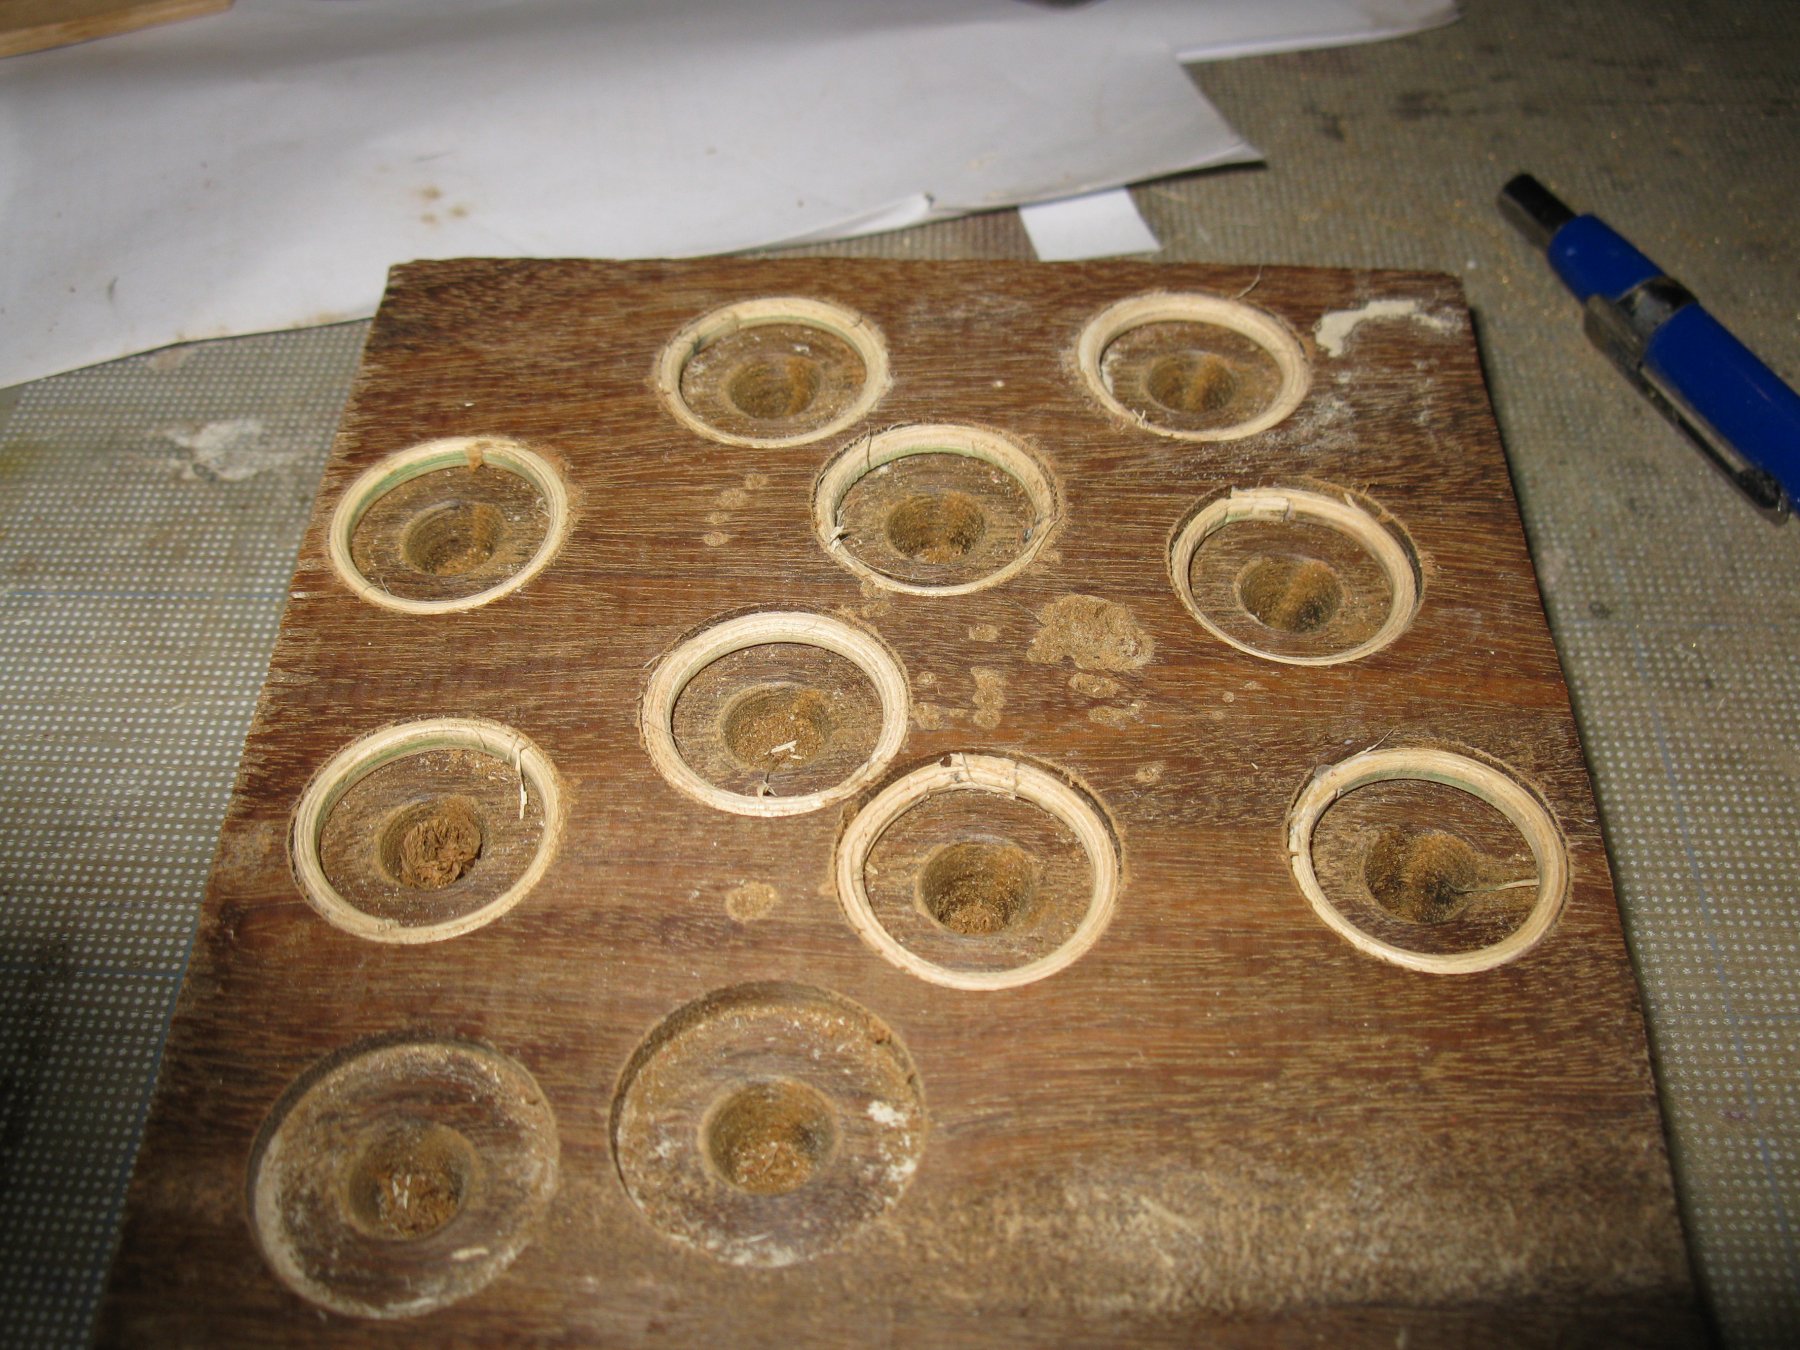
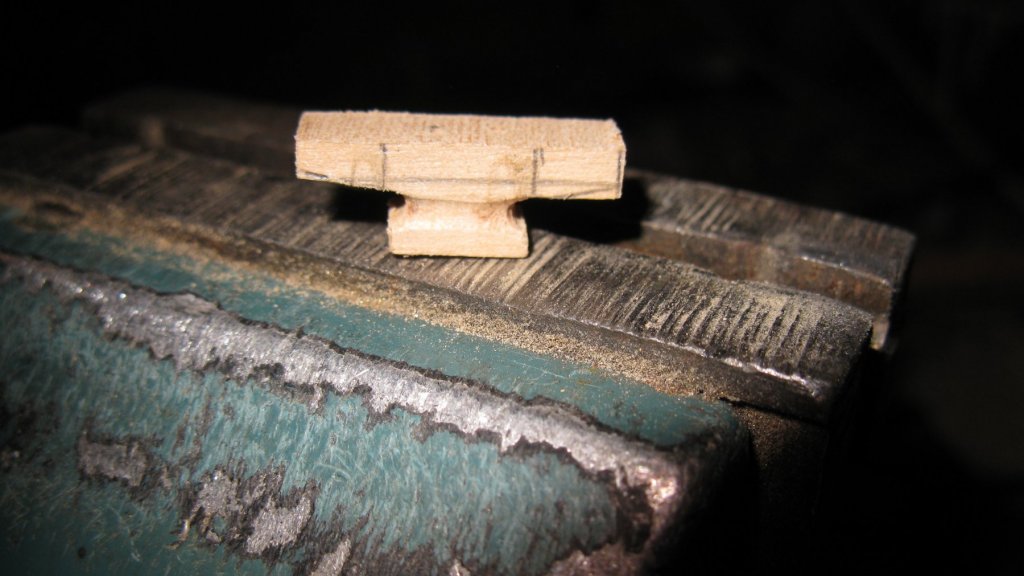
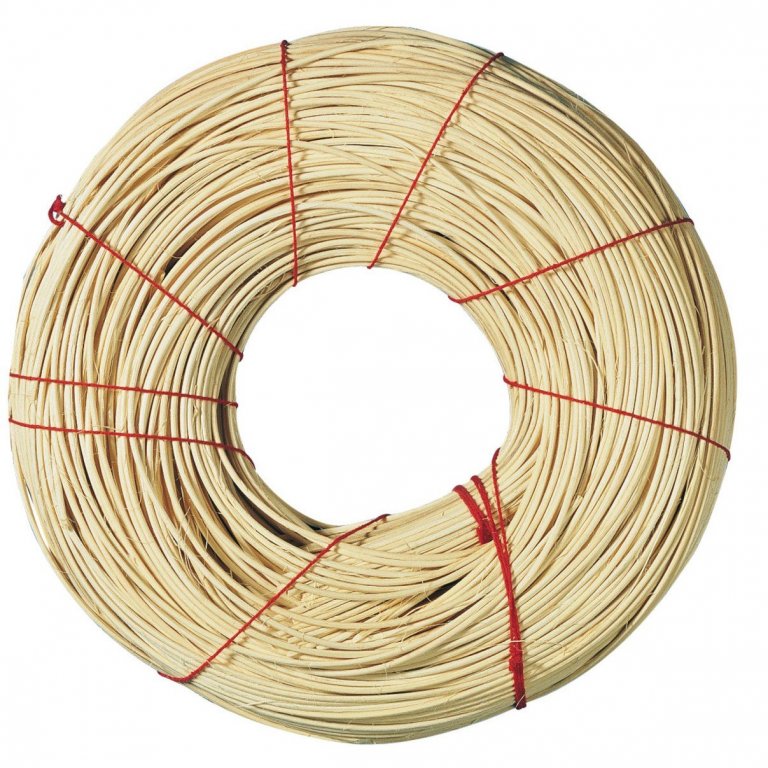
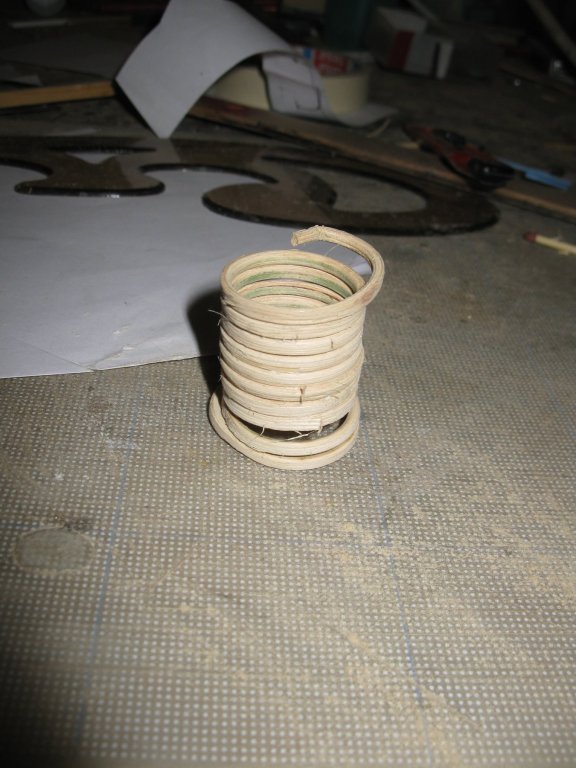
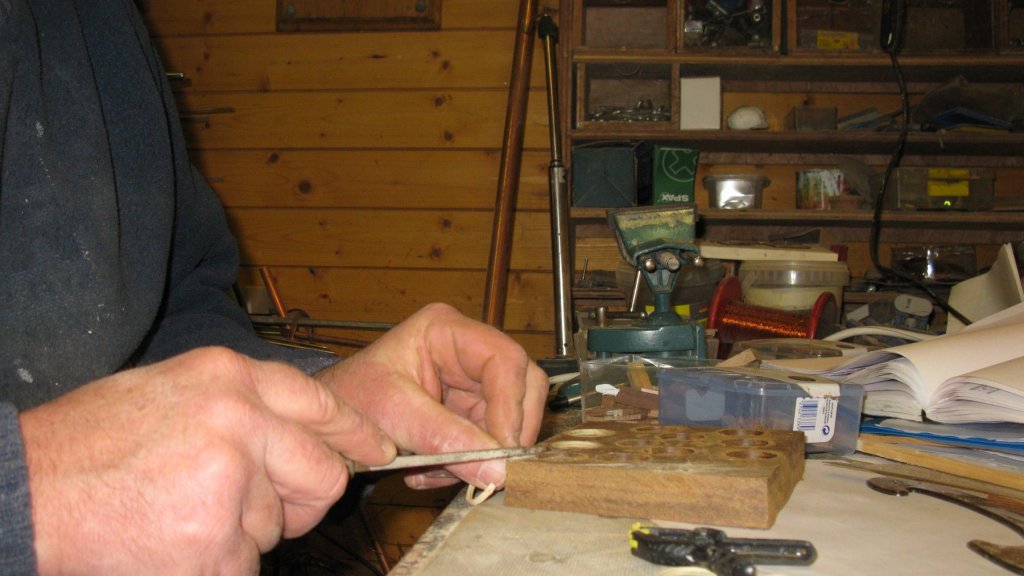
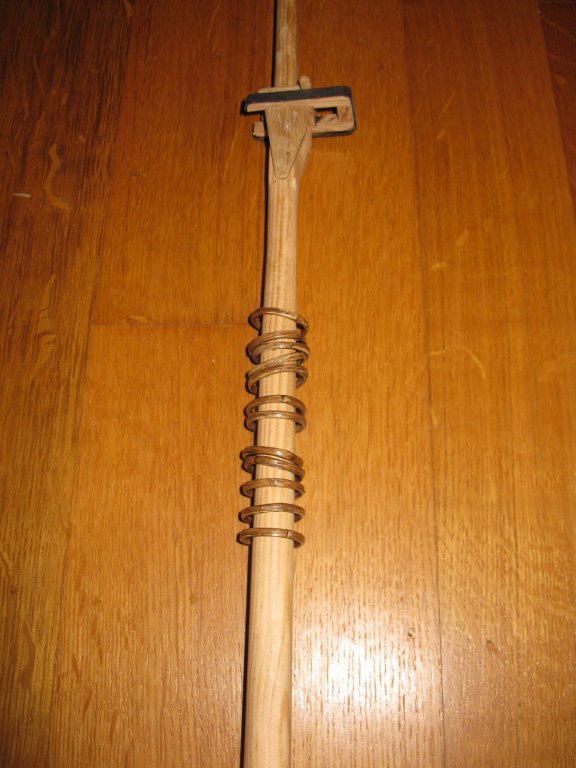
19.2 The spars. The mast fittings. 19.2.1 The Mast hoops I make mast hoops of pit cane. It can be bought in hobby shops and is used for basket braids and flower arranging. The outside surface of the mast hoops is flat, the inside round. To make the flat surface I cut a slice of one side of the pit cane. The I make the pit cane wet, wind it around a round pipe with a slight bigger diameter than the mast and let it dry. Next day the pit cane can be removed from the pipe like a spiral to be cut in separate rings. I make a jig to glue the mast hoops. A wooden plank in which I drill holes of the same diameter as the mast hoops. With the help of that jig I determine the exact size of the pit cane rings and the overlaps that I need to glue them. I file the overlaps. Put some wood glue on them and press the hoops in the jig. The mast hoops, stained and varnished around the mast.


- 219 replies
-
- 18
-
-
- smack
- cross-section
- (and 2 more)
-
Thank you Patrick, trying to keep up the standard of the Belgian ship modelers.
- 219 replies
-
- 3
-
-
- smack
- cross-section
- (and 2 more)
-
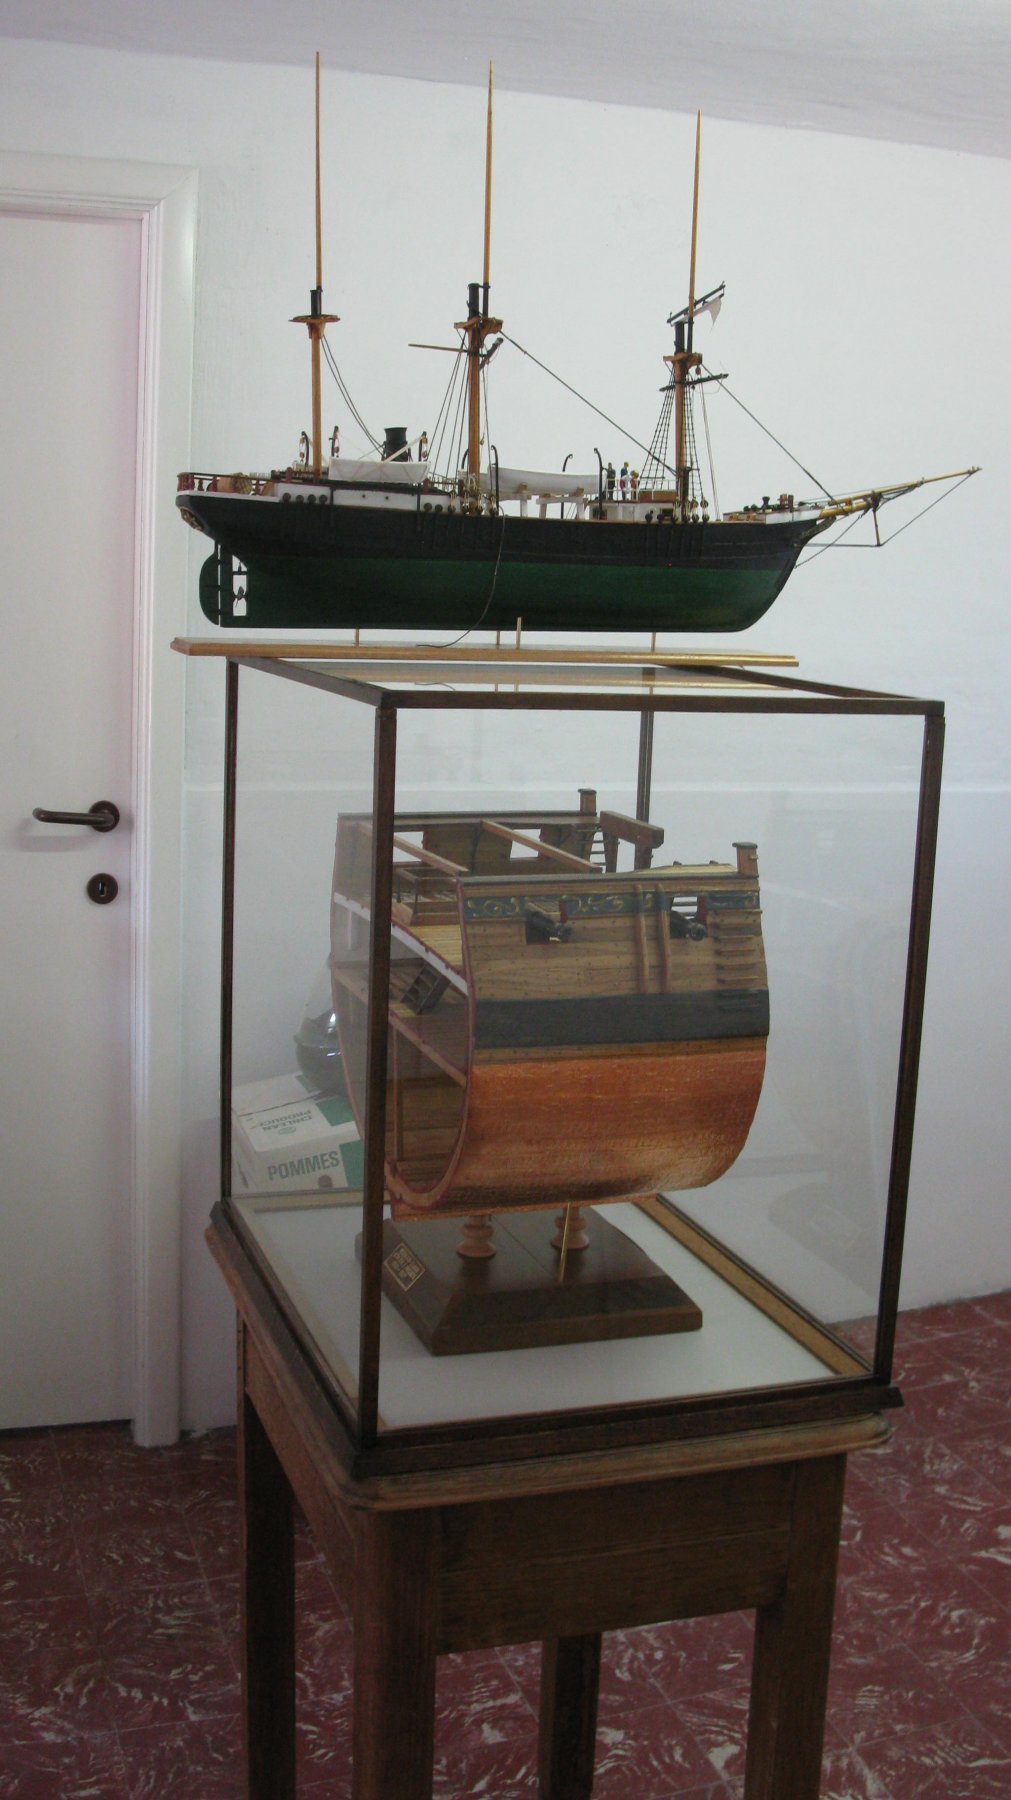
My showcases are not as nice as yours. They are a lot more basic. Below the case that I made for my HMS Triton cross section. On top of the case stands a model of a friend. The table below is not a part of the showcase.